Stropping
After last weeks diversion on diamond stones, I finally got around to running a little experiment on my strops. I’ve heard all sorts of opinions on stropping. Its not necessary (possibly), it rounds over the edge (possible, but it does not have to) and the never ending debate on what to strop on? Leather, Chromium oxide, diamond paste and many more.
I broke out my microscope and decided to find out what my strops are doing to my edges.
My current routine is 1200 grit Atoma Diamond Stone -> 3000 grit import cheap diamond plate -> Chromium Oxide on leather strop -> 0.1 micron diamond paste on leather strop.
I tested the following
- Is the edge/surface getting better after each of these steps?
- Do I need the intermediate steps (3000 Grit/Chrome Oxide)?
- Am I rounding the edge?
- Does stropping on plain leather do anything?
- Am I reloading my strops with compound often enough?
Below are 67 images where I dig in to try and answer these, but for those in a hurry.
- Yes
- Yes , Diamond paste is too fine to move straight to
- No (but I absolutely know it can happen, I’ve done it)
- Just a tiny bit
- Probably not, certainly should reload a little more often
This and other tool diversions are archived at https://blog.vintagetoolpatch.com. If you would like to write one, let me know!
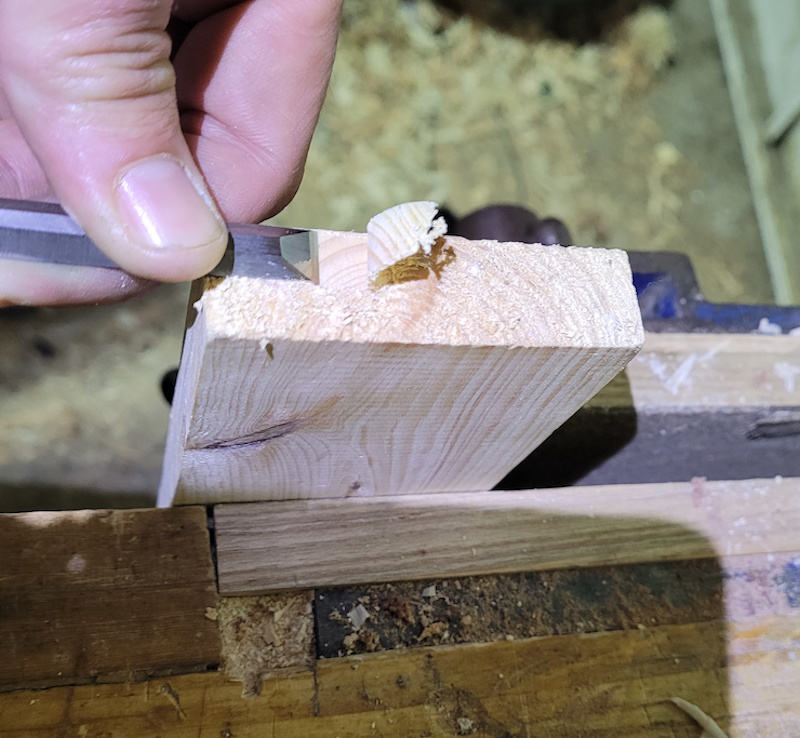
Our victim, An Ashley Iles chisel, recently used for chopping dovetails.
I used a honing guide even when stropping to try and maintain consistency.
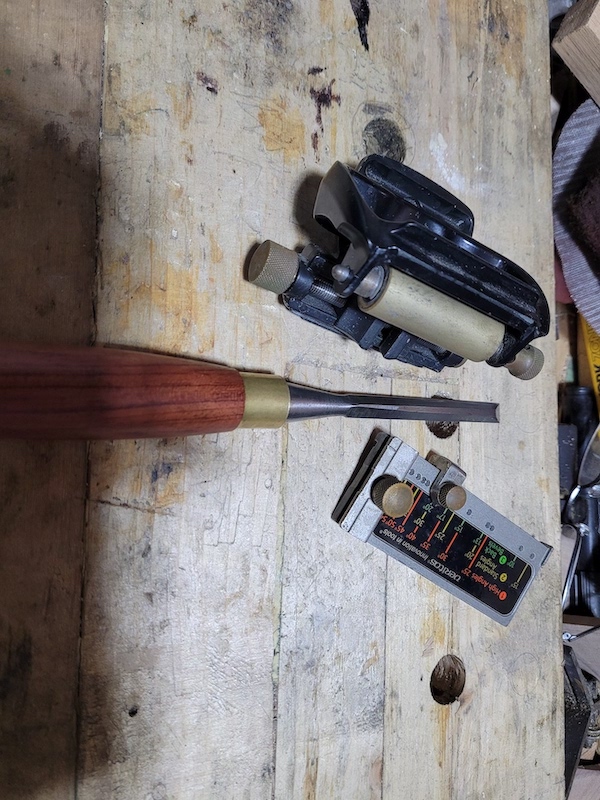
My cheap digital microscope. Does the job. I used some paper to rest the chisel on when taking photos, otherwise reflections from the aluminum base made getting clear photos difficult.

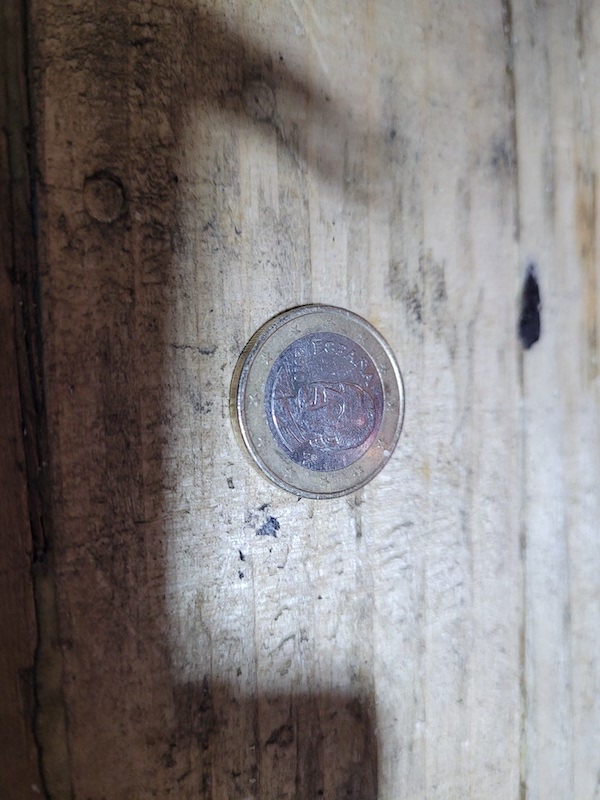
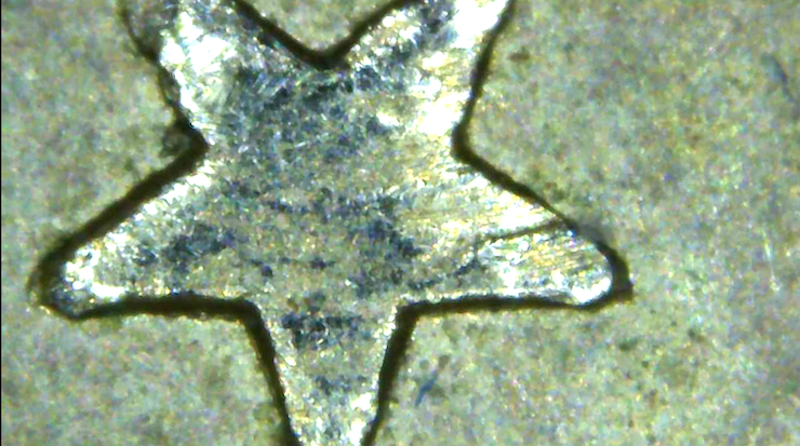
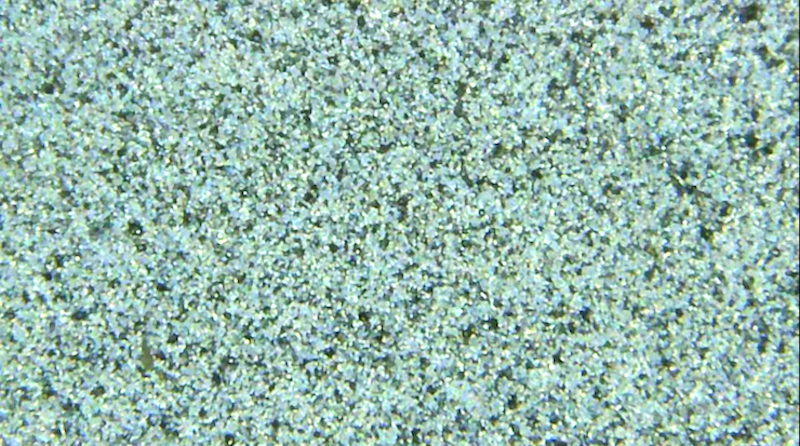
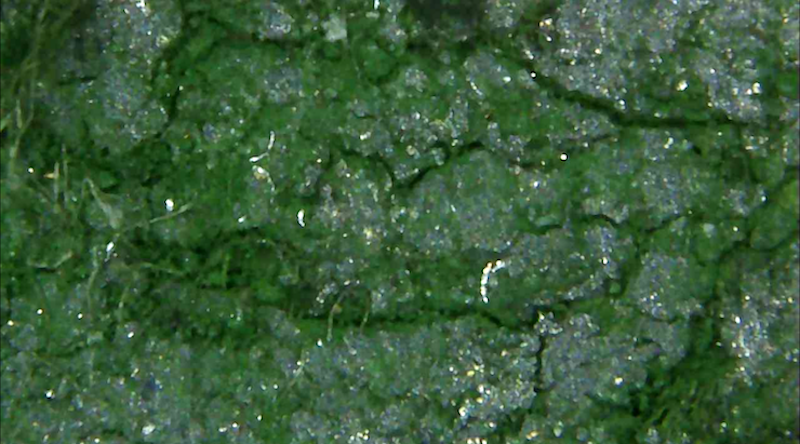
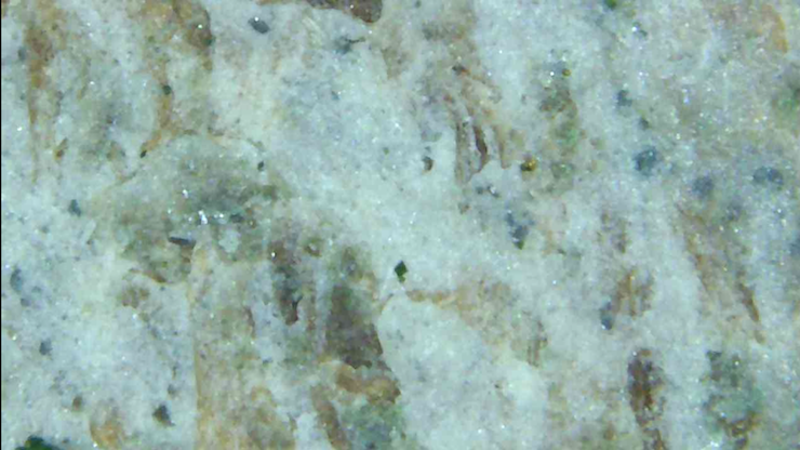
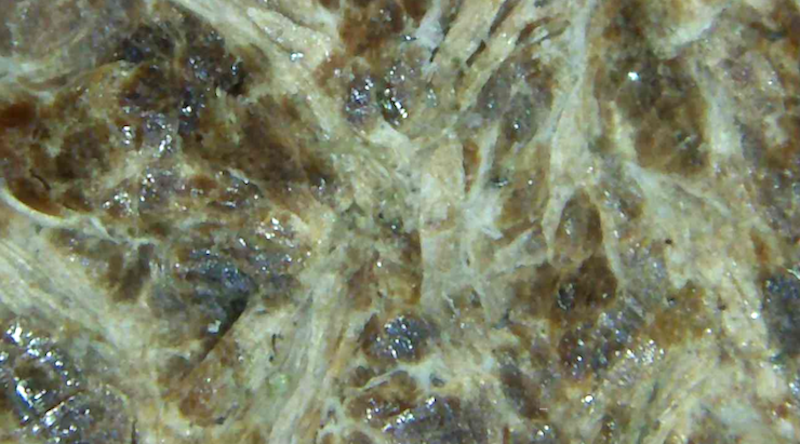
The scope claims a max of 1000x, rubbish, its far less. Here is a 1 euro coin.
This is one of the stars on the coin (about 1mm actual size) through the scope.
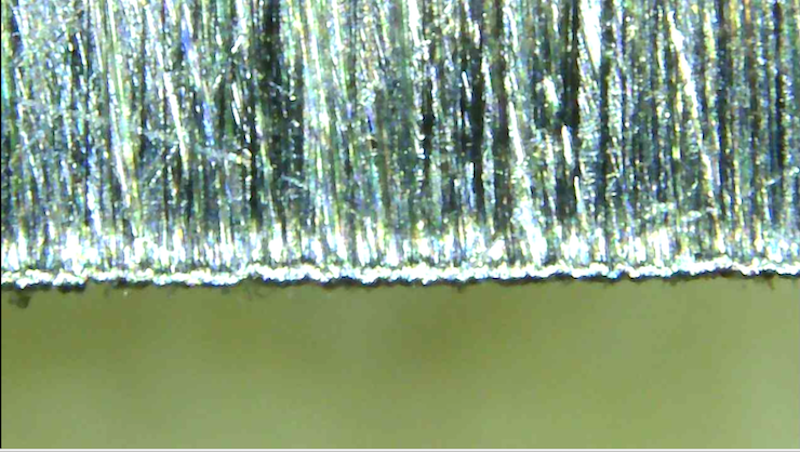
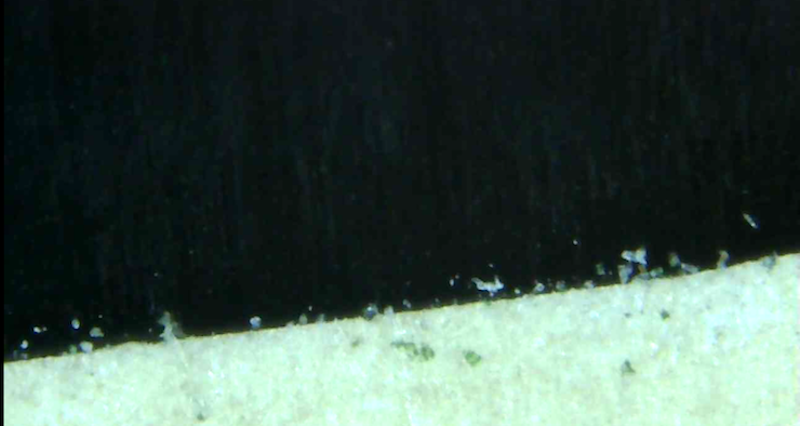
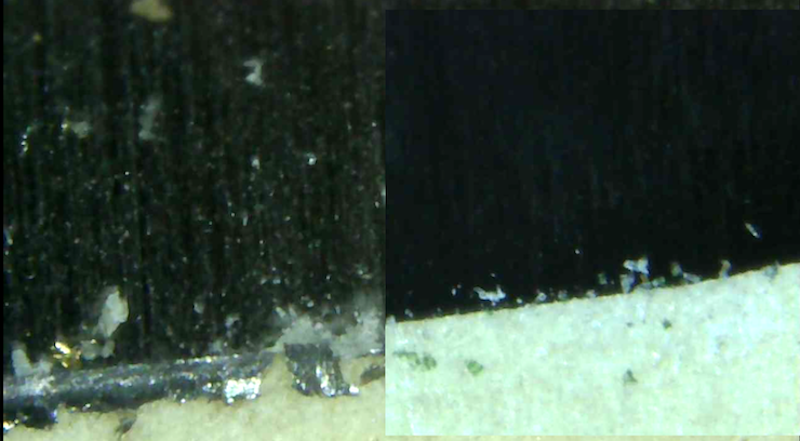
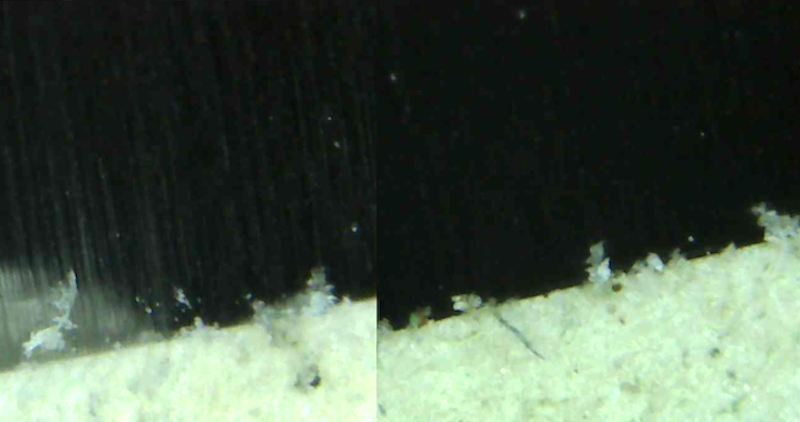
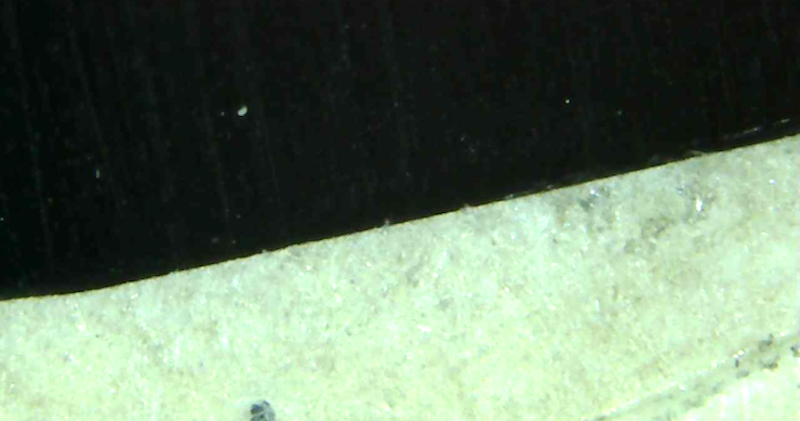
The bevel after chopping
The back after chopping.
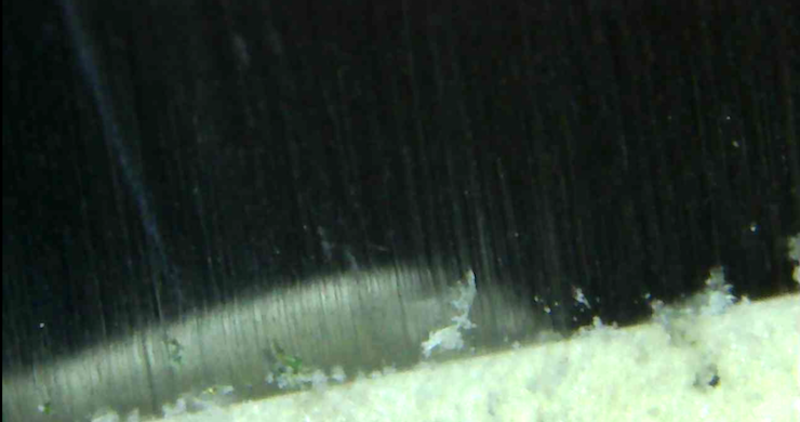
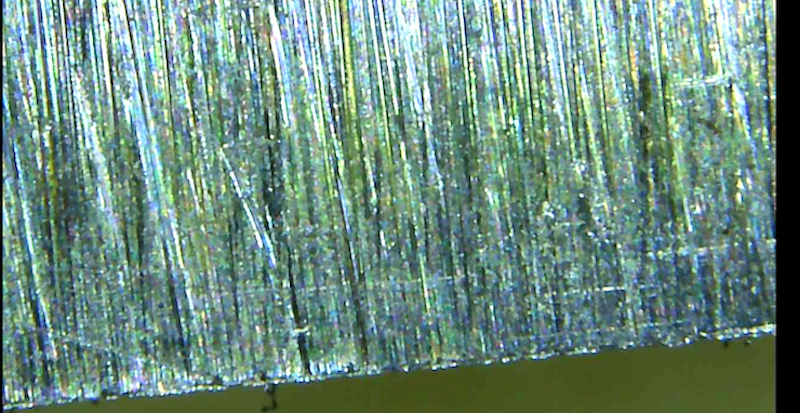
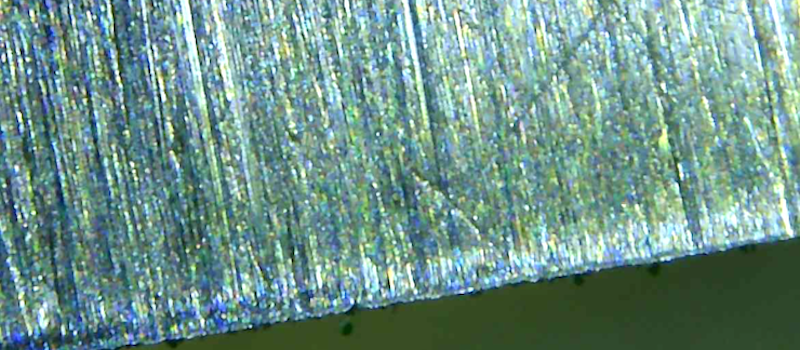
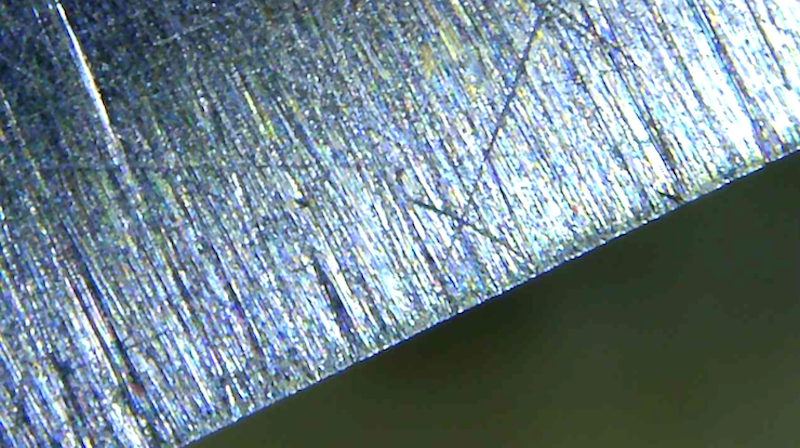
Started with the 1200 grit Atoma diamond plate. These are the diamond as embedded in the plate. Atoma arranges their diamonds in clusters as you can see.
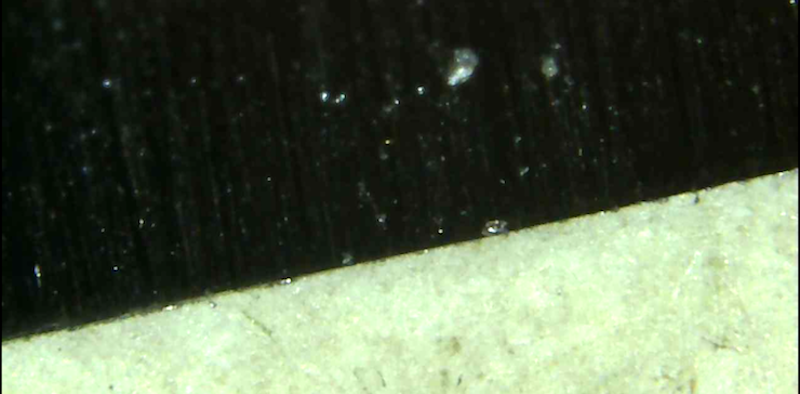
The back of the chisel after working on the 1200 grit Atoma.
Before and after of the back. The grooves after are deeper and larger as we would expect, as the before had been worked on finer grits. The after edge is however much straighter, the damage from chopping has been repaired.
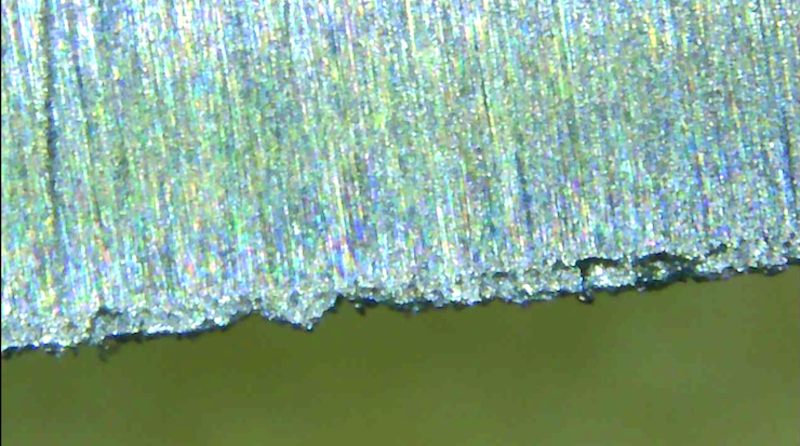
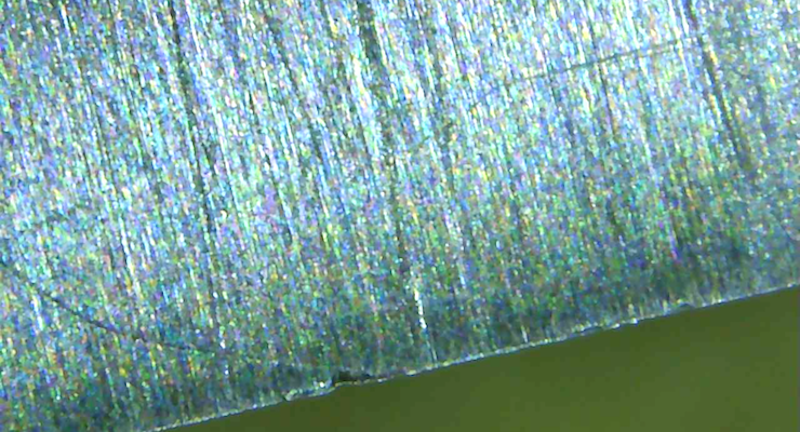
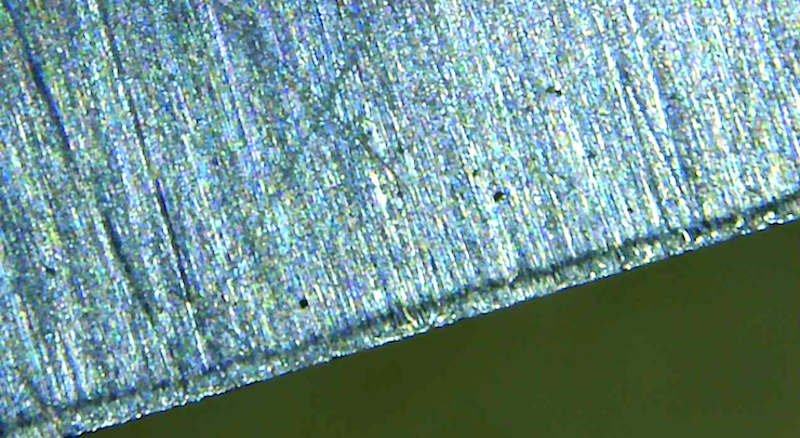
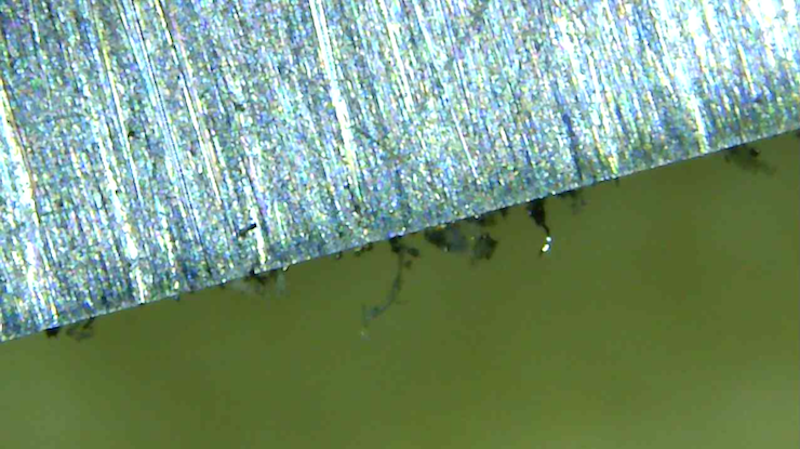
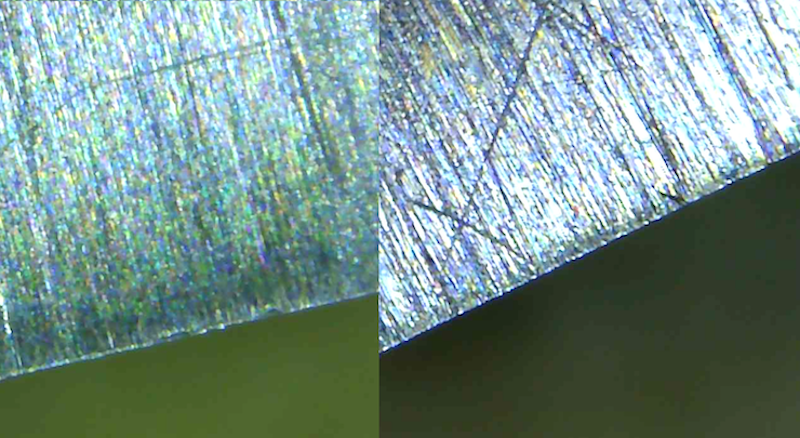
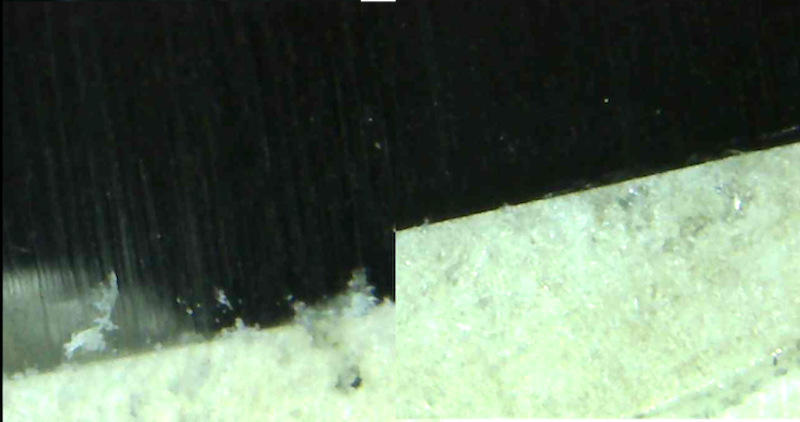
The bevel after 1200 grit. I believe the shiny portion on the end is the burr.

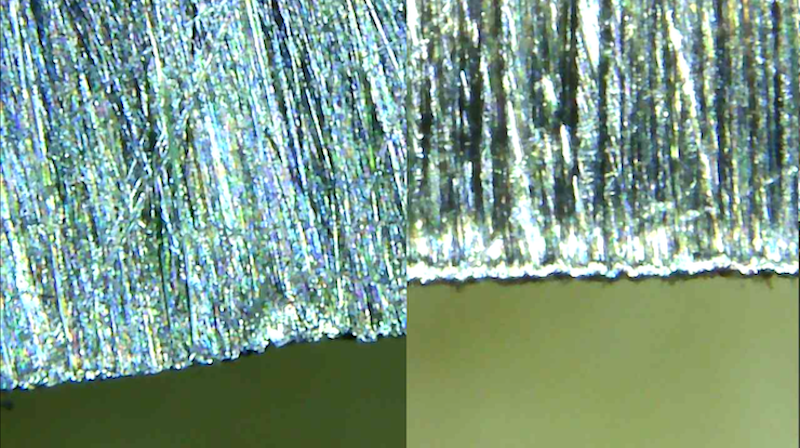
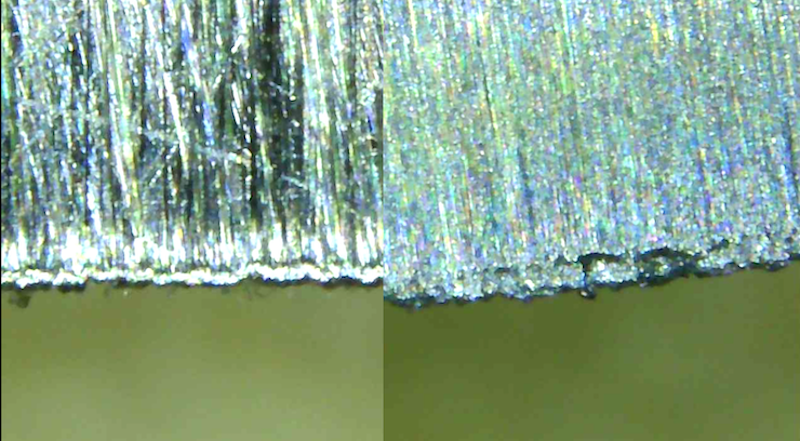
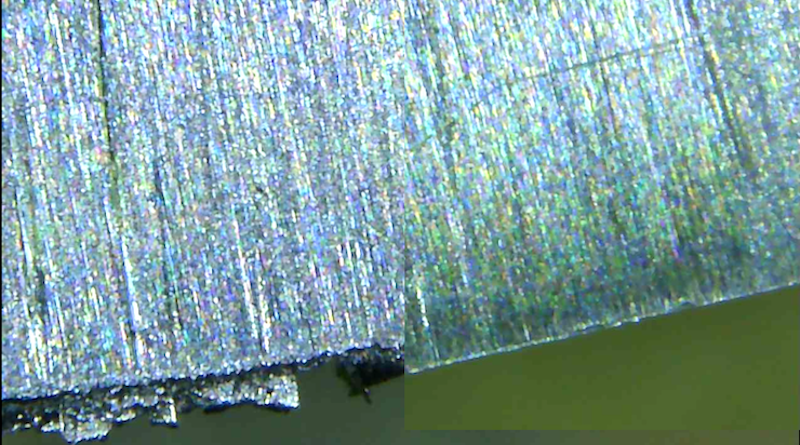
Before and after 1200 grit on the bevel. Again , larger deeper scratches, but a cleaner edge.
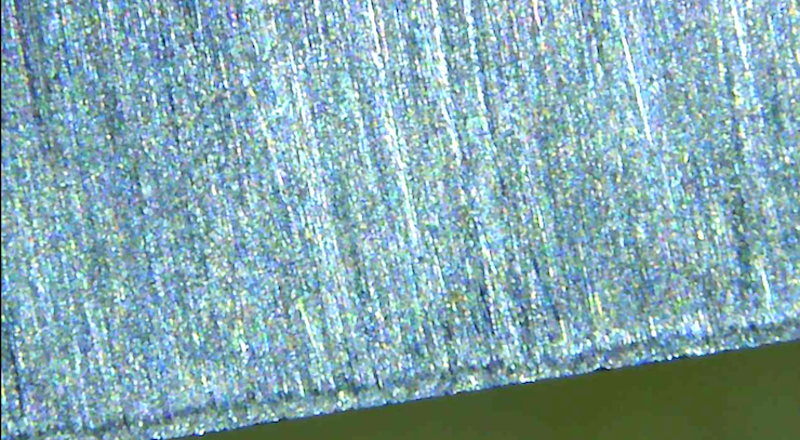
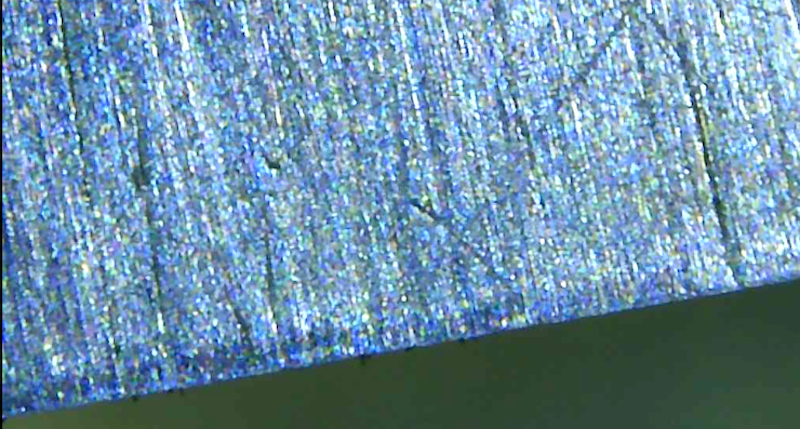
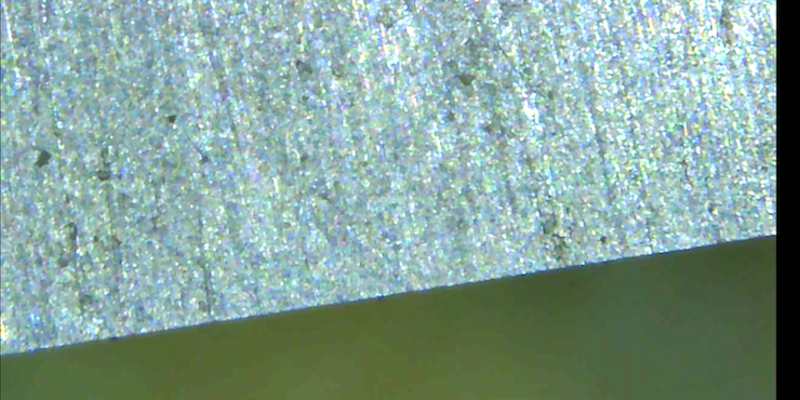
The surface of the 3000 grit plate. Its definitely a lot finer than the Atoma, and there is plenty of diamond.
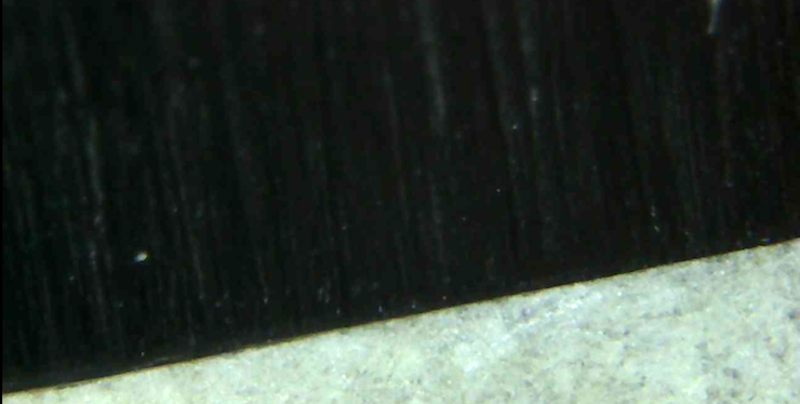
The back after the 3000 grit plate. The edge may look like a horror show, but thats mostly burr. The important detail is the scratch pattern further back. Much finer, the 3000 grit plate is definitely a step up.
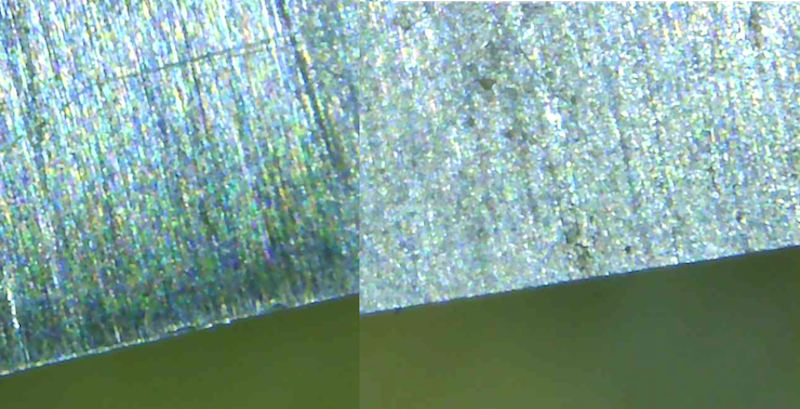
Before and after the 3000 grit plate.
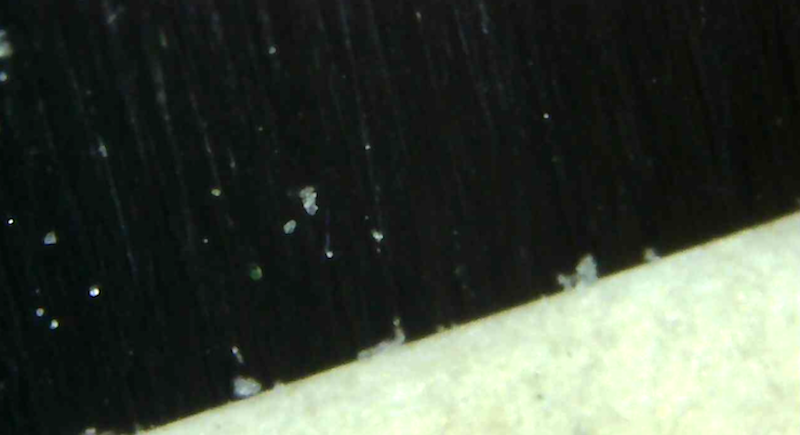
The edge after the 3000 grit plate. The burr is very fine and obvious now.
before and after 3000 grit.
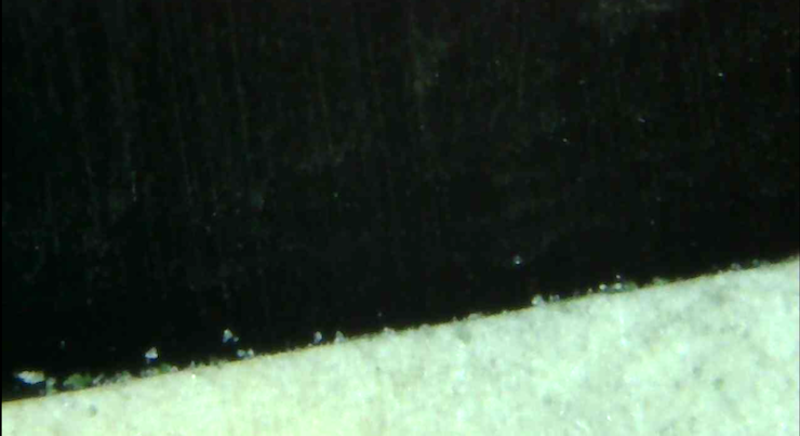
Green chromium oxide on leather. I use a paste from workshop heaven designed for hand stropping rather than powered wheels. This strop has not been charged in a few months.
The back after stropping. Finer grooves again, and the edge is becoming more defined,
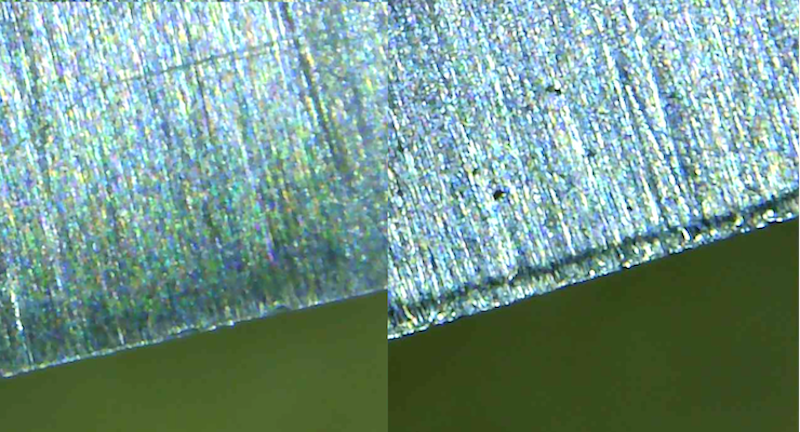
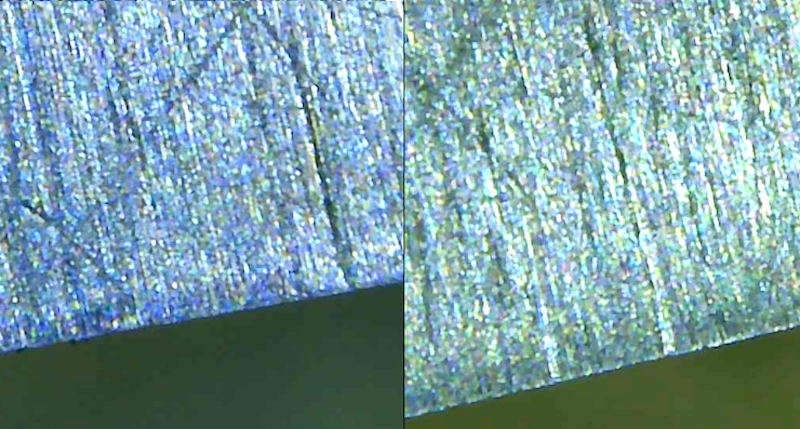
Side by side. 3000 grit left, chrome oxide right. After chrome oxide there are patches where its hard to make out scatches at all. and the edge is much more even. There are some deeper scratches visible on the right, but thats down to different lighting/angle rather than the finish.
bevel after Chrome oxide.
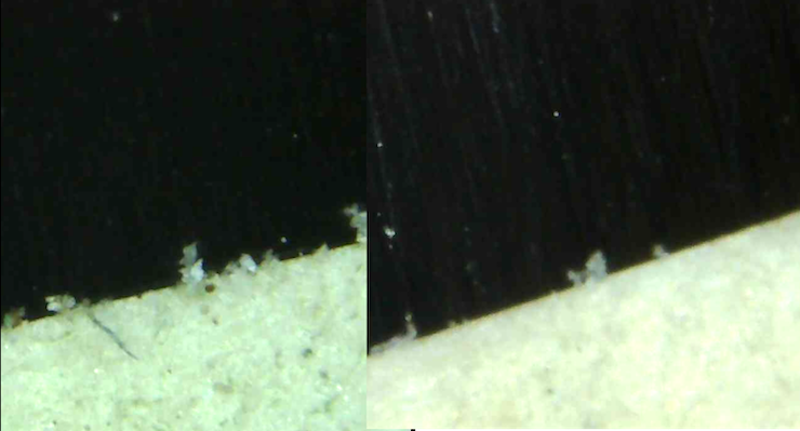
Before and after, 3000 grit vs chrome oxide. again, ignore the burr, its the finer/less visible scratches that matter. I’m confident in saying the Chrome Oxide is making a big difference to the edge.
0.1 Micron Diamond paste (approx 250,000 grit) on a strop. Again, this strop has not been charged in months.
Back after diamond paste.
Back Before/After Chrome oxide/0.1 diamond. A very large and clear improvement.
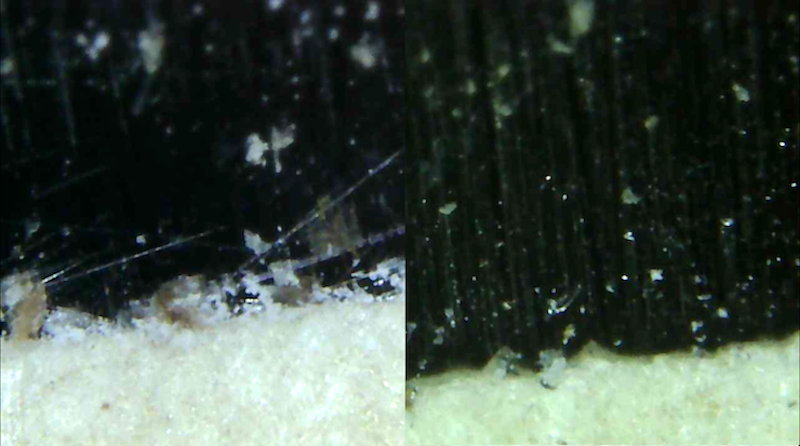
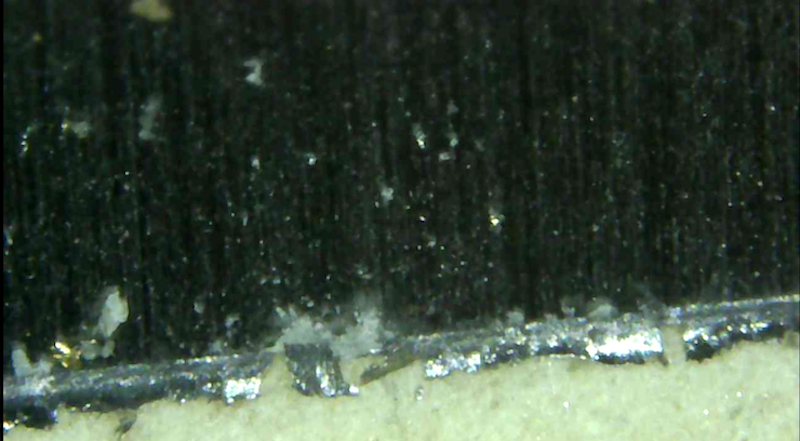
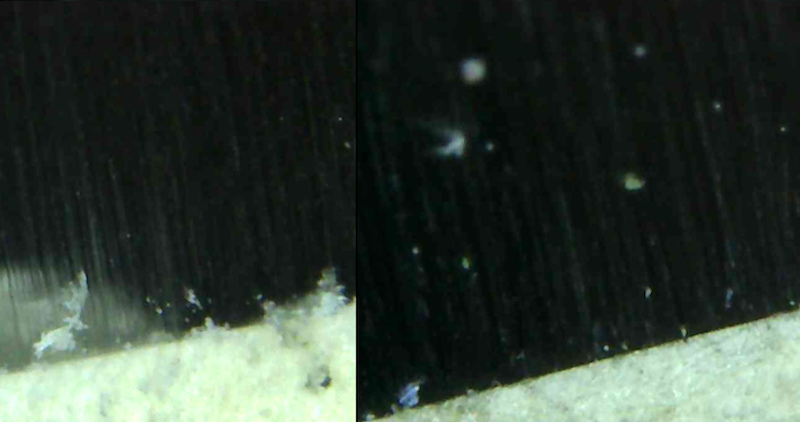
Bevel after diamond paste. This shot managed to catch the light just right. I’m very happy my diamond paste is making a noticeable difference to the edge. The bits of fluff at the bottom are tiny shavings from the paper its resting on. After honing on the diamond strop, its was hard to slide the chisel into position on the paper without paring little bits off.
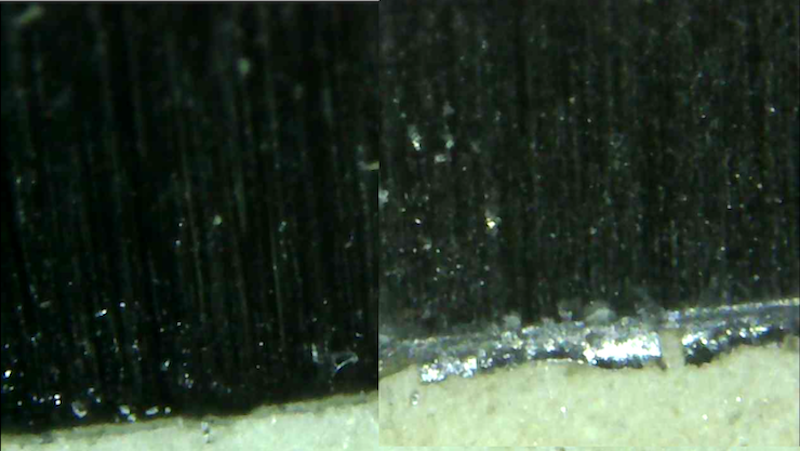
Before (chrome oxide) and after (diamond). I’m going to be keeping the diamond strop in my routine.

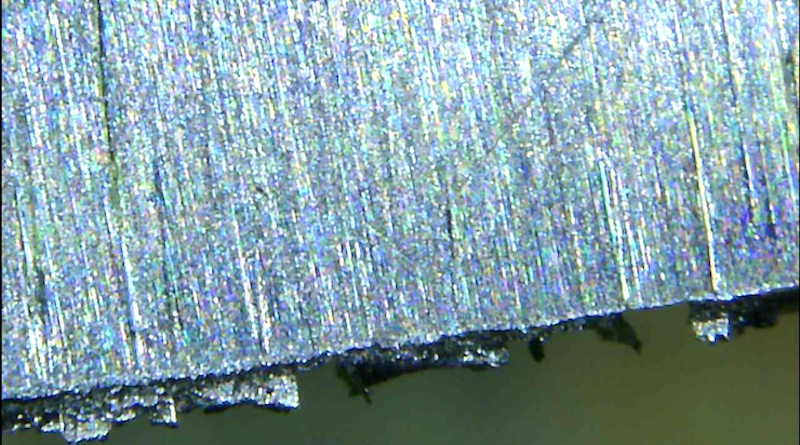
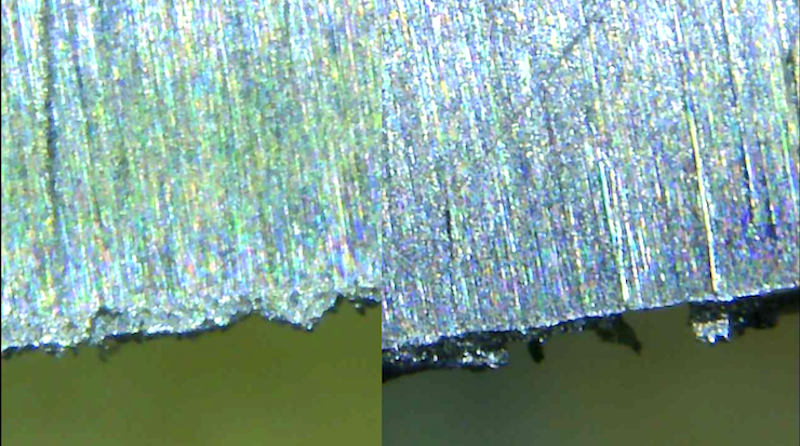
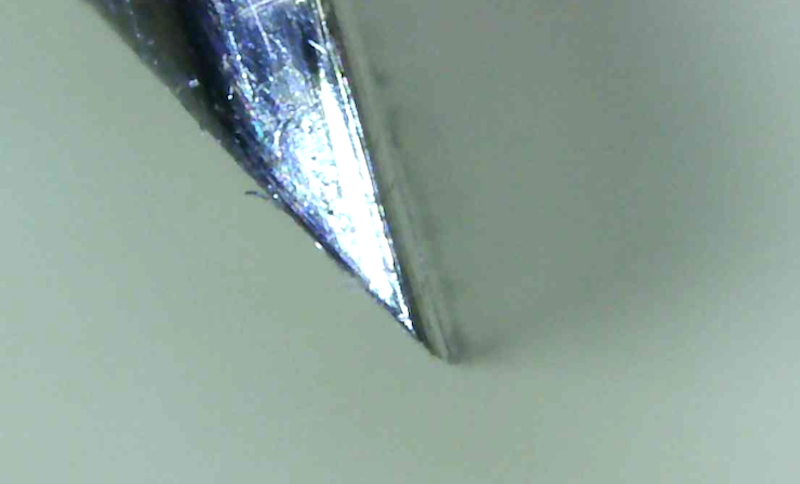
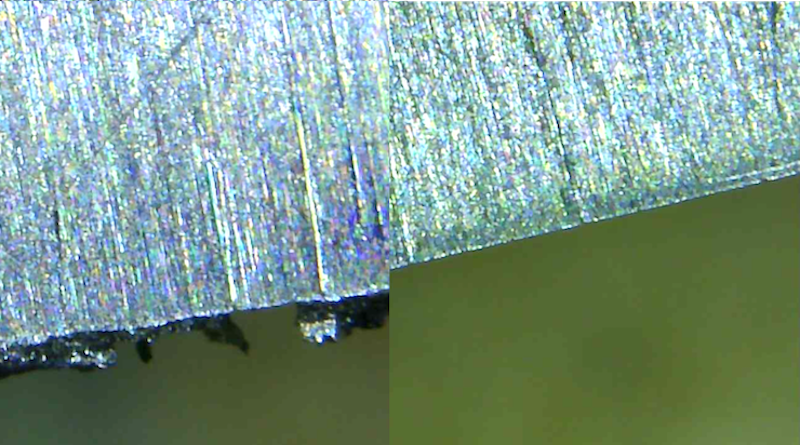
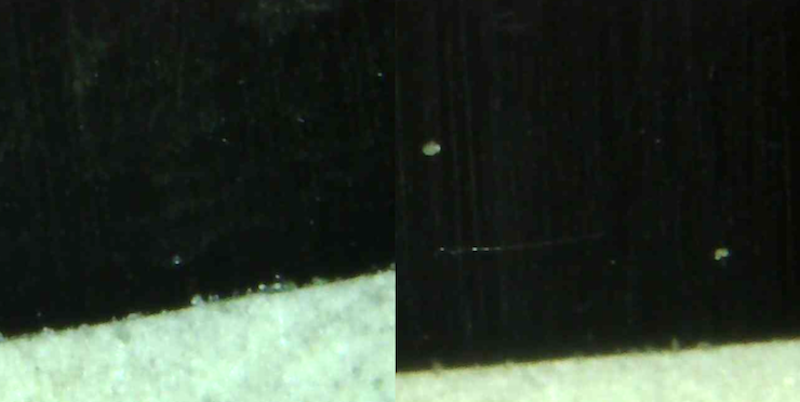
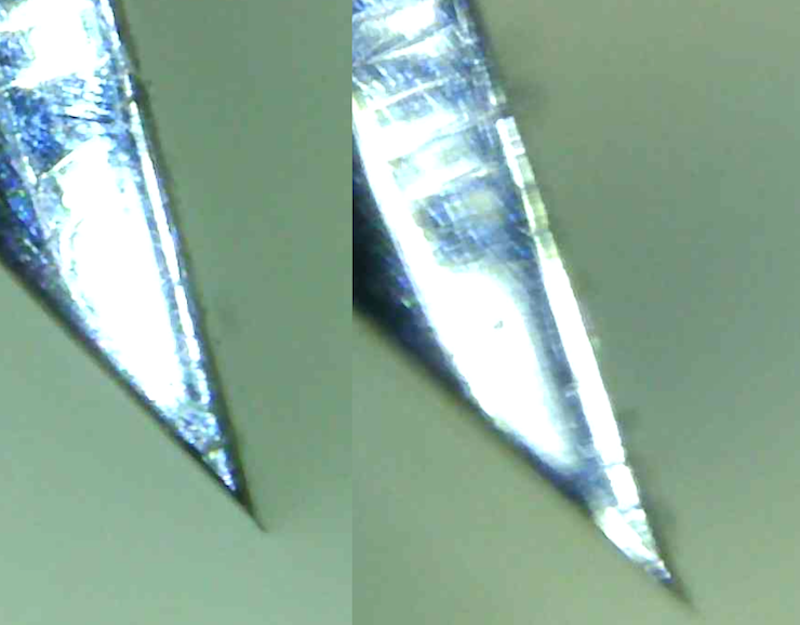
Has the edge been rounded? This was the edge after the diamond stone.
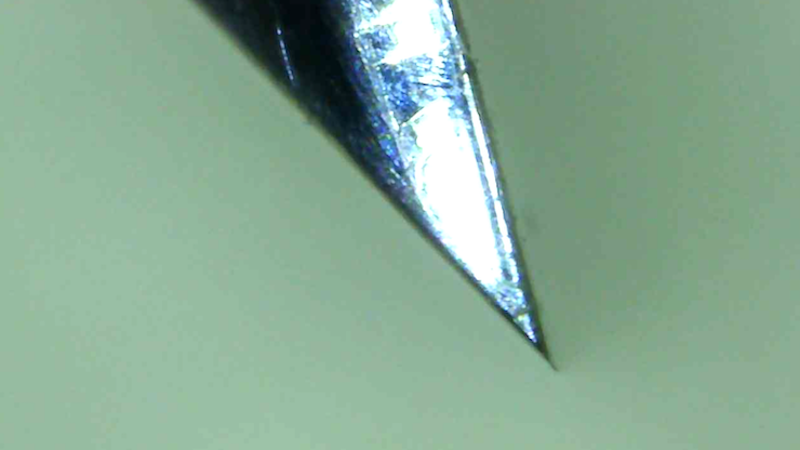
This is the edge after the diamond strop.
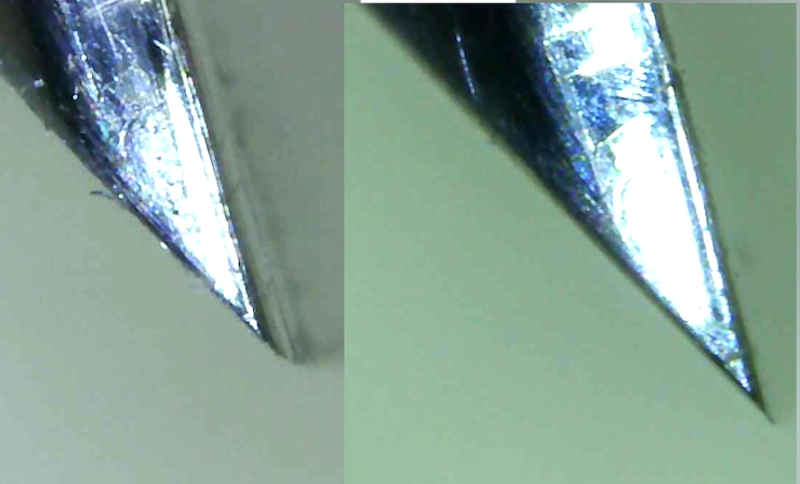
Side by side. I’m happy to say that edge has not been rounded over.
The next question in my mind, do I need the chrome oxide strop, can I go straight to diamond? The Chrome oxide is about 45000 grit. Which is why I think people with ultra fine finishing stones dont see much of a benefit to stopping. If you have a 20k or 40k finishing stone. It does not matter much. however I’m going from 3000 grit on my final stone to 250,000 on my final strop. I felt I needed an intermediate step. I sadly took my wonderfully sharp chisel and took it back to a 1200 grit diamond plate finish.
Bevel back to 1200 grit.
After 20 strokes on the diamond strop. The depression at the tip is something I see in the early stages of sharpening through the scope. I believe its a weak point/burr. This was gone with my normal routine.
The bevel after 20 strokes, noticably worse.
I gave the back another 20 strokes , because I could still go to 1 strop quite happily with double the strokes. But it did not make much difference.
On the left, the back after my normal routine, on the right after going straight to diamond.
On the left, The bevel after my normal routine, on the right , straight to diamond. I’ll keep my Chrome oxide strop.
So then I went back to the chrome oxide strop and gave it 10 strokes. You can see that burr is being worn off fast. Again, 0.1 micron diamond is just too fine without an intermediate step.
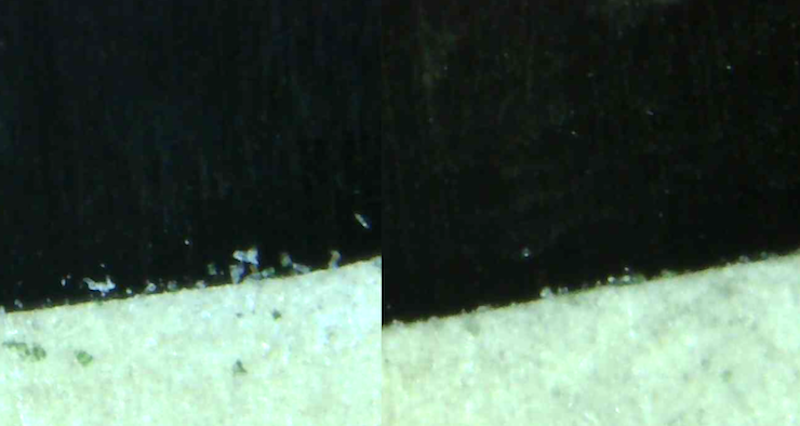
Next I decided to freshen up my strops. This is the Chrome oxide strop with paste freshly applied.
The back after stropping with fresh Chrome Oxide.

Old strop left, freshly charged strop on the right. I should definitely refresh more often.
Bevel after fresh Chrome Oxide.
old/fresh - again, a much better result.
Next I decided to see if cheap chrome oxide vs my fancy paste made much difference. This is a new strop, loaded with a bar of faithful chrome oxide.
The back before the cheap compound.
The back after. Not bad, but the more expensive paste does a better job.
Side by side, fancy paste on teh right.
Cheap compound bevel.

Paste on the left, compound on the right. The cheaper stuff works, and is worth stropping with, but the paste is a step up.
Freshly charged diamond paste strop.
The back after the fresh diamond strop.
Old strop left/fresh strop right. yip, I should charge more often.
Bevel on fresh diamond strop.

Side by side. Old strop with diamond, fresh strop with diamond.
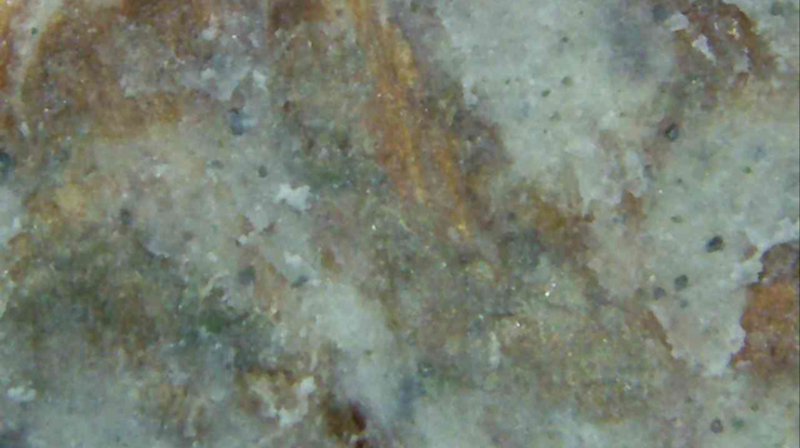
Finally , I wondered what stropping on plain leather would do. When I first took this photo I though I had contaminated the leather when I saw the shiny bits. So I found some other pieces and they all have it to some degree. Silica maybe?
The back after leather.
Before and after. Lighting differences make this a tough comparison. I cant really tell much difference on the surface, but the edge looks a touch cleaner and straighter.
Bevel after leather. I’m not seeing enough of a difference to get me to add a plain leather strop to my process.
Bevel before and after leather. again, I cant tell a lot of difference, but the edge looks slightly straighter.
Next up, all my tests have involved a honing guide. I normally strop free hand. So lets do that and compare. Here is the back, which wont have changed, because I always go freehand on the back 🙂

Freehand bevel.
Jig left, freehand right.
Spot the chisel. When trying to angle the chisel to photograph the side profile of the bevel, the light would catch the chisel and turn it into a perfect mirror (the chisel is in the upper right).
The side profile after stropping.

Jig left/freehand right. I’m not worried about rounding my edge any more. It can happen. I occasionally finish sharpening and have a poor edge, I imagine thats what I’ve done. But its maybe 1 time in 20.
The real test, will it pare endgrain pine afterwards? Thats it for now. At some point I’m going to make up some autosol strops to see how it performs, and do some mdf vs leather comparison. But not today.