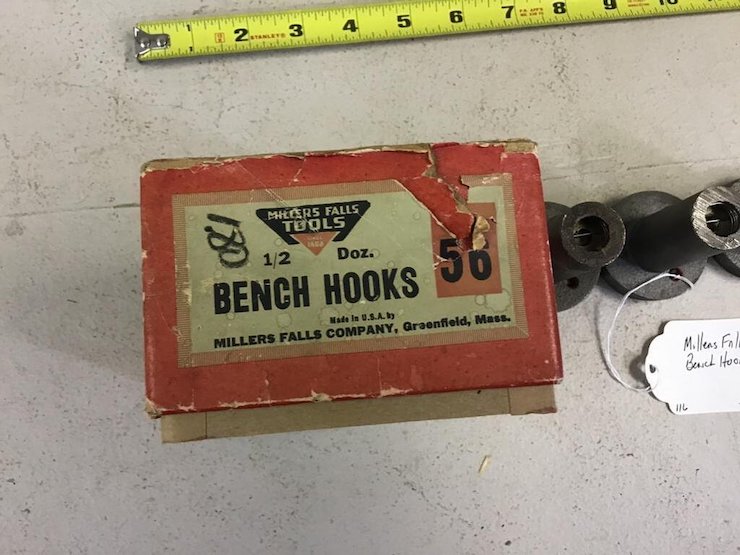
Millers Falls 56 Bench Hook
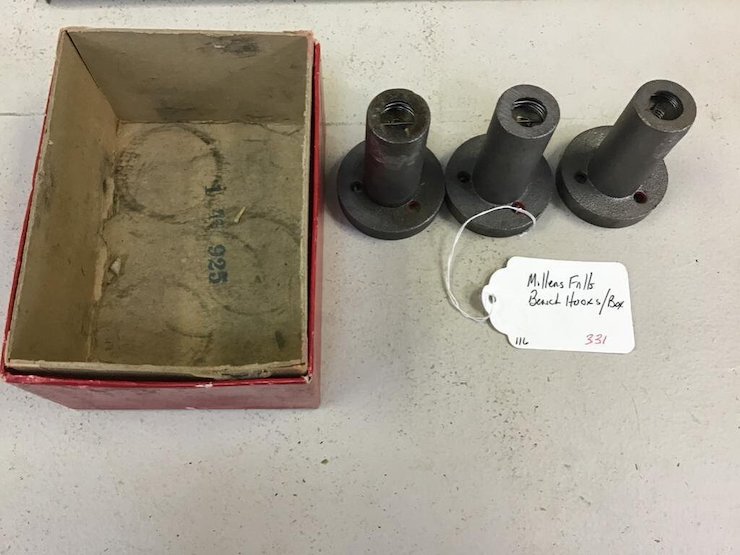
Planing stops, whether forged, wooden, or mechanical, are convenient holding devices for planing boards. There are a ton of vintage planing stops out there, but this week I’m going to show the little wonder that is the Millers Falls 56 Bench Hook.
The Millers Falls 56 Bench Hook was originally sold in a box of 6. They’re easily installed into any bench that is at least 1” thick by drilling a 1/2” deep x 2” wide hole, followed by a 1” through hole. This is quickly accomplished with an expanding auger bit and brace. Drop the bench hook inside, screw it down with three 1/2” wood screws, and you have four different pop-up planing stops. The orientation of the planing stop is changed by loosening the post screw, pulling the insert out, aligning it so the stop you want faces your work, setting the height, and tightening the screw to lock it in place. A fast, convenient operation that also can be retracted and set flush so it’s out of the way of your work surface. Brilliant!
It’s maybe a little more setup than a whipple hook, but the fact it can be retracted out of the way, and offers a four different stops/faces is super convenient. The internals are also intriguing!
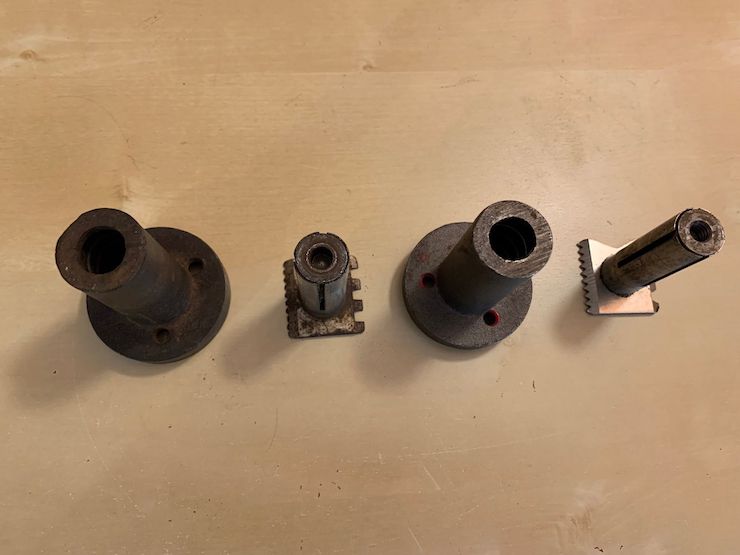
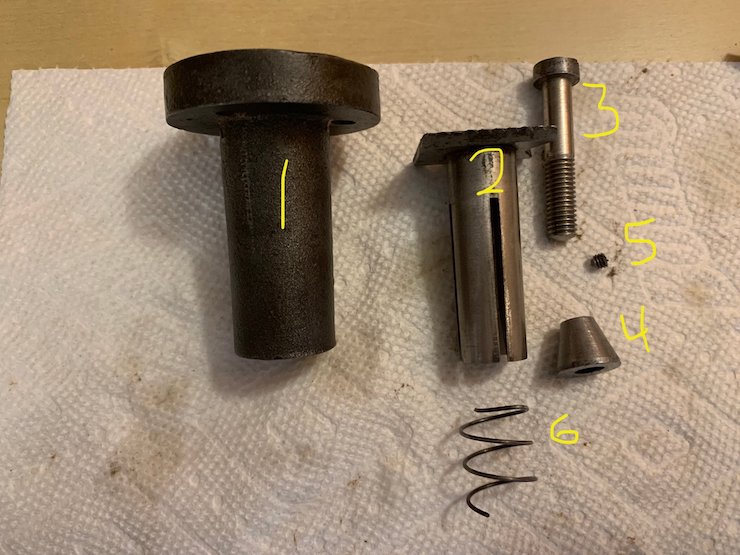
- An outer section that fits into a 1/2” deep 2” diameter hole with a 1” hole drilled through the surface. The top of this is stamped with the Millers Falls logo, and it features four planing stops: smooth, small tooth, large tooth, and V.
- A post with four planing stop heads, whose body . has four metal fins. This fits into the outer section.
- A 5/16”-20 threaded screw that fits through the post.
- A cone-shaped plug threaded 5/16”-20 to fit through the other end.
- A #8-23 grub screw that has a small projection on its end. This projection engages between the fins of the post to keep the post orientation from skewing.
- A 15/16” diameter screw to pop-up the center post when it’s unlocked. The length of this spring appears to vary greatly from about 3/4” to 1-1/4”.
After three years of watching five different ebay alerts, searching auctions, and otherwise looking for this planing stop I managed to score one… I was excited until I had it in hand and realized it wasn’t very usable was it was. Its small teeth have been worn down, the nickel plating on the top was all bug gone, and the center screw was frozen, either from rust or paint or both. While the screw wouldn’t loosen, the stop would turn inside its sleeve. That’s alright, I set out to restore it…
- Arresting the rust with a scotch brite, renaissance wax, jajoba oil, and 3-in-1, I got the outer sleeve to look more or less like it was supposed to. There’s probably 80% paint loss, but enough of the original paint was left to see it was once red.
- I worked on the planing stop/post itself, cleaning up the white paint and rust and getting it to smoothly fit in and out of the sleeve.
- The center screw took some working as there was a lot of grime and rust in its threads as well as under the head. I worked a lot of this loose with a flat screwdriver before cleaning it up with a scotch brite and simple green. The screw got a healthy coat of jajoba oil, and 3-in-1 over the threads.
- The grub screw was mushroomed (looks like someone didn’t know how it worked and tried to force it), so I gently filed the protrusion back to its original size and shape. I then dunked the little screw in 3-in-1 oil before drying it off with a paper towel.
- The cone piece that fit into the bottom of the post had its threads completely mangled. The screw would not go further than about 2-3 turns, so the device wouldn’t lock into place. Measuring the screw, I determined it was a 5/16”-20 screw and re-tapped the threads to accept the screw.
- The spring was rusted and wouldn’t spring. With a scotch brite pad, some simple green, and a lot of working the spring with my fingers, I was able to get the scaly rust off, and the spring was once again springy. I gave the spring a good wipe down with jajoba oil to keep it from rusting up again.
After putting it all back together, it’s operational again. The small teeth look a bit used, but all the points are in the same line and it feels like it would still grip when I test it against my finger, so I left them as-is. Any problems could be fixed with a sharpening with a needle file, like a saw. Just be careful not to take off too much. Now that you see how these work and how nifty you are, you probably want one, right? I know I did! Well, this is your lucky week. If you want a replica model that works with a hex key, then know that Lee Valley sells a replica bench hook.
Photos
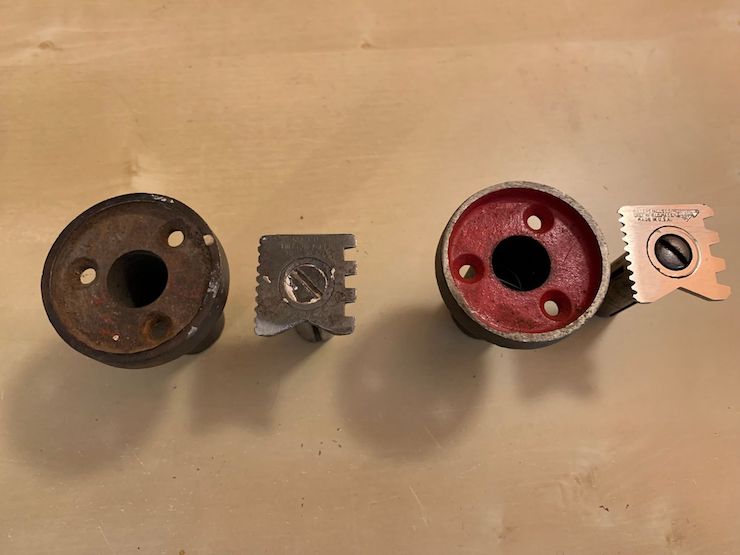
A rather crusty, well used planing stop next to a fresh one.
After cleanup, here’s all the internals. The hardest part of this restoration was filing down the grub screw to engage again.
Cleaned up and ready to go back into service. A few worn teeth won’t affect its functionality.
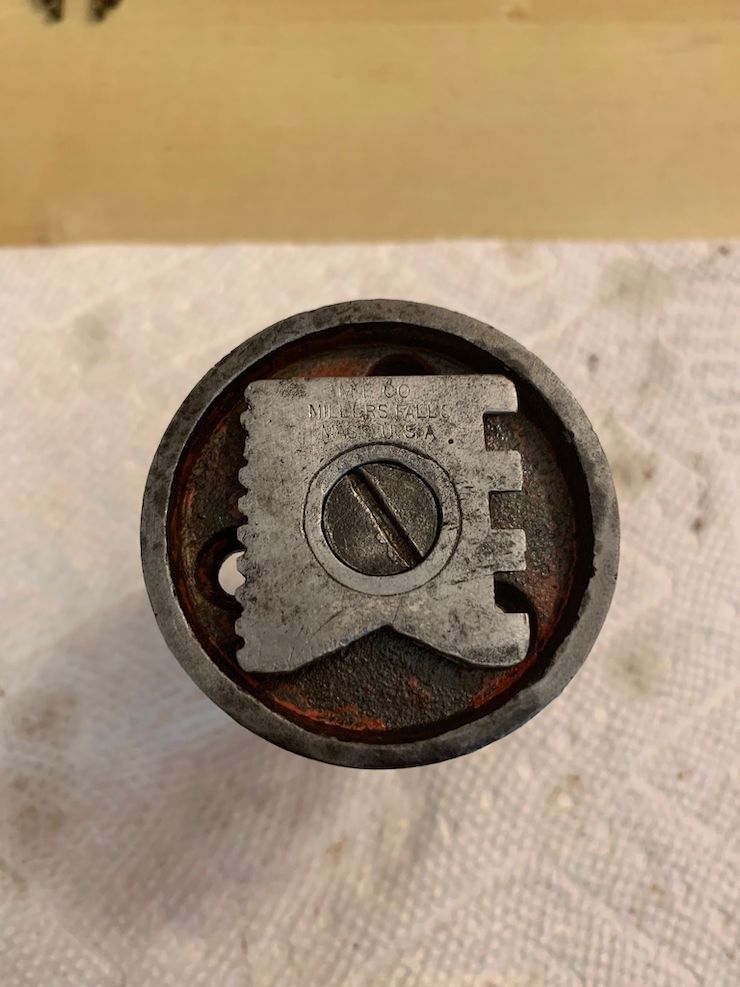
Originally sold in a box of 6, they were called No 56 Bench Hook.