File & Hammer Saw Works, A Review
Continuing our theme of member-makers, this week we are highlighting the work of Jared Greene. In October of last year, Jared quit his job and became a full-time saw maker. Jared has spent years and thousands of hours studying and honing his saw sharpening skills. It absolutely shows in his work! I’ve been fortunate enough to own four of Jared’s saws, and wanted to provide my review of his work.
The four saws I own are a dovetail saw, a rip carcass saw, a crosscut carcass saw, and a tenon saw.
Dovetail Saw
Of all my J. Greene saws, this one gets the most use by far. I use it for all of my dovetail joinery, and also to start the kerf for any resawing I do. The saw is well balanced, and starts easily enough with a push stroke. This particular saw also happens to be Jared’s first sold saw. It lacks a medallion and Jared has since changed his name stamp along the brass back.
I did have an issue with the saw handle over the first winter. The saw nuts worked their way loose as the relative humidity in my house dropped from 50% to 20%. The problem was the split nut driver I owned didn’t fit. I reached out to Jared about this and he immediately came up with a solution. Jared replaced the saw nuts on not just this saw, but also my other saws with new ones that fit a Lie-Nielsen split nut driver. While this saw was in for service, he also re-tensioned the plate and touched up the toothline based on how I said the saw was performing.
“Speed Demon” Carcass Saw
I originally approached Jared about a carcass saw when I purchased the dovetail saw. He put me in queue, and it wasn’t long before I got a message and video from Jared about a new filing he had come up with. He called it the “Speed Demon” because it could bottom-out (2-5/8” depth of cut) in 3 strokes on 4/4 pine boards and in 6 strokes in 4/4 white oak. In retrospect, this might be a bit too aggressive for a fine joinery saw, but it makes such quick work of ripping thin boards at the bench. So nice for trimming up or cutting lids for boxes. The handle for this saw also came from the same board of walnut as my first saw for a perfect match!
Crosscut Carcass Saw
Another workhorse of mine is my crosscut carcass saw. I’ve owned a few along the way, but for shaping handle repairs, nothing is better than an extremely tight/fine cutting carcass saw. Because it’s used for fine work, I’m very picky about the finish my crosscut saws leave behind and the amount of tearout that comes with the saw. To differentiate it from my rip saw, Jared made the handle in torrefied maple… meaning he roasted the handle in his kitchen oven. It ended up being a beautiful finish that goes well with my other walnut handles, but is different enough that I can tell at a quick glance which is the crosscut and which is the rip cut saw. The saw is also much more stable than the thin plate Lie-Nielson saw I was using. The secret to getting a smooth cut is to ensure you don’t put any down-pressure on the cut, let the weight of the saw do the cutting. As long as your cuts are straight, I’m very happy with the finish it leaves, even for the exposed ends of boards.
Tenon Saw
After struggling to cut 3-1/2” cheeks for some big mortise-and-tenon joints I was making (my Japanese pull saw would wander while ripping down the wide board, and panel saw required so much cleanup), I asked Jared if he might have a solution. Jared turned around a monster of a tenon saw. At 16” long and with a 3-3/4” depth of cut, it is a beast! It still leaves a nice enough finish to be “joinery ready”, something my 7 TPI panel saw can’t come close to doing.
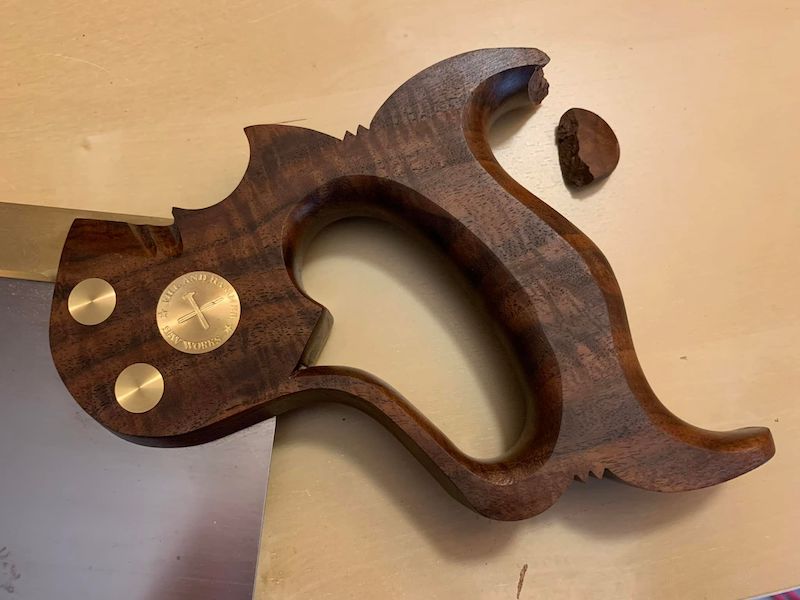
The only drawback of the saw was my own doing. It took a tumble from my bench as it was bumped by a laundry basket (my shop is also the laundry room) and suffered a broken horn after the spill. I was worried the plate wouldn’t be straight, but it survived without even a tooth out of set (thanks to the handle taking all of the fall). Jared assures me that his saws are tensioned using a friction fit slotted brass back, and even if the plate had slipped, it could be fixed straight with a few saw taps of a hammer. Jared was also nice enough to share some of his finishing tips to help blend the repair. While I don’t use this saw on every project, it has been a welcome addition to my shop.
Saw Options
One thing Jared does is offer a “progressive pitch” upgrade on his dovetail, carcass, and sash saws. This isn’t just filing the teeth at a different angle, he actually will cut your teeth so that the TPI changes over the length of the blade. The difference is that the saw doesn’t have to be filed more aggressively to cut faster, and you tend to get a little less tearout on the backside of the cut compared to a saw that is filed more aggressively. I don’t know of any other makers offering this progressive TPI option.
Jared will also work with you on selecting the right tooth geometry, and making a saw that will meet or exceed your skill level. He’ll tune the filing to a fine finish or faster cut as you need. All of Jared’s saws are still pretty joinery-ready off the saw. That is, you can mate/glue any two saw surfaces without needing to do additional cleanup first.
Jared’s saw handles typically come in one size that meets most customer’s needs without having to measure your hand. If your hands are abnormally large he can accomodate, but the palm swell is positioned so that you naturally hold the saw in the right position even if your hands don’t fill the handl. You feel in complete control of the saw, and the grip is extremely comfortable, even when sawing for a few hours in a single day. Jared will work with you on handle material; I highly recommend the look of walnut, brass, and steel, however!
Finally, Jared offers free sharpening on all of his saws. Just pay shipping both ways.
Summary
Jared Greene took the time to learn how I was using my saws and came up with completely custom solutions for my tasks. Every one of my four J. Greene saws have been tweaked for how I use them, and how I want them to perform. That attention to detail came with a price tag that is comparable to other modern makers… I was able to aquire four sweet saws over the course of a year.
If you’d like to find out more about Jared’s saw offerings or maybe wish to order one, visit jgreenesaws.com or check out his work on Instagram.
Images
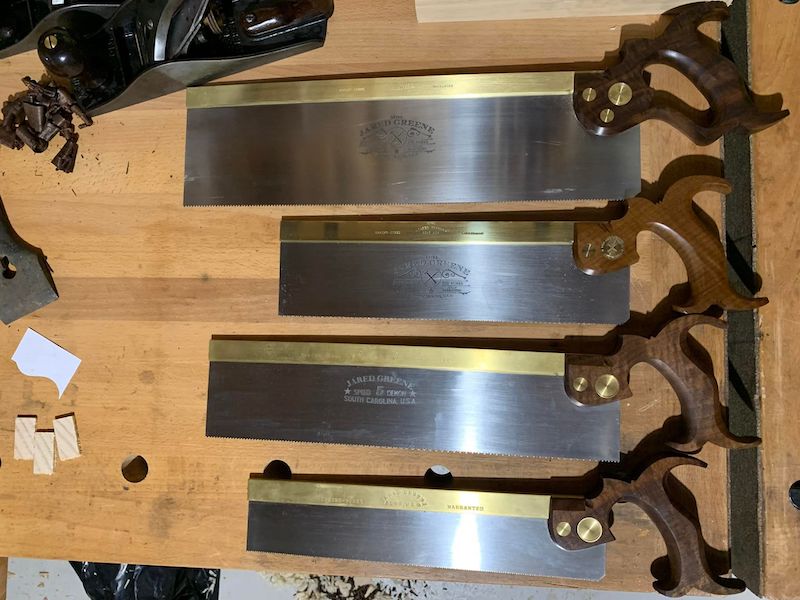
Top to bottom: tenon saw, crosscut saw, rip saw, and dovetail saw.
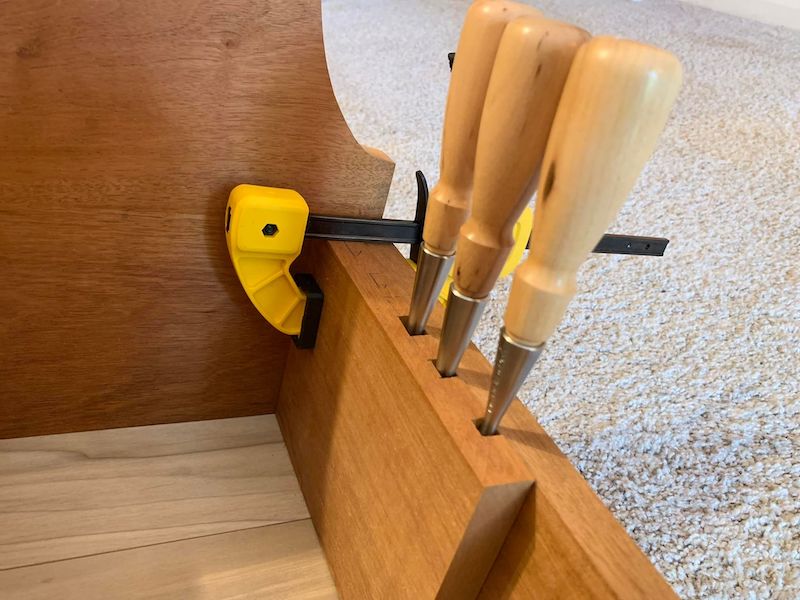
Saws positioned right over my bench for easy access.

The crosscut does great at trimming handle repairs before rasping/shaping.
Dovetails are fun!
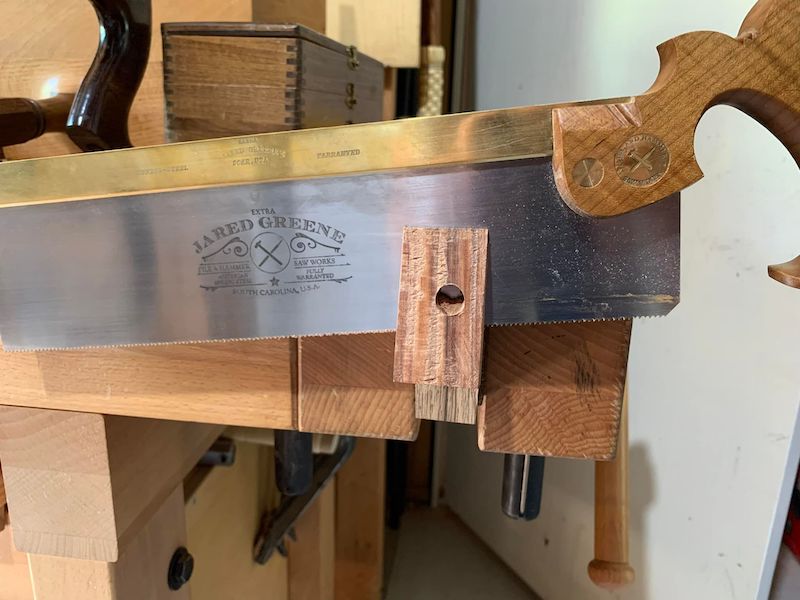
Oh no, my tenon saw took a fall!
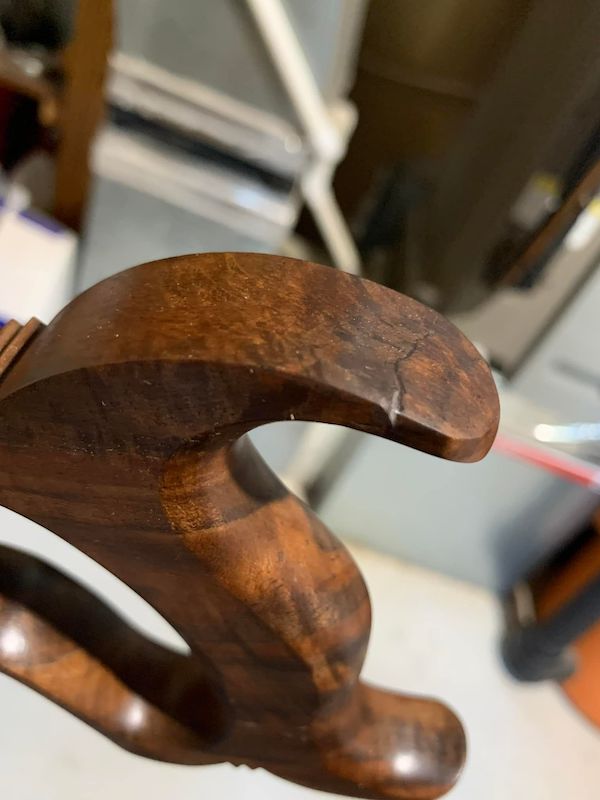
Not an invisible repair, but it glued up well with clear super glue.
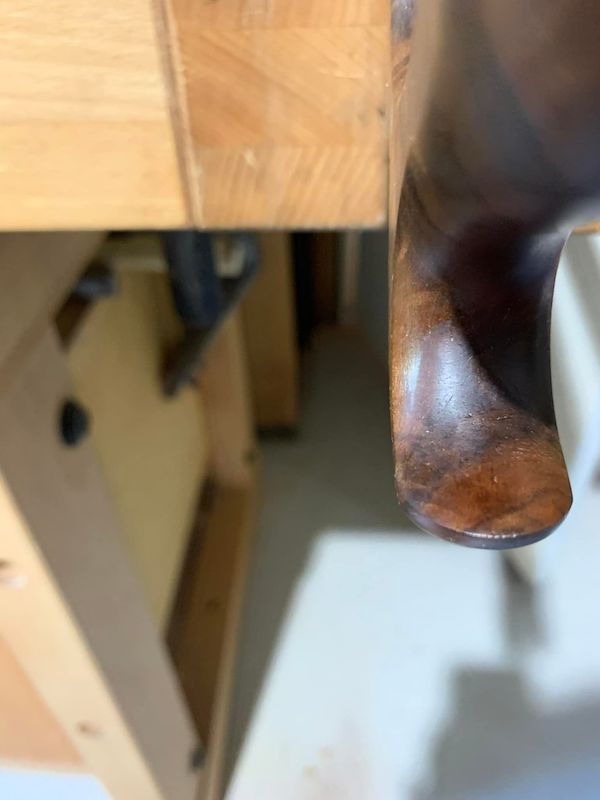
The repair had a much tighter fit on the underside.
Wide rip cuts are no problem for the tenon saw.
Mitered dovetails with the dovetail and crosscut saws.

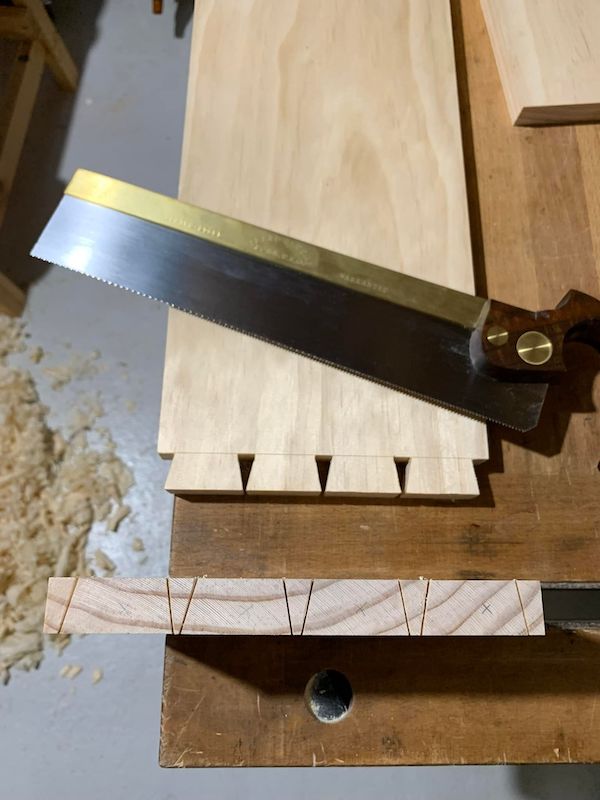
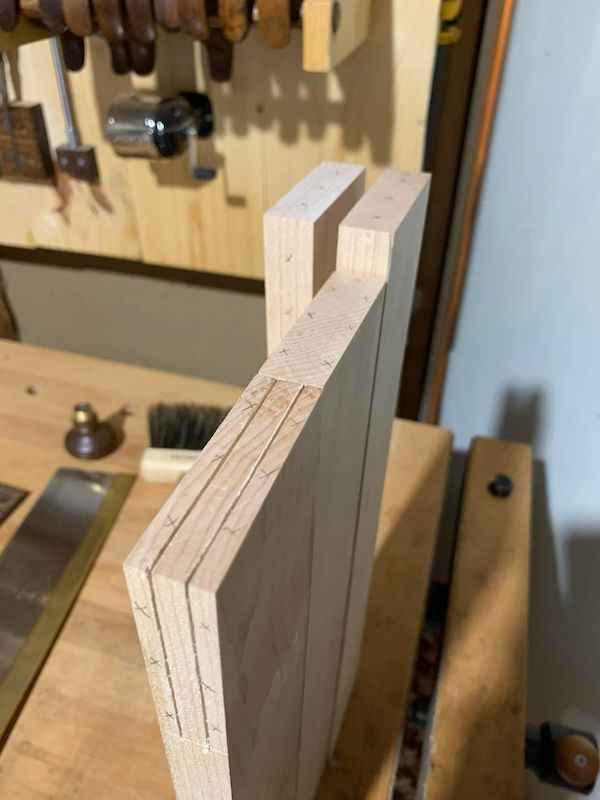
Crosscutting stopped dados for a chisel rack. No one will ever see the overcut.
Test fitting a chisel rack.