Making Notebooks By Hand
Notebooks are excellent for doing woodworking drawings, cut lists, and general project planning. By keeping all of your plans/projects in the same notebook it’s easy to refer back to old projects for inspiration and also is a record of how you grow as a woodworker. A handmade notebook has two major advantages over a storebought notebook: (1) the binding is more durable and (2) it lays flat.
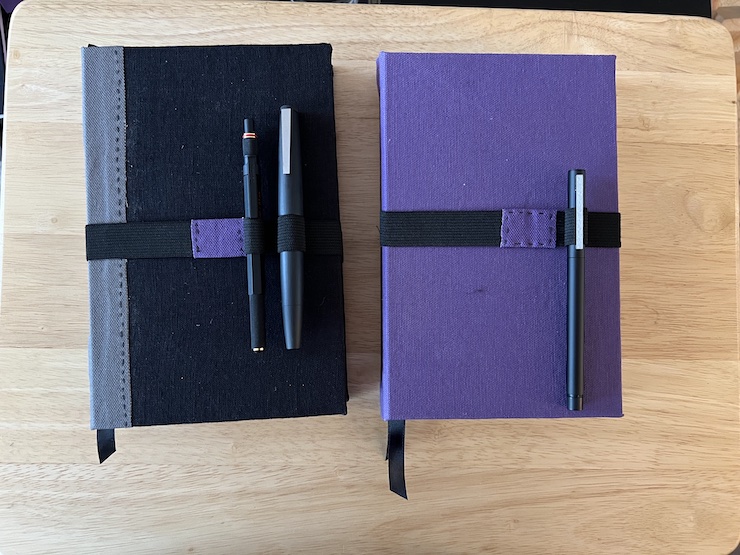
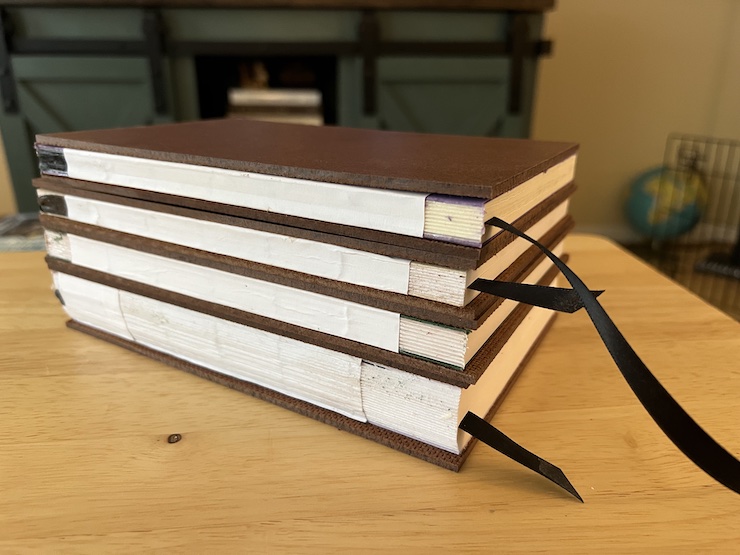
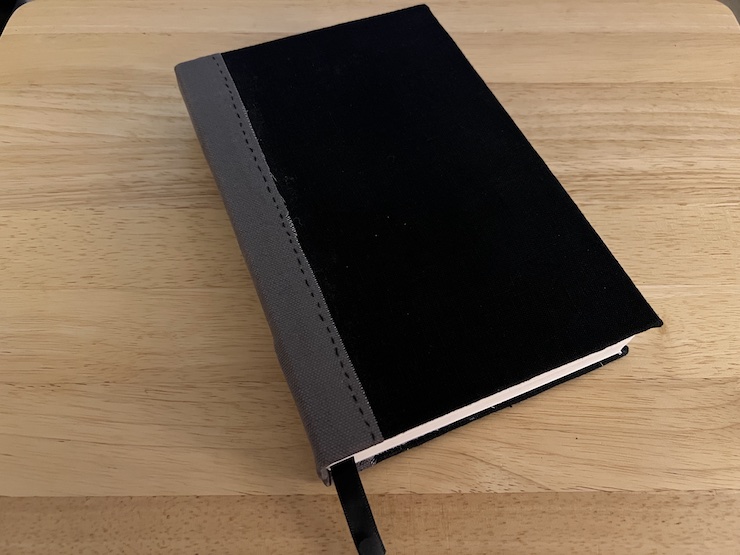
Here are two of the notebooks I’ve made with some elastic bands that hold them closed and have a pencil/pen loop.
Making a notebook involves working with wood products (paper), and optionally some basic woodworking tools (an awl and hand plane). You don’t need any special skills, and only a few minimal tools and materials. In fact, you can probably scrounge up most of what you need without requiring any major purchases.
Tools and Materials
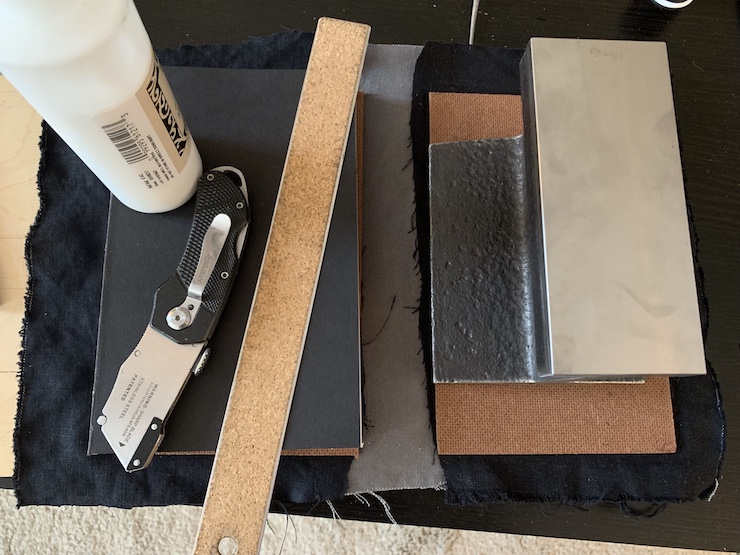
To get started, you’re going to need a few basic tools/materials. There are a million substitutes/alternatives here. My suggestion is try to use what you have on hand before you buy stuff. I’ve included some links to products throughout this article for convenience. Those links go to the US Amazon page. They are not affiliate links. Please do your own research and price comparison before buying any linked products!
It’s really important to make sure your PVA glue is flexible! Wood and school glue don’t work great because they dry hard, and it’ll cause your book spine to crack and tear. A can of 3M Super 77 can work here, but I highly recommend acid-free PVA glue meant for bookbinding.
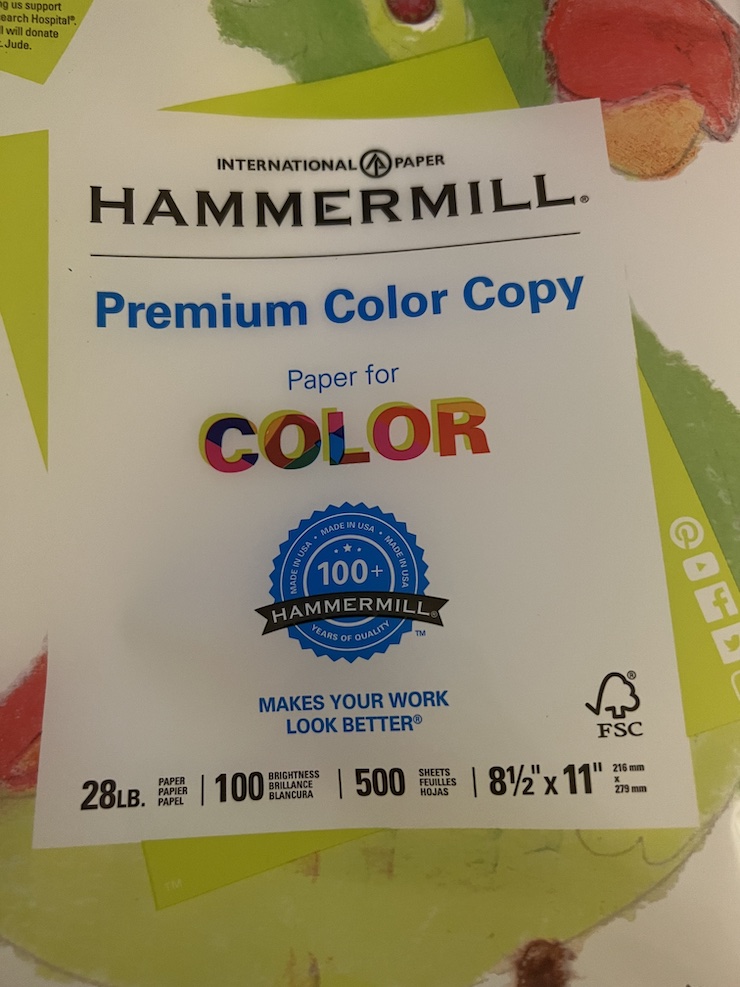
- Paper: 8.5 x 11 or A4 size. I recommend 28 pound or 105 gsm paper.
- Colored Cardstock or Construction Paper for End Pages
- Bone Folder or Screwdriver
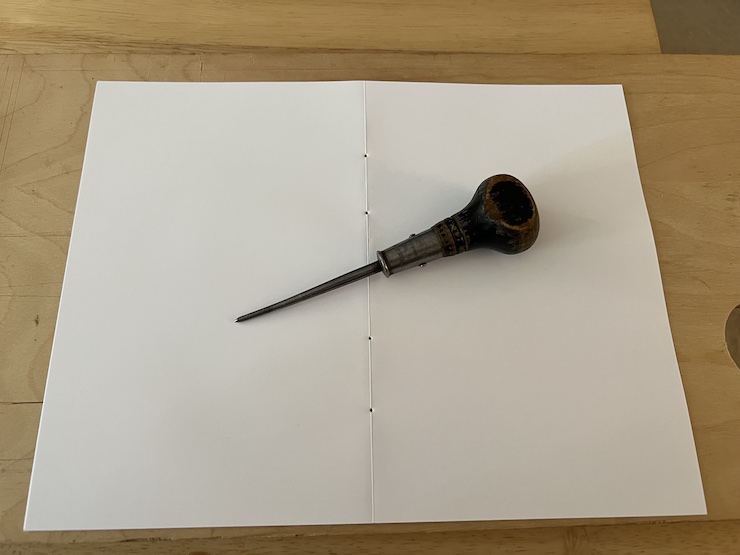
- Awl
- Needle and Thread
- (optional) Beeswax or Canning Wax
- Flexible PVA Glue
- Hand Plane or Box Cutter or Craft Knife
- Cardboard or Hardboard or Plywood for hardcover material
- Cloth for Cover
Process
The process is in two parts, first you make a text block, then you cover the text block. There are many ways to do this, and just as many opinions on the best way. I’m going to walk through what I do, and link to a couple very easy-to-follow videos that describe details I’ll likely miss.
Making the Text Block
If you’re a video learner or want to get a handle on the basics, now would be a good time to watch Making a Text Block. My steps below differ only slightly from the video. The biggest difference is that I sew the end pages to the text block instead of relying strictly on gluing them.
-
Gather 40 sheets of paper. Forty sheets of paper makes a 160 page notebook, counting the front and back of each page like numbering the pages in a book. I use 28 pound color paper that’s a thicker than normal printer paper. The paper I link above is also short-grained, which means the direction of the grain is parallel to the short edge. This is preferable, though not necessary. Basically paper wrinkles across the endgrain. If you have long-grained paper and fold it in half, it can wrinkle along the spine when you glue it. Don’t sweat any of this if you’re making your first notebook; use what you got!
-
Fold the 40 sheets of paper in half. Run a bone folder or screwdriver over both sides of the fold to make the fold sharp and crisp.
-
Take 4 folded sheets of paper and slip them inside each other to create a stack. This stack is called a signature. You’ll make 10 signatures from your 40 folded sheets.
-
Fold two colored sheets to be your end pages.
-
Stack everything together, then draw five pencil lines equally spaced across the spine. These lines will be the marks where you punch holes.
-
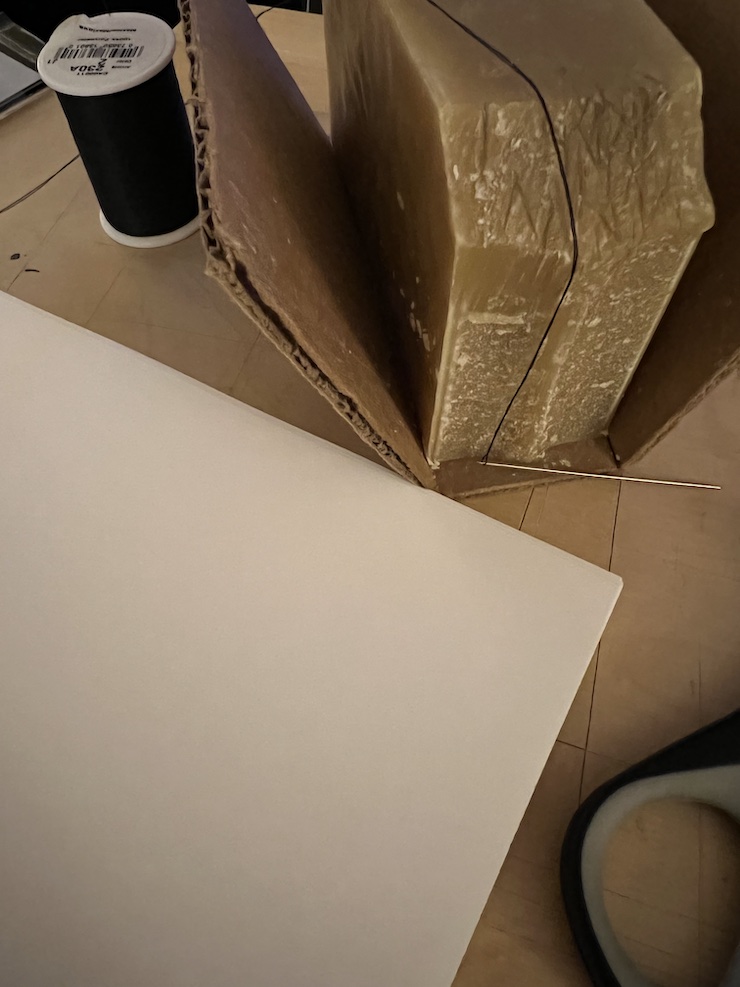
Take your awl and poke a hole at each mark going through all the pages in the signature. Do this for all 10 signatures and both end pages. Make sure to do the hole poking over a mat or scrap board so you don’t mar your work surface with a bunch of awl holes.
-
Prepare your needle and thread. Don’t worry about the length as you can easily tie off a string and start a new one, I usually start with about two arm lengths of thread. Then I thread my needle, tie a knot at the end. Put the knot end of the thread on a piece of wax and press your thumb against it. Pull the thread through, keeping the thread against the wax with your thumb. Repeat this three or four times. Congratulations, you now have waxed thread! Waxed thread is less likely to slip or come apart.
-
Now it’s time to sew it up! This is where video helps tremendously. Again, if you haven’t watched Making a Text Block, follow the steps for sewing there. My summary is as follows: snake your thread through and back your bottom/back end page. This is the anchor for future pages. Now sew into and out of the first and second hole in one of the signatures. Loop your needle around the threads for the end page below, and then back through the second hole. Go through the third hole, around the threads of the end page, and again back through the third hole. The objective is to sew the first signature to the end page. Once you’re done with the first signature, loop through the thread coming out of the last hole on the end page, then start sewing your next signature going in the opposite direction. Each time the needle comes out of the signature, loop it around the thread in the signature below, and back in. Repeat the process to sew up your text block, and the front end page. When you run out of thread, tie it off where you loop around the previous signature, then tie a new thread at that point and get right back to sewing.
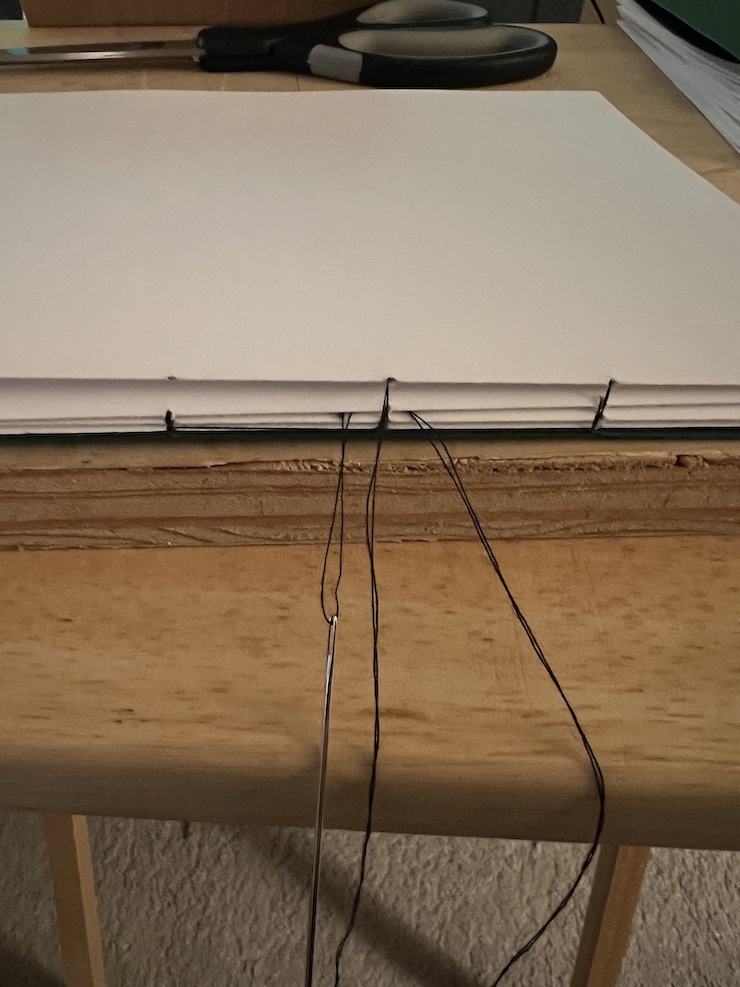
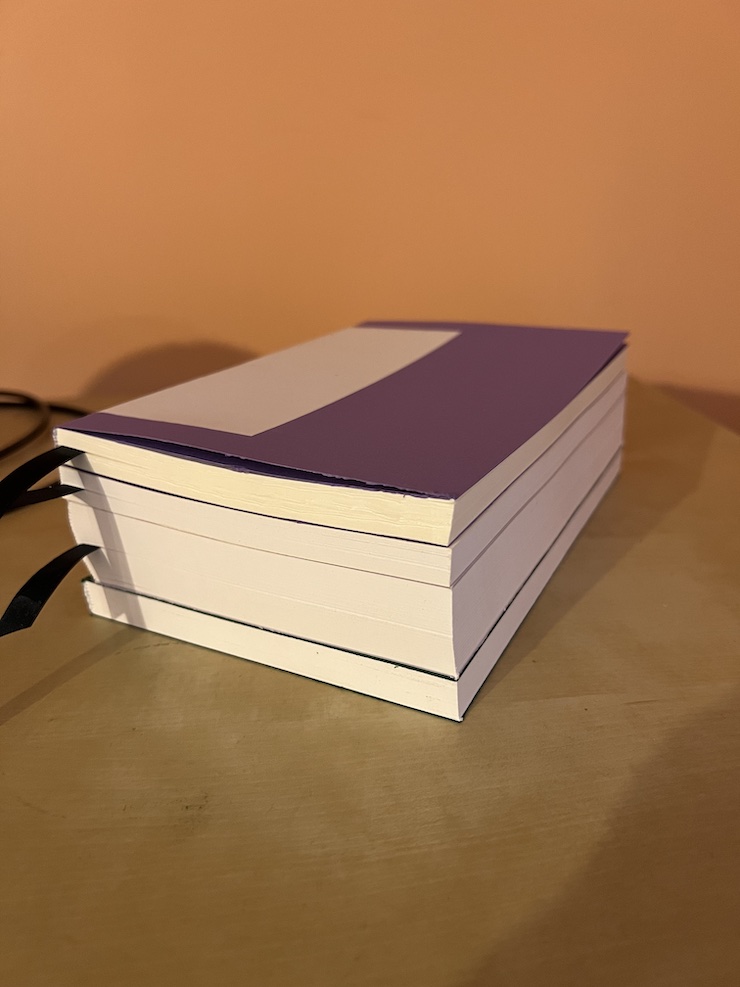
You should now have something like this:
-
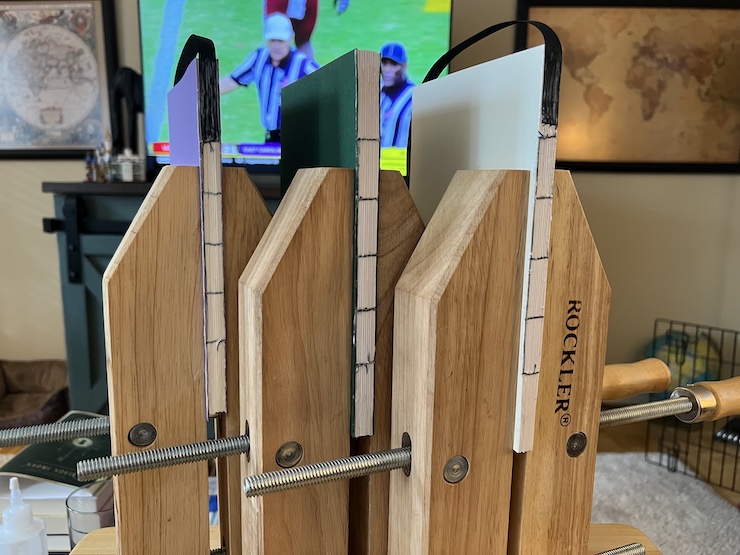
Stack some heavy stuff (other books) on your text block to compress the folds, or use scrap boards and clamps to hold the spine closed. I use a wooden clamp (or two) here. Brush a thin layer of flexible glue along the spine and let it dry. Your glue needs to dry flexible or opening the spine will cause it to crack and fail. Brush three light coats on in total, allowing it to dry at least 45 minutes between coats. If you brush too much glue on or rush it at this point the paper will soak up too much moisture and wrinkle.
-
To add some support to your text block, take a half sheet of paper and wrap it tightly around the spine. Use your brush and glue to glue it in place, this works to keep your text block and stitching together. Keep this clamped or under weight for at least an hour while the glue dries.
-
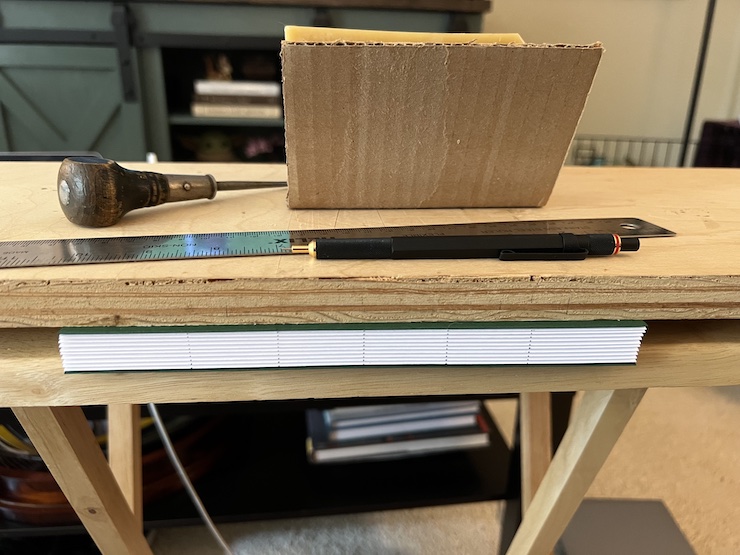
It’s time to plane your text block! Because it was folded together the ends of the block are going to be uneven. Stick the block between two boards with just the part you want to plane off sticking out. I do this in my bench vise with scrap pine. Now plane everything flush! It’s just like planing a board, but you need an extra sharp iron (one that literally will cut paper). If your iron isn’t sharp, it’ll just catch and tear the pages creating a mess.
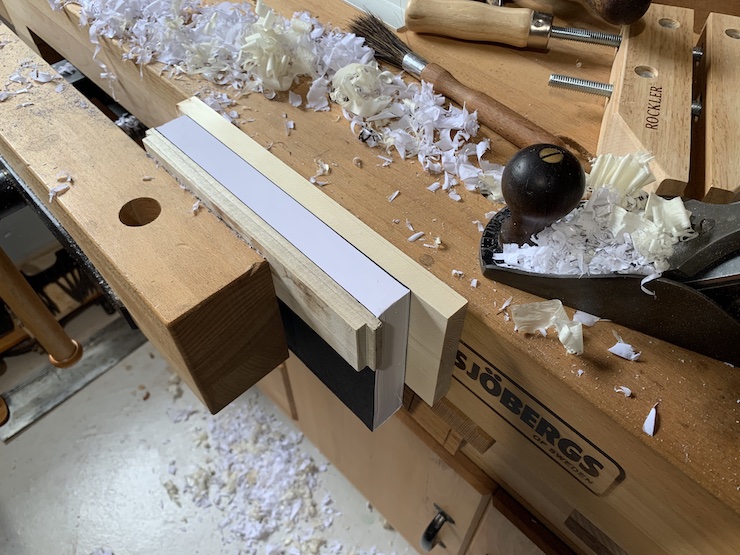
If you don’t have a hand plane, you can get by with using a box cutter or x-acto type knife. The result is a less perfect edge, but still acceptable. Early bookbinding planes advanced a knife across the edge of the paper, slicing off just a few pages at a time. Again, as long as your razor/knife is sharp, you should be okay.
Your text block is now complete!
Covering the Text Block
Your text block can be used as-is, but it’s not very nice looking. A nice hardcover is relatively easy to do in just an hour or two. I use duck canvas from the fabric store (a yard of canvas will cover 12 notebooks), but you can use a canvas tarp, old jeans, or any other sturdy fabric you have on hand. Again, for those who prefer a video approach check out Hardcover Book Binding. As a note, I don’t bother with a hard spine on my notebooks, just use the two cover boards.
-
The book cover itself can be anything that’s stiff enough to feel like a hardcover. I use hardboard, but you can use thin plywood, or buy book board. In a pinch, you can even glue two layers of cardboard from a box, alternating the direction of the corrugations. Cut these to overhang your text block by 1/8” on the top bottom and right side.
-
Iron your cloth. If you don’t have an iron, a large pot of boiling water works. You can steam the fabric over the pot, then press the steamed fabric under the weight of the pot on your counter.
-
Lay your cloth flat, then stick the spine of the board with your covers on the cloth. Gently rotate the covers down leaving a gap the thickness of your cover board between the spine of the book and the cover. Trim your canvas leaving about 1 inch on all sides of the cover boards.
-
Mark the locations of the cover boards (chalk works well). and glue the cover boards to your cloth. Tighly fold over the ends of the cloth and glue those down as well. Again, watching the video yields some tips for how to better fold over the edges without too much overlap.
-
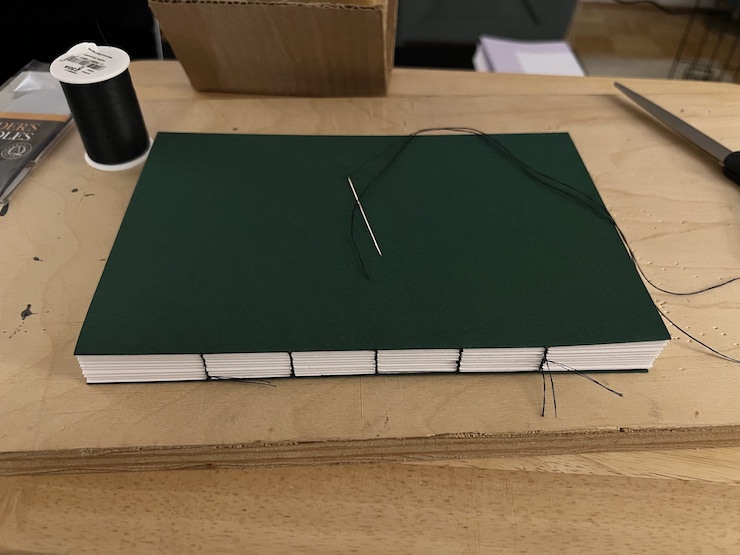
Glue the end pages to the inside of your cover.
-
Close your book up and put some weight on it again until the glue on the end pages dries. This can take a couple hours to overnight since there’s not a lot of airflow, and you don’t want to take the weight off until the moisture is gone or you may end up with wrinkled pages.
Other Embellishments
In addition to a basic notebook, you might consider a few upgrades!
- Glue a bookmark ribbon to the spine as you glue the ends of the signatures together.
- Instead of cloth, you can use thin planks of hardwood for covers. You can glue the end pages directly to the boards. Finish the outside and edges of the boards before you glue them on, but don’t finish the inside to allow the glue to bind.
- An elastic band to hold your notebook closed. Either sew it to the back like a Moleskine notebook, or have a removable band.
- A pencil, eraser, and/or pen can be held in place via a pen loop.
- Consider other stitching or paper styles. Handmade paper, long-stitch binding, and a leather cover could recreate the look of an old journal.
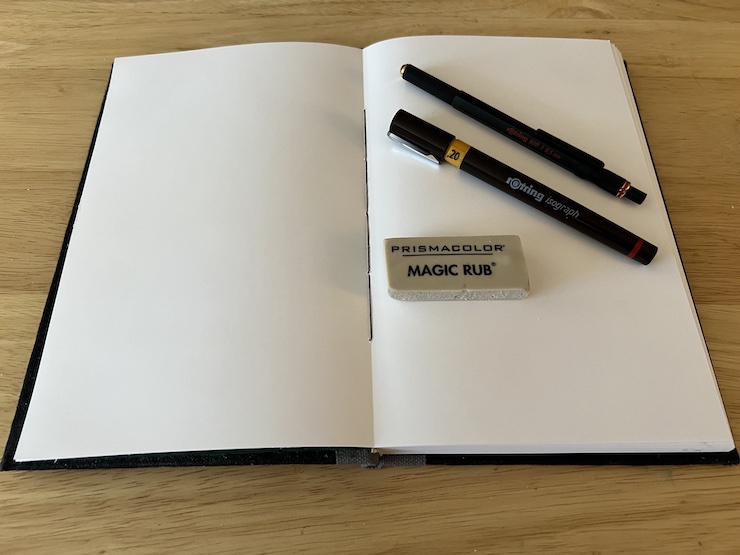
- Get yourself a good 0.5mm mechanical pencil. A great, affordable mechanical pencil is the Zebra M-301 pencil, but my new favorite pencil is the rOtring 800.
- Vinyl erasers are perfect for erasing pencil lines on wood or paper without abrading the surface. Check out the Prismacolor Magic Rub.
- For inking drawings, I like a good technical drawing pen, such as the rOtring Isograph Technical Drawing Pen, 0.20 mm.