'Worked' and Stock Prep By Hand
My copy of Worked by Joshua A. Klein of Mortise & Tenon Magazine arrived last week and was devoured in short order. This is a book about efficient hand tool only practices, a topic near and dear to my heart. I work in a small shop, and don’t have the space, or the dust collection system to deal with planers, jointers and the like. I also have a very limited selection of timber available locally. Even if I can get what I want, its probably not in the sizes, and more importantly, thicknesses that I want. So most projects start with dimensioning stock.
While I once saw this as a form of torture, I’ve gotten better at it if not expert, and now enjoy the process. Worked was largely a book I read thinking “I wish I had read this 2 years ago”, but there was still more than a little that was new to me and that I plan on experimenting with soon. The section on Hatchet work for dimensioning has me eyeing my own handy little hatchet. I think I’ll be giving it a sharpen and trying some of the techniques inside next time I’m prepping some stock.
Worked is a great book, very practical, and if you are struggling to be productive as a hand tool woodworker I highly recommend it.
With the text fresh in my mind, I had some stock to prep. I’m working on a mini Dutch tool chest for some special tools. After debating wood choices for a while, I settled on using some fairly awful pine from a big box store I had lying around. This stuff comes heavily cupped straight from the store. I usually have a few boards around I mostly use to give wood to my kids to play with.
I quickly cross cut some lengths, and during last weeks bench talk call I flattened a piece. My first key piece of advice is give yourself an inch or two extra in length when dimensioning. Its very easy to accidentally make the ends too thin, or create some giant splinters when doing your rough cross cutting. Make the final cut to length with a fine saw after you have the thickness right. See the images below fora detailed step by step walk through my process.
You are going to see me use a lot of planes…. Because I have them. You could do all of this with a no. 5 and a no 4 or 3. It would take a little longer, but not dramatically longer.
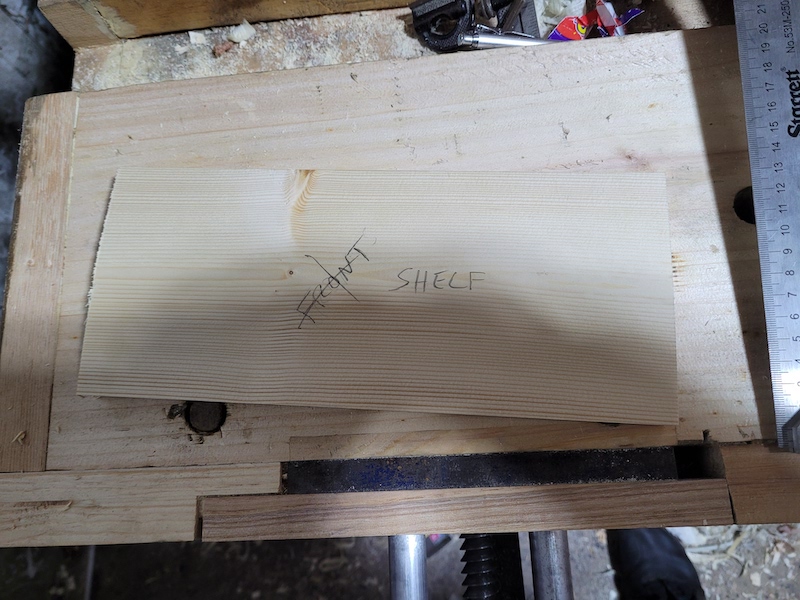
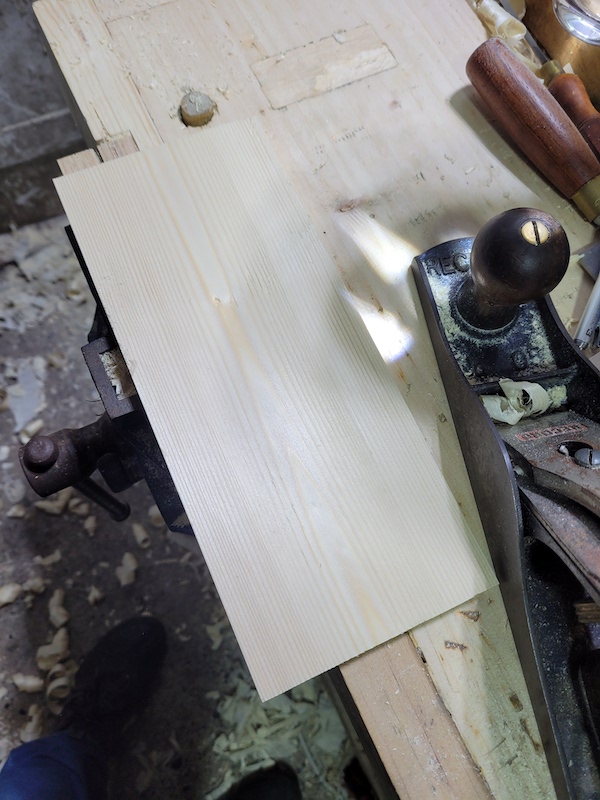
Here is the patient. Some sort of pine, does not look too bad from here
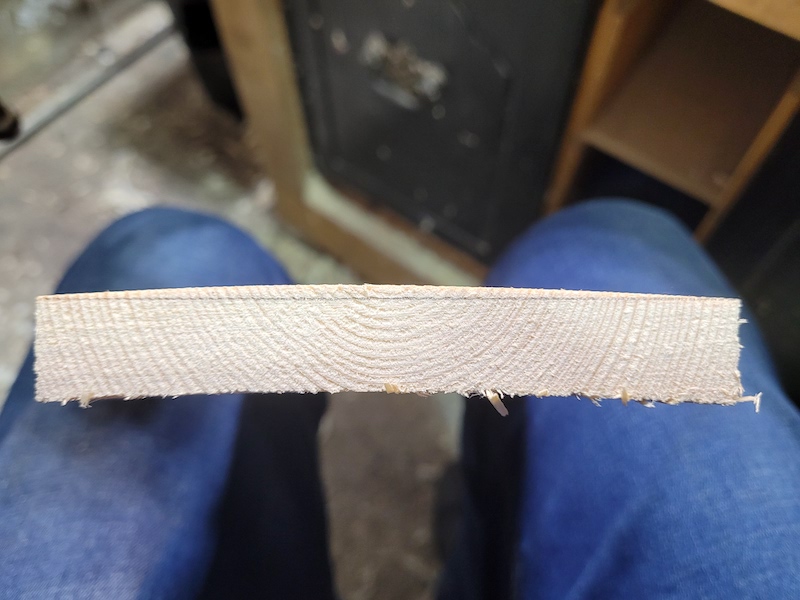
Now we can see the issue, more than just a little cupped

And of course a lovely hump on the other side.
The good news is that my final width is only 3/8 inch thick, so I can afford to lose a lot of material. My initial goal is to remove everything above the line and get one flat face. I’ll put it on the bench as I work in this orientation, as it wont rock. The pencil line is just for illustration, I dont normally mark it likethis.
Tool number 1 is the scrub plane. It can take crazy thick shavings. makes fast work of the initial stage. You don’t have to have one. A jack plane with a cambered iron will do the job. Any plane that can take a relatively deep cut will get the job done, just a little slower. If you do this a lot, a good scrub plane is a great tool to have though.
A few seconds work and most of the hump is gone. You can also see where I’m getting some pretty heavy tear out. Nothing to worry about, we have lots of depth to go.
Being able to take thick shavings like this with little effort is key to making this fast and not drudgery.
This is how close I get with the scrub plane. With those thick shavings its easy to overshoot, so you dont want to get too close. With the heavy camber you are also not going to get anything close to actually flat, there are going to be significant peaks and valleys.
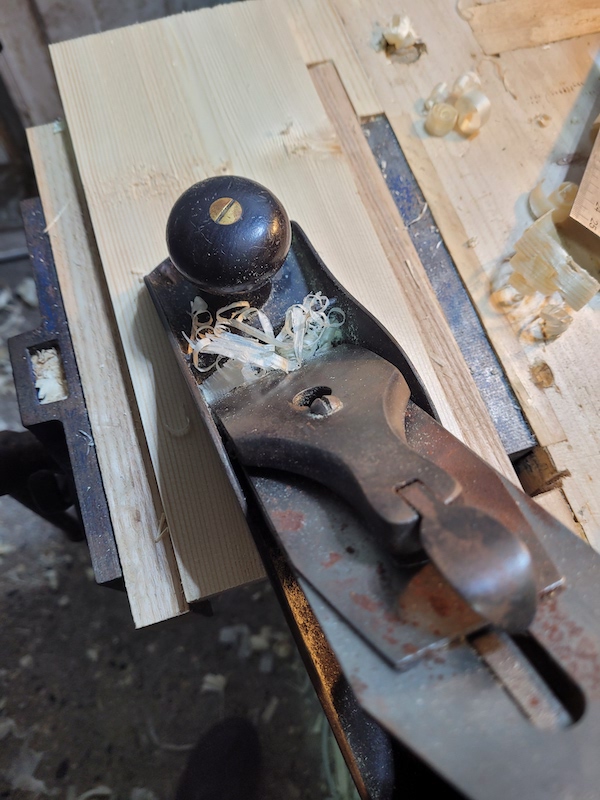
Now I’m going to switch over to my jack plane. A Record No. 5. It’s Iron is cambered, but its not remotely as cambered as the scrub. So while it can take a fairly heavy cut, its nowhere near as extreme.
The surface after about a minutes work with the jack plane. I’m using it to bring down the peaks from the scrub and get a mostly clean surface. Still have some of the tearout, but the jack is the wrong plane to tackle that with.
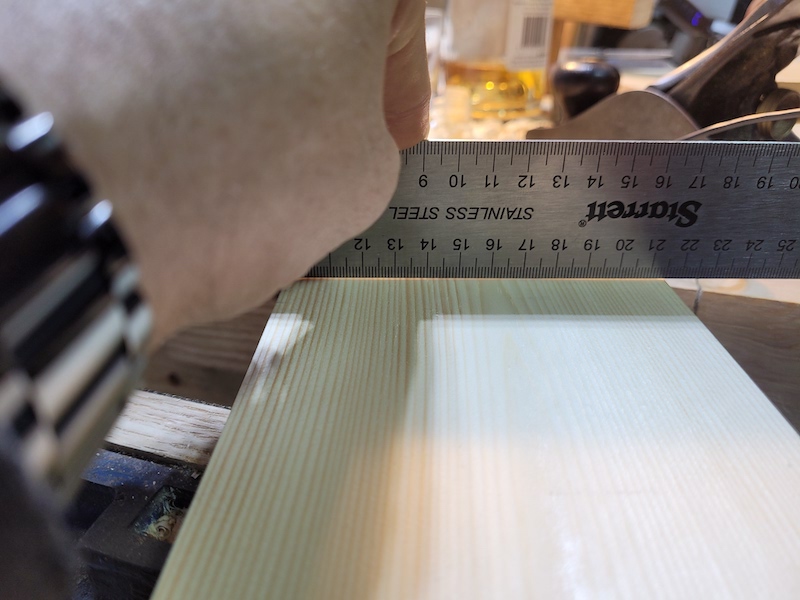
Now you can see how flat we have gotten. I have a very strong back light on here, so it looks worse than it is, but its definitely not as flat as I want it. Low on the right, and a significant low spot towards the left. A big improvement on where we started.
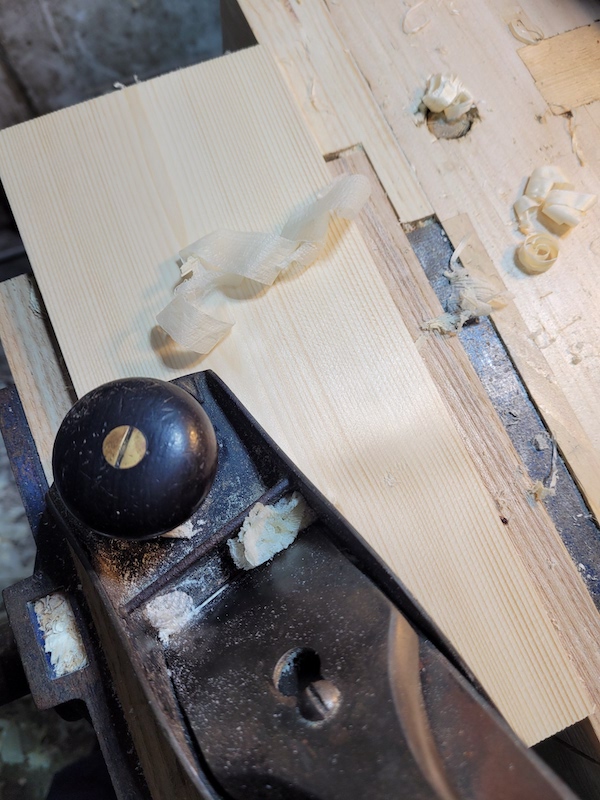
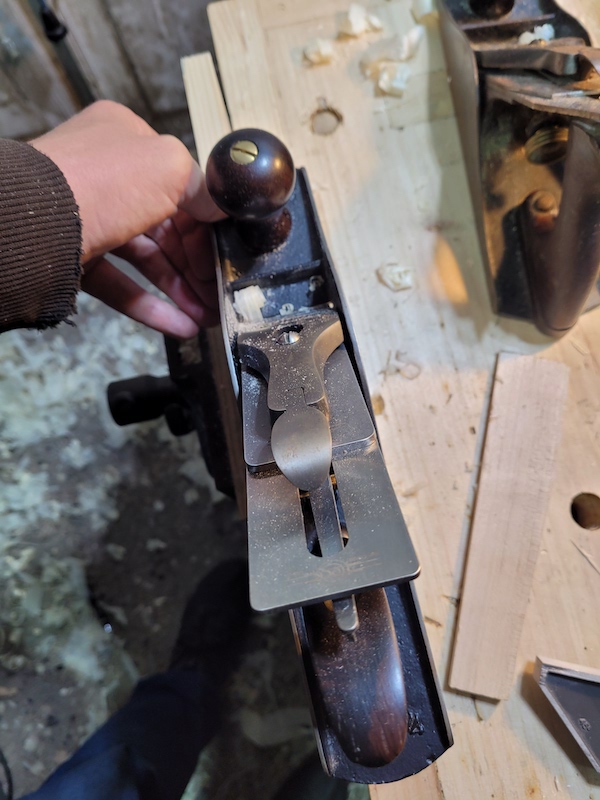
Time to switch to a smoothing plane. In this case a Stanley 4 1/2. I have this set for a relatively heavy cut. I prefer a wide plane like a 4 1/2 or 5 1/2 for this job. The initial shavings look like what we see here. Thin strips as the peaks left behind by the jack come off. You want a fairly thick shaving here, not a wispy thin smoothing shaving. We are still removing stock at this point, not going for a final surface. If you take thin shavings, you will spend a long time at this stage. You want to be grabbing your straight edge and checking your progress very regularly, you can start to create a low side pretty quickly if you dont keep an eye on things.
After about 5 passes over the board, I’m getting full width shavings. The job of removing the jack plane tracks is done, and we are getting close to being finished.

So this is where we are at. Some high spots, some low spots, but getting there. Time to start reducing the thickness of the shavings, and concentrate on the high areas.
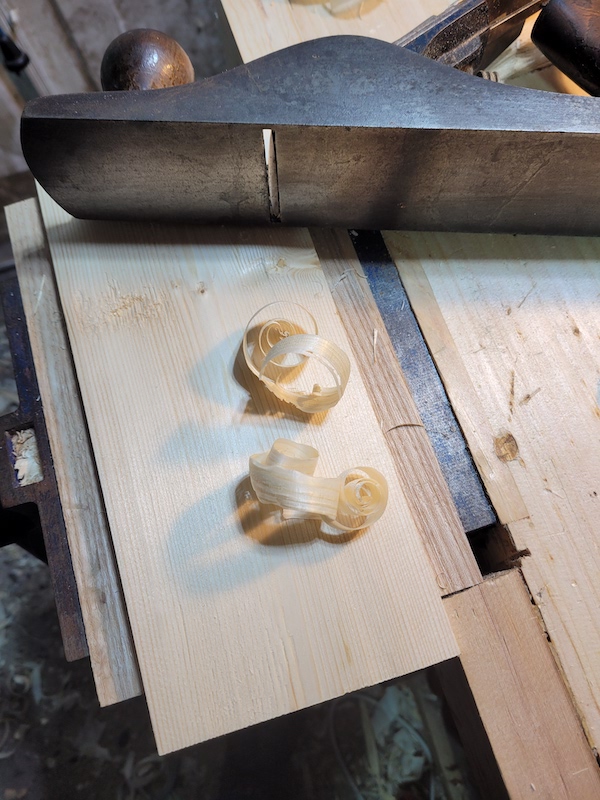
We take nice thin shavings concentrating on the high spots.
And we get a flatter board. This is where I’m going to stop. You can only tell the left is a little low with a very strong backlight, and at this point I’ve chased the low side from the left to the right and back again. Its as good as I need.
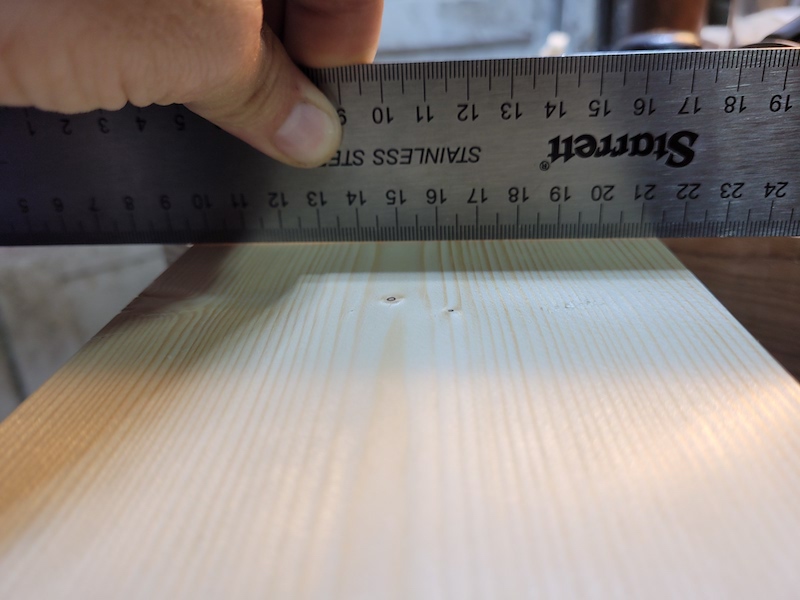
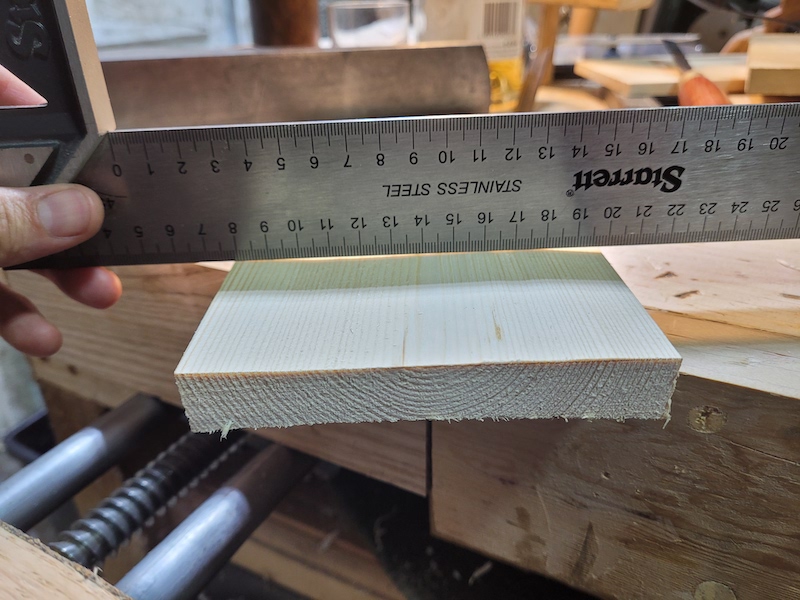
Now we need to check the board is flat lengthways. On a longer board I would break out the winding sticks, but on a short one like this lay a straight edge along the length. If the edge spins freely, its spinning on a high spot. Check the diagonals as well. If you find a high spot, spot plane it down!
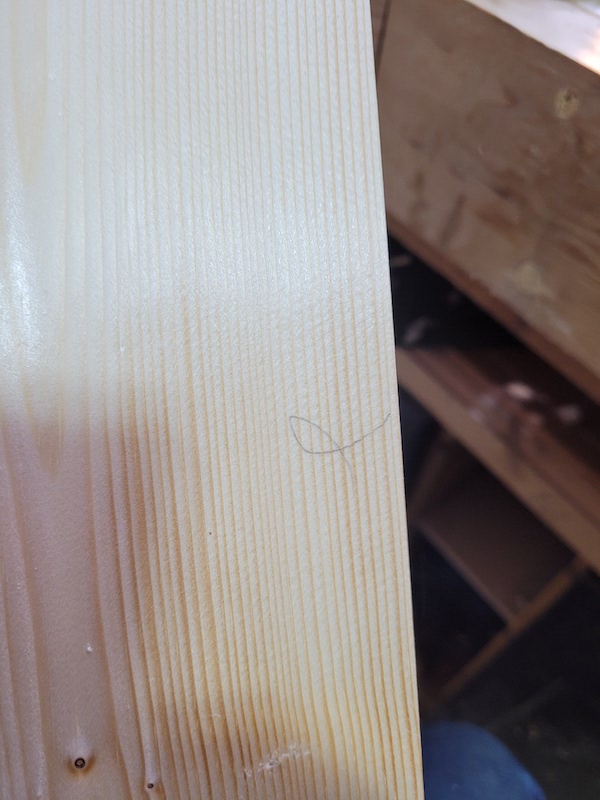
Finally, I mark my good face. I dont trust myself to remember otherwise! Just down the bottom right you can see whats left of the tear out. I’ll take care of this during final smoothing of the project.
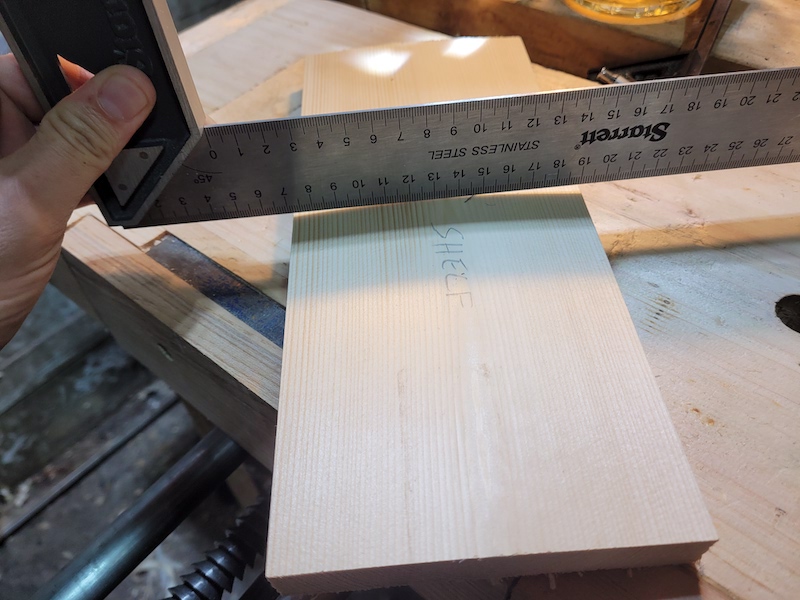
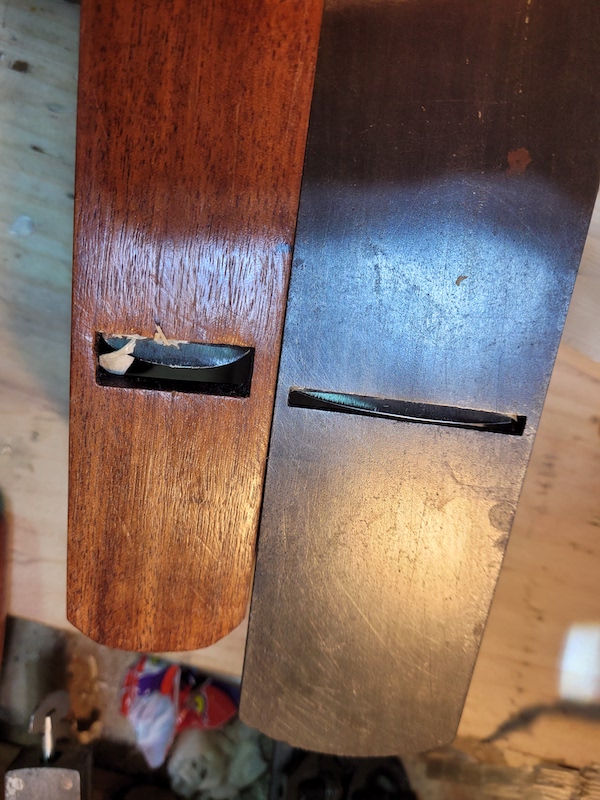
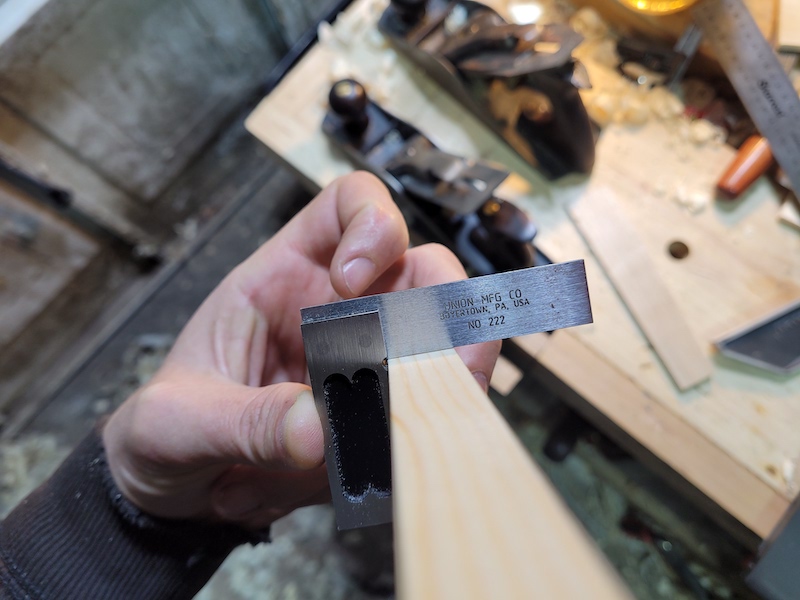
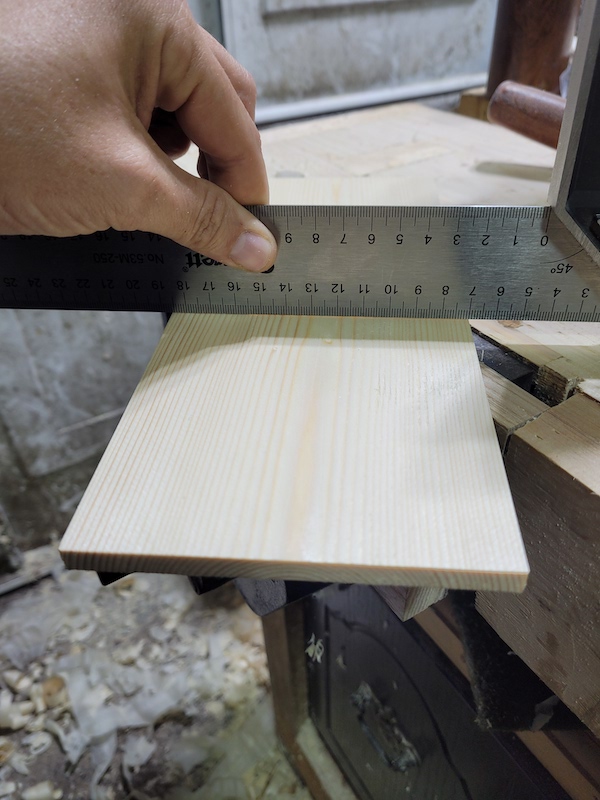
Now we need a square edge, I’ll do the edge beside my face mark first. This is clearly not a straight edge.

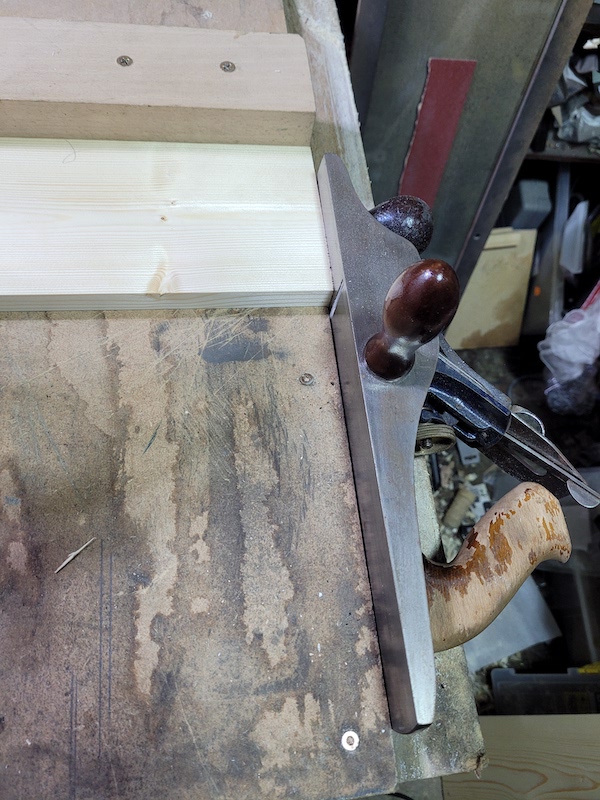
I really like my 5 1/4 for this job on narrow stock, or a number 3 or 2 on something even smaller. You can do it with any plane, but balancing a narrower plane on narrow stock is just easier. The 5 1/4 has a tiny amount of camber on the iron, so if I make passes with the center of the iron over the high side, it will start bringing it down to flat.
Check frequently as you work, it rarely takes very long to get there. I often overshoot slightly. I work 2 or 3 passes at a time, so If I go too far, its only 1 or 2 to correct. Once I have one side square, I’ll do the other exactly the same way. If you check against a back light you are almost always going to see a tiny sliver of light somewhere. I you have chased it back and forth with single passes. Stop. You are square enough for hand tool work.
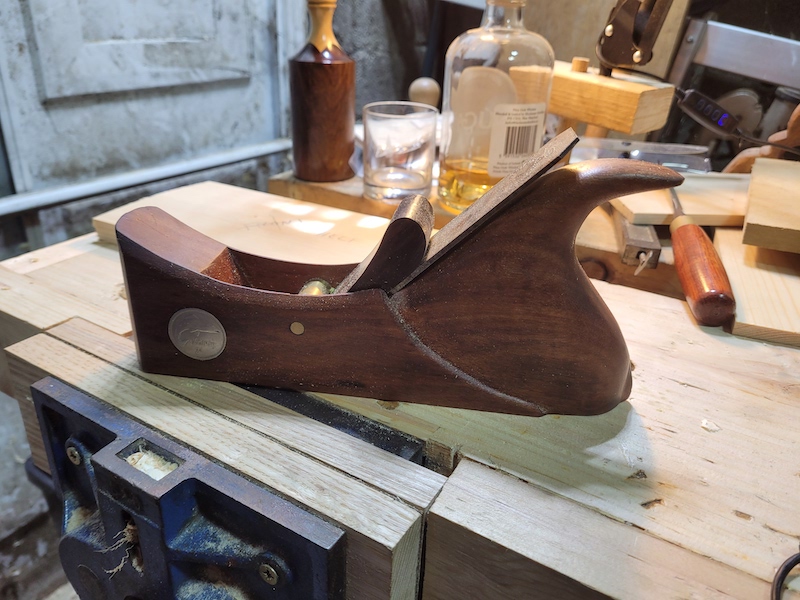
Now I’m going to work on final thickness. Before I do that, I want the ends of my board to be square. If they are not, when I scribe my thickness it’s going to be a little off. I like to do that with a shooting board. As well as making the depth mark more accurate, it also provides a cleaner surface that makes it easer to see my lines. Our very own David O’Sioda was kind enough to lend me his Record T5 Technical plane to try as a shooter. A plane I very sadly neglected to mention in my shooting board write up. I like it. Unlike my number 6 the sides are dead square to the body, so I have very little setup to do. It cuts well and the side handle is very comfy. It does not quite have the mass of my no. 6 I usually use, but thats its only downside. If you can get one at a good price, I recommend it.
I set my depth gauge to 3/8 of an inch, and using my flattened face to reference off, I mark the final thickness all the way around.
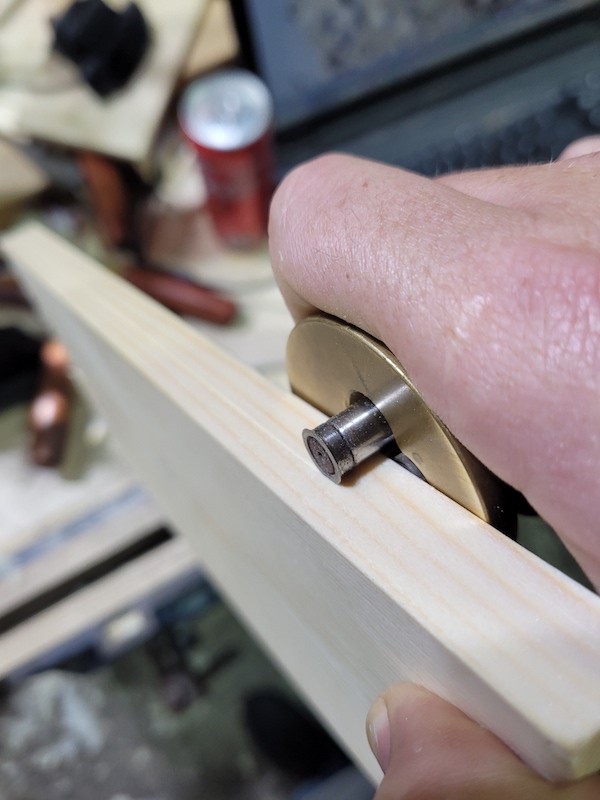
This is why you want to cut the stock long. These splinters are from my rough cross cutting saw. They will be gone for 2 reasons. 1. I’ll be cutting the board shorter than this. 2. all this material is waste for my final thickness. You can also see my gauge line in the clean surface from shooting quite easily.

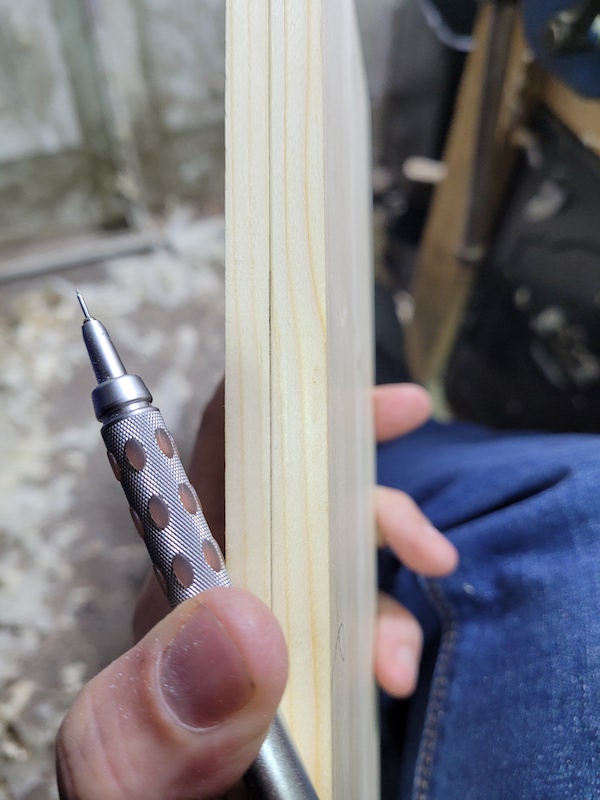
I’ve filled in the line with a 0.3 mm mechanical pencil to make it easier to see. I used to do this a lot, now I keep some reading glasses on the bench. Given I’m photographing this, I thought it would help.
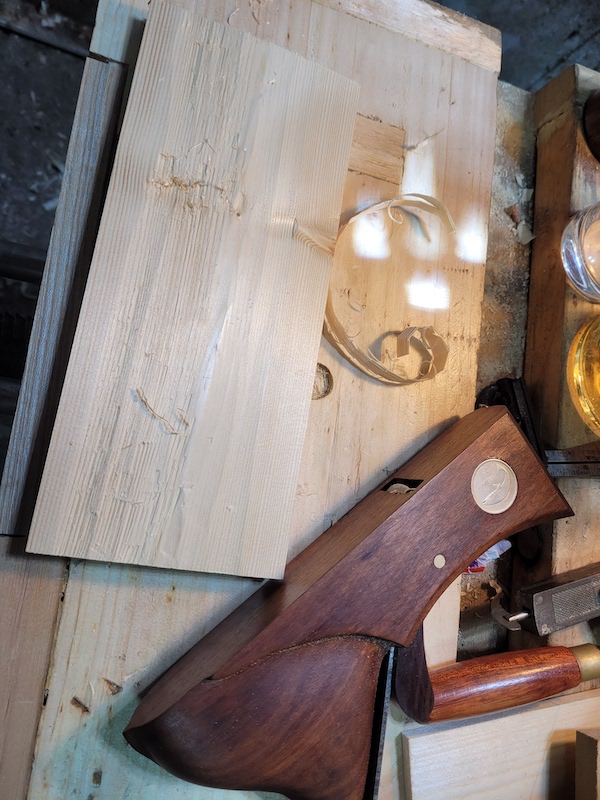
I dont usually start with a plane for thicknessing, but rather a saw. The sawn surface, if you makea good cut, will be very close to flat straight away. This is a pretty coarse 5 TPI saw, and honestly there isnt really enough waste on this board to justify using it. On something with this little to go, I’d usually go straight to the scrub plane. But its rare I have this little to take off, so I decided to show my more usual process. Some of you might like to get closer than this to the line, but I cant reliably do it witout messing up. The thickness left will plane off quickly. For a small board like this, I saw out each corner in turn, and then saw through.
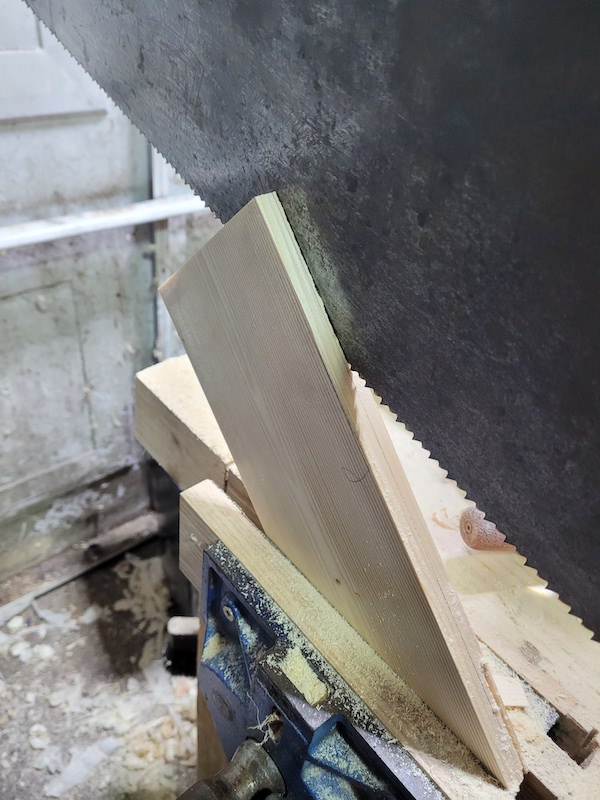
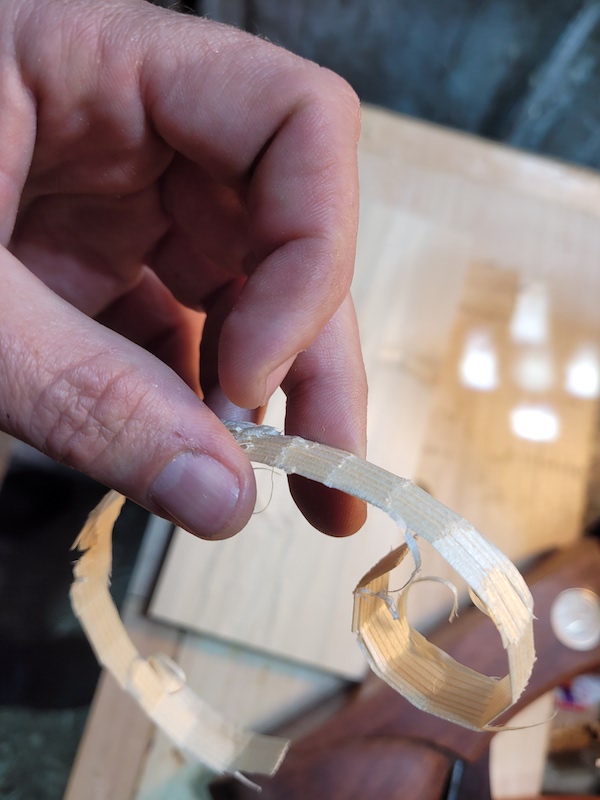
Yip this board is too thin for that, the corners broke off and I never got near the middle. As the board was cupped, it was thick enough for the saw at the edges, but not thick enough at the center. At least I’m not going to have much of a problem identifying the high spots! You can at least see from this how I would approach sawing off the waste. Each corner in turn, following the line across the side and end. then meet up in the middle.
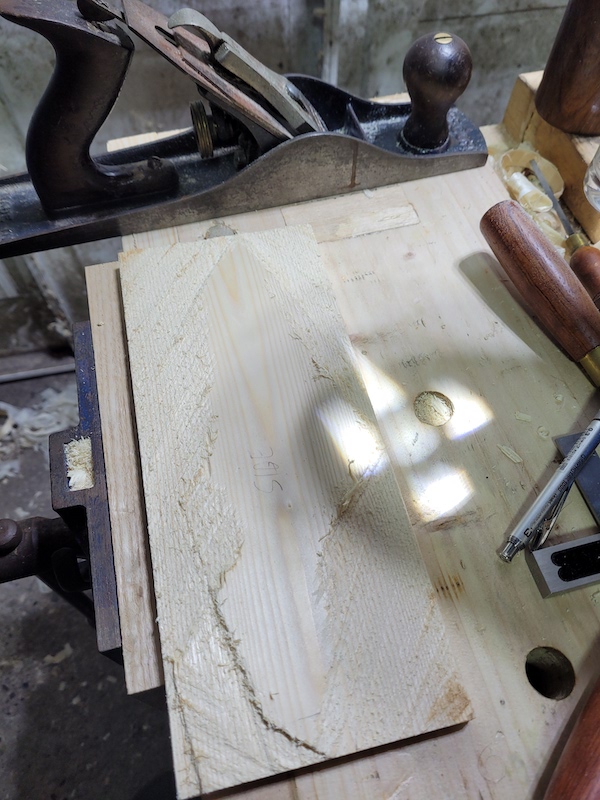
I use the jack plane on the high spots until the whole board is a high spot.
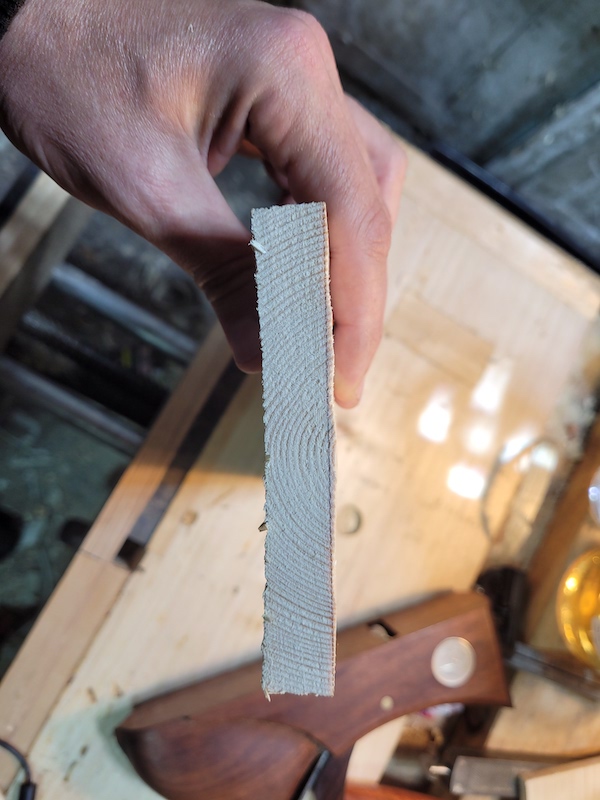
This is how much material I still have left to remove after that. You can see here how I’ve accidentally make the end of the board thinner than the rest. Something I’ll have to pay attention to as I finish up.
The view of the end of the board. The camber of the hack plane is obvious.

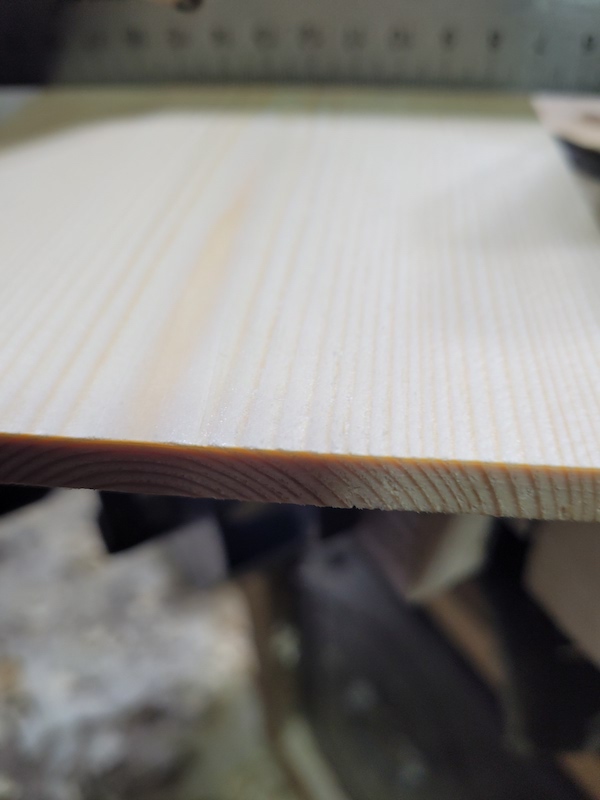
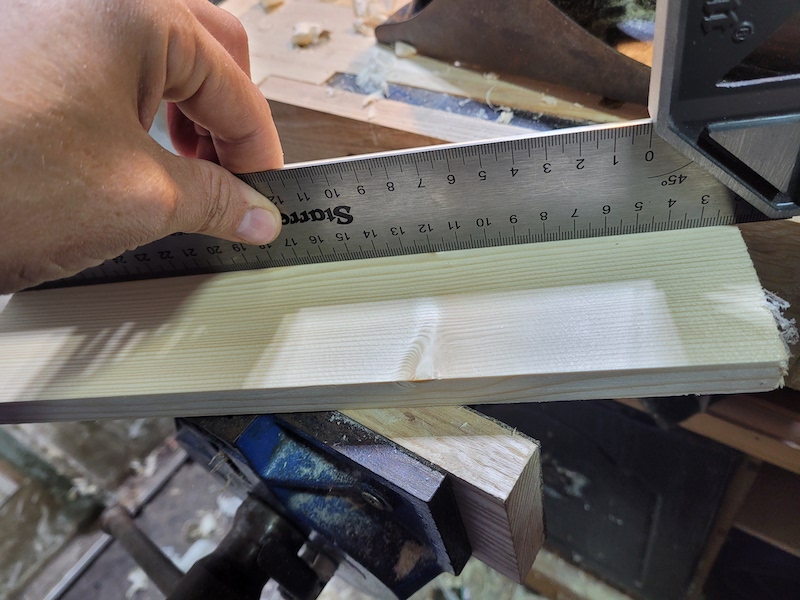
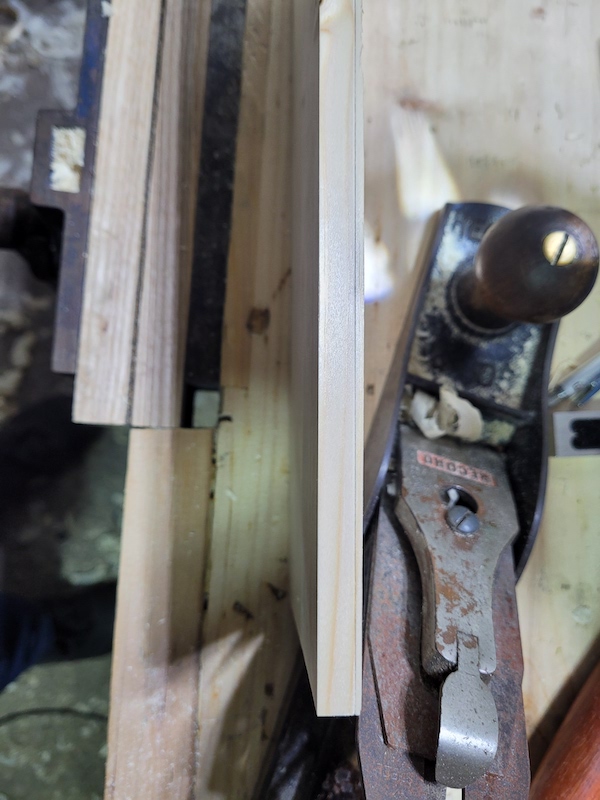
I plane a chamfer on all four sides down to my line. This lets me see how close I am to thickness on all 4 edges without having to pick up the board. As the chamfer shrinks I’m getting closer. My goal is to bring the chamfer down evenly until its gone. I got this from an old Bench Talk 101 Tip Talk. I’ll jack plane this until I get concerned about getting too close, then switch to the 4 1/2 while gradually reducing the thickness of the shavings, just like I did on the other side.
With just a hair of the chamfer left, the face is looking pretty flat!
Smoothing thickness shavings remove the last of the chamfer, and I’m left with a nice flat smooth evenly thicknessed board ready for my chest project!