Marking Gauges
In the past week I was lucky enough to obtain 3 new marking gauges. So this week, we are going to take a look at my new toys, some of my old ones, and some I’d like to add to my collection.
The first question is probably why do I have so many marking gauges? Why is one not enough? When working on a project with multiple parts of different sizes. I like to set my gauge at the start of the project, and then keep it set. That gives me consistently sized parts and distances. If you have to keep resetting errors will creep in. If you are like me and jump back and forth from project to project, the need only grows.
Lets start off with pin marking gauges. I have 4 or 5 around and use them regularly. Most of mine are nothing too fancy. Just random gauges from lots of tools. I stumbled across this particularly pretty example and snapped it up just for its looks, but it turns out to be a decent user.
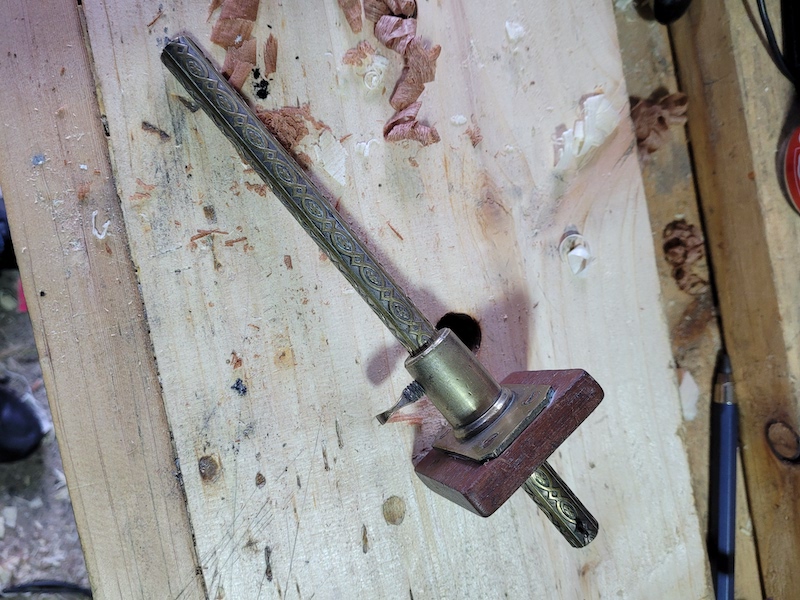
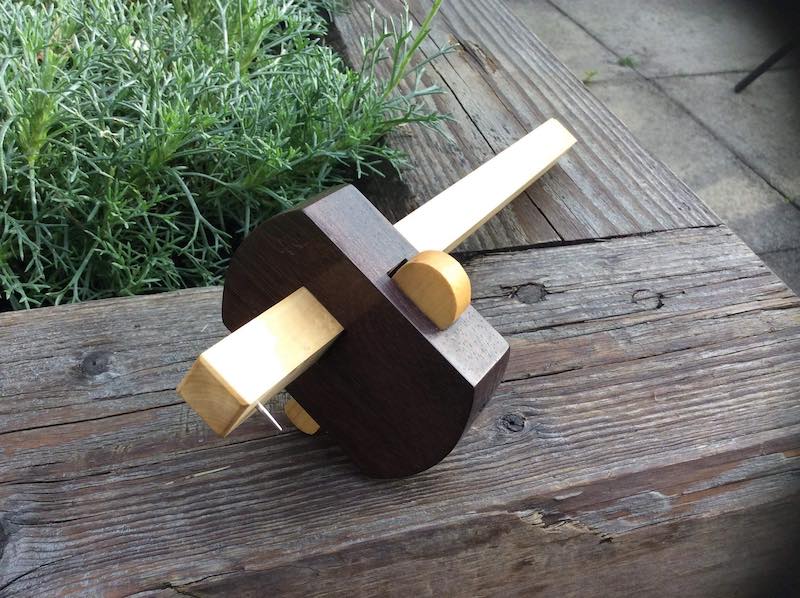
As the name suggests, they mark with a sharpened pin. This has advantages and disadvantages. Pin lines have a bevel on both sides and tend to be larger and easier to see than other styles. Great care has to be taken when using a pin gauge across the grain. Its easy to tear and rip fibres rather than cutting leaving a ragged line. As with all marking gauges, make a light pass, followed by progressively deeper passes until you are happy with your line. Concentrate on keeping the fence firm against the workpiece, and to avoid tearout, don’t run the gauge off the edge of the board. Stop and come in from the other side. As with all tools you want the pin to be very sharp. A few quick strokes with a file usually takes care of that even on an old beat up vintage gauge. Below we have a lovely example made by our own Shrenik (Sadly not mine).
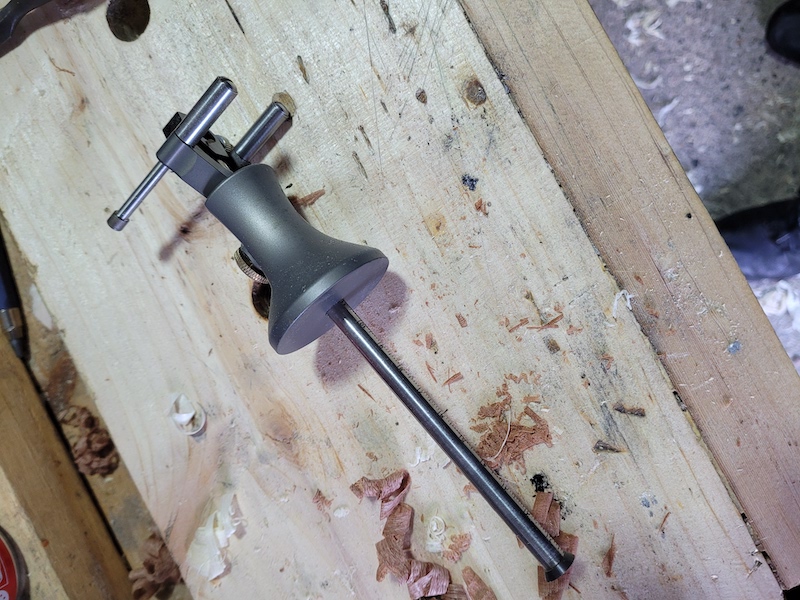
The beam on this gauge is held in place with a wedge, in more modern gauges a screw is more common. The second form of pin gauge that’s commonly found is the Mortise gauge. This week I obtained a lovely example from a set of Trail 1 Marples tools made by Marples and Porter & Sons.
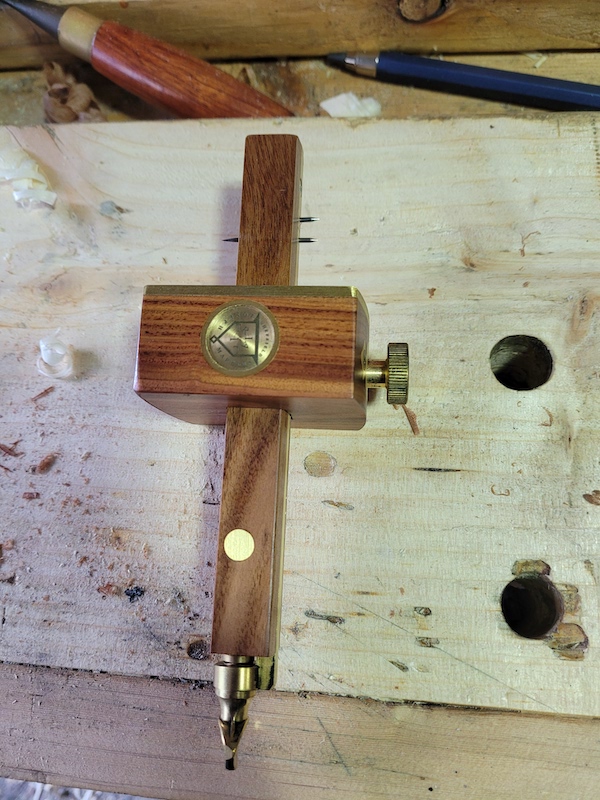
Technically this is a combination gauge, with a single pin on one side for use as a standard marking gauge, and two pins on the other for use as a mortise gauge. Mortise gauges are for laying out mortises! You want the distance between the two pins to match the width of the chisel you will use to chop. One of the pins is mounted on a brass strip, which can be moved by turning the screw at the bottom of the gauge. You want to have the tips of the pins match the width of the chisel as shown below. That way you can easily chop the mortice exactly to width.
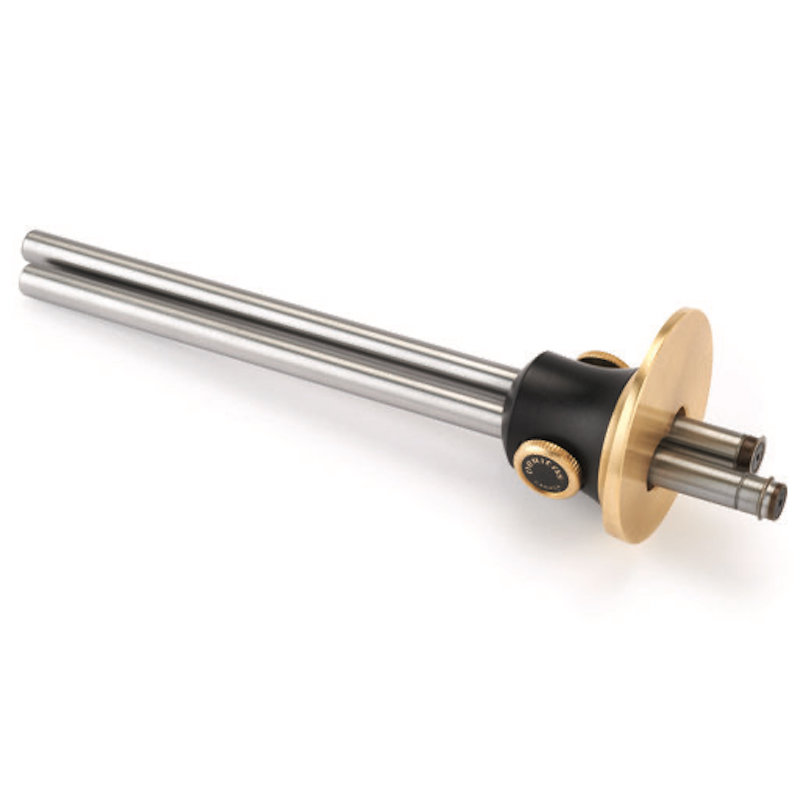
Next up are the wheel gauges. These are the new kid on the block, with the Titemark gauge being the original, and many would say the best. The form is now pretty common. My first marking gauge was a wheel gauge and as a result I’m comfortable with them and very fond of them. They do a great job of marking across the grain without tearing out. Unlike the pin gauge they have only a single bevel (on the waste side) so their lines are thinner and more precise. Their biggest drawback is that its difficult to stop cutting at a precise point. When I mark out my dovetails I only put the baseline where I will be chopping, and that’s hard to get exactly right with a wheel gauge. Tom dickey was selling some beautiful examples at this years Union Open house, so I had to grab a large and a small. In all honestly, I’m not sure how practical the small is, you have less reference surface, but it was too pretty to pass up on.
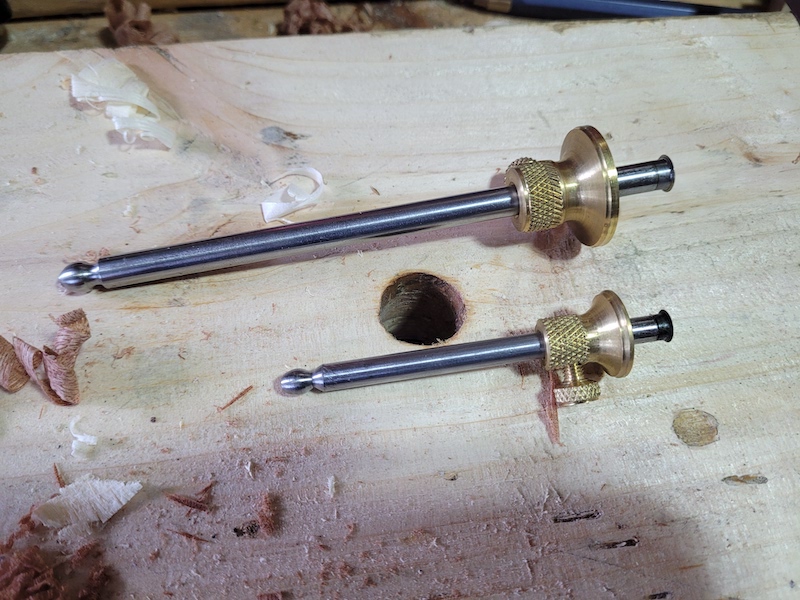
These are a little more awkward to sharpen than pin gauges, as you need to remove the wheel from the gauge and then rub the face on a stone before re-installing. Not difficult. Just a little more time consuming. Another advantage of the wheel gauge is that if a section of the cutter becomes dull, you can just rotate the gauge a little to get a fresh cutting surface. The cutter in these gauges is stationary and does not rotate in use. If you are a fan of wheel gauges you can also get mortise gauges in this style.
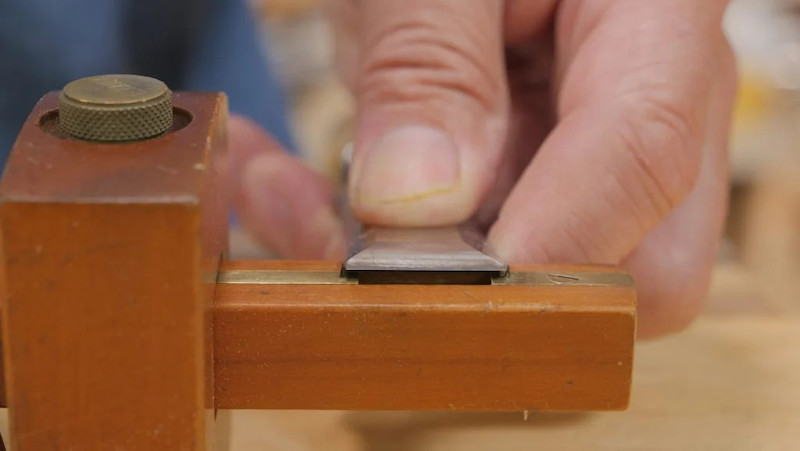
Lets take a look at knife gauges. As the name suggests, they hold a knife like cutter rather than a pin or a wheel. Knife gauges work pretty much like wheel gauges. Their biggest advantage is the exact knife point. If you want to stop and start in a specific spot, this is the gauge for you. Depending on the size of the cutter, they can be a little trickier to sharpen if they are small, but not especially challenging. I have 2 vintage models in my collection. The one below has the cutter held in with a small wedge, and like my other vintage example, the mortise for the cutter is a little worn, making it difficult to keep it perfectly vertical. It will be a small job to fix up when I get around to it, but vintage examples are often not ready to use when received.
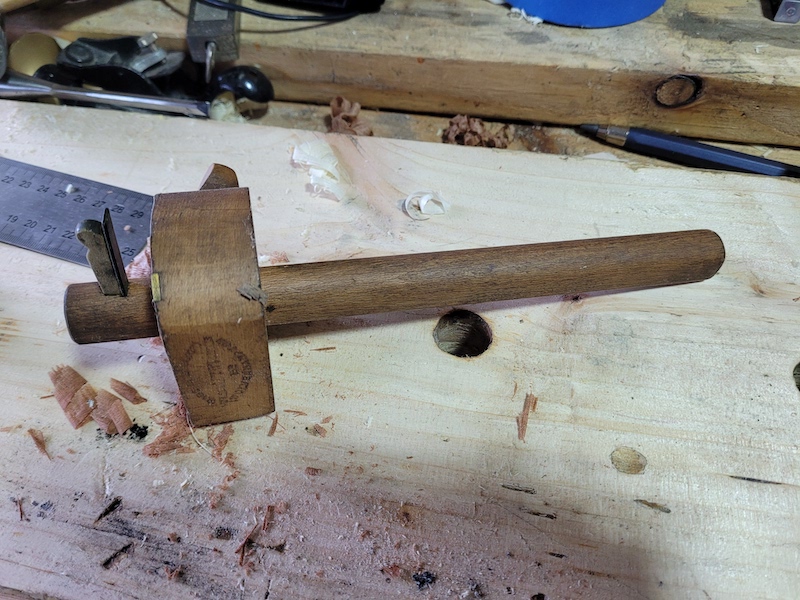
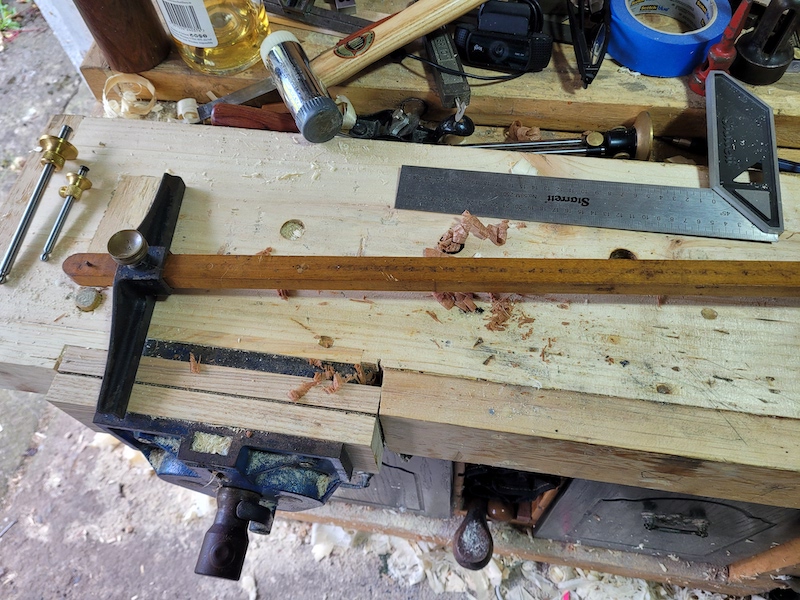
Now we have covered the basic types, lets look at some variations. What if you need to mark across a really wide board? Standard marking gauges are only good for a few inches before its difficult to keep the line straight due to the size of the reference surface. Panel gauges are large versions with very large reference surfaces for this job. They usually come with knife or pin cutters just like their small cousins. Mine has a cast iron head with a wooden beam and pin for marking.
There are a wide range of modern marking gauge makers. This is one of my odder but quite useful ones. One end of the beam has a standard wheel cutter, the other end has a clamping mechanism that can hold a pin, pen or pencil. The head can be removed or flipped around to use either end. The really useful feature to me are the two rollers on the end, when the head is turned to use the roller end, the two rollers make it possible to follow a curved edge and lay out a line a consistent distance from the curve. I used this a lot when laying out lines for the bevels on my stool seats. You can upgrade a standard pin gauge to do the same job by sawing some small lengths of dowel in two and glueing them to the head.
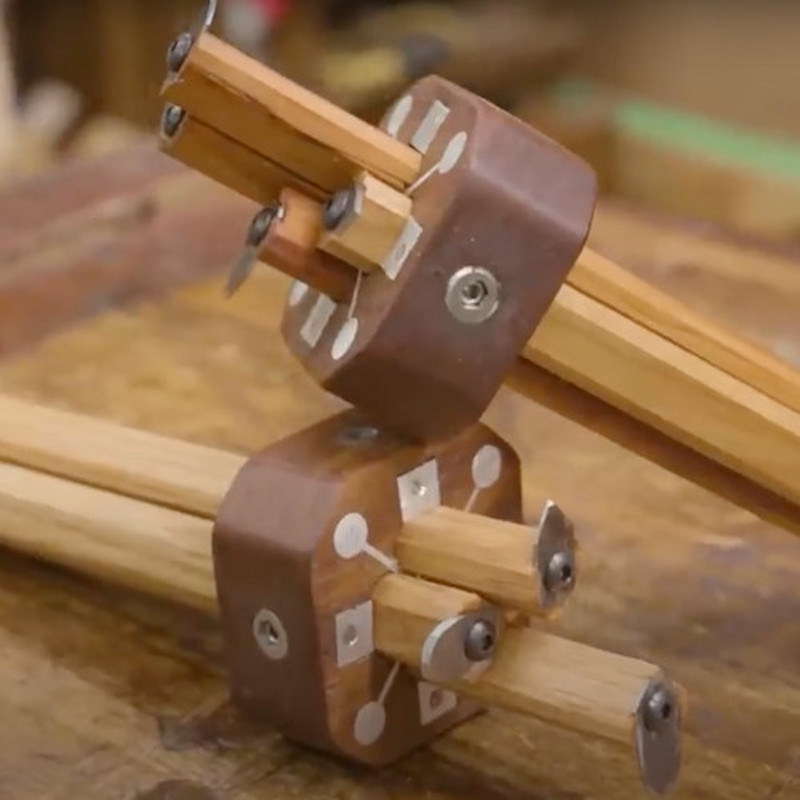
As I mentioned earlier I keep a lot of gauges around for different parts for a project. Another solution to this is to have a gauge with multiple beams. Reed Planes sell a kit to make a multi beamed knife gauge as shown below. I have the kit sitting in a box waiting for me to make one.
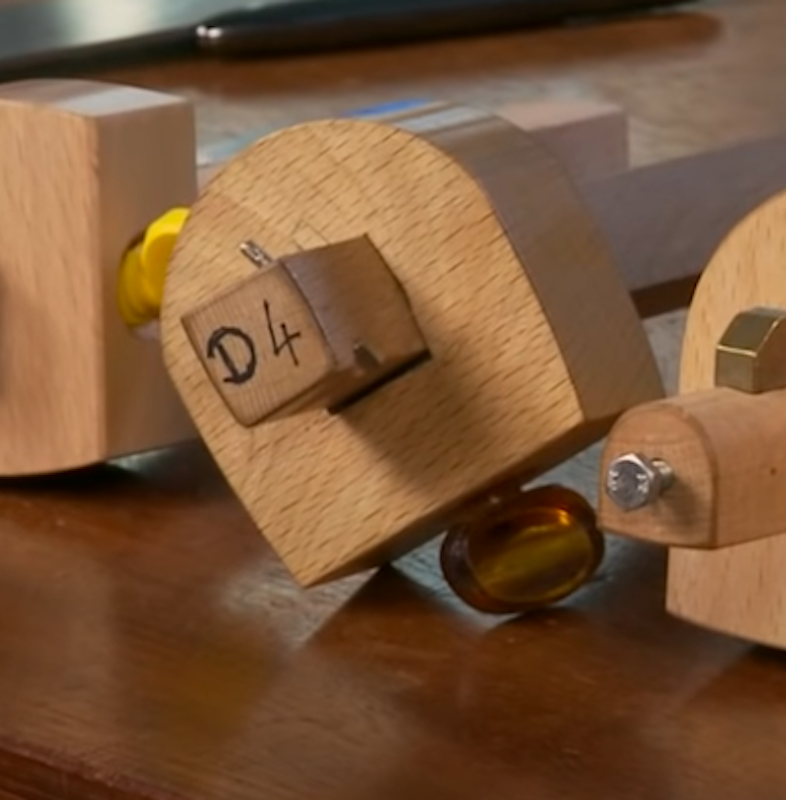
The late David Charlesworth customised his pin gauges to run the pin through at an angle to make it easier to mark out the base of pin sockets when dovetailing.By having the pin on the very edge its more visible to the user. I have not tried this style, but it looks like a good idea to me.
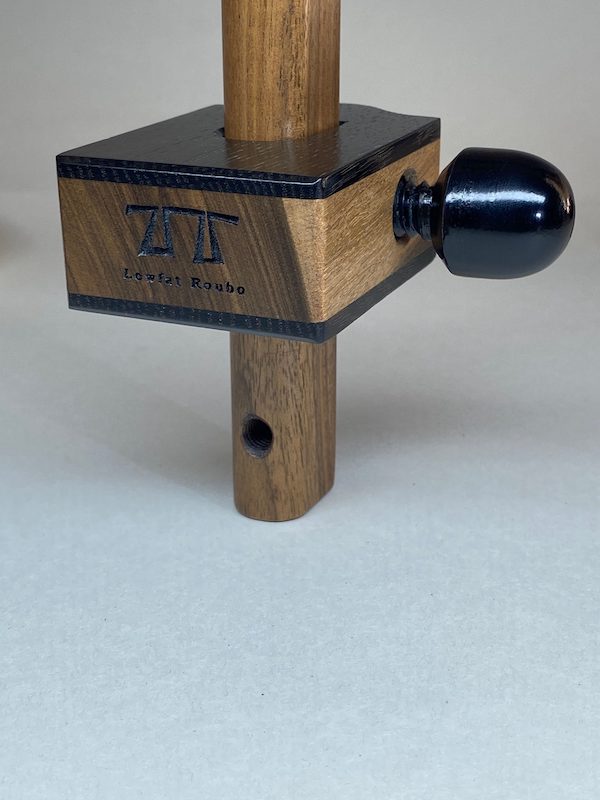
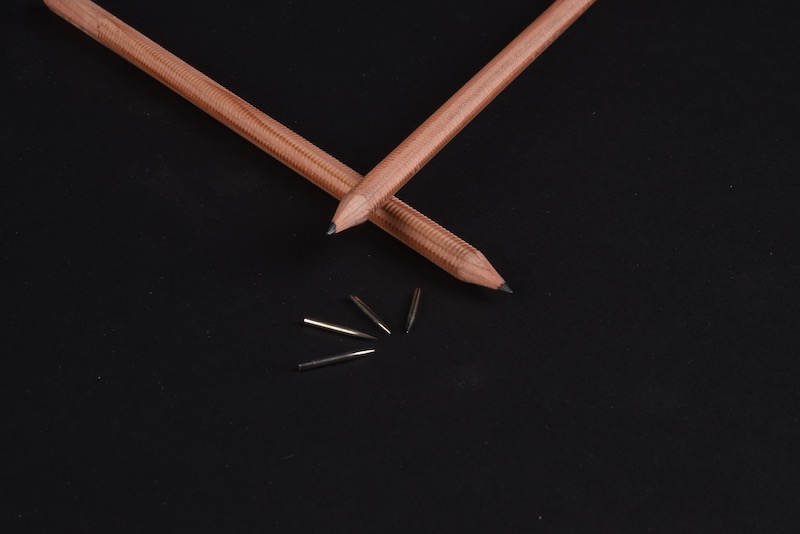
Derek Jones, aka “Lowfat Roubo” makes very fine marking gauges. His Pin Gauge V1 comes with an unusual feature. A tapped hole in one one end of the beam allows a threaded pencil to be inserted. You can simple rotate the pencil to achieve the desired depth.
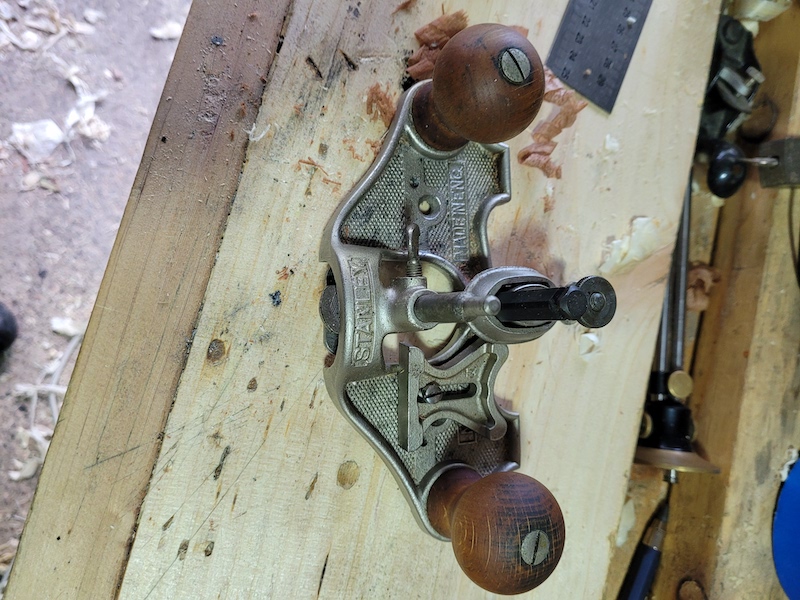
Stuck for a marking gauge but have a router plane around? You can use a router plane as a marking gauge in a pinch! While the distances it can cover are short, the base makes an excellent reference surface.
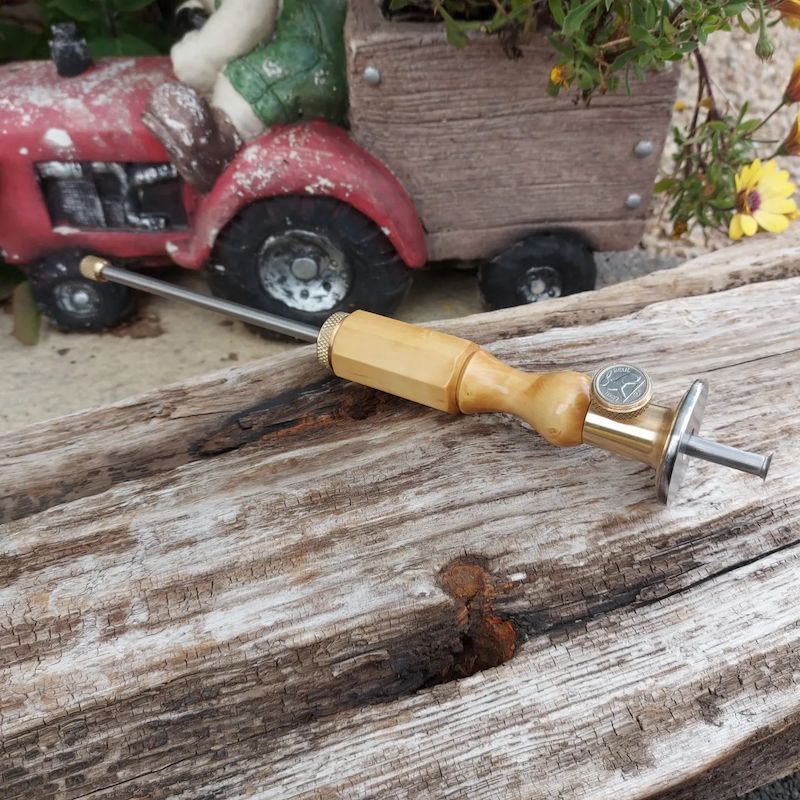
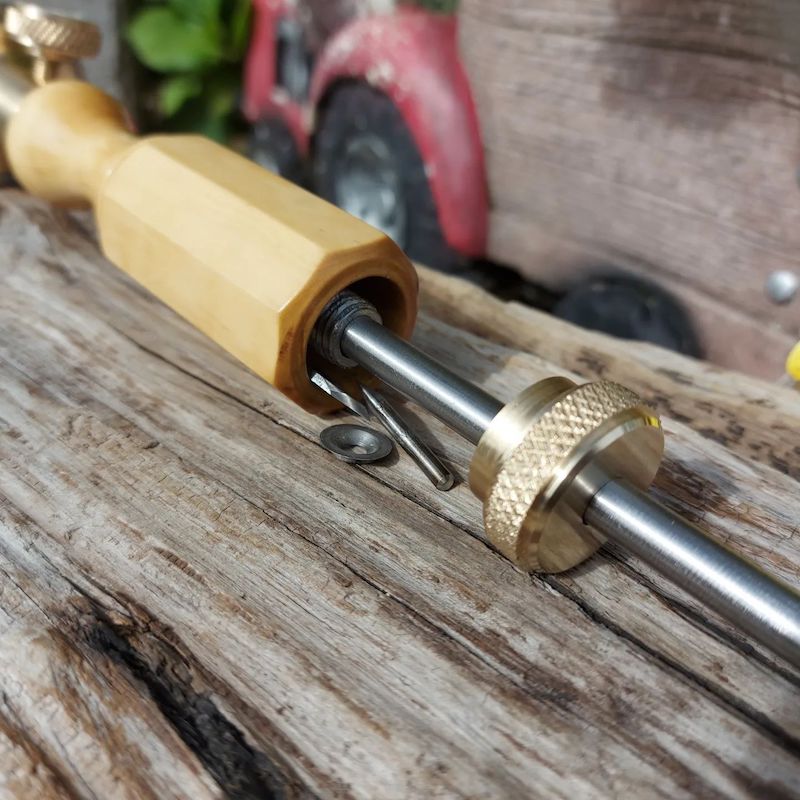
Finally, the prettiest marking gauge I’ve ever seen. Sadly not mine, but a work of art. Enda Ward’s London pattern handled marking gauge. This can be used as a wheel, knife or pin gauge, with the handle serving as storage for the cutters that are not currently in use.
You don’t need to run out and grab all of these, a £1 pin gauge is a great start. But keep your eye out, a good marking gauge is rarely a purchase you regret.