The Accu-Burr
I’ll start this out by pointing out that I’m about as biased about this tool as its possible to be. I work for Union, the manufacturer. With that out of the way. I love my Accu-Burr.
Burnishing card scrapers is a tricky skill to get down for beginners. It probably took me about a year to reliably get to the point where I got a usuable scraper at the end, and even then, I still mess it up fairly regularly. The AccuBurr is a new style of burnisher that turns the process into child’s play. Literally. I had my 9 year old try it and she got a perfect burr on the first try.
The AccuBurr is a carbide rob with 3 grooves milled into it. A 5 degree groove for turning a fine burr, suitable for final finishing or marquetry work. A 10 degree groove thats good for general purpose work. A 15 degree degree groove that turns a heavy burr, good for shaping or tearout removal.
All you do to use the AccuBurr on a prepared card scraper is hold it perpendicalar to the scraper and run it back and forth a few times, and you are done. Even better, it turns the burr on both sides of the scraper at the same time, so when it starts to get dull, just flip the card around to get a side with a fresh burr and keep going.
Most advice on turning a burr advises you to keep the scraper low in the vice when applying pressure. This makes sense, you would normally be applying lateral force, and with the scraper being flexible its hard to maintain your angle otherwise. As you apply only downward force with an Accu-Burr, that no longer applies. You can have the scraper as high in the vice as you like. This is a real benefit when dealing with cruved scrapers like a goose neck.
In the photos below, I’m going to show you how I prep a card scraper for use with the AccuBurr, and then a little party trick at the end, showing how you can get to work with a brand new scraper in seconds.
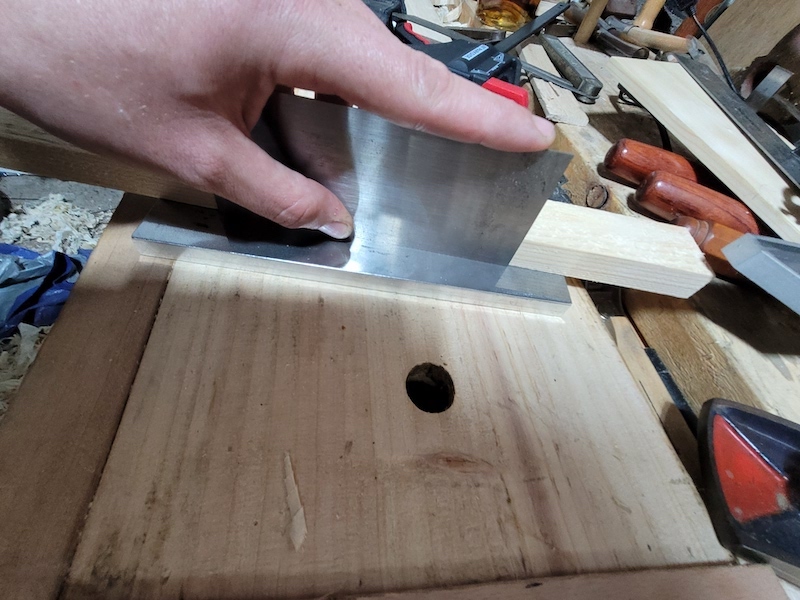
Step 1. File and Stone the edge. Unless a scraper is beat up, I usually find there is no need to file here, just run it back and forth on a fine stone until you have a clean edge. I like to use a block of wood as a guide to keep it square to the stone. This step does not need to be carried out every sharpening, I only do it if applying the AccuBurr fails to turn a burr, every 5 or 6 sharpenings in my experience.
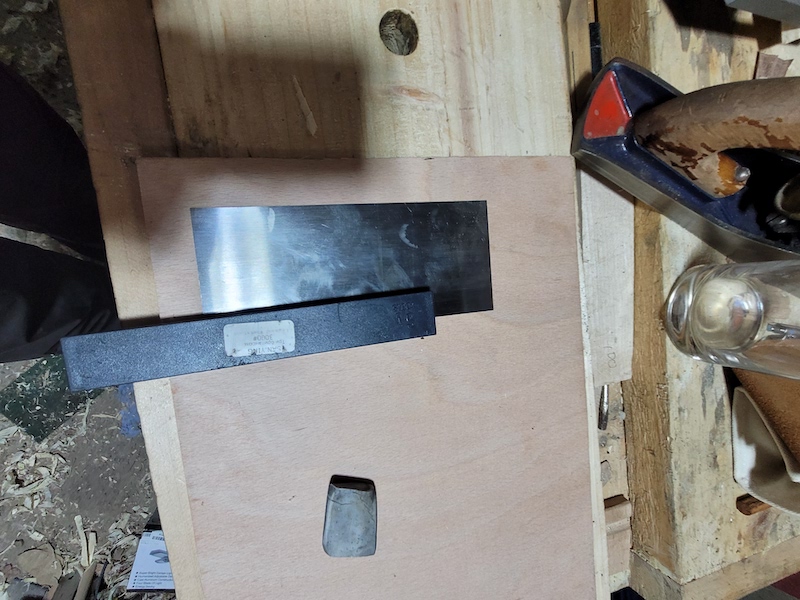
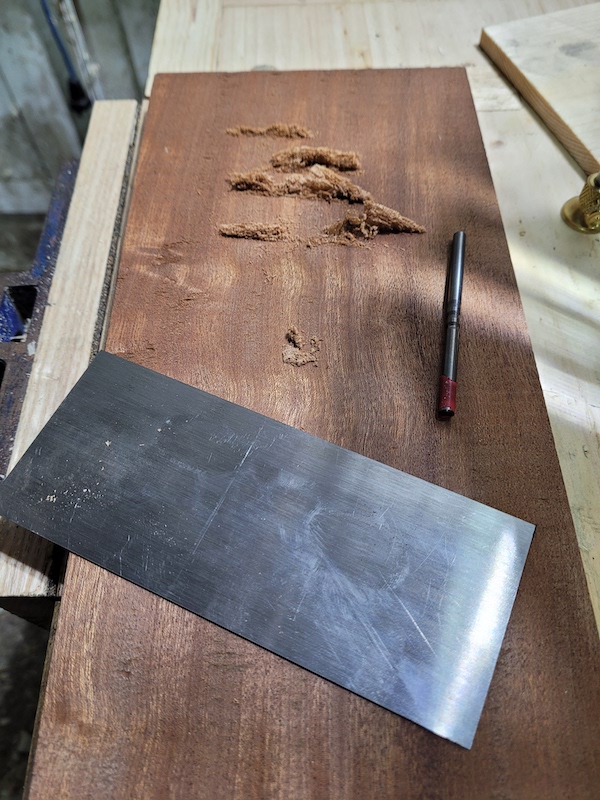
Step 2. Stone the edges. Most people do this by rubbing the edge of the scraper on a fine stone. I find it hard not to create high and low spots doing this due to the flexibility of the scraper and the pressure from finger tips. I’ve discovered I prefer to use a small 3000 grit diamond paddle and bring the paddle to the scraper. I put a bit of plywood under the scraper, and then work both sides with the stone. As with step 1, you don’t need to do this every time, I can usually get at least a second burr just by re-applying the burnisher. Every 2 or 3 times does it.
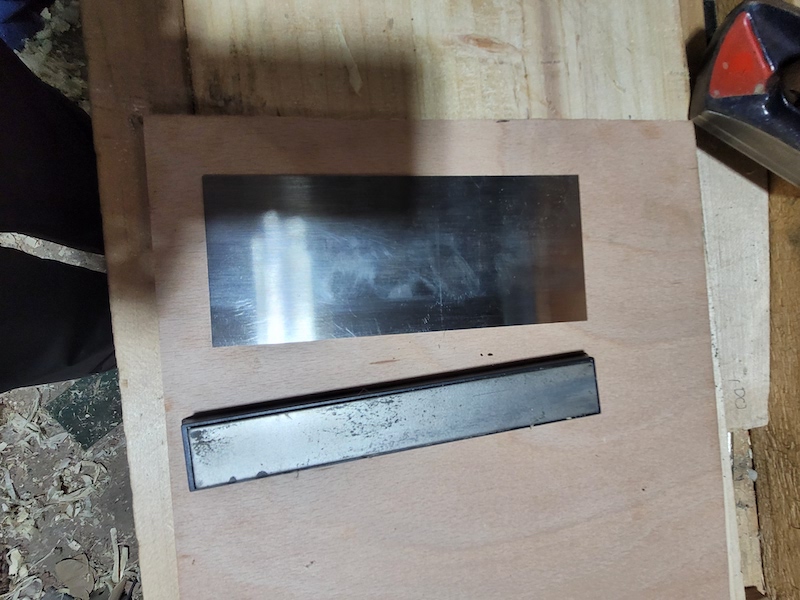
The scraper after applying the paddle.
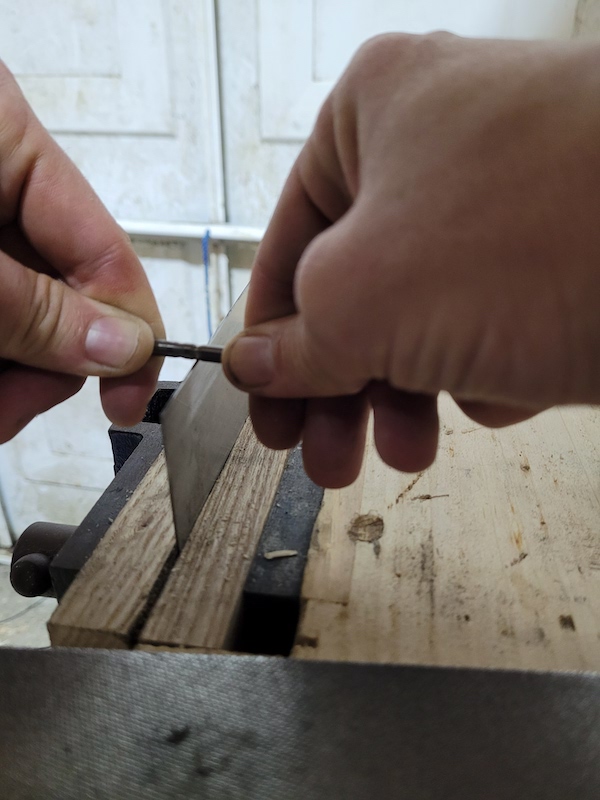
Step 3. Apply the AccuBurr, most traditional advice would instruct you to draw out the burr by burnishing the side here. We are not quite sure why yet, but we have found that skipping this step seems to give better results with the Accu-Burr, so we done. Just pop the scraper in your vice, run the Accu-Burr back and forth abotu 4 times and you are done. You only need moderate pressure, about 15 to 20 lbs will do it.
Step 4. Enjoy your wispy shavings.
Finally here is a little video clip to show my favorite AccuBurr trick. With a well made brand new scraper. You do not have to prepare it at all to get a usuable burr….
You can get Accu-Burrs in the UK from Workshop Heaven, in the US from Heartwood Tools and Tools for Working Wood, and in Australia from HNT Gordon.