Adventures in Drawknife Sharpening
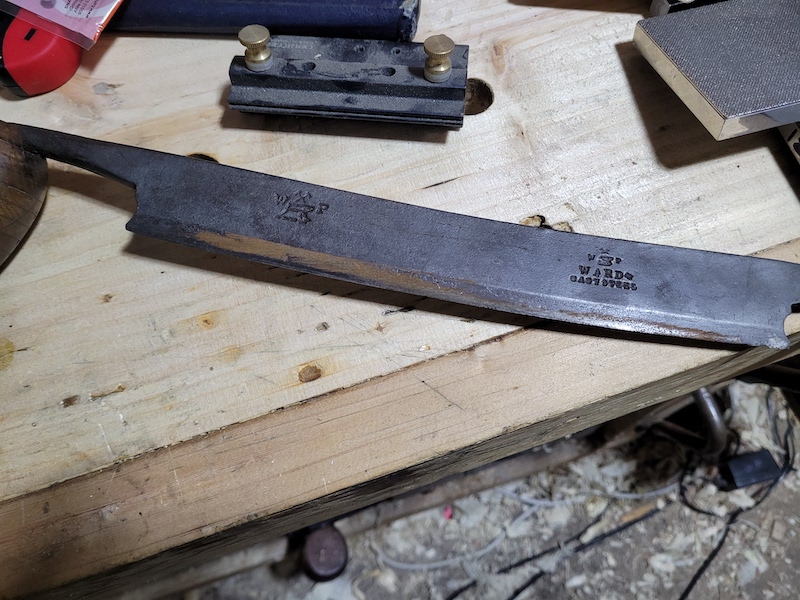
A while back I showed a stool I had made and my process. Stool number 2 is in the works, but I hit something of a stumbling block. The seat is hard maple, and beveling the underside was taking a very long time with my existing tool kit. I have a lovely Ward drawknife, and the time had come to sharpen it up.
I cant describe what follows as best practice, more like a series of misadventures. The good news is, even if you don’t really know what you are doing, and make up your process as you go, you can still wind up with a wickedly sharp drawknife at the end!
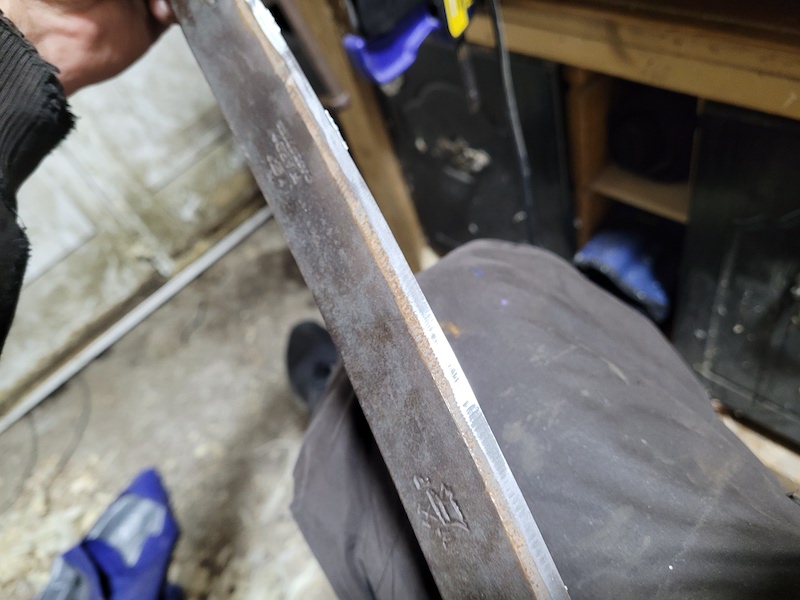
I lap the back flat and smooth. This is completely unnecessary. Many argue that a slight under bevel on a drawknife is desirable. Going to this level of polish across the entire back is more a factor of my OCD than anything sane. For efficiency I would recommend just creating a very shallow under bevel and polishing that.
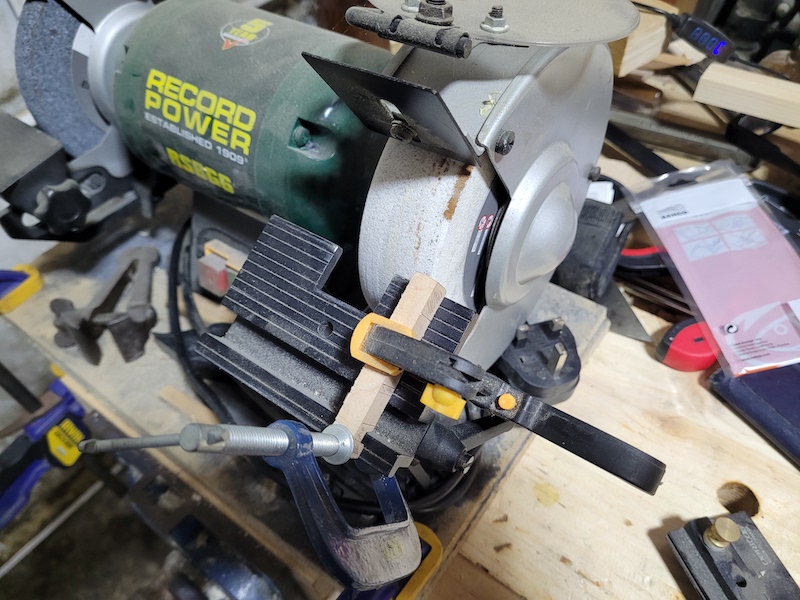
We have a flat back, now we need a bevel. The existing bevel is a round mess and I’m not removing that much material by hand. Off to the grinder we go. I took a look at some of the grinding set-ups respected drawknife users had on youtube, decided I was in a hurry, and just clamped a little piece of wood down on my grinder table….
The tricky part about grinding a drawknife is that the drawknife and its handles will collide with the body of the grinder if you try and sharpen it like a giant plane iron. You have to run across the edge of the grindstone at an angle to be able to move smoothly across the entire blade. The little bit of wood gave me a fixed point to run against. The back of the drawknife sits on edge of the table, tilted until the bevel hits the stone, and the stick gives me a fixed point to keep that distance consistent.
I wish I had a photo of how this works, but its a two handed operation, so I don’t. The key points. 1. The back of the drawknife rests on the edge of the table with the bit of wood stopping it from moving back. You slide the knife over the edge of the table, the wooden stop prevents it from sliding back. If you keep the angle you are holding it at consistent as you move back and forth, you get a consistent grind…. in theory.
To start with, I need to set the right distance for the stick. To do that, I pop the drawknife on with the grinder off, put the existing bevel in contact with the wheel and spin it a little by hand. Then I look to see where the scratch marks are. I’m aiming to start by grinding in the middle of the exciting bevel.
You can see it took a fair bit of experimentation and knocking the stick back and forth before I hit centre. Once I found it, I ground a reasonable amount of bevel and then went to check what angle I was grinding.
The grinding itself is not too hard, keep the angle of drawknife consistent as you move it back and forth make relatively quick light passes against the corner of the stone. Don’t worry about not having steady enough hands. I certainly don’t. If its a vintage drawknife, its quite likely the thickness of the back will vary, meaning your angle wont be 100% consistent anyway.
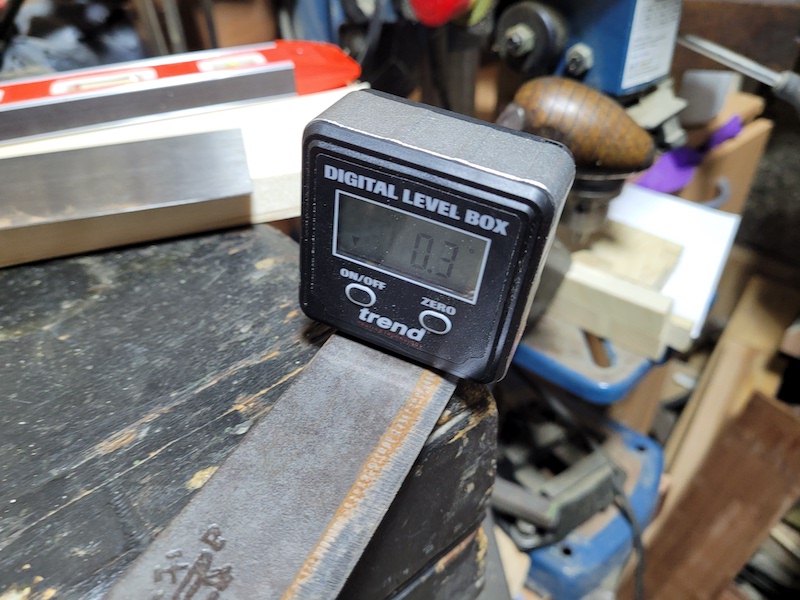
My quick and dirty way of checking the bevel angle is to use a digital level box. I put it on the back of the drawknife, and zero it out.
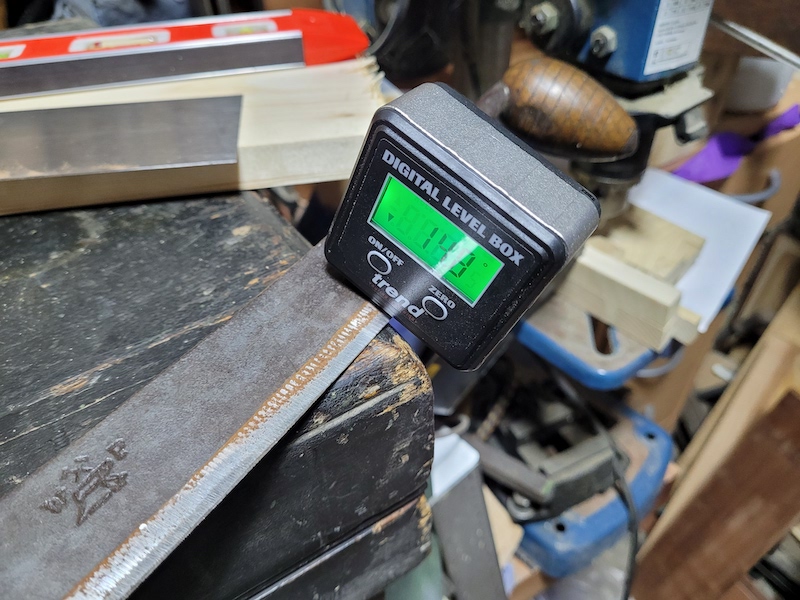
Then I rest it on the little bit of bevel I’ve ground, and see what angle it gives me. 14.3 is too low, I’m aiming for about 25 degrees. So I go and knock my little stick back a bit, and grind again. Second time got me to about 21 degrees, third time was the charm at 24.8. Close enough for me.
When I finished the grind, I was happy enough. It was pretty consistent, although I burnt the blade in one small spot. It was way out along the left hand side where I cant see myself actually cutting with it, so I didn’t care.
Then I took a 140 grit diamond stone, and started running it back and forth along the hollow grind bevel. This revealed that the grind was shockingly inconsistent… I’ve since discovered that the little MDF table I’ve built for my grinder has worn a bit, and now the tool rest has a bit of wobble to it, ah well.
About 10 minutes work with the coarse diamond stone and I have a consistent edge, but my hollow grind is now mostly a flat grind. I then worked up to 600, 1200, 3000 grit, and then stropped.
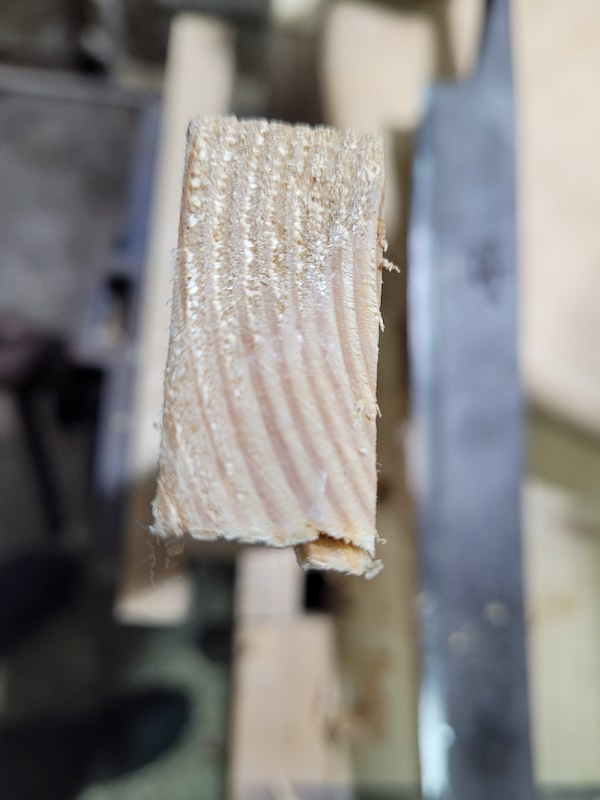
Lets see how it works out. I can shave hair with the edge of the drawknife, and here is the finish it leaves on end grain pine. I can live with that.
You can hog material off in softwood wickedly fast with a sharp drawknife.
And best of all stool seat number 2 now has its under bevel.
The lesson I take from this is that you don’t need to be an expert to sharpen an unfamiliar tool. As long as you know to get two flat edges intersecting in the end, it will all work out!