Playing with Tapered Nails
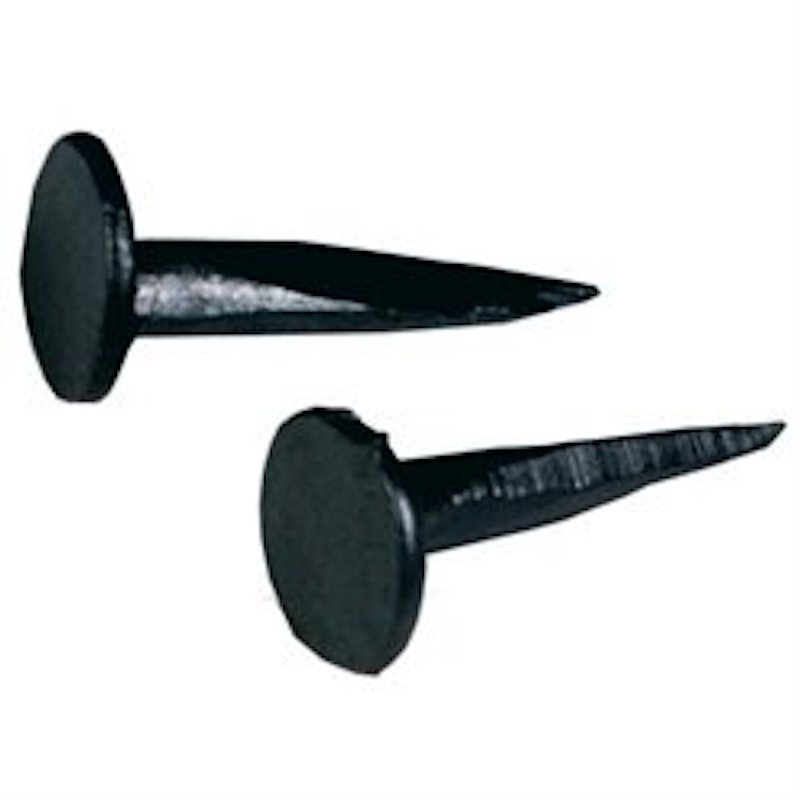
This week I have been playing with nails, and discovered in the process that I’m a nail moron. I’m making a mini Dutch tool chest, and I wanted to find some old style nails for it, preferably something with a decorative head. My initial searches only found hand forged nails, that where way beyond my budget. I eventually settled on trying furniture tacks. These are essentially very small nails, the black heads look nicer than a standard cut nail, even if they are not particularly pretty they would match the iron hardware I have on the way.
This is where I made my first mistake. I’m using 3/8th thick stock for this chest, I blindly thought a little less than twice that thickness is what I needed. So I ordered some tacks that where 5/8th long. They arrived, I nailed together some test pieces …. then pulled them apart effortlessly. It turns out that my wild ass guess was wrong. If I had bothered to do any research, I would have discovered there is a general rule of thumb for nail length. The nail should be 3 times the length of the material you are going through. So for my 3/8 inch stock, that would be a 1 1/8th inch nail. My tacks where woefully undersized. I at least had the sense to do a test piece. You really want to test your nails before using them.
Thankfully this realization also opened up my options for what nails to get. 5/8th nails are very uncommon. Nails over an inch are a lot more common, so this gave me a lot more options. Being in Ireland, this still made things tricky. I need about 40 nails per chest. Most suppliers sell by the kilo, which works out at a bit over 500 nails. To make things even worse, the postage and customs costs are often more than the cost of the nails…
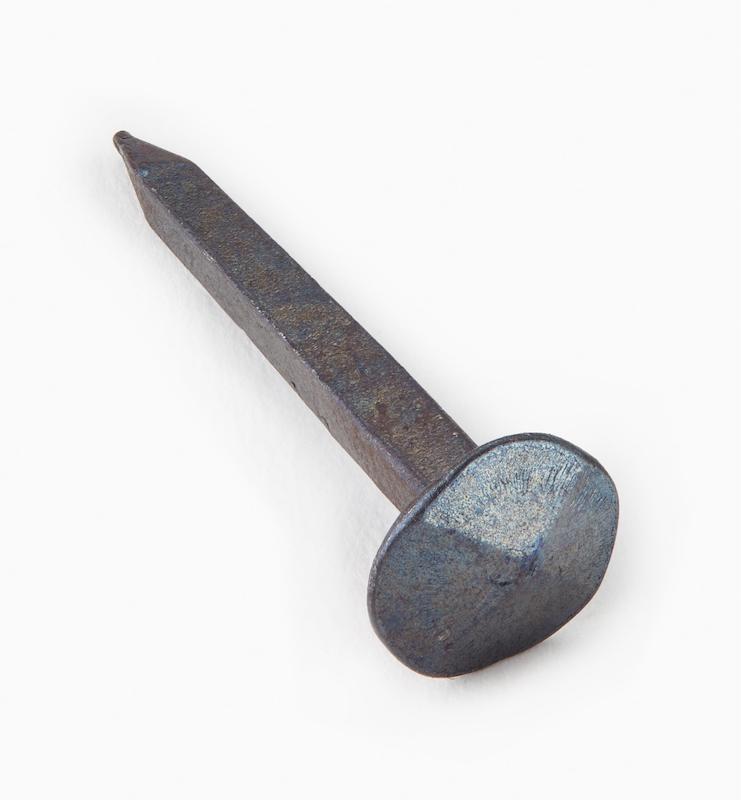
If money was no object, I would be ordering up some Rivierre nails. They are the last working nail factory in France. As luck would have it, I had some of their 40mm nails from an older project. So I gave them a try. With careful pre-boring I could nail the two pieces without having them explode. Then I realized how big the heads where… larger than 3/8th, meaning they would protrude. They do a style with a smaller head, but the price plus shipping is murderous. If you are building a special project they are well worth a look.
Finally I found out that Crown nails in the UK make a nail that has a nice rose head and should look good in my chest. Most sources I found would only sell by the kilo, but eventually I found a supplier in the UK who sold by the 1/2 kilo making them a bit more affordable. https://www.thedoorknockercompany.co.uk/cgi-bin/sh000008.pl?WD=nails&PN=Traditional%2DRose%2DHead%2DNails%2D296%2Ehtml#SID=95
So now I know how long the nails should be, and I have a pretty head. Plain sailing from here on out right? Nope. If you are going to be nailing a project, particularly with tapered nails of any sort. Make some test pieces and test them out. You will be very glad you did.
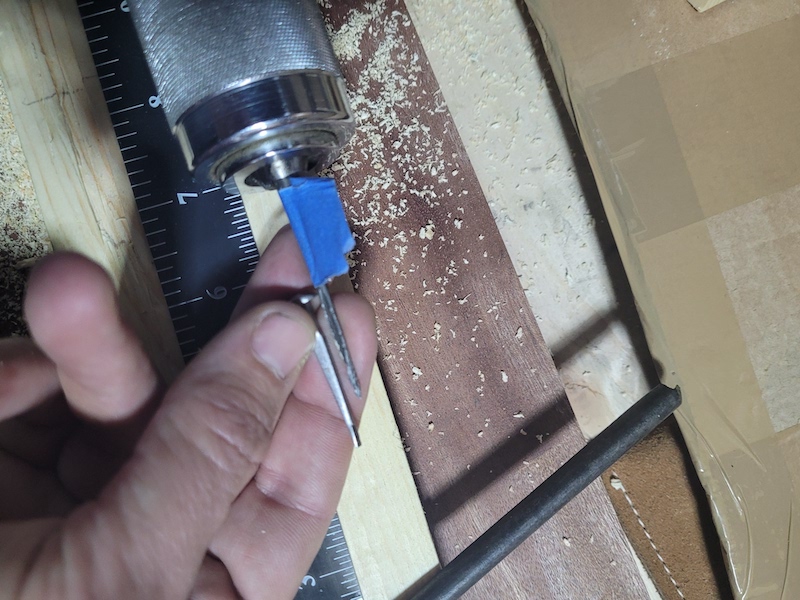
With any tapered nail, you need to drill a pilot hole. You are driving a wedge into the wood. Wedges do a great job of splitting wood. To combat that possibility drill a pilot hole. The bigger the hole, the less possibility of a split, but you also reduce holding power. I created a test piece as similar to my finished piece as possible, using offcuts of the same wood, in the same thickness. I started out drilling to a depth of about 2/3rd the length of the nail.
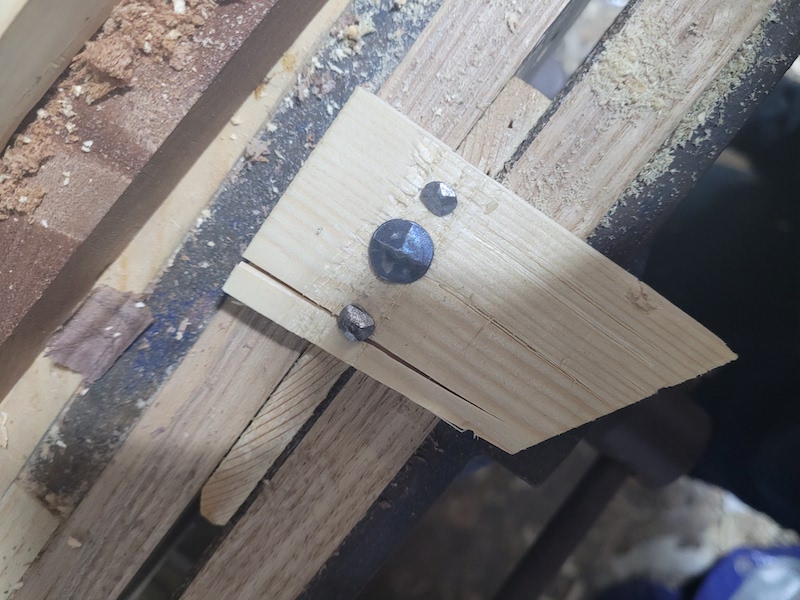
My first nail went in just fine, my second split badly well short of being driven all the way in. I split the wood in the test piece apart and could not see any mistake on my part for the split. The drilling was straight, the nails where well centered in the workpiece.
So I switched to a slightly larger drill bit, drilled the same depth and went again.
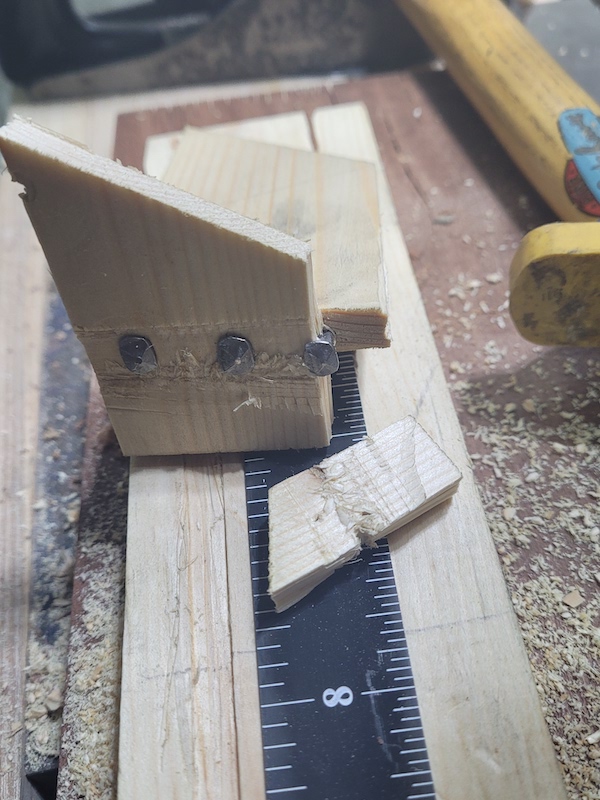
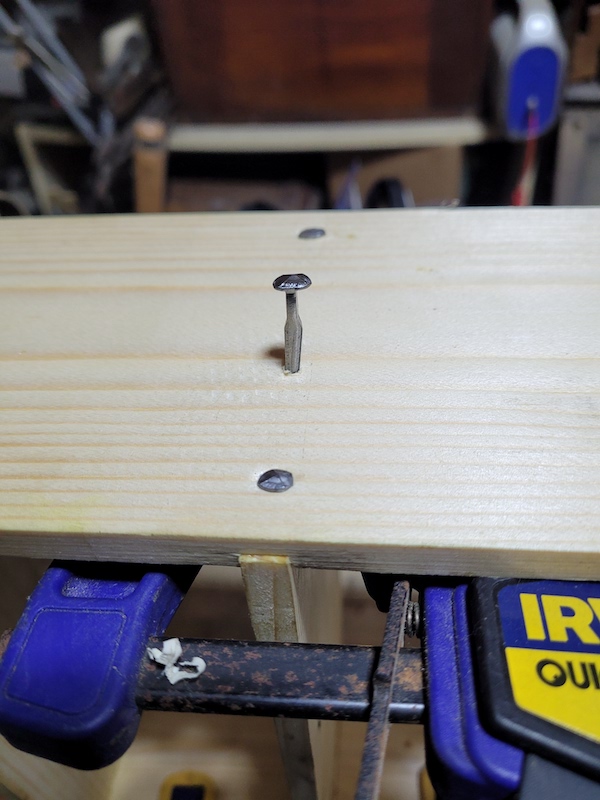
This time the first two test nails where fine, and the third split, but only just as it was about to be fully driven.
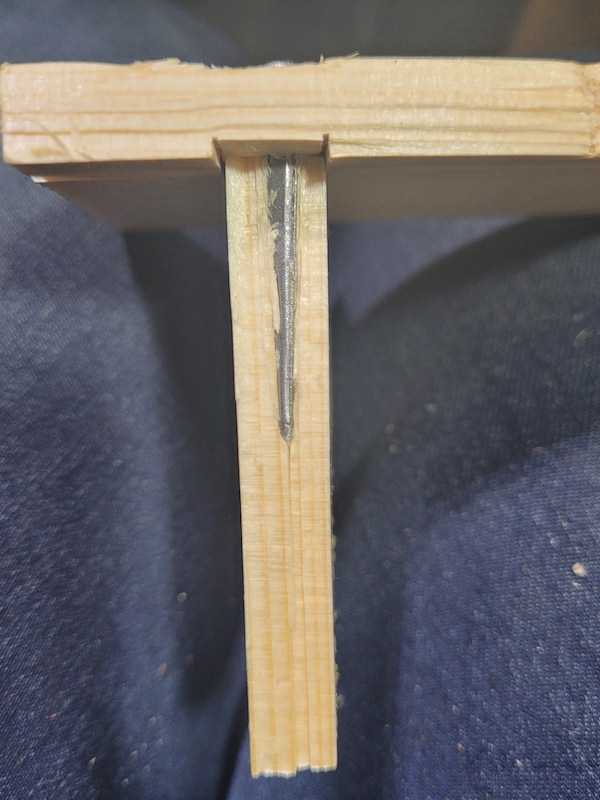
I split the test piece apart again to examine what went wrong, and this time discovered the only one that split was drilled off centre. I decided that was good enough, crossed my fingers and went to work on the actual project.

I marked out the location of my pilot holes carefully ensuring they where exactly centred. I’m drilling through a side wall into a shelf that is sitting in a shallow dado. The shelf is the part that I’m really nervous about splitting. I’ll be going over an inch deep into a shelf that’s only 3/8th thick. To give a little extra insurance, I place a quick clamp onto the portion of the shelf that the nail will be going into each time. This supports the shelf wood, effectively making it like I’m driving into a thicker piece.
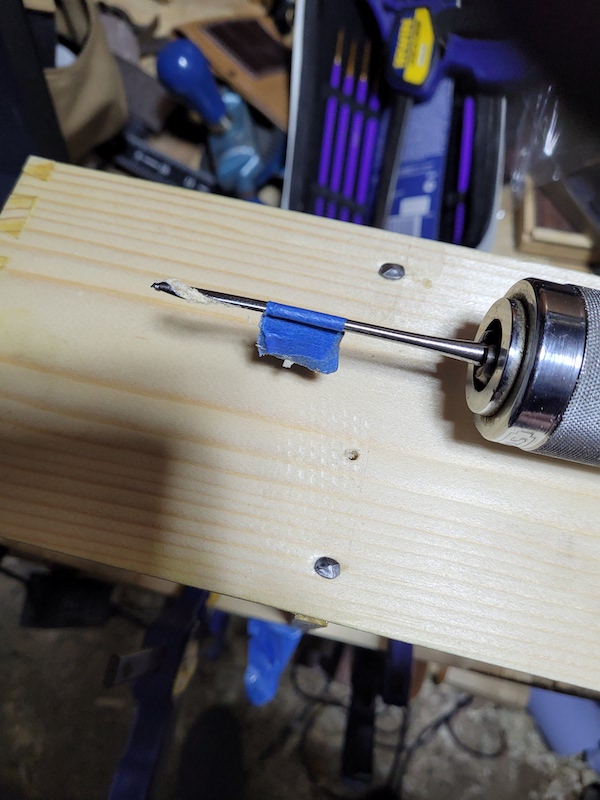
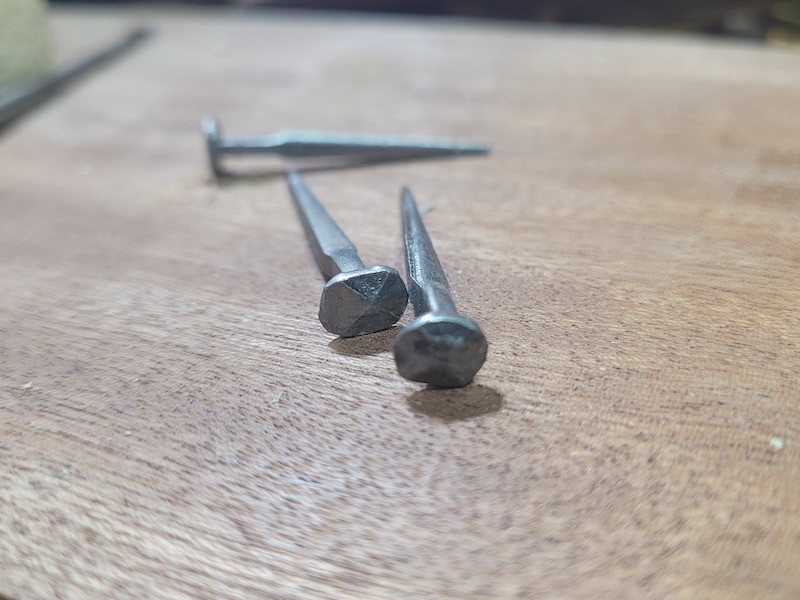
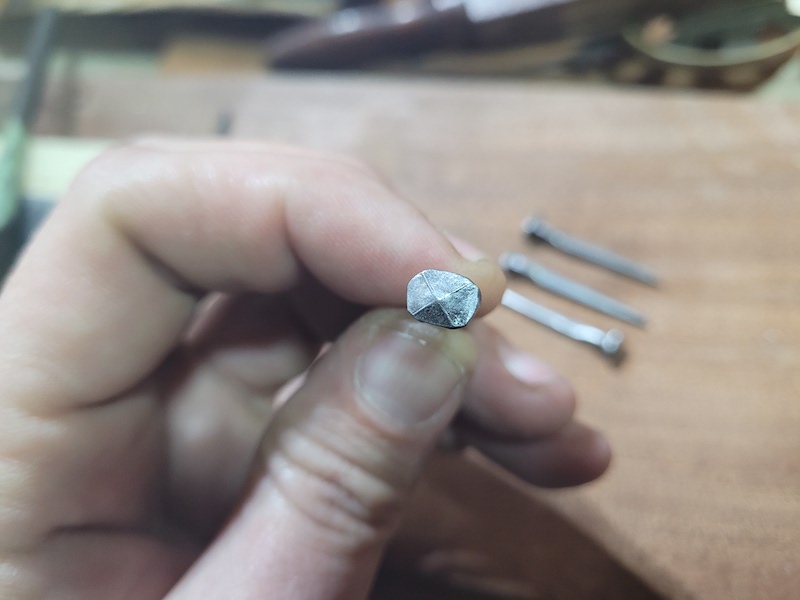
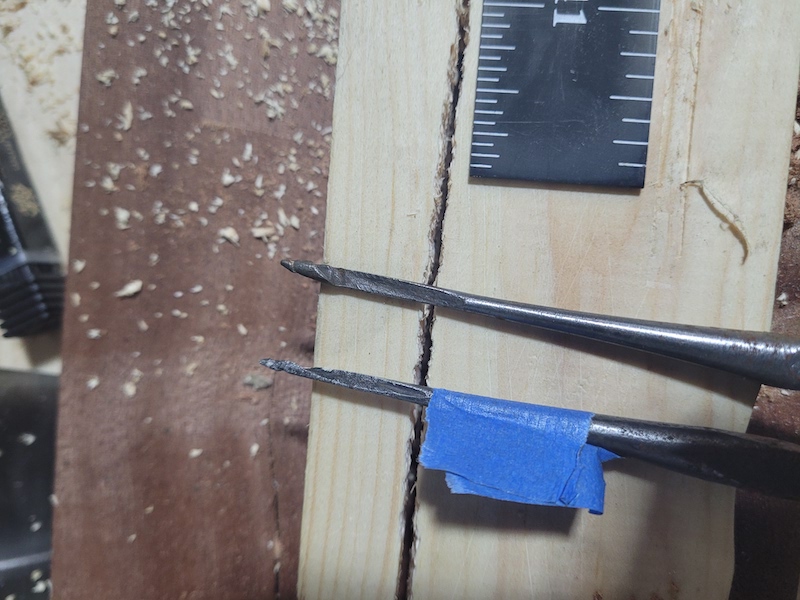
A quick note on the drill bits you can see here. For tapered nails, a tapered drill bit is ideal. More of the nail contact with the wood, leading to a better hold. A tapered bit is far from necessary, but its a nice to have. You can buy modern tapered drill bits, these are called Gimlet bits. They are not that hard to find on ebay, but are rarely correctly named so you might have to trawl through a lot of listings under “drill bits” or “auger bits” to find some. To further confuse things, not all gimlet bits are tapered, so take a close look before buying. The taper on these is slight until you get toward the tip, but effective.
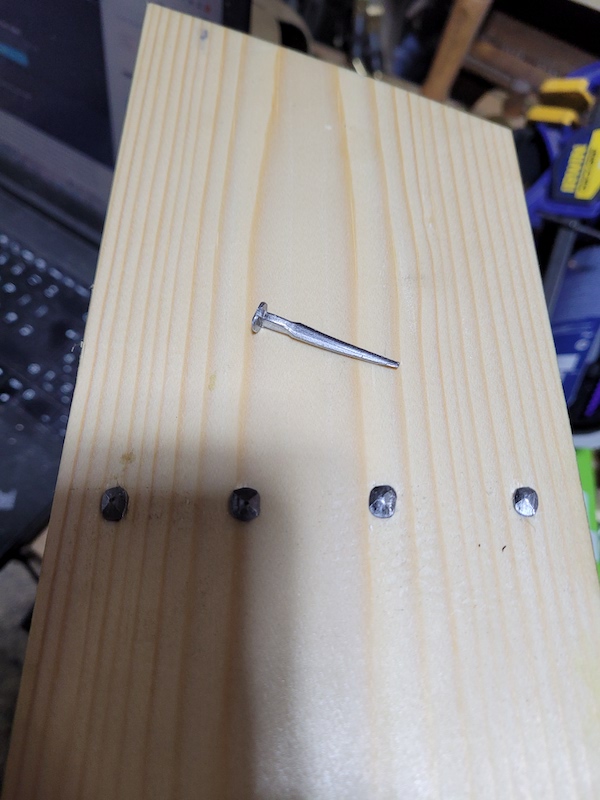
I popped the first nail in. Again, these nails are tapered on one side. You want the taper oriented in line with the grain so its less likely to pop the board apart. I worked slowly, popping off the reinforcing clamp and examining the piece every now and then to check for signs of splitting. Thankfully I never ran into any. 8 nerve wracking nails later, my shelf was nailed in.
I have 30 more nails to go in this project, wish me luck!