Egg Beater Drill Chuck Repair
My kid’s school run a “Forest School” program, where among other things, they use basic tools to make some craft items. They mentioned having hand drills, when I came along to help out I discovered they where using twist bits glued into bits of branches. Using them was pretty slow and frustrating, so I gathered up some egg beater drills and sent them to the school.
A few weeks later one came back home. The jaws on the Chuck no longer opened. I thought this might be a good excuse to photograph basic spring repair on a drill chuck. Life had other plans, everything except the spring was a problem on this chuck, but I replaced one spring anyway, just for giggles.
If you are going to do this job. Pick somewhere with a nice clean floor. Small springs have a habit of suddenly going airborne. They will home in on a nice pile of shavings and nest. If you do not want to spend a good portion of your day hunting under furniture, pick your spot to do disassembly carefully. Yes I just spent a lot of my day hunting for tiny springs under furniture and in shavings. Do what I say, no as I do, OK?
Check out the photos below for detailed repair steps, and a handy source for missing chuck springs!

The patient. I do not recognise the brand, and its not the worlds greatest egg beater, but it should be working a lot better than it is.

Chuck jaws do not look that bad right?
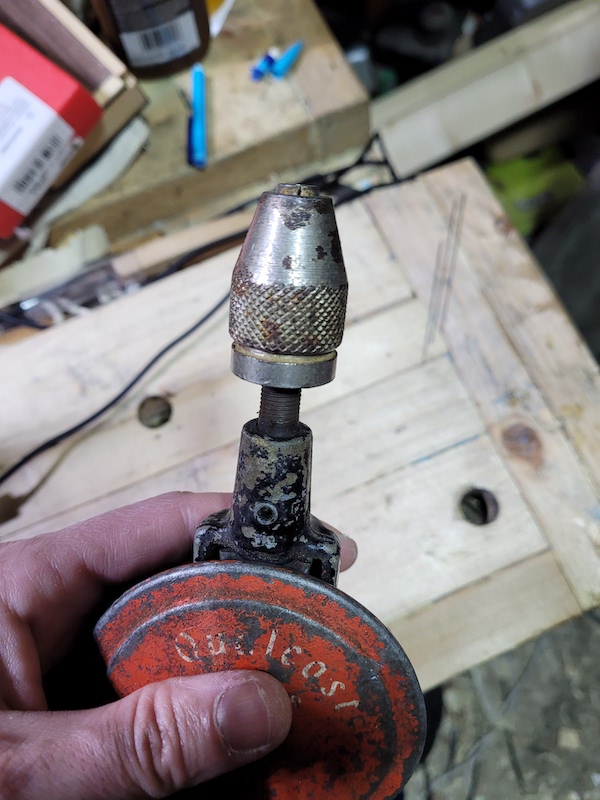
The problem is the chuck is loosened almost all the way, they should be retracting and they are not.
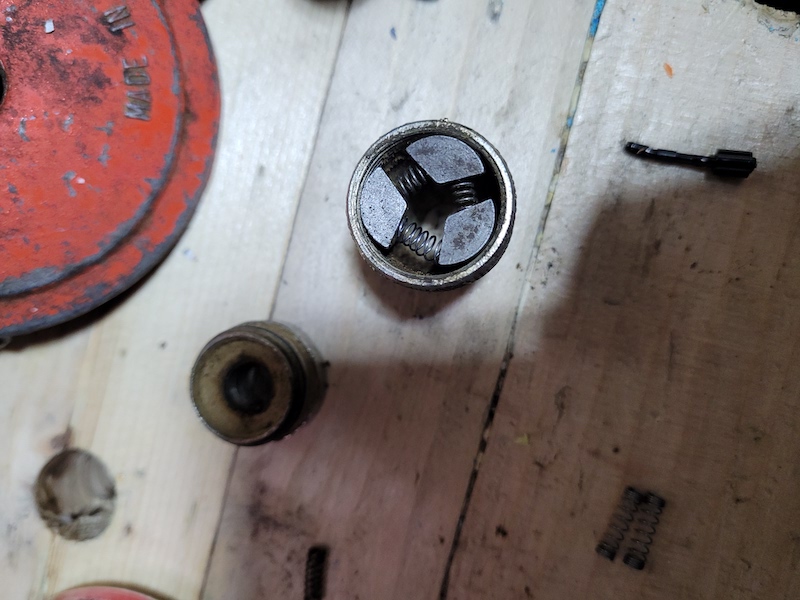
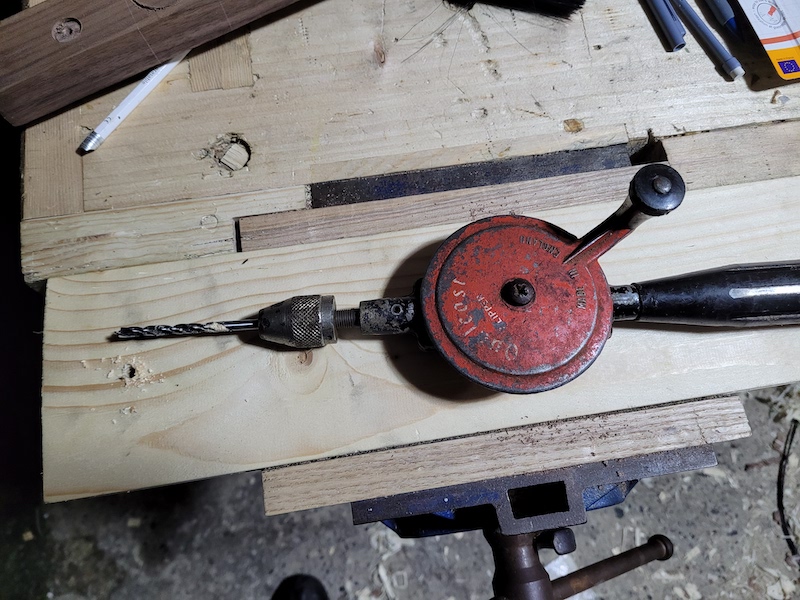
The chuck completely removed from the drill. If everything was working properly, the springs would cause the jaws to retract into the shell if the post is not forcing them up. Let’s disassemble and find out what’s going wrong.
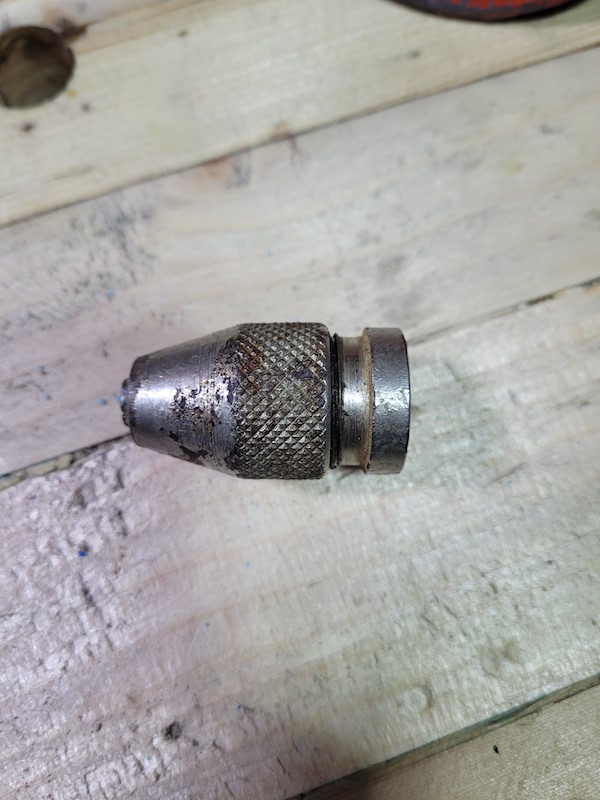
Every chuck shell I have ever come across unscrews like this. Some have flats on the side to allow a wrench to help. Some have pinholes for a pin wrench. Some have nothing, and I have needed to put them in a vice and go to town to get any movement. This one, rather suspiciously, easily unscrewed with just hand pressure. I think someone has been in here ahead of me recently.
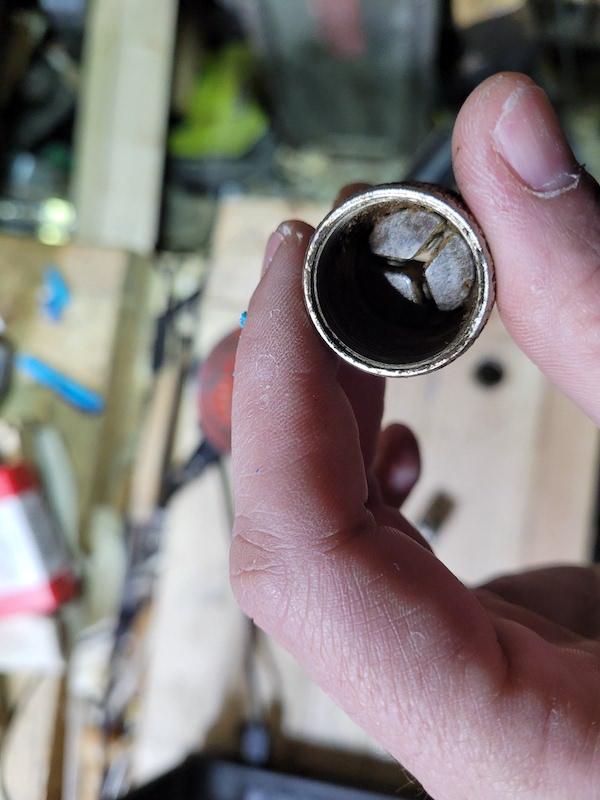
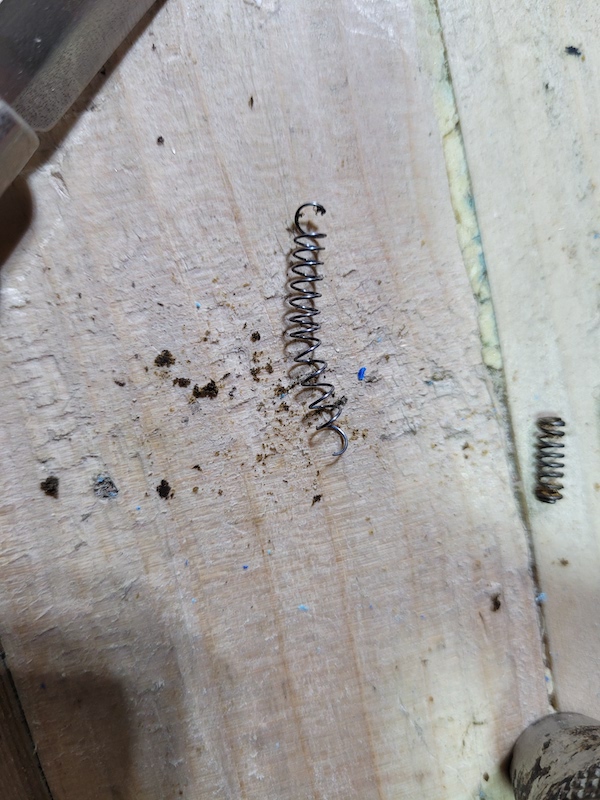
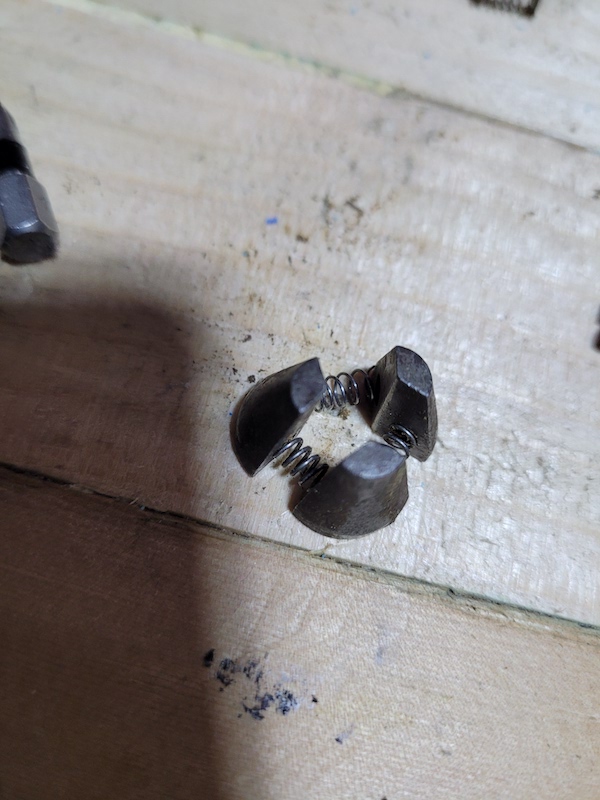
This was a surprise. Normally at this point I immediately spot a missing, or horribly bent and mangled spring. I’m seeing neither.
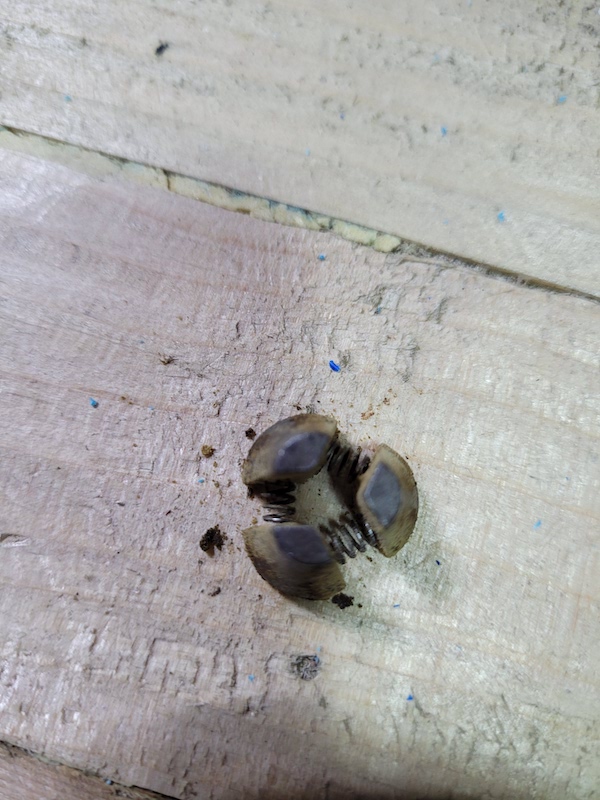
Yip, all looks well. All the springs are … springy. Nothing wrong with them that I can see. There is a lot of dirt inside the shell though, so that’s probably the problem. Let’s replace a spring just for fun.
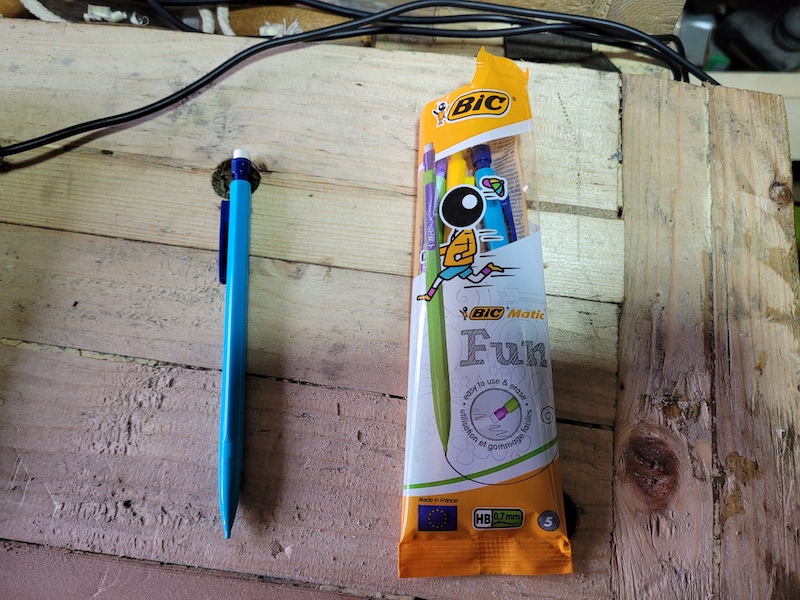
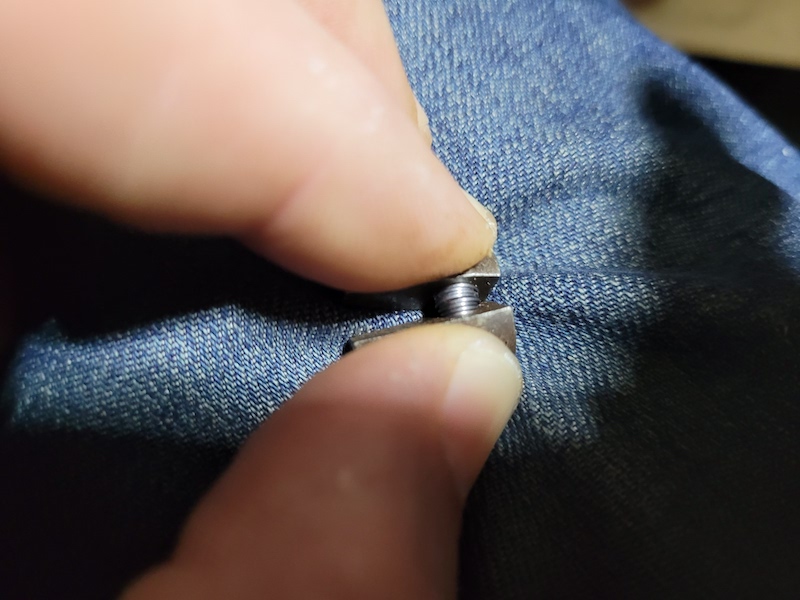
My town has no vintage egg beater spring shop. So this is my go to replacement source. BIC mechanical pencils. The 0.7mm have been a fairly good match for me in the past.
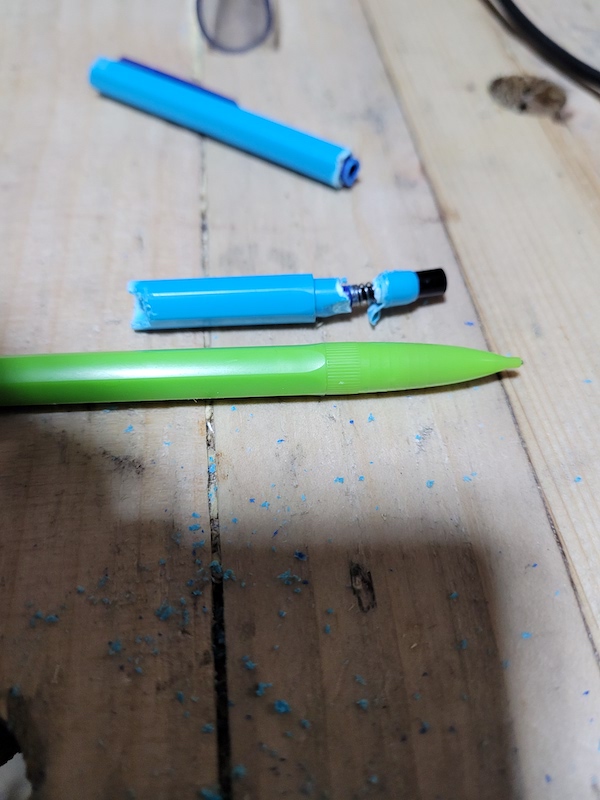
The spring in the pencil lives a little behind the tip. Saw, carve or batter your way to it. Again, there is a good chance that when you free it, it could launch.
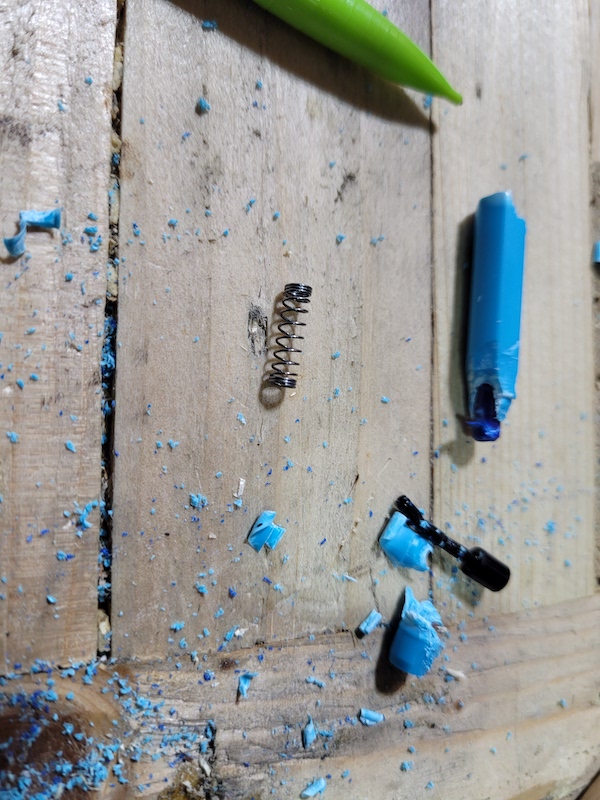
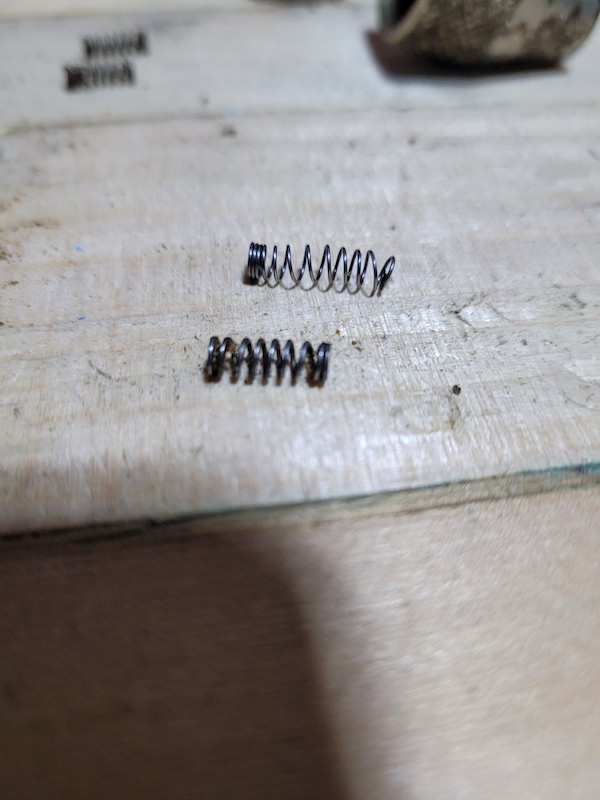
The freed spring
First things first. The tightly wound section at the ends is not going to work. there is a tiny hole in the holes in the jaws that the end of the spring can usually grab, but it wont mate if the ends are so tightly wound. Grab the ends and pull them loose. The spring will compress back for us later.
I can connect the spring to the jaws, but its way too long.Leaves a huge gap.
As you can see, the new spring has compressed nicely between the jaws, but its too long. I eyeball the length difference.
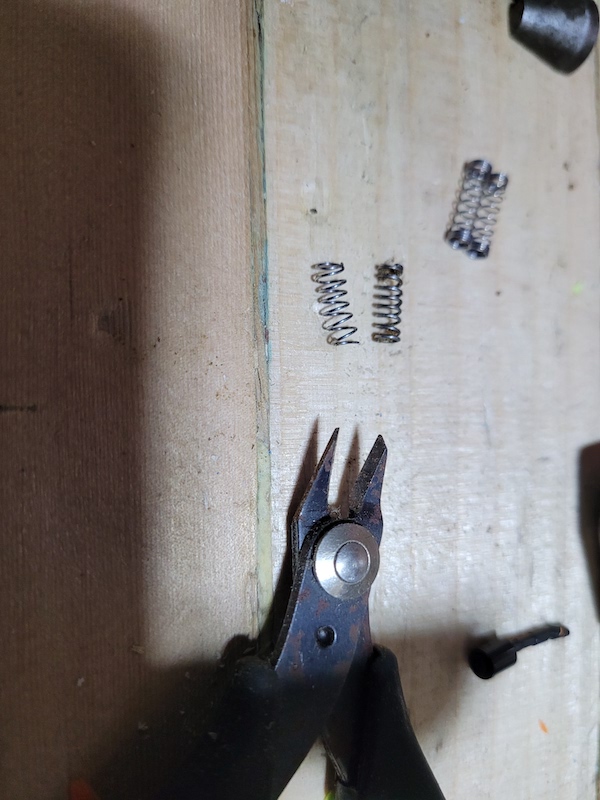
And snip, problem solved.
Jaws re-assembled. This is another step that requires patience. Getting the last jaw on is always a pain. Expect to drop springs and hunt for them. Expect a different jaw to come loose just as you get the last one it. Its fiddly work, allow time for it.
Once I have them arranged as in the previous photo. I just drop the shell on top of them and then flip it upside down. I keep it in this position as I screw the base back on. That way gravity works in my favor.After this the chuck worked no better than when I started. Not surprising I saw a lot of dirt in there.
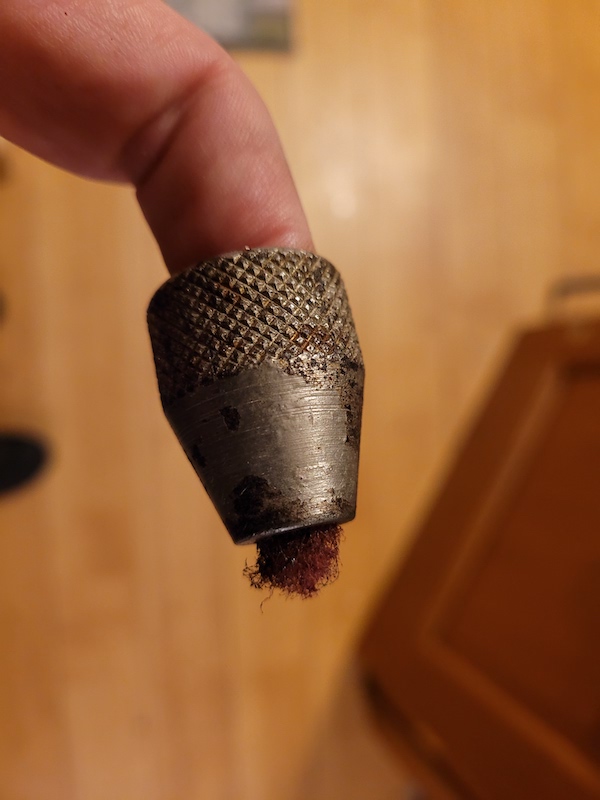
Out come the jaws again. I gave the inside a squirt of WD40 and then scrubbed it with a torn off chunk of red scotch brite. The colour is not important. Green would be fine. You dont need a mirror finish in there, just get rid of any rust and dirt. Do the same to the outside faces of the jaws.
The goal is to have the jaws slide easily against the inside of the shell.
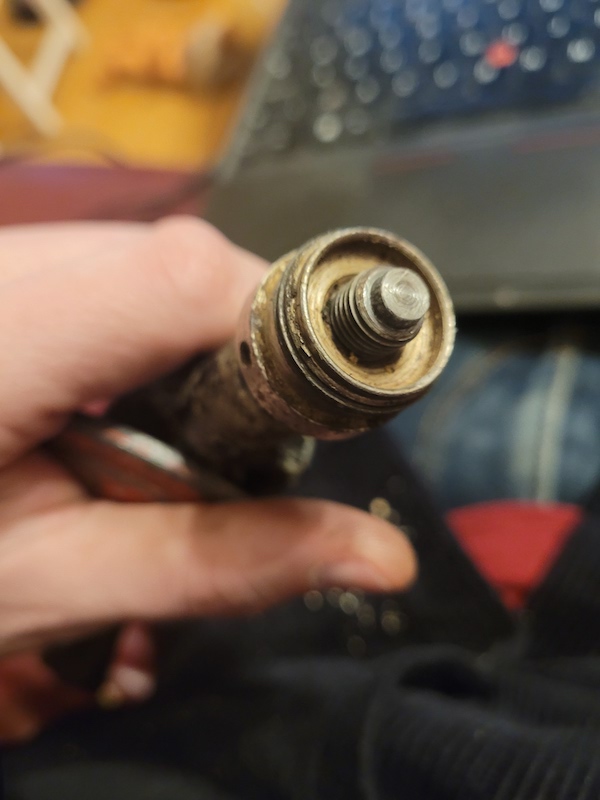
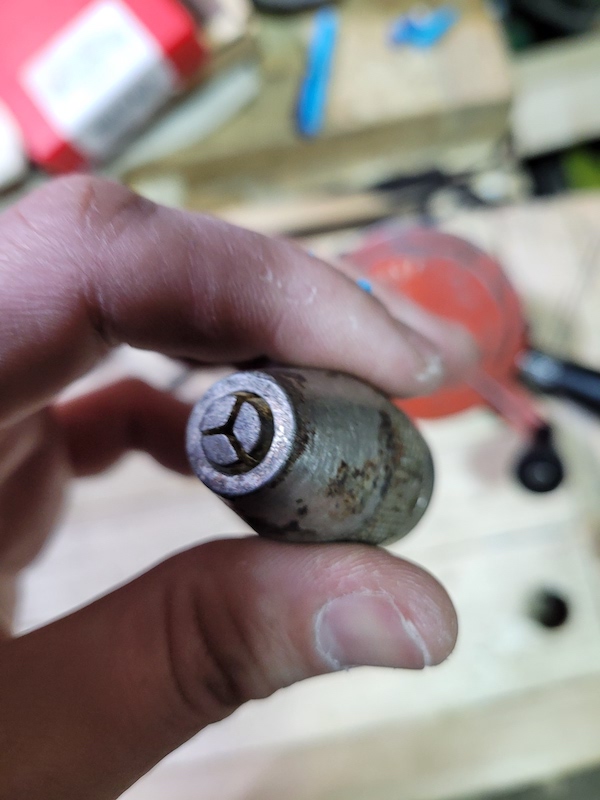
That made no difference. At this point I was confused, but I finally spotted the problem. We have a missing part. See how the end of the post narrows? Usually there is a little cap that rests on that inside the shell. It helps push all of the jaws up together evenly. Inspecting with a torch showed the post was managing to work its way between the jaws and then jam.
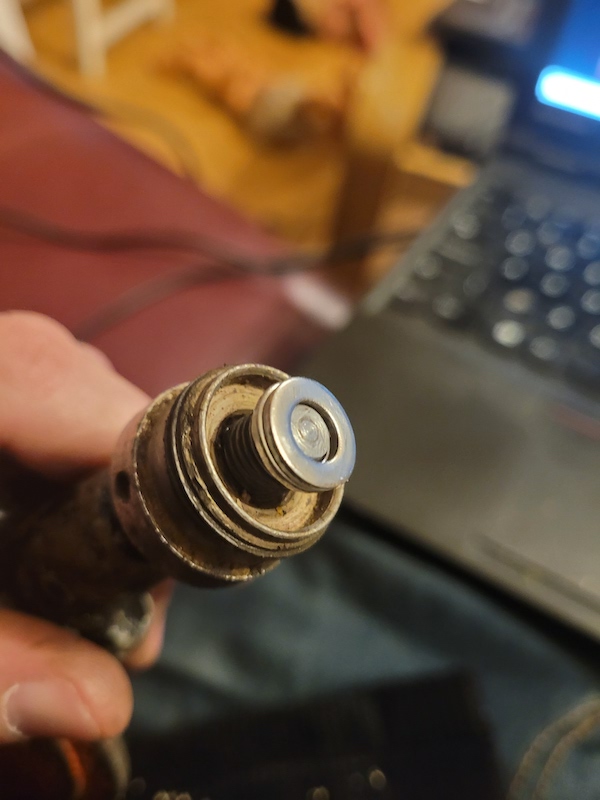
With the base of the shell screwed on to the post, I stacked two washers on the narrow portion of the post, then screwed the upper portion of the shell back on. And now everything works perfectly. The jaws opened and close and hold well.
so I took it for a test drive. The jaws held well and centrally. Job Done.