Replacement Cutters for Small Planes
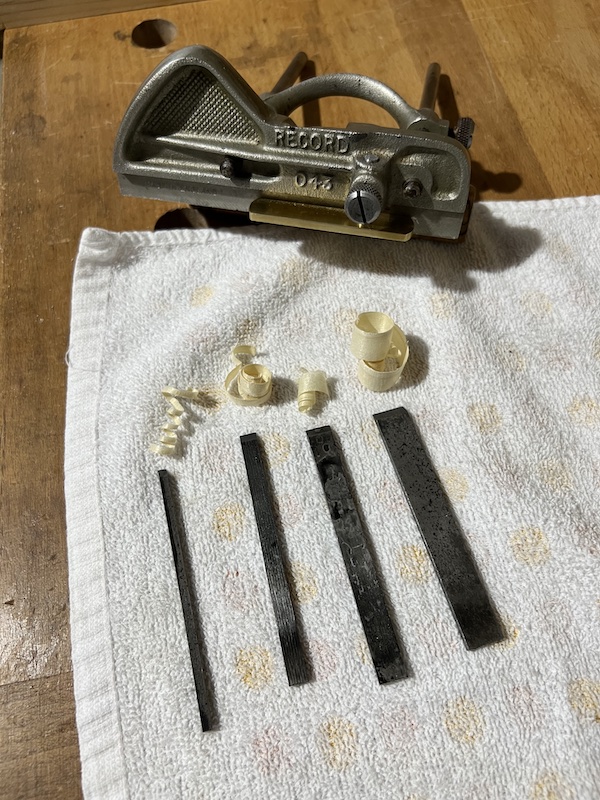
Making straight cutters for small planes like the Record 043, Record 044, Stanley 50, etc is relatively straightforward: buy a piece of steel, cut it to length, shape the cutter, harden it, and sharpen it. Let’s walk through my experience doing this to create sets of cutter irons for the Record 043.
Materials and Tools
Here’s what you’ll need to get started.
Materials:
- 1/8” thick O1 steel flat bar in 1/8”, 1/4”, 3/8”, and 1/2” widths
- propane (or map pro) gas
- about a quart/liter of high-temperature oil like peanut or vegetable oil
Tools:
- hacksaw
- torch
- pliers
- wire brush
- (optional) small forge for heating the full iron
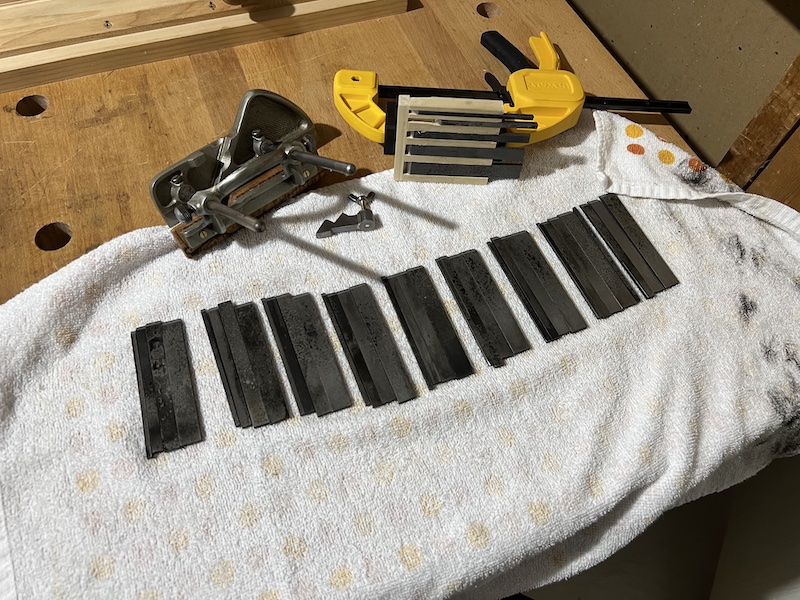
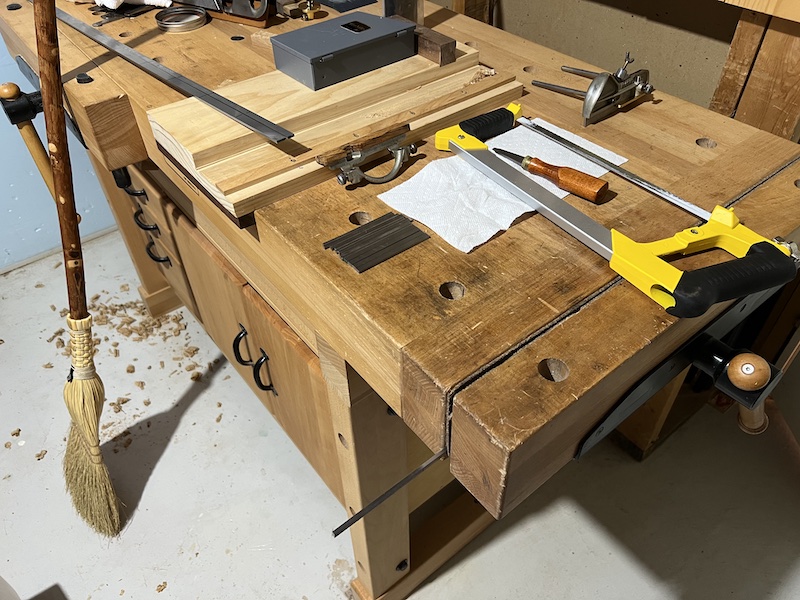
1. Cut the Flat Bar
Use the hacksaw to cut the irons in 3 to 3.5 inch lengths from your flat bar. Use some coarse sandpaper (220 grit or lower) to remove any burr left when cutting.
I opted to go with widths of 1/8”, 1/4”, 3/8”, and 1/2” because that’s what I could readily find 1/8” thick flat bar in. The standard cutters were 1/8”, 3/16”, and 1/4”. To get the 3/16” cutter would require cutting down or filing a wider piece of steel… you can still do a 3/16” rebate by using a wider cutter and the notched fence, but no 3/16” groove. However, in my area we primarily work with with lumber that is 1/4”, 3/8”, or 1/2” thick. So this works well!
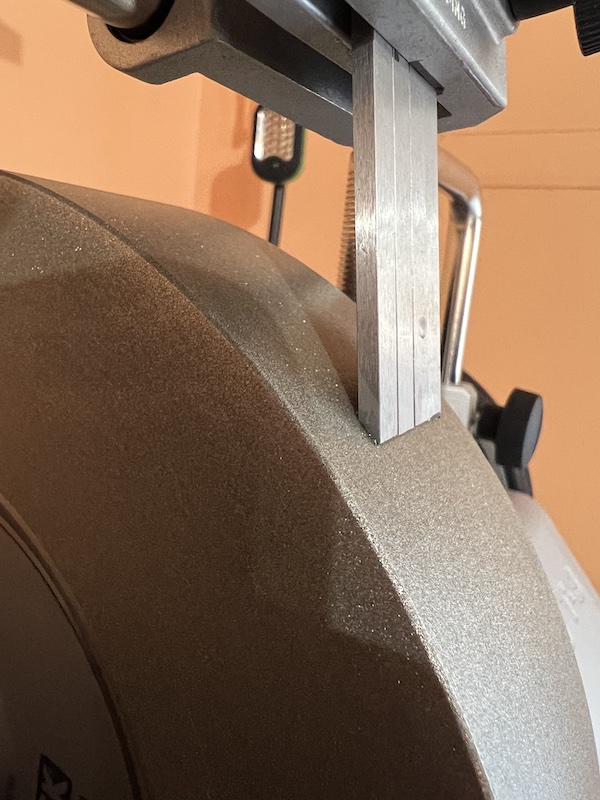
2. Shape the Cutter
Before you harden your iron, it’s helpful to put a primary bevel on it. This needn’t be exact, anything less than 45 degrees will work. I used a Tormek to put about a 35 degree angle on the iron, but you can do this with sandpaper and a honing jig, a file, or by hand using a dressing stone. The important thing is to do this work now while the steel is soft!
One note here is that the angle really doesn’t matter that much. About the only change is that the closer you get to 45 degrees, the more durable the edge, but it makes no difference on cutting action. I went with 35 degrees, and bulked out the shaping on a Tormek.
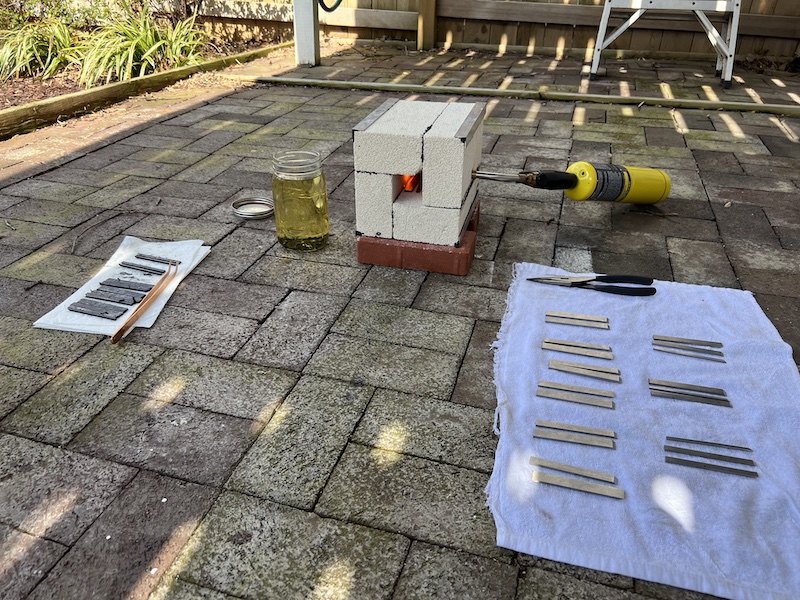
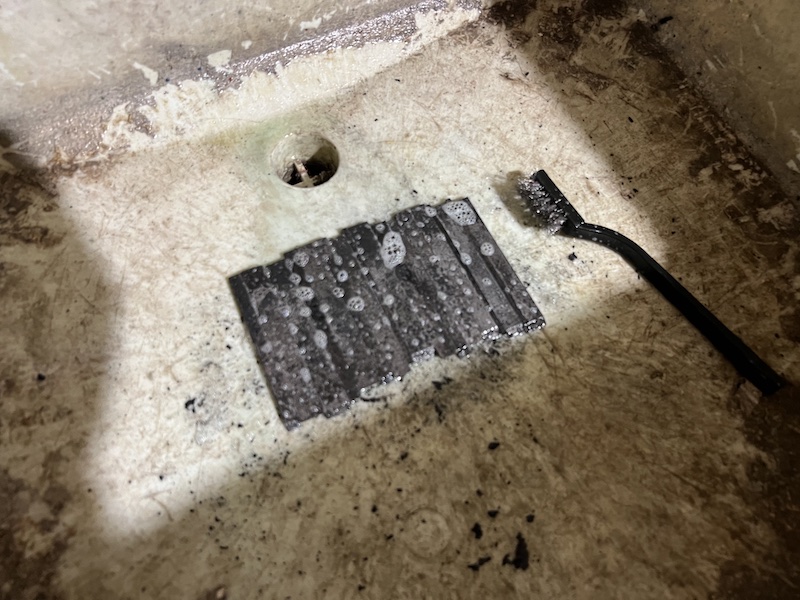
3. Harden the Steel
While simple, this is the most dangerous part. Think through safety problems before they happen. Hot oil can quickly cause burns severe enough to need to go to the hospital or you can start a pretty big fire. Oil will burst into flames at its flash point if it gets too hot. Use a container that can withstand direct flame (a metal paint can or canning jar, please don’t use a plastic or jam jar). Plan for some smoke, too, so being outside is a big plus. Having a fire extinguisher, generous amount of baking soda, or fire blanket handy might be a good idea to put out any accidental fires. Odds are nothing will happen, but be ready just in case.
Also make sure you have pliers or tongs that firmly grip the iron so you don’t drop a glowing red iron on yourself or clothing.
Once you’ve thought through all the things that can go wrong, the heat treating procedure is pretty straightforward. The fastest way is to hold the cutter in some pliers, use the torch to heat the end of the cutter up to glowing orange (past the dull cherry color), then drop it in your oil. It should sizzle an you’ll hear a few pings as the metal hardens. If you don’t hear anything, then it wasn’t hot enough. Just fish the cutter out with some tongs, dry it with a towel, and try again.
Leave the cutter in the oil for some time. There’s no rush to fish it out of hot oil, and the hot oil will even work temper the blade somewhat as you drop in more cutters. Usually when doing batches I keep dropping in cutters until the oil is smoking and then stop, let everything cool, and then fish out the irons with some kitchen tongs, or you can pour the oil through a coffee filter into another jar to catch the cutters and scale.
As a note, the torch is going to make scale on the irons. You’ll want to scrub it off with some dish soap and a wire brush. Finally, give the cutters a good dry and wax or oil them to prevent rust. I use a microfiber rag with jajoba oil.
Note that you can use a bare torch in open air doing one cutter at a time, but if you have a small forge you can batch cutters and save some fuel. For cutters, google a “one brick forge” that can be made with one fire brick, a couple spade drill bits, and a propane torch. I made a small forge with four fire bricks, having a little more capacity.
4. Sharpen
I’m not going to go into a lot of detail here, but it’s important your cutters are square or your groove/dado/rabbet won’t be. You also don’t want any camber on your cutters. Use a honing guide, and your normal sharpening process for chisels. The back of the iron needn’t be perfectly flat at all, just well polished at the cutting edge. You now have a cutter that’s ready to work!
Other Considerations
Many people already have a propane torch, hacksaw, and pliers, but this is a project that can get really expensive if you only want to make one set of irons. It’s better to batch them out and make at least 5 or 6 cutters from 18” long flat bar, if not 10 or 12 cutters from 36” long flat bar in each width.
If you only need one set, it’s more cost effective to buy one piece of wider steel, and cut the size cutters you need out of it with a hacksaw. Use layout fluid or just a sharpie, trace the width of the cutter onto the steel, then cut close but not to your line, and use a file to finish profiling the cutter. In fact, 3/16” x 1/8” flat stock is hard to find, so if you need a 3/16” cutter this is probably your best approach.
I’ll leave with a note that the process for making and hardening plane irons isn’t really different; cutting, shaping, and hardening. If you need to make a new cutter for your moulding plane, this might be a first step on that journey!