Making a Shooting Board - Part 1
This is part 1, as I have not completed the shooting board. Well, I finished one, but I’m building no 2 as a gift, and I didn’t photograph the process for the first one.
I posted about shooting boards a while back, and the time finally came to replace the poor battered warped creature. After pondering various options, the board I made is pretty simple with only a few noteworthy features.
Its fairly long at 600mm. I like this, as It’s nice to be able to shoot the long grain of box sides to square them up. The real reason it’s that long, is that I decided to use Melamime faced particle board as the base. This has the advantage of being very low friction for the plane to run on. It’s also a bit of an experiment, I’m not sure how well it will hold up to wear. You could make a shooting board half the size quite easily, but 600mm was the smallest size panel in the store, and that length works well across my bench.
The second noteworthy feature is an adjustable fence. This makes shooting a little easier, by keeping the plane in the right horizontal position. I made it adjustable as I have more than one plane I like to shoot with. We will not get to making the fence this week, but I should have it done and photographed by next week.
I built the first one. Its working well. With luck it should last a fair few years. A shooting board is a fairly simple thing to make, but If you would like the step by step instructions, look to the photos below.
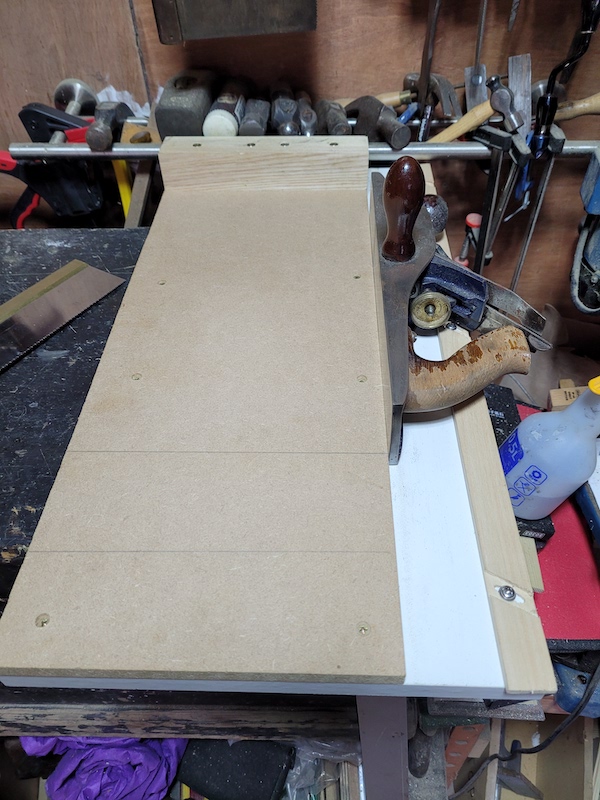
First off, this is what we are building. 600mm long, 300mm wide with a hardwood stop and an adjustable fence on the plane track. A cleat on the underside means I don’t have to clamp it down, the edge of the bench holds it in place in use.
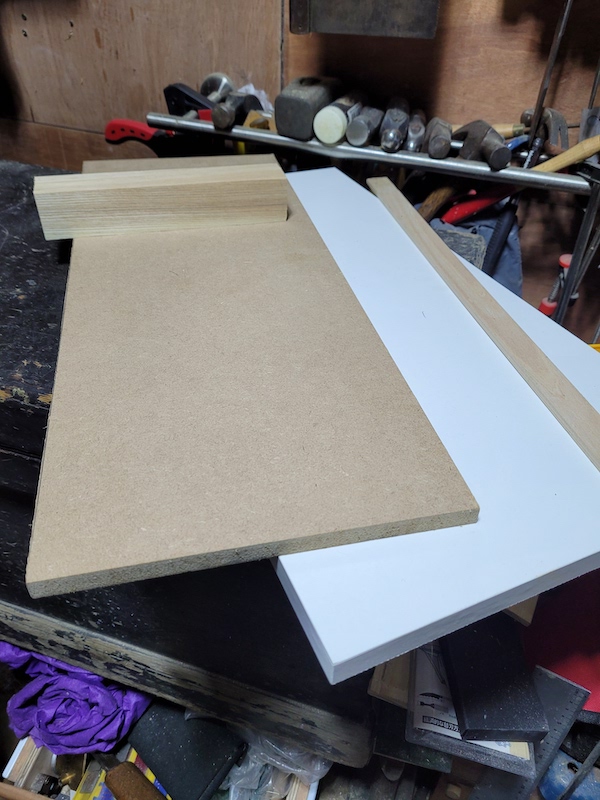
Here are our materials. 18mm Thick Melamime faced particle board for the base , 600mm * 300 mm. The exact size is not very important, but I would not go much bigger. You could lose some thickness, but you want it to be strong and rigid. You certainly don’t need any extra thickness, but a little would not hurt. The platform on top of the base is just plain old 9mm MDF. The thickness here is a little more important, you want enough for the plane to register well against it, but not so much that a huge amount of the iron is not available to cut the workpiece. In an ideal world the center of your plane blade should meet the center of the most common thickness of workpiece you shoot. Given that my shooting planes have straight ended irons with no camber, being off a bit from that is no big deal. Odds are you will shoot various thicknesses in practice anyway. The less iron you lose to the height of the platform, the thicker the workpiece you can shoot as well.
The stop is a piece of beech (or maybe it was maple I’m not sure). MDF is great material for this, its pretty stable (but it can warp and move). The factory edge is more than good enough for shooting. The piece I bought was about 3 times larger than I needed, again, the smallest in the store. I cut it in 3, and will be careful to use the factory edge on the plane track side. Finally I used a piece of pine strip wood, some threaded inserts, nuts and washers for the fence, we will get to those next time. And a piece of scrap pine for the cleat on the underside.
Step 1. Put everything in place and put your plane on the track. Make sure your fence will be in the right place and be able to contact the plane, and if you have not cut down your MDF, this is a great time to mark where to cut.
Run a pencil to mark out where the track will start. When it’s time to glue up its very handy to be able to see this.
Find some screws that are a good length to connect the two pieces. These will go in countersunk holes so they are beneath the surface, allow for that when selecting. If you do not countersink the holes, anywhere that has a hole will no longer be a flat surface for a workpiece to rest on.
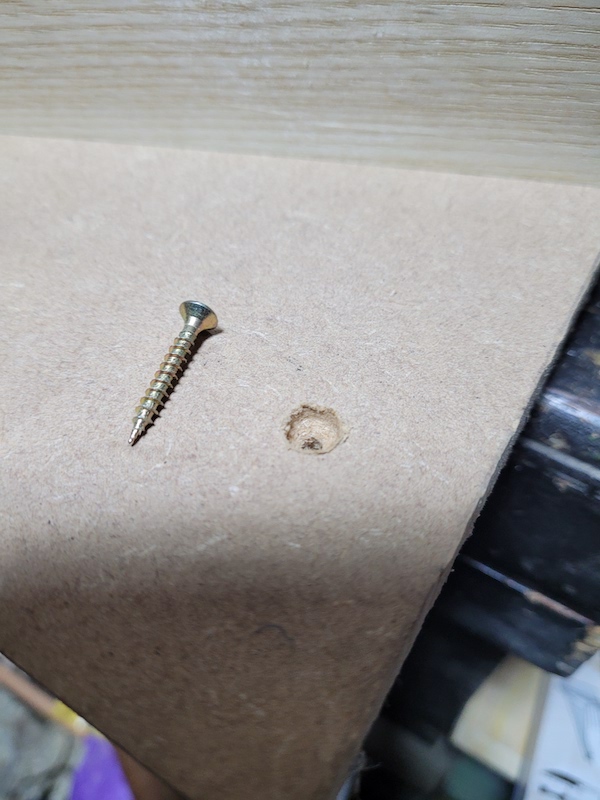
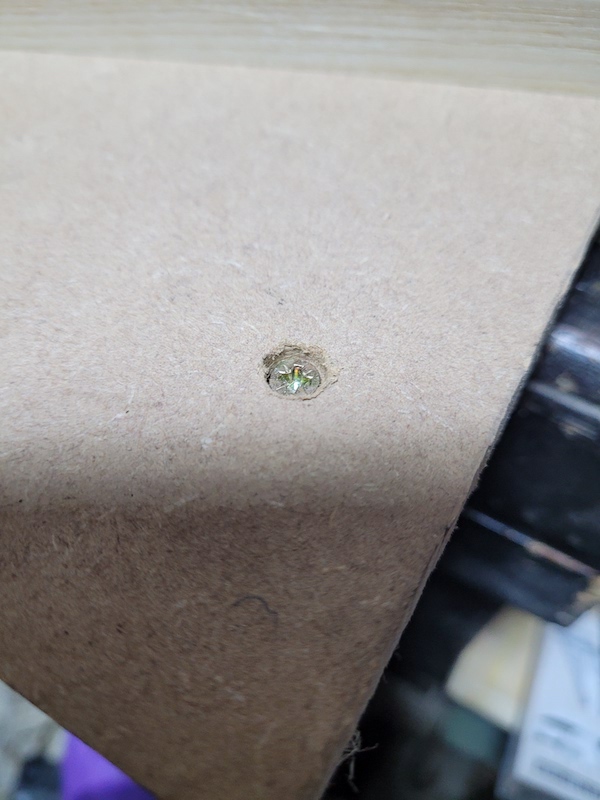
Drill and countersink the screw holes. I put 8 screws in at fairly even intervals. I try and leave the 6 to 8 inches in front of the hardwood stop screw free to reduce any possibility of the drilling causing warp on the most commonly used reference surface. The holes in the MDF are slightly larger than the screw shaft, but smaller than the head.
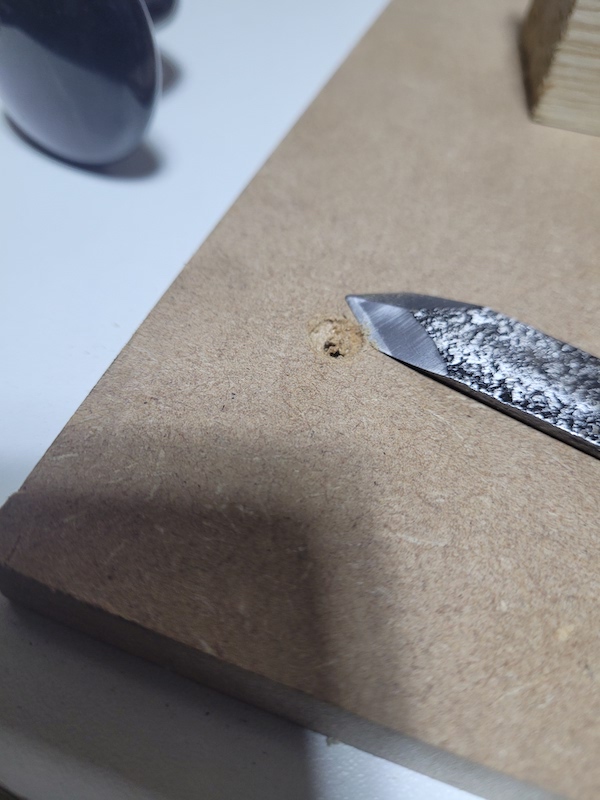
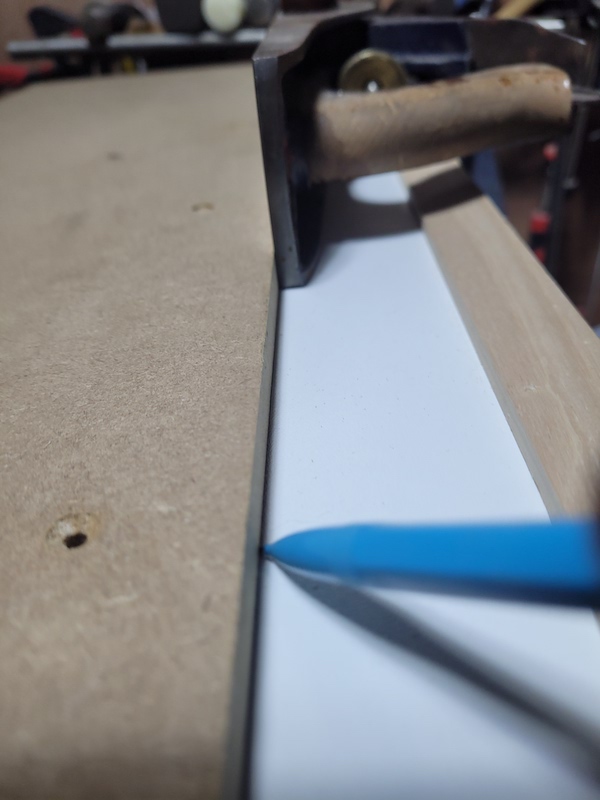
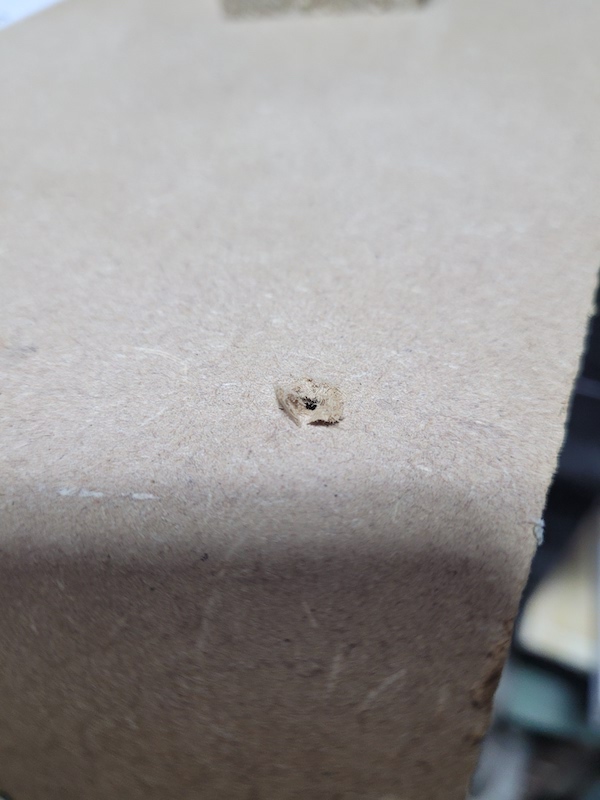
Countersinking tends to leave some raised areas around the drilled hole in the MDF. I use my marking knife to clean that up or you will have a bump on your board. A paring chisel or a little sandpaper would do fine too.
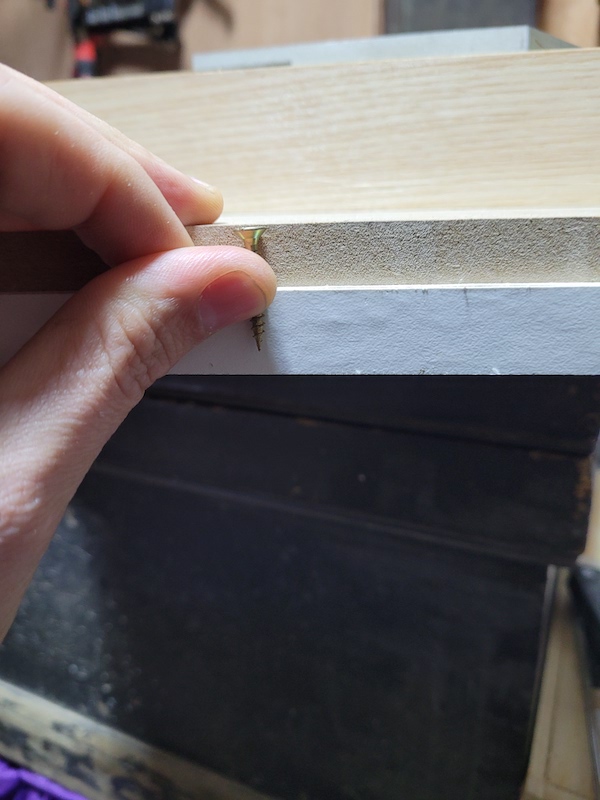
The holes will probably have a bit of an exit wound on the bottom. Clean this up too so when you screw on to the melamine panel it will go on nice and flat.
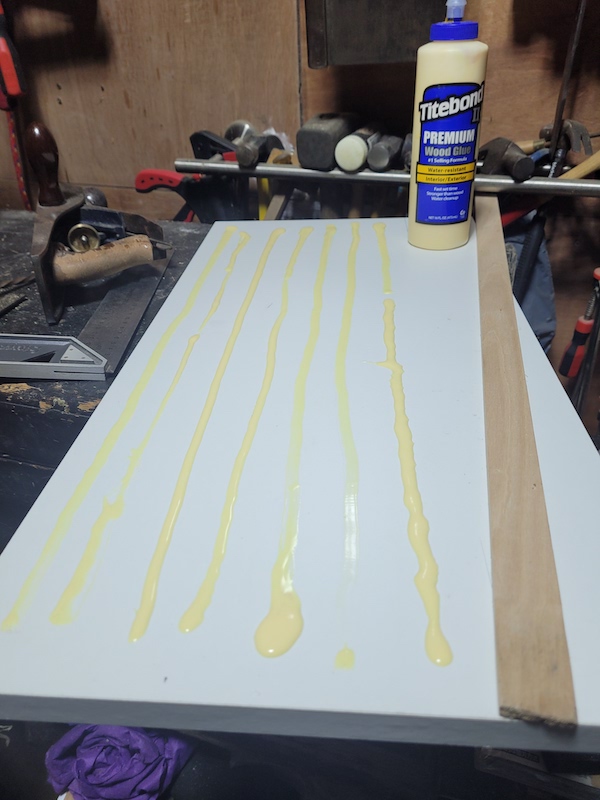
Put on the glue. Go easy with the glue on the plane track side. I stayed about 2 inches away from it, and still got a little squeeze out. You do not want hardened glue on your plane track. You can clean it out, but it is easier not to. The combination of screws and glue are going to do a good job here without a ton of glue needed.
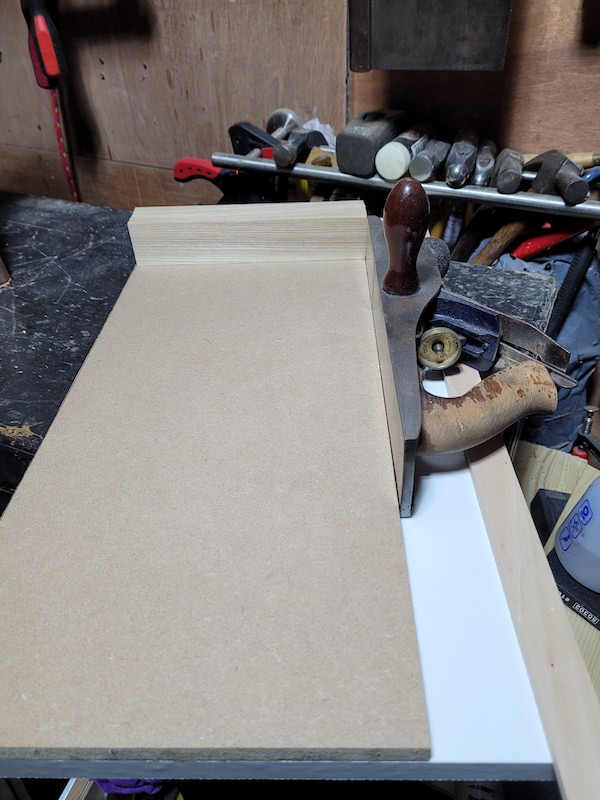
Drop your MDF on the melamine, make sure everything is lined up and sink your first screw. I tend to start by screwing two opposite corners. I line everything up, sink the first screw, check/line it up again and sink the second. At that point its immobilized and you don’t have to worry about position again. I use a square to make sure the upper MDF edge is at 90 degree’s to melamine platform, but it really does not matter if its not perfectly 90. Check for squeeze out every few minutes and clean it up immediately. You can go in later with a knife or paring chisel, but its a lot easier to deal with it now.
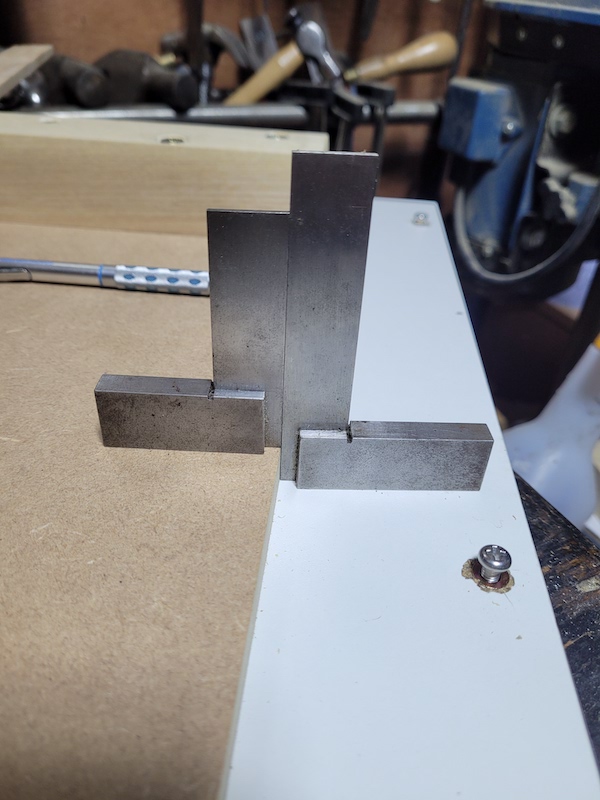
Now is a good time to check that your track is square to your platform. Take two squares you trust and put them back to back. One on the track, one on the platform. You should not see any gaps. If you do, something has gone wrong … this is not going to be a great shooting board. Get the boards separated before the glue dries and see if you can find something protruding. Maybe a but of crud on the side of a screw hole.
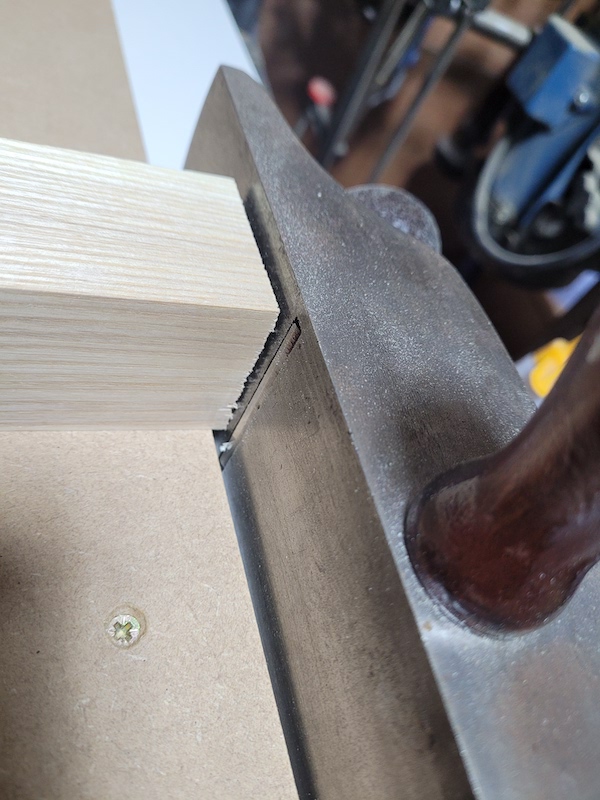
Once the glue has dried you should do the same check all along the track. If you missed a bit of squeeze out somewhere, this will find it and you can clean it up.
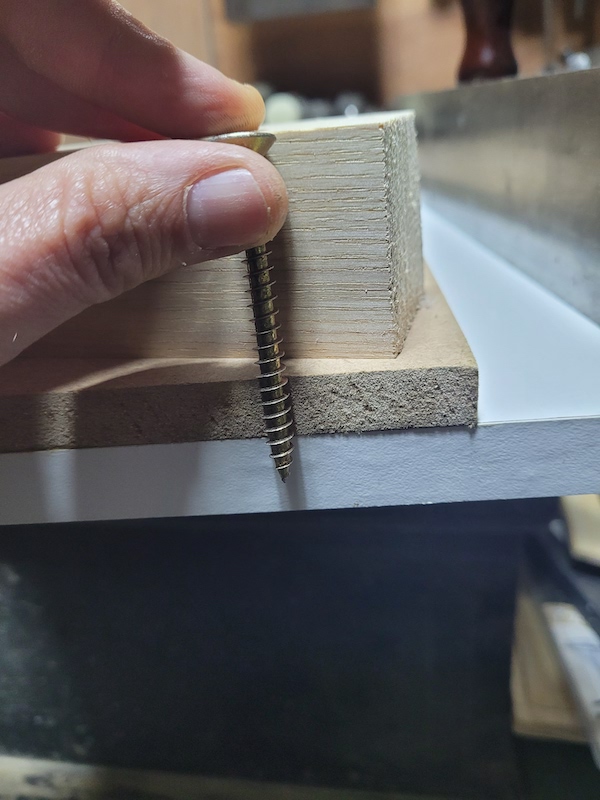
The off-cut I’m using for the stop is about 2 * 2 inches. Check that when the plane is in the track, the stop will not be taller than the plane mouth. When you first start using the board, the plane is going to cut a little into the platform and the stop. It will bottom out when the stop and base meet the part of the plane sole at the side of the mouth.
I attach my stop a little over long, and then let the shooting plane square it off and level it out. This will not work if its tall enough for the plane to bottom out early on the top, and then your plane will not cut the workpiece square.:. If the piece you are planing on using is too tall, don’t worry about it, just cut the corner off with a saw making it low enough.
You need to make sure the bottom of your stop piece is flat, and 90 degrees to the face that your work will butt up against. Once those two sides are flat and square to each other, the top and back do not matter. Plane them to be pretty if you like, but don’t worry about them.
Again pick a good sized screw for the job. I might seem a paranoid about this. I might strike you as someone who has screwed his workpiece to his workbench more than once. That is all in your imagination and has never happened…
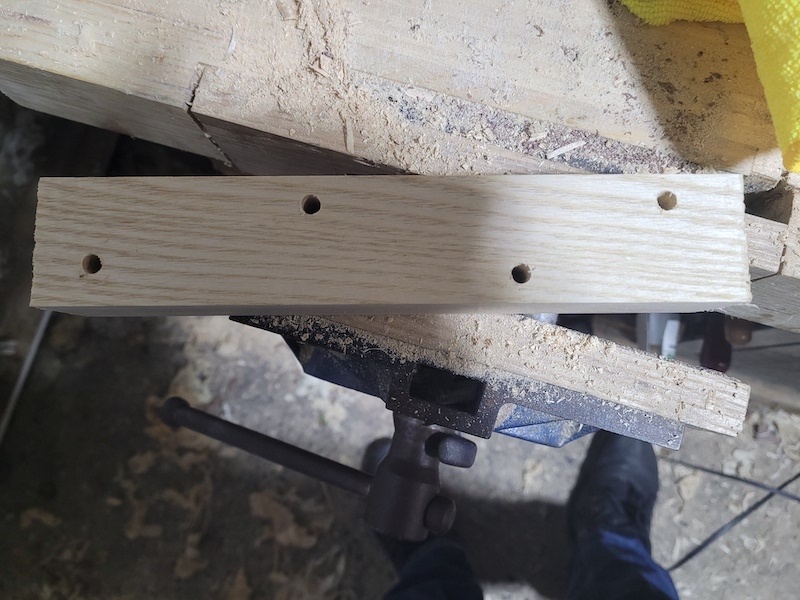
I like to stagger the screw holes in the stop like this. An early shooting board I built had a straight line of screw holes, and over time they managed to work loose as repeated impact rocked them back and forth. This pattern has proven far more reliable. I counter sunk these holes as well, it’s not necessary for the function of the board, but when the screw heads are below the surface you are not going to snag your hands or anything else on them.
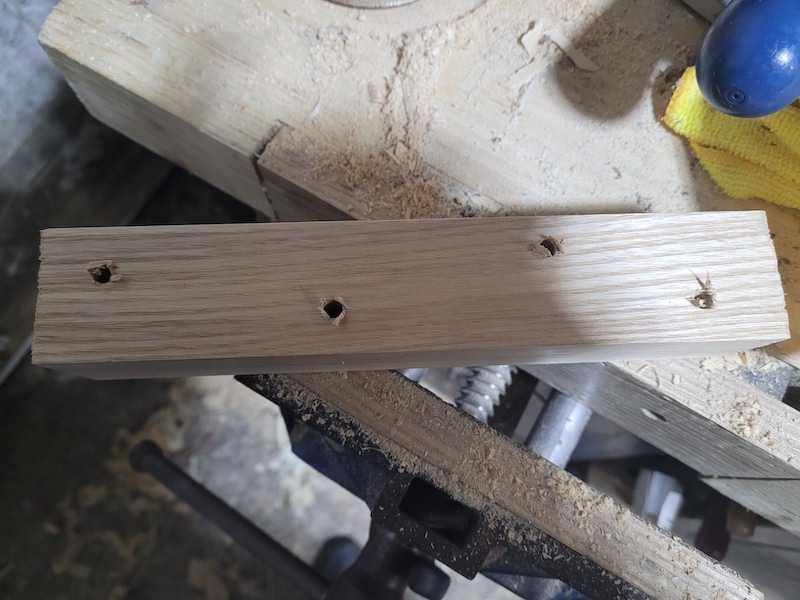
Clean up the exit holes from drilling, or your flat bottom will not be very flat any more.
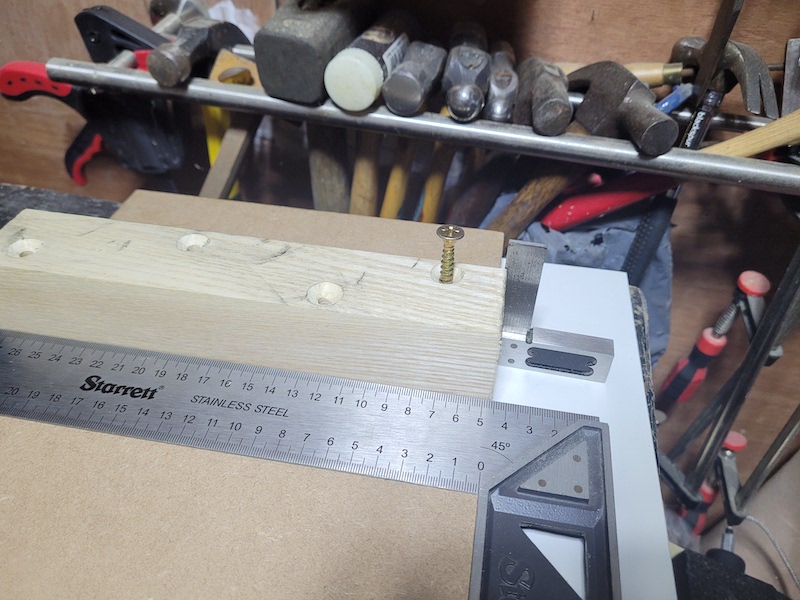
Time to screw the stop on. First pay attention to the square at the back. The stop is slightly protruding over the track. The end of the off-cut is not perfectly square, so I want to make sure there is a little extra sticking out. Just using the shooting board will square up the end, but if its at an angle, some part of it might be too far back.
I position the stop where I want it, put a large square on the edge of the platform and line up the stop 90 degrees to the edge. Hold it down and drive the screw home. There is a good chance you will no longer be at exactly 90 degrees when you are done. Check again with the square and correct. As there is only one screw in now, the stop should still be movable with a bit of force. Make sure its exactly 90 again, and put the screw in the far end. With any luck it wont move while you put in the second screw, and you are done.
If you do put in that second screw and realise you are not quite at 90 degrees, don’t panic. Take that screw out, and try again using one of the other holes (if you try the same hole again, the screw will slip into the same place). Once its locked in you can drive the other screws without taking it out of 90.
Some people glue the stop down. I prefer not to. It can move or warp or come out of flat over time, Its pretty easy to remove it, true it up and put it back in when its just screws, or replace it entirely. Glue really means making a new shooting board if any of that happens.
That’s it for now. Next week I’ll hopefully have photos of putting the cleat on, making the adjustable fence, bedding in the board and actually shooting.