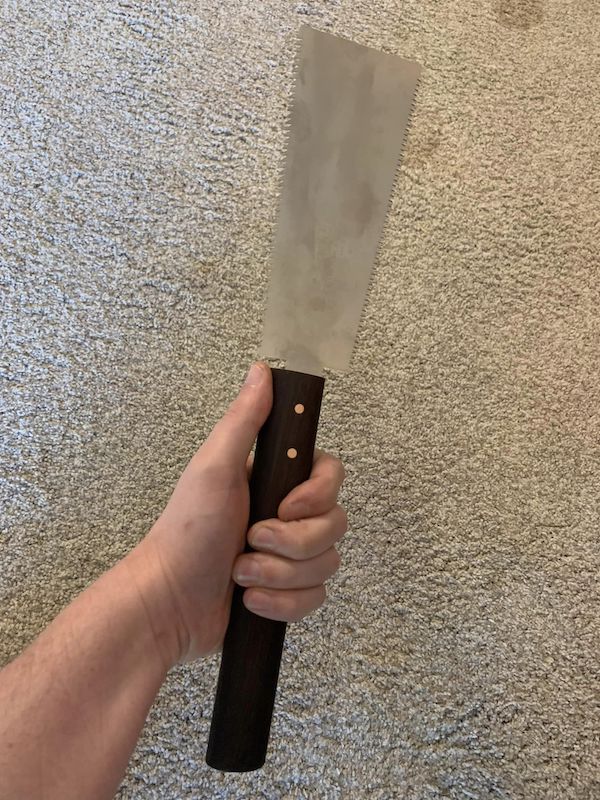
Making a Pull Saw Handle
I’m lacking a smaller crosscut bench saw. One day I dream of having a 16” Greyhound Toolworks panel saw. As a stand in I’ve been using a ryoba saw quite extensively. It’s actually a great bench saw. I do have to give myself a little bit more room from the line than my push saws as I find the cut does tend to wander with the grain a bit in long cuts (that has to do with my pull saw skill, not the saw), but it gets the job done quite readily. For anyone just starting out and on a budget, a ryoba saw that is both a crosscut and rip saw in one is a value that you can’t beat with a push saw. I’d recommend using them for kids or really anyone learning about woodworking.
One other really big plus, decent pull saw blades are cheap, as in you can pick up a 180 millimeter (7 inch) Gyokucho Razorsaw Ryoba for $12 including tax and shipping, or a larger 240 millimeter (9.5 inch) saw for $30. All you need to go with it is a handle.
Let me take a moment and discuss the blade sizes. Those two and a half inches make a huge difference in the time it takes to cut, however when you add a 12 inch handle onto a 10 inch blade, you have a saw that is too long for most western toolboxes that are around 18 inches long. So if you want to take your saw with you, get the smaller one, or maybe one of each for a fun matching pair.
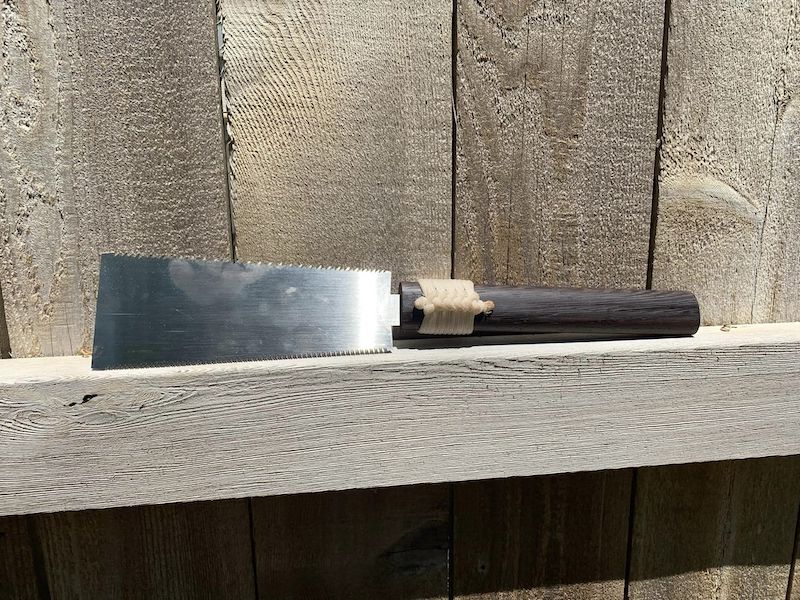
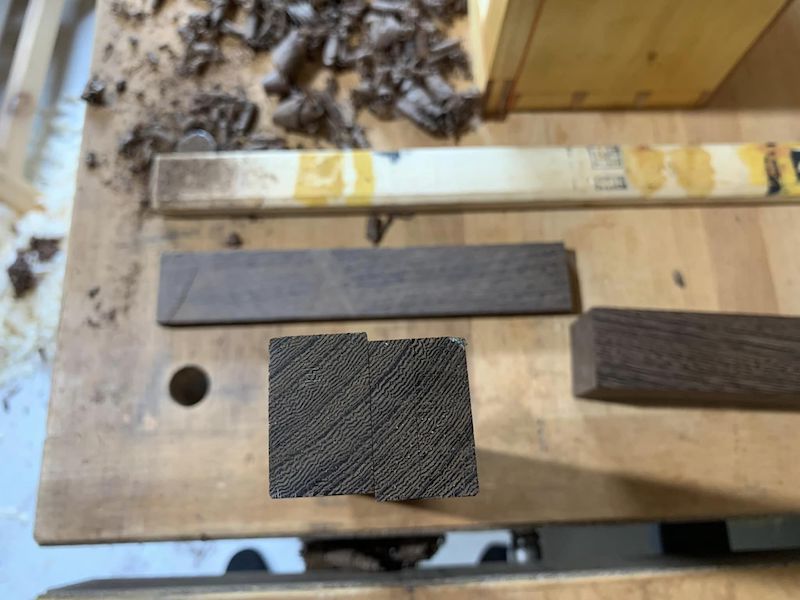
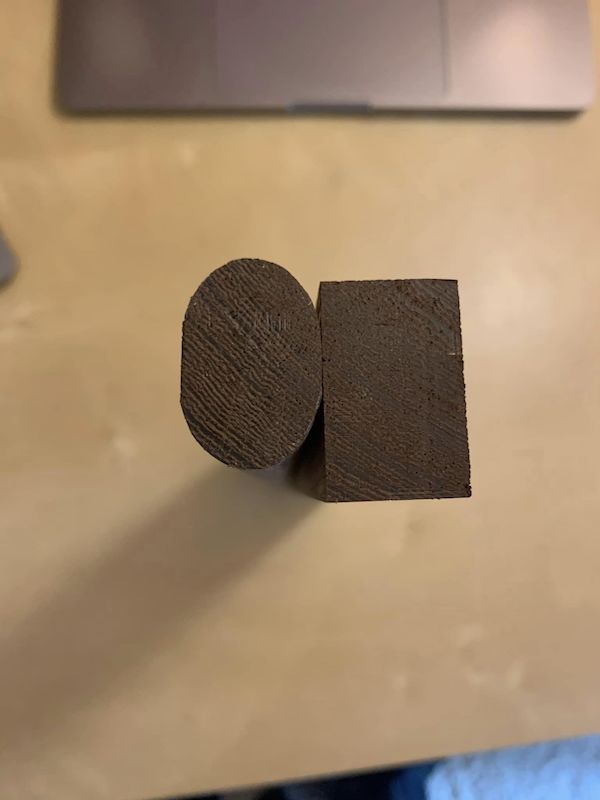
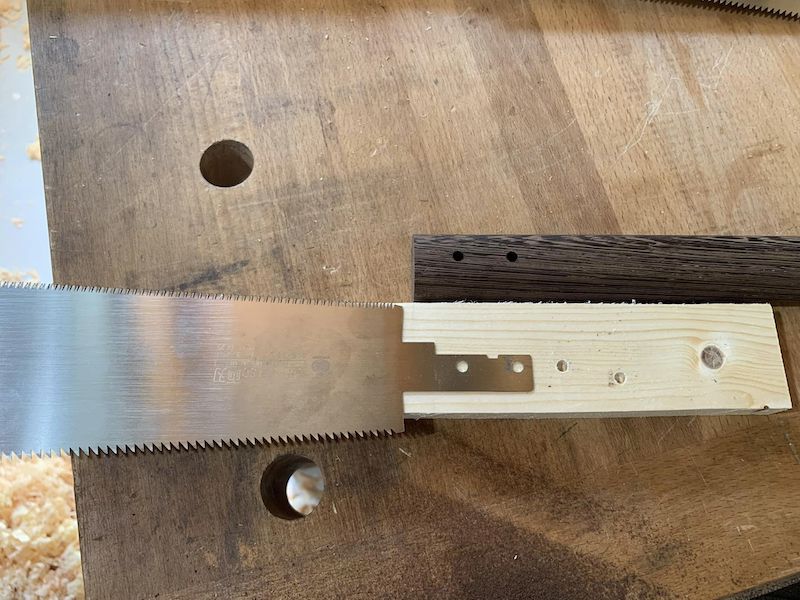
Back to making a handle! I used a wenge cutting board strip, and cut it up to make two handles 10 inches long, 1 1/4 inches wide, and 7/8” thick. After planing to dimensions, I used my plane to round-over the corners with a comfortable radius that felt good in my hand, and I had myself a handle with around an hour’s work.

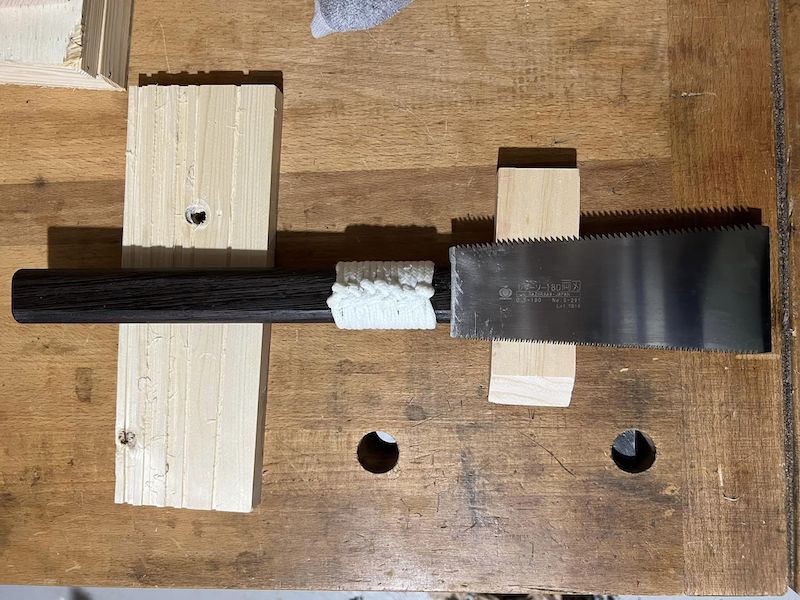
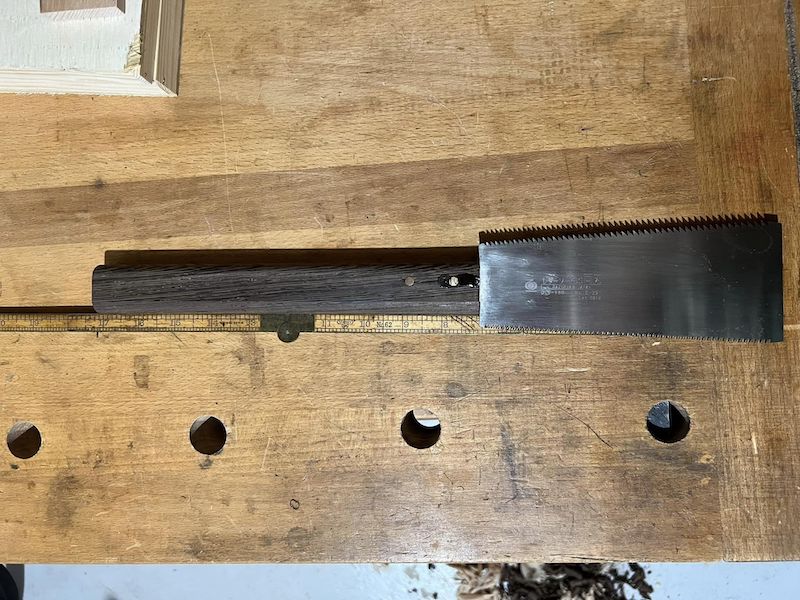
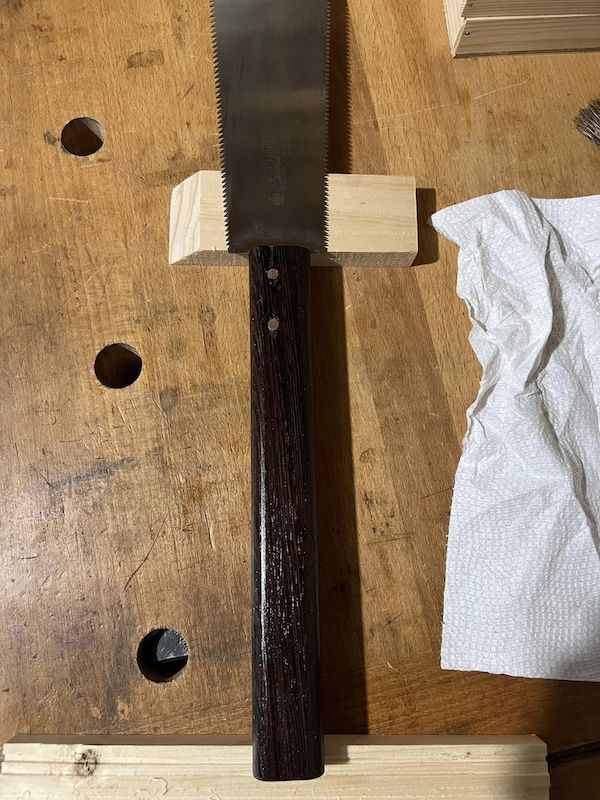
To get the blade into the handle, you can use the blade itself! I found a scrap about half the thickness of my handle, locked my handle between two bench dogs, and using the scrap to elevate the saw off my bench, I sawed slot for the blade with the blade itself. Take your time, and go slow, but in about 10 minutes time I had a very clean and accurate cut. Doing this horizontal with a guide block gave me a much more accurate slot than I could have cut by eye alone, especially given that pull blades can wobble a bit.
Once the blade fits into the kerf, you need to fix it in place. For this, epoxy and clamps work just fine. I had some 3/16” bronze rod leftover from a knife handle, and decided to use pins to hold it. After some drill work, I hammered in the pins and filed and sanded them flush. Be careful with drilling as the saw plates are pretty hard will quickly dull a drill bit. With persistence you’ll get through.
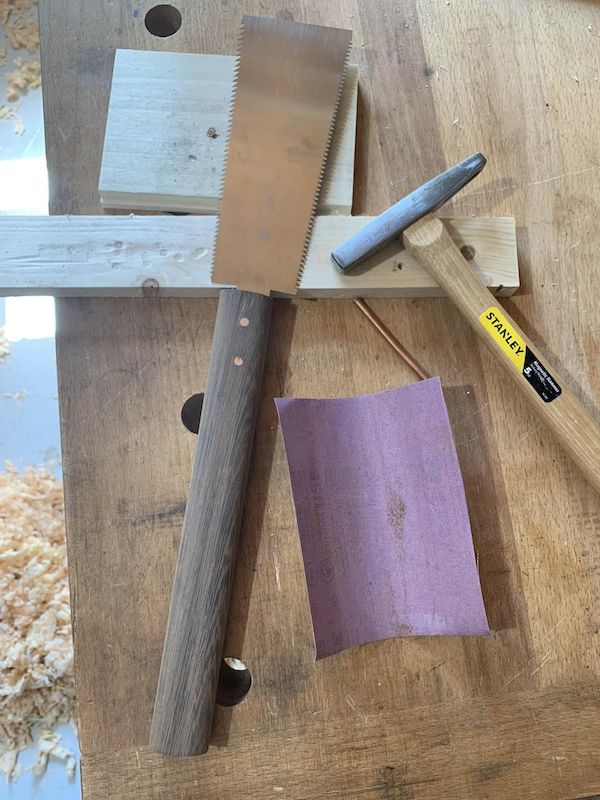
With the blade locked securely in place, all that’s left is to finish it. I used some Walrus Oil Furniture Finish that I keep trying to use up, and let that dry overnight. I then buffed it with Alfie Shine or you can use any other hard wax.
One final touch was to give the top of the saw a paracord wrap. I find this serves two purposes. The first being it looks cool, but the second it acts like a guard so your hands don’t slip on the handle or come in contact with the blade. For the wrap, I followed the the technique in this video. Note the tip about using needle nose pliers in the video, for a tight wrap use them to pull each knot tight as you go. No need to go crazy, but it absolutely gets things more secure than you can by hand alone. You can also run your paracord wrap under hot tap water to get it thoroughly wet and let it dry, and the paracord will shrink even more.
That’s it! A ryoba saw in one afternoon (plus some time waiting on the finish to dry) with minimal tools.