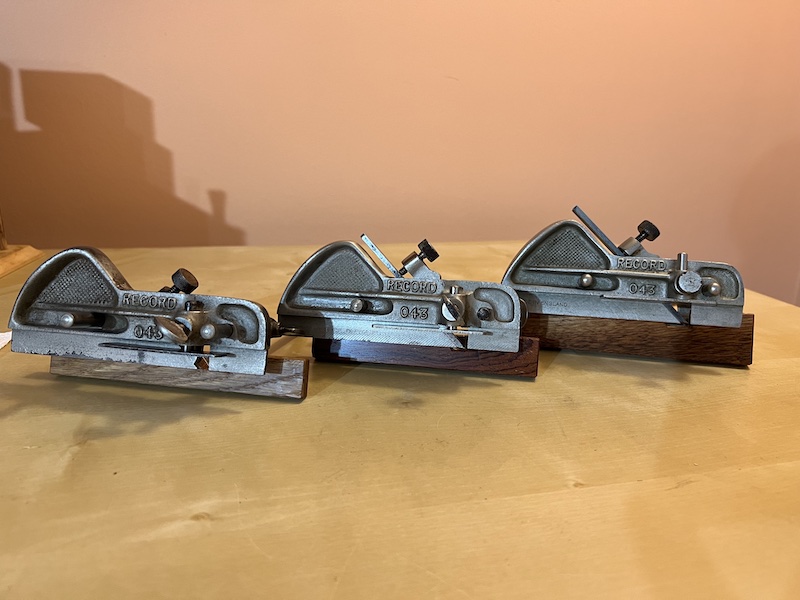
Making a Fence for the Record 043
You might be tired of me posting about parts for the Record 043, and that’s okay. This one is less new, but more about how I can quickly make a durable and good-looking fence for a little Record 043 I’m refurbishing.
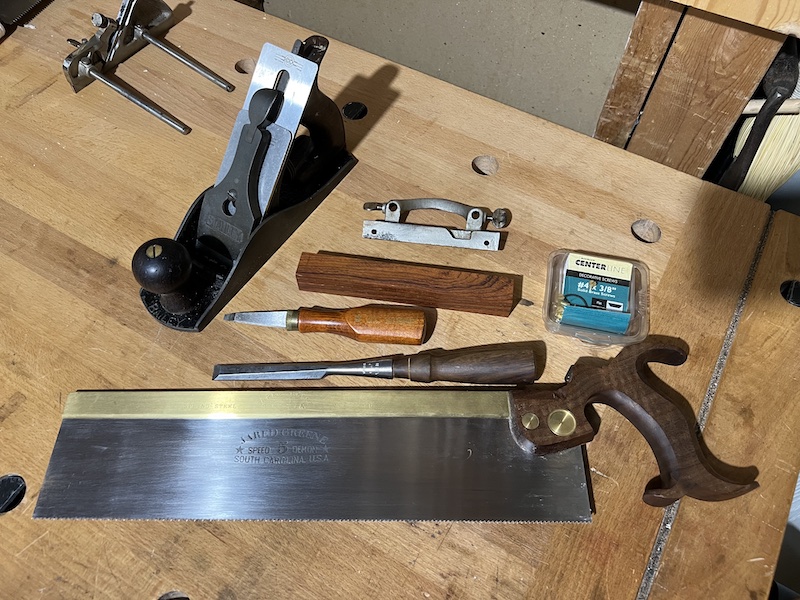
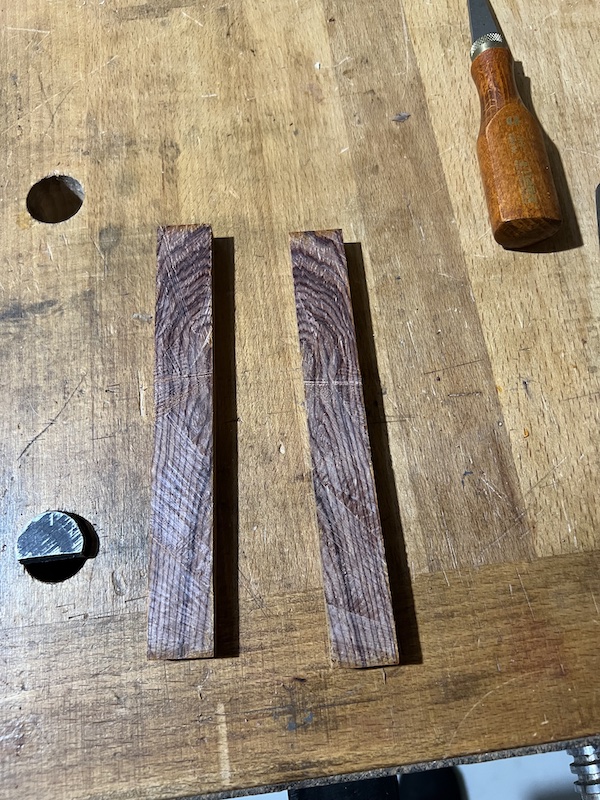
Making a fence is pretty straightforward, and even moreso if you have a good starting point. I like to start with a pen blank, which you can usually find in exotic woods for under $5 here in the USA. This fence is a $5 cocobolo blank I picked up alongside some “bacon padauk” I found at my local lumber supplier. The other advantage to using a pen blank is that you get two tries if you screw up the first. When starting out, I often needed both because I’d overdrill a hole or end up planing the piece too thin (this is easy to do!). In addition to a pen blank, I use a Number 4 plane, eggbeater drill, carcass saw (filed rip), 1/2” chisel, slotted scredriver, and some #4 3/8” long slotted brass screws from Rockler.
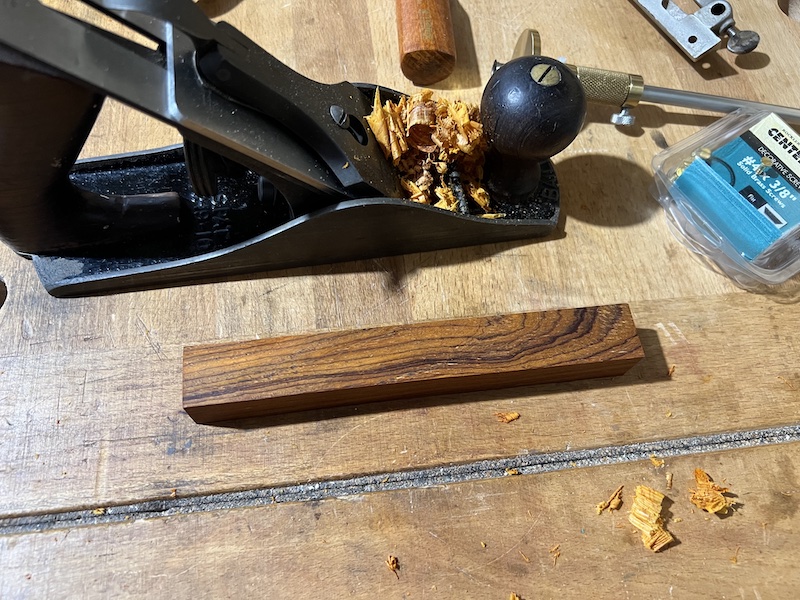
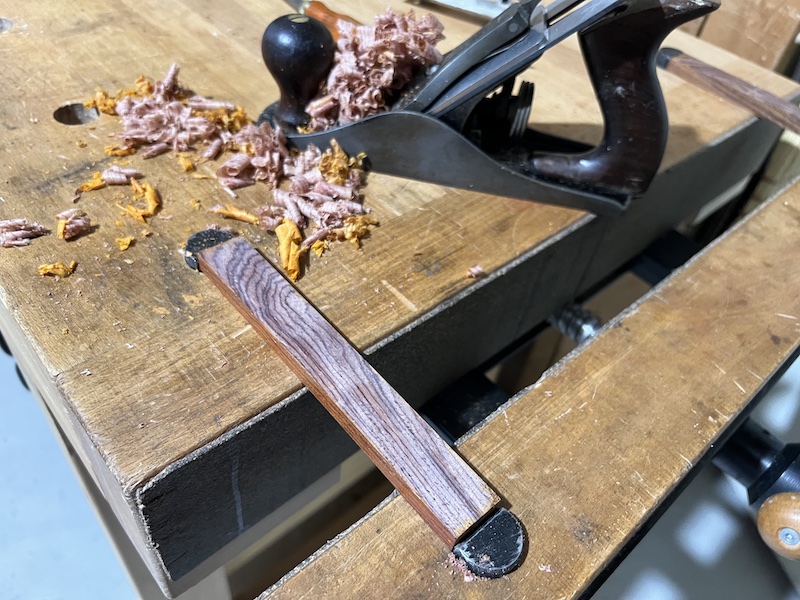
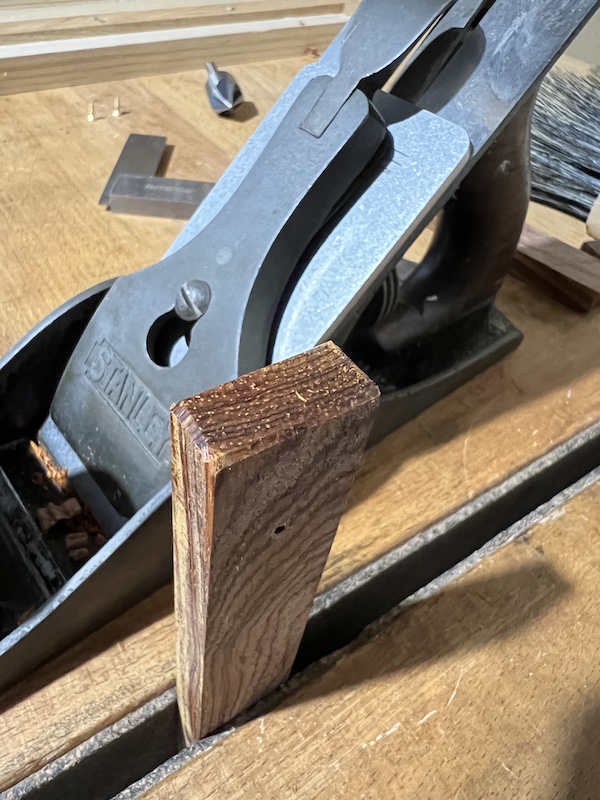
First, start with planing your blank smooth and square. Square is more important than smooth, because if the fence isn’t square, it’s not going to correctly guide your grooves and dados. This freshly sharpened Number 4 was taking feathery shavings from the cocobolo blank.
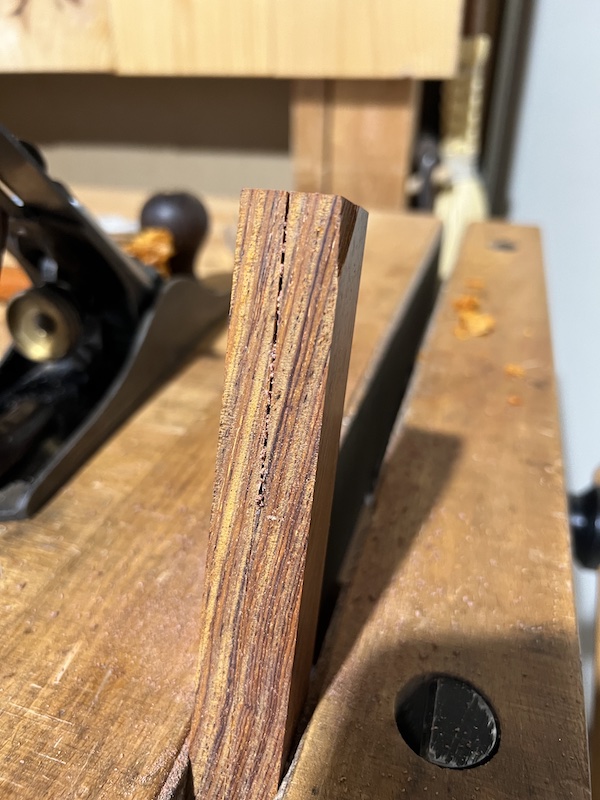
Next rip the pen blank in half. I just go right down the center. You can use a marking gauge to guide your cut, and we’ll be planing off the saw marks when you’re done.
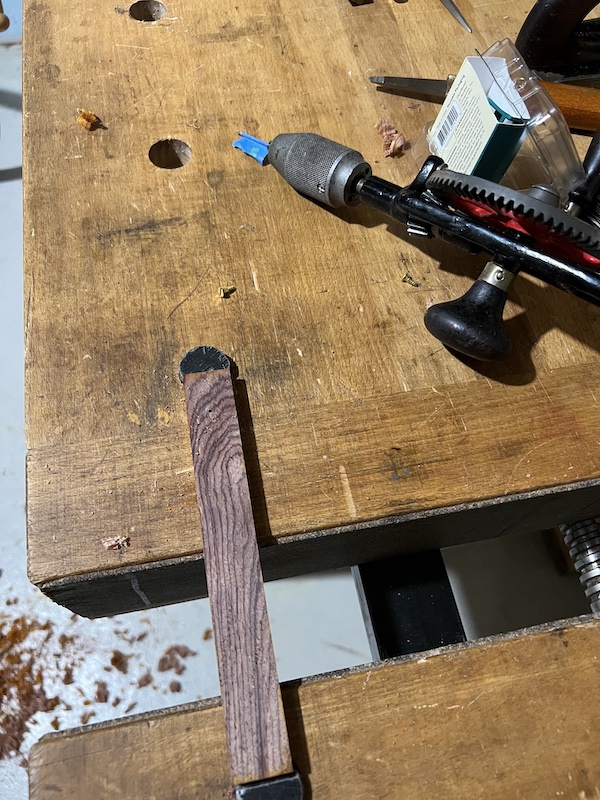
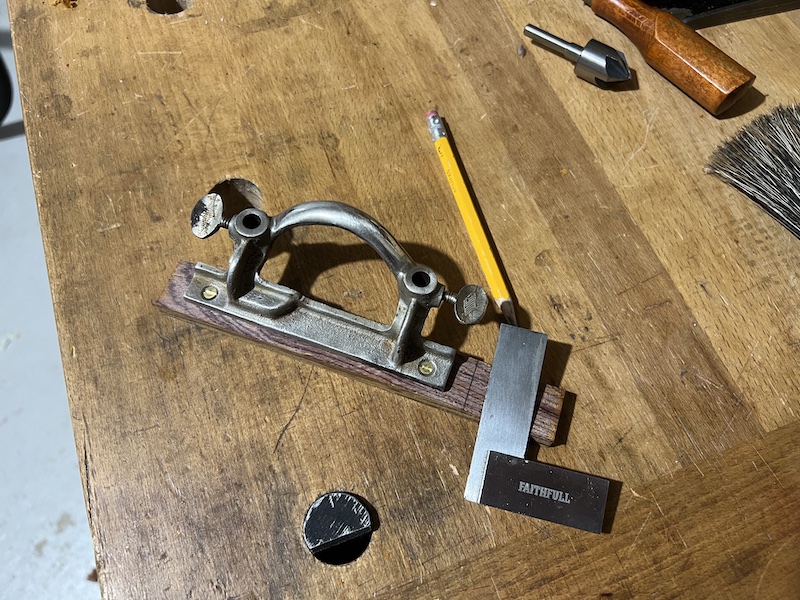
Now we’ve got a square and smooth fence for our 043, we need to mount it. Place your metal fence on top of the wood and use a pencil to mark out the screw locations. I use a 1/16” drill bit in my eggbeater drill and a painter’s tape flag to keep me from drilling too deep of a pilot hole. After drilling, I use a countersink bit and manually twist it around 4 or 5 times by hand just to give myself a bit better of a “target” for starting the screw.
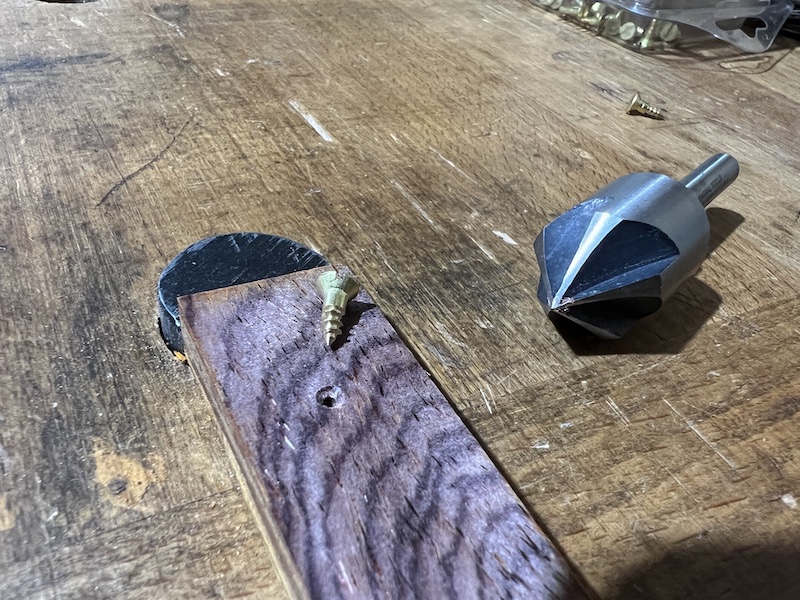
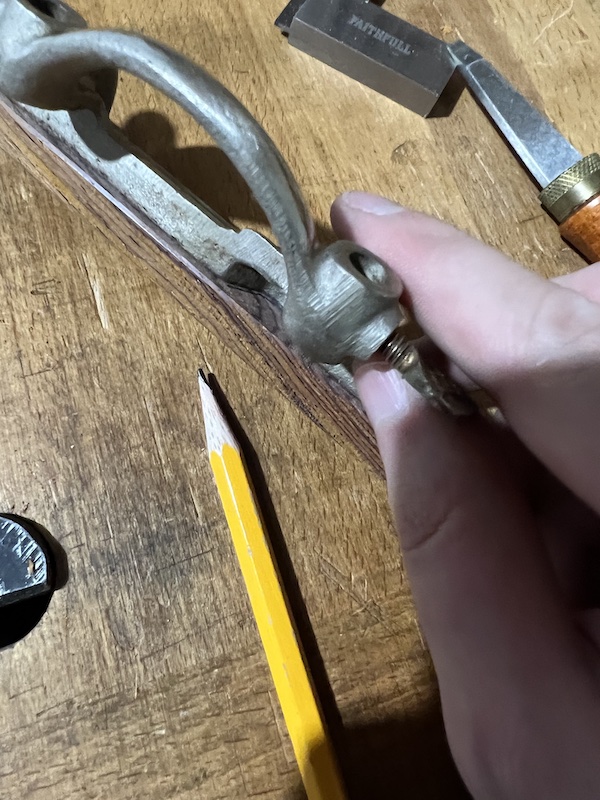
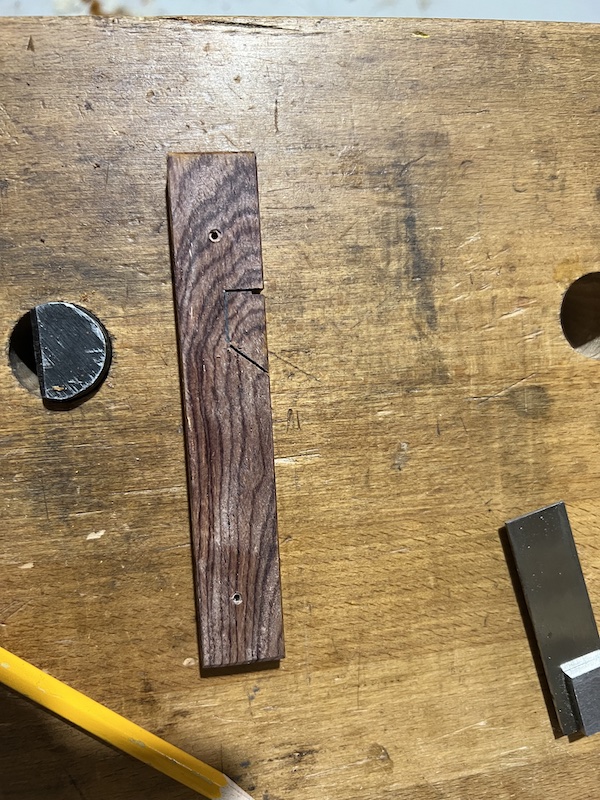
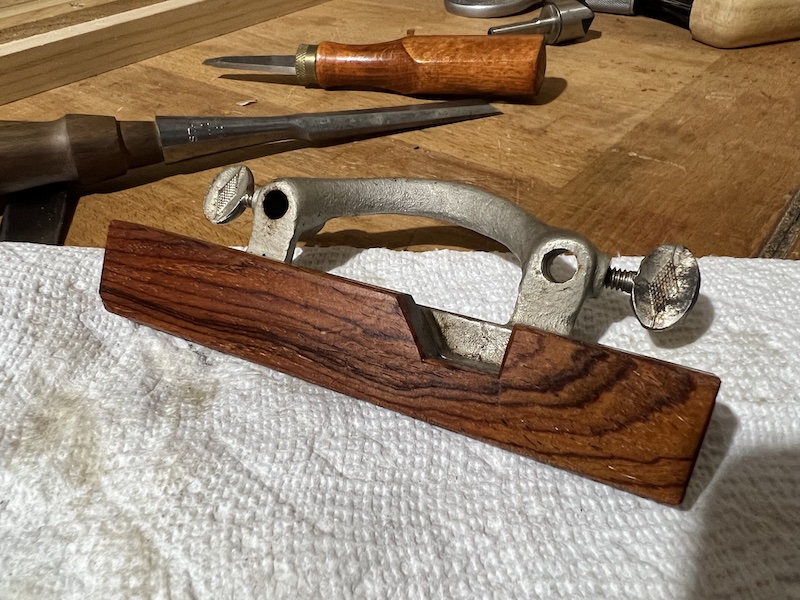
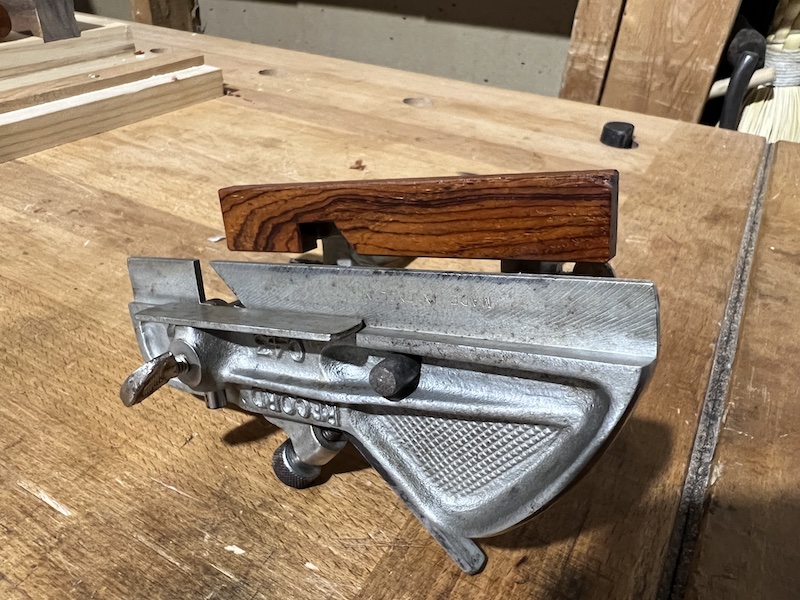
Time for a test fit! Have a hard time clocking your screws? Make sure to always start both screws in the same orientation. If you start both screws with the slot the vertical position, you should be able to clock them to both be vertical or horizontal. With the fence on, make any adjustments to the length of your fence, and also trace out the cutter slot with a pencil.
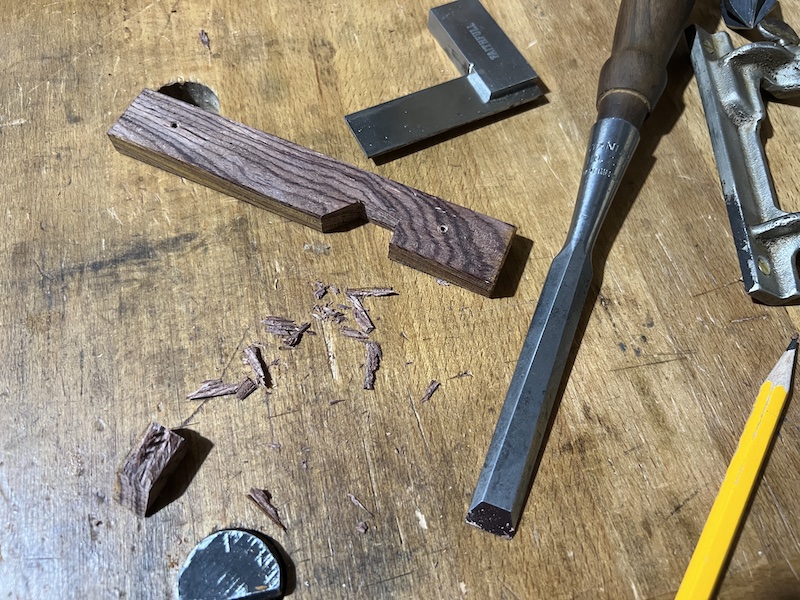
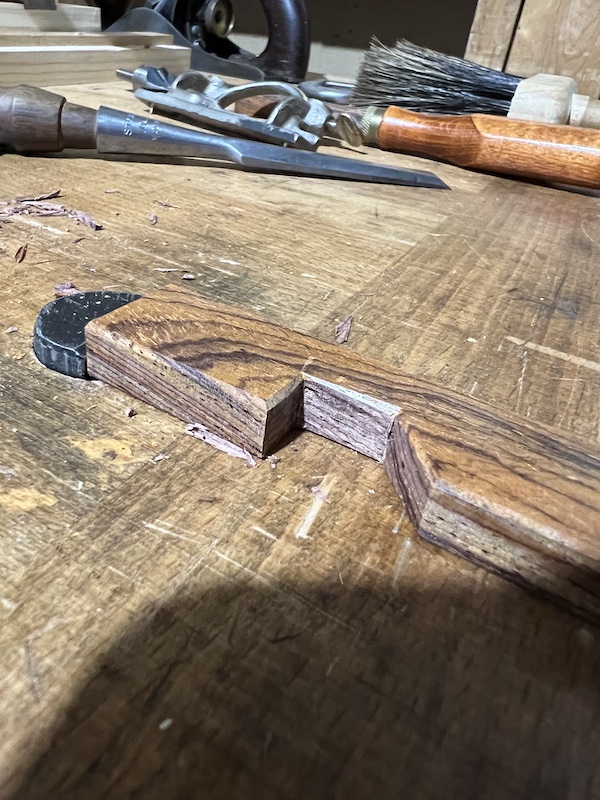
I actually stop here sometimes. Once you’ve got a good fitting wood fence, that’s all you need. However, if you want to do an odd size rebate, you might need to let iron overlap the fence, and to do that you need to cut out a notch. With everything marked up, we can dismount the wooden fence, add a chamfer on all edges, and get to final trimming.
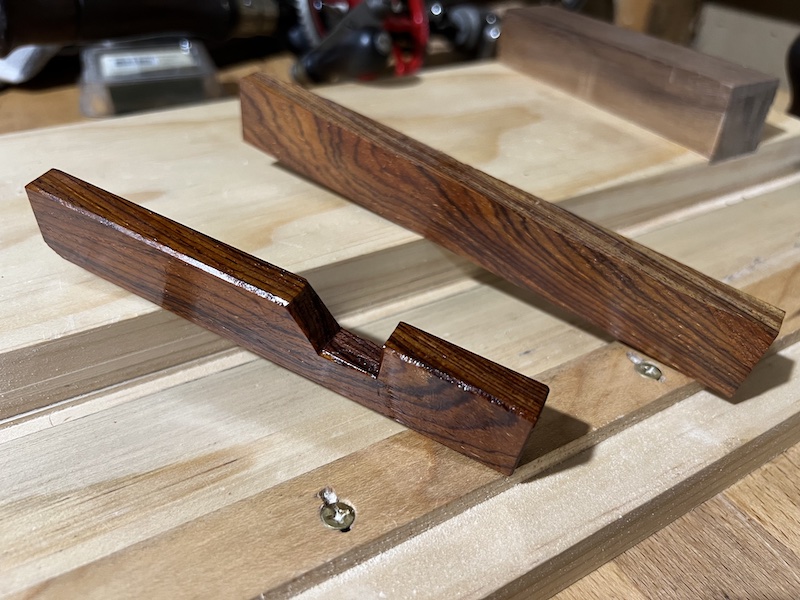
For a finish, I prefer something fast and easy to maintain. This is a beautiful rosewood with nice grain I don’t want to darken, but I want to bring out the richness of the wood. So I am using Walrus Oil Cutting Board Oil. The oil and beeswax mixture will create a very smooth and good looking finish. I rub on just a few drops by hand. I’m not trying to soak the fence, just create a nice finish. The beeswax in the oil creates a really nice, soft finish when it’s had a chance to soak in. The fence will also resist sweat drops nicely.
Once your finish has a chance to soak in, buff off any excess. Here I usually add a coat of Alfie Shine wax, wait another hour, and buff that off as well. You can keep building up coats of Alfie Shine if you wish, giving yourself 3 days between coats… but I’m not that patient.
That’s pretty much it, the whole project takes me probably 30 minutes to an hour cut the pen blank, the notch, chamfers, and apply the finish. It’s mostly about having fun making both a beautiful and functional addition to the 043.