Pins, Plates and Pegs. (Drawboring of course)
I did something the other week that sadly I haven’t had a chance to do for a couple of years. I’d felt the need to do it for some time, it needed some specialised apparatus I keep in the bottom drawer and the relief afterwards made it all worthwhile. I also did some drawboring - the leg assembly of the desk I’m now finishing up. This week I’ll cover the stock preparation and dowel making, actual draw-boring will follow in a future installment.
By drawboring I’m talking about pegging a joint, in this case mortice & tenon with a reinforcing dowel through the lot, offsetting the hole through the tenon component in such a way as to actually tighten the joint, drawing it together without further clamping. Based on the steps below, as soon as I’d driven the pegs home I could remove any clamps and the structure was really, really, err, rigid, even while the glue was fresh. I found as I was writing this I needed to mention a few tools along the way and this along with my enthusiasm for the subject means this has become a two part story, part one is here this week, tune in next week for the next exciting instalment etc.
In particular I’ve acquired some drawbore pins through The Patch which I got to use this time that were a lot more rewarding and pleasant to use than my first improvised attempts without these some years ago. The plate I mentioned is a Lie Nielsen dowel plate and sadly I haven’t seen these second hand.
The desk is all white oak and while it could have done quite nicely without drawboring I felt the oak deserved it. Also in breaking down and recycling an old dining table for this project I had a great deal of the lipping saved from underneath the top, which on two of the 4 edges was short grain, as a consequence of which I had some very nice 6-10” quartersawn oak boards that unfortunately were only 3” long. This troubled me for a second or two until I realised I now had drawbore pegs for life. Now we know where we’re going, let’s get on with the process.
Stock Prep
I split out the rough and oversized squareish blanks from the oak using a froe hit with a hefty bit of tree. Did I mention the froe? Ah well, one more tool on the list but in any case, I’ve also used a knife with success. I have unfortunately put a kink in a fine pocketknife blade doing this but anything a little thicker, especially with a strong bevel like an outdoor knife will do, you want the splitting action of a wedge, not the fine cut of a scalpel. I don’t particularly like a chisel for this, it’s a bit of a balancing act but you’ll know what you’re happy with.
I pared these down to oversized rough octagons before trying to encourage them to become rough cylinders, paring each end and turning it around to do the other end. At no point does my thumb get in front of the chisel edge, at no point do any of my fingers leave my hand and yes, I need to make a new bench hook.
Making Dowels I’m aiming for a rough dowel sized to start a couple of holes larger in the plate than my target size so I can see how the blank behaves, any grain run out etc. before getting down to final size in the subsequent holes. Provided I’ve got close and maybe tapered the leading edge, the plate should start to scrape a nice mushroom of wood upwards as the peg gets hammered downwards. If I’ve overdone the paring or the grain is contrary I may get a flat on the peg at this point but that’s OK, I’ve got a couple more passes to go and I can adjust with more paring.
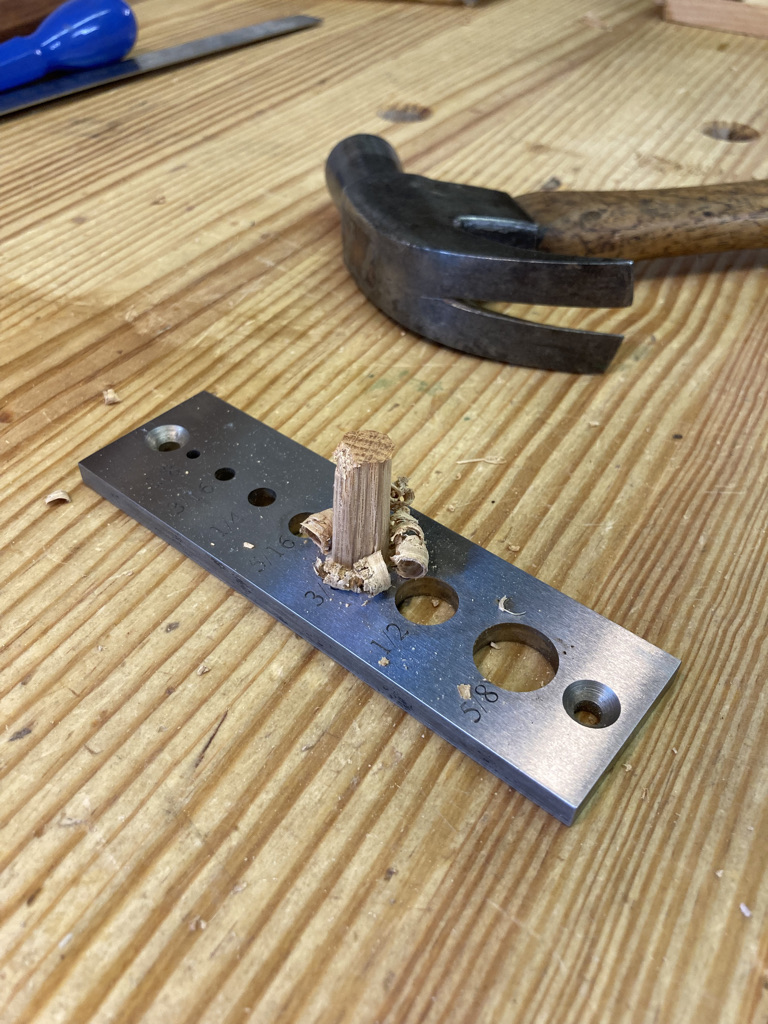
I use a steel hammer (we’ve all got one) to give enough energy transfer and I try to support the plate as closely as possible to the hole I’m using. In this case it’s over a holdfast hole but a drilled scrap block also works. If the peg is basically through the plate but the mushroomed wood is holding it back, rather than setting about it with the claw hammer I’ll finish it with a nylon faced hammer (more tools) to avoid damaging the plate. I’ll then pare the emerging dowel a little more, keeping it even before repeating the above steps on the next sizes down.
I use an imperial dowel plate, although I and my tools are mostly metric. I use a set of Fisch lip & spur bits (bloody good, eject shavings nicely) in metric half sizes but the slight mismatch between say a neat 7.5mm hole and a 5/16” dowel produced by this plate gives nice compression and picks up any runout in the drilling. If you are an imperial shop then the opposite should apply with a metric plate on at least some sizes of dowel – Googling ‘convert 3/8” to mm’ may be required. Overall a mismatch of something less that <0.5mm has worked for me and could be achieved in various ways.
I used a drilled out steel hinge before I had a dowel plate and the countersink of that can help with the ‘release’ on the underside of the plate, the mild steel of the hinge gives a rougher result though and doesn’t last long. The LN has a slight taper machined part-way in the underside too, is harder and unsurprisingly does a better job. I see other makes on the web now but know nothing about them.
And repeat, with a few spare dowels too, just in case.
See the pictures below for details, and next time we will proceed to actual drawboring!
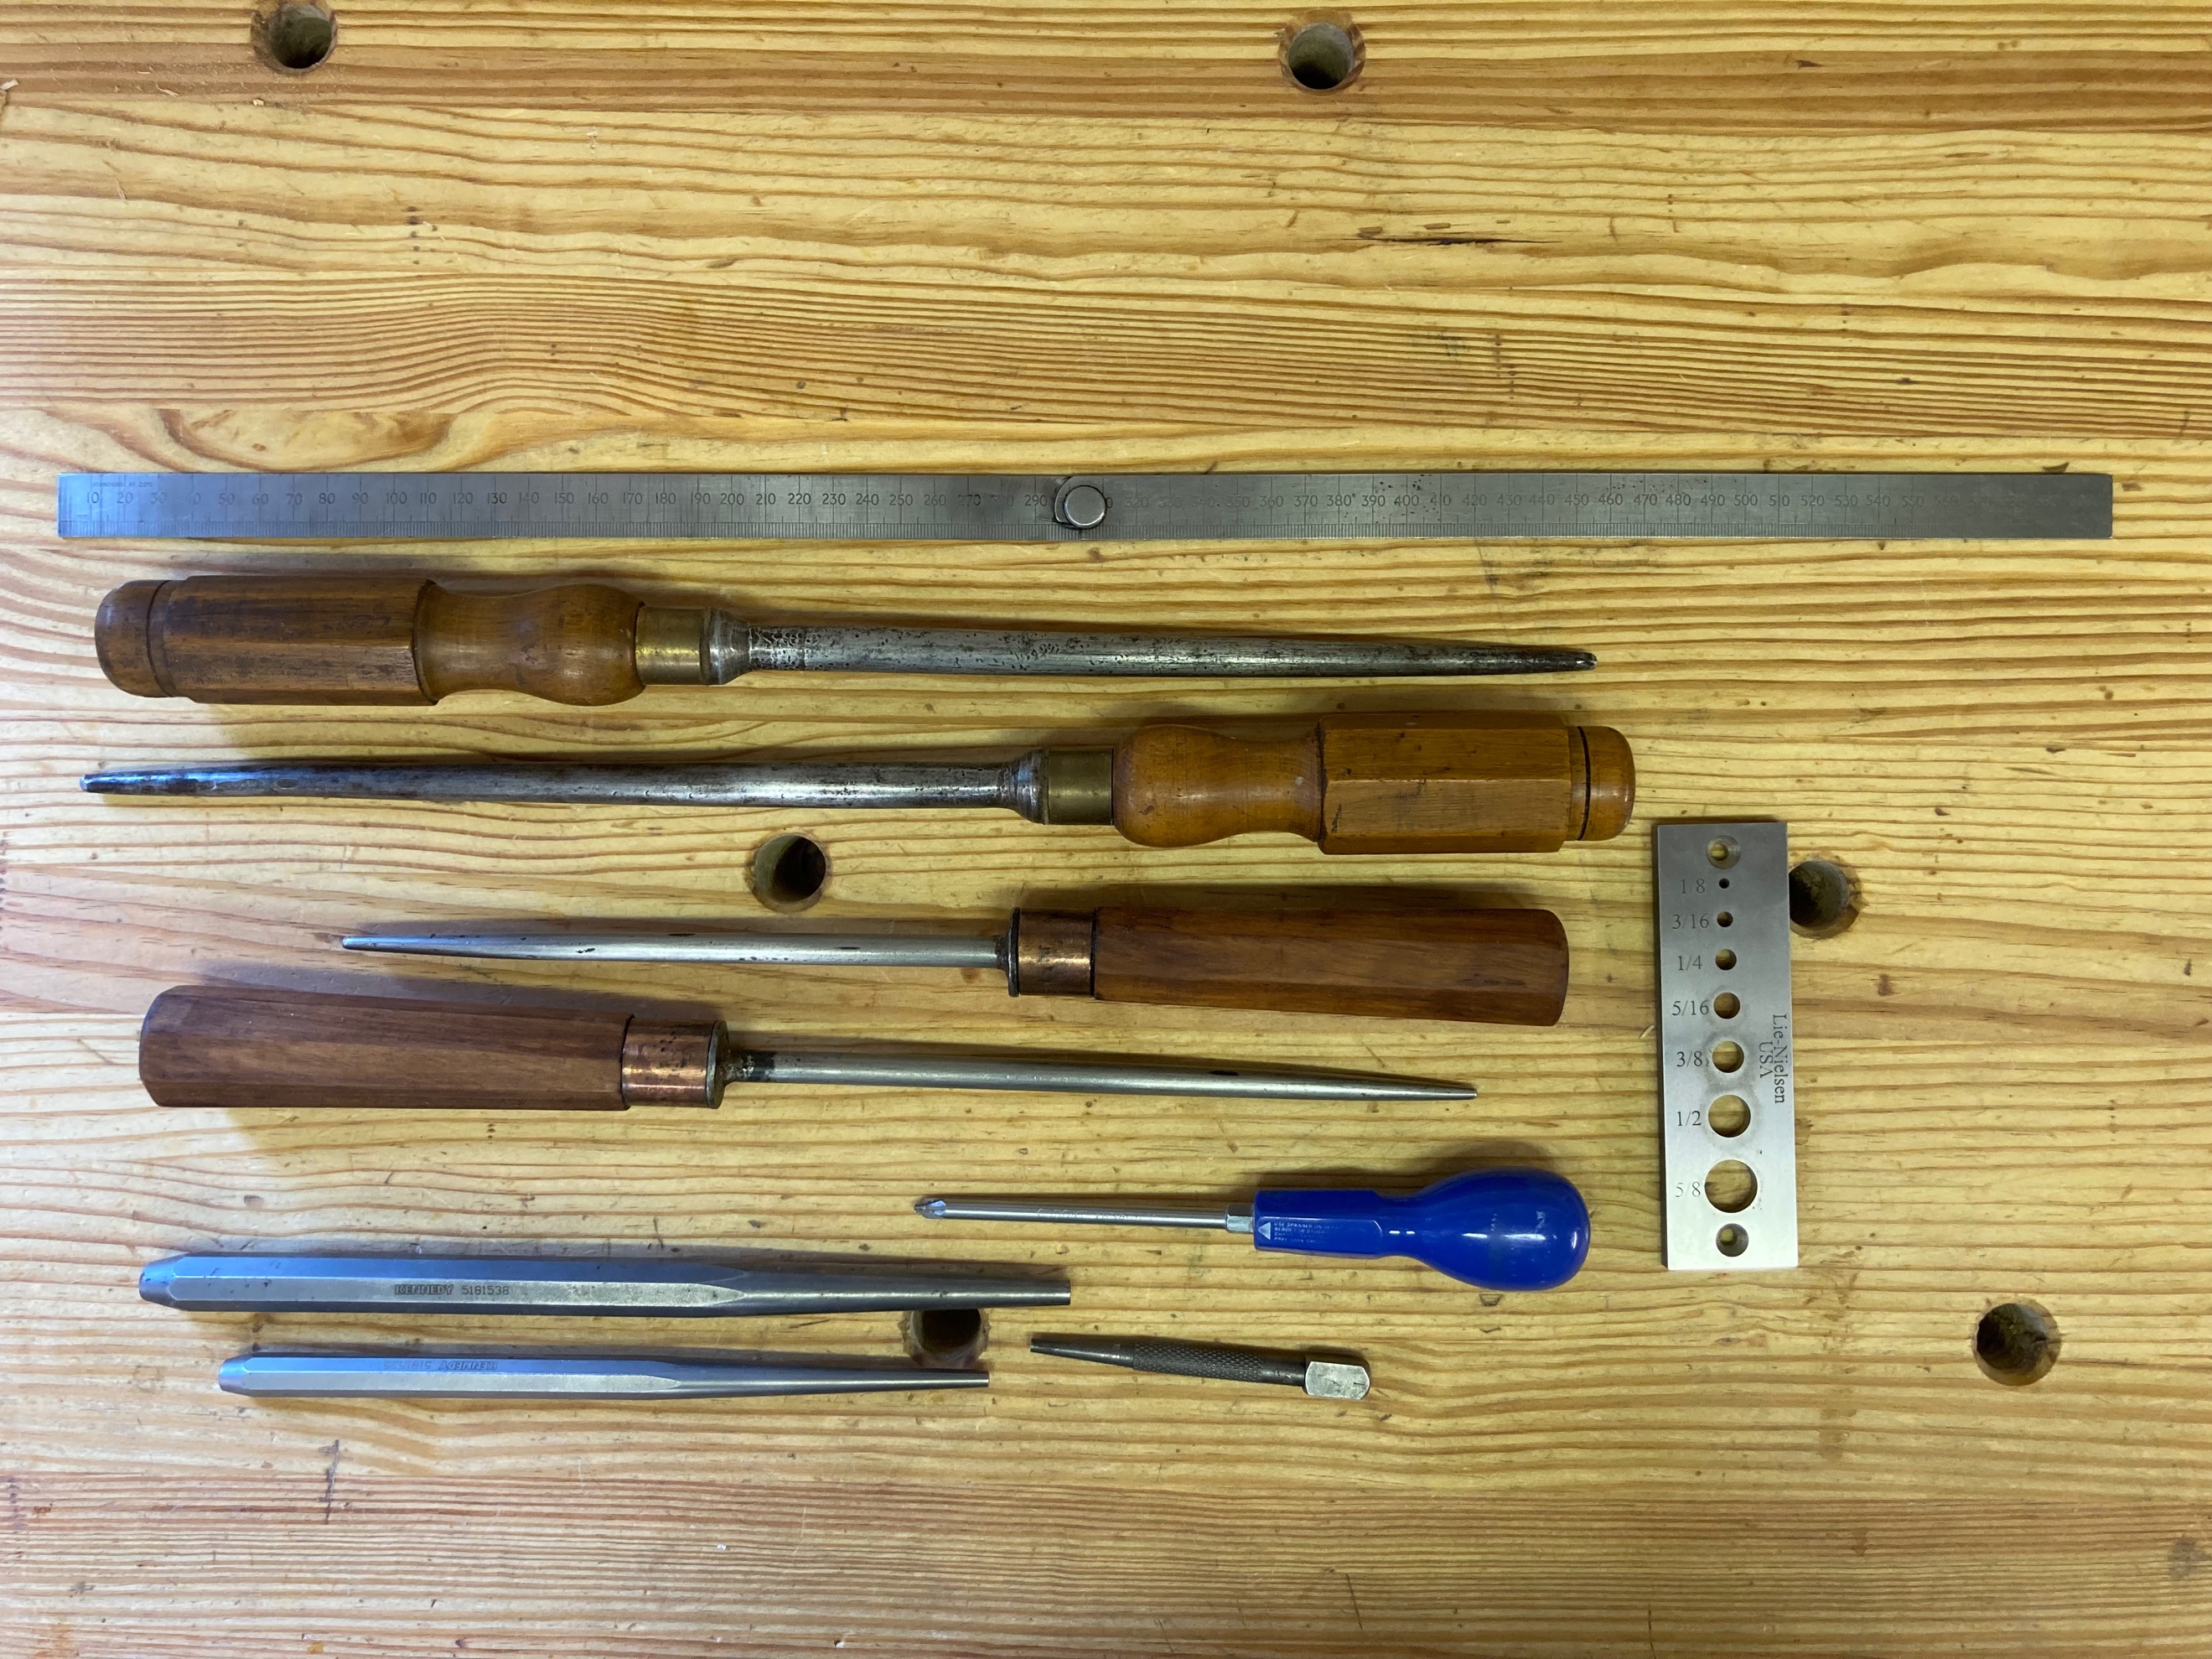 An assortment of draw boring tools
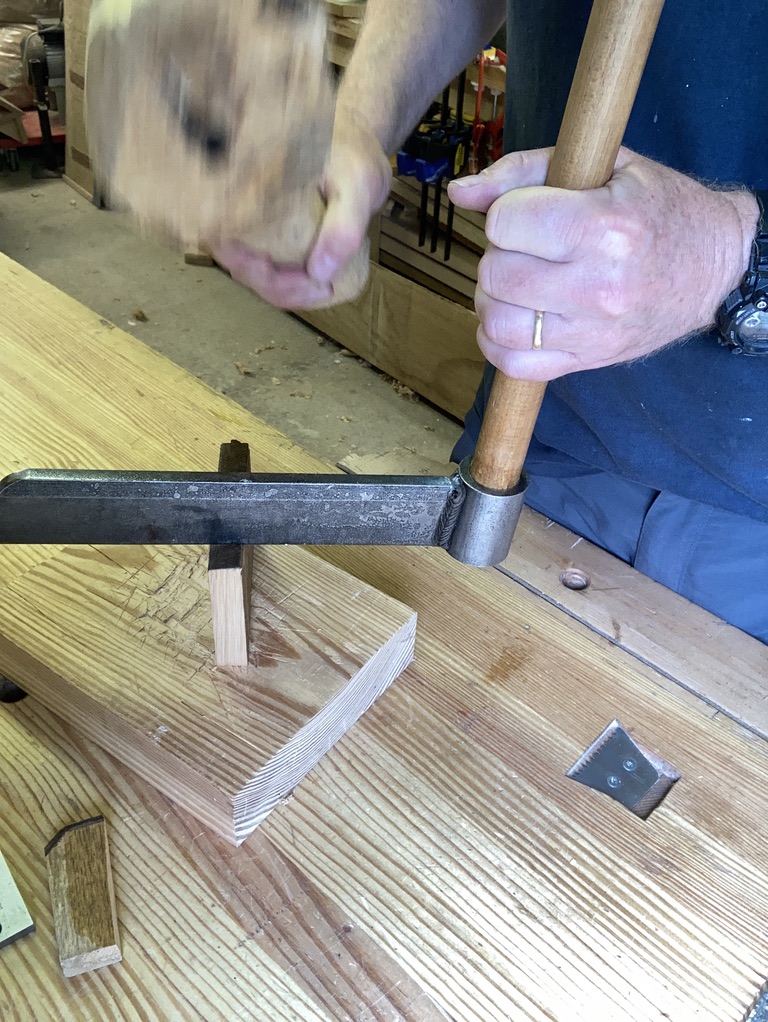 A froe and a big bit of Flintstone-like wood
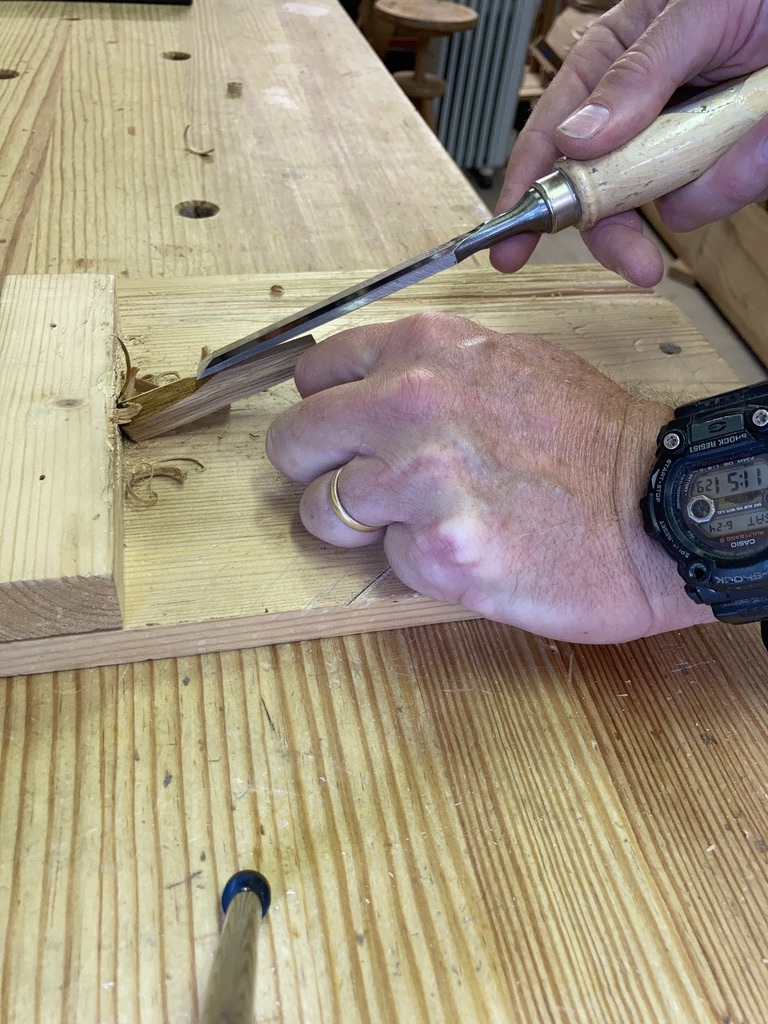 All digits present and correct
 Dowel leaving a mushroom of shavings behind
 Dowel plate and the end result @ 5/16”