Pins, Plates and Pegs. (Drawboring of course) - Part 2
Returning this week to drawboring I mentioned pins, plates and pounding before. I could have added pegs, procrastination and prayer. All that’s coming up next.
Making Holes
I thought about how many pegs and where to locate them, opting for a single peg in a tenon of this size, positioned so the holes on adjacent faces of the leg wouldn’t clash. I also had a little think how close I dared go the edge of the mortice (would the drawbore forces split the mortice wall?) vs how close I’d go to the end of the tenon (would the forces break out short grain?). I thought a bit more, had a cup of something complicated to delay decision time and finally went for 16 mm from the face of the leg, which meant 18mm from the tenon end.
Now the drawbore part – having measured and marked the positions of the hole on the leg, I drilled through the near wall, through the empty mortice and about 10mm into the opposite wall without the tenon in place. I then replaced the tenon, clamped it up and with the same lip & spur drill, pricked a centre mark on it through the hole I just drilled. Taking the tenon back out I then marked a new centre ~1mm CLOSER to the shoulder then drilled through the tenon on this new centre. I now had two perfectly misaligned holes, See the photos below for an illustration of the offset.
Drawbore Pins
Last time I did this I promised myself I’d acquire some decent drawbore pins as I’ve had mixed success and some hastily recovered failures with pozi screwdrivers, centring pins and punches (hence the title photograph). The purpose of the pin is to pass through the offset layers of holes and by pushing/twisting them both help draw the joint together and ease/bruise the path through the misaligned holes for the subsequent peg. The improvised tools either blocked on the outside hole before doing anything much inside or needed to pass too far through the holes before widening up. As I usually don’t drill right through and leave the hole blind this is a problem.
I’ve acquired a couple of pairs through The Patch and although the larger ones in the title pic look like door/gate/ark sized monsters the end 30mm of the taper did the job nicely. These larger ones with London pattern handles ones are also very slightly elliptical, meaning they can be inserted then twisted to increase pressure pulling the joint together. This is a known design feature and I believe Ray Iles makes some like these.
Anyone who’s got this far should now have some nice oak pegs and several holes in legs and rails that are the wrong size and don’t line up. Perfect.
Assembly
Before going for assembly though I do a couple of quick things, firstly I run a block plane over the peg on 3 sides or so to leave slight flats, I cut a notch in a bench hook to hold them for this and avoid losing skin. I also taper the leading ends of the pegs to assist their passage through the misaligned holes, a pencil sharpener does a good job if you have one of the right size. In this case though I was careful not to let the taper go too far – as there was only 10mm of hole in the far wall of the mortice the peg had to be full sized before it was 10mm in.
And so to it, with your choice of prayers. This is where it can go very wrong if a peg goes halfway in but won’t go further, hence the careful preparation with pins and tapers. A bit of glue goes on mortice and shoulders per your own approach and a little more gets spread on the walls of the drawbore hole. I may use a clamp to close the joint initially but quickly follow with the peg, knocked home with a metal hammer again. The change in tone of the hammer blow as the peg bottoms out is a great relief.
The frame firms up instantly. The tenon shoulders ** really ** need to be square and true though, the pressure from the peg pulling the joint tight means they dictate everything from here. There’s no faffing with angled clamps to true the frame while the glue dries. Add shoulder plane to the list of tools required and do the necessary with pinch sticks/rulers in a dry assembly first.
At some point in the next hour or day depending on your glue choice and preference you’ll need to flush the protruding pegs, again there’s lots of potential for tool choices and purchase here. I use a ryoba laying on a folded sheet of paper with a finger holding it level to the surface to give a near flush cut, then a nice broad paring chisel to finish.
And Finally A couple more thoughts. I made my own dowels and I used oak, these sort of go together as the oak rives well if straight grained and it’s strong enough to resist the hammering through the plate and into the joint, I’ve used ash too. Ready-made dowel rod could work but would need to be straight grained, without runout and be strong enough to survive the process and give strength to the joint. B&Q softwood isn’t going to work.
Lastly, credits on the above go to Chris Schwarz for explaining some of the above in his many workbench books, articles and videos - see Lost Art Press web/YouTube - and also to Richard Maguire/The English Woodworker - via web and YouTube again - for his workbench videos based on years of commercial bench-building. Both sources are informative, entertaining and recommended.
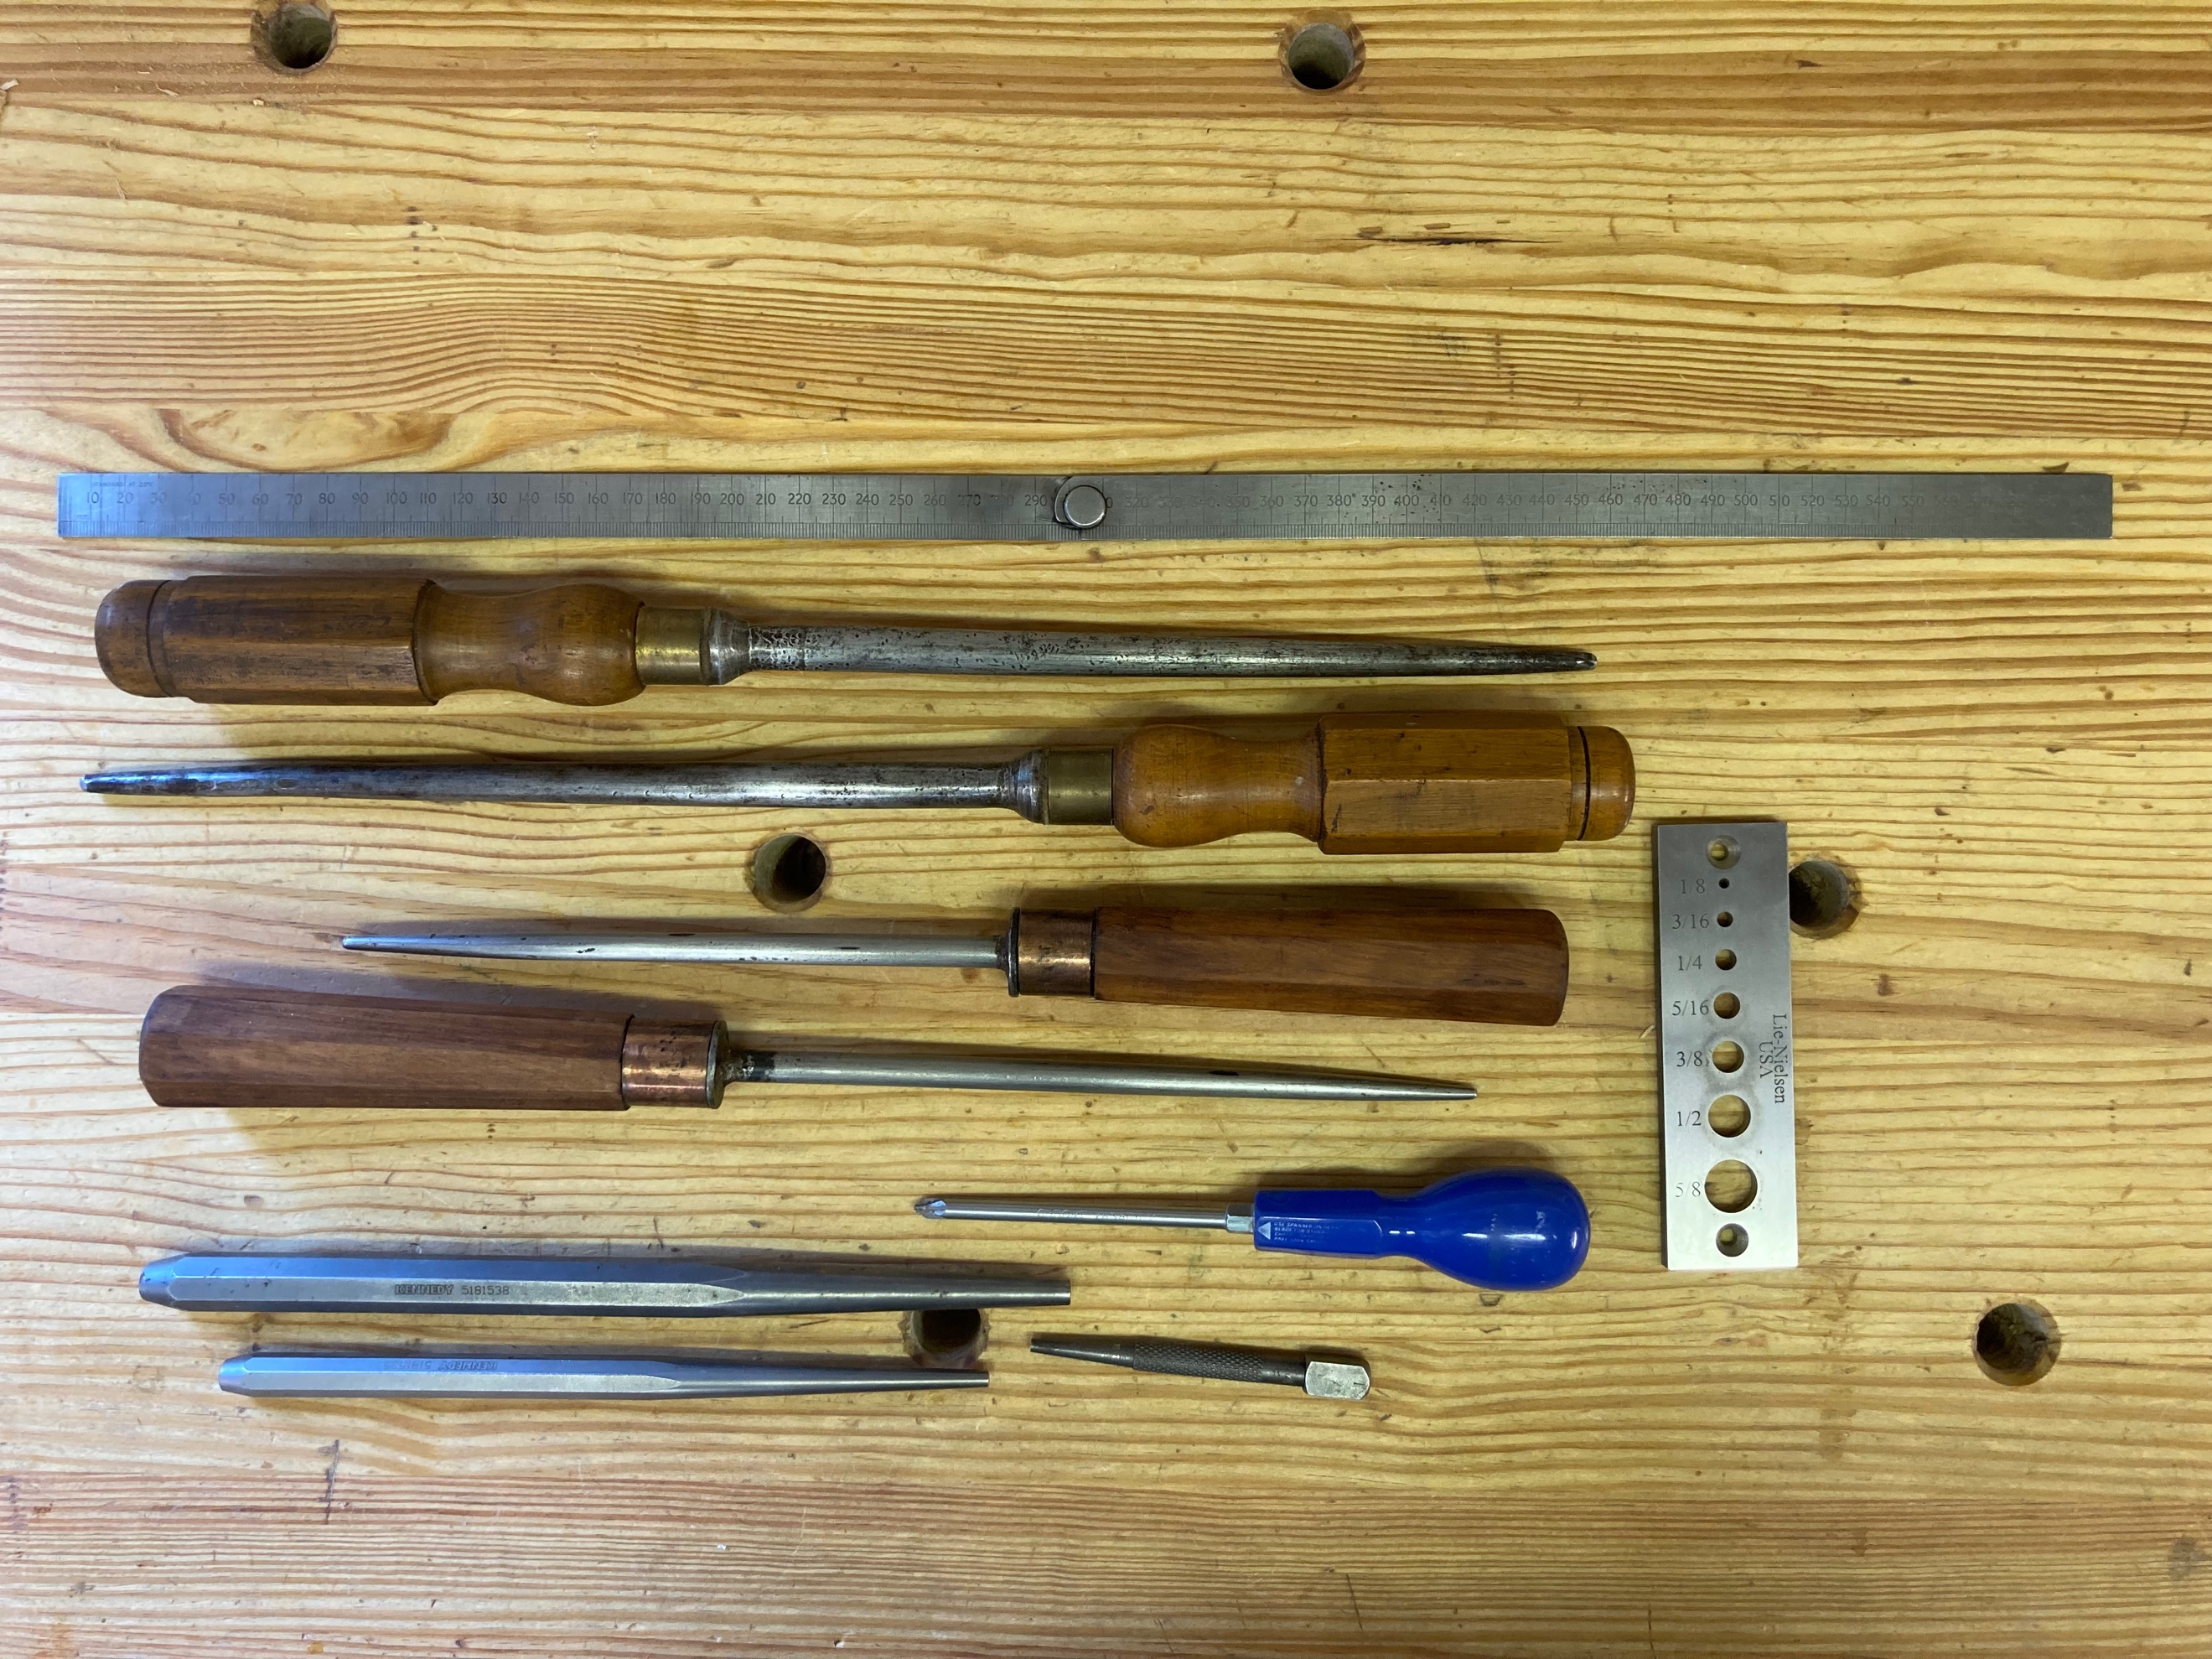 An assortment of draw boring tools
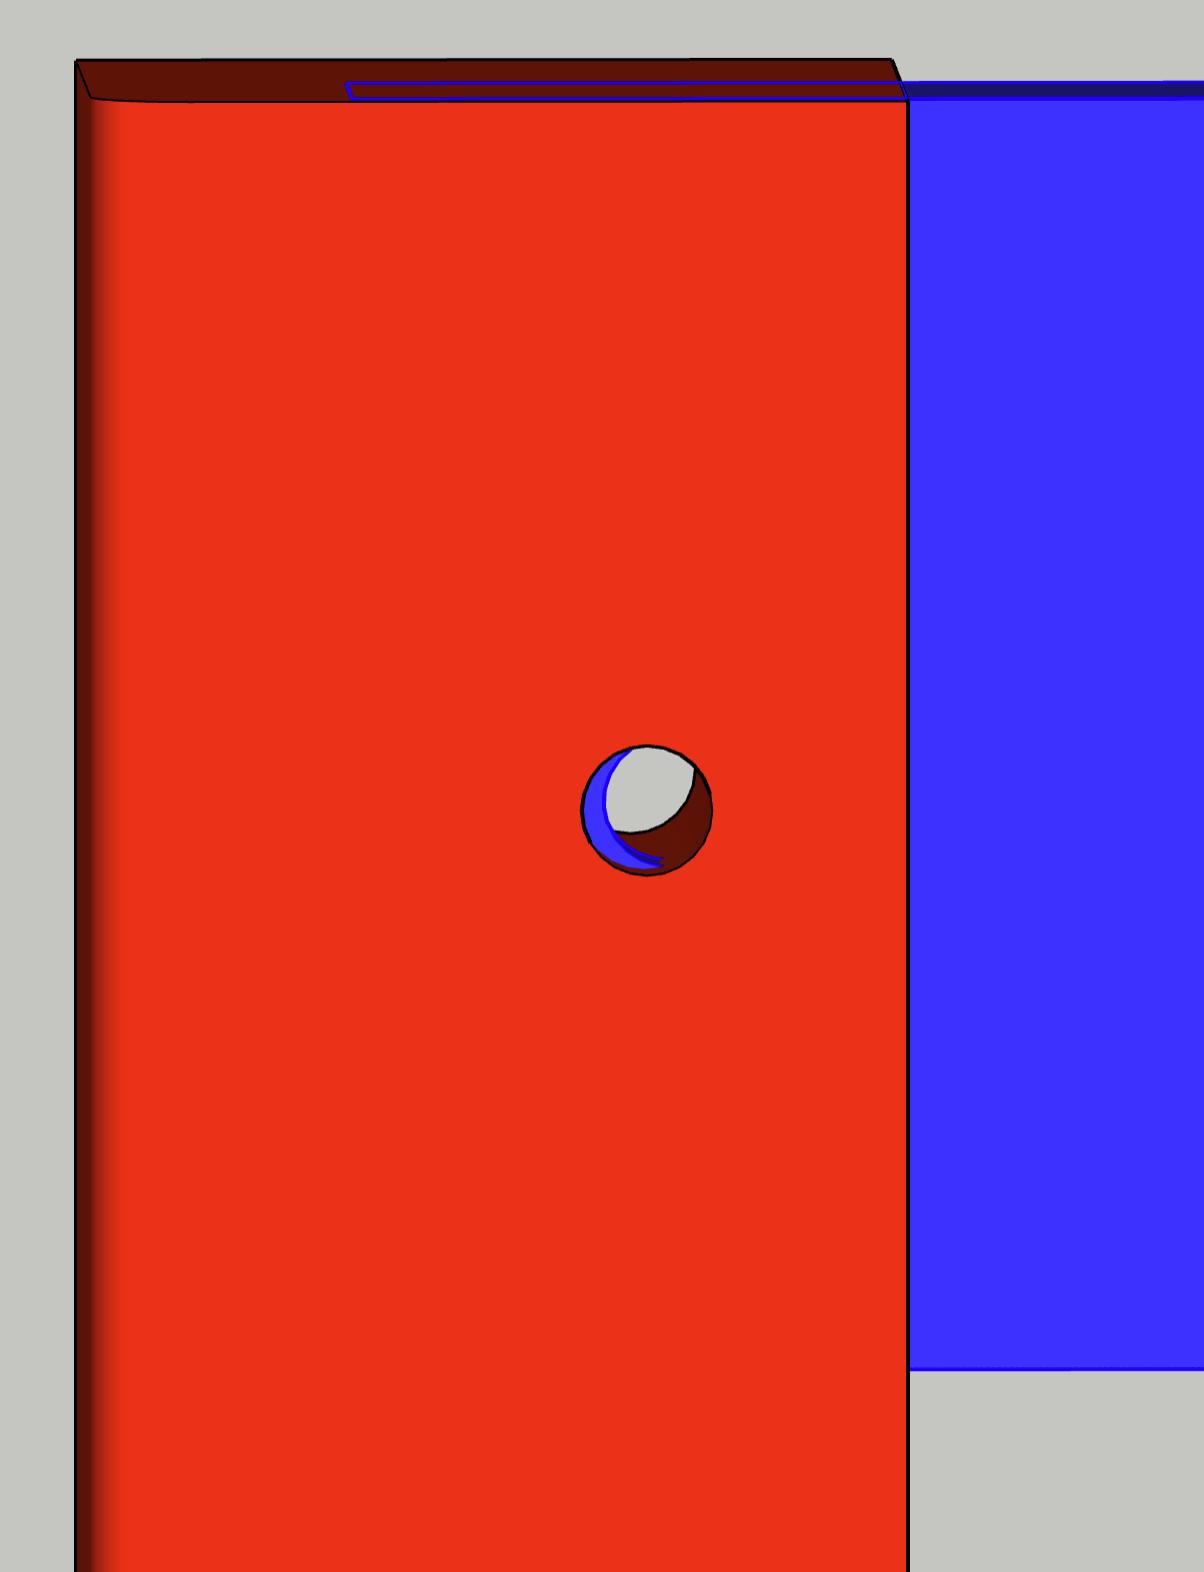 A glimpse of blue tenon - the deliberate offset
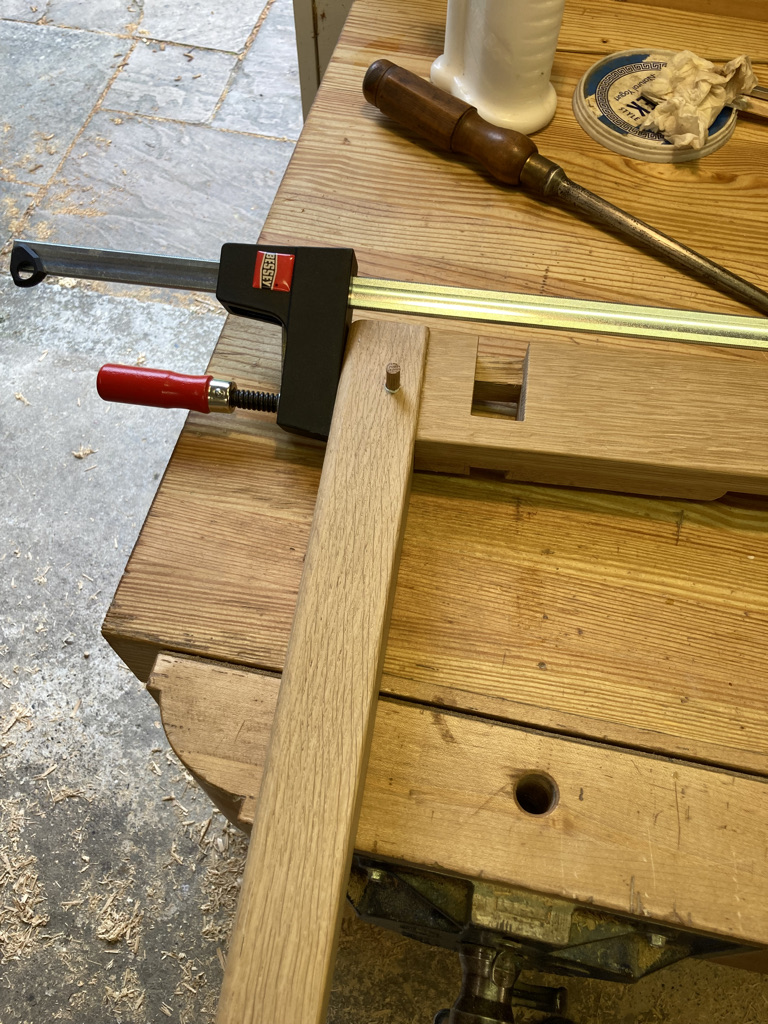
 Twisting the pin in the hole brought the shoulder perfectly tight
 Dink, dink, dink, THUNK. The dowel bottoms out through all three layers
 Too late now, check for square in a dry assembly first
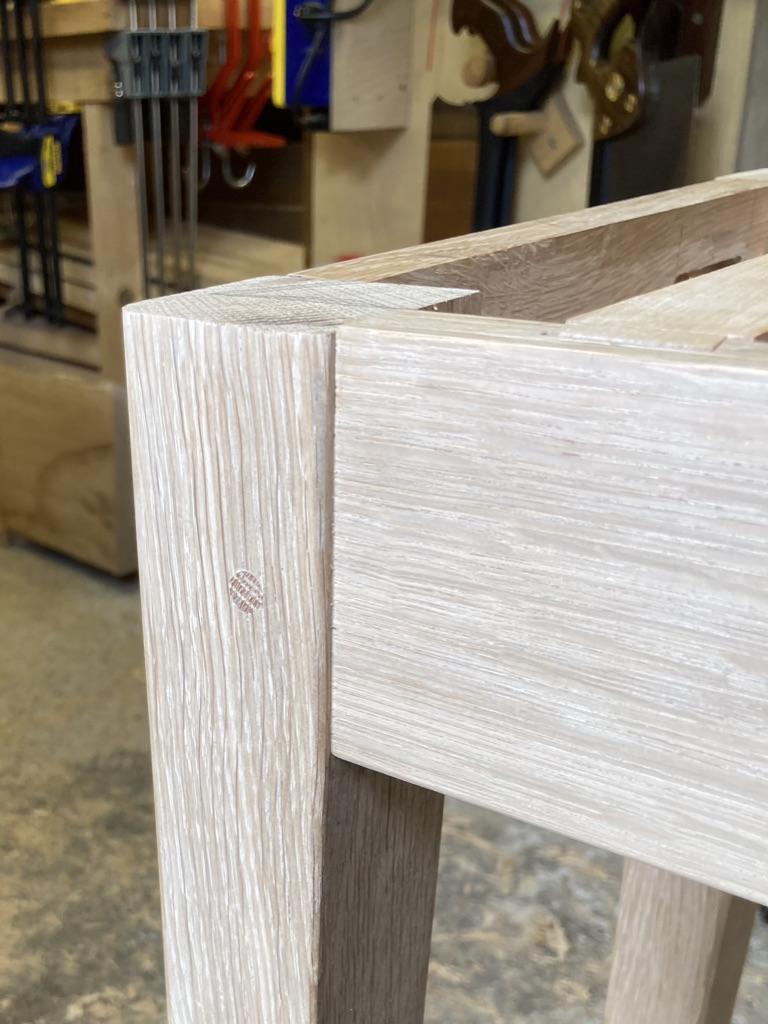 Finished drawbore peg in place
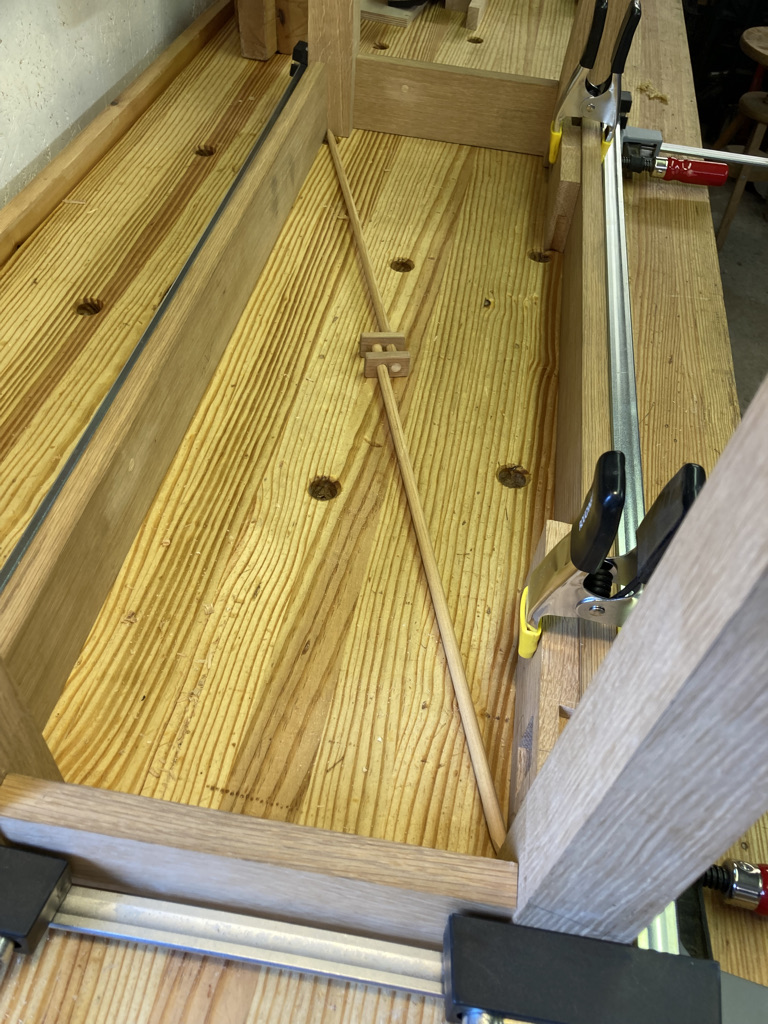
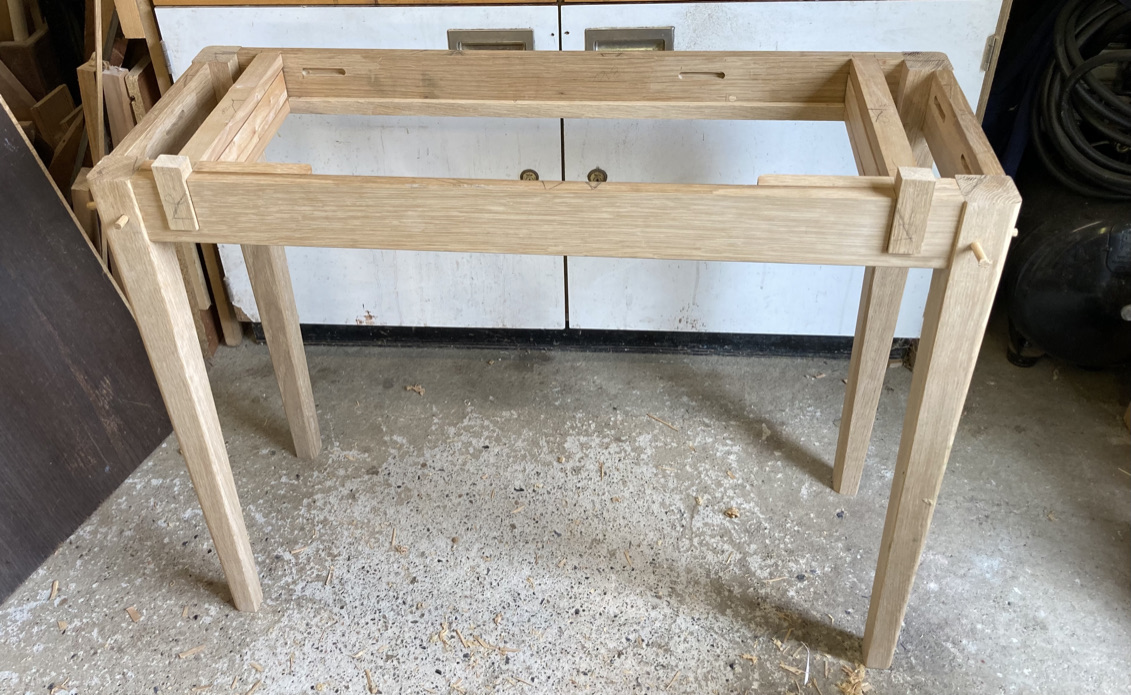 Plenty of complexity left in the rest of the job.