Sharpening a wooden bodied spokeshave
Wooden bodied vintage spokeshaves are dramatically different from their metal bodied counterparts. The blade is bevel up and very low angle. This makes them much more able to cope with end-grain than most metal shaves (some low angle metal shaves exist).
Shrenik Salva-Shah recently gifted me a beautiful pair. One in beach with a WM Marples stamp, and one unmarked in boxwood. Each about 6 inches long in total. This small size emphasises the reason why a lot of these shaves linger gathering dust in old toolboxes. The legs on the iron which attach it to the shave body get in the way of using most normal sharpening methods, and most honing guides. So how do you get one of these sharp? See the images below for two easy ways to get the job done.
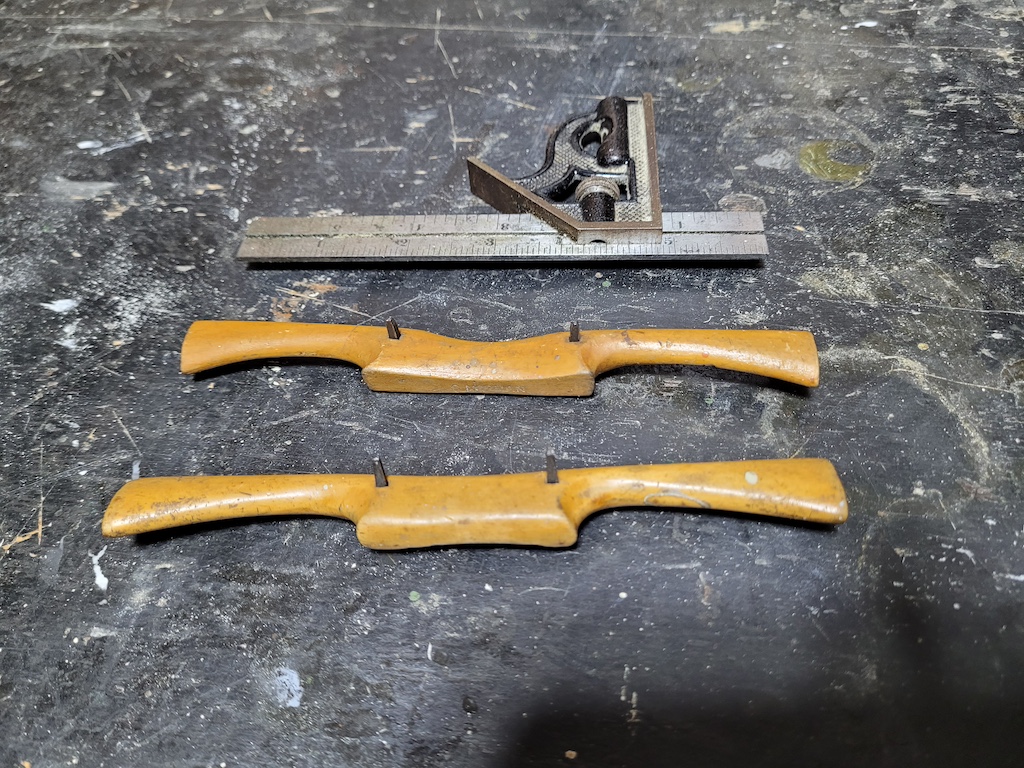
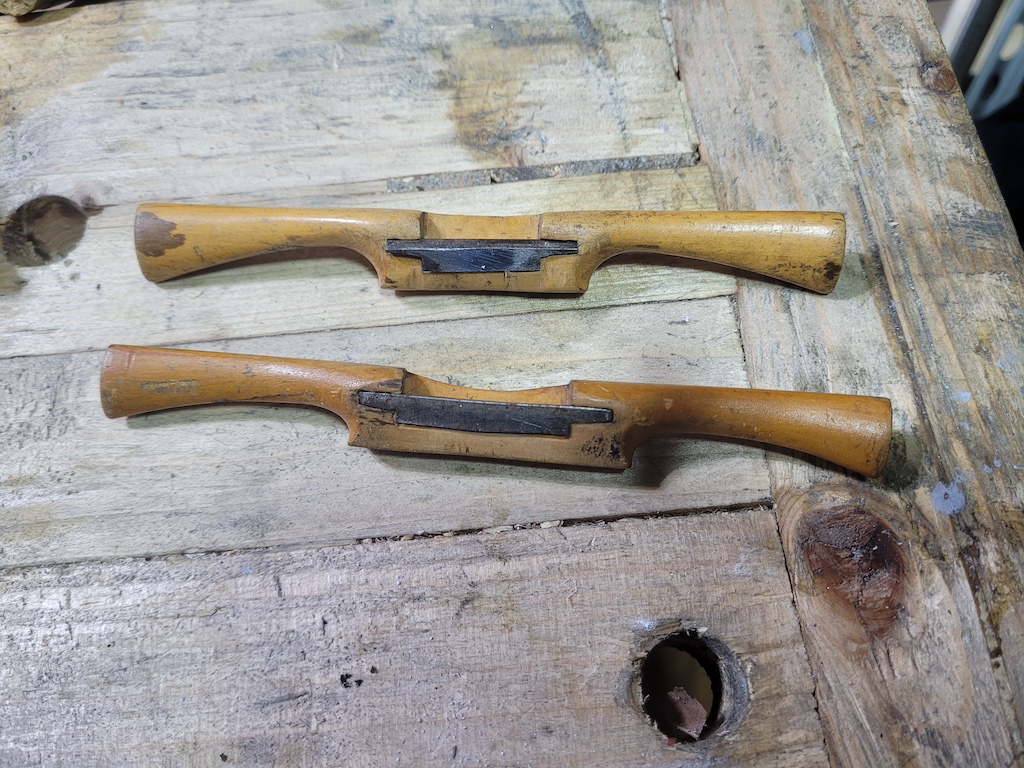
Here are the patients. Both very nice shaves, but neither is remotely sharp right now.
Both have some wear on the sole. The bottom beech shave only has a little. The top boxwood shave has a significant amount. If enough of the mouth is gone, it can render one of these shaves effectively unusable (but still repairable). That’s a fix for another day. For now, I’m just going to get the irons sharp and see how they do.
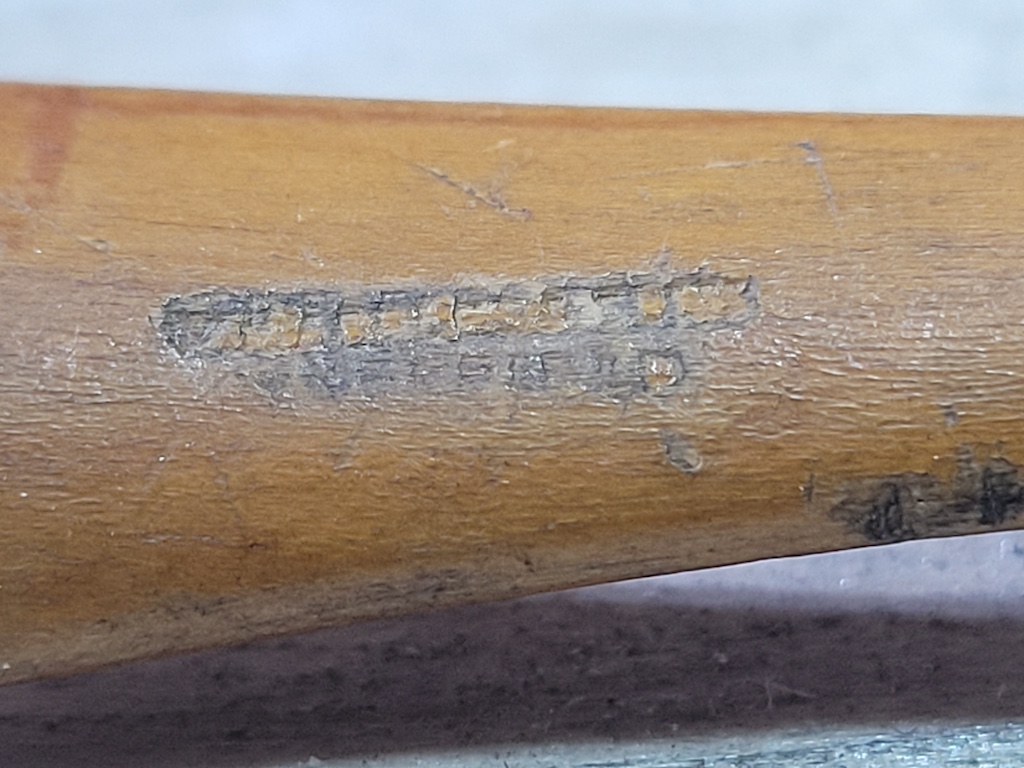
The WM Marples Sheffield Stamp on the beech shave.

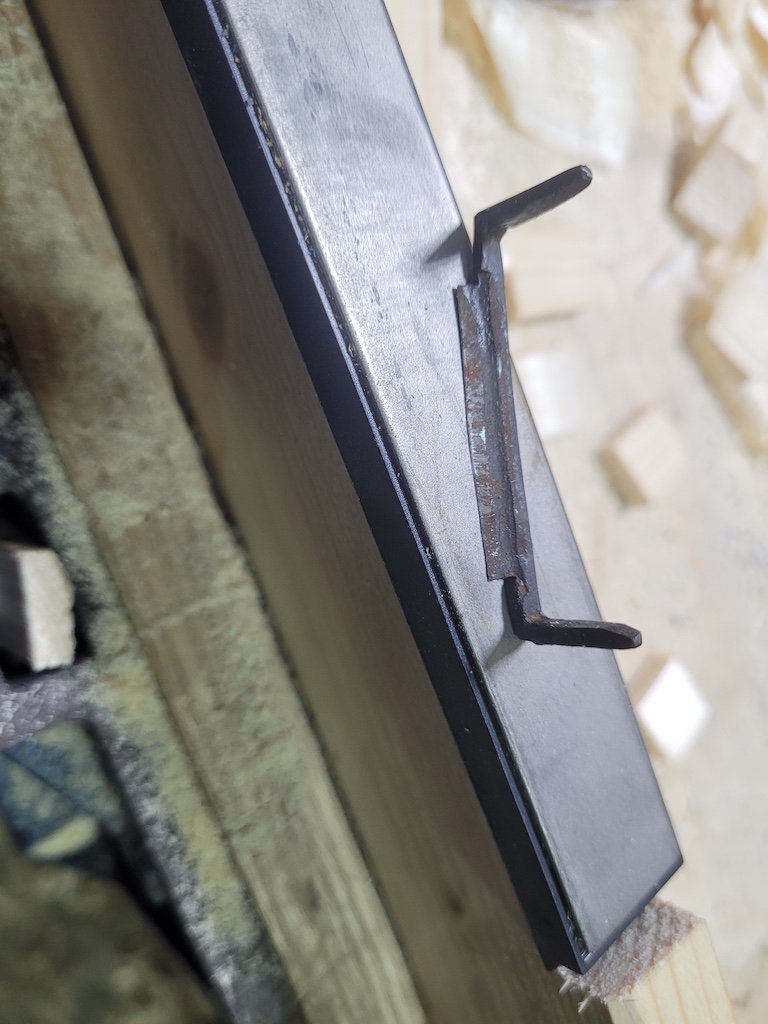
To get the iron out, take a hammer and gently tap alternating sides until it is loose enough to pull out.
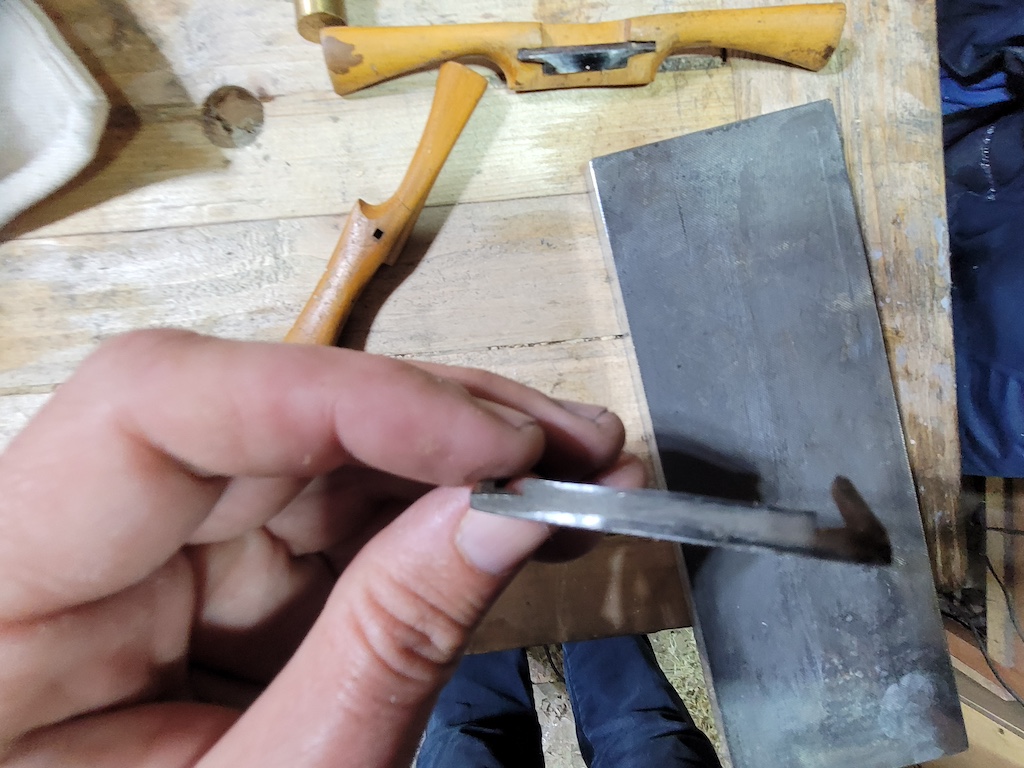
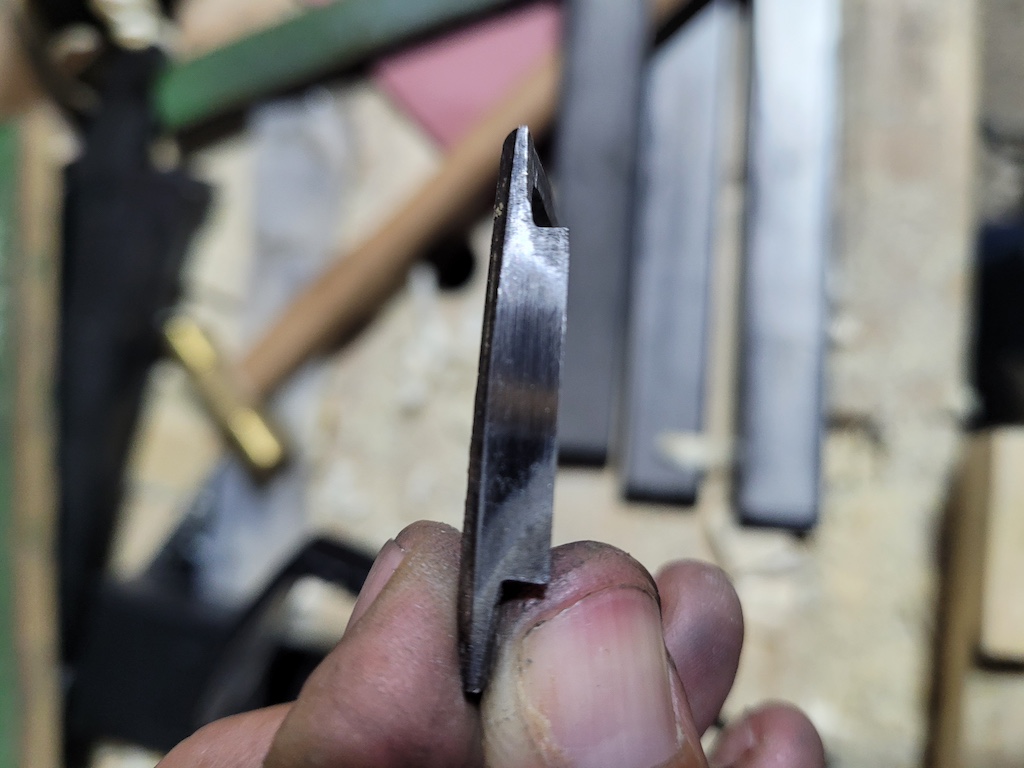
This iron has a slightly convex base, which is not unusual on these shaves. You neither want or need to flatten it across. Just roll it from side to side while working it side to side on a stone. Only a few minutes work on this 1200 grit diamond stone and both edges have polished. You can see the iron is hollow ground on the bottom. Also pretty common on vintage shaves, and it makes it quick work to polish them up.

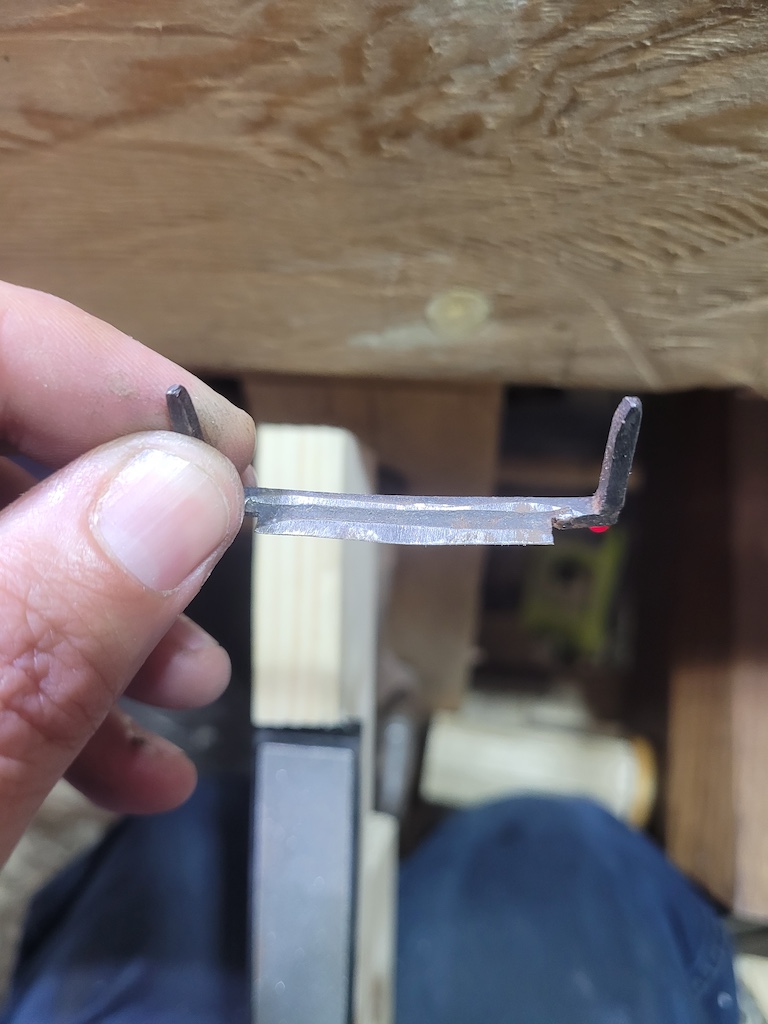
Unlike the back, the bevel is looking pretty rough.
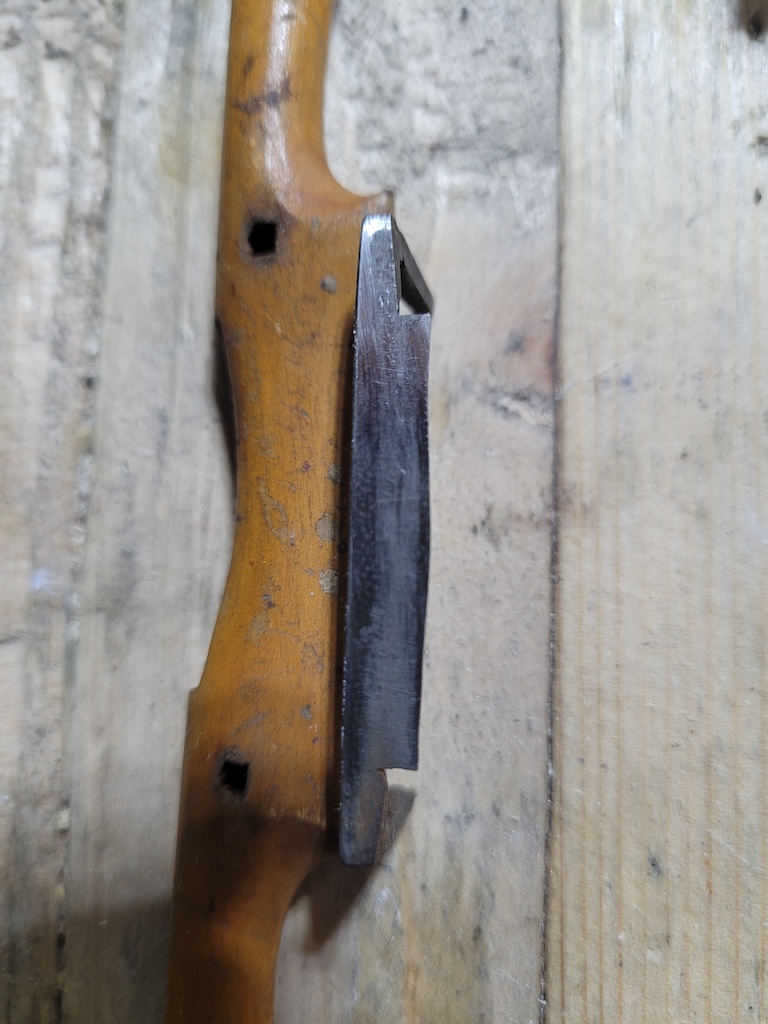
After getting some initial polish on the back, you can see the leading edge is pretty rough. Don’t worry about that, it will straighten up as we work the bevel.
I work up the grits on the back, going to my water stones for 6000 and 1600 grit. Just like with the diamond stone, rock from side to side as you work it side to side on the stone.
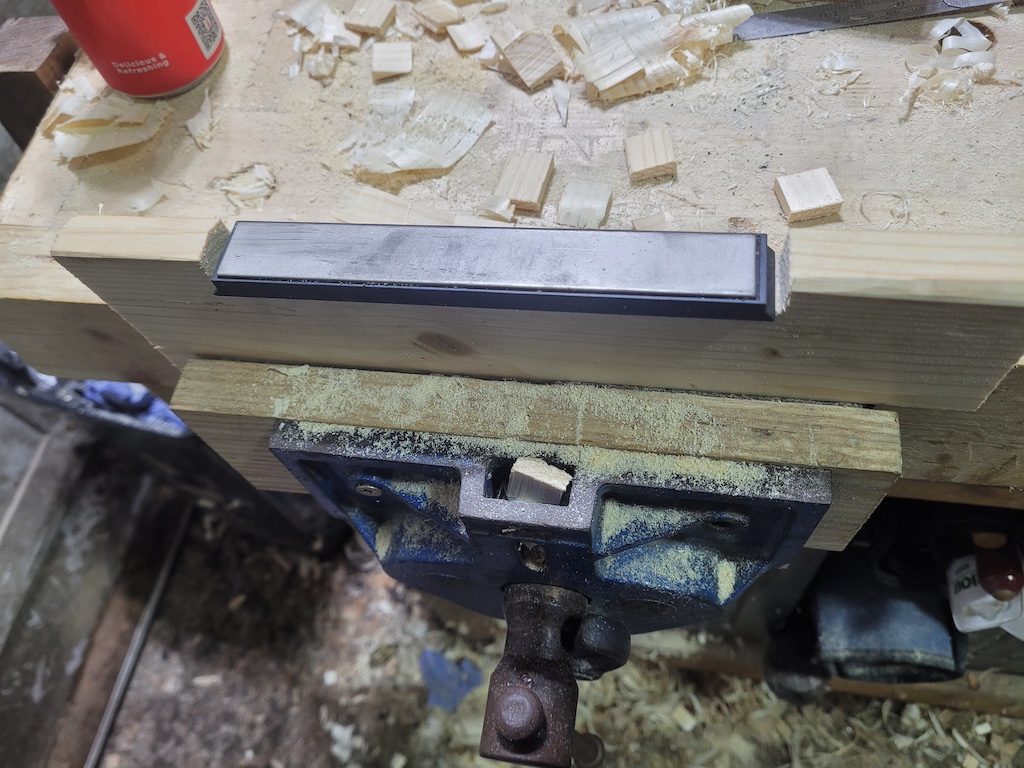
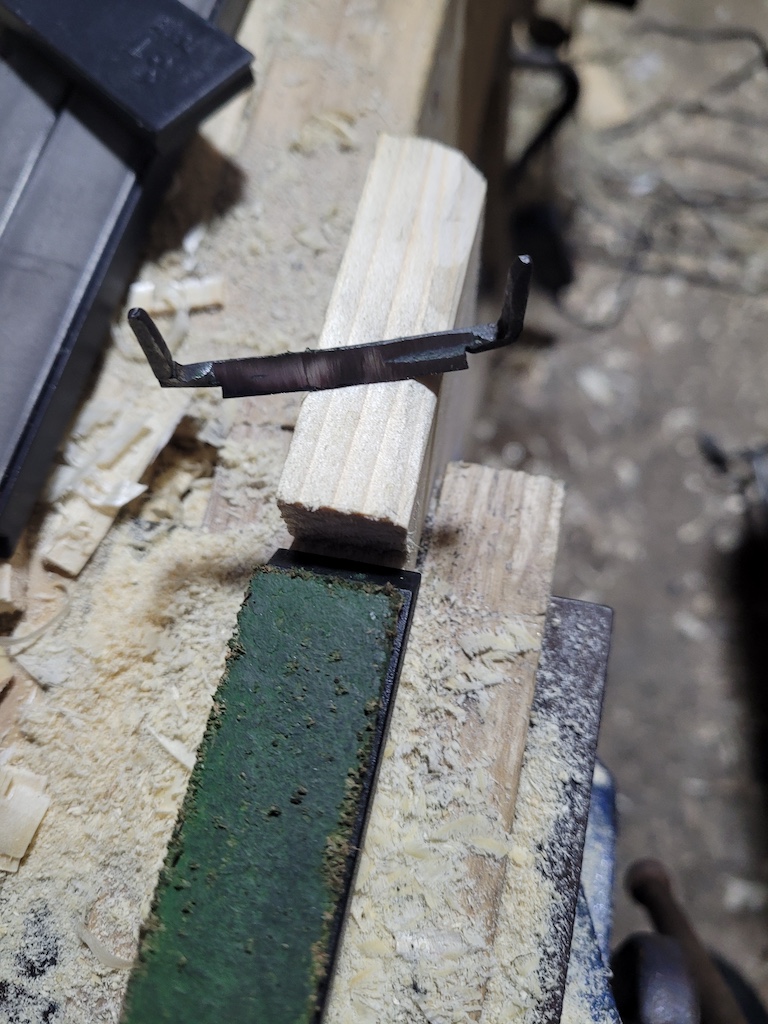
Now its time to work the bevel. I’ll show a second method later that does not require special stones. I have a lot of these little diamond paddles. They are intended for use in a knife sharpening jig, but I find them to be cheap and useful general sharpening tools. I took a piece of scrap pine, cut a lot in it to stop the paddle from moving back and forth, stuck it in my face vice and I’m good to go. You can buy the exact ones I bought here: https://www.aliexpress.com/item/1005002711942706.html for about €4 a paddle shipped. They also sell sets. This is not an affiliate link and I have no connection with the seller. These paddles do wear out, especially the coarser grits, but they way outlast the equivalent amount of sandpaper in my experience. The grit ratings provided by the seller are pretty accurate in my experience (The 2000 grit paddle is for example, a lot finer than my 1200 grit Atoma diamond stone).
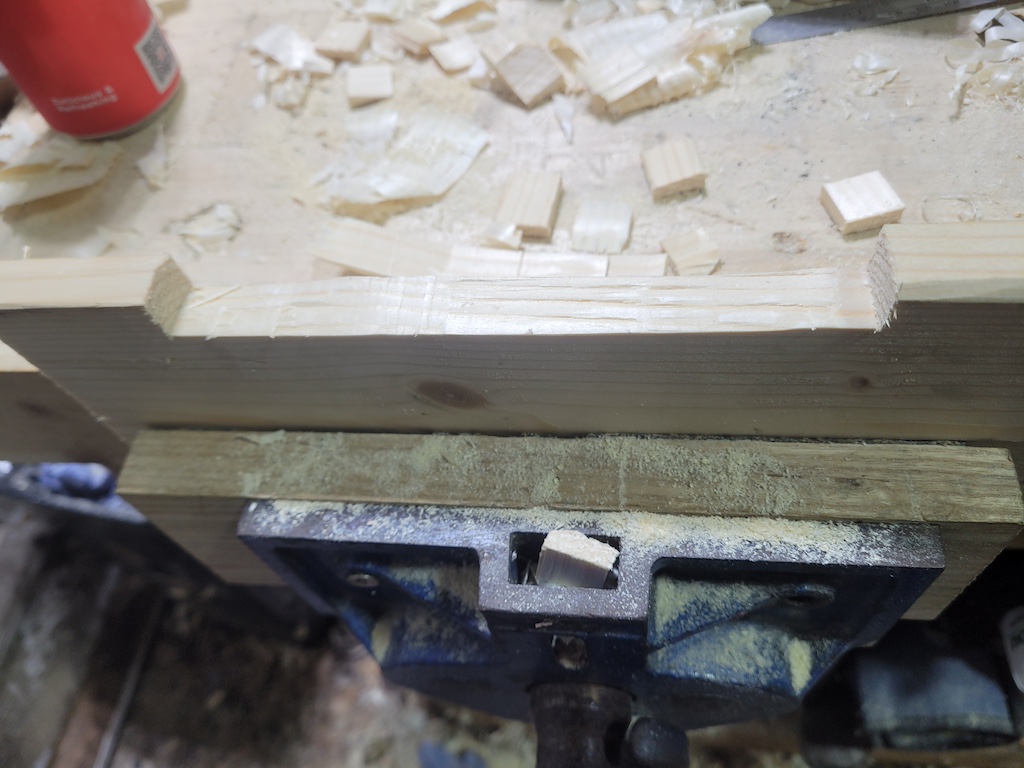
The slot does not need to be a precise job. I make a few stop cuts and quickly battered it out with a chisel. Its neither flat nor square, it just has to stop the paddle moving back and forth.
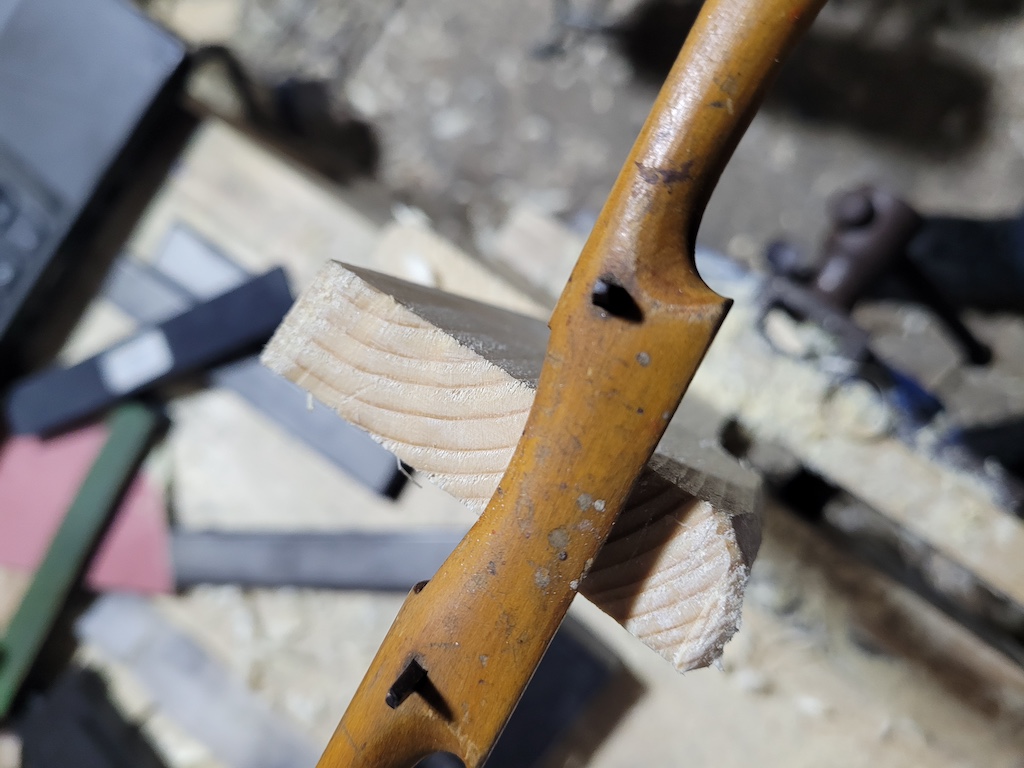
Even with these tiny shaves and their tiny blades. The blade is much wider than one of these paddles. Look closely at the bevel, just like the back, its hollow ground. that’s pretty normal for these shaves.
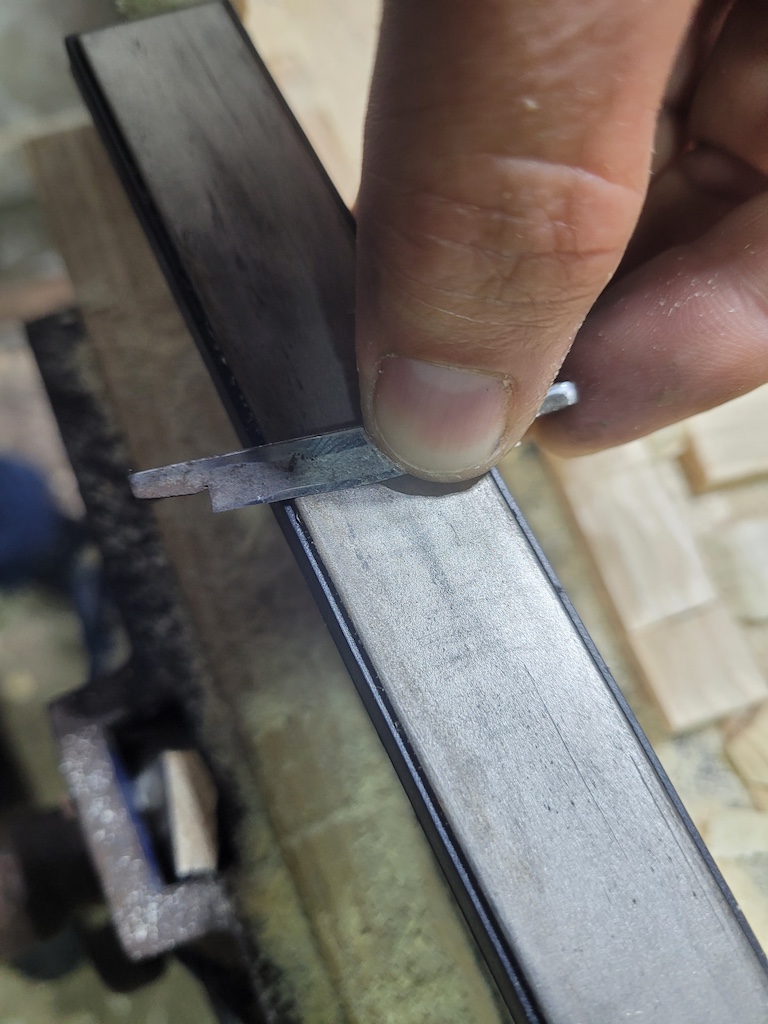
All you have to do to get the bevel angle right, is drop the blade on the stone, and apply a little pressure to the front of the bevel. Unless someone has done something horrible to the top rear in the past, you are now honing at the correct angle.

The first few passes on a 800 grit stone. I’m just touching the front centre of the bevel, and a little of the back. This is going to take a while. I tend to start with a relatively high grit and switch down if I need to. The low angle bevel can be quite fragile and easy to chip, so I avoid very coarse stones. 240 grit with these paddles is about as low as I go.
 A little more progress on 400 grit.
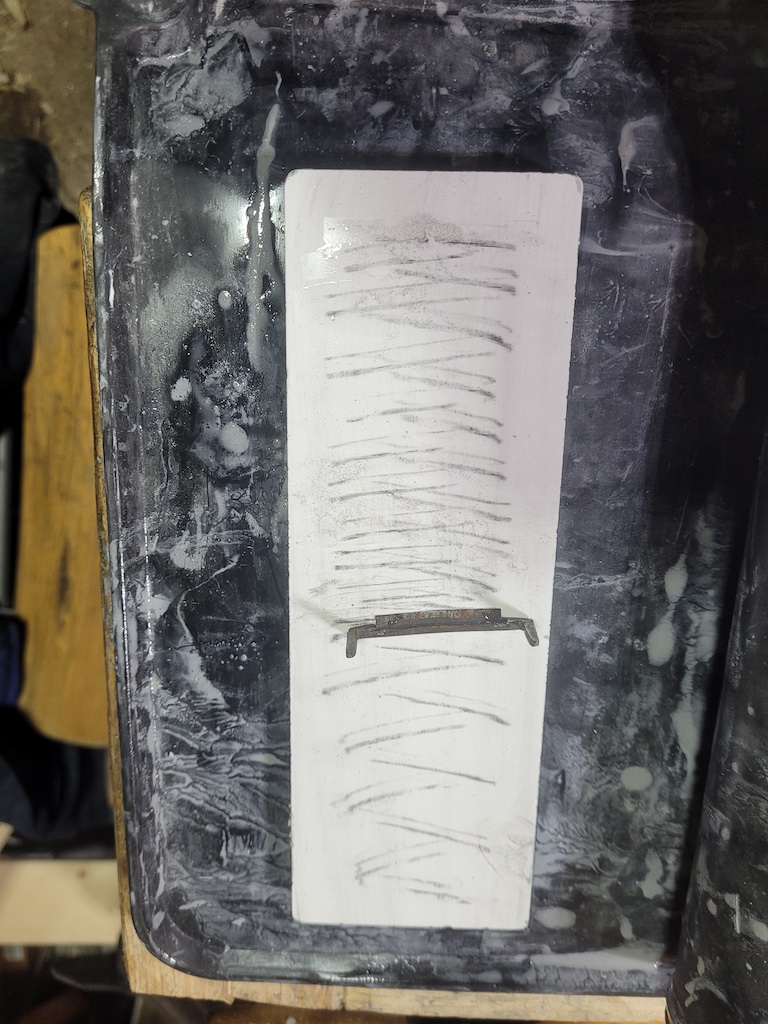
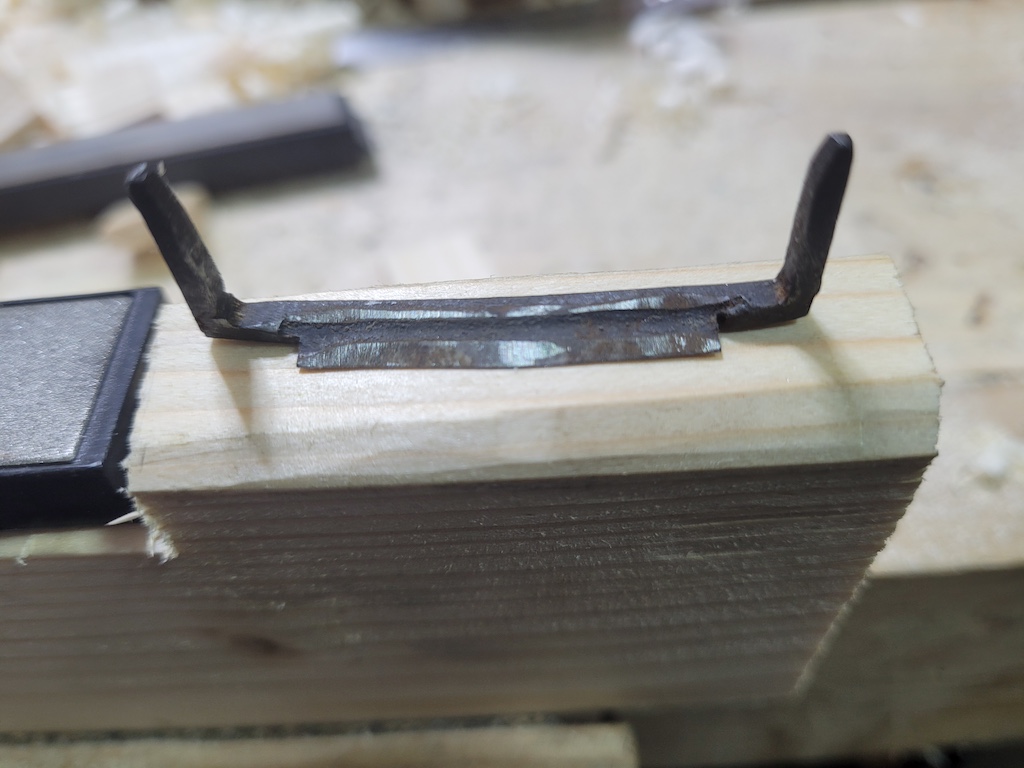
 Down to 240 girt, hitting most of the bevel now, but its very uneven.
 You can see a short video of how I work the iron on the stone. I tend to pull the iron, starting on one side and slowly sliding across the stone as I pull. You can push and pull, but it can result in rolling the iron slightly, which while it works, makes it harder to tell when you are done, and the uneven bevel will make future sharpening harder. I’ll push and pull to do a lot of the grinding, but once I’m getting close to the edge of the bevel, I go pull only for consistency.I use my index fingers to apply pressure to keep the bevel down, while my thumbs put a tiny bit of pressure on the legs to keep it in place.
 Now I have a decent bevel, I’ve worked up the grits, and finally gone to a strop. The same place I get the diamond paddles from sells leather paddles for stropping. (They also sell water and oil stones in the same size if that’s your thing).
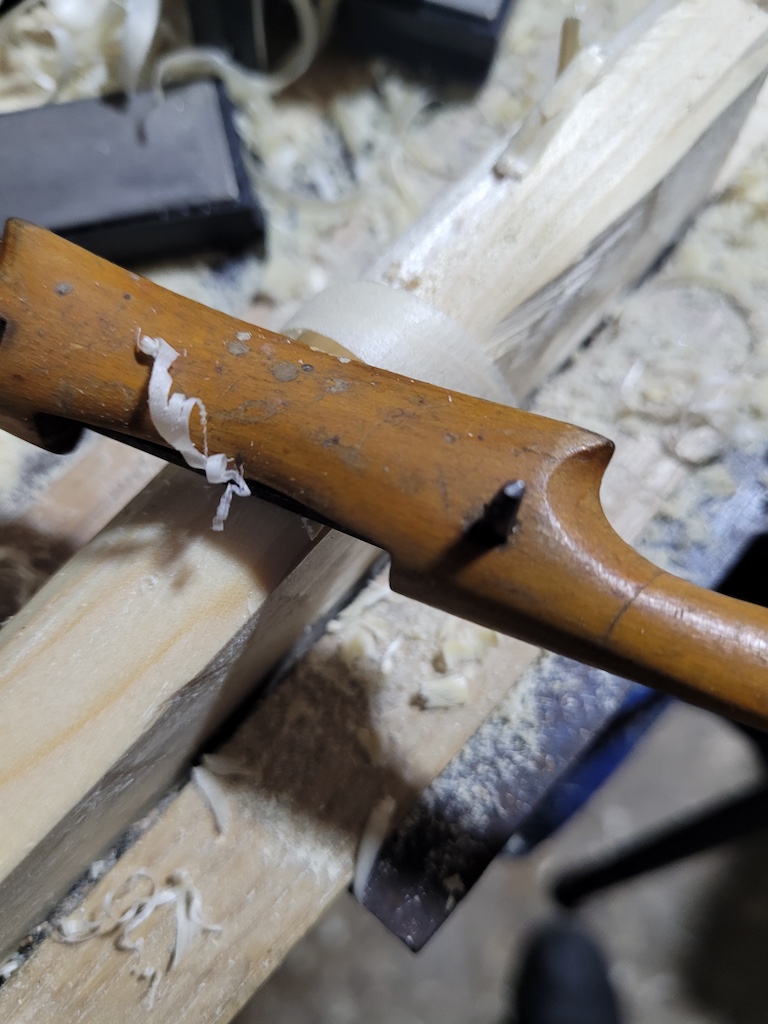
 Working nicely on long grain. Both the big thick shaving and the fluffy little shaving are from this shave, altering the angle you hold it at can make a big difference in what you are getting due to the rounded sole.
 But the big test will be end grain. Here is some fairly rough looking pine (its the end of the board I used to hold the paddles).
 And this little shave can pull an intact shaving.
 And leave a pretty decent surface! I’m happy with that result.
 On to the second shave. This time I wont use my paddles, I’ll demonstrate a simpler method using things you probably already have lying around. This iron is not hollow ground, and is fairly flat. Someone has already had a go at flattening it, so some of my work is done. The iron is slightly convex, just like the last one, and again, its not something we need to get rid of, just polish it up. The process here is identical to the last iron, and only takes a few minutes.
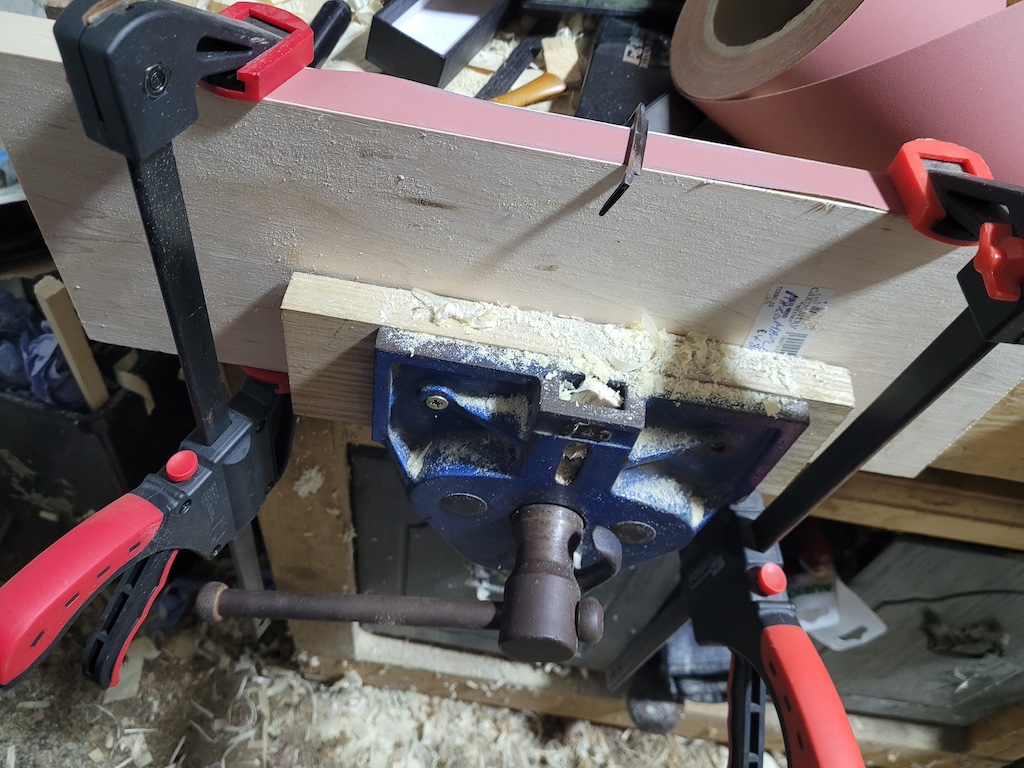
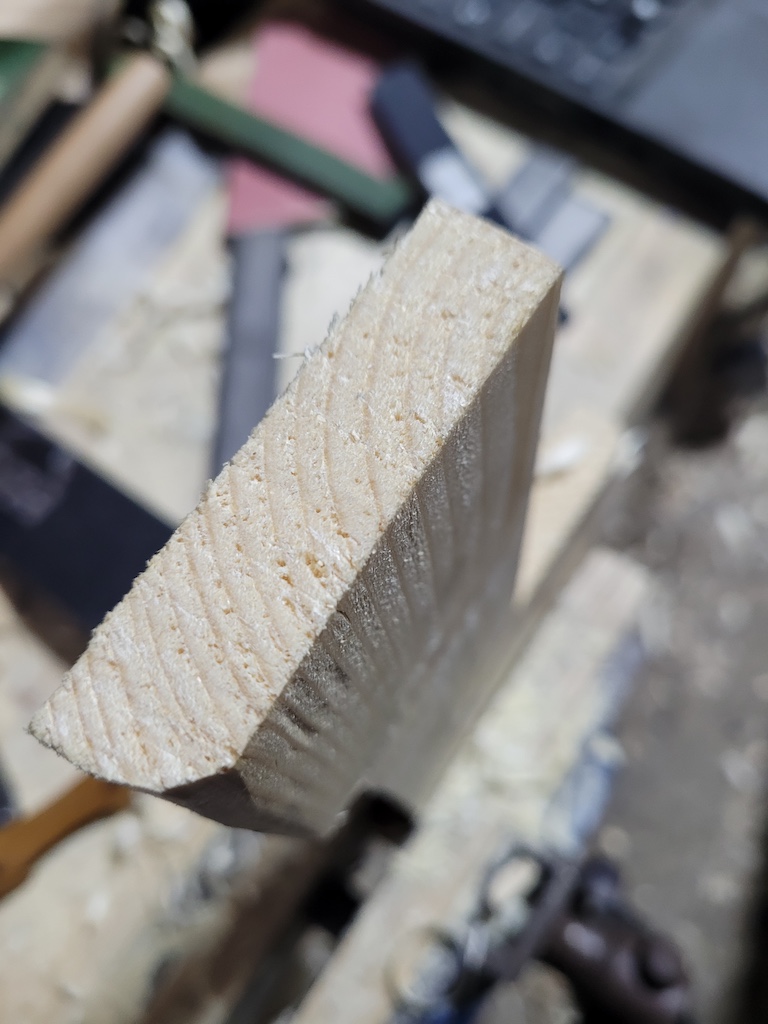
So here is my more basic sharpening setup. Grab some hard wood that is narrower than the space between the legs. Plane a flat edge (it does not need to be square to the sides as long as the legs can fit over the sides and give full access to the bevel. Cut a strip of sandpaper a tiny bit narrower than the board edge, pull it taut and clamp it down. Now you can work your iron just like I did on the paddle, work up the grits as before. When you get to stopping, remove the sandpaper and just rub the compound directly onto the wood.
And just like the previous shave I can get delicate little shavings. Or nice thick shavings even on end-grain. This shave does need re-mouthing. It really wants to dive in the cut and its hard to control, but still usable. So that’s it. If you have a few of these lying around, grab some sandpaper and bring em back to life!.