Handles
So I thought I would write up the process I follow to make my London pattern handles, and I offer it here for you all to have a butchers.
Firstly some caveats -
I am by no means a pro, I’m a cook by trade, and only really started messing around in the shed a few years ago, so under no circumstances are my views, methods and opinions to be considered expert; and all advice is to be ignored wherever possible.
I am sure there are better, slicker, easier more competent methods and techniques in all of your hands than there are in mine, I simply wish to show you all how I do it - and I do it for fun, not for profit or any kind of business - I sometimes sell bits so I can have some cash to buy more wood, tools or shellac - my biggest expenses!
I do use power tools, I know… a bandsaw and a lathe, a drill too. So sue me. The lathe videos are definitely not meant to be instructional, do not attempt anything you see here, always seek professional woodturning training and only attempt things you are comfortable with.
Lots of the videos have an inordinate amount of the top of my head in ‘em - I have only just installed the camera mount there and I forgot about it when I was working! Maybe I’ll shift it across a bit for next time! So apologies for that, and it appears that some of the important bits get obscured. Bugger.
There are measurements in metric and imperial - you’re just going to have to deal with it, you’re a grown up, you can google the conversion if you must.
So, on with the show
I try to use native local timber wherever possible - a hangover from cheffing I guess, I always try to reduce food miles - so I think I’m carrying that over to ‘wood miles’ and there’s nothing more local than these hunks of holly from a hundred year old holly tree that was taken down about a hundred yards from the shed. I split the logs with splitting wedges, until I have a useable chunk. This gets planed and drawknifed until I have a flat plane that I can use as a reference for the bandsaw bed. Then I trim until I have a rough blank. This gets cut to length, centre point marked with my great little Veritas centre marker, and then mounted on the lathe.
People say I should cut the octagons in at this point, but I’ve always found that if I do that, the blank is never centred when I mount in the lathe - no matter how hard I try to be accurate in cutting and mounting. I figure the lathe will always give me dead centre and a true circle - so I work from that. Also, when you’re working with boxwood, you don’t normally get a square blank, so its good to have a technique that works just from the lathe.
A note on lathe tools - I use a record 3/16” parting tool and 3/8” spindle gouge, a Sorby 1” oval skew and a skew of my own design, made from 12mm square stock. I use a record coronet herald lathe with a four prong 5/8” drive centre and standard cone live centre
I round the blank with the skew and then cut to the desired diameter. The external cylinder will become the extremities of the octagon - the points - and then I cut a narrower cylinder, this gives me a reference for the flat face of the octagon. The diameter flat to flat is 0.93 of the diameter point to point. I use a C19 Marples London pattern framing chisel handle as a reference, and they are 37mm point to point, so I cut the outer cylinder to 38mm and the inner to 35mm (close enough)
This then gets mounted in my newly made planing jig - I always just held it in the vice before - and I plane the facets in. Simply cut the wider part down to the narrower cylinder, then rotate the blank to register that flat against one of the sides of the jig and continue till you have all eight sides. Check your angles with a sliding bevel set to 135°.
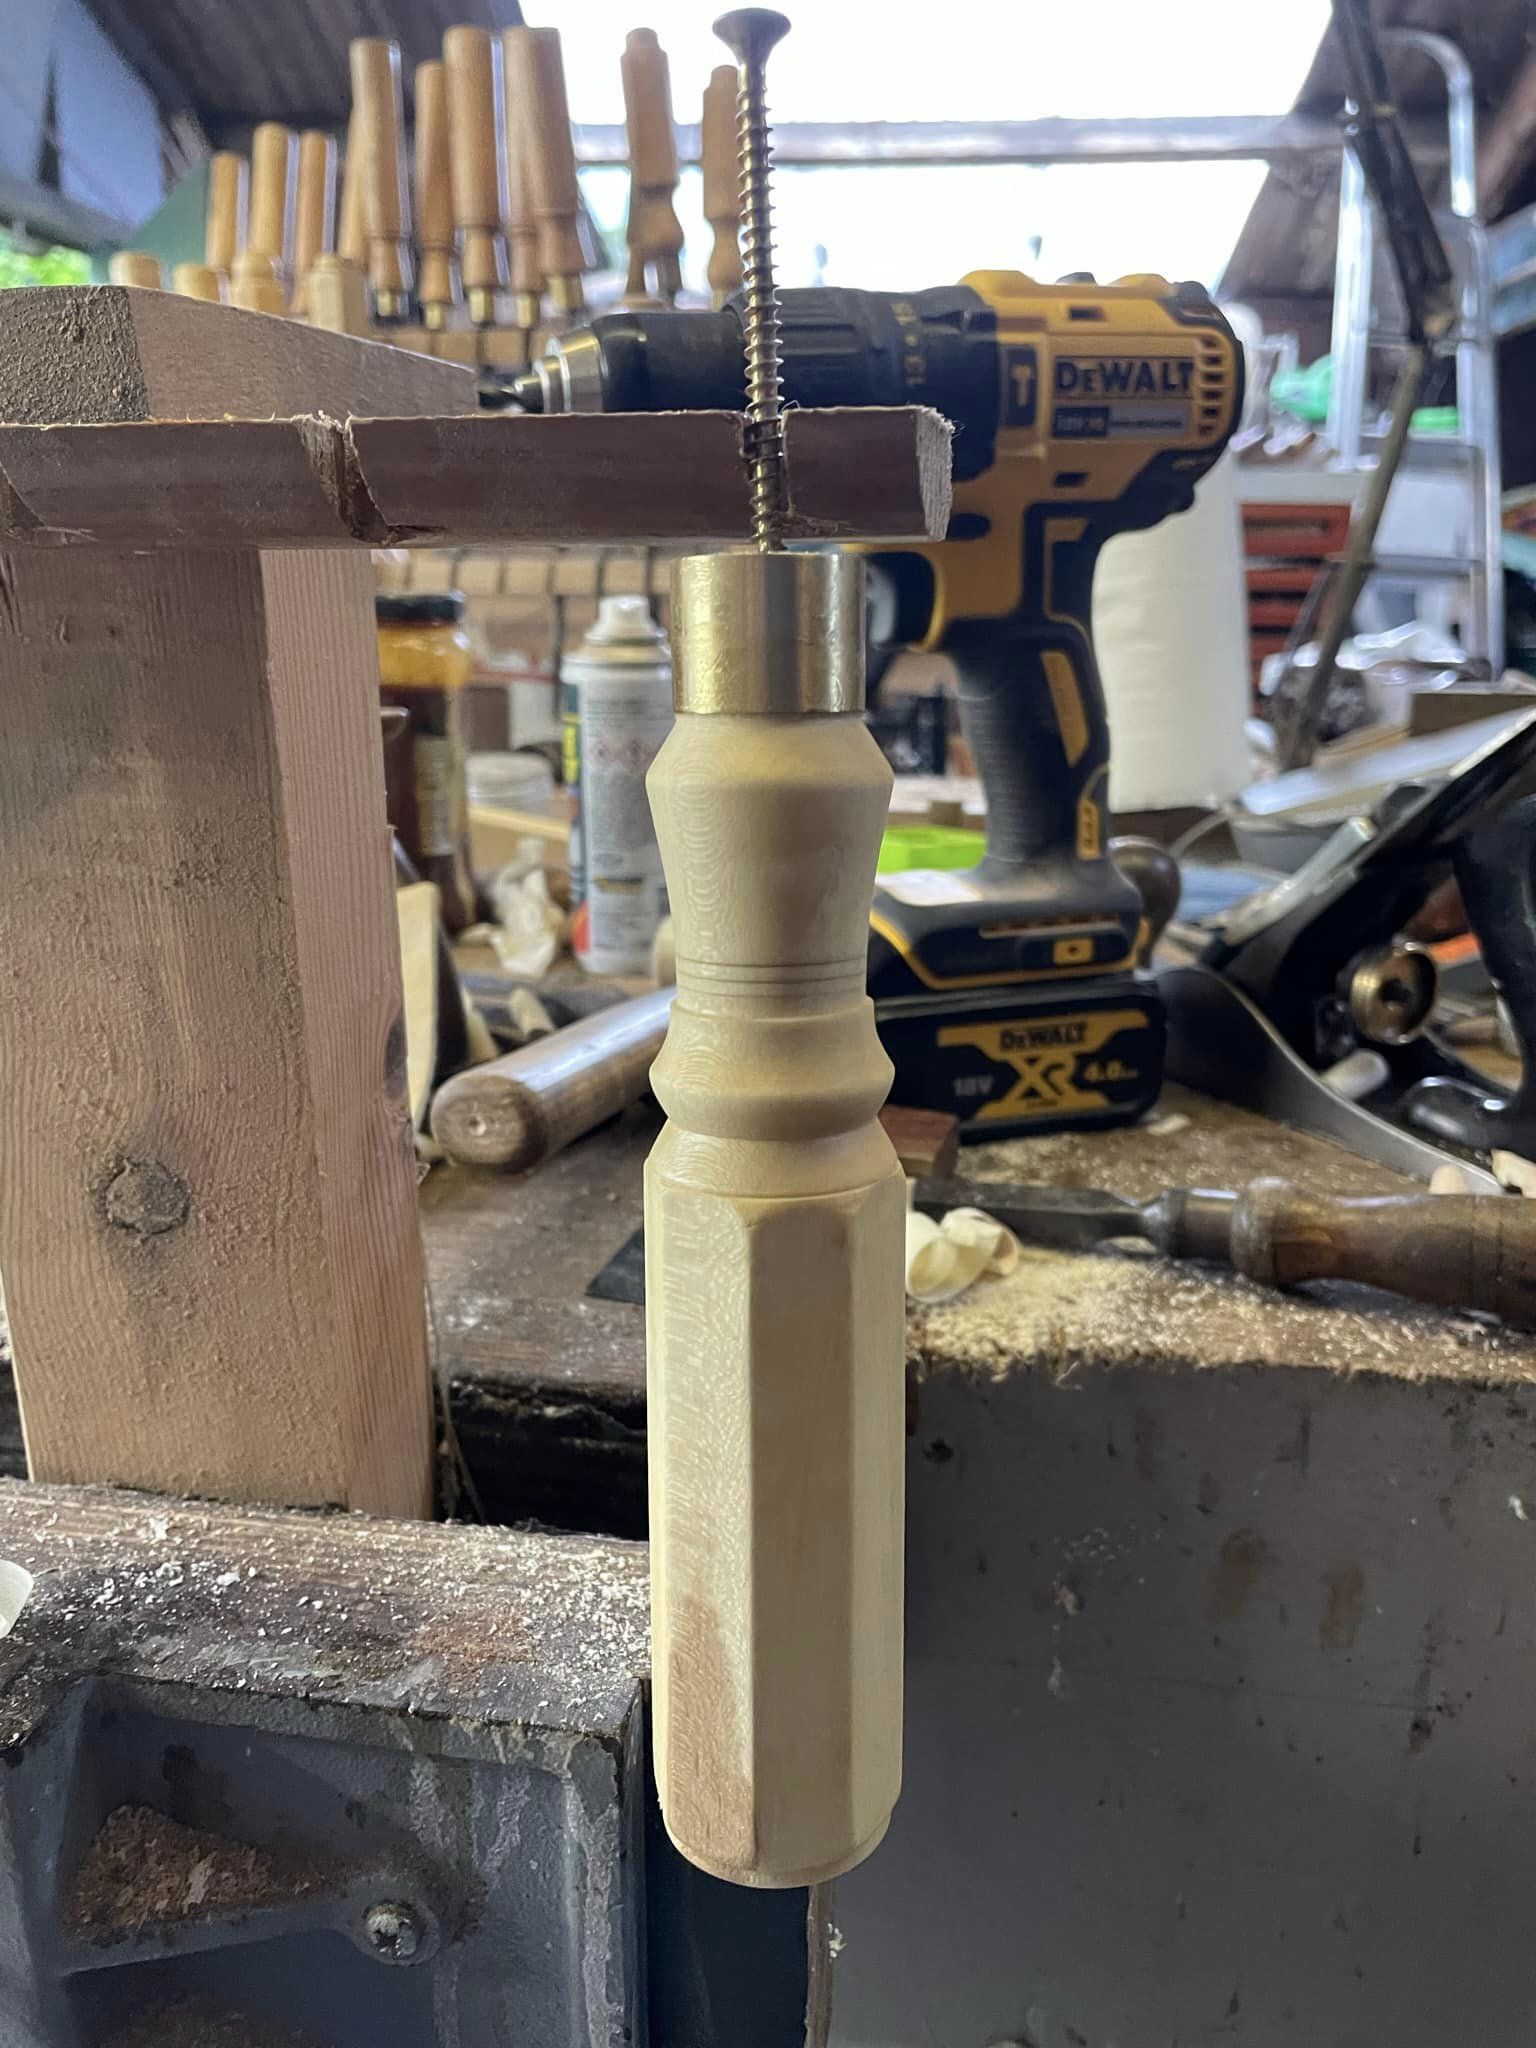
Then remount the blank on the lathe and drill the pilot hole - I have recently seen a video where the guy mounts the drill in the headstock, and I think I’ll have a go with that technique as this one, while it works, isn’t great.
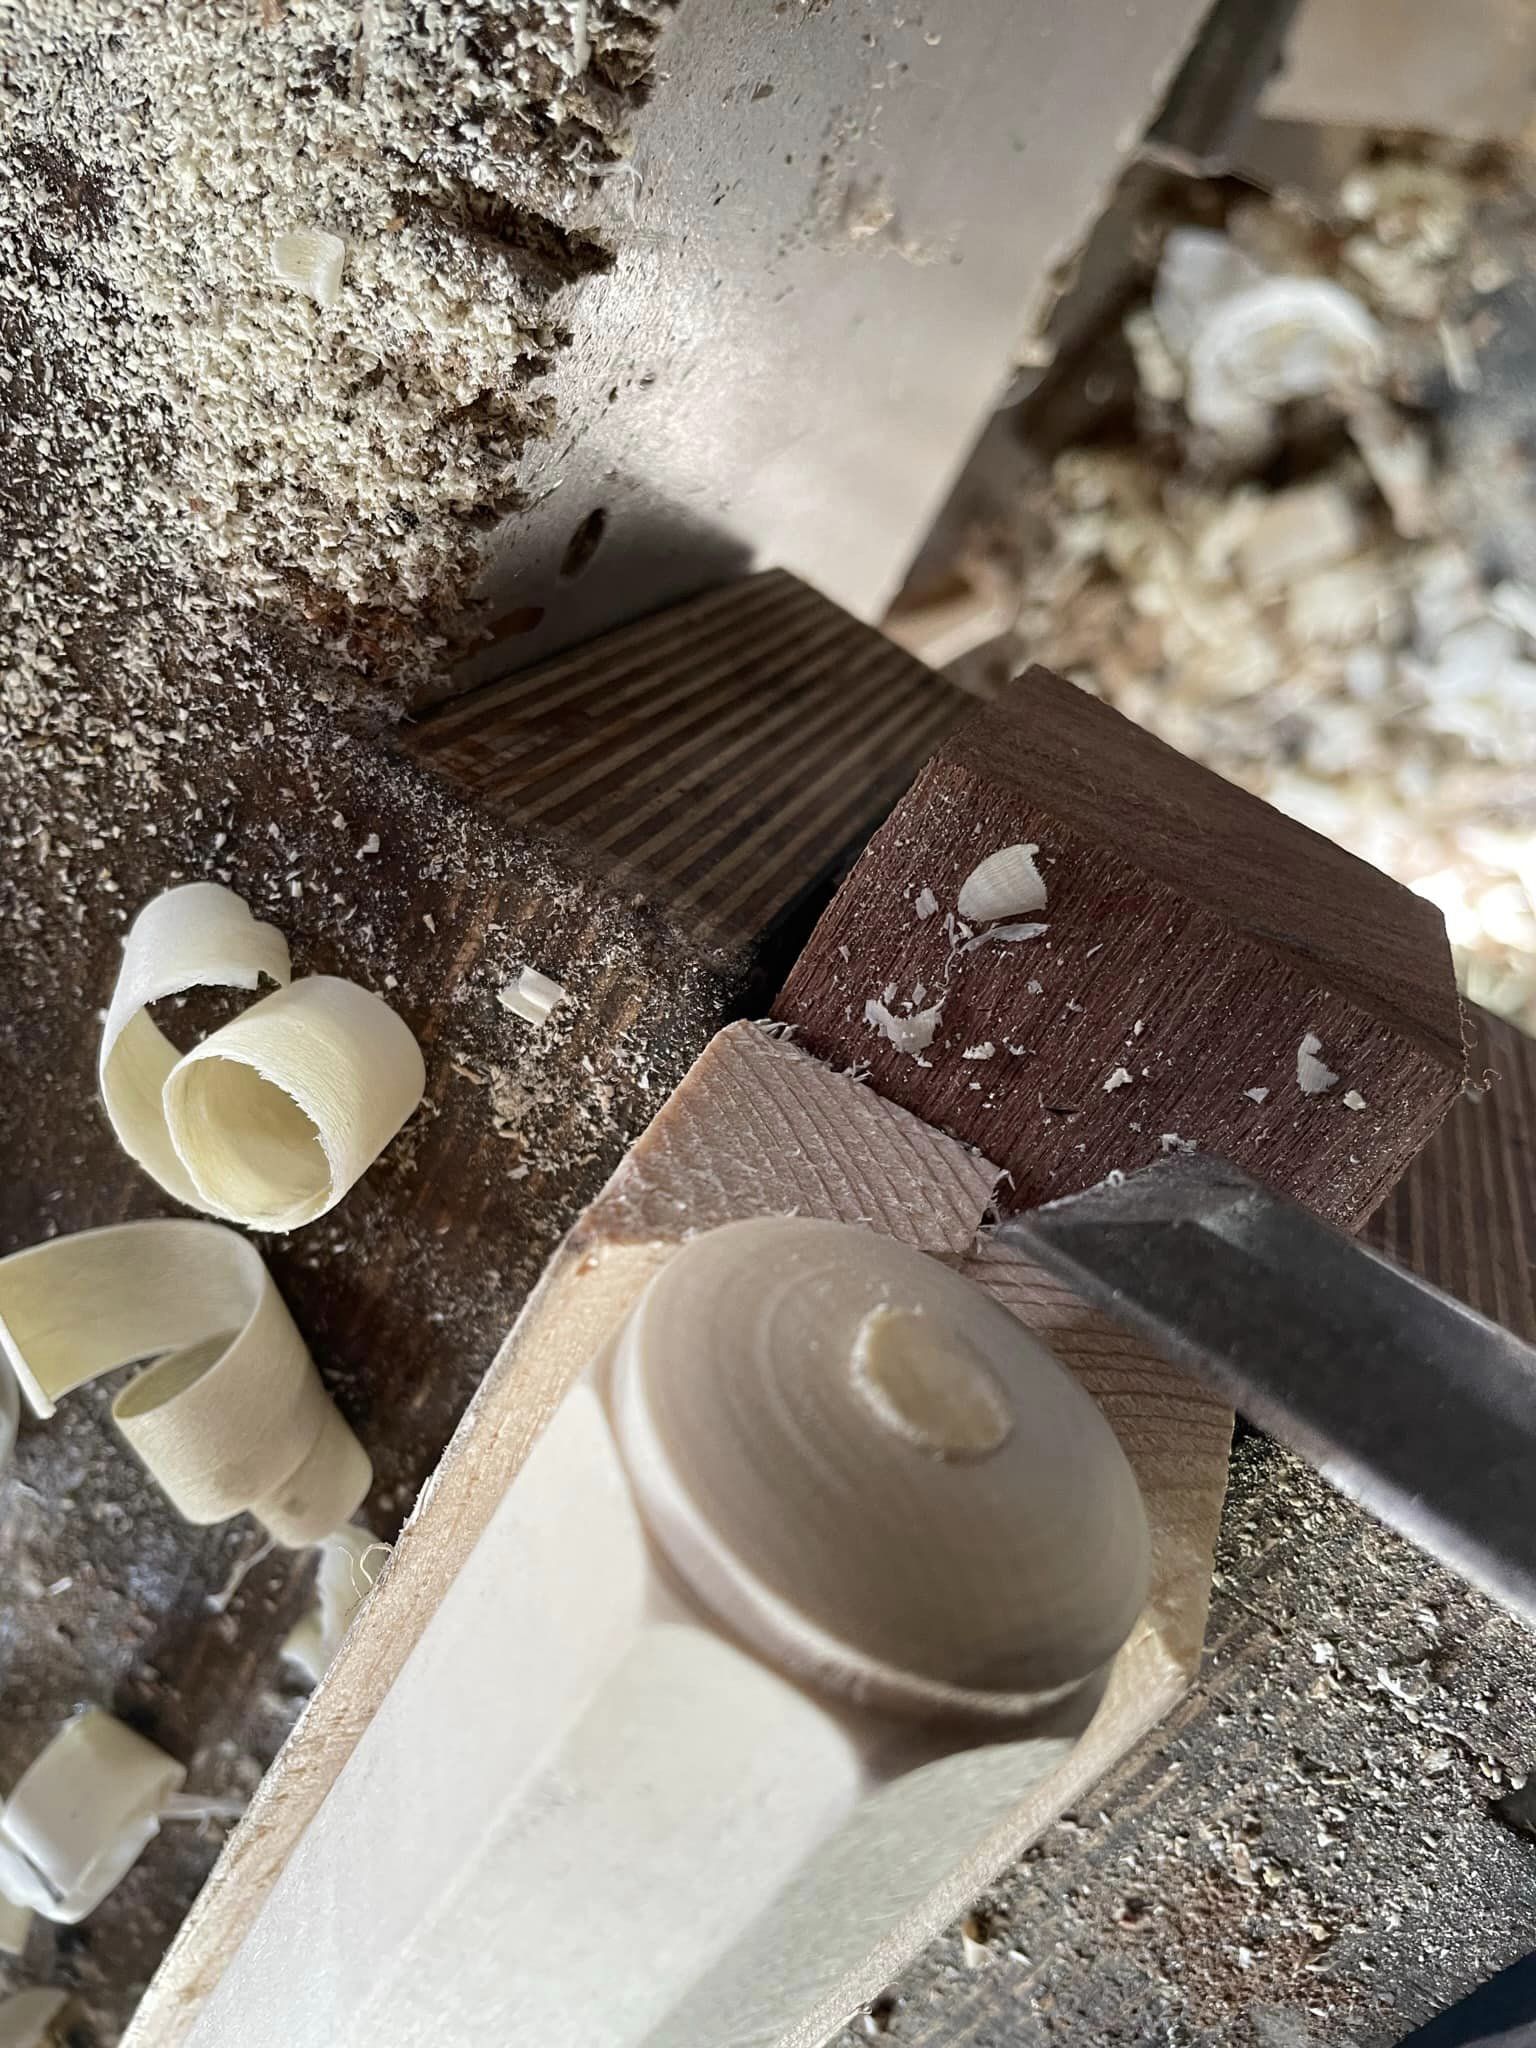
Once the hole is drilled it’s time to mount the ferrule, a calliper set to the internal dimension is used to give me the dimension. I cut this guide with the parting tool and then trim the blank to fit, making sure its snug! I like to leave a little - two or three mm - protruding so I can trim down to the face of the ferrule. Another ferrule on a piece of scrap and a manipulator will ensure the ferrule gets on and snuggles up tight to the shoulder.
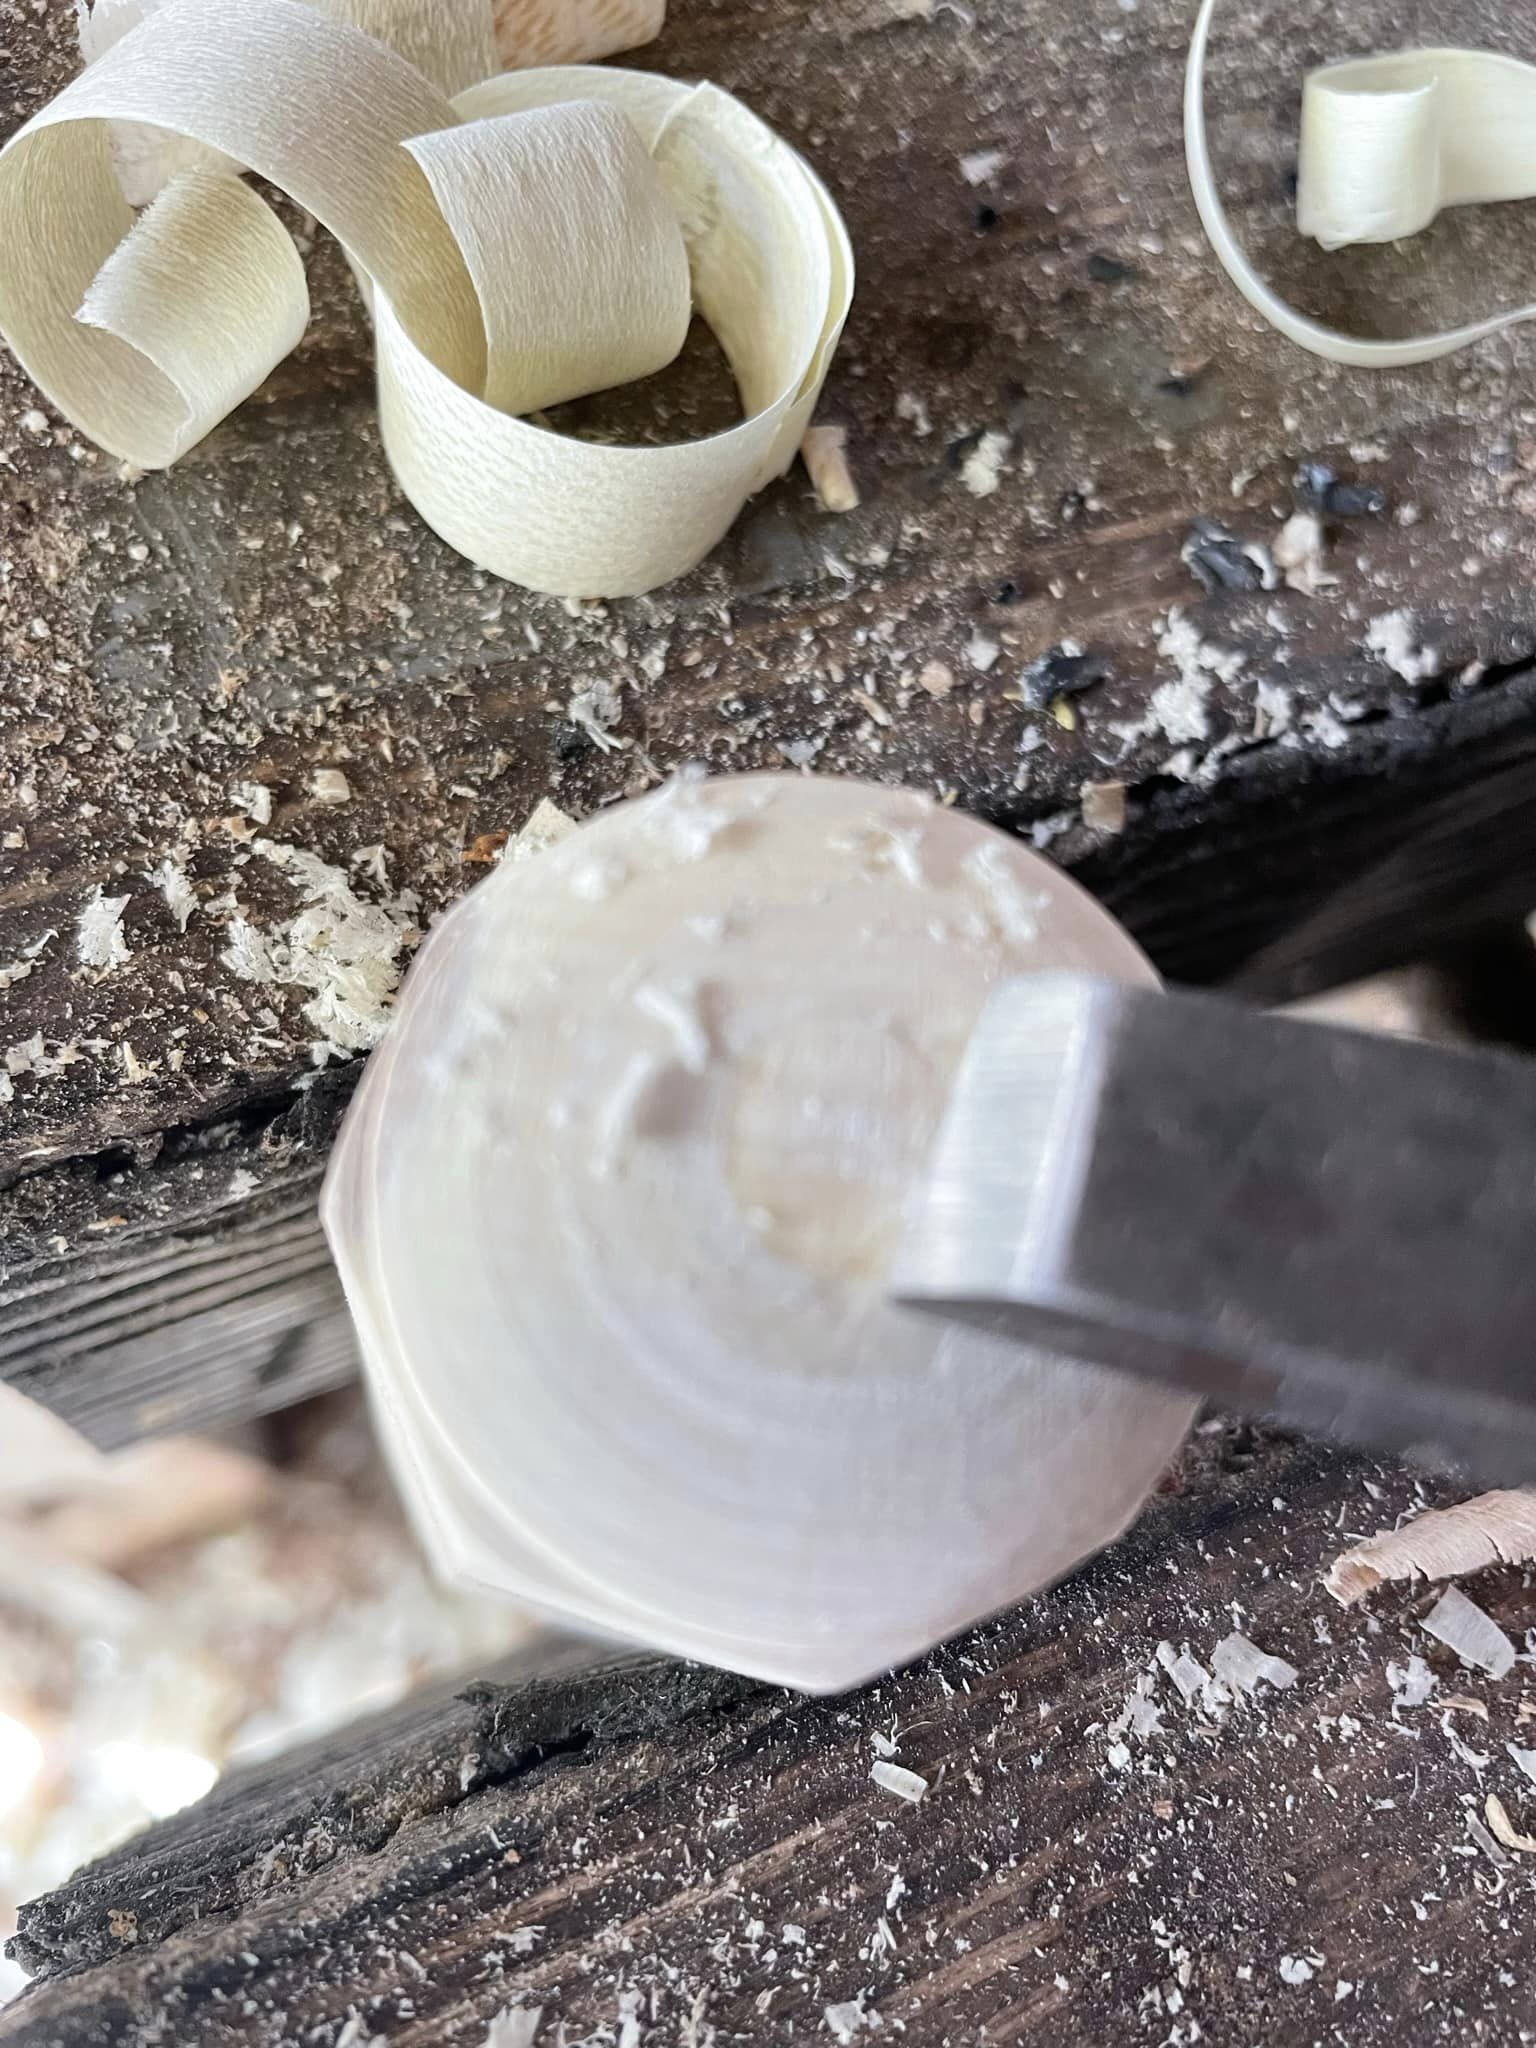
Now the artist in you can come to the fore - cut away all the bits that aren’t handle. When you get the inevitable catch, a quick trip back to the planing jig and two strokes of the plane will remedy the situation - albeit with a slightly narrower handle. I get a very smooth finish from the tool (especially from this holly as its still a little green) and only use 320 and 500g paper to finish the turned areas. Any crazed grain or difficult parts on the flats are easily dealt with using a blunt chisel - what a dream tool.
I saw the handle off the nib - I know people say to use other tools, but this is the only way I can get consistent results at the moment. And trim with a chisel and the blunt nosed chisel.
Trim the business end up with my shinto rasp and a file
I give the handle a dip and dunk in some shellac and leave to dry - where the handle is a little longer than my jar I just use kitchen paper to drag the finish up to the undipped part. Knock that back with 1000g paper and rub with some peacock oil, keep going building up the finish slowly. Four coats in an hour and then leave overnight till you get some more coats in. However I do also mix and match shellac, BLO and peacock oil. Use them one after the other; or two of this, one of that, it doesn’t bother the timber - I just like to build up the finish as I go.
To mount the iron I extend the 4mm pilot hole, to the full length of the tang. I find that as the pilot hole is drilled square and flat to the surface, further drilling follows that pilot guide and I get centred cuts. I then open the hole up in stepped sizes until I get to the size of the top of the tang - old man sellers has a great video on how to install an handle - you can use the tang itself as a reamer to clear the hole. Then slap the chisel in the voice and hammer the handle home.
A few final finishes - some wax and a buff, a sharpen and you’re on your way.
See the photos and videos below for all the details!
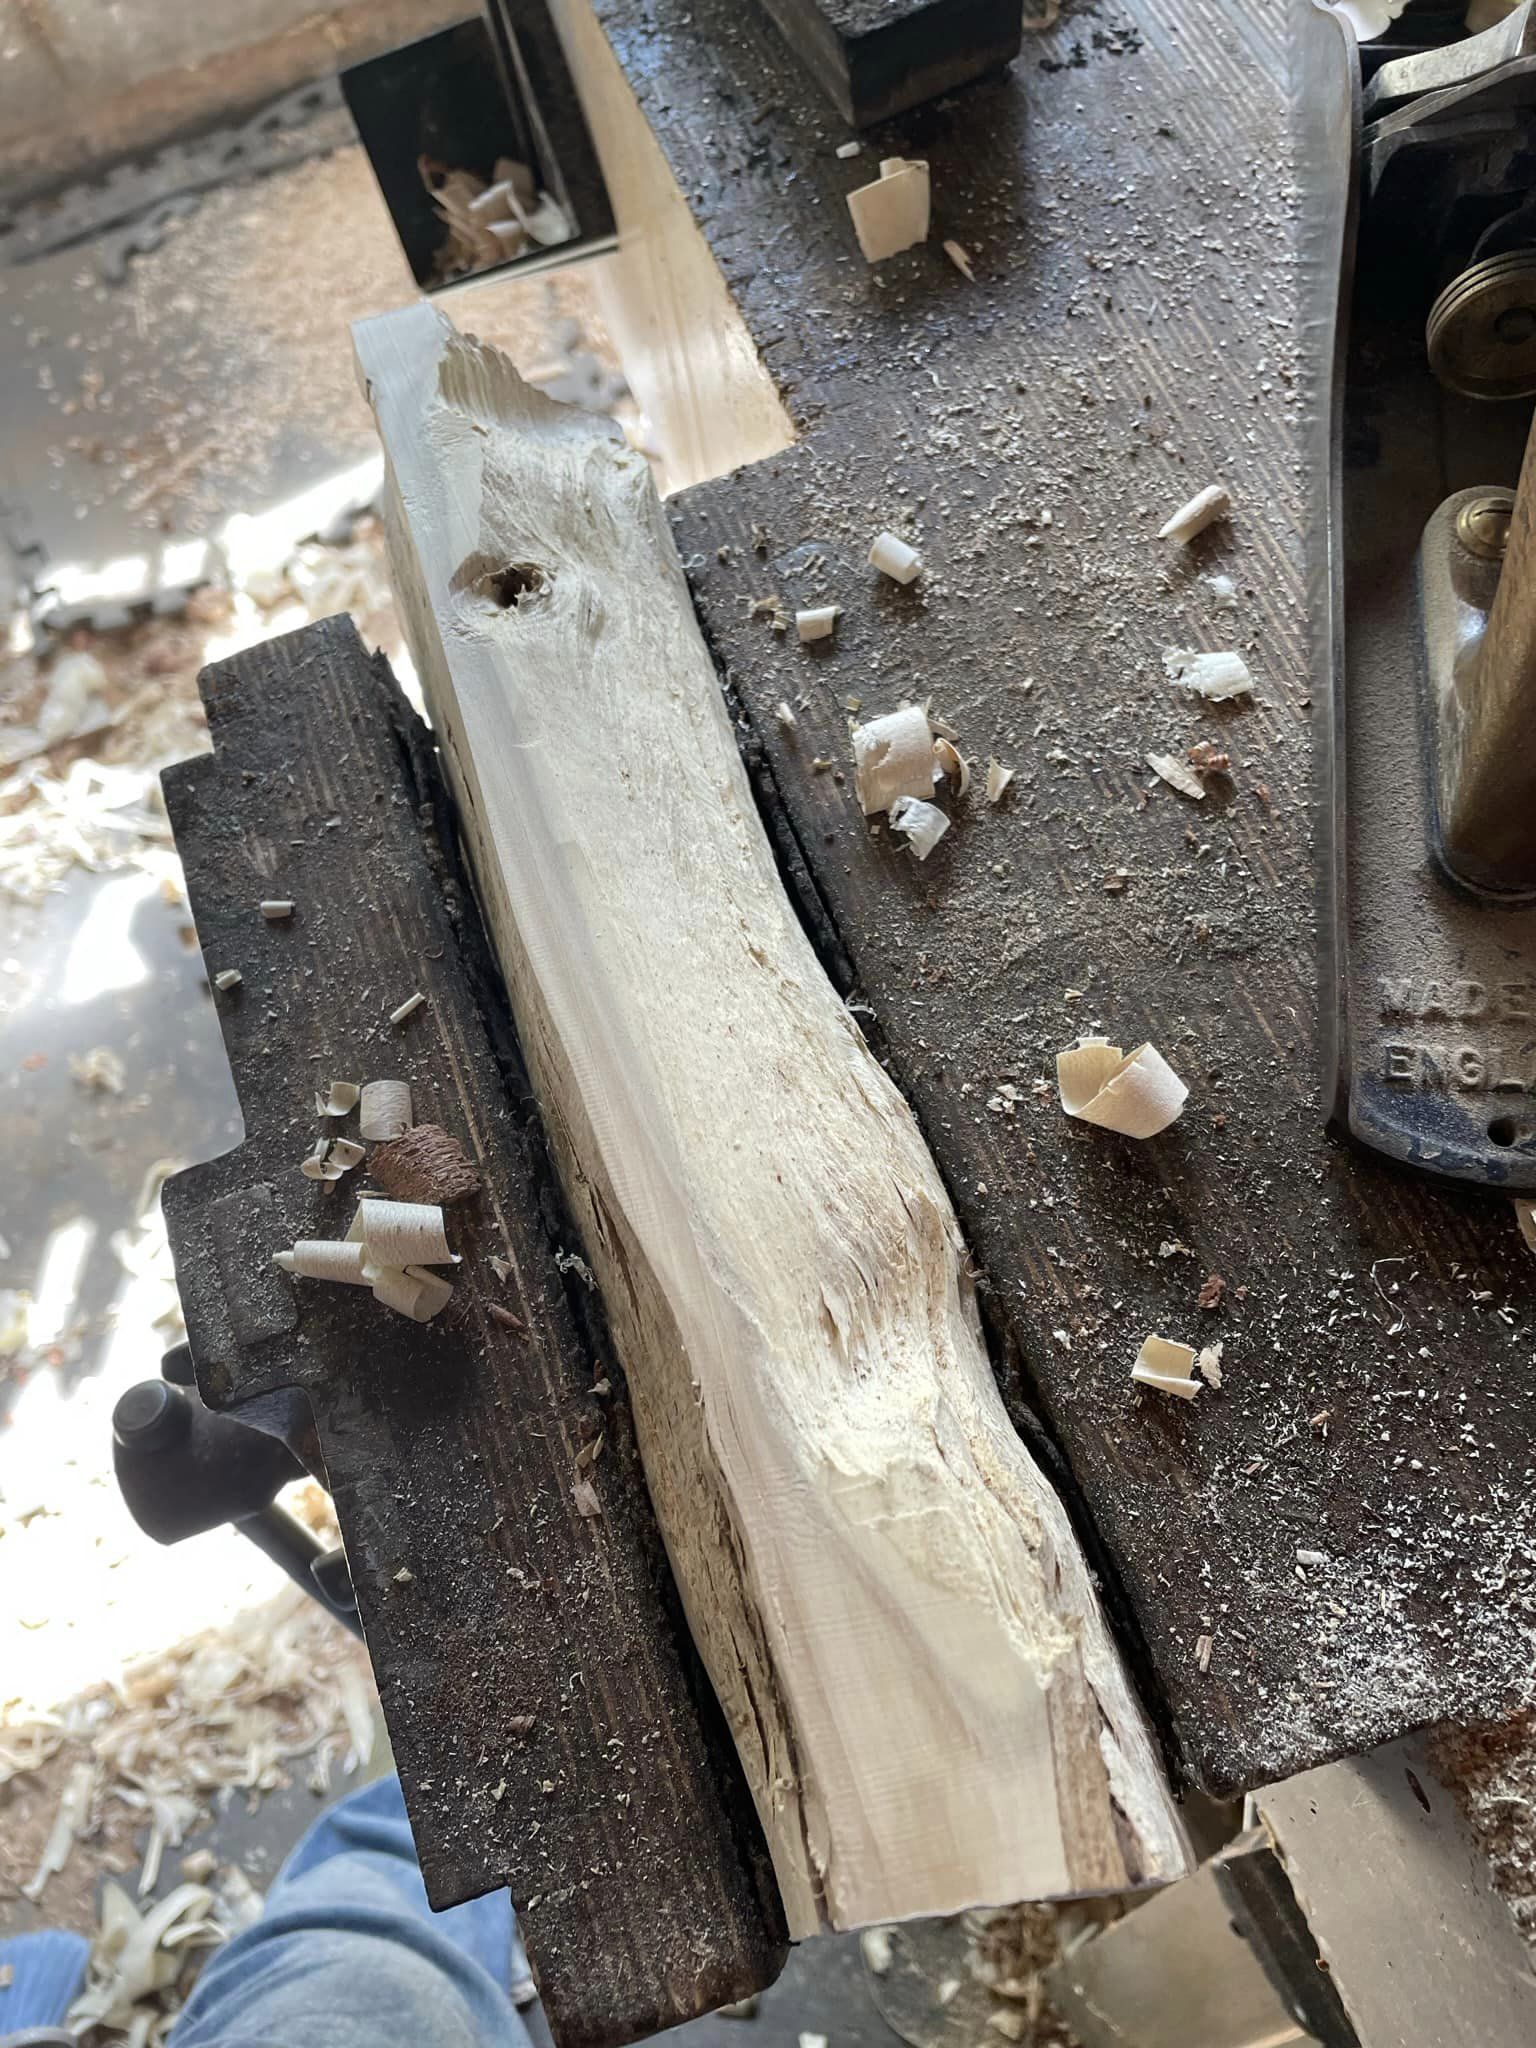
Rough split holly, this piece has been given a couple of passes with the plane.
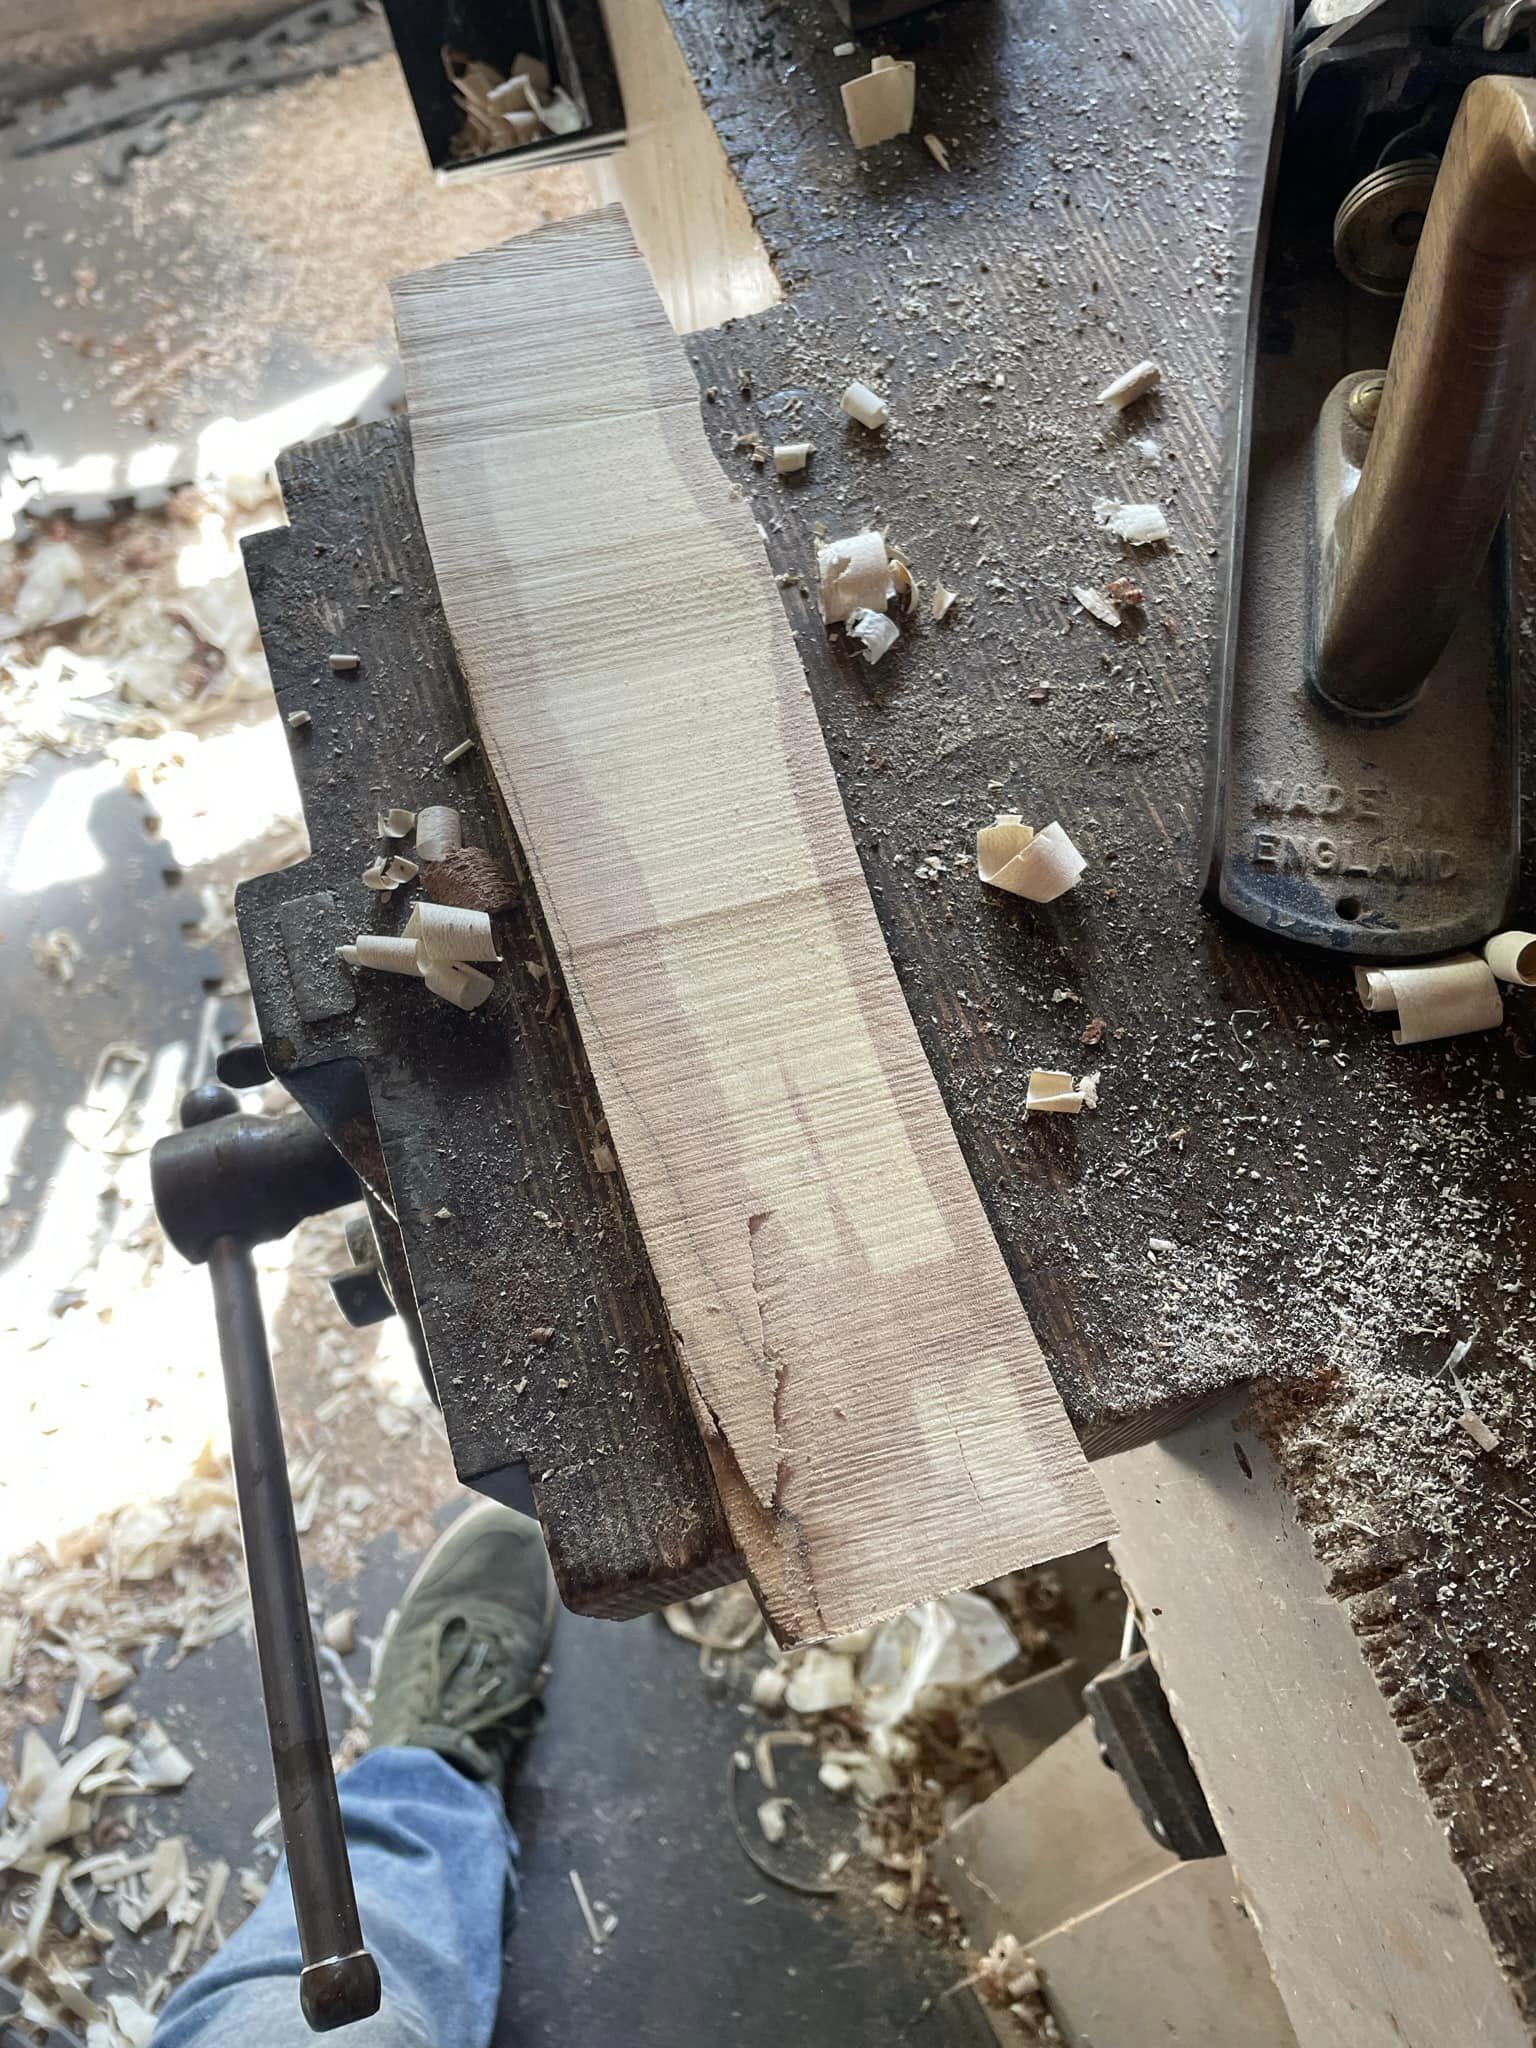
The first cut, apparently, is the deepest.
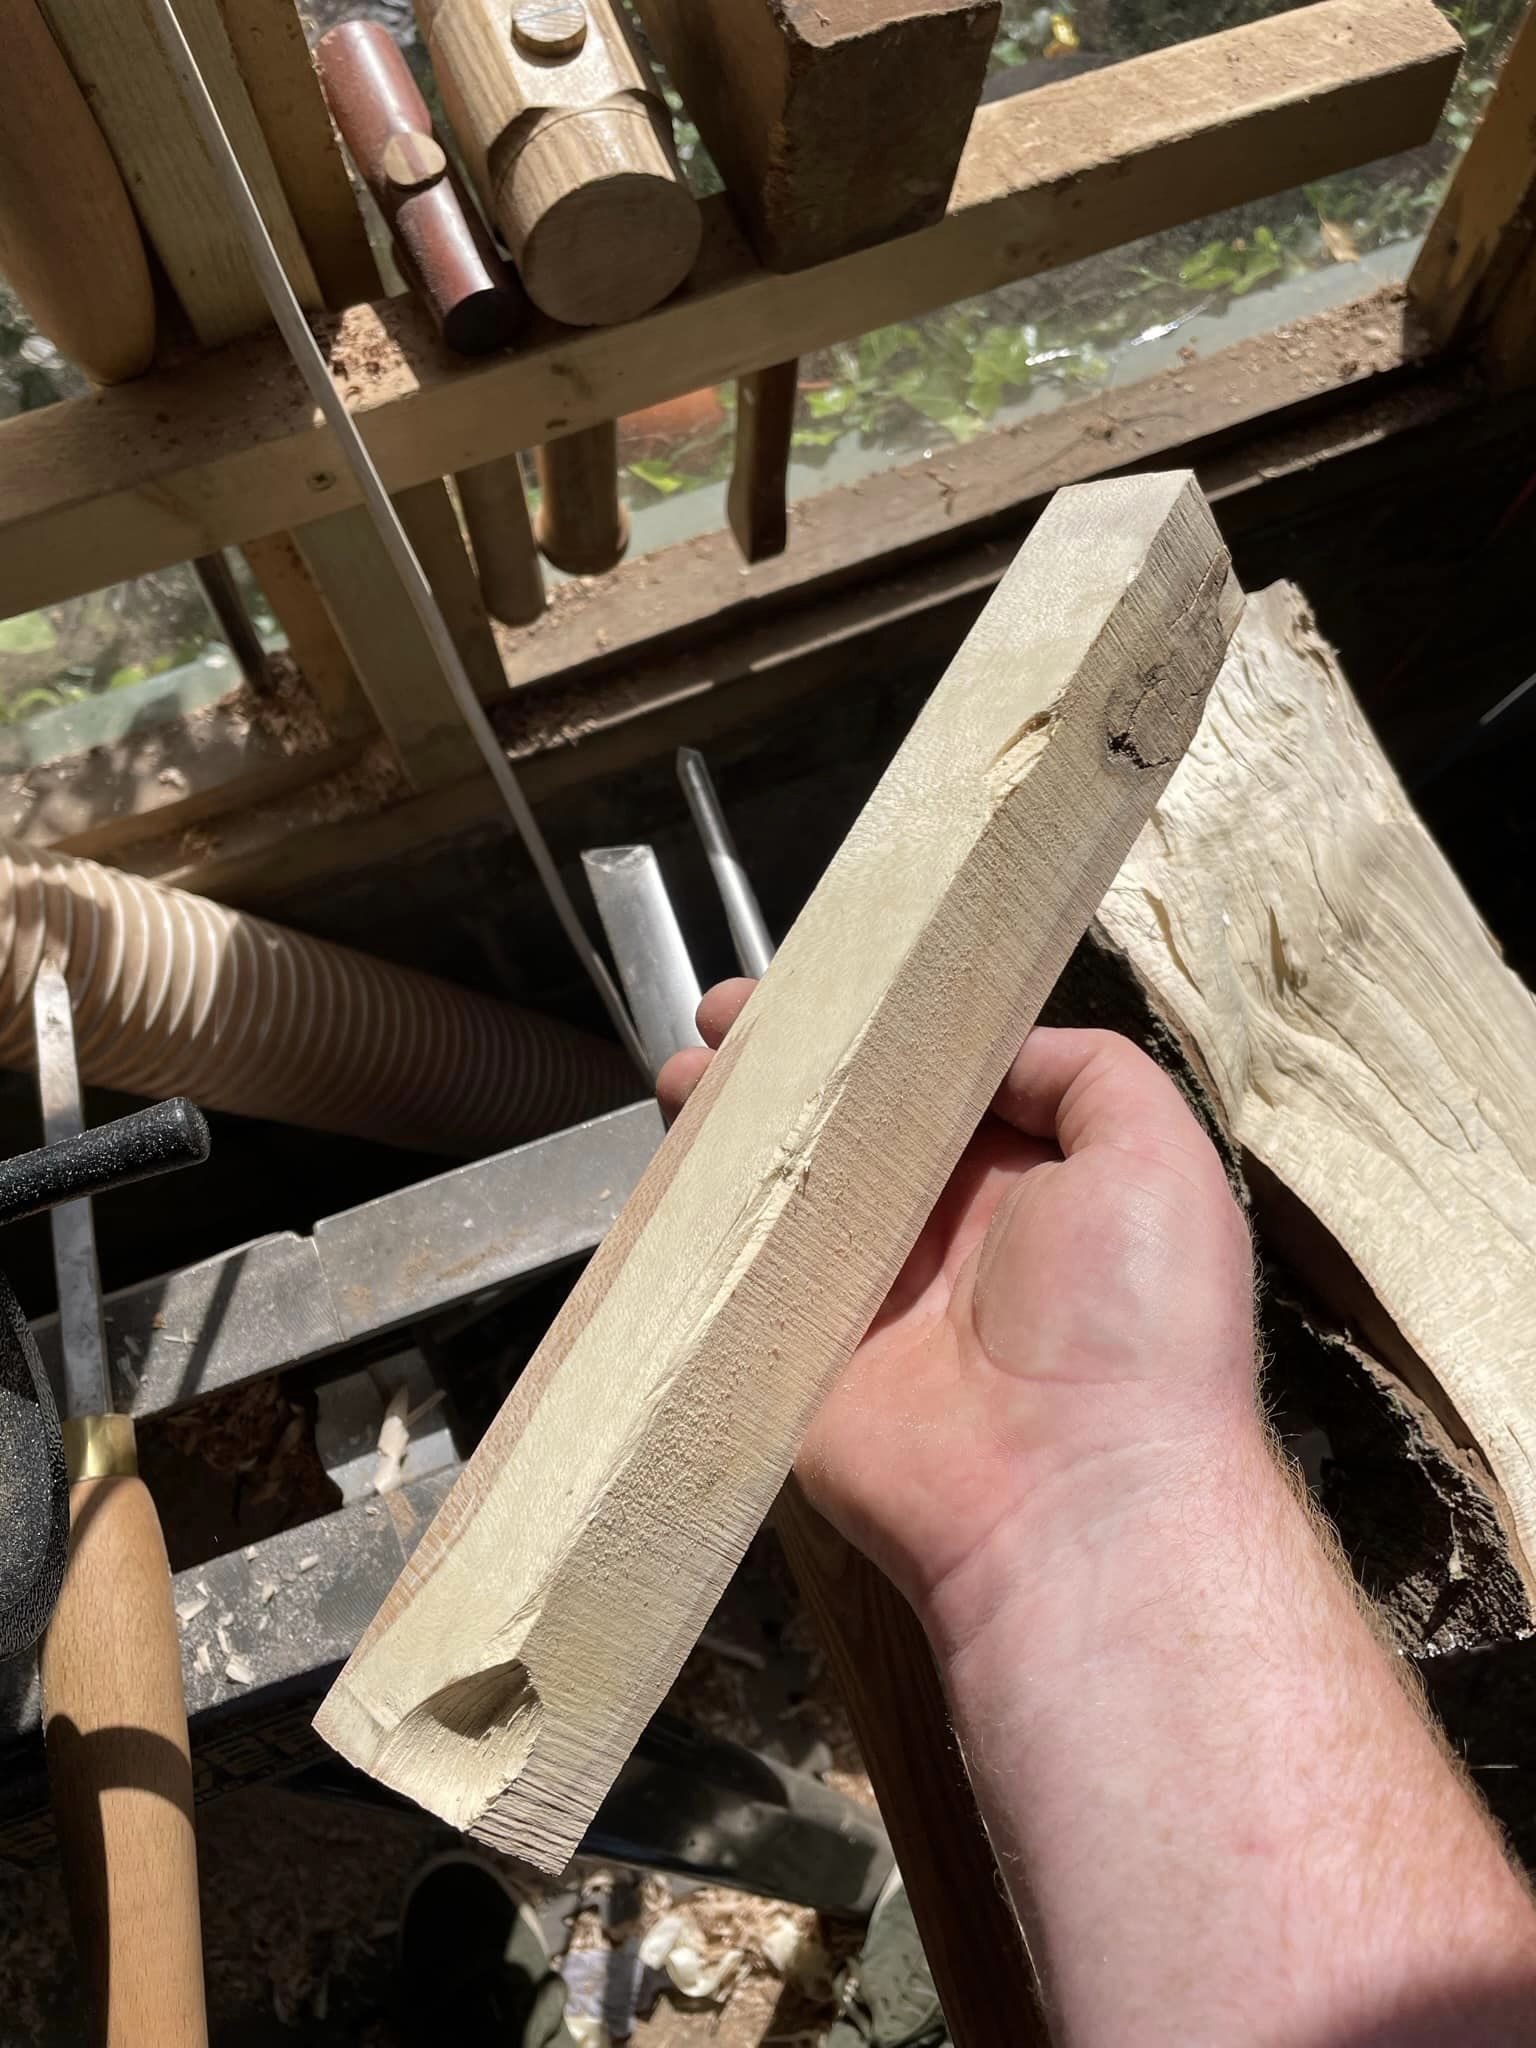
Nice square (ish) blank. There’s a whacking great knot at the top of the blank there that needs to come off
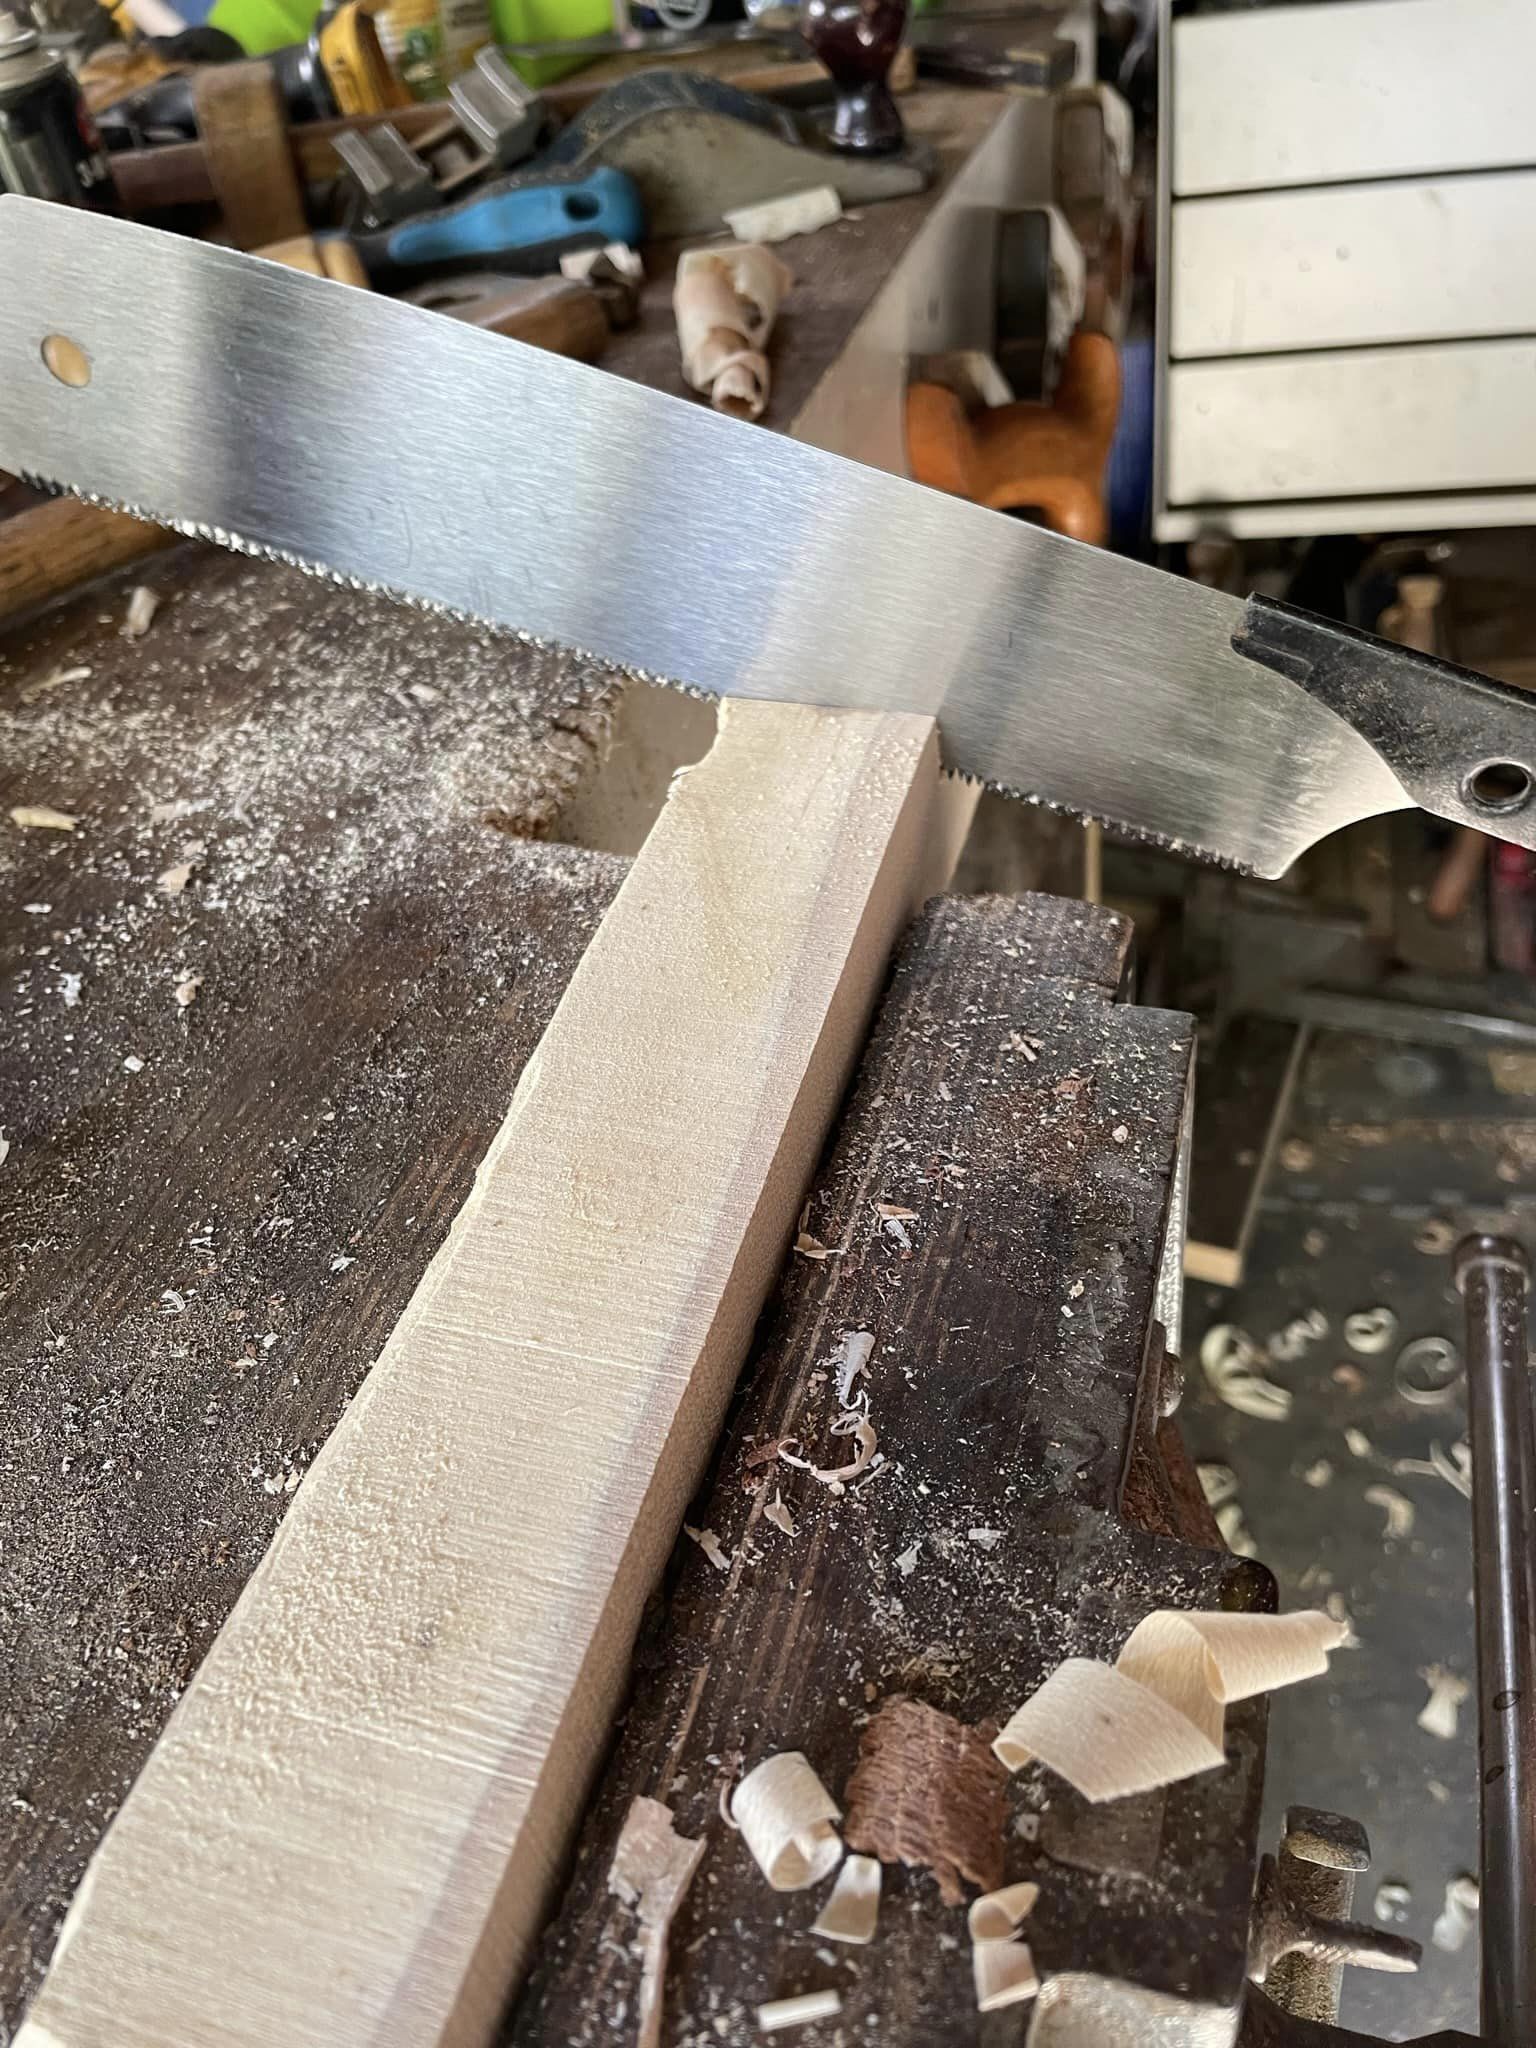
Crosscut pull saw for the win

Veritas duck billed centre finder
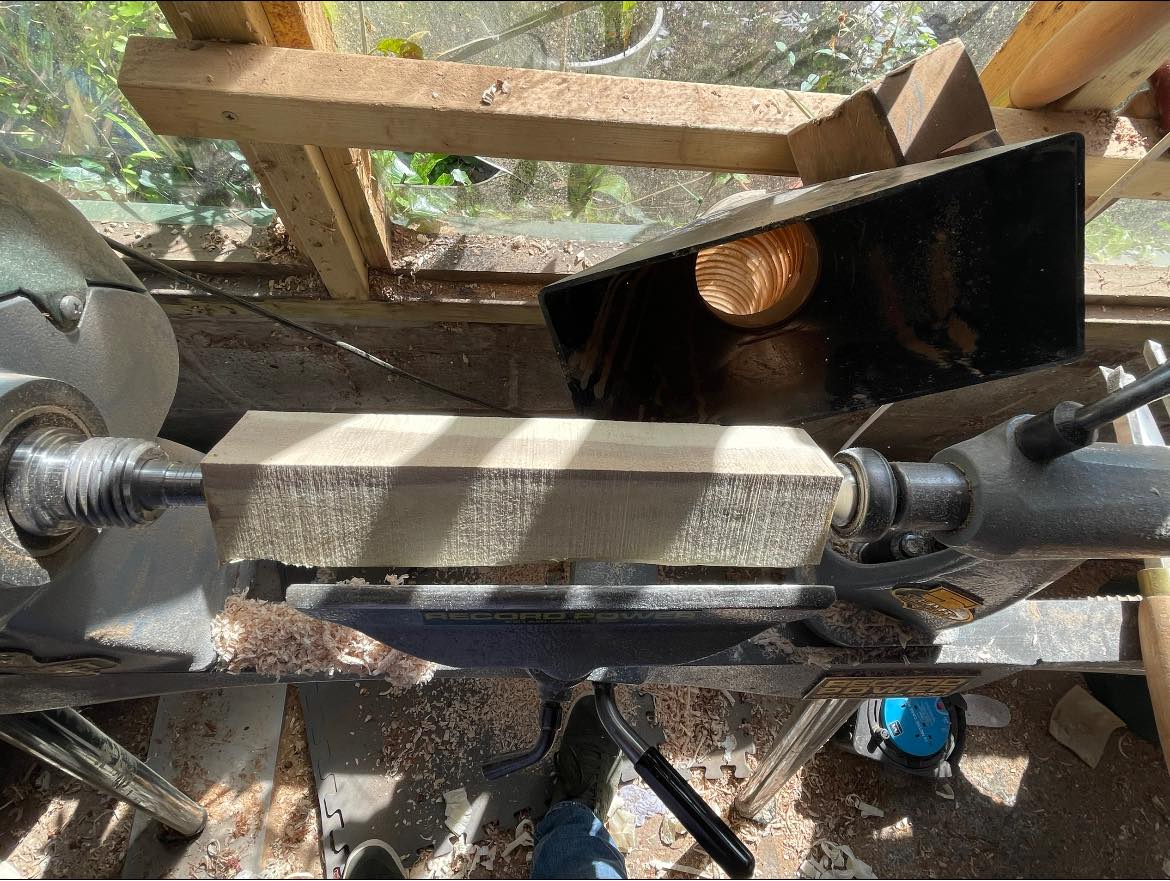
Pop it in the lathe.
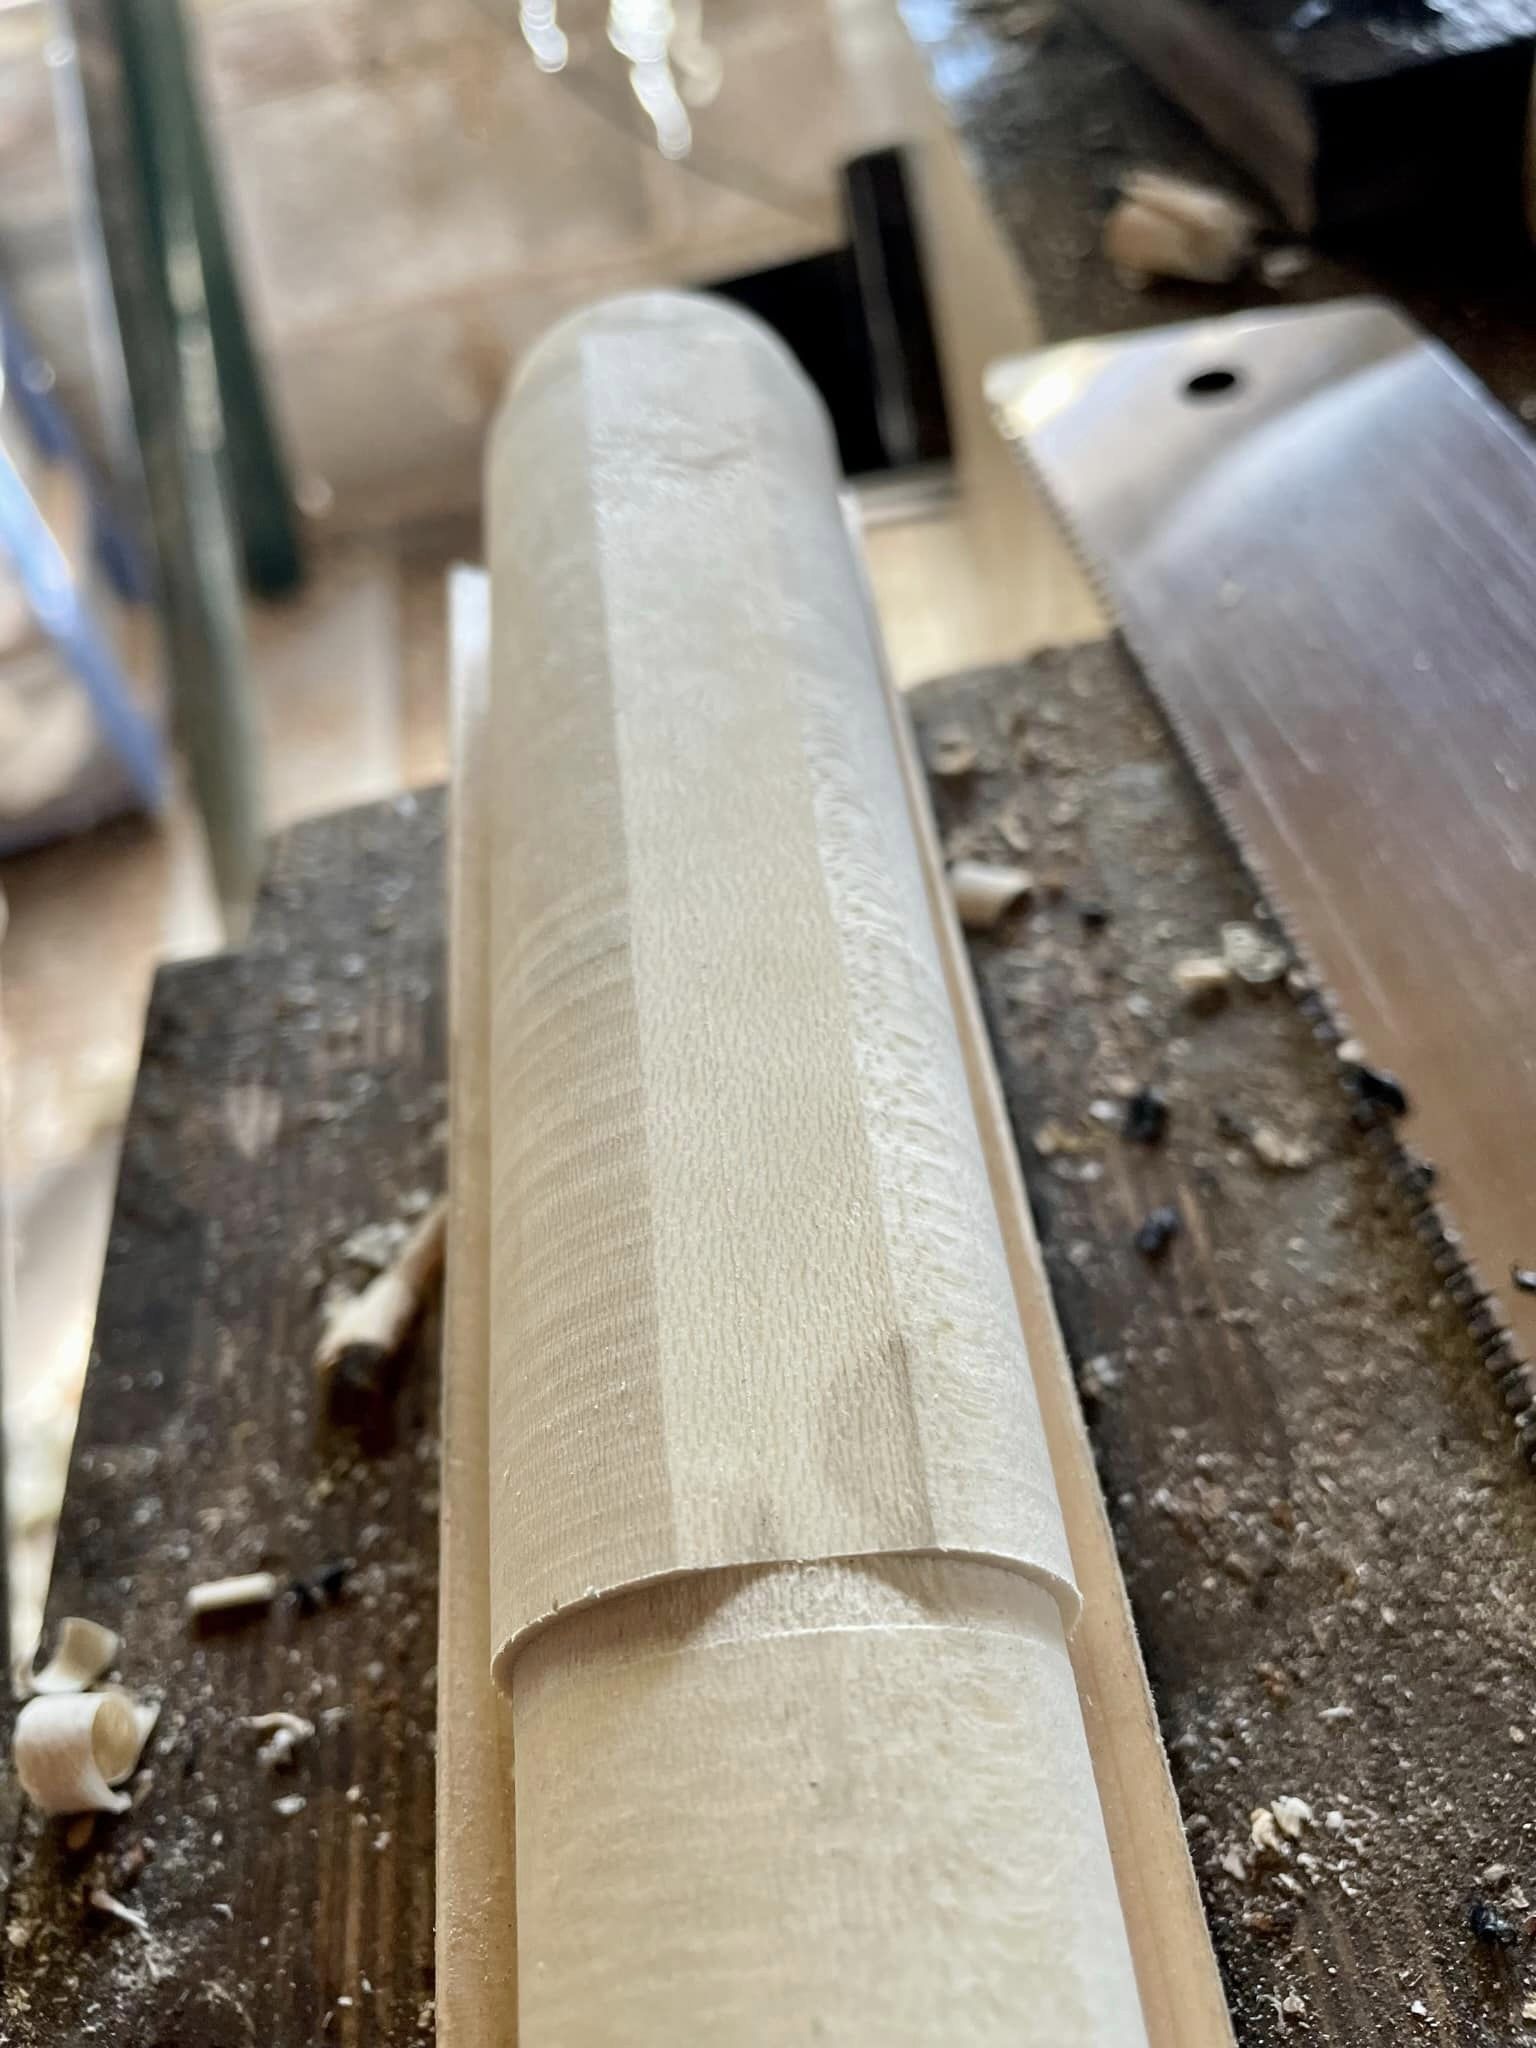
Once rounded and the guides cut. Plane the flats on
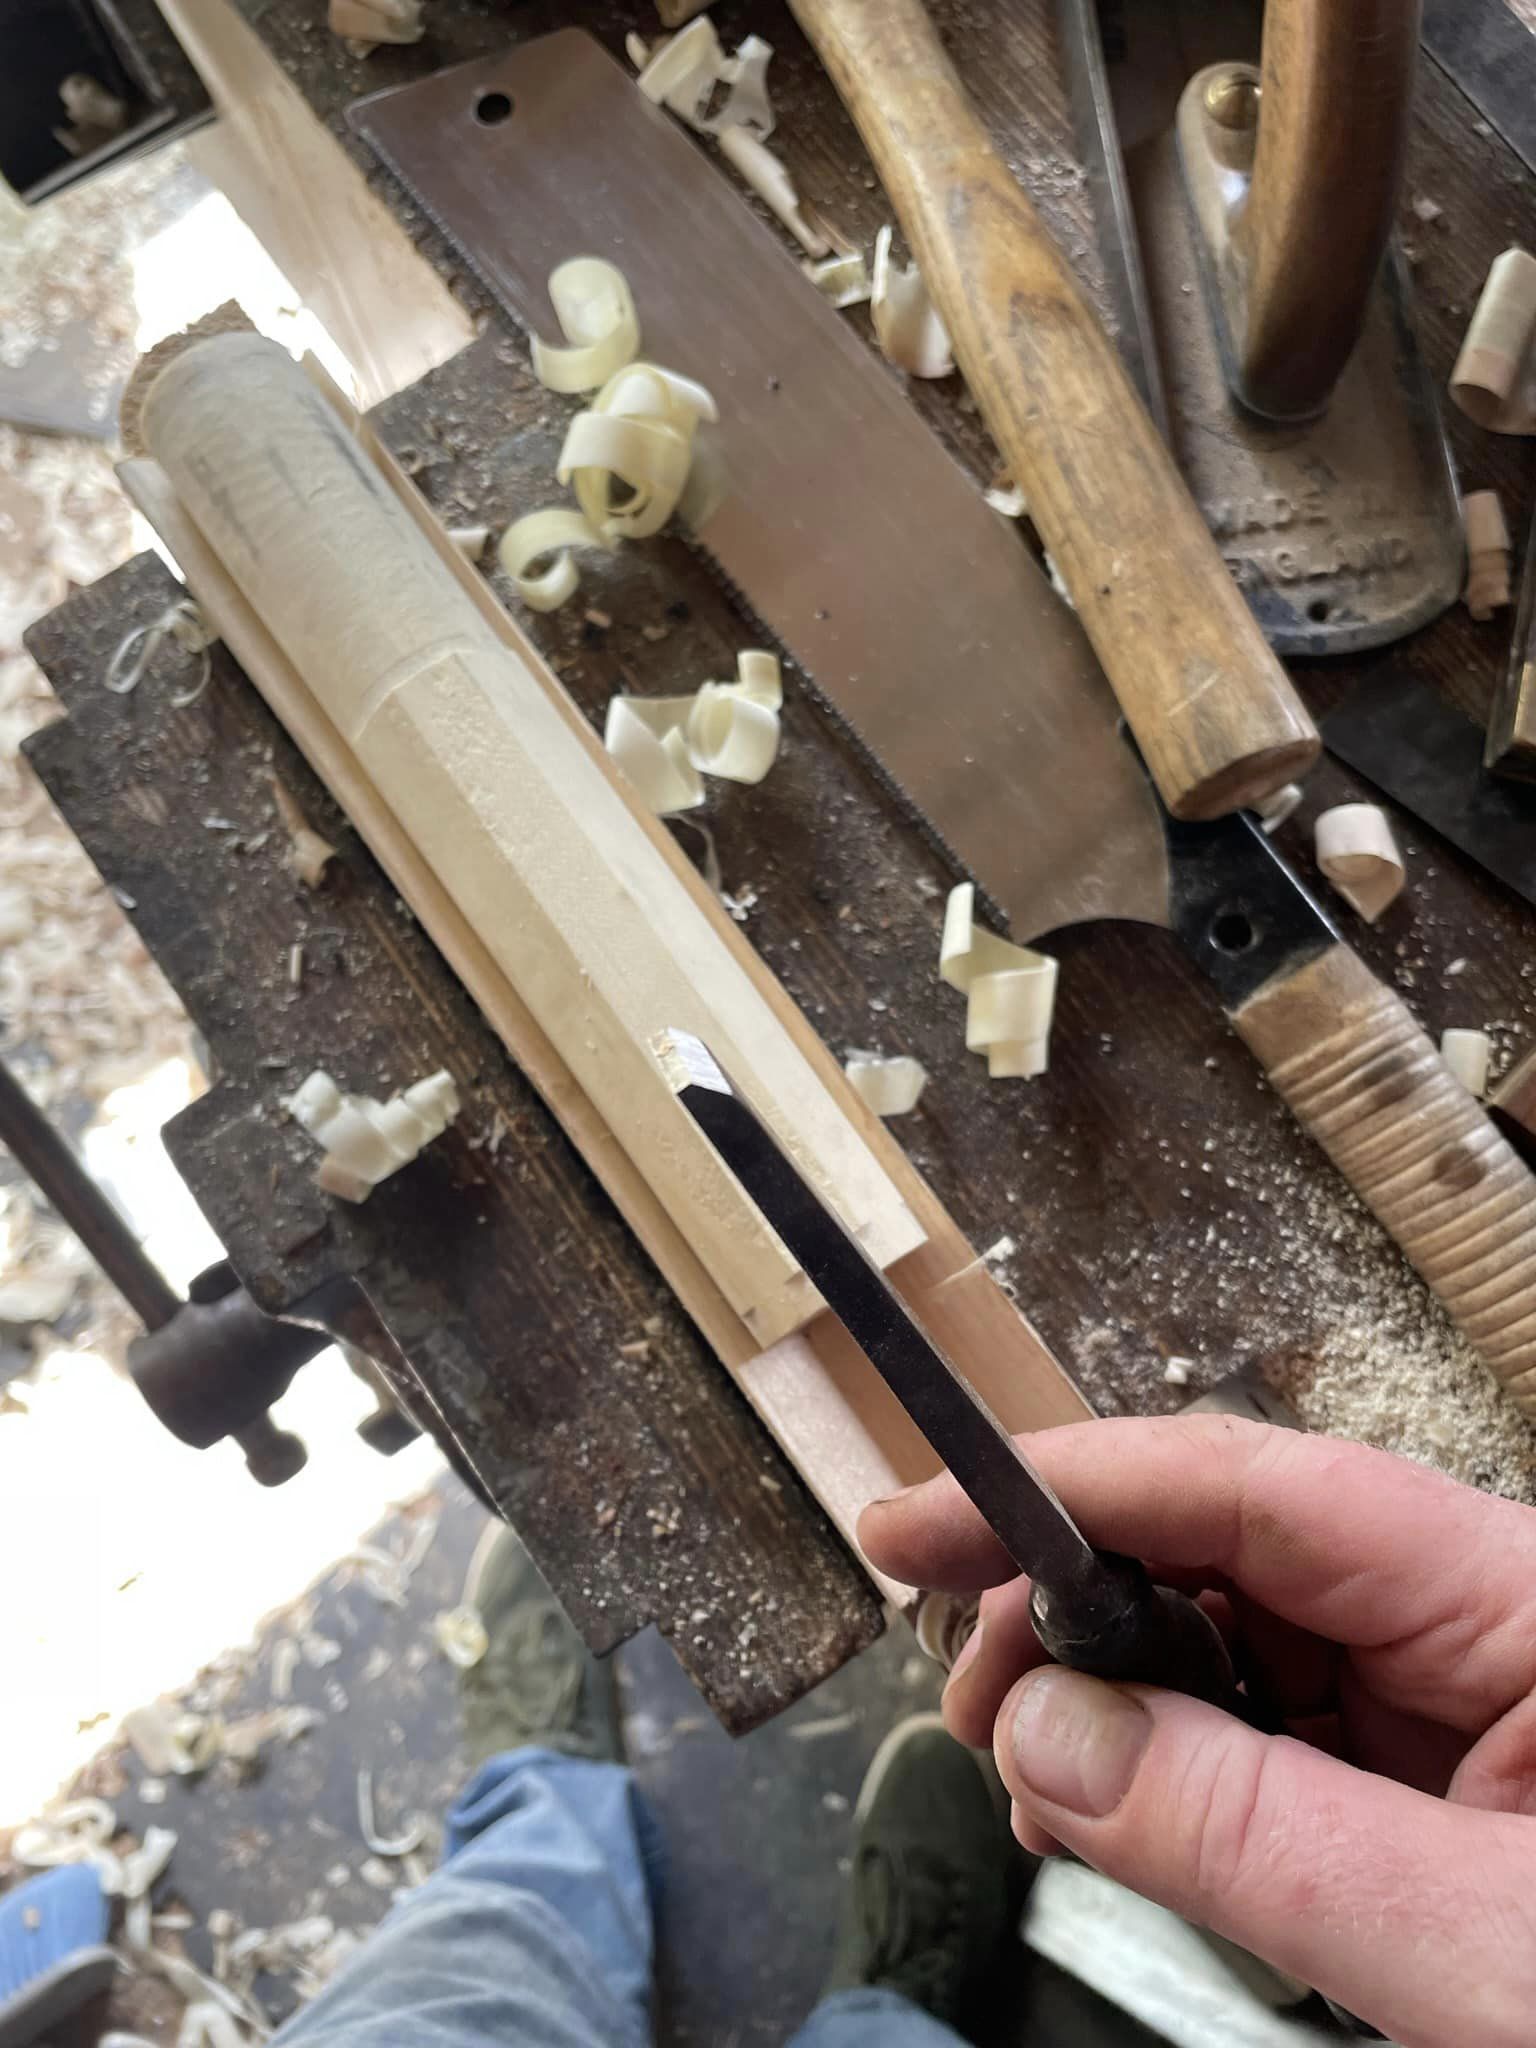
A good sharp blunt chisel is the absolute best
Chop chop
Awful photo, great tool
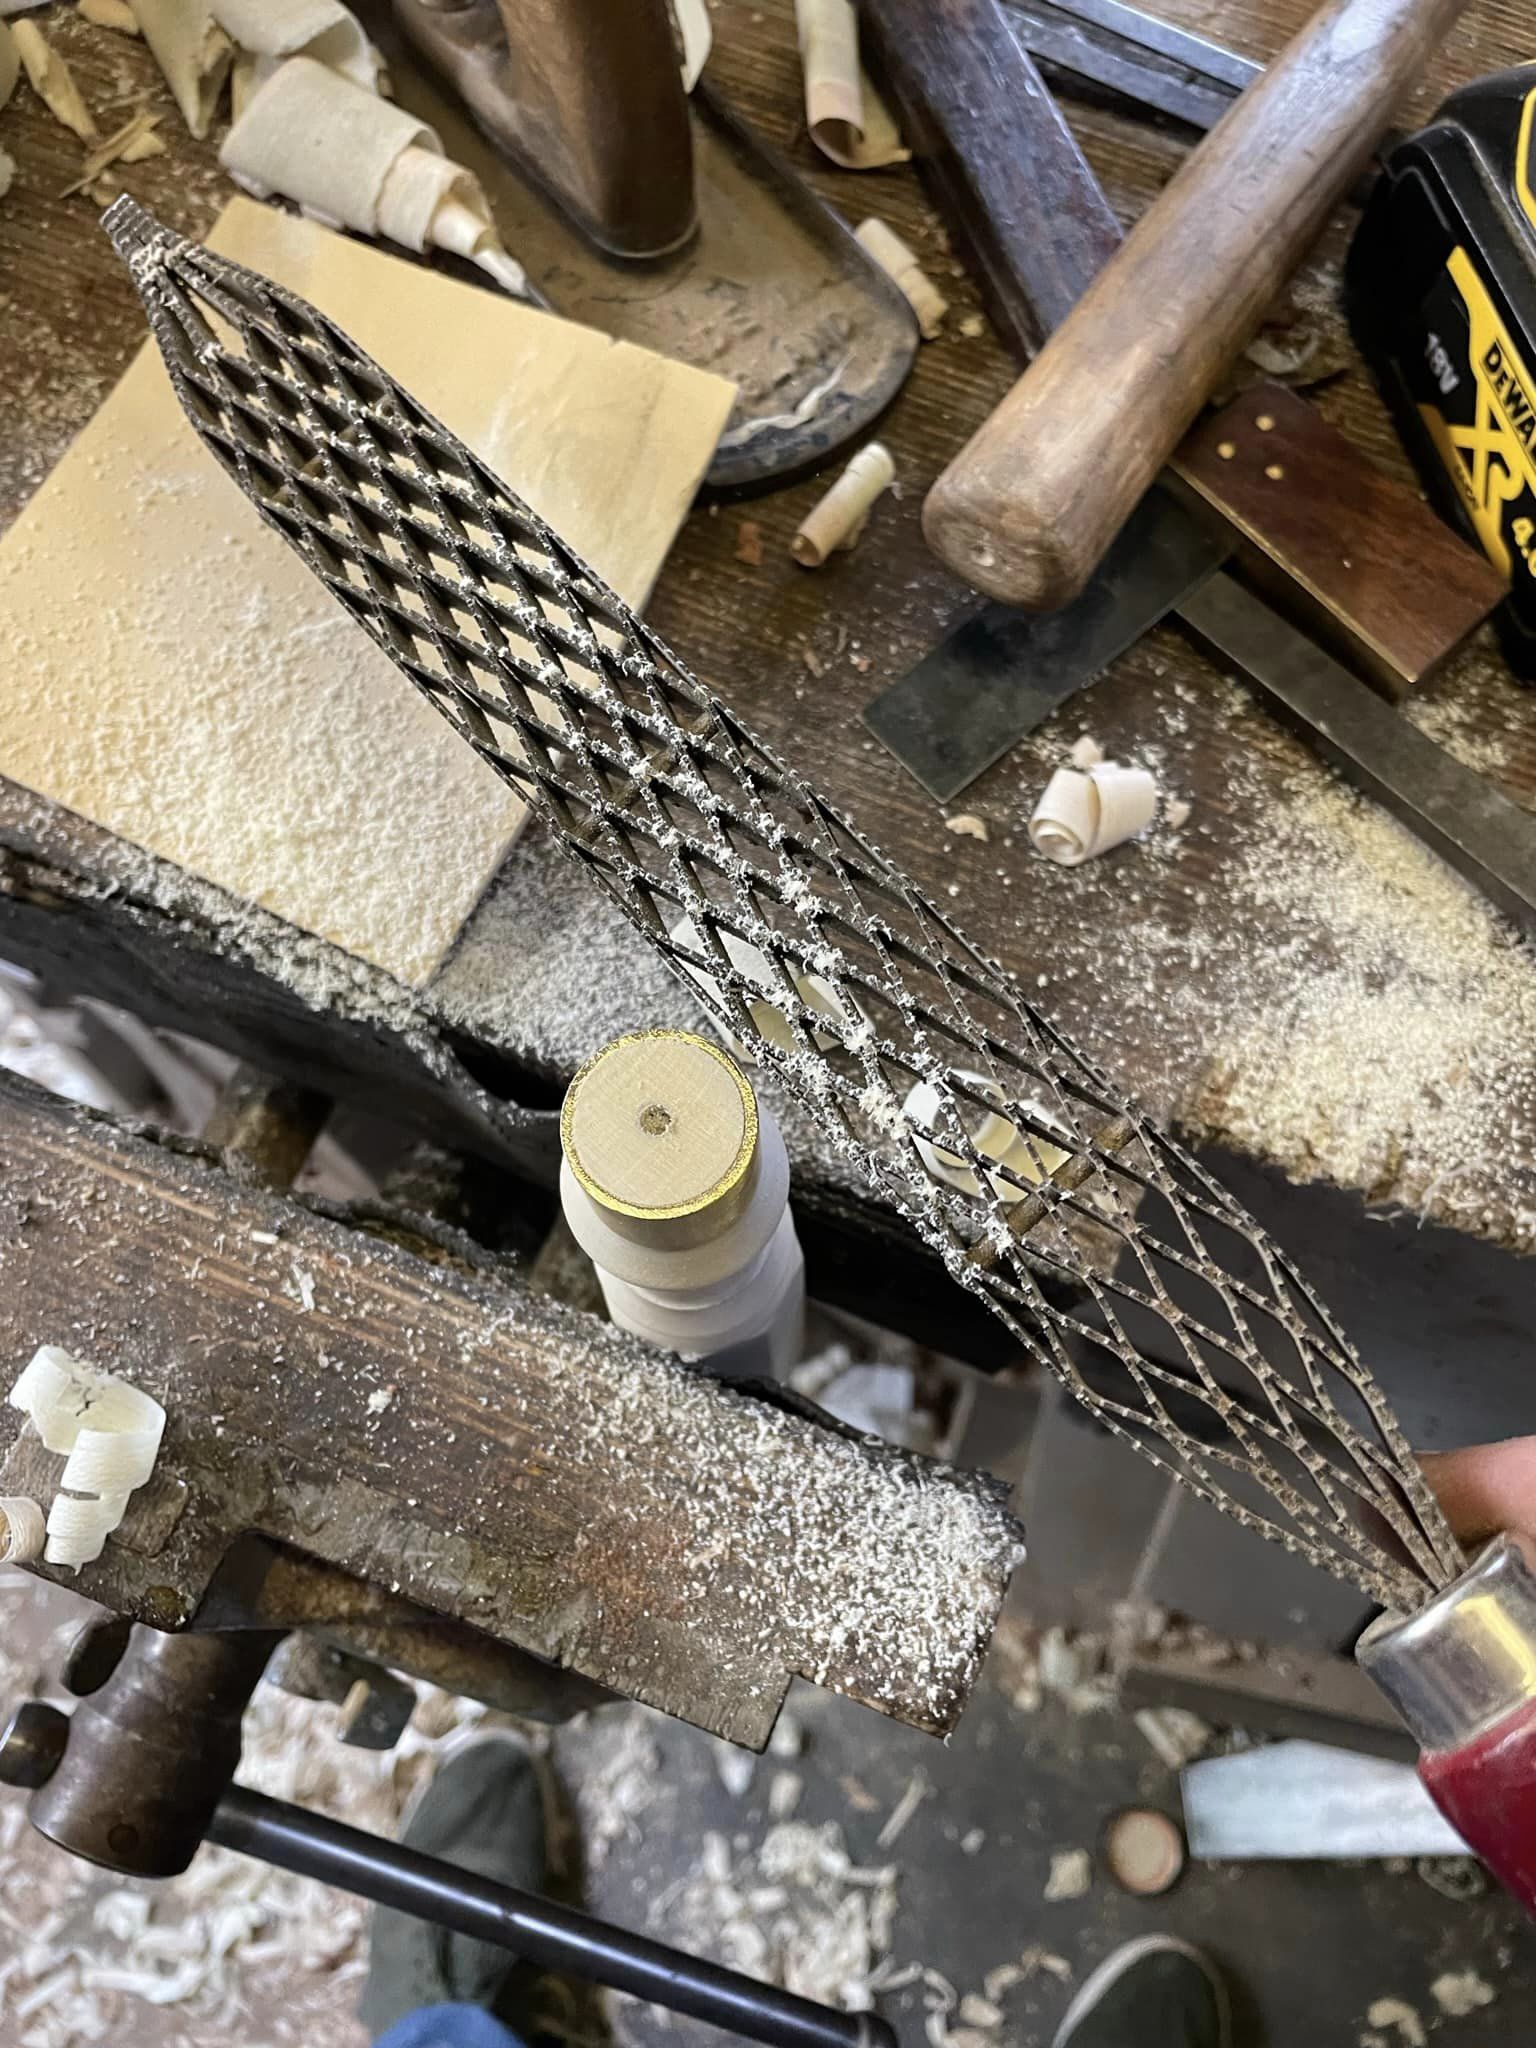
Trim the business end with the Shinto rasp. Thank you Mr Sellers for the tool recommendation
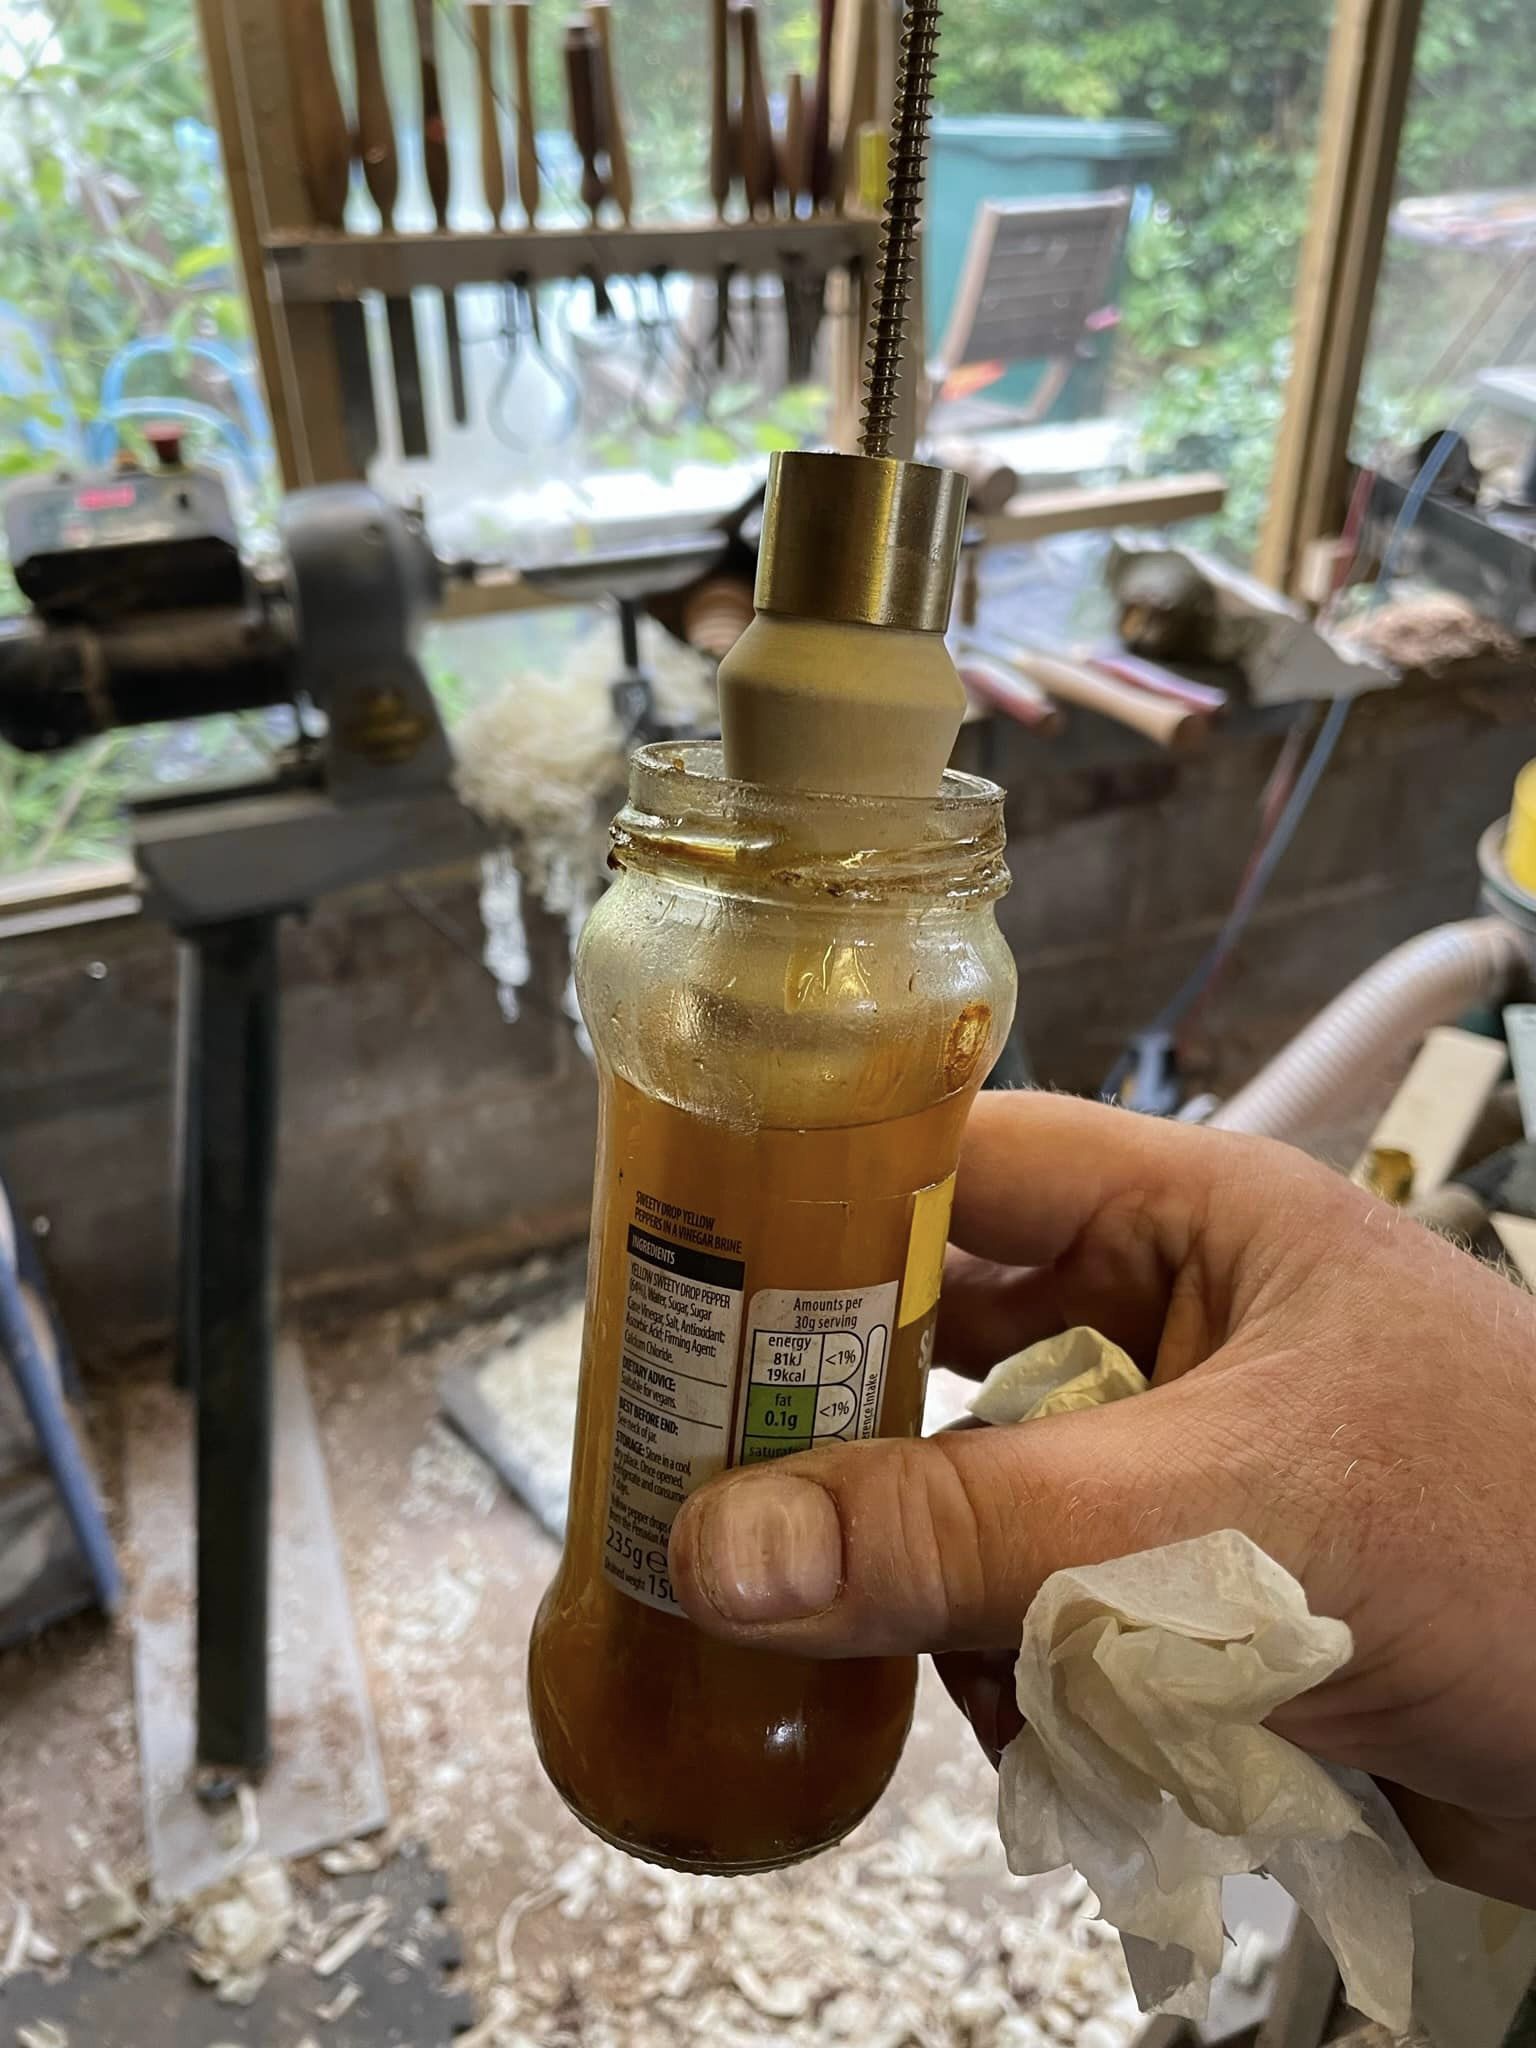
Dip dap
Drip dry
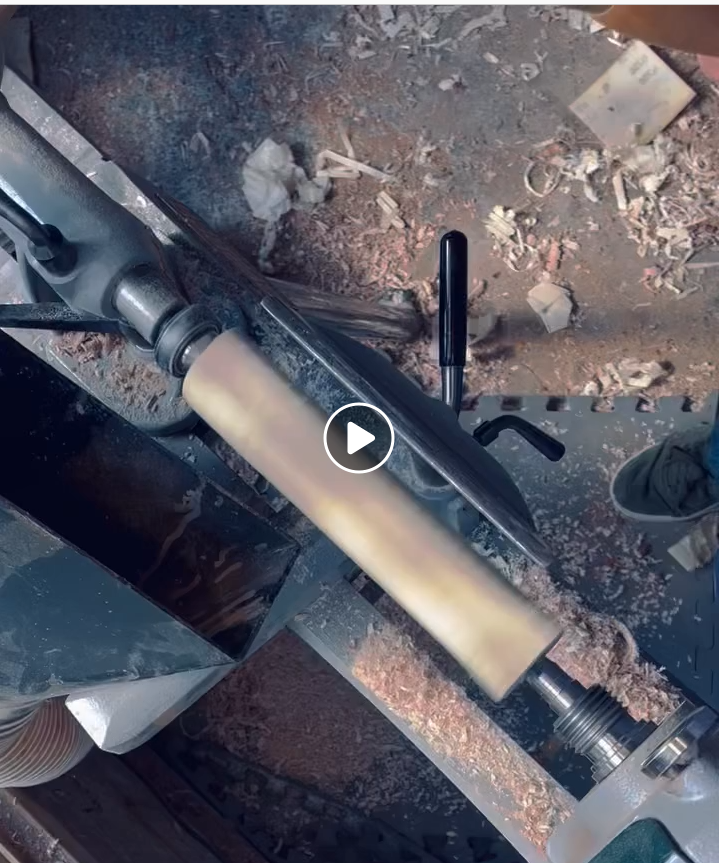
Rounding the blank (Video, click to watch)

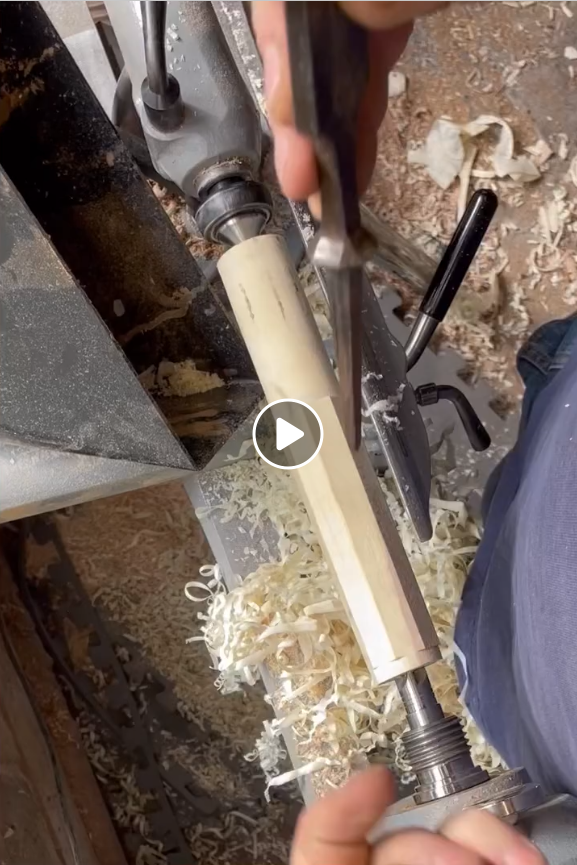
Drilling the pilot hole (Video, click to watch)
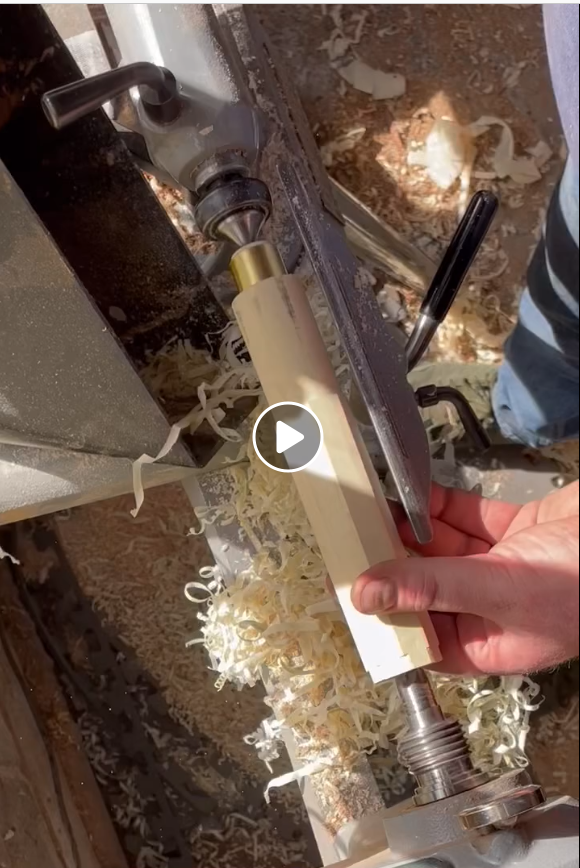
Fit the ferrule (Video, click to watch)
Shaping, catching and swearing (Video, click to watch)
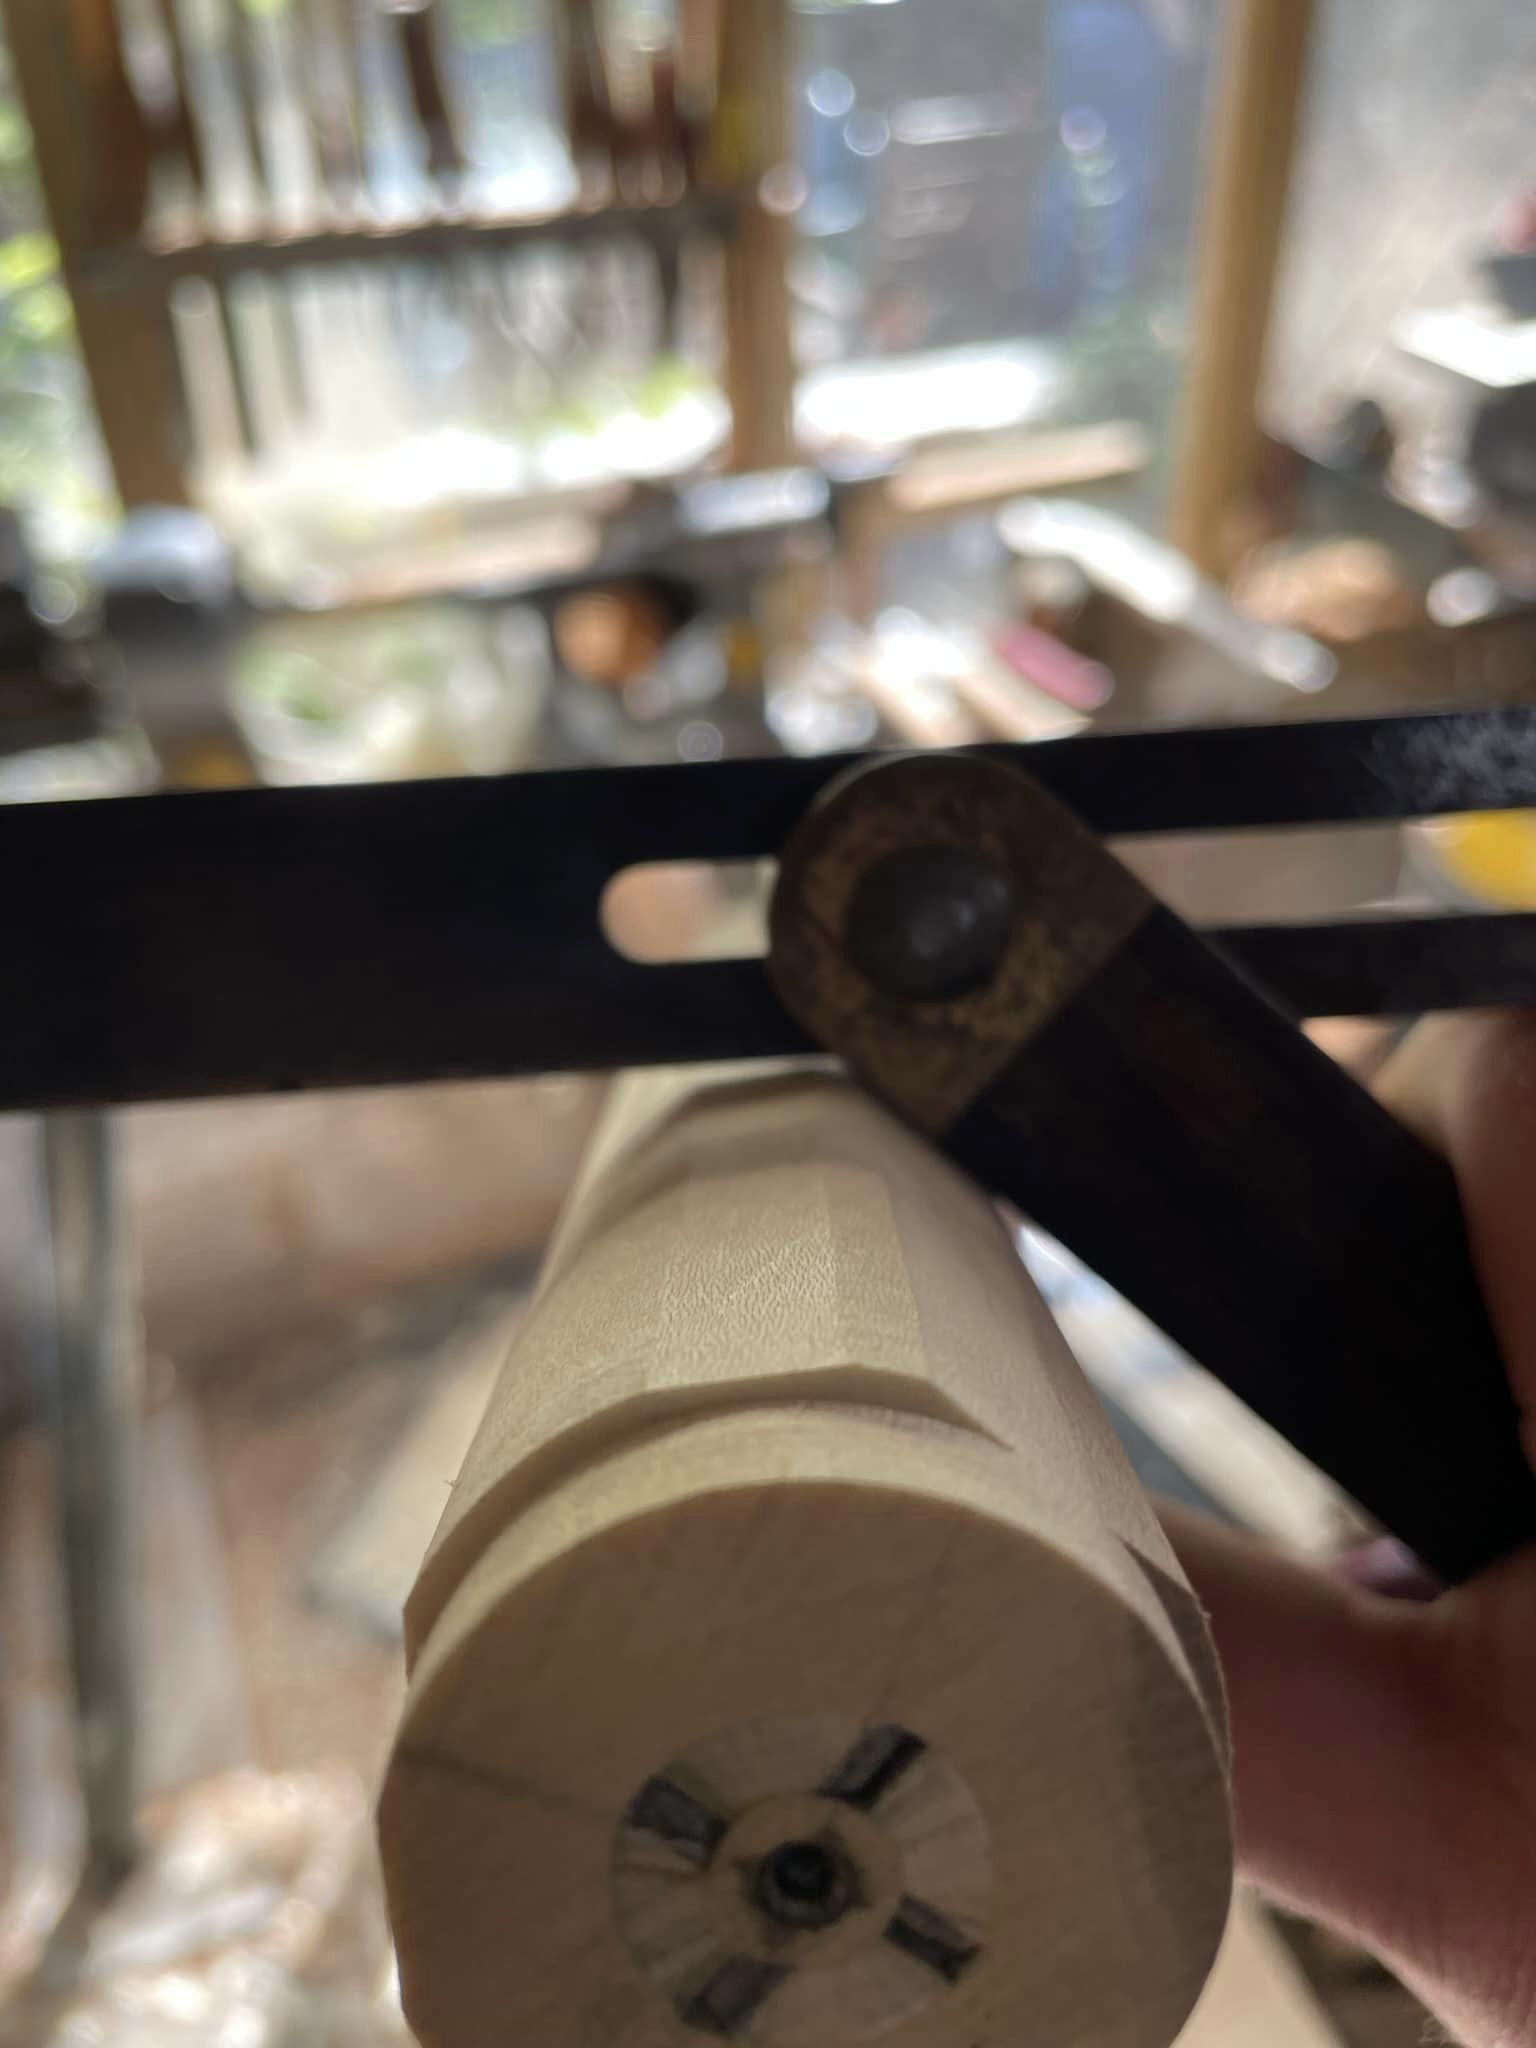
Check your bevels - 135°