Dovetail joints in metal
Cutting dovetail joints in metal is probably easier than it sounds. A joint with small gaps can be peened shut and you’ll never know the joint wasn’t perfect to begin with. You only need a hacksaw, a handful of layout tools and some files to cut the joint.
Unlike dovetails in wood, in metal they are finished to look like an impossible joint. This is because in the absence of significant friction and or glue, the joint needs to be peened shut - it looks as though there are only tails and no pins.
I first came across metal dovetail joints when I started my journey in planemaking. Planemaker Bill Carter has posted many videos on doing this on his YouTube channel. He is well known box mitre planes as well as other types. Bill only shows one method of cutting dovetail joints. This method also appears to be the most commonly used method. I will call this “Method 1”
Over time, in conversation with fellow planemaker Enda Ward I discovered that he cuts his dovetail joints in a different manner to Bill Carter, while the result is virtually the same. I will call this “Method 2”.
Recently, I sat down and studied a Towell infill Box Mitre Plane for a few hours and determined that the dovetails had been cut using Method 2. There are benefits to using both methods. Both are just as valid as each other and have been proven to work. Some people will find one more convenient than the other. Some materials are also easier to peen than others, and therefore one method could be chosen over the other.
The beauty of method 2 is that the joint could be cut as a box joint, and simply filed to look like a dovetailed joint later. I have yet to attempt this, but it seems like a sensible process in achieving the function of the dovetail joint. If you decided to cut the joint using mechanical methods for example, you may find this method convenient.
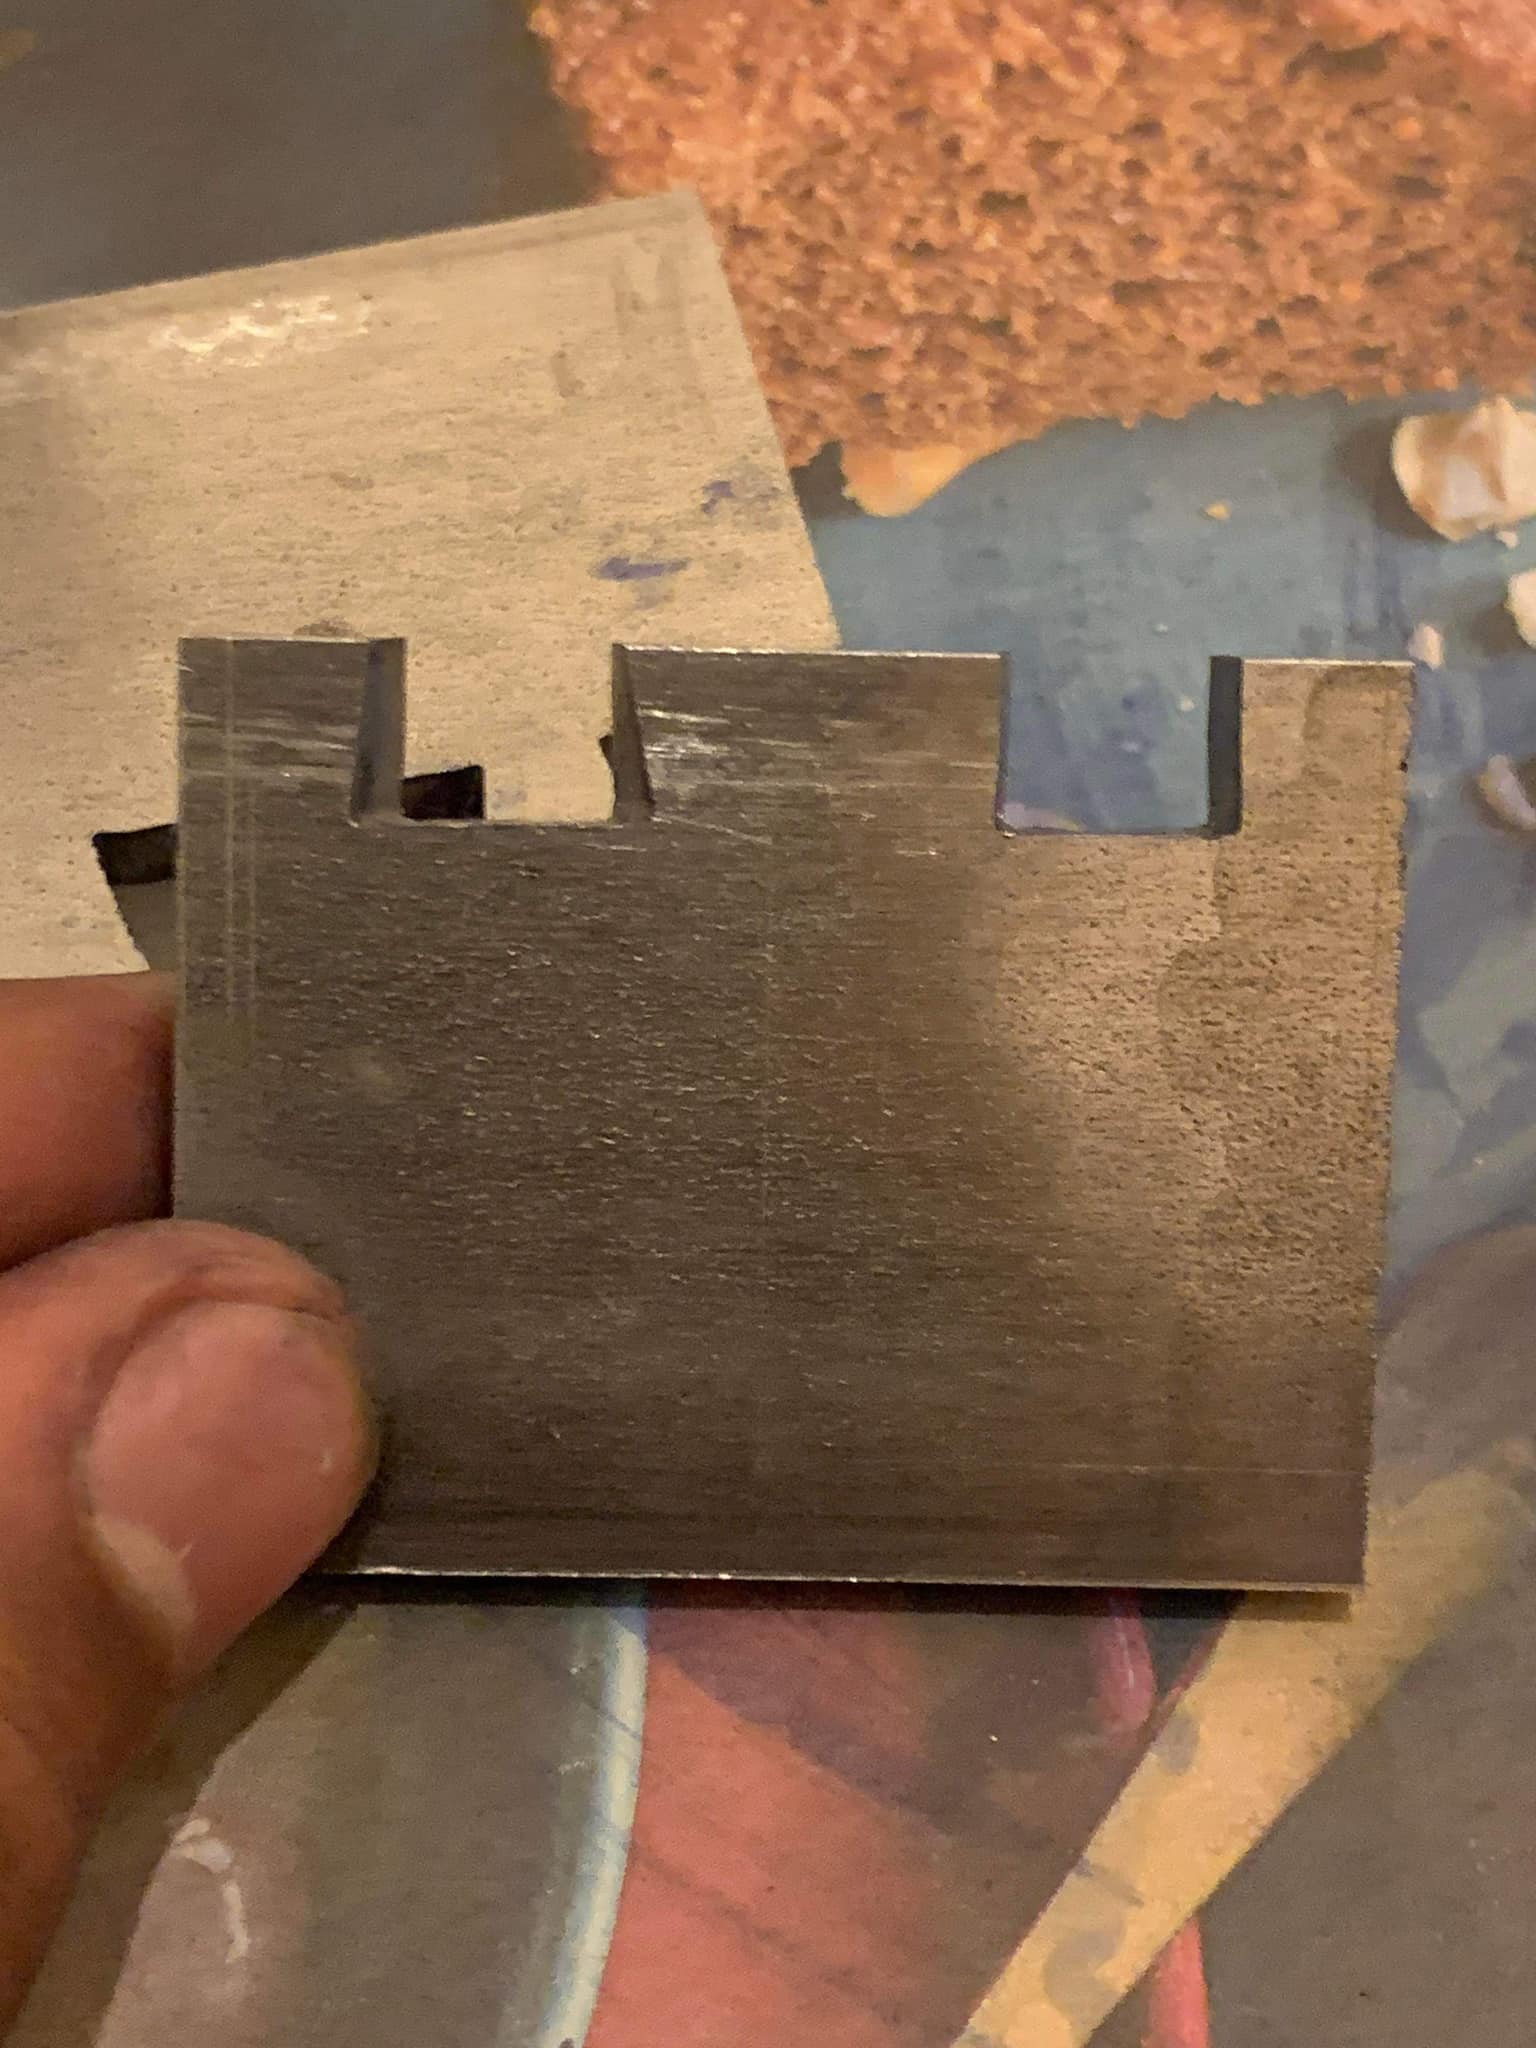
Scroll through the pictures below to see some more examples and details in the captions. I crudely created a sample joint some time ago in mild steel, to demonstrate my point.
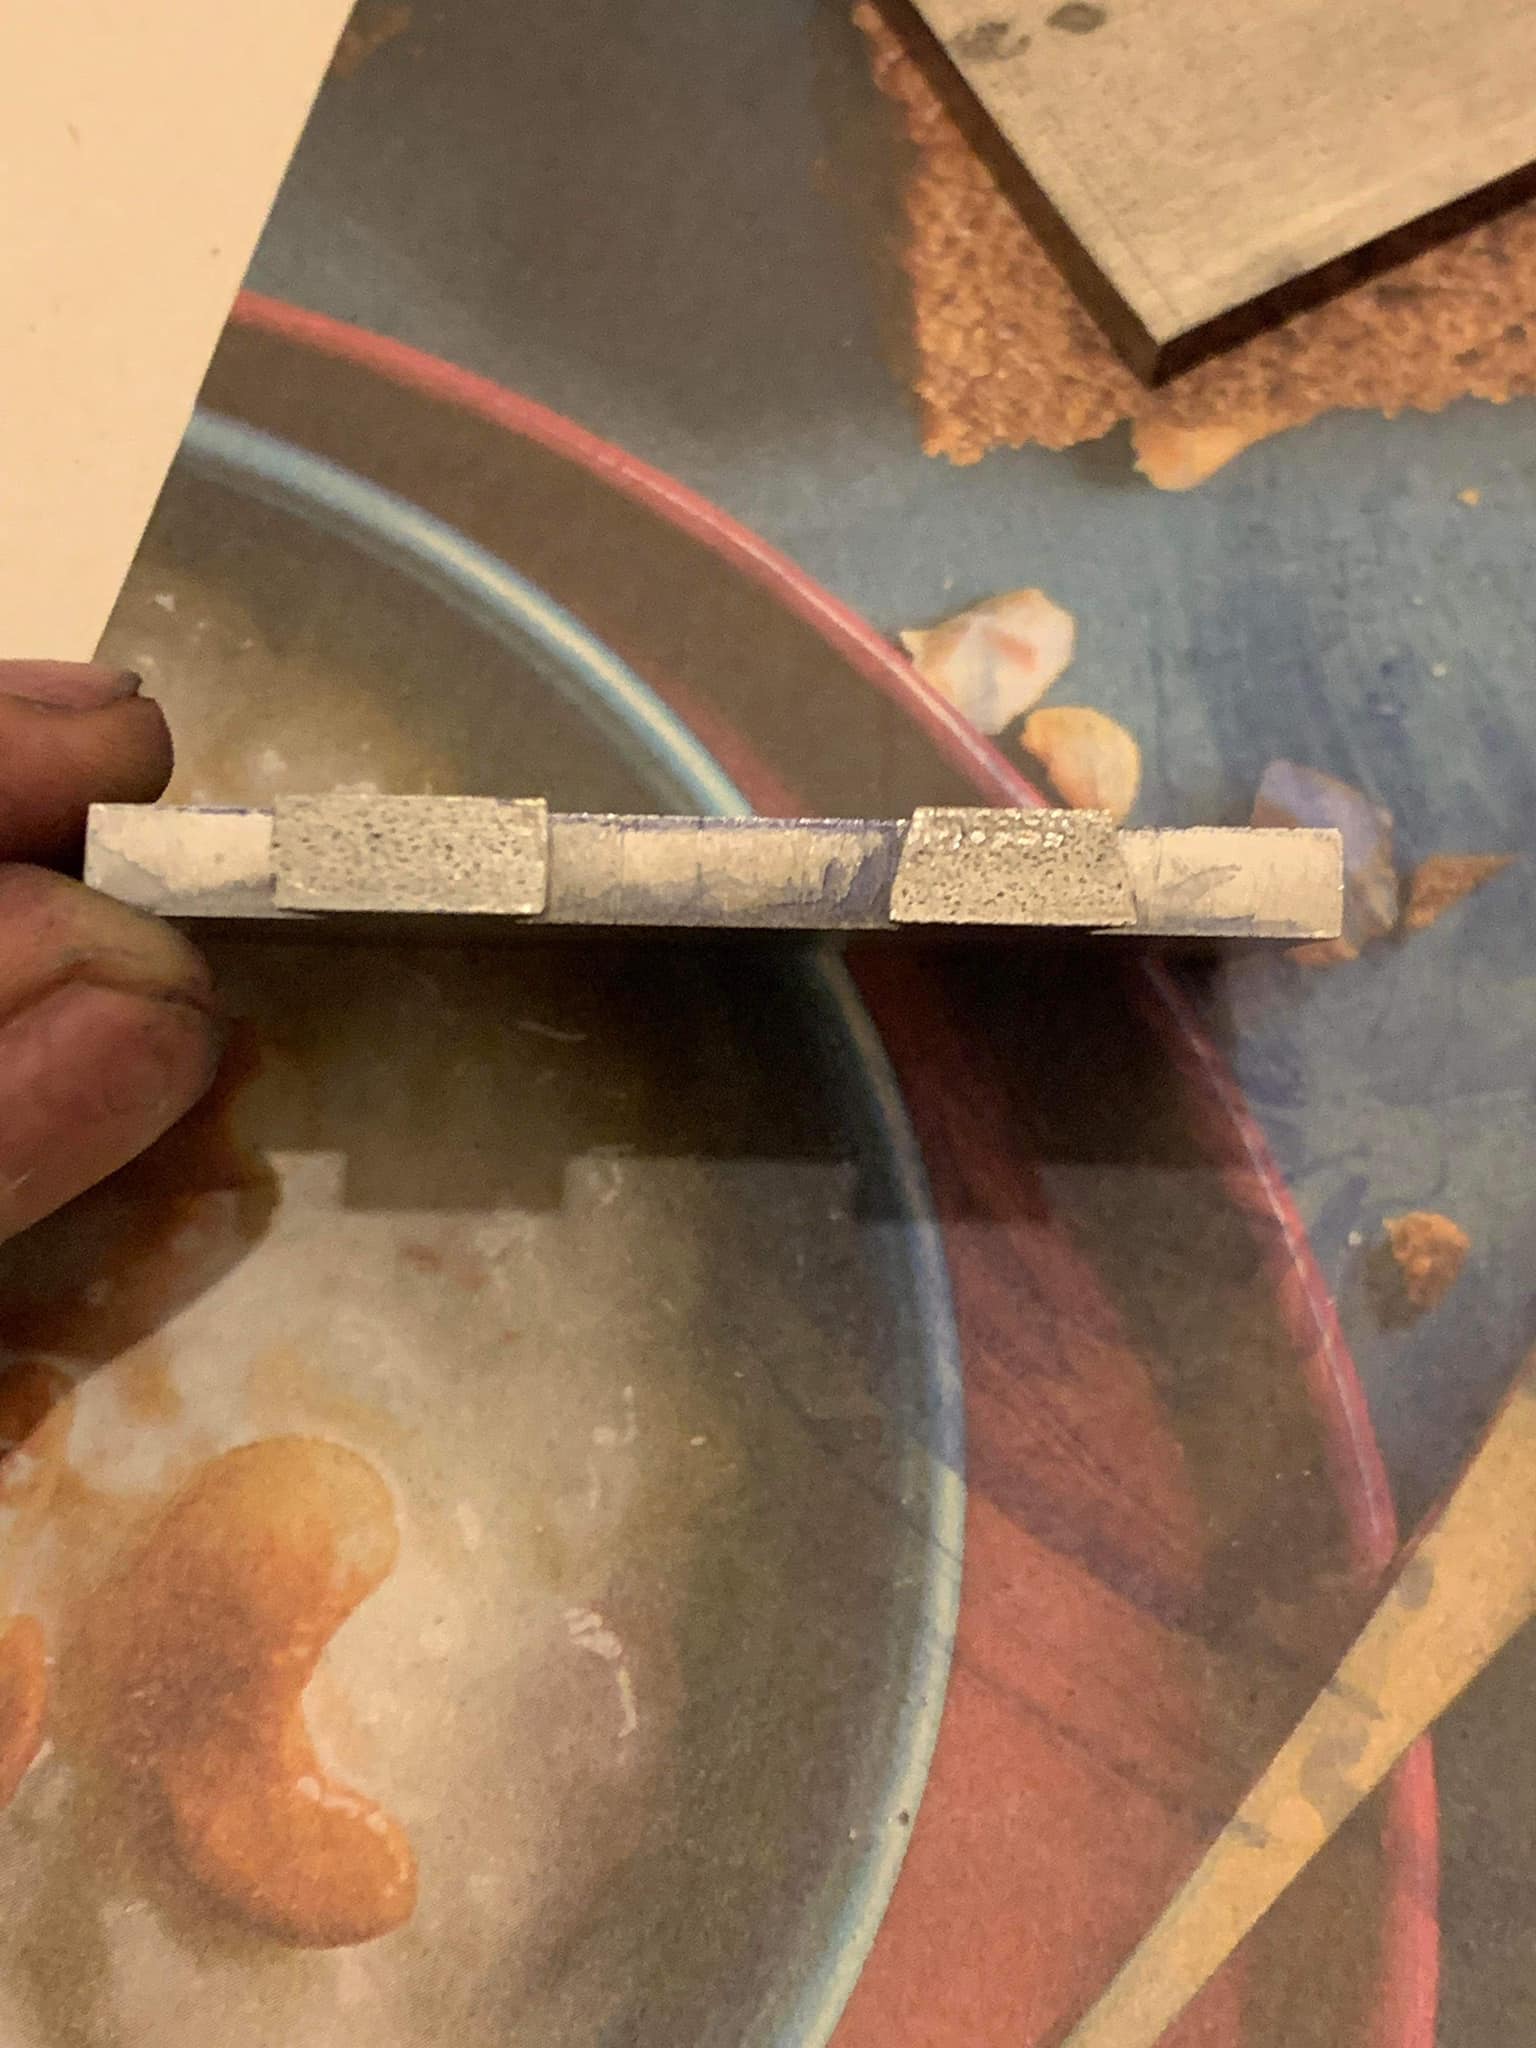
This is the “tail side”. Here you can see Method 1 on the left and Method 2 on the right. In Method 2, a relief is filed onto the tails.
This is the “tail side”. Here you can see Method 1 on the left and Method 2 on the right. In Method 2, a relief is filed onto the tails.
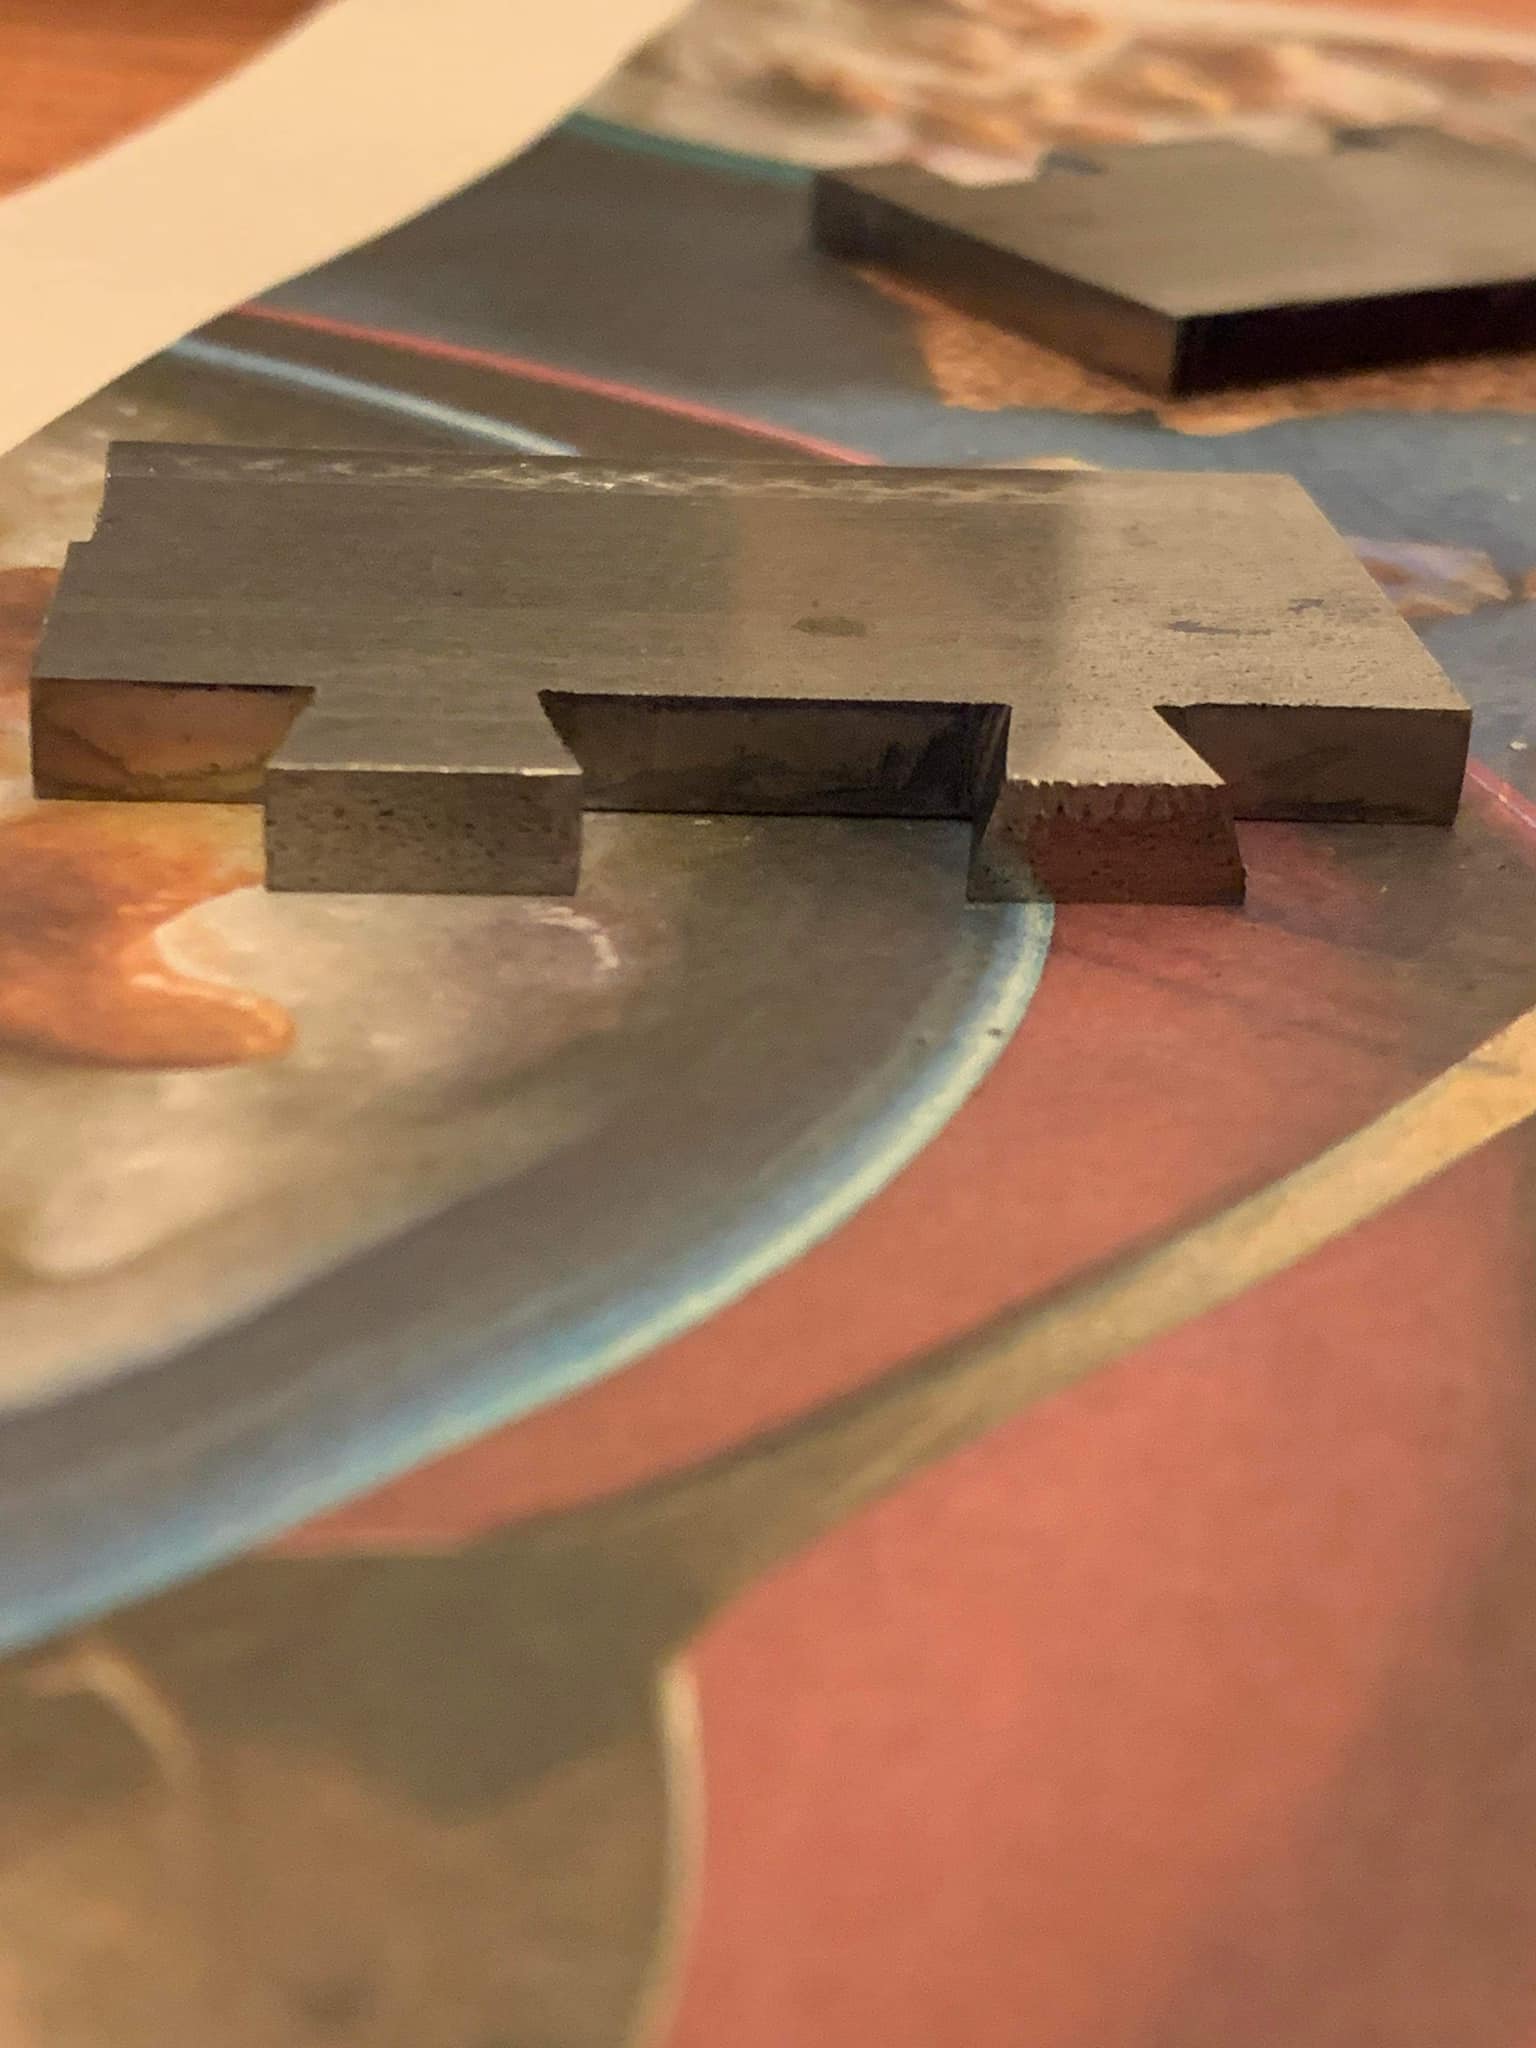
Here you can see the joints coming together. Method 1 on the left, and Method 2 on the right. In Method 1, the relief is filed into the side of the pins. This is shown in the next image.
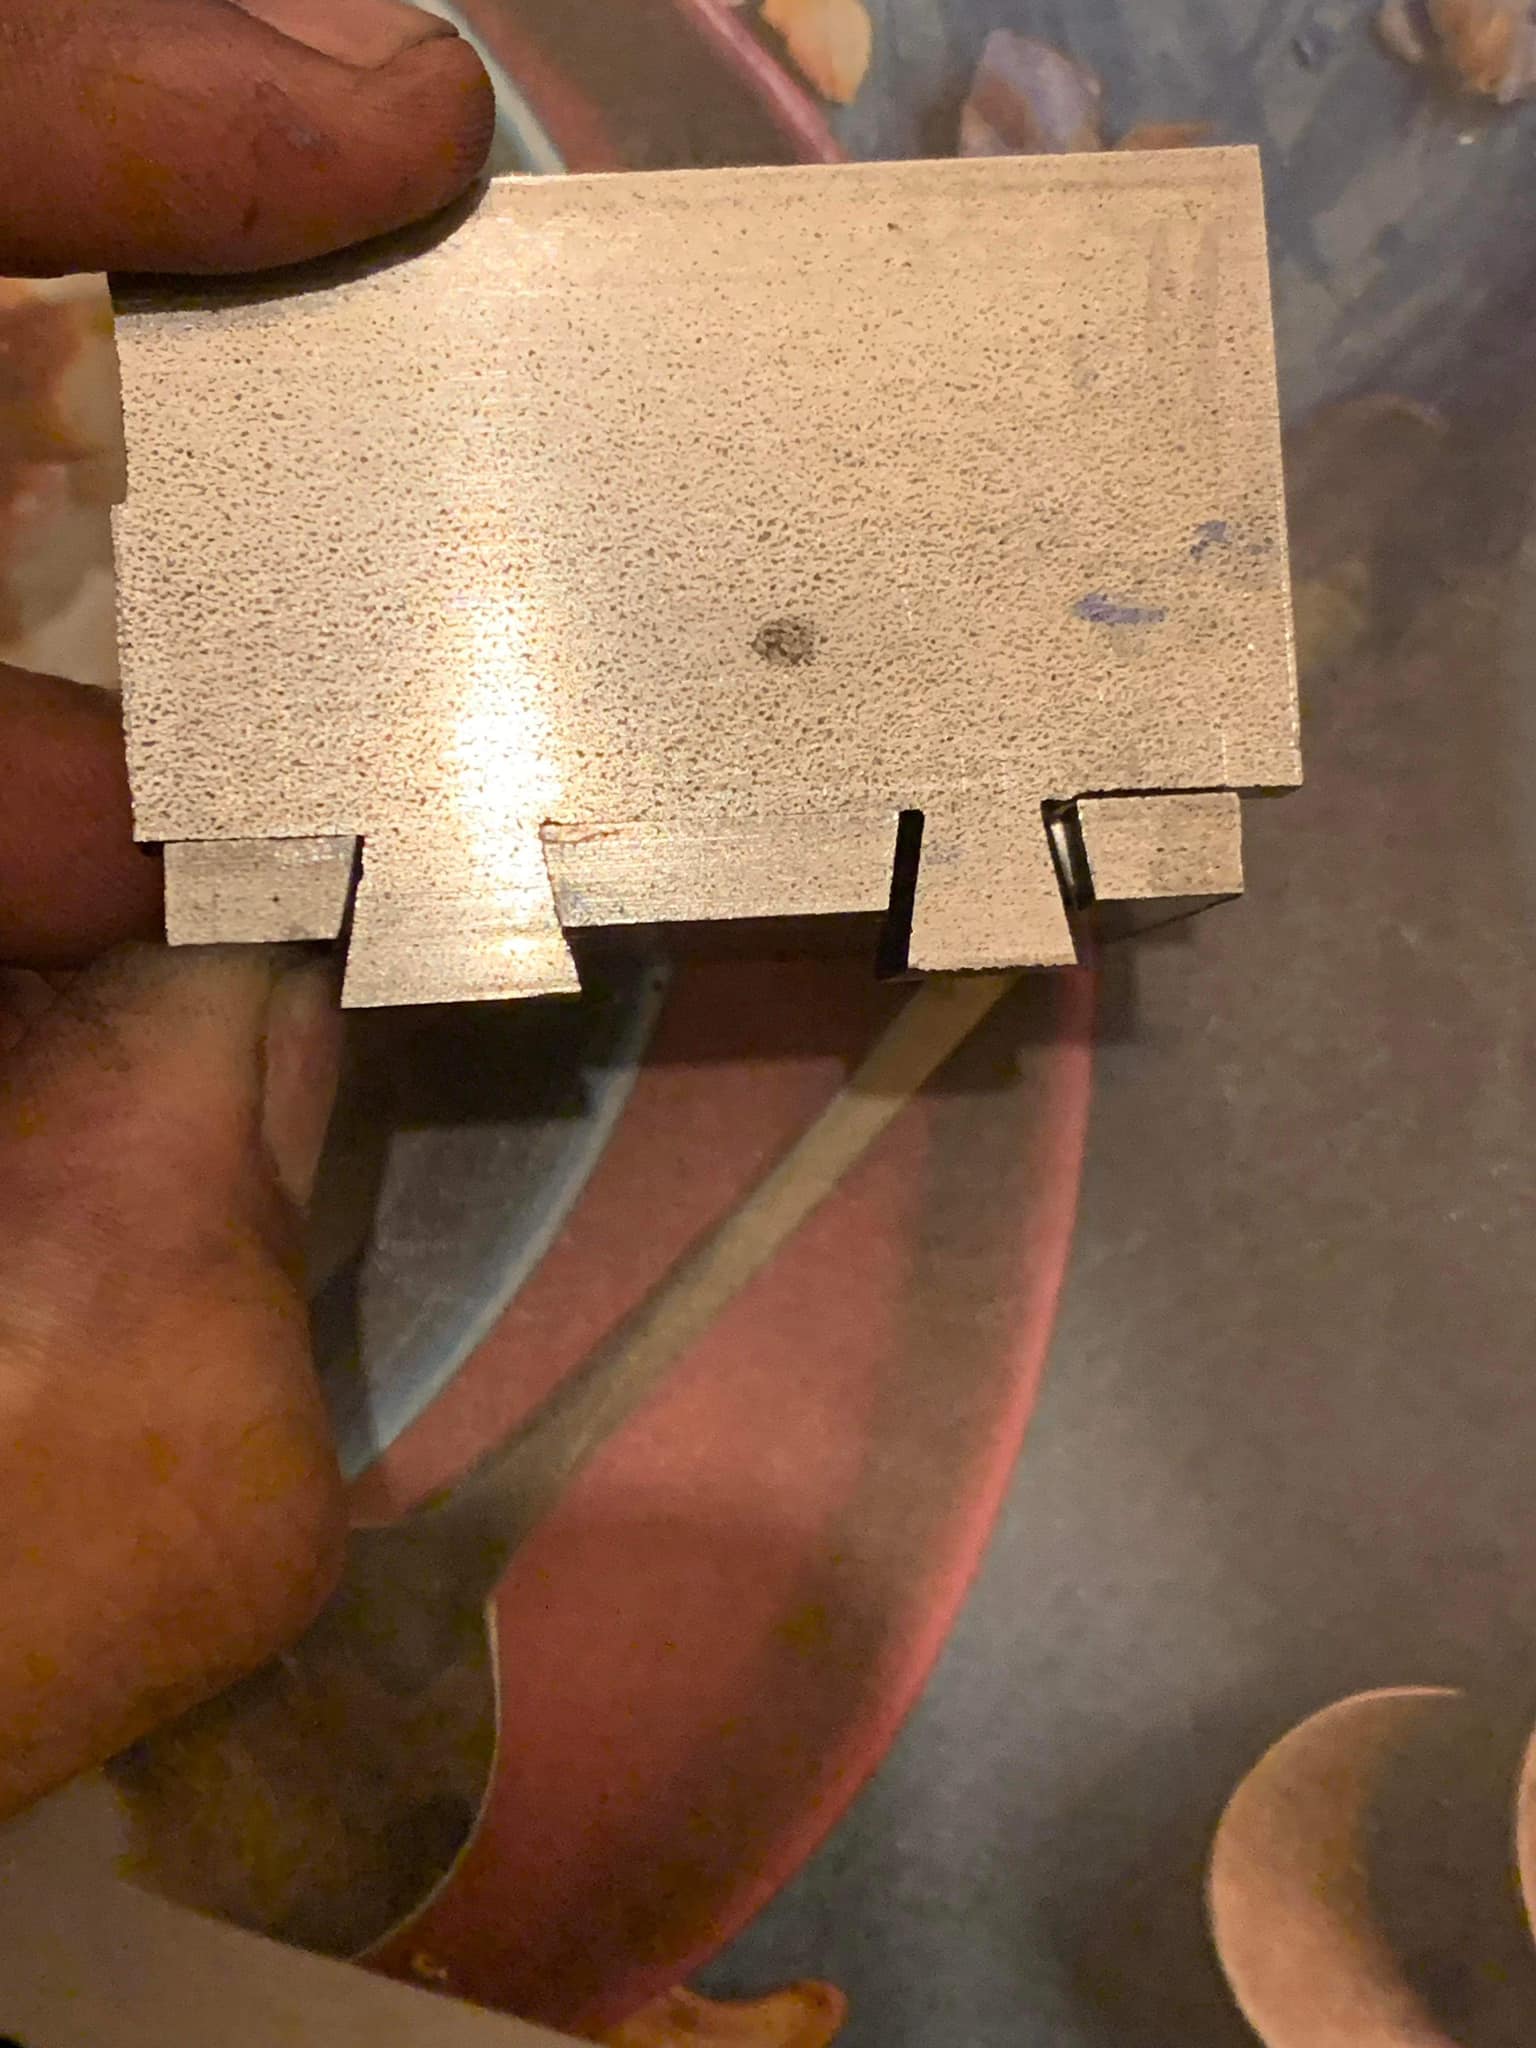
Once again you see Method 1 on the left and Method 2 on the right. Here you can see that the relief is filed into the pin side for Method 1.
Here is a better image showing Method 1 on the left, where the relief has been filed into the pin side.
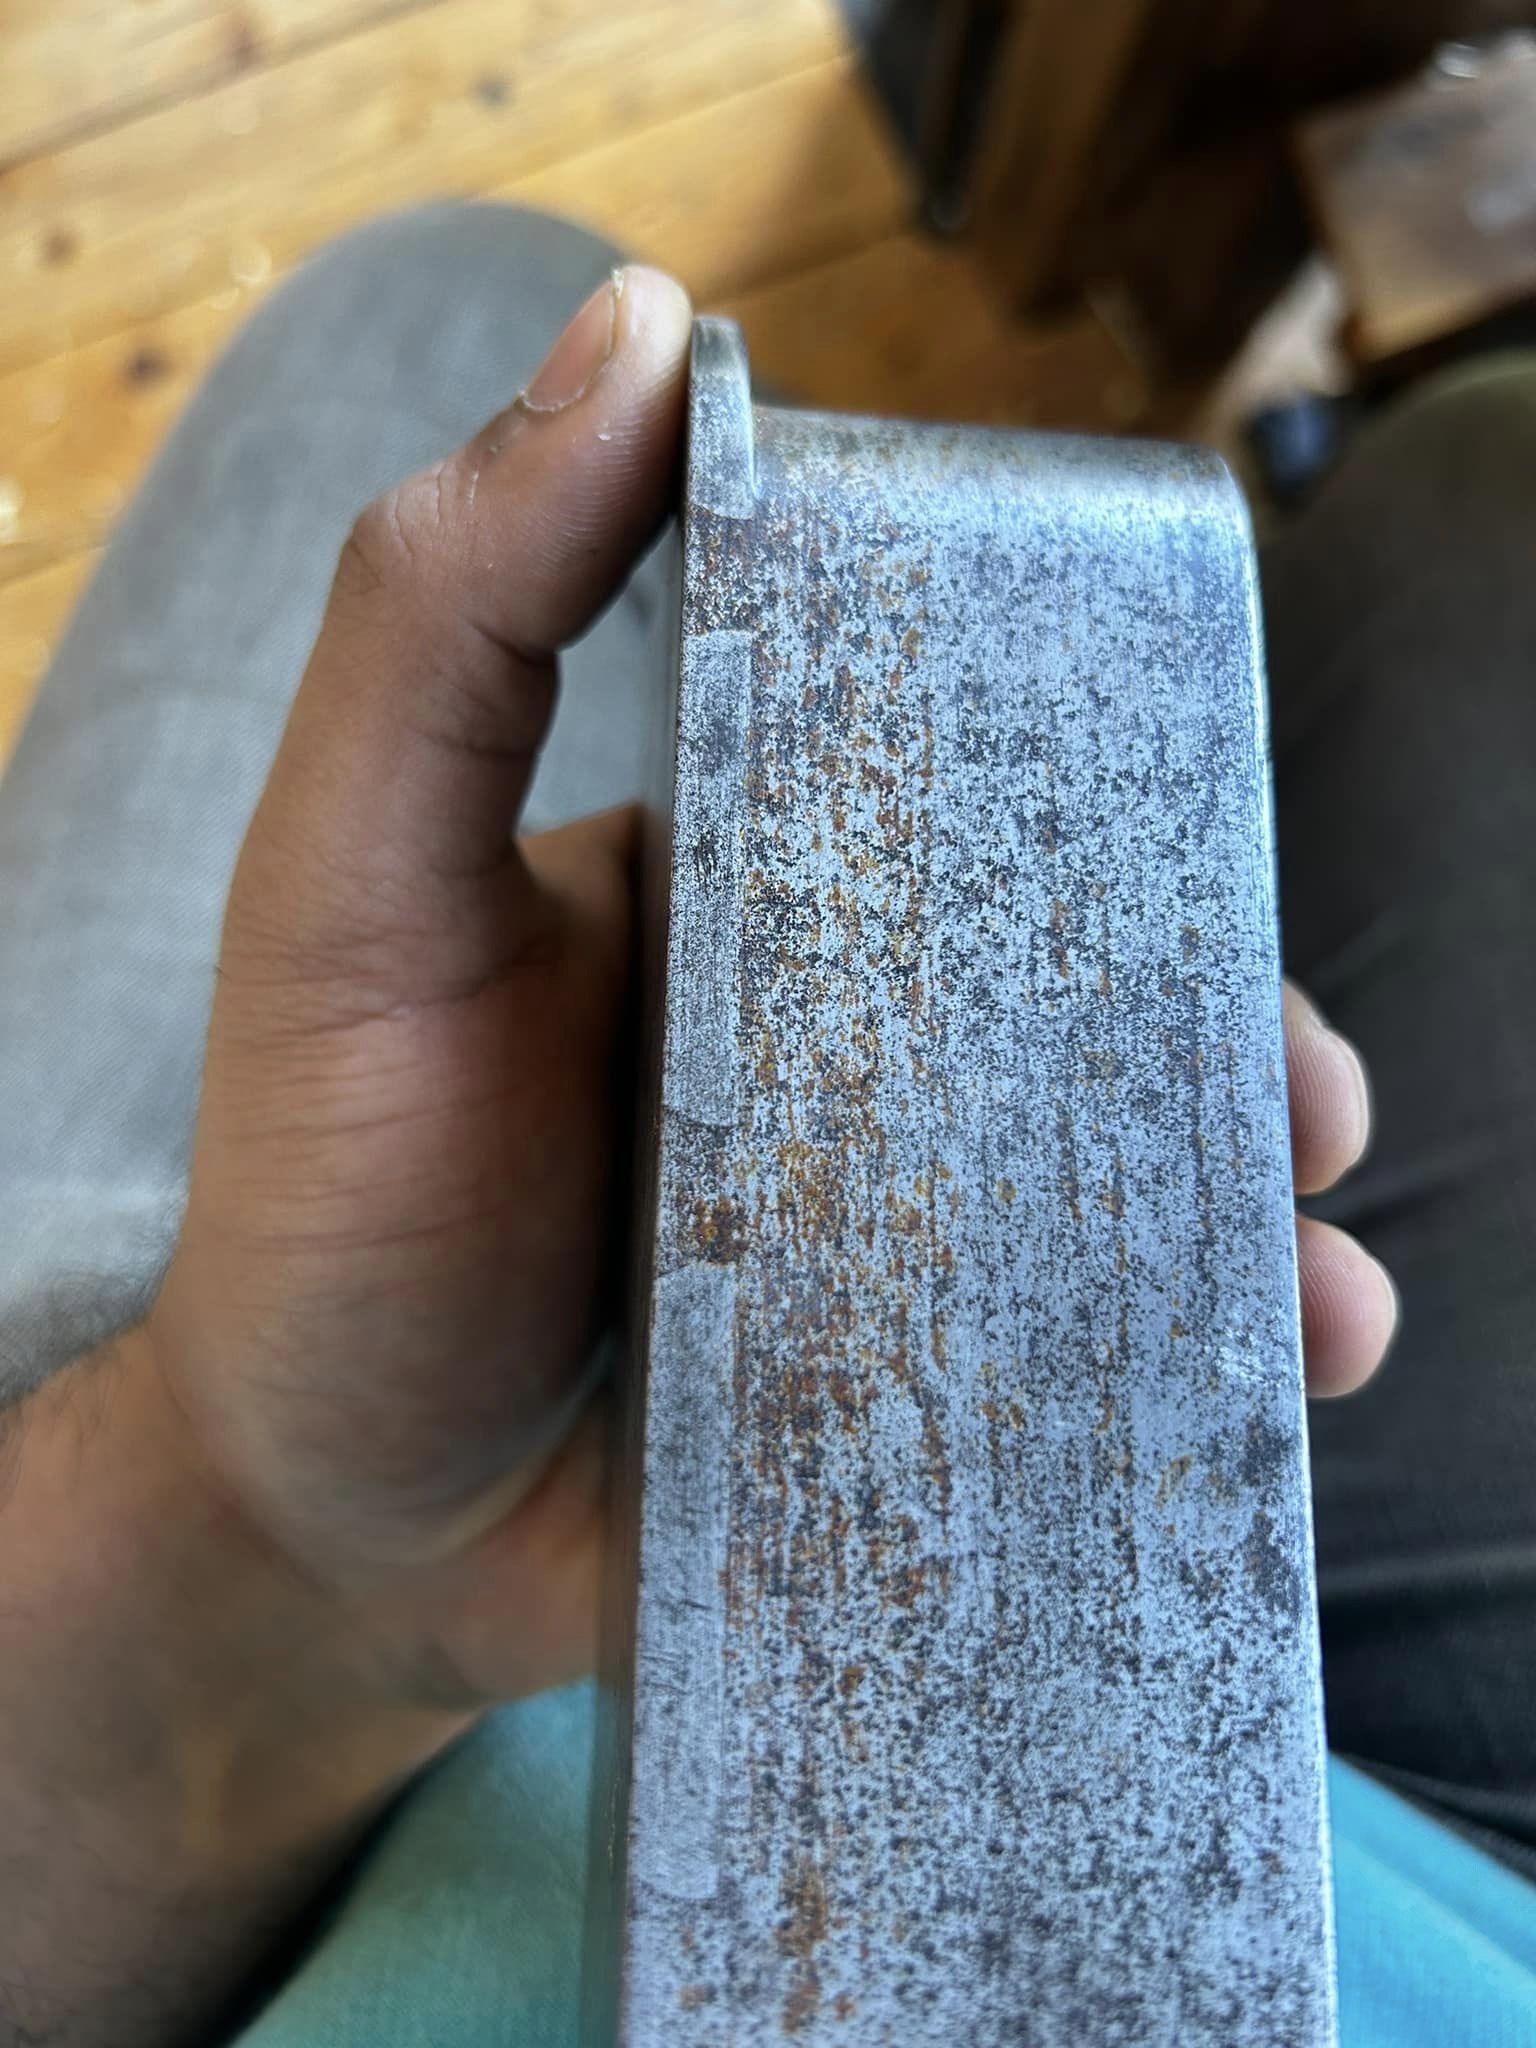
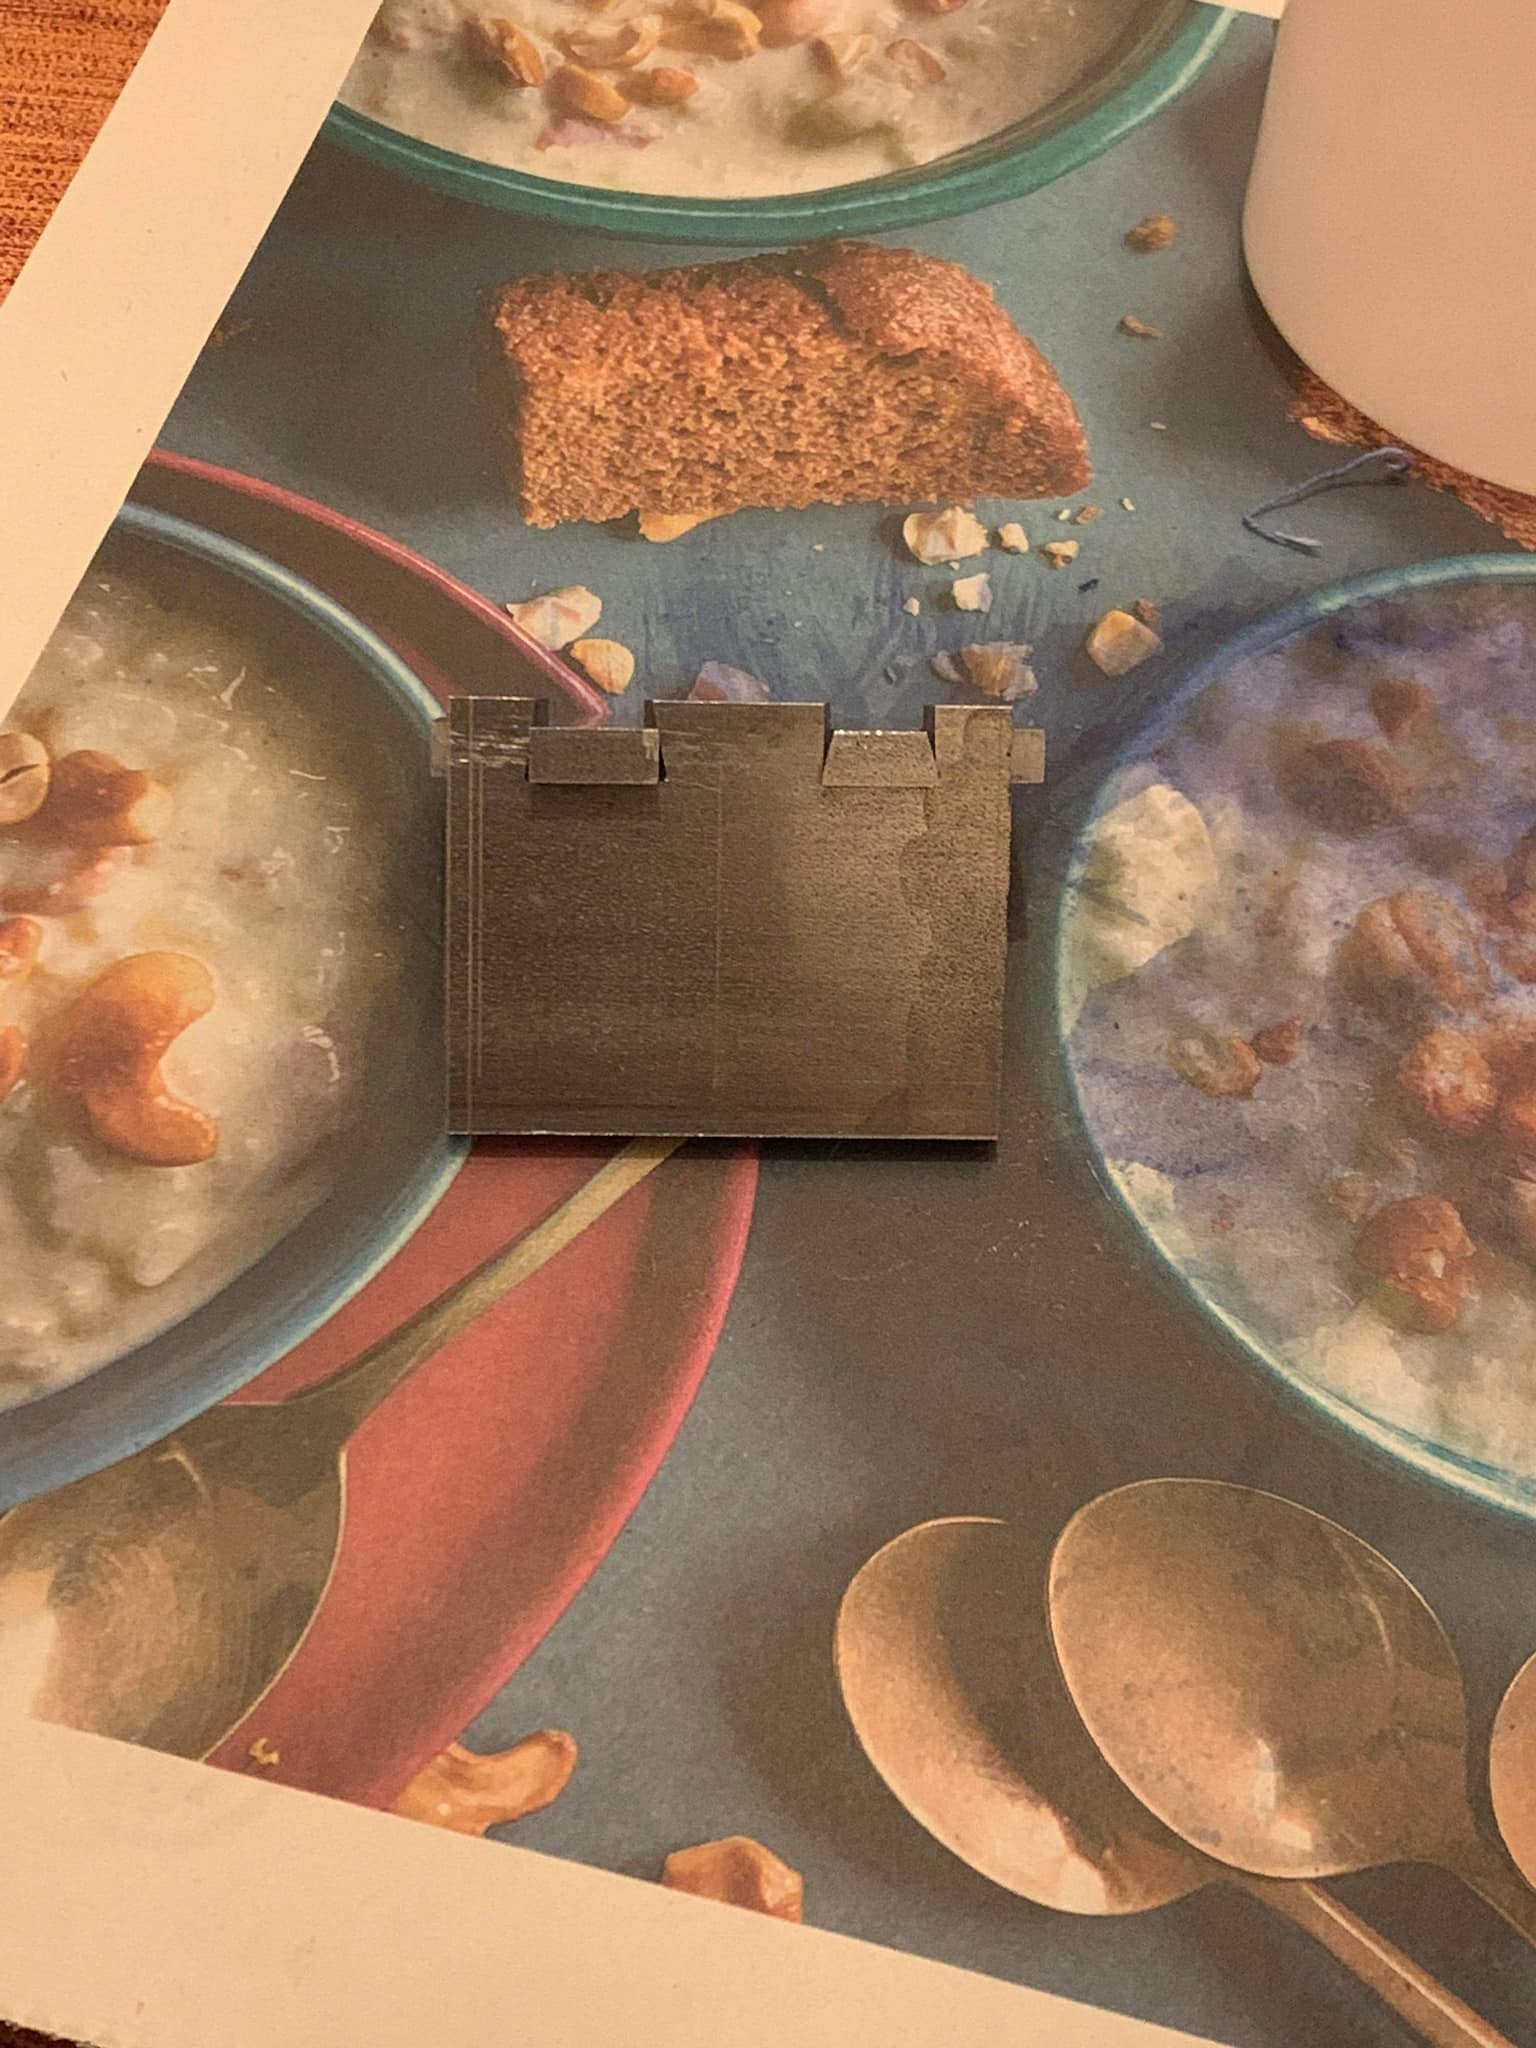
This is an image of a Towell Mitre Plane. You can see by the image that the dovetails were formed using Method 2, as the angles appear to begin half way up the dovetail. It is very possible that the joints were initially formed as a box joint, and the dovetails formed only through filing reliefs and subsequent peening.