Metallurgical Microscope
I take things too far. I know this. A while back I tried to compare a Proyan 1500 grit stone and a Shapton 16000 grit stone. My cheap USB Microscope was not up to it. Both stones have abrasive that should be sub 1 micron (1/1000th of a millimetre) and I just could not see the difference. This bugged me. It bugged me a lot. So I started doing some more serious reading on microscopes.
The first thing I discovered is that despite what they may claim, almost every digital microscope is either a 50x scope, or a 100x scope. They are using some complicated logic which includes the end size of the image on a computer screen to claim the scopes are a 1000x scope…. they are not. This is not to rubbish the USB microscopes. For the price they are really useful, and I’ve learned a lot by looking at edges under them. But they have their limits.
Optical microscopes top out at around 1600x magnification. This is a hard limit of physics. You can go higher, but you are not going to get a clear image, and it becomes pointless. The kind of thing I want to look at (a 1 micron scratch or grit particle) is still going to be a challenge with an optical microscope. 1 micron magnified 1600 times would appear as something 1.6mm in size. Not invisible, but not very big. Trying to focus and light things at that level of magnification is challenging. 1200x is more practical, and that would leave a 1 micron particle as something I would perceive as 1.2mm in size through it.
The next lesson is that typical microscopes are optimised for viewing biological samples in slides, and are not great for looking big solid objects, like a chisel or a plane blade. Lighting is everything when it comes to microscopes, and most scopes shine light from below, up through a slide with a sample for you to view it. Unsurprisingly, light does a poor job of passing through a plane iron.
I discovered that specialist Metallurgical microscopes do exist. They have a more complicated optical system that delivers light down through the same tube you are viewing onto the specimen to be viewed. Aha, I thought. Here is the solution, and then I went looking on where to get one. Budget models cost about 2k, that is way out of my budget.
Eventually I discovered an Indian manufacturer called Radical who sell metallurgical microscopes in a price range of 3 to 400. Pricey, but I could live with that. The few reviews and forum mentions I could find seemed positive. I ordered one off eBay, and 24 hours later they cancelled the order, claiming I had requested it be cancelled….. This was disappointing, as price wise their scopes were the only game in town for me.
A few days later I spotted a similar Radical microscope on Amazon. It was a bit more expensive, and had slightly less powerful lenses included. I tried again. This time they took the order. It shipped about when they said it would originally arrive, so it was a few weeks late, but it got here.
I assembled it, not knowing what I was really doing, and it worked, its pretty nice. I know next to nothing about microscopes, but it seems decent to me.
First off, the lighting system works well. When playing with the digital scope consistent lighting was a big problem. If the position of the light changed, the appearance of the image changed dramatically. Which made it hard to compare pictures. You can adjust the level of light both at the power source, and via an aperture.
The scope includes an XY table, like a milling machine. This again is a huge improvement on my old setup. At high magnification, trying to move something I’m looking at involved nudging it gently and hoping for the best.
It also includes a turret that can take 4 objective lenses, so you can switch quickly between them.
Optical microscopes typically have a magnifying eye piece, and an objective lens. The actual magnification you get is the power of the two multiplied. So a 10x eye piece combined with a 40x objective gives you 400x magnification.
As I experimented I discovered that the more powerful the lens, the less distance you have between it and the thing you are viewing. The working distance for my 100x lens is a fraction of a millimetre.
The other thing I quickly realised is that the more you magnify, the less depth of field you have. If you have ever played with photography, depth of field will be a familiar term. If not, when viewing the world through a lens, not everything is usually in focus. In portrait photography, typically the subjects face is in focus, but the background is blurry. Several factors combine to create this effect (lens aperture, focal length, etc.). From a practical point of view with a microscope, the higher the magnification, the shallower the depth of field. One of the earliest things I played with in the microscope was a 50 cent coin. It has a ring of tiny stars on the back. At high magnification, both the top and bottom of the star could not be in focus at the same time. In fact, I could walk down the side of a star point, stopping and refocusing as I went. At 1200x magnification, the side of the tiny stars looks like a little mountain range.
So I had my fancy microscope, I went back to the Proyan and Shapton stones and tried comparing them again. First off I tried comparing the stones themselves. I quickly ran into 2 problems. Problem 1, the stones are white, getting them in focus at high magnification is a nightmare, if you don’t have the lighting just right its not going to happen. Problem 2. Once I got it in focus, I realised I really had no idea what I was looking at. Problem 3. I could not see both stones at once, I was going to need a way to take photographs.
I had thought about this, and the model of microscope I bought was a trinocular microscope. Two eyepieces for a human, and a third tube that exists to stick a camera in. There are a bunch of ways to take photos through a microscope, but from an ease of use point of view I decided on a dedicated camera inserted into the trinocular port. I ordered a camera and waited a few more weeks for it to arrive.
There followed a lot of messing around with adapters and camera software before I got it working to my satisfaction. One downside to the camera through the port is that is has no eyepiece, and I’m not aware of an effective way to reduce the magnification of the camera setup. It seems to effectively work like a 30x eye piece, which means the lowest magnification photo I can take is 120x, which is actually a lot.
I went back to the stones and photographed them. I really cant tell much from those photos. My best guess is that both stones are using some form of aluminium oxide as the abrasive, which means in the photos, the shinier white bits are probably the abrasive. But as the shiny white abrasive is embedded in shiny white binder, I really cannot tell which one has a smaller particle size. One idea I have had is to get some slurry, mount it in a slide and see if I can tell from that, but I’m waiting for some slides to try that.
So looking at the stones was a bust, I decided to go look at the Irons themselves. Looking at Iron backs works wonderfully. Looking at bevels is very difficult. The lighting system does not seem to work well if the light is hitting something that bounces if off it at an angle. You have 2 choices, angle the bevel to be parallel to the lens, or shine light on it from the side.
A combination of shallow depth of field, difficulty of lighting and a tiny working distance means the 100x lens hardly ever gets used. Plane irons are not flat, if you have to keep the lens a fraction of a millimetre off the lens, you will keep hitting the iron with the lens as you try and move around. Unless you happen to have an iron that is perfectly parallel and flat, every time you move much you will have to refocus. As a result, my final images where taken at 1200x. The 30x effect of the camera, combined with a 40x lens which provided a more useable working distance.
The end result confirms what I suspected. The scratches left by the Proyan are consistently finer than those from the shapton. I switched back and forth between the Proyan and the Shapton several times. Every time the result was the same.
It did not all go the Proyans way however. I often noticed that after the Proyan was used, while 99% of the surface was improved, here and there there would be a big new random scratch. It would not line up with the direction I was lapping. I never saw the same happen with the Shapton. The Proyan generates a lot more slurry than the Shapton, maybe its something to do with that flowing over the blade.
I have a few more experiments I want to run with this scope in the near future. I want to take a look at various media and lapping compounds under it. Examine some word out diamond stones to see exactly what state they are in. I want to take some stone slurry and slides and see if that allows me to measure particle size. I also want to try the same with various lapping compounds. All of this should keep me busy with my new toy for a while.
Its possible to go beyond the 1600x limit. Scanning Electron Microscopes can go up to 1,000,000x , but given used low end models seem to go for about 50k, require that the specimen be in a vacuum chamber, and take up most of a room. If I start posting SEM pictures the problem has gotten completely out of control. But if you want to see what edges look like at that magnification go visit https://scienceofsharp.com/. I’ve been visiting it a lot lately to convince myself that I might be bad, but at least I’m not that guy.
Check out the pictures below to see the end results, and if you are able to make more sense of the stone pictures that I can, I would love to hear from you.
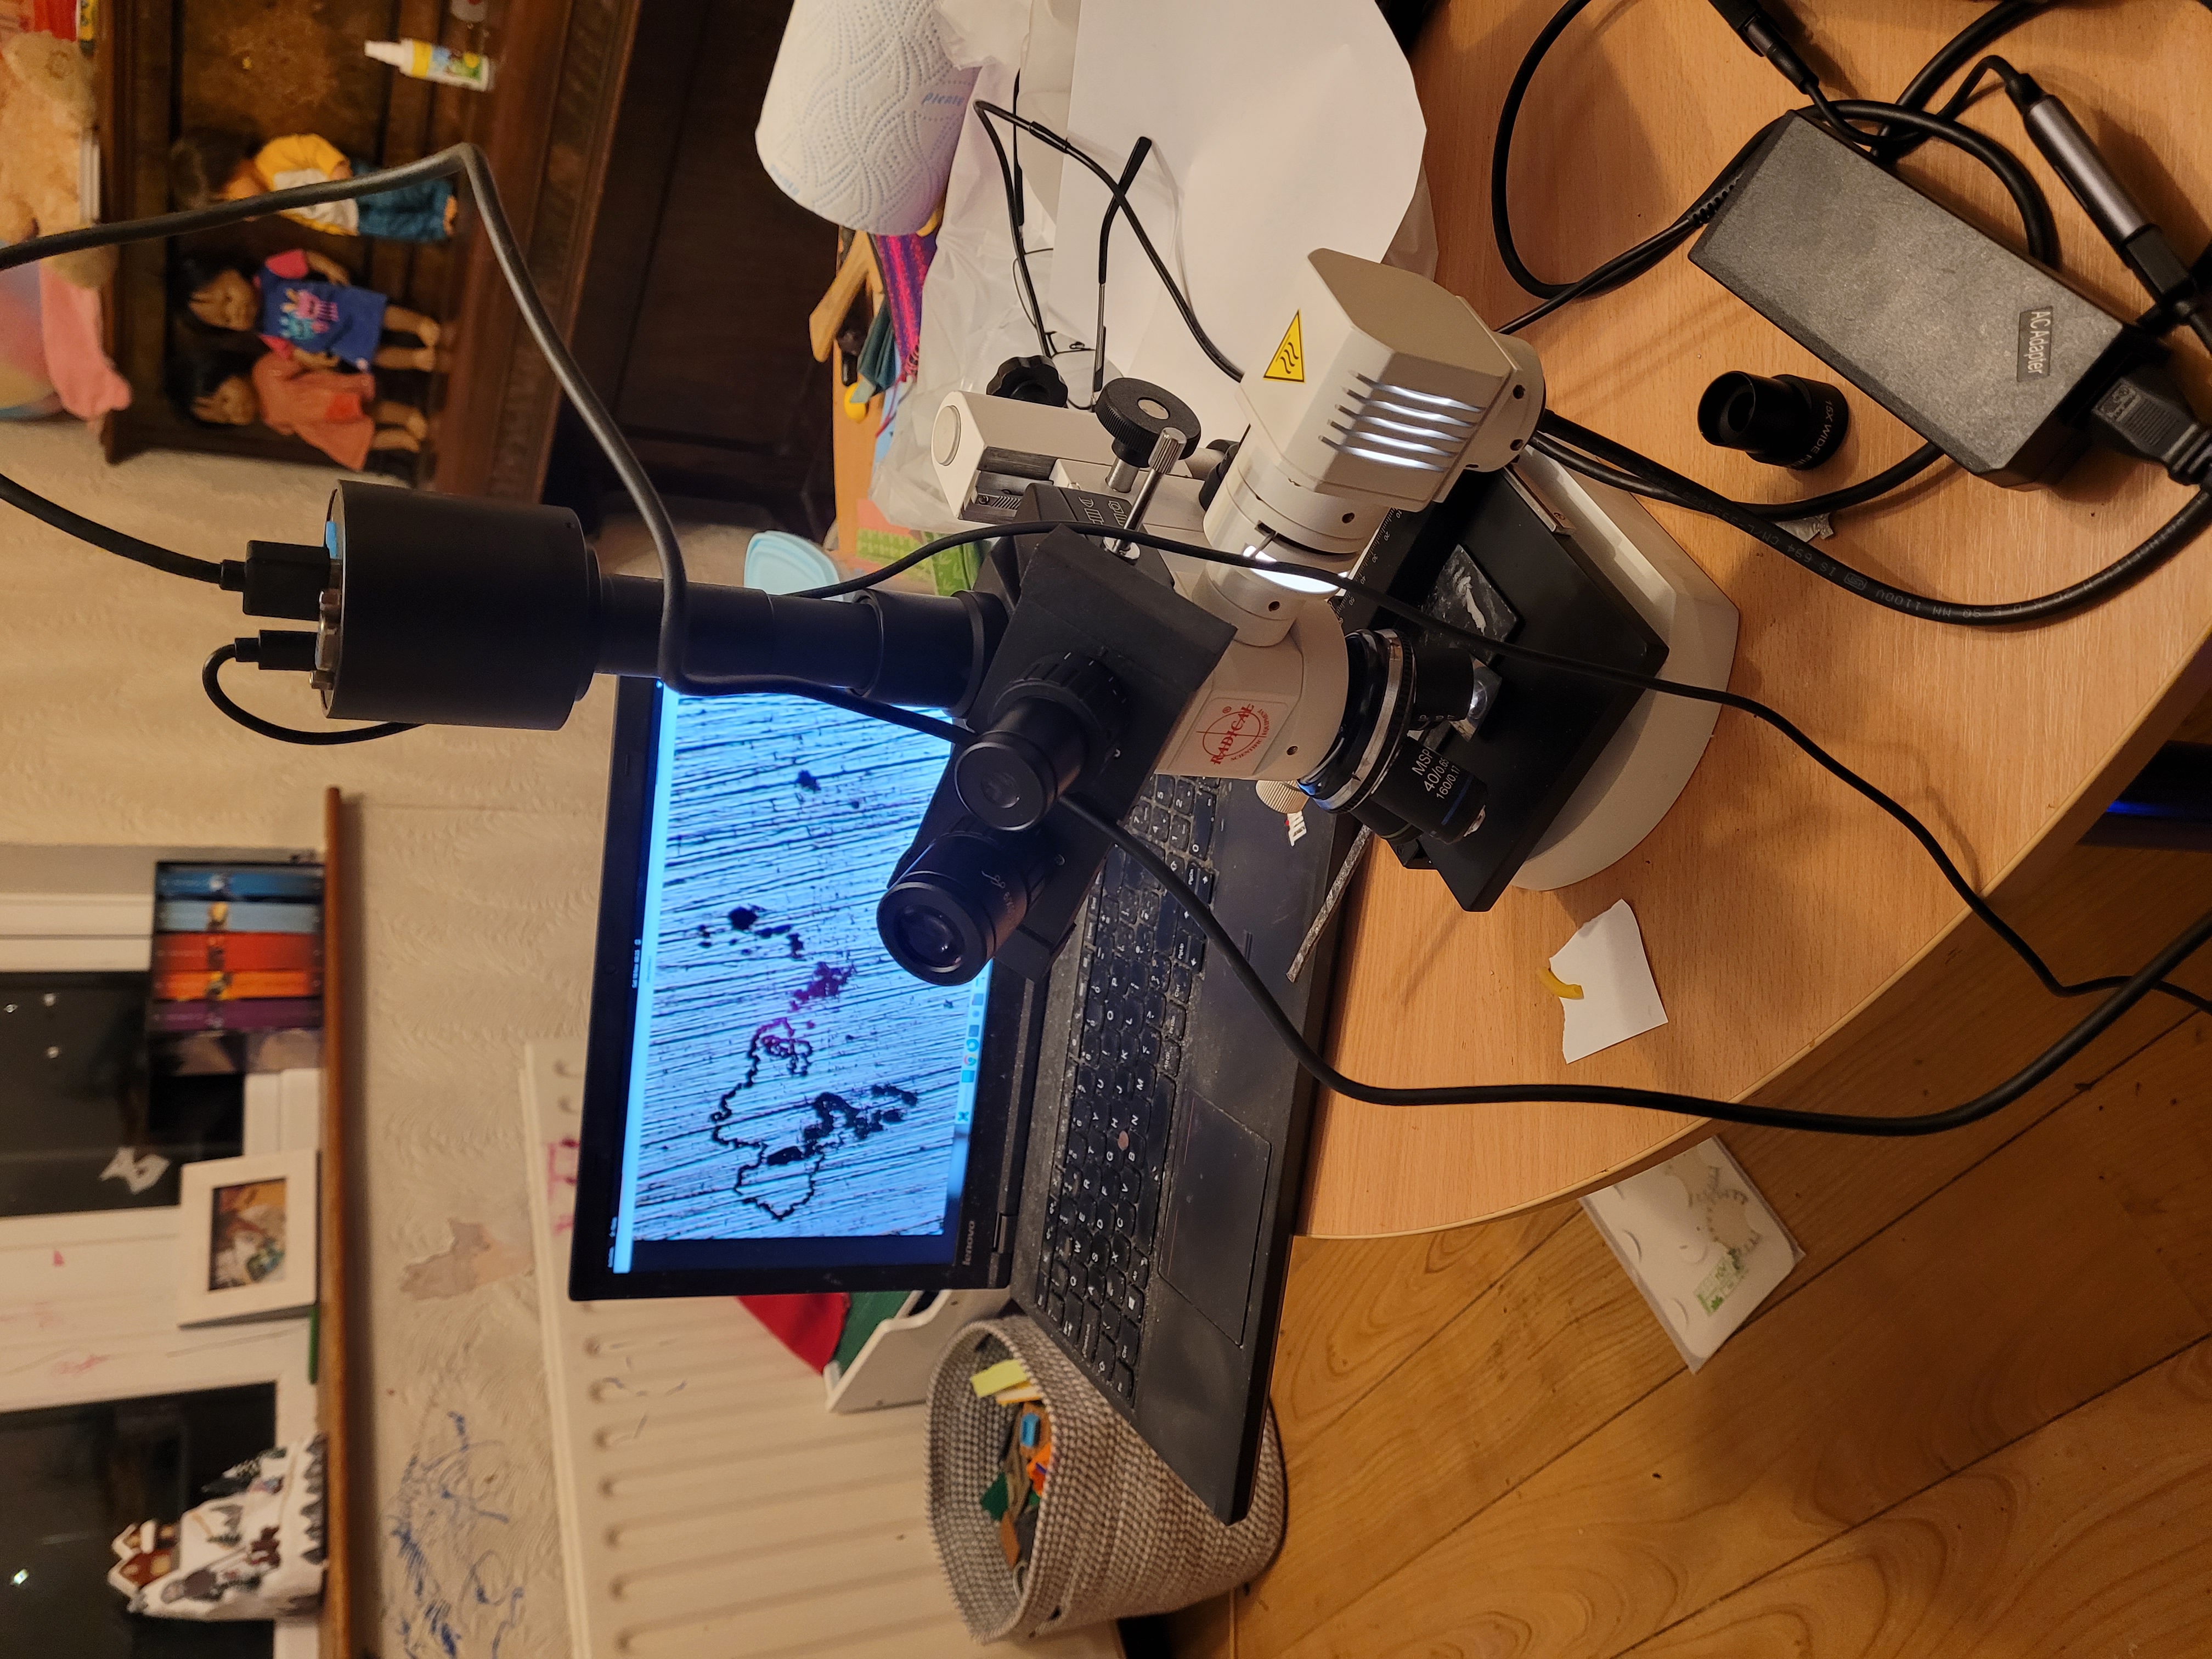
The Metallurgical scope, taking over the table in my kids playroom.
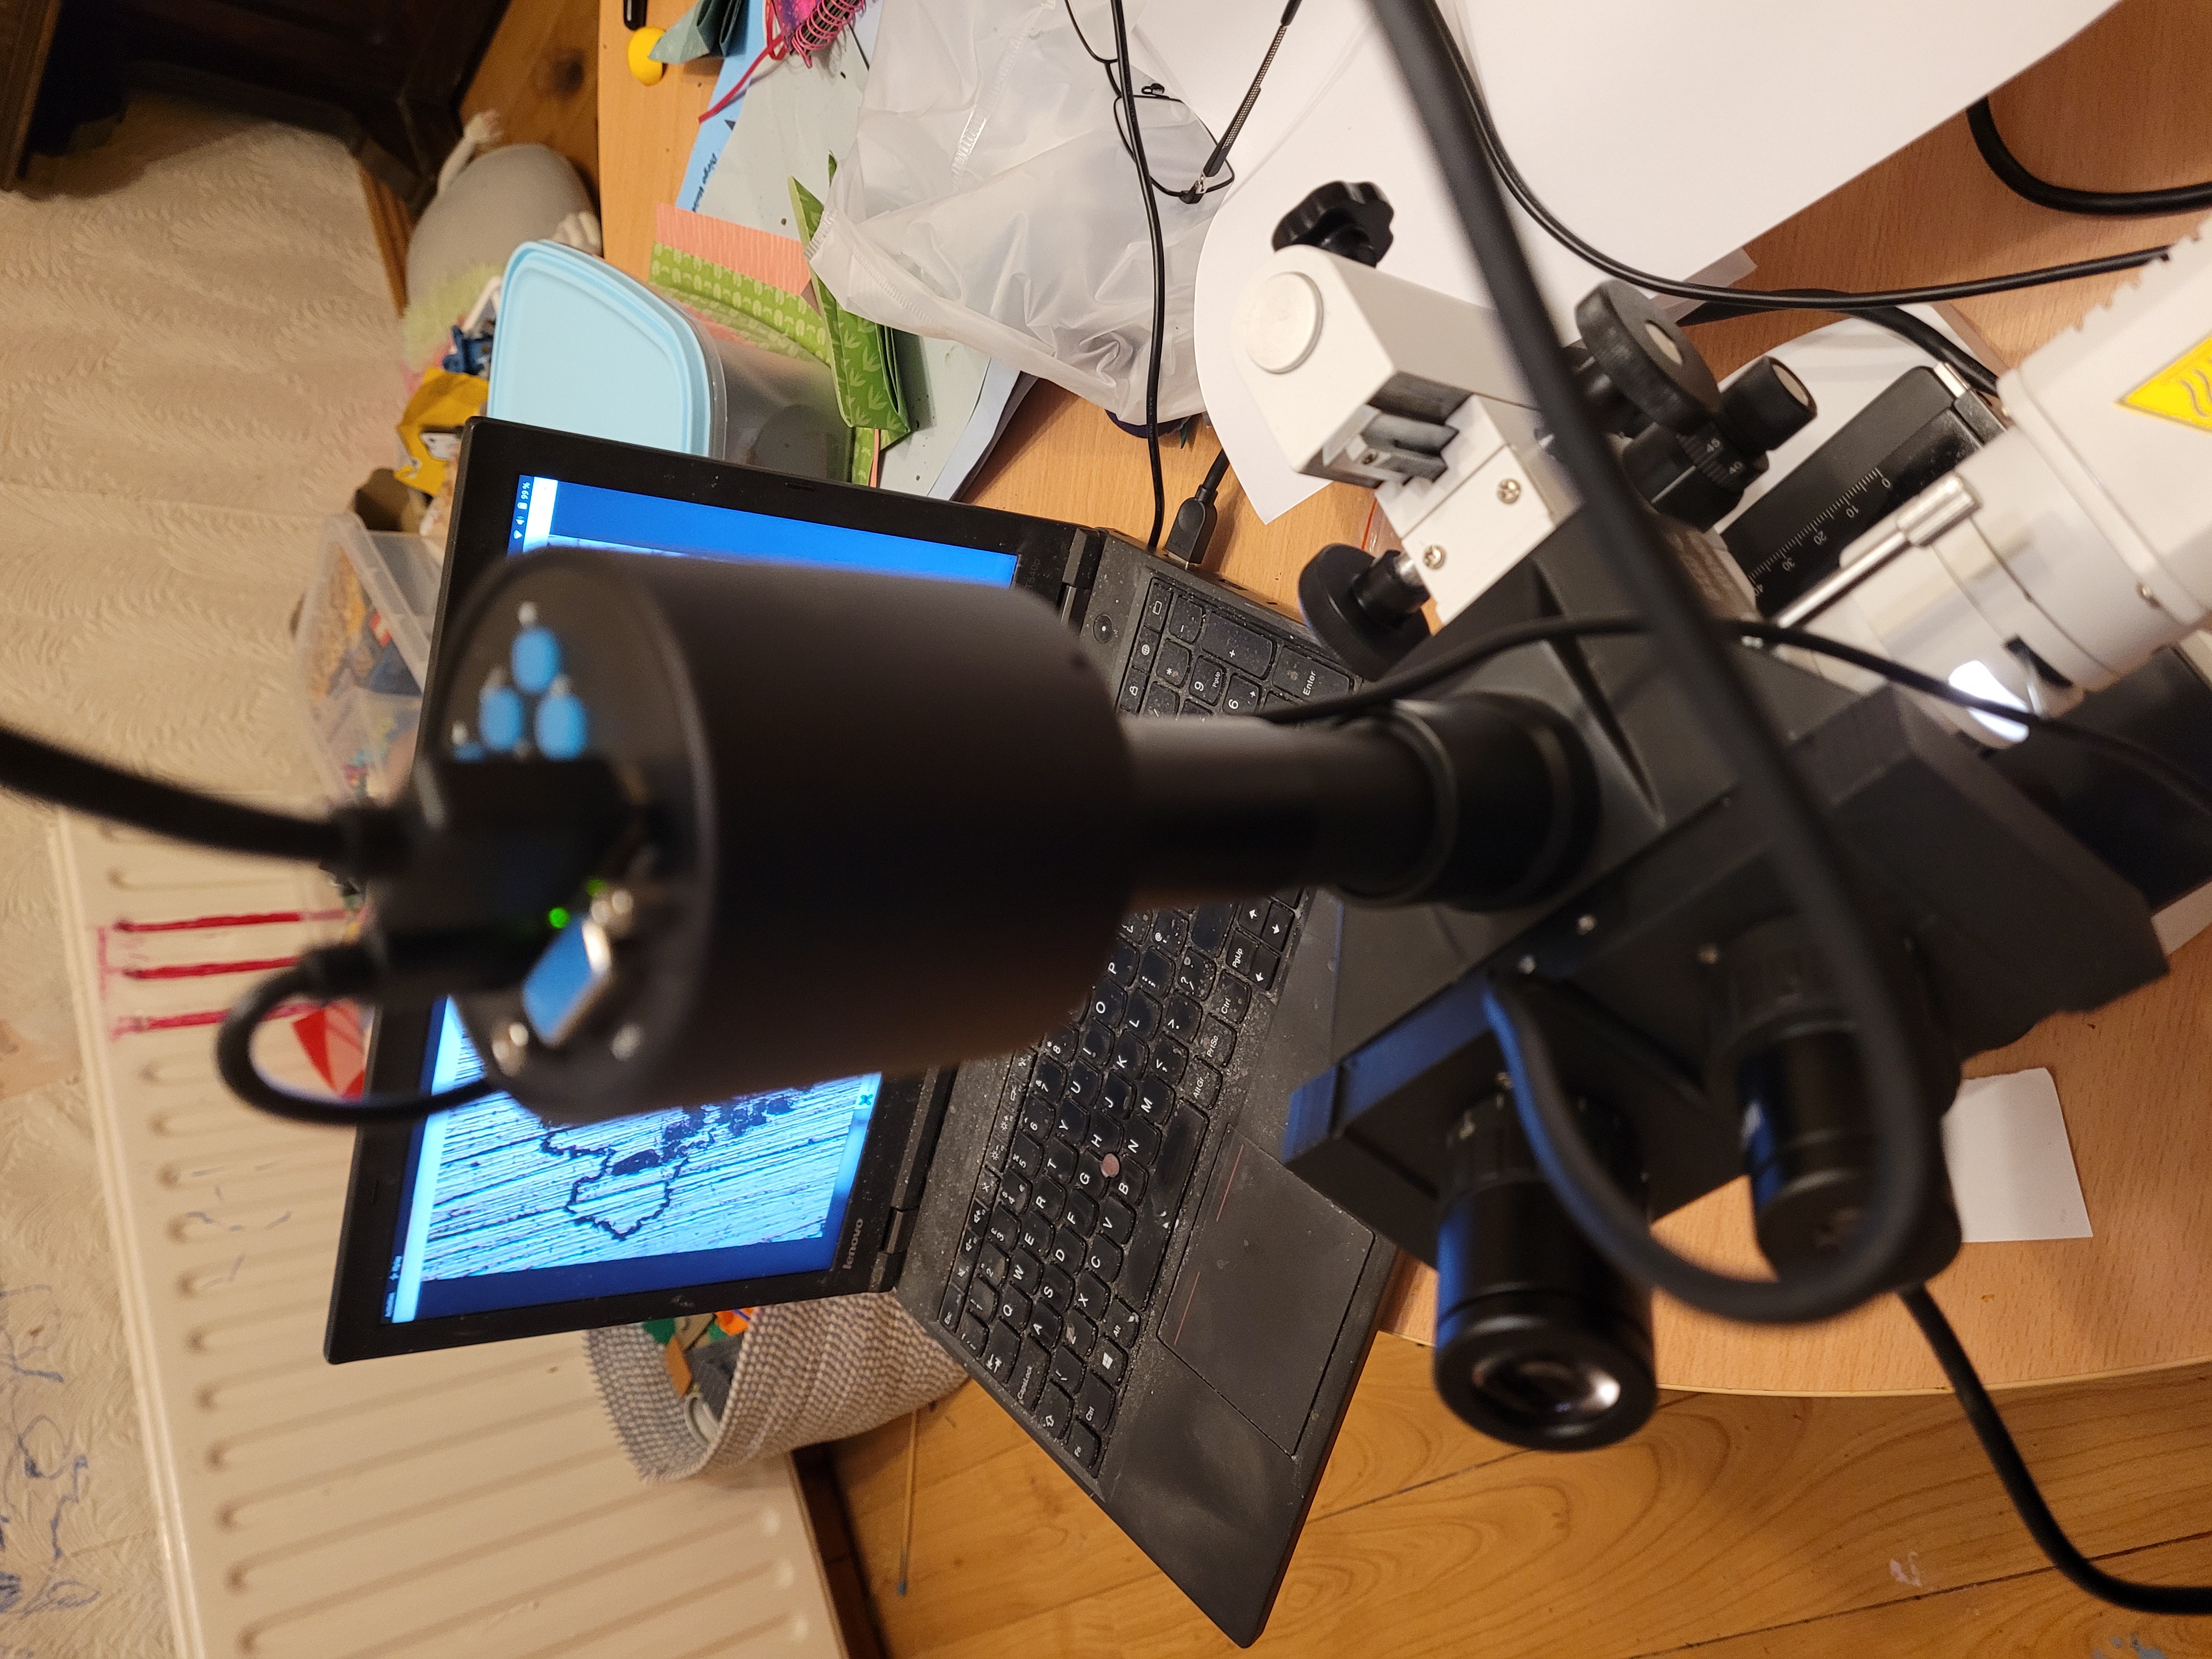
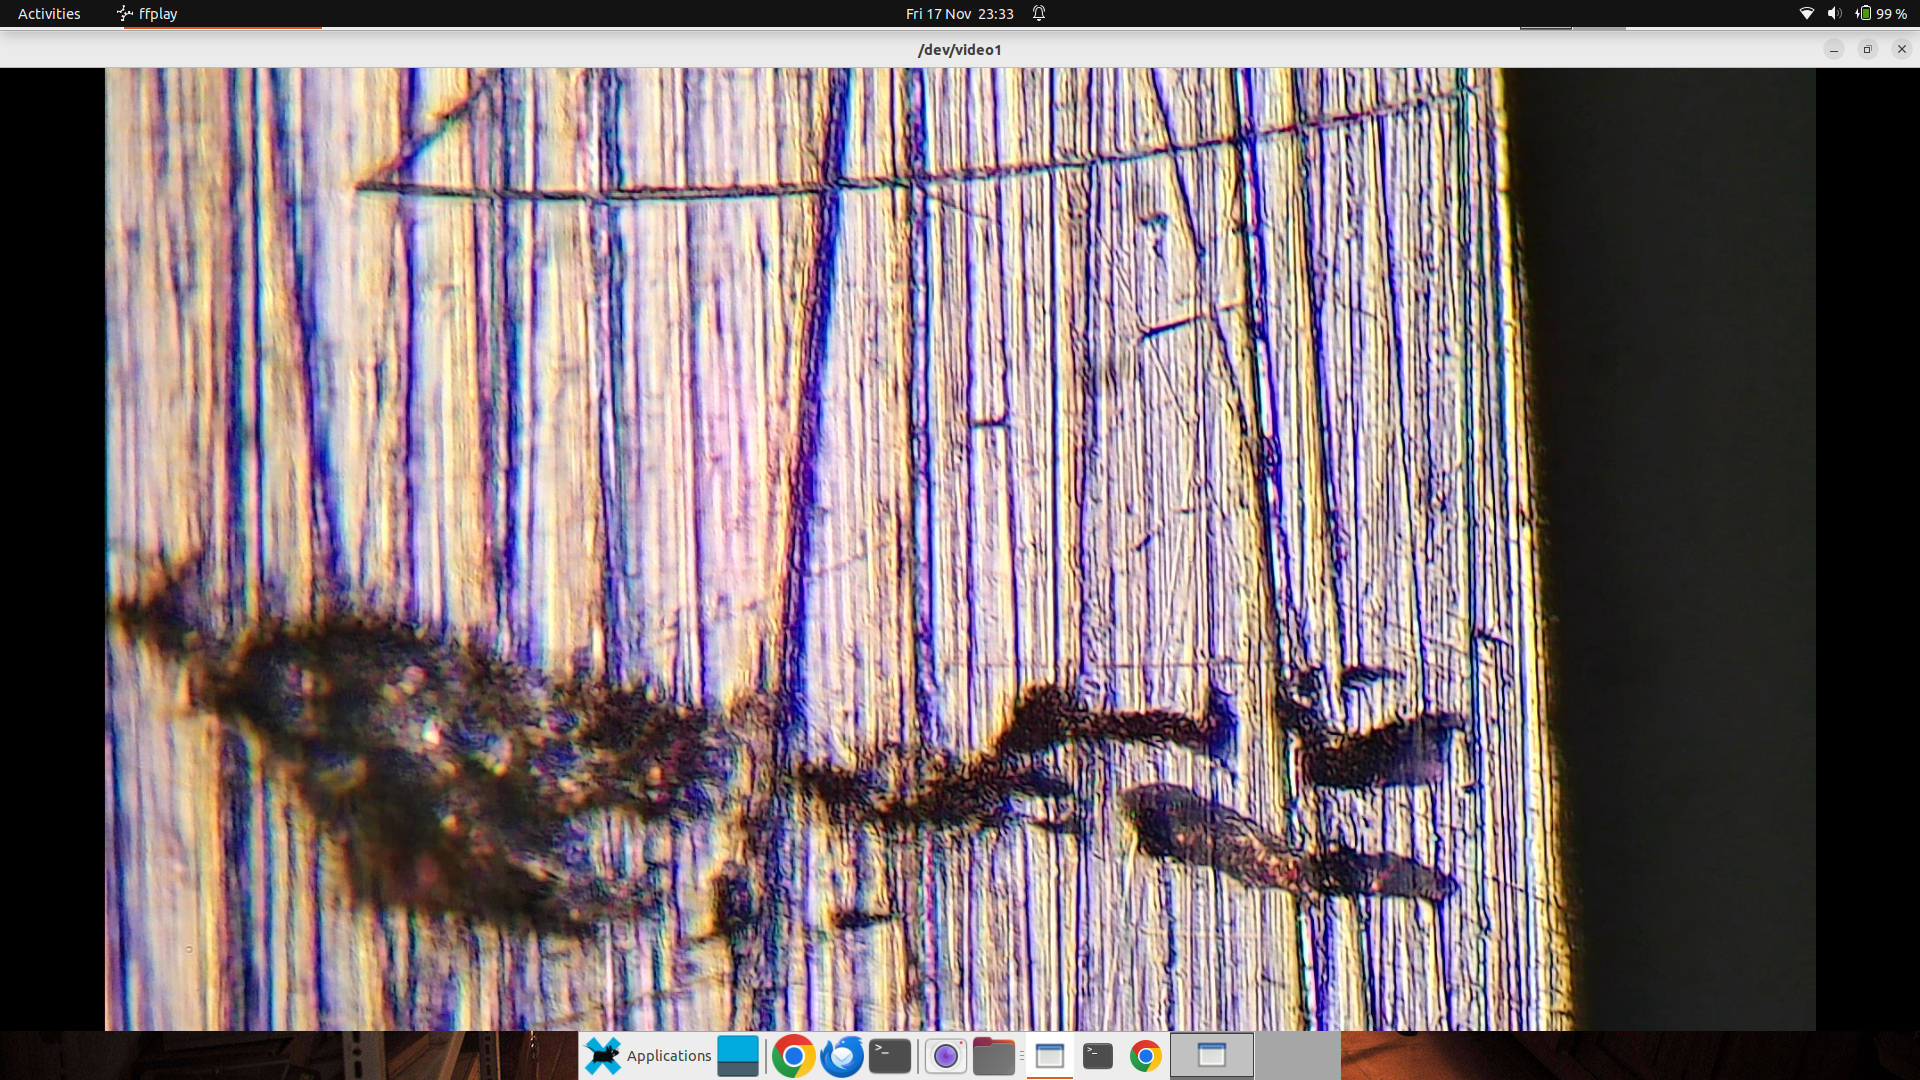
The camera connected to the top tube. I’m not completely delighted by the model, but it was relatively cheap. The best picture quality comes via HDMI. I’m actually connecting the HDMI cable to a video capture card, as my laptop does not have a HDMI port, and then on to USB. I discovered that the menu and settings for the camera only work over HDMI, and only if you are not transmitting video over USB. So the USB cable is just plugged into a power adapter so I can operate them. Once all that was set up viewing the output of the scope on my laptop is as easy as using a webcam.
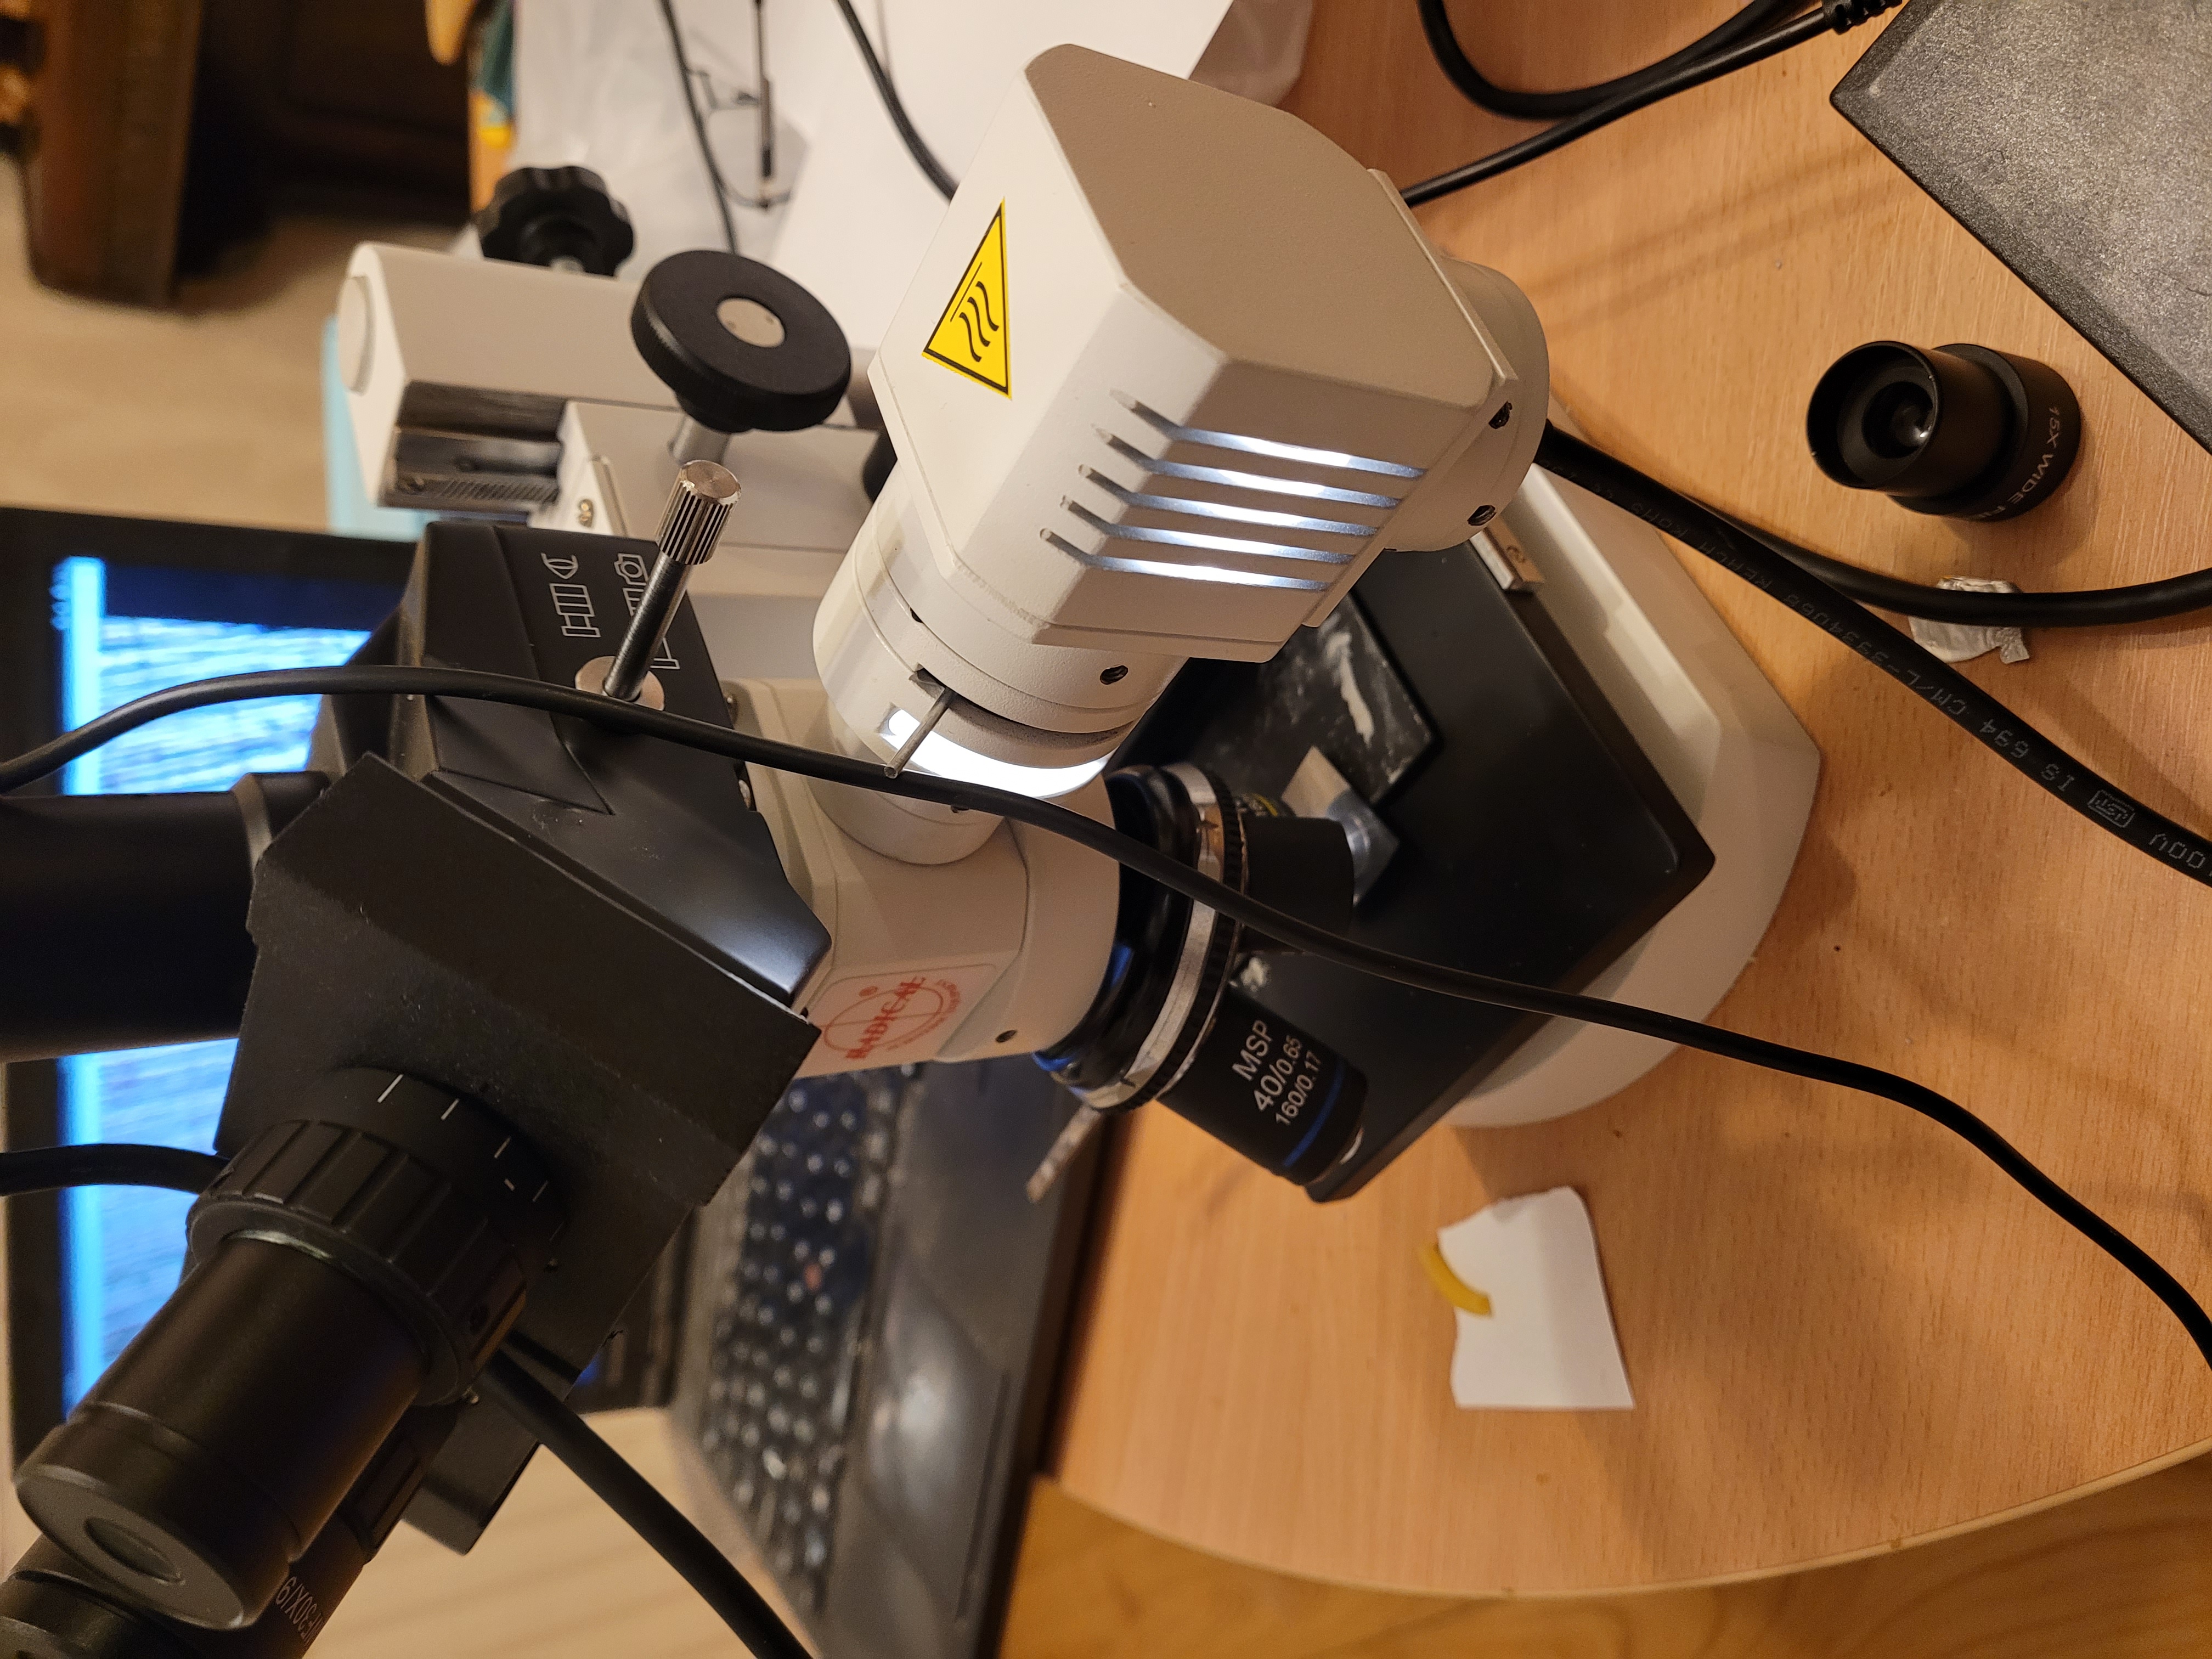
That big chunk on the side of the scope is the light source. The little silver stick allows me to open and close an aperture to control the amount of light. The light source has its own separate power supply, and I can control its brightness via a dial on that.
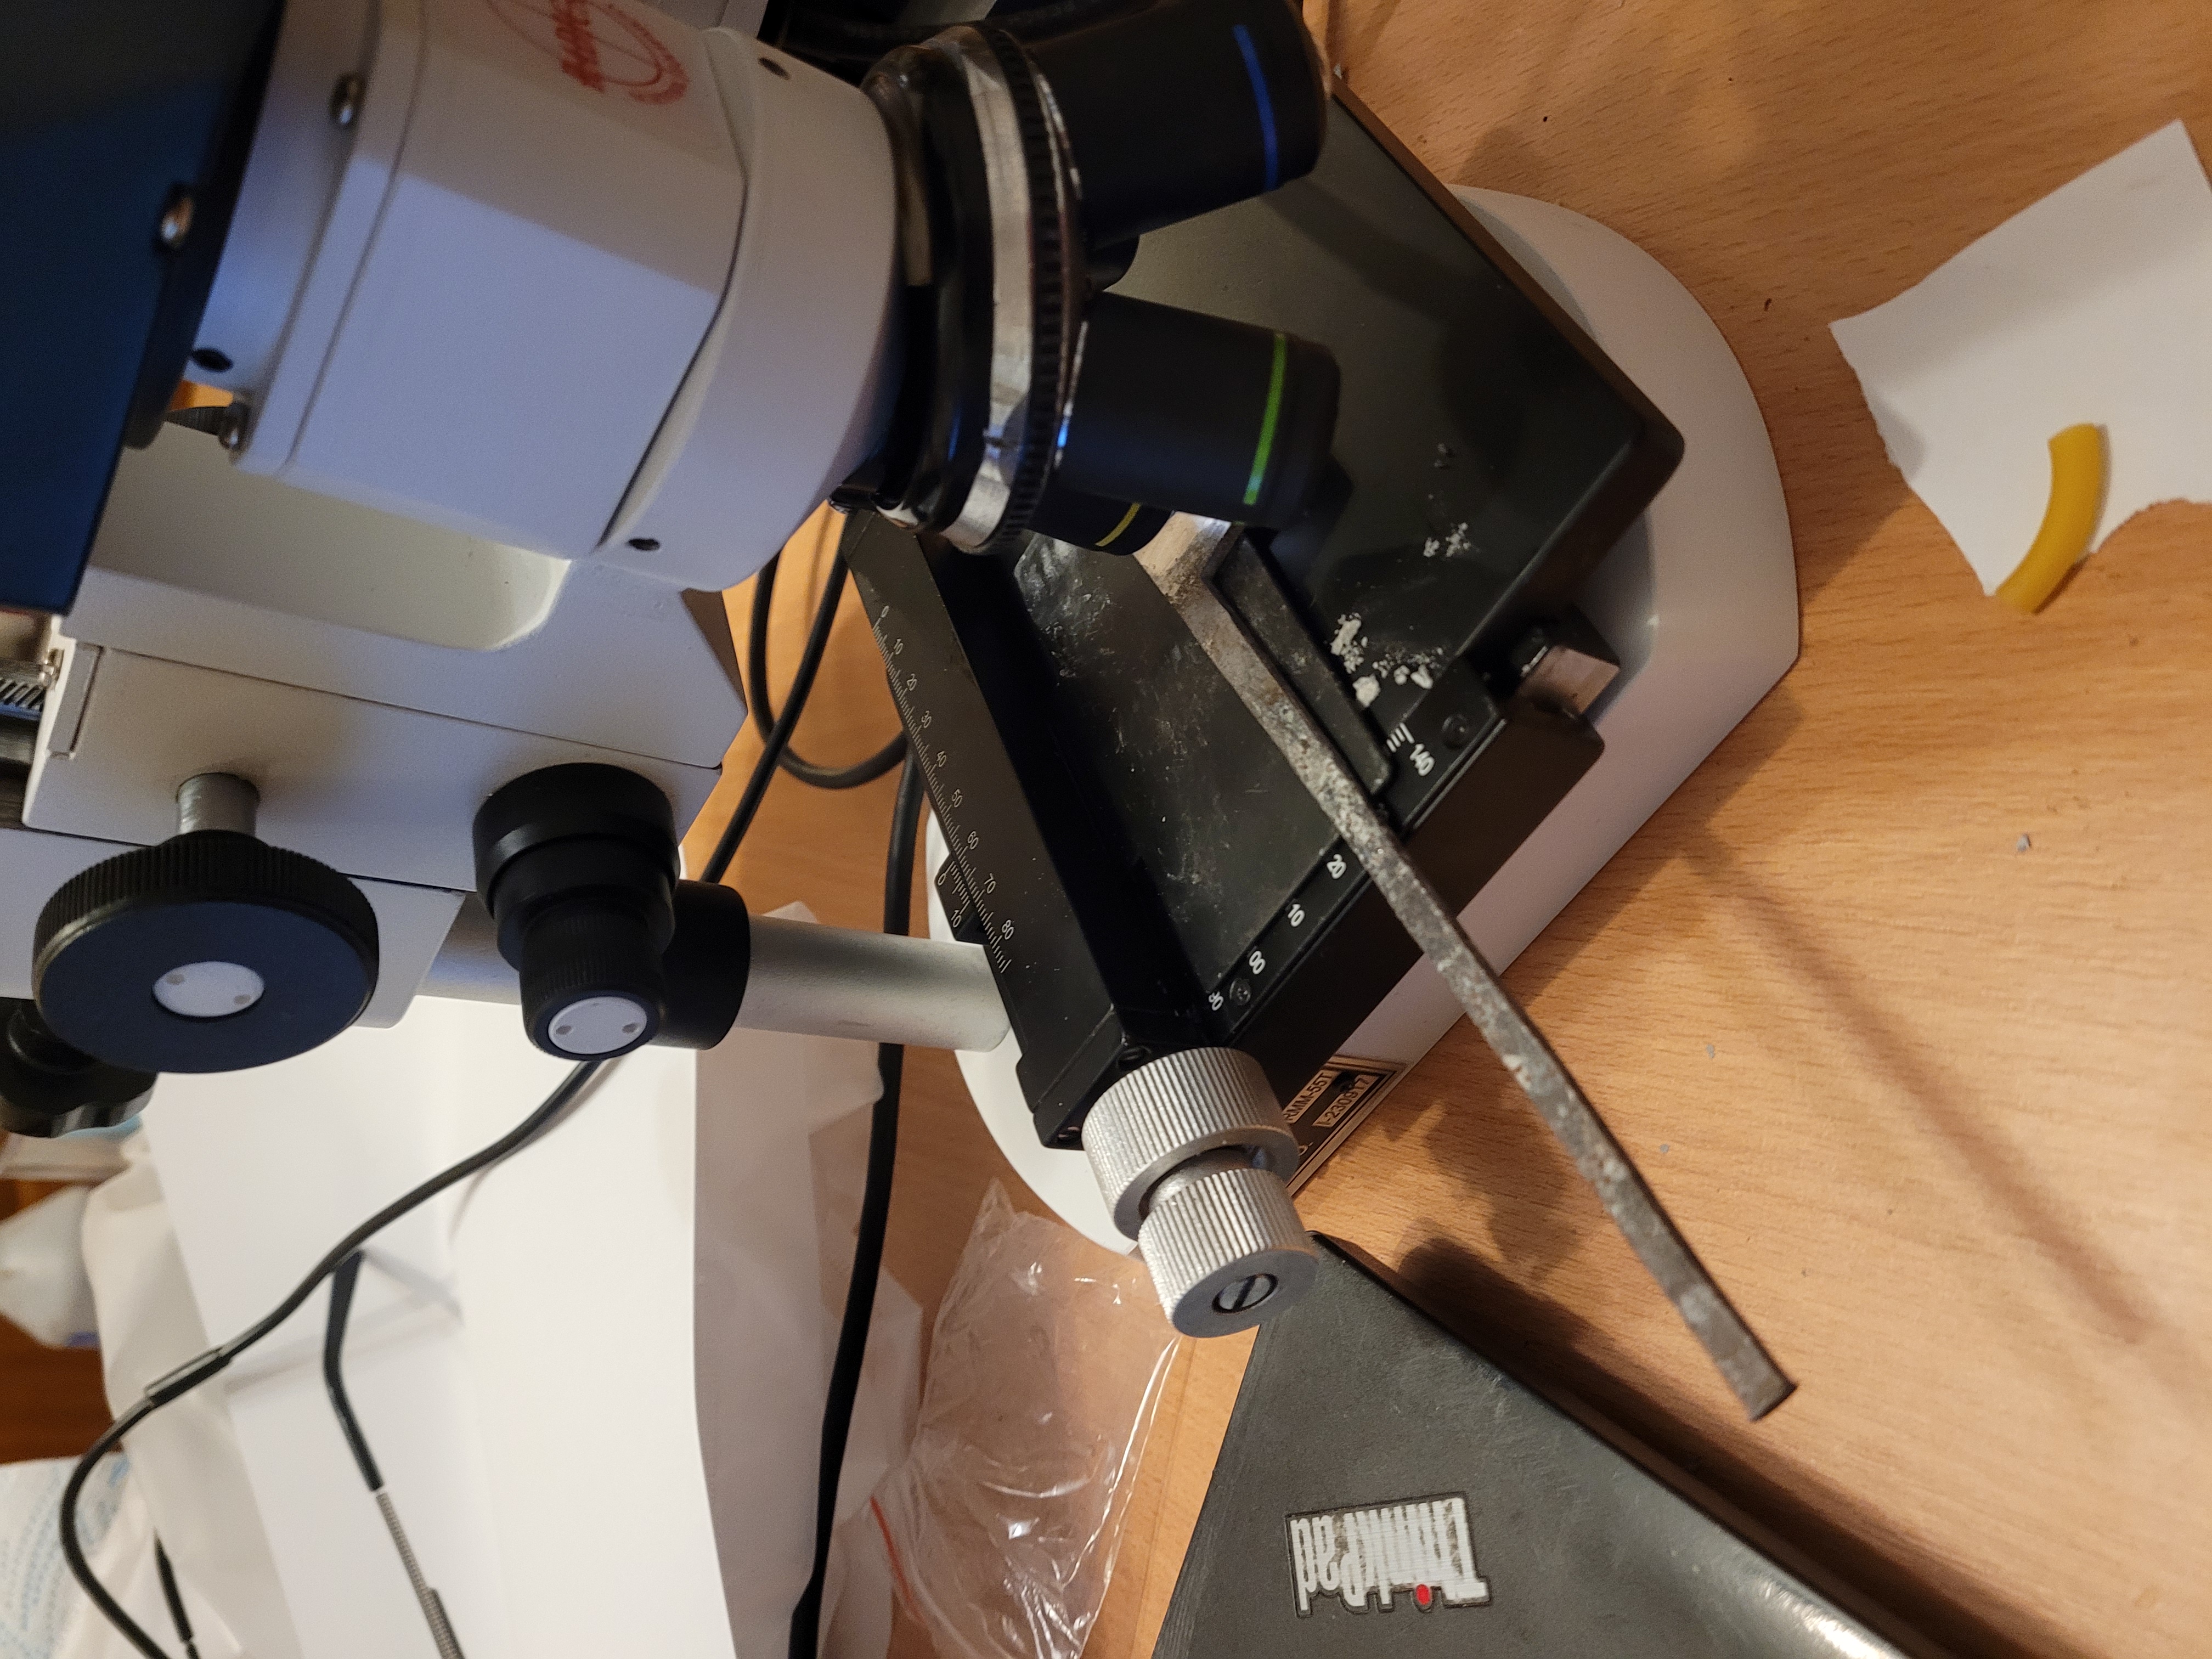
The iron sitting on the XY table, the small and large dial let me move the table on an X and Y axis (but not up and down). The large wheel at the rear allows you to move the rest of the scope up and down to focus. The small dial below it is the same, but a fine adjust.
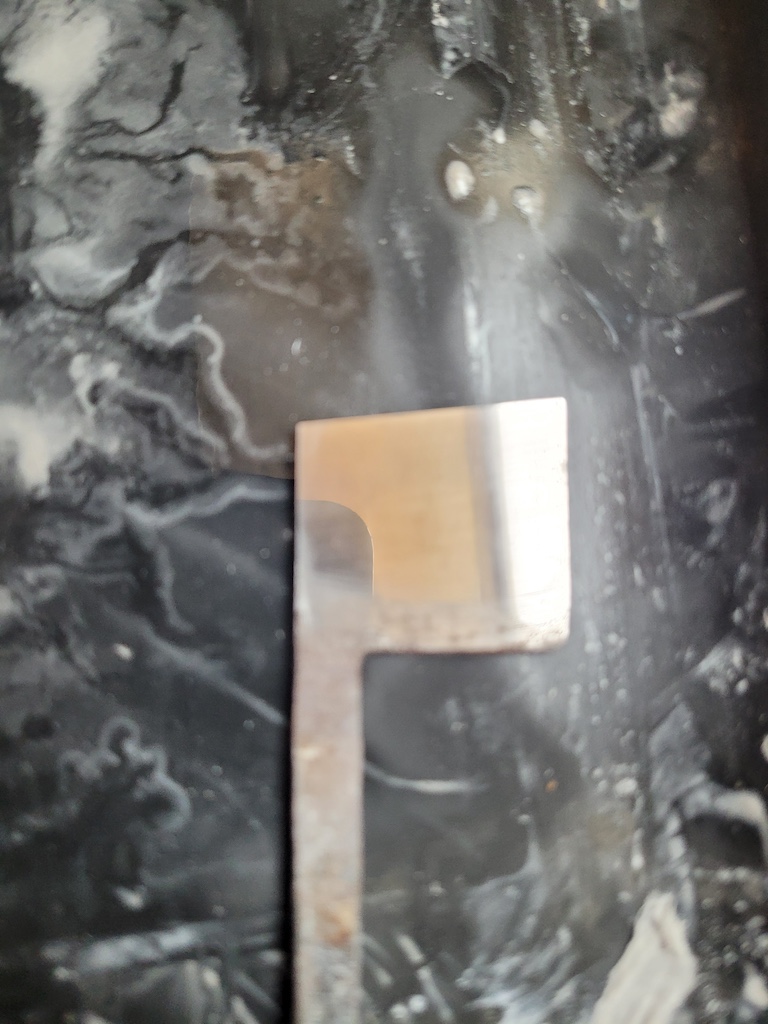
This is the iron we are looking at. Its from a moving filister plane. To the human eye, the edge of this iron looks like a perfect mirror. If you have not looked at a well polished piece of metal under a microscope before, it can be a little shocking and humbling. No matter how nice it looks, its a mess when you look close enough.
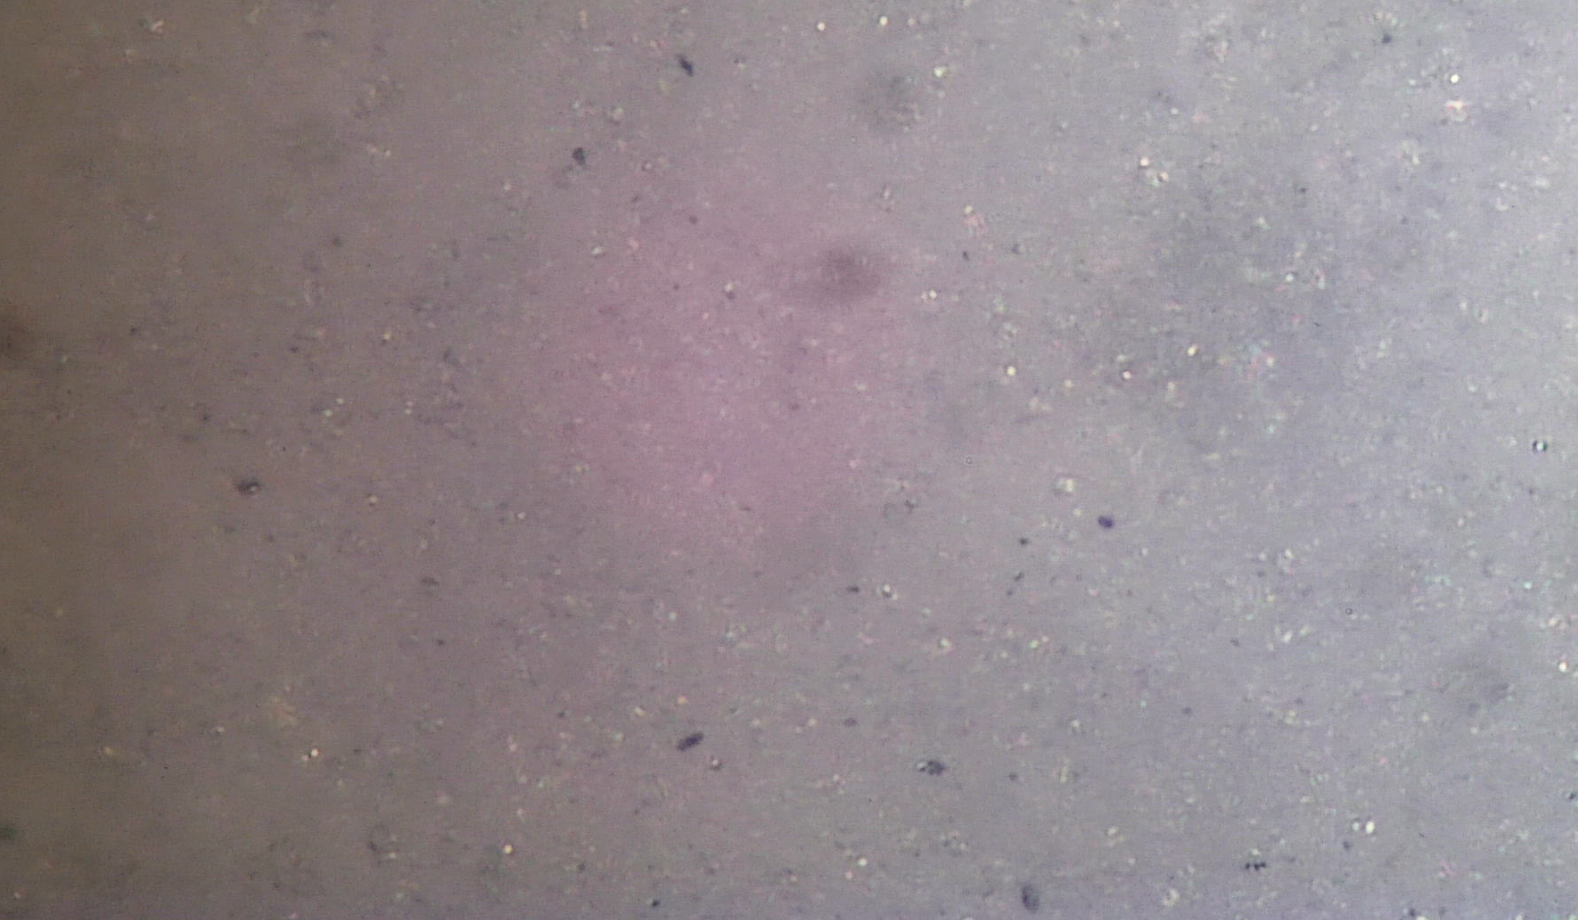
Before we get to the iron, lets take a quick look at some stones. Here is a 6000 grit Shapton glass stone at 1200x. I flattened it and wiped it down before photographing (as I did for the others). I’m not entirely sure what I’m looking at. Most of the picture has to be white binder. I’m not sure what the black bits are, swarf from use? There are what look like tiny pieces of shiny metal. I don’t think these are the grit, but I could be wrong. If you zoom in a little, you can see white bits sticking out of the surface, I think that’s the aluminium oxide crystals.
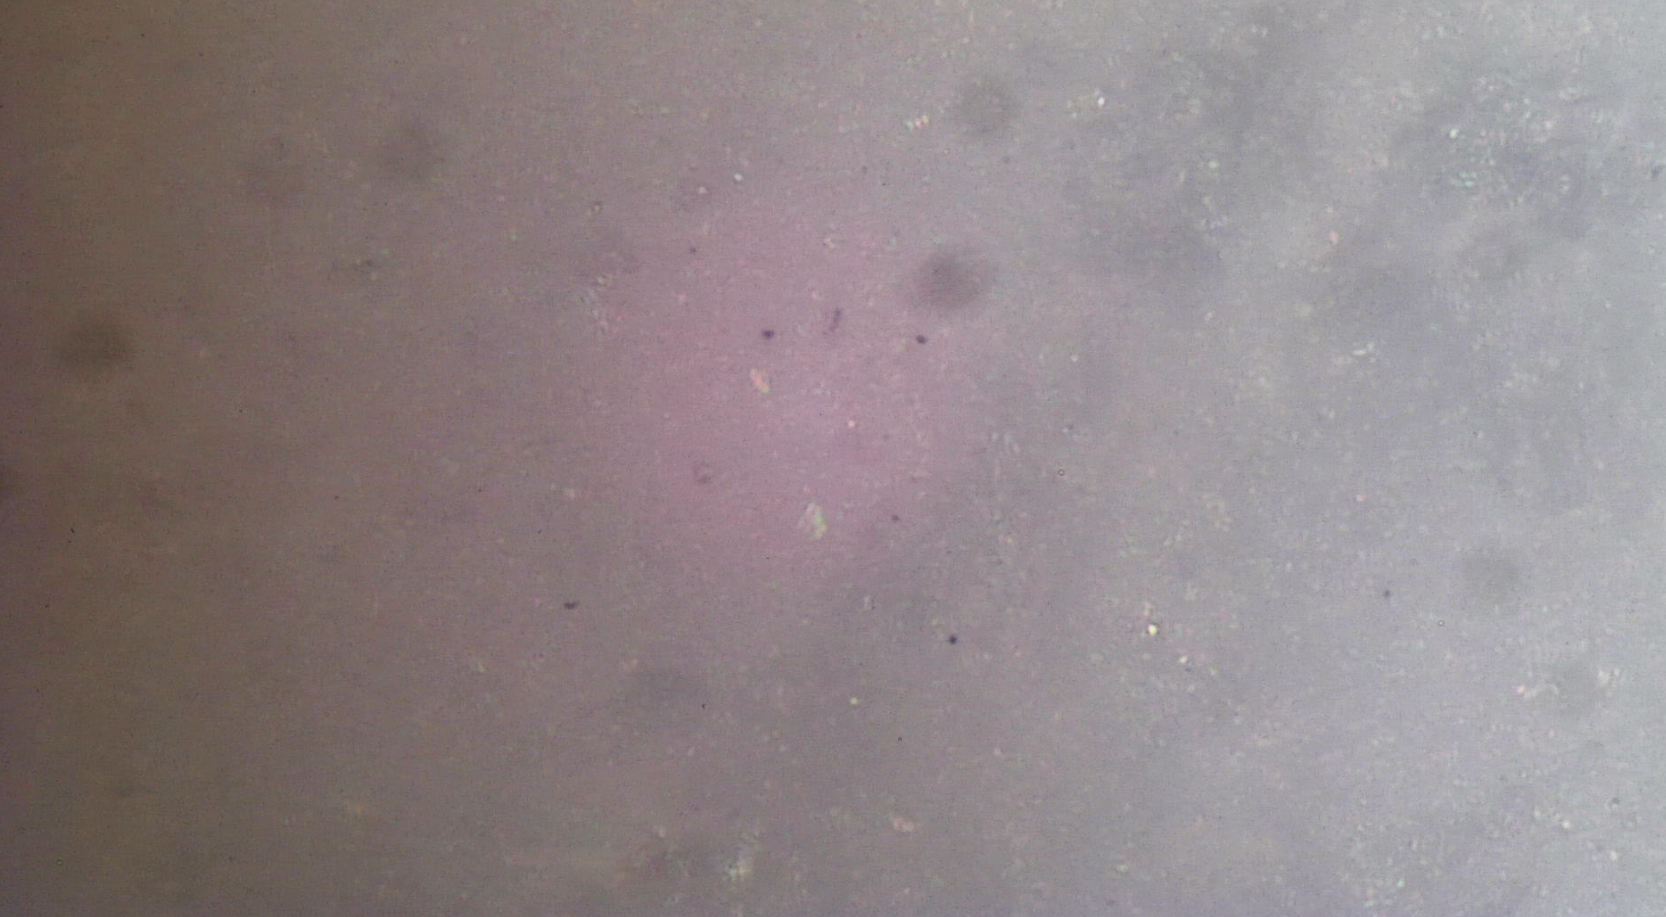
The Shapton 16000 stone at 1200x. In comparison, the black bits seem about the same size, The shiny metal looking circular bits seem about the same size. But the white bits protruding seem smaller. That is why I’m assuming they are the aluminium oxide, but this is a very uneducated guess.
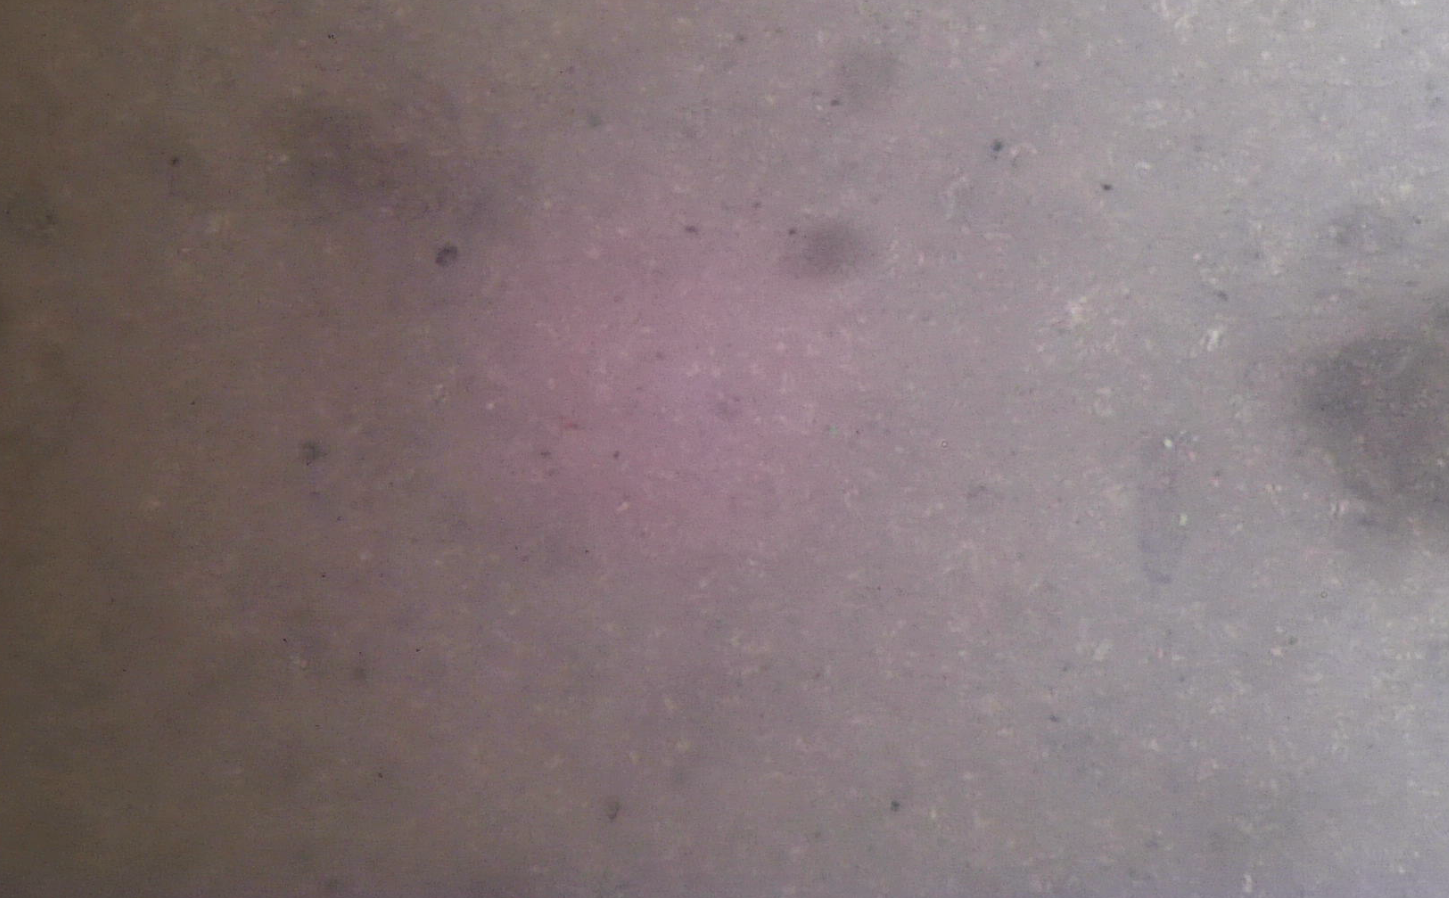
Finally the Proyan 15000, I find it very hard to call any significant difference between it and the Shapton.
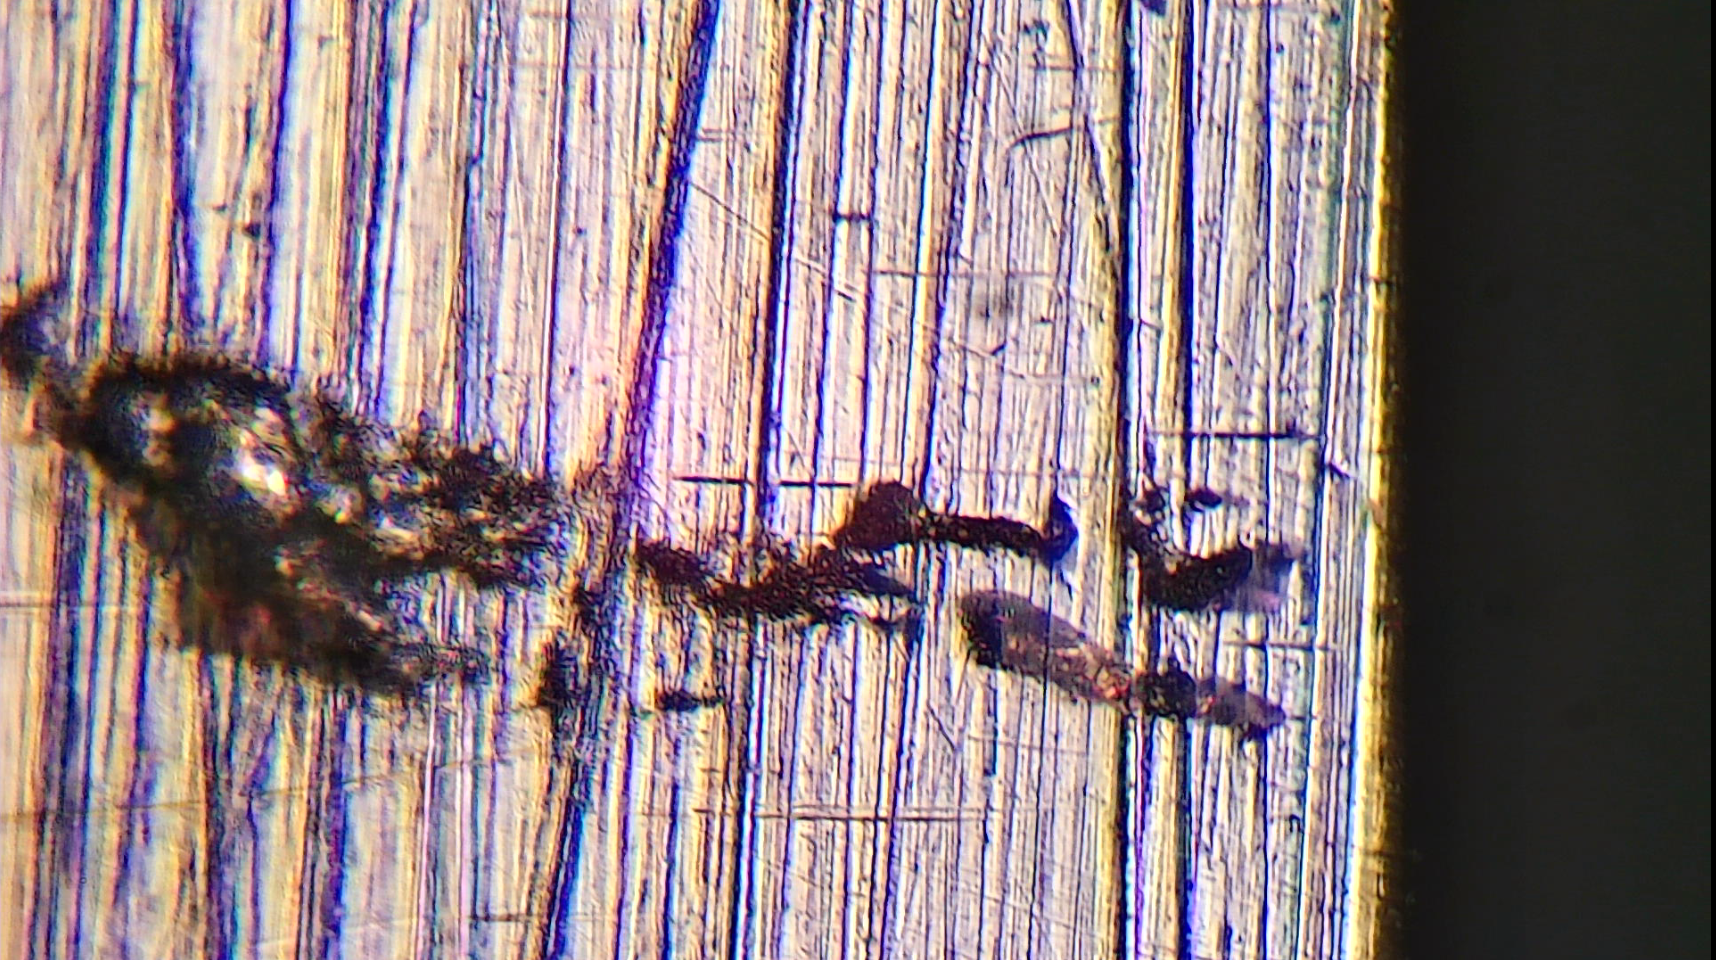 So lets take a look at the iron. The edge is visible on the right, you can see the very edge is every so slightly out of focus, that’s a tiny burr that’s lower down than the rest of the back, so its out of focus. Then you might notice the large background areas, these are tiny pits, completely invisible to the naked eye. Then you have various scratches of different dimensions. Once you start using a microscope to look at irons, you realise that completely getting rid of the scratches from a previous grit is incredibly laborious. I have never done it. So the very large marks are largely from earlier stones. I used this spot on the edge of the iron to take photos and make comparisons, as the pit toward the right looks a bit like a sideways leg and foot. It was easy to find, so I could compare exactly the same patch of surface again and again. This might look like the surface of the moon, but its actually a very good surface given the magnification level.
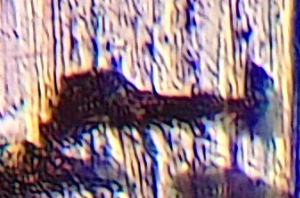
The foot pit I’m talking about. To understand the scale we are looking at, that “leg” is about 1/50th of a millimetre wide.
The Proyan. As I mentioned, I went back and forth between the two stones several times. The results were consistent, and the Proyan usually had larger areas of finer scratches afterwards. However odd curved scratches like the one at the top of this image also appeared after using the Proyan.
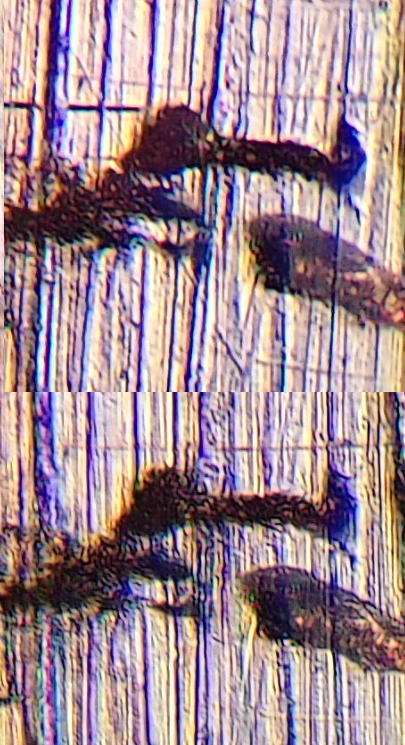
Shapton (top), Proyan (bottom). The ridges left by the Proyan are consistently (but not much ) smaller. I’m pretty satisfied that the Proyan’s claimed 0.64 micron rating is true.
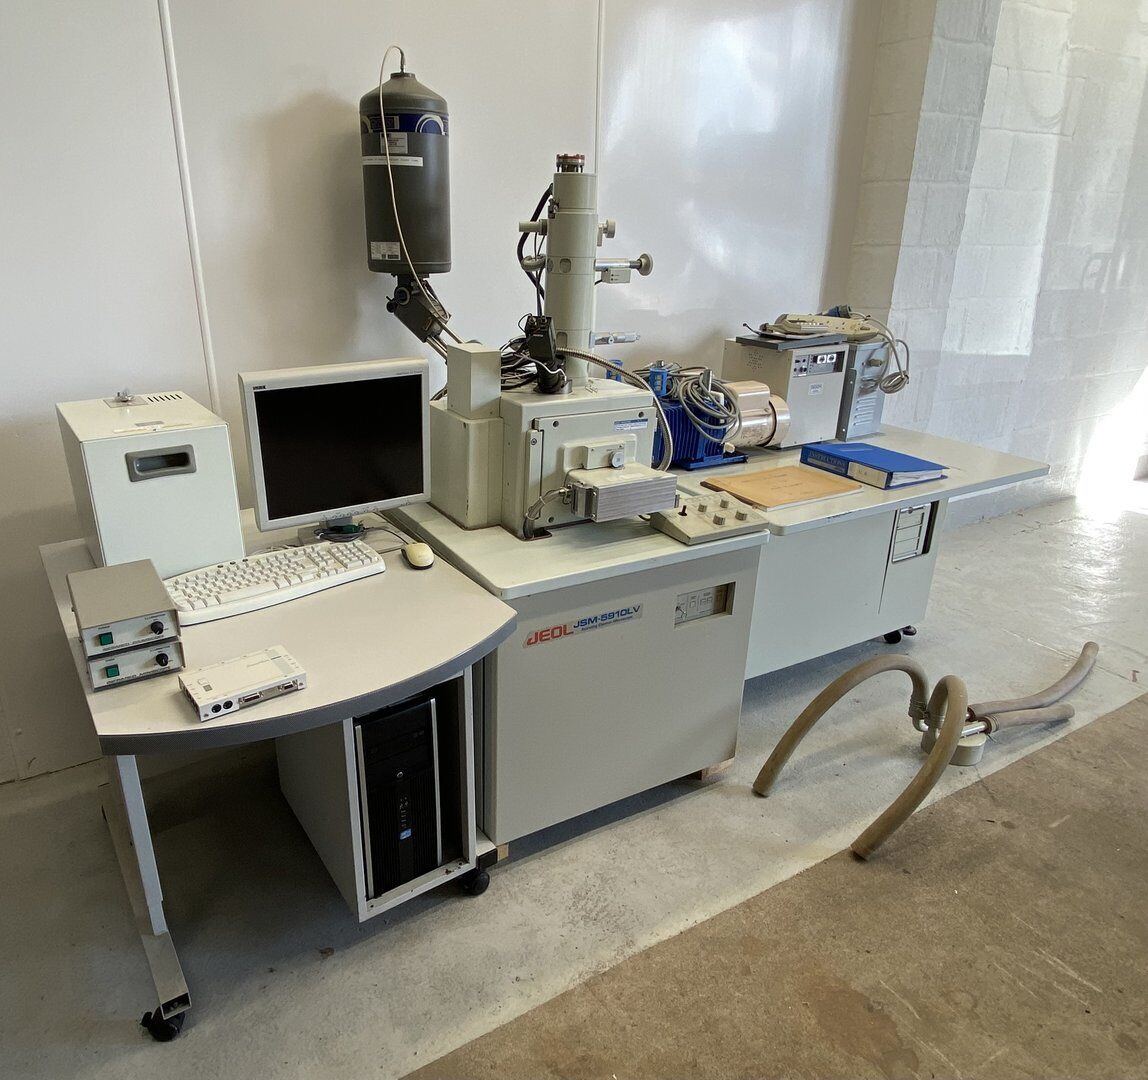
This is currently the cheapest scanning electron microscope on Ebay. Its used, the asking price is £16,000. And that’s with it in “as is” untested condition. I don’t think the kids will be amused if I put it in the play room. Actually they would be, I would not be amused when they destroyed it…