Laying out Dovetails
A little while back someone commented on a photo of some of my dovetails. They didn’t care for the narrow pins. You might think I was offended, or perhaps didn’t care. Instead, I was kind of floored. I realised, I have paid exactly zero attention to the aesthetics of my dovetail layouts. How many tails is about as much thought as I put into it. I was so consumed with getting technique down (and still have some way to go), that I never really paused to think about it.
I’m currently building a fairly simple dovetailed box out of pine, and for once, I decided to pay a bit more attention to the layout. To see how I went about it, and as a bonus, yet another shiny new marking gauge from Hamilton Toolworks, see the pictures below.
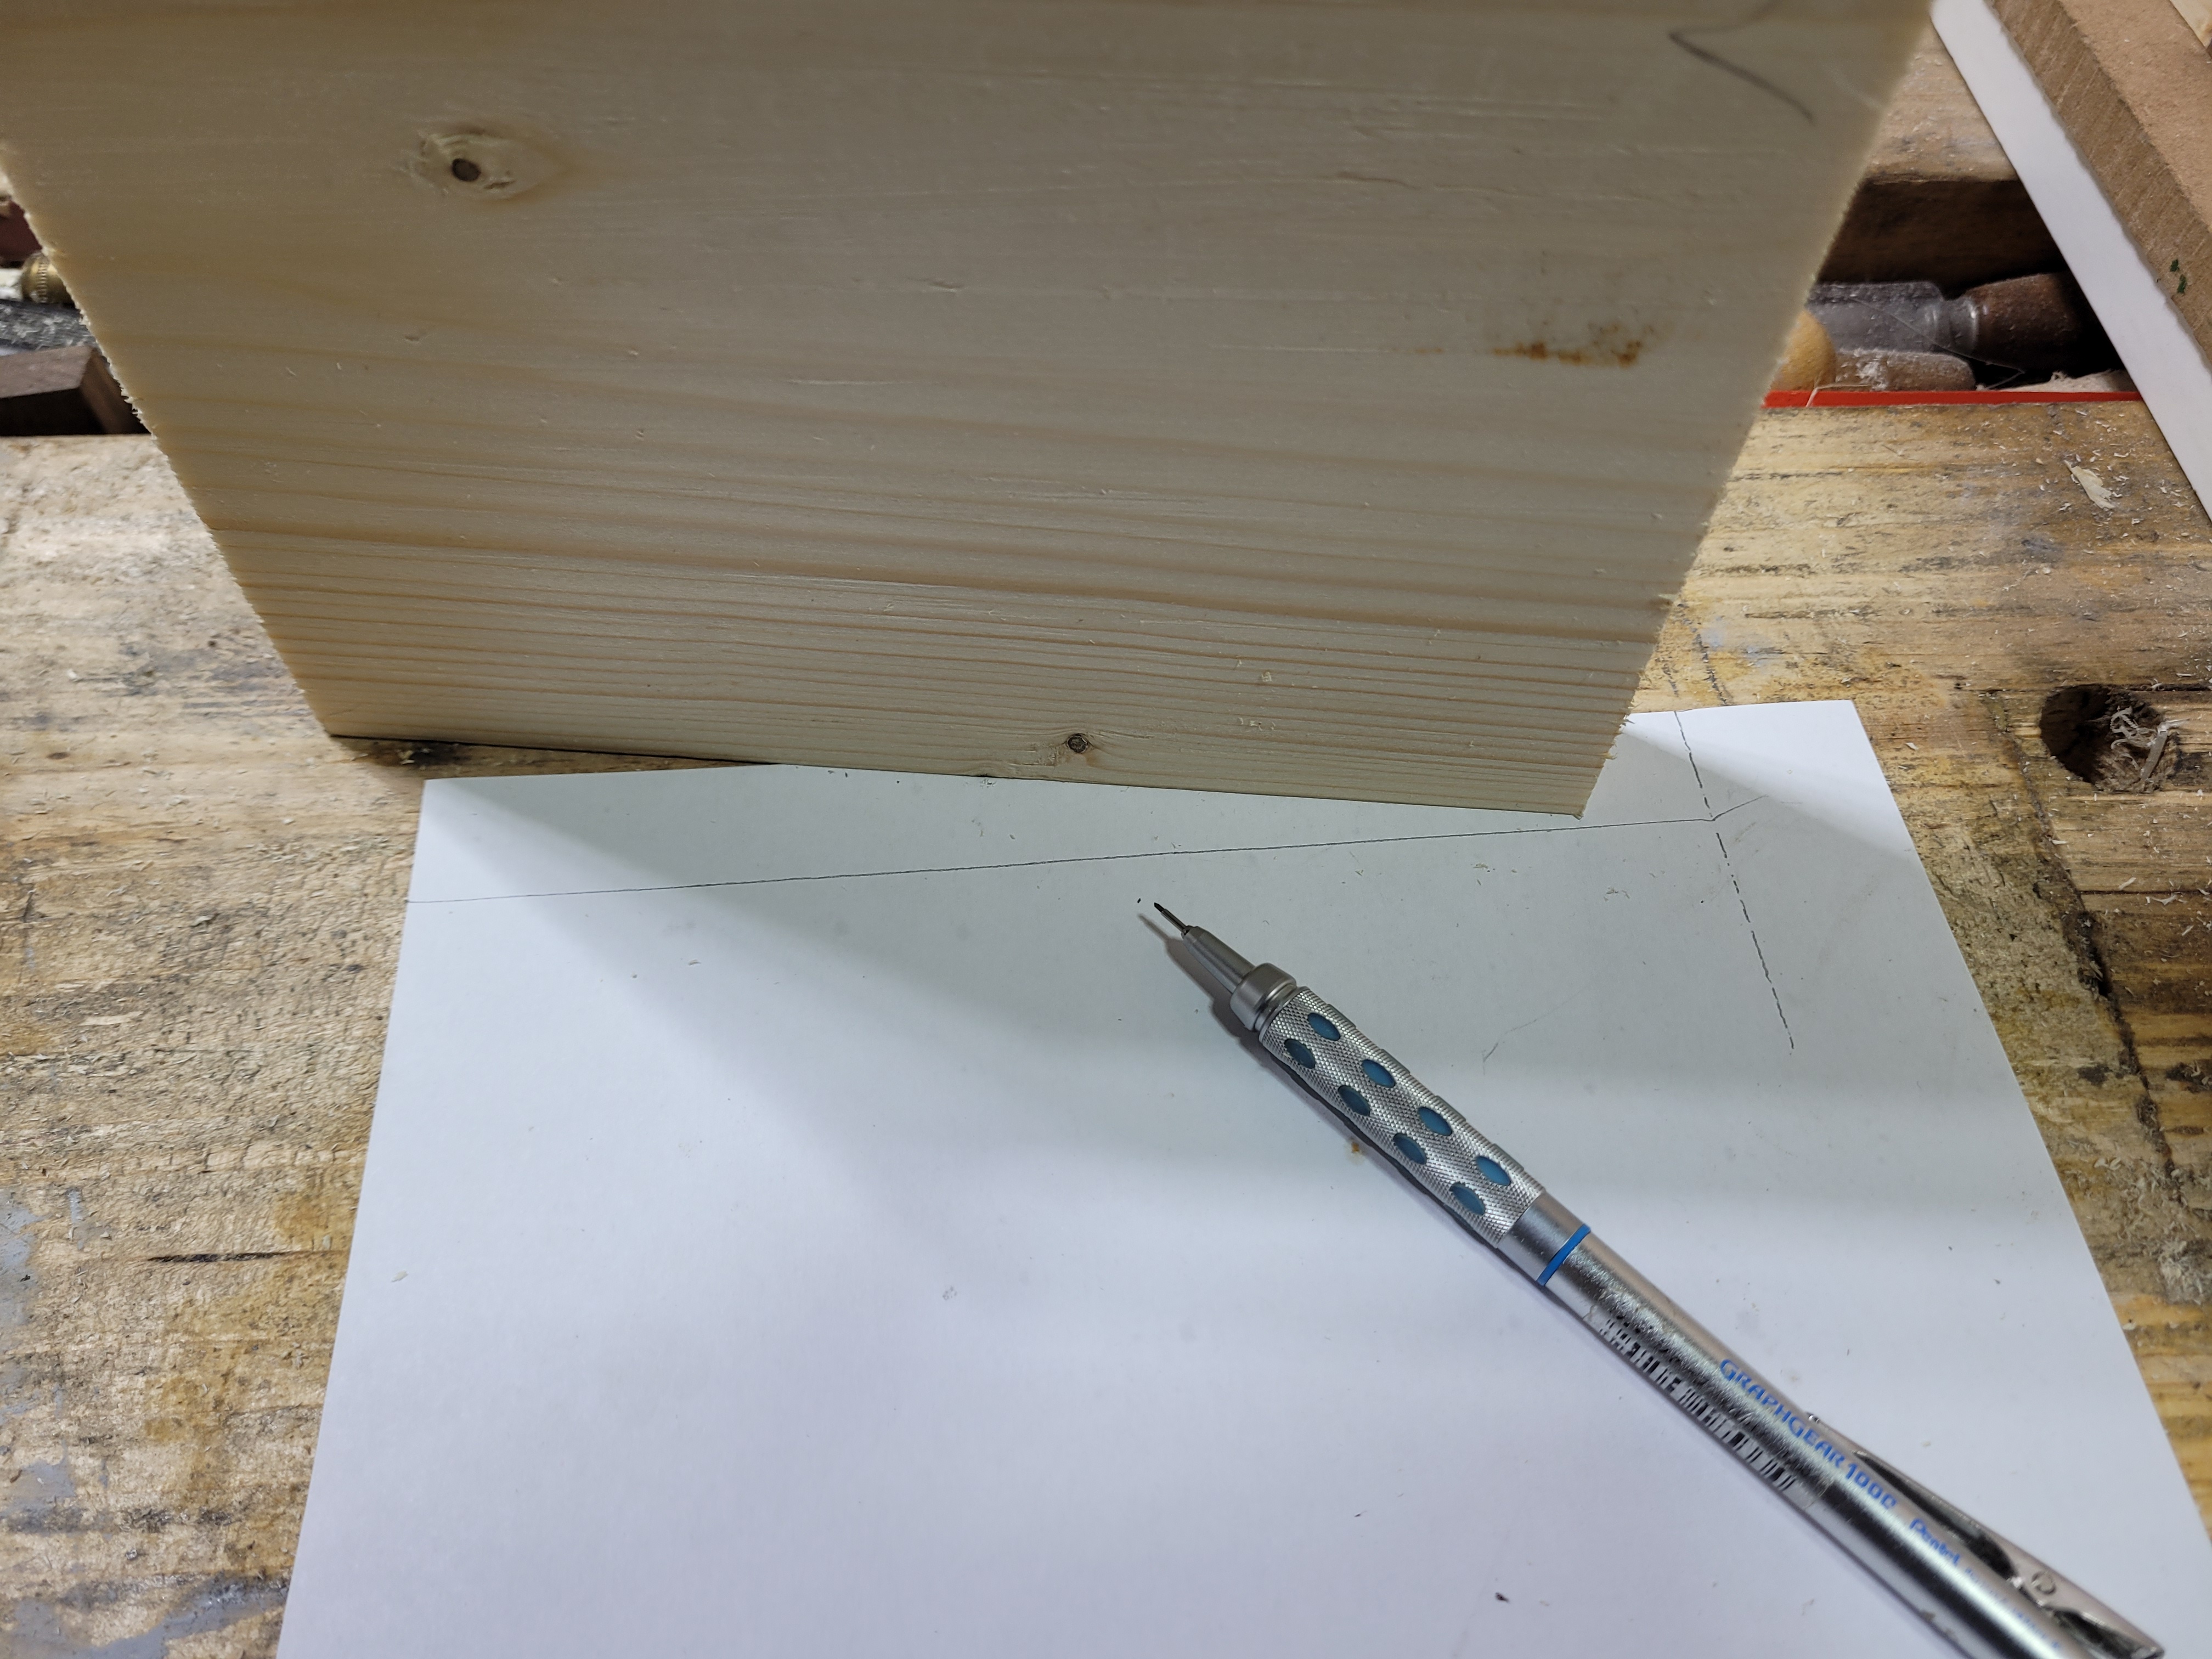
To start off with, I got a piece of A4 paper and a pencil, and traced the board on to it. Can you see the mistake I’ve made???? Yip, that’s the wrong side of the board, and so the wrong width….
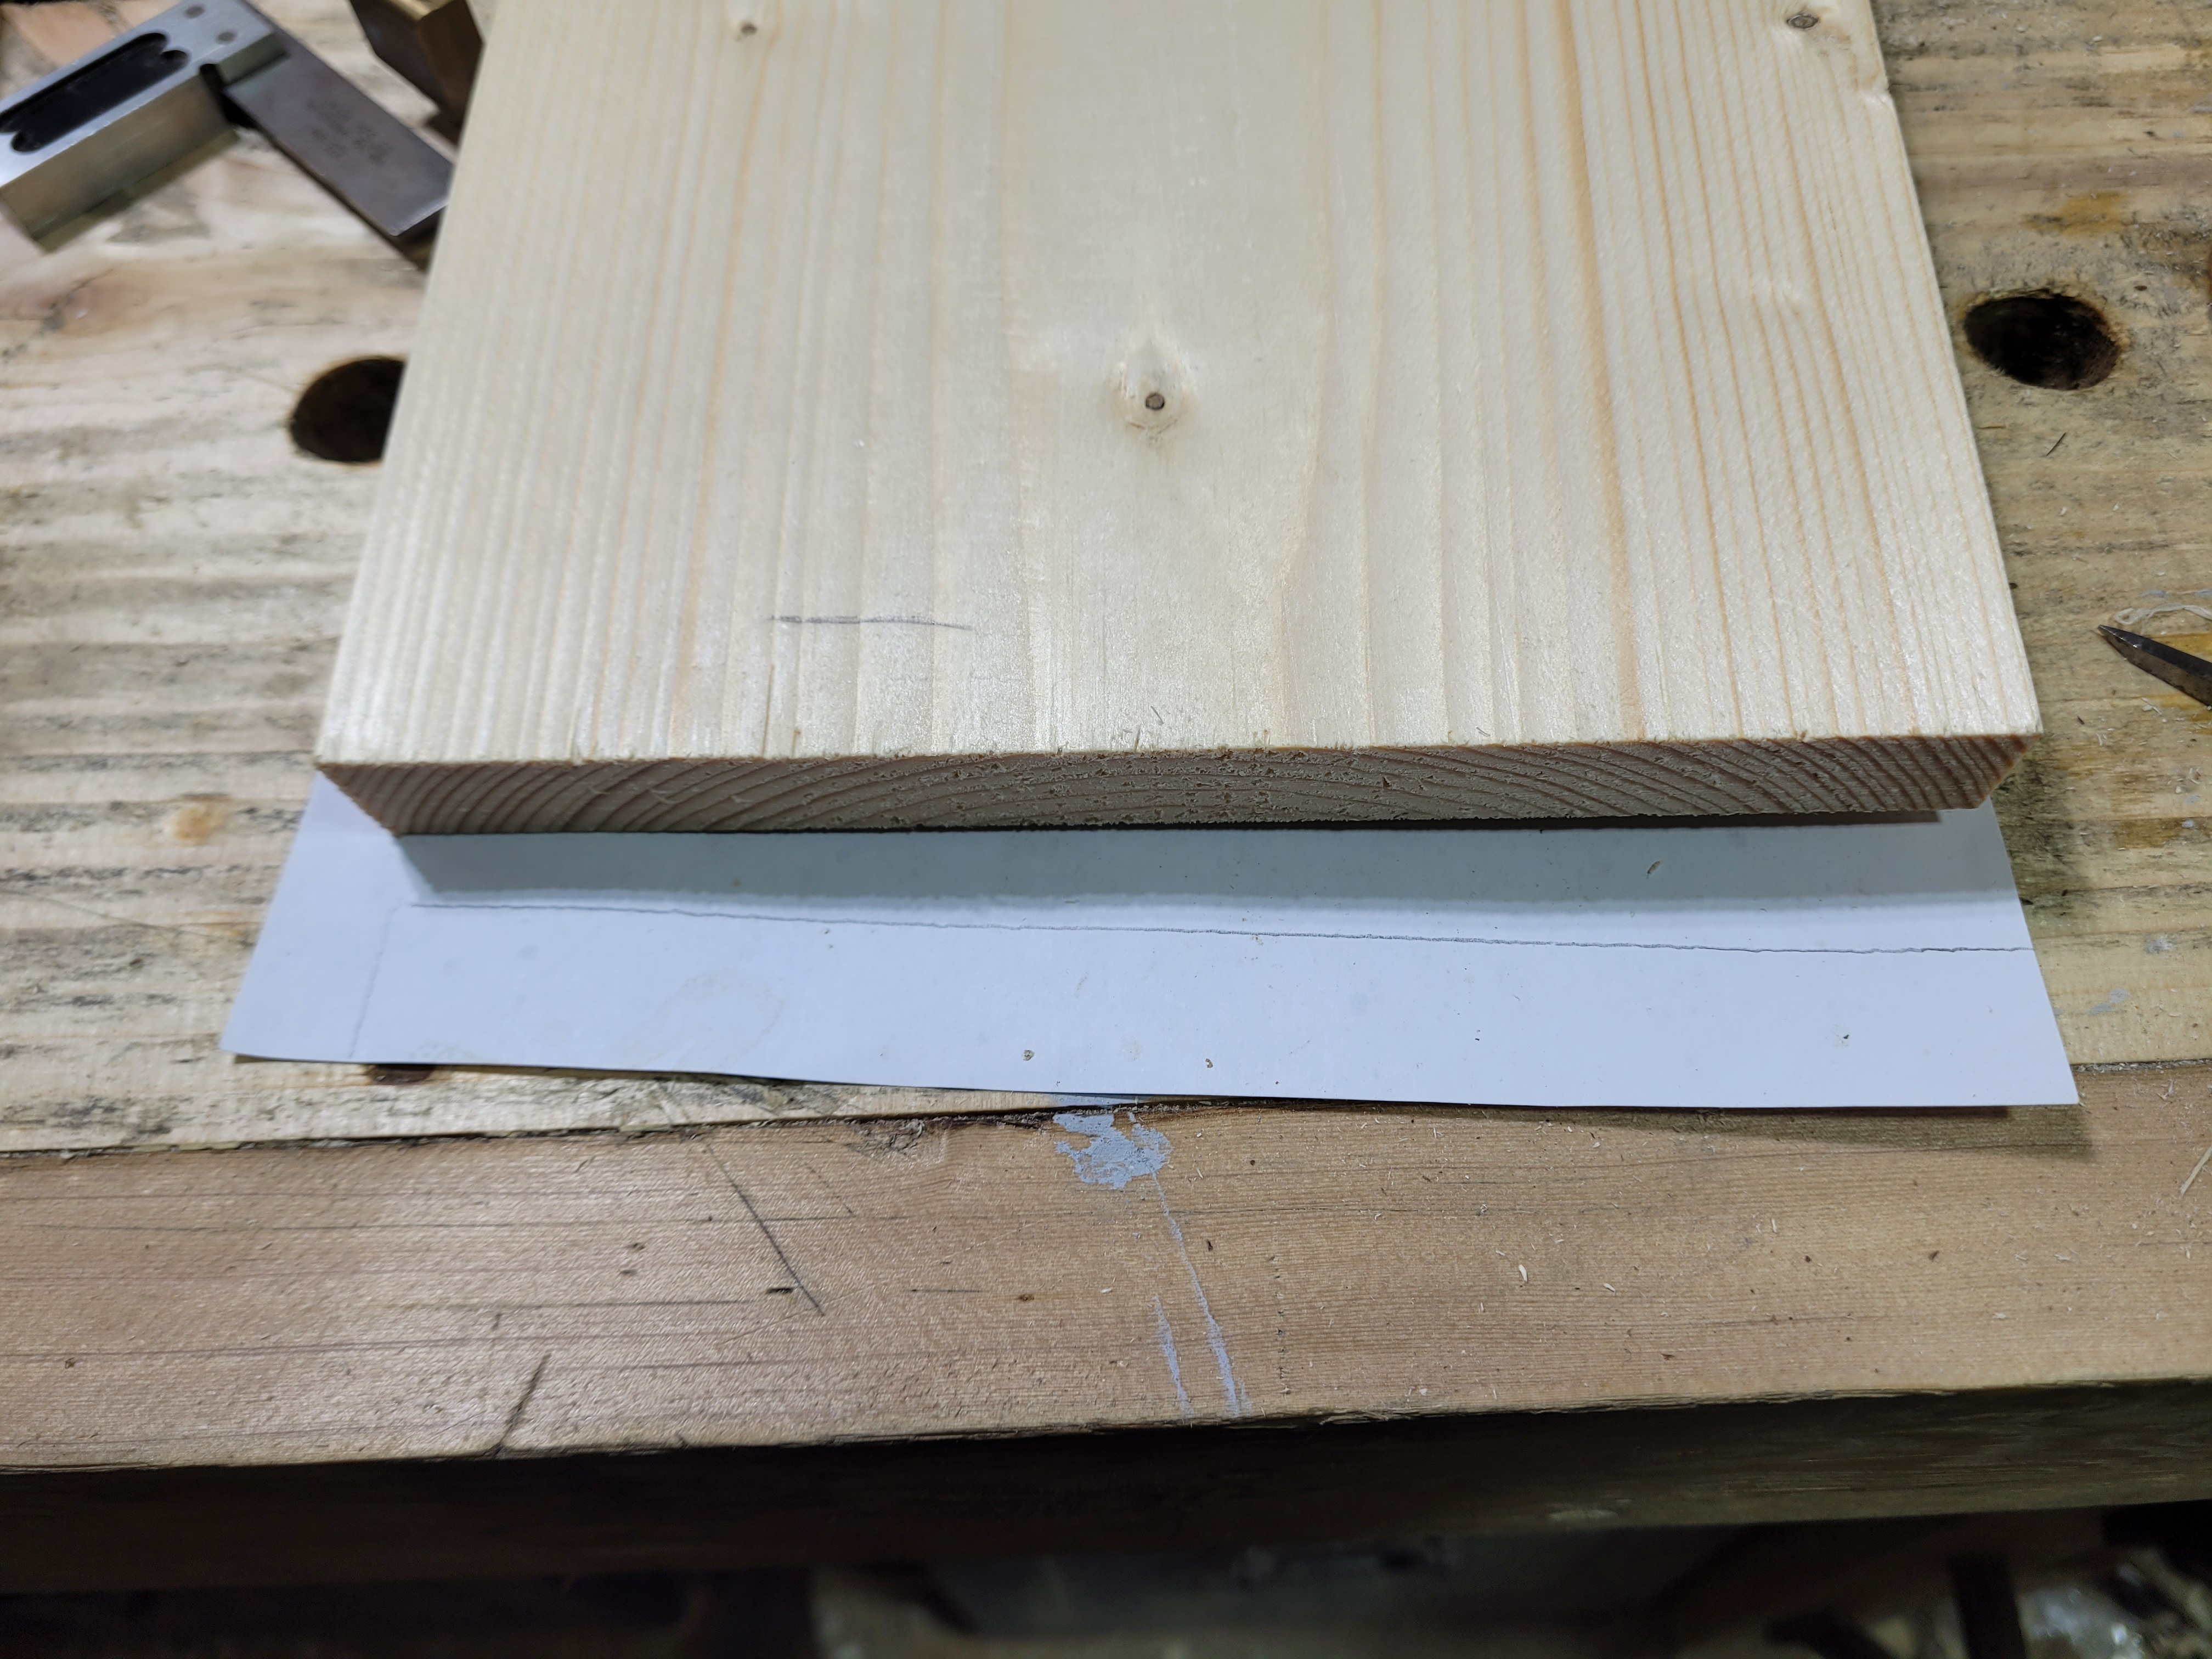
So after a few minutes I spotted that and started over with the right side of the board….
If you would like to see a video of the process for laying out with dividers, I’m fond of this one by Chris Schwarz https://www.youtube.com/watch?v=9LJHlOhxC6U. You need two pairs of dividers for the job. First decide what width your half pins are going to be. This is the easy bit. I like them about the width of the stock, so I set the dividers to that and then put one leg right on the edge of the board, and push the other end into the wood to mark the spot. This pair of dividers then gets set aside so it can be used to mark the half pins on the rest of the pieces as I get to them.
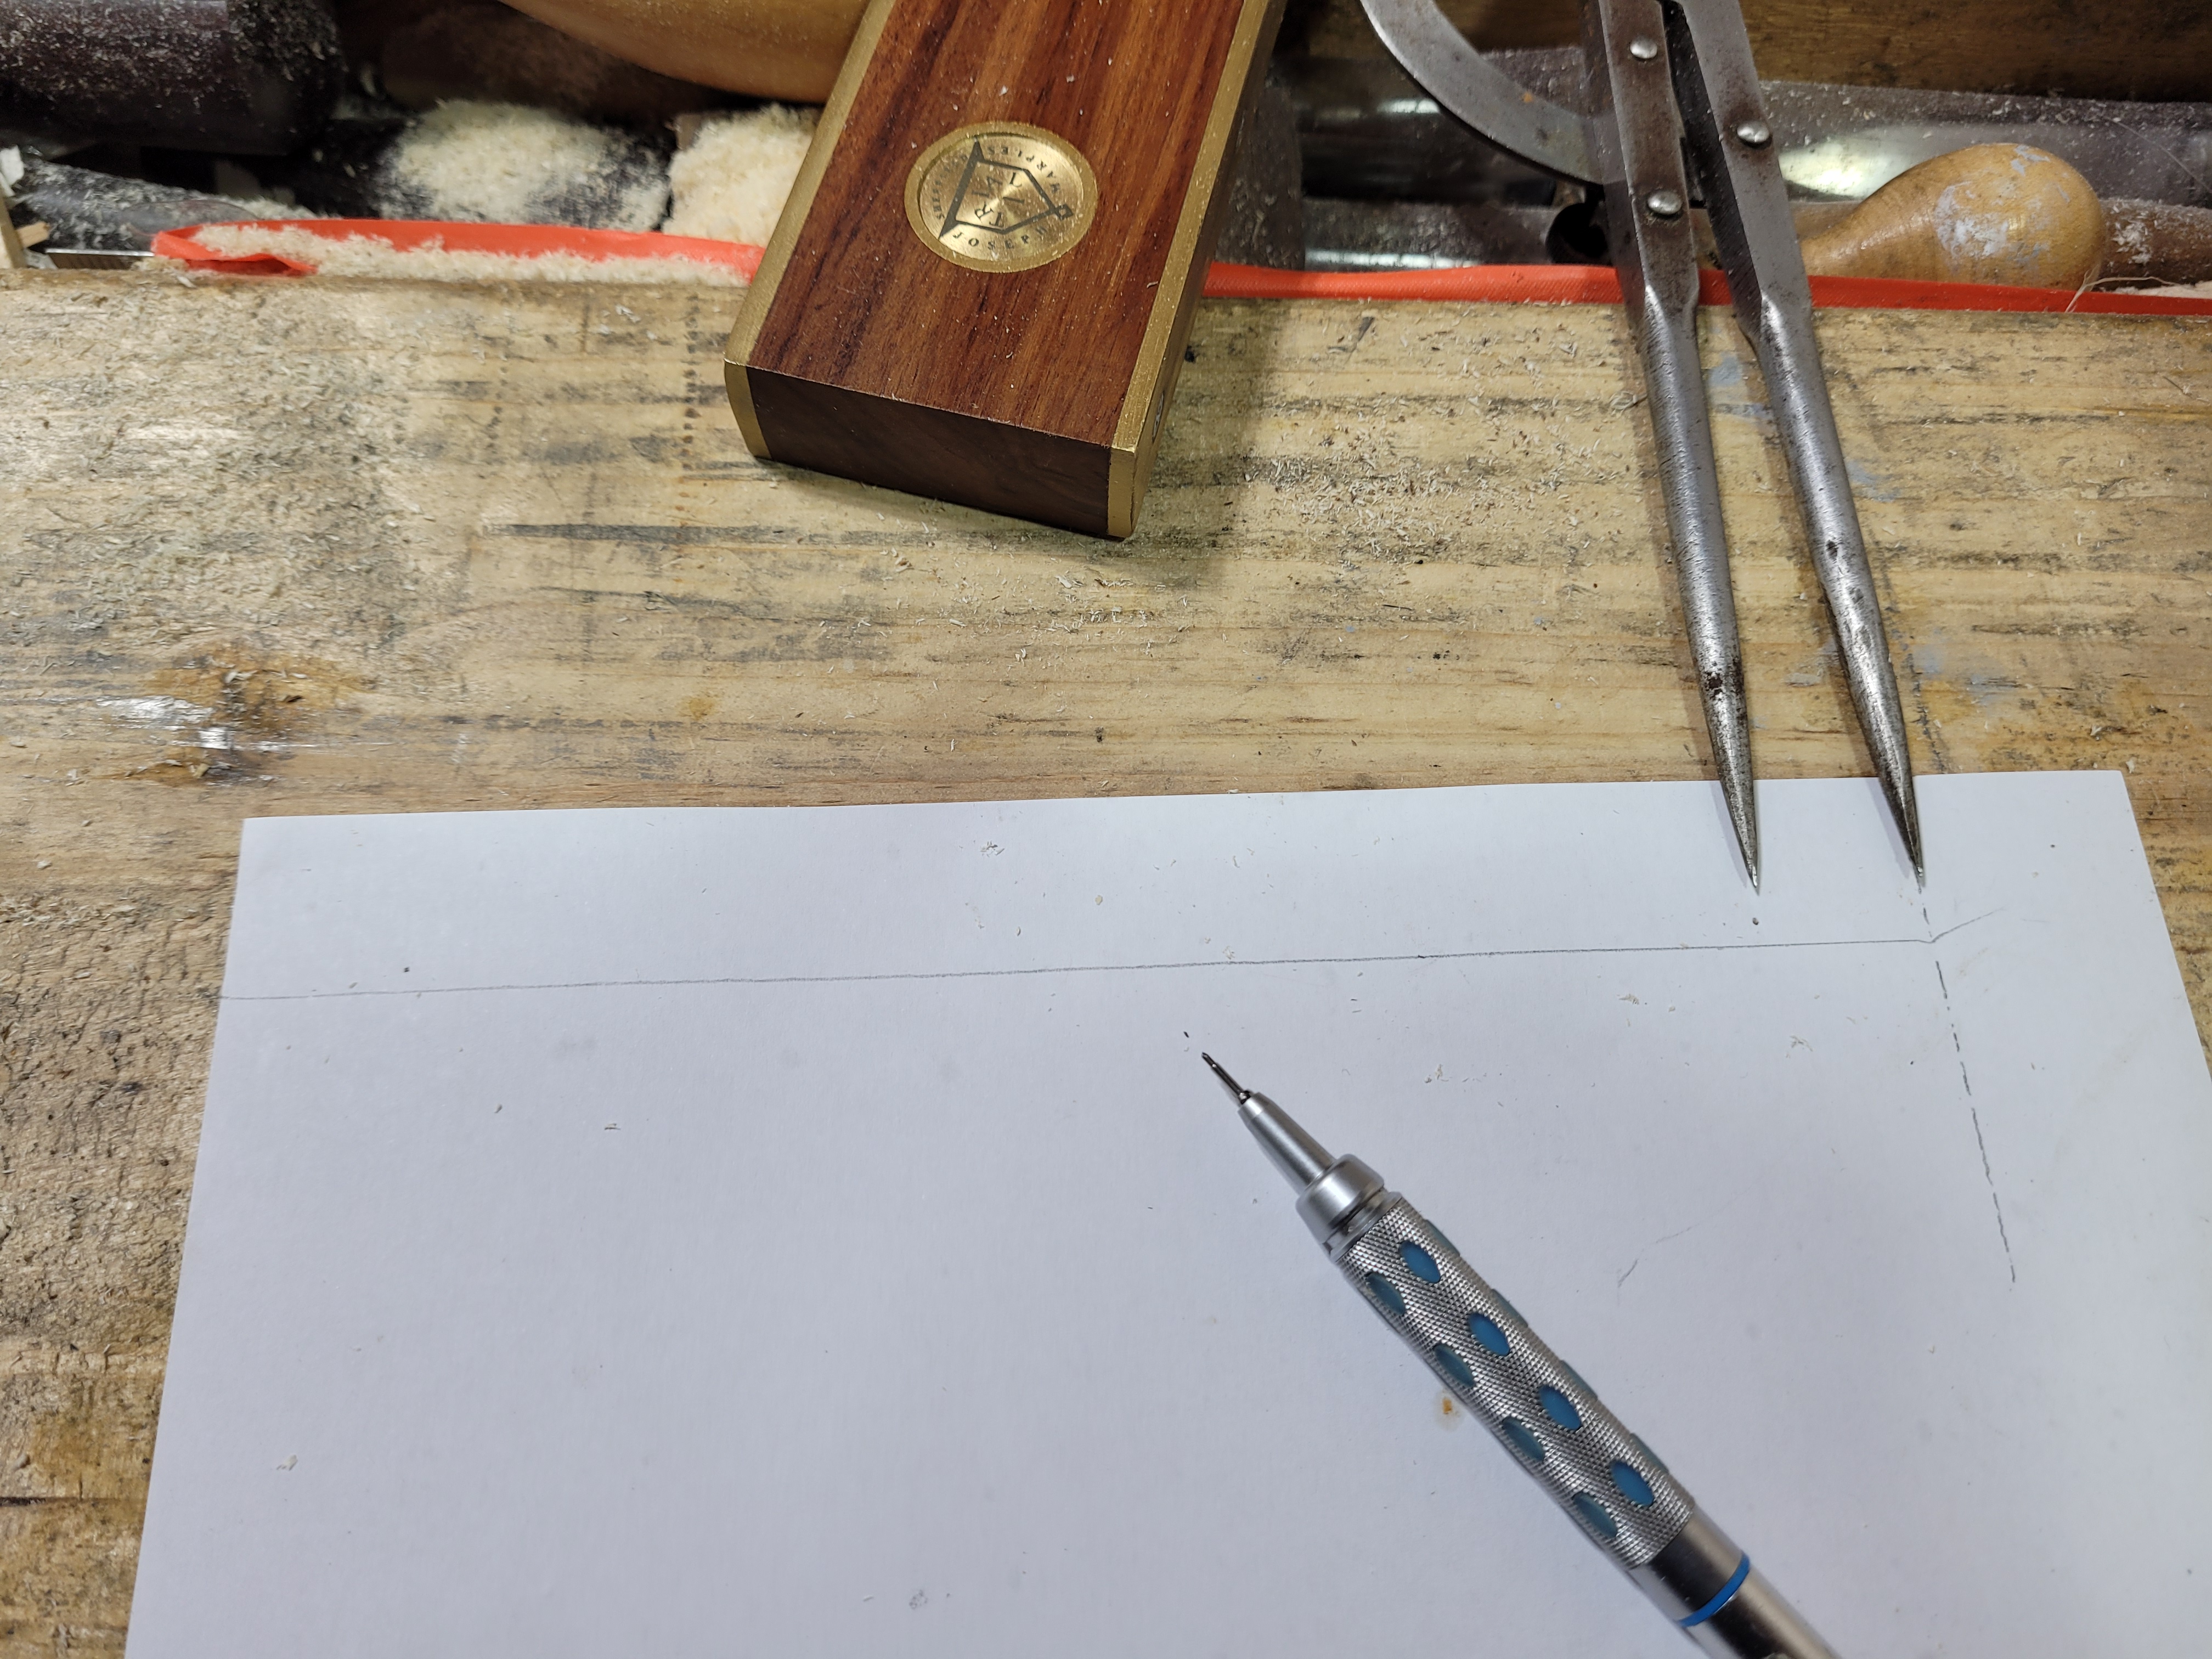
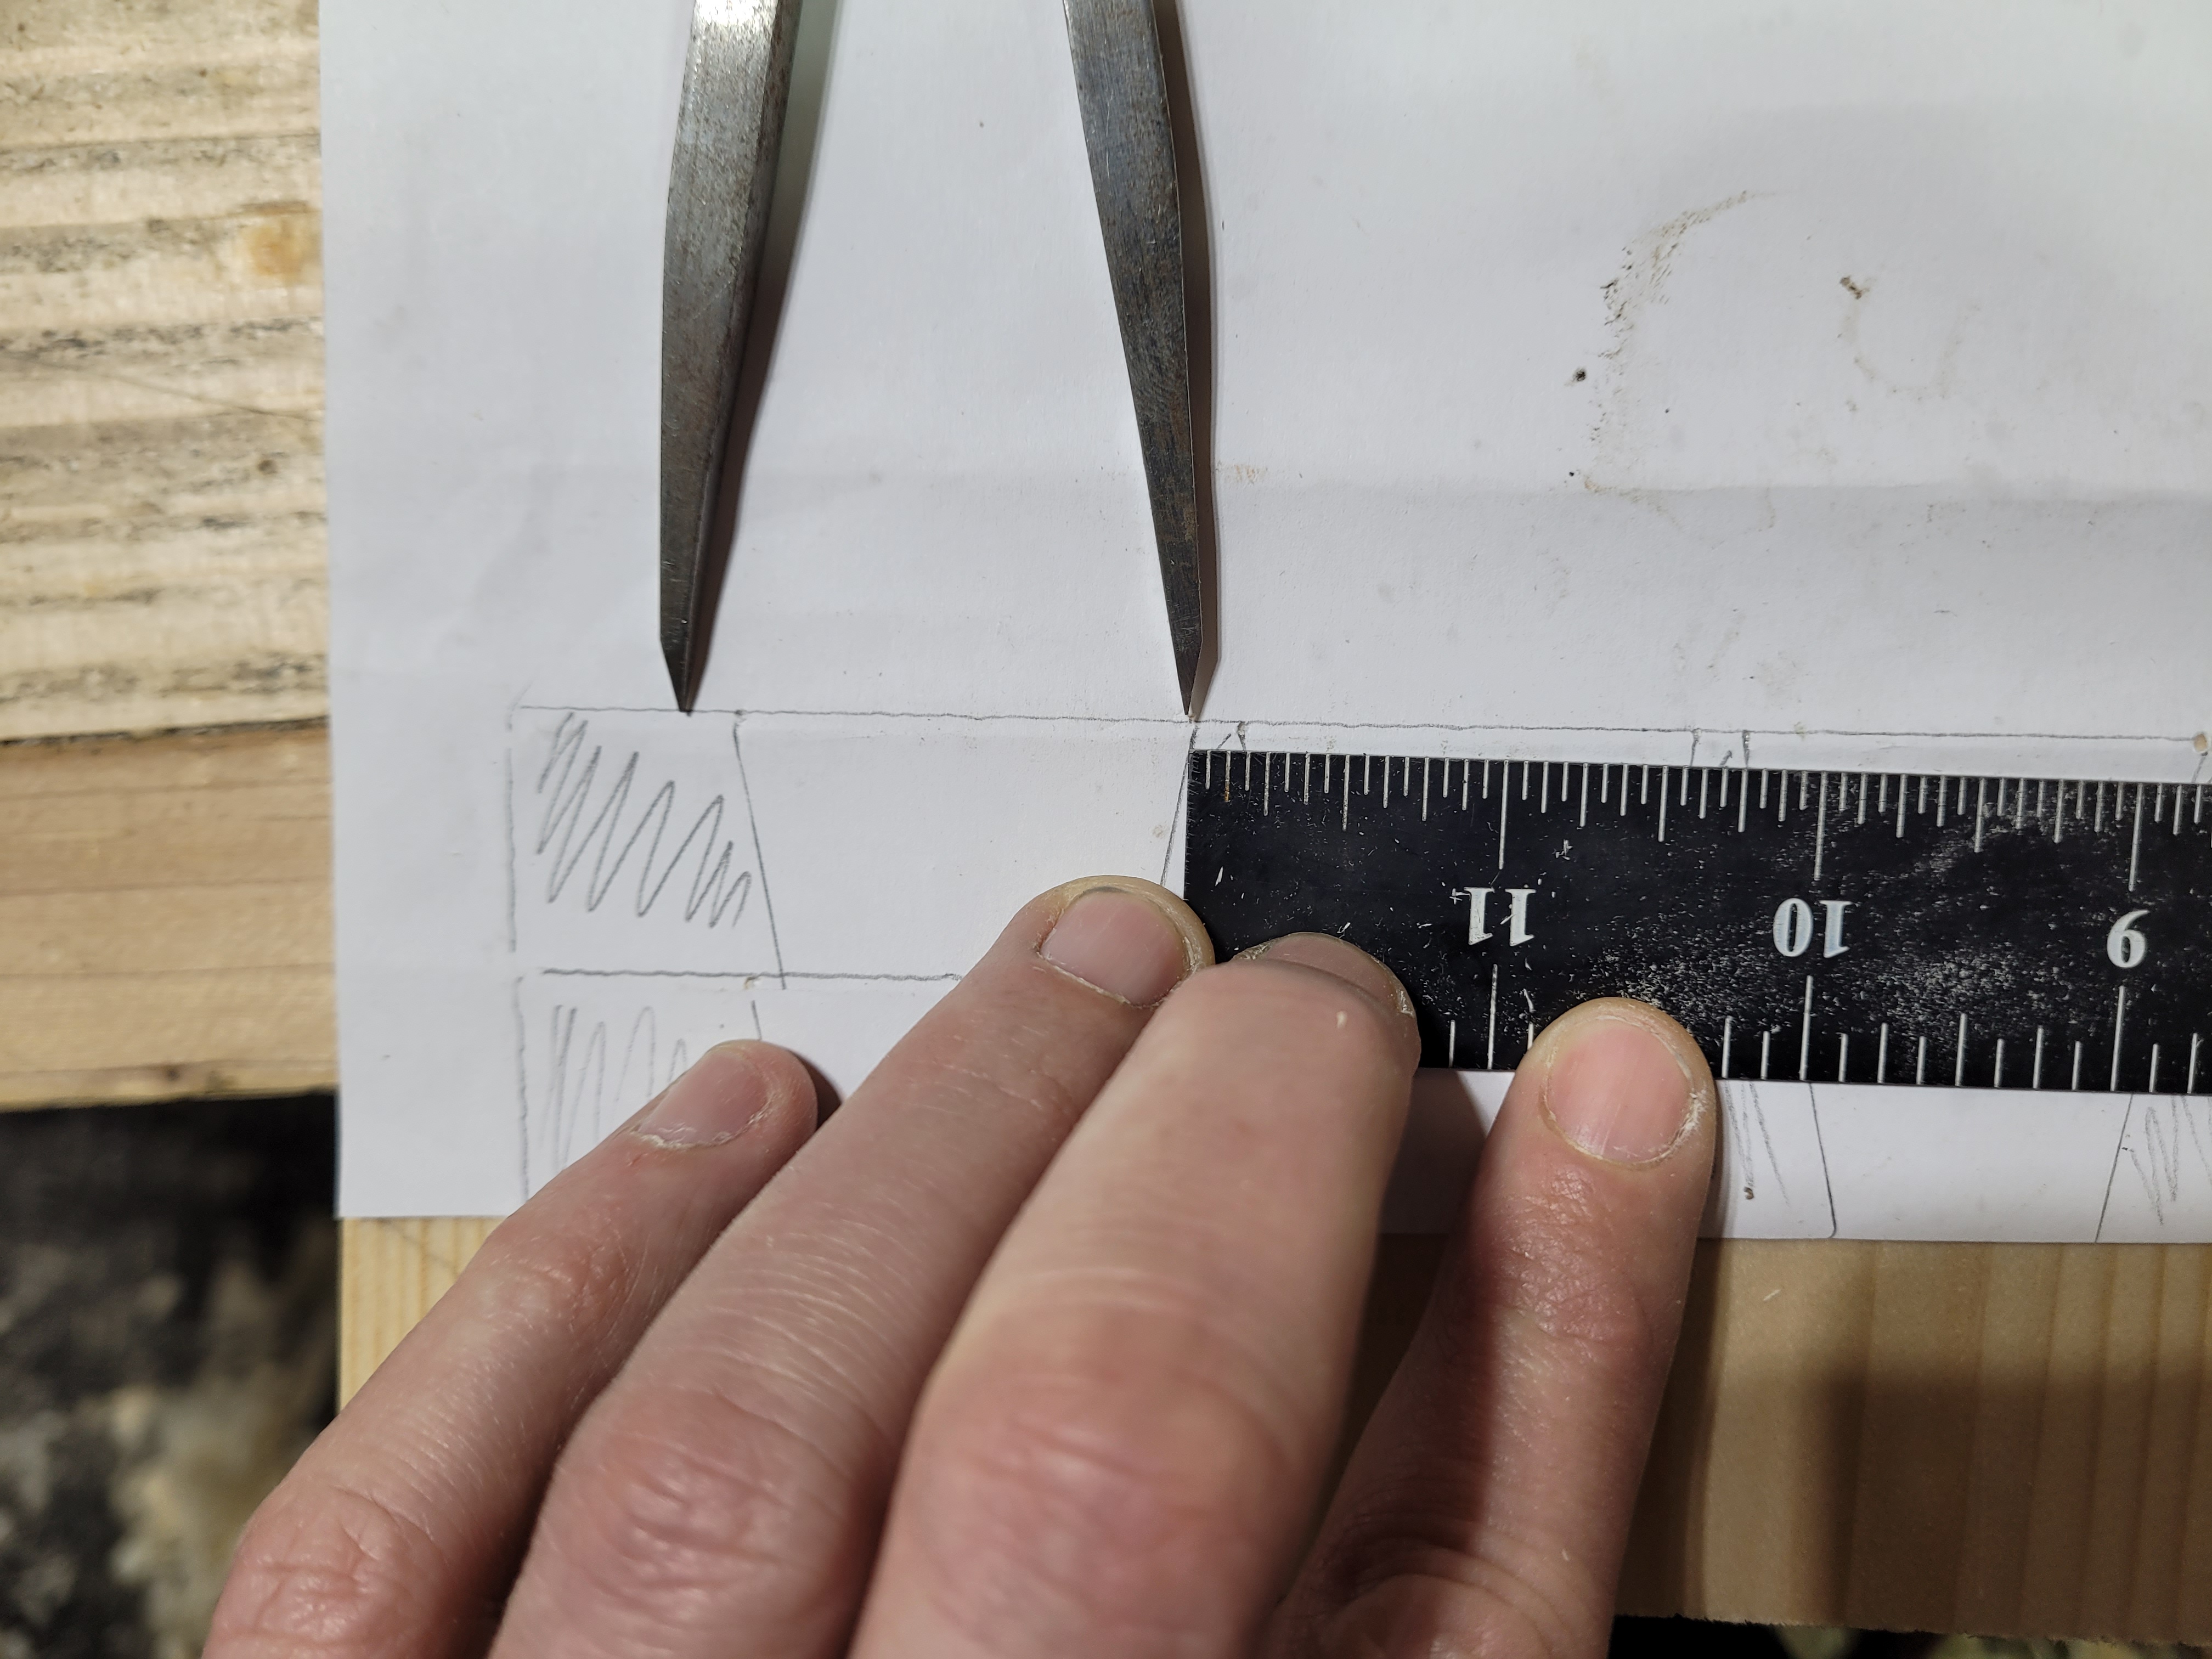
Then decide how many tails you want and grab a second pair of dividers. I’m going for 3 tails, so I grab the dividers, and roughly eyeball a 3rd of the space of the space between the half pins. Starting with one foot on the inner side of a half pin, I walk it across the board. I want to get 3 steps, and then however much the 3rd step overshoots will show me how much space will be between the pins. If that is confusing, I sympathise, my brain didn’t take to it well either. I’ll explain how that works a bit more in a minute. I’m walking the dividers very gently, and adjusting until I get something that looks workable. When I get something worth drawing out properly, I walk once from the left, and once from the right, punching into the paper with each step.
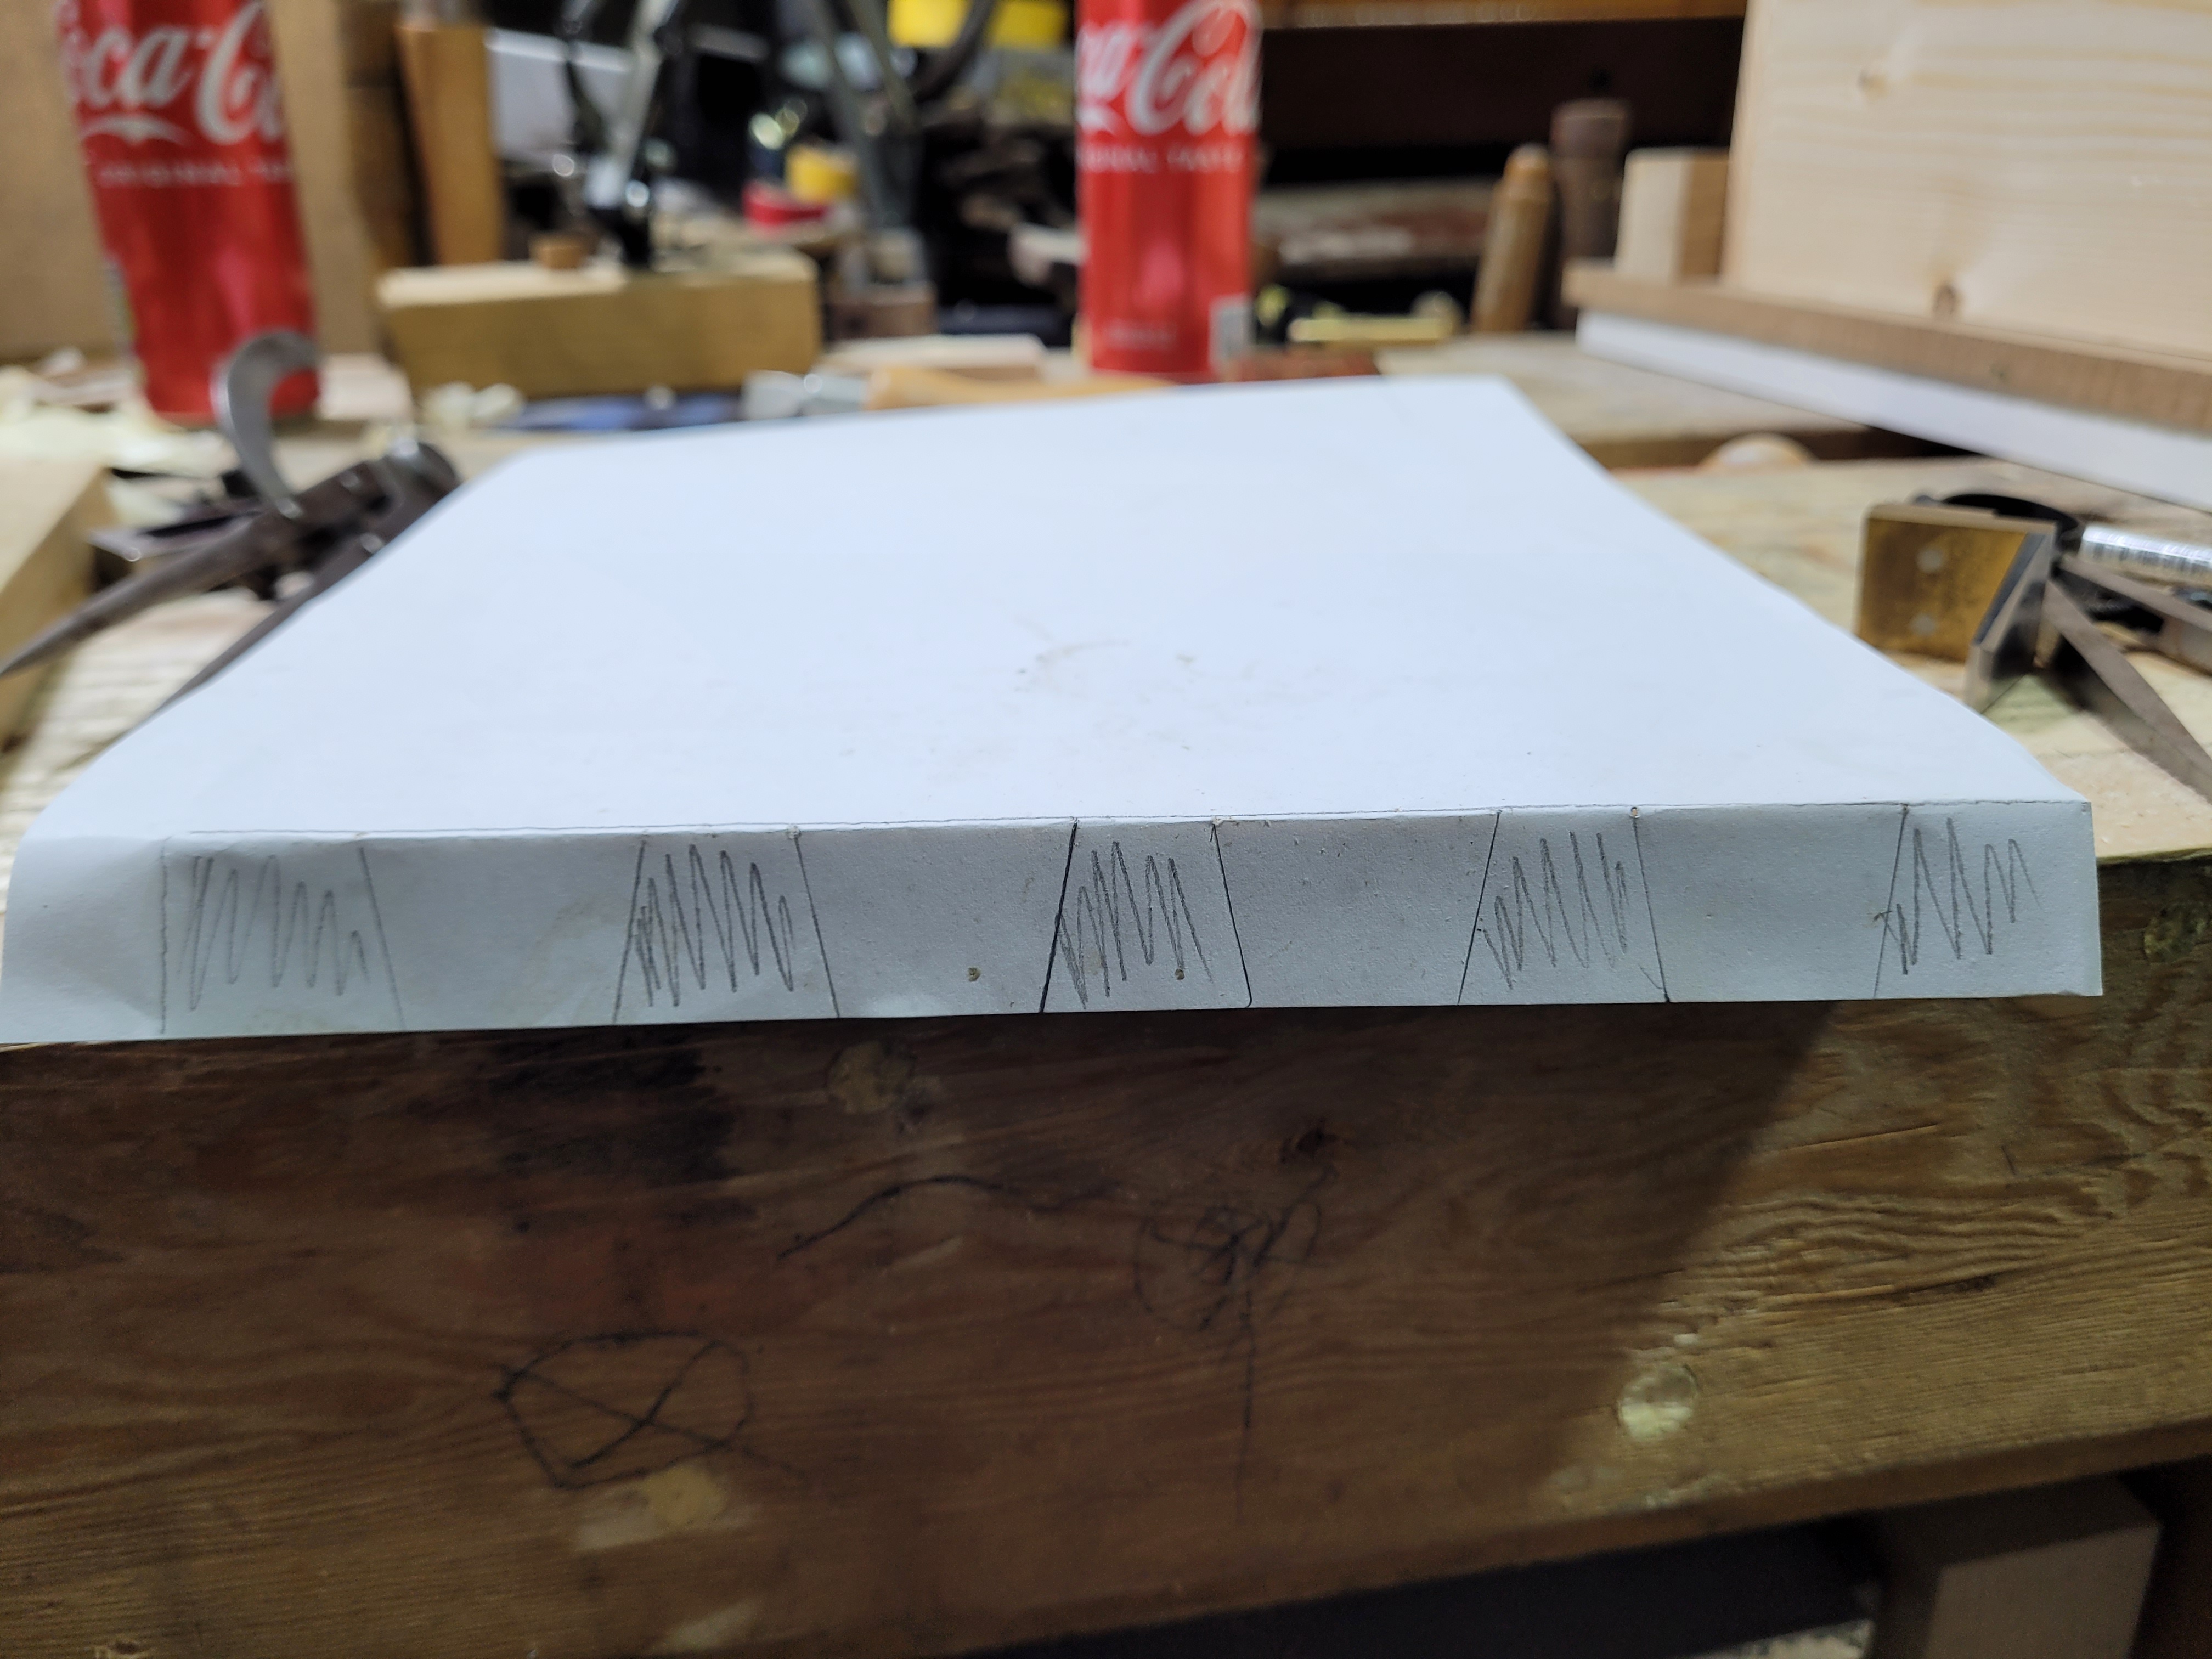
Then I fold the paper over the end of my board, grab my dovetail marker and mark the dovetails. I pencil in the waste to make it easier to look at. Then stand back and consider what I have. The tails on this are considerably larger than the pins. I’m going to shoot for something more evenly spaced. Lets shorten the distance between the legs on my dividers and try again.

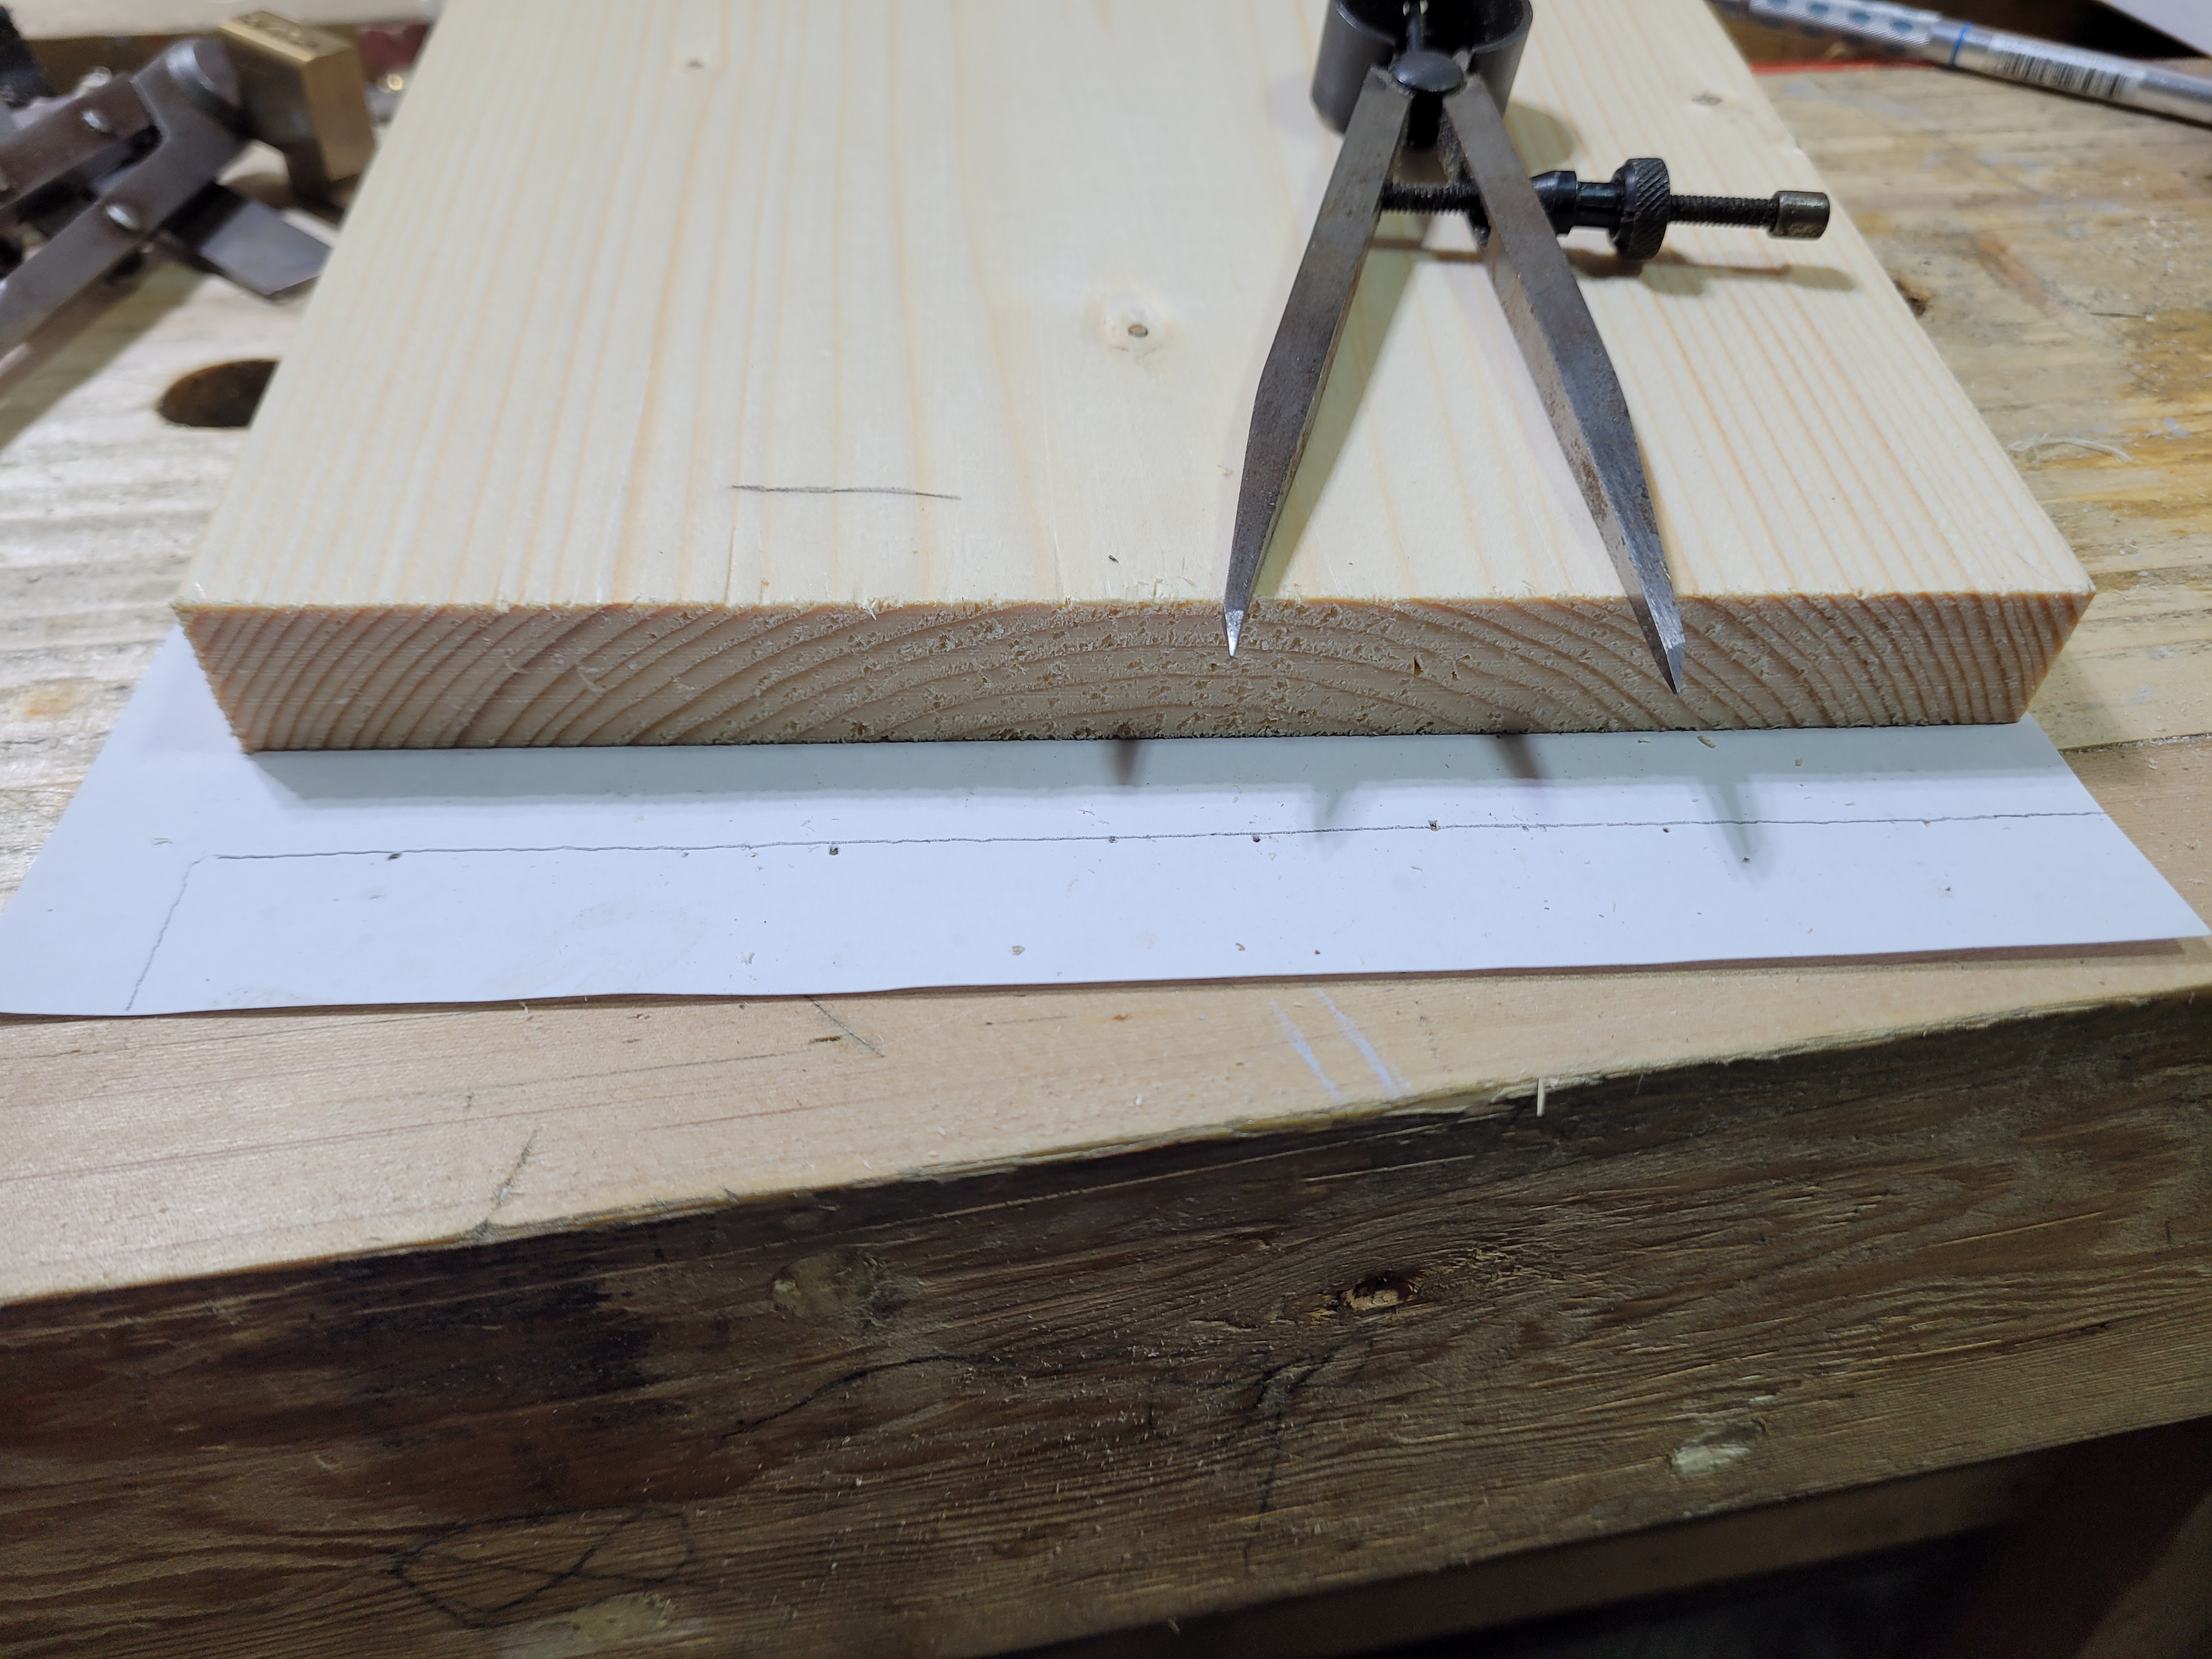
Now the pins are even smaller again… What is going on? Look at the dividers up top. The width of the divider is the width of a pin and a tail on one side combined.
And If I move the dividers to the bottom, you can see that holds true there as well.
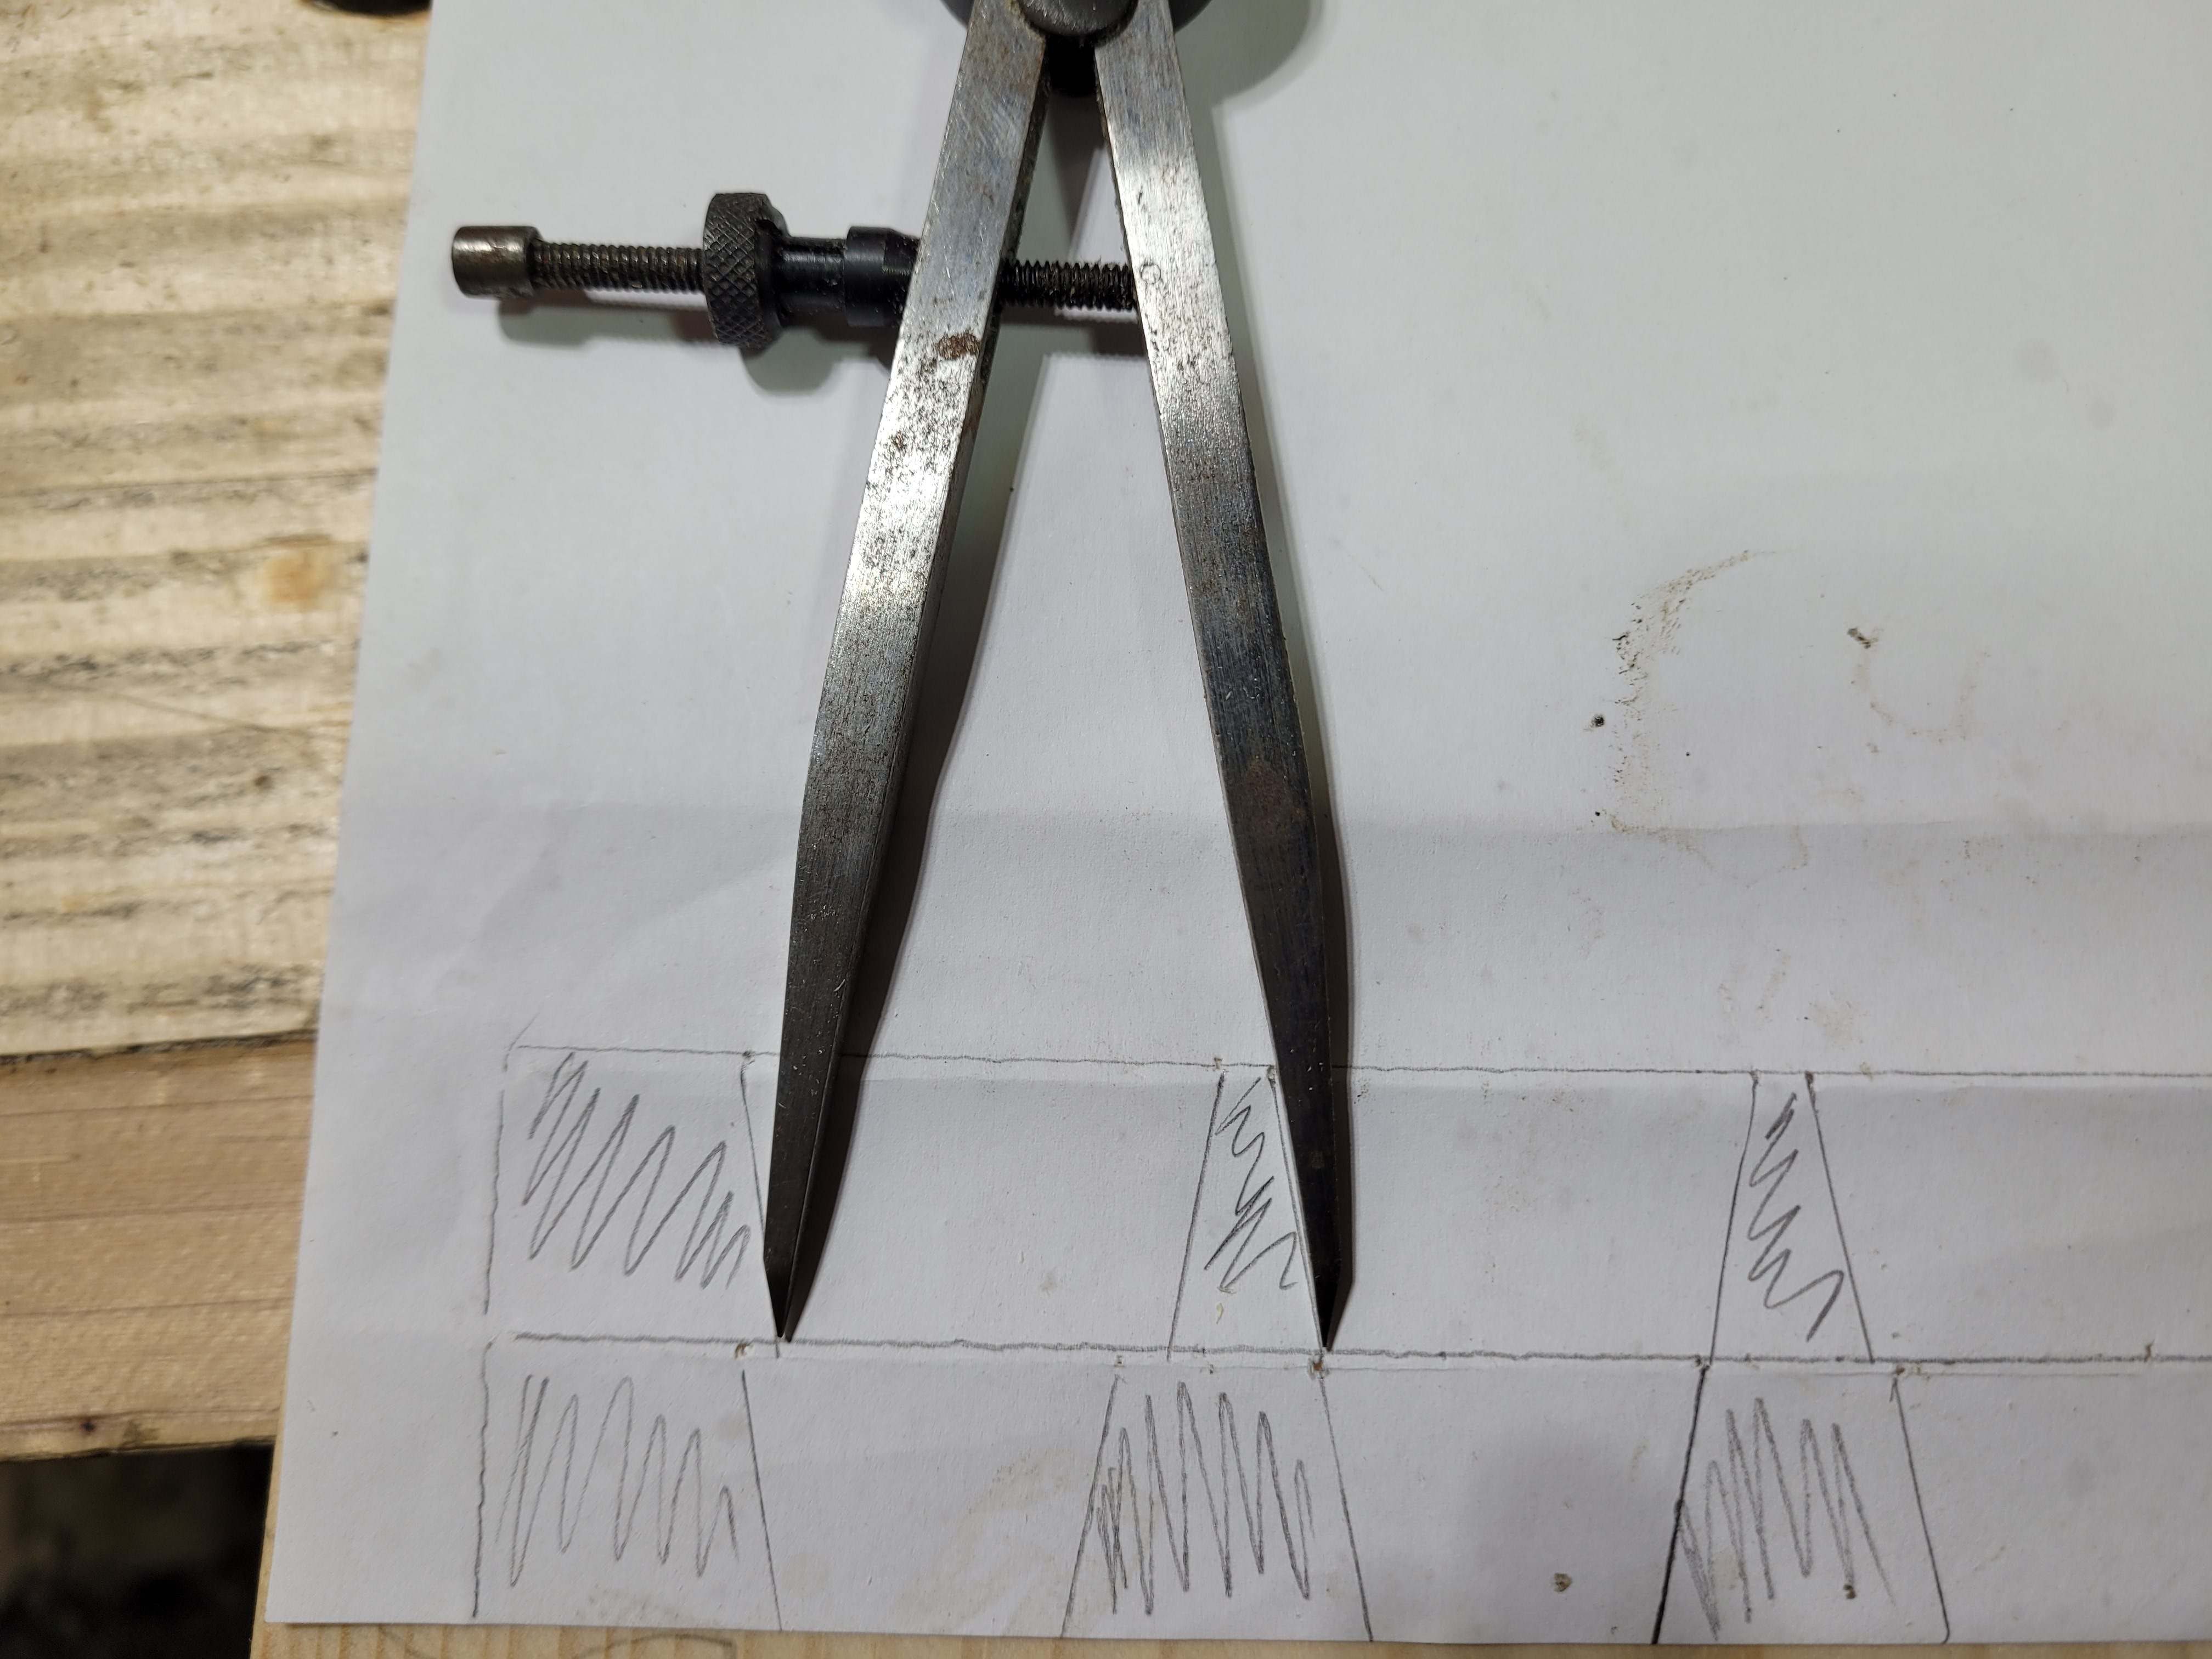
That means if I put one foot on the inner side of the last tail, the overlap into the half pin shows me how wide the tail is going to be on that edge of the board.
See the overlap is about 3/8th of an inch.
And the pin is about 3/8th of an inch. So If I want my tails to be wider, I need to widen the dividers. As I have 3 tails, I need to increase the width by about 1/3rd of the desired increase to the width of the tail that much. So if I want my tails 3/8ths wider, I widen the dividers 1/8th.
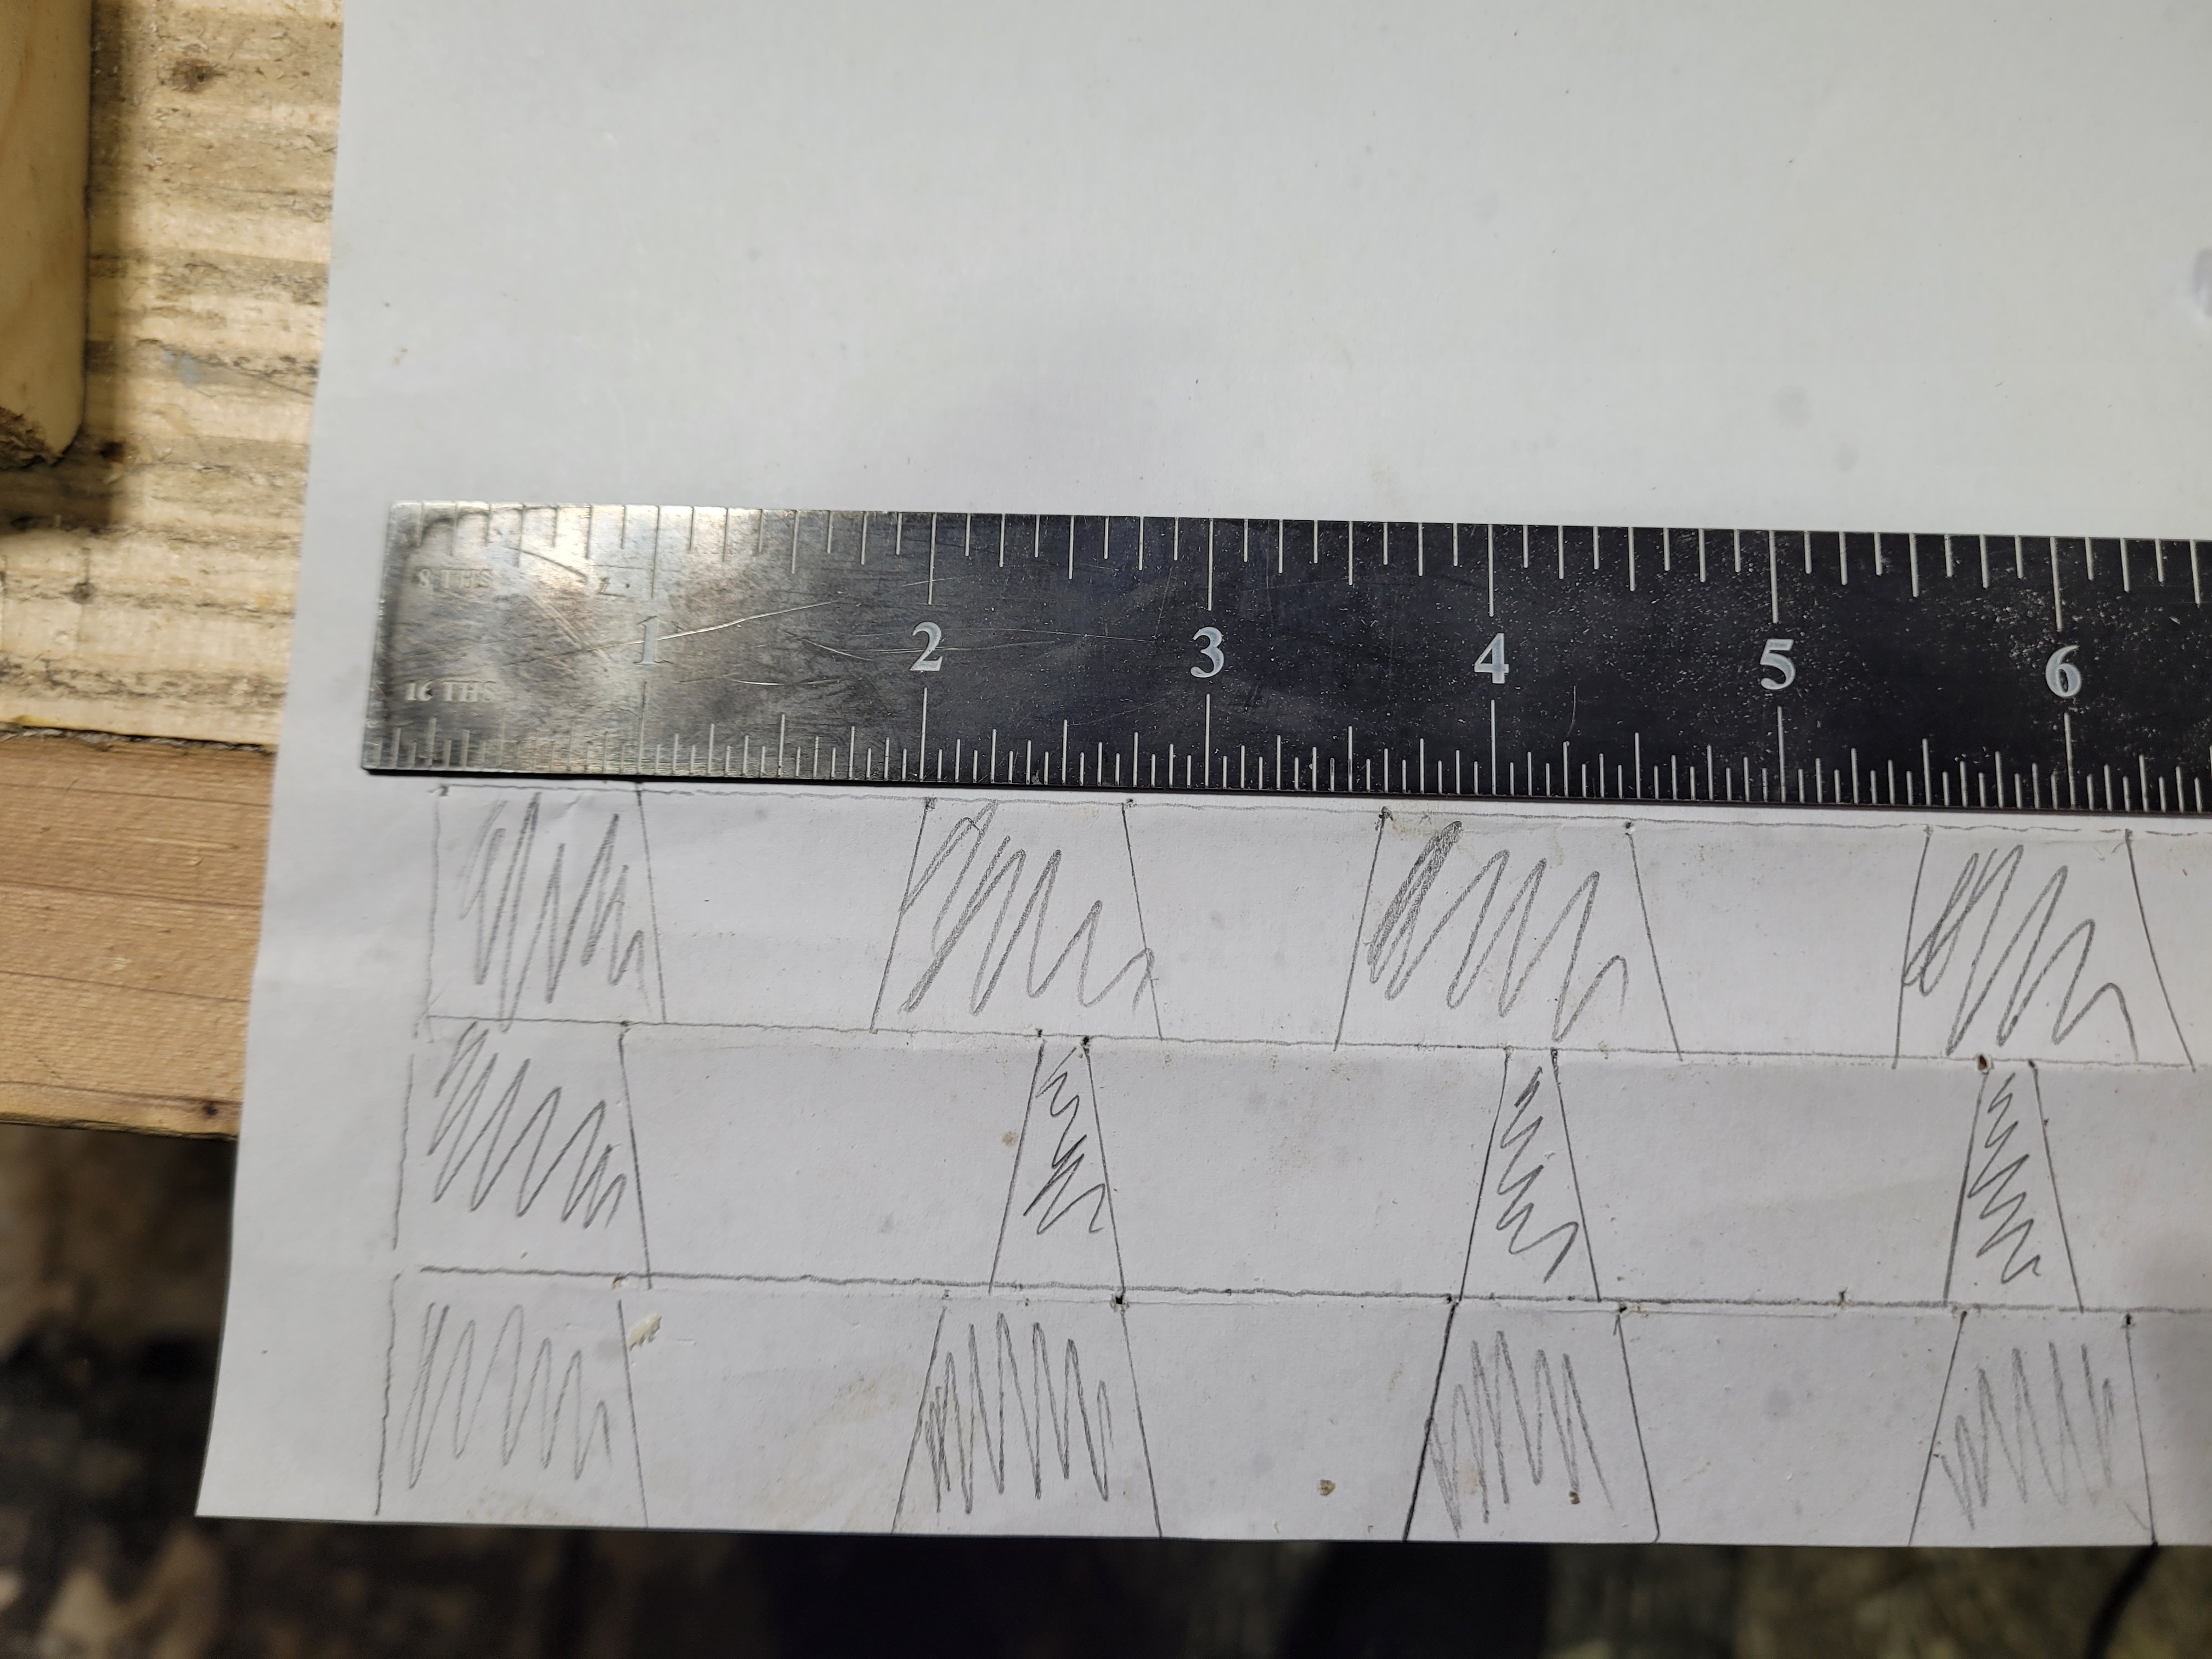
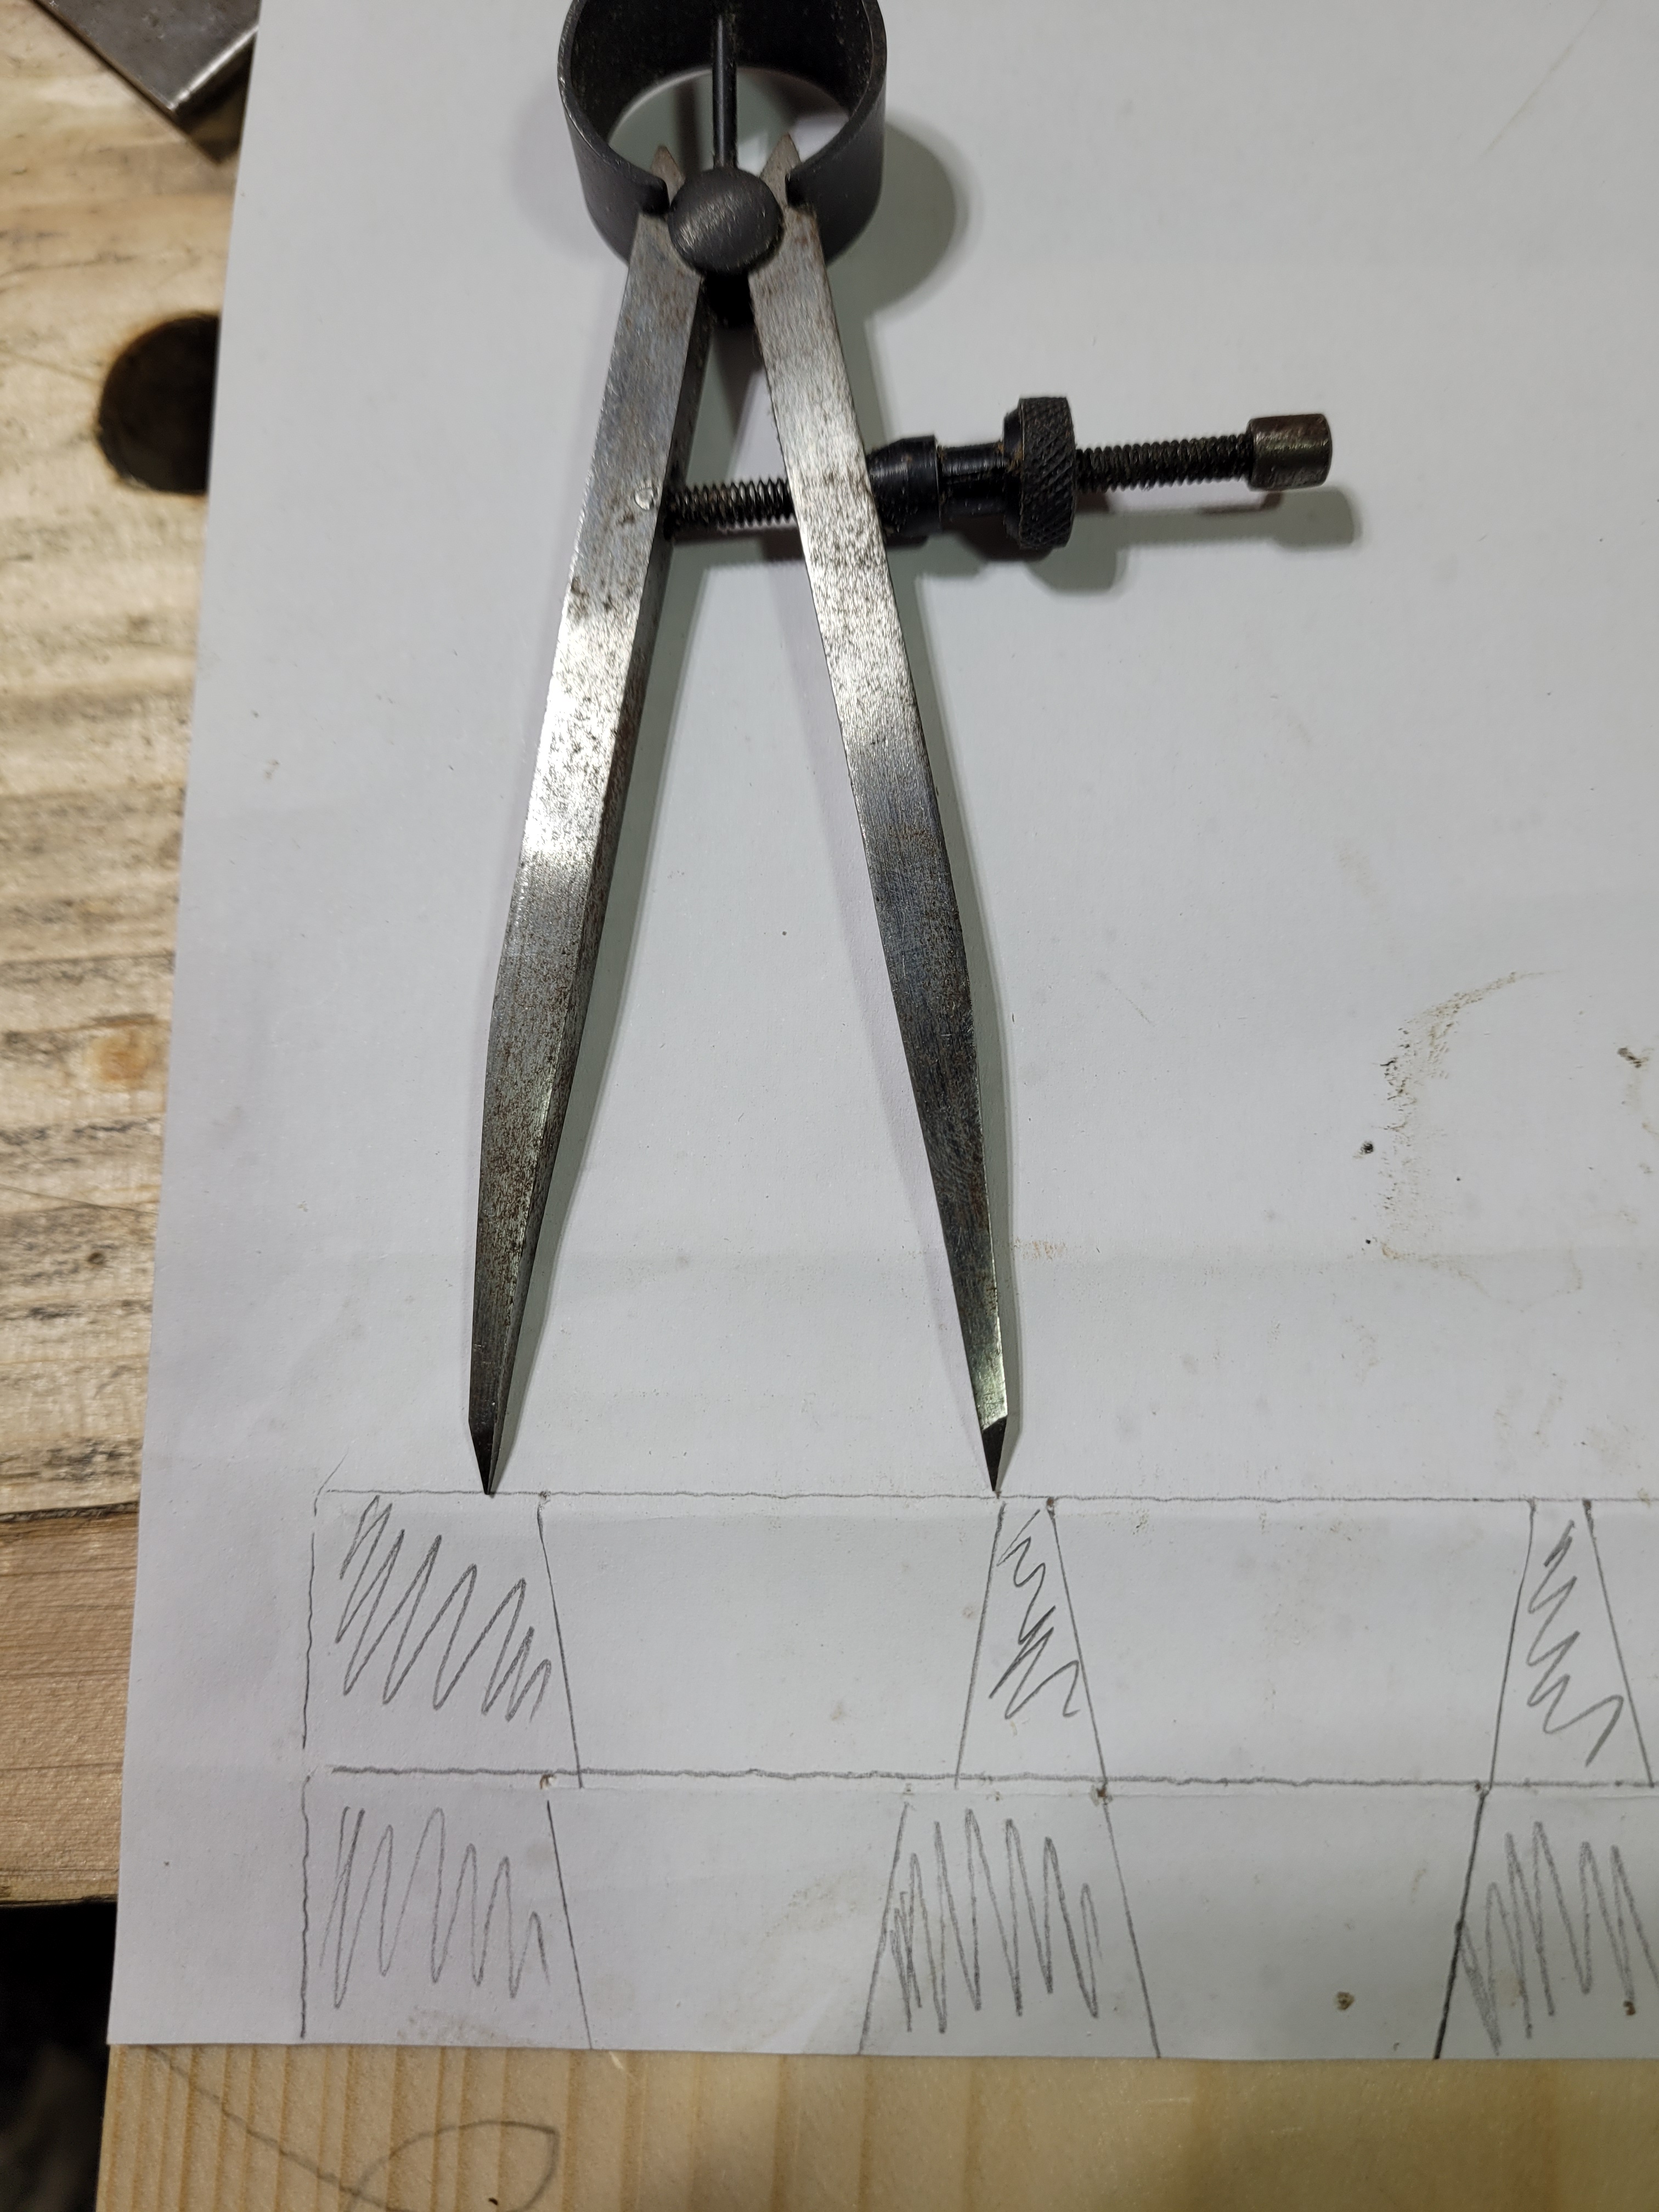
I do just that, I eyeball 1/3rd of the difference between the tail and pin width and try again. This time it comes out well, The width of the top of the tail and the bottom of the pin are roughly an inch wide. I make sure the dividers are locked tight and ready to transfer onto the actual work.
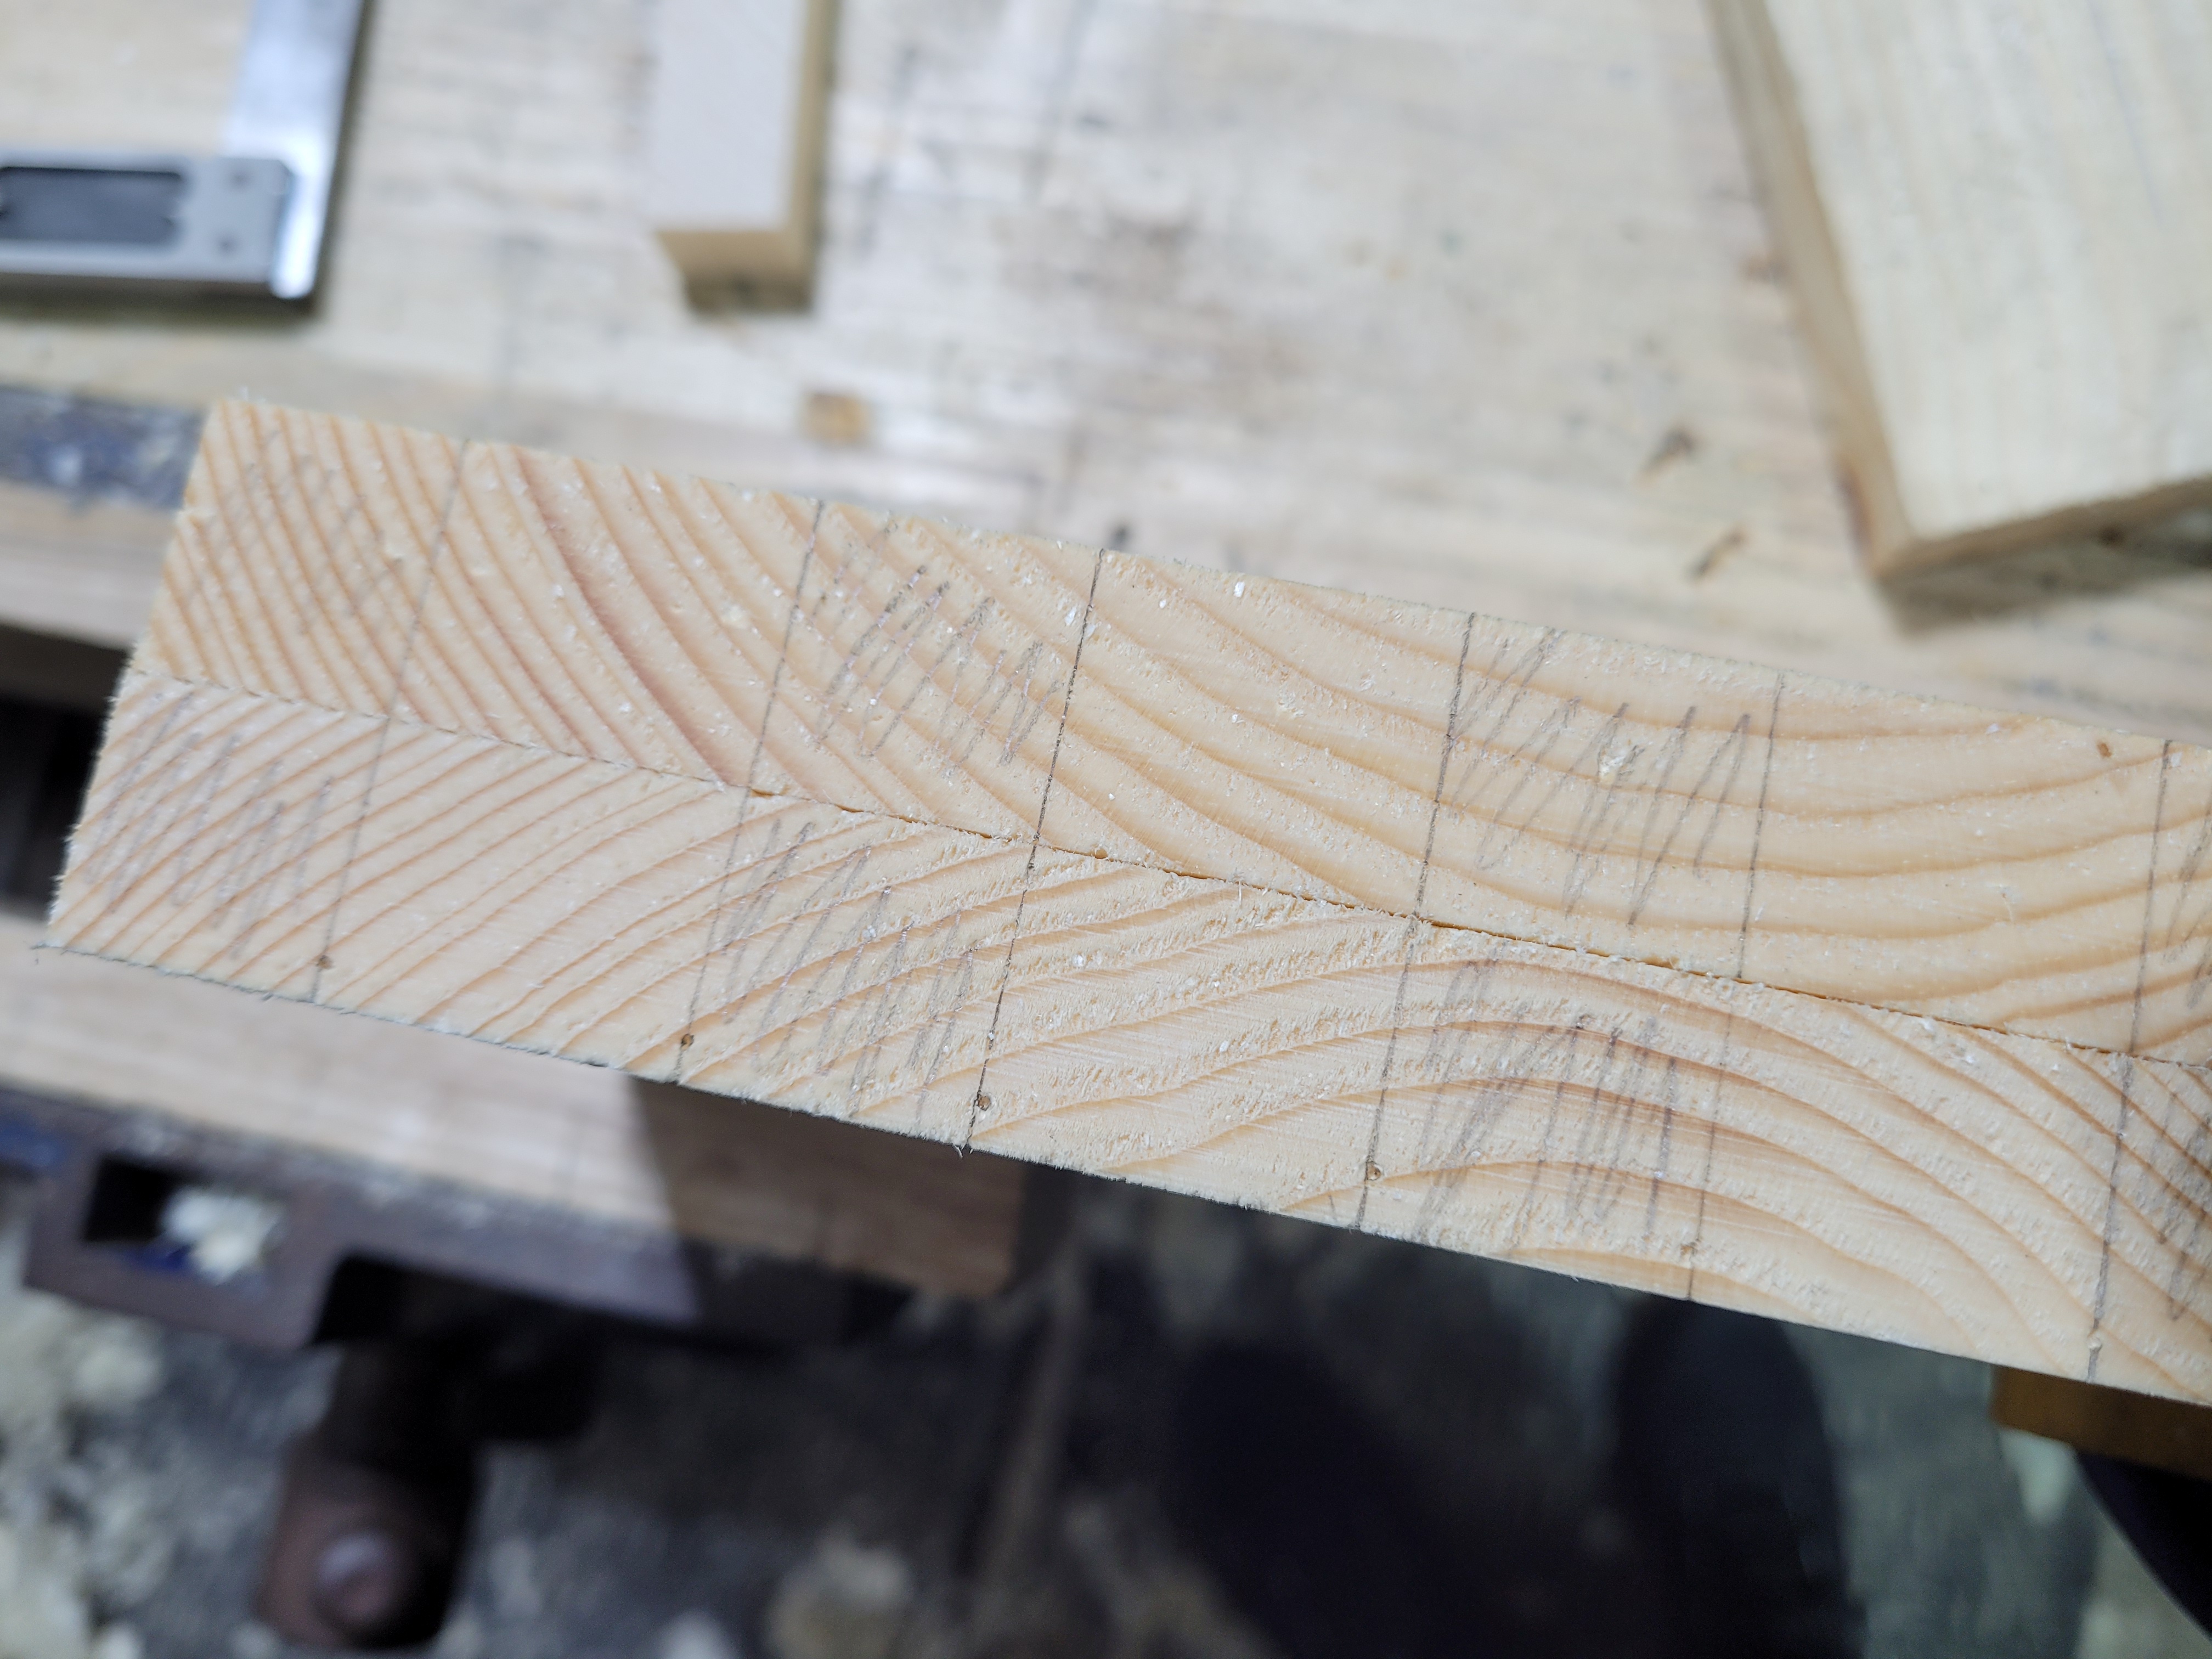
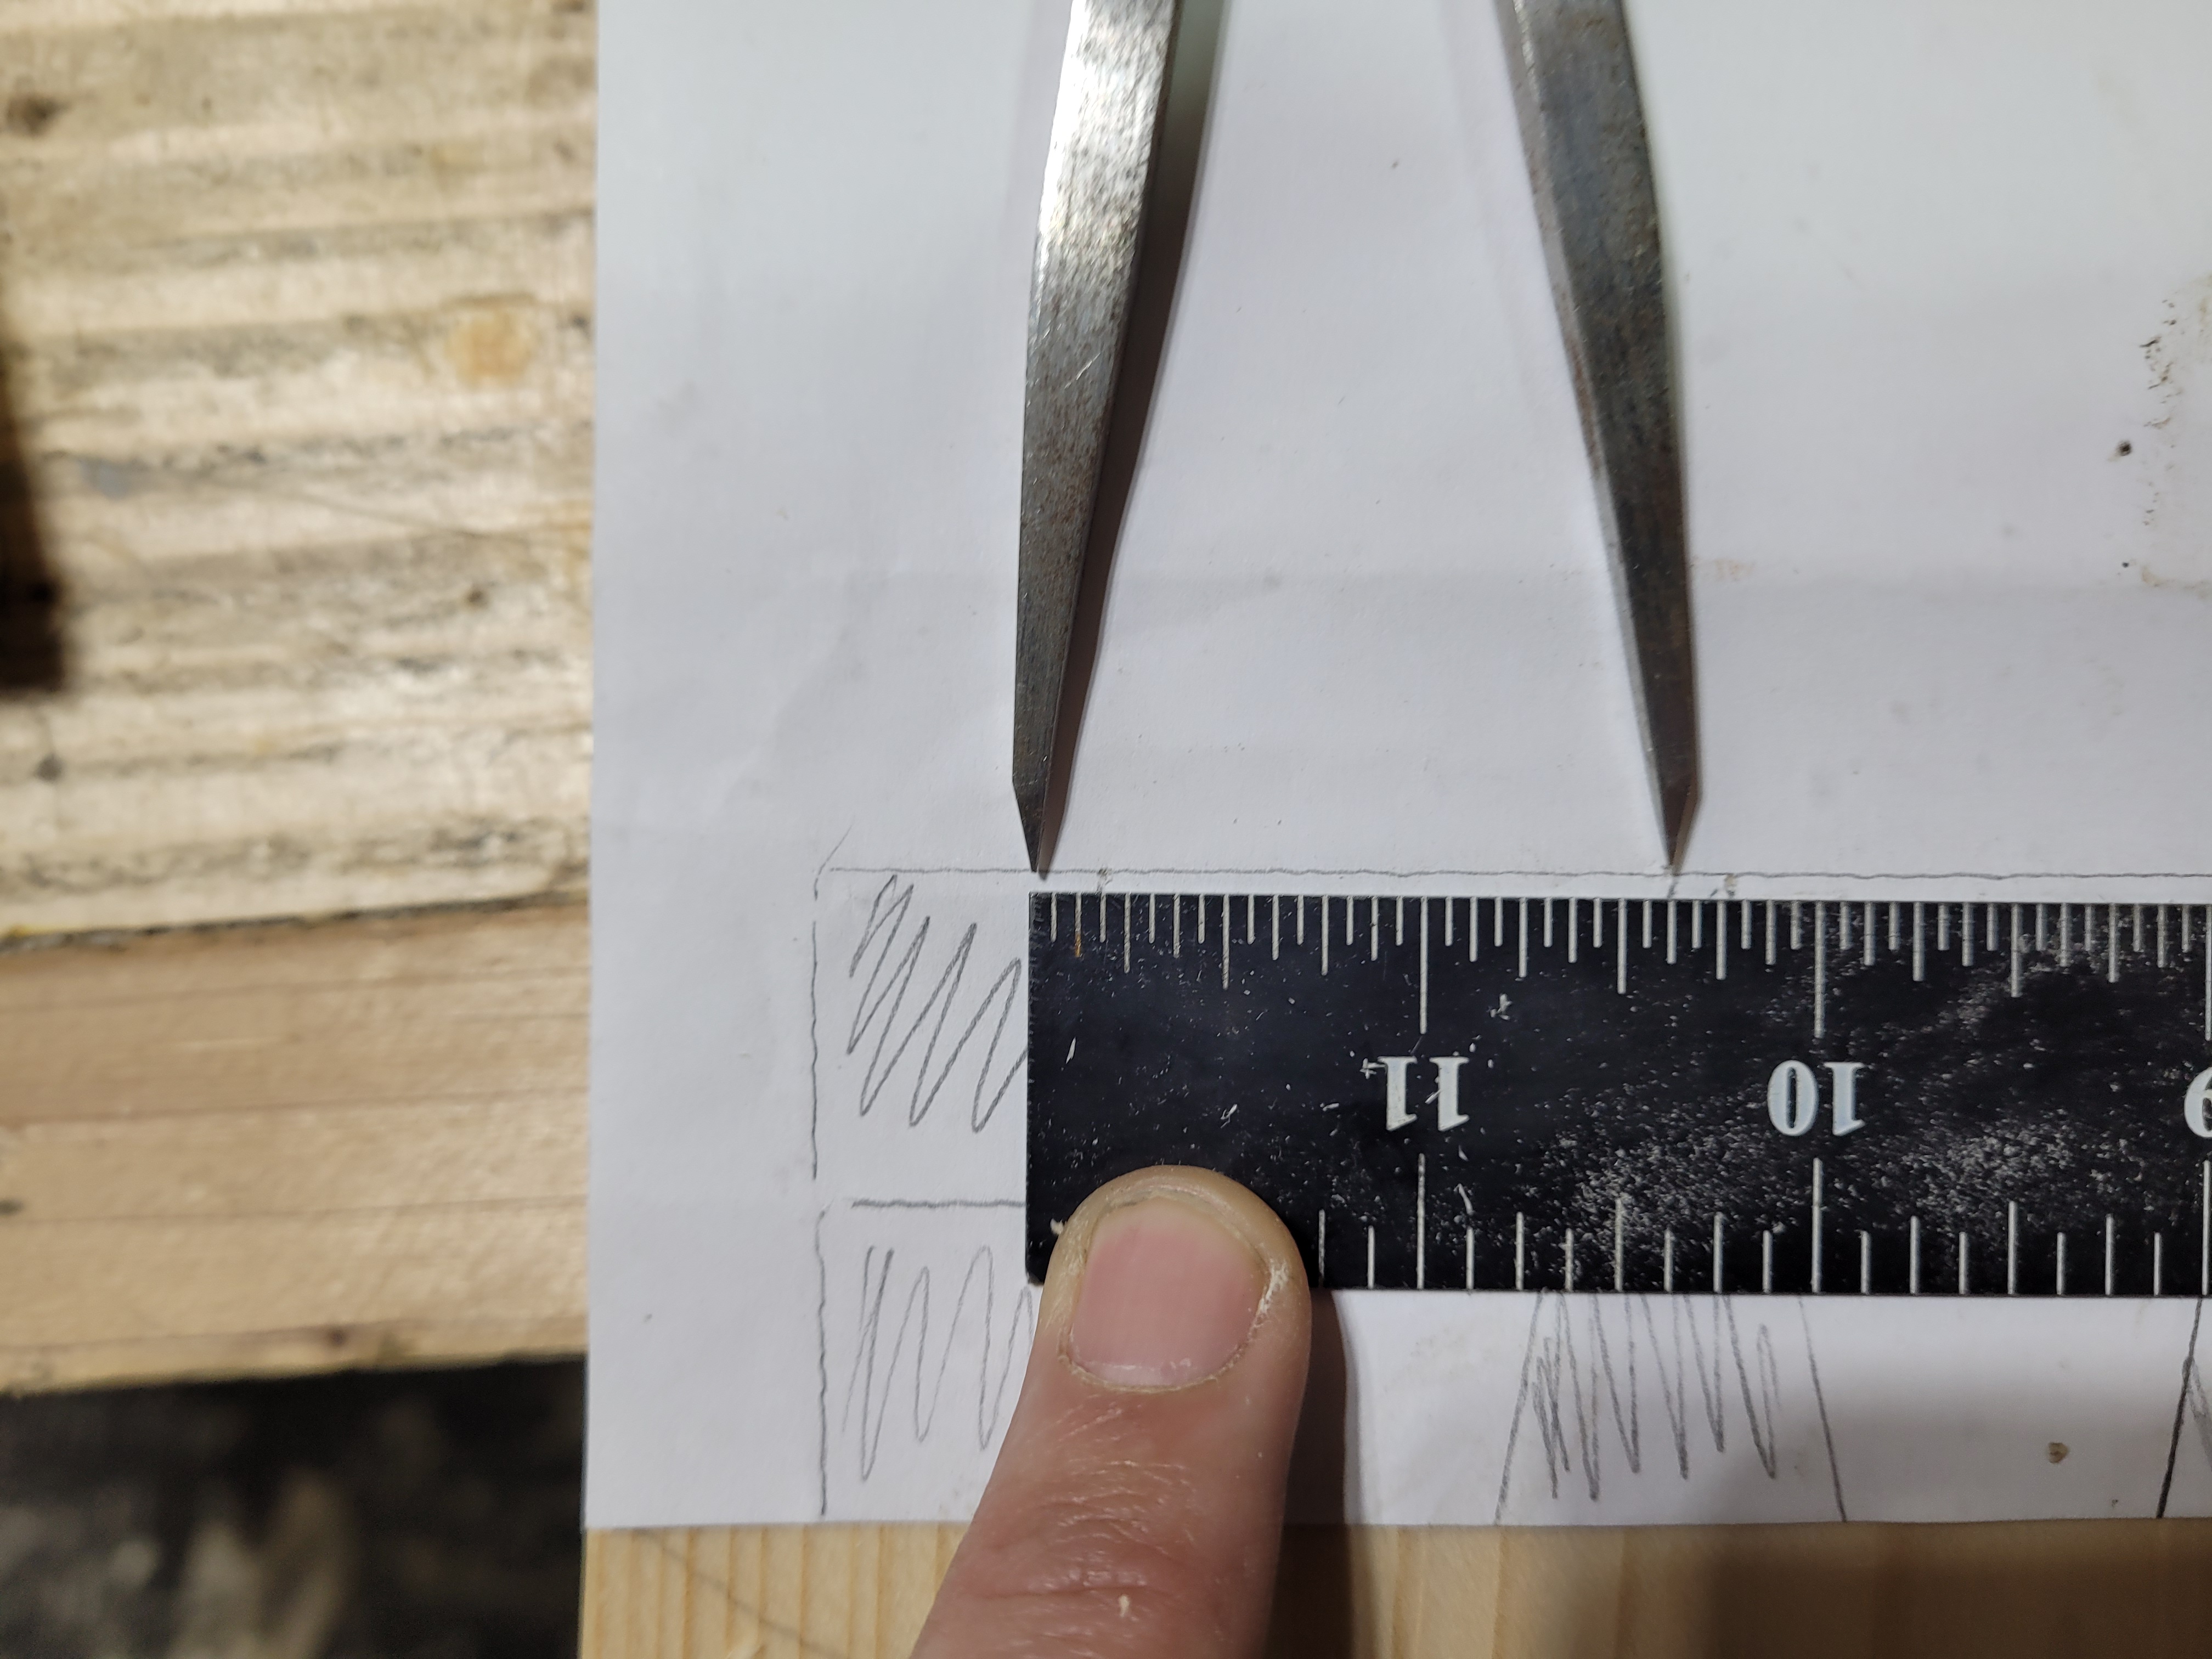
You can see the pinhole marks from the dividers in this board, and then they are used to put the pencil tip into, before I slide up a square a mark across the board.
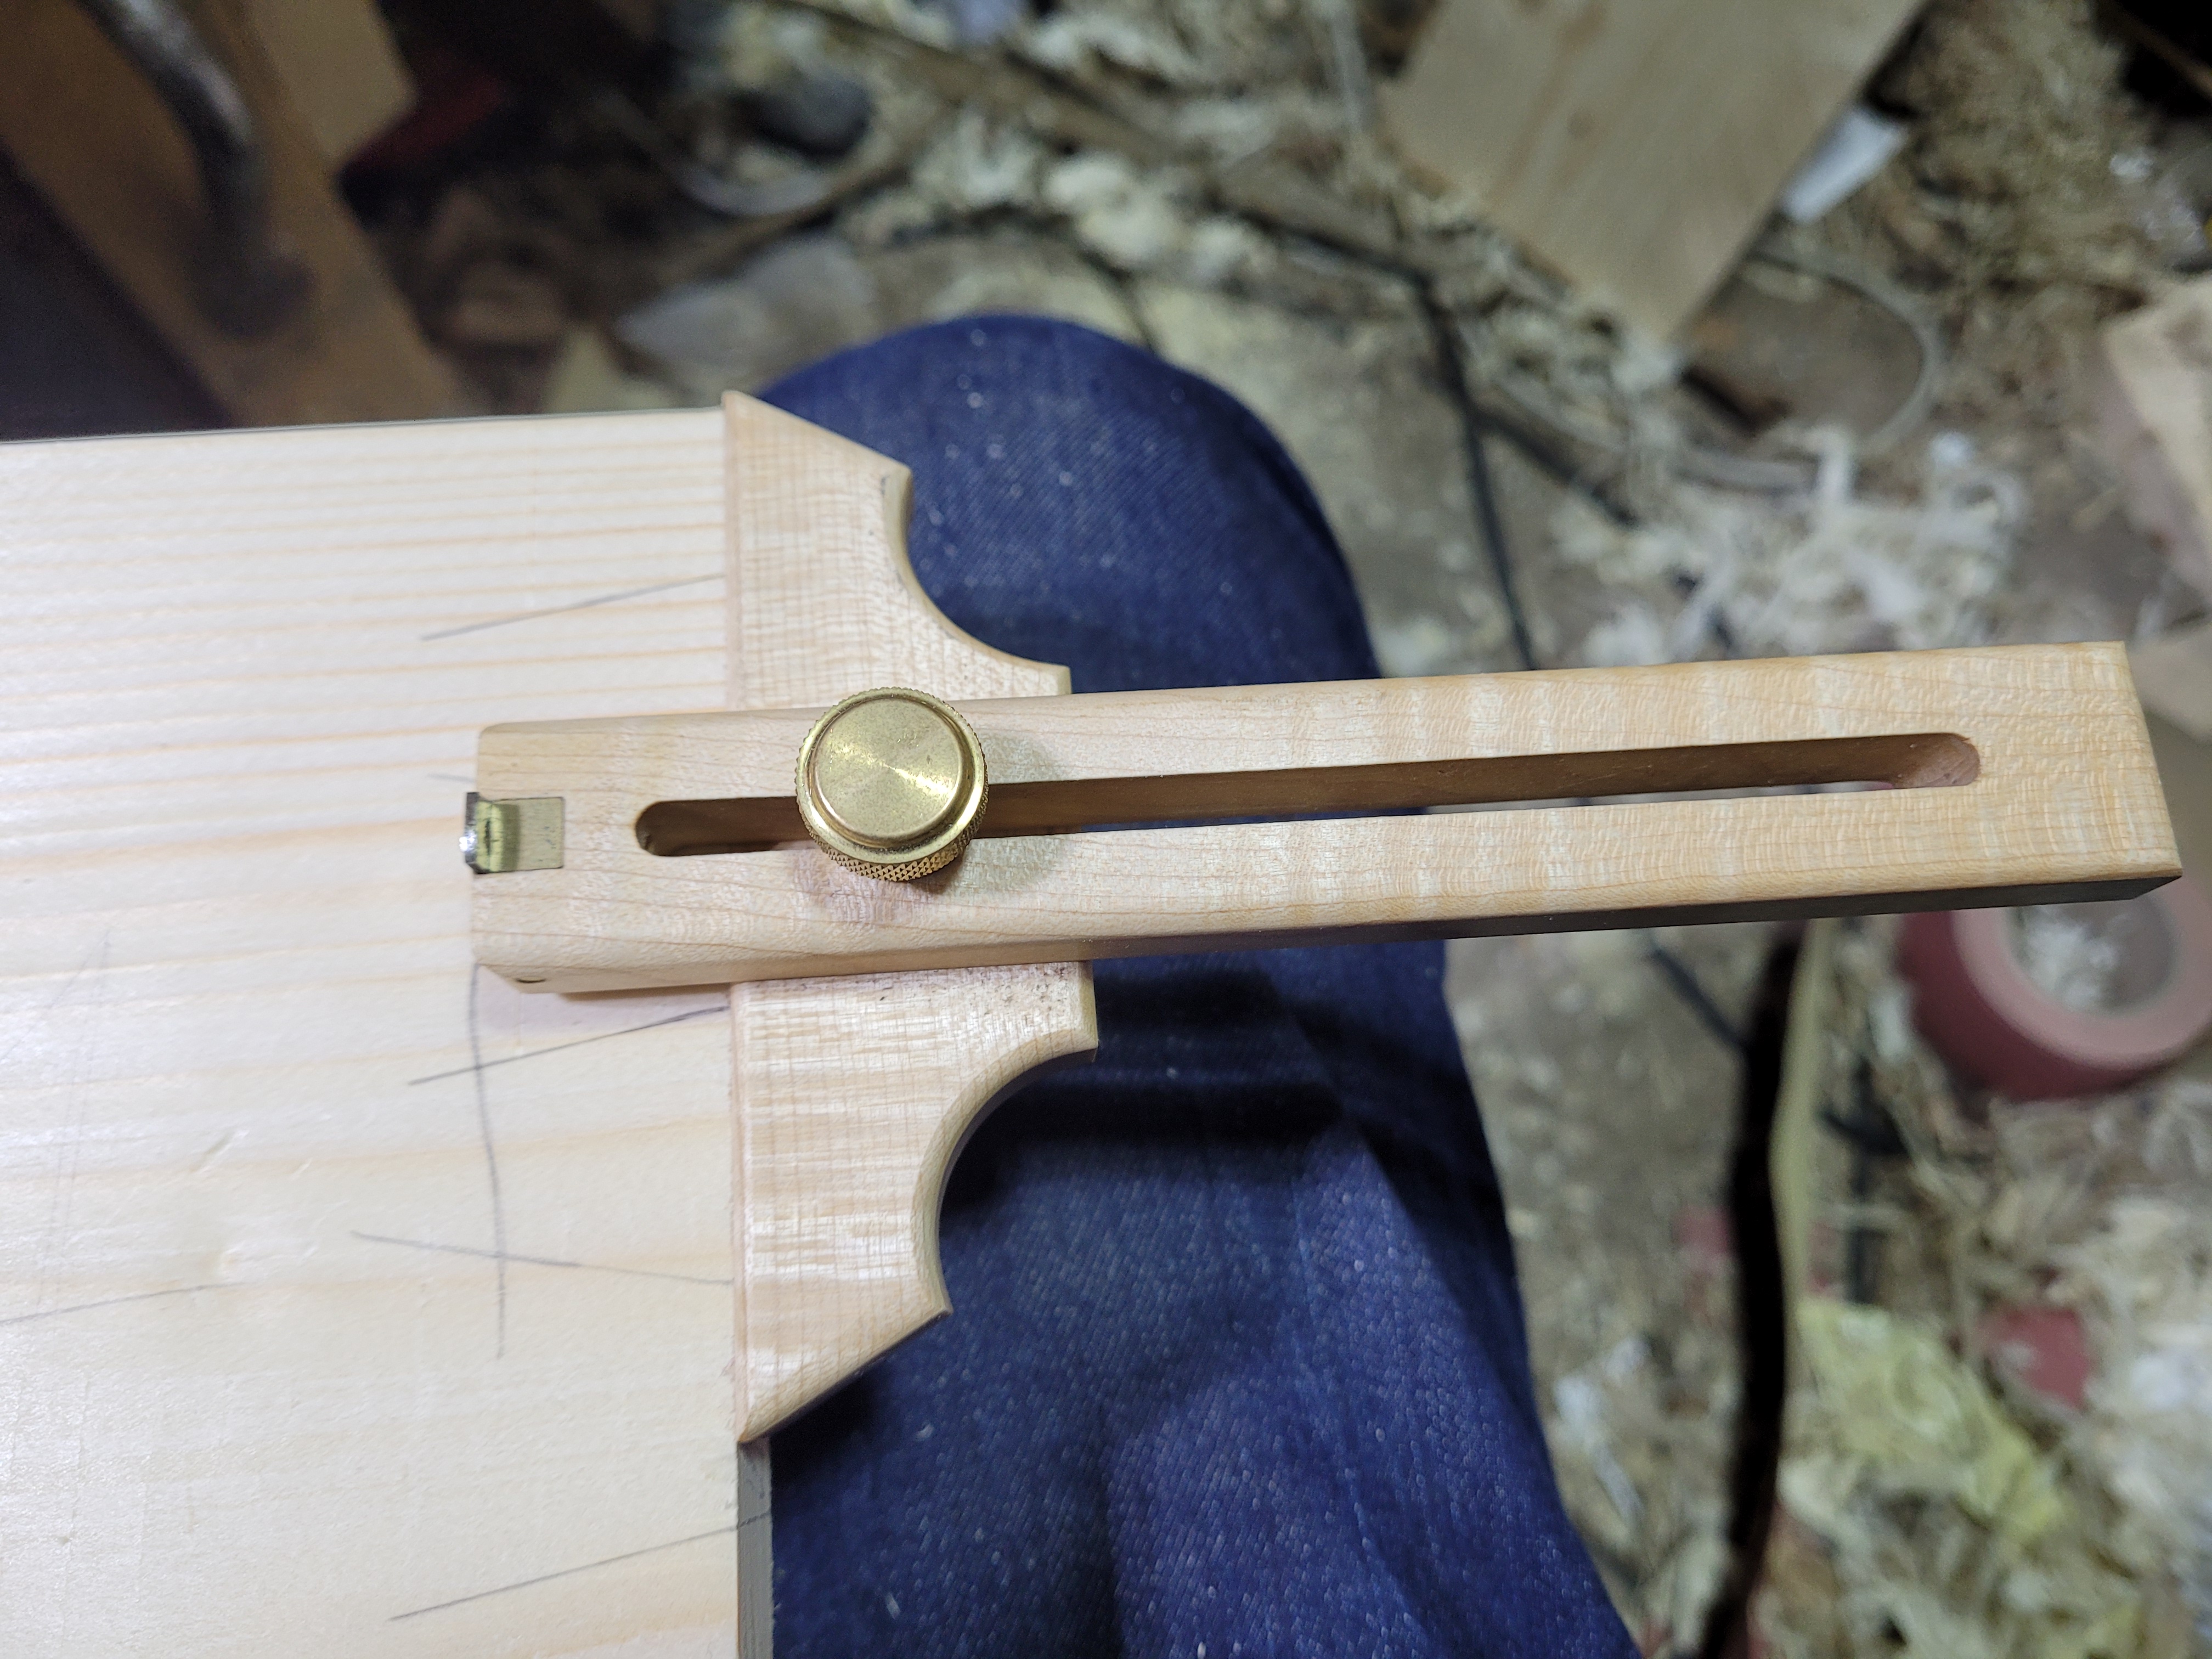
Then I grab my dovetail marker and mark down the face of the board. I like to pencil these lines in way longer than they have to be, as they make for a really nice visual guide when I’m sawing later. The last thing to do is to mark the waste on the face, but to do that I need my baseline. Here comes the Hamilton Toolworks marking gauge. Its very pretty, offered in multiple woods, and has some design features that really lend themselves to dovetailing.
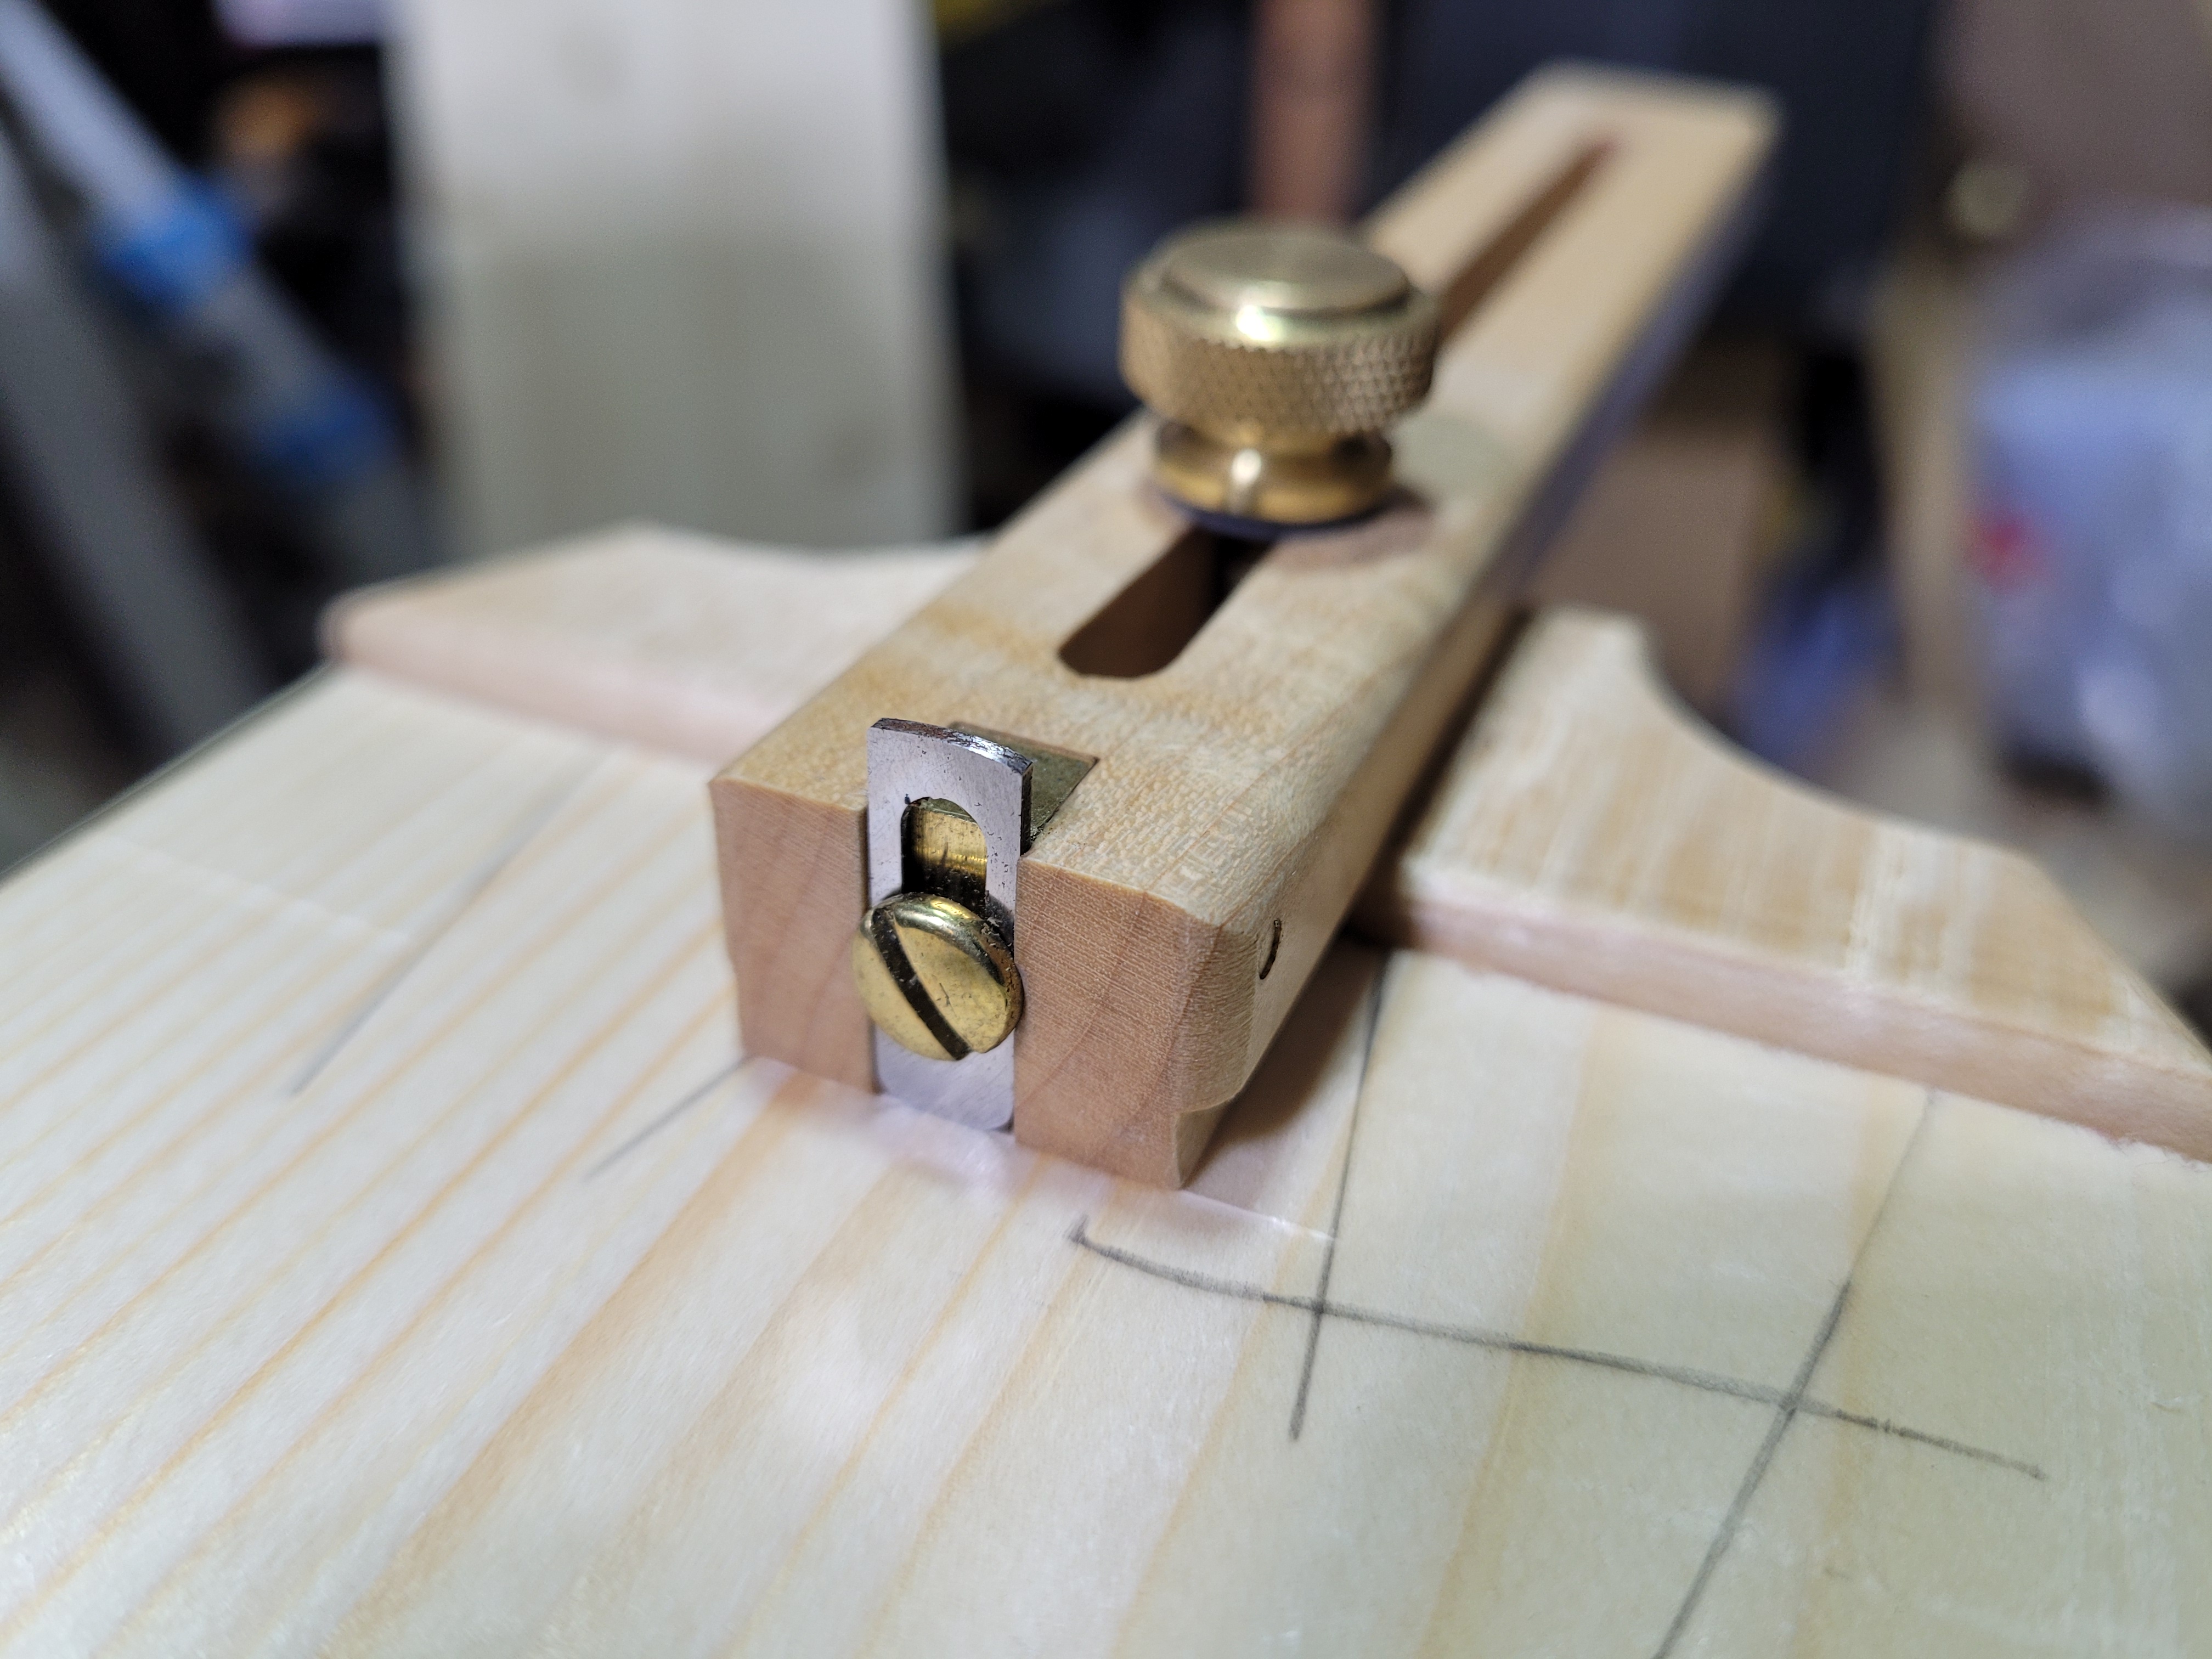
On the show face, I like to only mark the baseline on the waste sections. I’ve experimented with a number of marking gauges. You can get this done with just about anything, but the Hamilton gauge makes these much easier than any other I have. The cutter is right on the end of the stock, which means I have perfect visibility of where it is cutting. With a little practice, I’ve found I’m able to start and end exactly where I want. To begin with, I mark from both sides lightly toward the middle. The initial mark means you get a little resistance when you hit the end of the line, which makes it simple to go back and forth to deepen it. A good deep line to register your chisel in later is a must.
It’s not the perfect marking gauge. The reference face is long, but not very tall, I find it awkward to mark on narrow surfaces (like the sides of this board), and wish the fence was a little bit taller. I also find the gauge quite stiff, and as a result it can be a bit time consuming to nudge it to exactly the depth I want. This is probably a result of it being bought in the US and shipped to Ireland. You take a wooden tool and move it to a different climate, then movement can be an issue. I’ll probably take a little fine sand paper to it at some point to loosen it up. For this use, if the blade came with a spear point it would be nice, but I’ll make it a little more pointy every time I sharpen it.
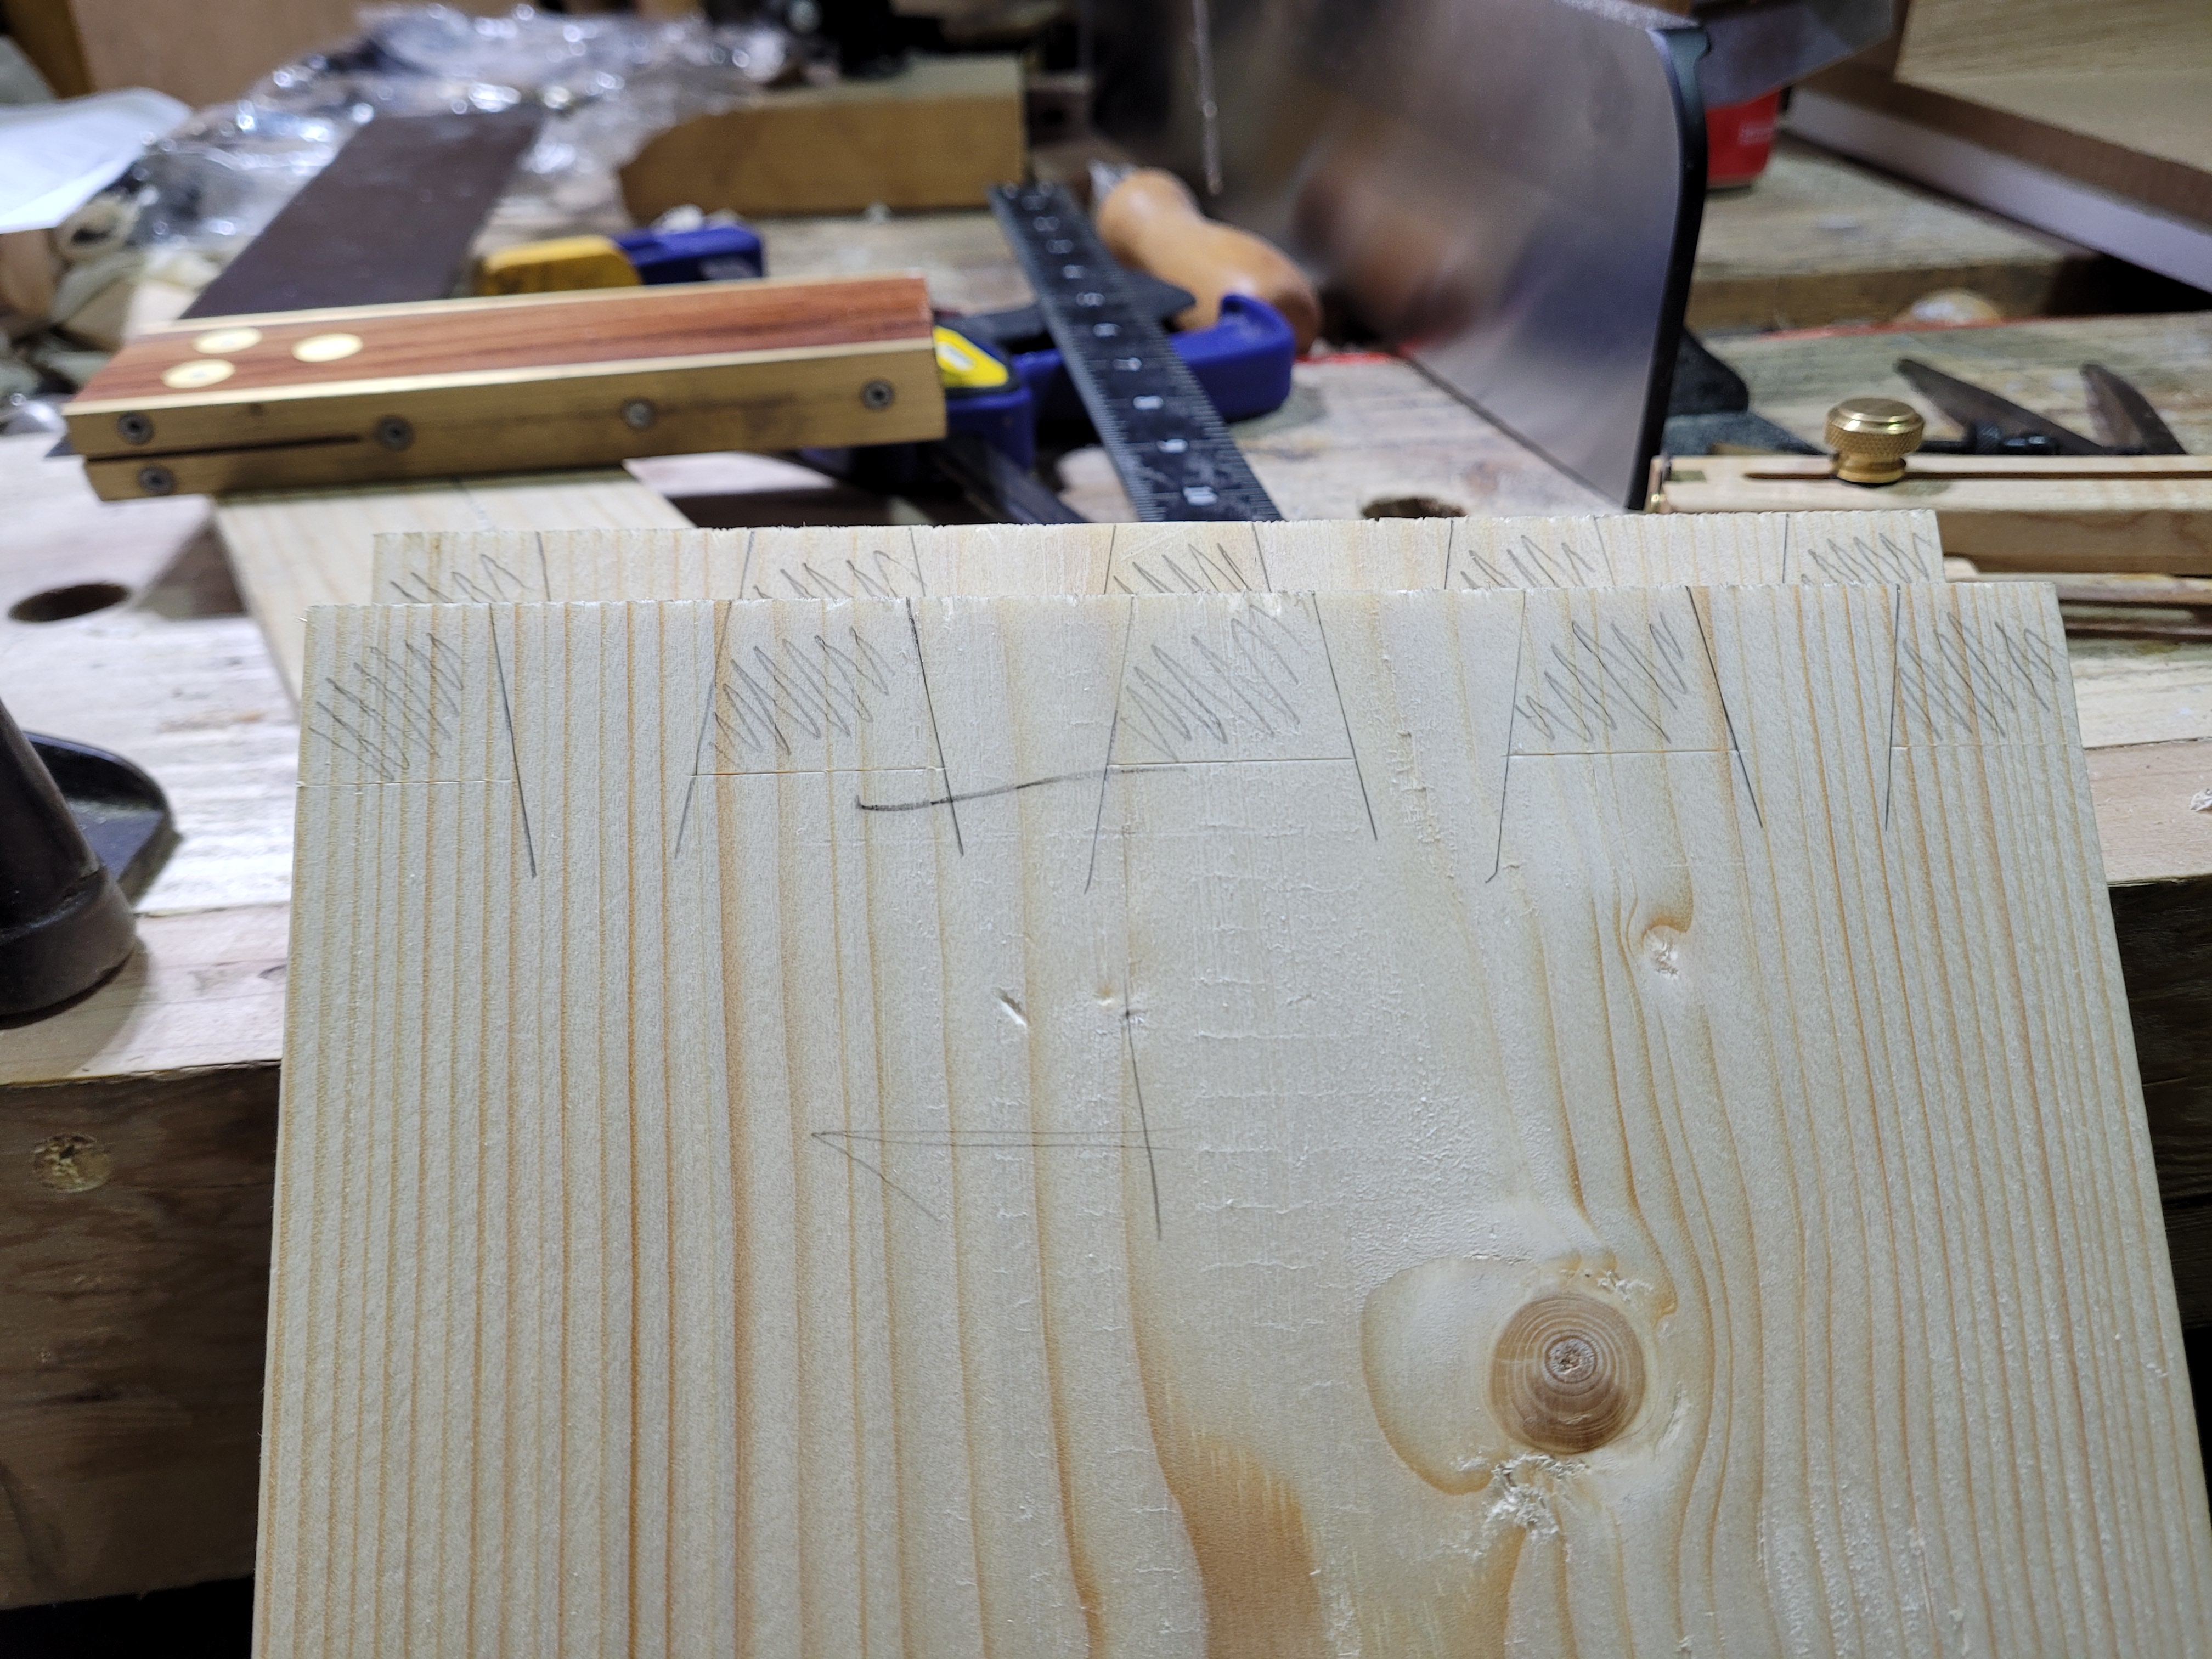
And that’s it, my board are marked up and ready for the saw.