Inlaying
I was lucky enough to get a Lie Nielsen 51 shooting plane for Christmas. Not a cheap piece of kit. I keep some of my nicer tools in the house where the constant temperature keeps the rust away. I want the 51 in the shop, as I plan to use it very frequently, so I set about creating a box to keep it (hopefully) rust free. The main box is fairly unremarkable. A large dovetailed box with a sliding lid. I have had a few people ask me how I inlaid the pull button, so that is what we will dig into today.
I wanted a pull on the lid. The quick way would be just to create a thumbnail with a gouge, but the lid is pretty thin, I was concerned I might split it in the process. I could have gotten away with a very small screw, but I did not care for how I thought it would look. Just gluing the pull on would probably work just fine. This is going to be a piece of shop furniture, and I expect it to have a relatively hard life, so I wanted something a little more structural. I opted to inlay it slightly into the lid.
For those unfamiliar with the term. Inlaying consists of creating a recess in a surface that will precisely fit the piece to be set in it. Its very commonly used by luthiers to decorate instrument fretboards. In that case, the inlaid piece is usually sanded down to match the height of the material it is set in. That will not be the case here. I imagine marquetry is achieved in a similar manner, but never having done any I don’t know.
The technique requires nothing more than a knife and a chisel. A small router plane can be handy with larger pieces.
Inlaying is not that hard with a little practice, but you are unlikely to get it right the first time. I strongly recommend practising inlaying your piece into a piece of scrap several times (without glueing) before putting it into your final piece.
Choose the location to inlay and immobilise the piece to be inlaid on it. For larger pieces clamping it down may do the job. For smaller ones you may need to be a little more creative. The clamp is likely to make it different to trace with the knife. You could just hold it down, but if you let it slip, its likely you have ruined the job.
My favourite trick is to simply put a little dot of superglue on the bottom of the piece and stick it in place. Superglue does not react well to lateral force, so a light tap with a hammer on the side of the piece when you are done will usually knock it right off. Unless the piece is particularly complex, the glue will not even have time to completely cure before you are done. If a little of the surface to be excavated chips off, no big deal. A little of the work has just been done for you. If a little of the back of the inlay piece does, also no big deal. The glue will fill that, and it will make it a little easier to seat.
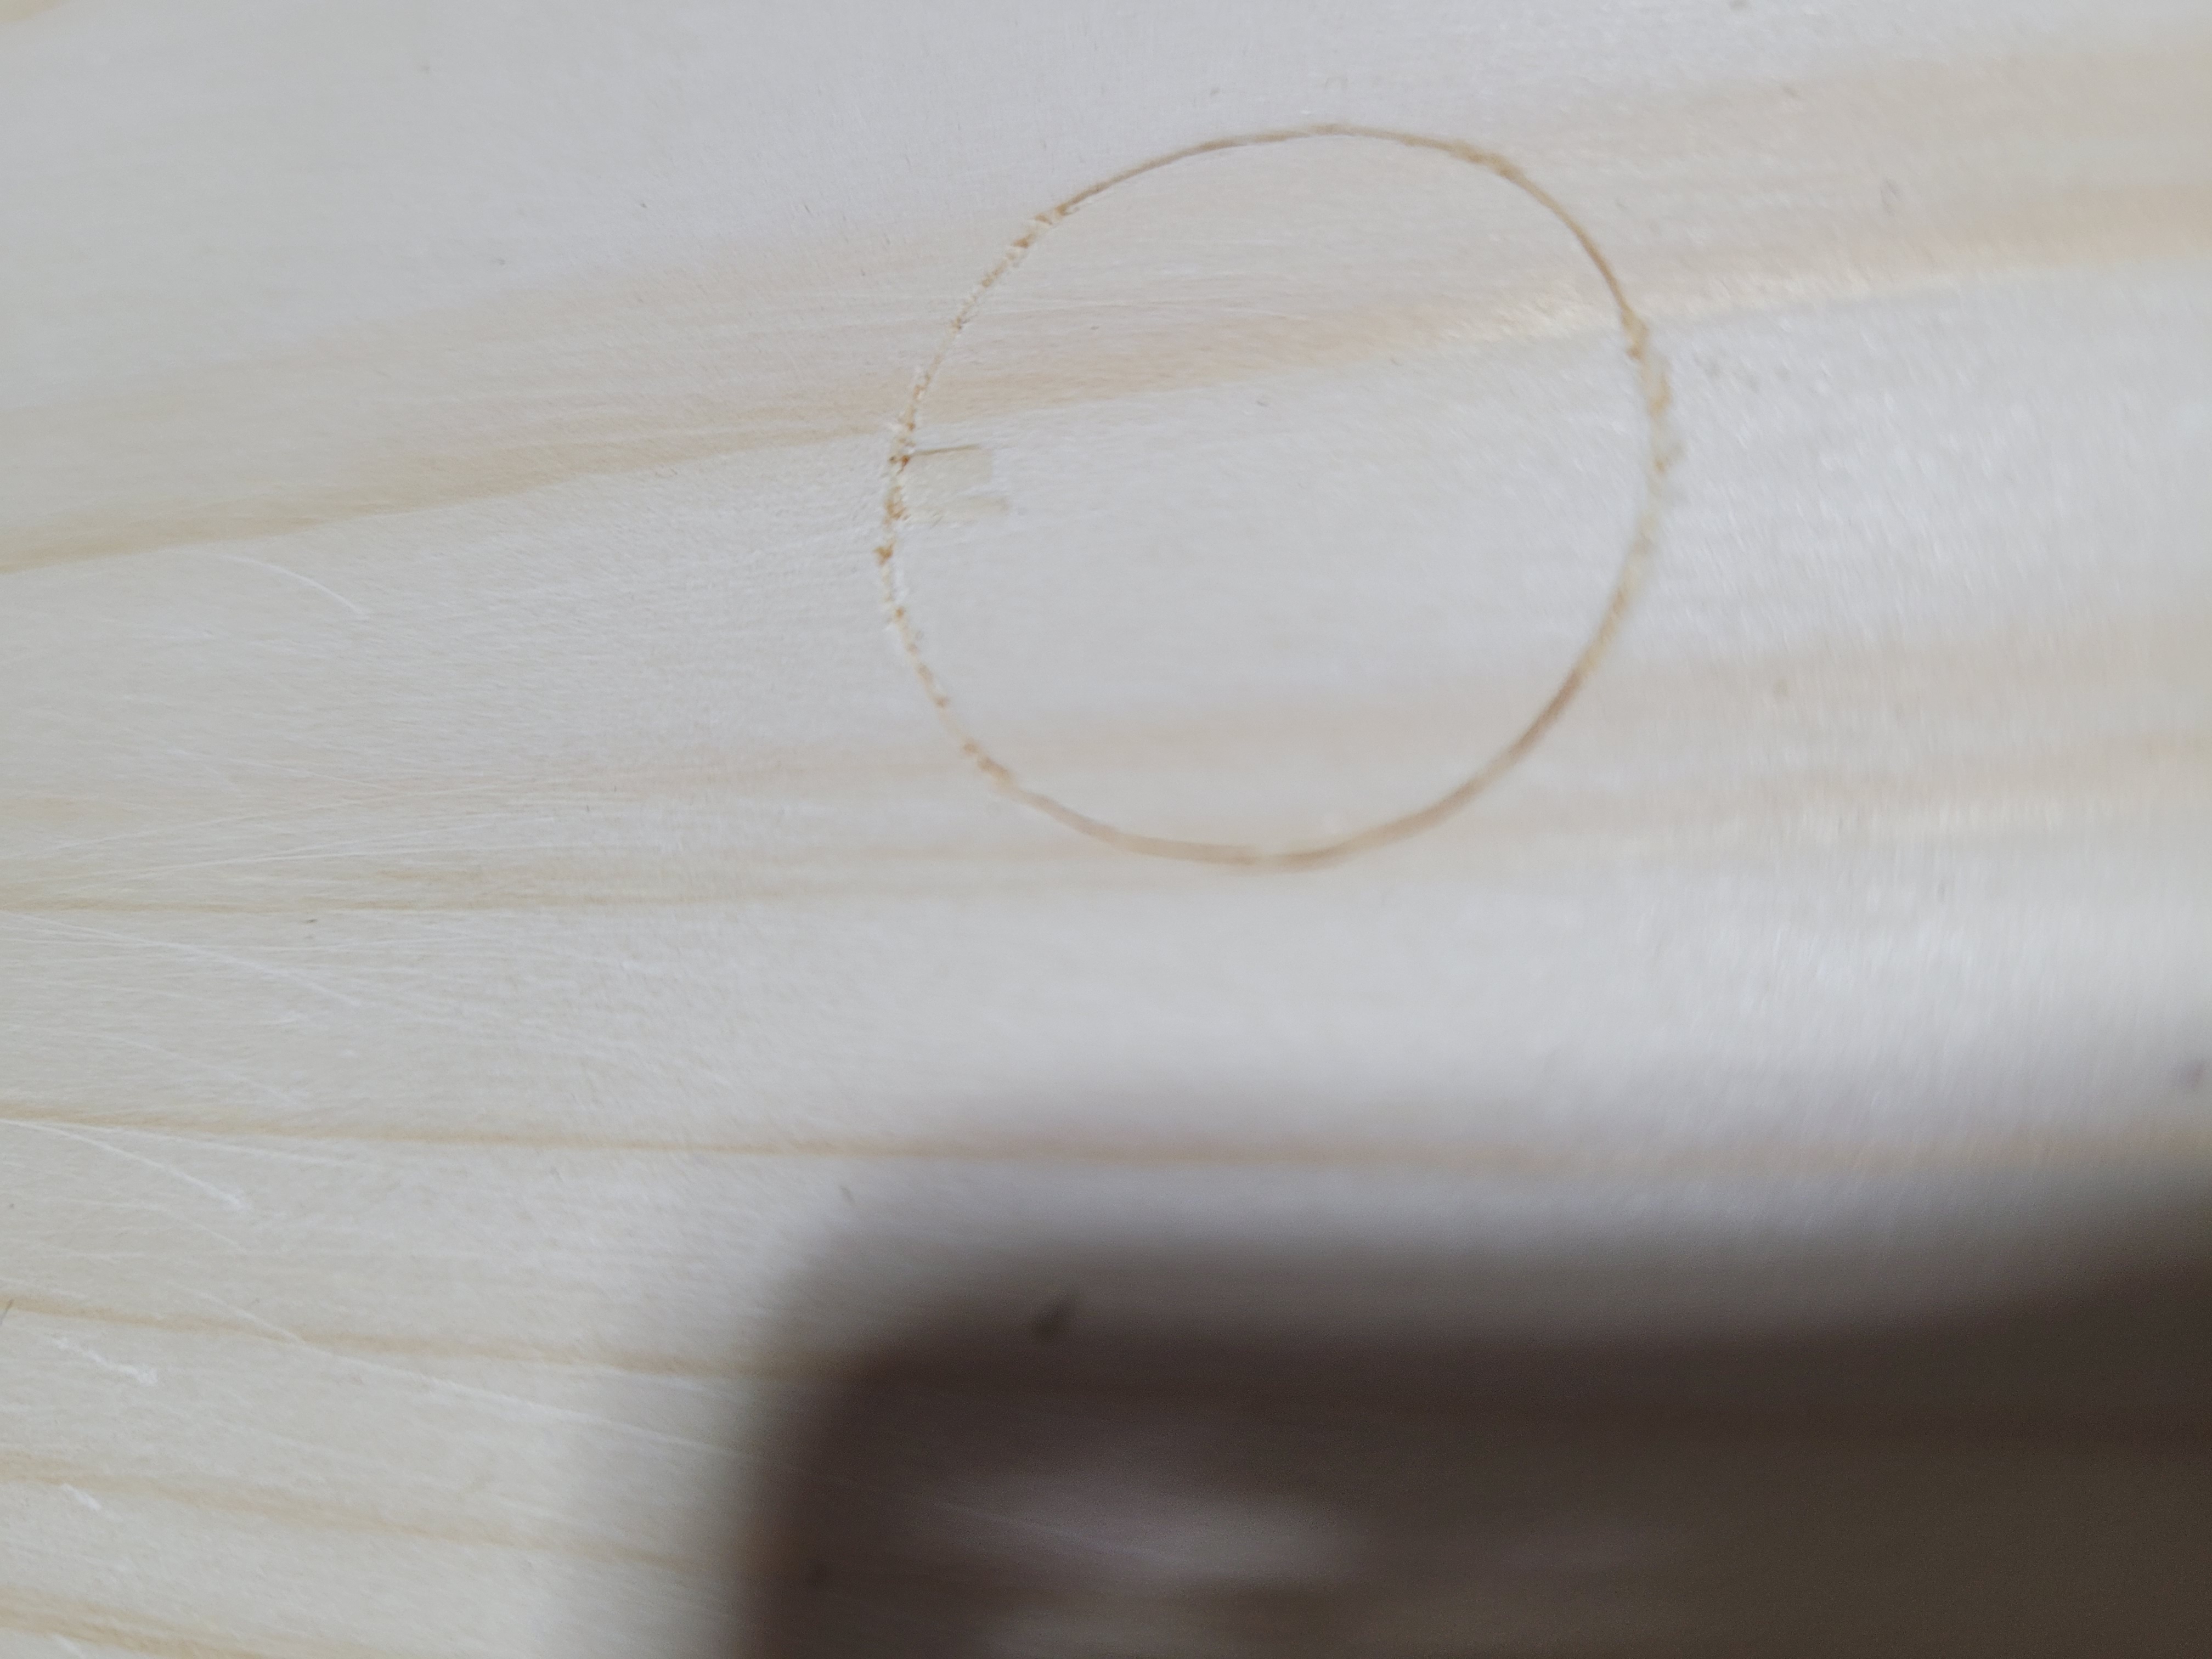
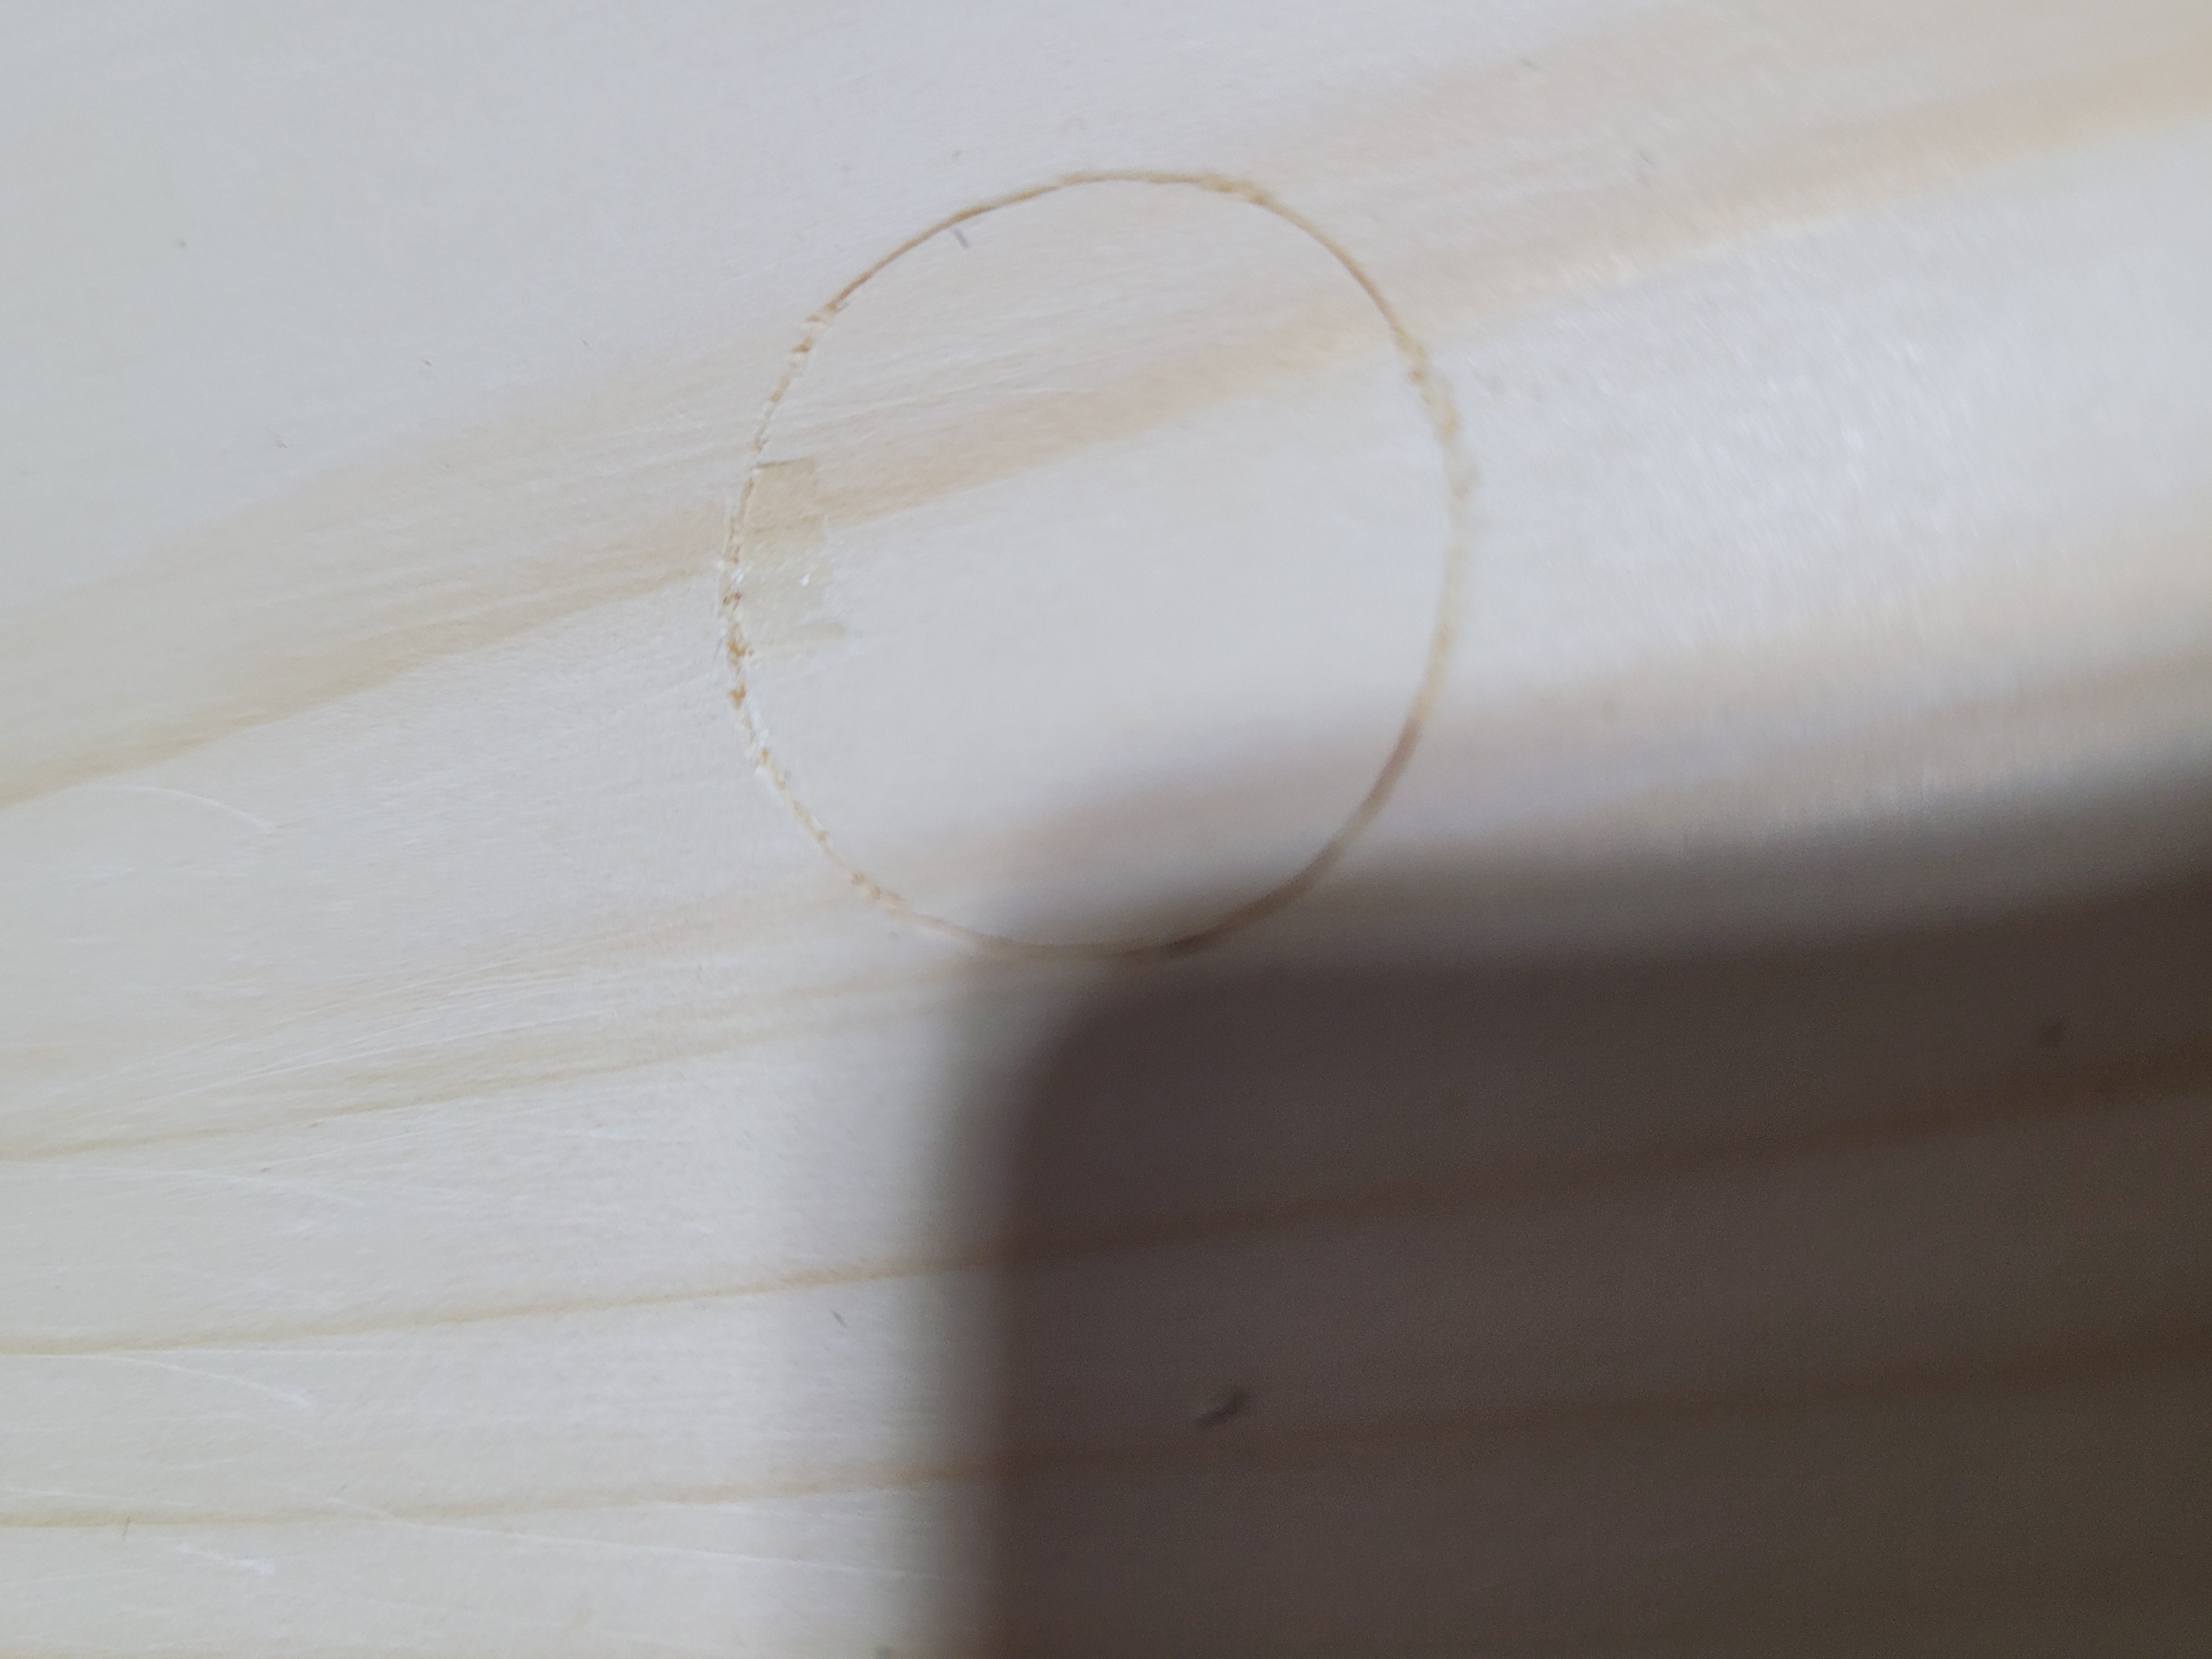
Once it is fixed down, you need to mark the perimeter with a marking knife. This is similar to tracing a dovetail. I prefer a scalpel blade for this job. You might recognise the knife in the pictures as our own Ryan Powell’s creation. Despite being double bevelled, the very fine point is ideal for curved and detailed work. Make a first pass with extremely light pressure. When tracing a very intricate or curved surface its very easy for the tip to try and follow the grain. The lighter you go, the less likely this is to happen. Then repeat, with greater pressure on each pass. Once you are satisfied you are deep enough to make the initial cuts, stop, knock the piece off and get a very small chisel.
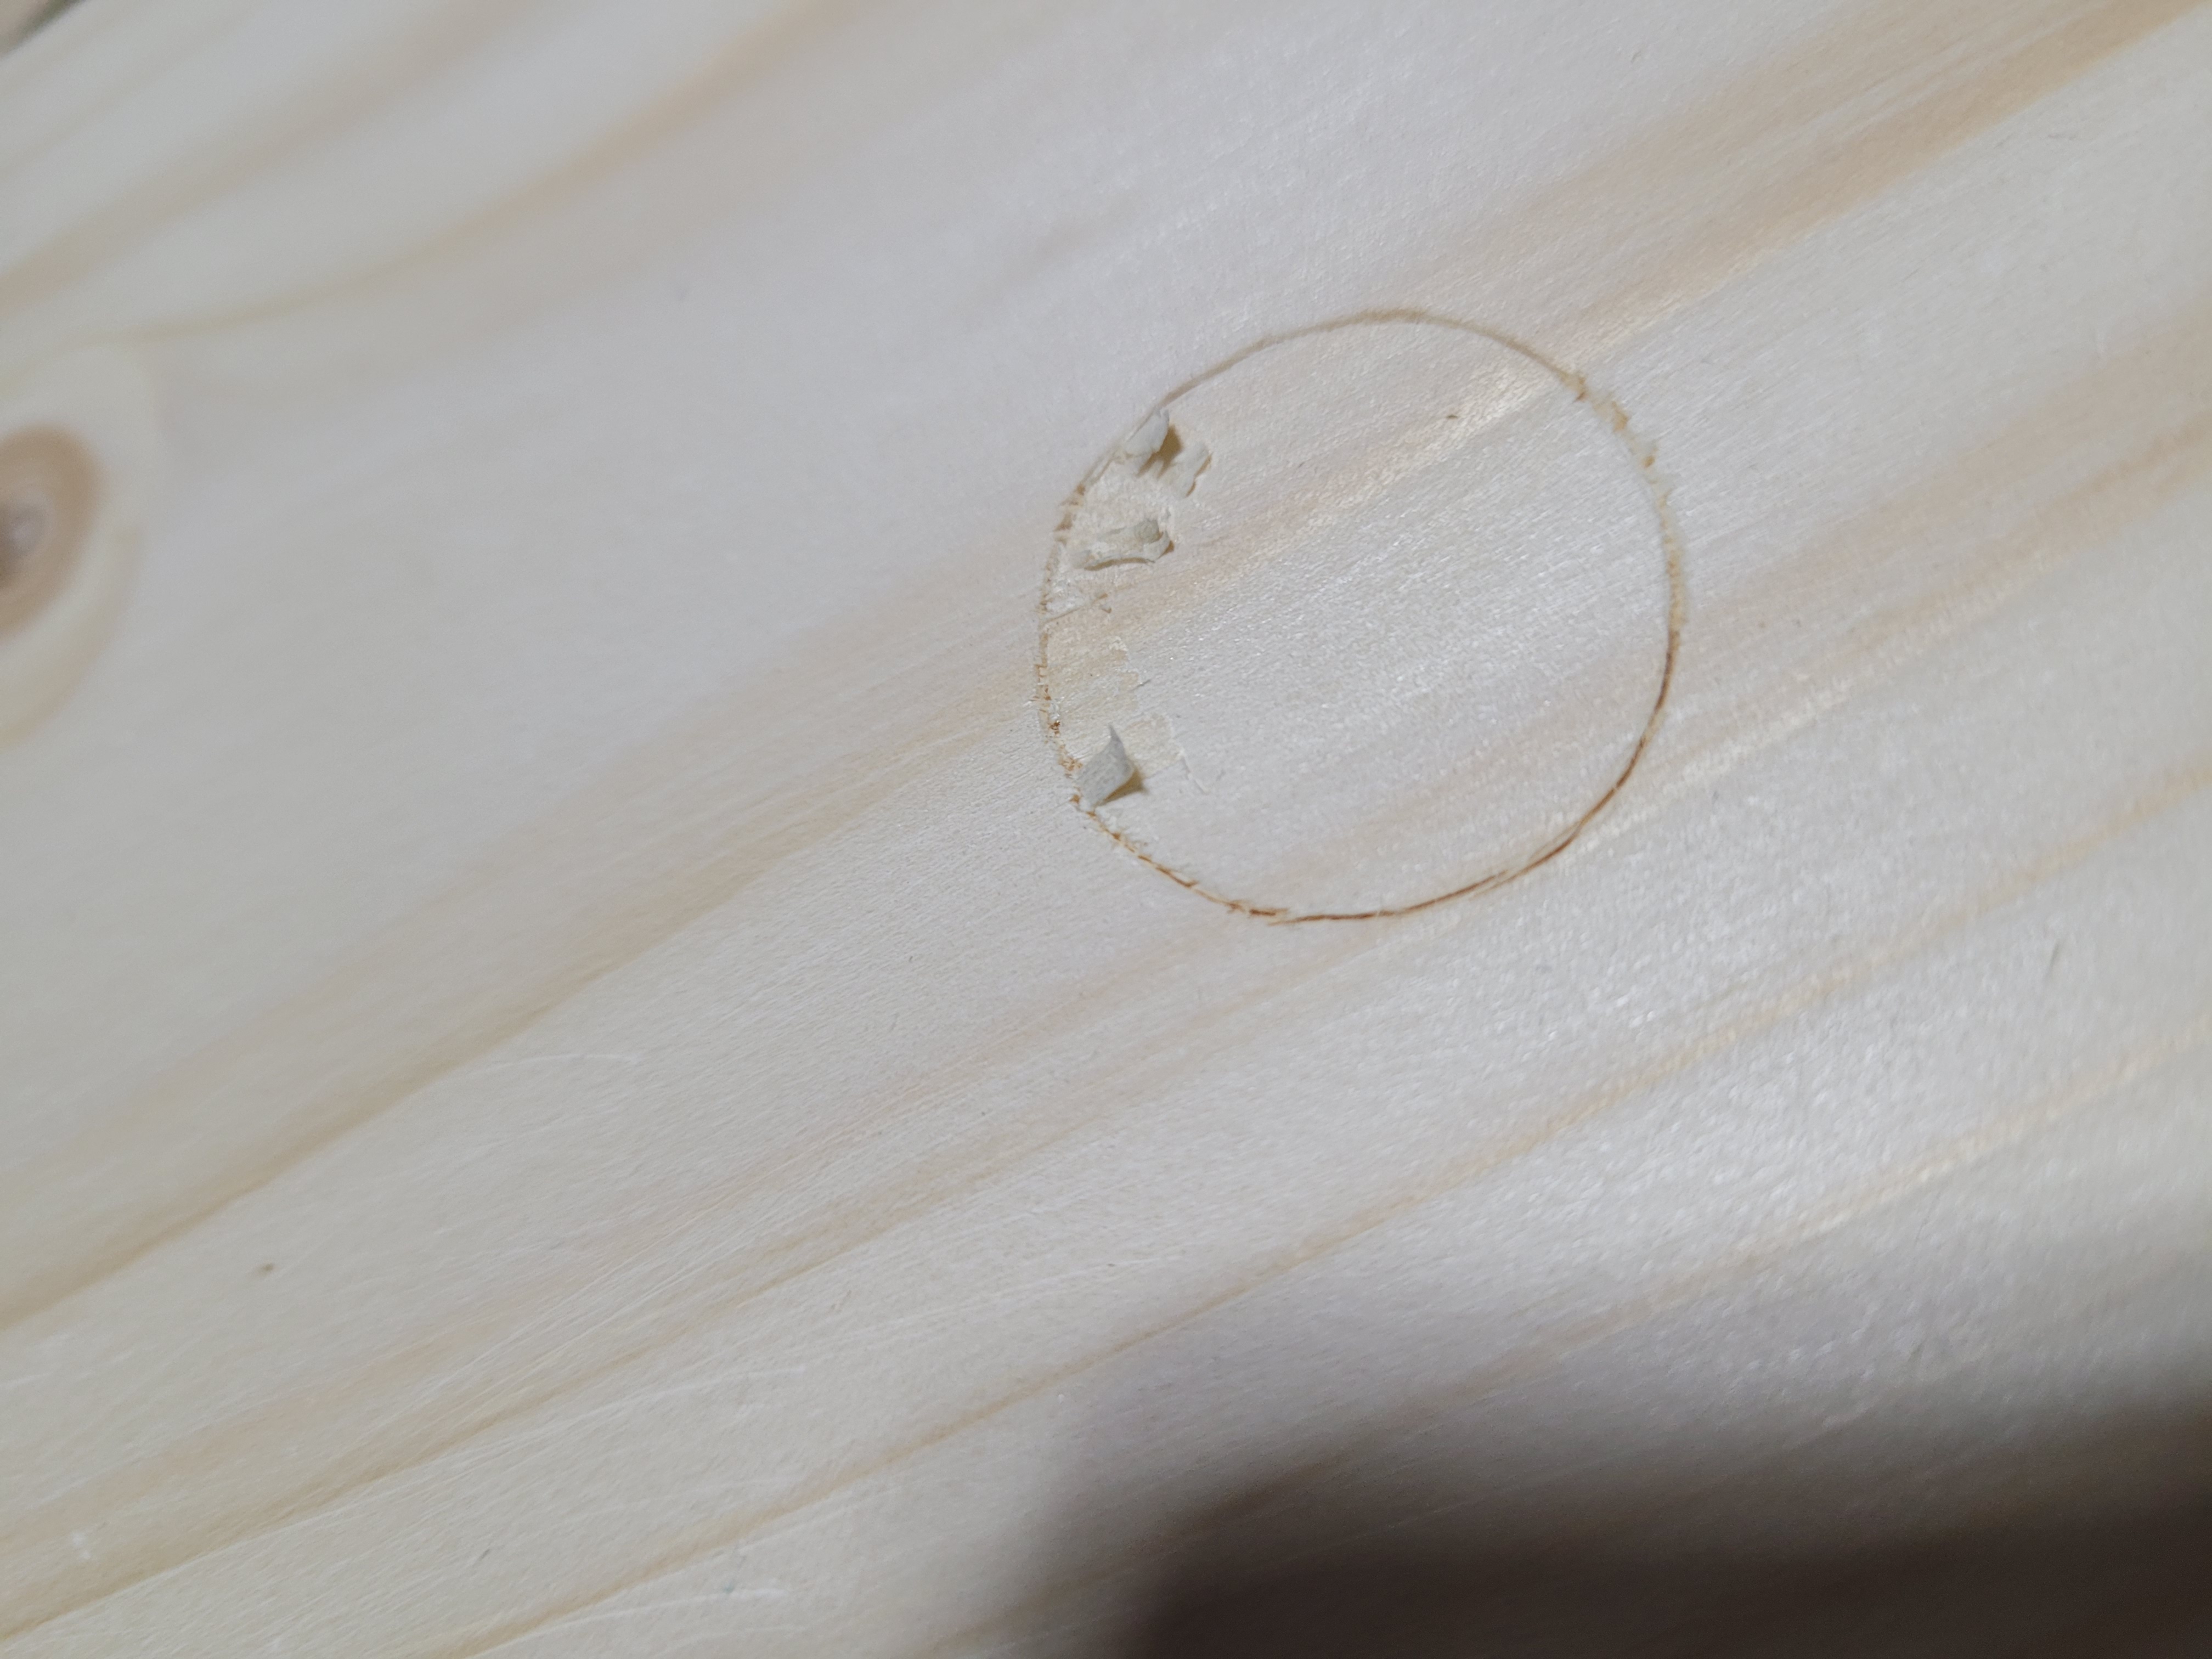
Why a very small chisel? If you are inlaying a rectangle you don’t need to. Use as wide a chisel as will comfortably fit. But for a curved or intricate piece, the smaller the chisel the easier it is to follow the curve. I have a wonderful little 3/16th chisel made by Gordon McCall. Take your chisel and a little away from the perimeter make a shallow cut to meet the knife line. The first lap of cuts around the perimeter are the trickiest. If you slip and cut over the line, you have created an ugly gap. So use very light pressure, a very shallow cut, and for curves, stop as the corners of the chisel touch the line. The chip can usually be flicked out and take all the material up to the line with it. I like to overlap the chisel cuts after the initial one.
I use the chisel bevel down to better control the depth of cut, one half is cutting while the other half is hanging over the void created by the previous cut. This makes it easier to see where the tip of the chisel is, and avoid overshooting. I make cuts with the grain to start the lap, and only make cross grain cuts once I have removed as much as possible with the grain. Cross grain cuts can often snap the chip and leave fuzzy bits hanging off the perimeter. I carefully work them with the chisel, and when in doubt, go back to the knife to free them.
Once you have done an initial lap. Go around the perimeter again with your marking knife deepening the line. Then do another lap with the chisel. Keep going until you have hit the desired depth.
All that remains now is to take the rest of the material down to depth. If its a large piece with even borders, you can do this easily with with a router plane. For smaller pieces, its going to be chisel work again.
With the perimeter at depth, Work one spot in the center down to depth with the chisel, then use that spot as a reference surface for the bevel of the chisel. From there work the rest of the bottom to depth. The bottom does not need to be router plane flat. As long as there is enough flat surface for the inlay piece to rest on, a few low spots here and there are not going to be a problem, they will just get filled with glue.
It is nice to have some way of checking for depth, although doing it by eye and testing with the piece to be inlaid will get the job done. I have a small vintage depth gauge that is ideal for the job. The long wings make it simple to tell if it is rocking on a high spot. The narrow tip lets you find exactly where you are high. A wheel marking gauge or small combination square can also work well.
Check the perimeter carefully for any debris, clear it carefully with your knife. One trick Andy Brown reminded me of after I had finished, but before I had glued, is that a wheel marking gauge can make a good router plane for light work. I have a particularly small one from Tom Dickey I took to this piece at the end. Make sure the wheel is sharp, set the gauge to depth, and slide it around to sever the last little bit of material. I only got a few wisps of pine out, so the chisel is good enough if that’s all you have.
Now take your piece and push it in. With luck its sitting evenly and not rocking. If its not perfectly level, that’s not a big problem unless you cant get it to sit level at all (it does not have to be completely seated). Once the glue is in, as long as you can do that, the glue can fill the void below. Pop a little glue in, sit the piece in, and you are done.
If you want it flush, sand it down afterwards.
See the Photos below for details, and a few more details on the 51 box.
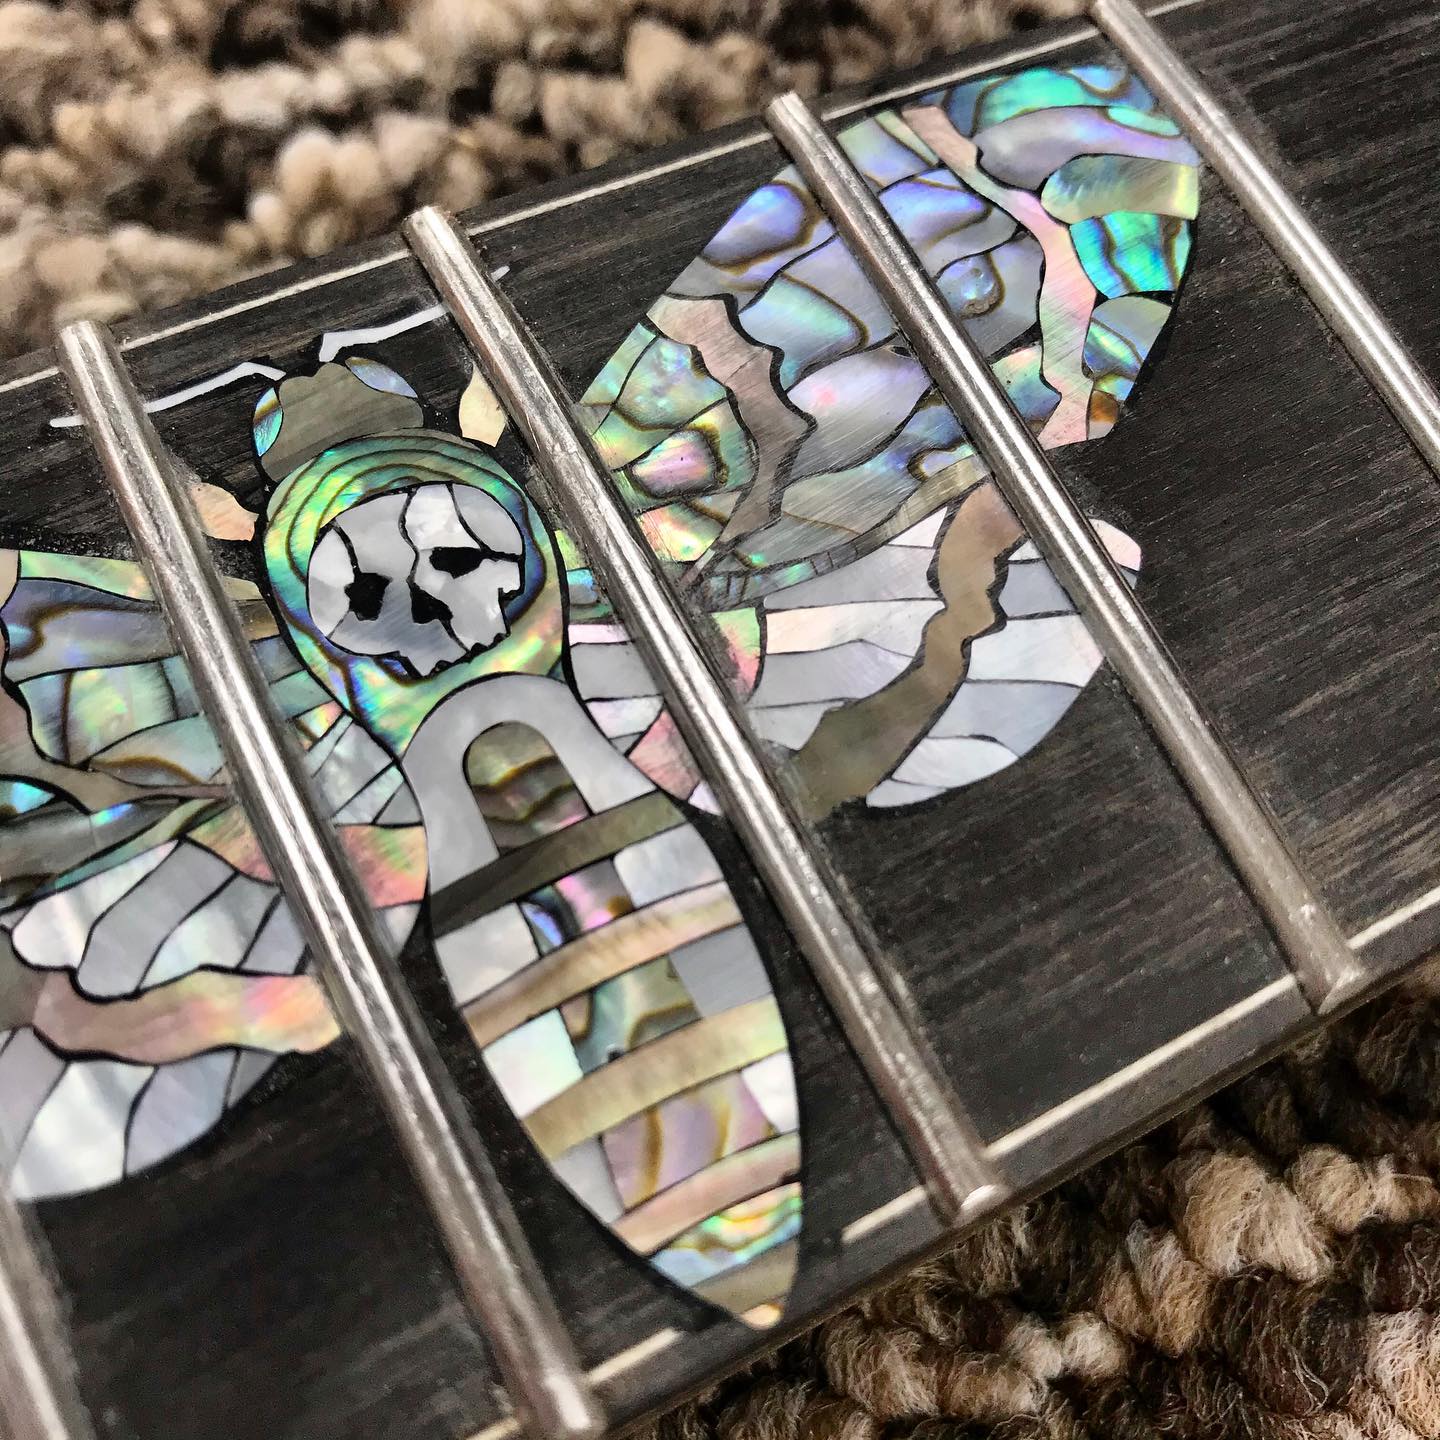
An example of a complex inlay in a guitar fret board.

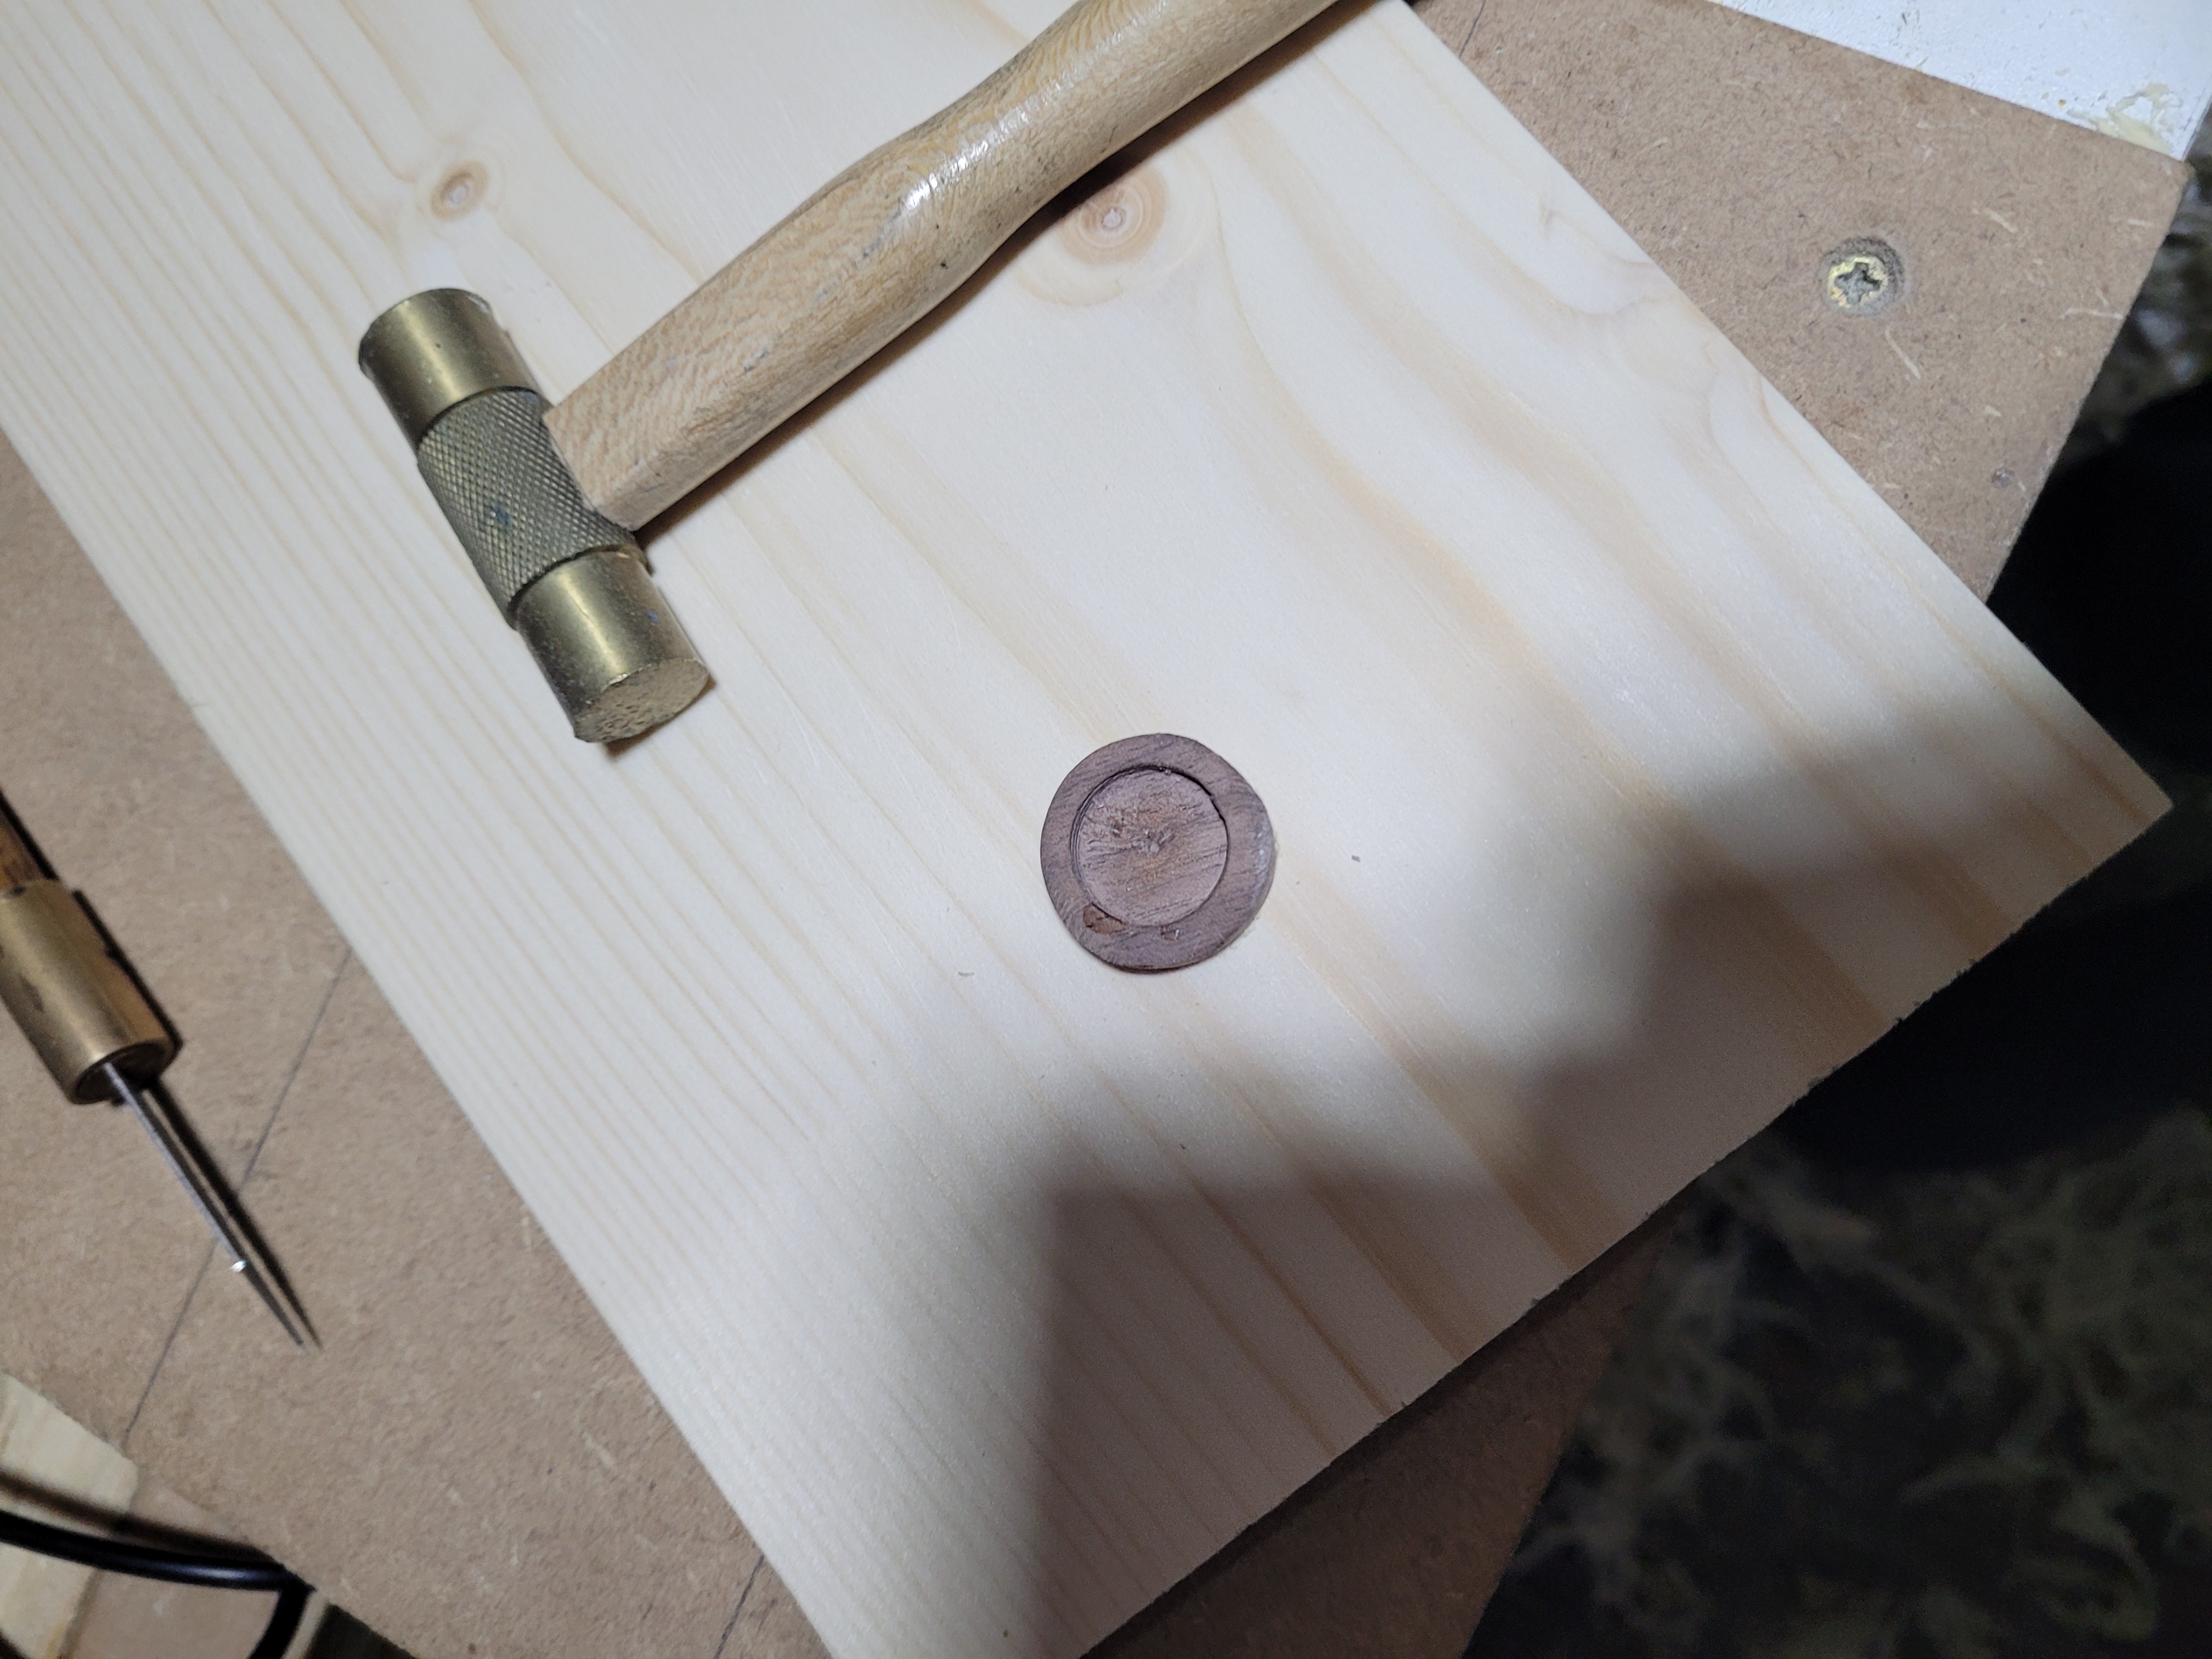
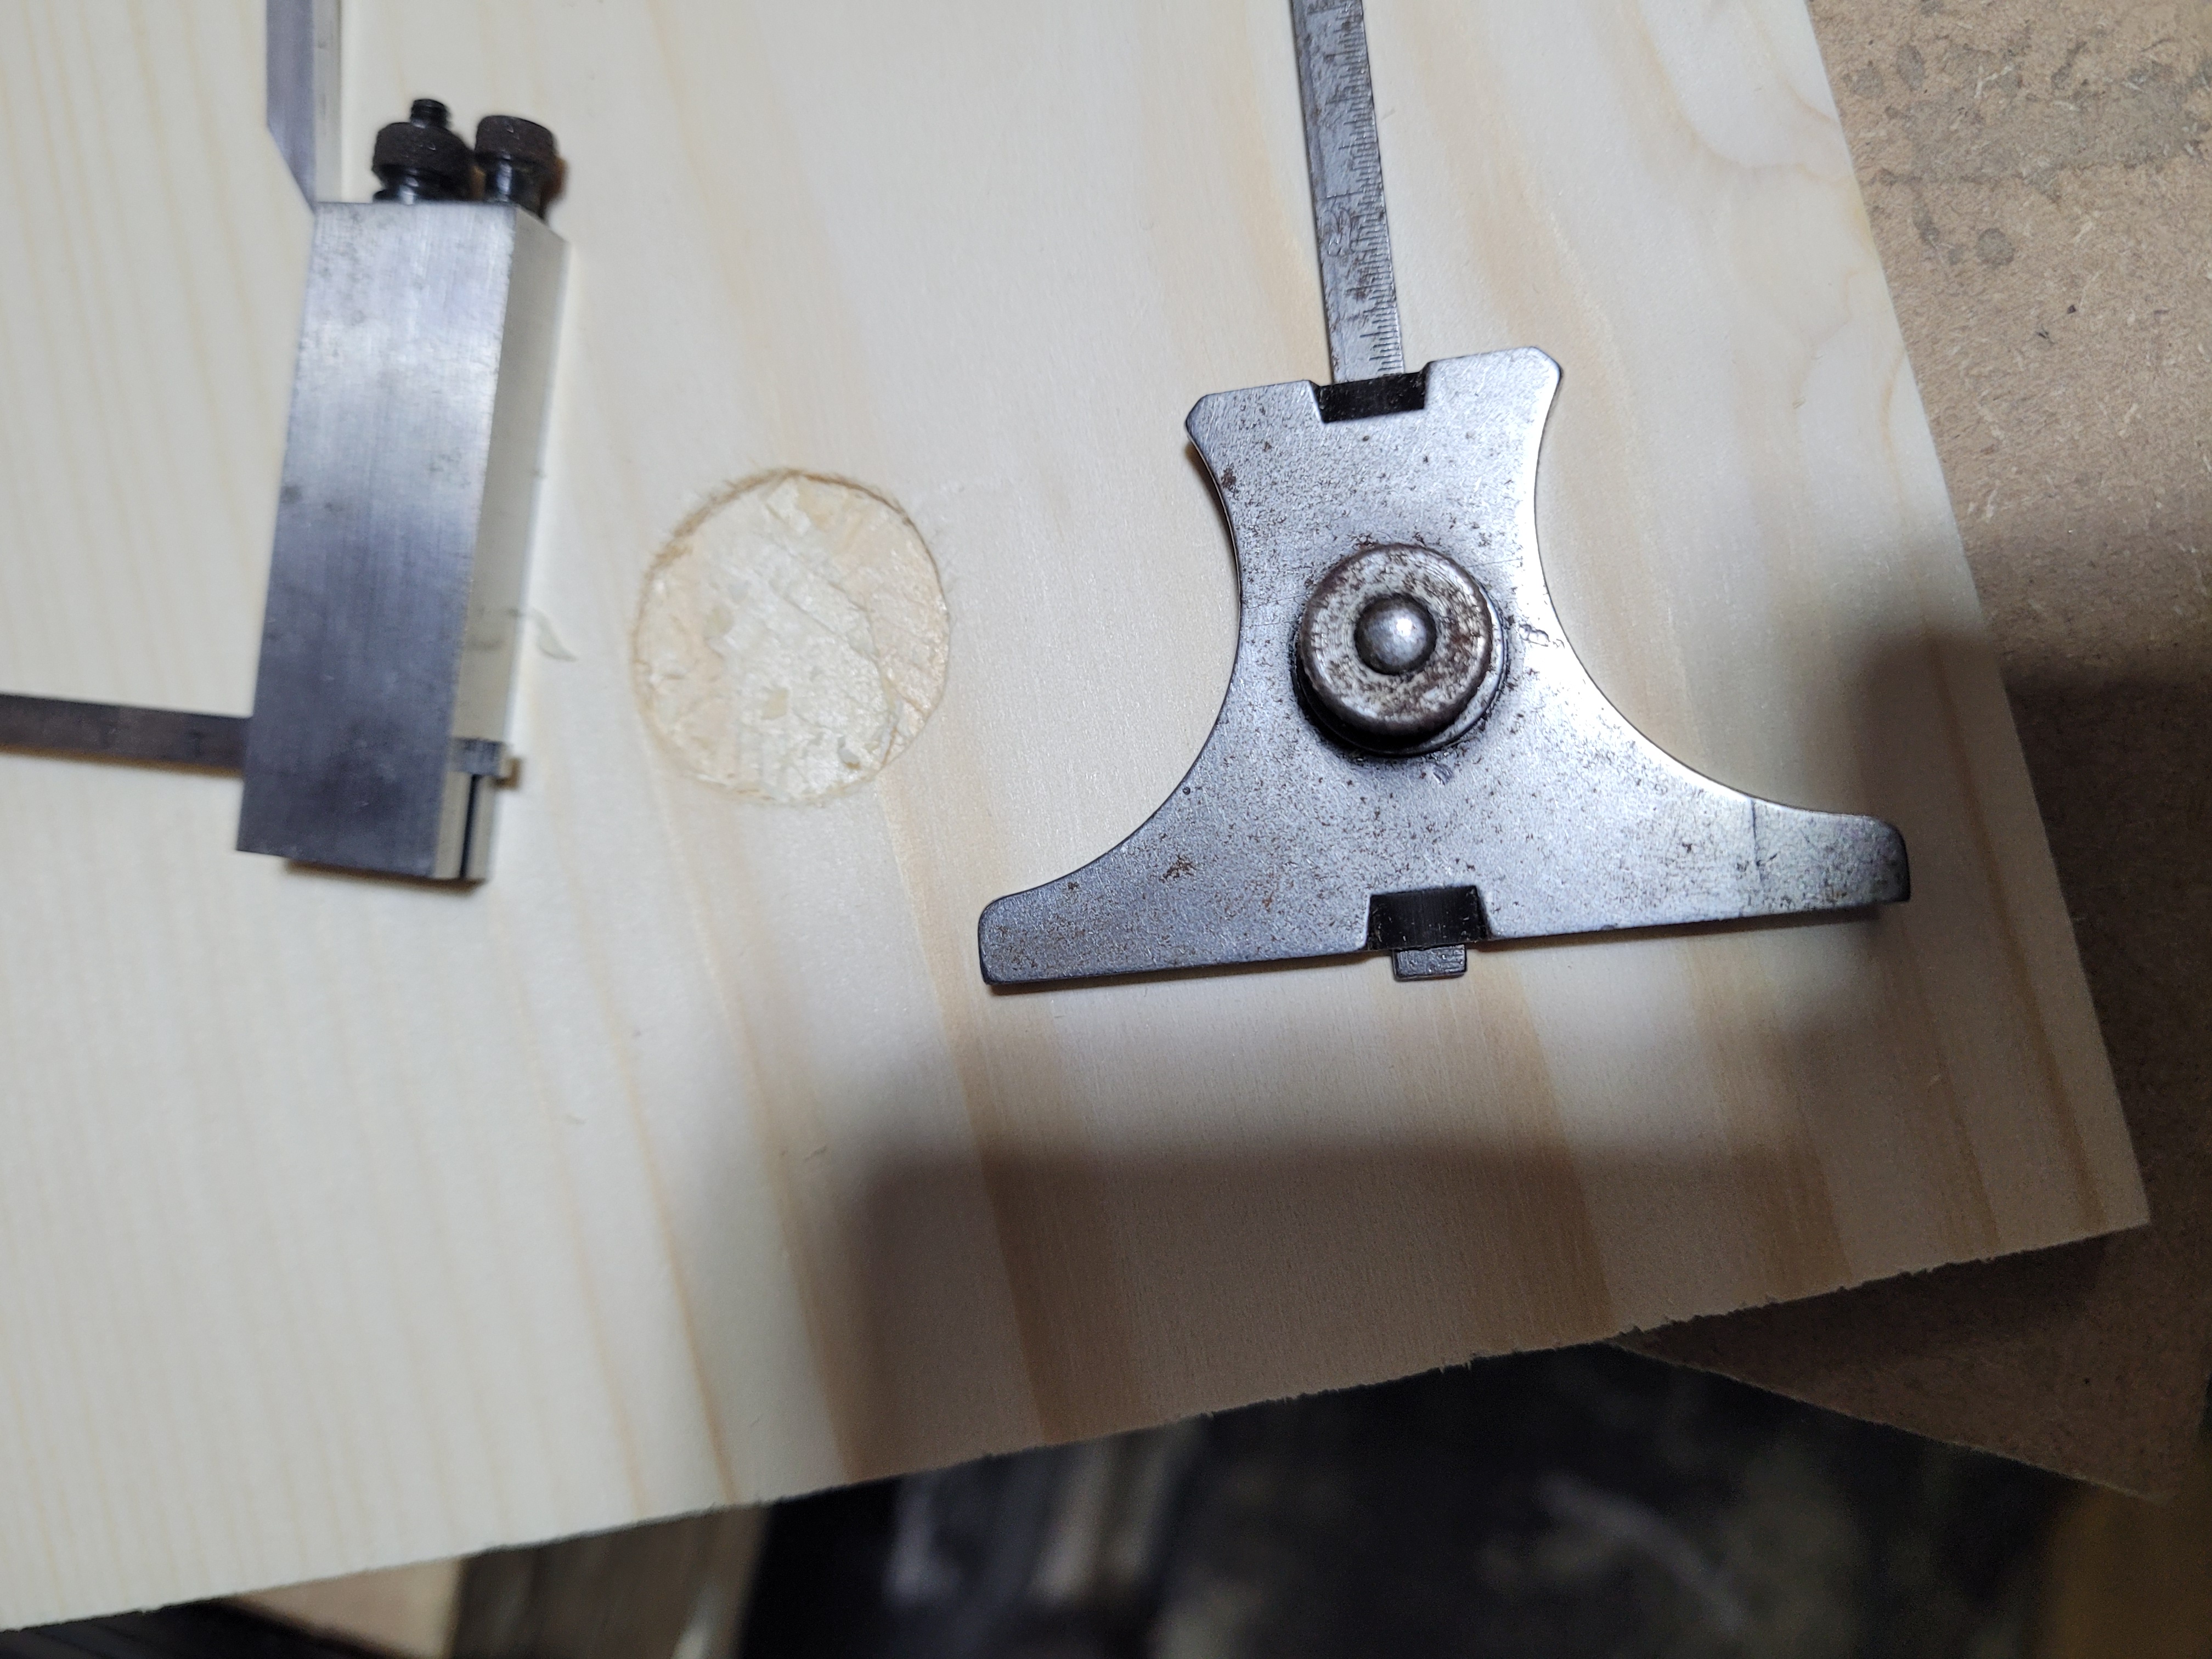
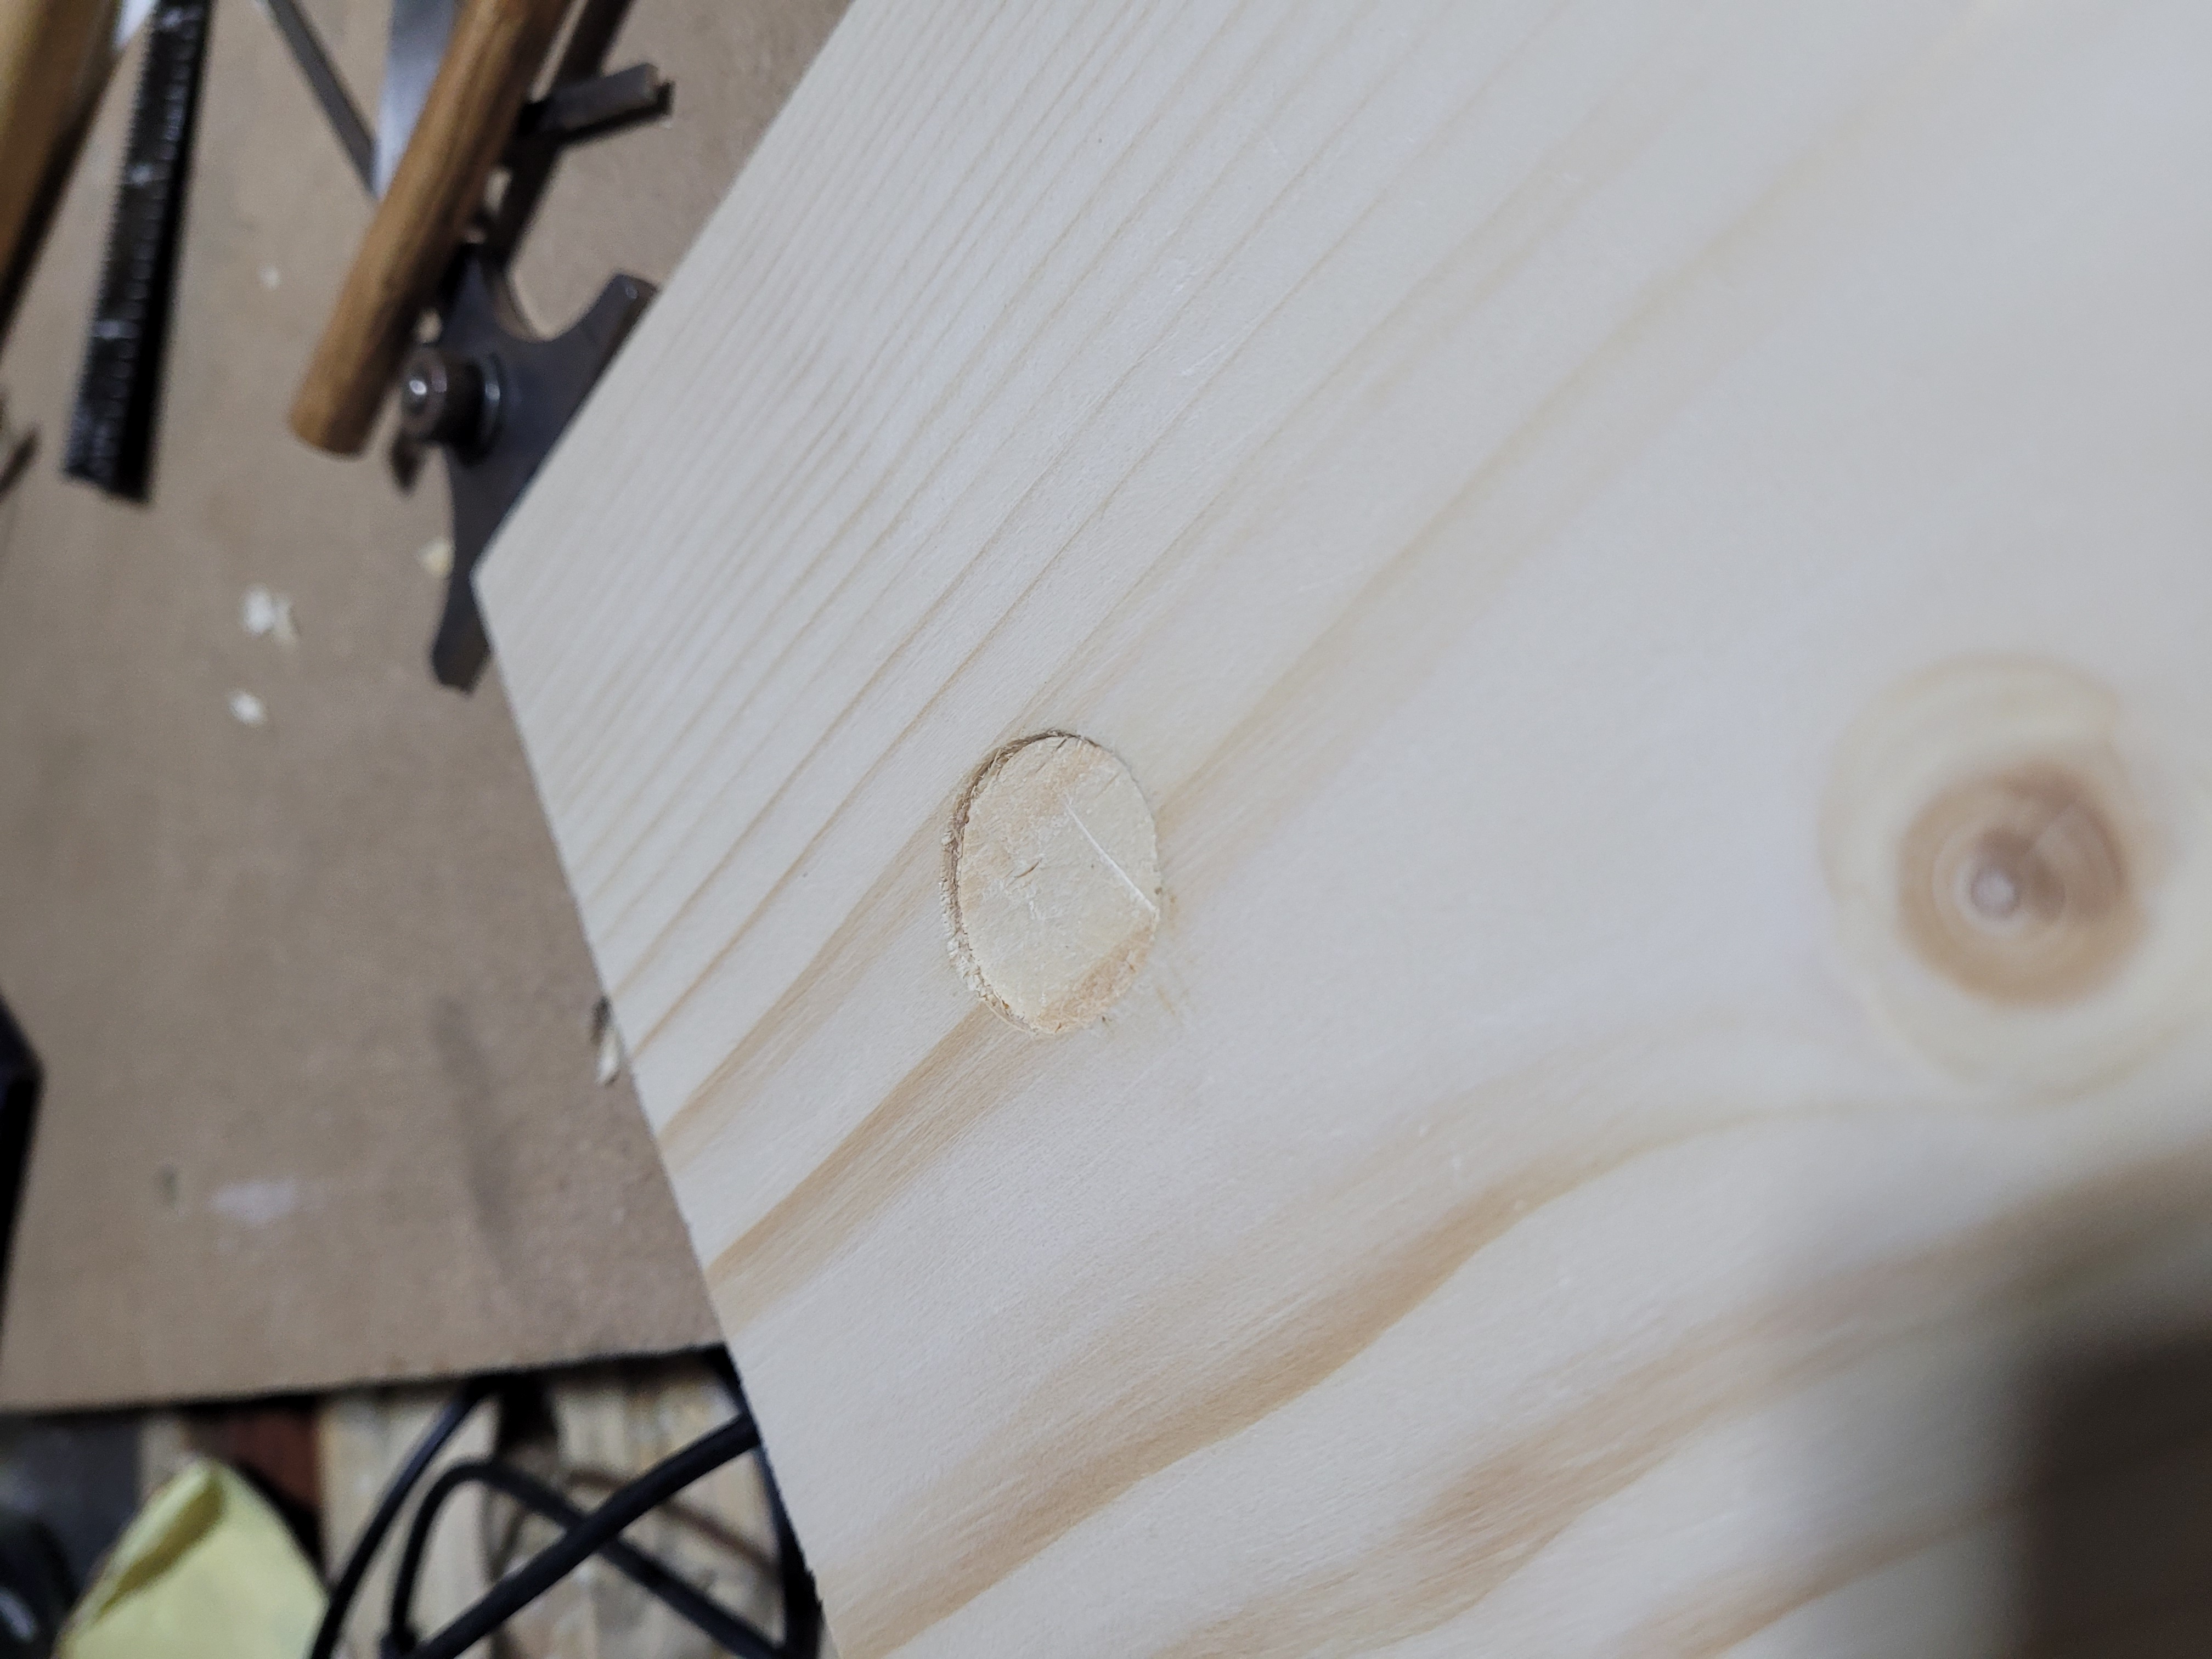
Pull button placed and glued with a drop of superglue, and Ryan Powell knife ready to mark it out.
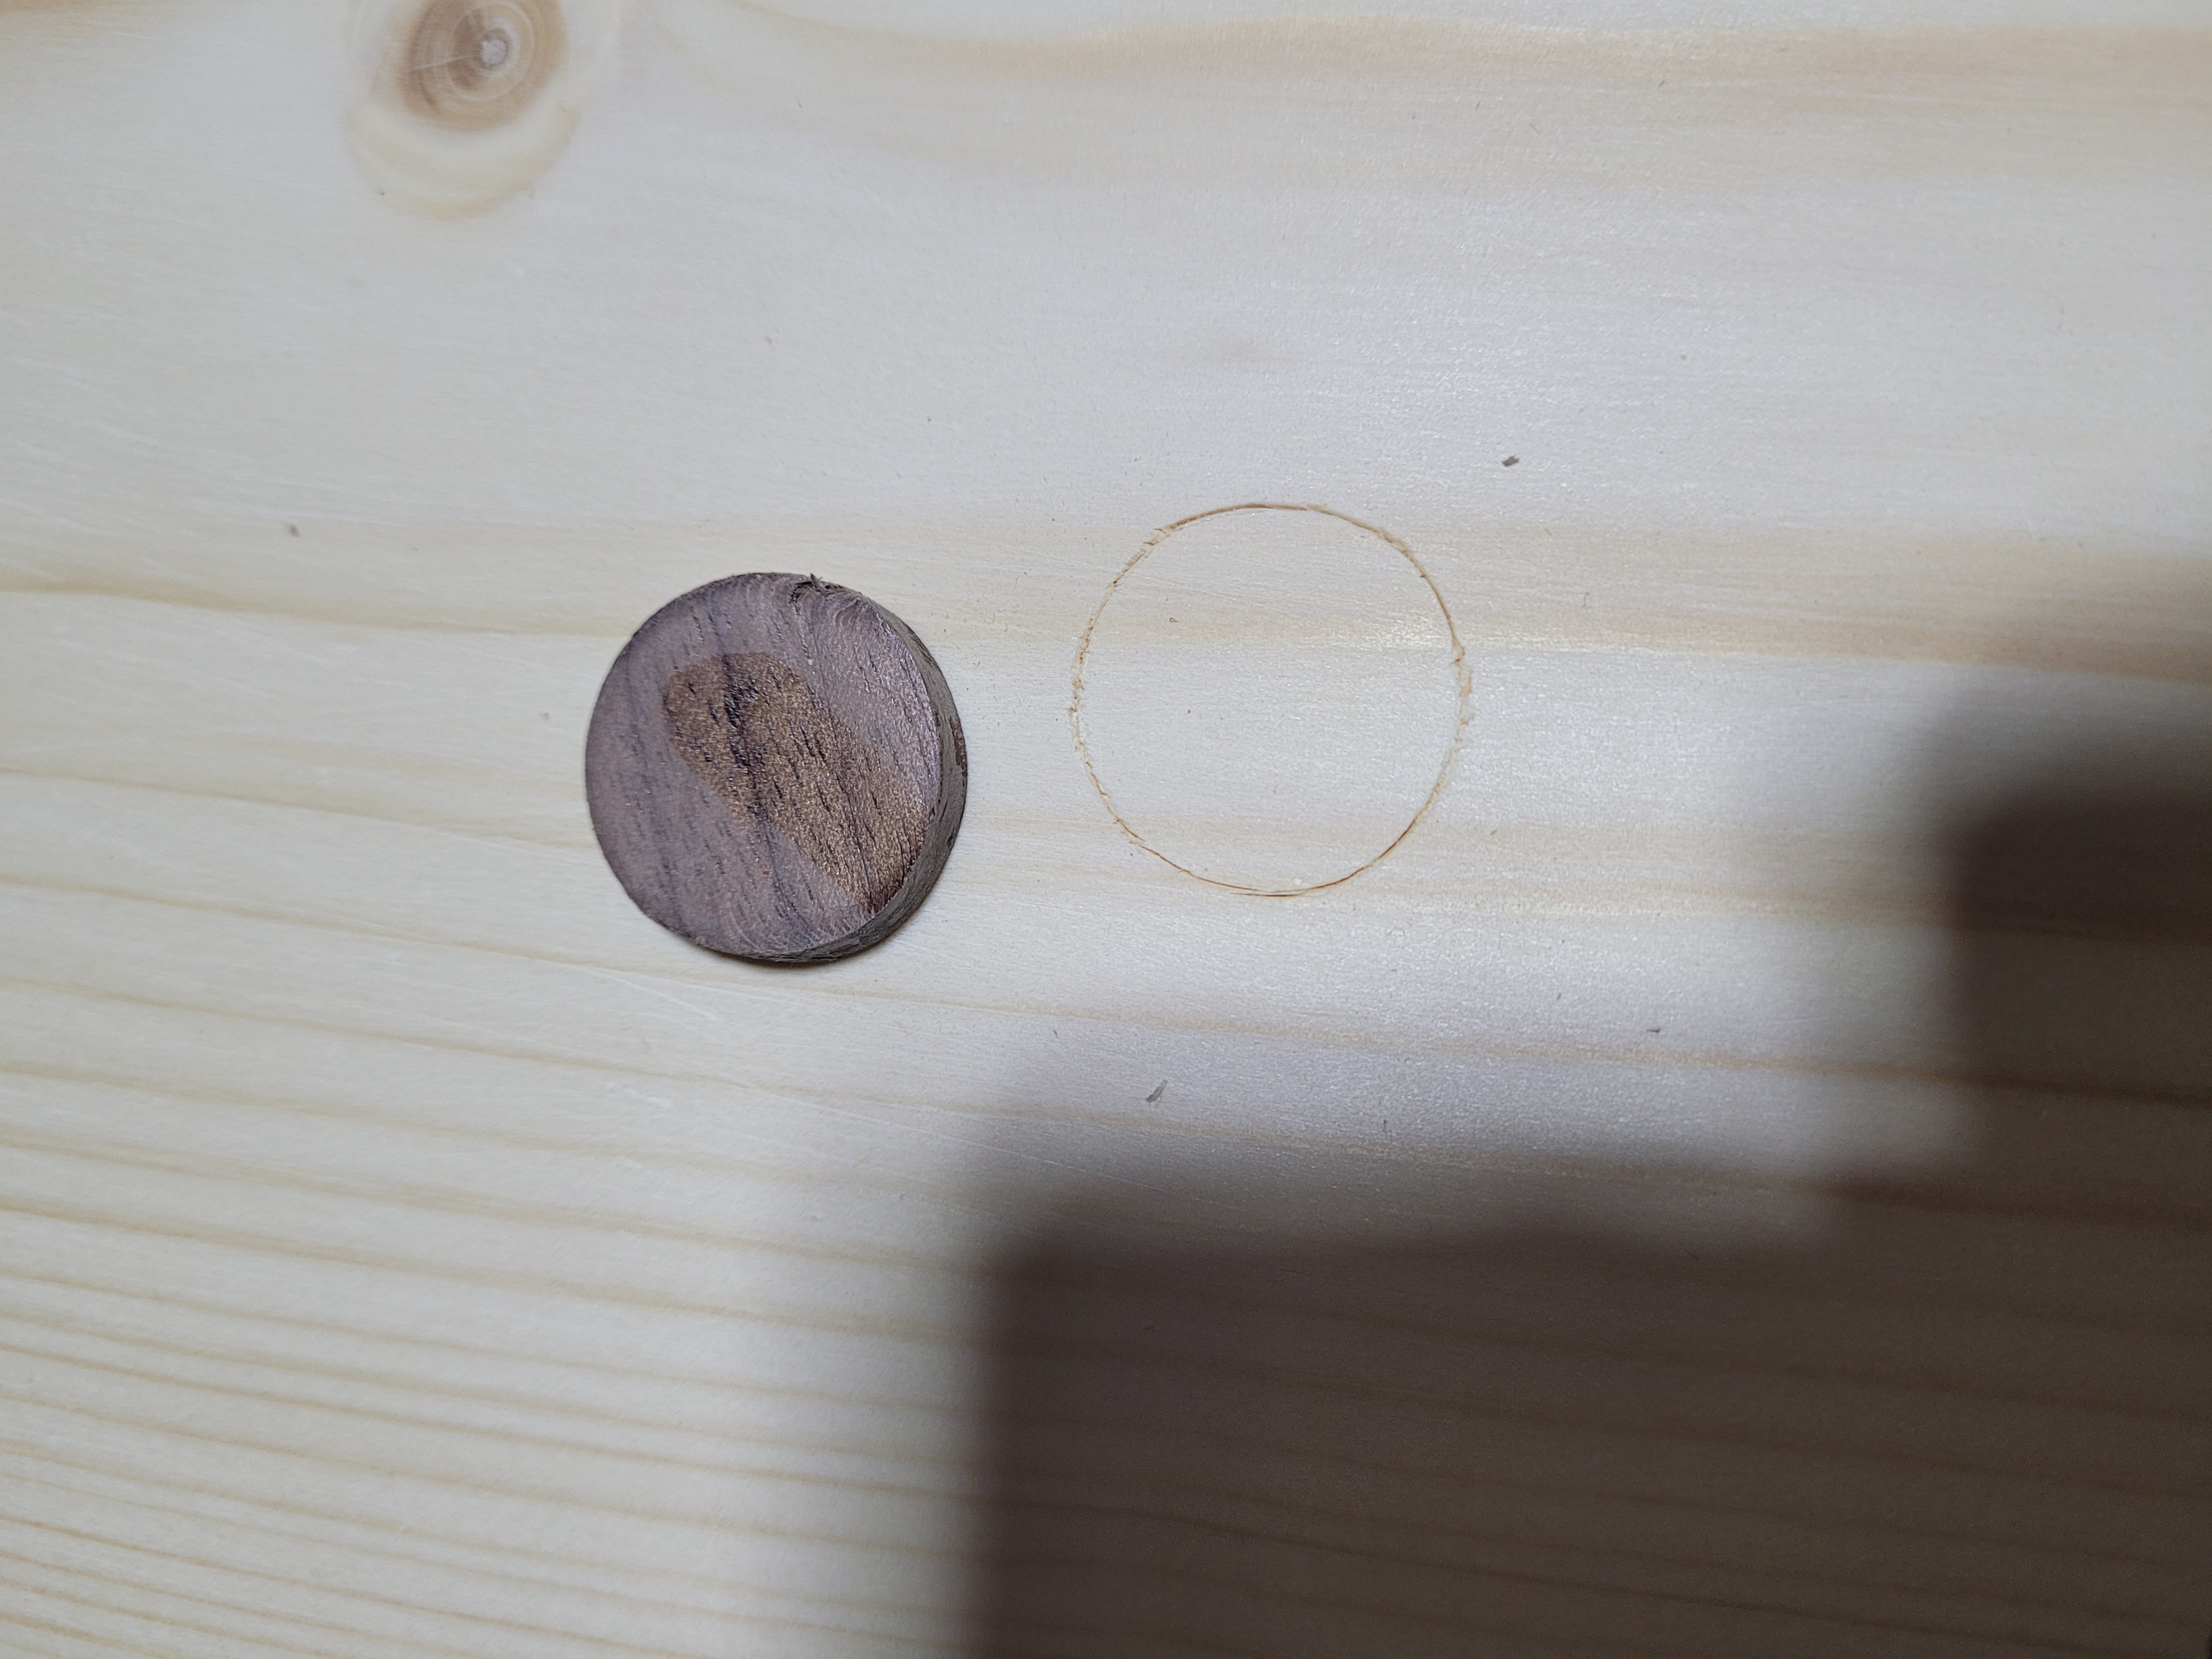
Hard to make out, but the initial super light pass has been made.
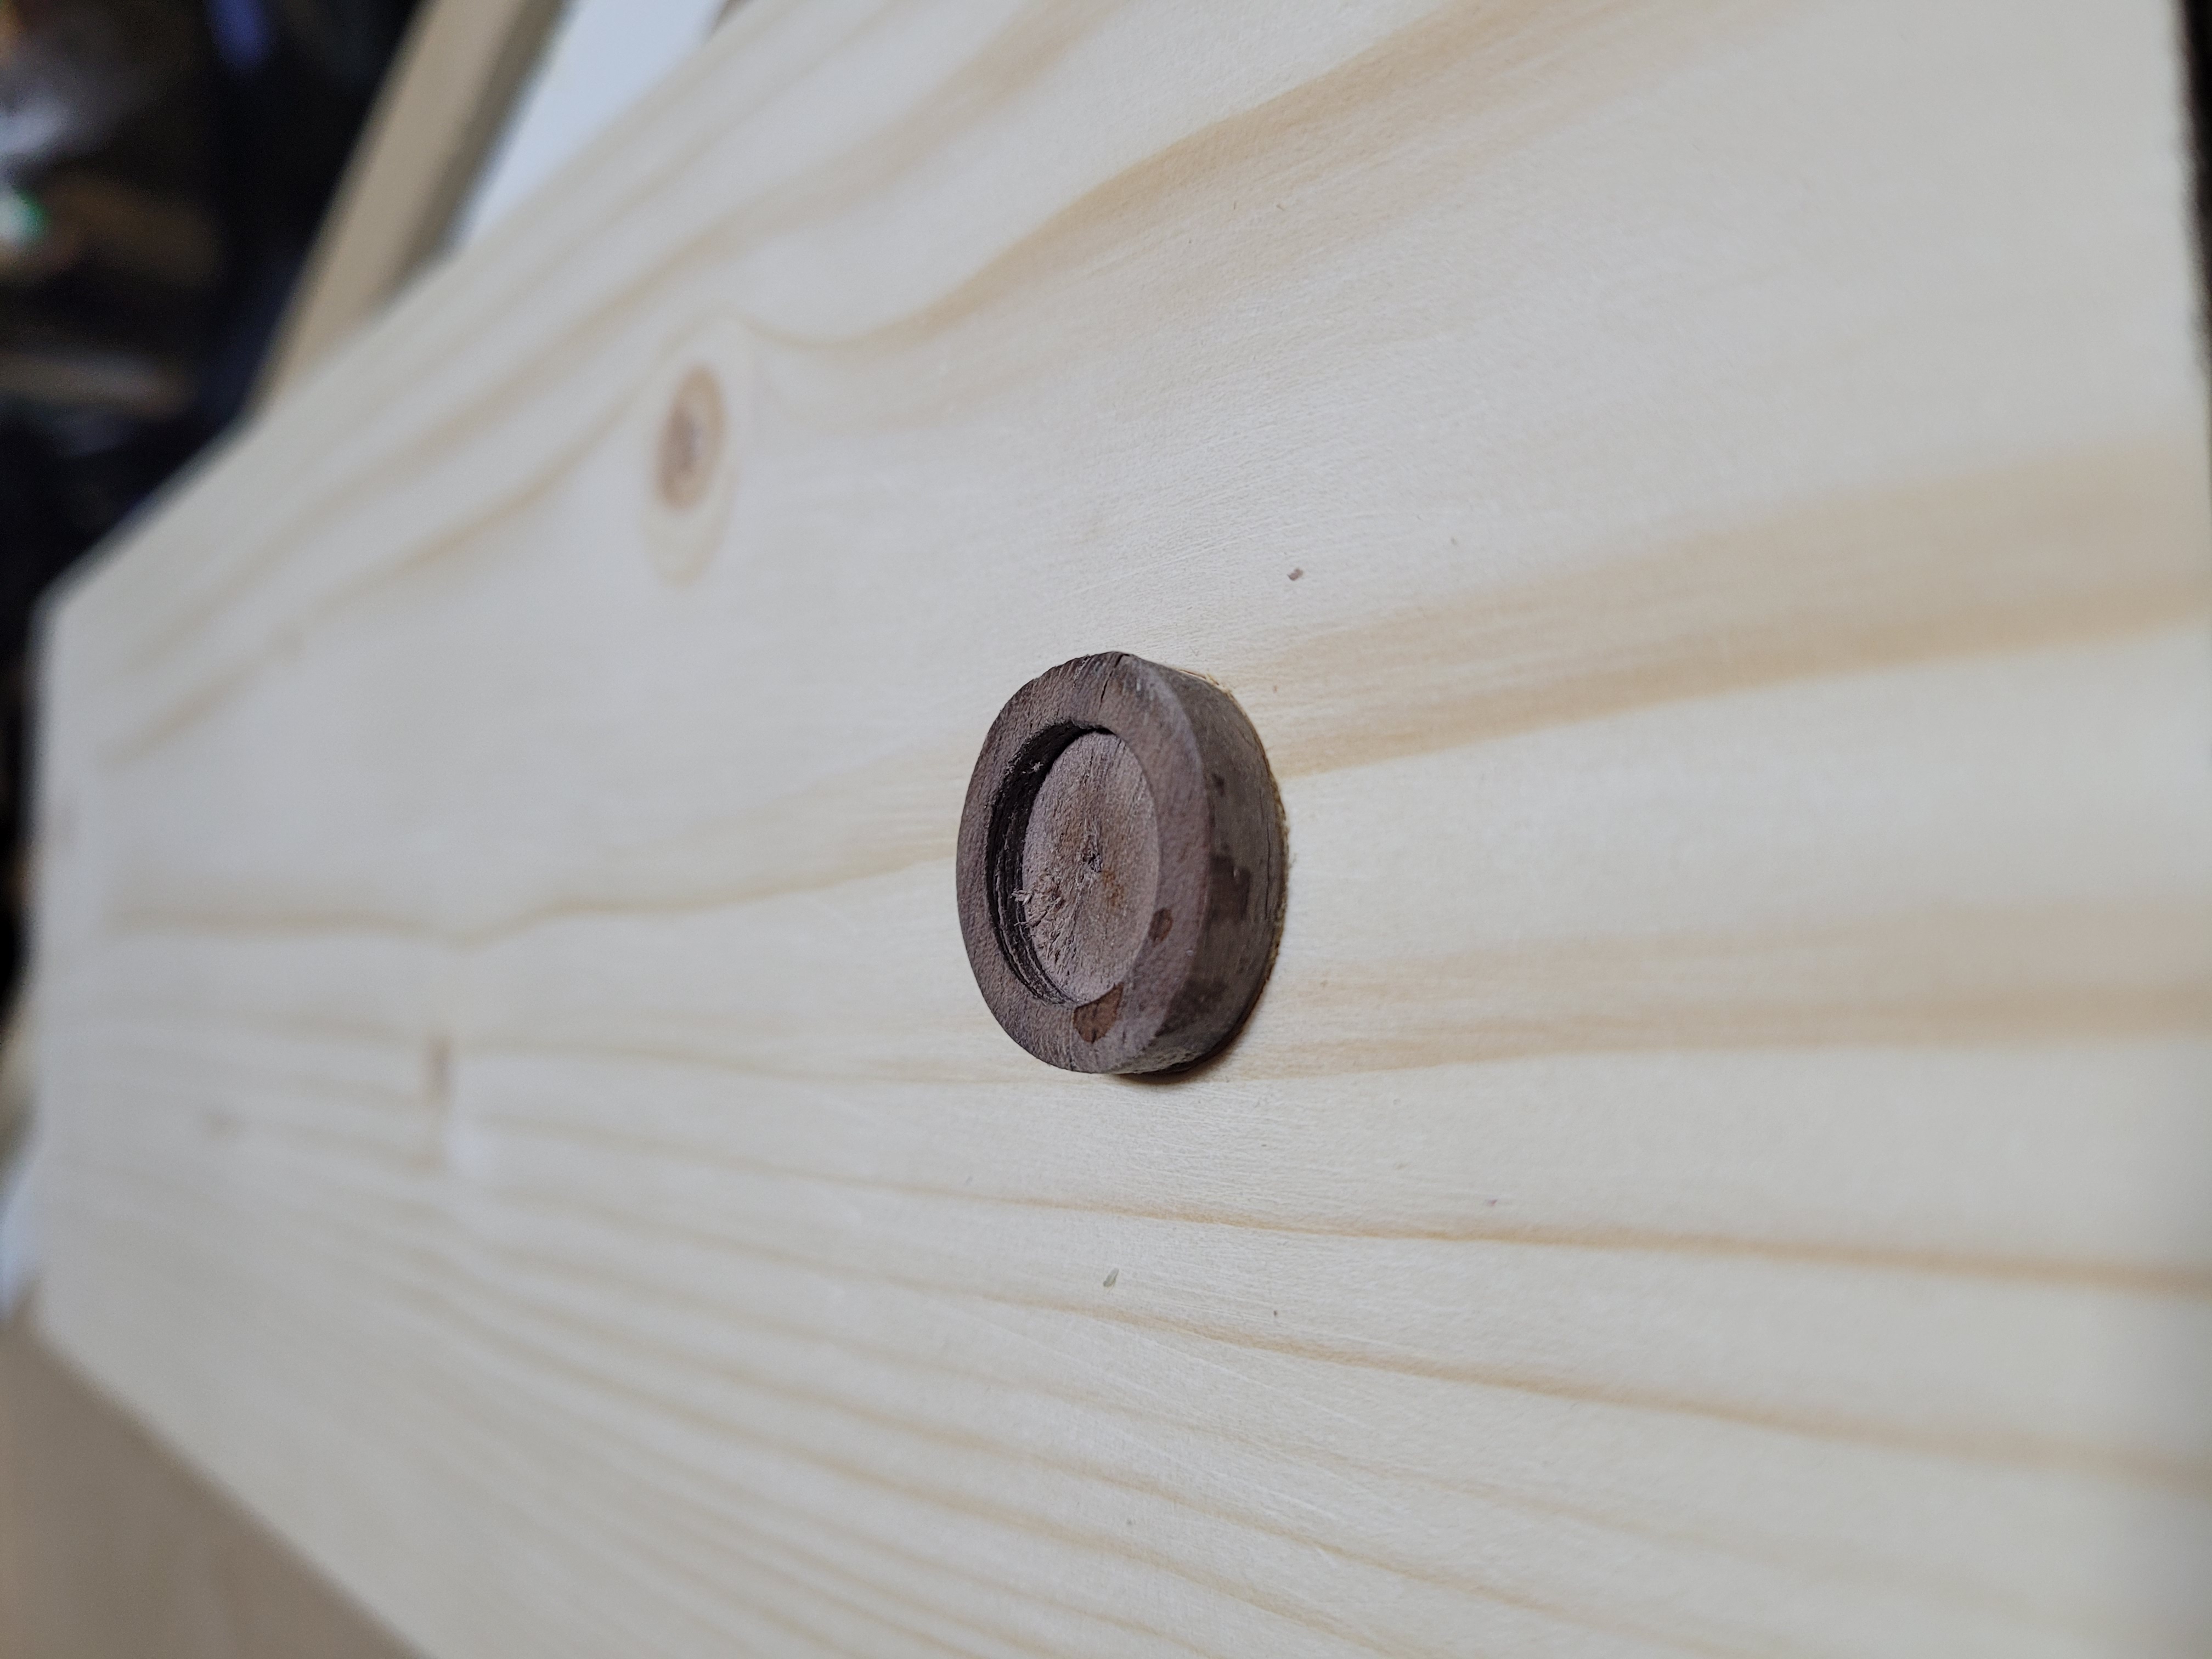
After several passes the cuts are deep enough, and its time to knock the button back off.
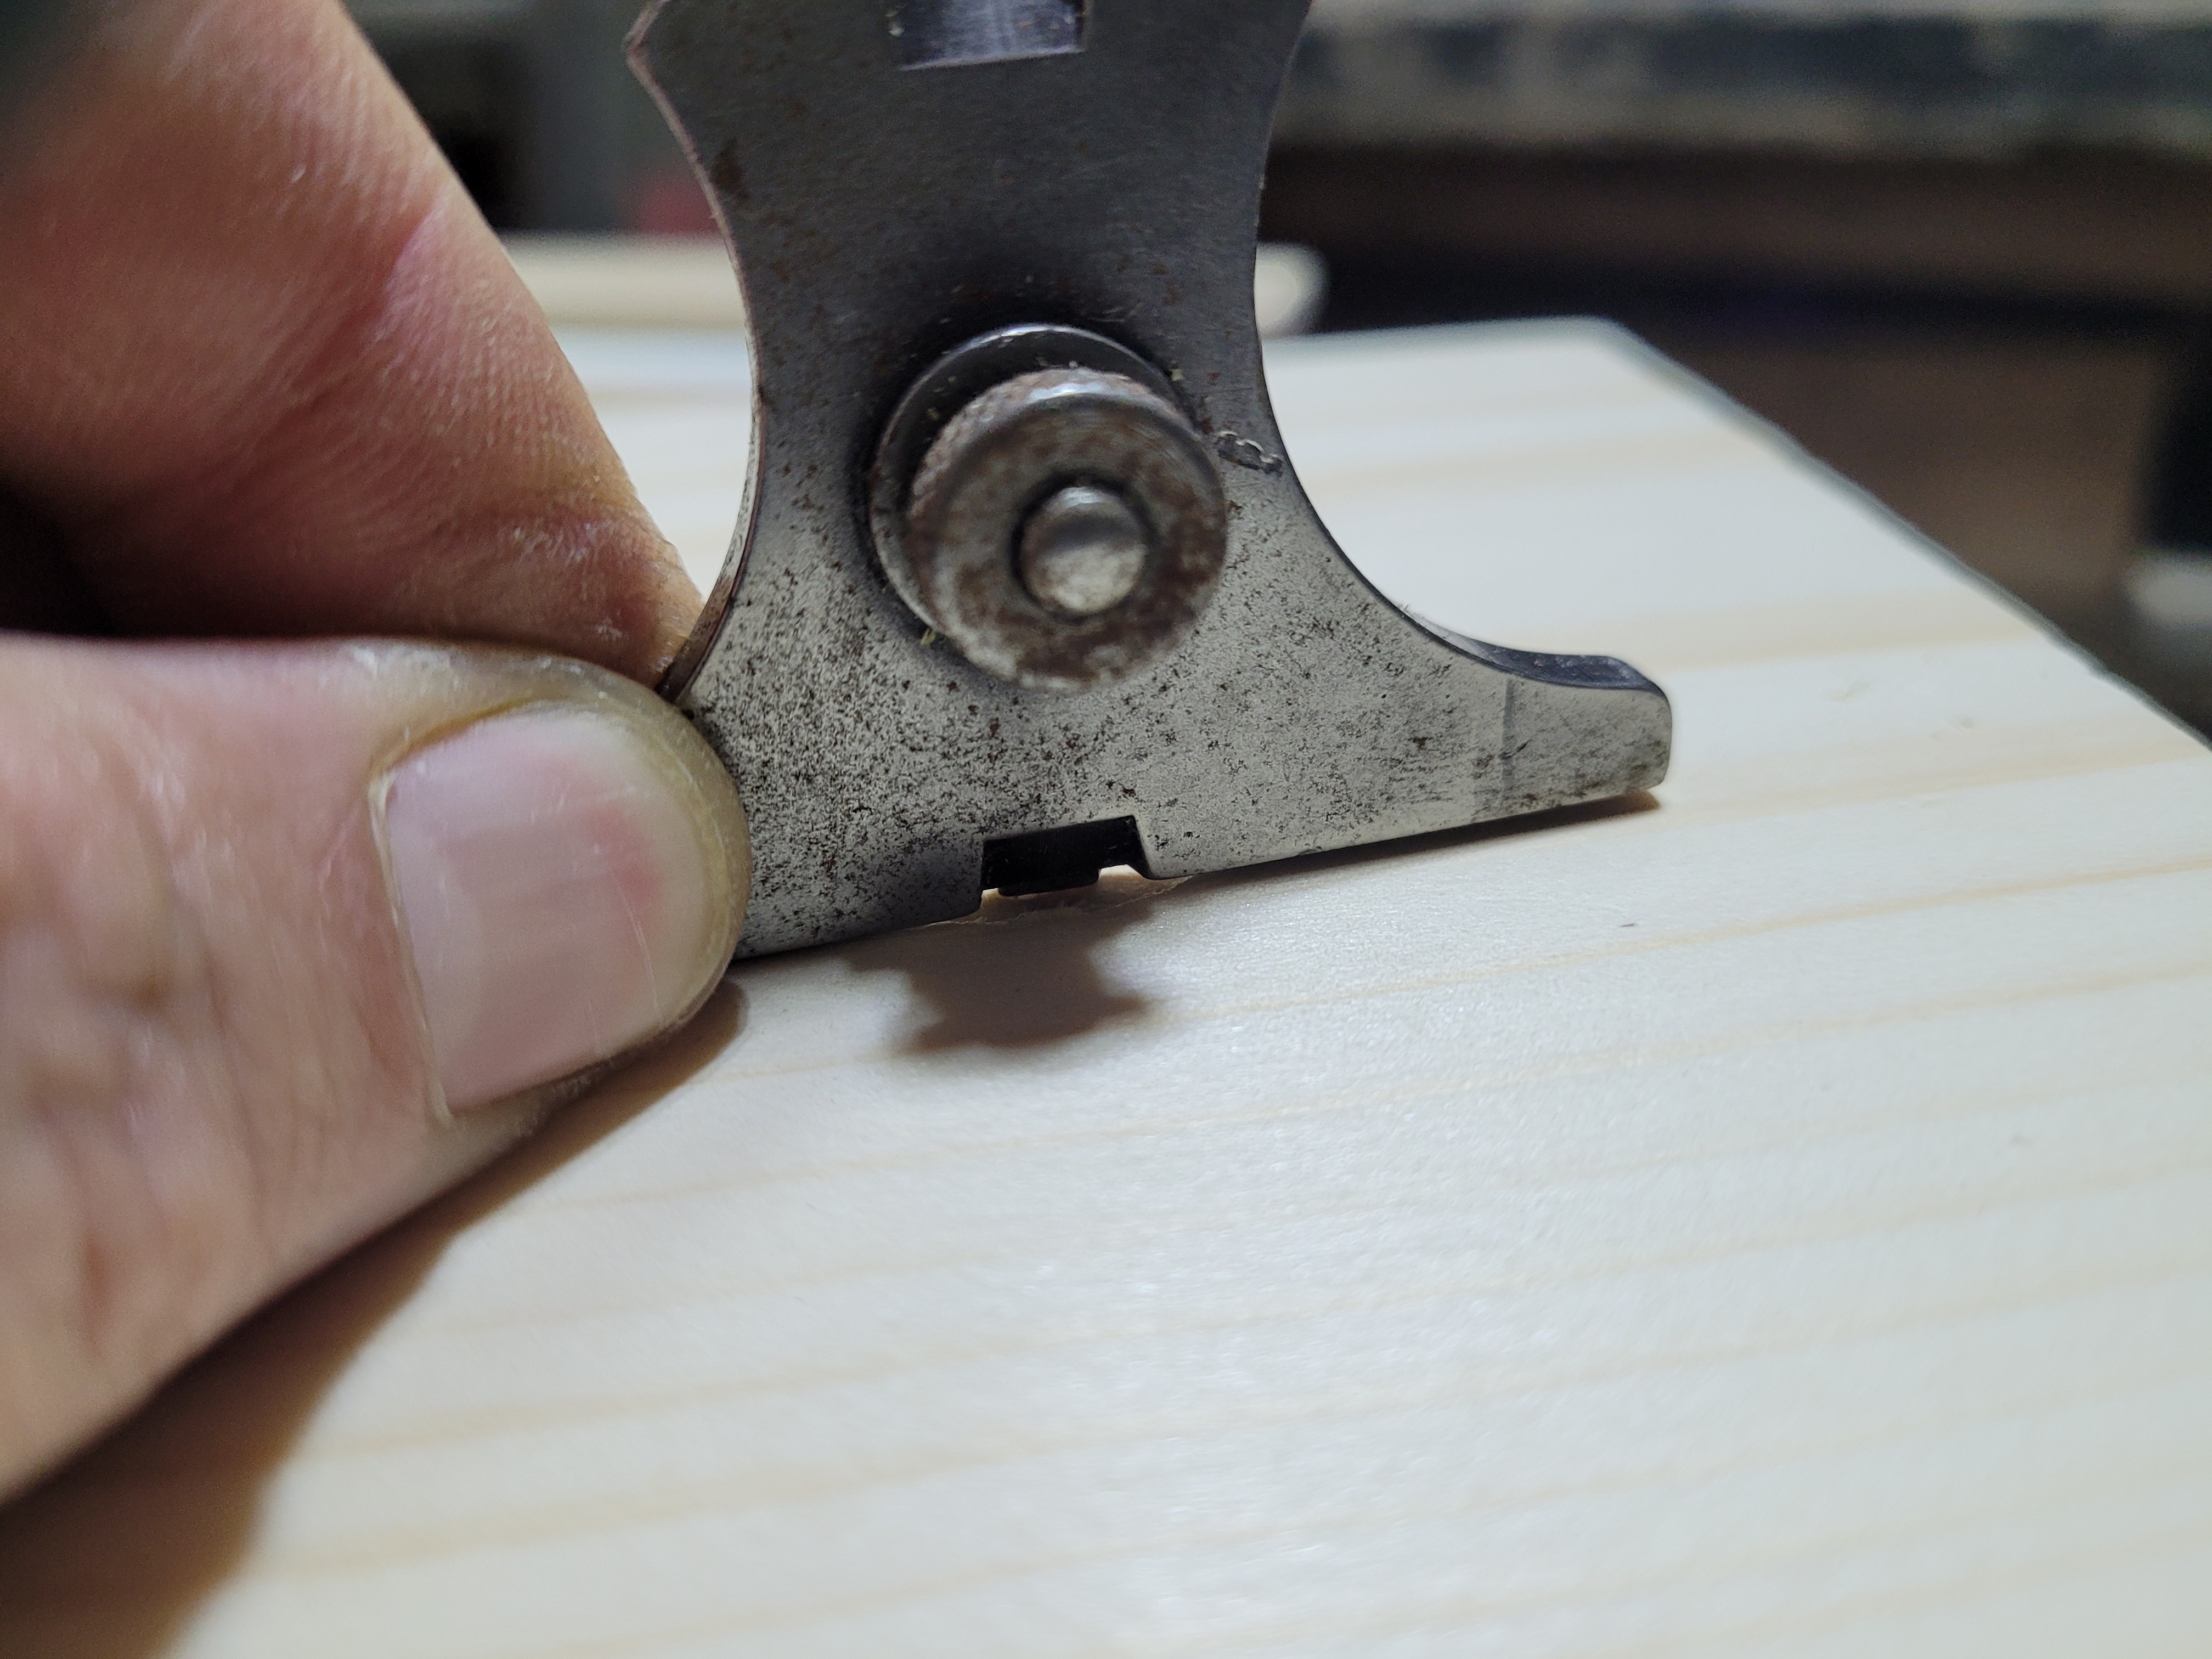
Knife wall in place, and nothing but a little glue discolouration on the bottom of the button.
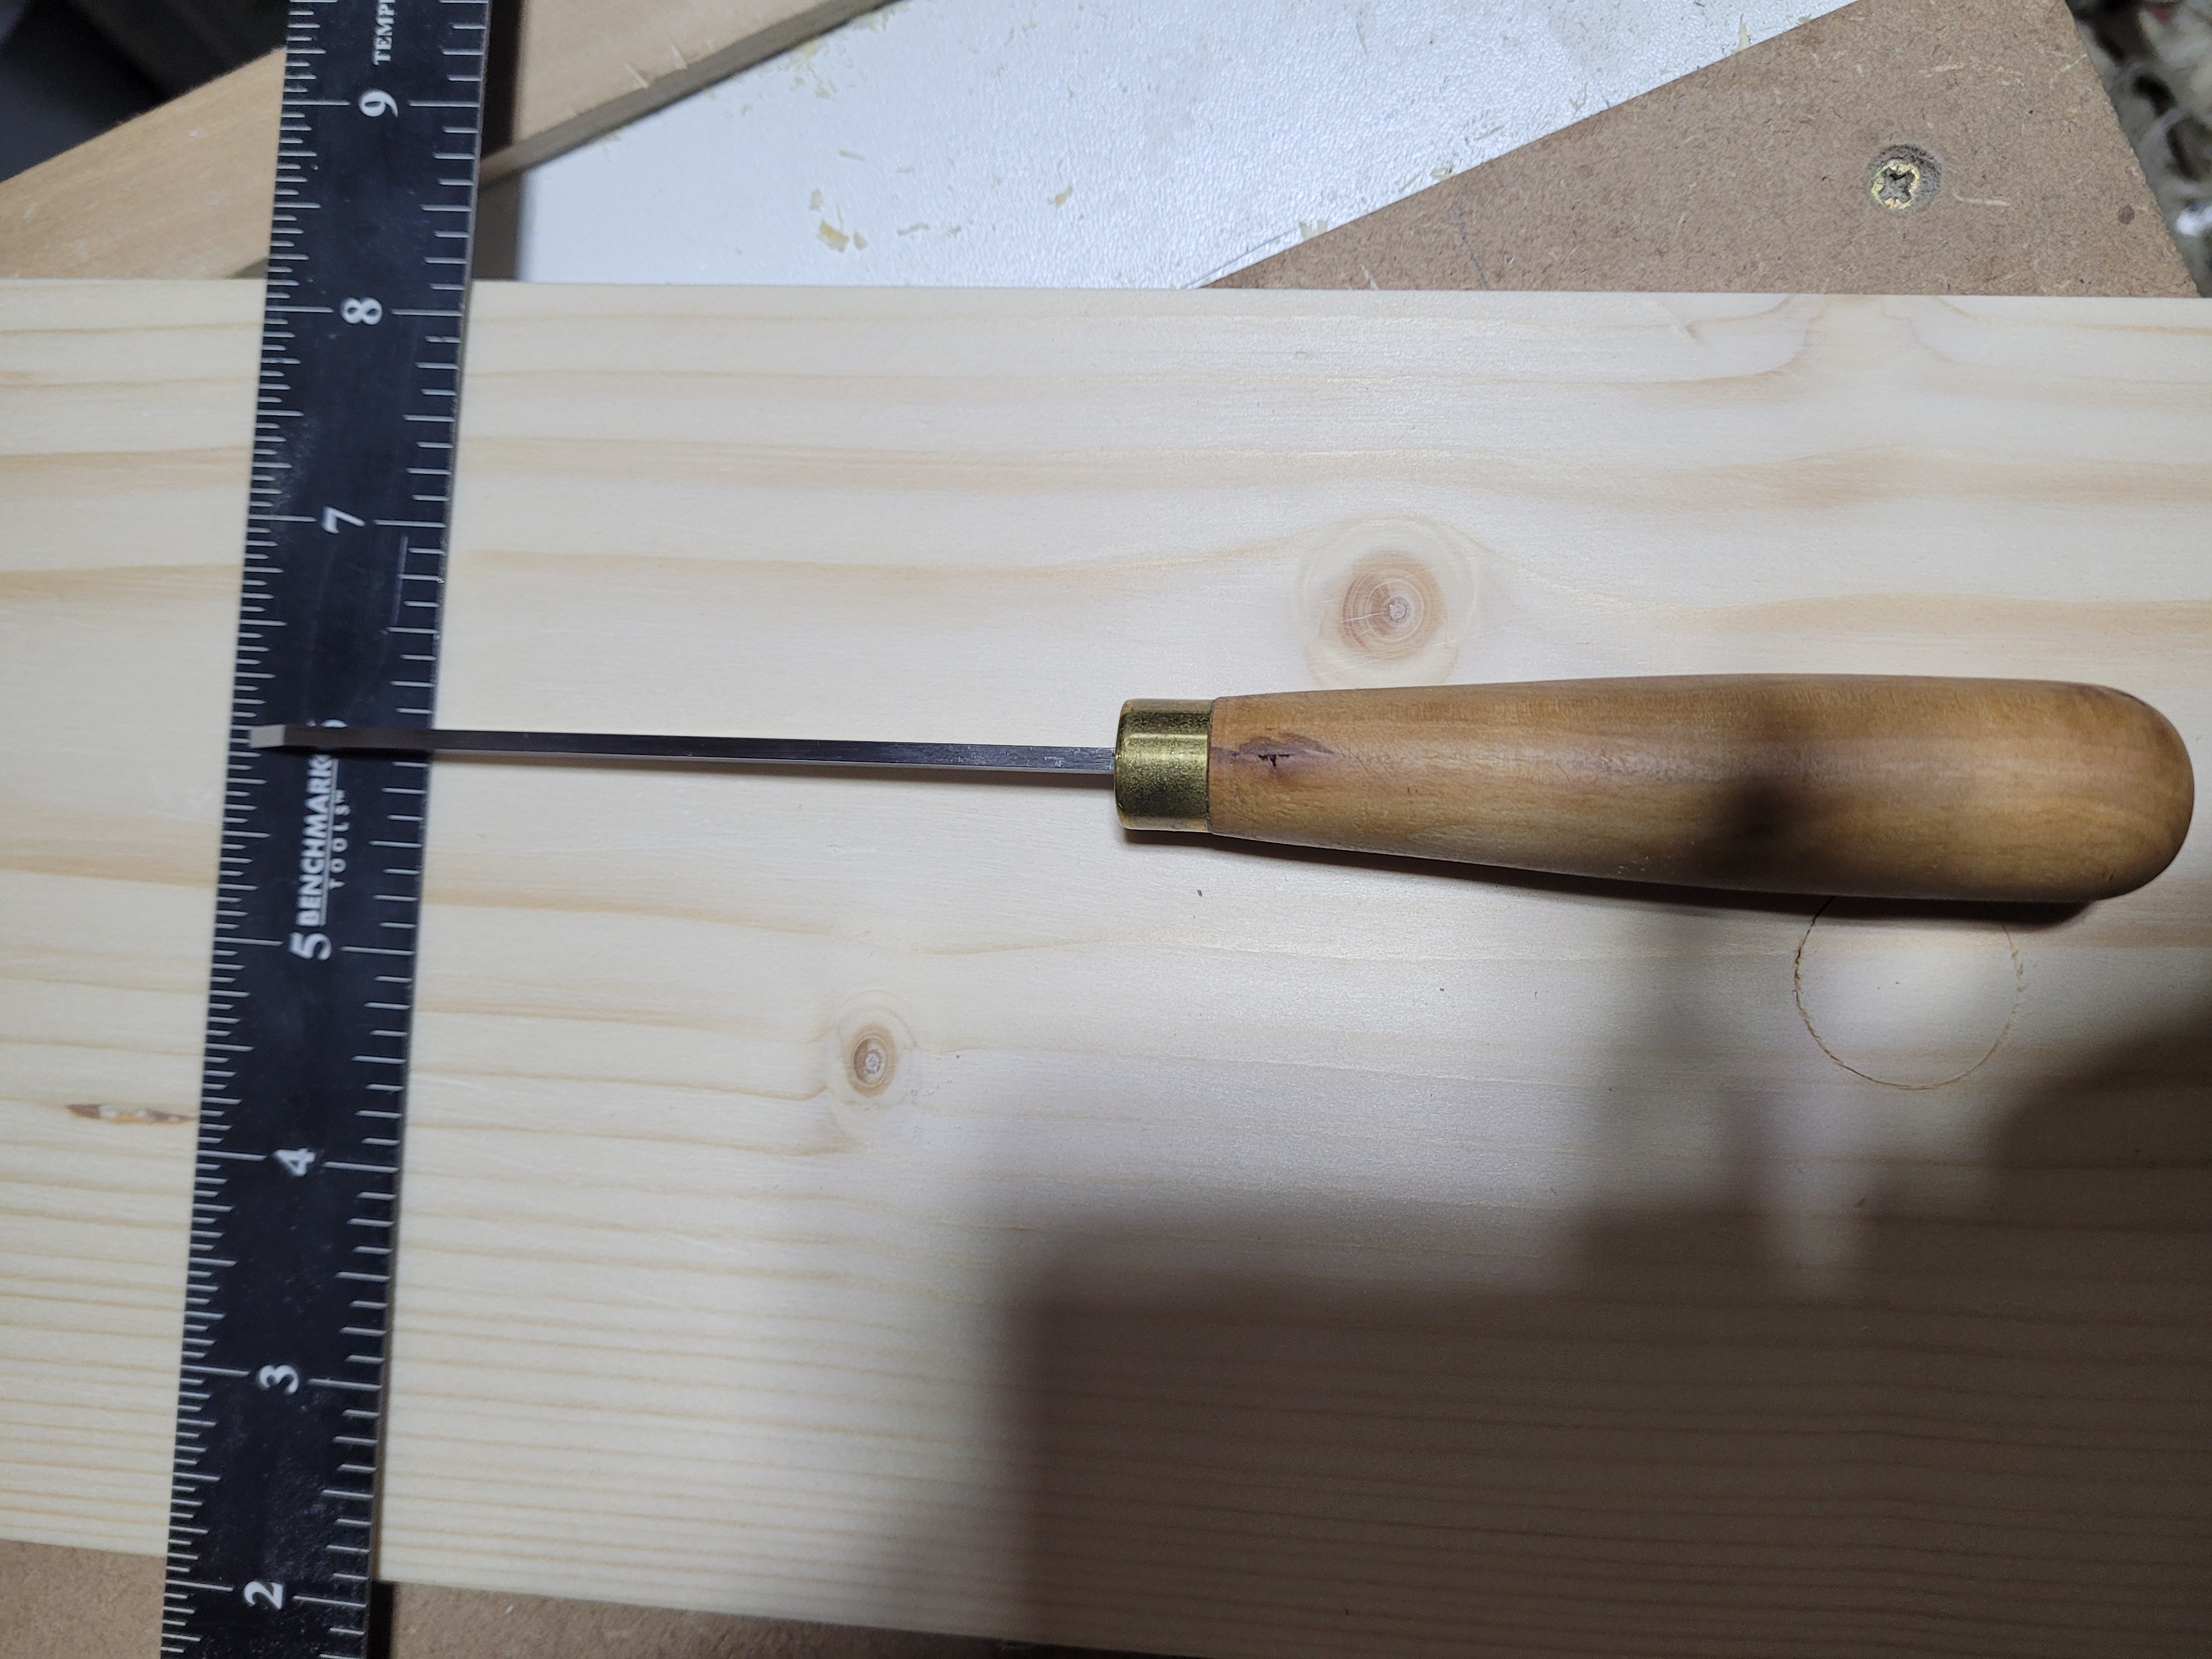
The smaller the chisel the better for curves. This 3/16th chisel from Gordon McCall is perfect for this job.
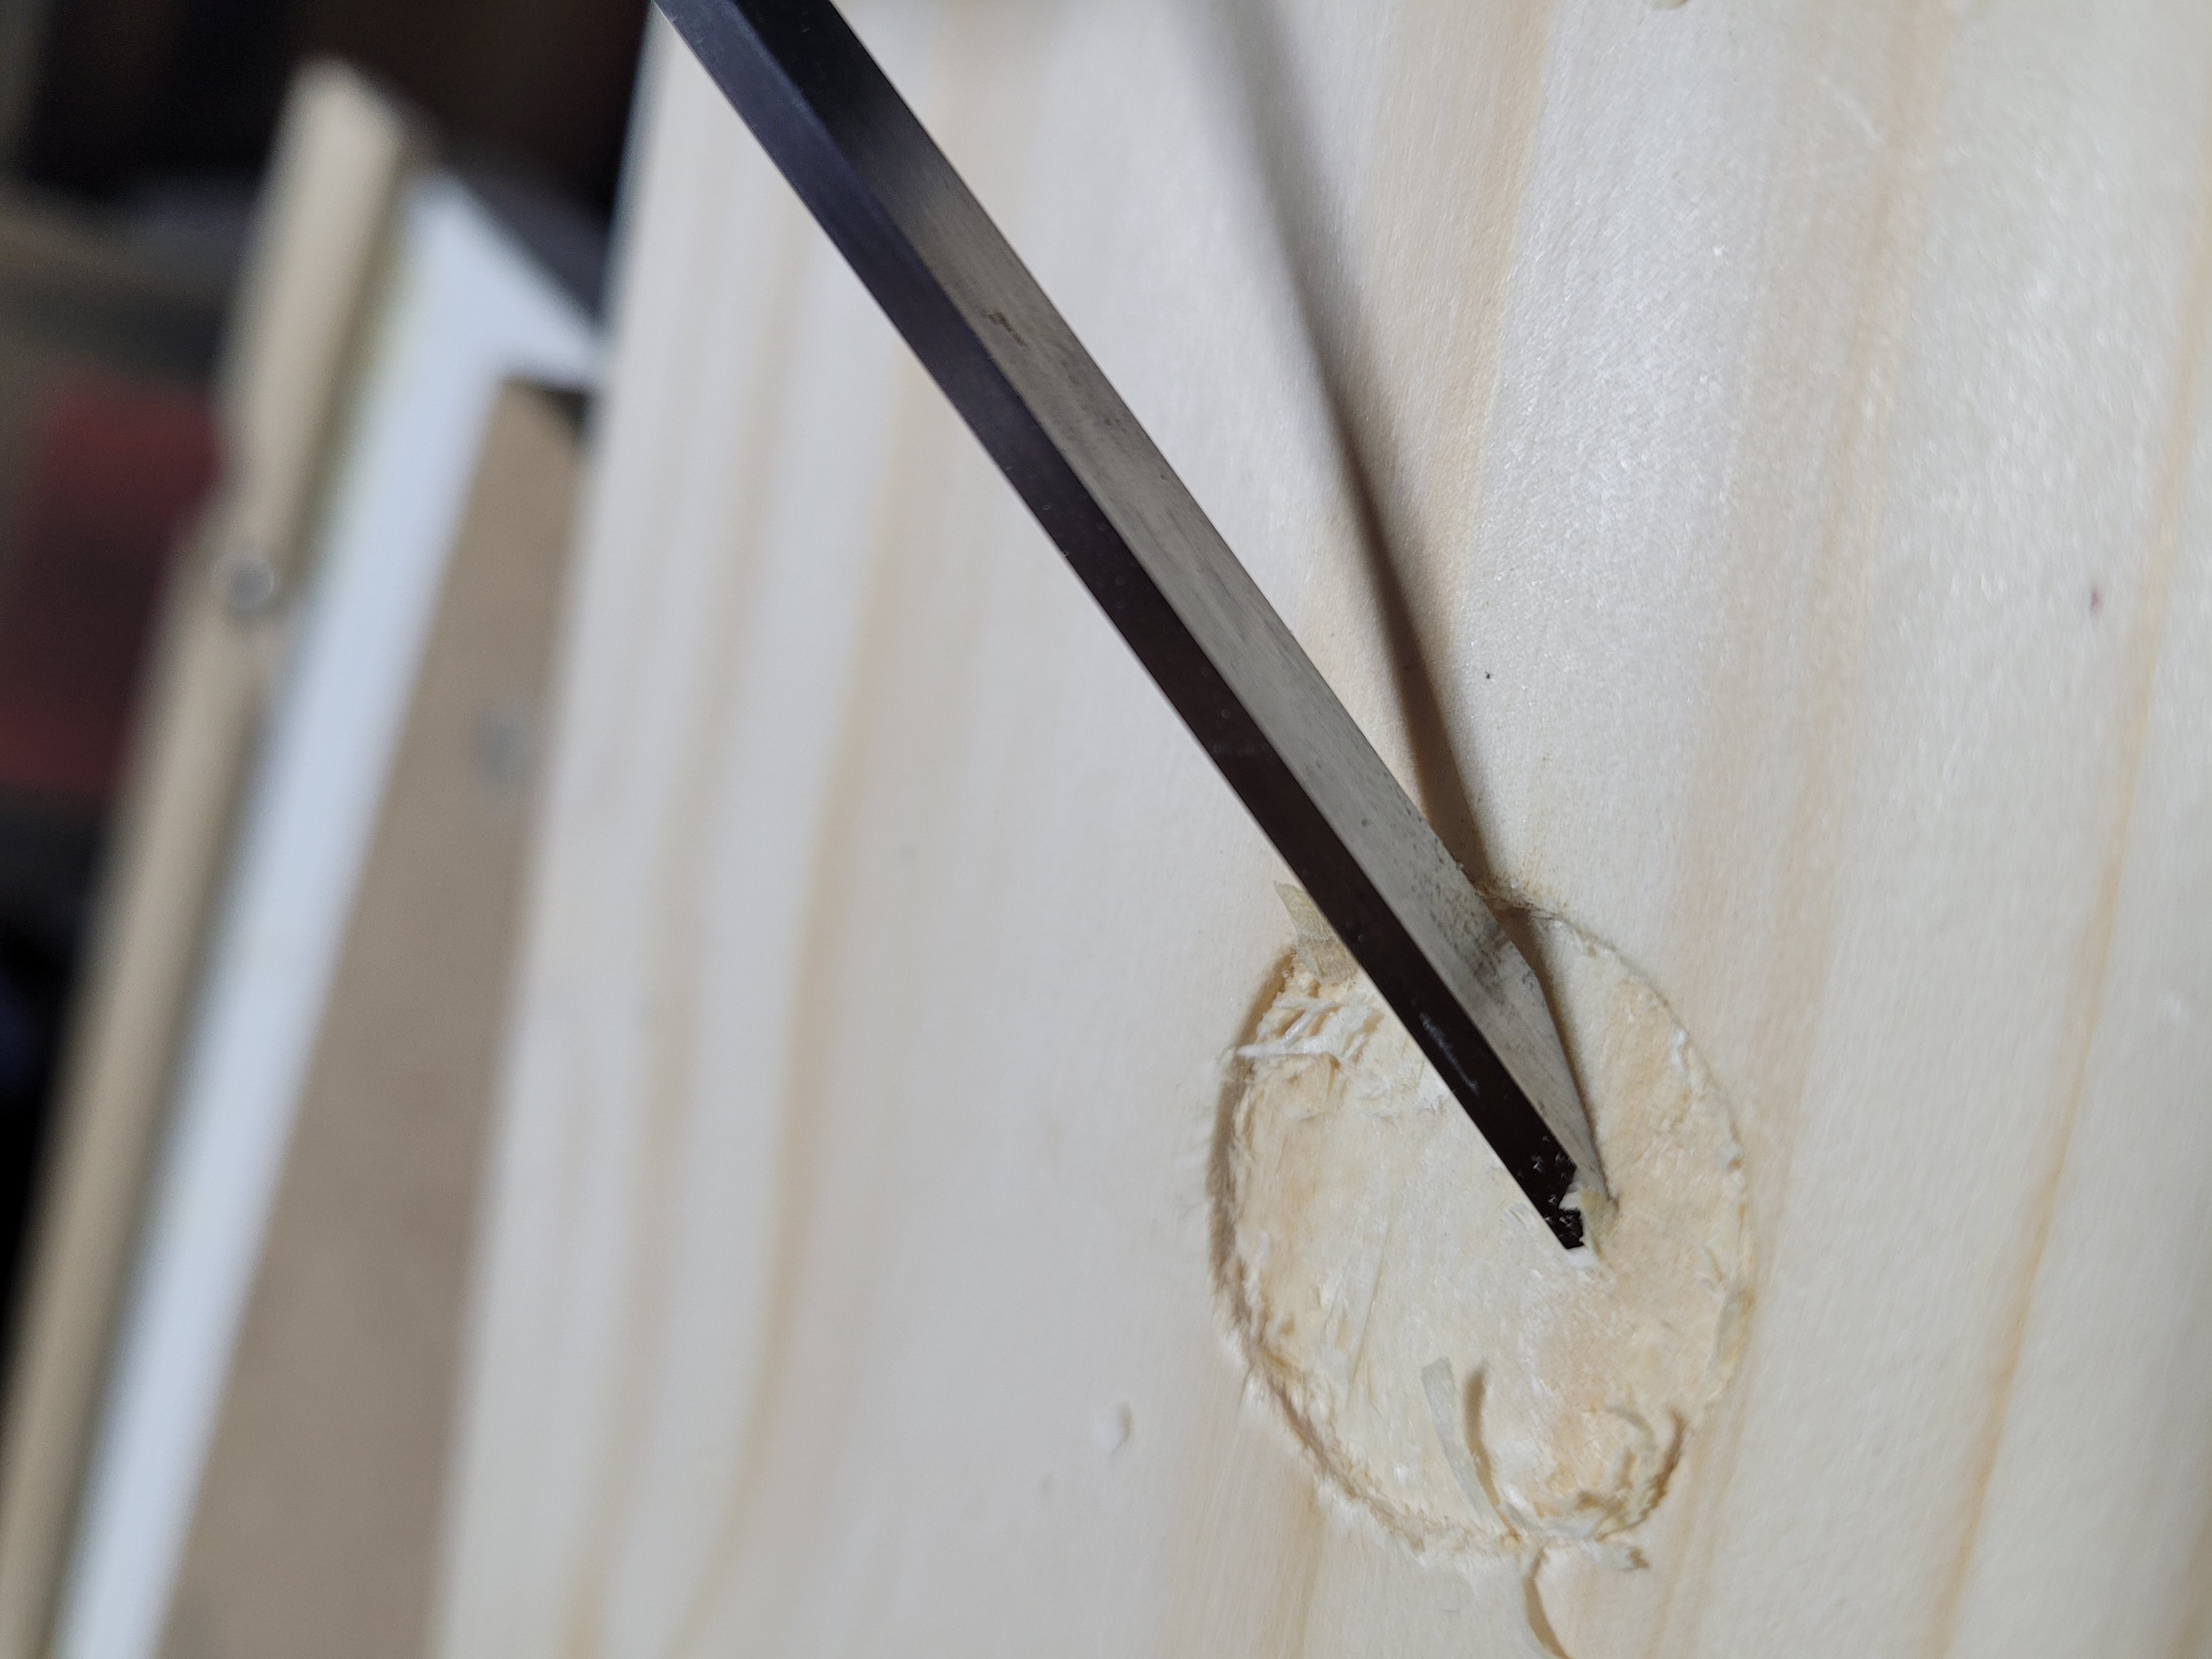
The very first cut. It takes very little force. Start just a little way from the edge. Work bevel down to control depth, and the chip should just fall away as you reach the knife line.
A few overlapping cuts in, so far so good.
You can see as I start to make cross grain cuts its a little harder to have the chip just fall away. Slow down, use overlapping cuts to see where the chisel is, and use the knife to sever them if necessary.
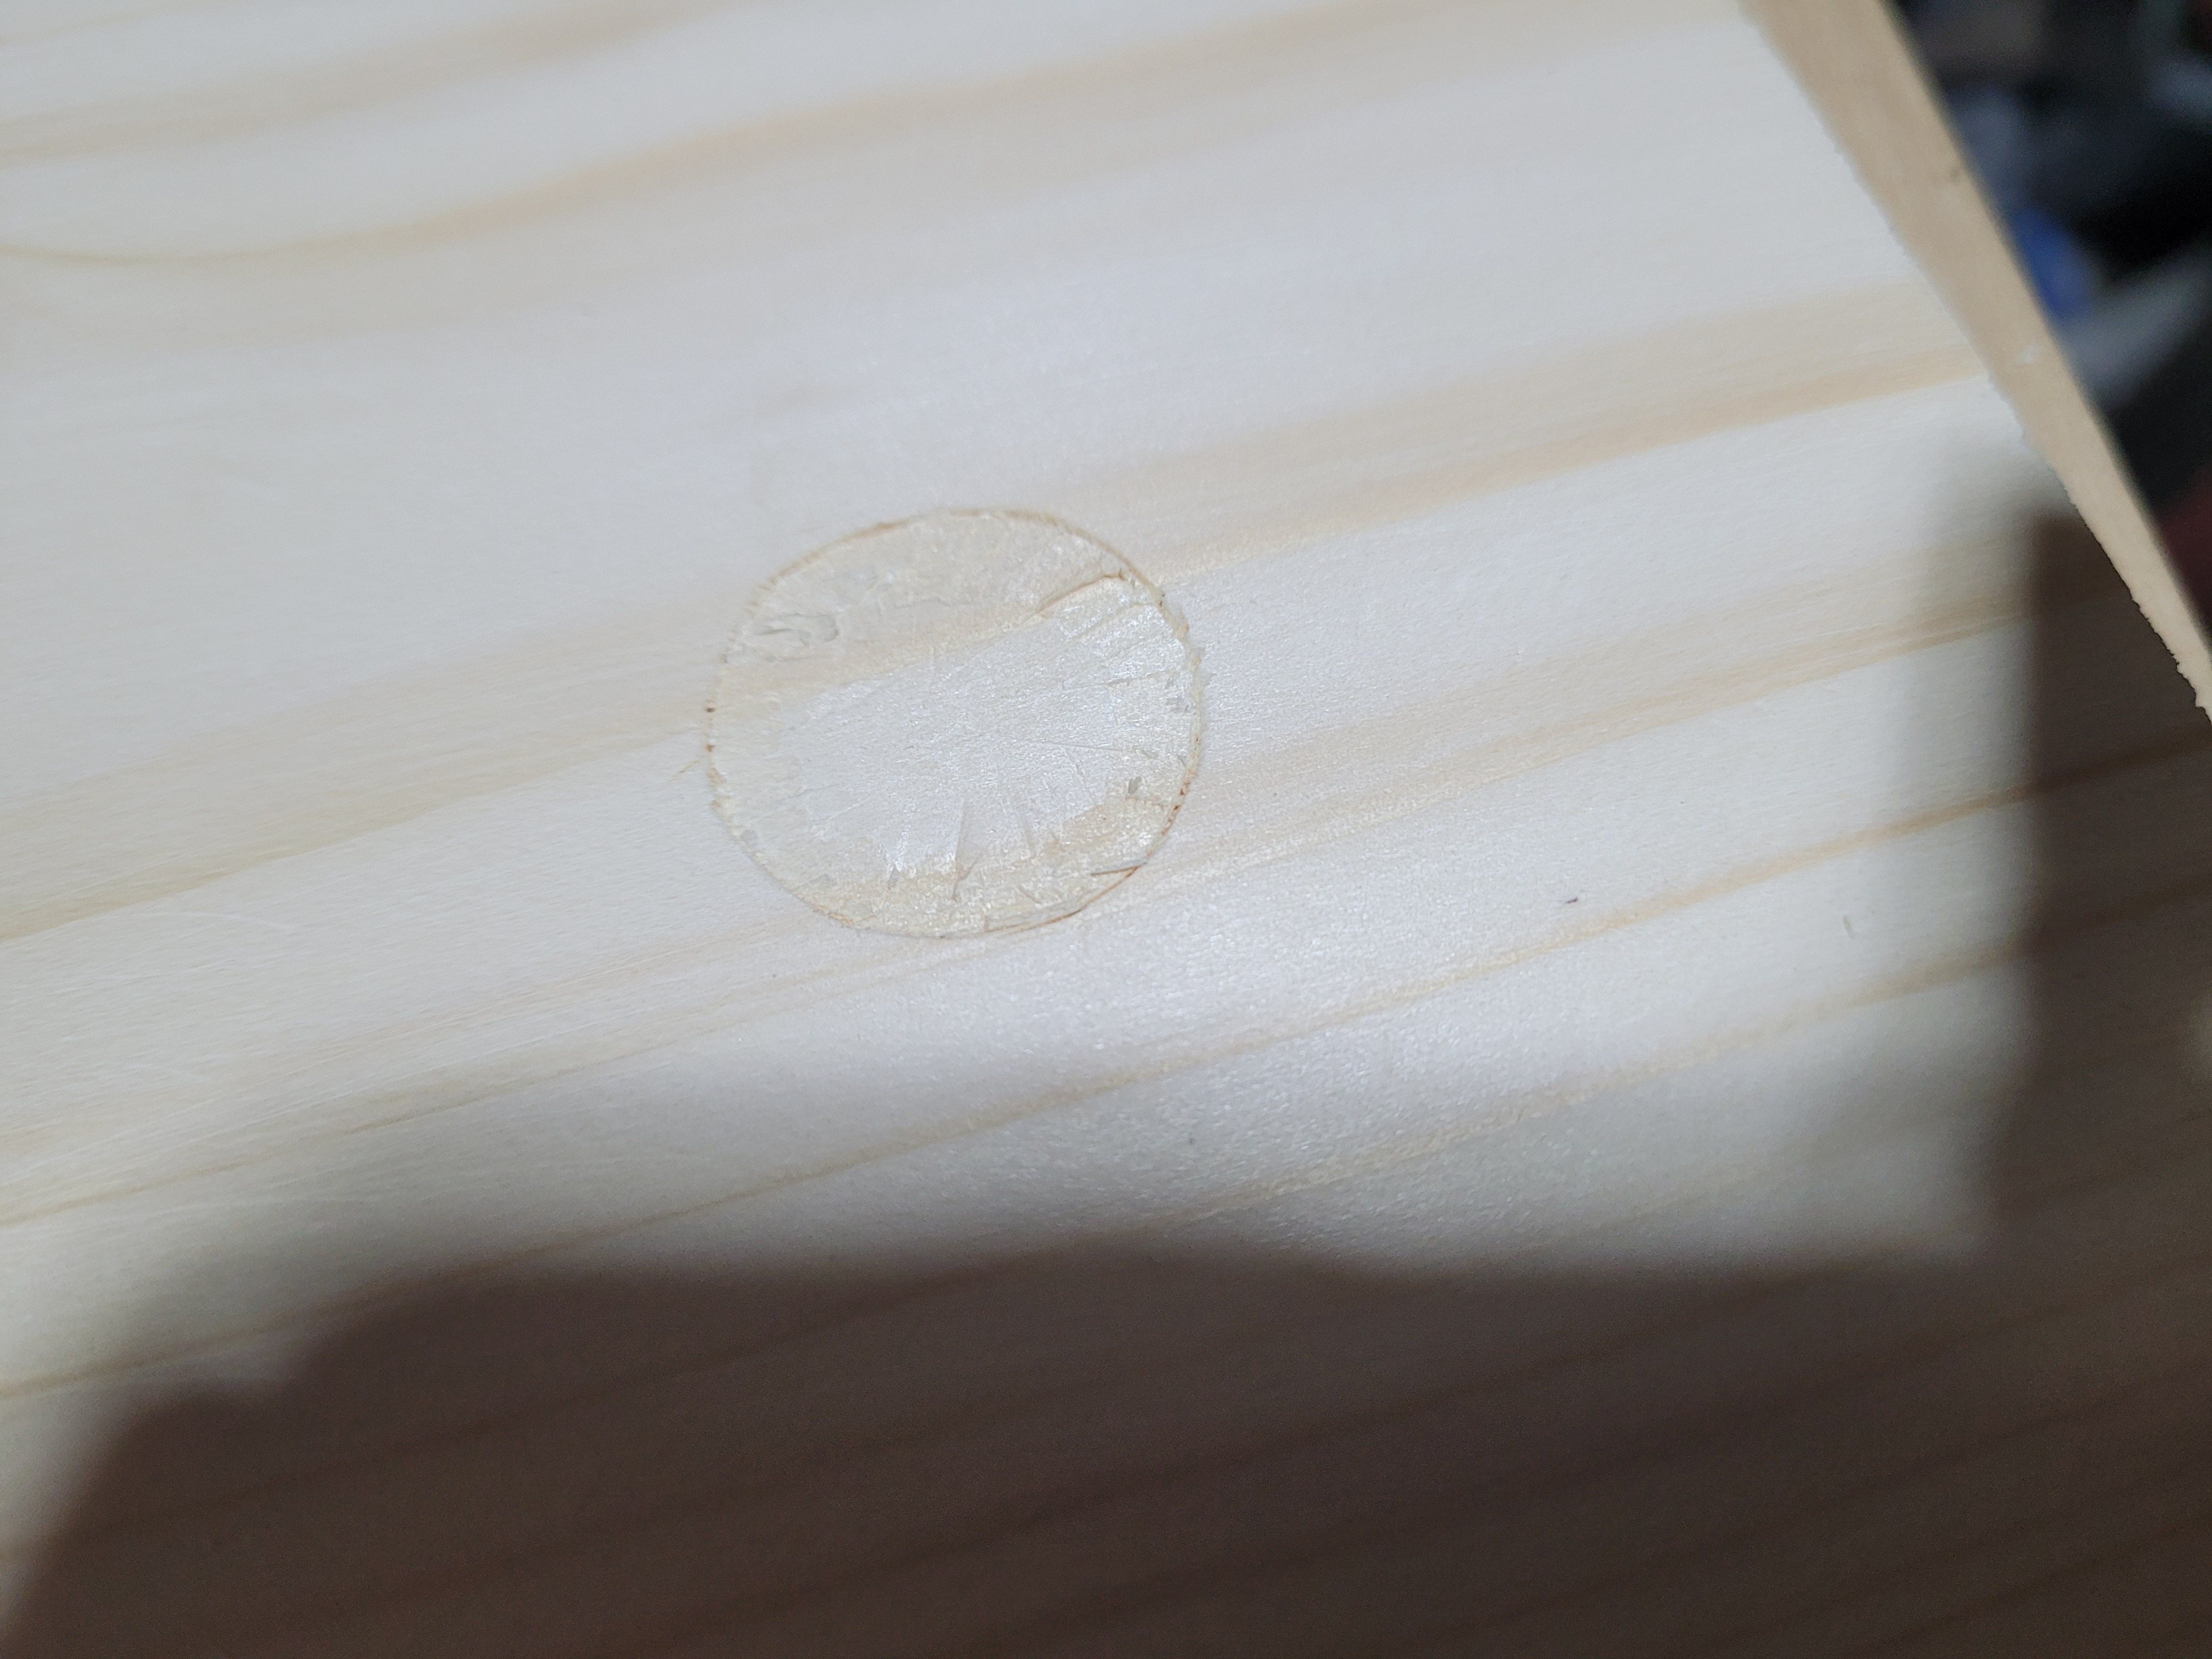
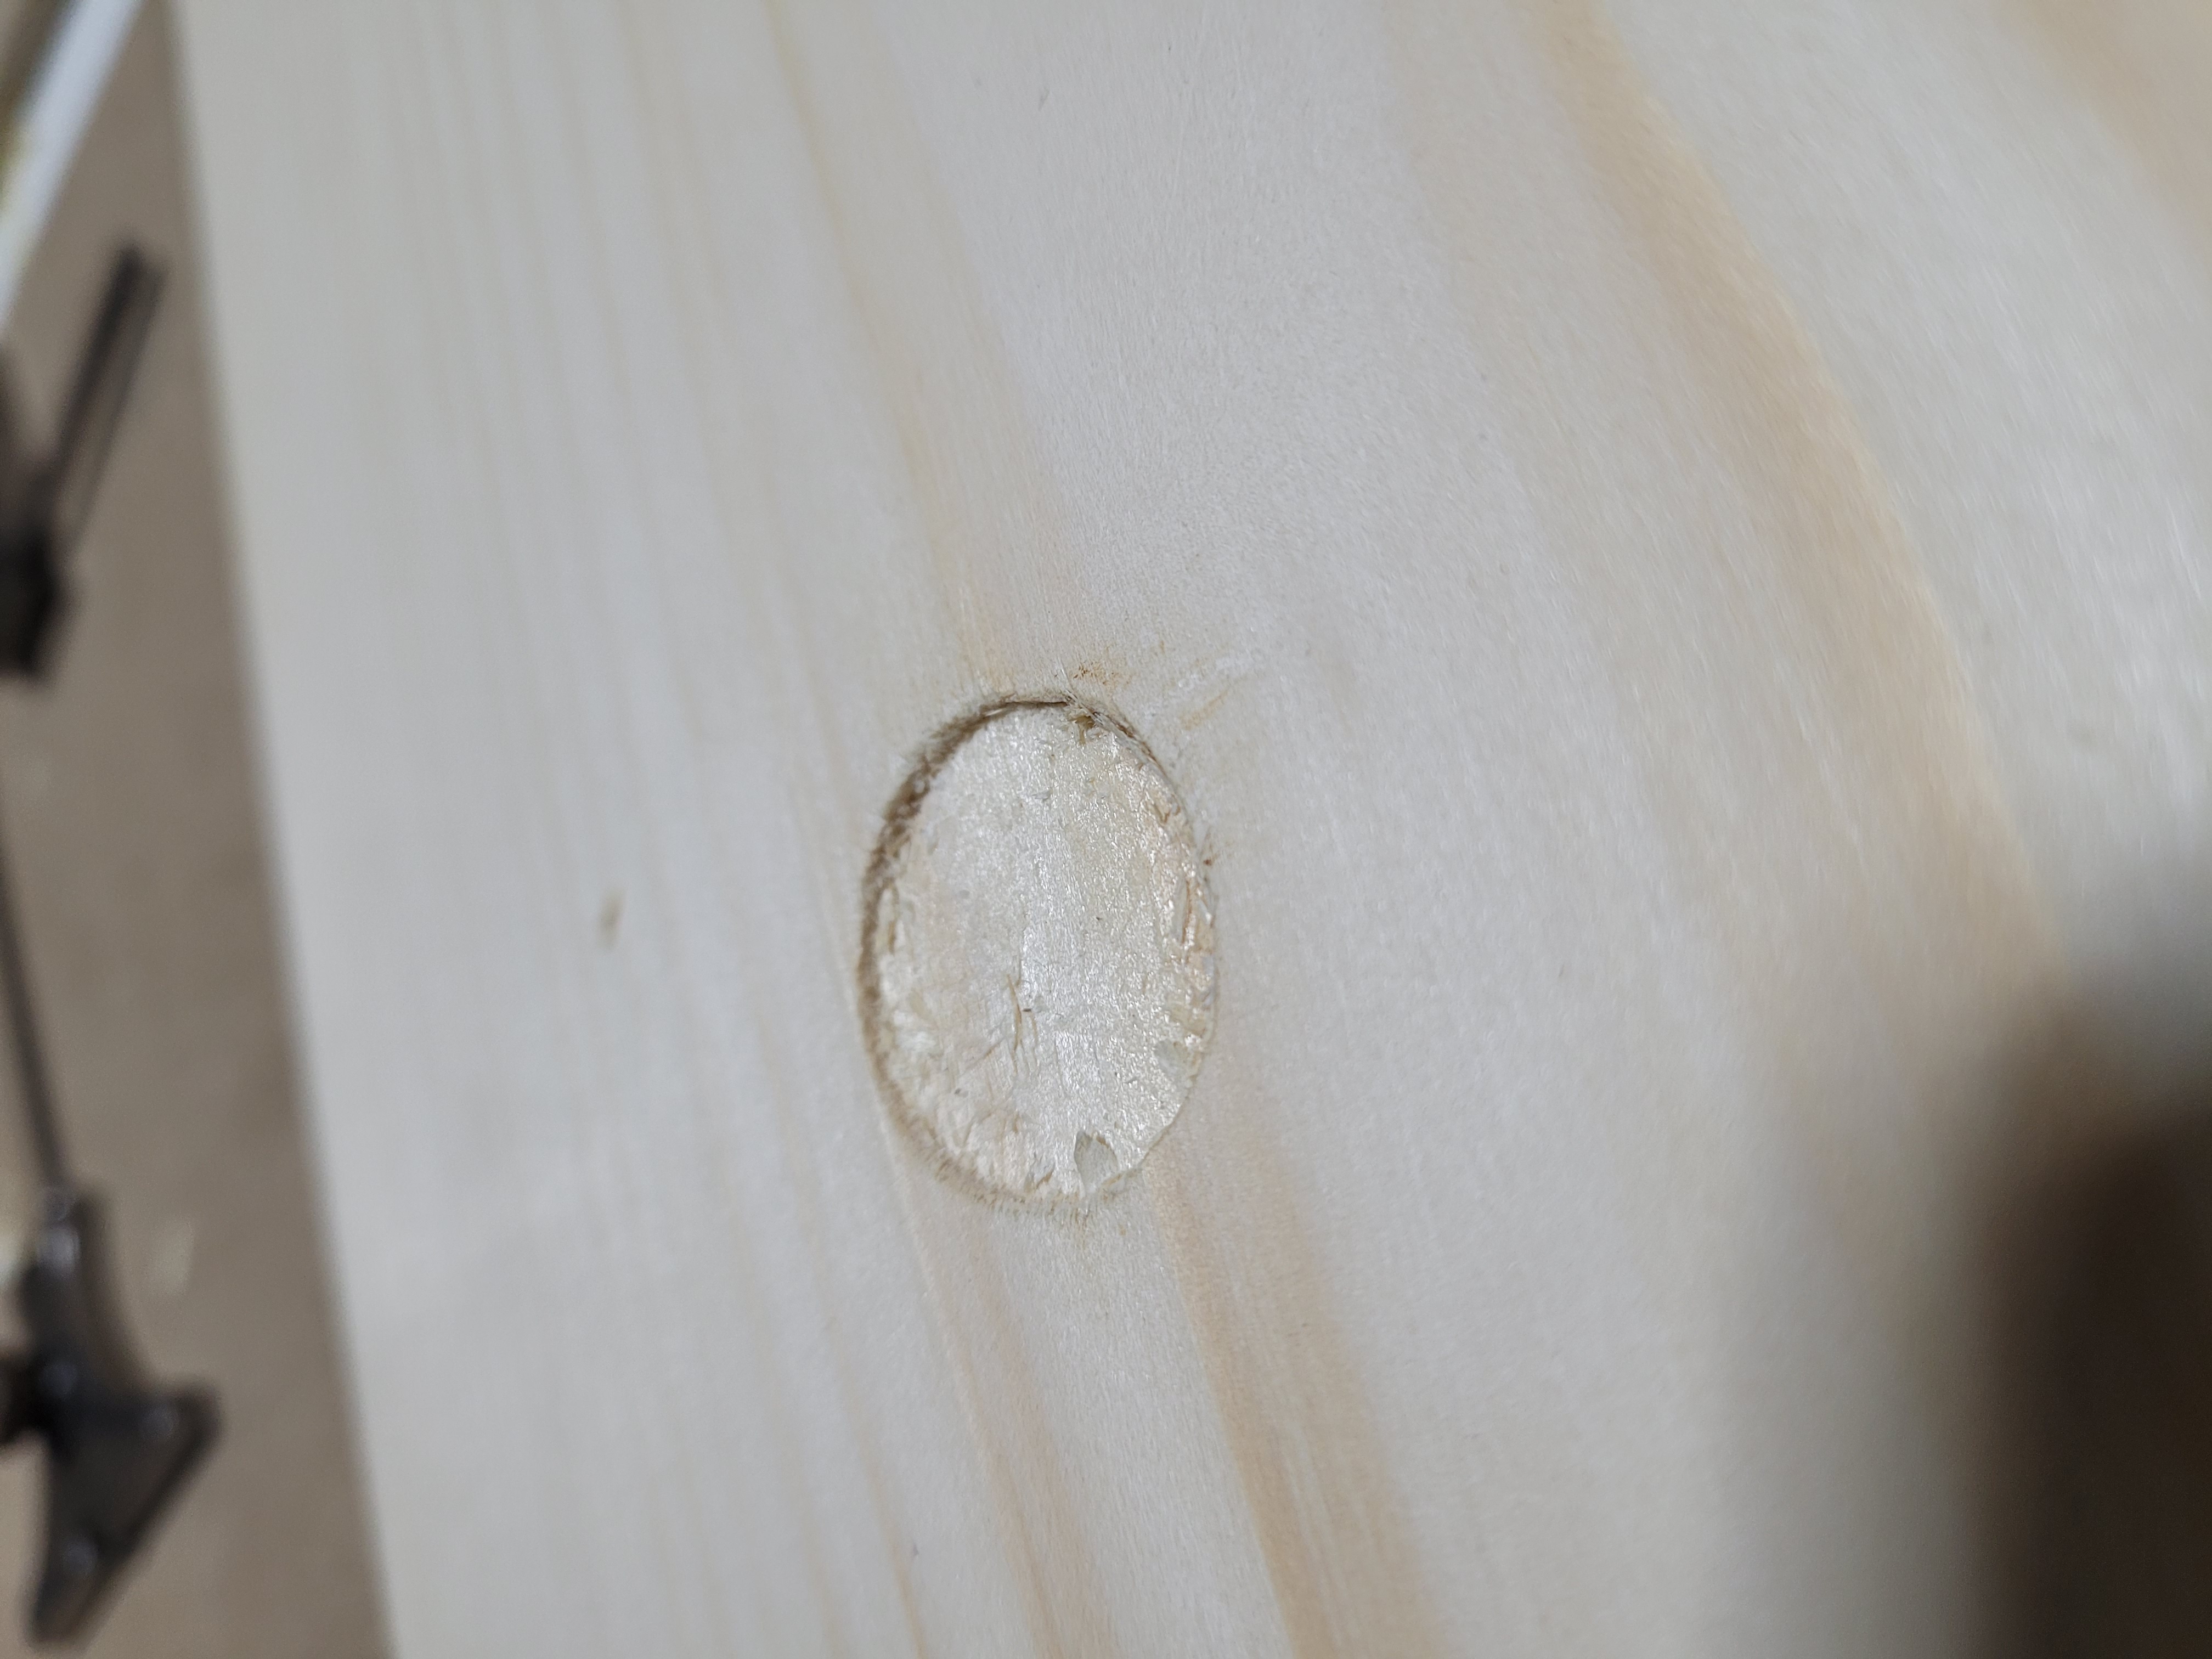
First lap complete

Deepen the knife line
Second lap complete
And a third. This is about as deep as I need.
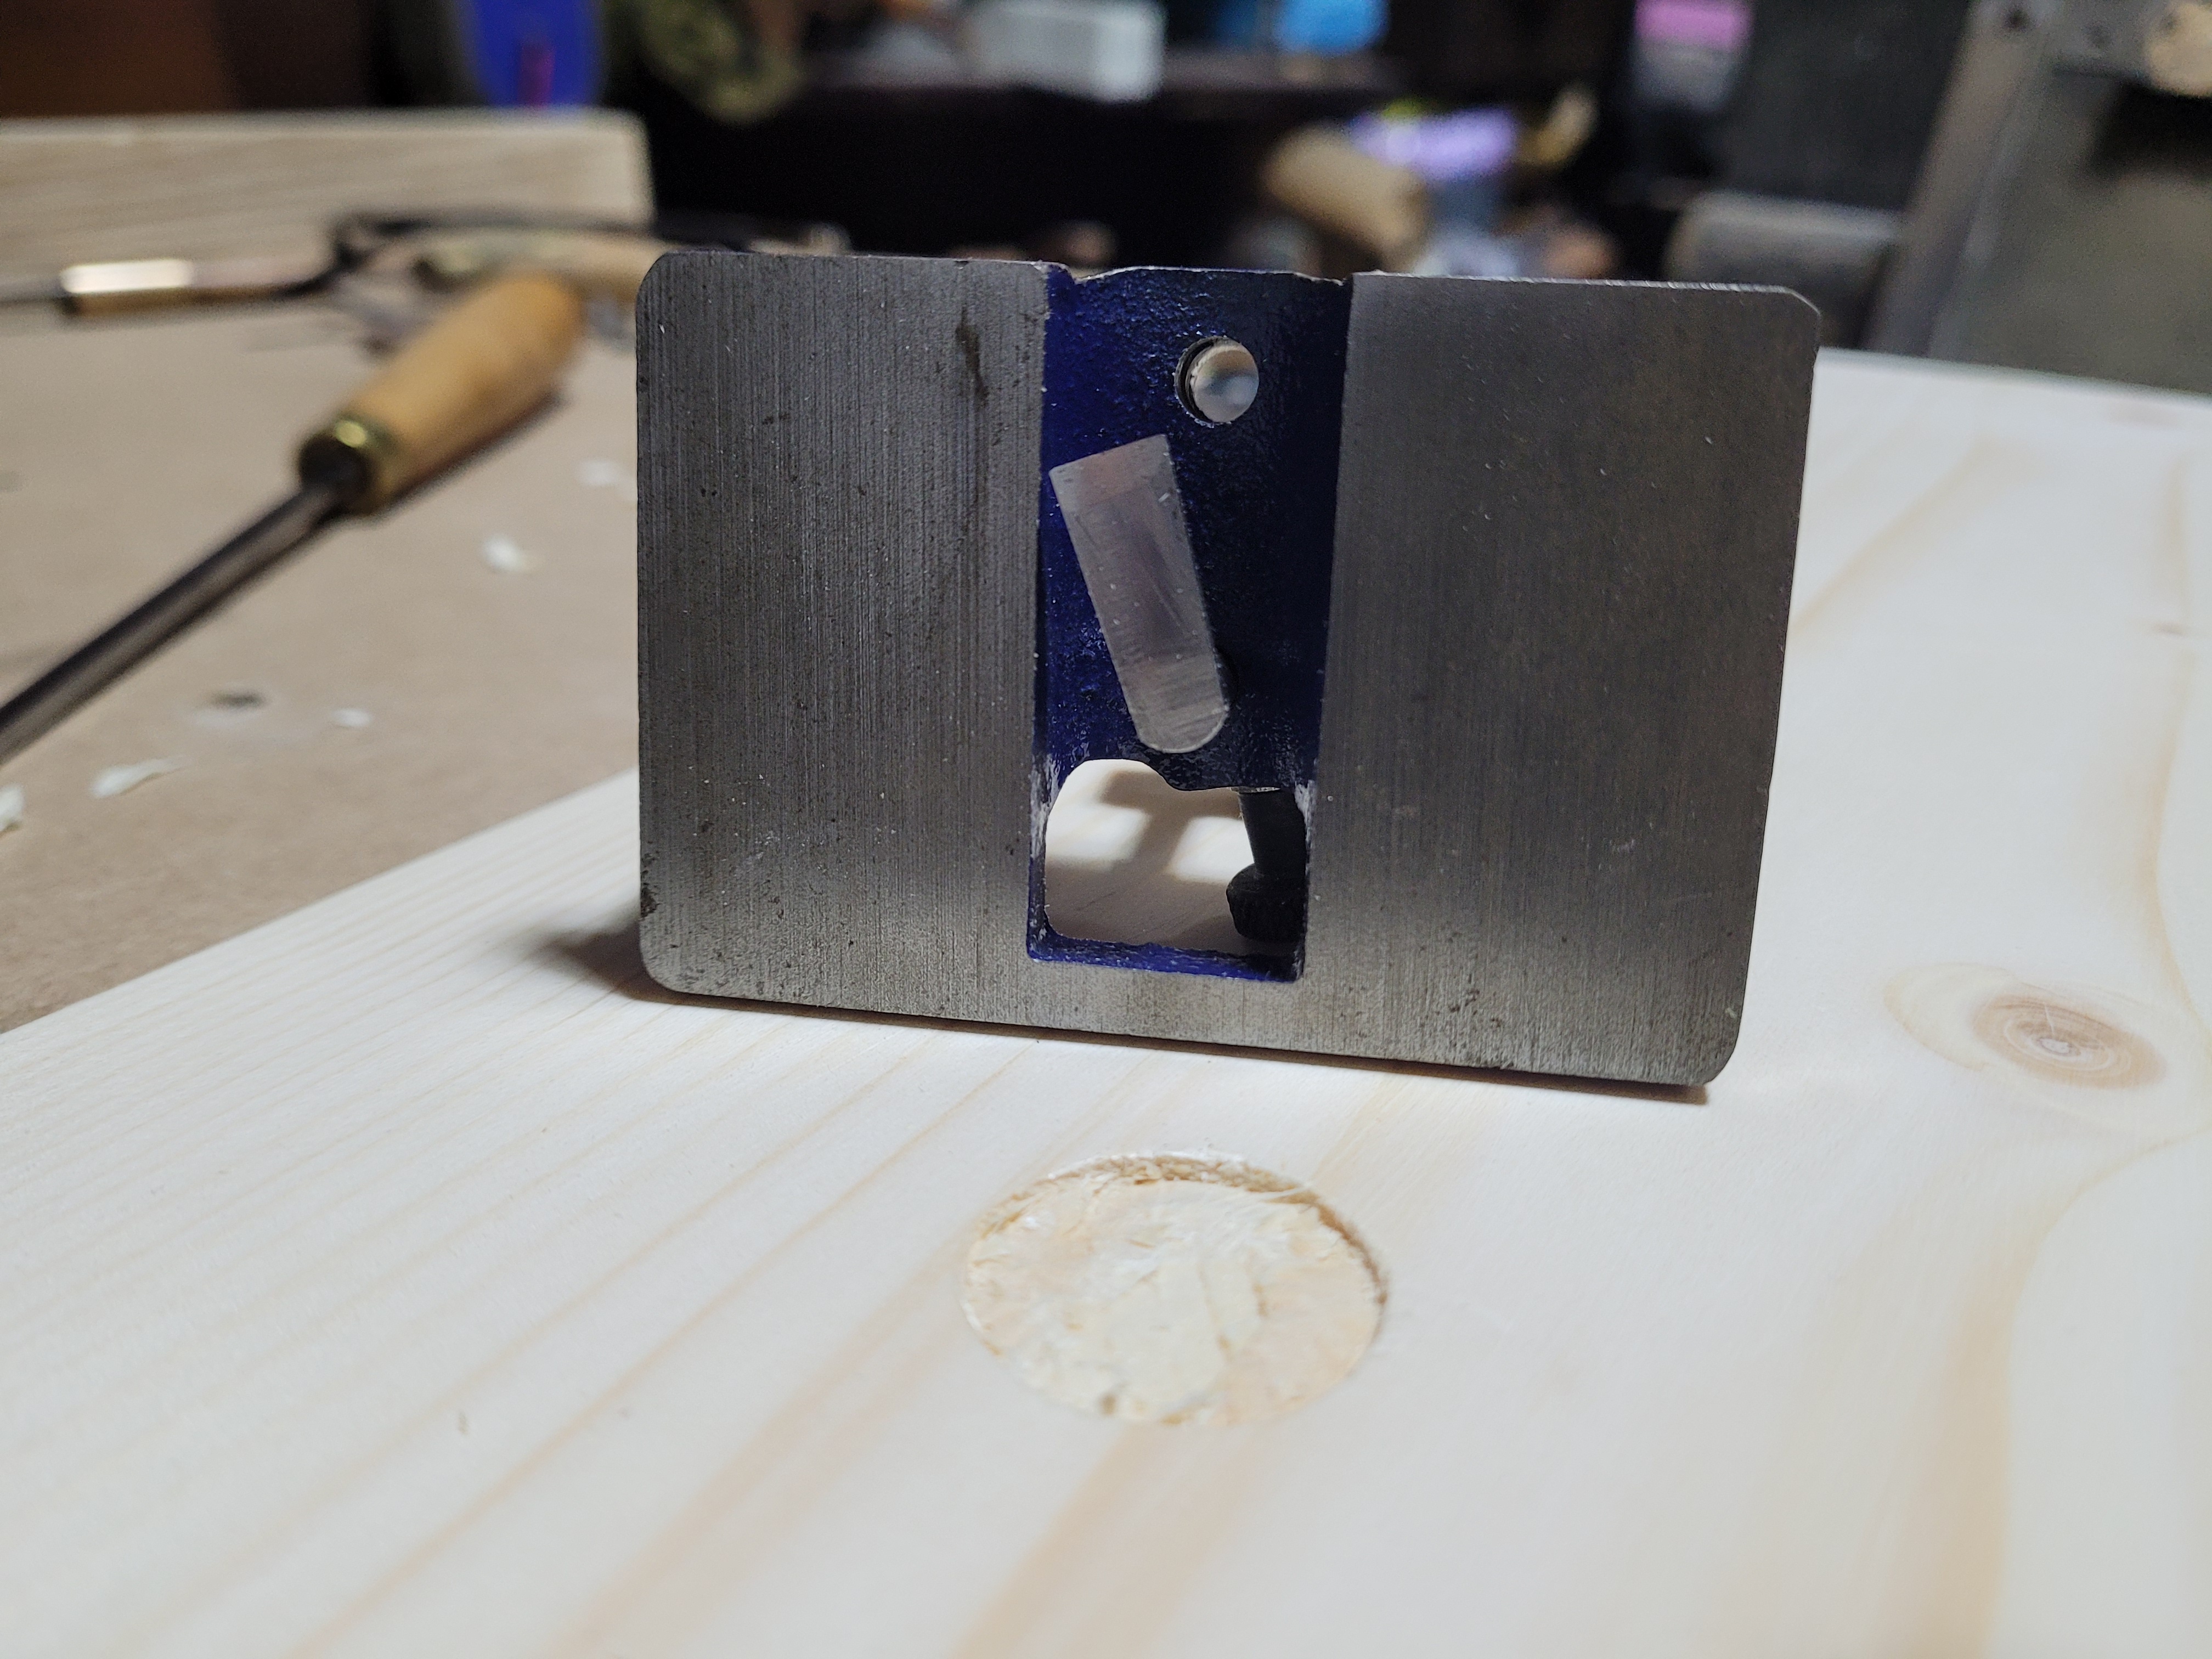
As you can see, the iron on this small router cant even fit in here, so no good for small inlays.
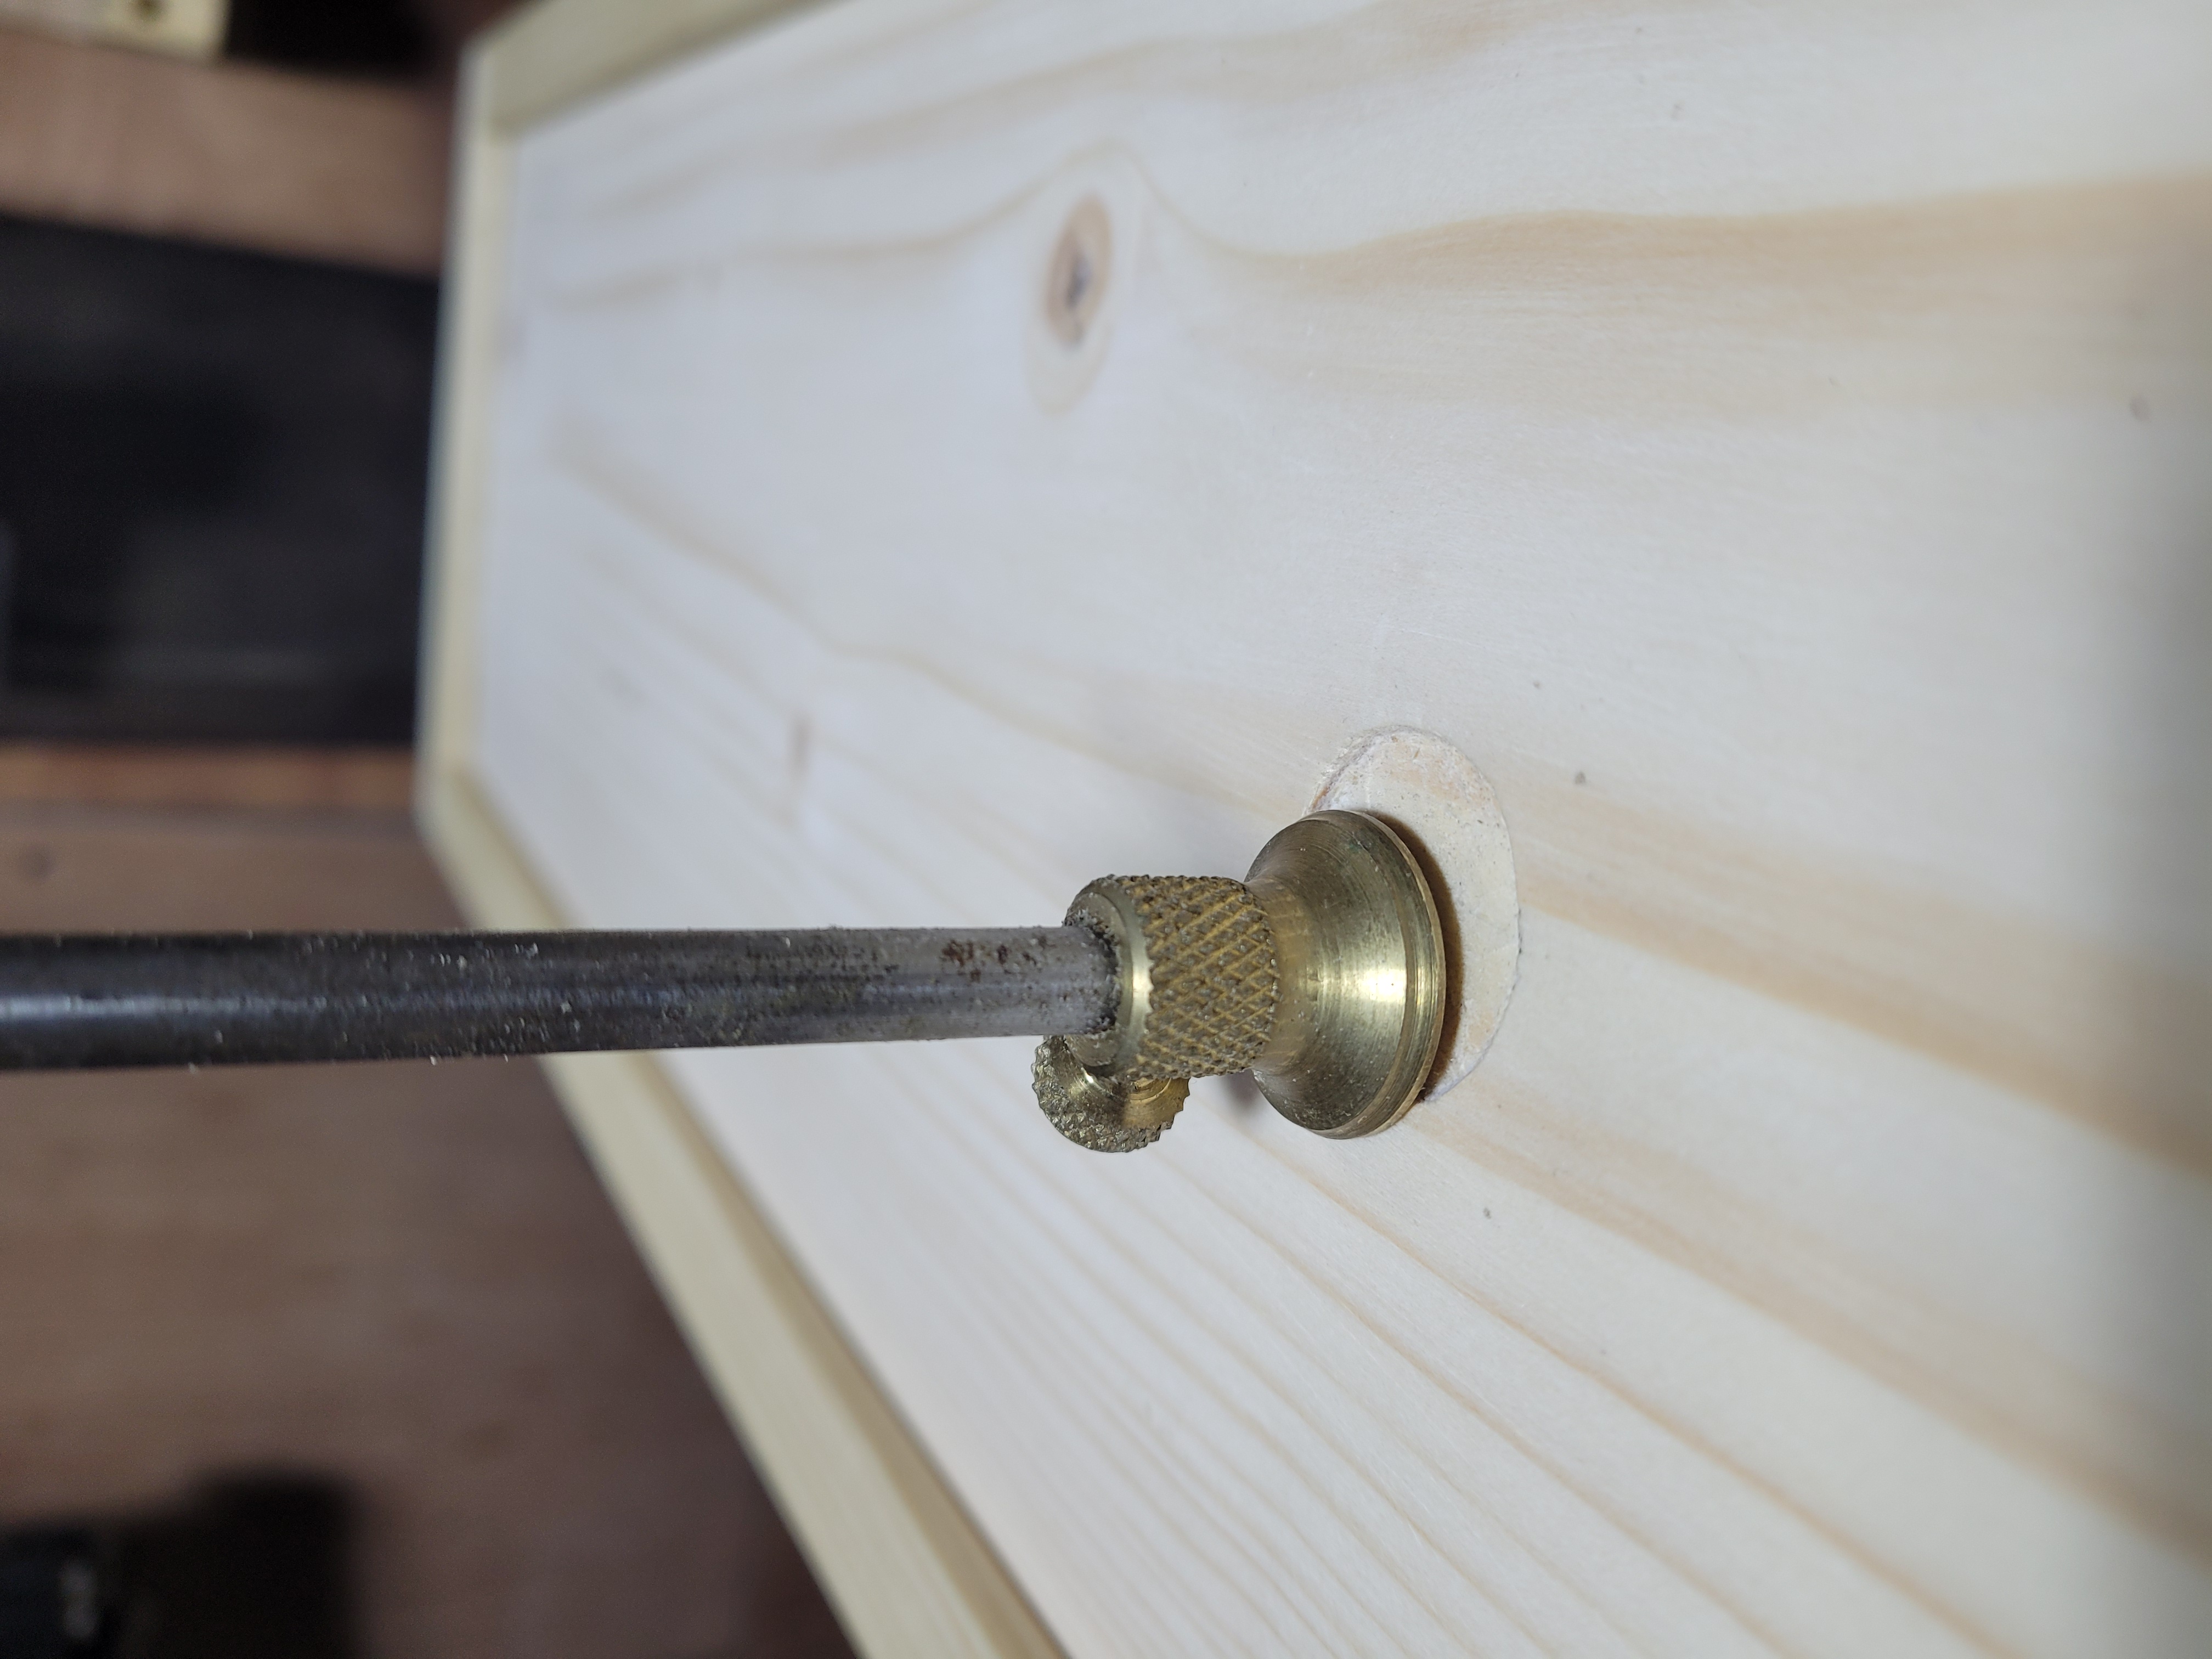
A small combination square or depth gauge is useful to checking for high spots.
The wide wings on both sides of the dedicated depth gauge make it easy to see when you are rocking on a high spot.
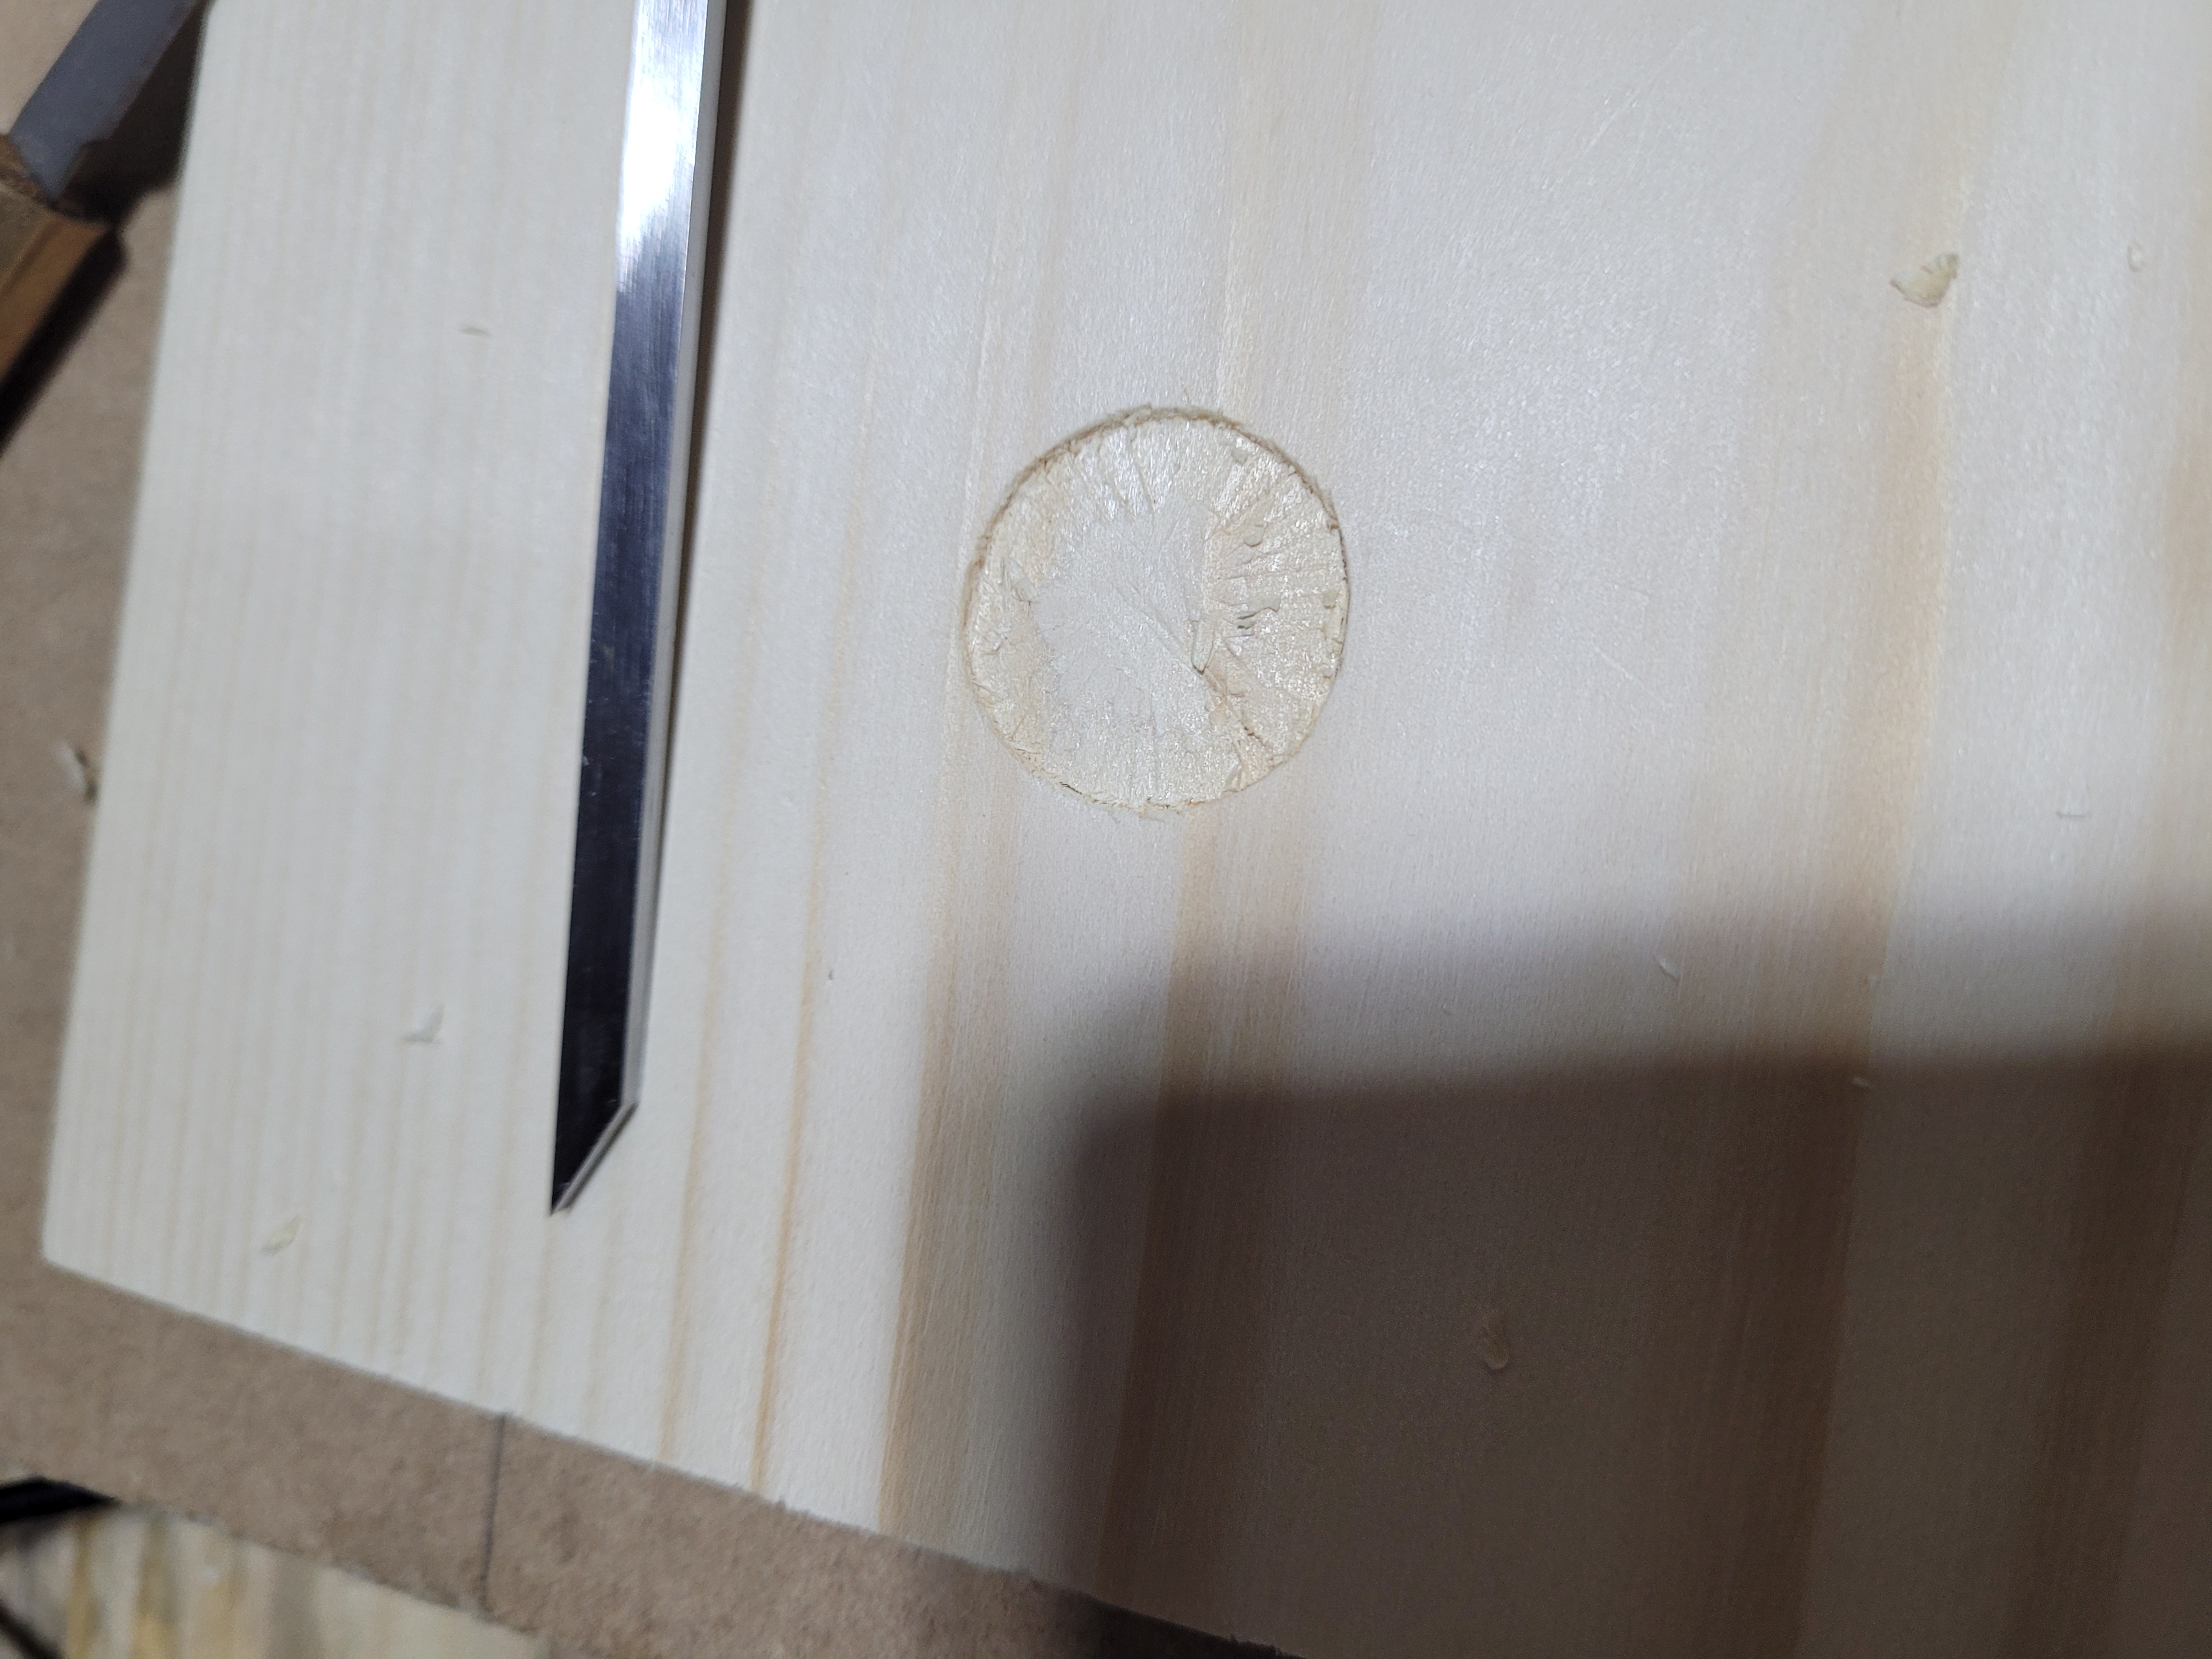
Let the chisel ride on its bevel to get a flat surface.
Flat enough, just needs a little clean-up on the perimeter with a knife.
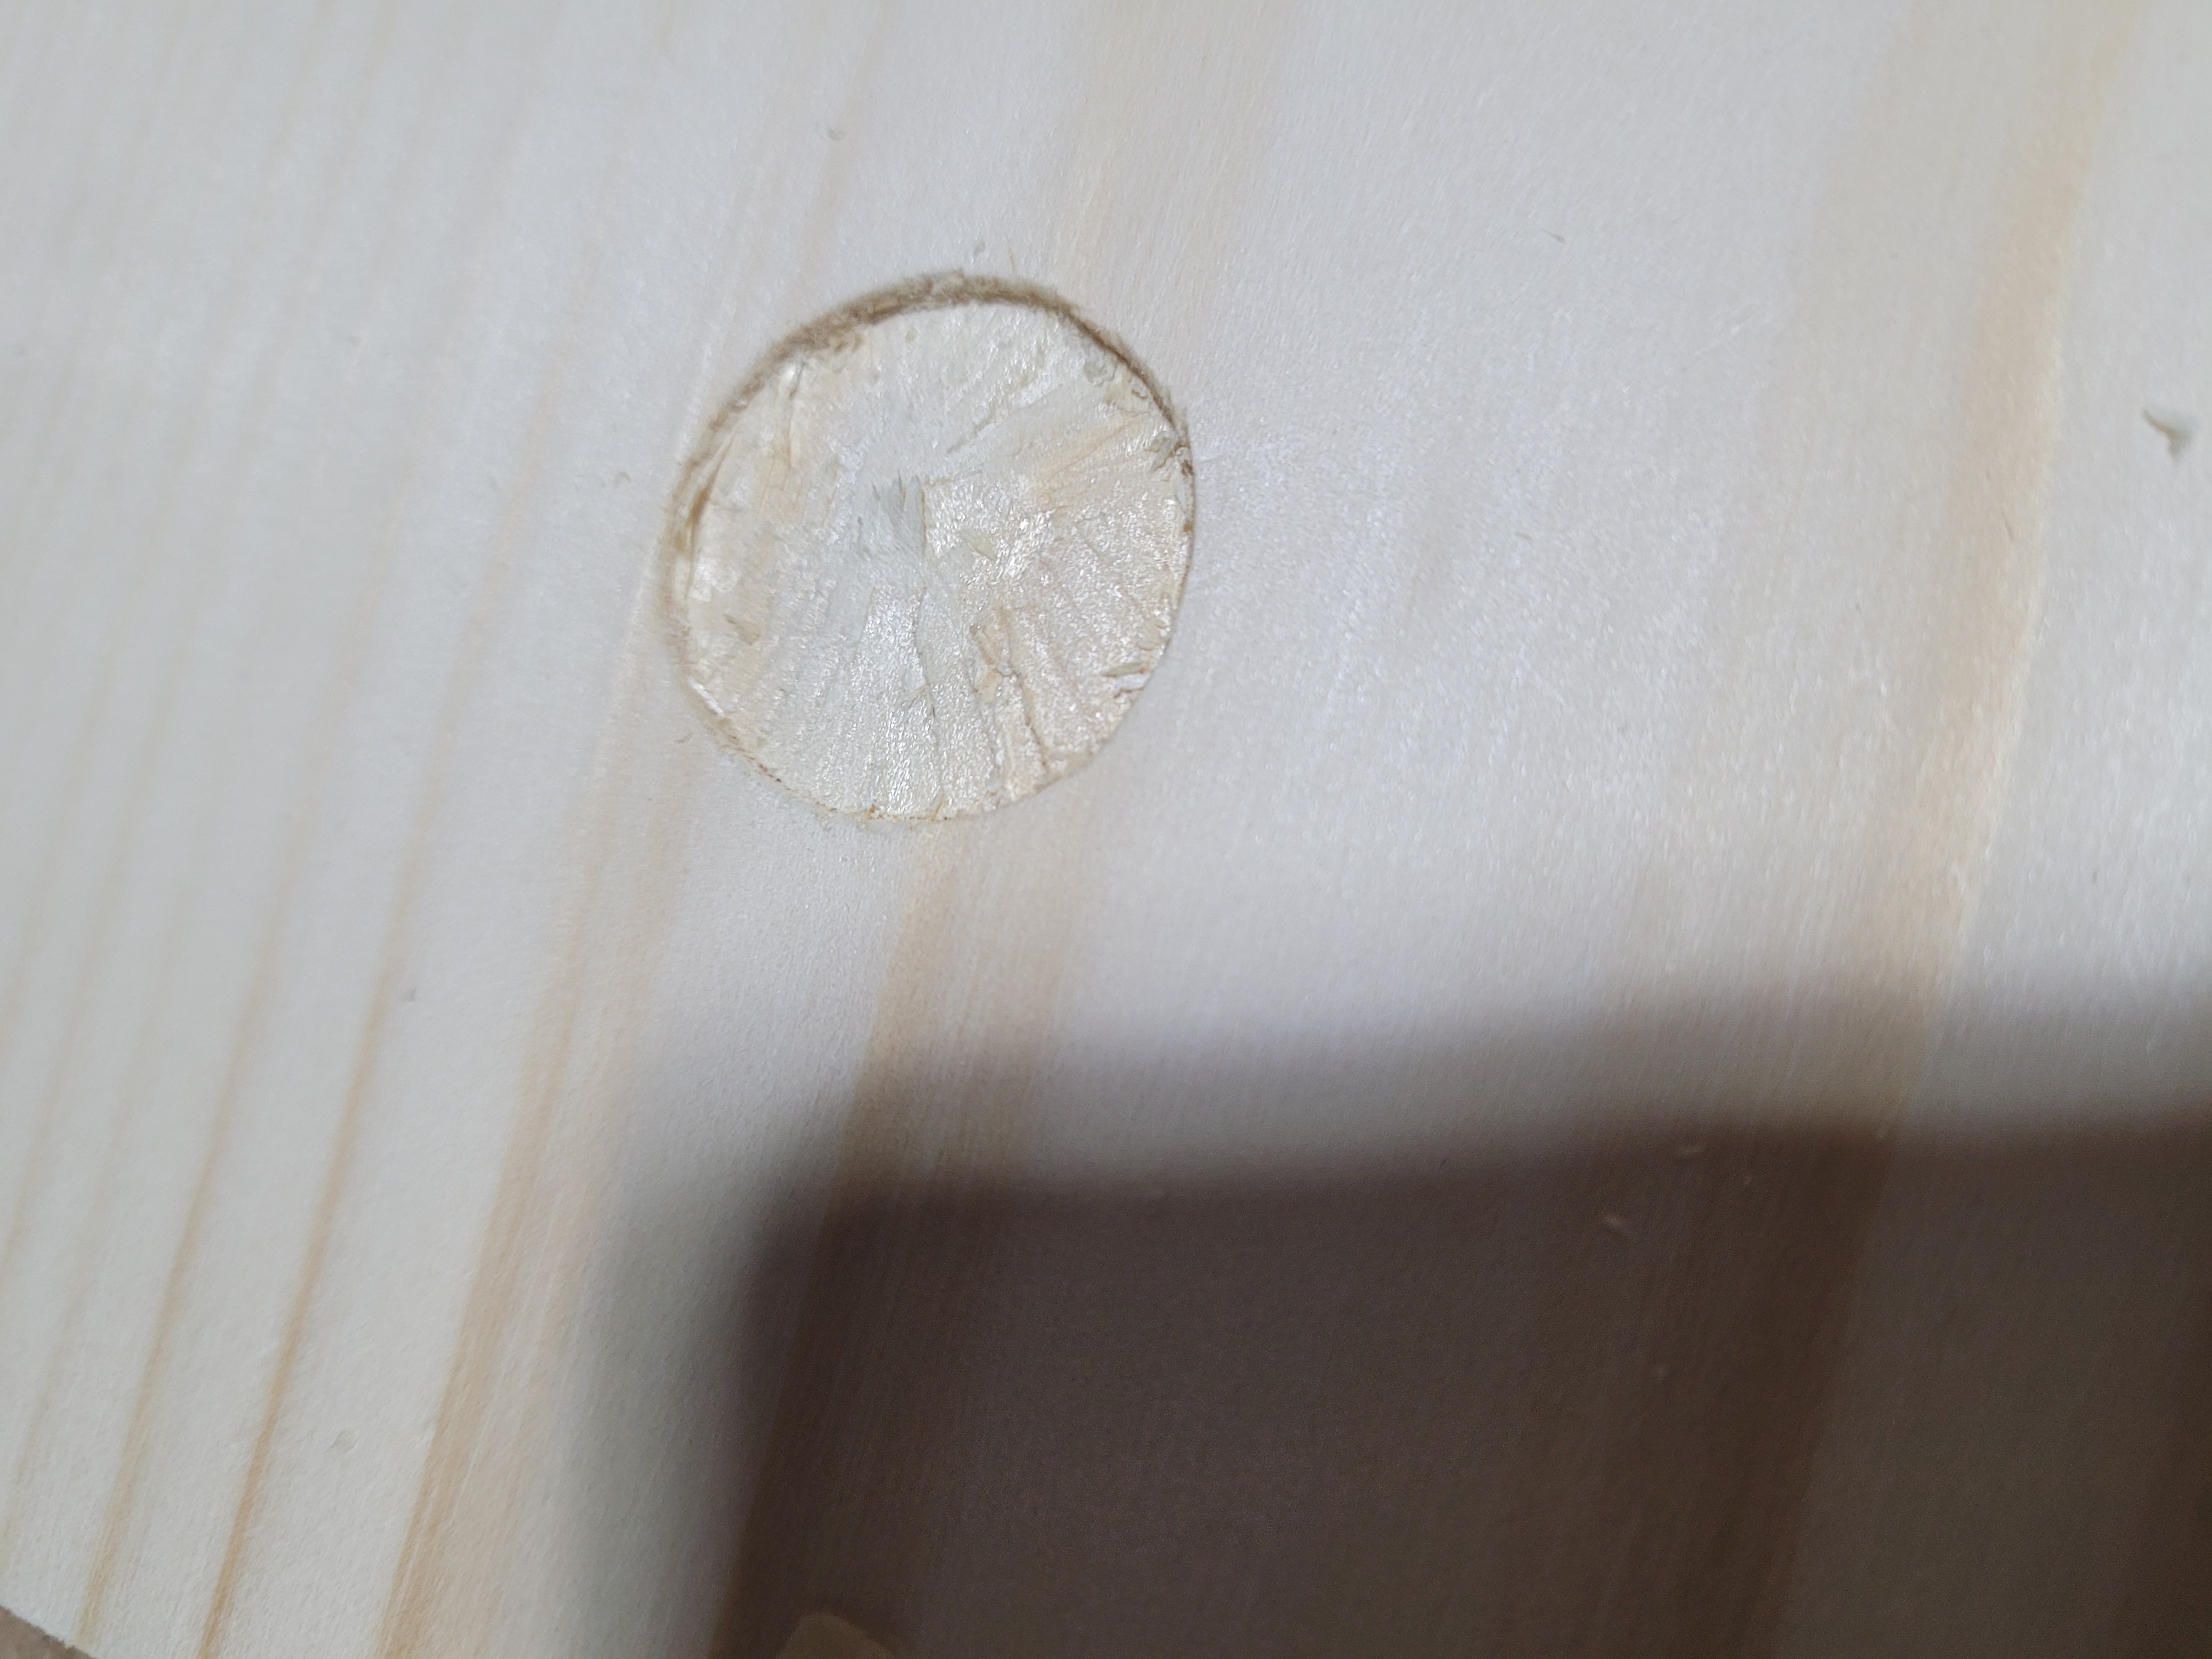
Ready to be fitted
Very small wheel gauge by Tom Dickey being used as a router plane to clean up a little.

And its in.
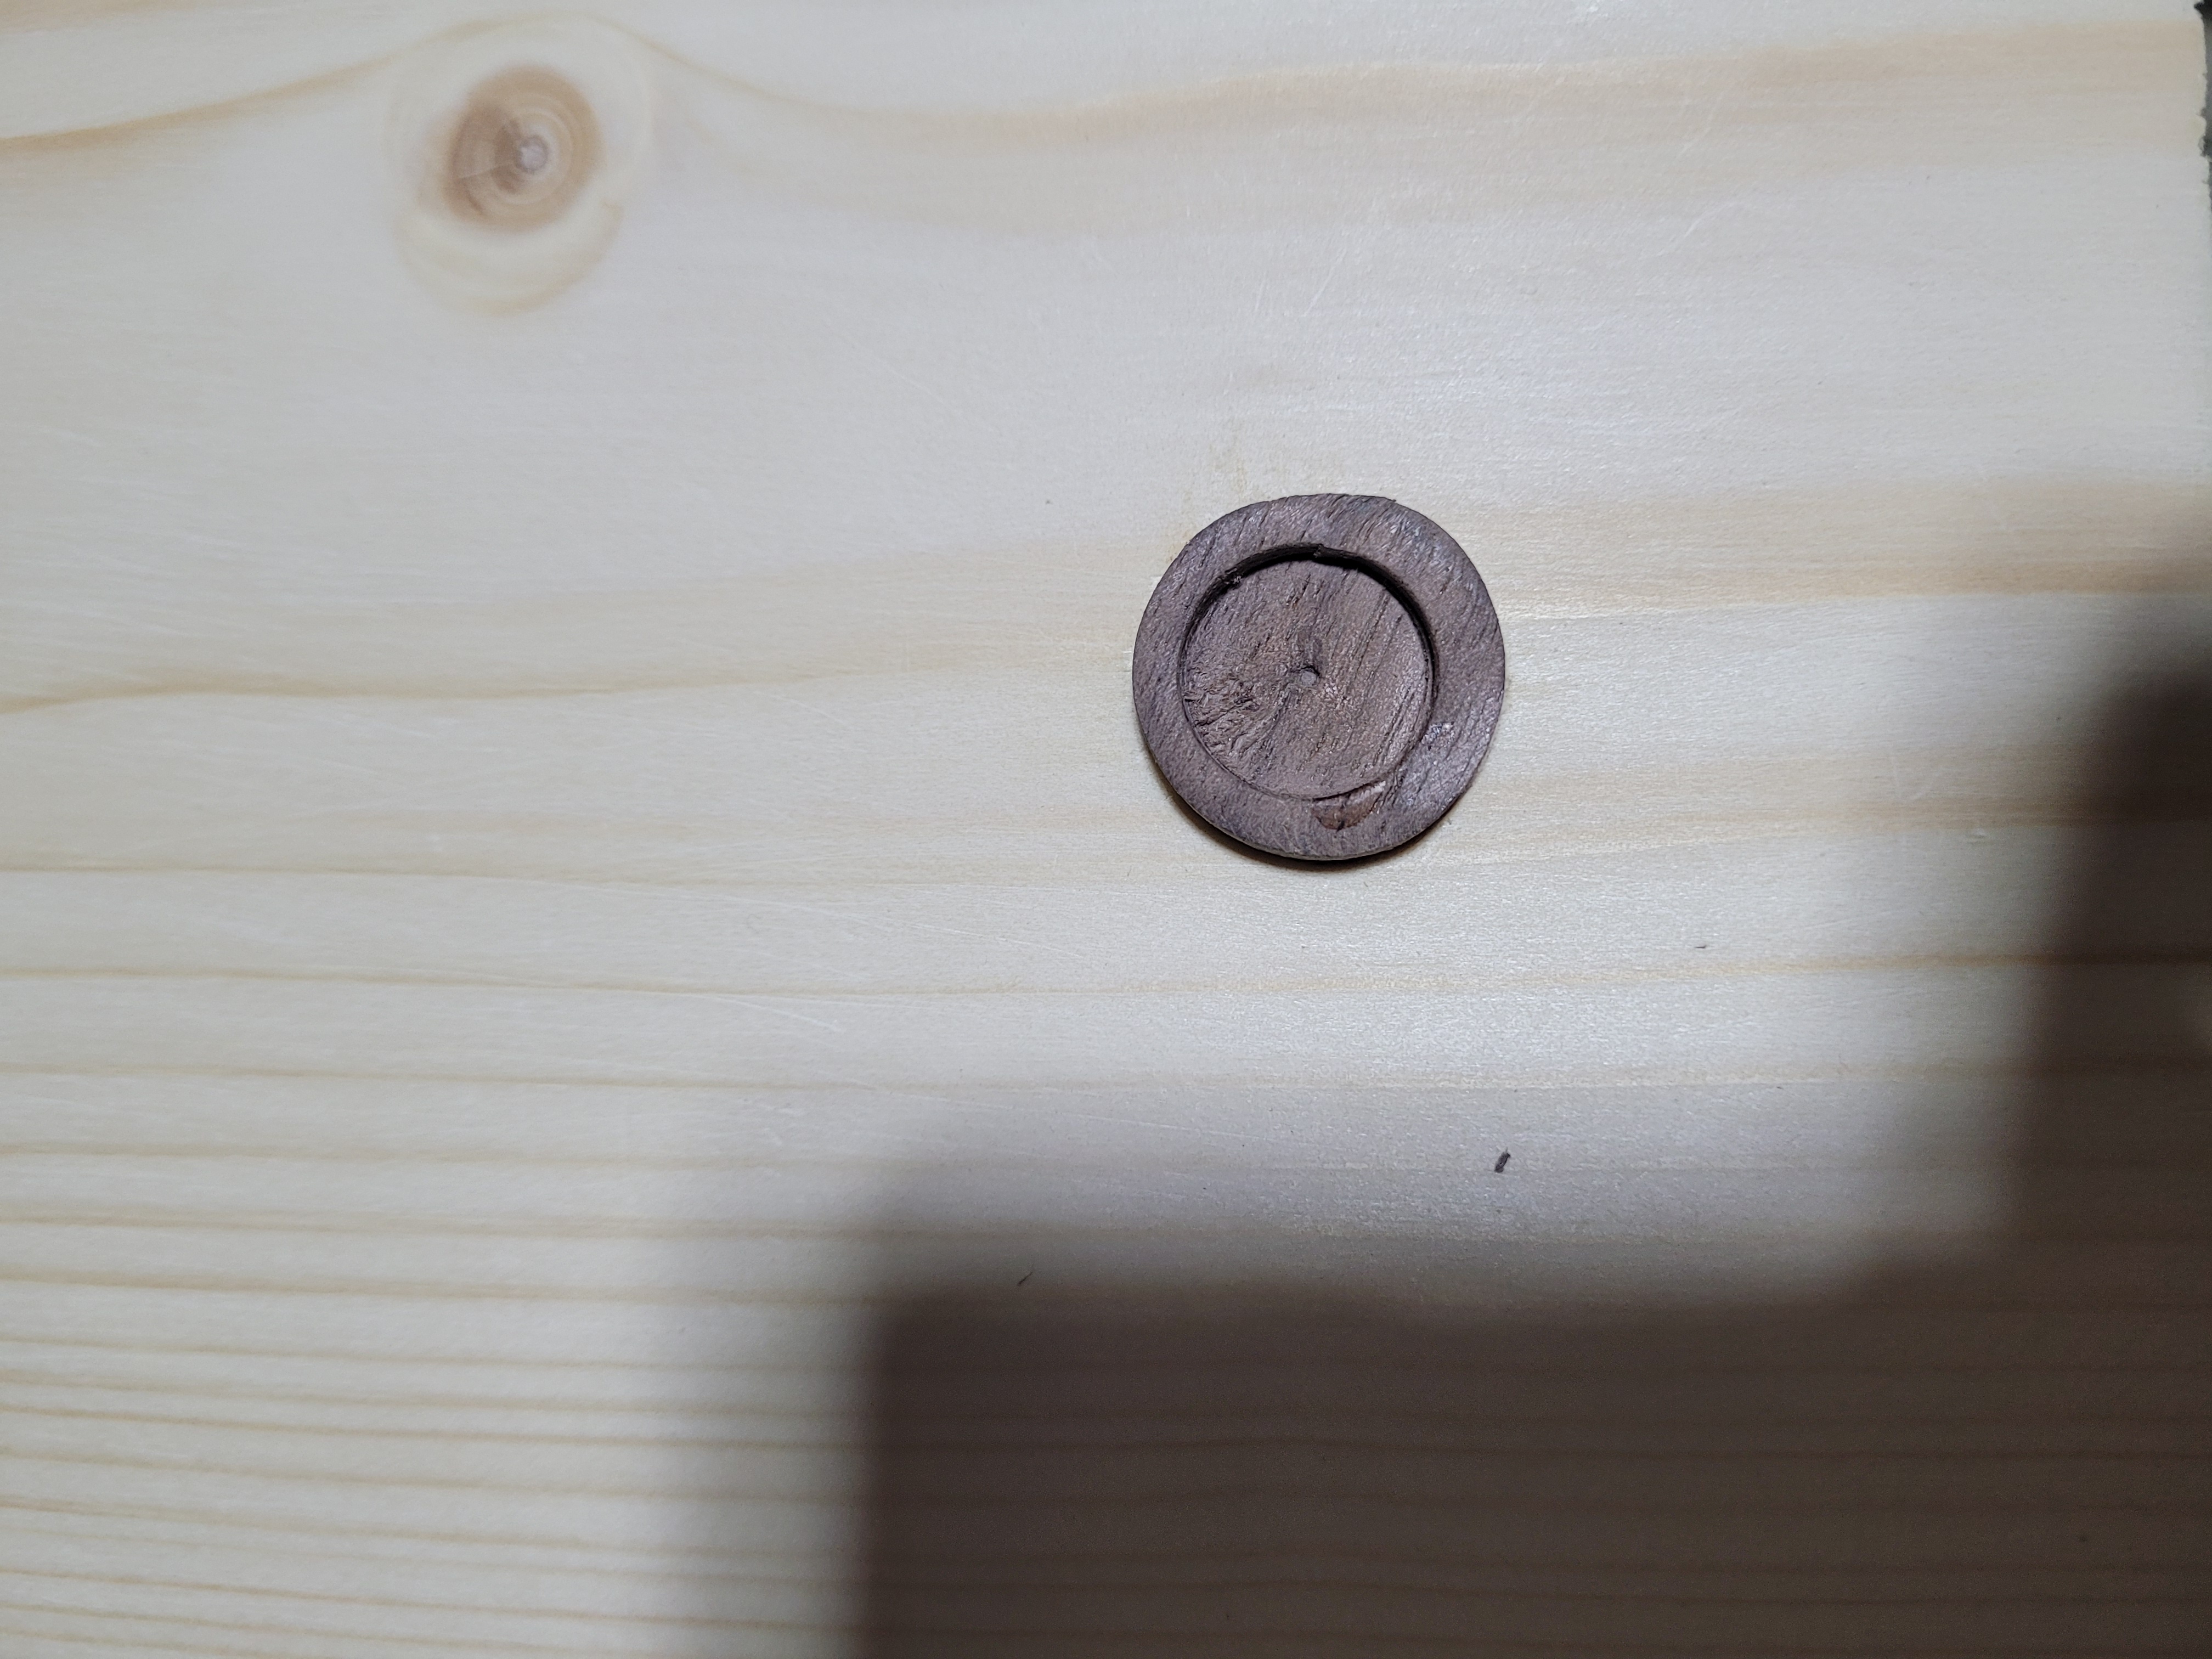
I’m happy with that. You cant see the knife lines, and no ugly gouges on the perimeter.
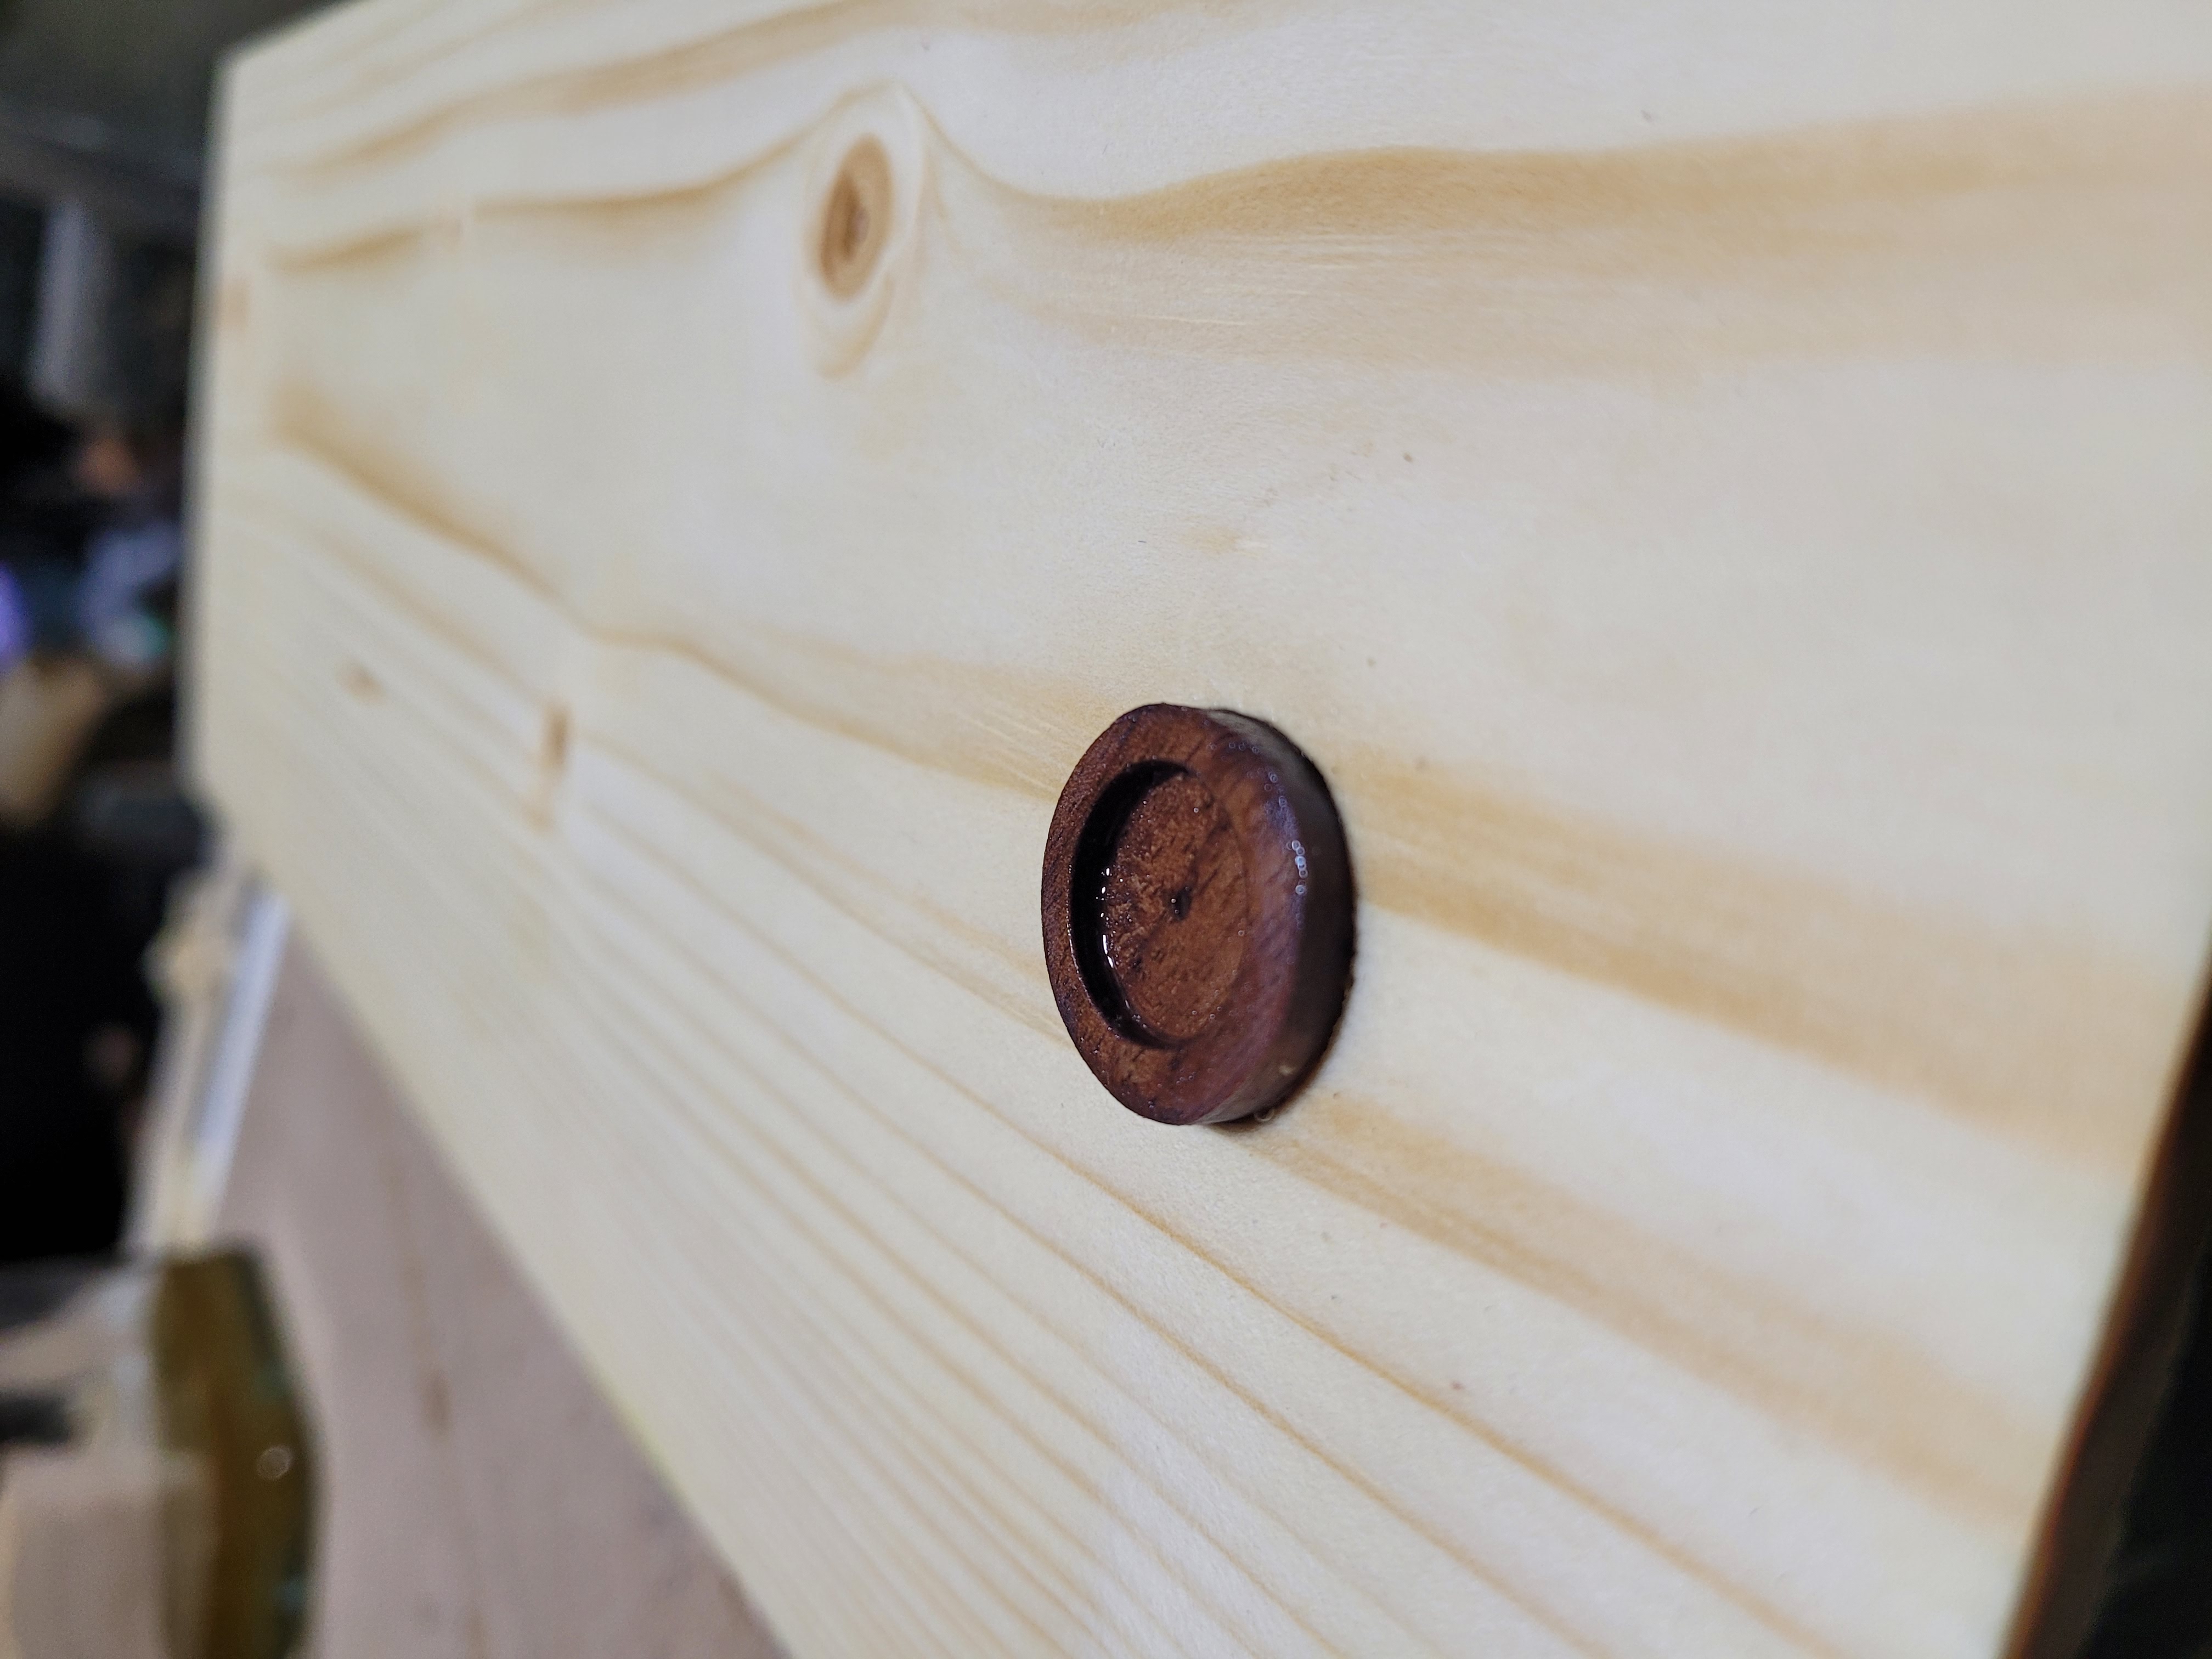
Glued in, and with a little Shellac on.
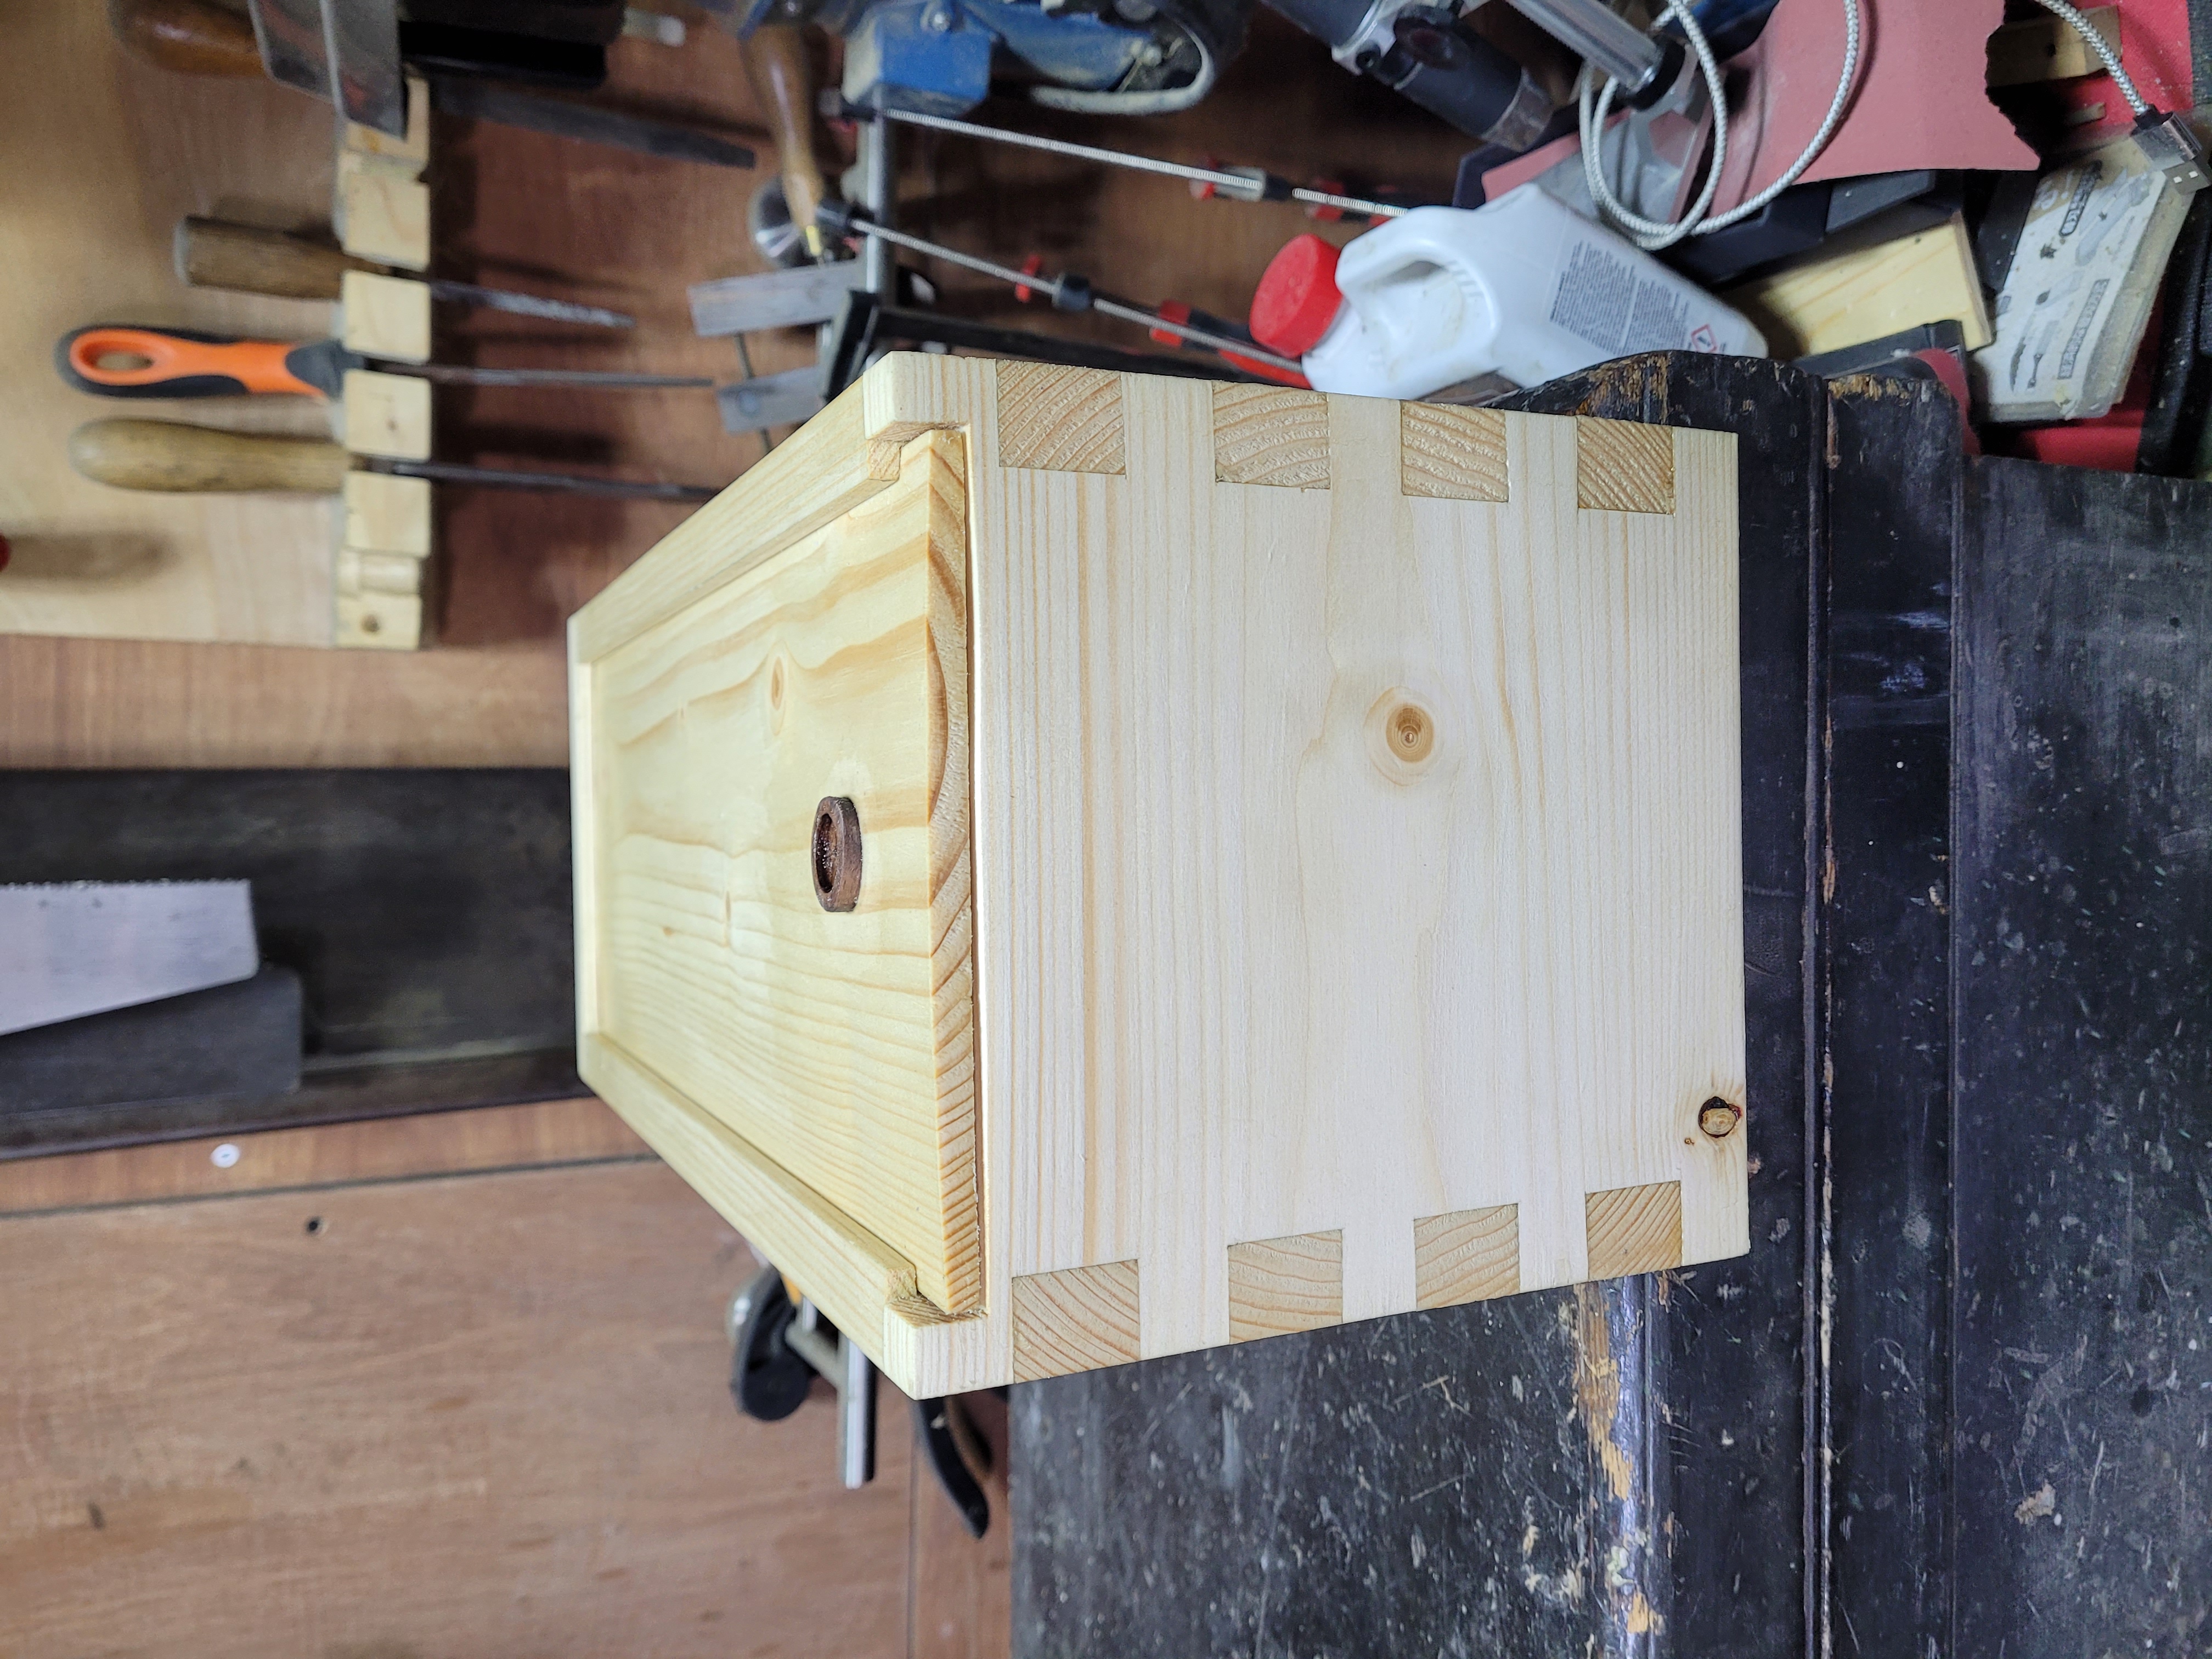
How it looks on the box. Its been sized in terms of height so if something is stacked on the box, it wont hit the button if its resting on the walls.
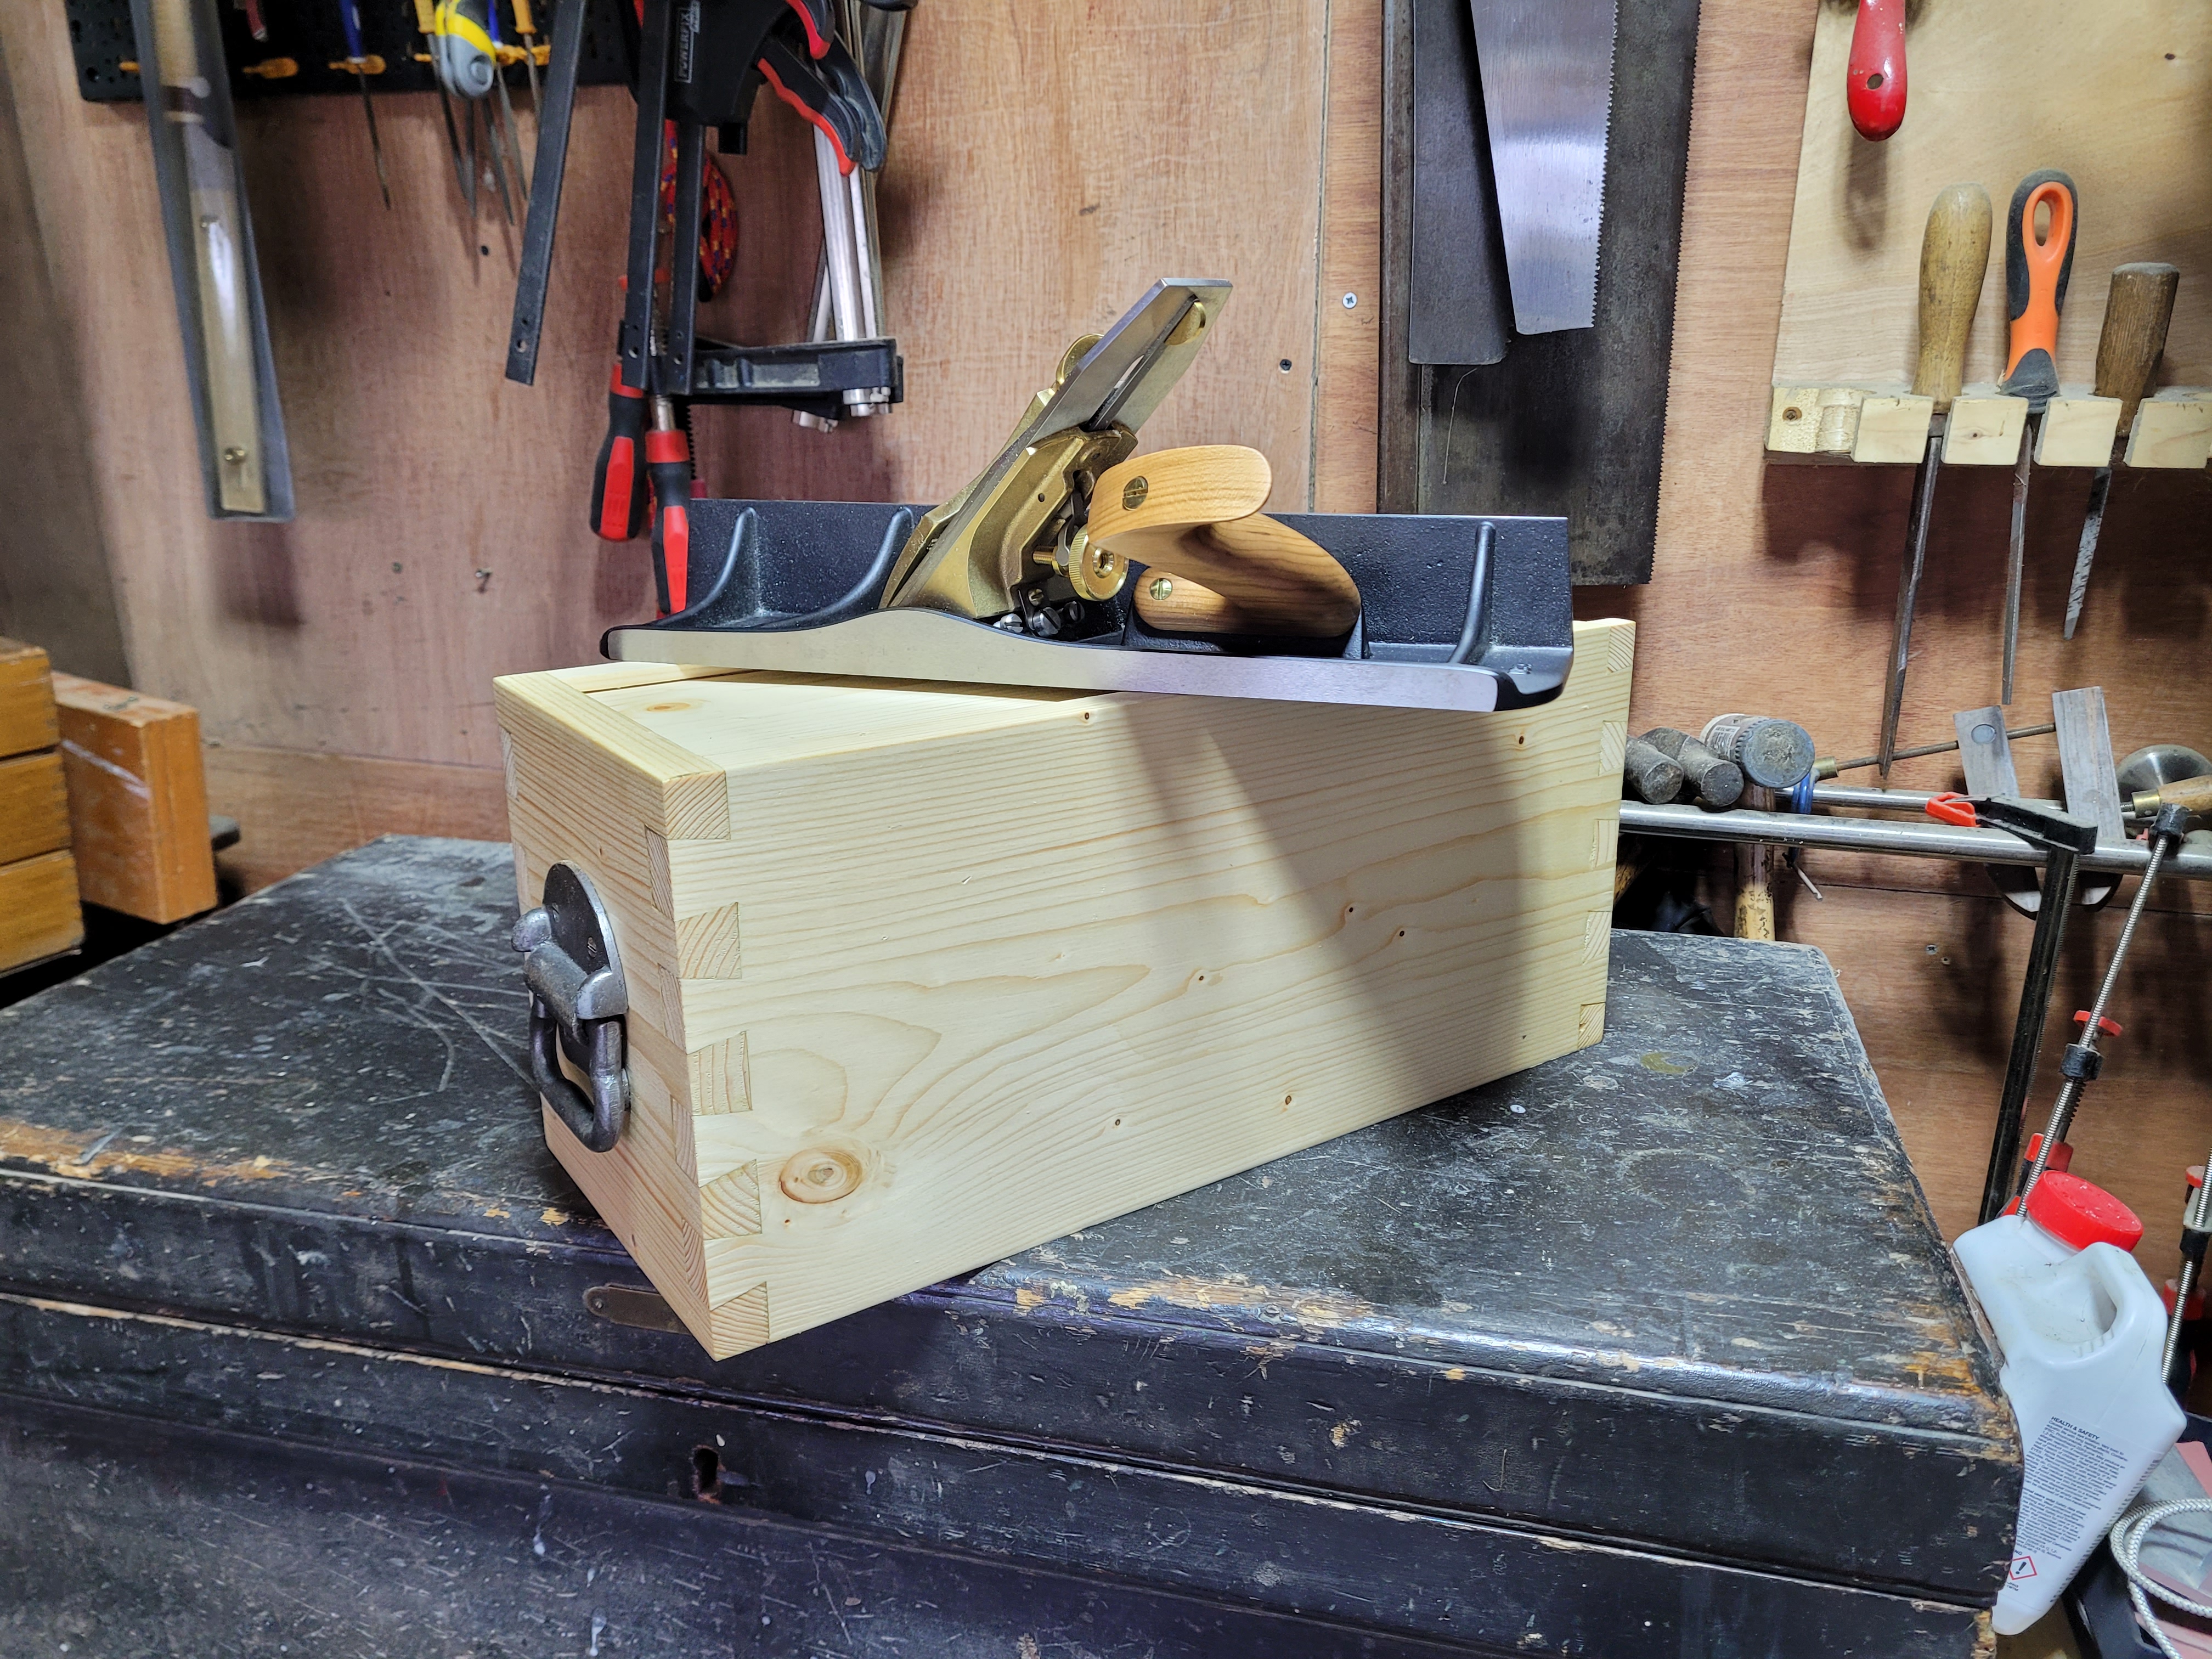
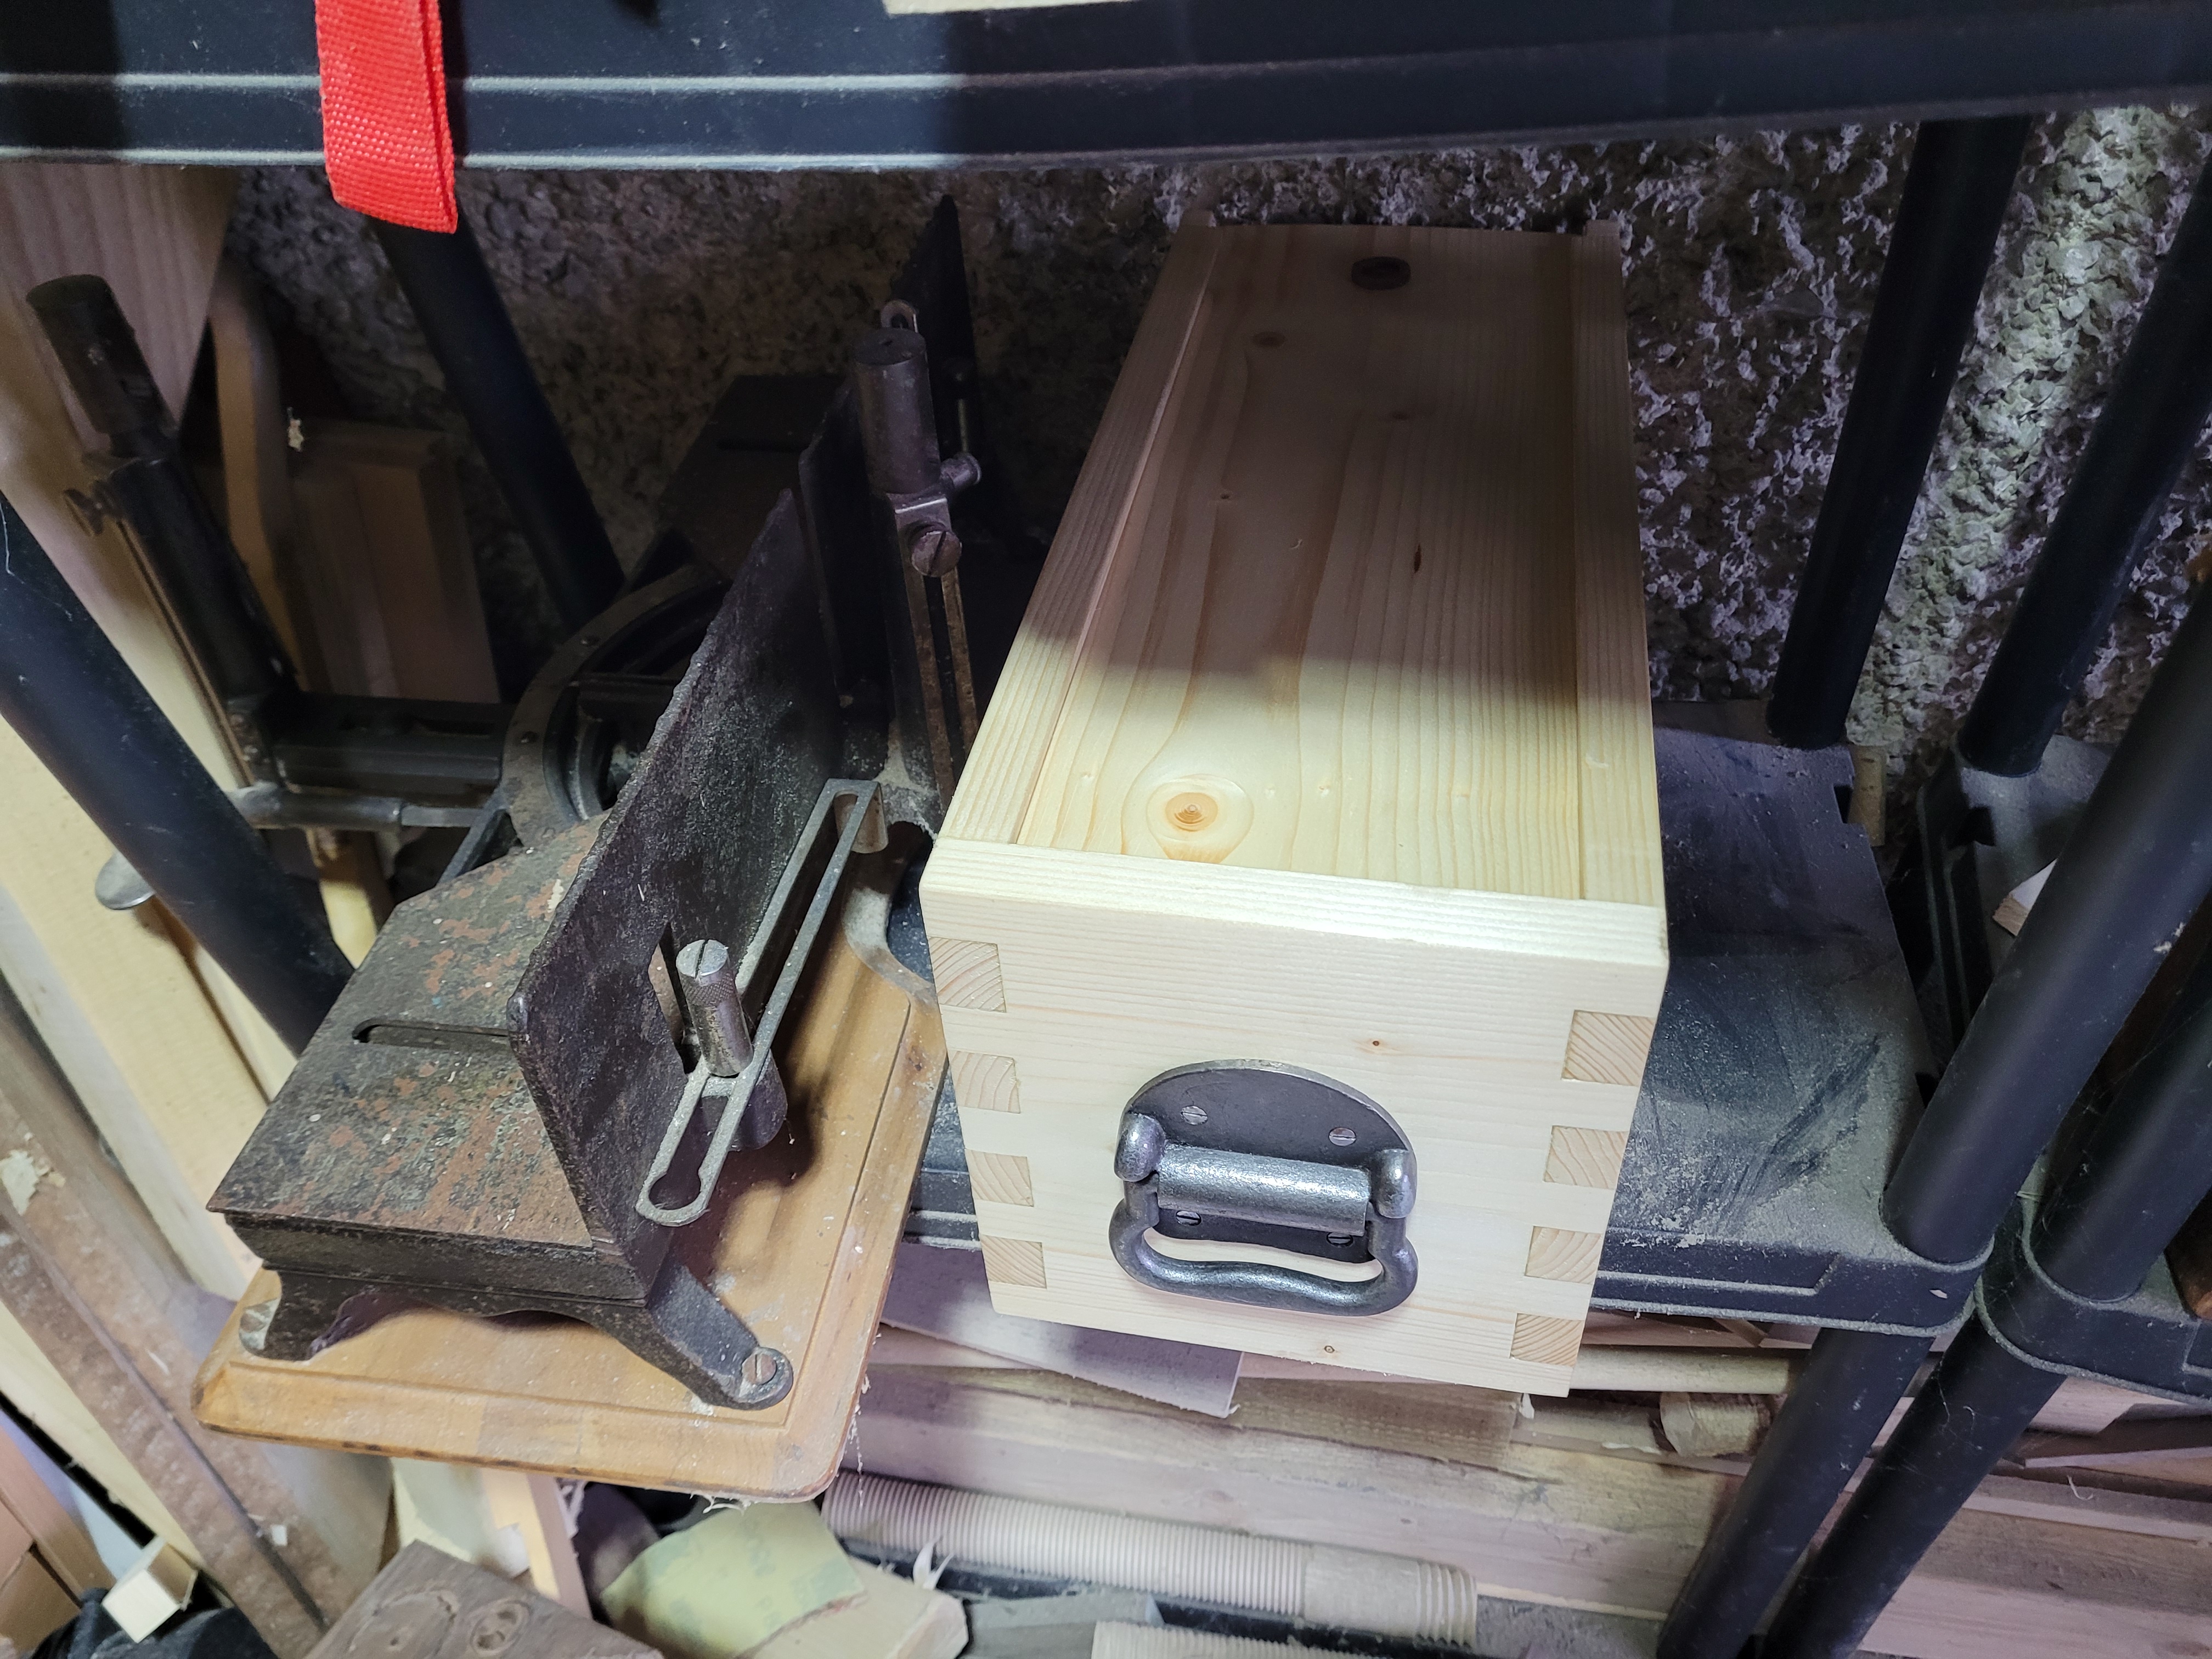
The finished box.
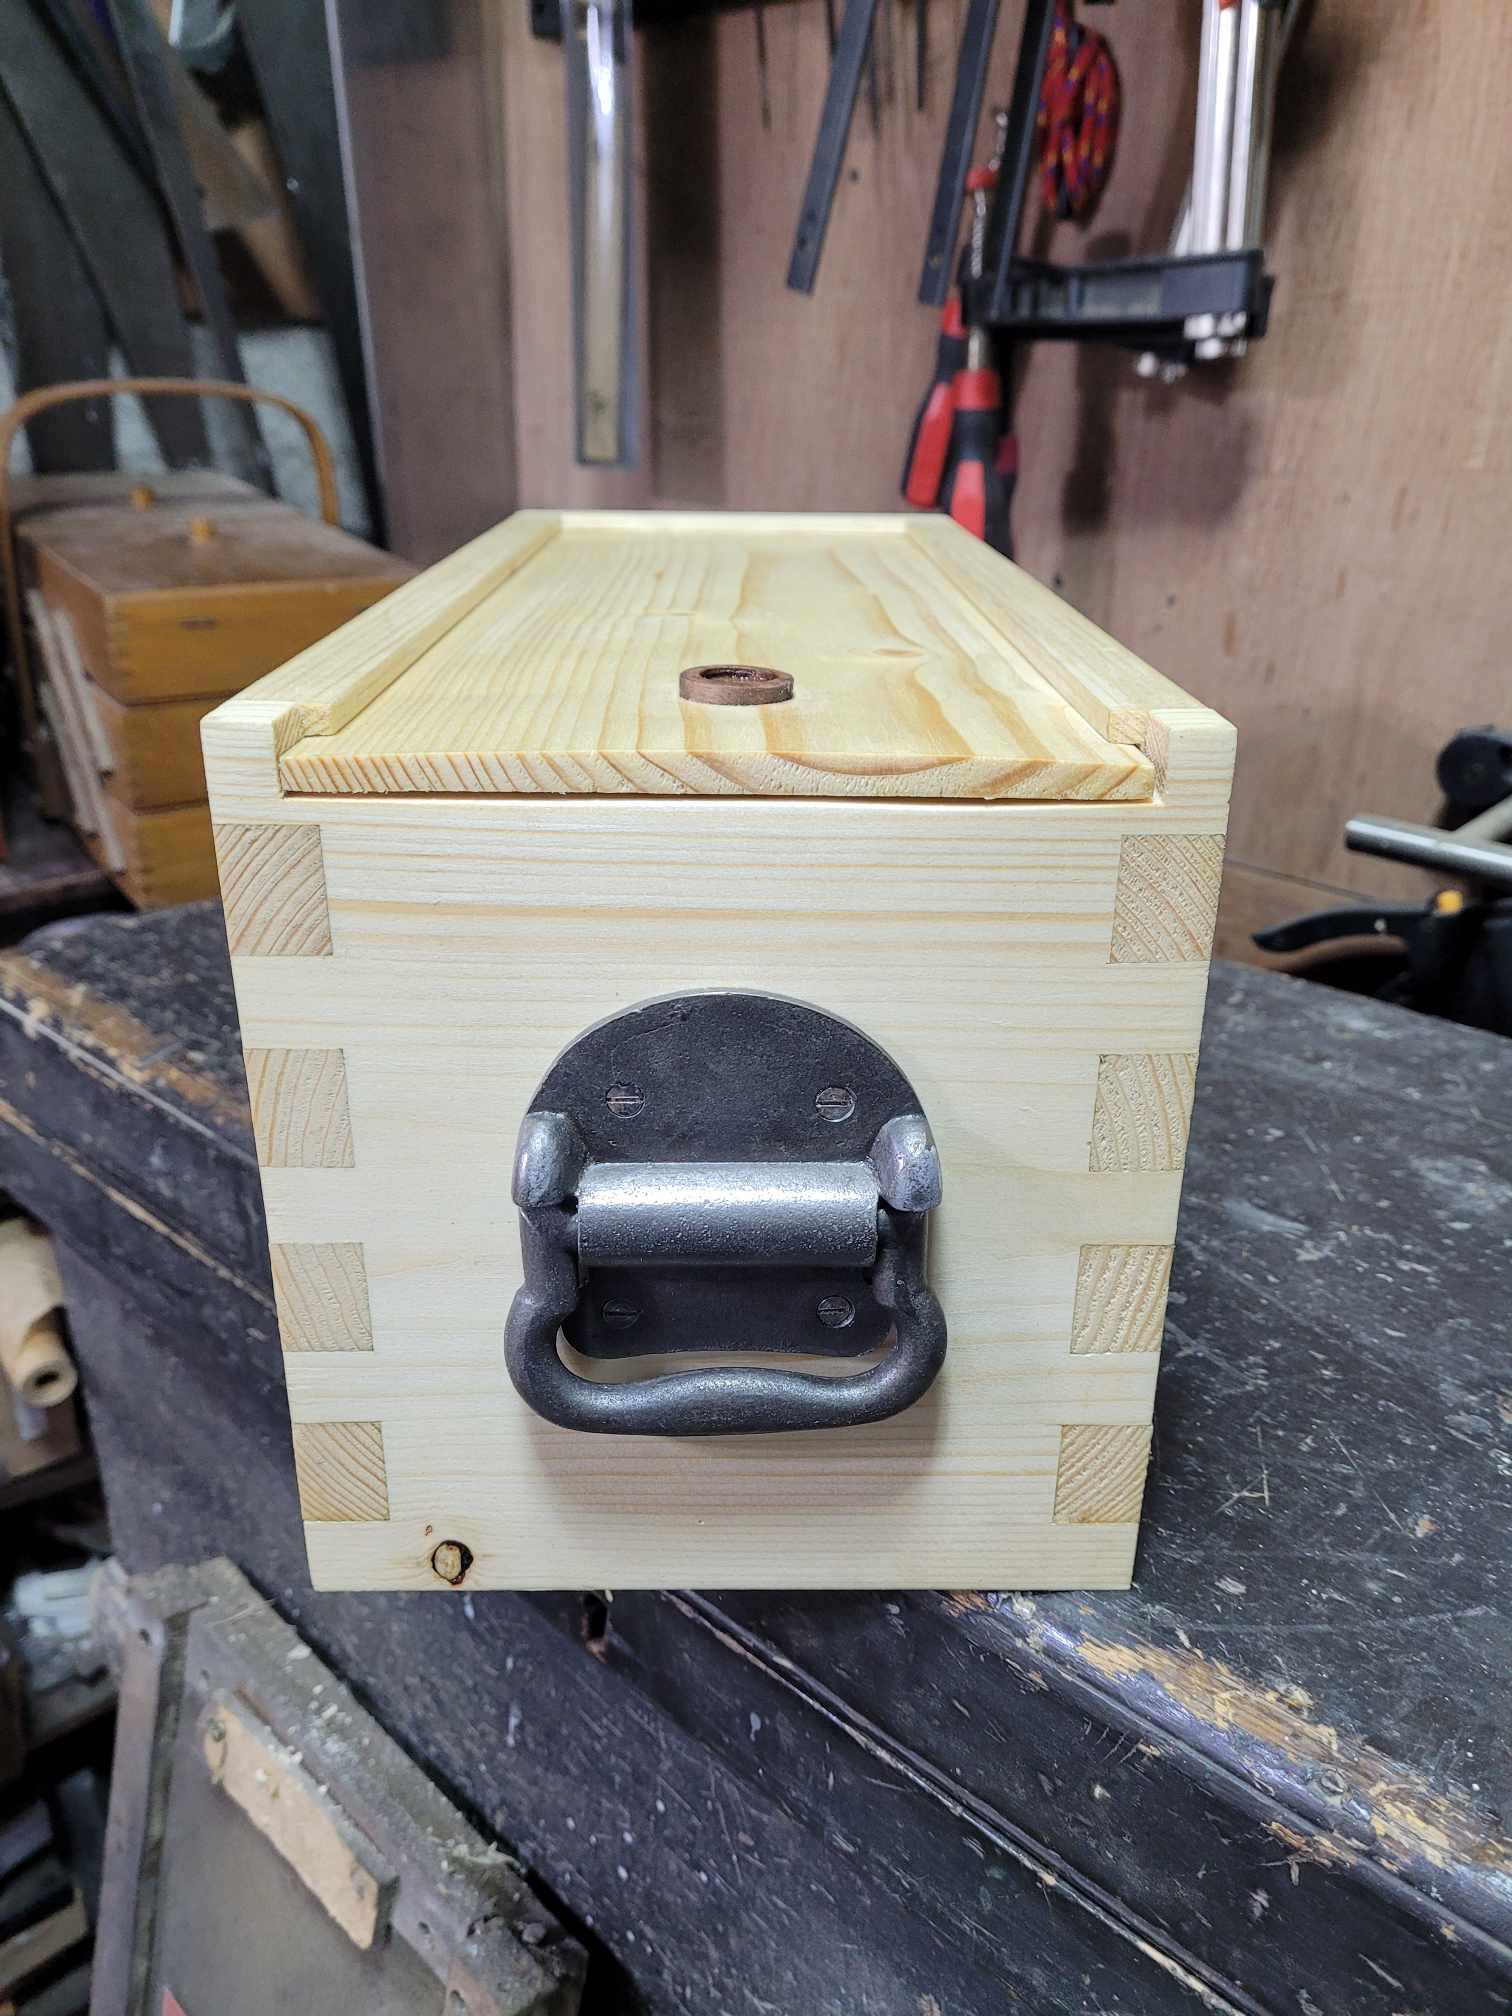
The drop handles were not in the original plan, but I spotted them as I was finishing up. Originally bought for a different project they proved to big for, they are a perfect fit here.
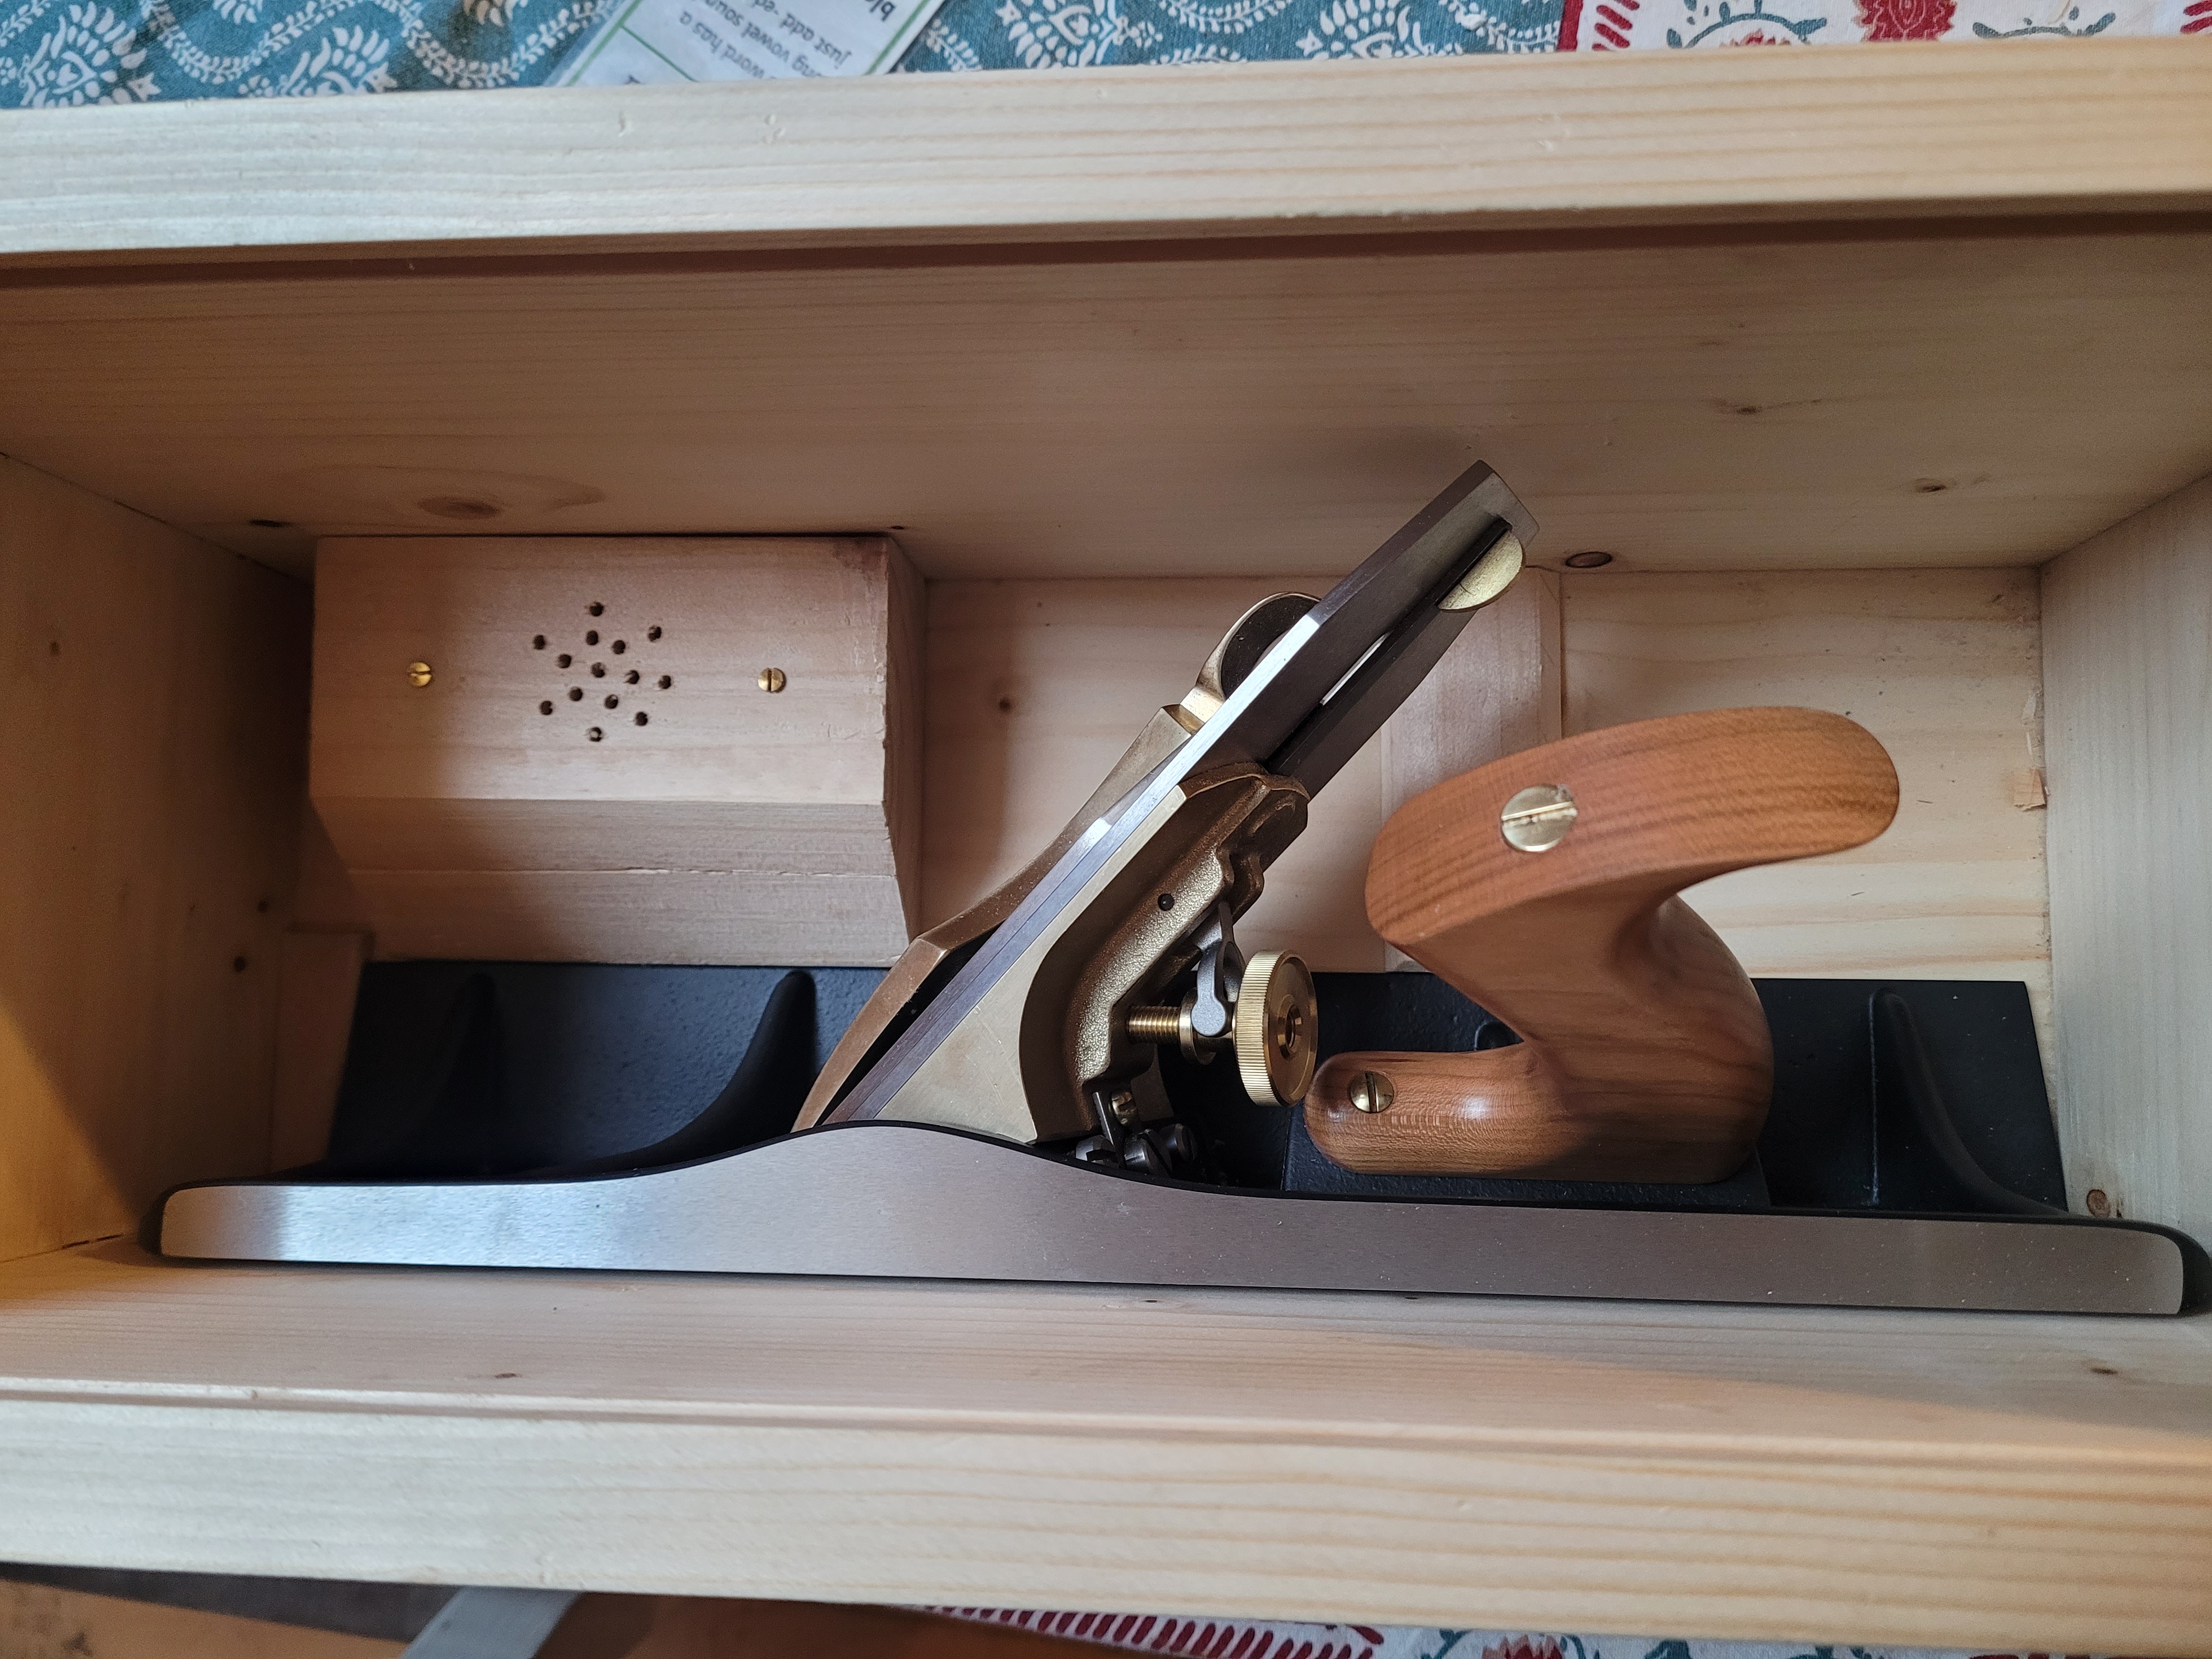
The 51 in the box. The 3 pieces of wood keep the plane from sliding around as its dragged on and off its shelf. Each of the three is bevelled so the plane easily slides into the right spot. What with the holes in the big piece?
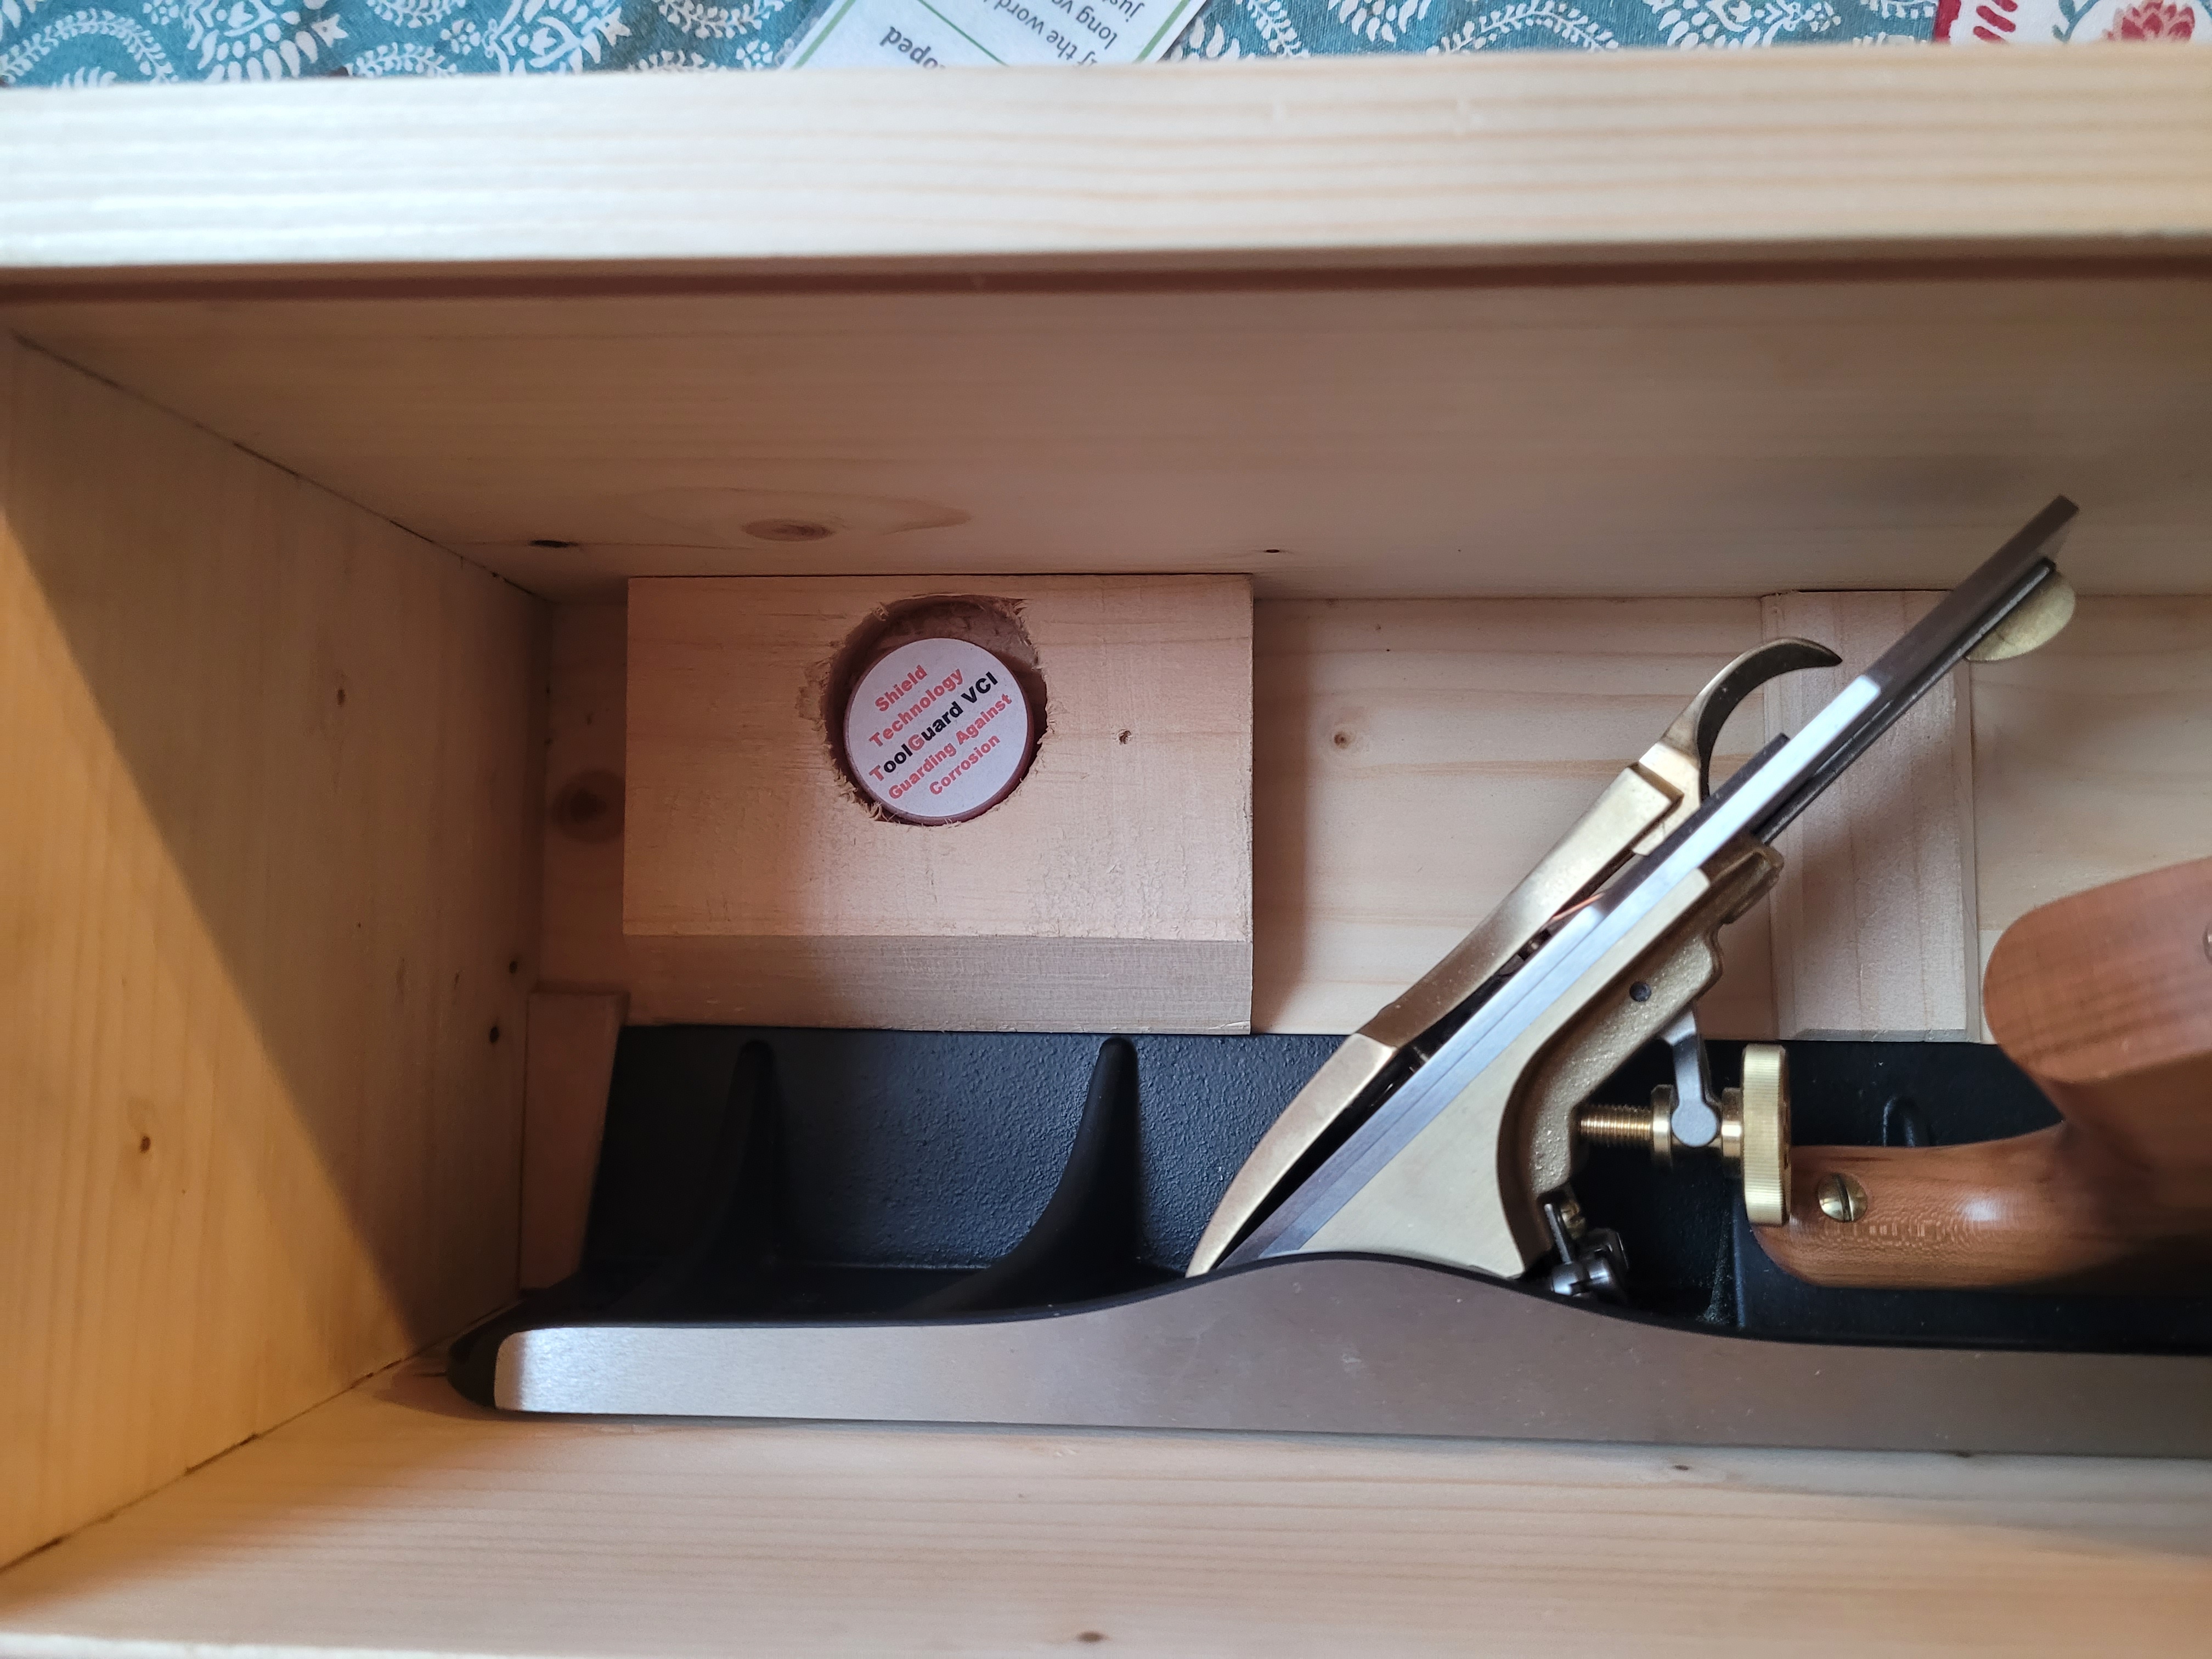
It is a holder for a VCI pot. This slowly emits rust inhibiting gas. 1 pot is good to prevent rust in a 2 cubic foot container for a year.
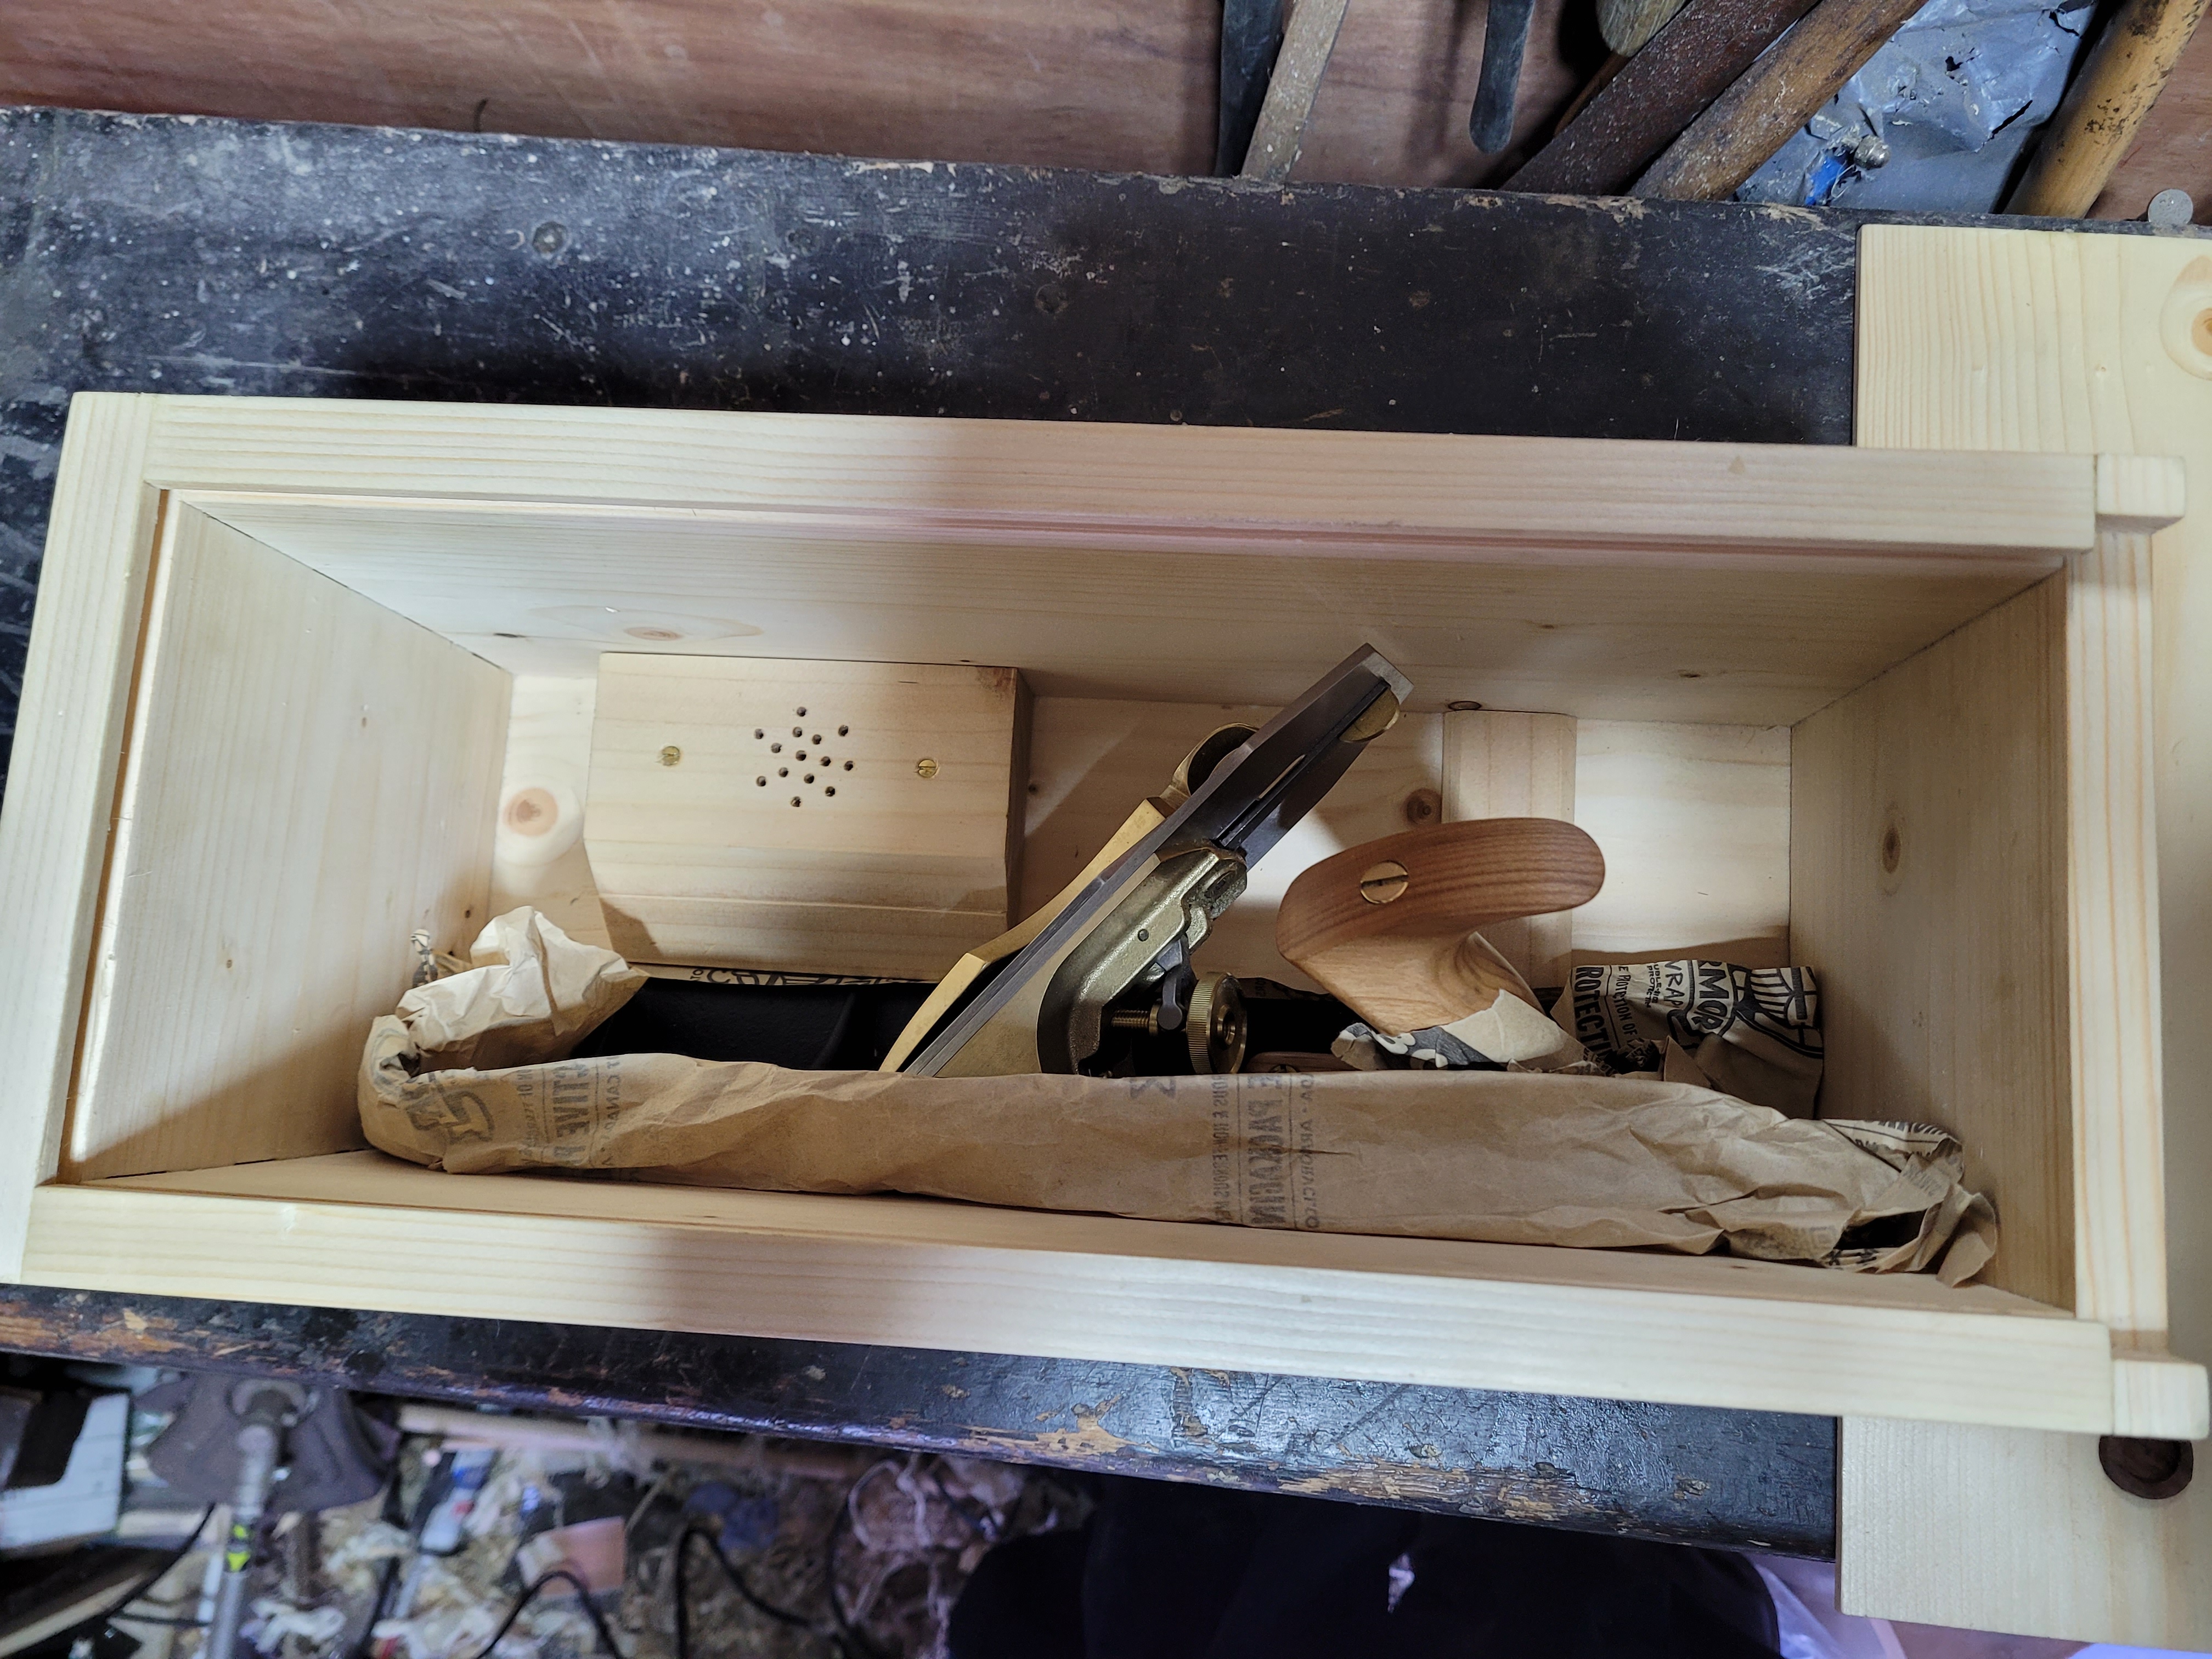
And as you cannot be too careful, the sole stays wrapped in the VCI paper the plane shipped in.
The box in its new home.