Cleaning up a Stanley No. 2
I pulled out my Stanley No. 2 the other night, and it was looking fairly beat up and crusty. Today I decided it was time to give it a refresh and clean-up. This is effectively the same process as restoring a plane, but just not as much work.
The must dos are: get rid of any rust, clean out any shavings and grot. Check the iron and chip breaker are in good shape and mating properly. Anything beyond that is not looked at unless the plane is not working properly. I’m not going to check the sole for flat. If it takes the shaving I want, then why bother.
The plane itself was a nice find. Very cheap, but missing its front knob. I tracked down the right one after a few months. The other problem was a crack in the lever cap. I drilled a tiny hole to stop the crack spreading, and filled the back of the cap with JBWeld to reinforce and support it. That makes this plane no-ones collector piece, but a very nice user for me.
I’ll walk step by step through what I do, and what I use in the pictures below.
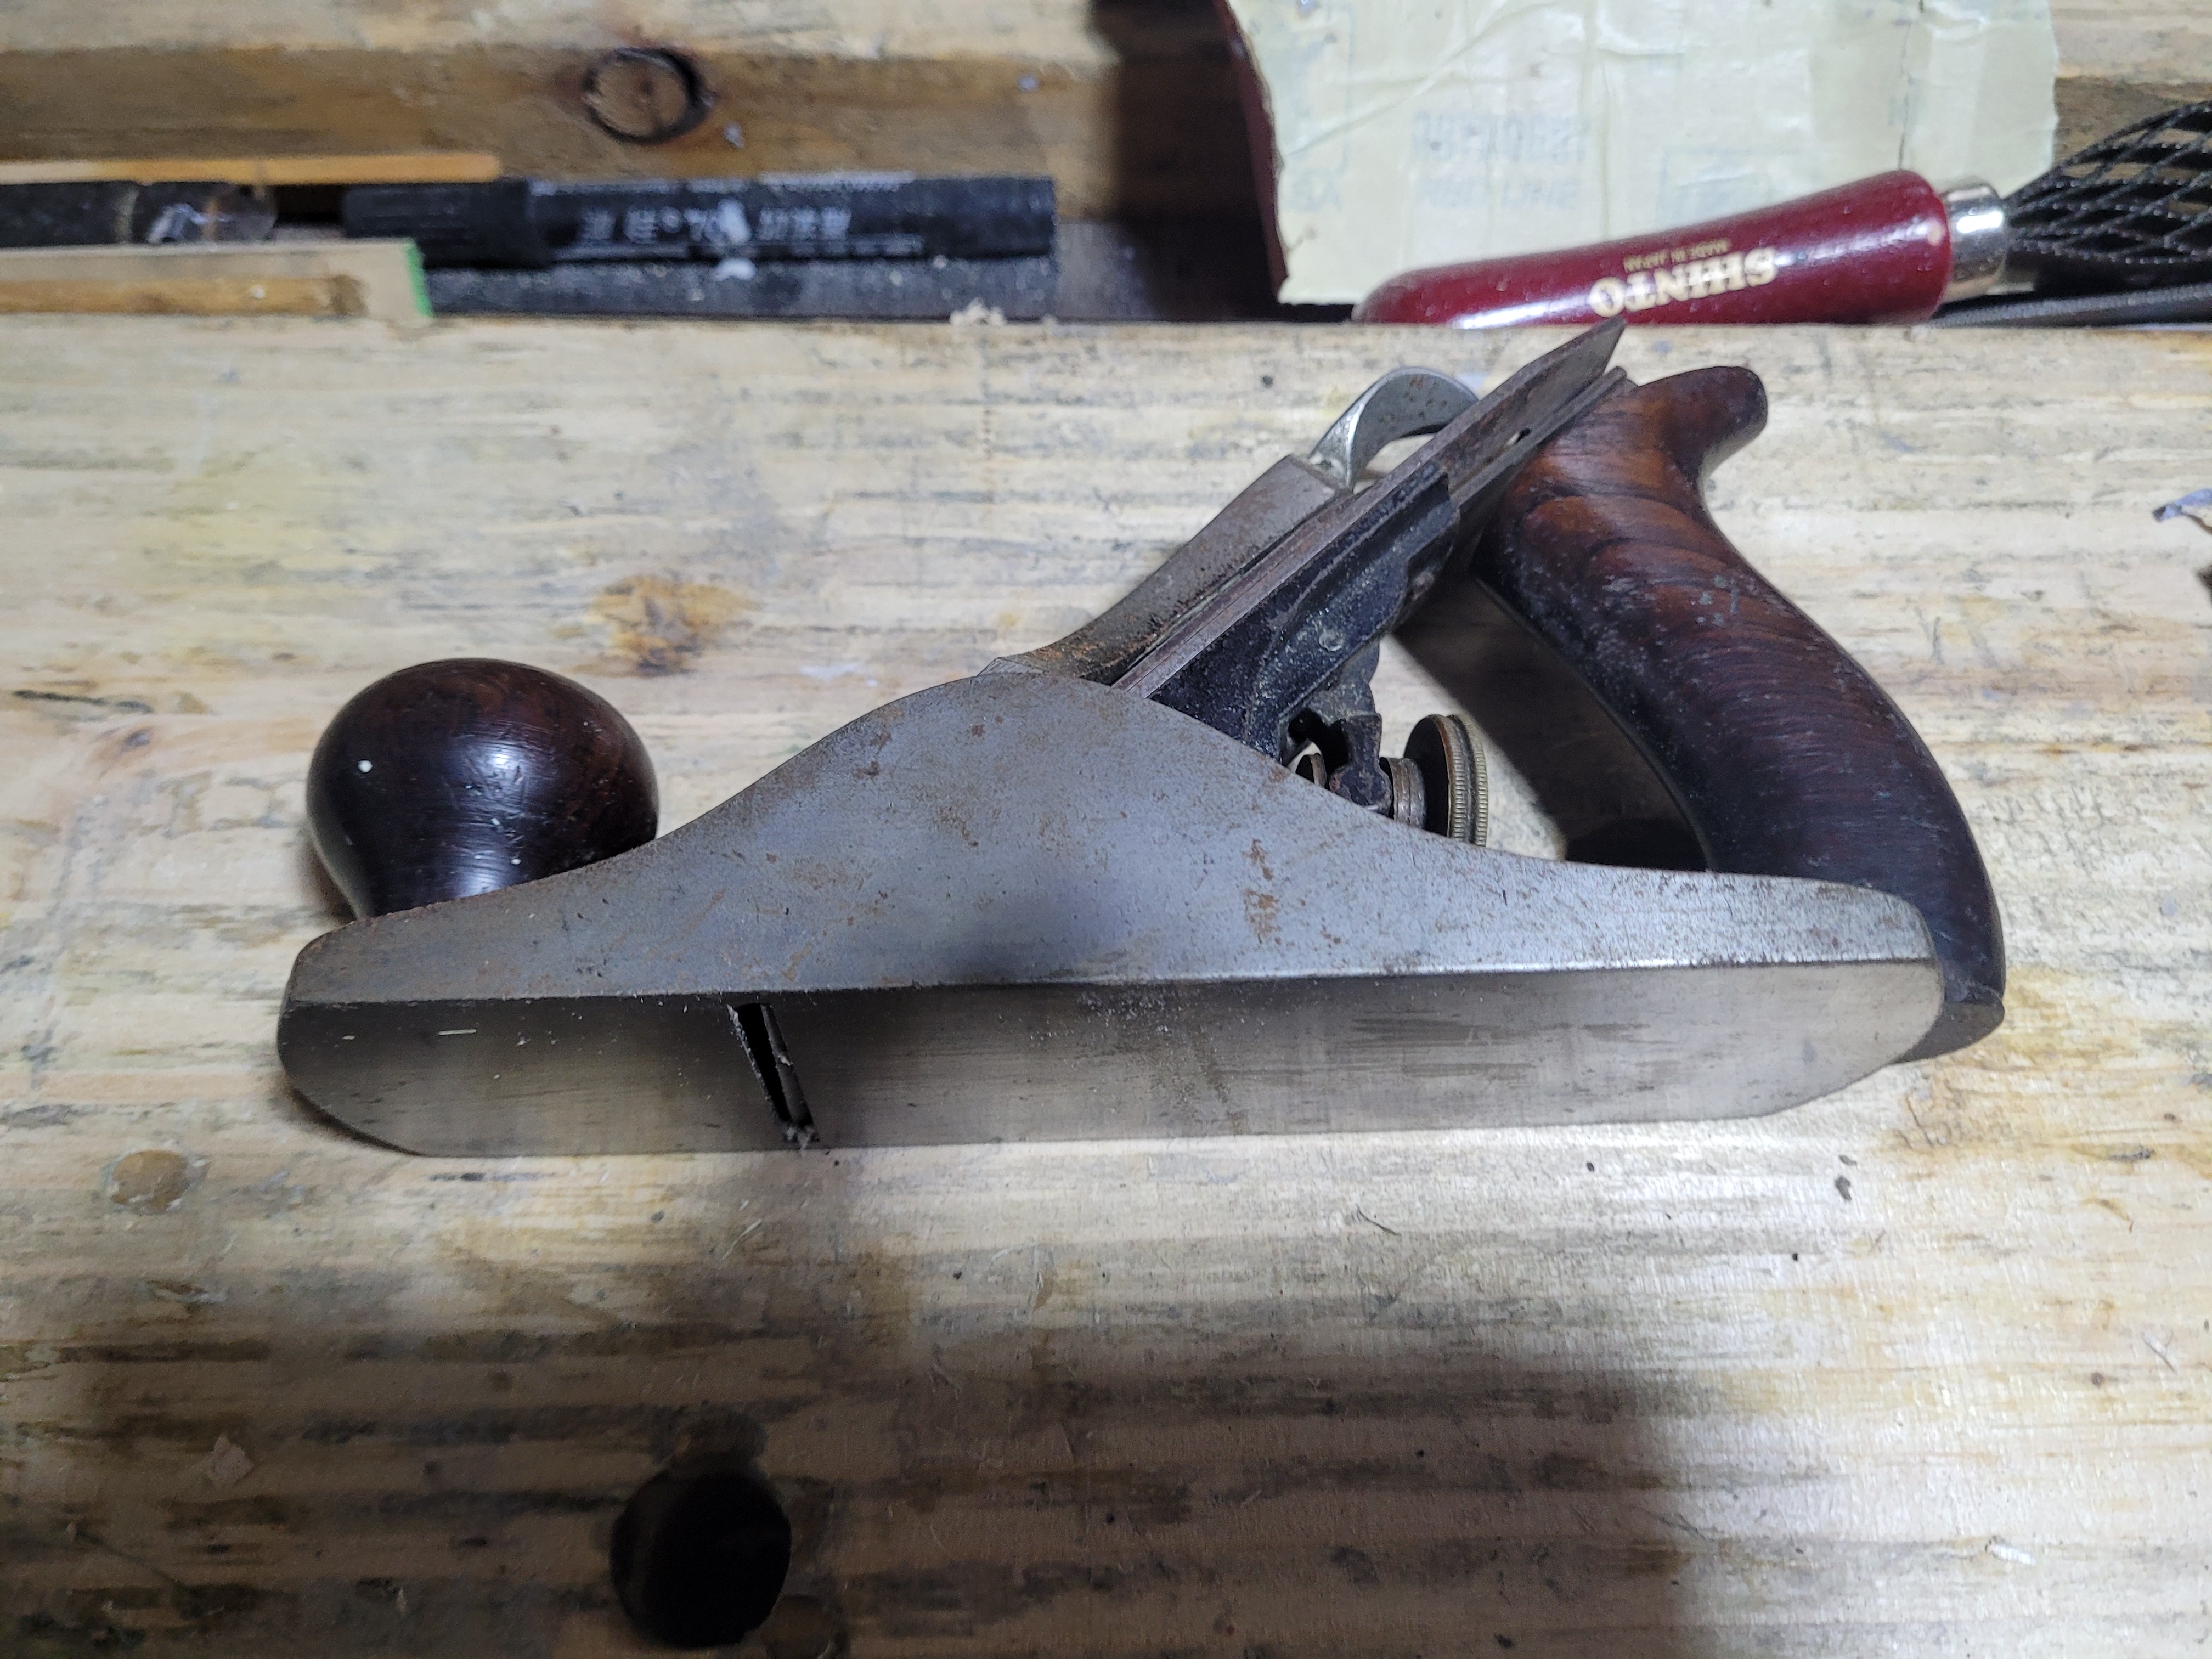
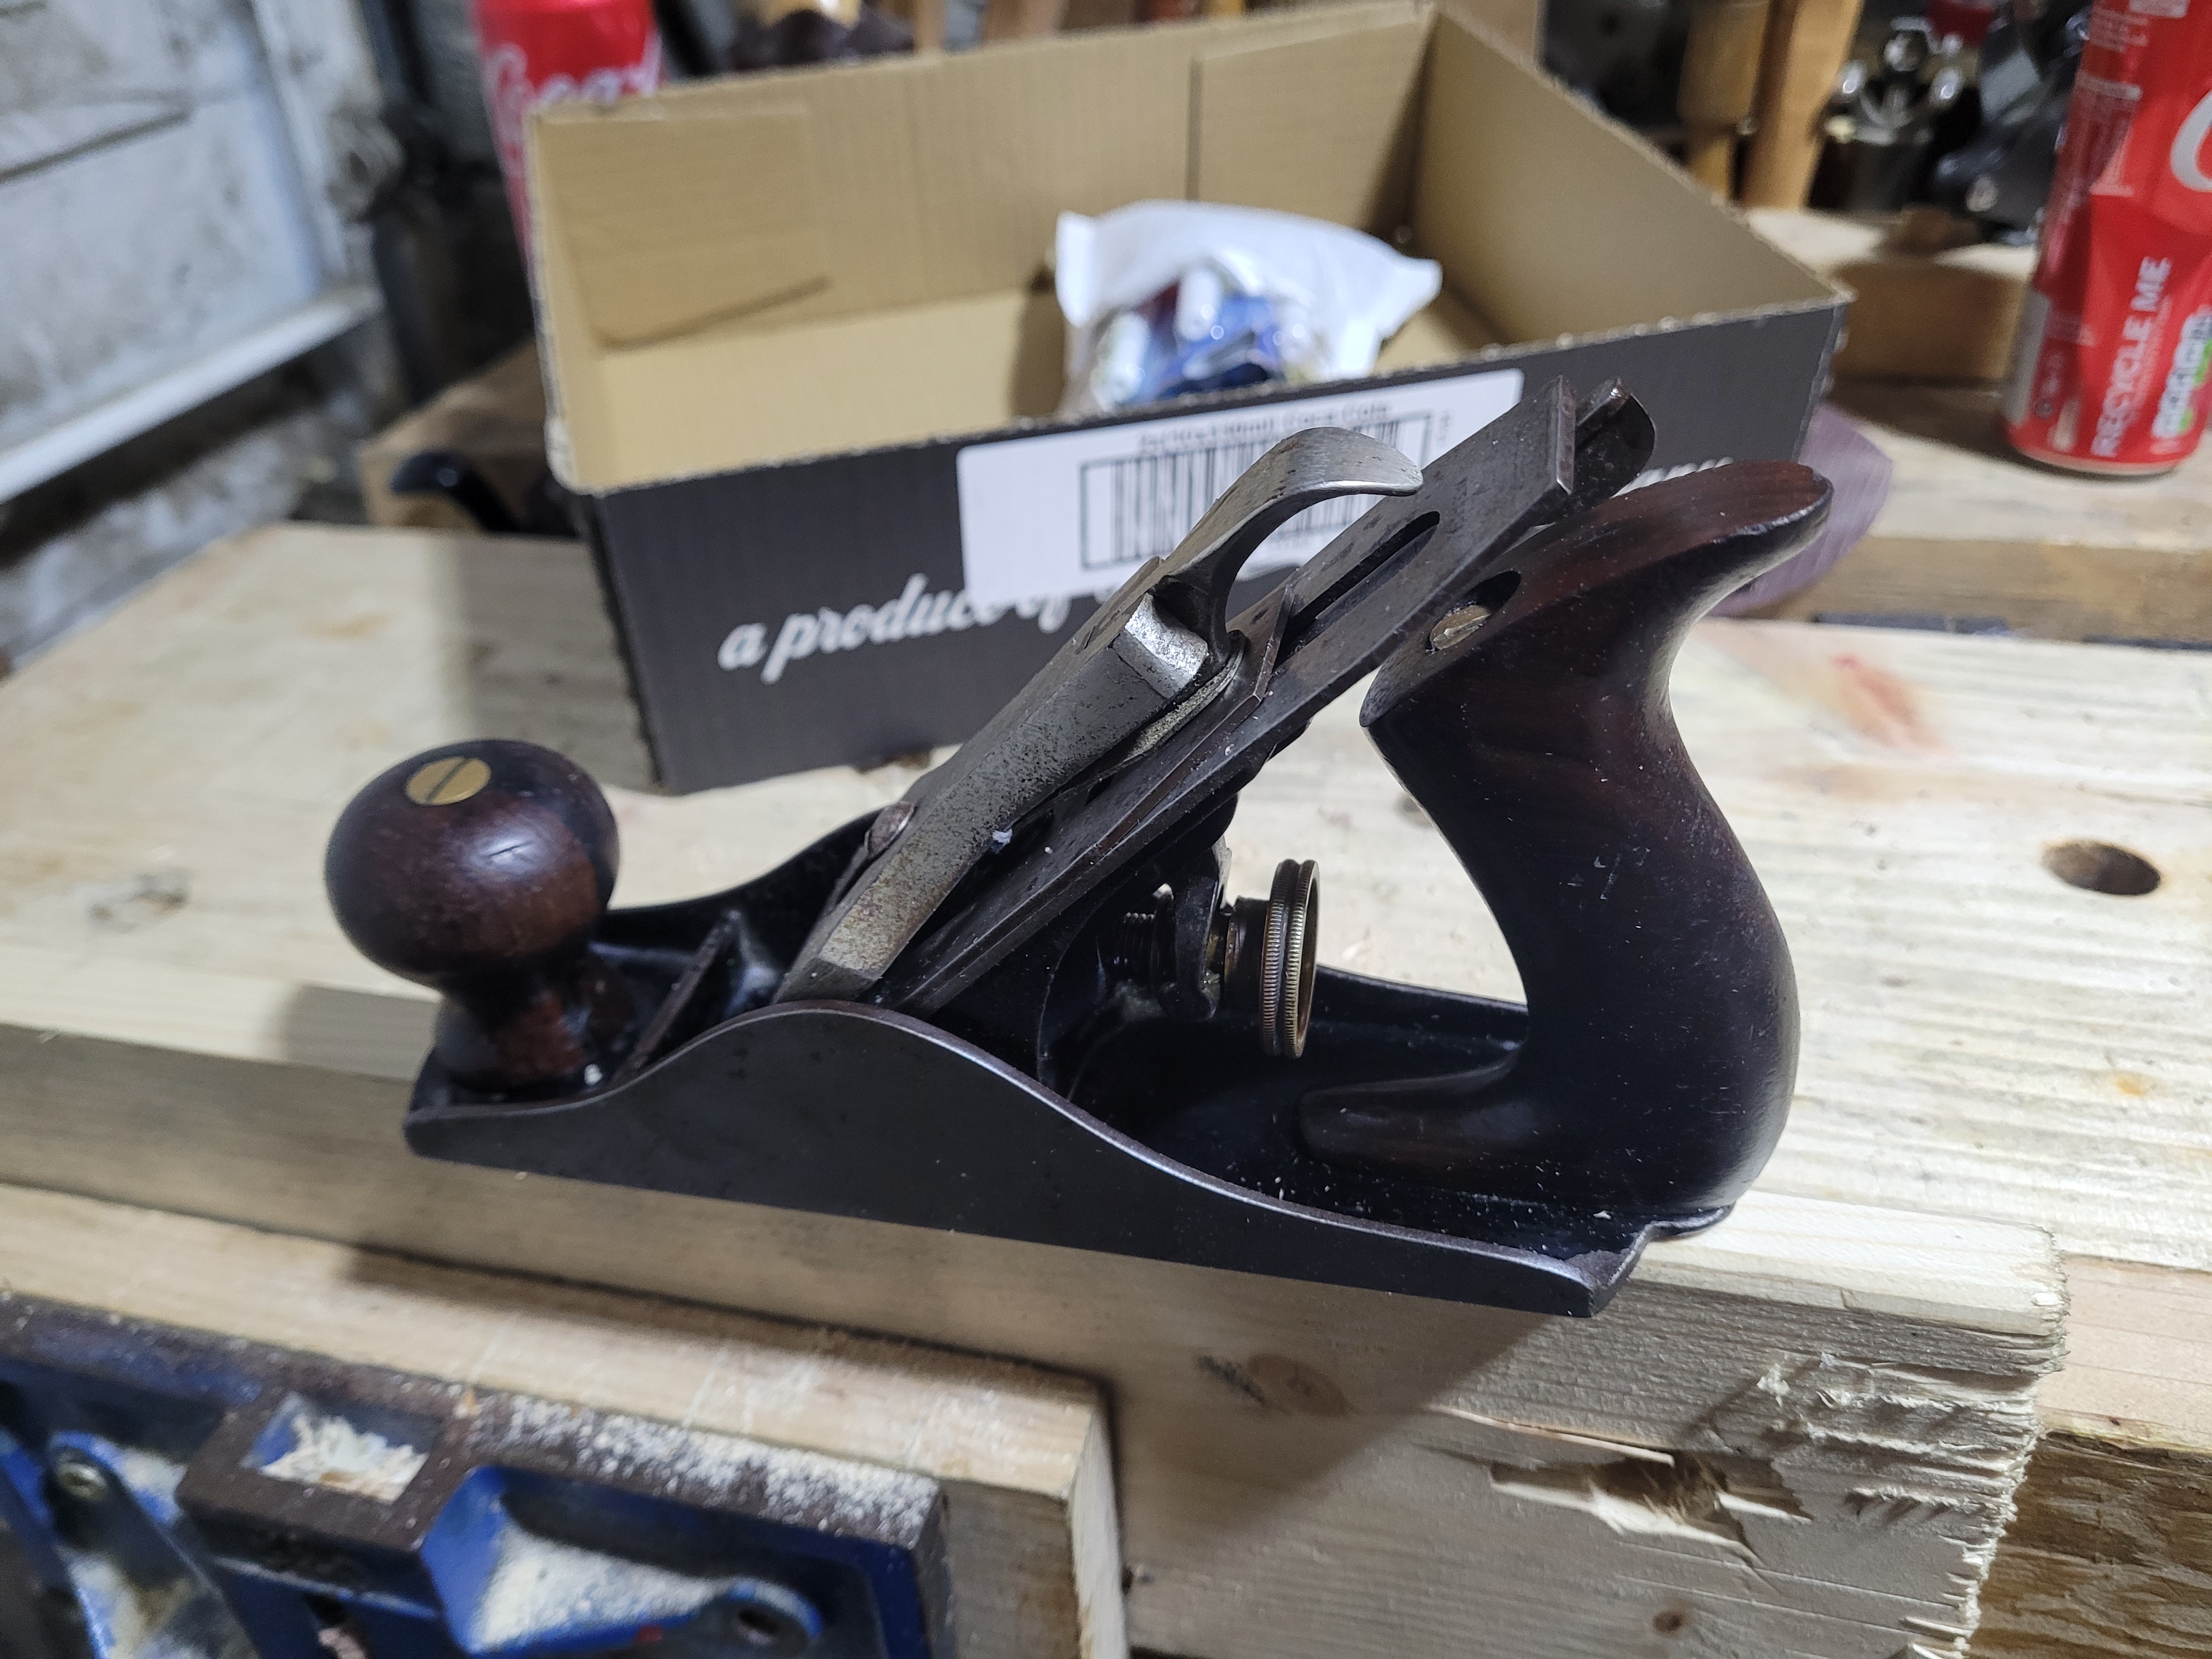
Here is the patient, lots of dirt, lots of patches of surface rust.
Side walls are similar, not too bad, but a little rust here and there.
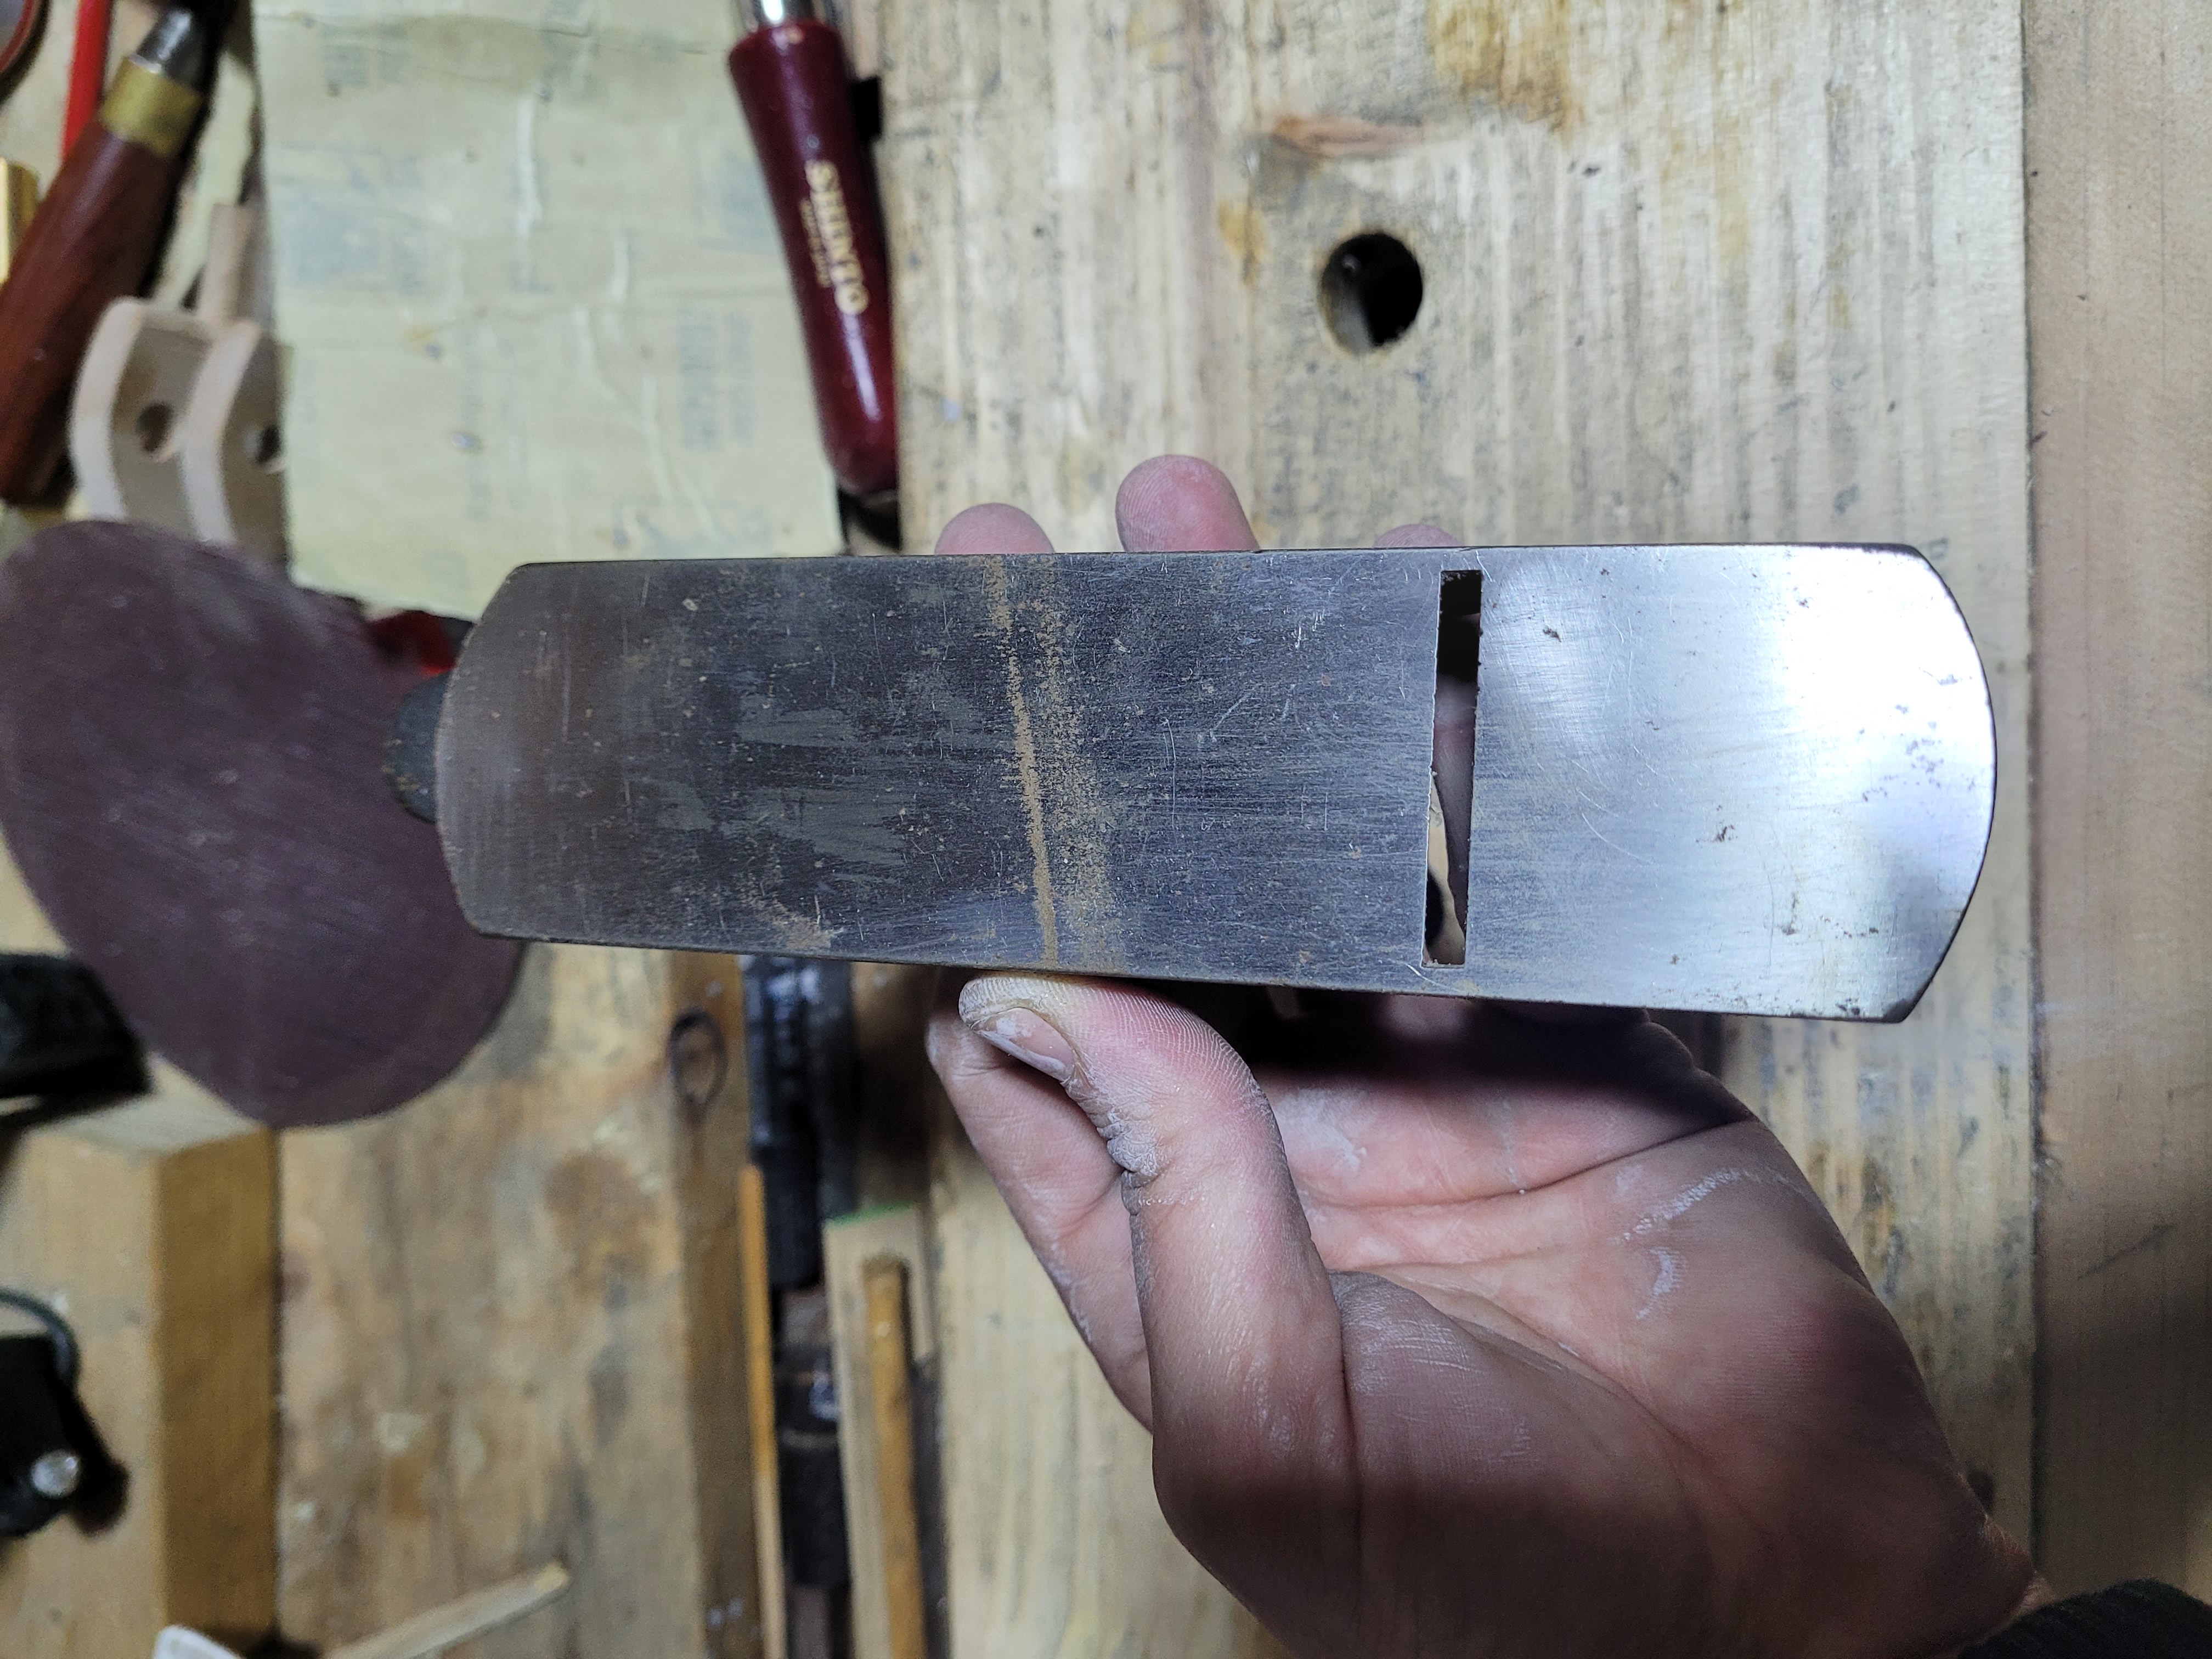
Sole looks pretty good, apart from the ugly streak of rust across the middle. Thankfully this is not a very critical area, so I’m not worried about it.
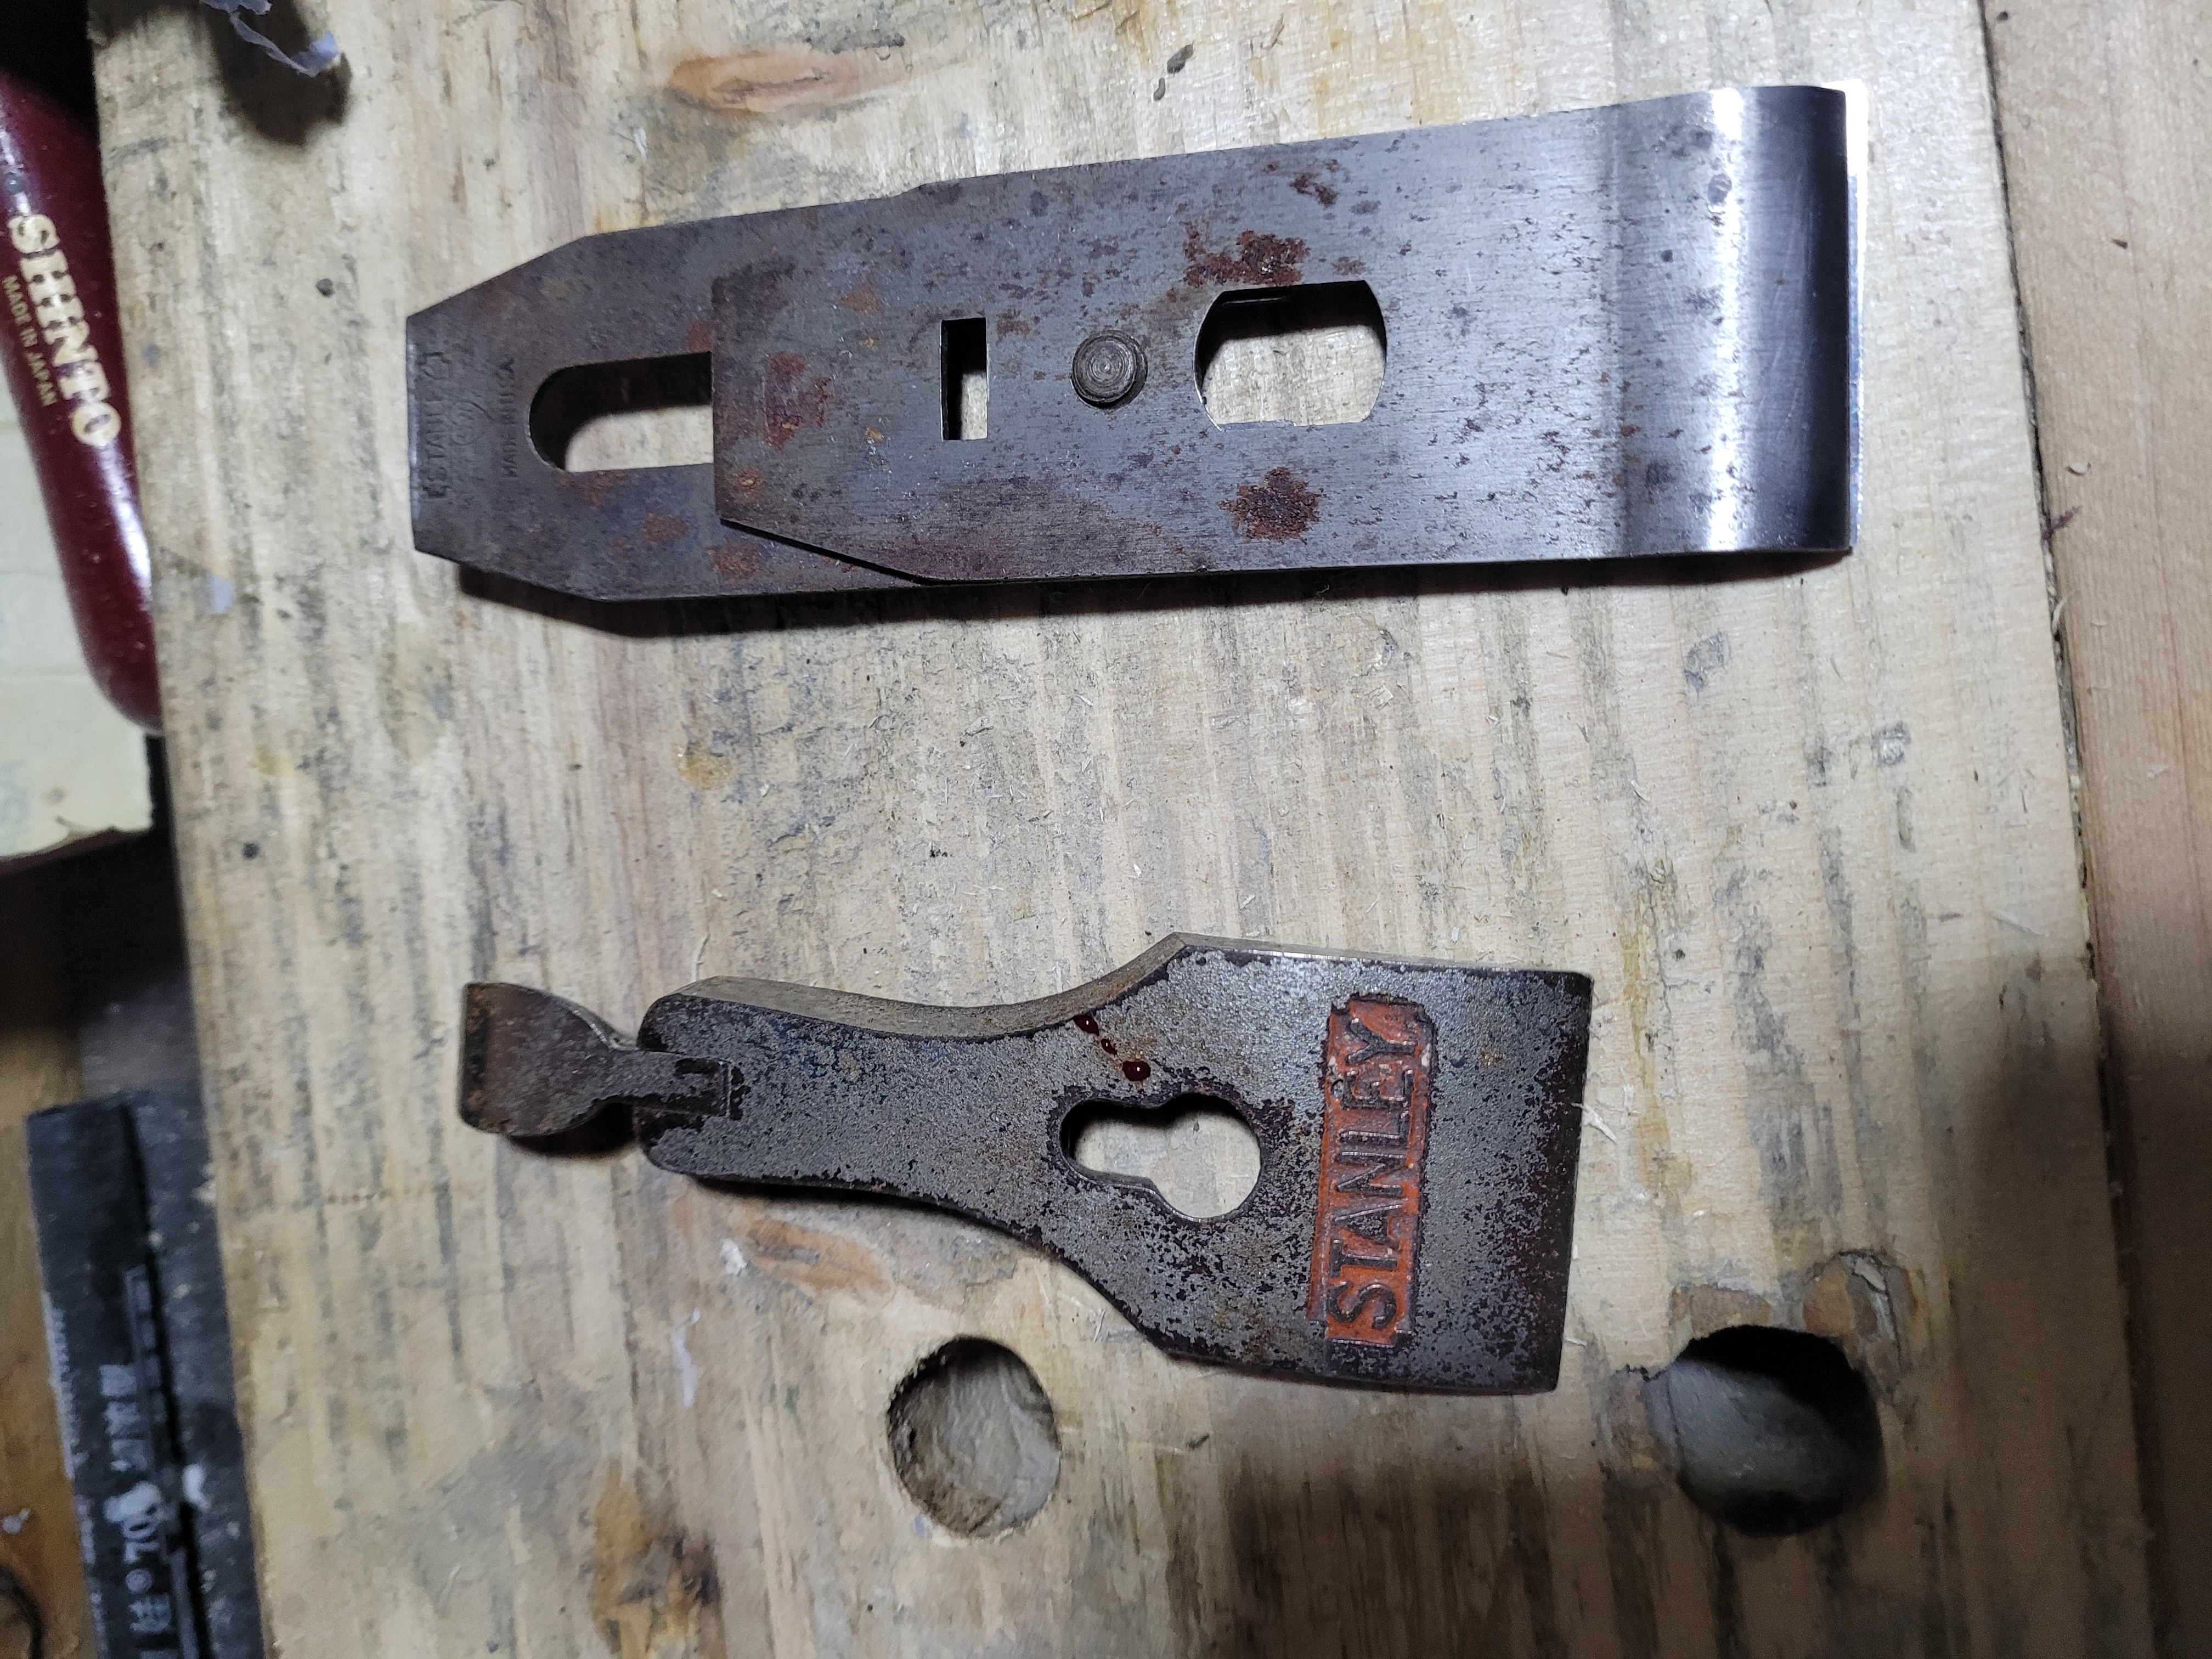
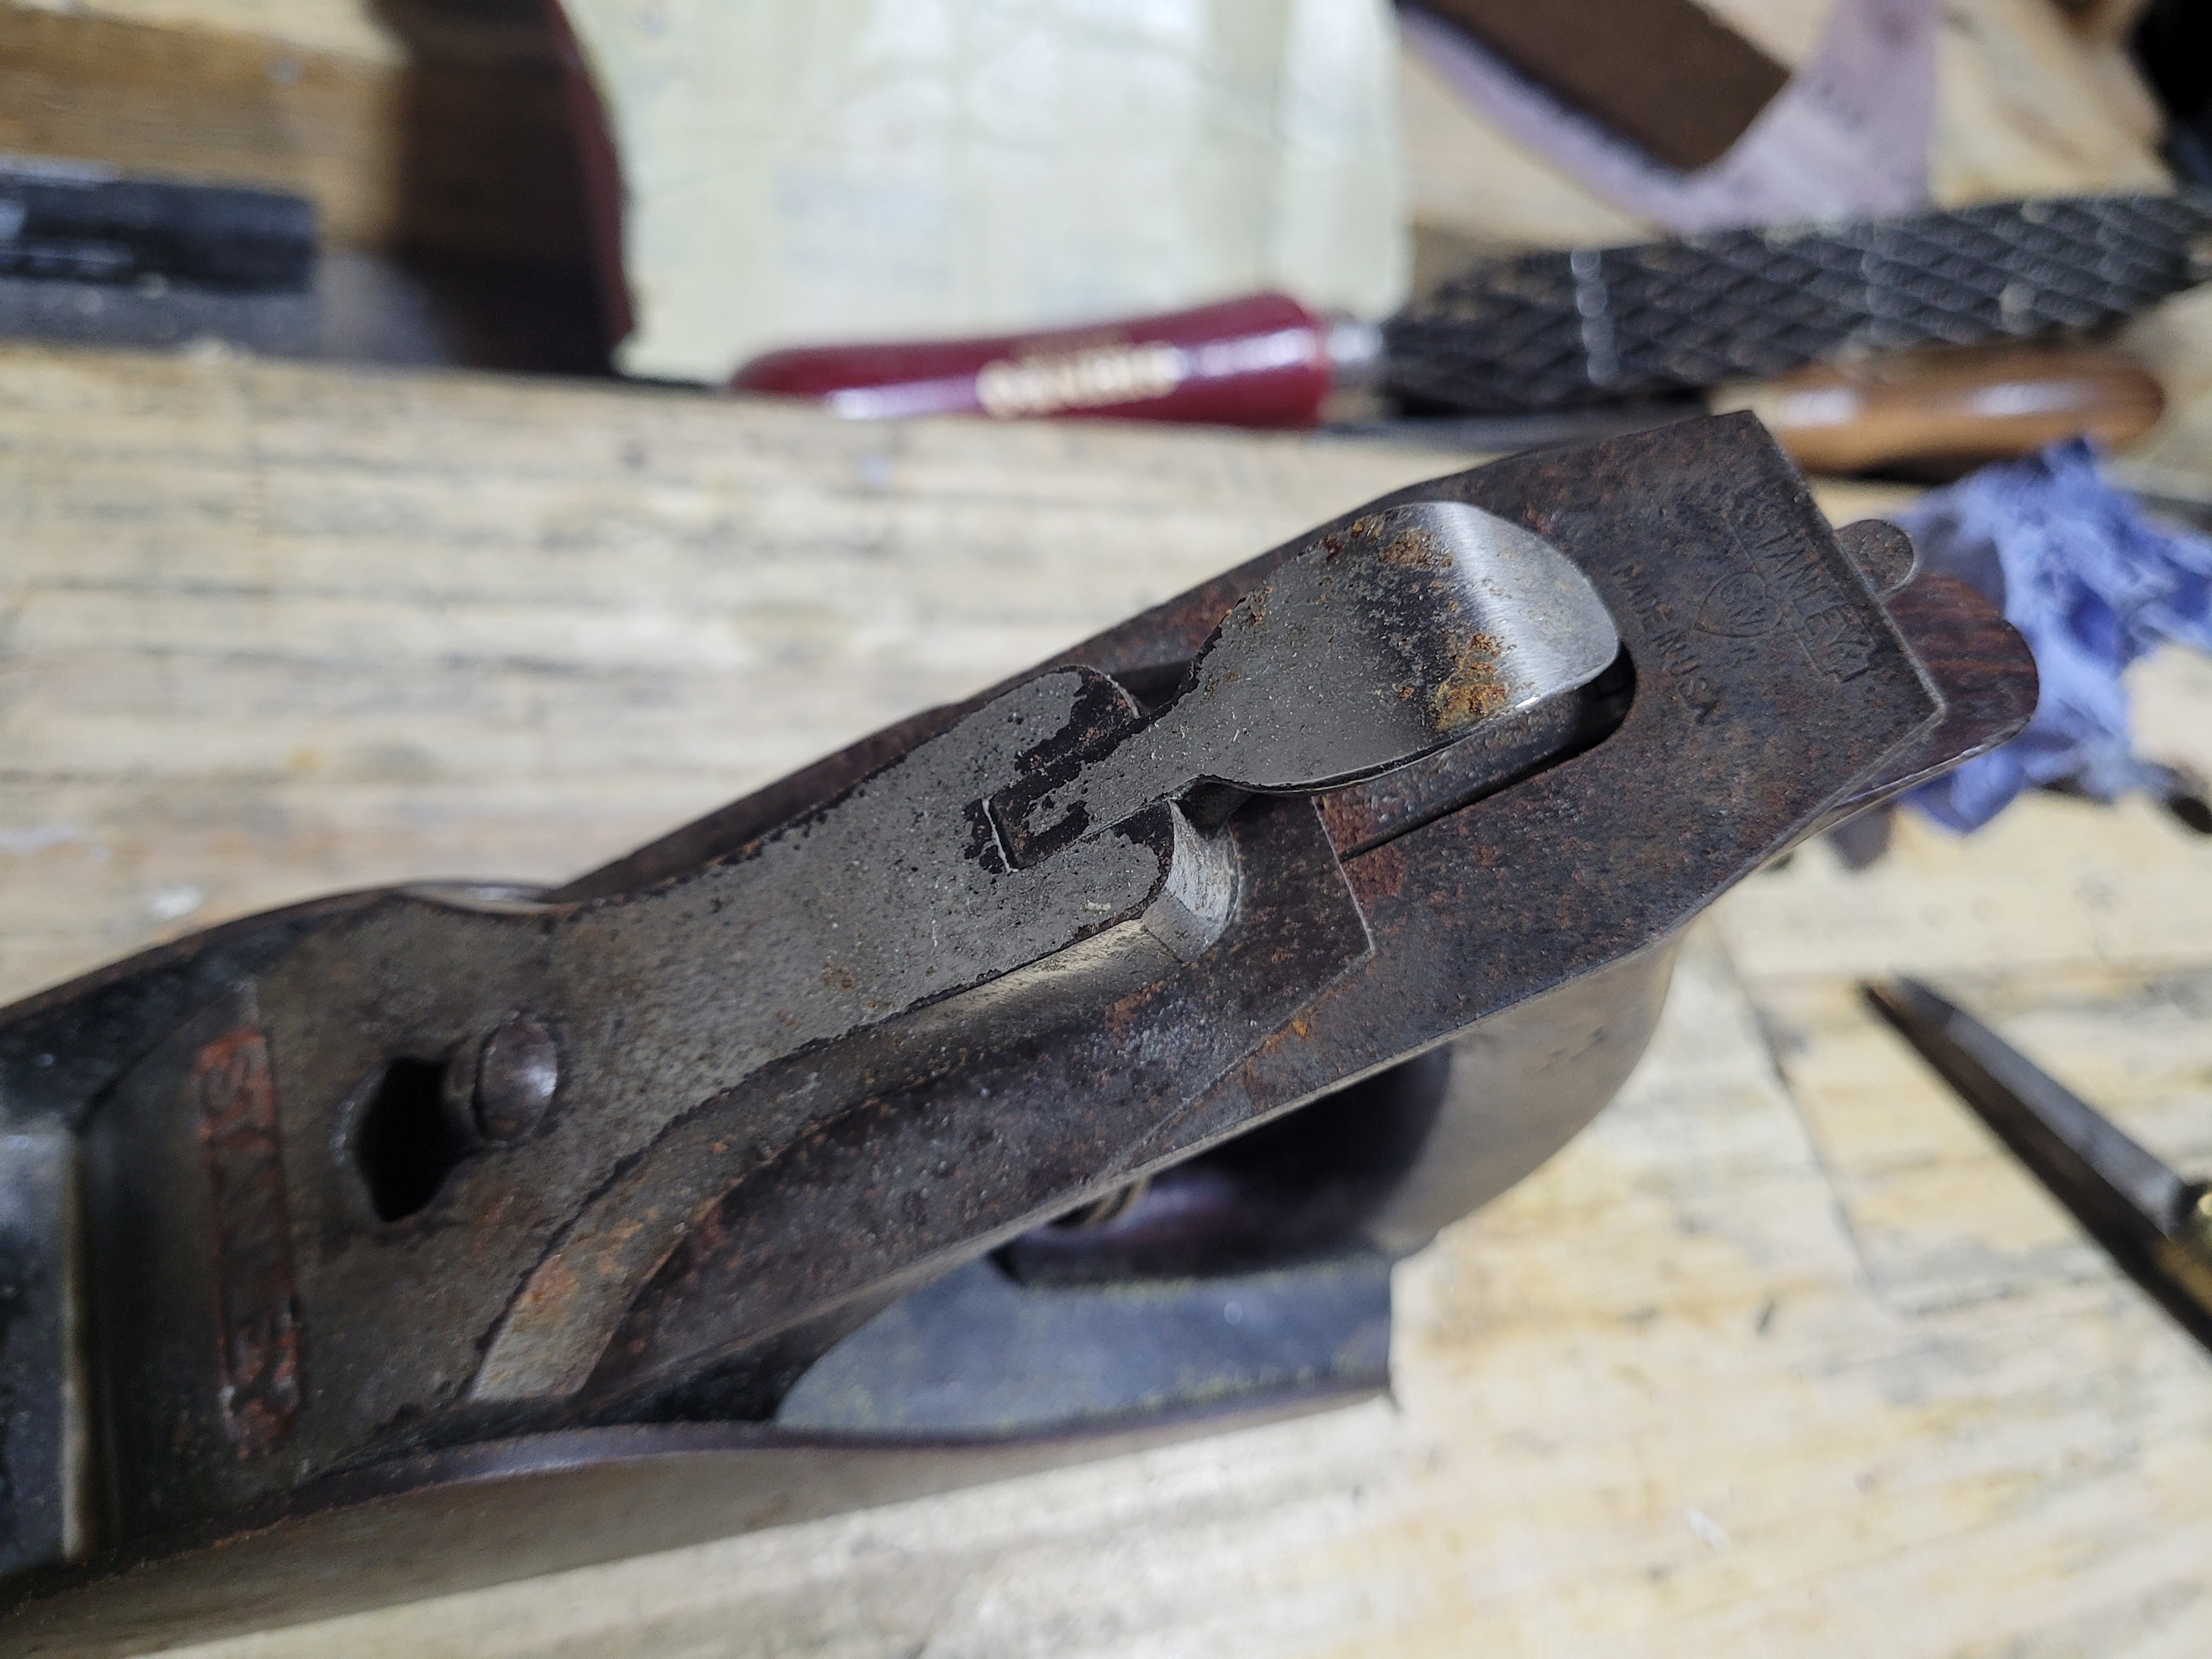
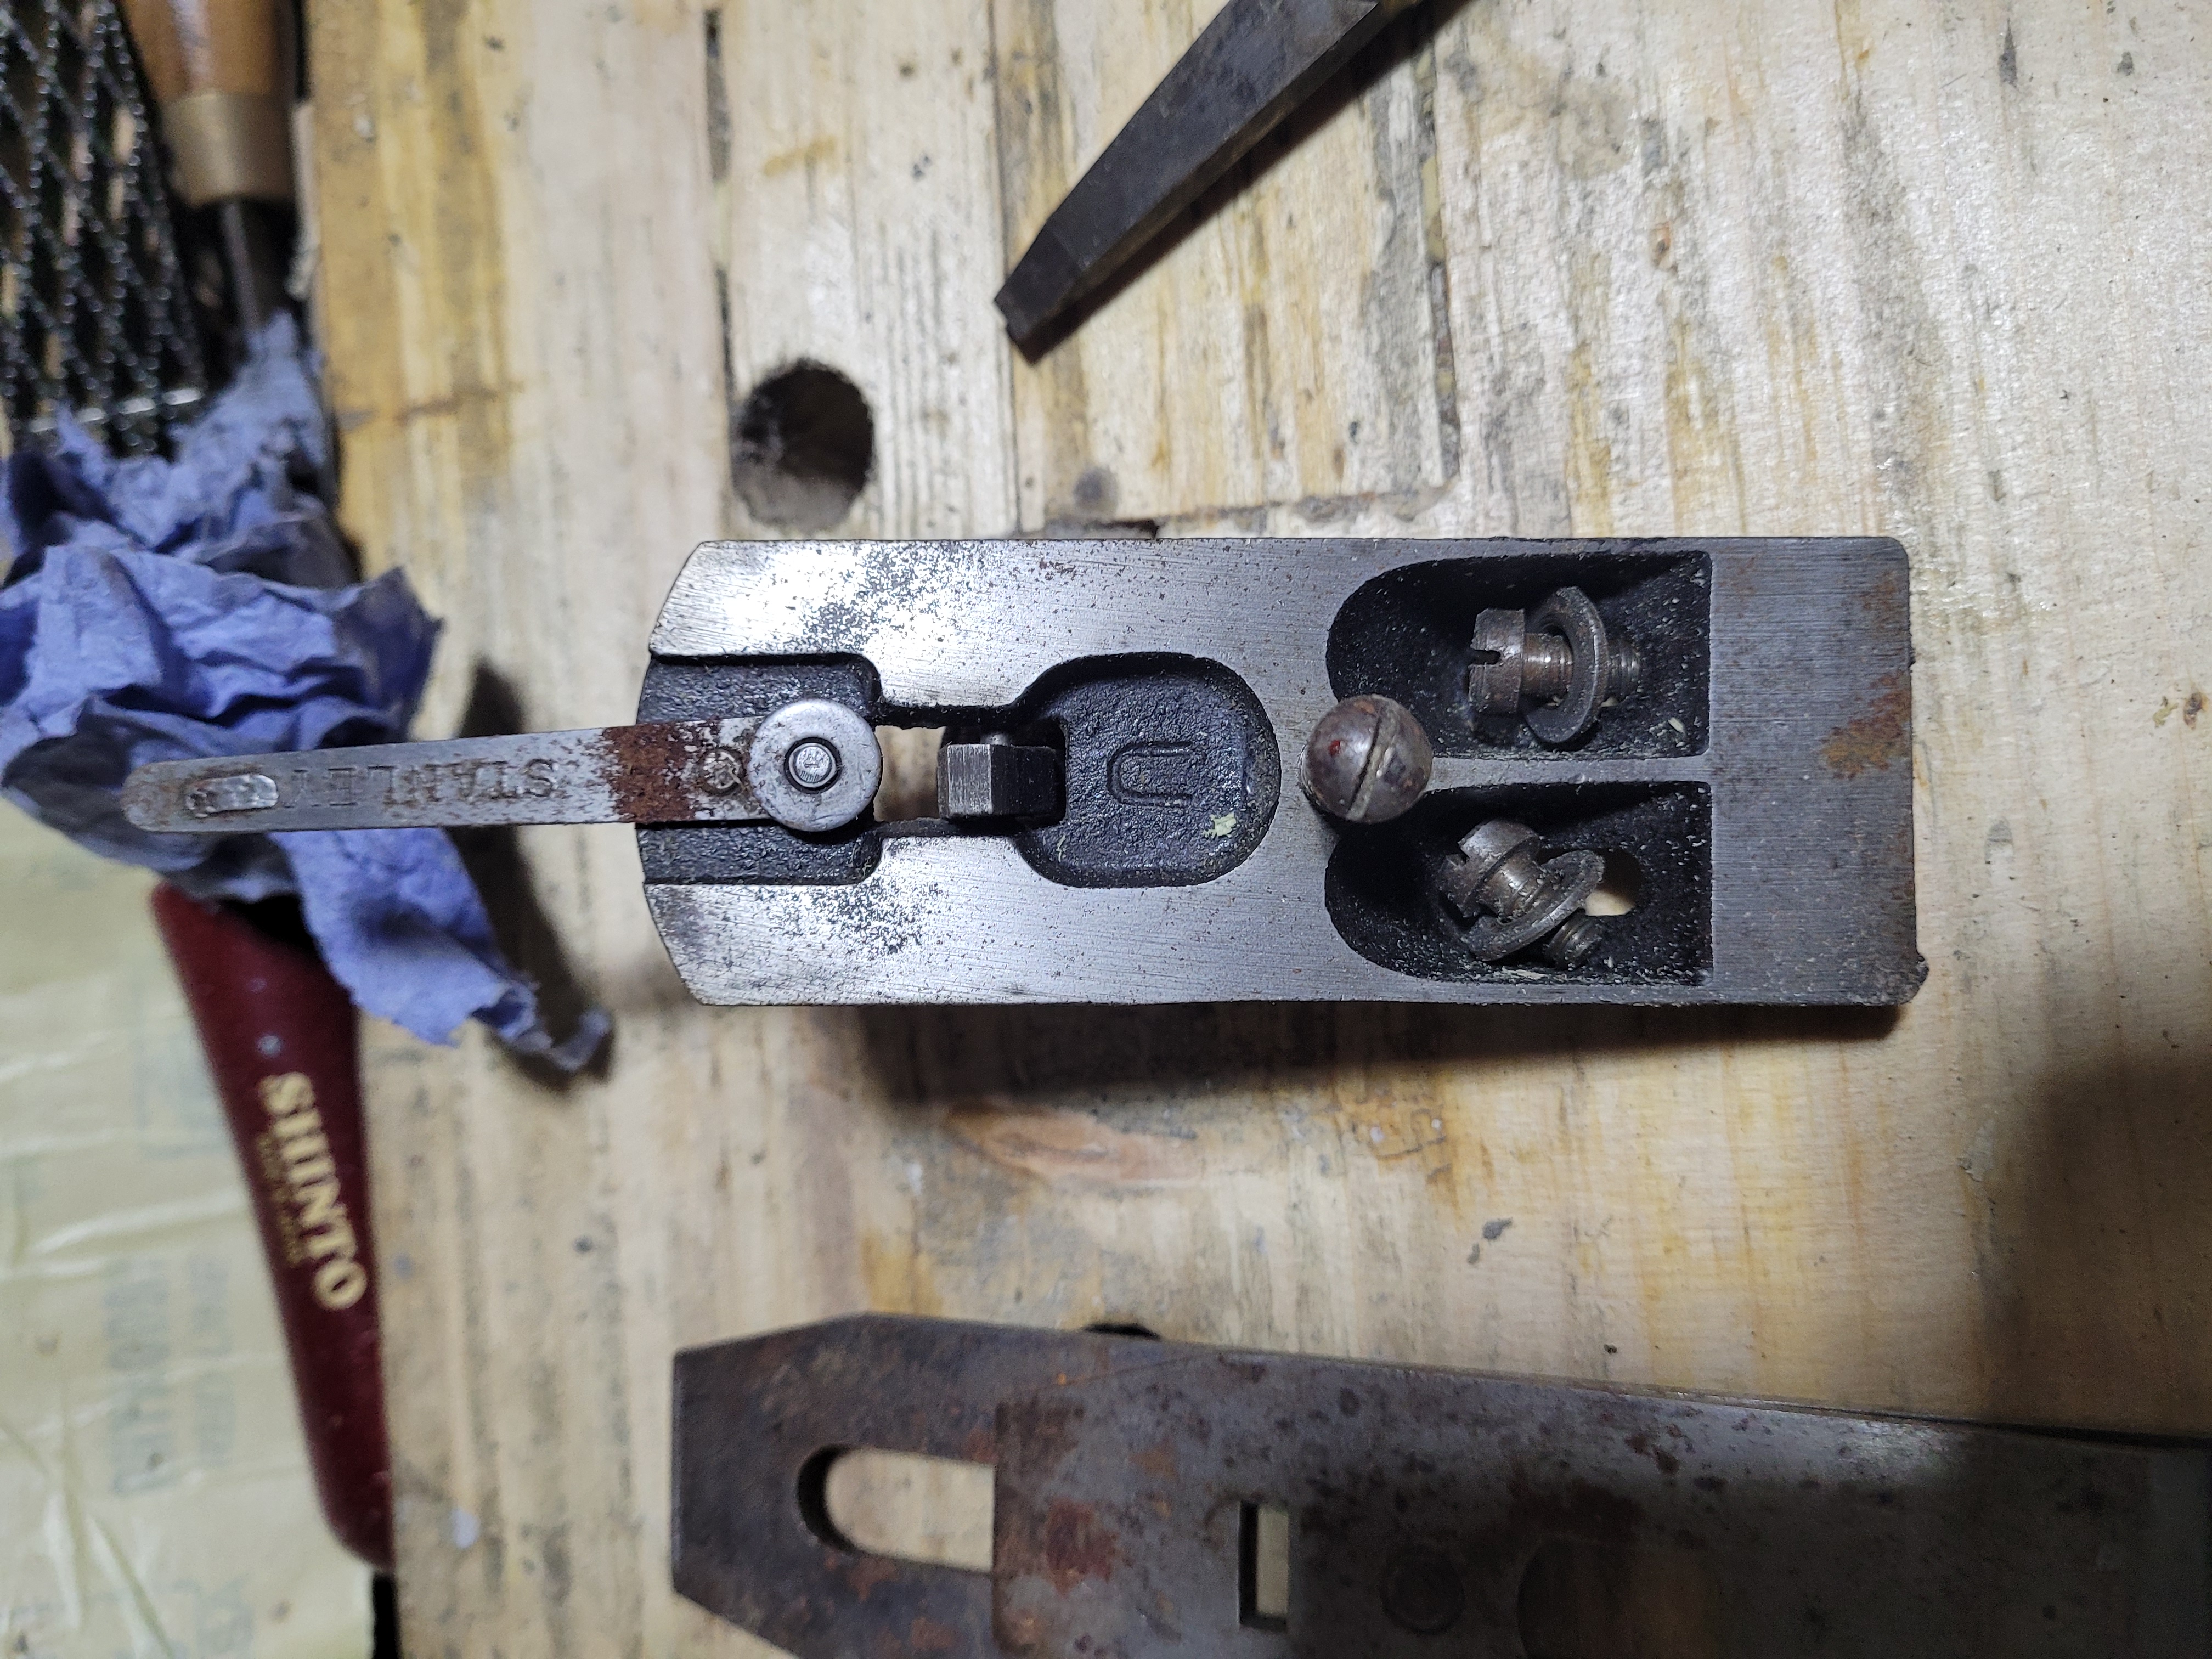
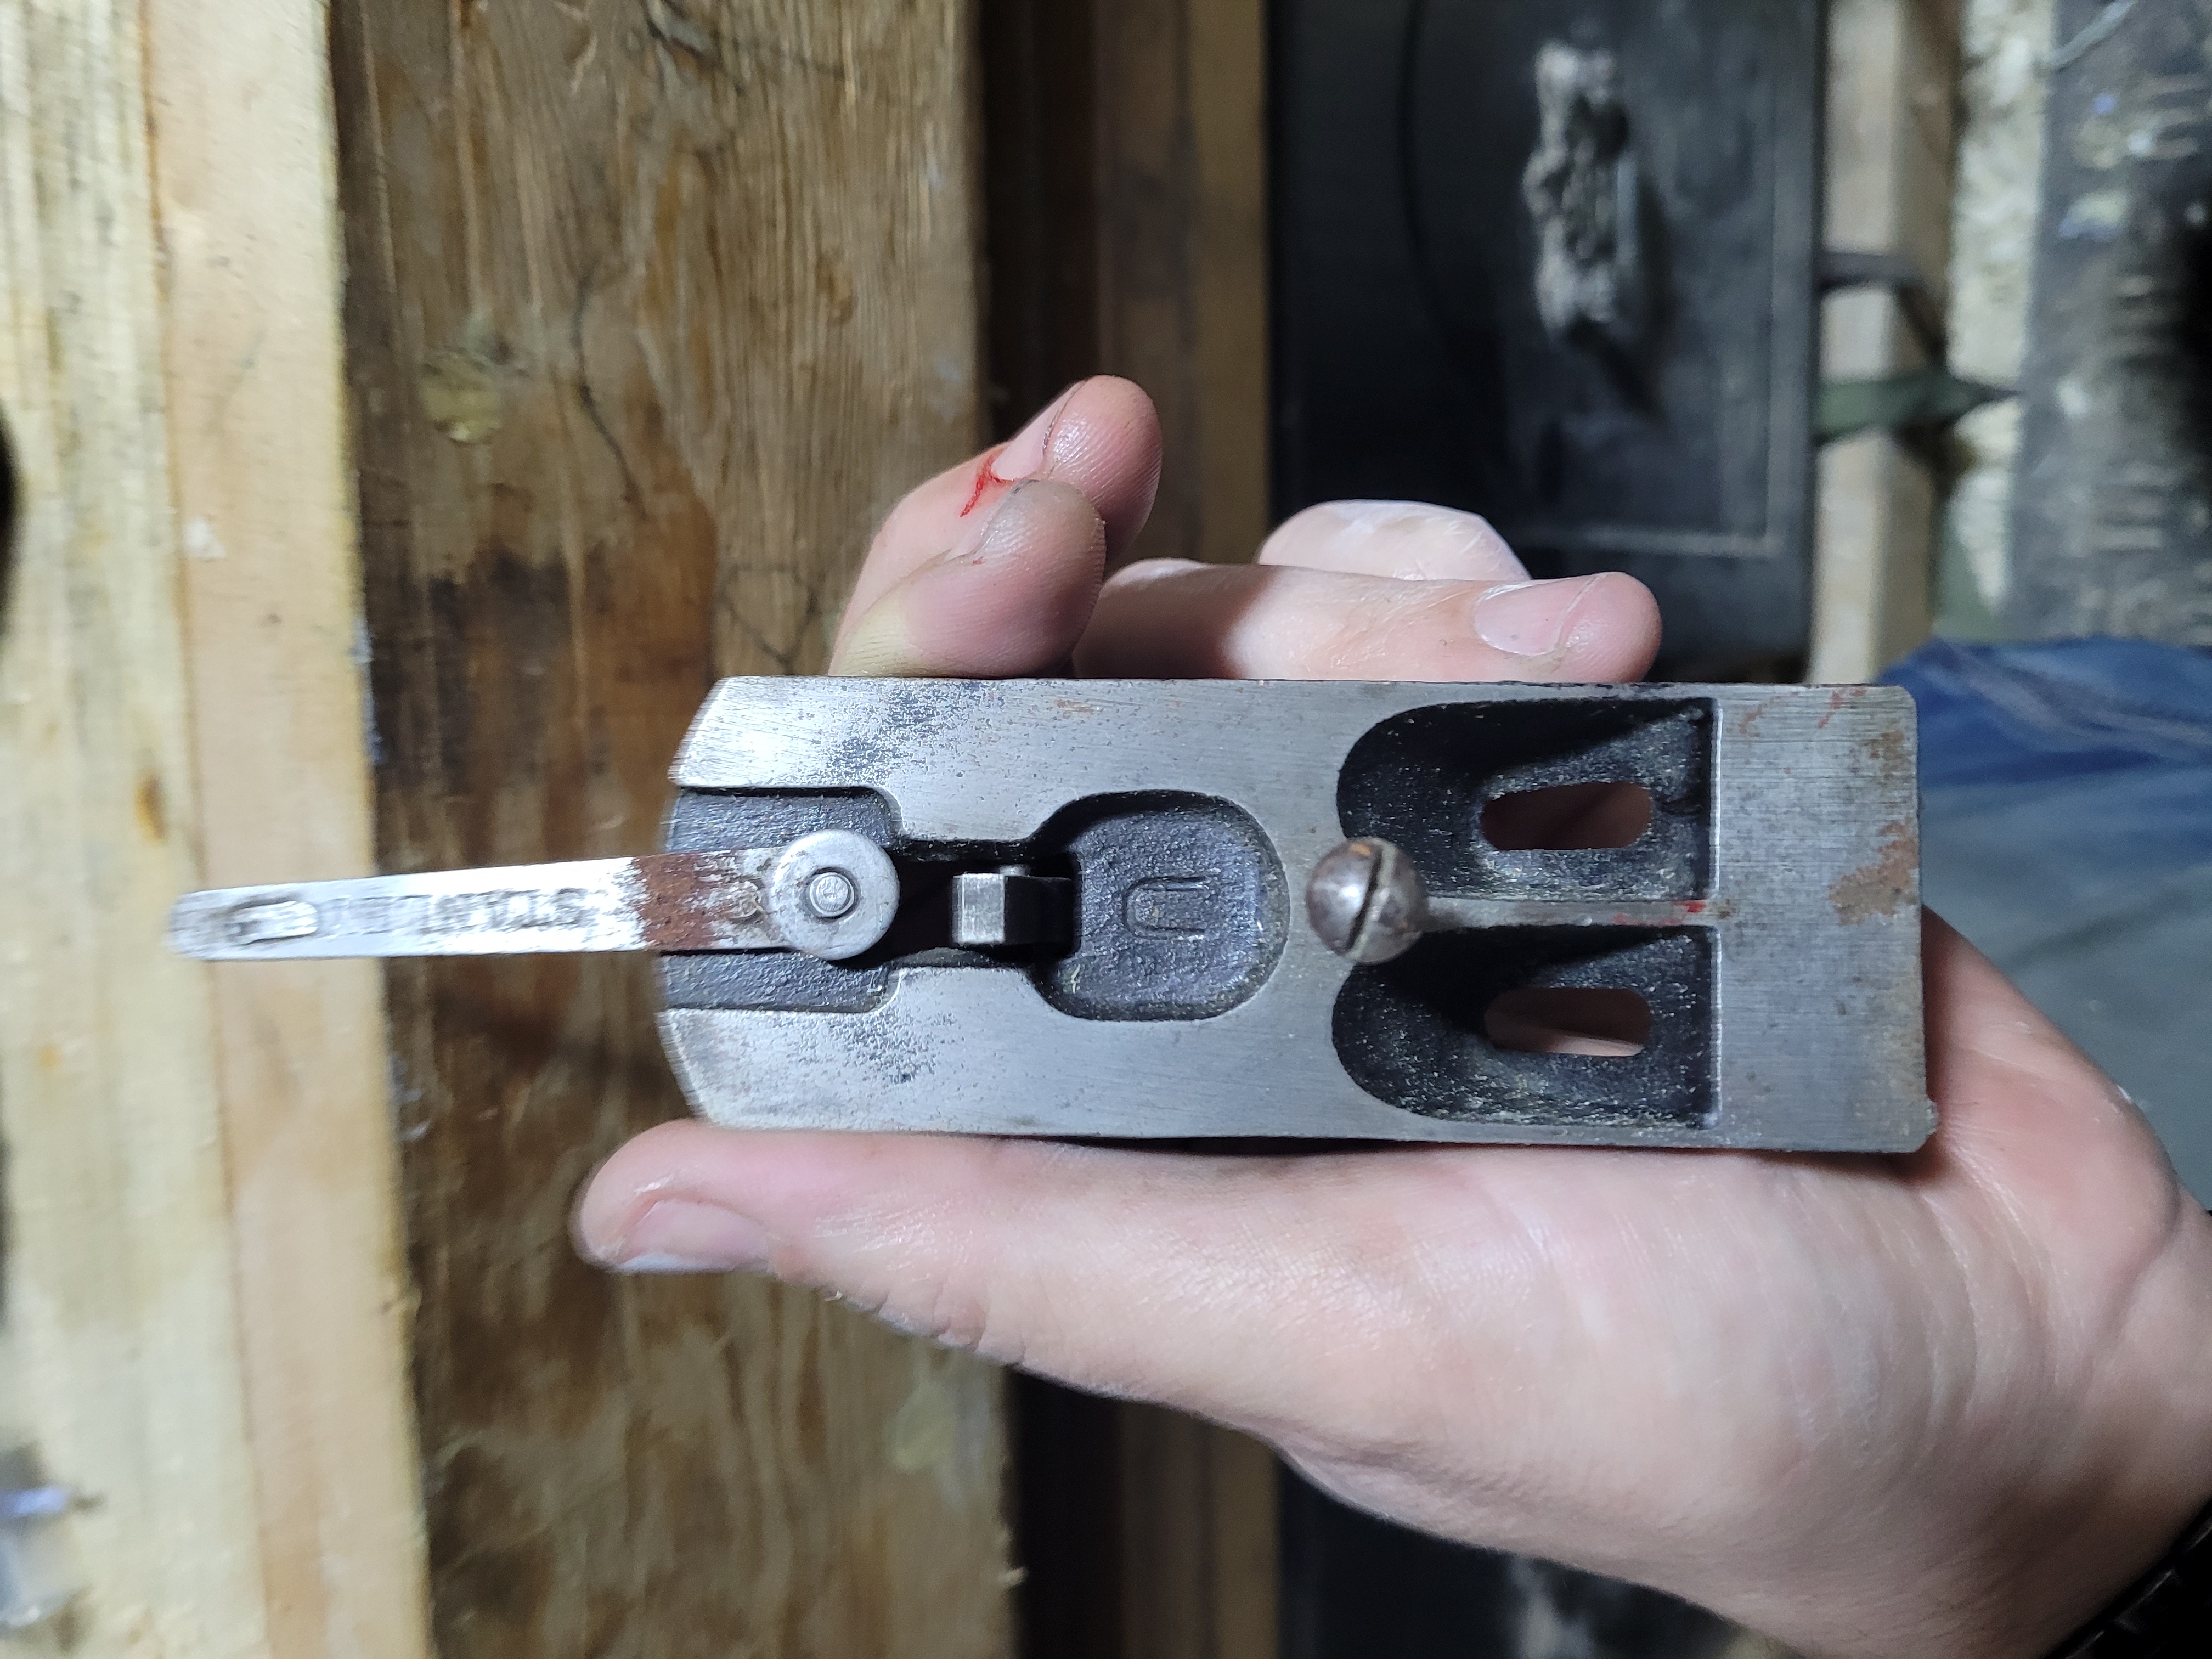
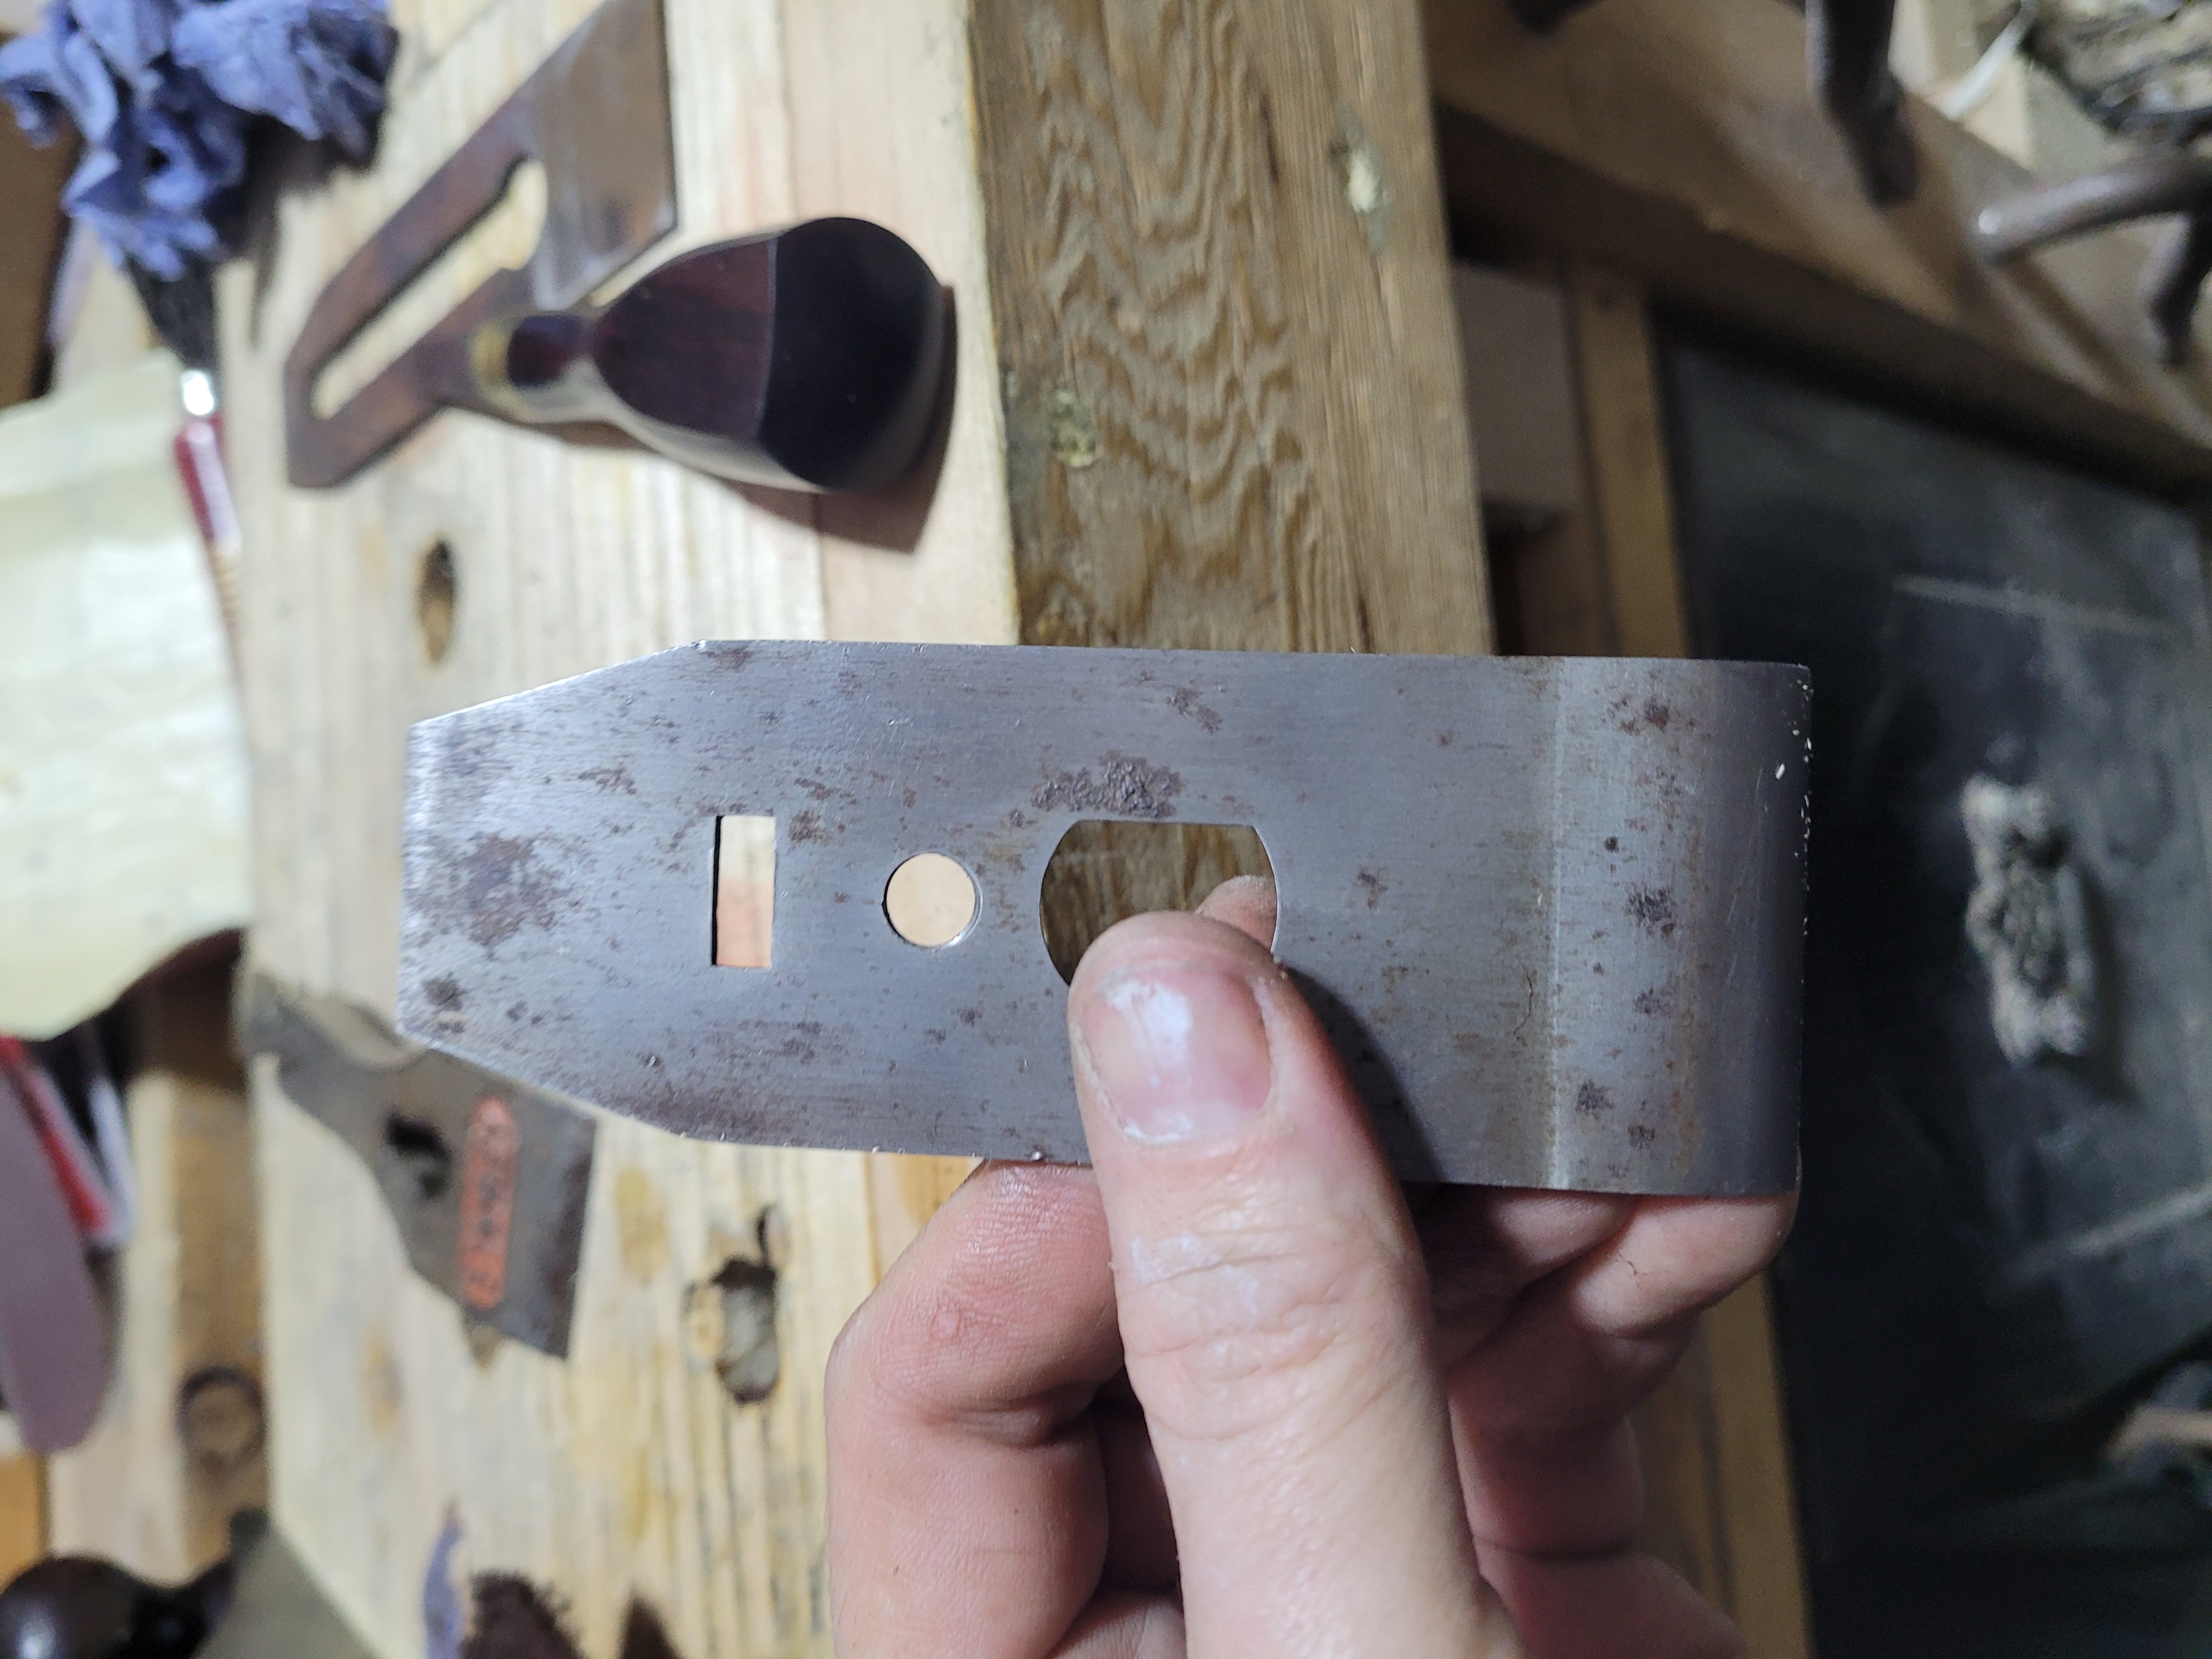
Lever cap and Iron/Chip breaker. Again, light surface rust is the worst of it. There are a few dings toward the tip of the chip breaker. I’ll polish those out. The Lever cap has a fair bit of the original plating, but its flaking off a lot.You have 2 options here, take all of it off, or put up with it looking a little cruddy. I’m going to keep it. I know the Iron is sharp. I tipped it off my finger and cut myself without realising for a few minutes. Those little dark red blobs on the lever cap? Yip, that’s my blood, took me a minute to figure that out.
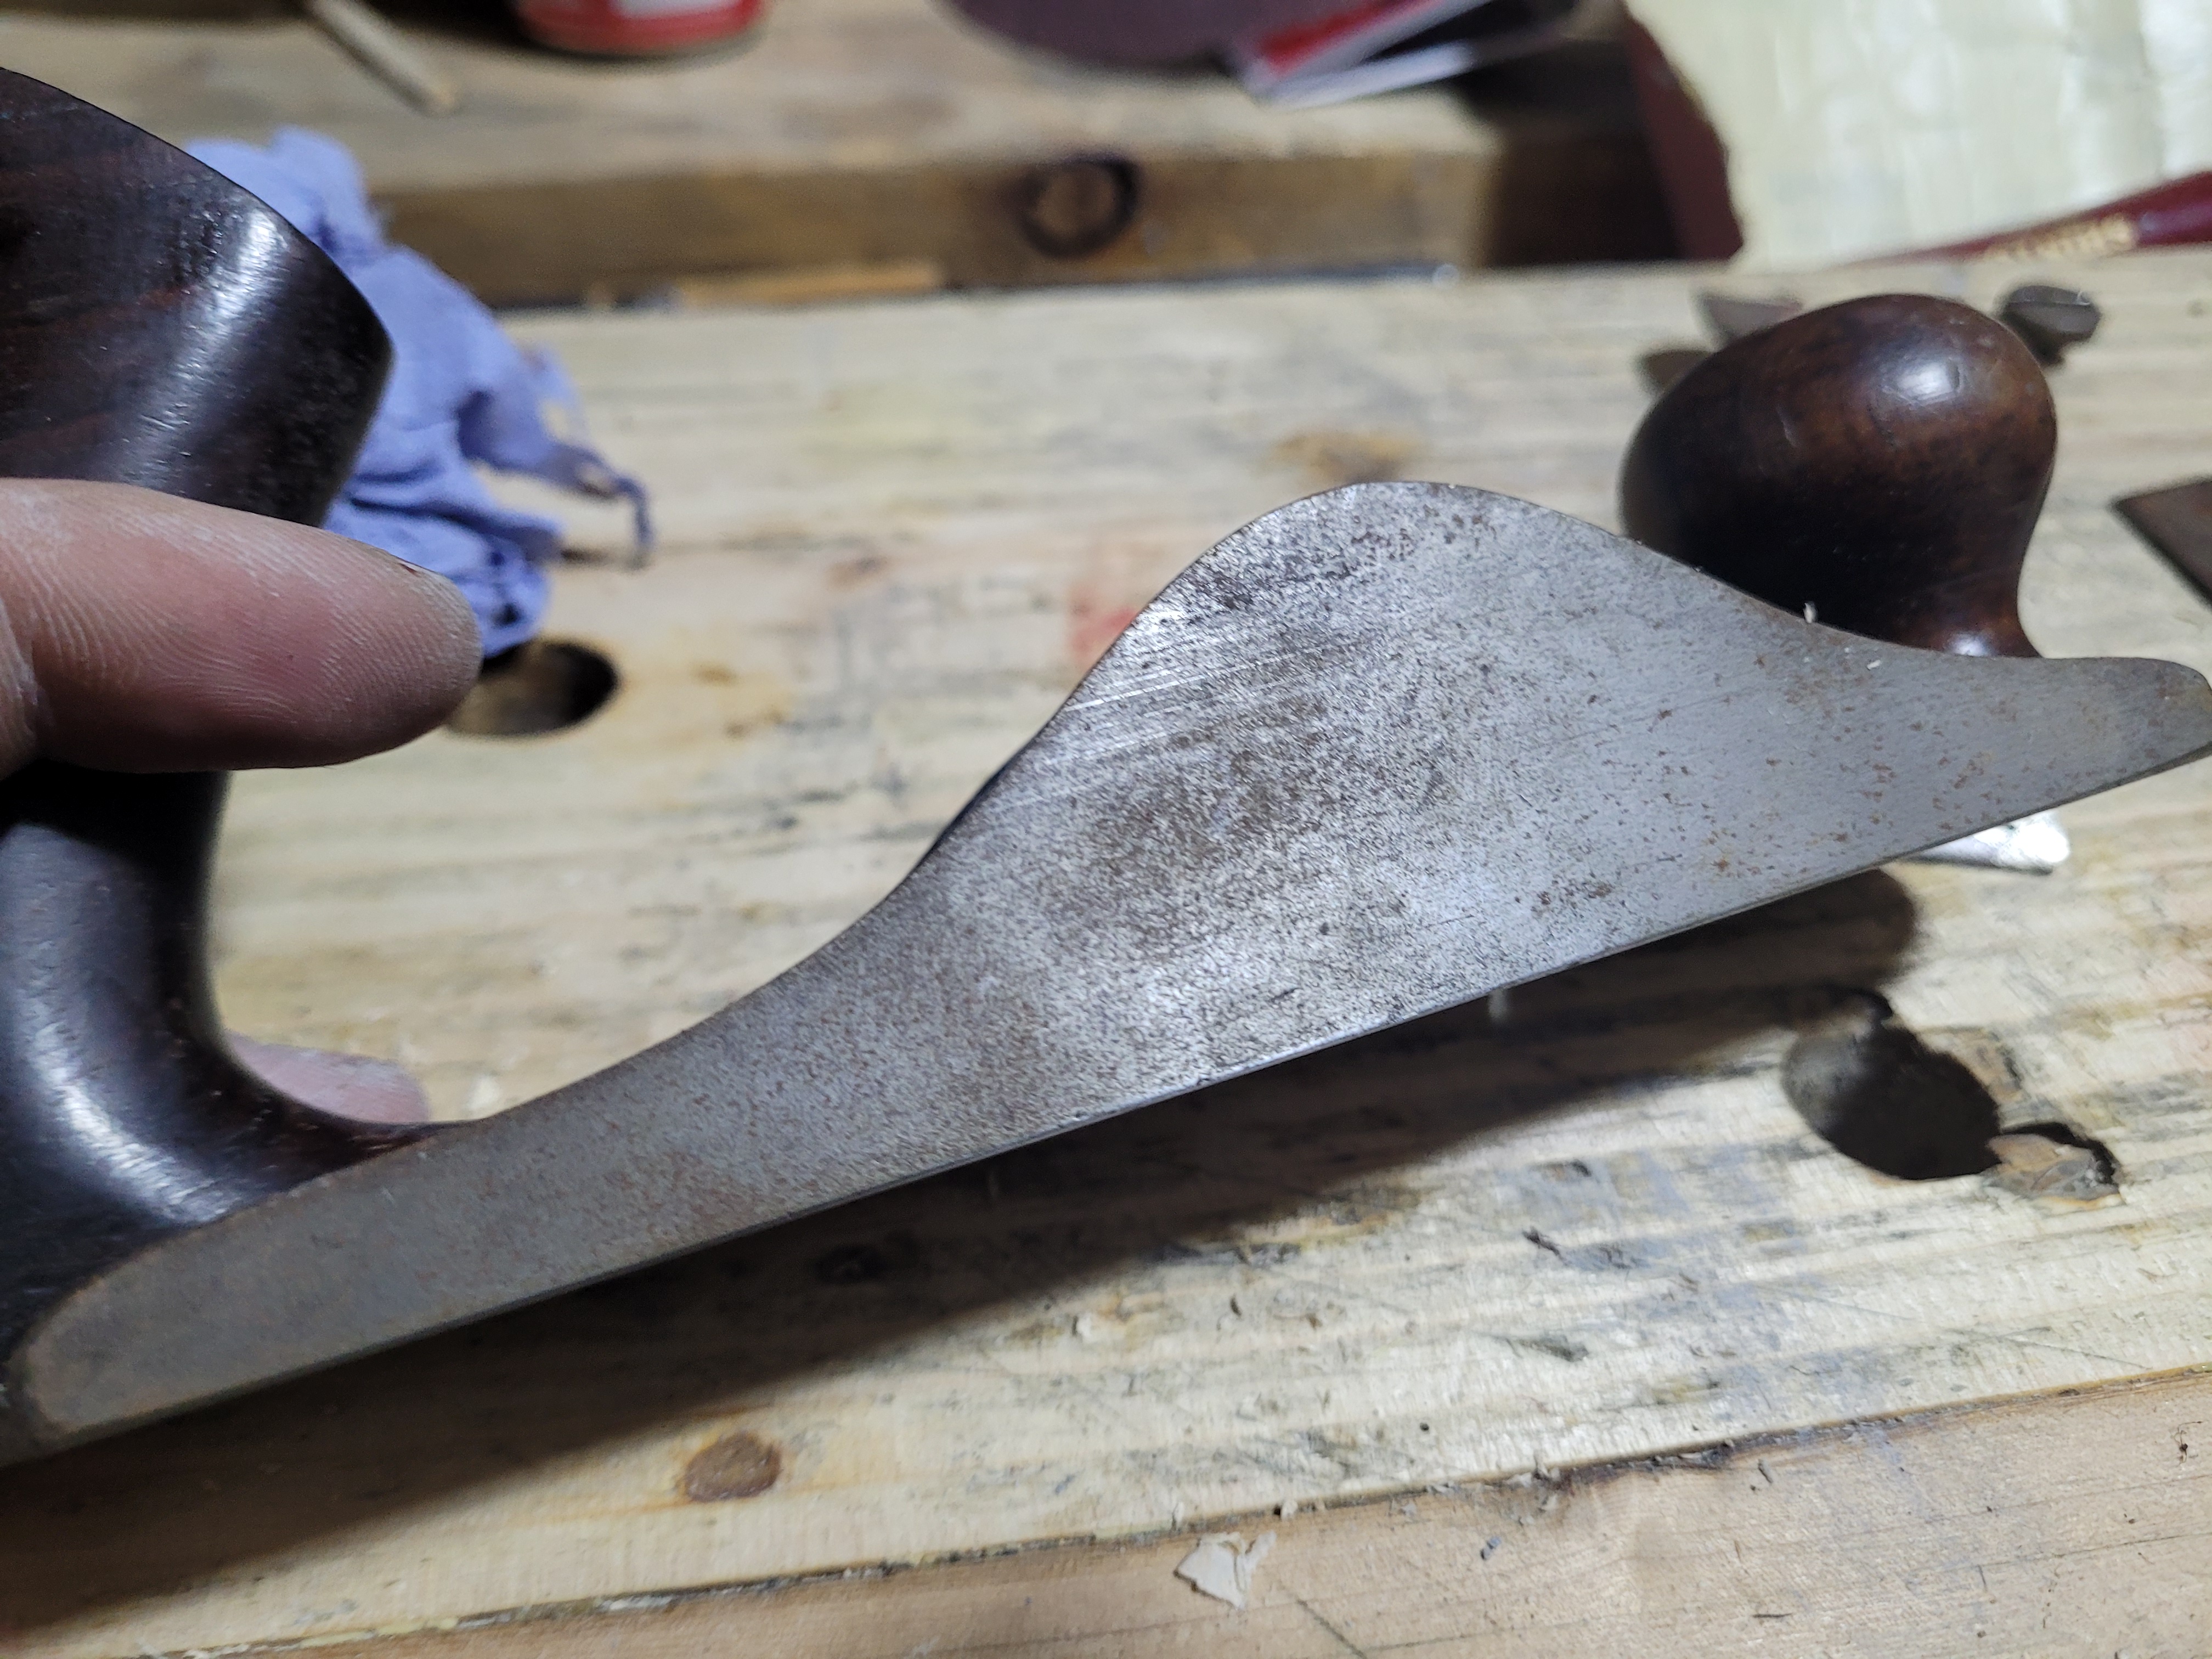
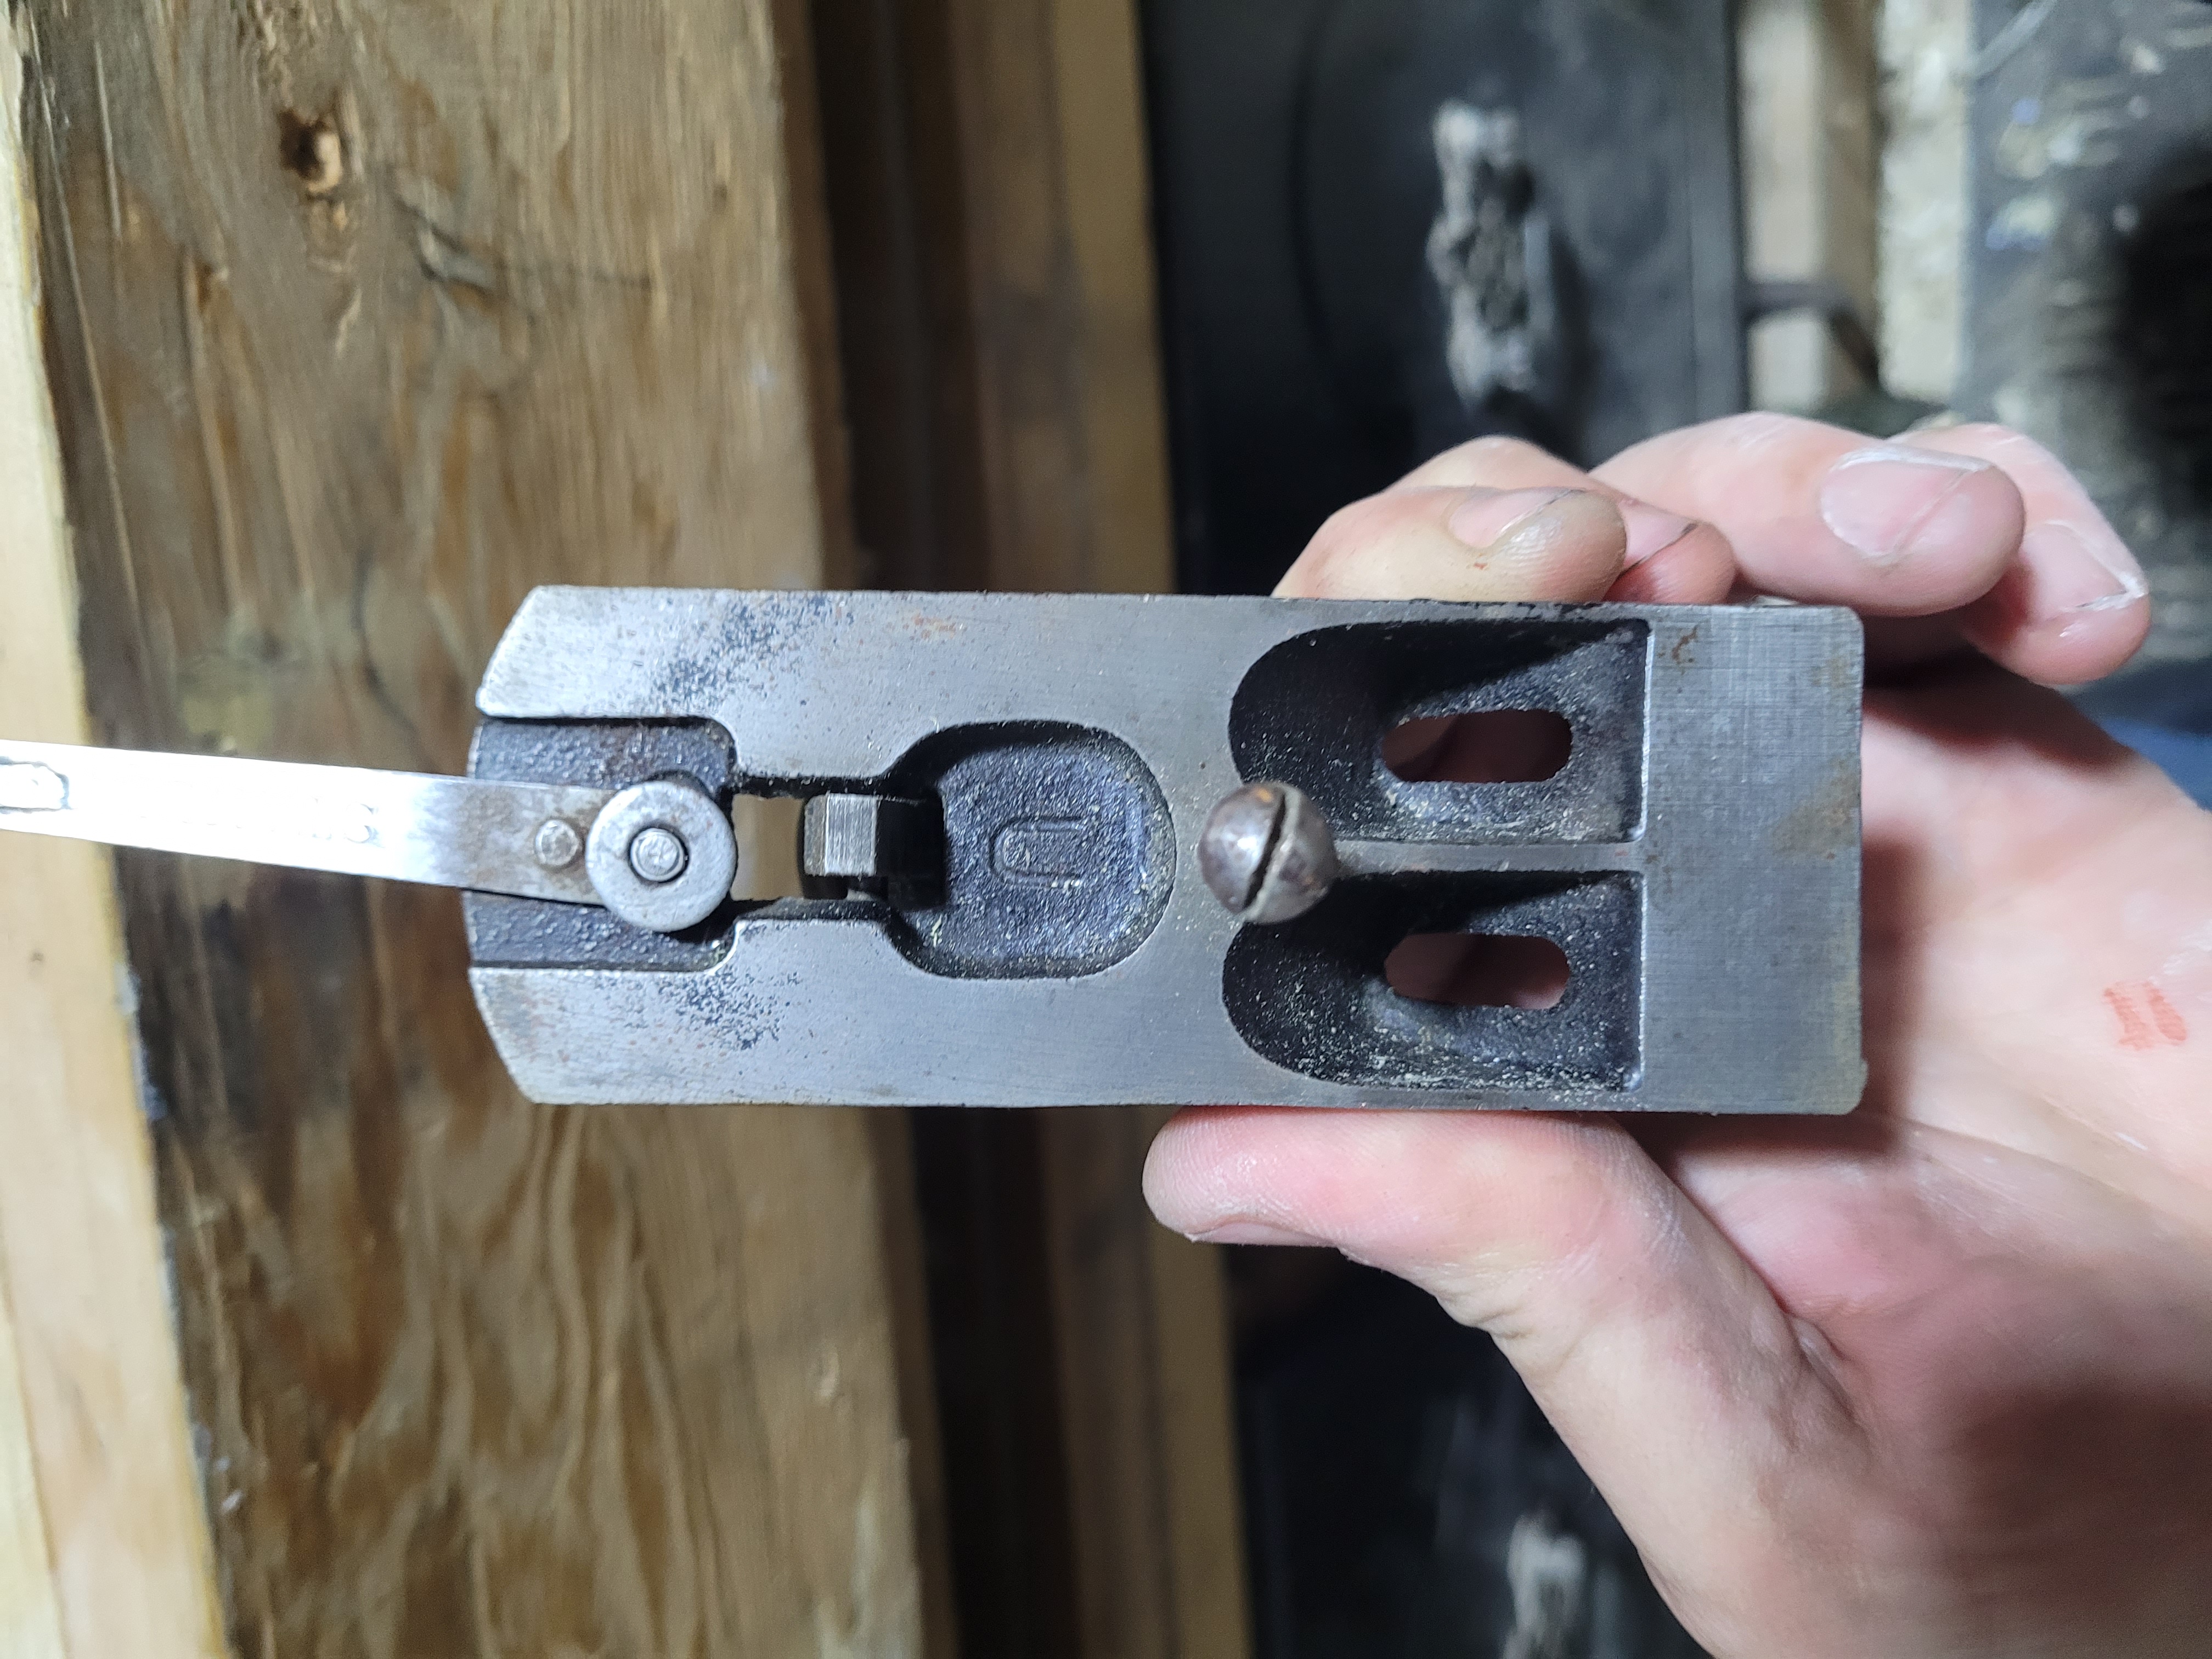
The frog. Again, a little light rust, nothing too bad.
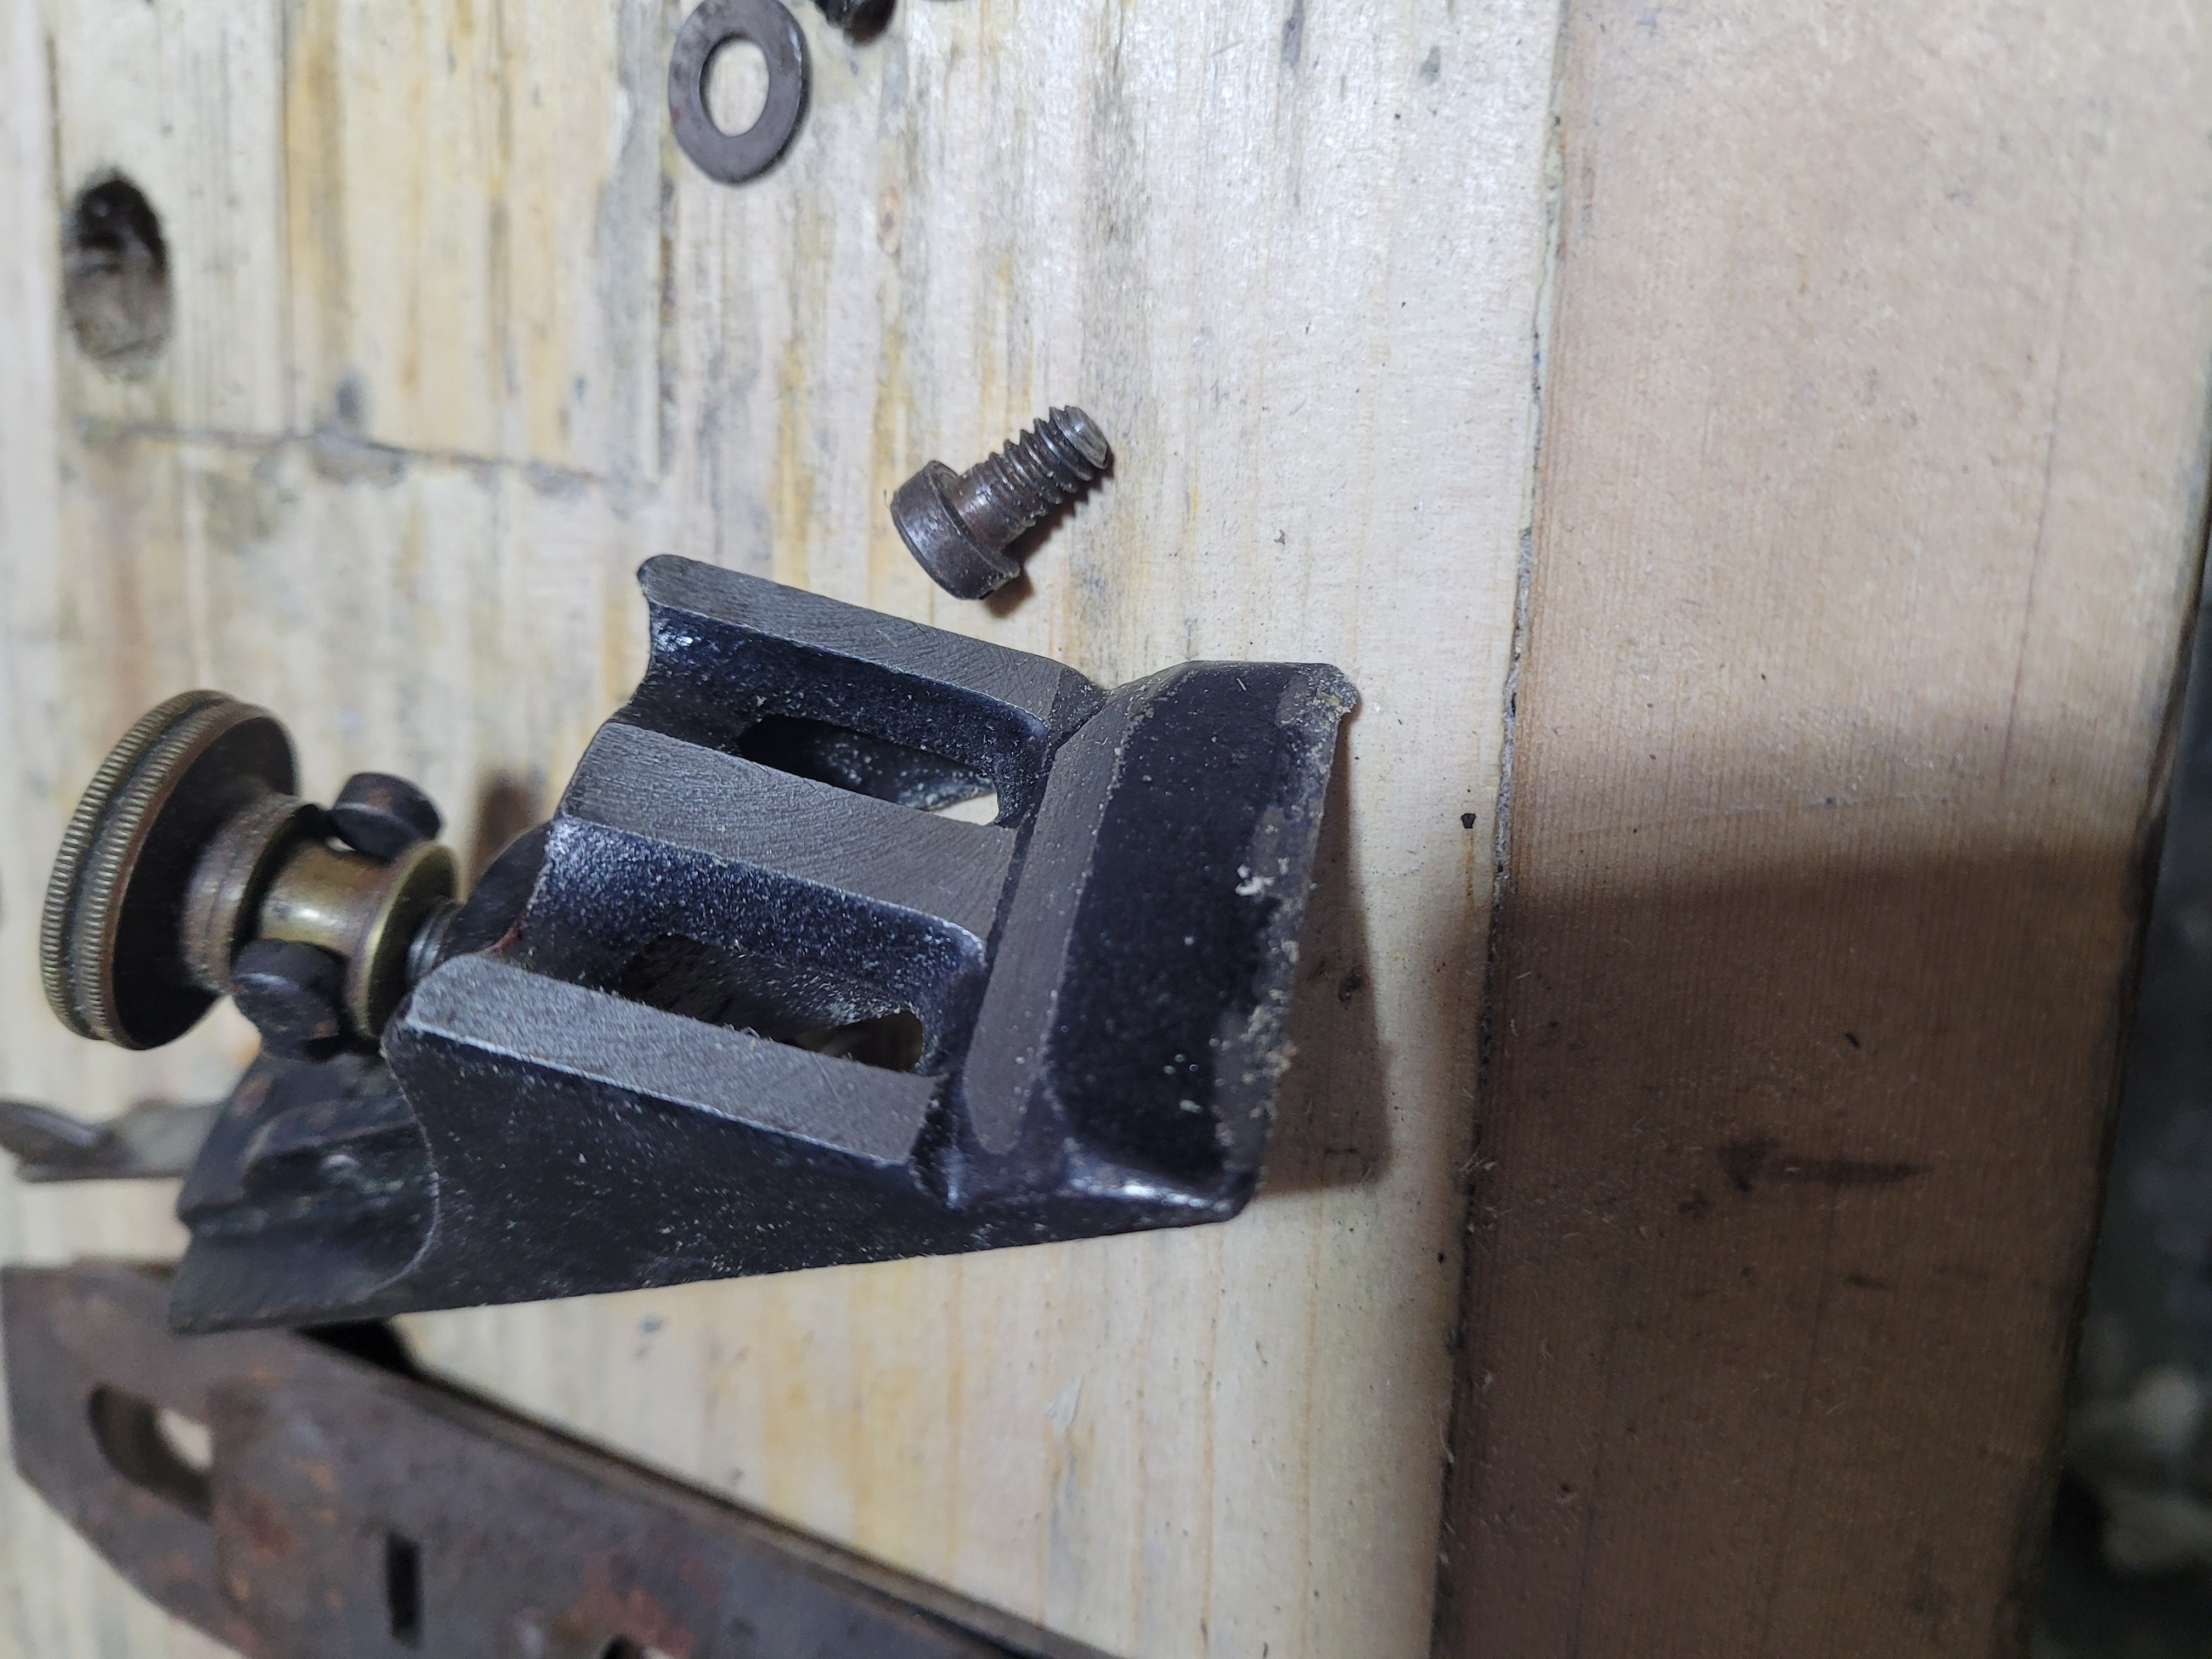
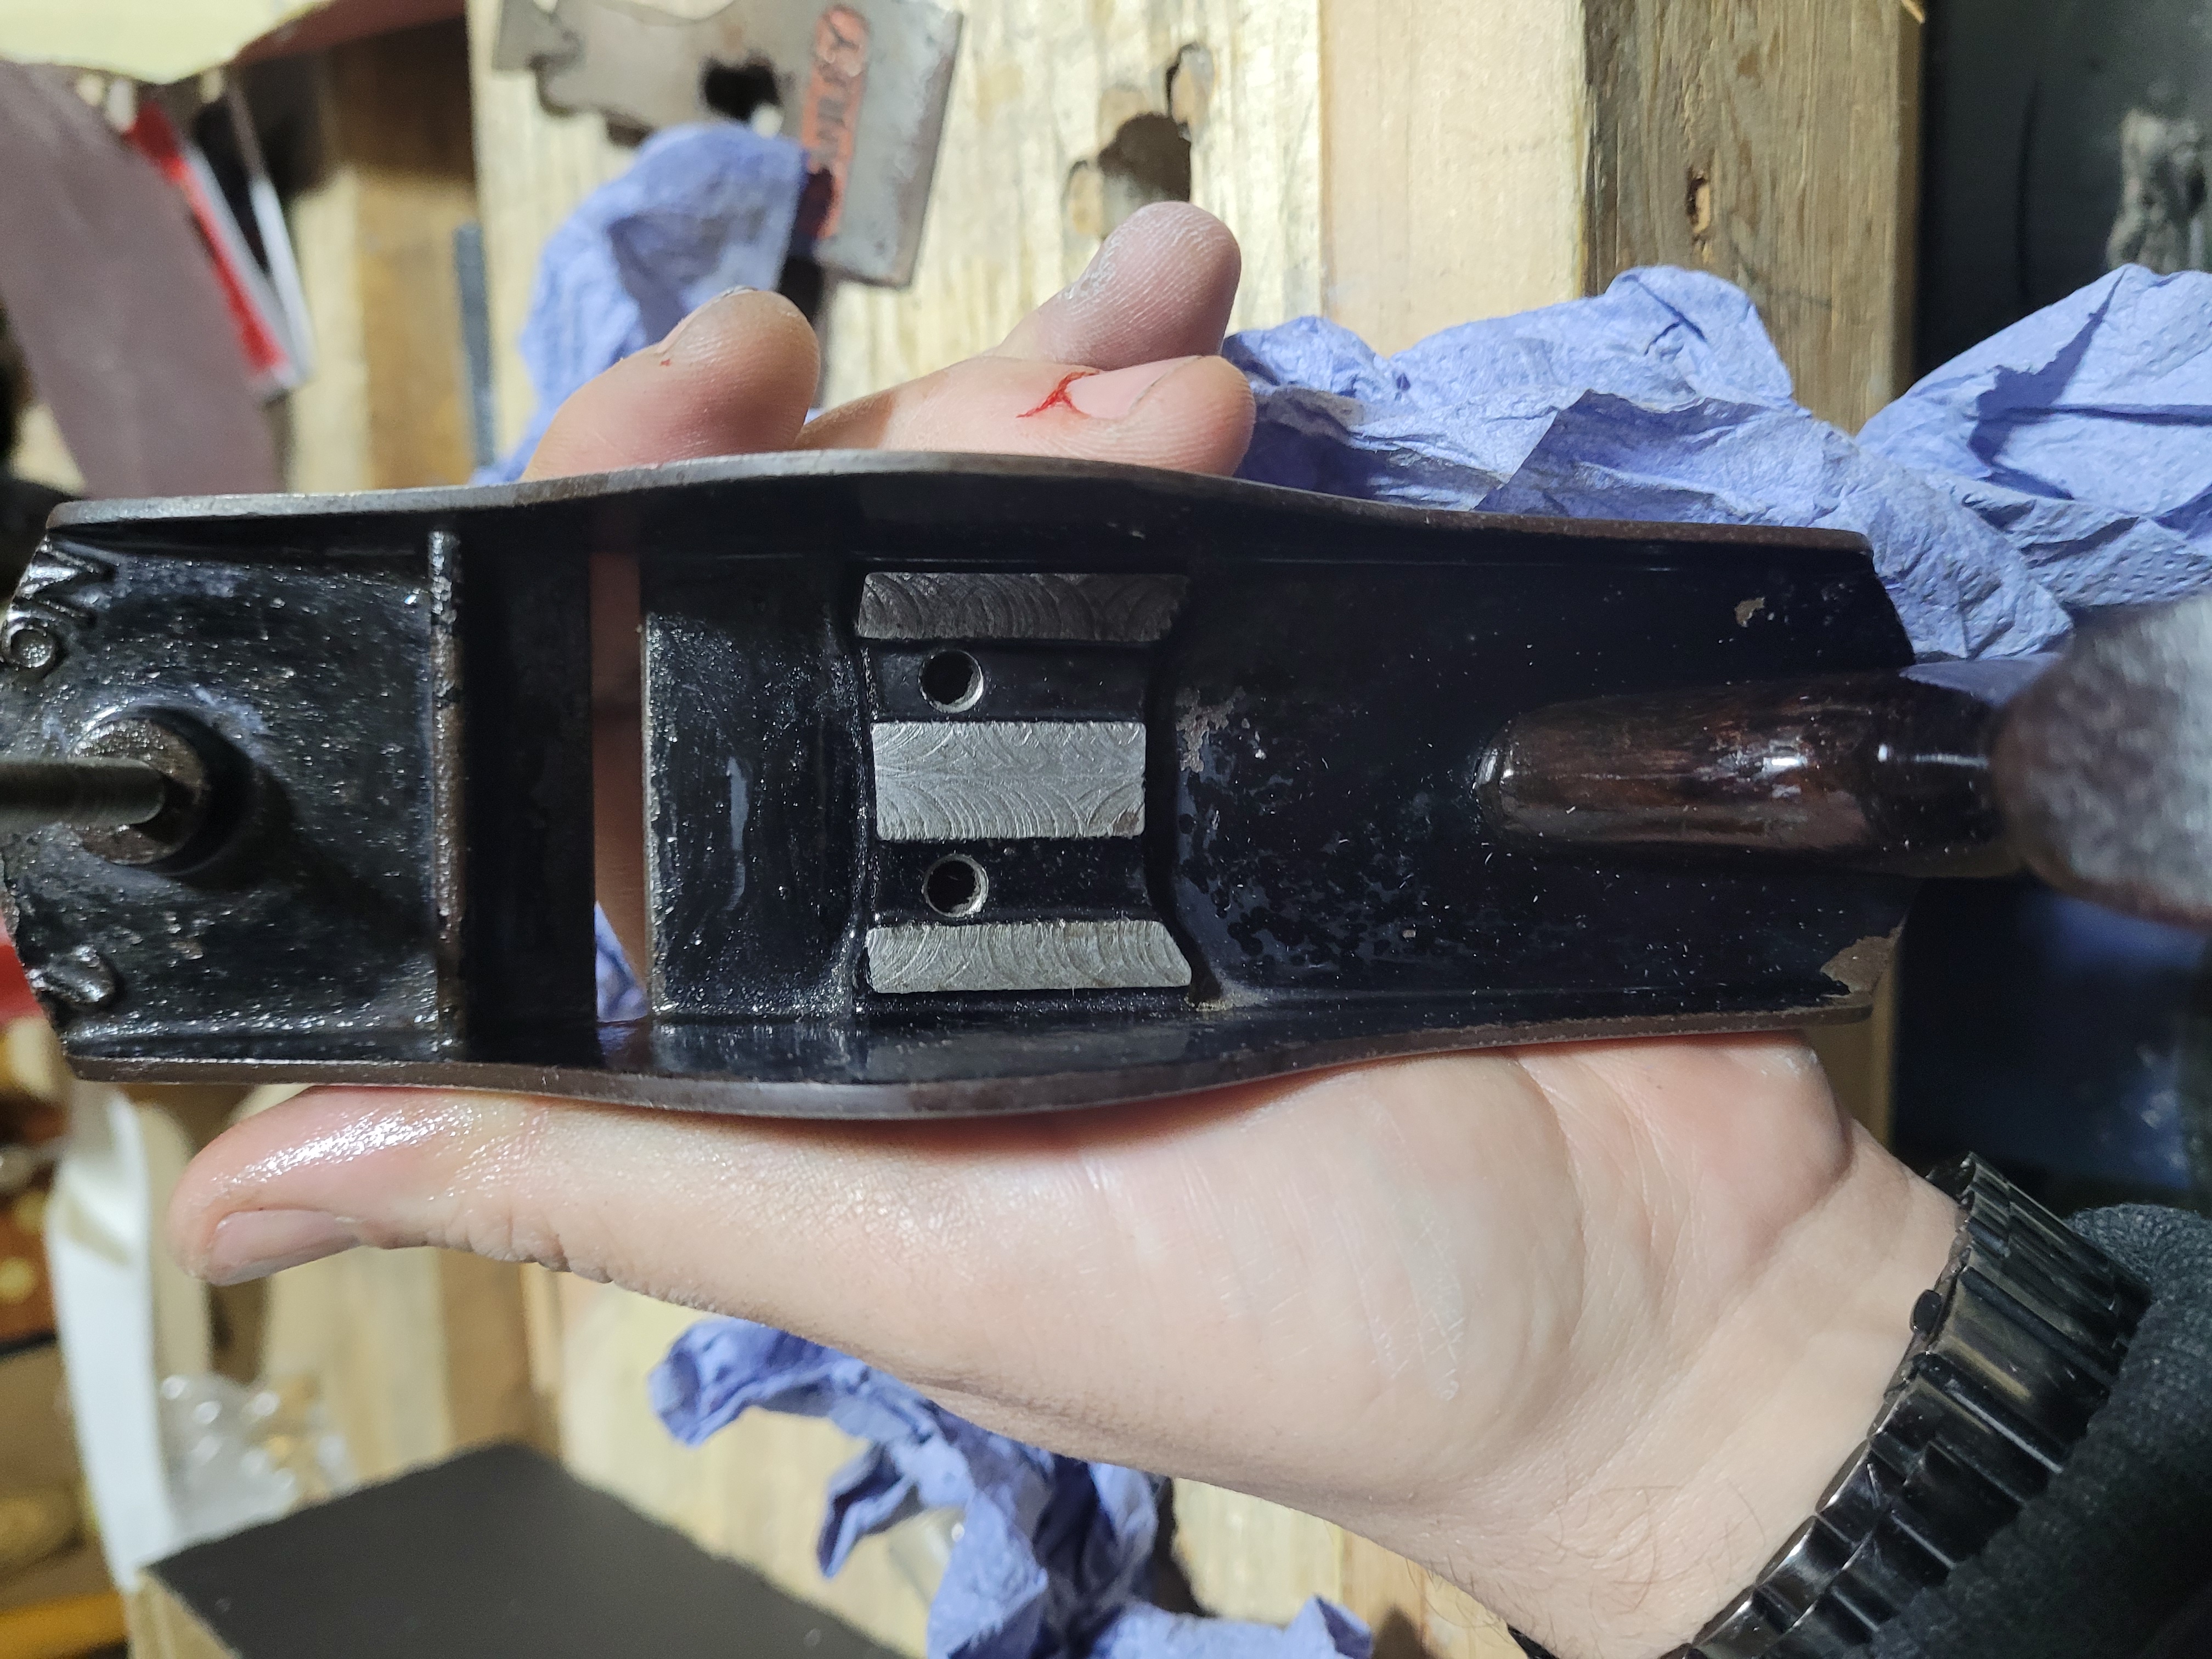
Mating surfaces at the bottom of the frog are perfect.
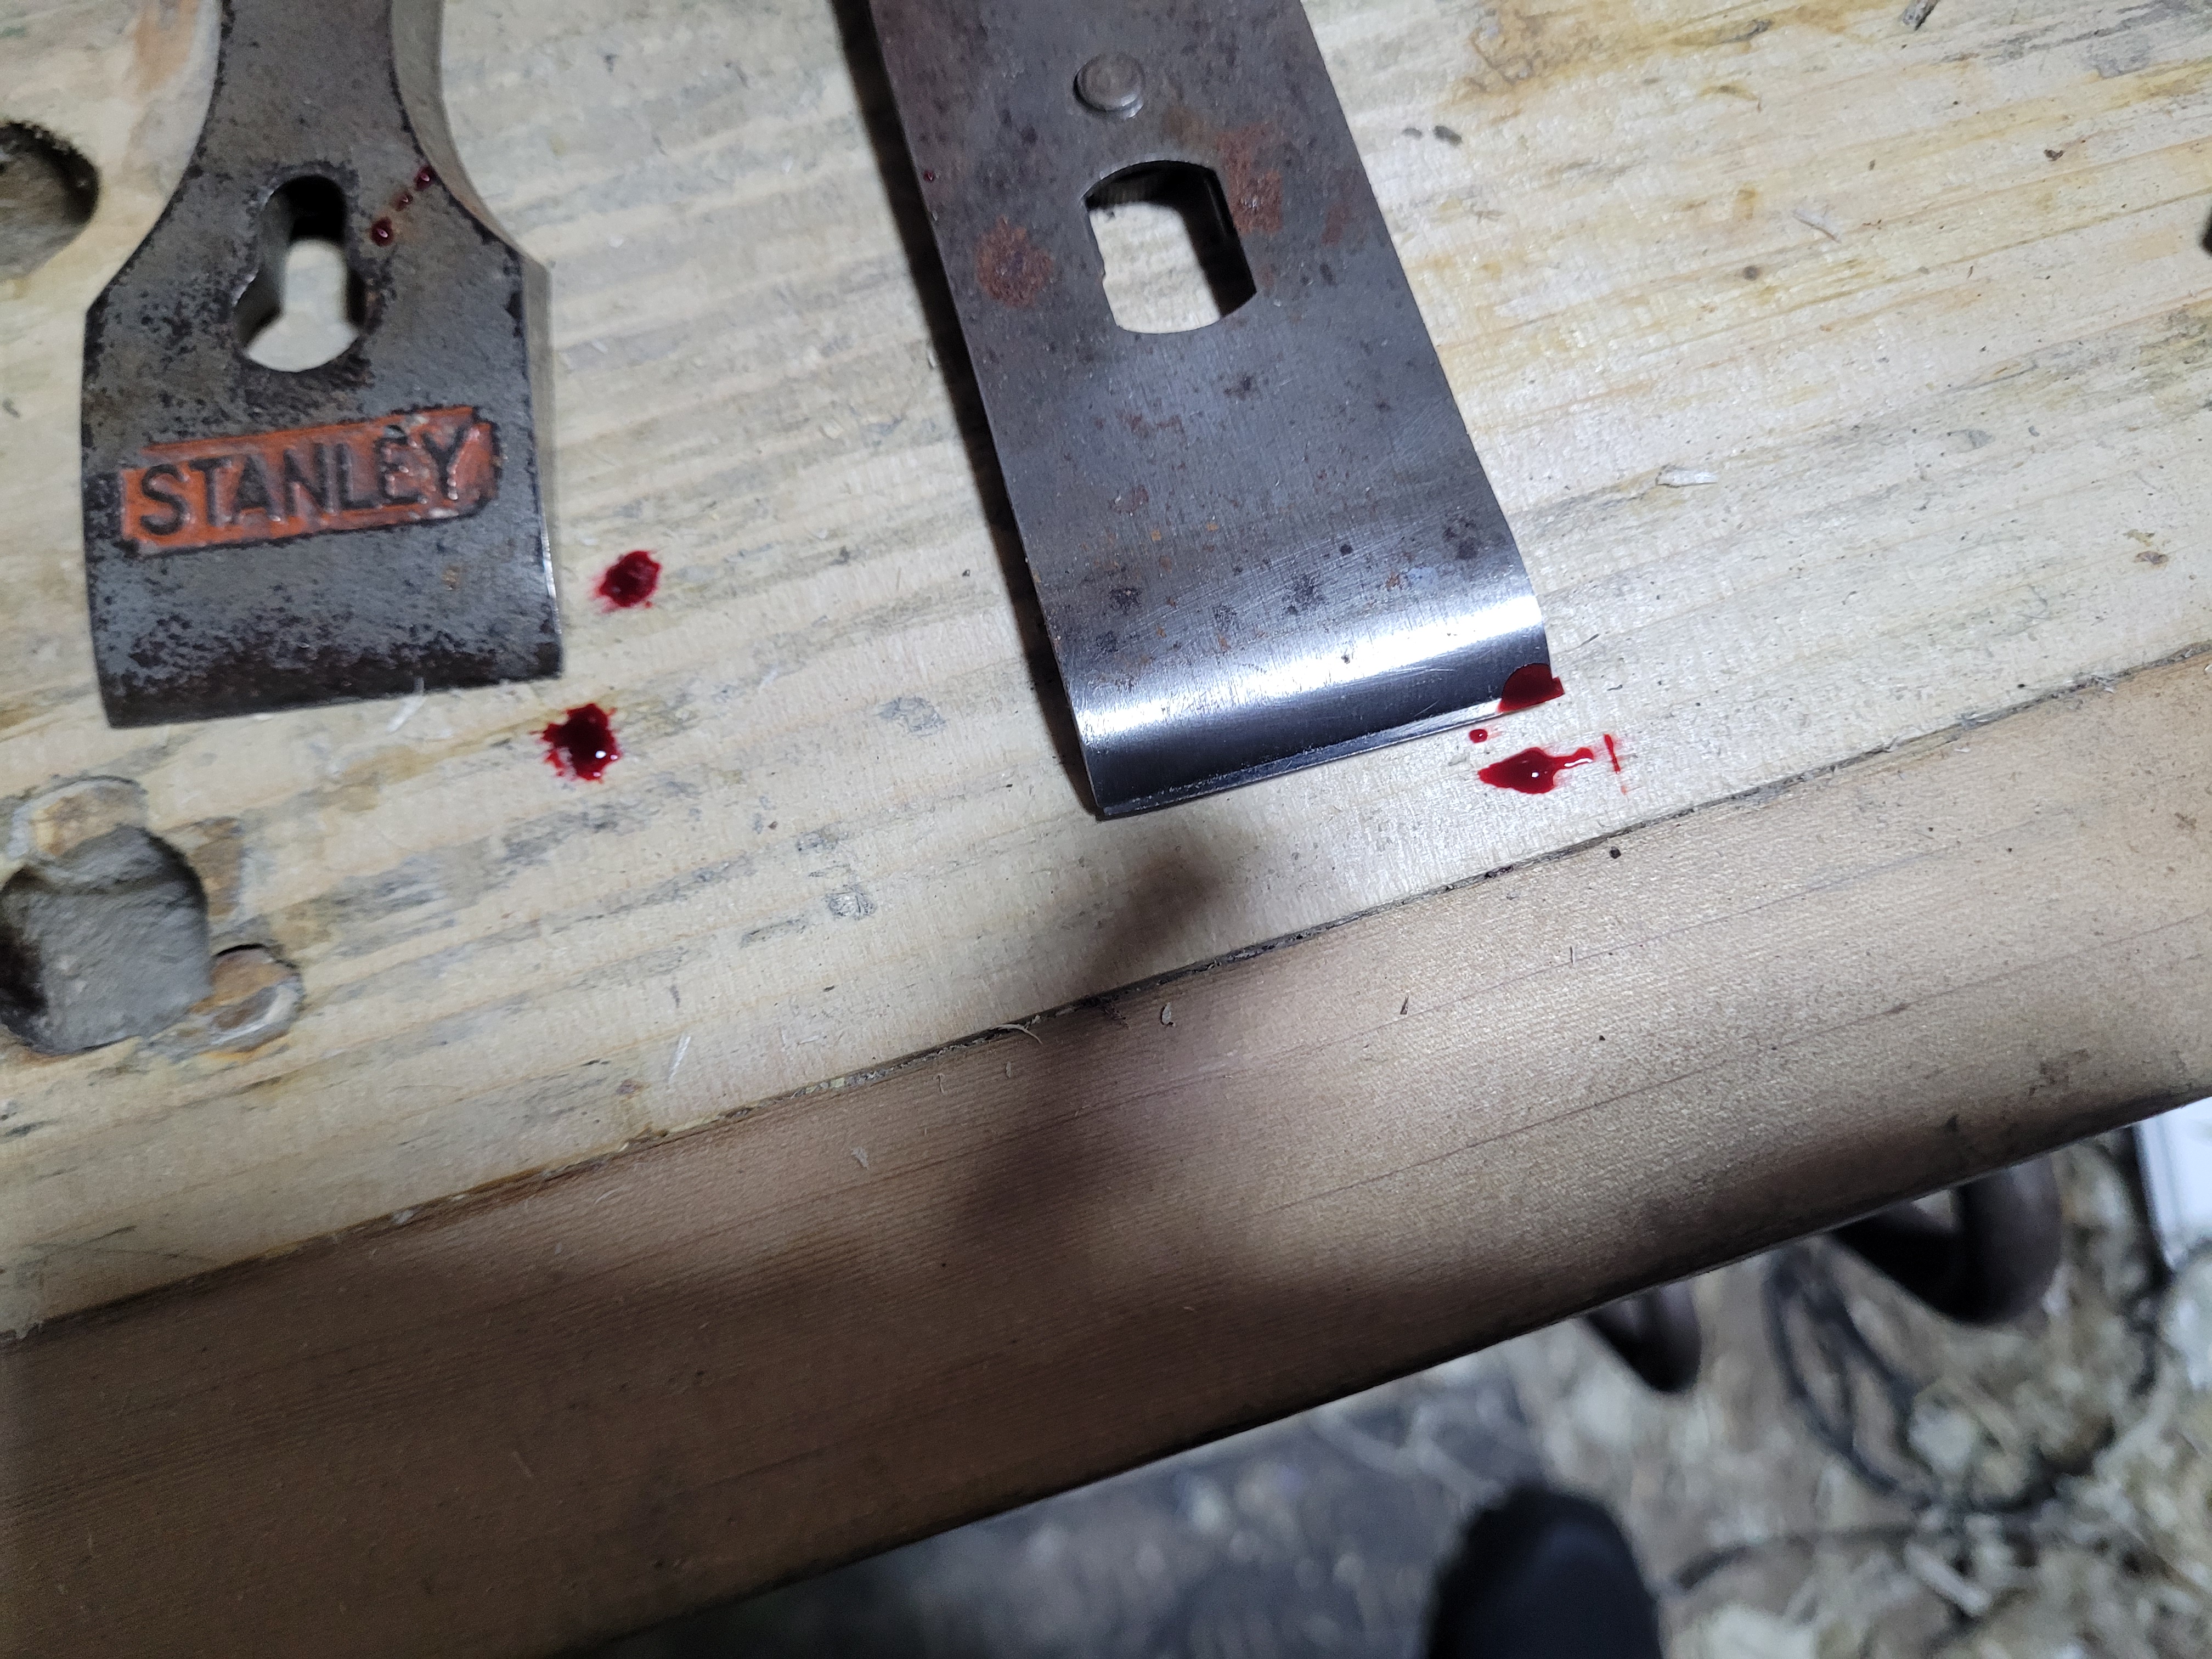
Like I said, it was sharp…
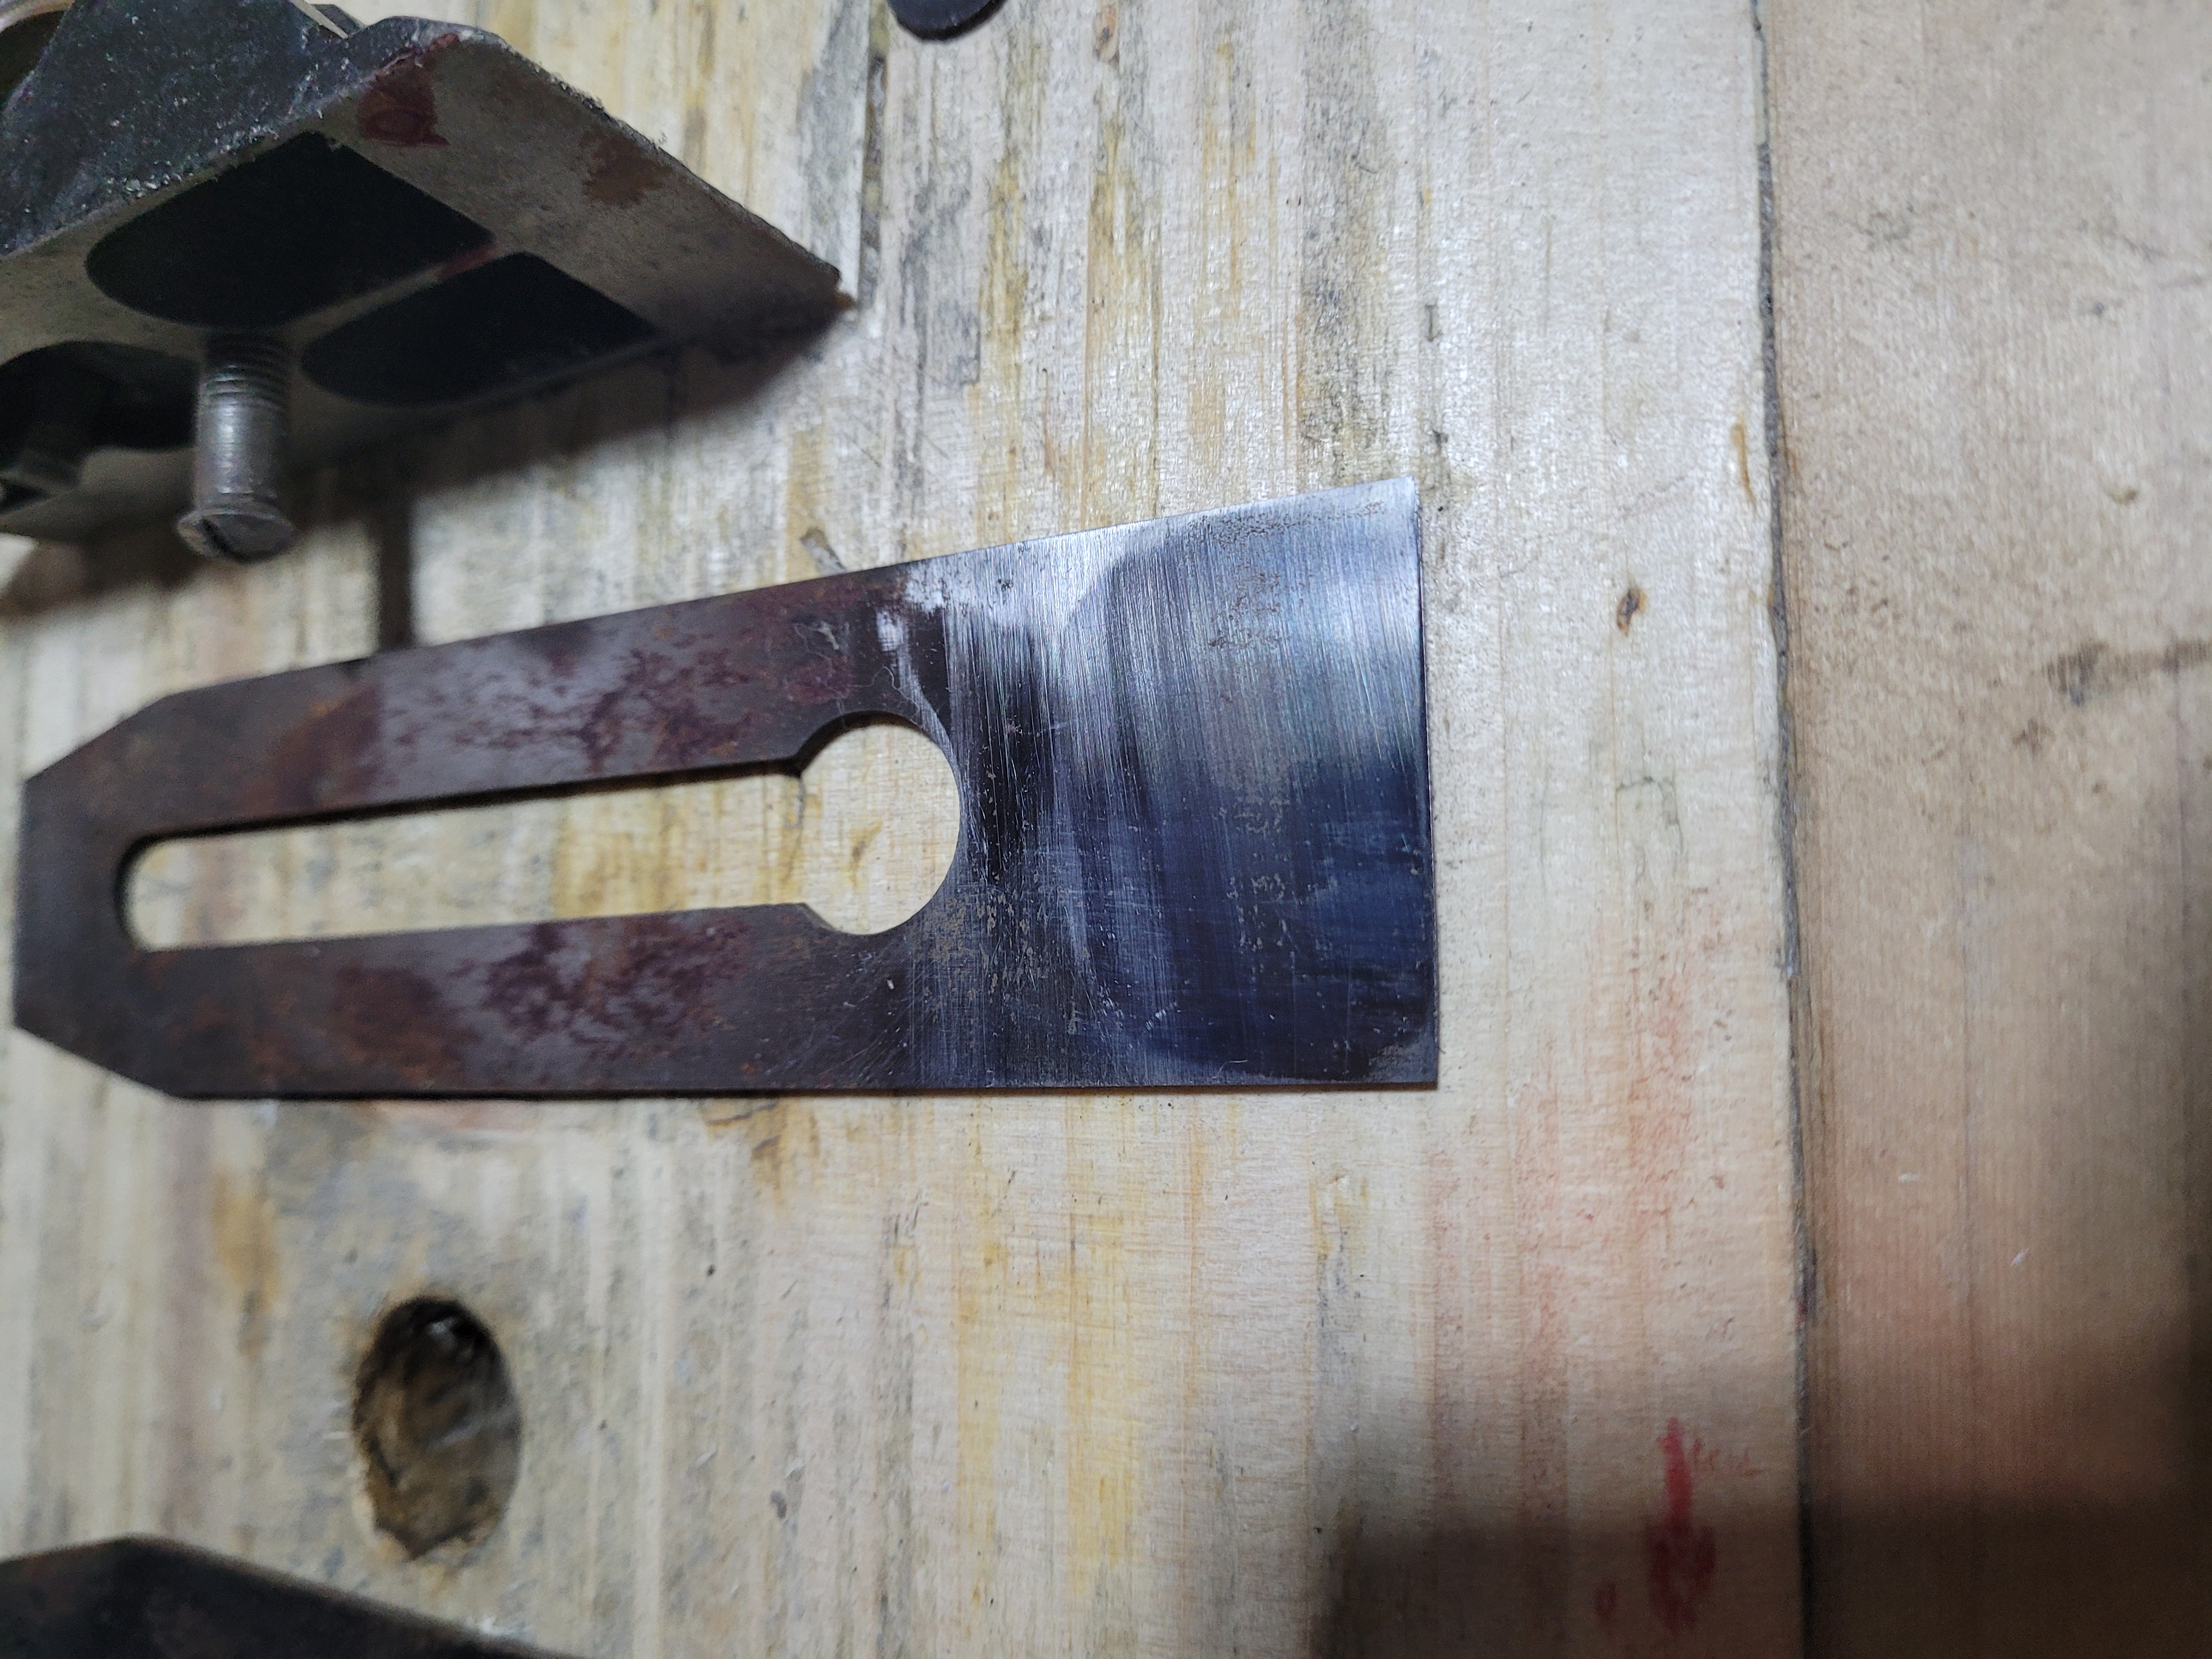
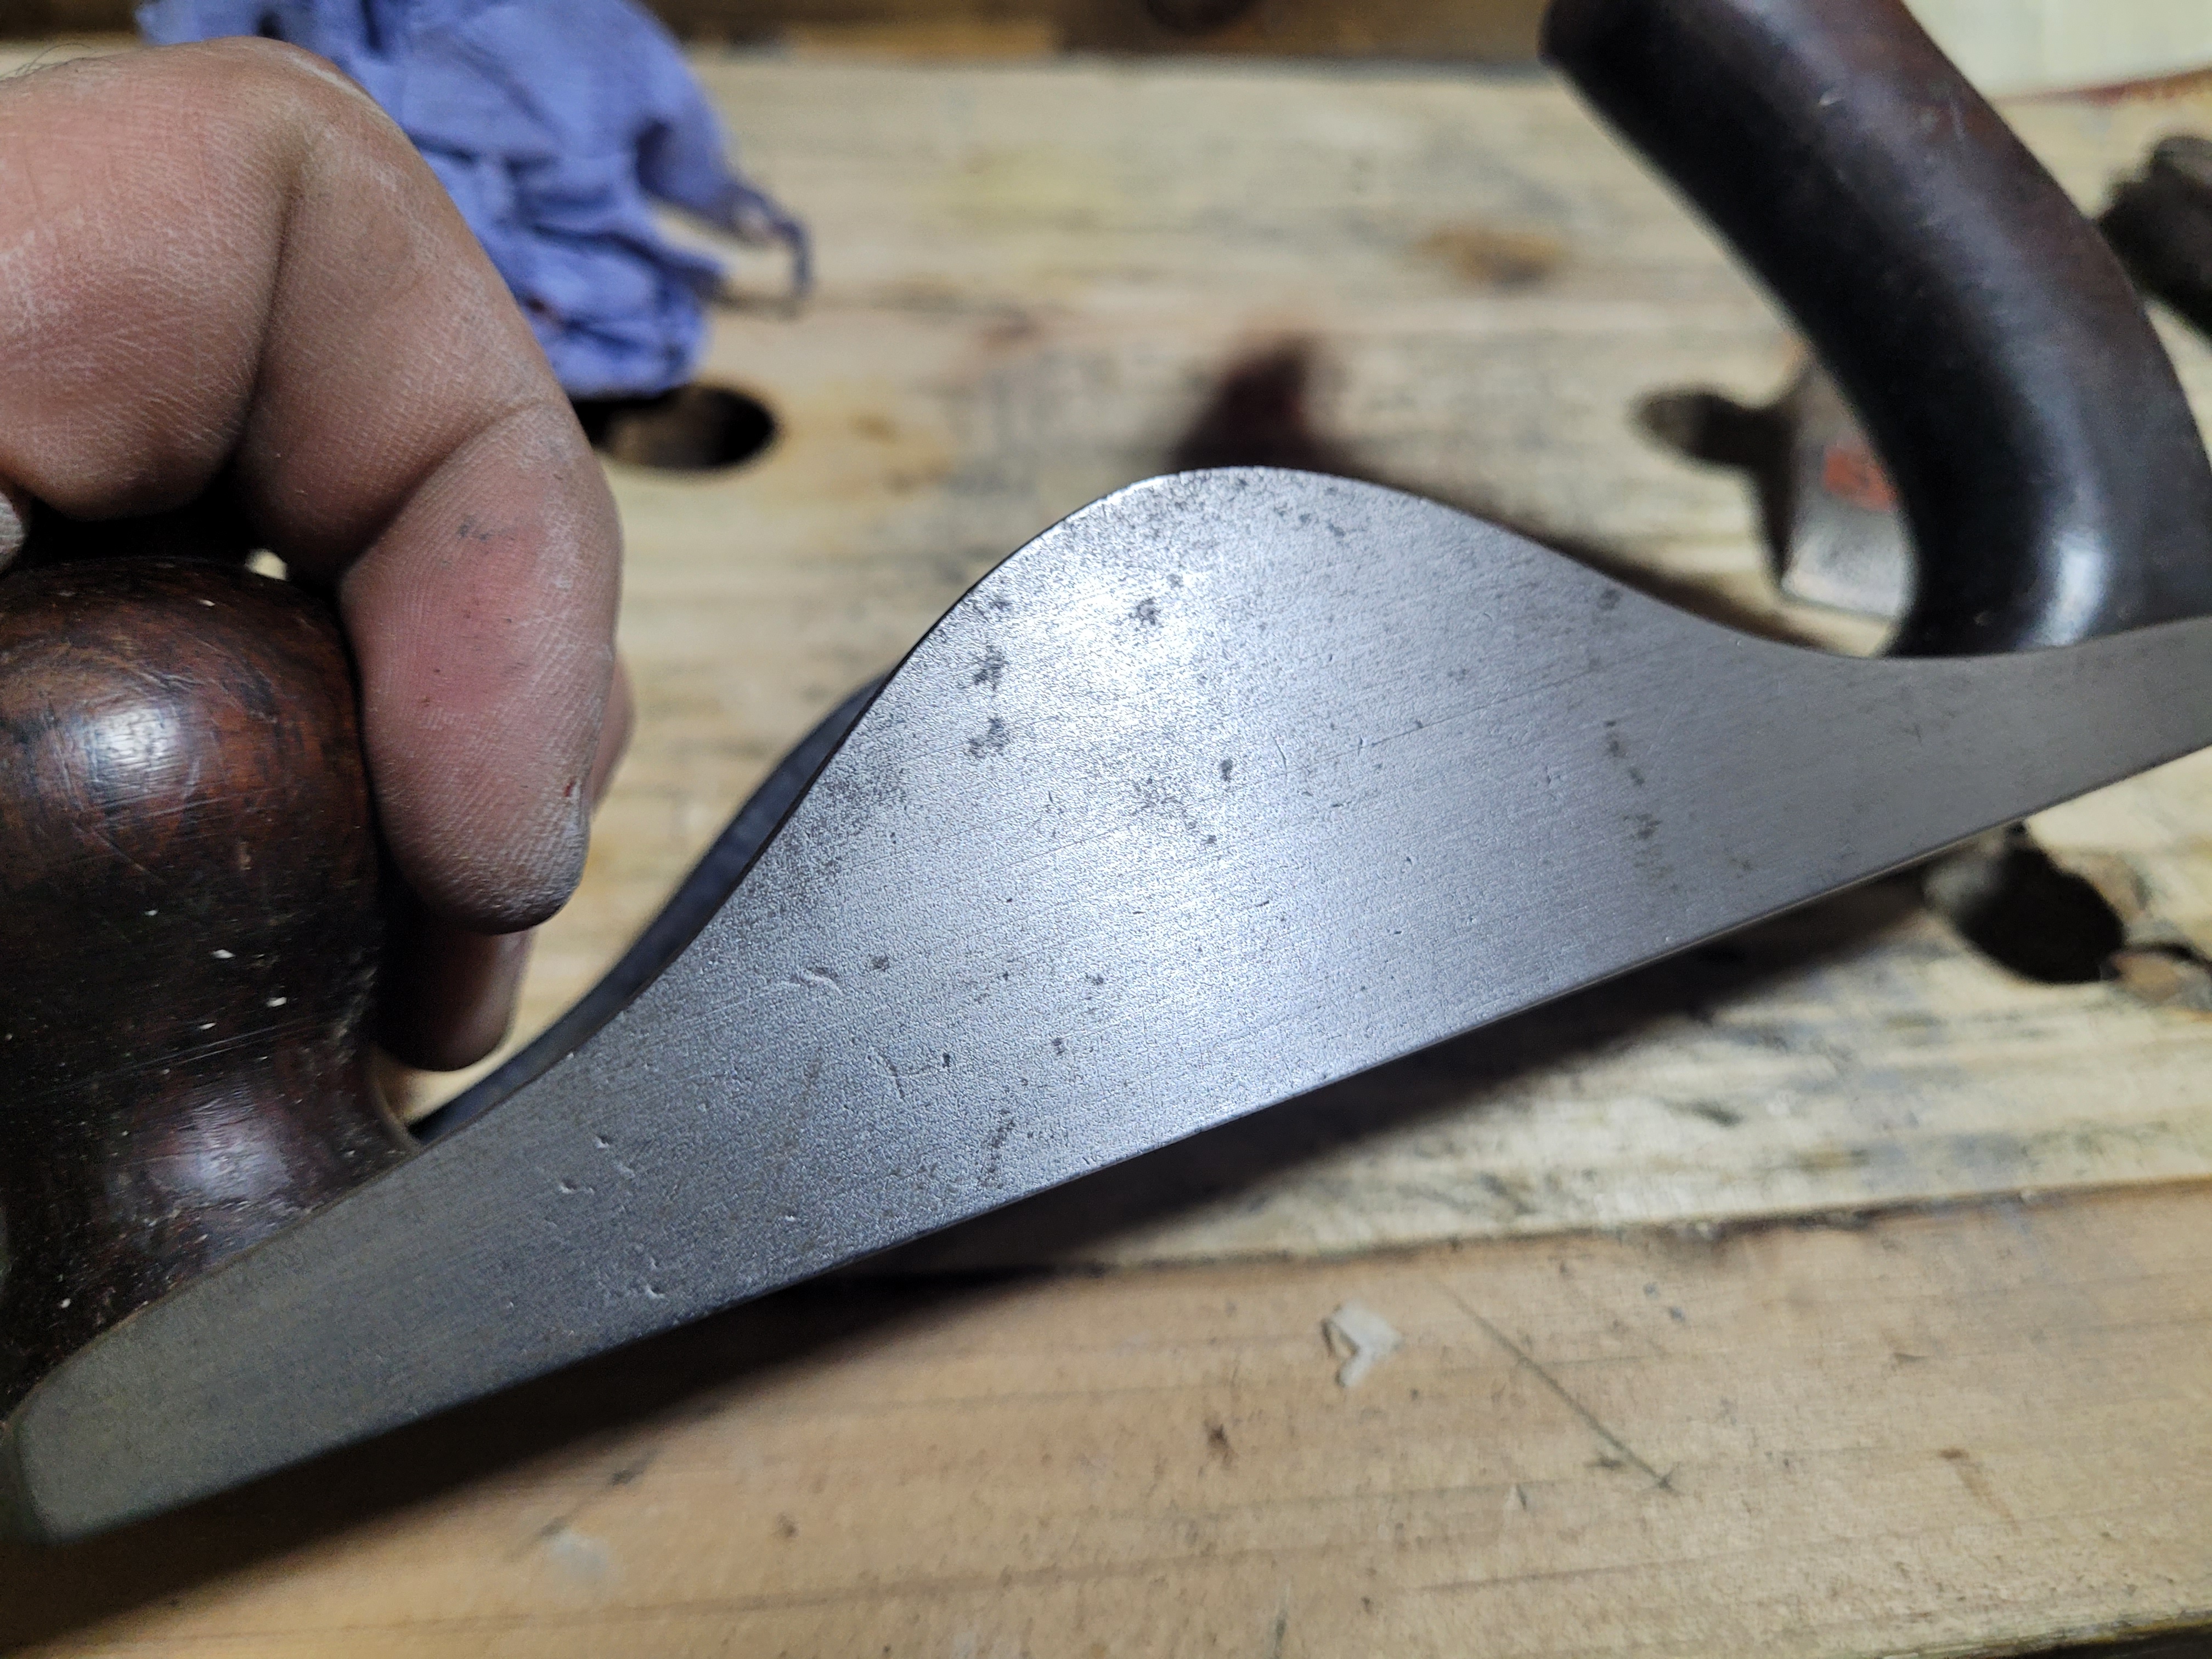
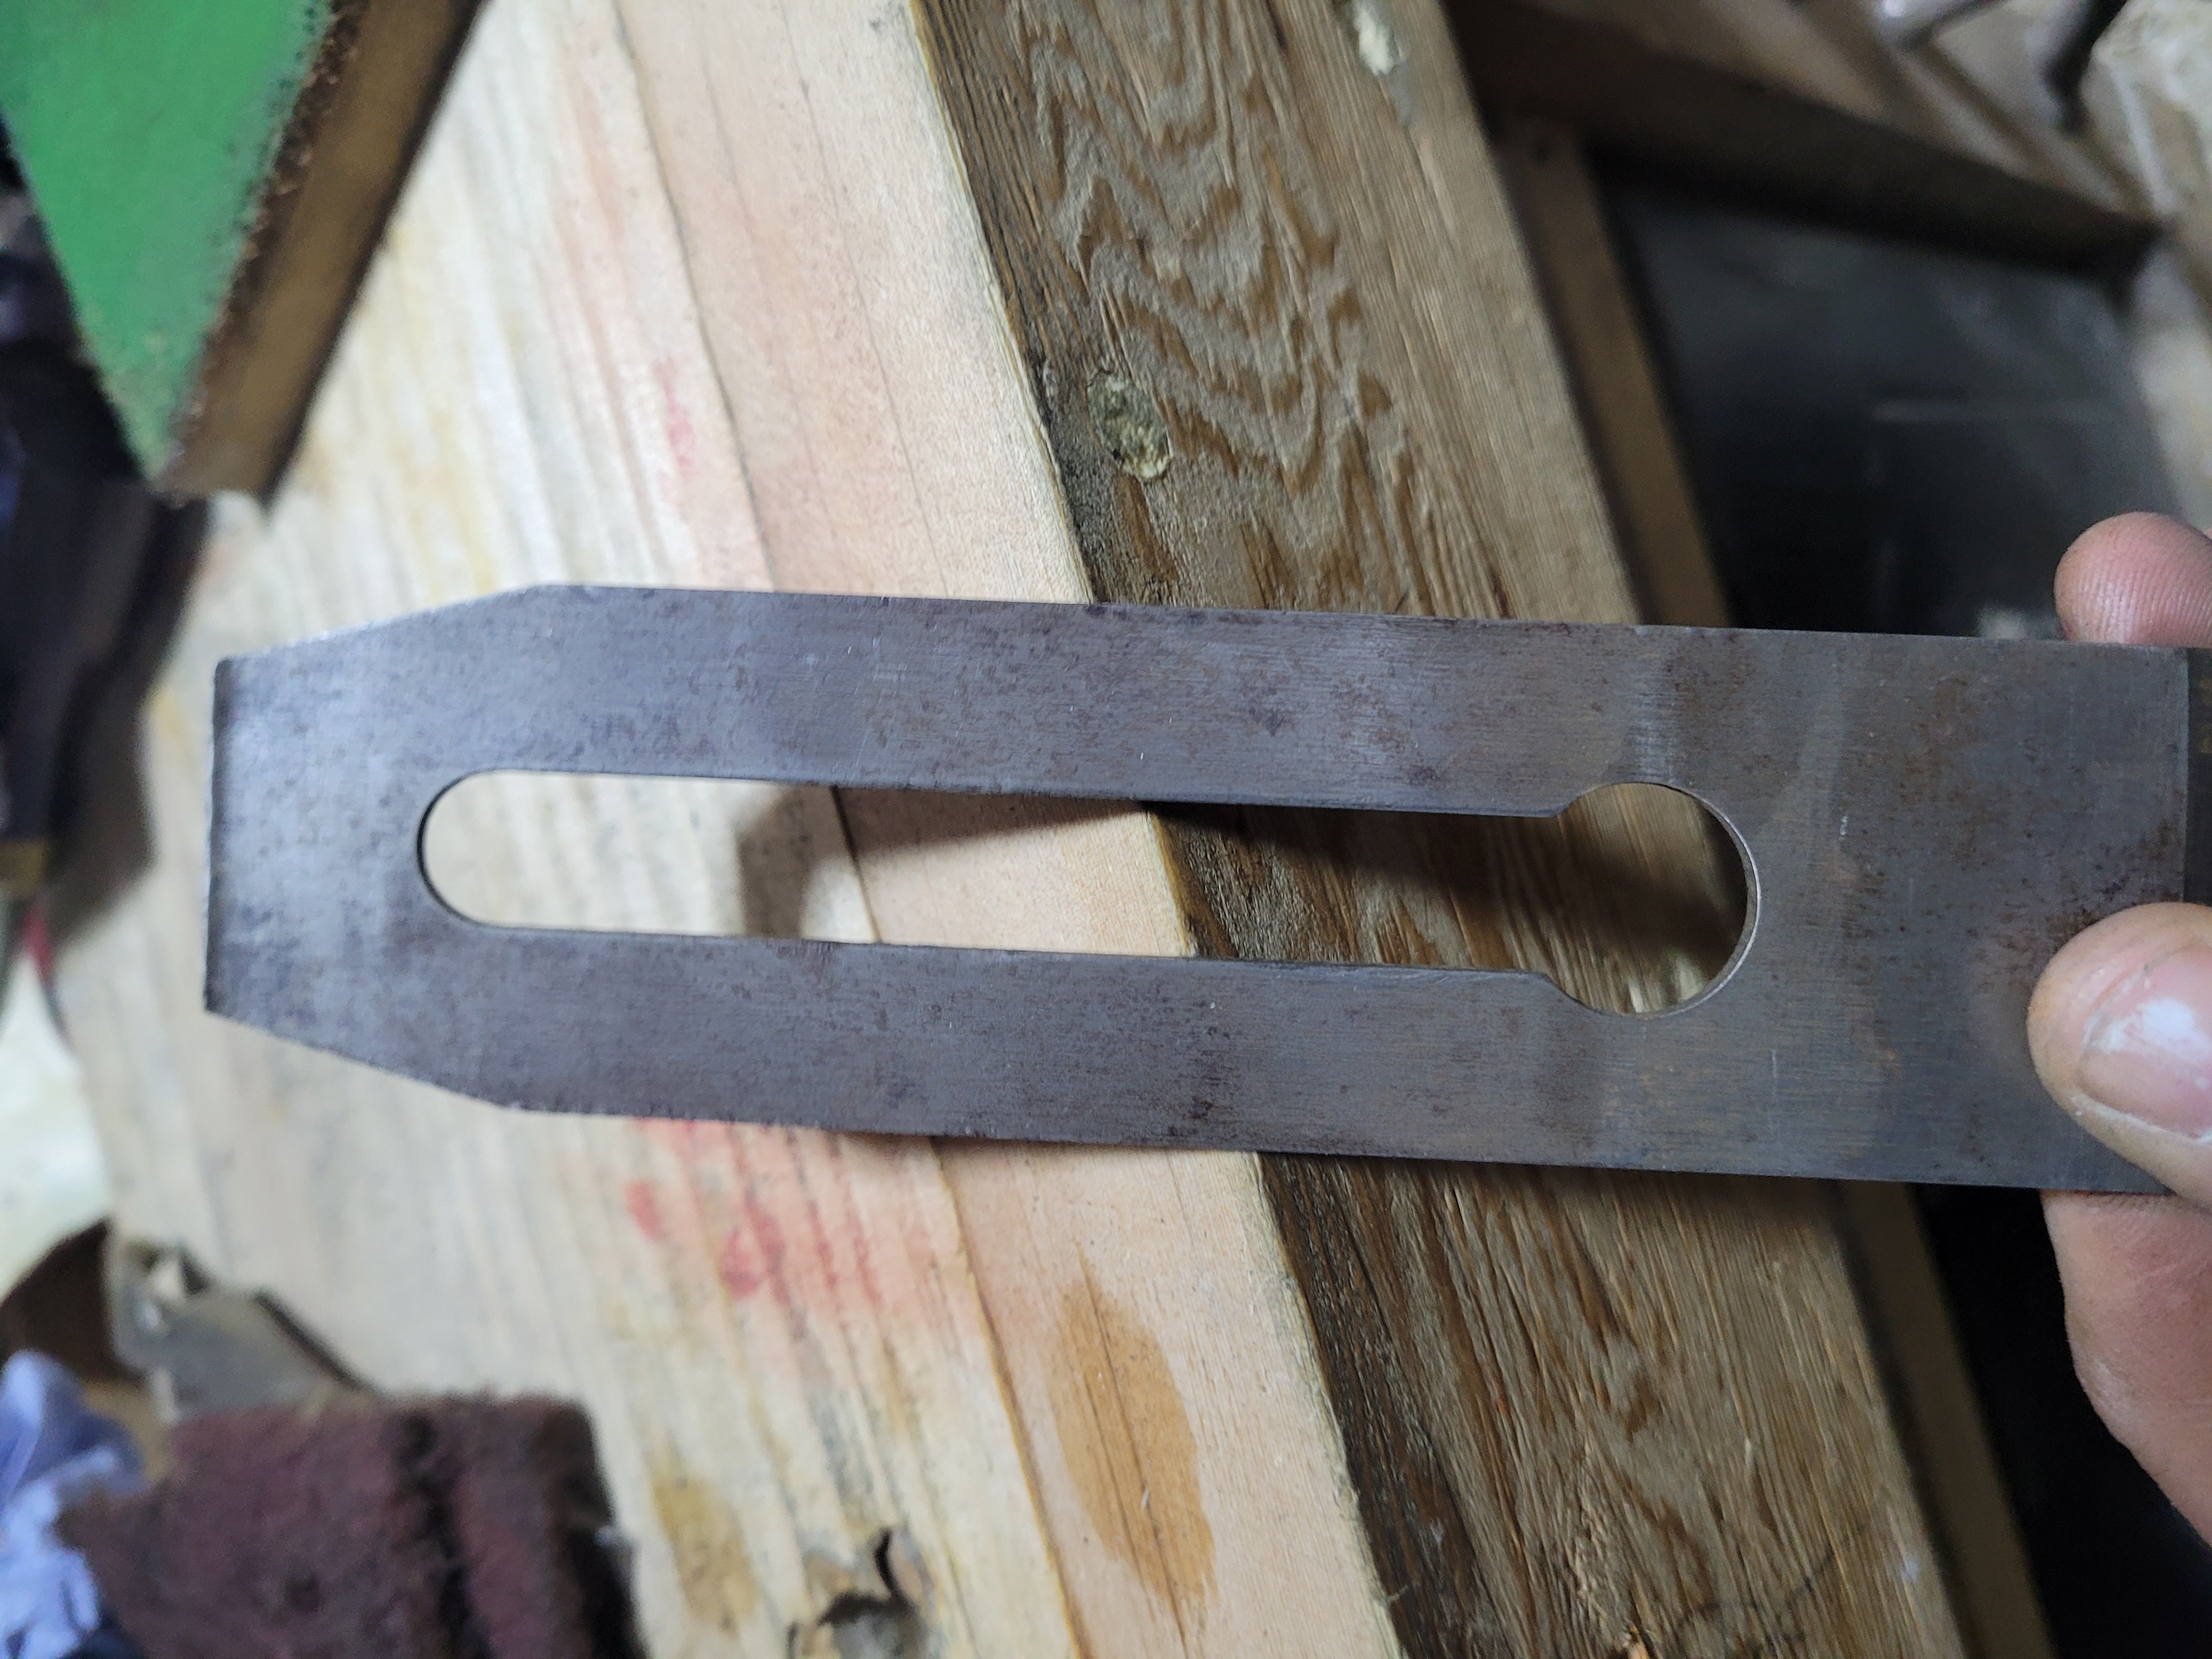
Back of the Iron is fairly flat. It looks a little low in the corners, and right at the edge. I’ll fix that up.
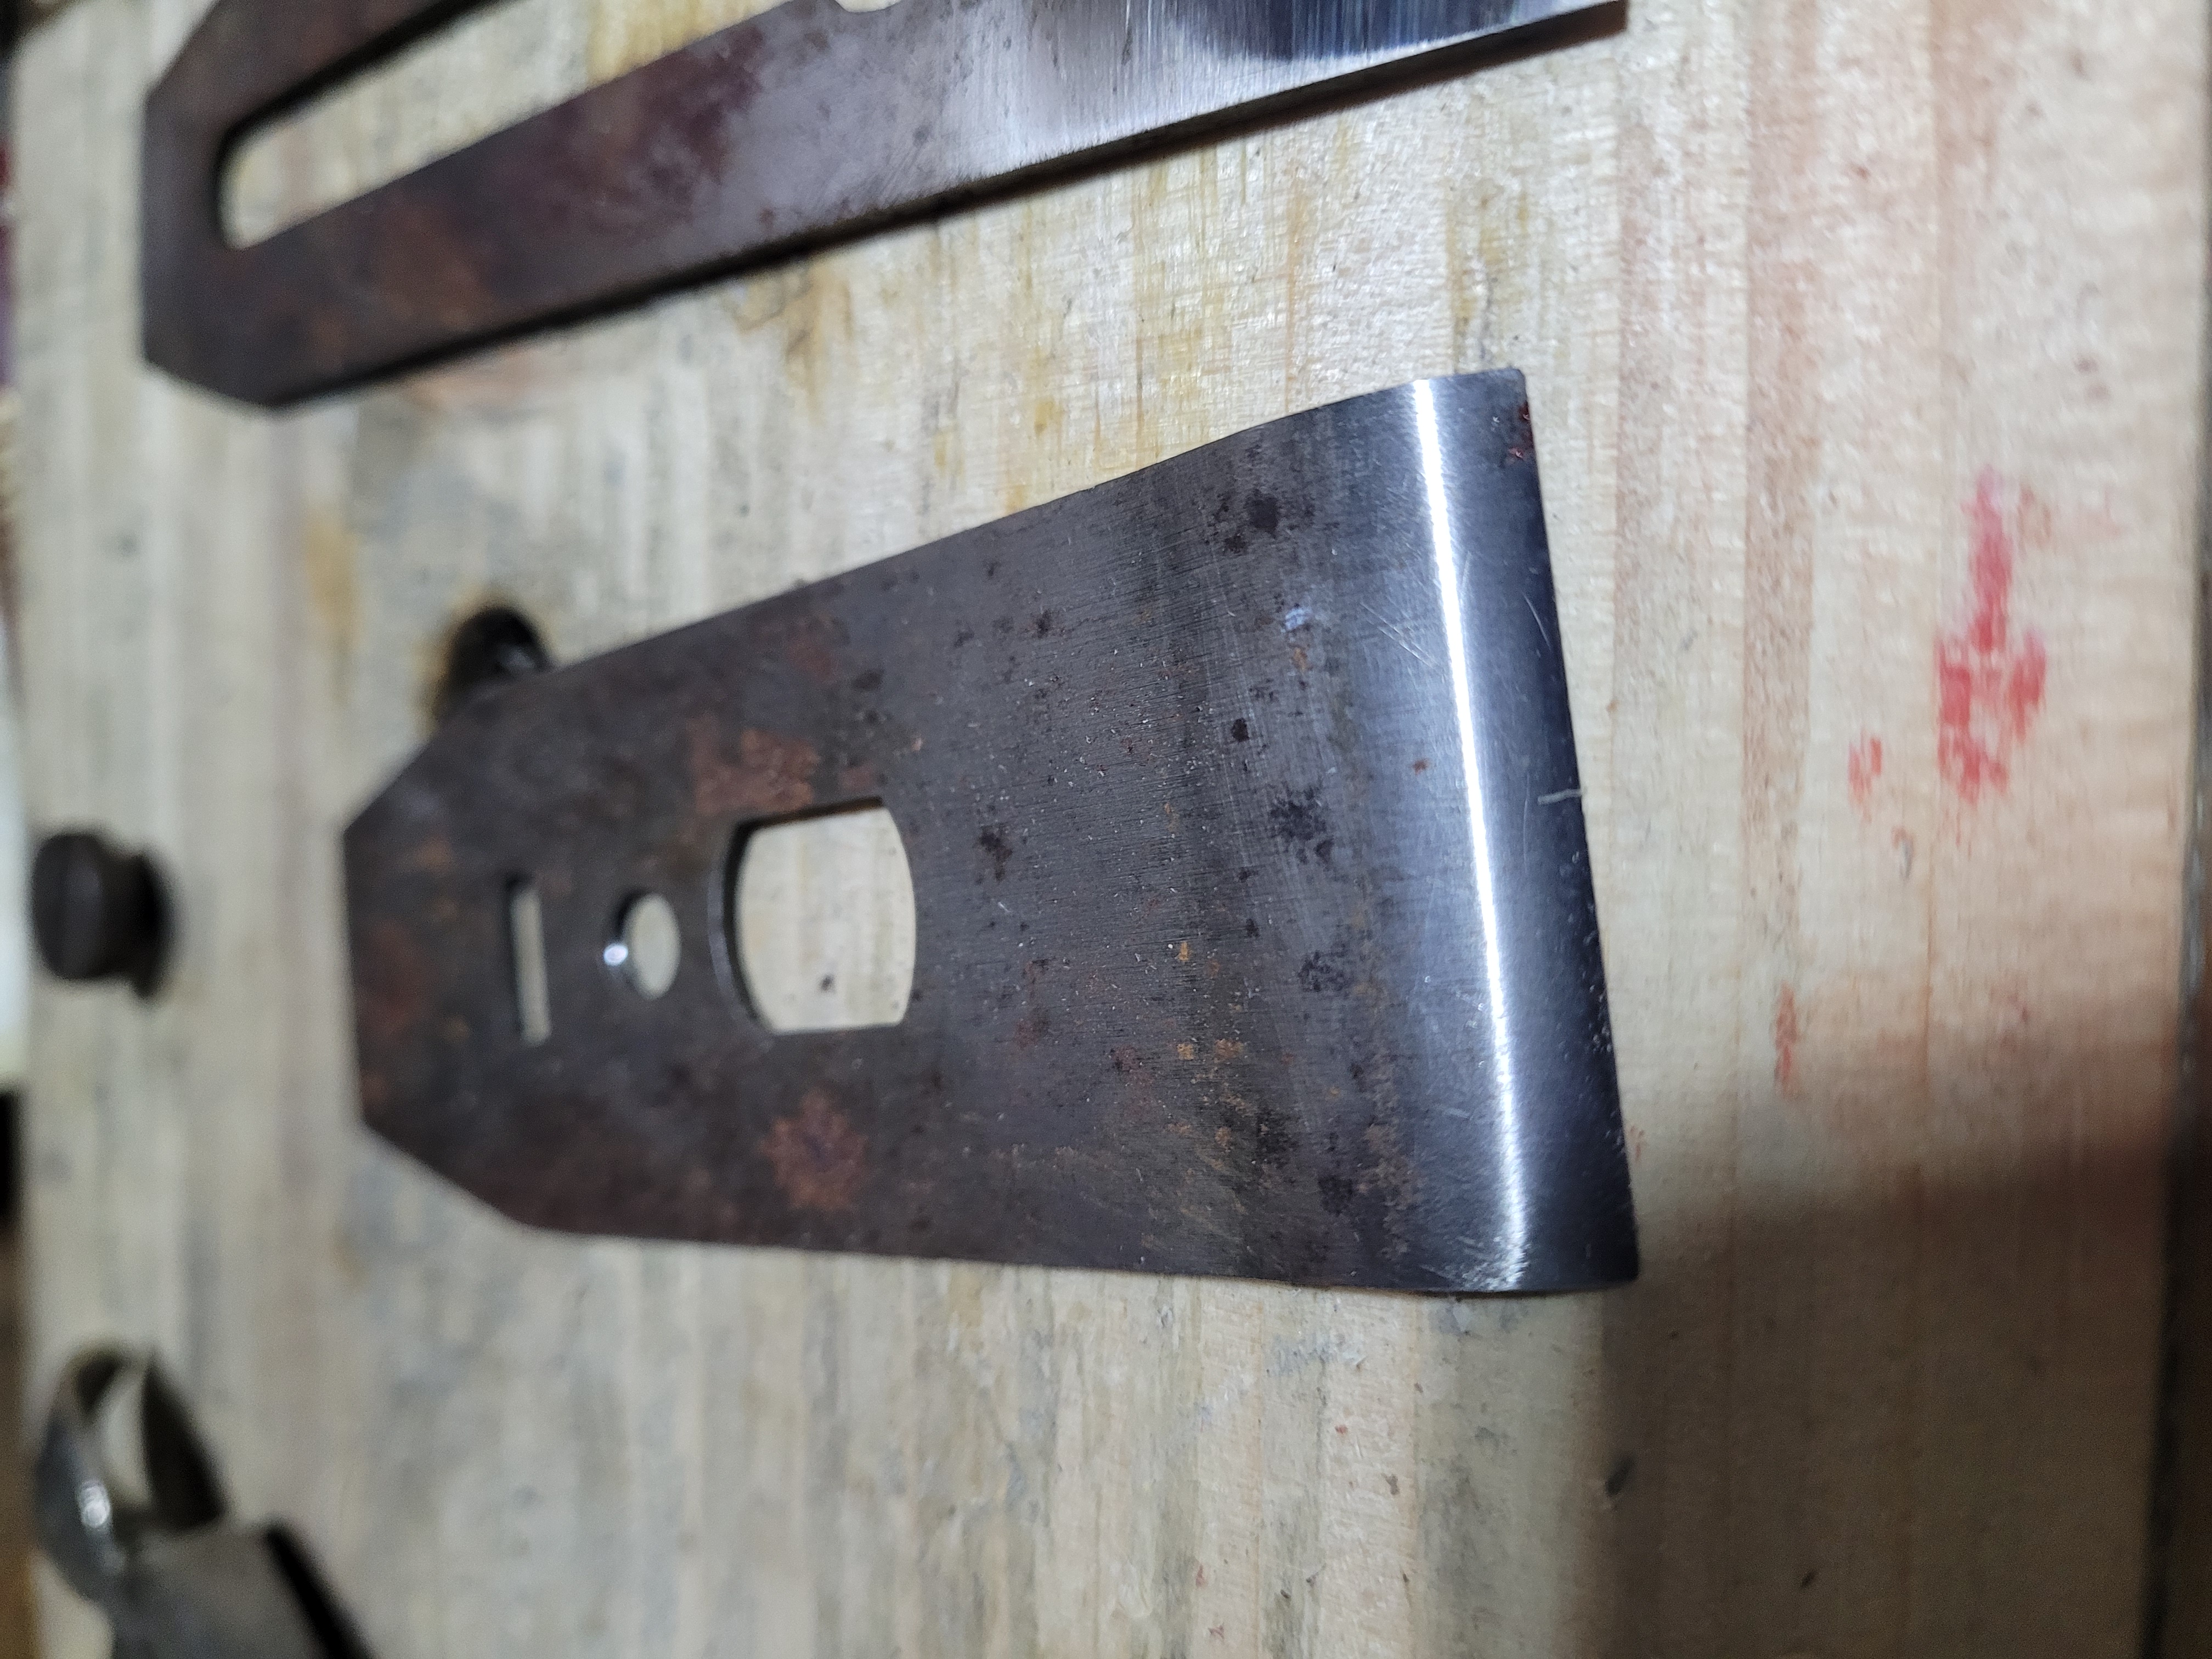
A close-up of the scratches and dings on the chip breaker edge. Smoothing and polishing this helps stop shavings getting caught up and then forced under.
Cleaned up the sole with maroon Scotch Brite. This is only about 30 seconds of work. Scotch Brite is a brand name, if you search for “Non Woven Abrasive” you will find the same product. I find the maroon ones tend to give a good finish similar to how a new plane would look. Nice enough, but not so shiny that every time you touch it you leave a great big finger print.
Side wall before clean up
30 seconds of scotch brite later

The other side wall before clean up. I just want active rust, and dirt that could lead to it gone. I’m not trying to make a perfect shiny surface.
30 seconds of scotch brite later
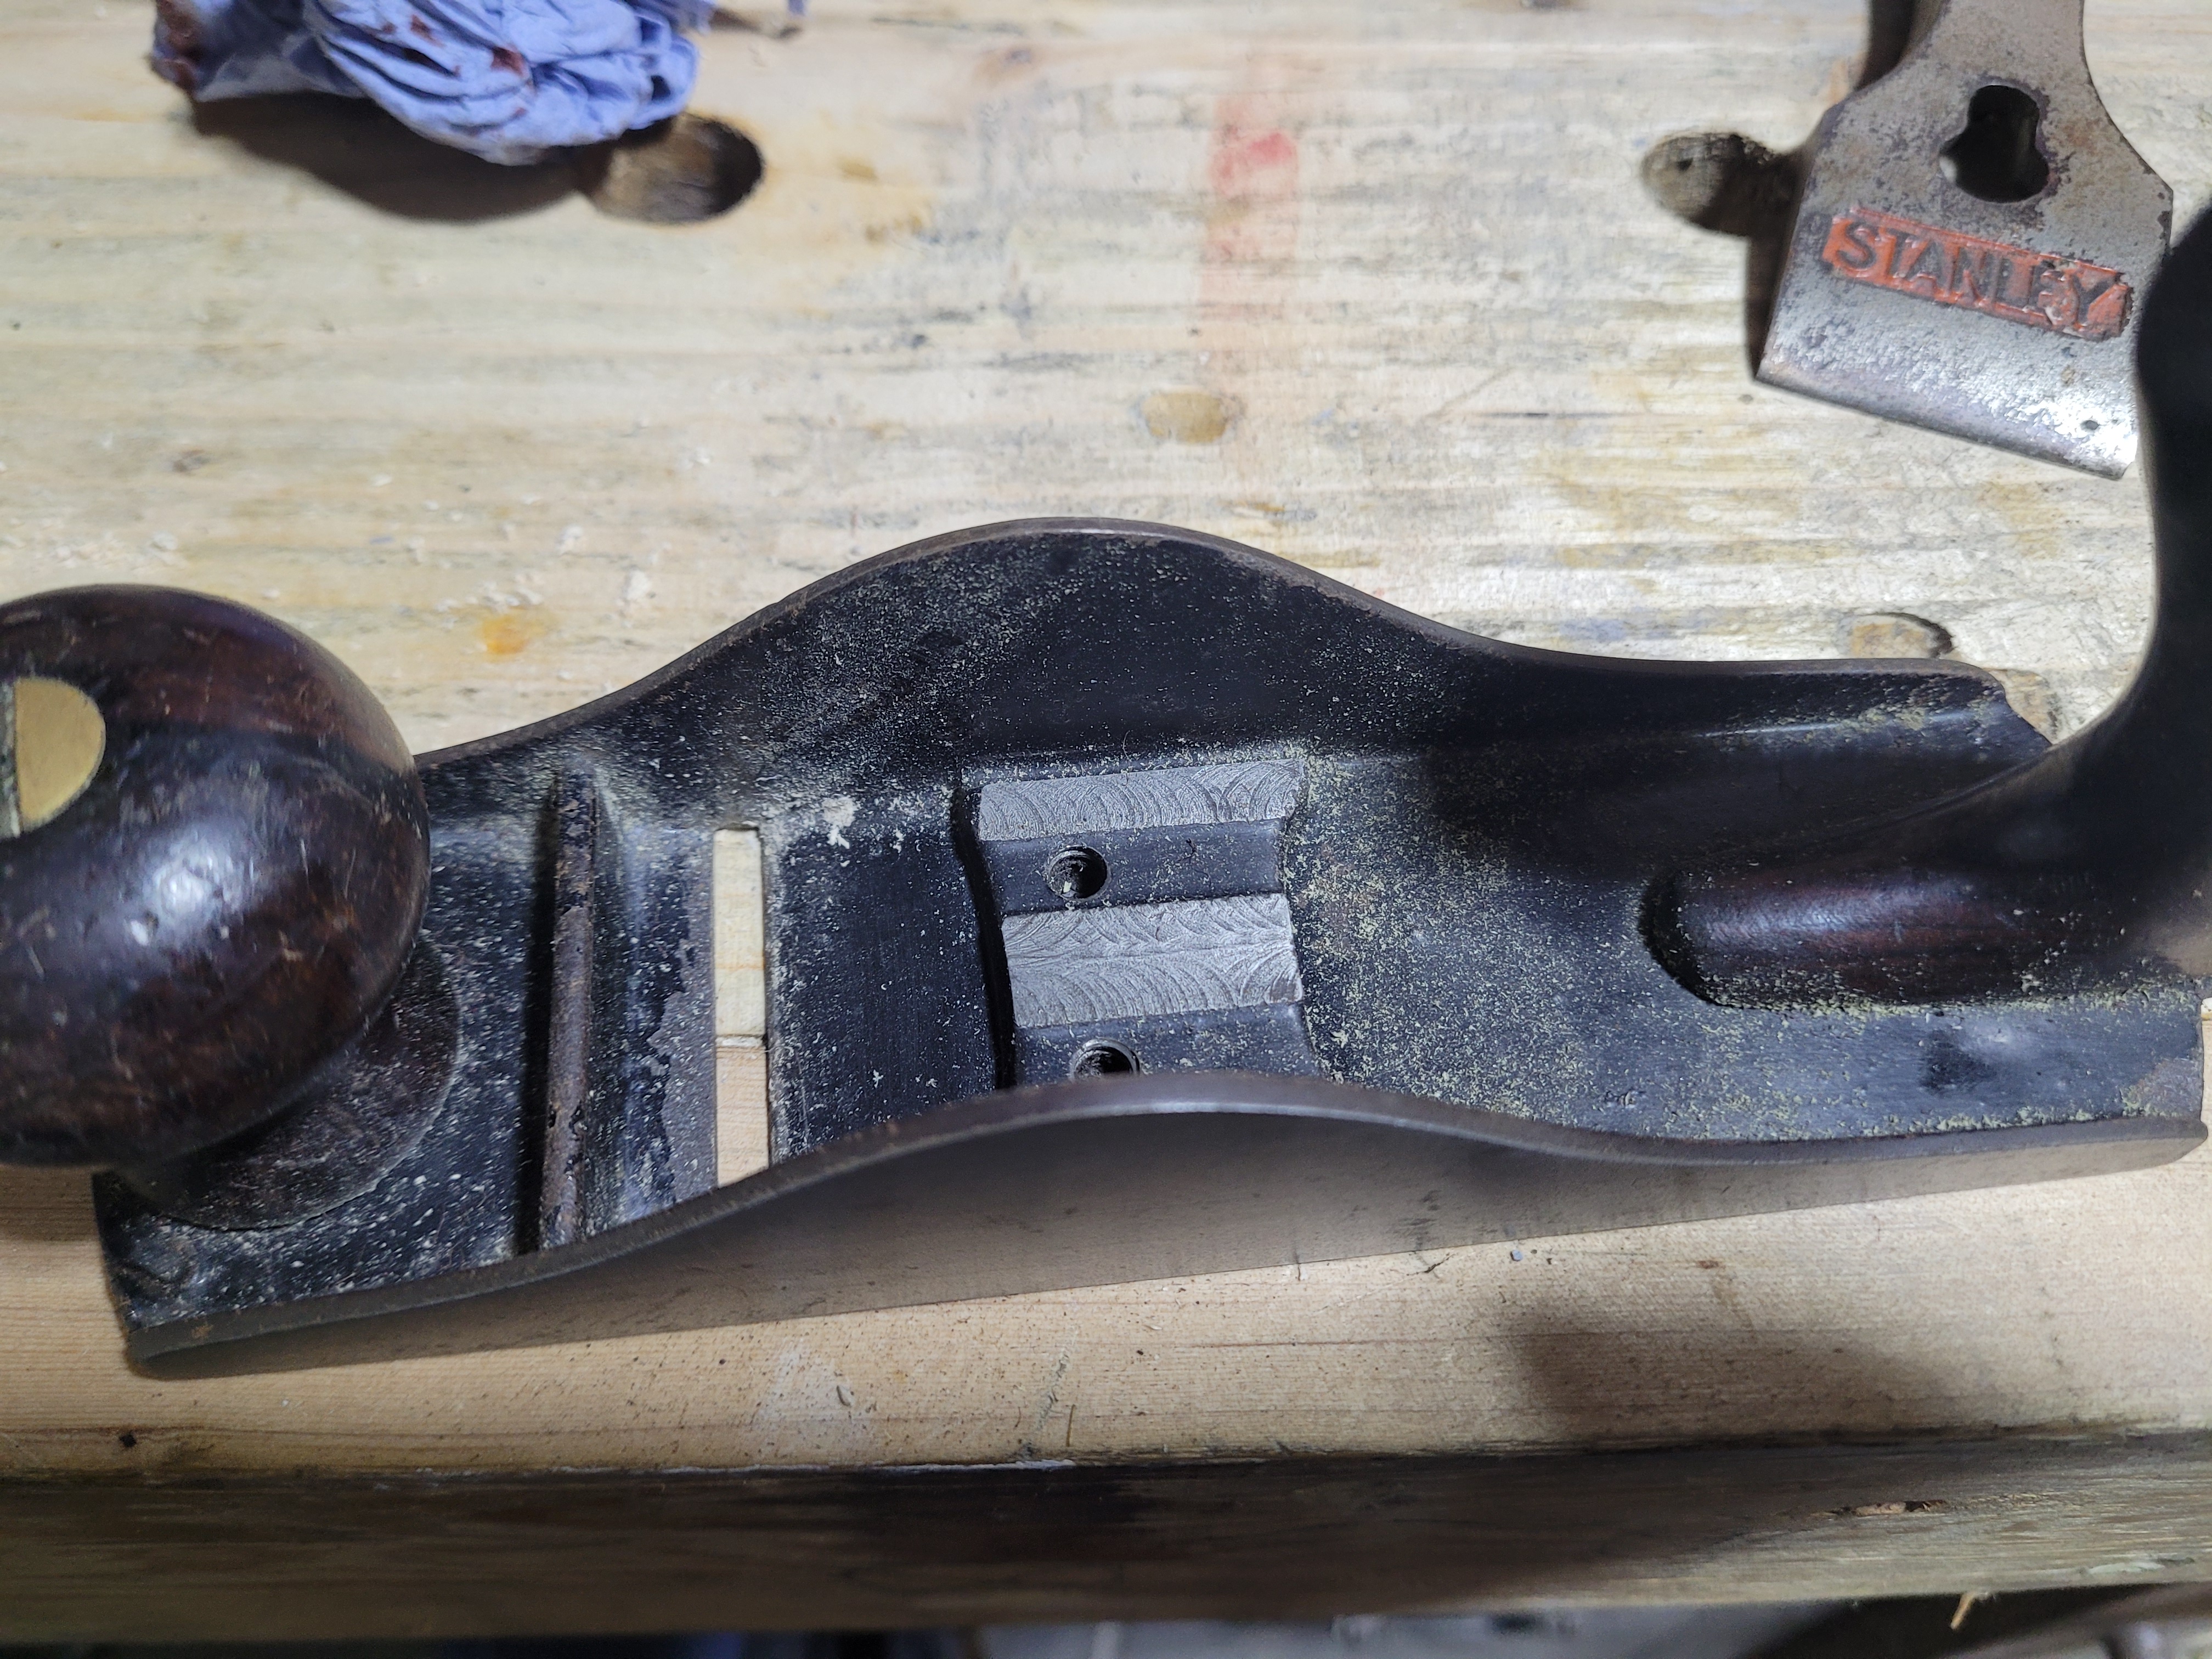
The body with the frog out. Other than lots of dirt and crud. No real problems.
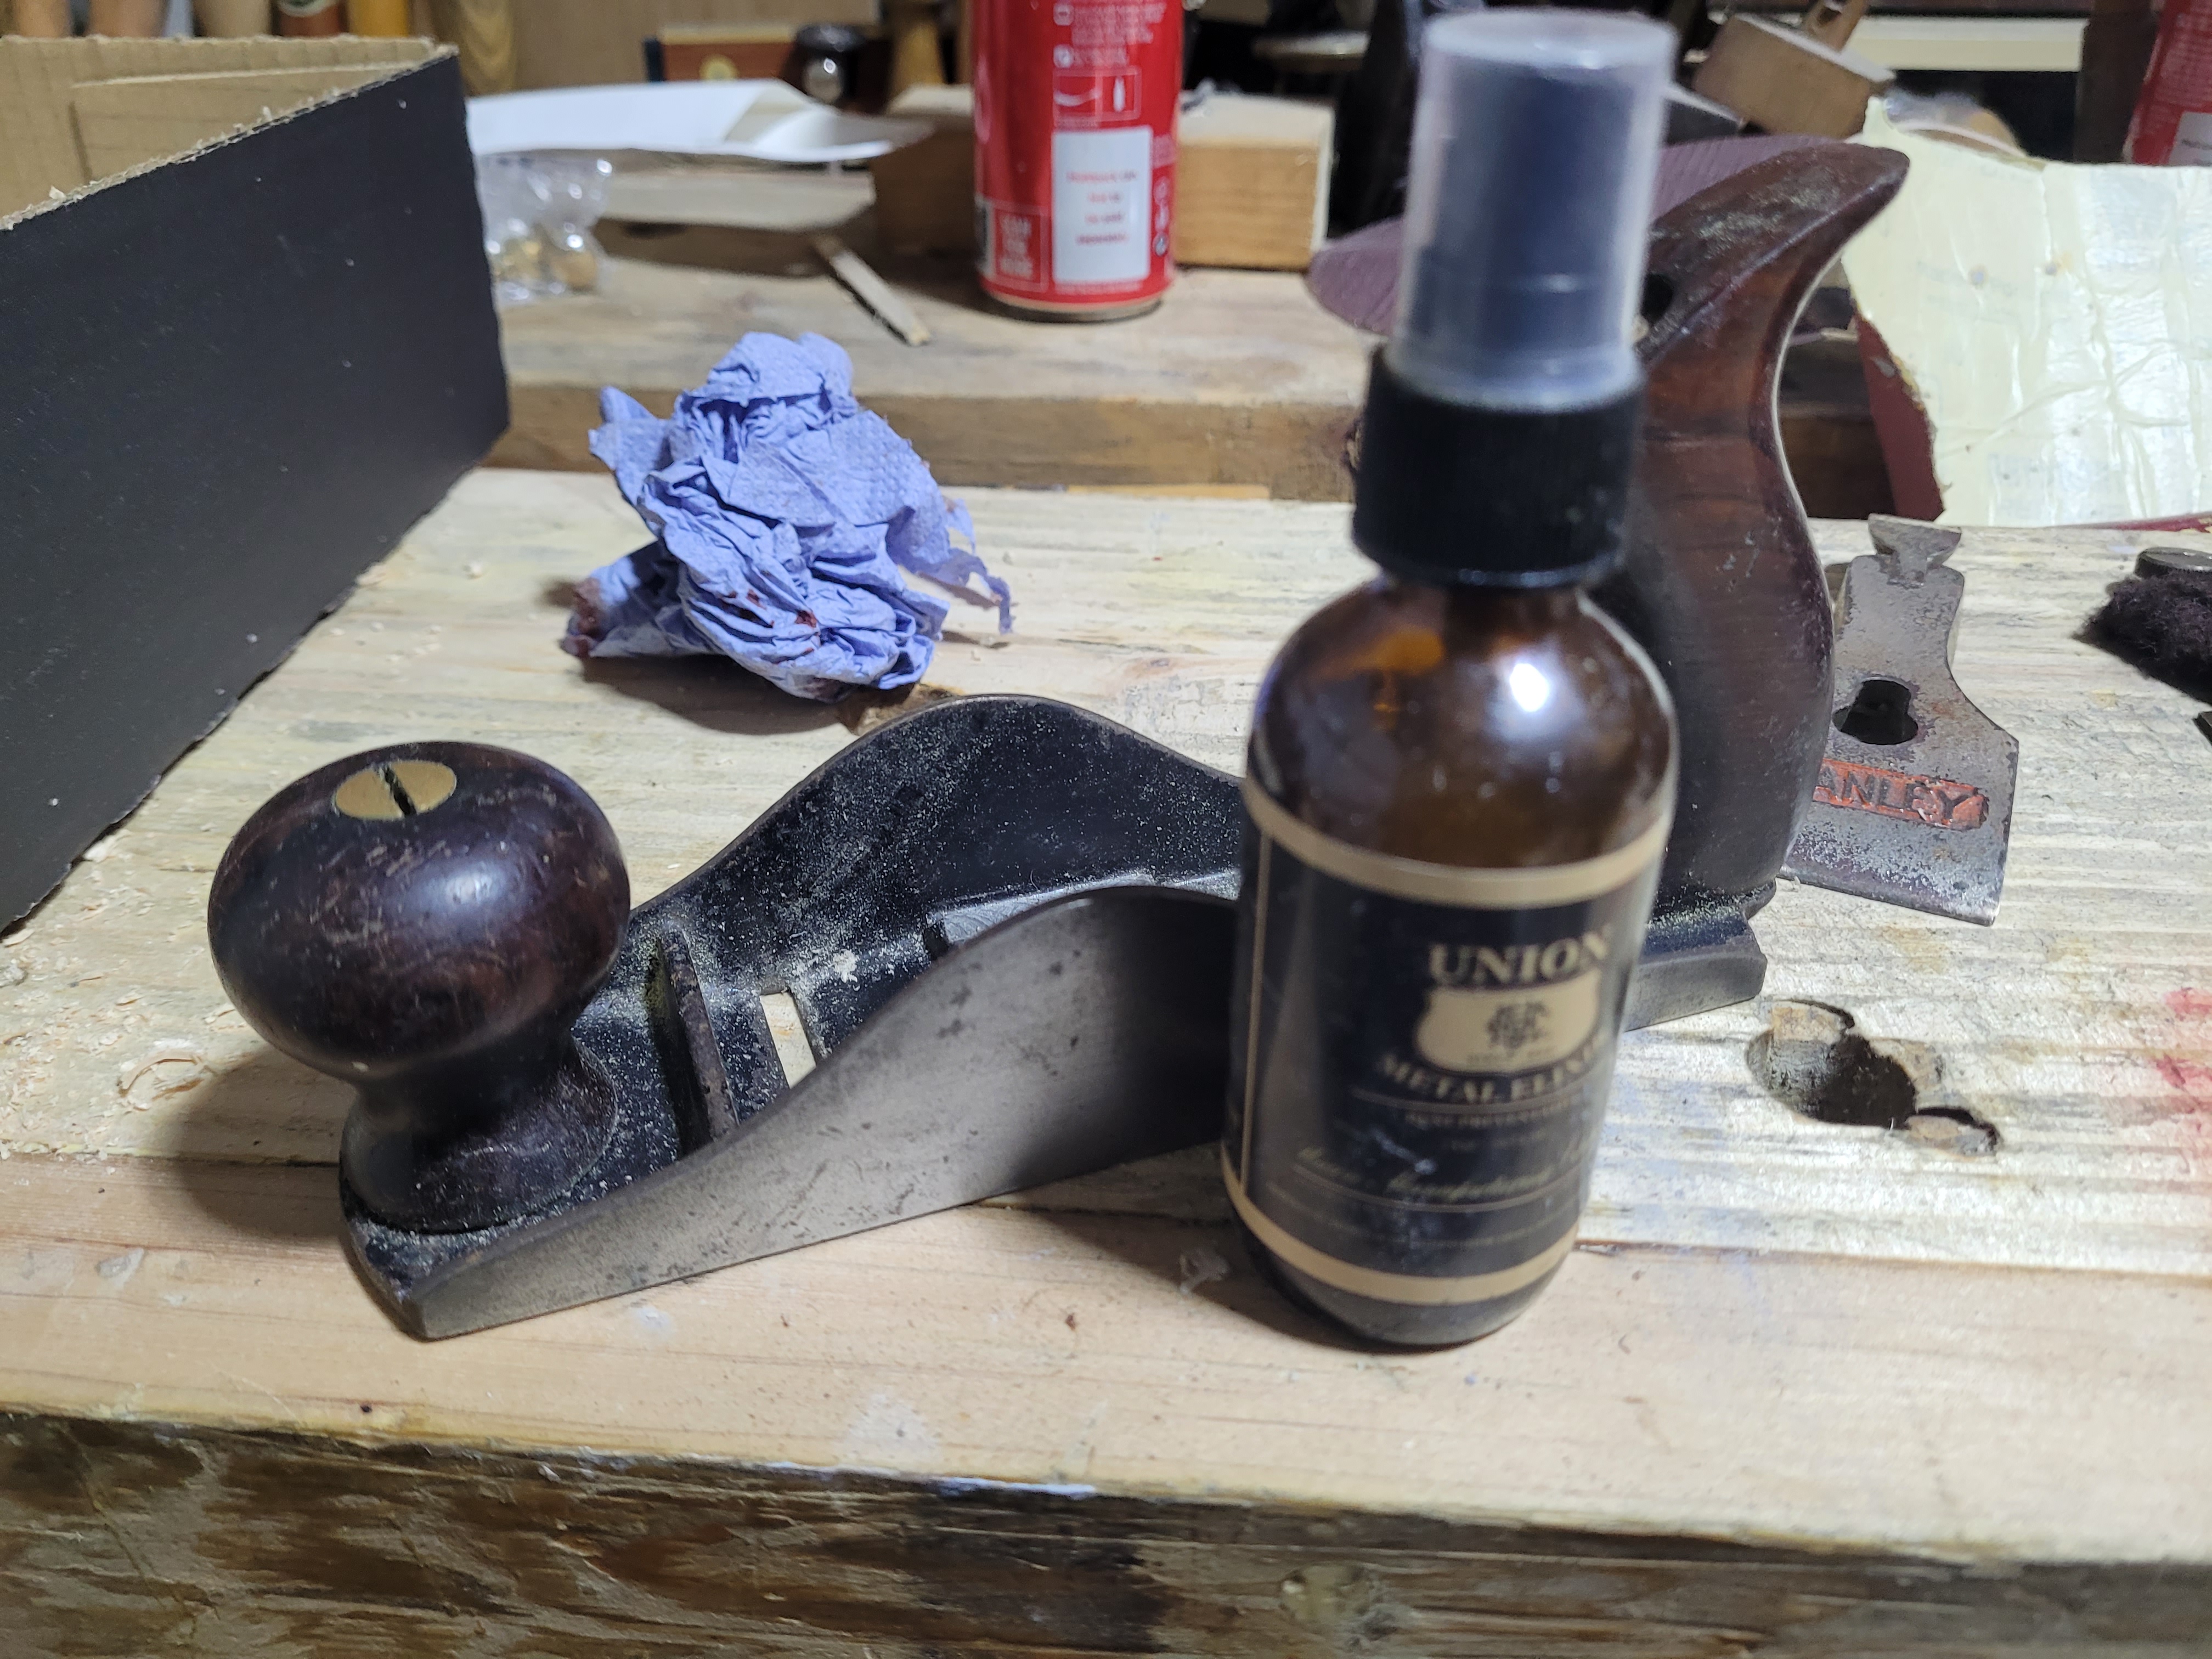
Cleaning out the crud is done with some tissue and a lubricant. Anything will do, 3 in 1, WD40. I like using a little Union Metal Elixir, as I’m helping prevent future rust at the same time. Reminder, I’m on Union’s board of directors. If I recommend a Union product, you should just assume I’m a lying scumbag out to scam you out of your money. That said, Elixir works well for me.
The cleaned up body.

A nice side effect of the Elixir is that the wood looks pretty nice afterwards too. It’s got nothing in it that will harm the wood, or the finish. That said, any oil will have much the same effect.
The frog, a little surface rust again. I’m going to clean the surface at the bottom as little as possible. Its unlikely a few seconds with scotch brite will make much of a difference, but the less I do the better. Will I re-flatten the frog face? Hell no. I’ll try the plane out afterwards, unless I’m getting some chatter I’ll leave it the hell alone.
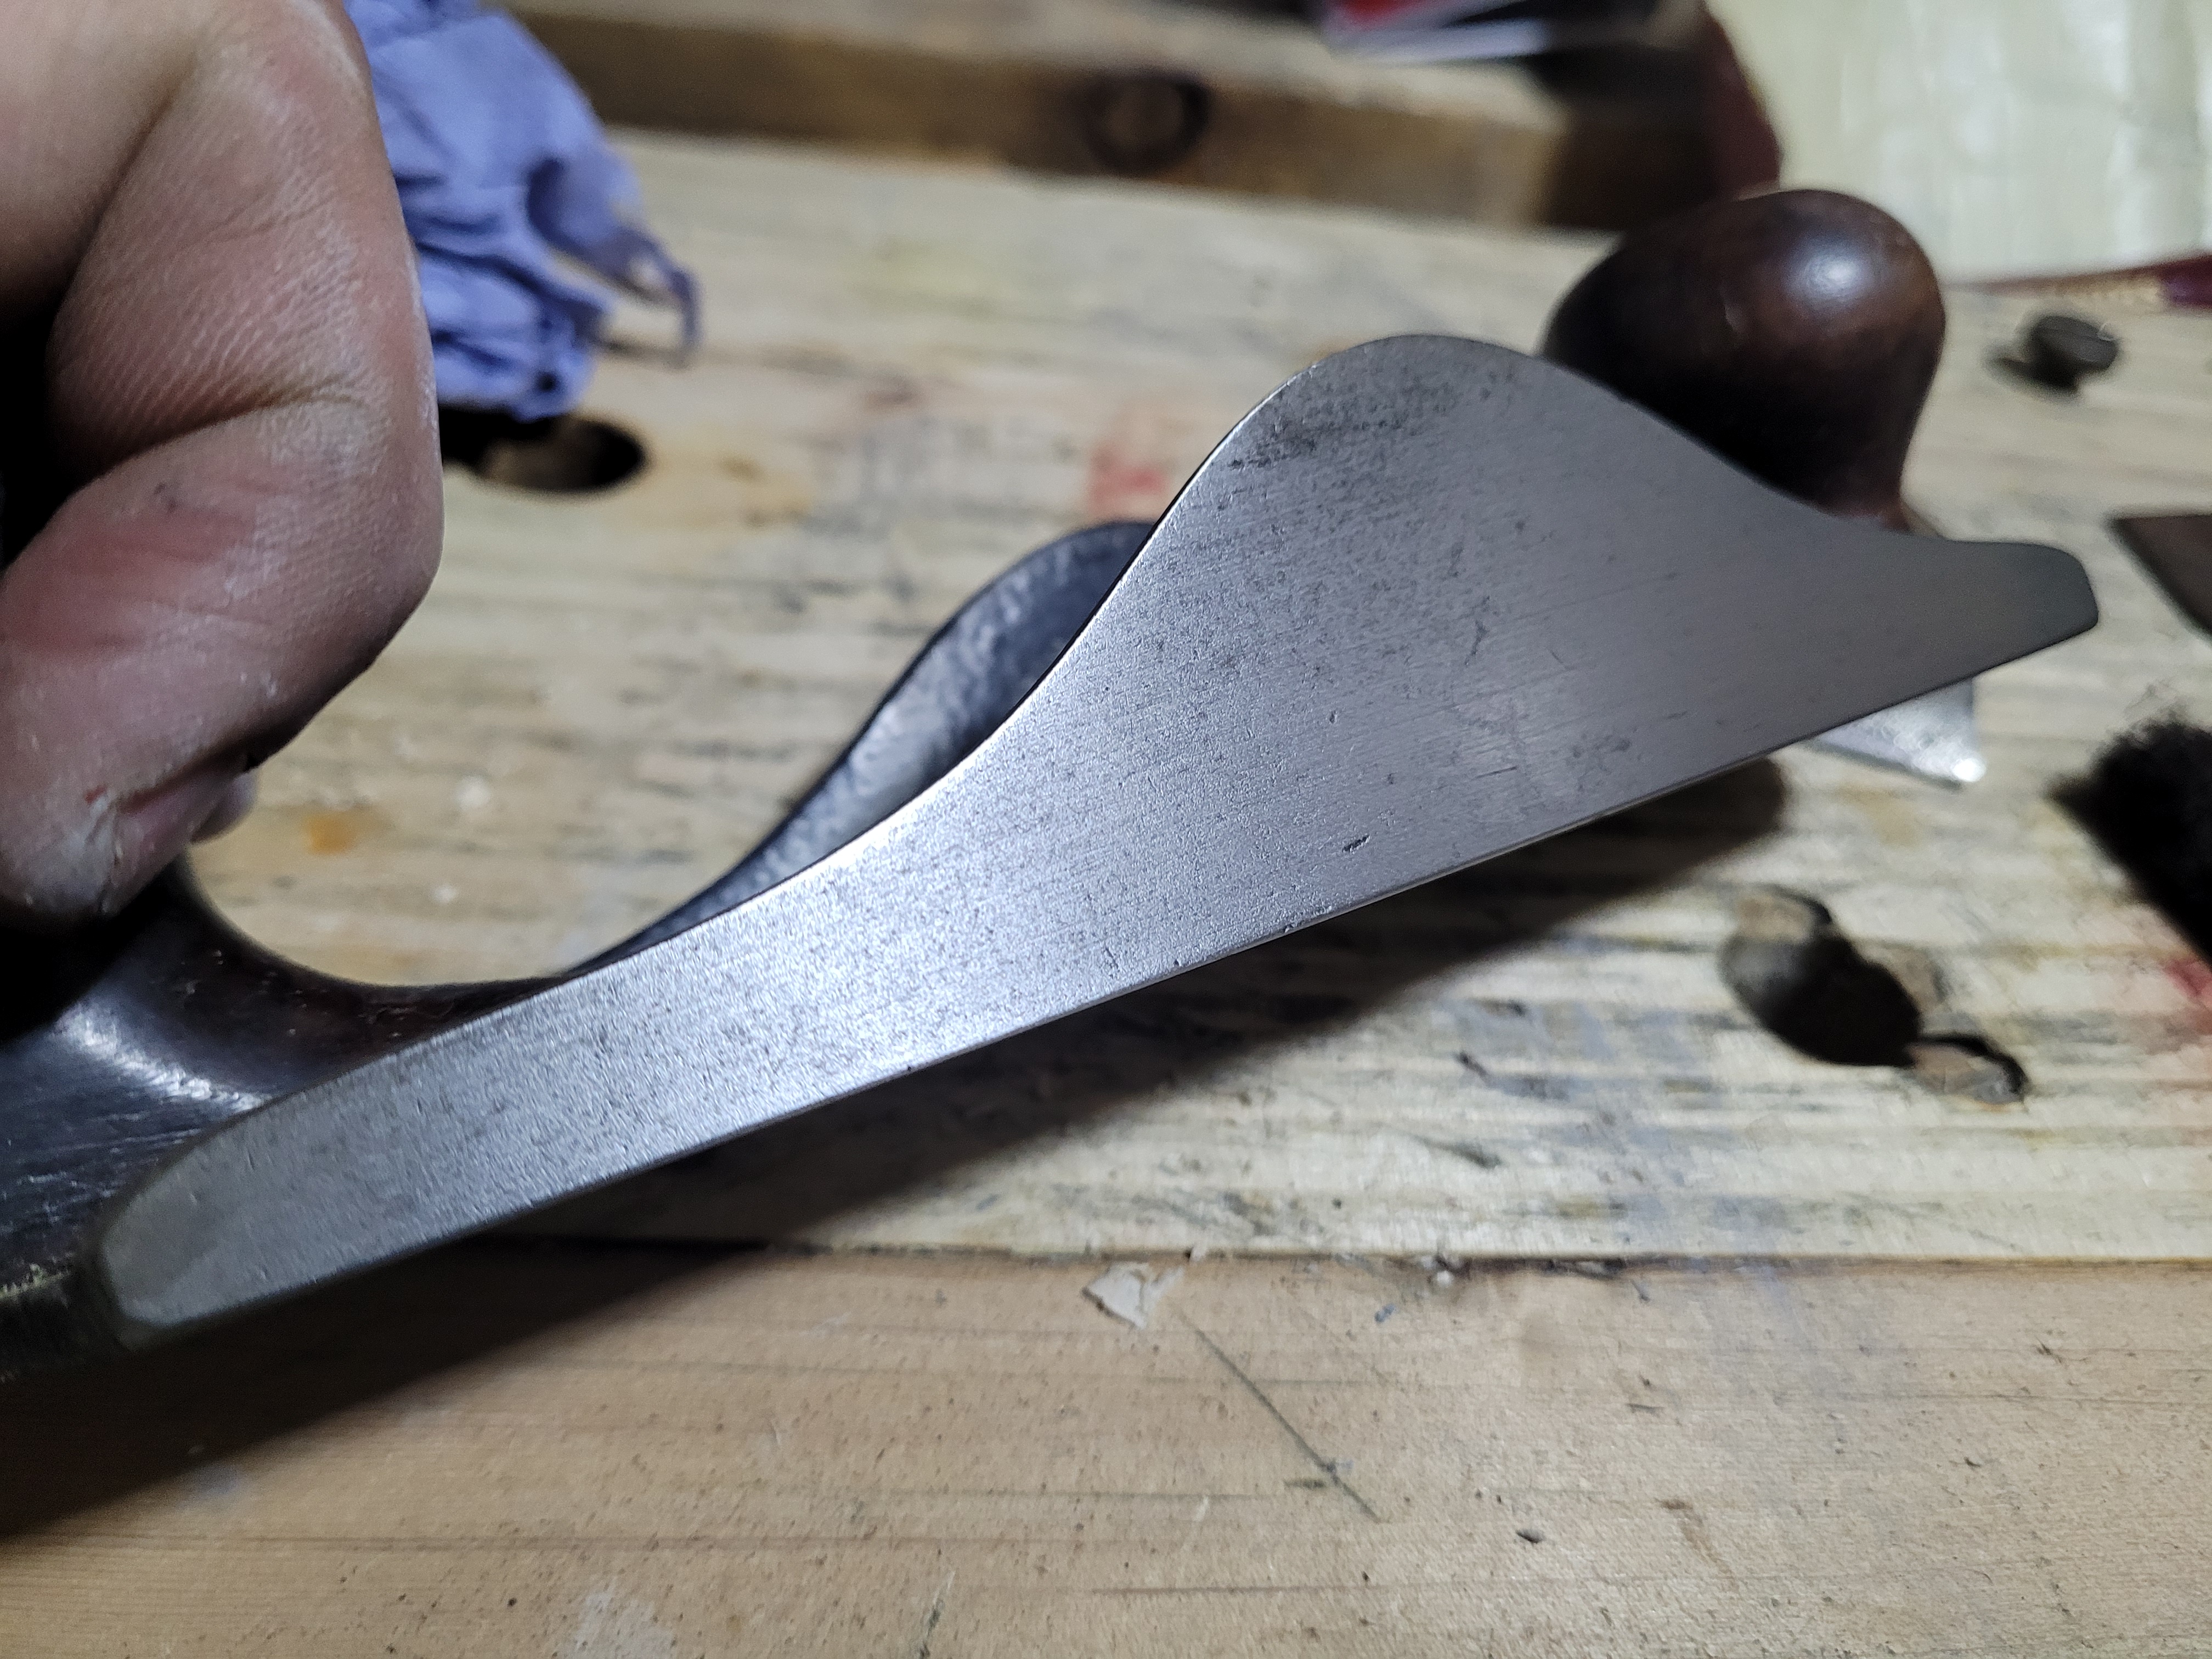
A few seconds scrubbing and it looks great.

A little drop of oil onto the pivot pin on the lateral adjuster, and the same where the pin meets the back. Work it back and forth to get it in there.
Then take off the depth adjust wheel, put a drop or two of oil and the depth adjust screw and then work the wheel back and forth to spread it. But only a tiny bit of oil, if you get it really oily it will serve to have dust stick and crud it up.
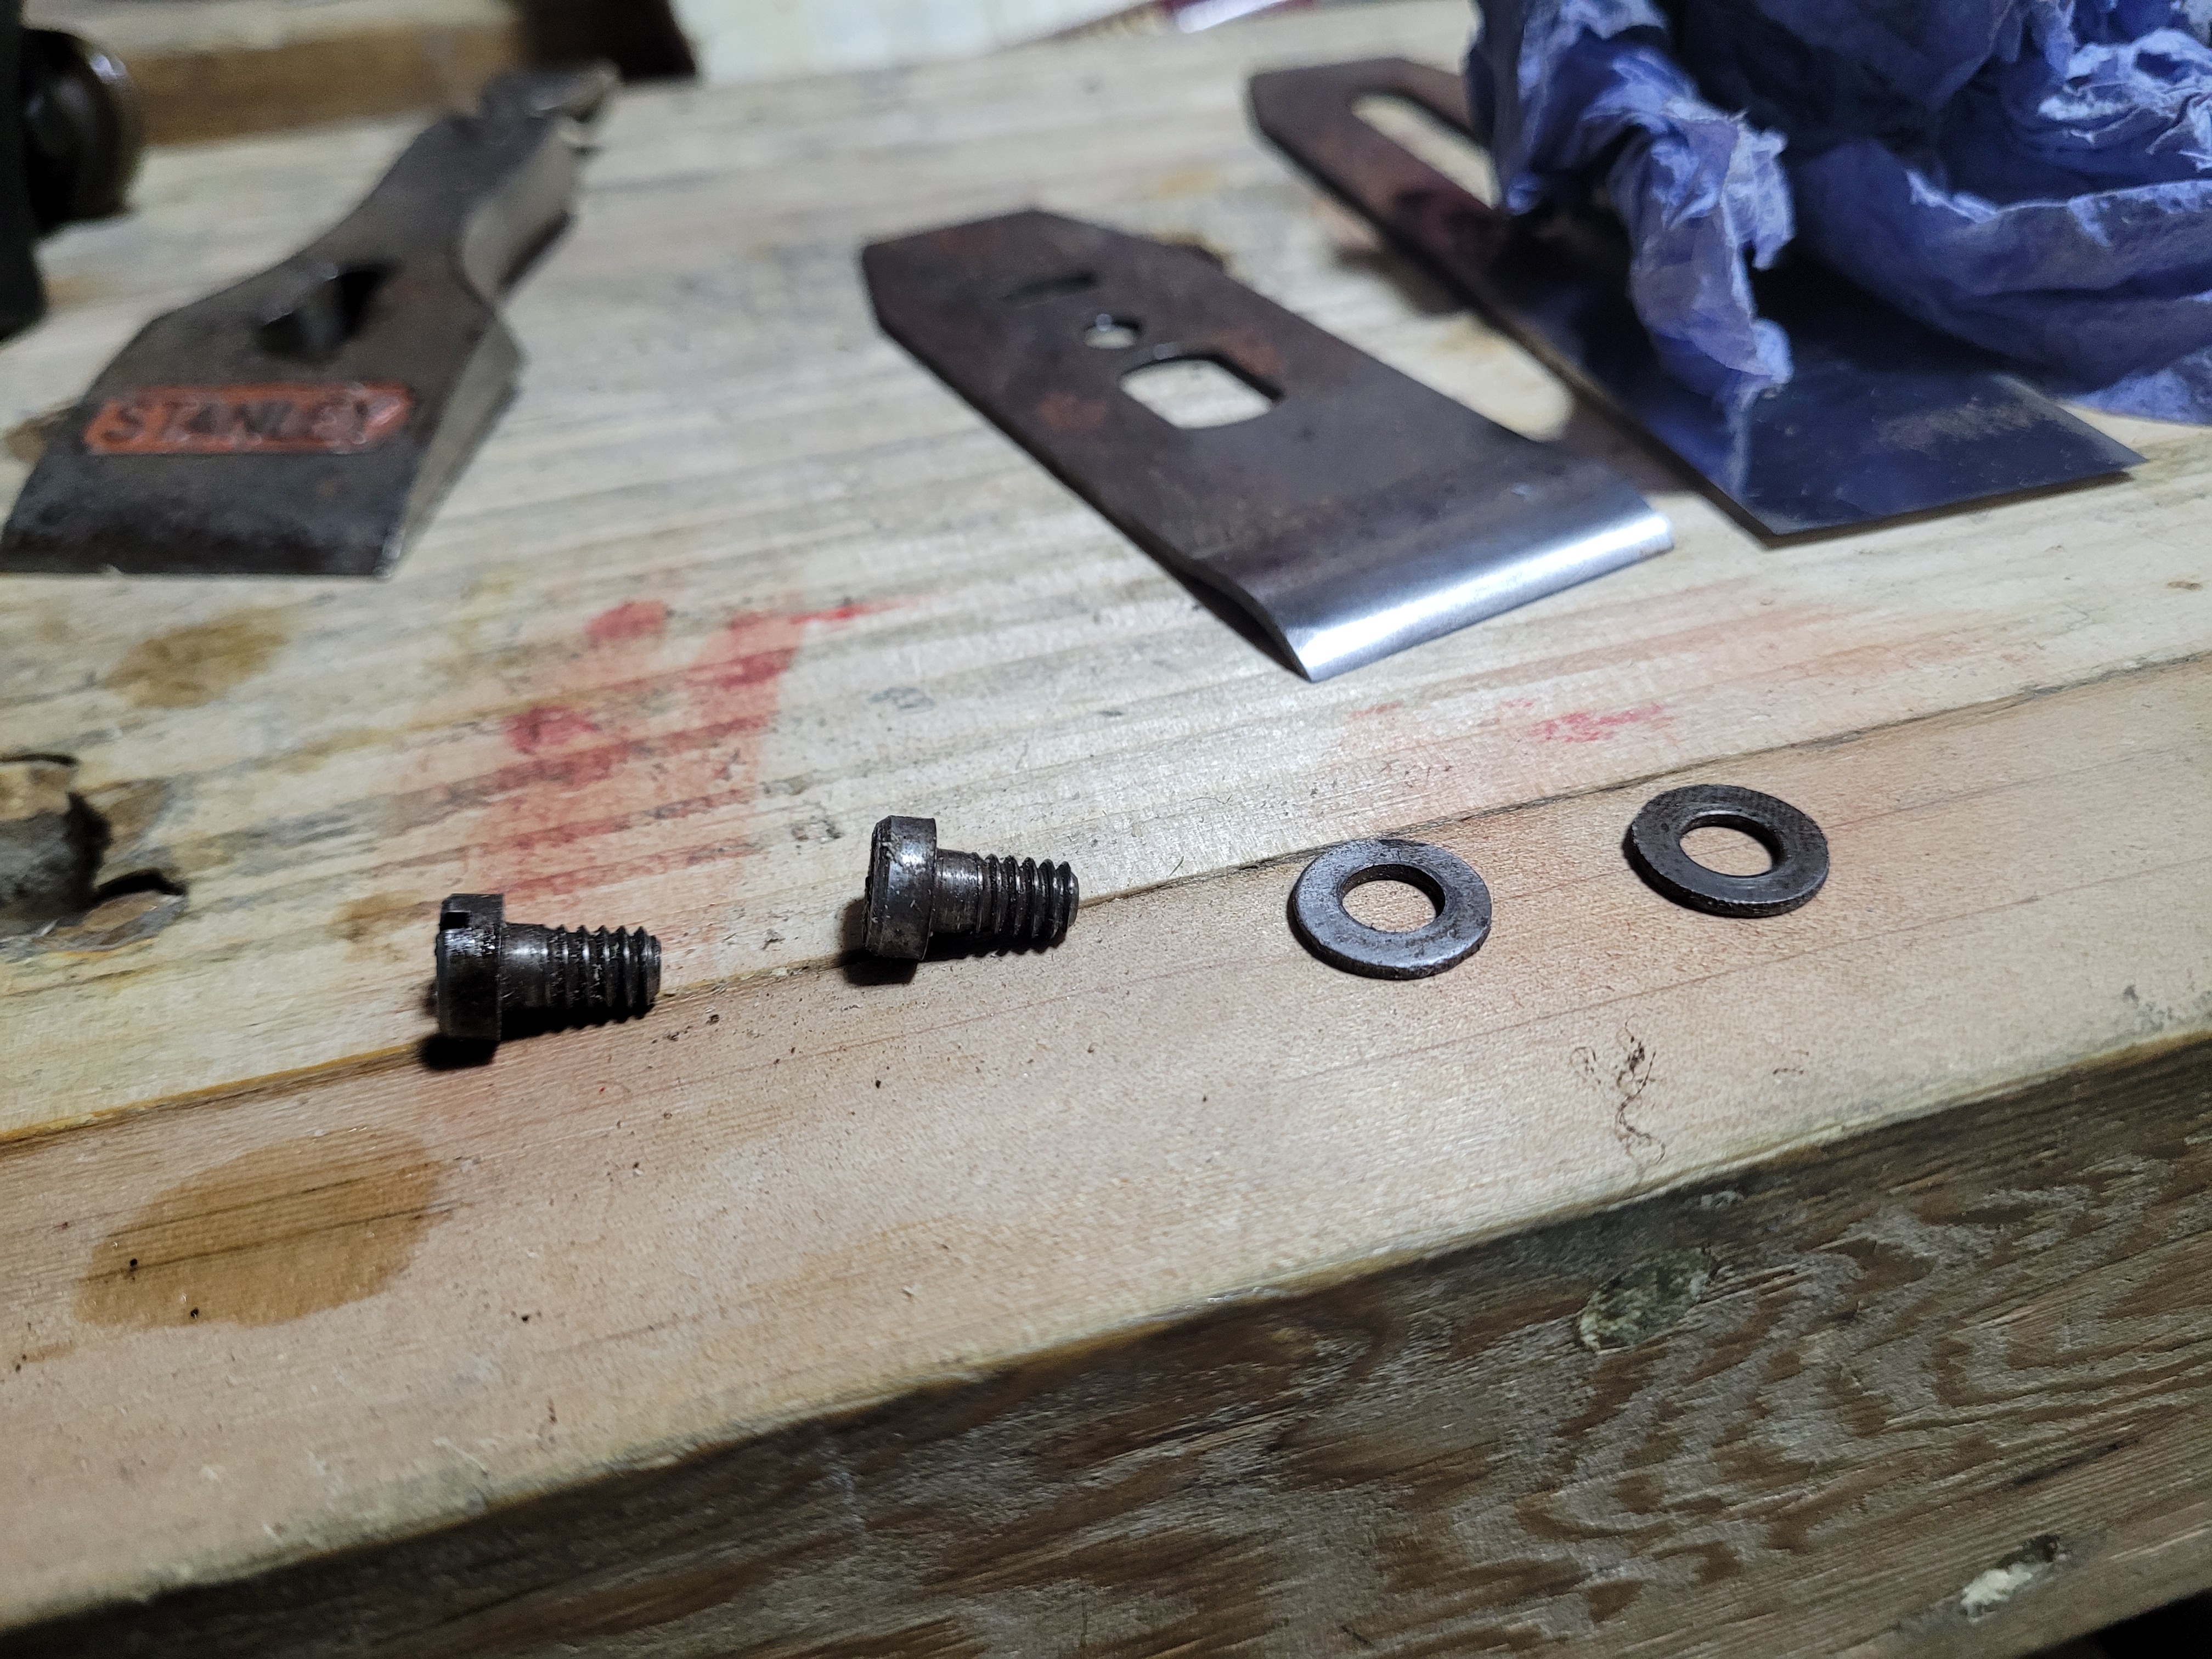
The frog screws and washers. They don’t need any work, but I’ll give them a light clean while I am here.
This is how I like to clean screws. Wrap a little scotch brite around, then turn the screw with a screwdriver like you are driving it into wood. The screw will grab the scotch brite, pulling it in right and getting right under the head. Makes it simple to get in between the threads. After this all the frog parts get a coating of Elixir (again, any oil you like to prevent rust will do).

Chip breaker before scrubbing.
A minute later.
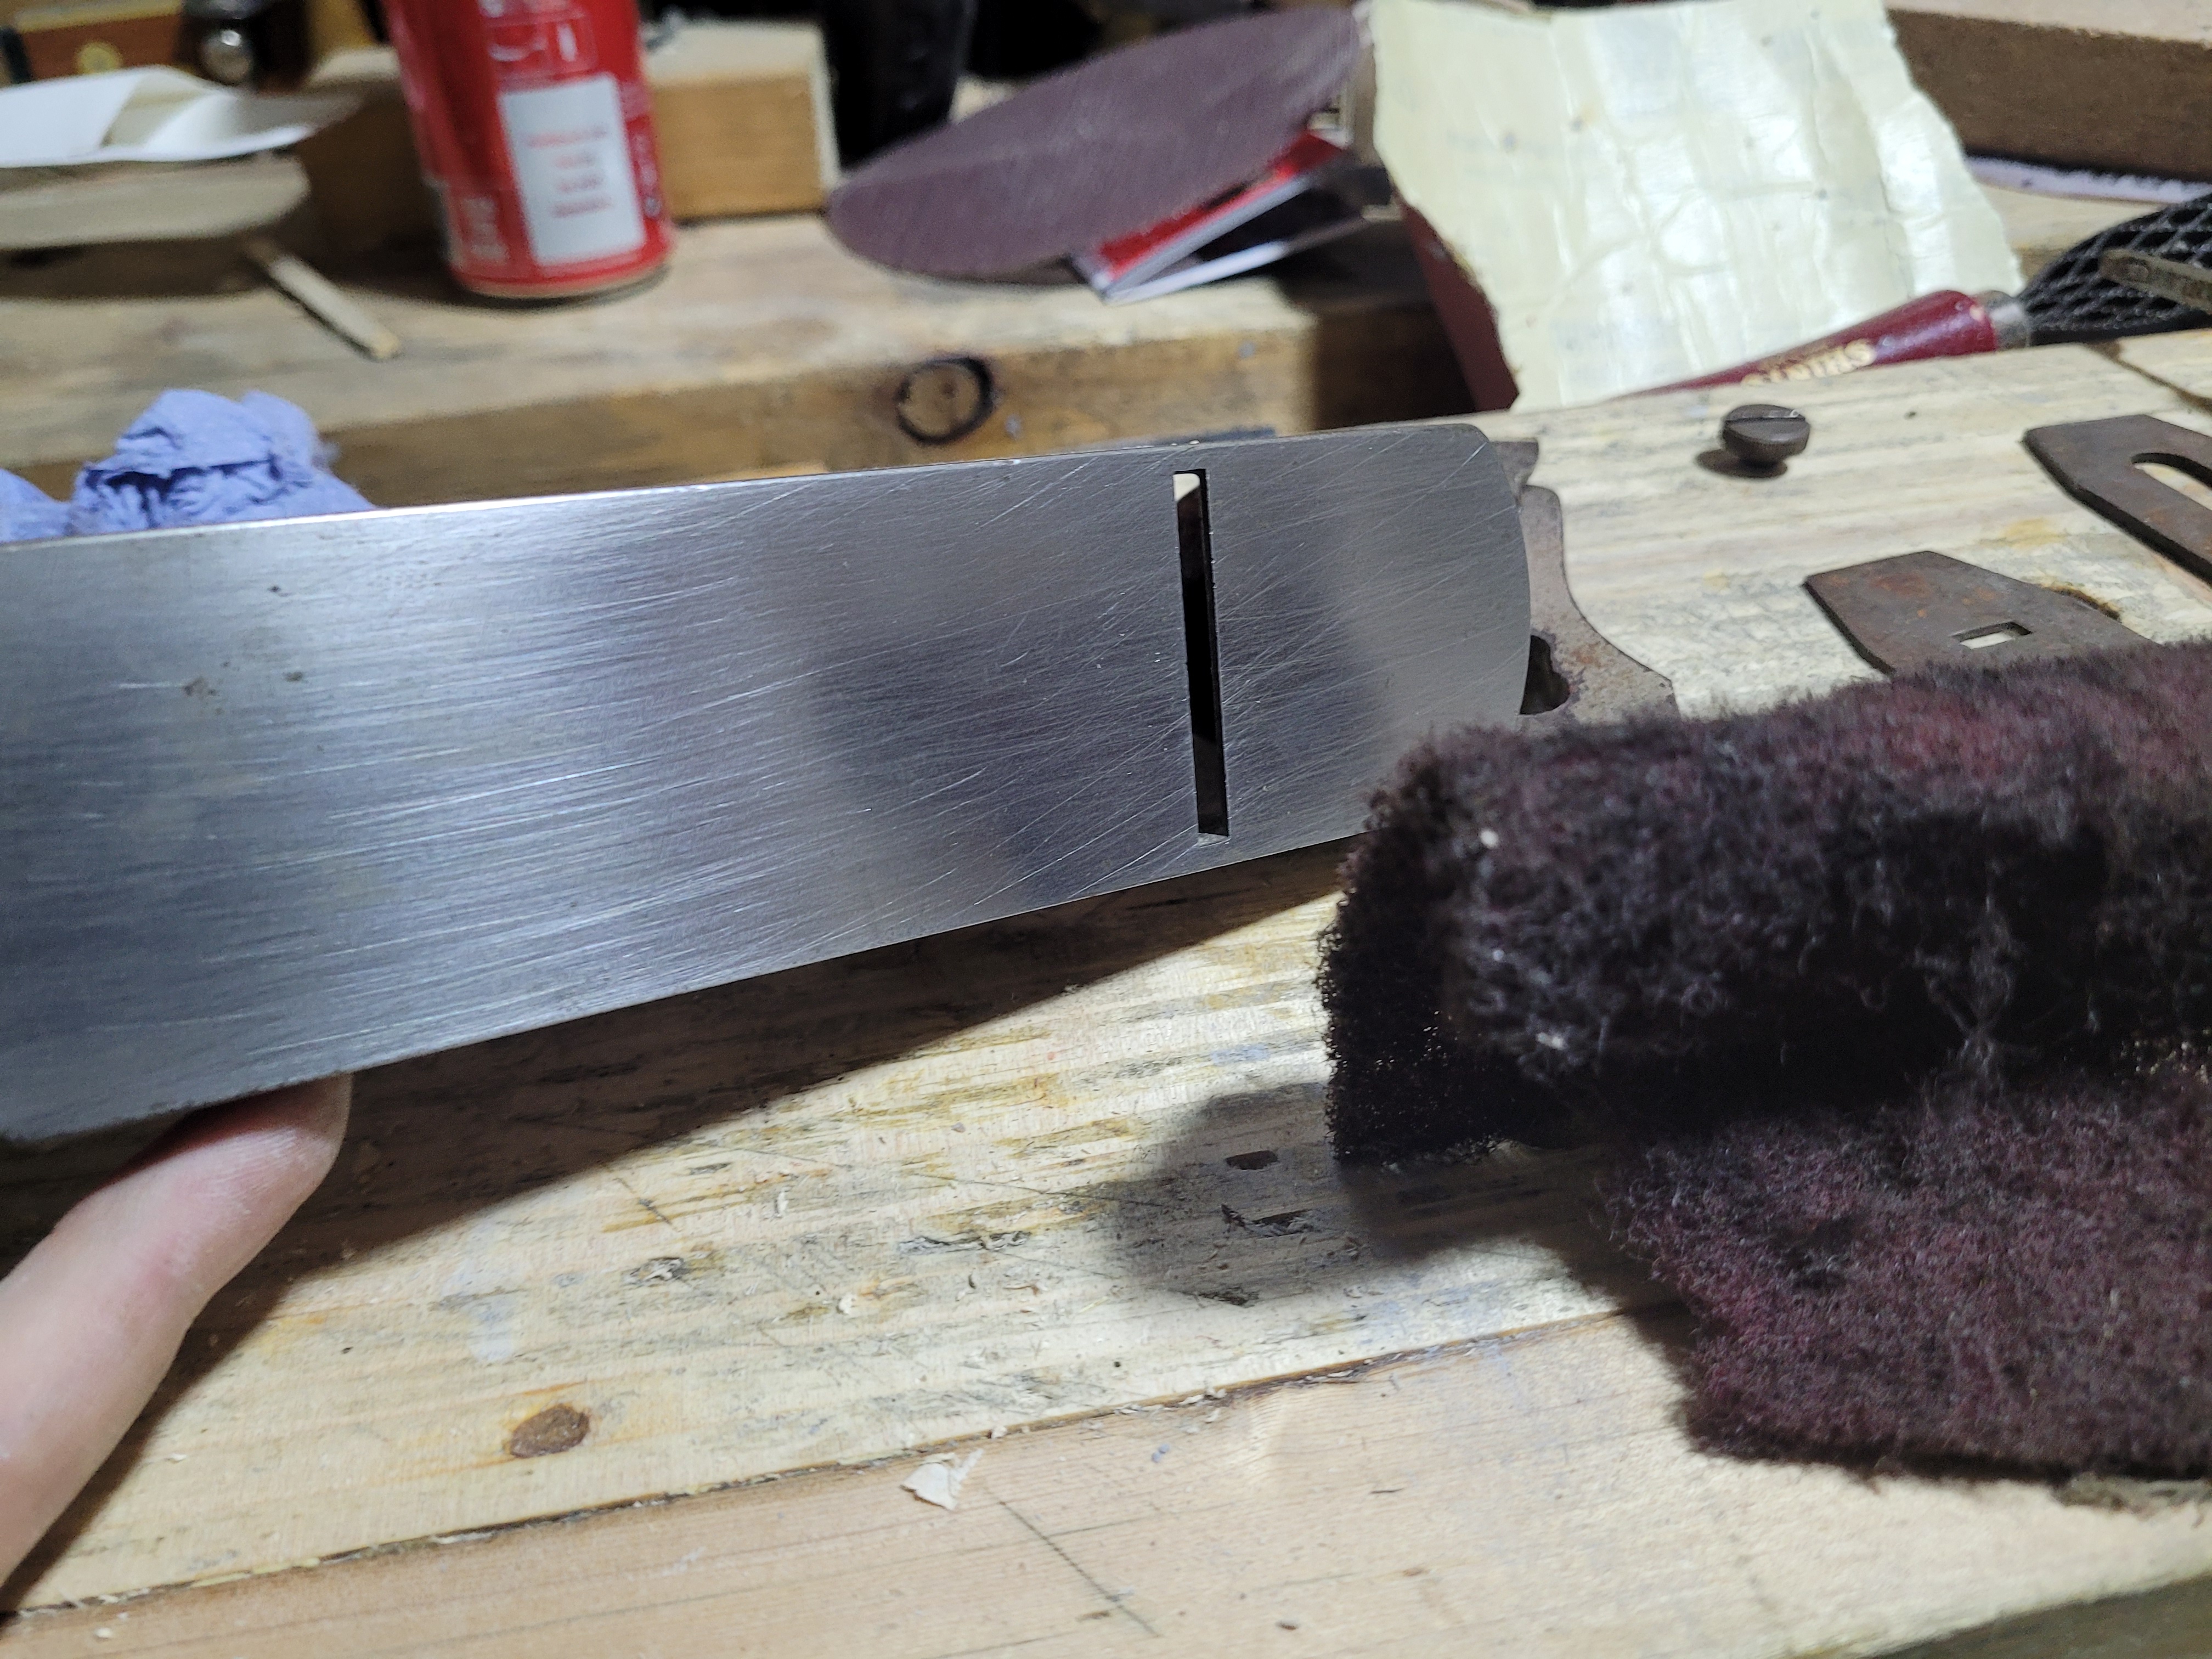
I worked the front curve on some fine sandpaper to take out the dings. The underside of the edge looked like it had picked up a few dings, so I worked it on a 1200 grit diamond stone until I had a flat smooth edge to mate with the iron.

That should do it. A nice flat edge to mate with the Iron.
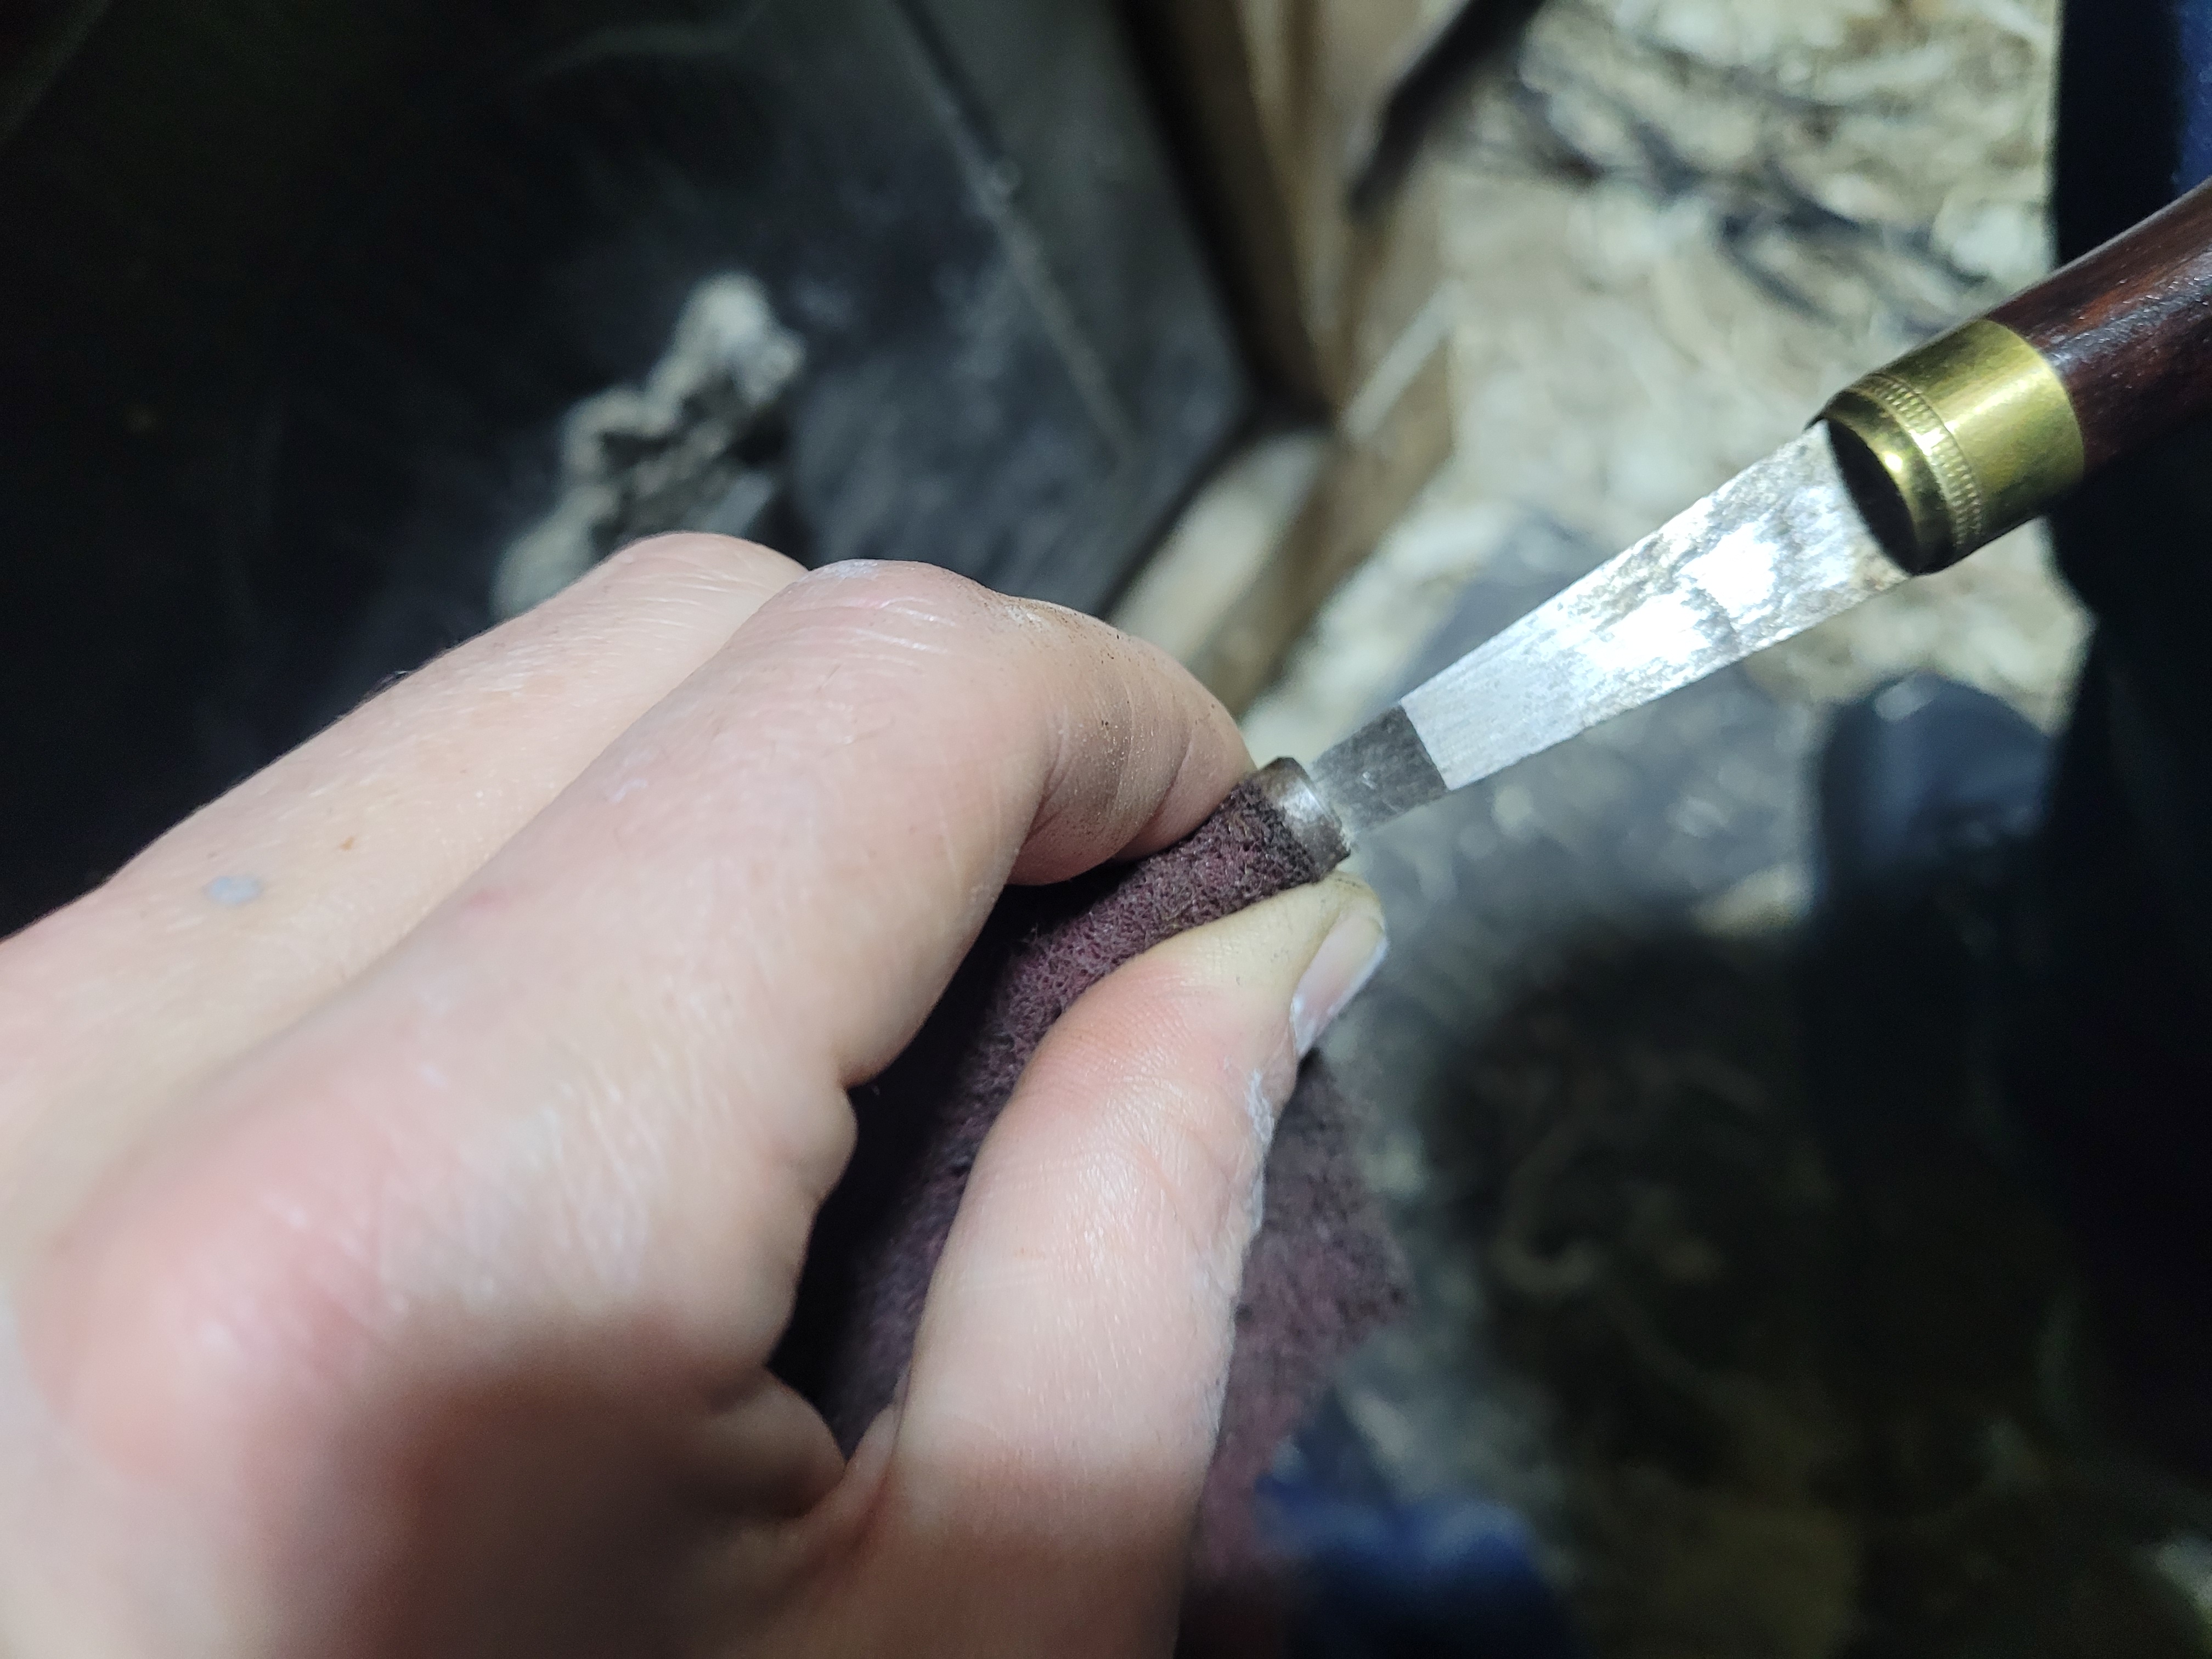
Finally I worked it on my strop for a minute. This gets rid of any burr from cleaning up the mating surface, and the polish helps shavings slide over without catching up and jamming.
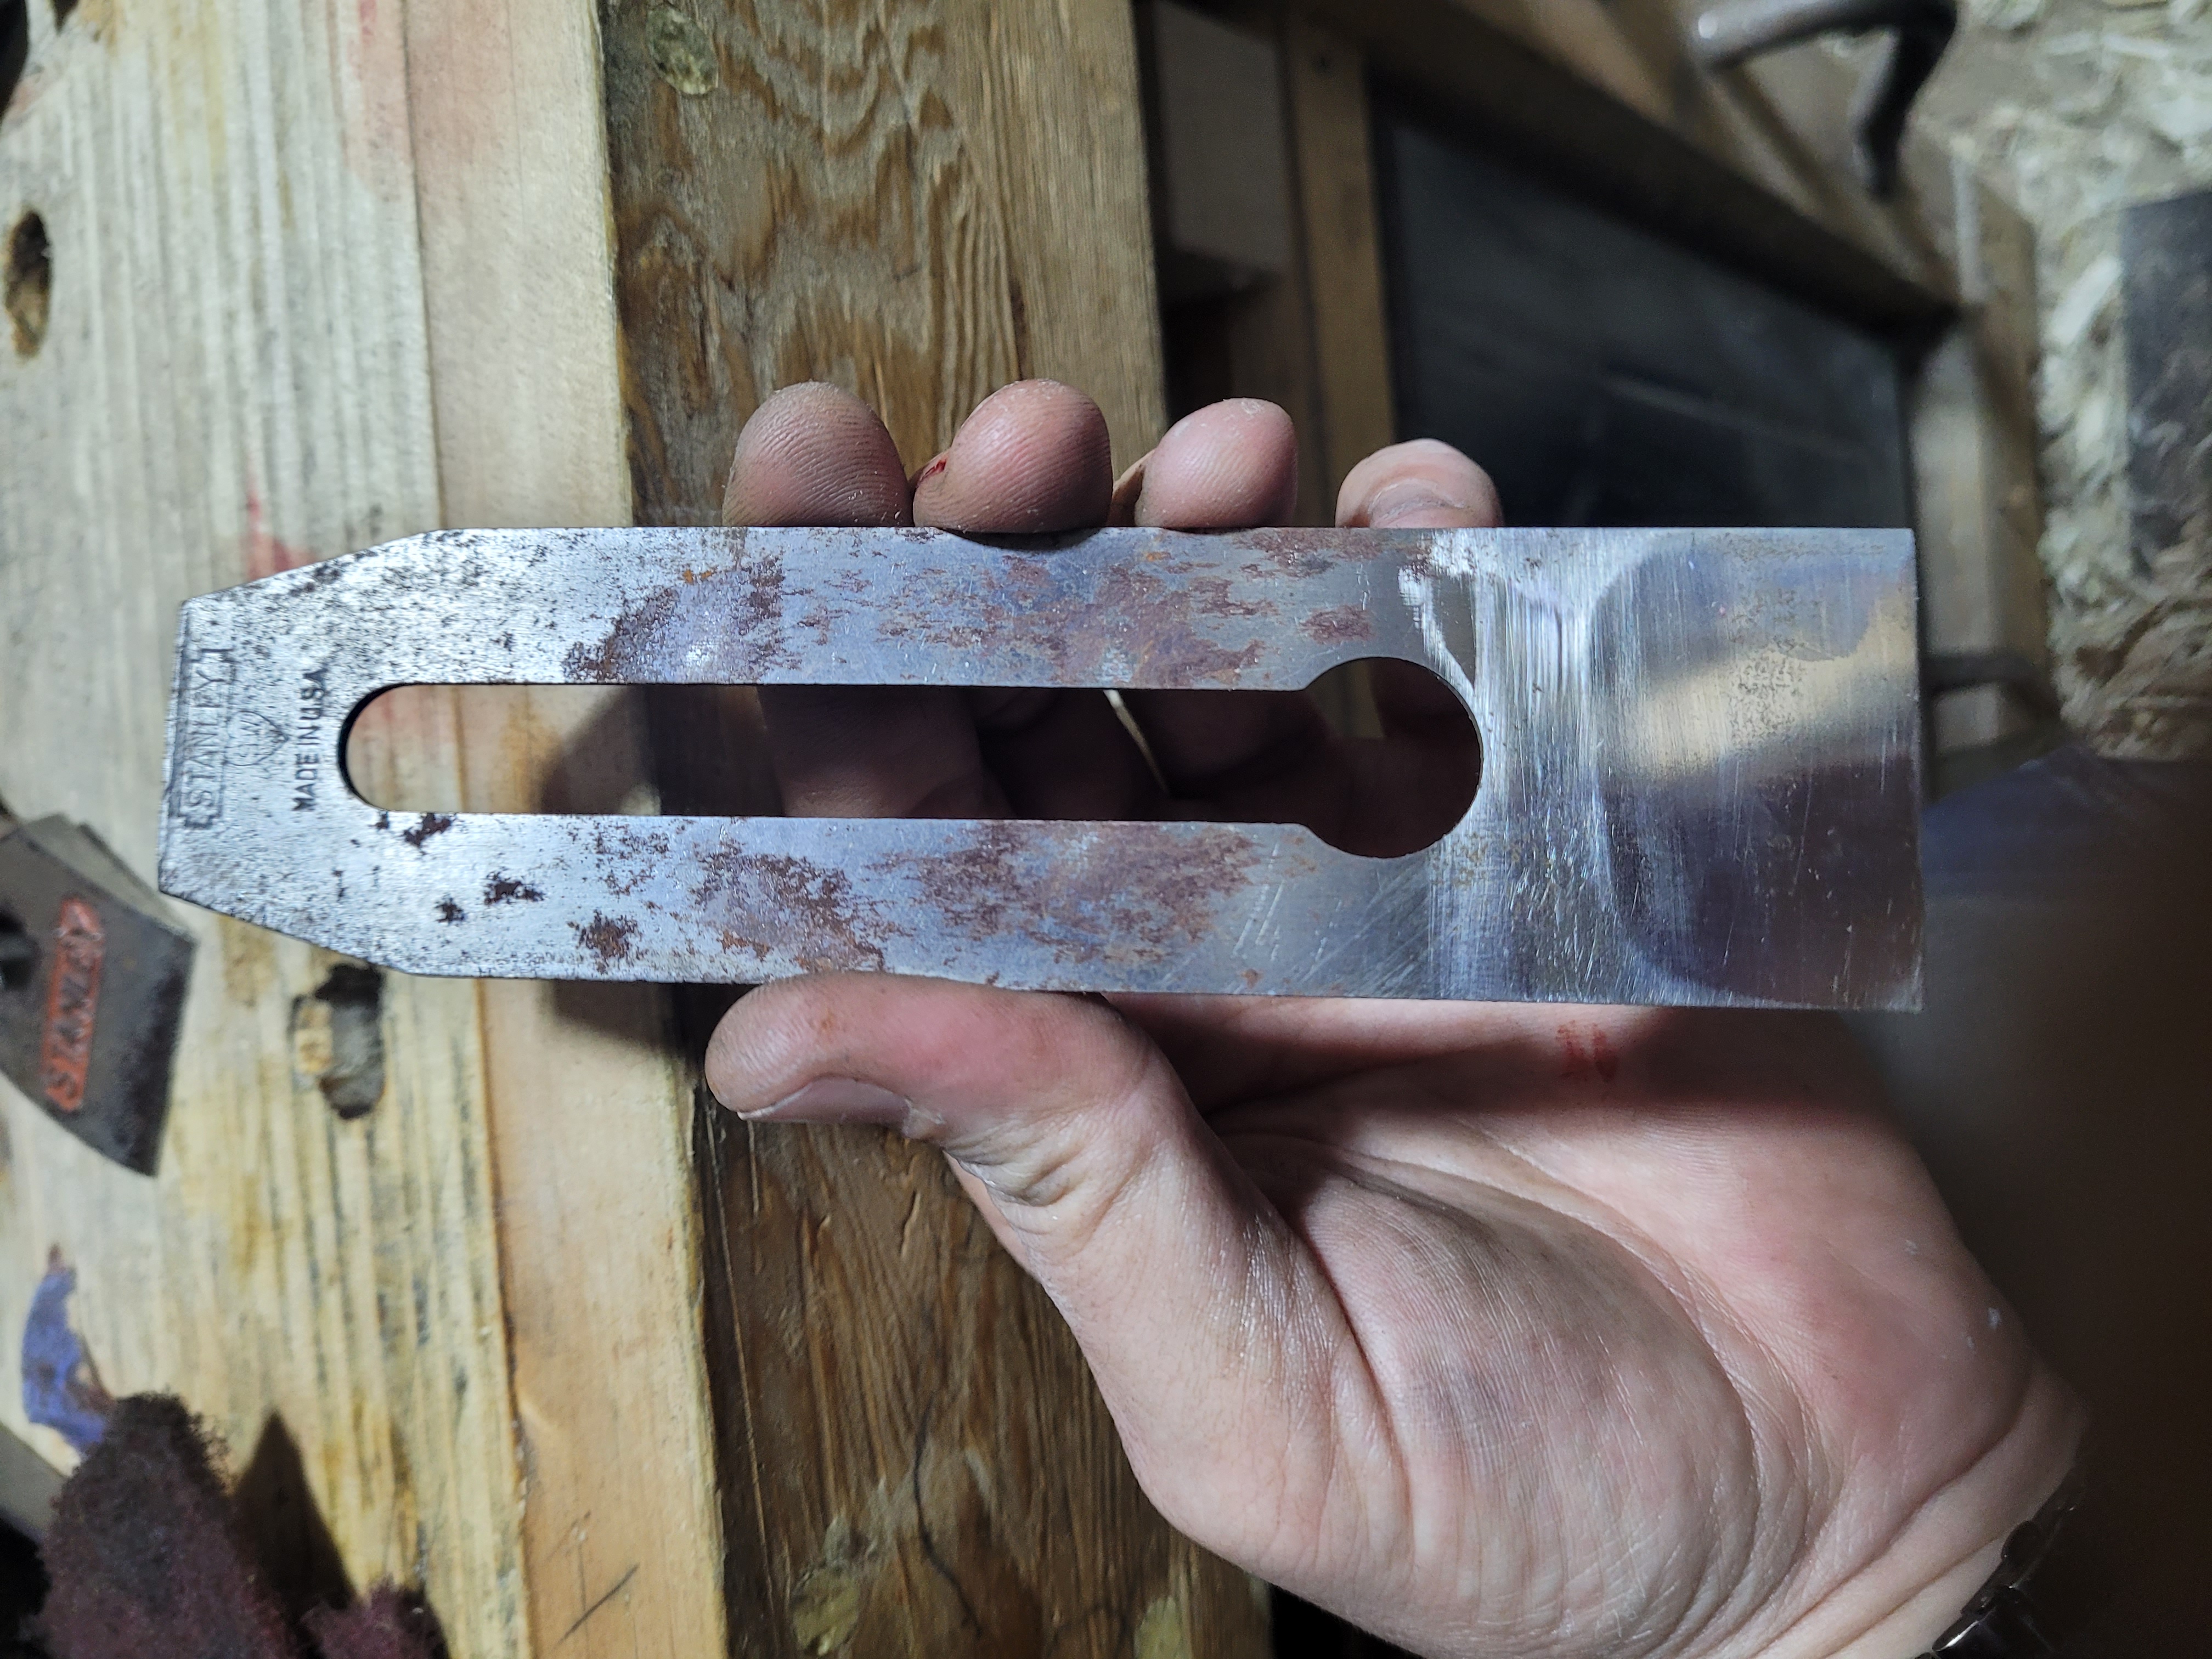
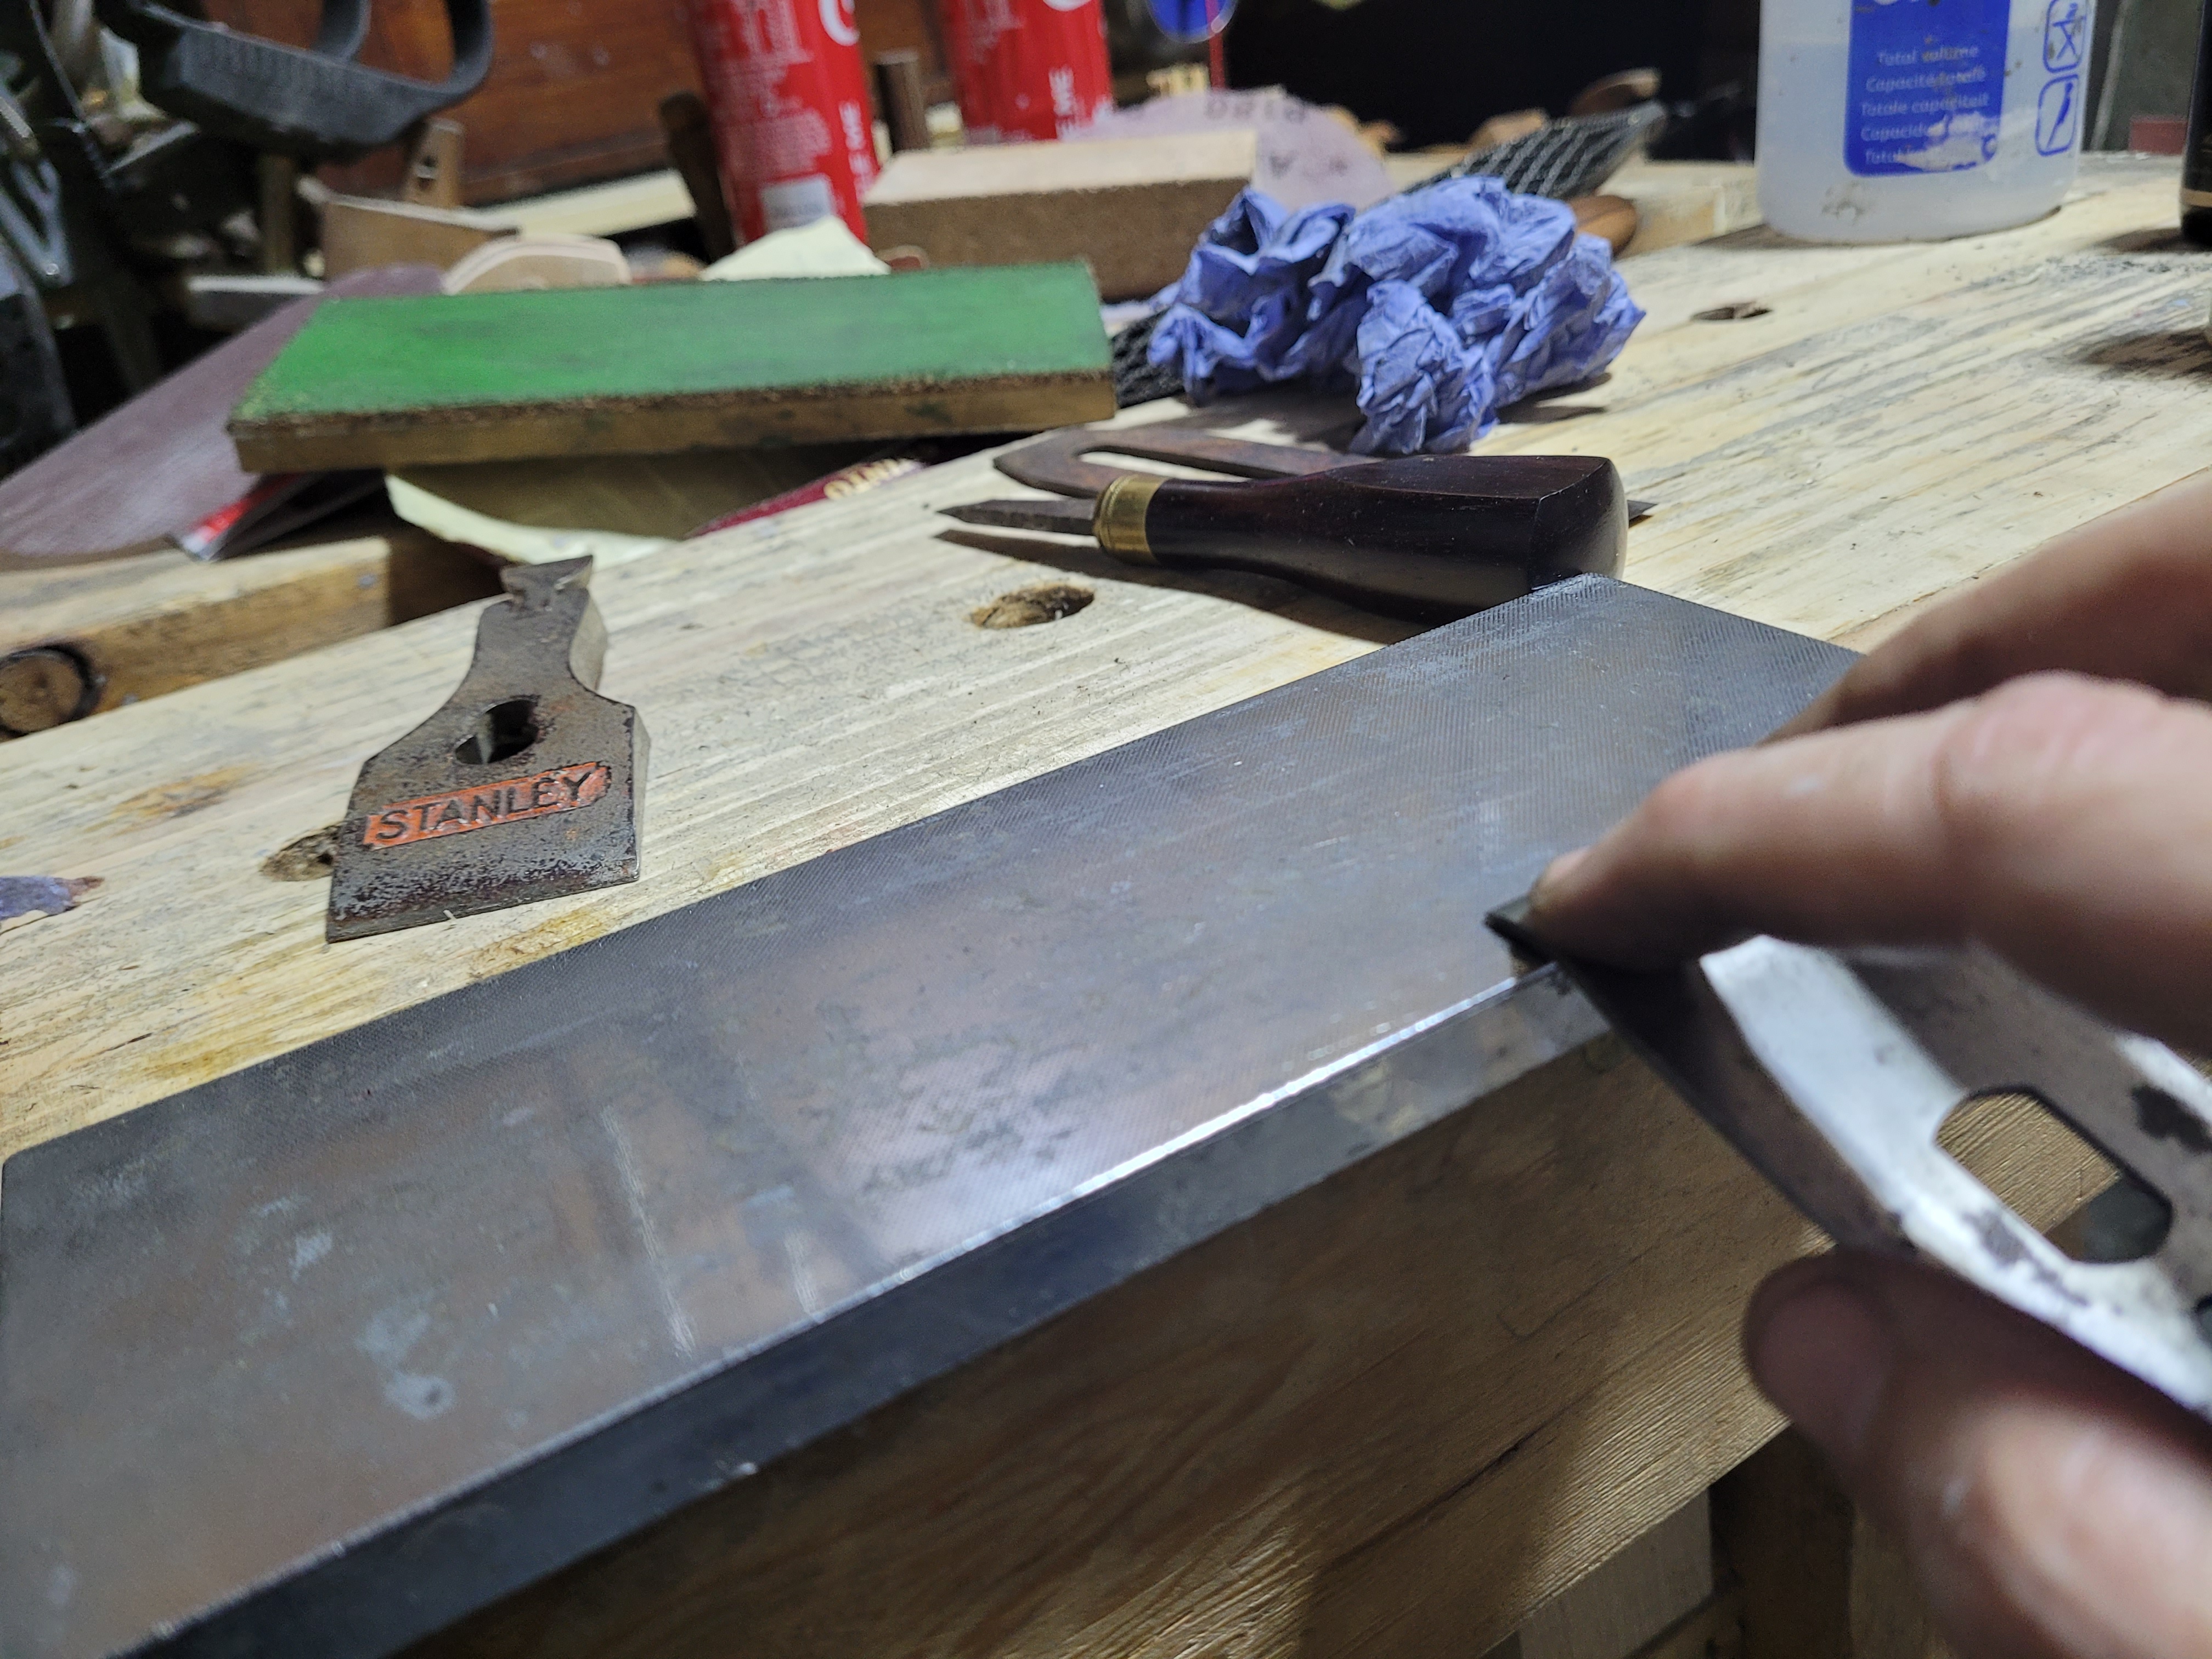
On to the Iron, lots of surface rust. I’ll clean that down with scotch brite, while avoiding the flattened portion.
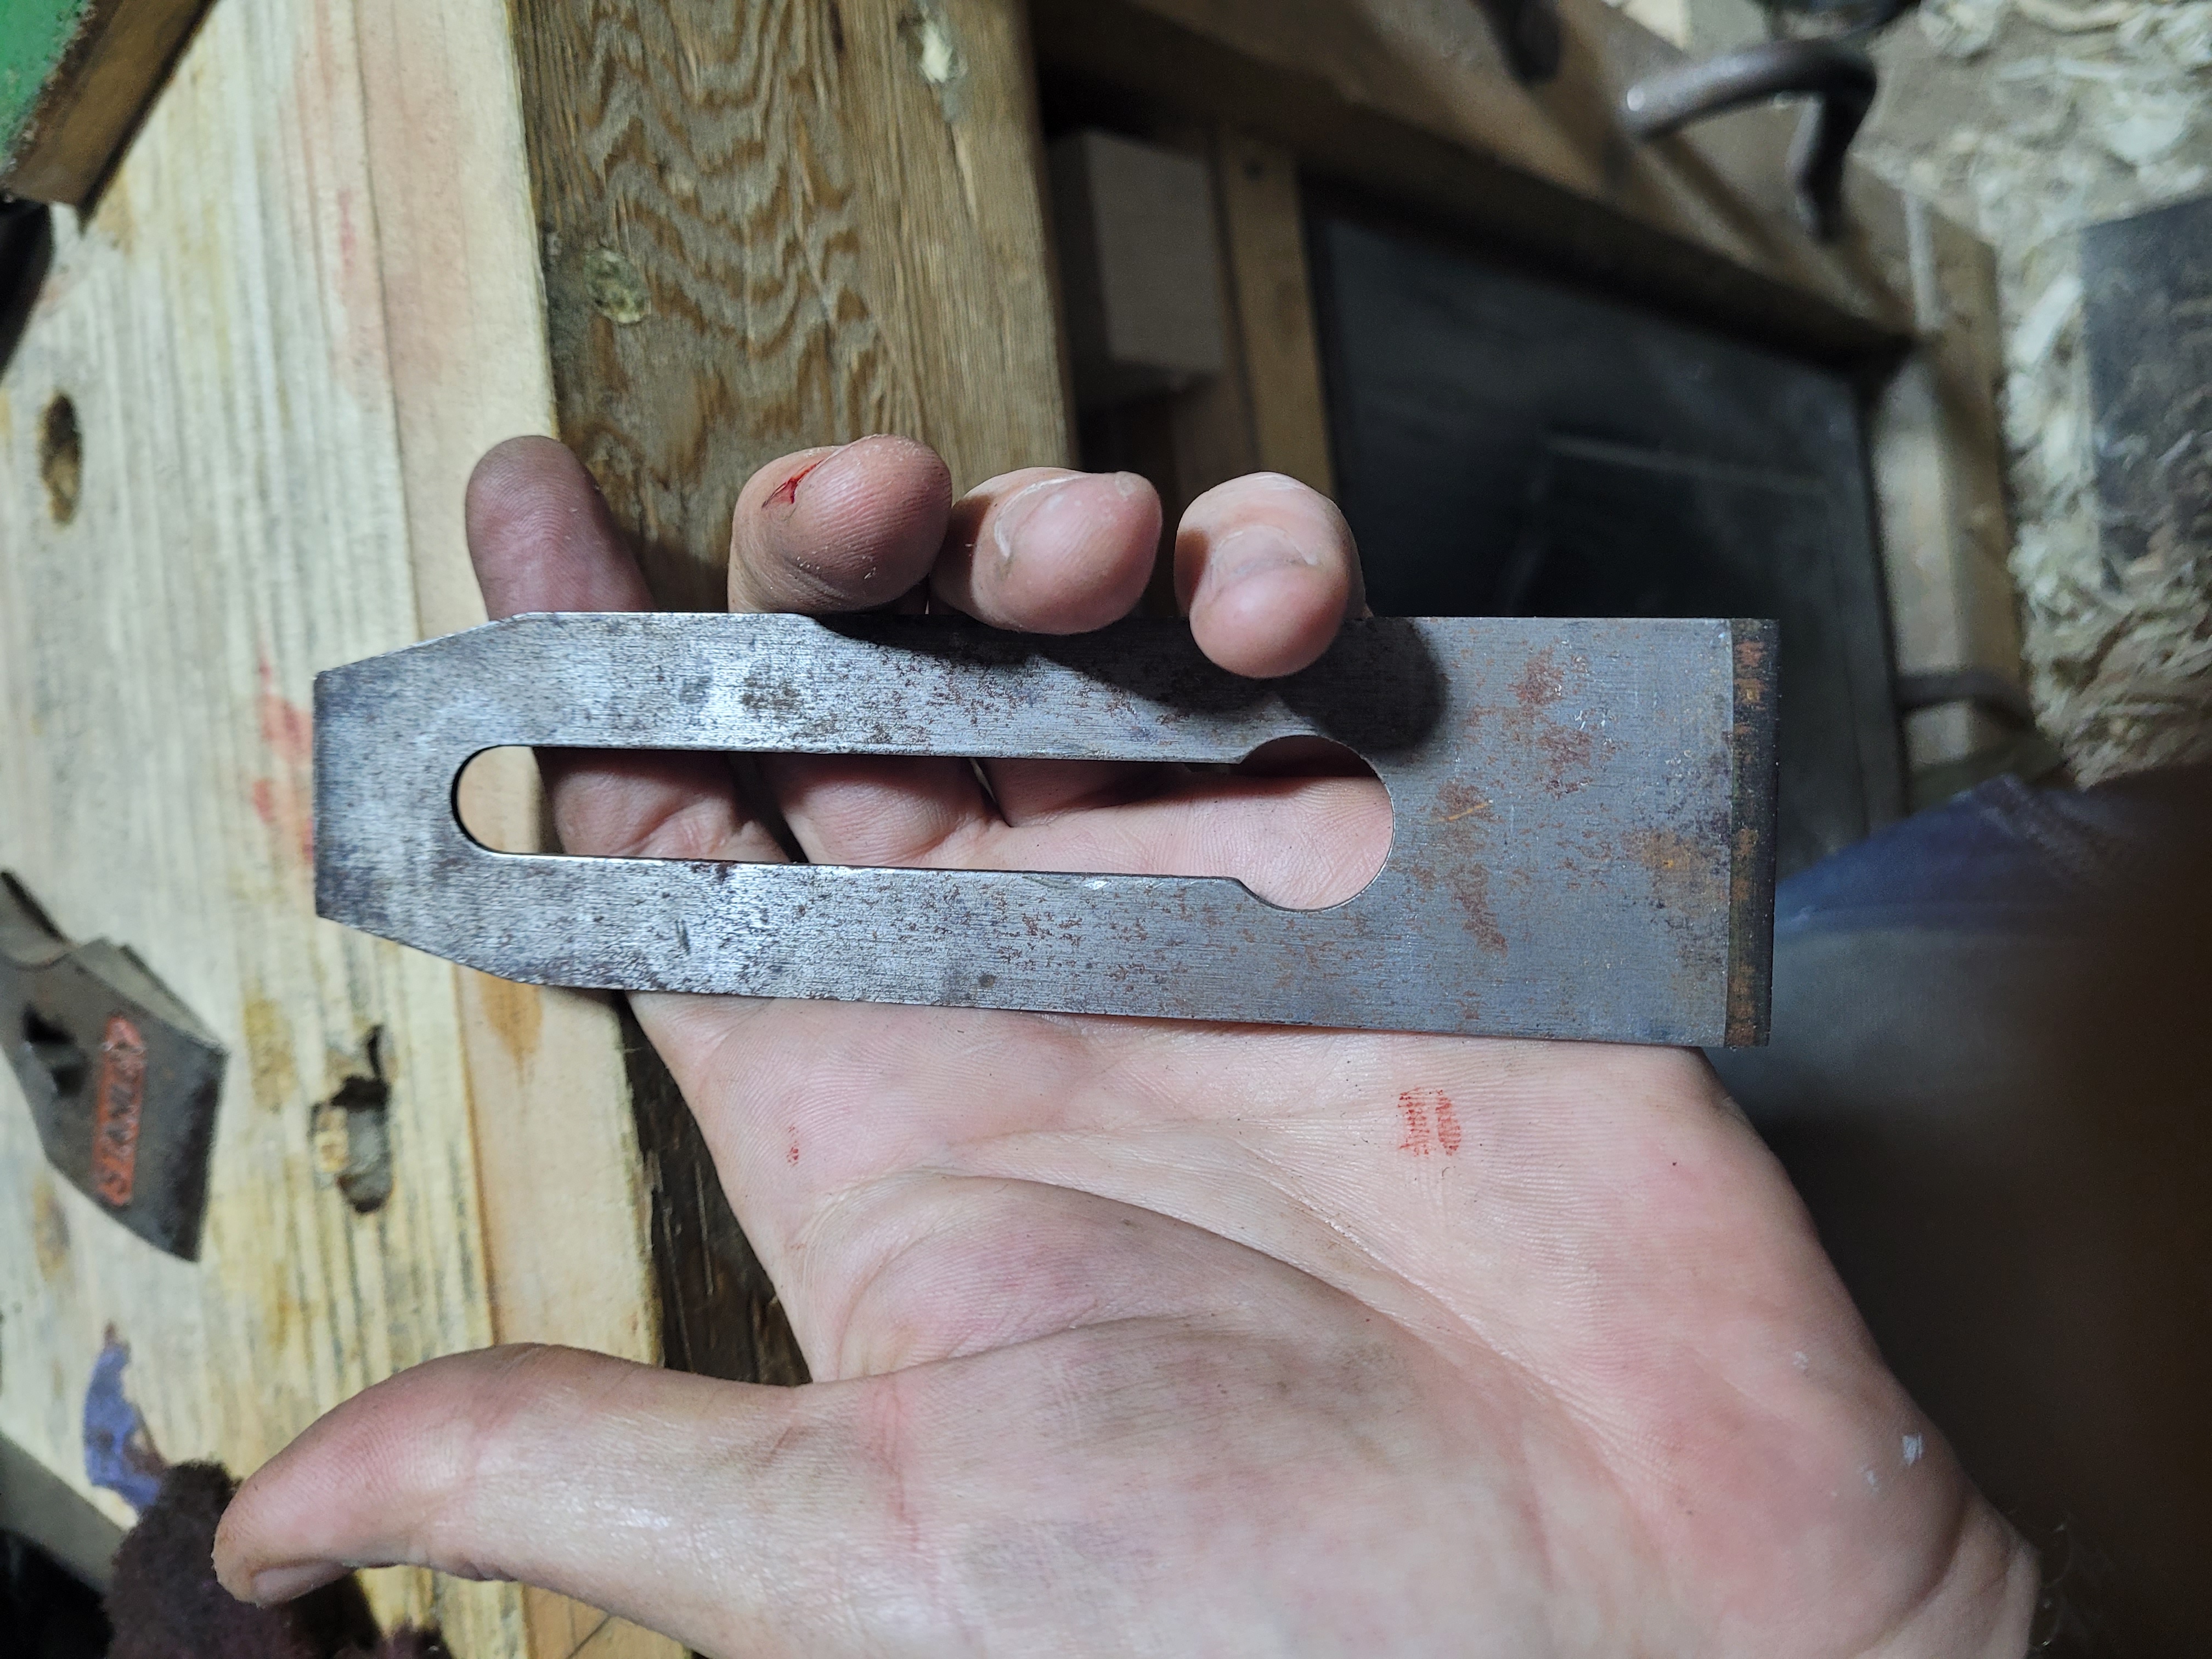
Same with the other side, light rust, no big problems.
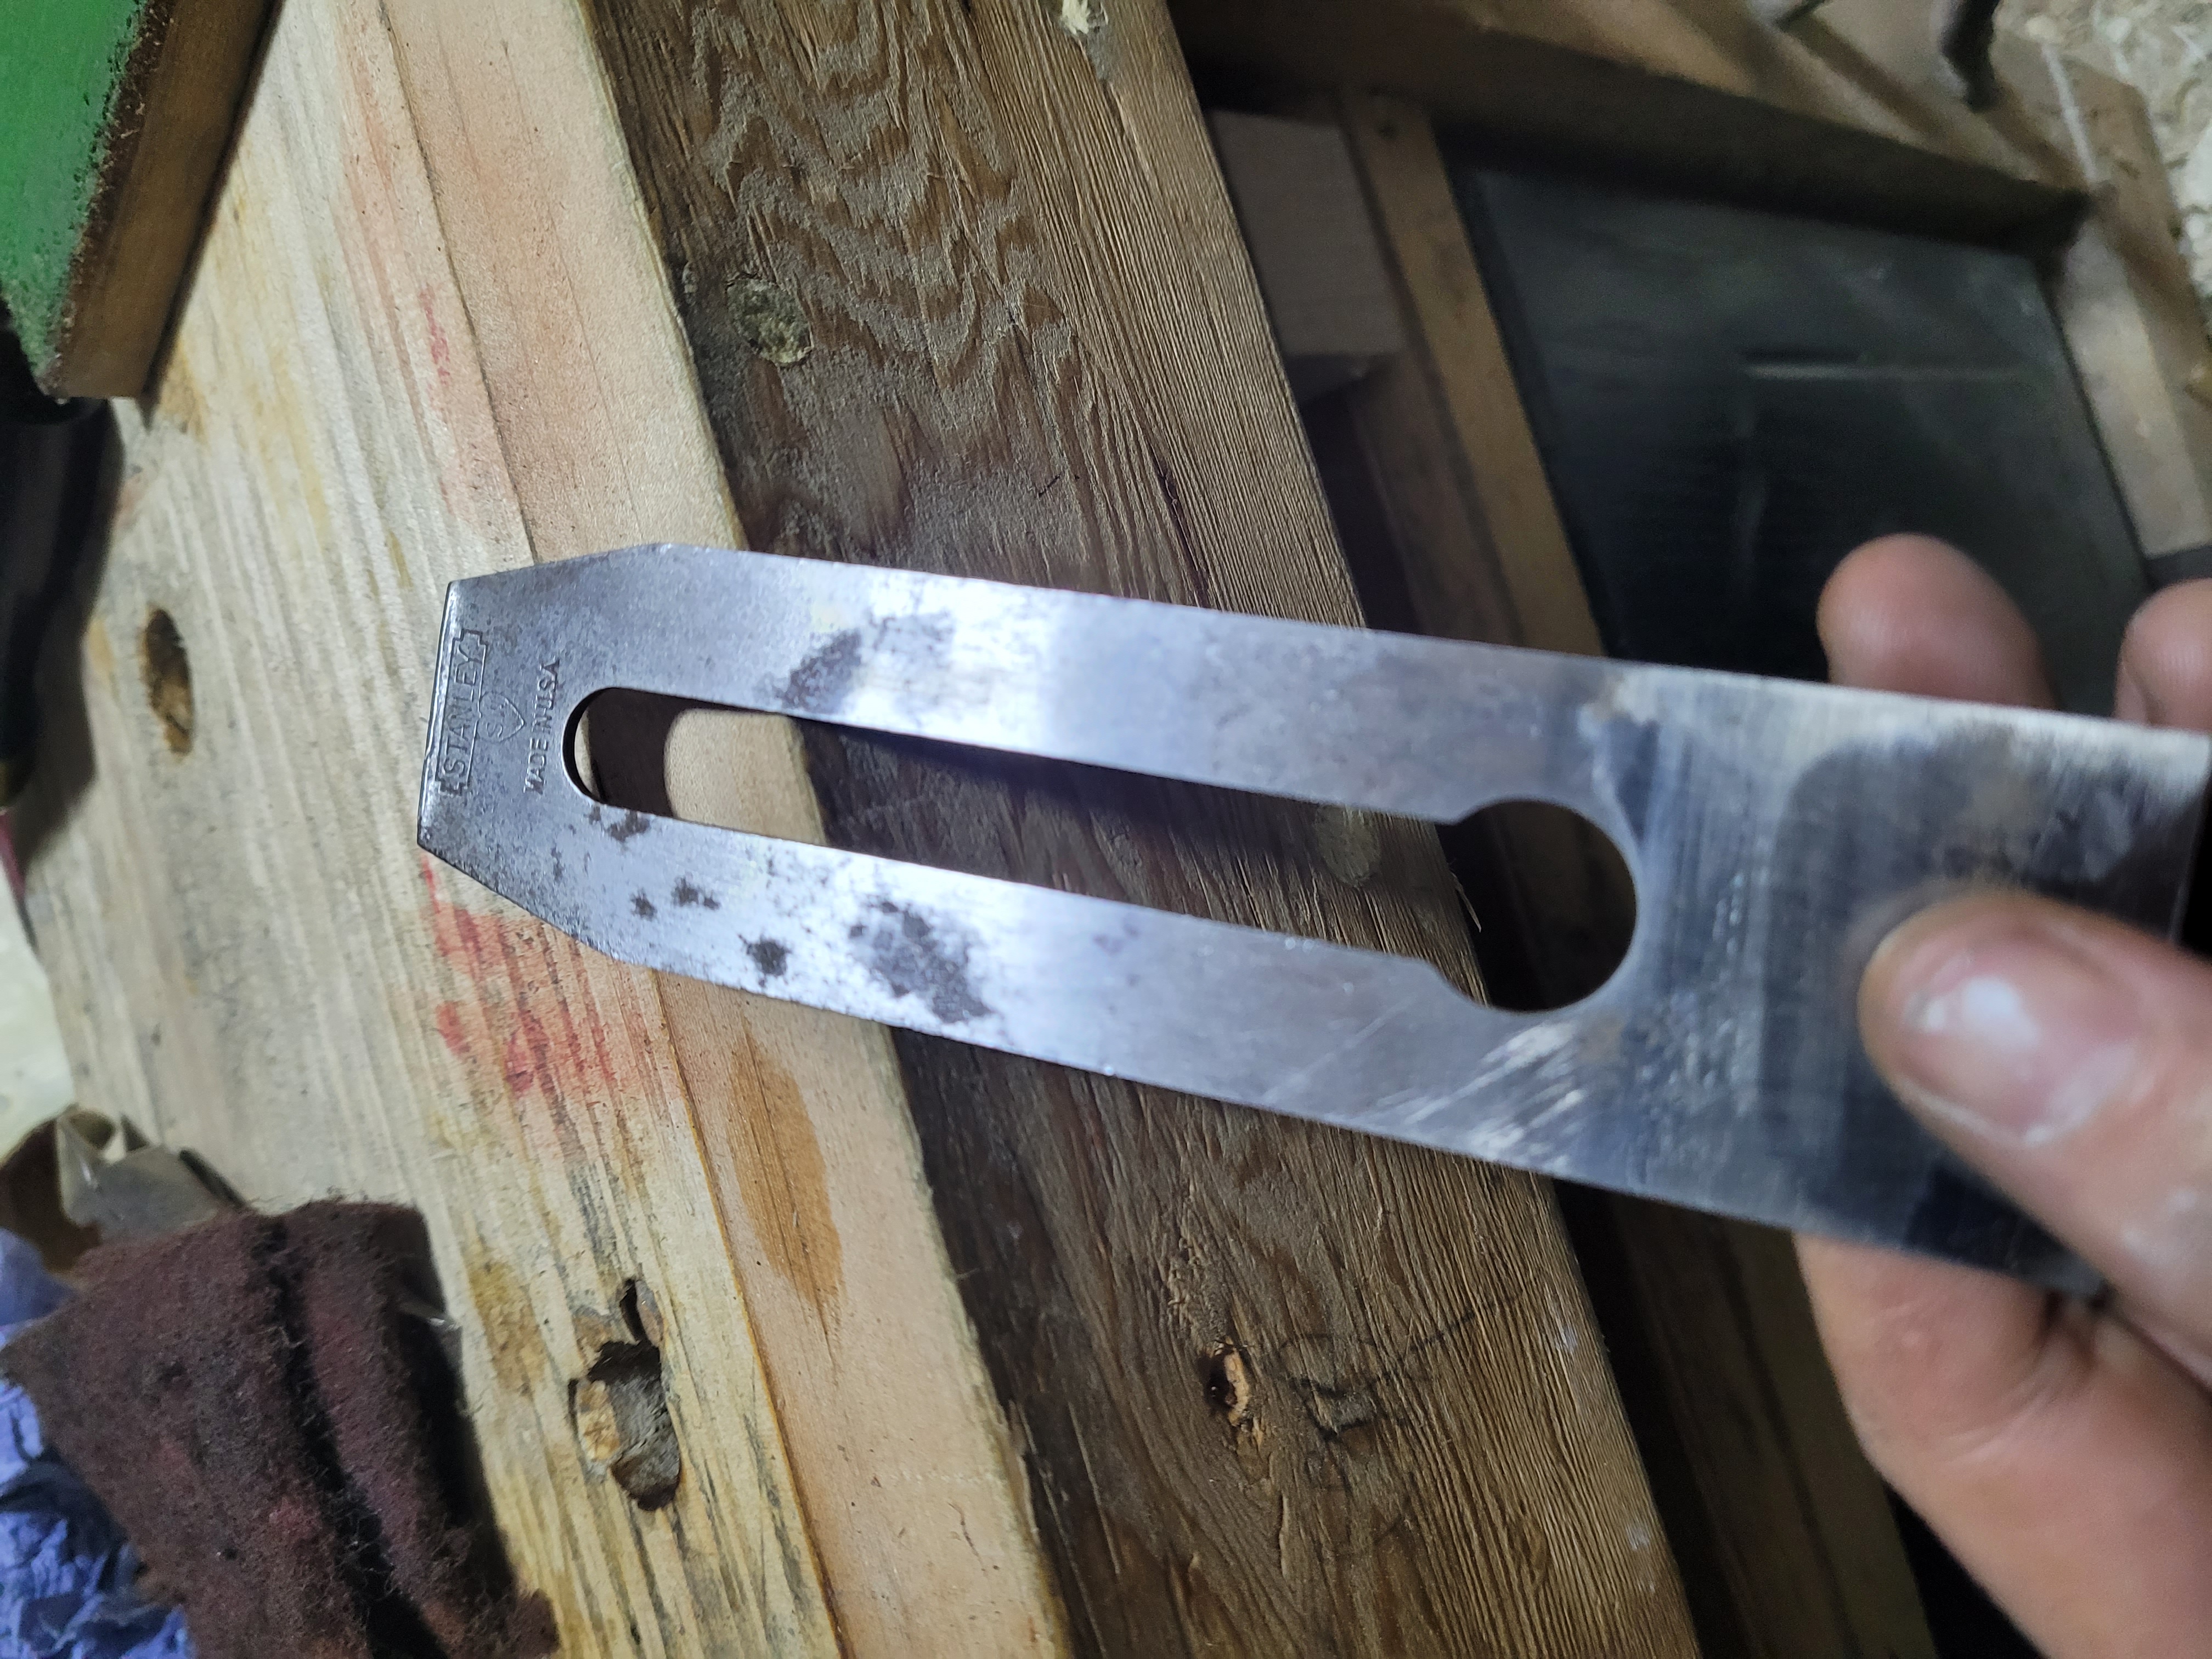
Very quick scrub and it’s looking pretty good.
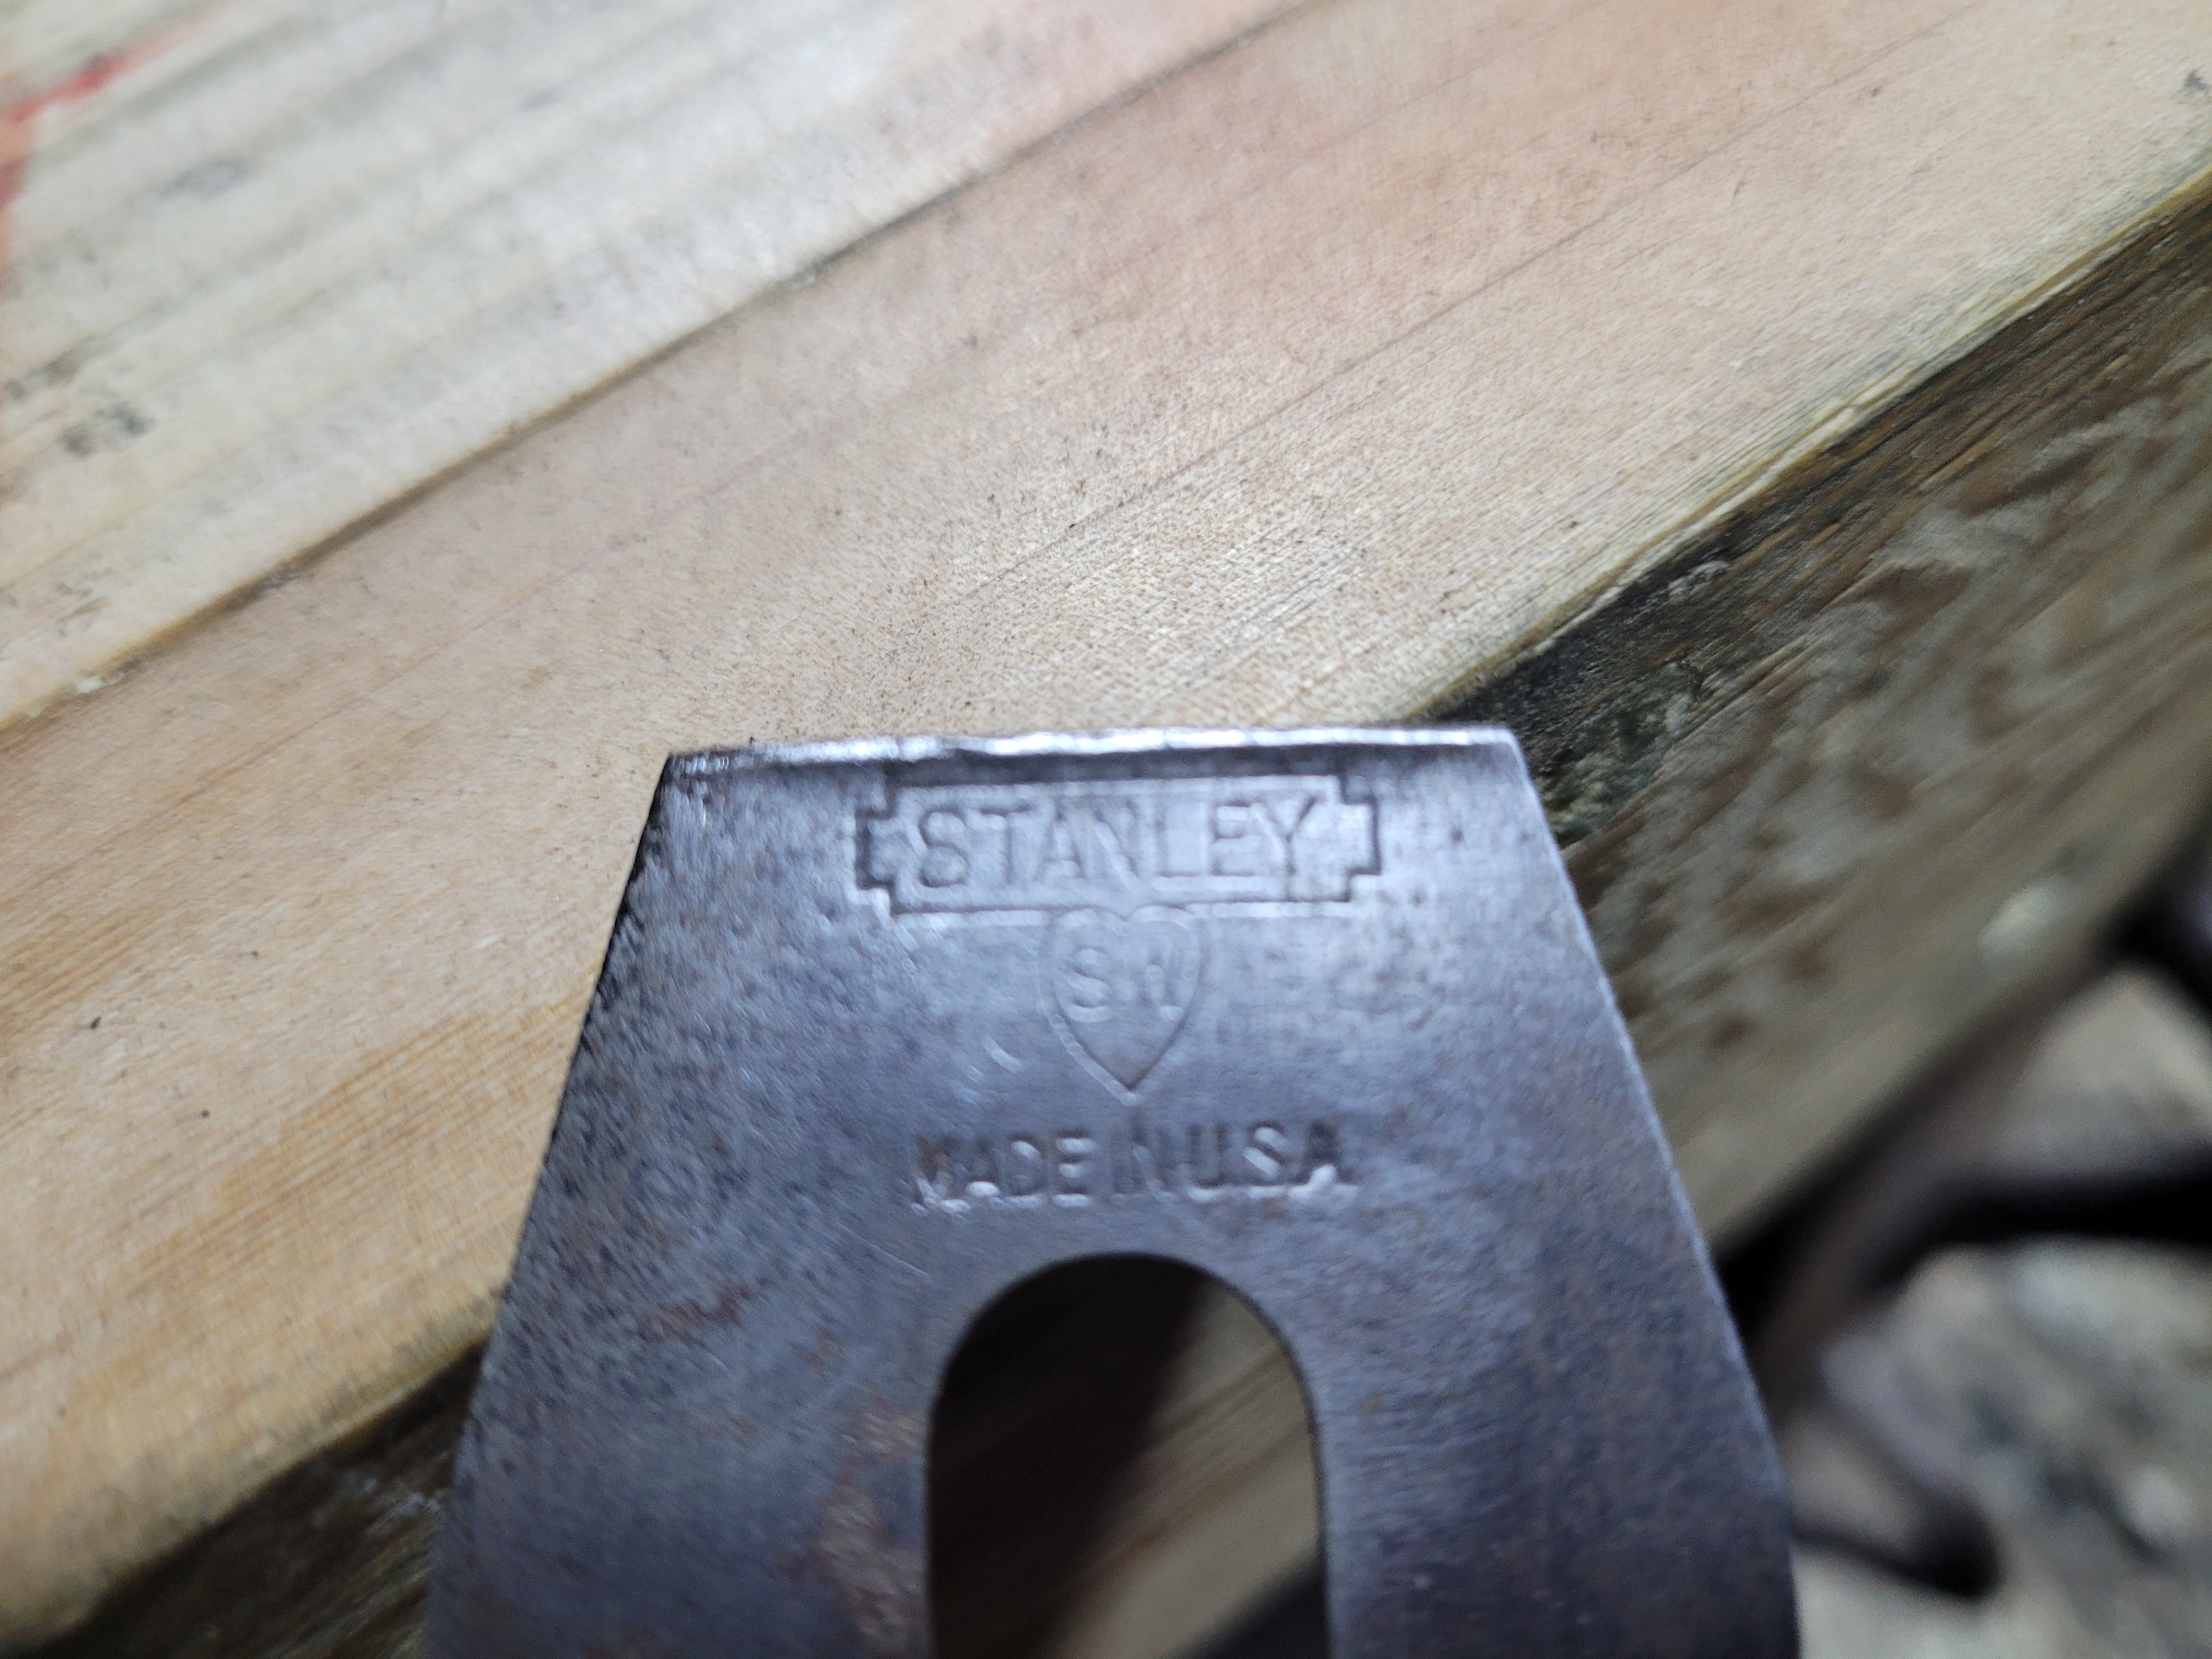
Nice sweet heart stamp on this. A tiny bit of mushrooming at the top of the Iron where a previous owner must have done some adjusting with a metal hammer. No need to do anything about that, its harmless.
The other side after cleaning.
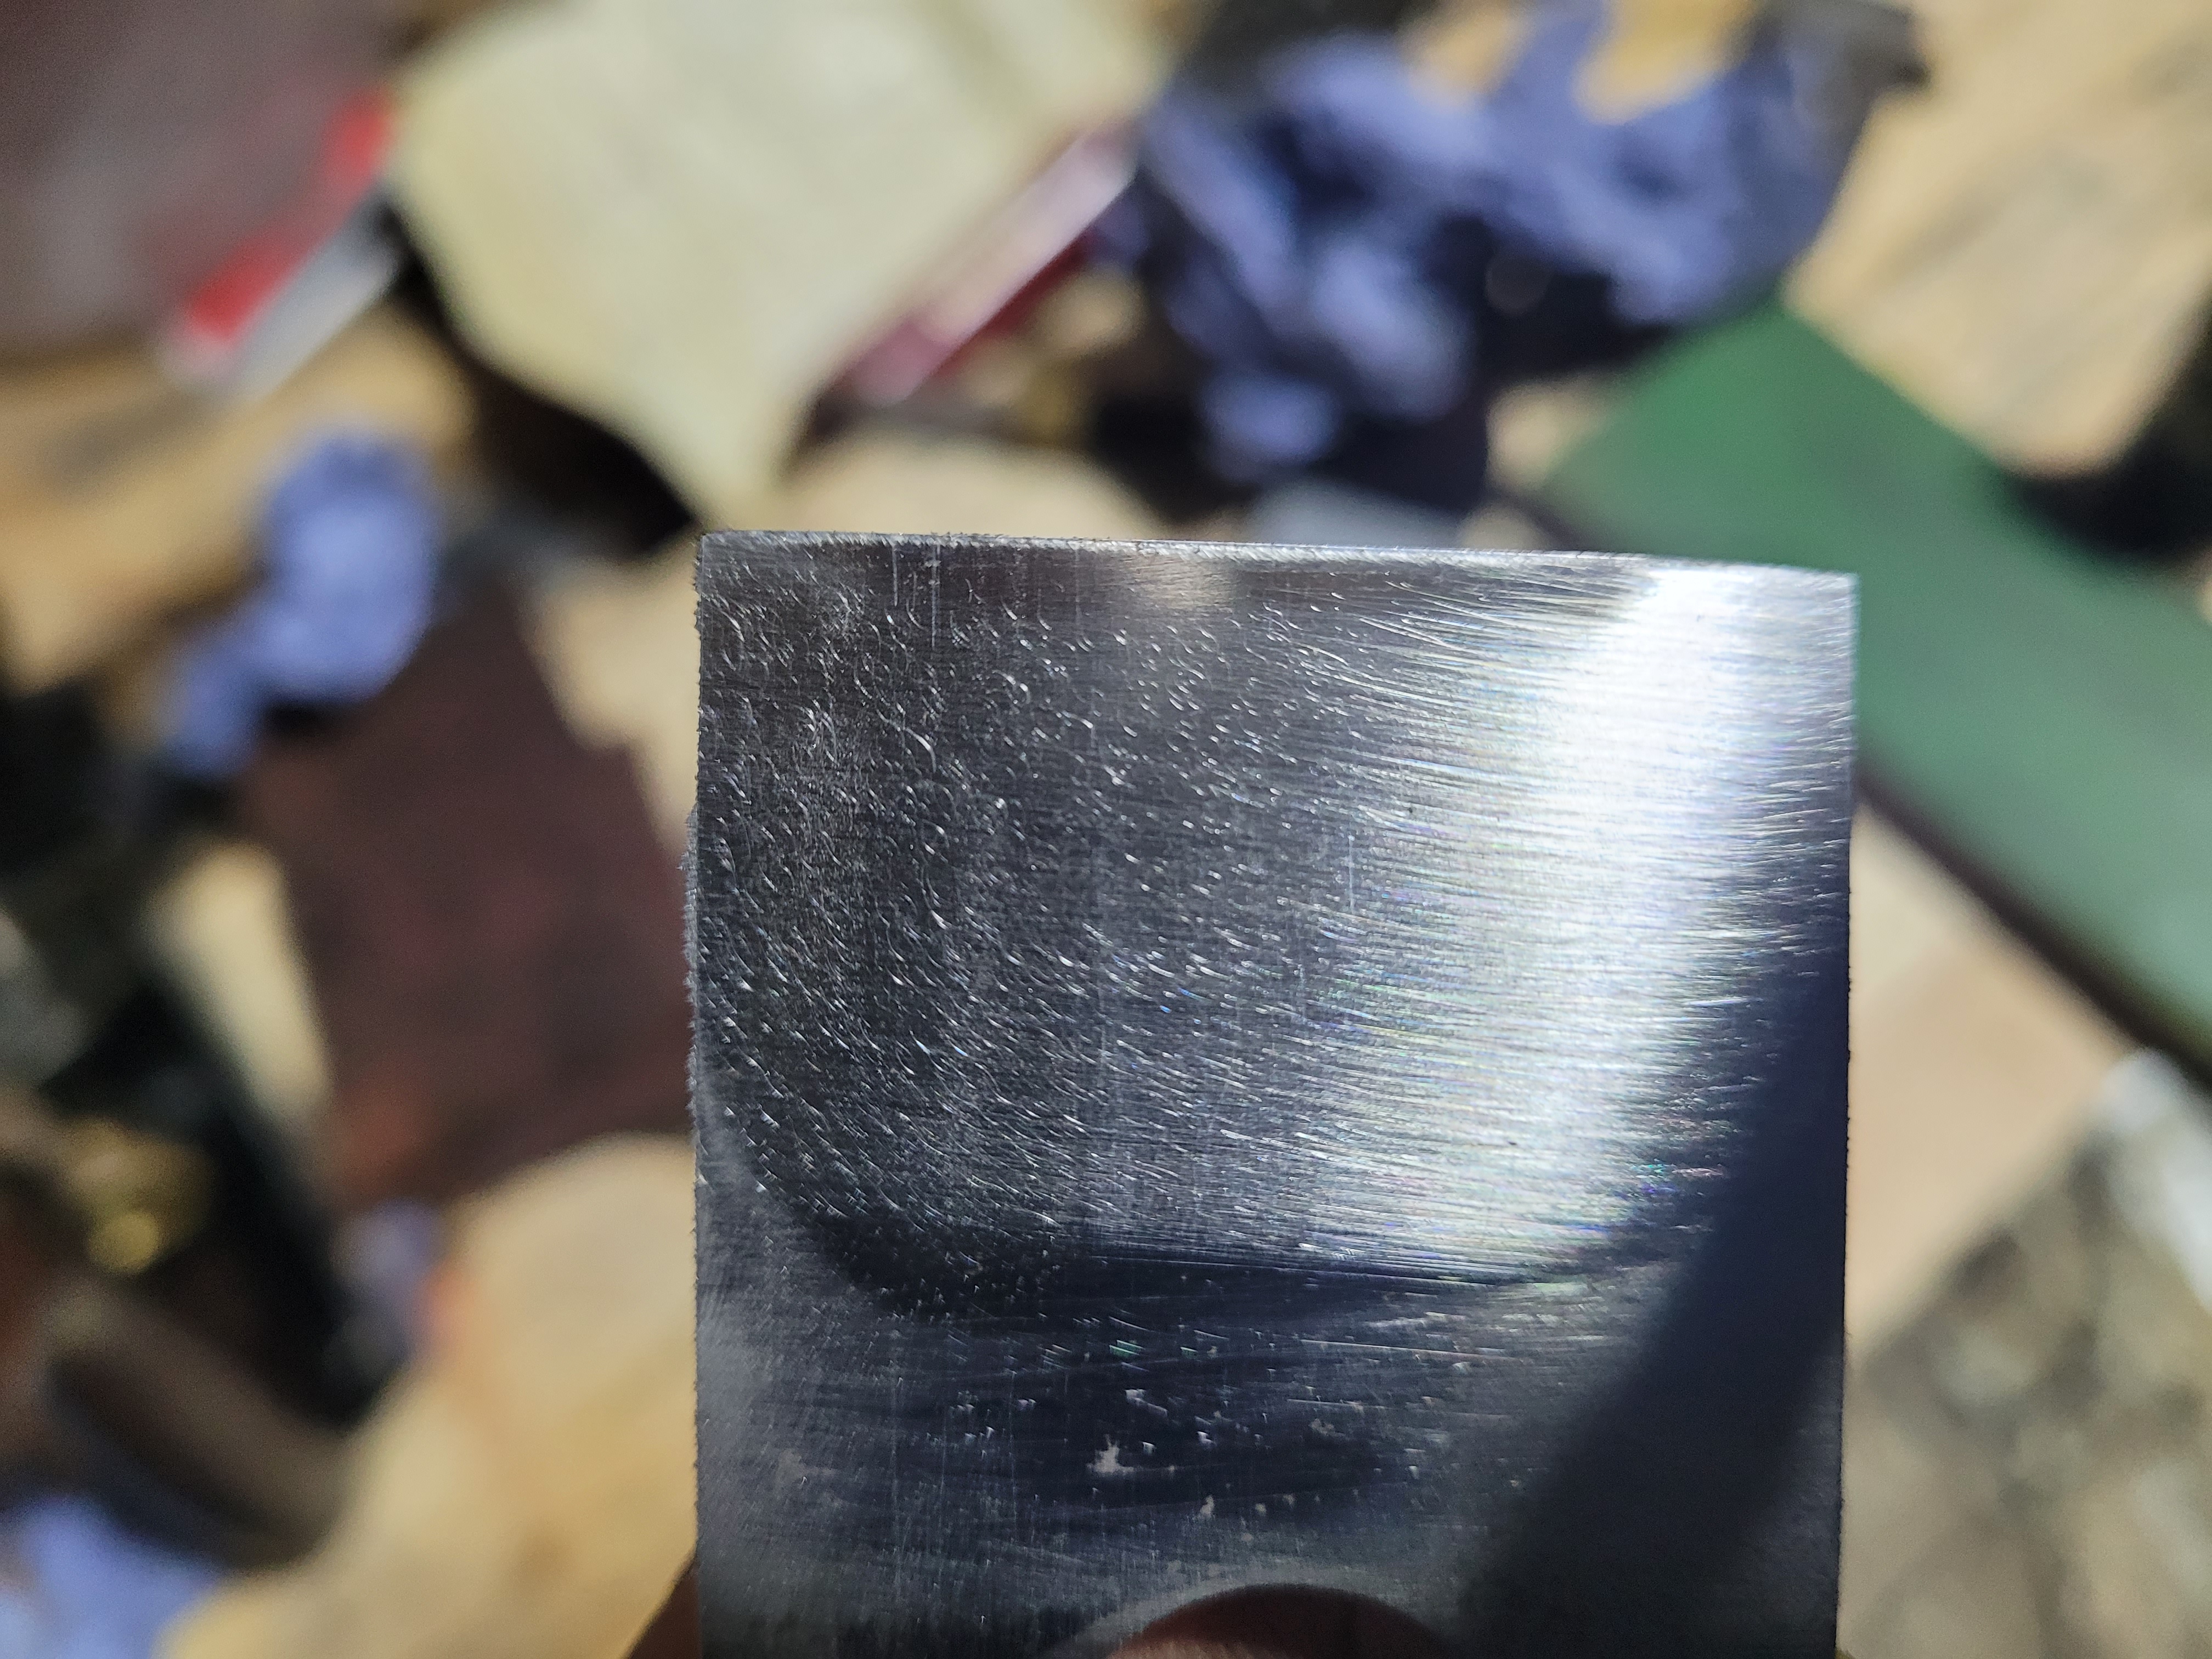
I took the iron to a 1200 grit diamond plate, confirmed the corners and middle were low, then lapped it a bit on a 400 grit plate. This is after the 400, you can see the corners came in pretty quick, but a bit of a back bevel has started and the edge is still low.
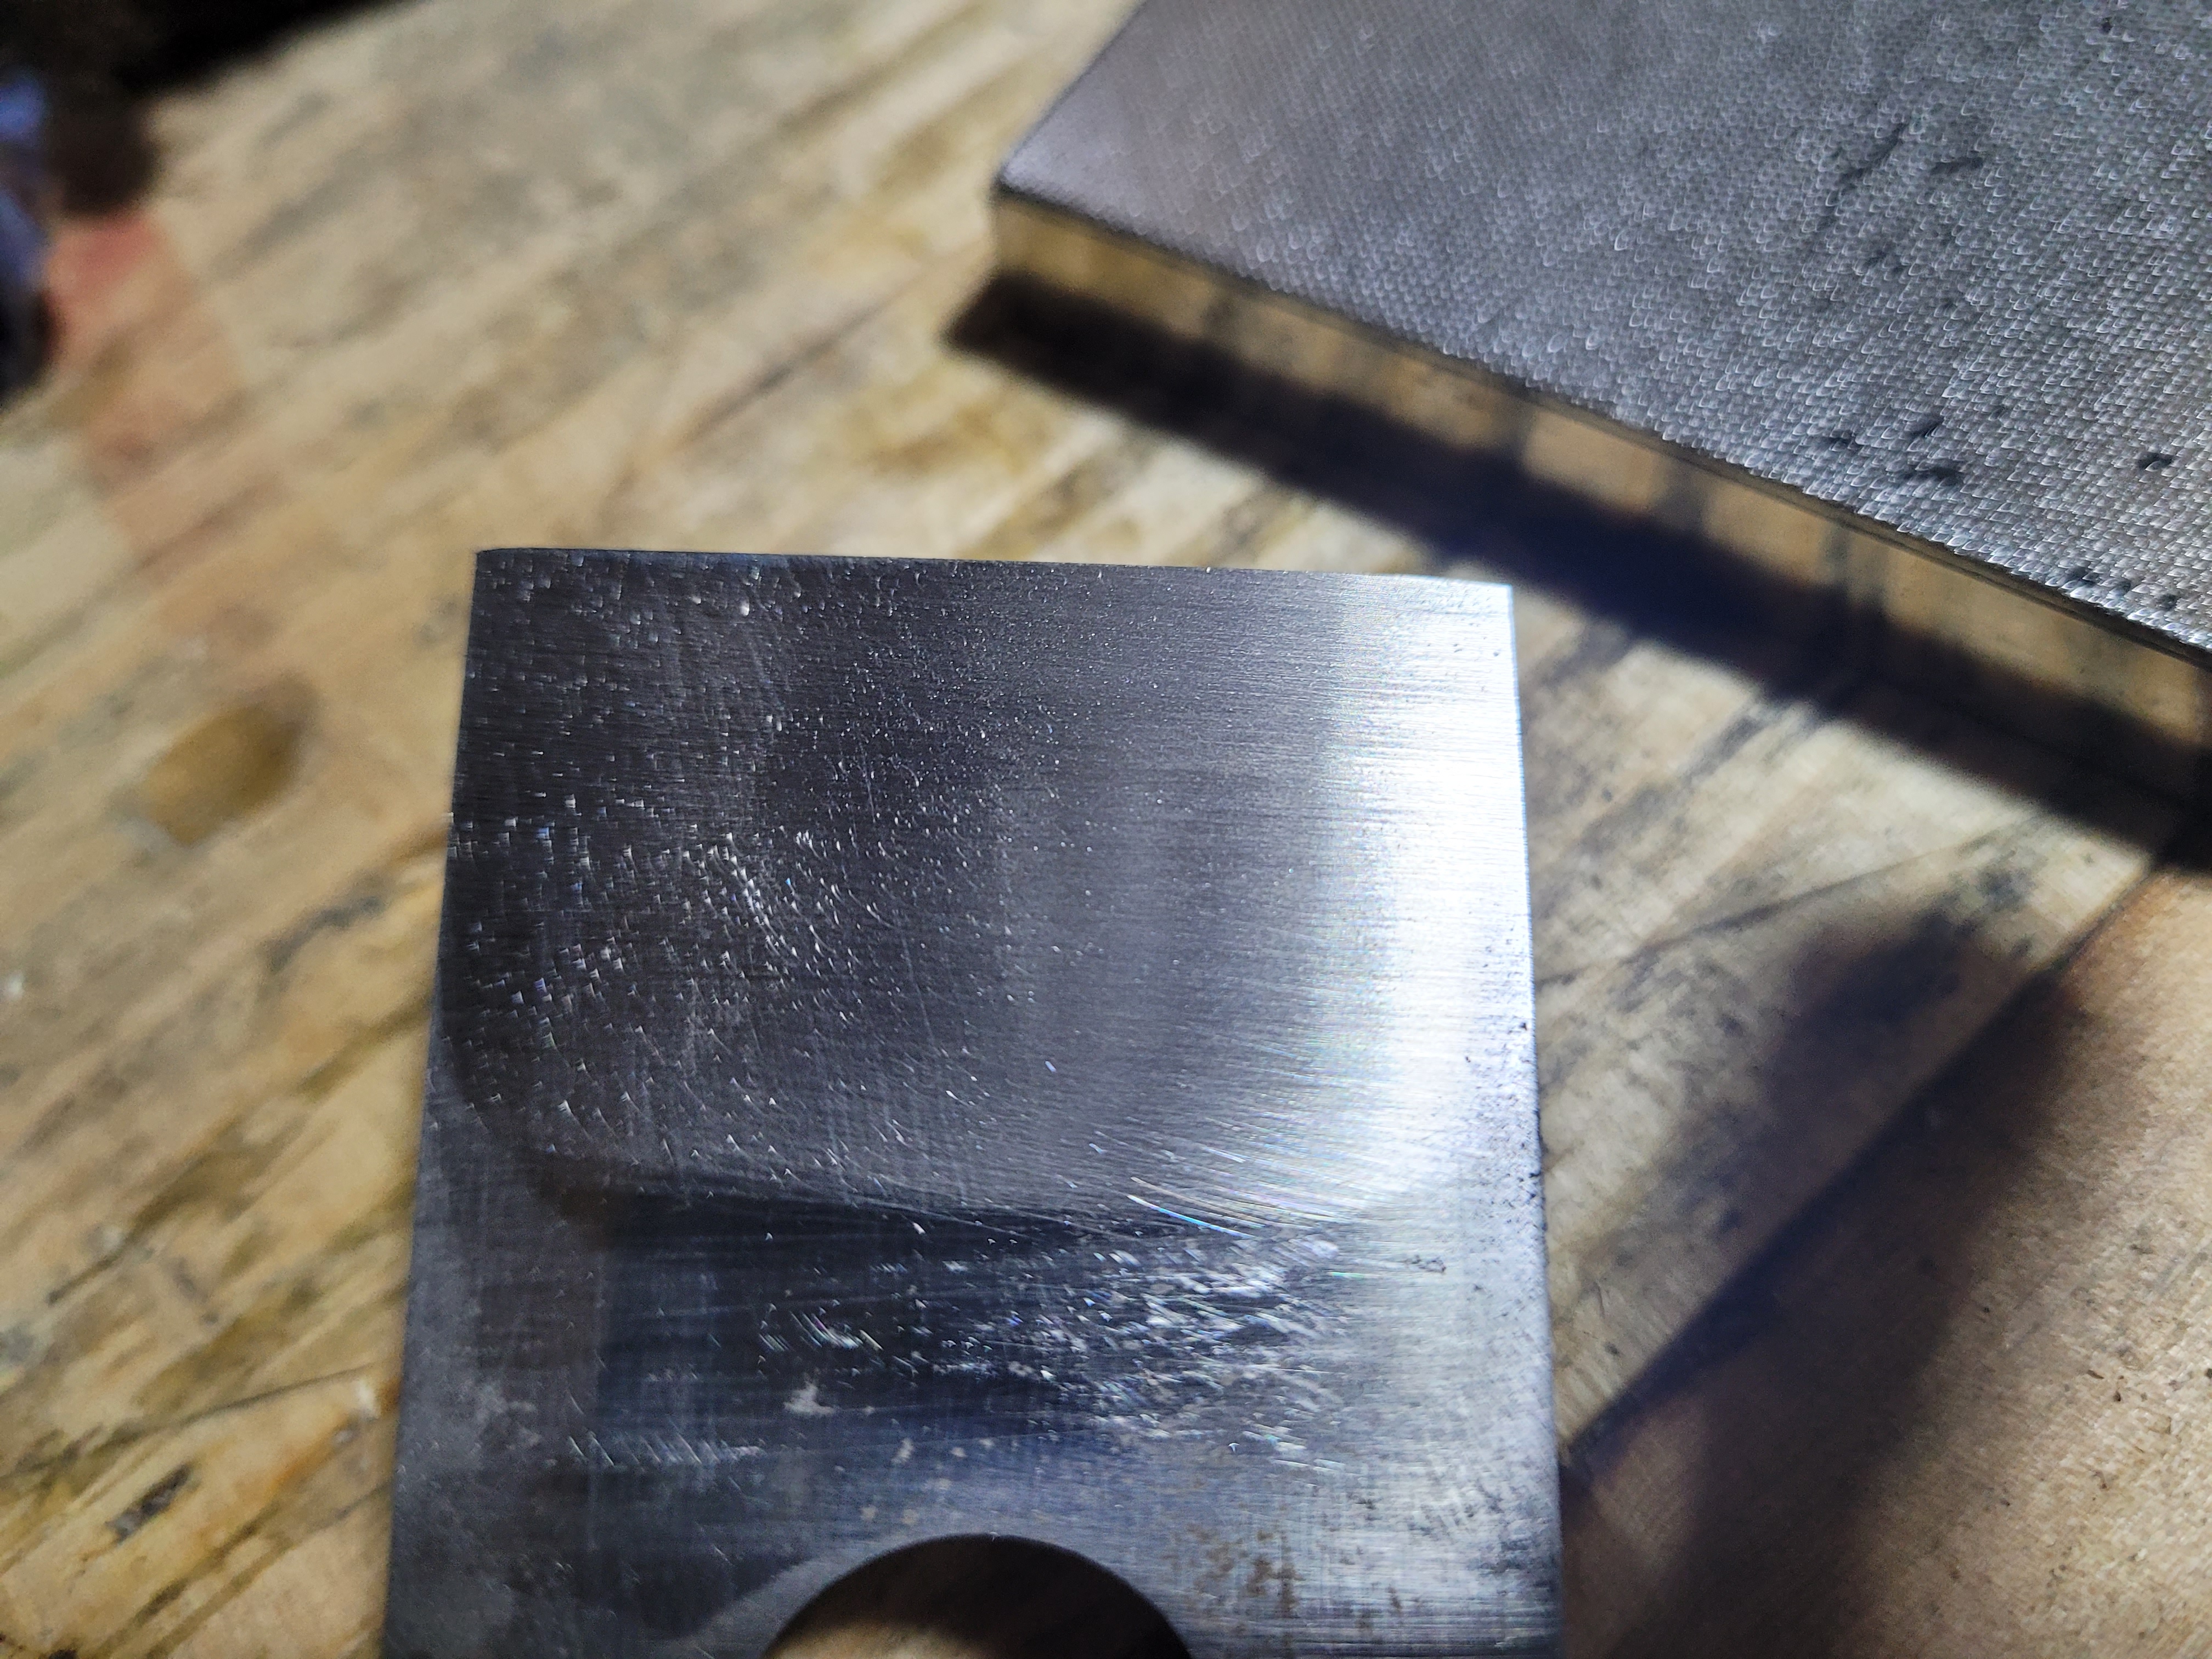
A few more minutes and it’s gone. As the iron has been flattened in the past, this pretty quick work. There is still a tiny low area at the edge, but if you look at the right hand side, there is a really low area. I’m going to have to regrind, and the edge is going anyway, so no need to lap it.
After a few minutes on the Worksharp. You can see just how low that side was.
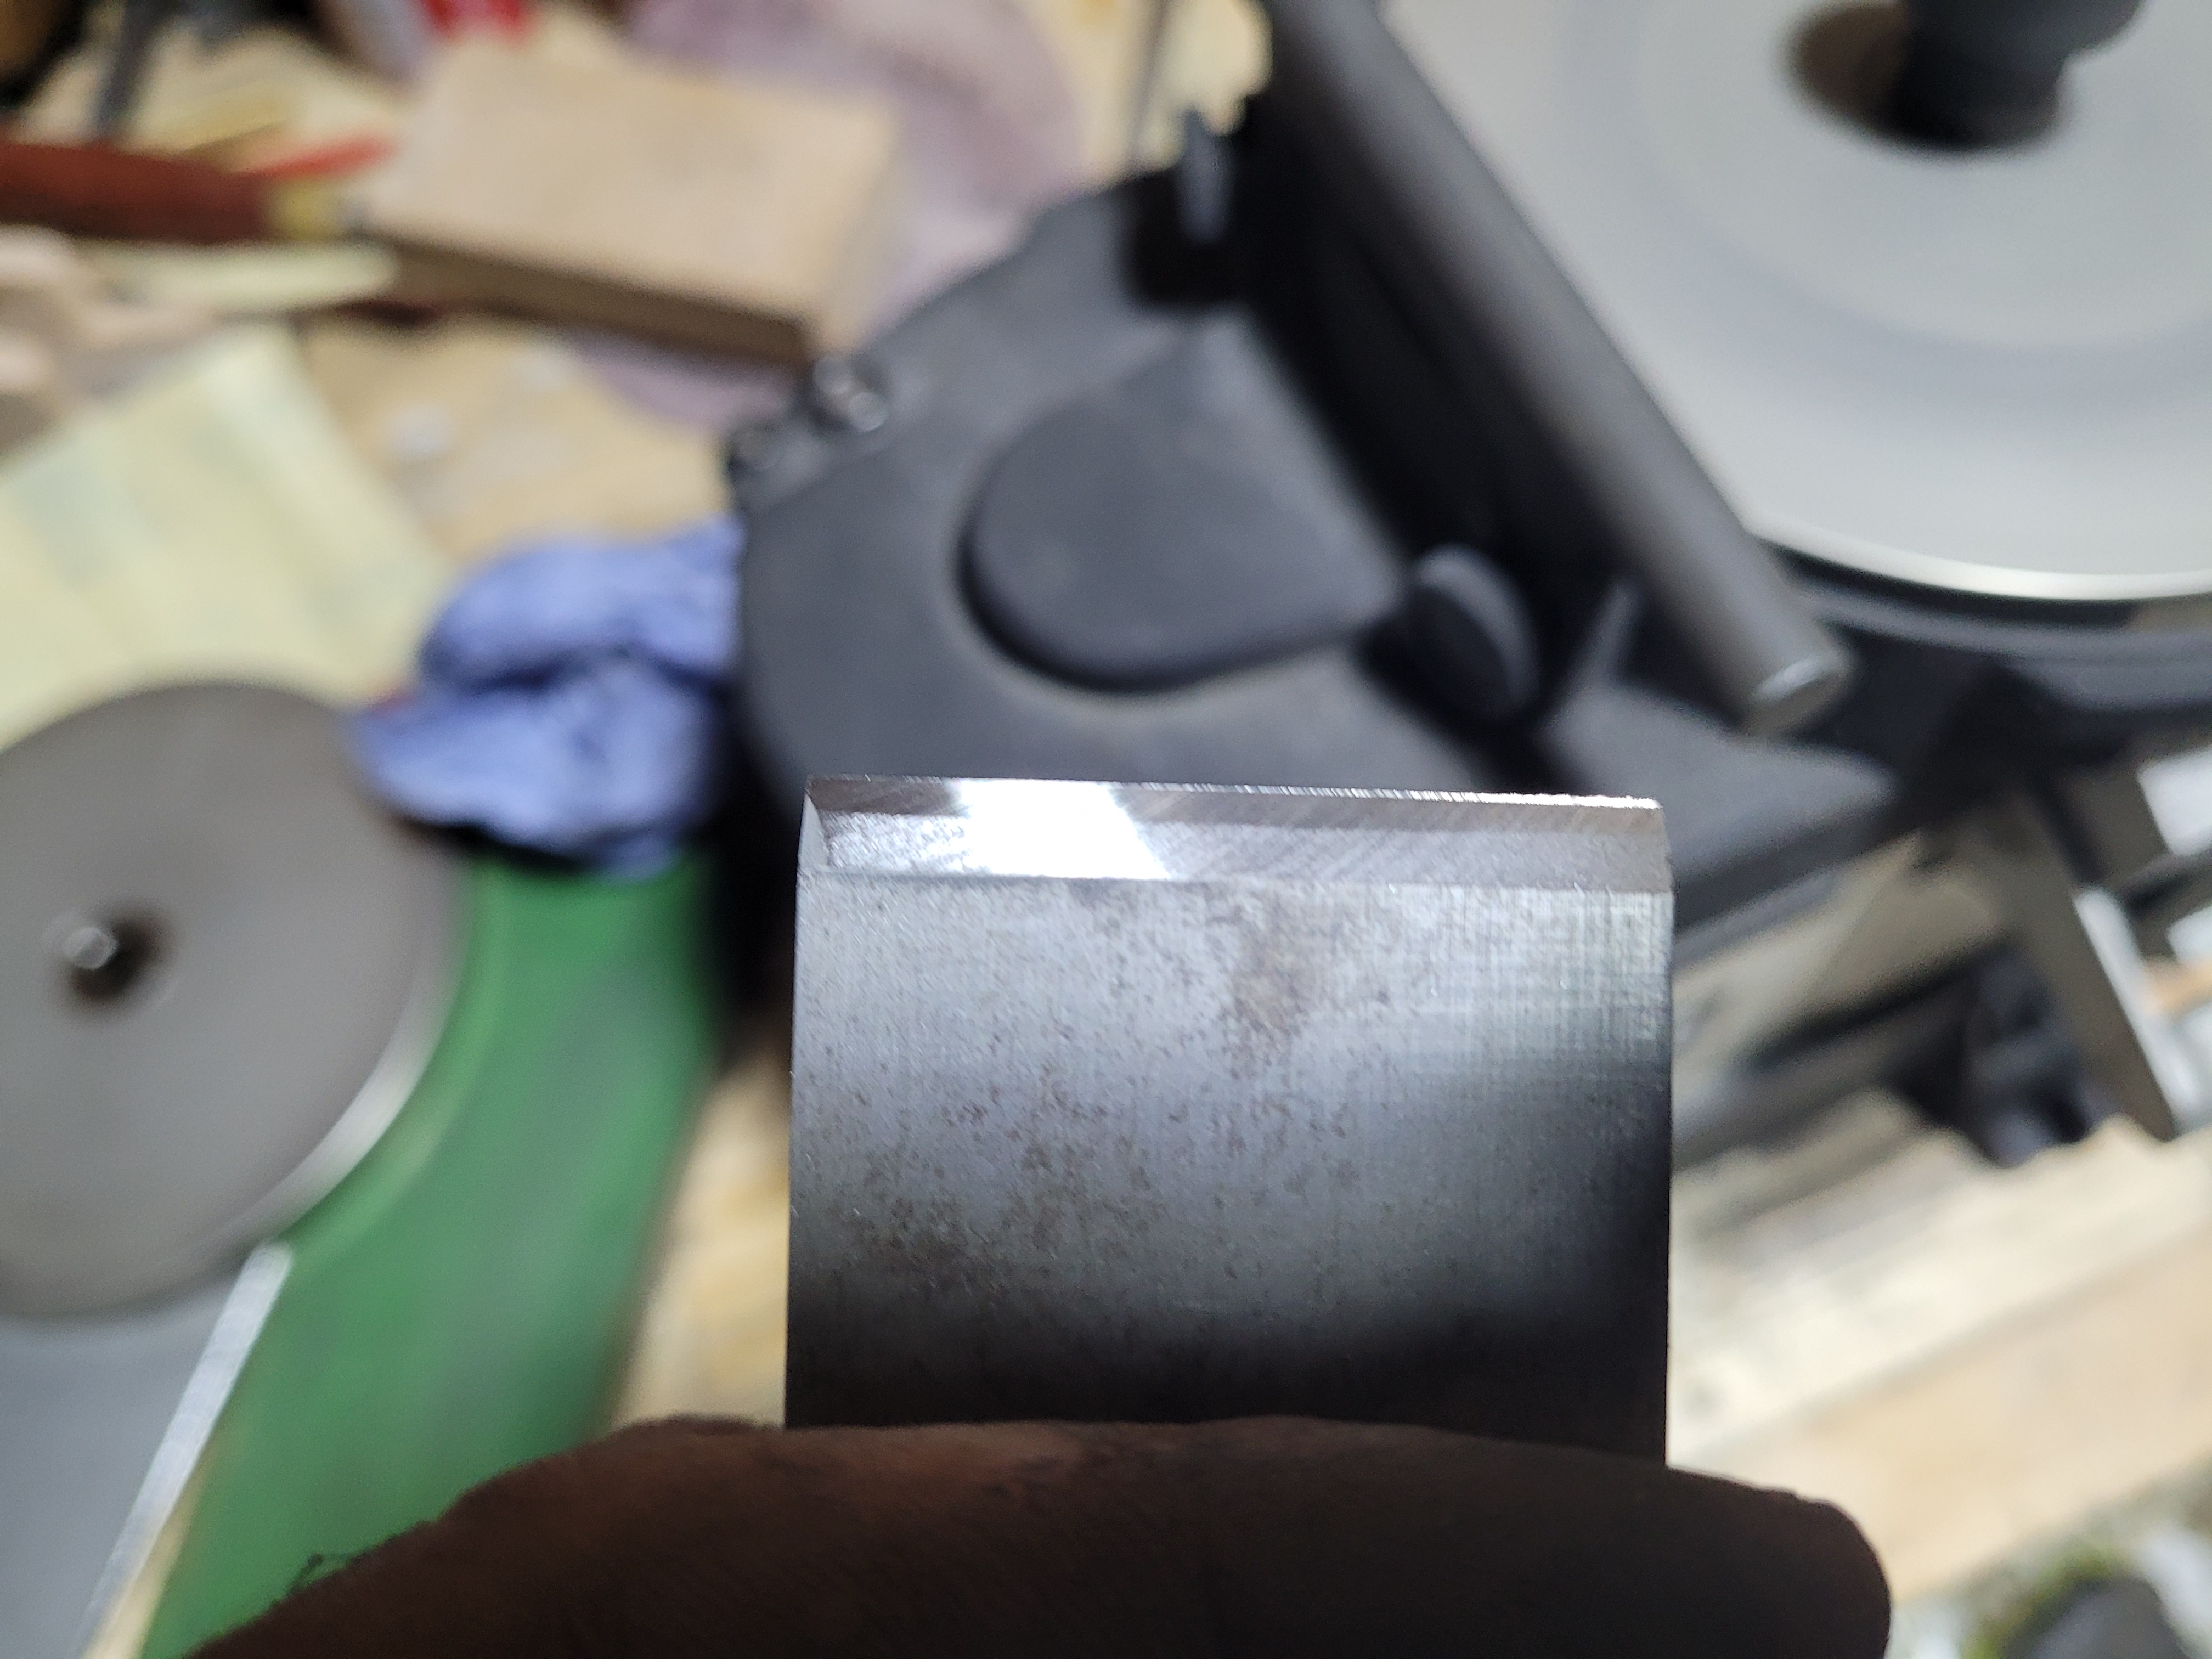
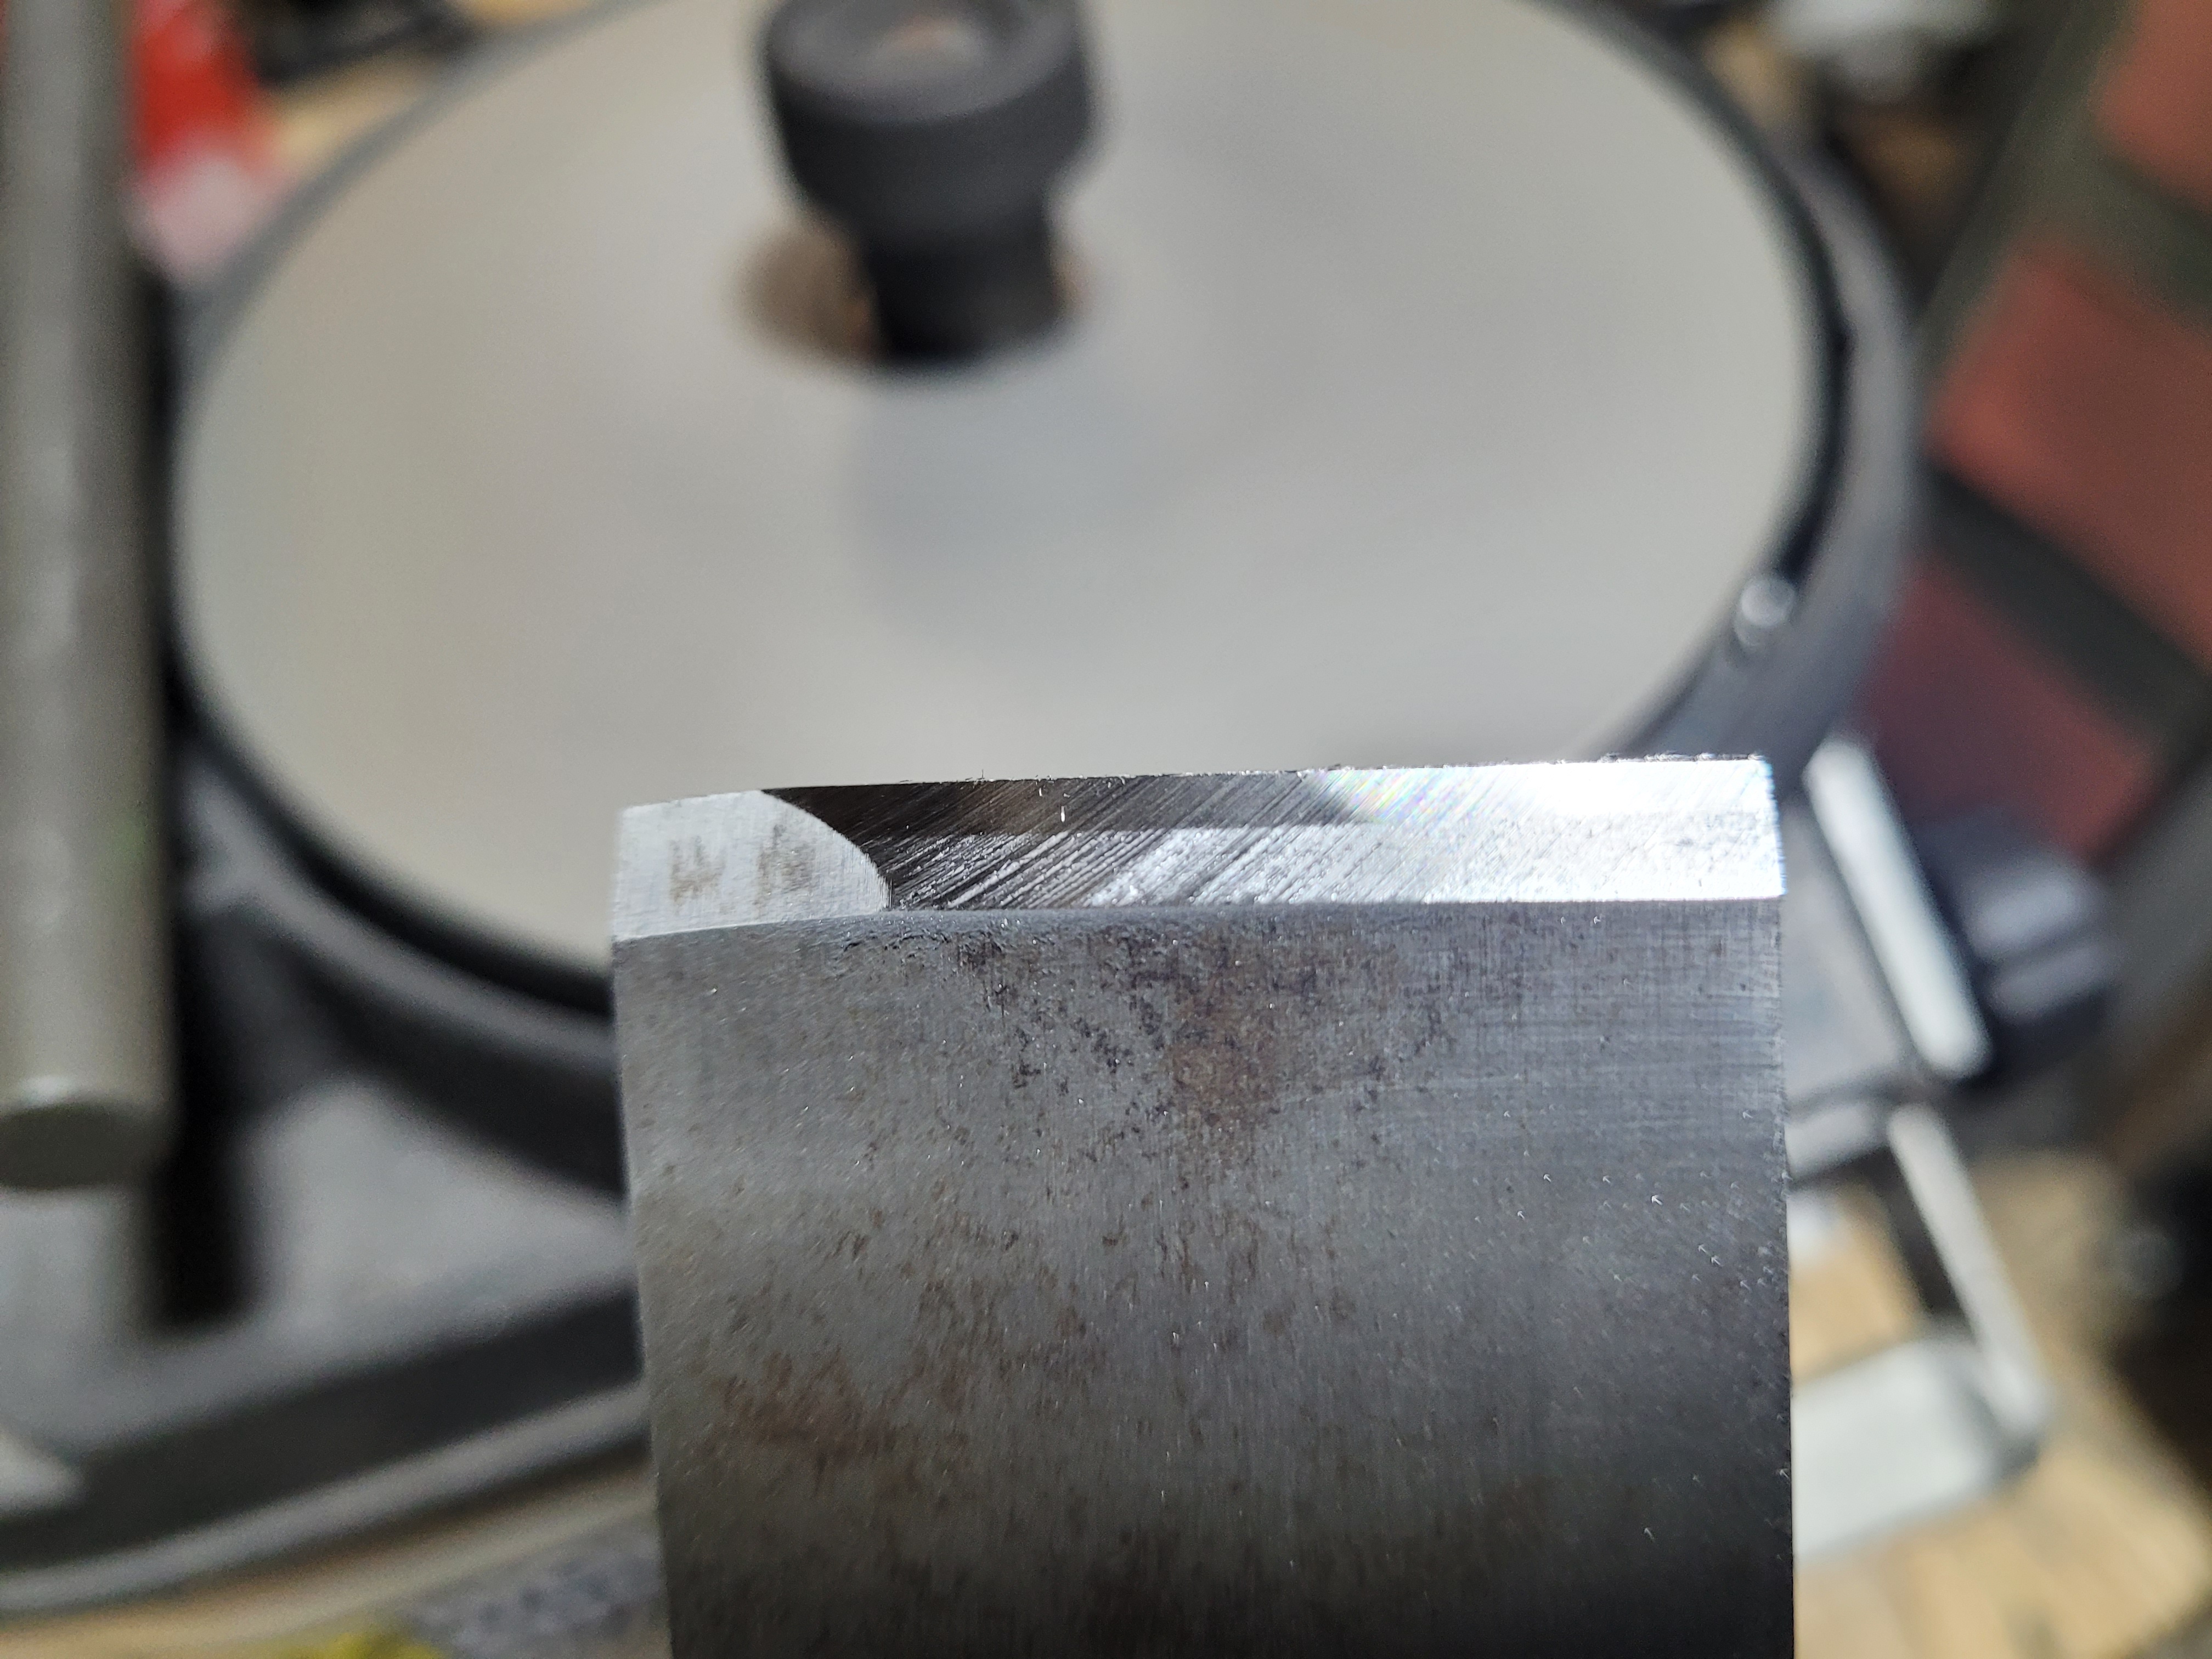
Our new bevel. You can clearly see this is a laminated iron. The low spot on the left is due to this being hollow ground in the past. I have a flat edge, so there is no point in grinding further. I’d just be using up usable Iron to make it look pretty. After this, I lapped the back working up the grits to my finishing stone, and then freehanded a new micro bevel.
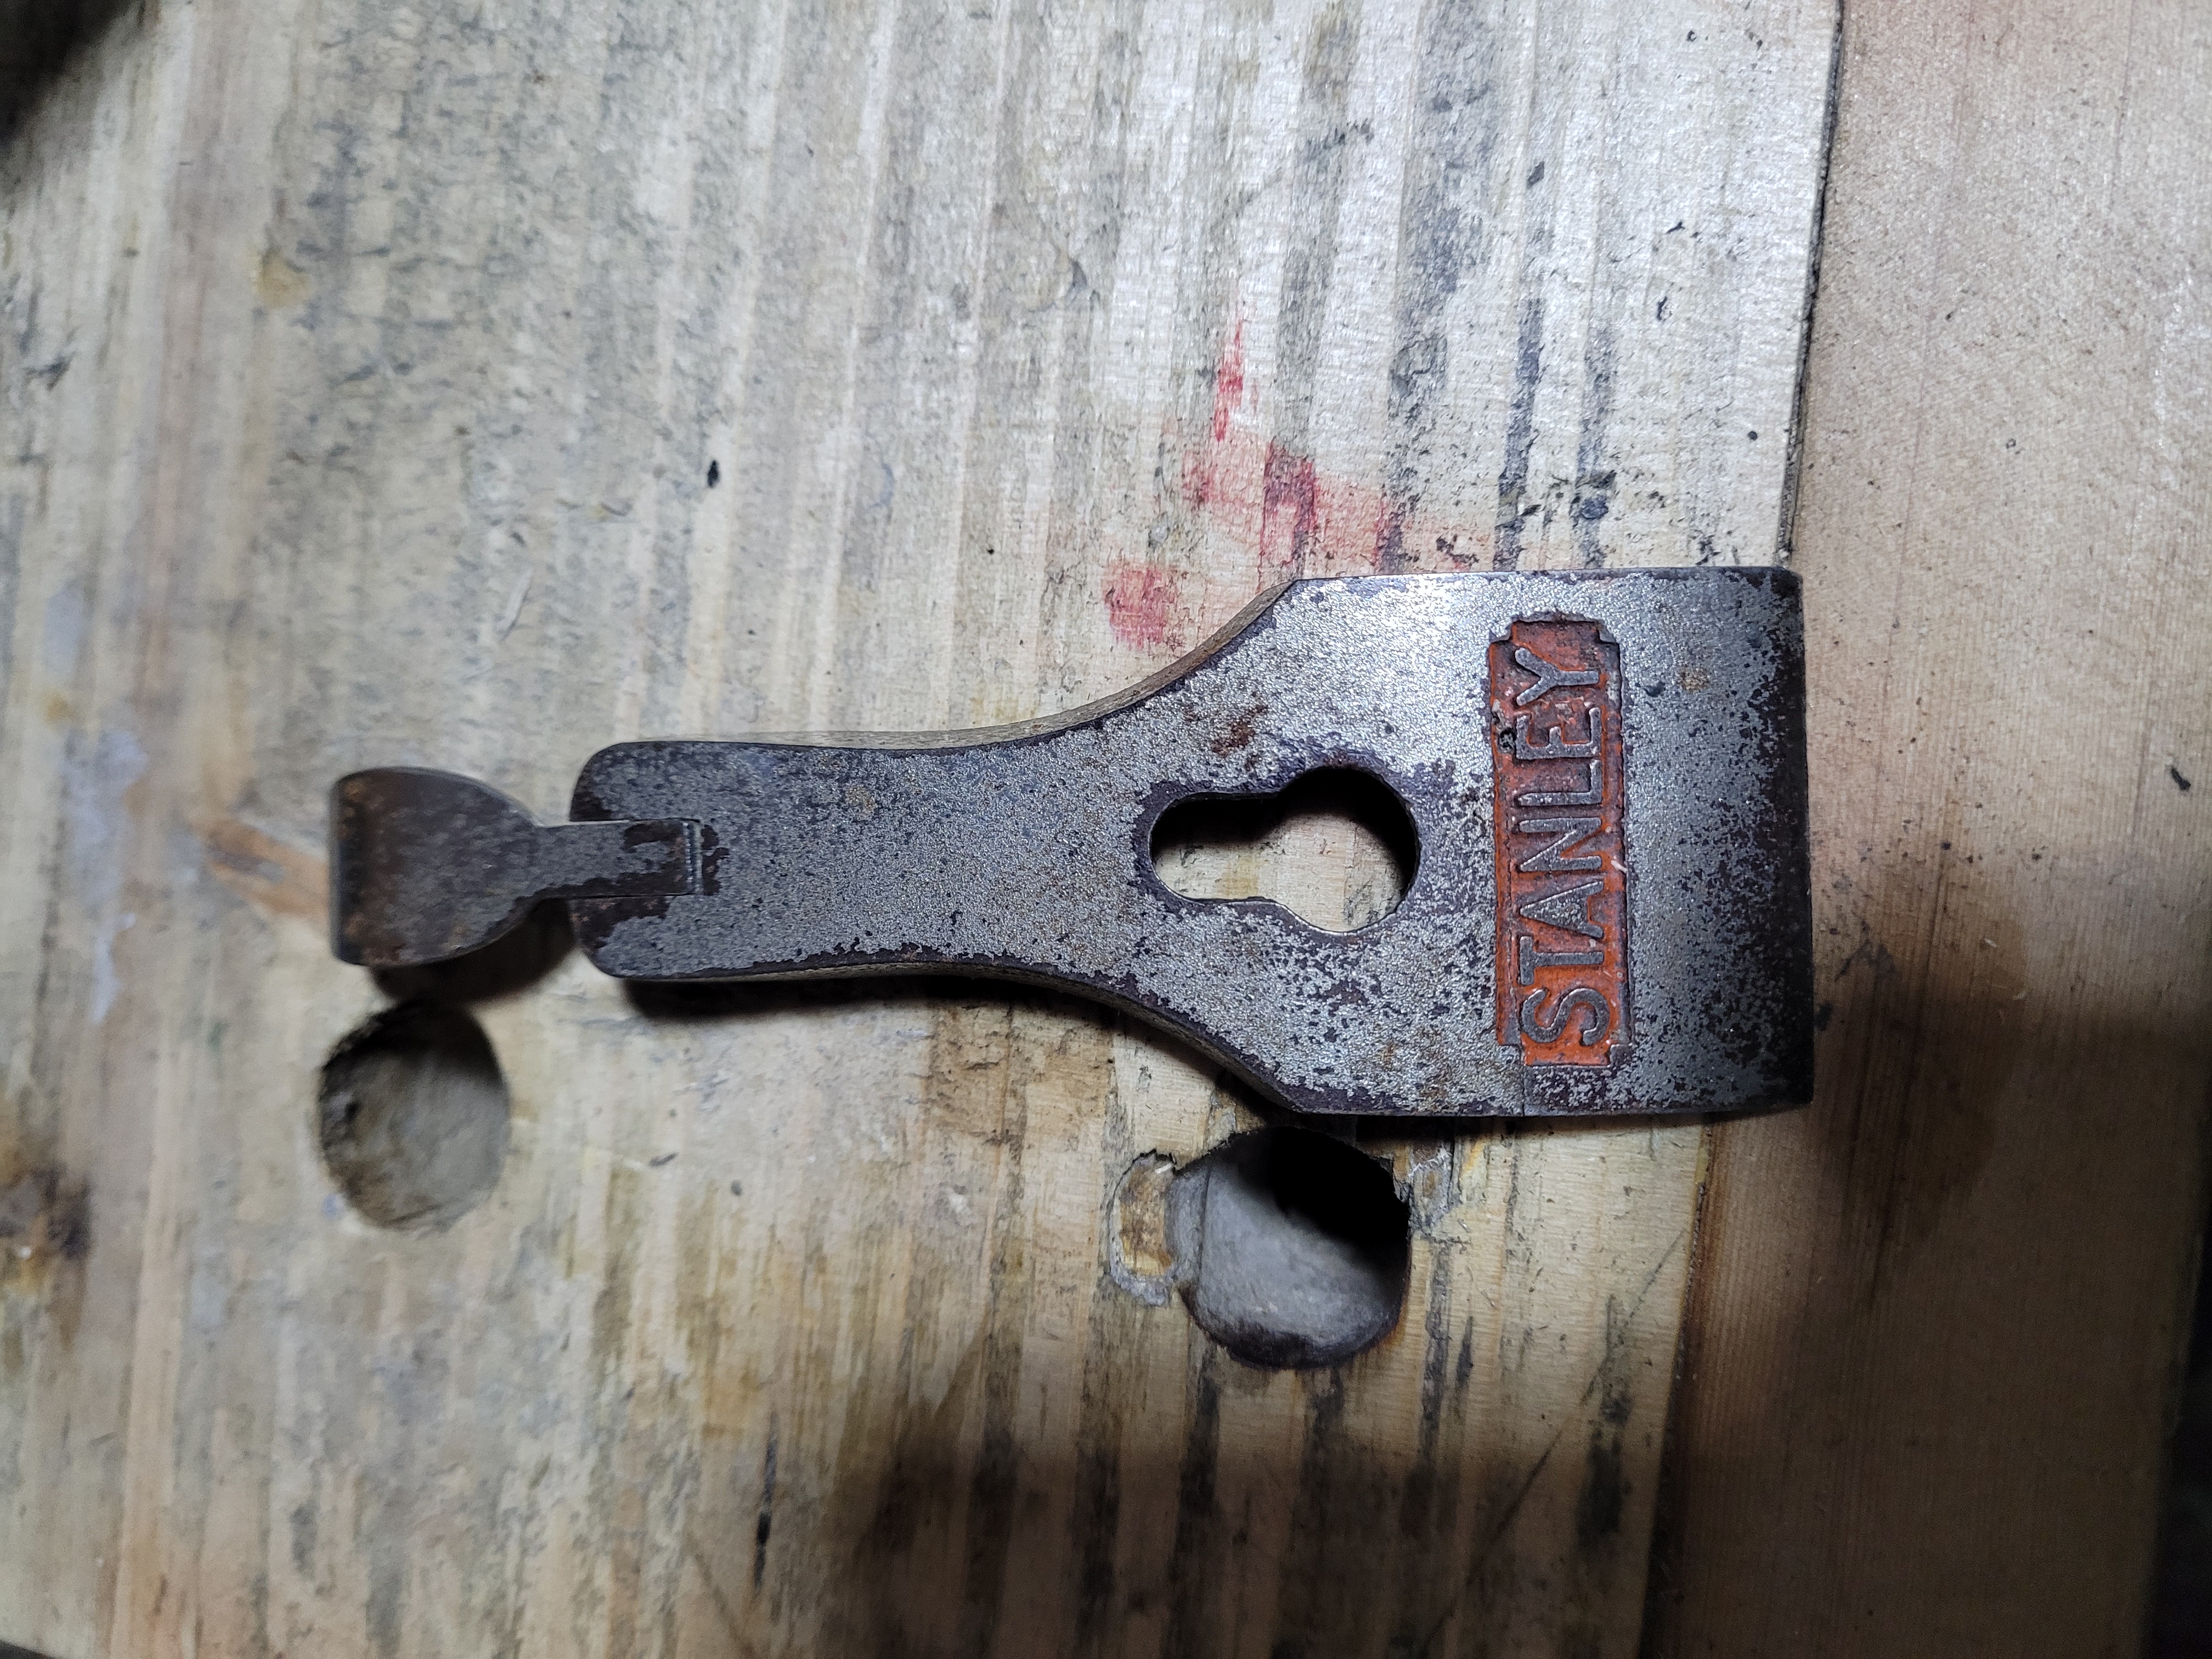
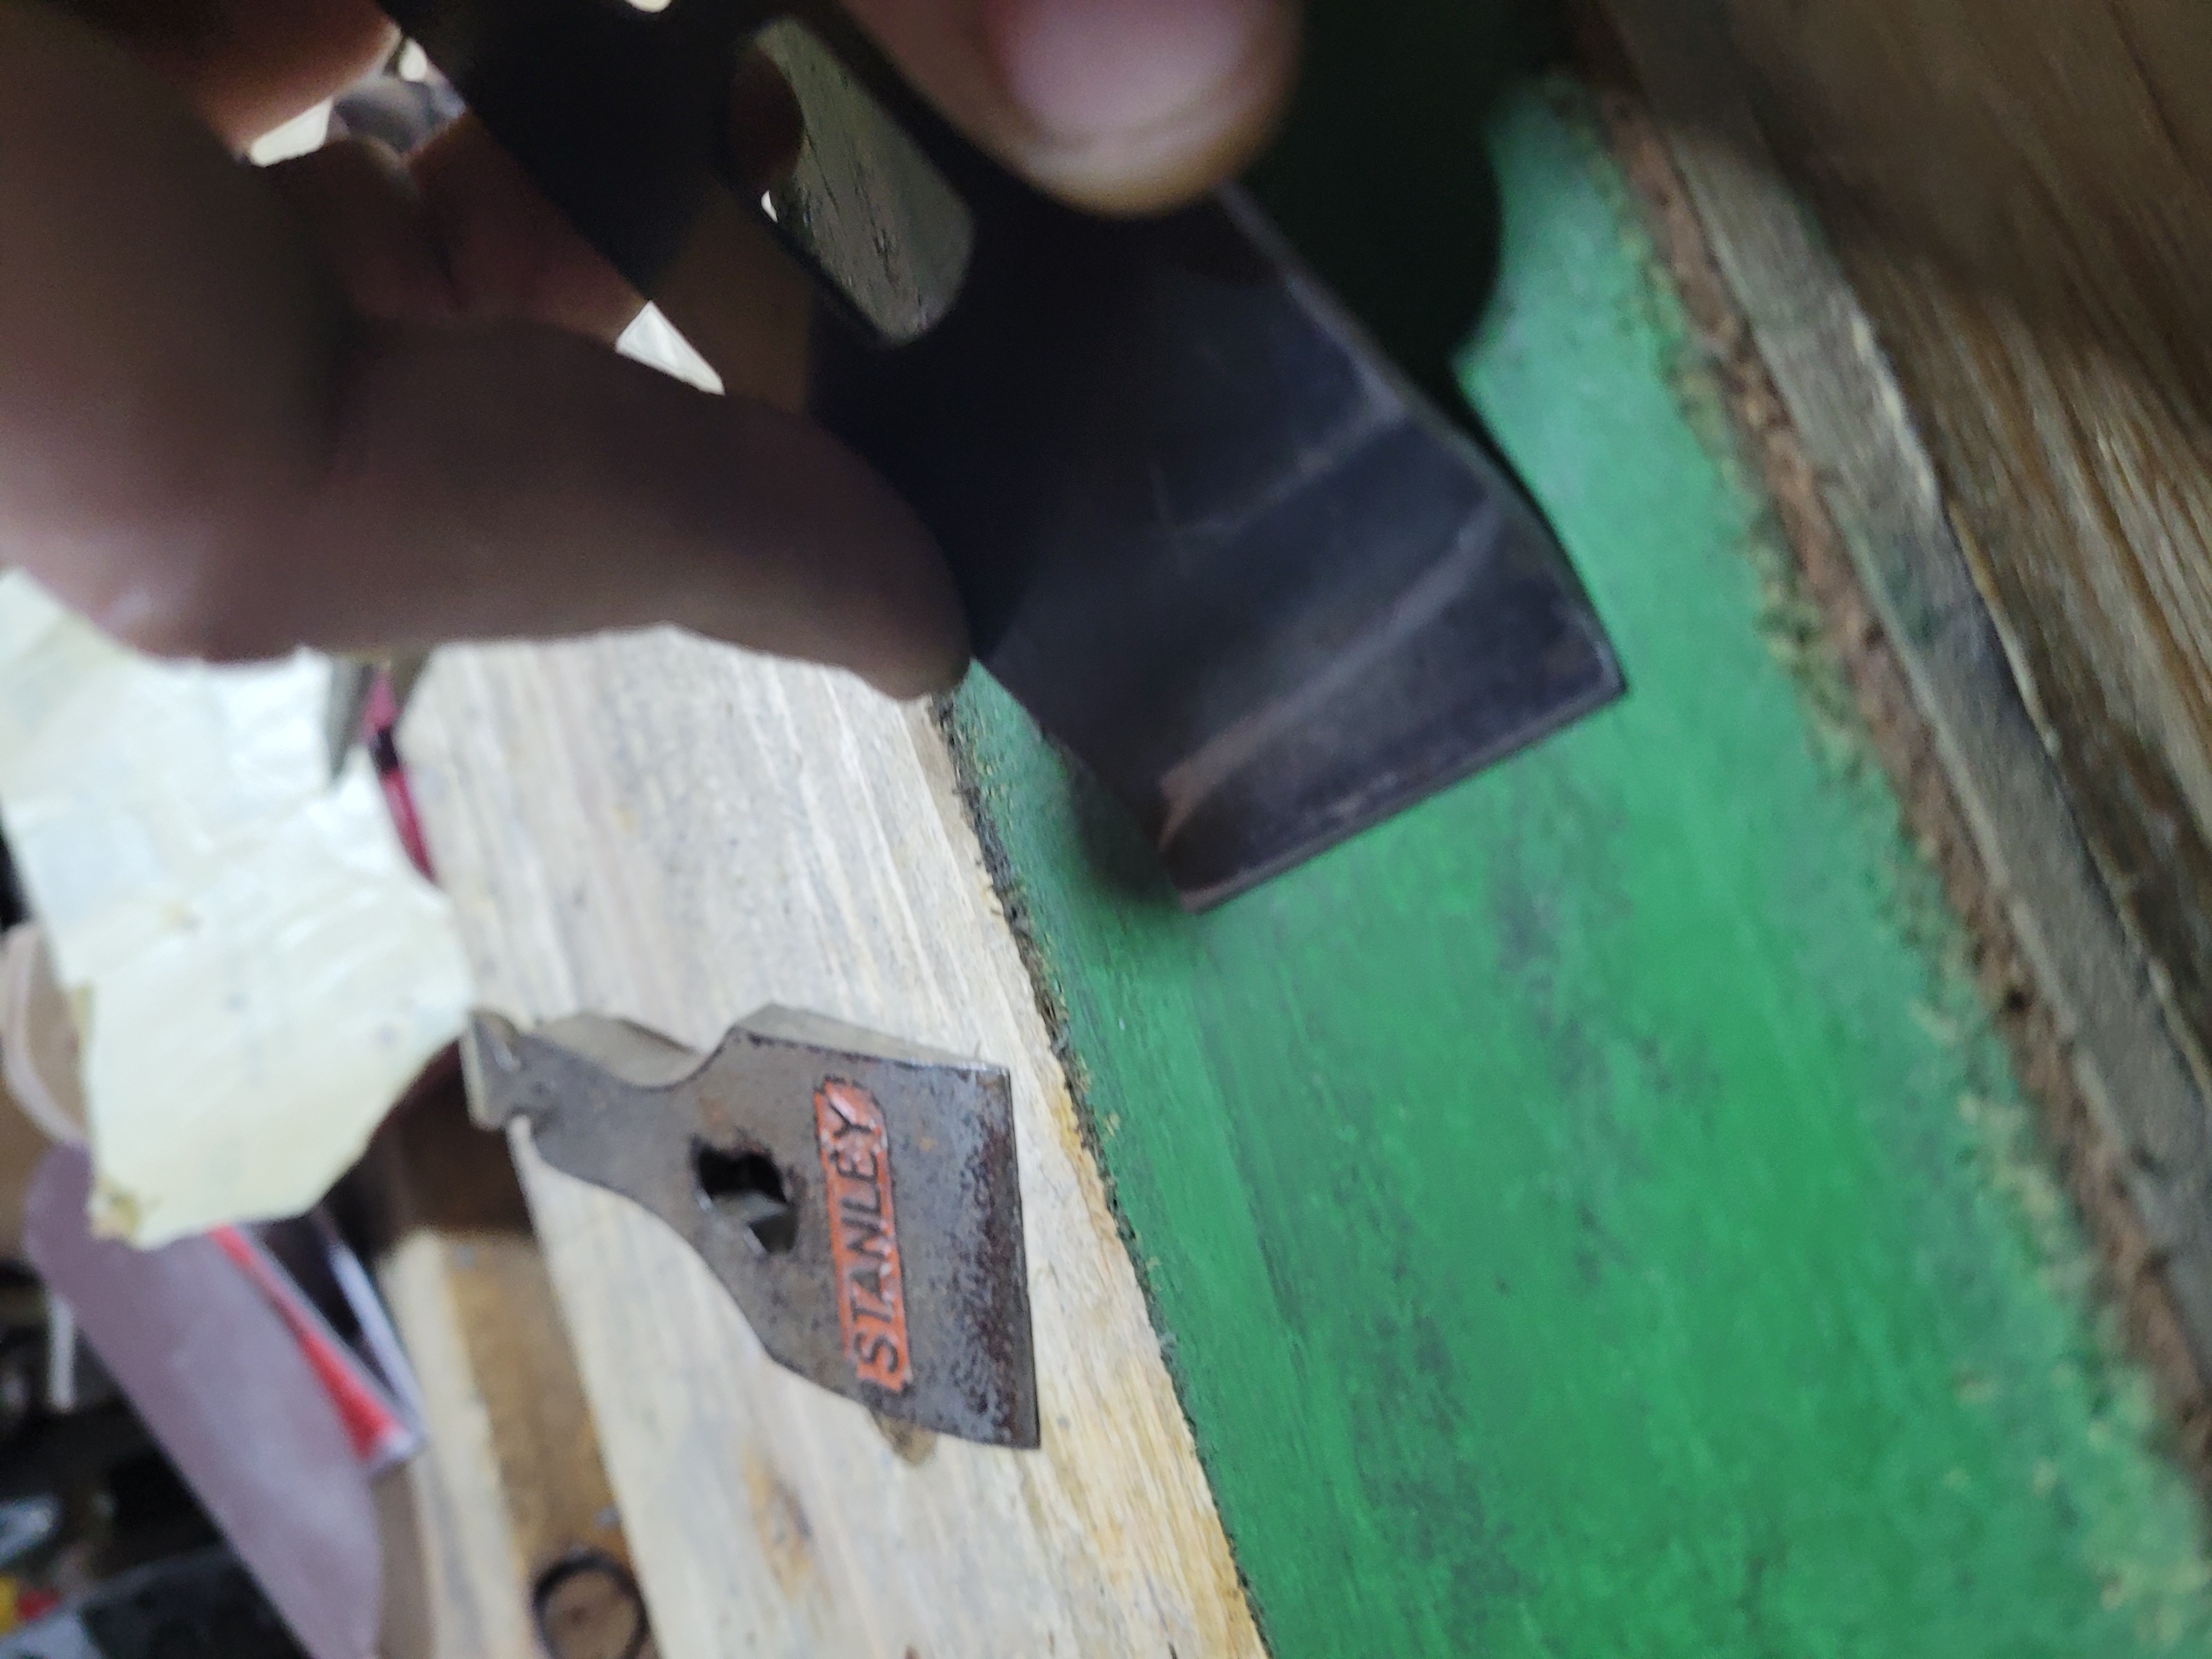
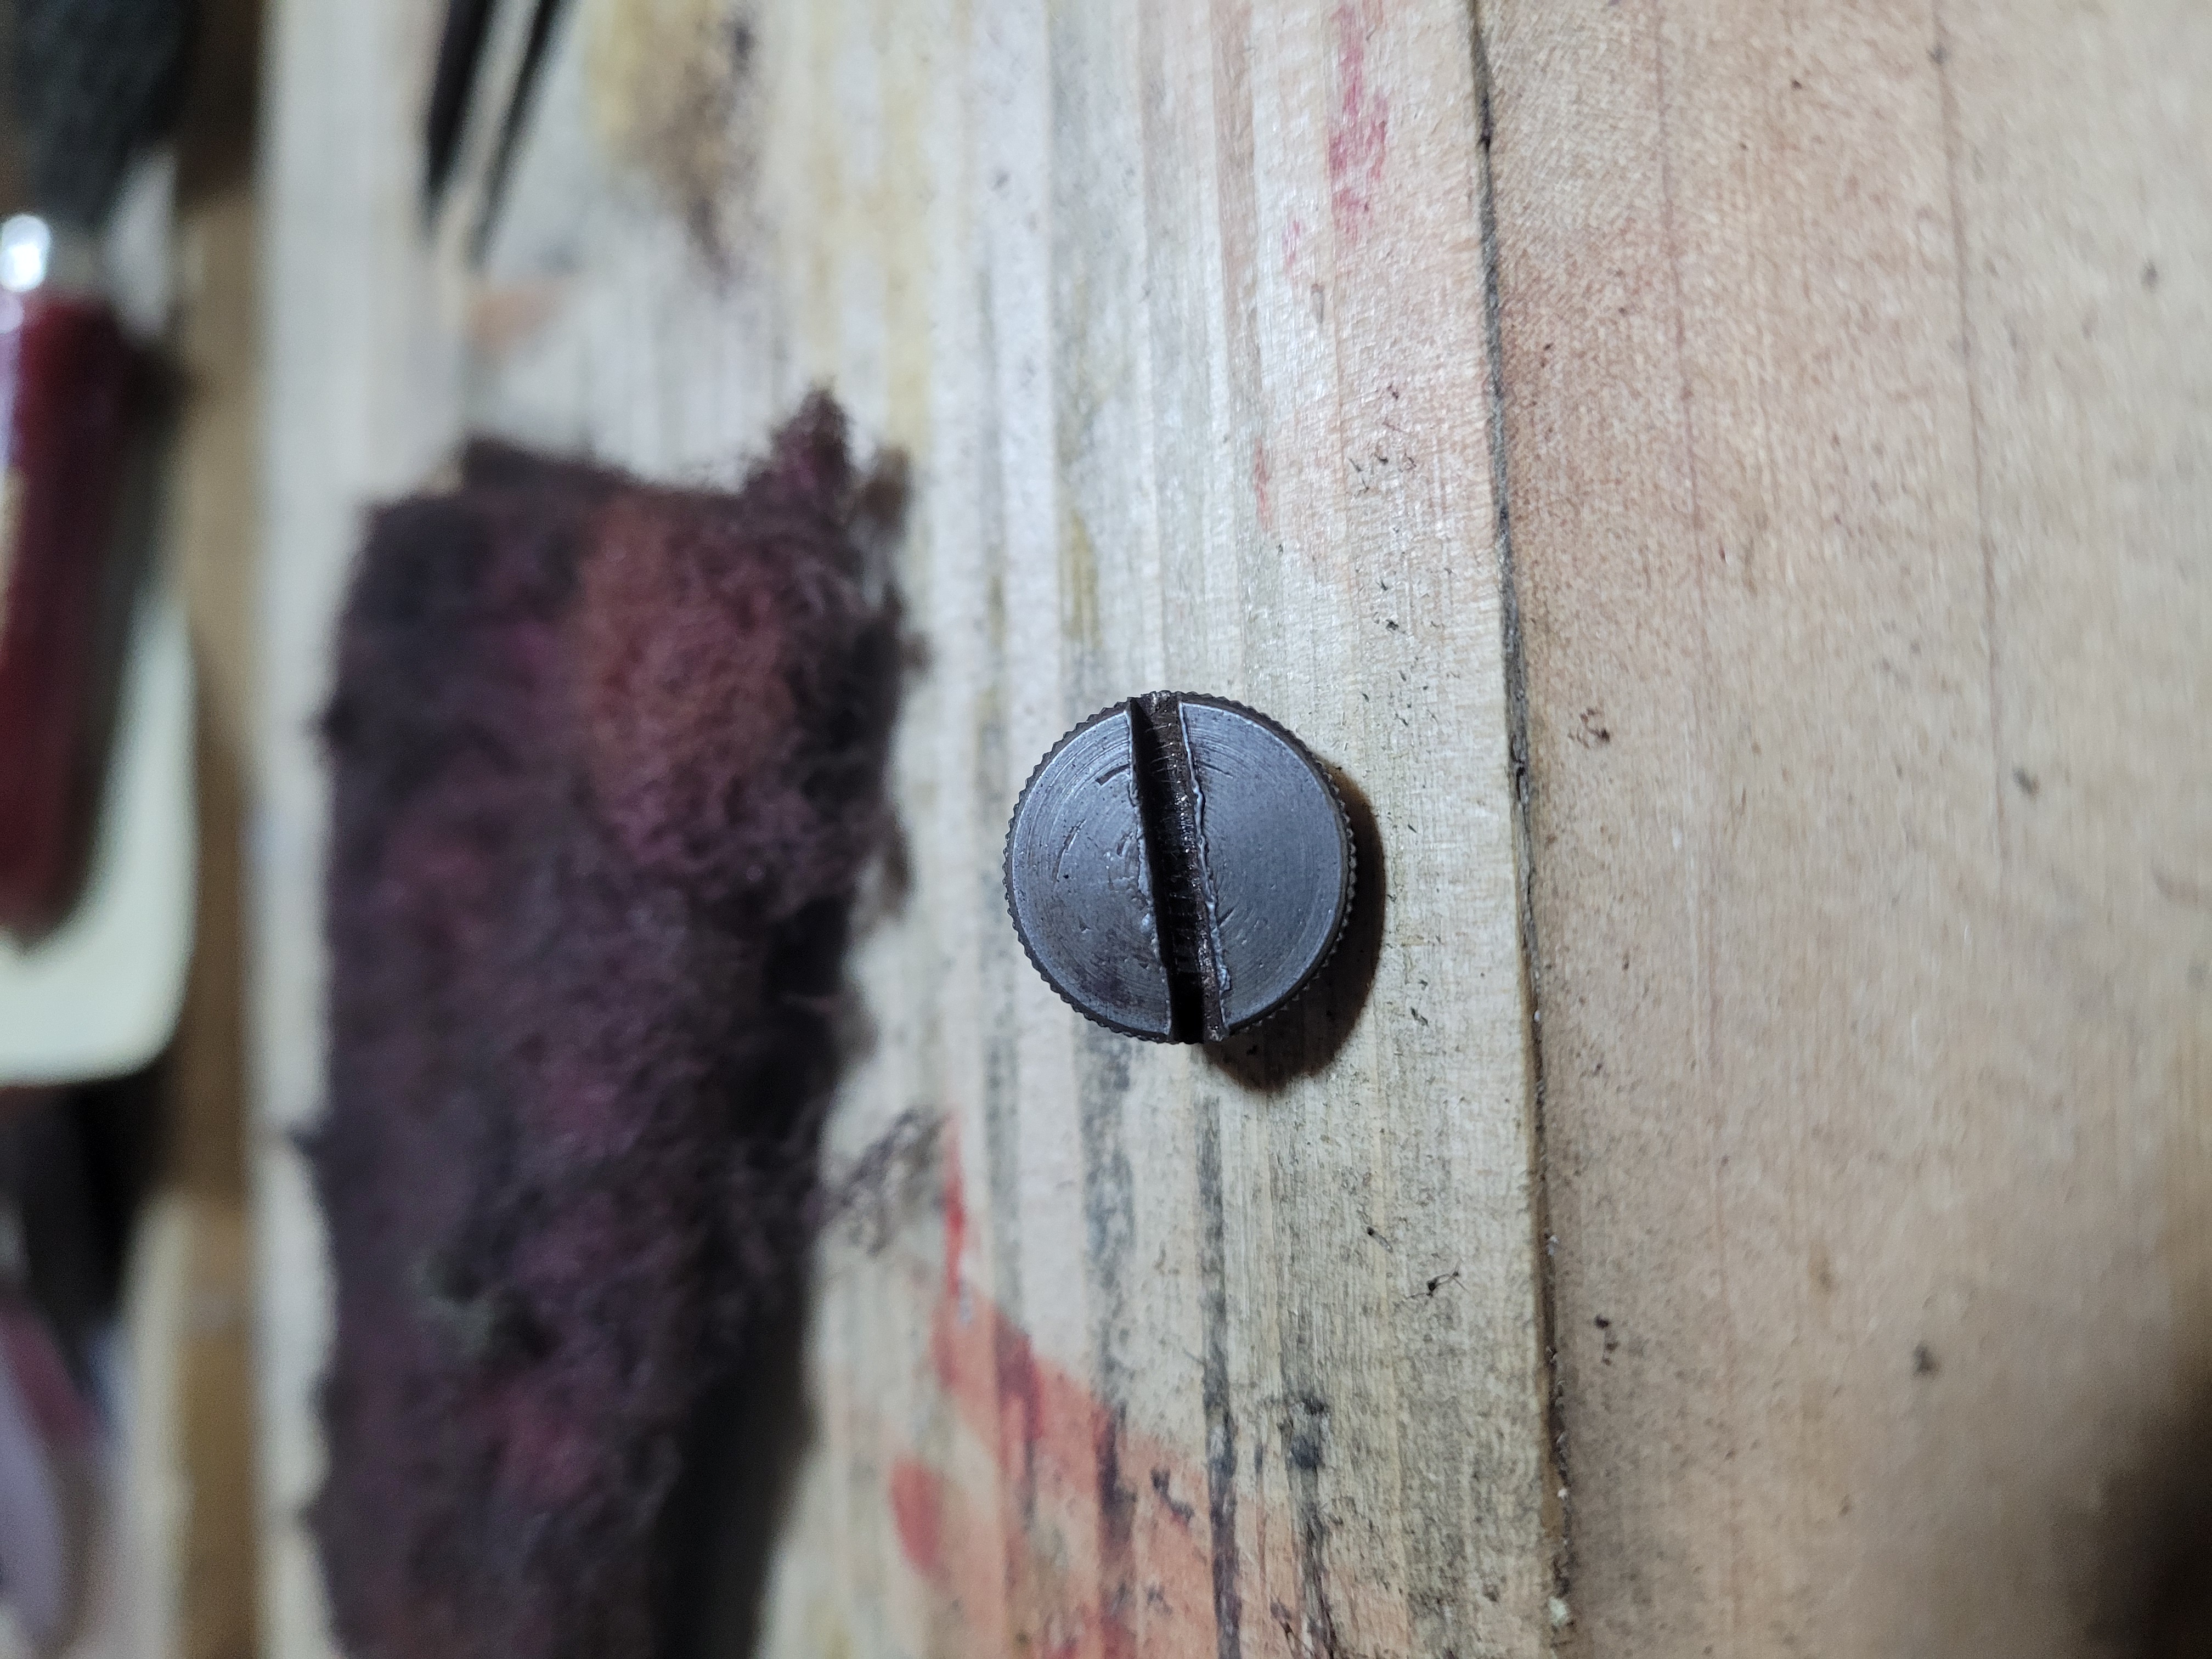
Poor ugly lever cap. I’ll work it with scotch brite. Most of it is going to get the lightest of passes. I’ll only do more on area’s where I can clearly see active rust. If you look just over the E in Stanley, you can see the tiny hole I drilled to stop the crack in the back from spreading.
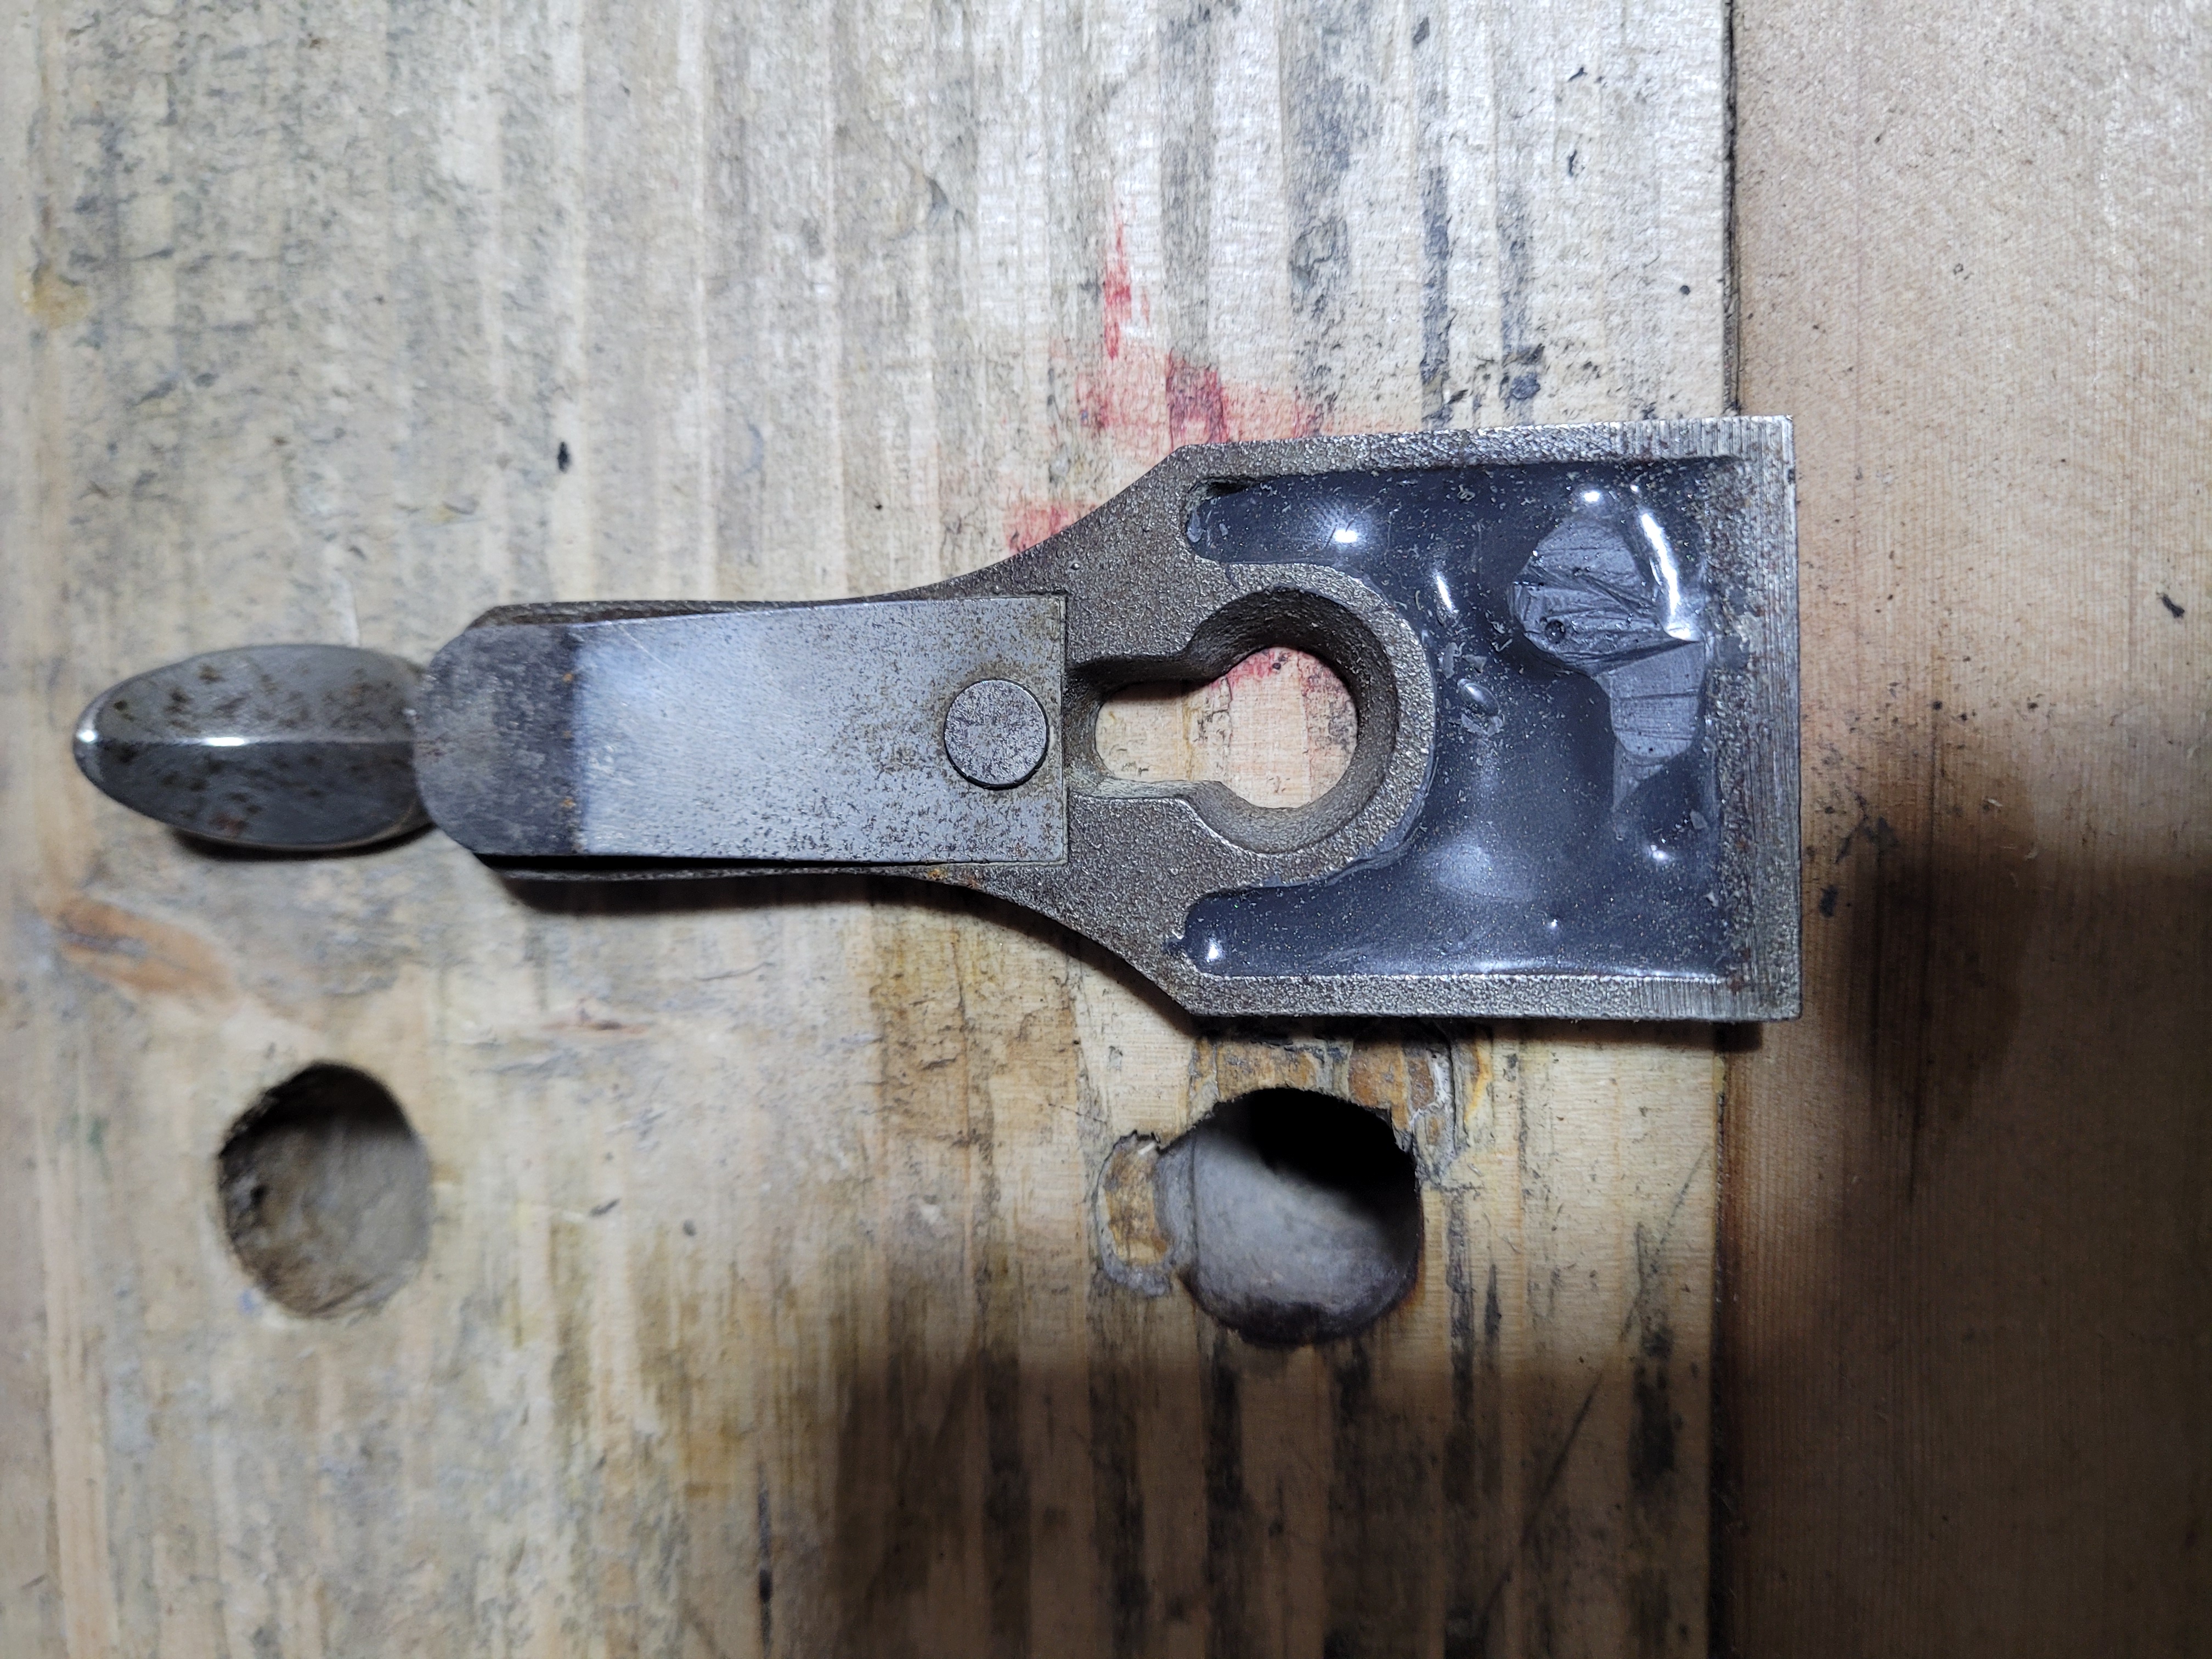
And the JBWeld I put in to support it given the crack.
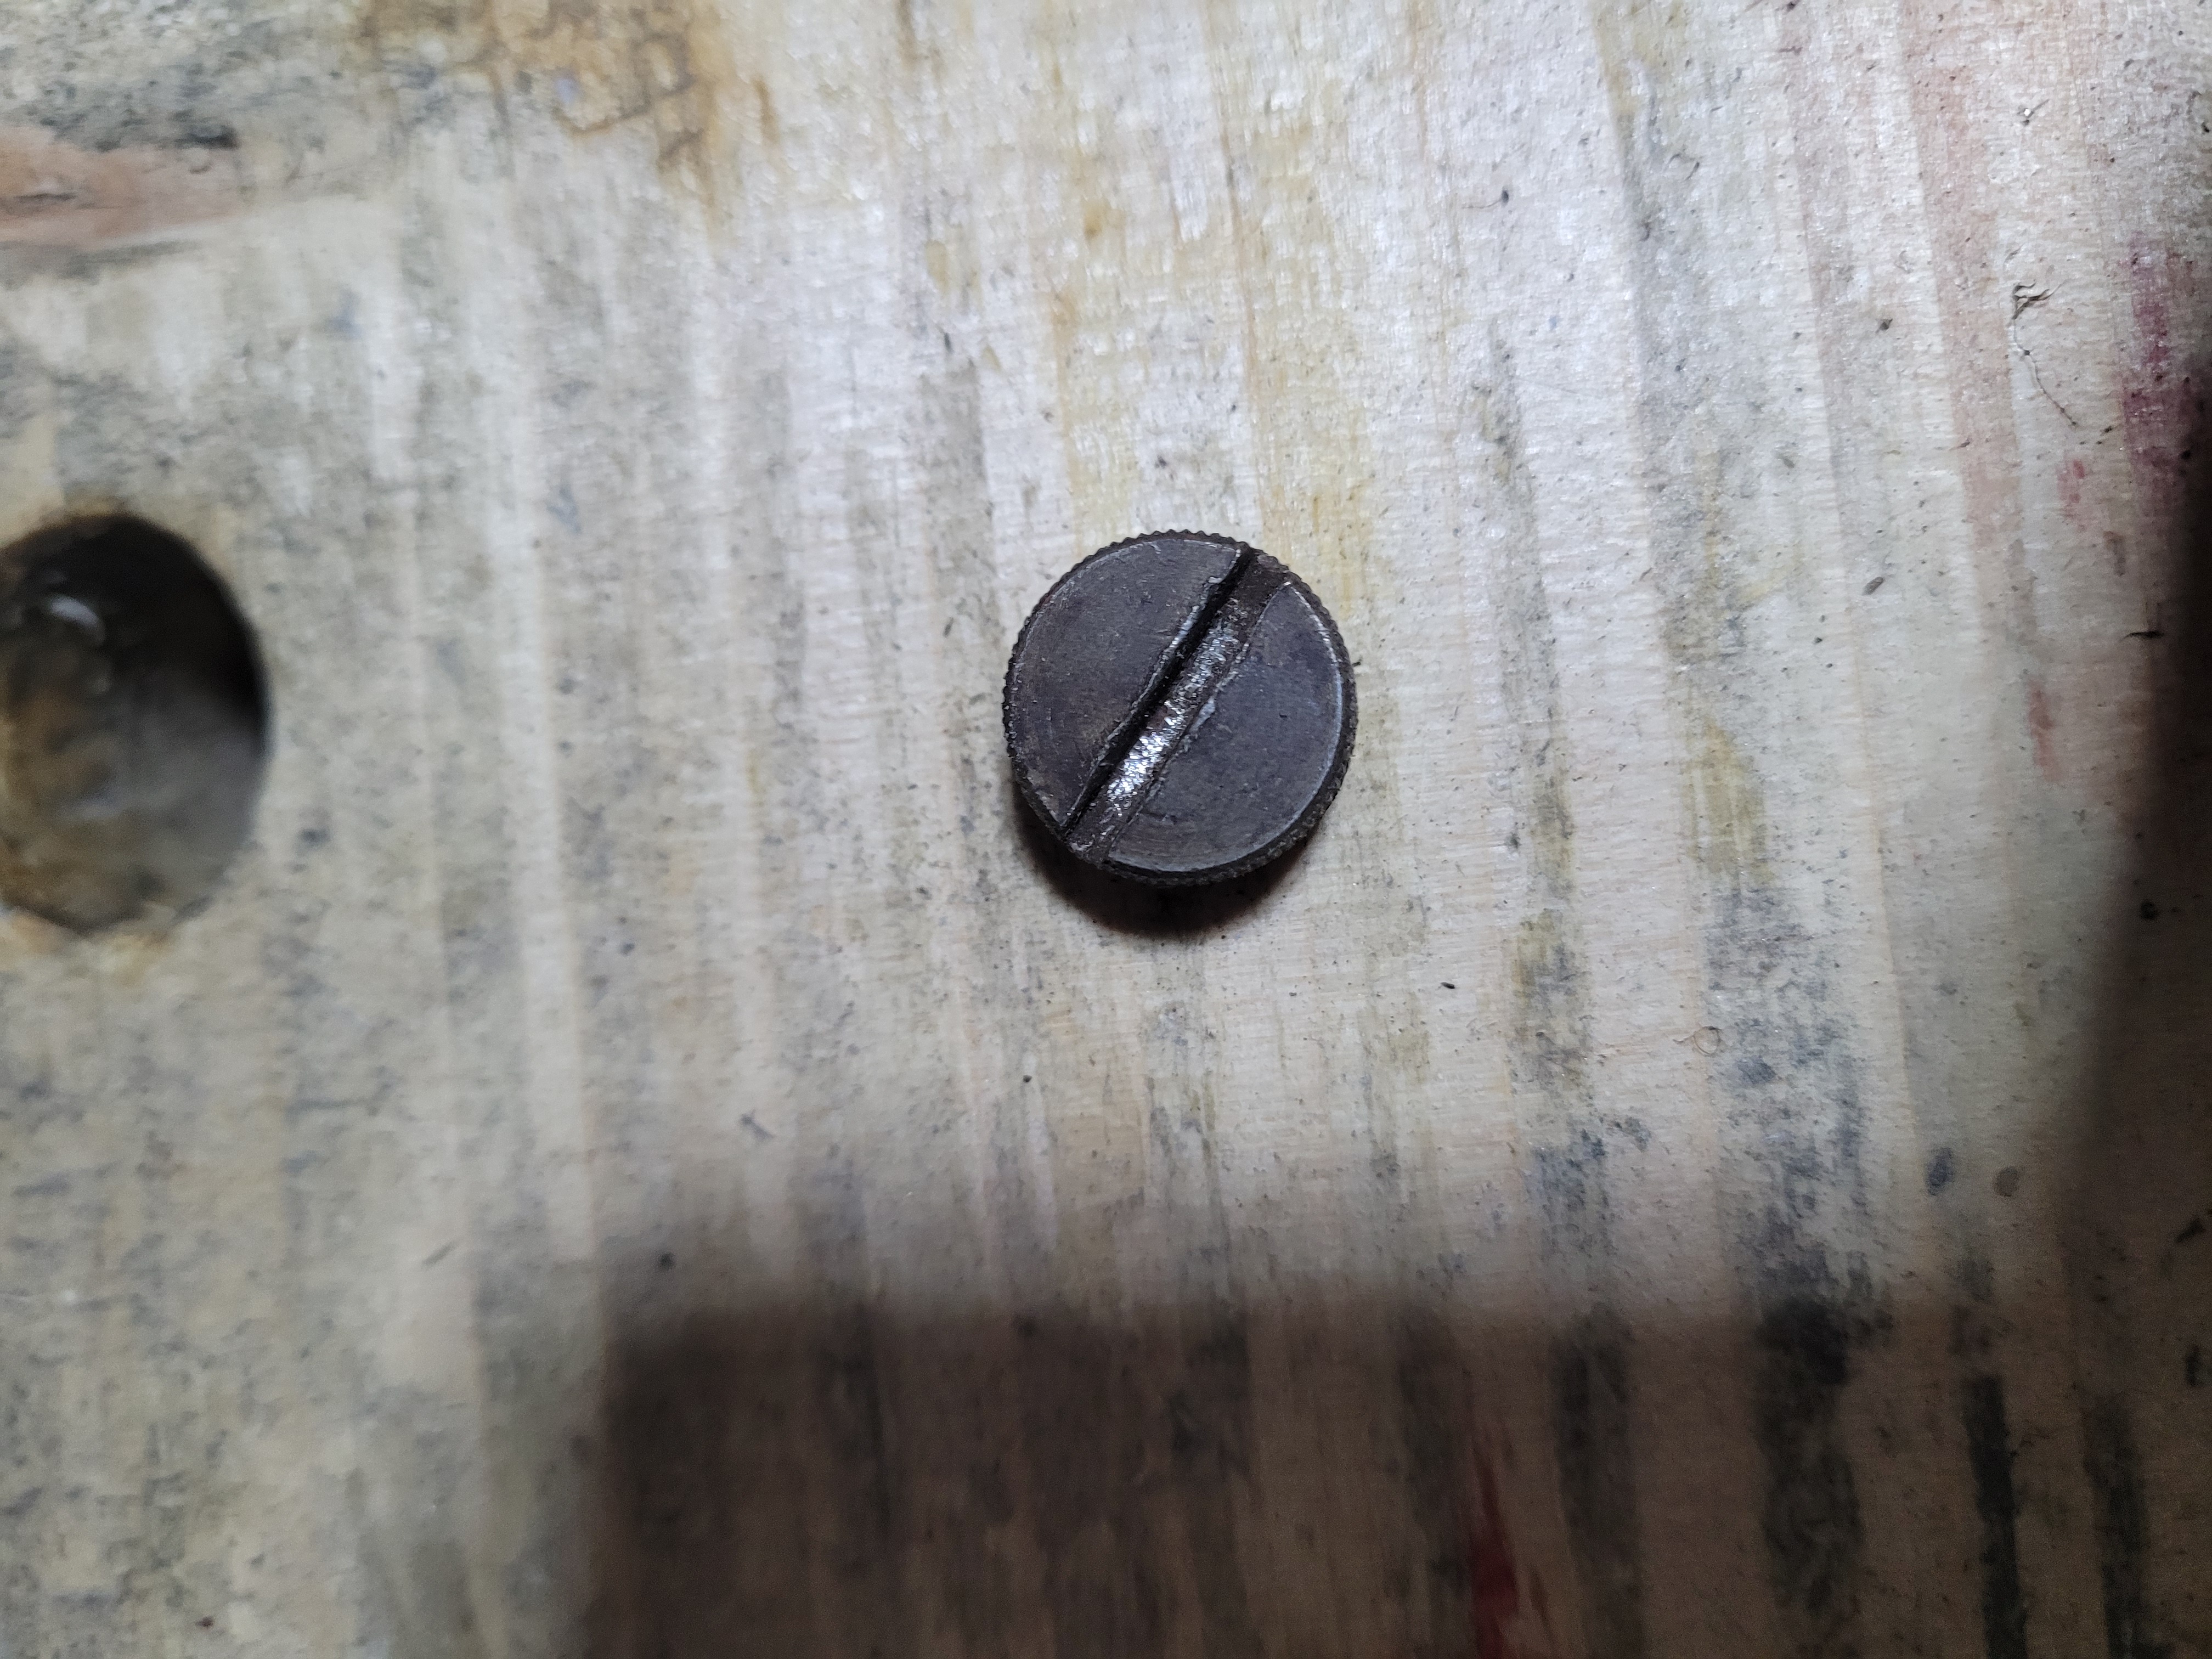
The chip breaker screw. This does not need any work, but while I am here…
It gets a quick scrub. After this, every metal part gets wiped down with Elixir, and the plane re-assembled.
Not looking too bad…
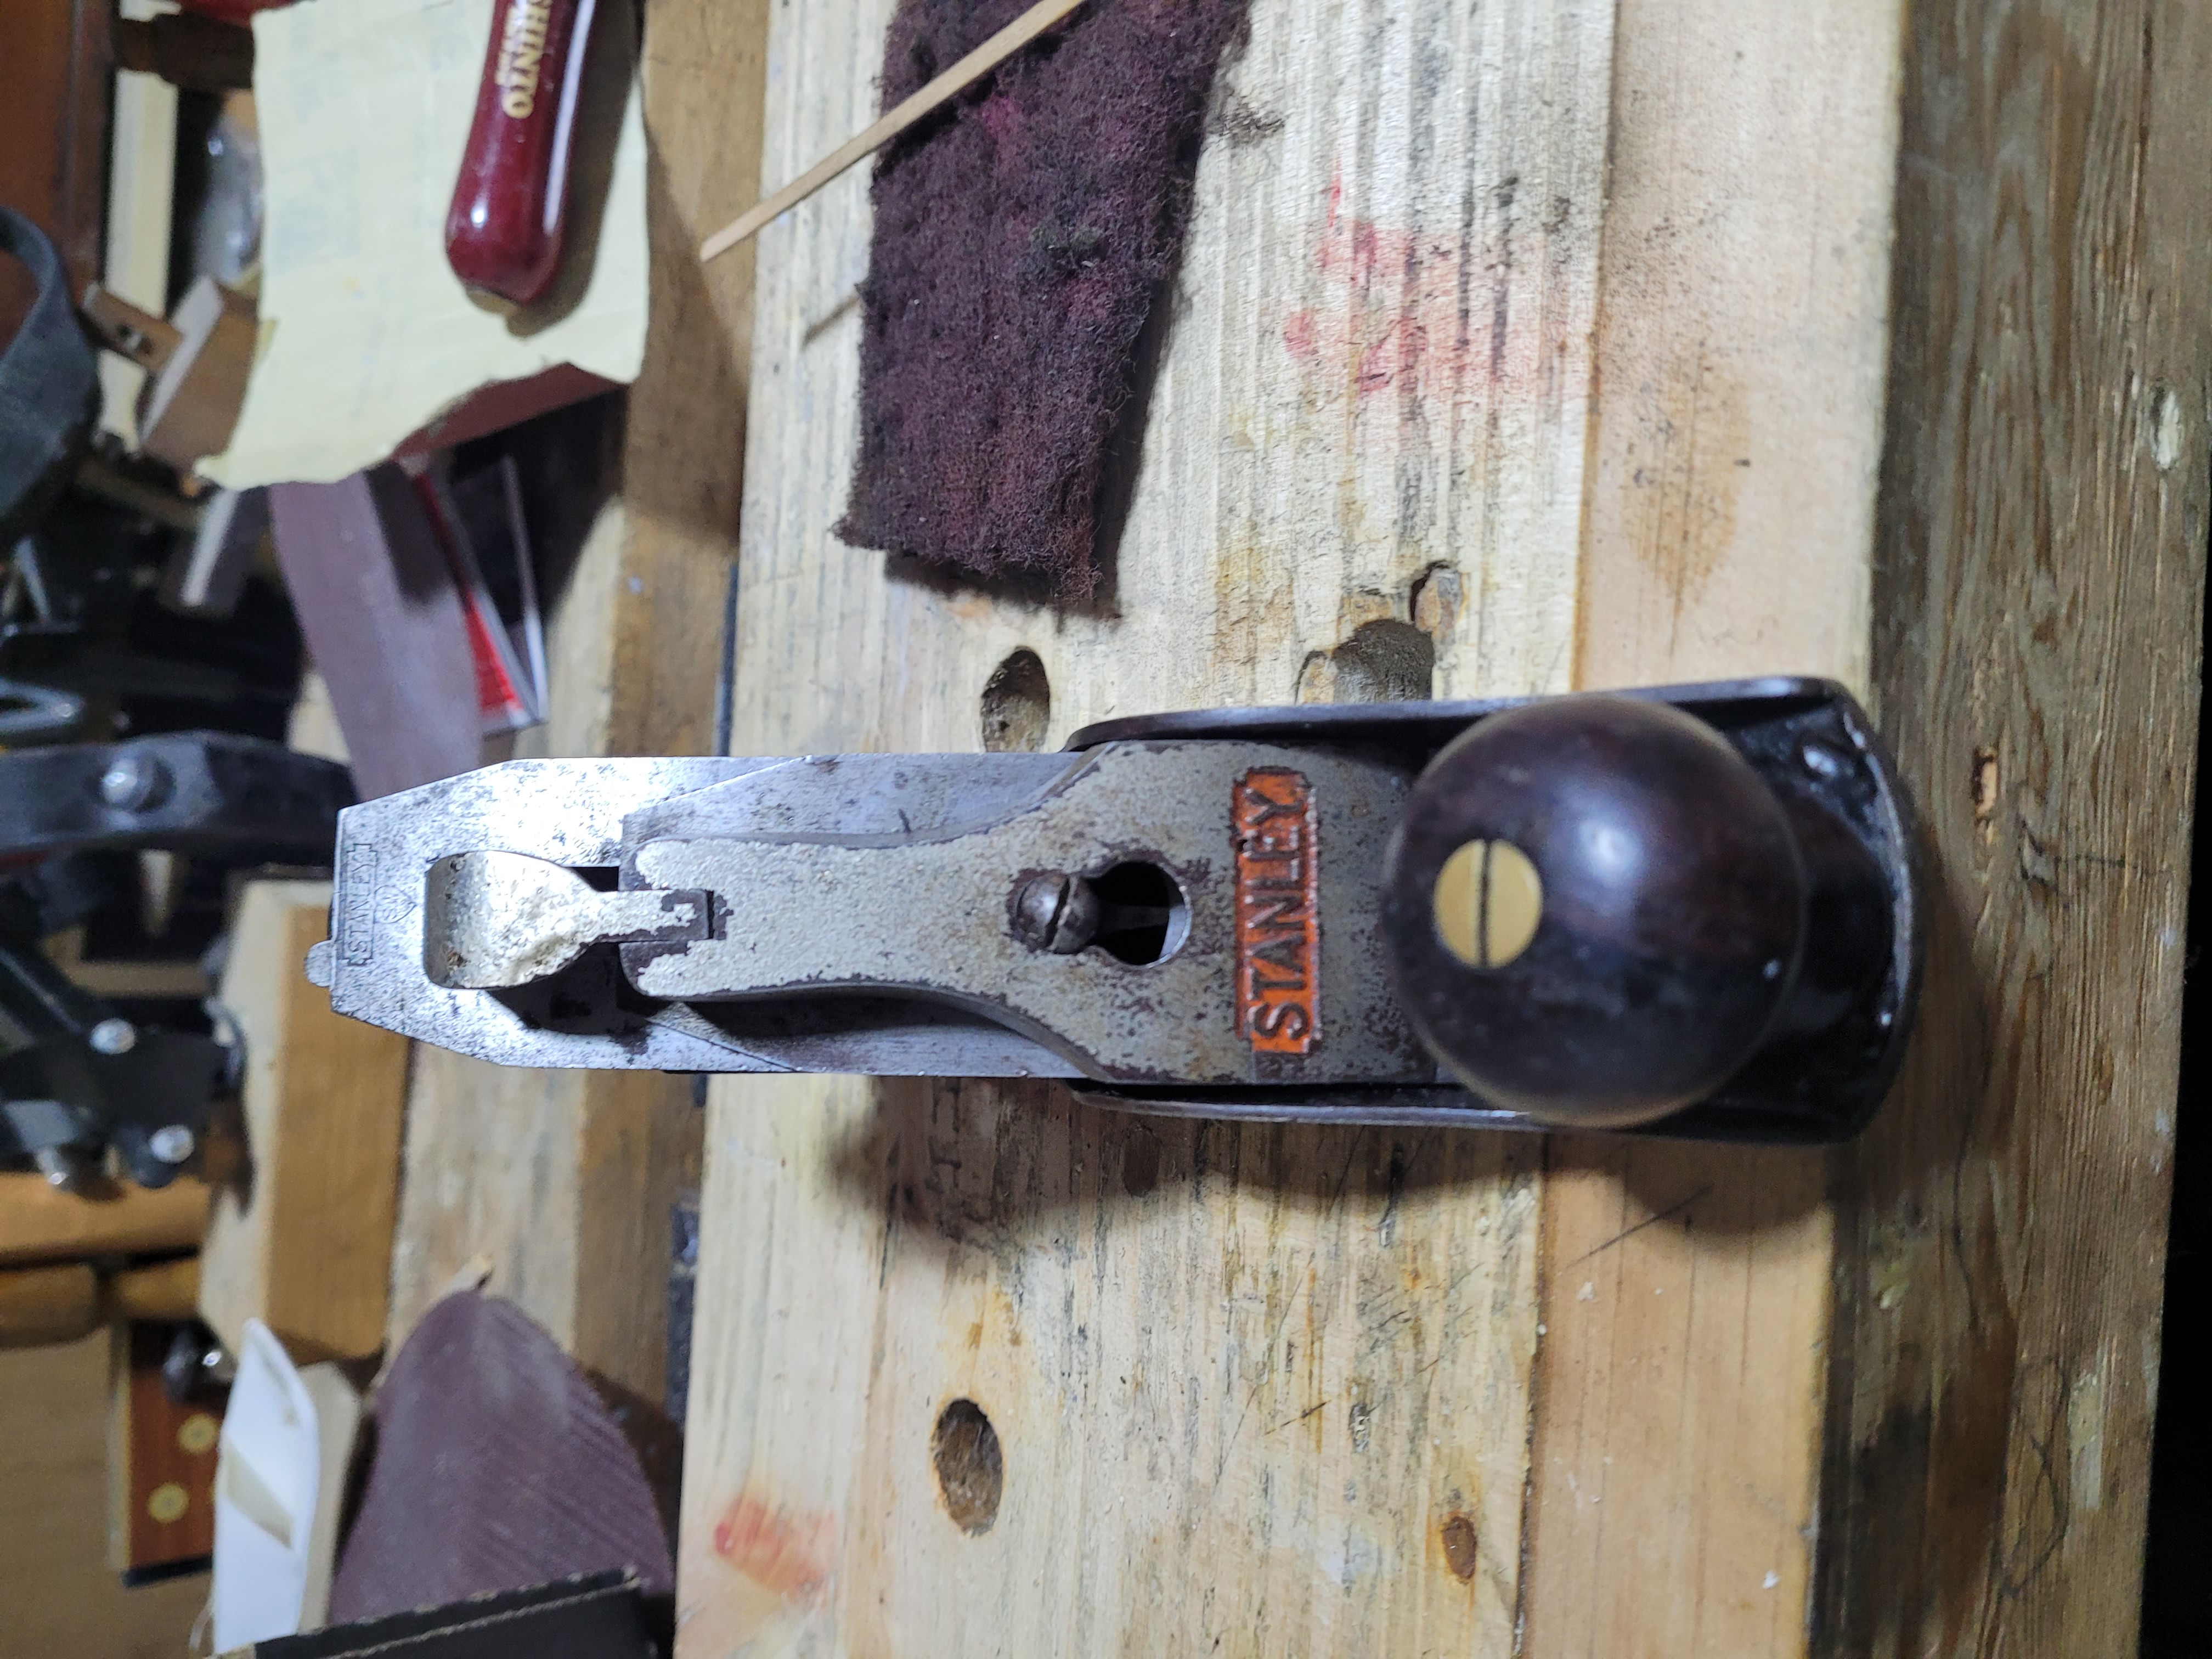
But with that lever cap, it will never be a beauty queen.
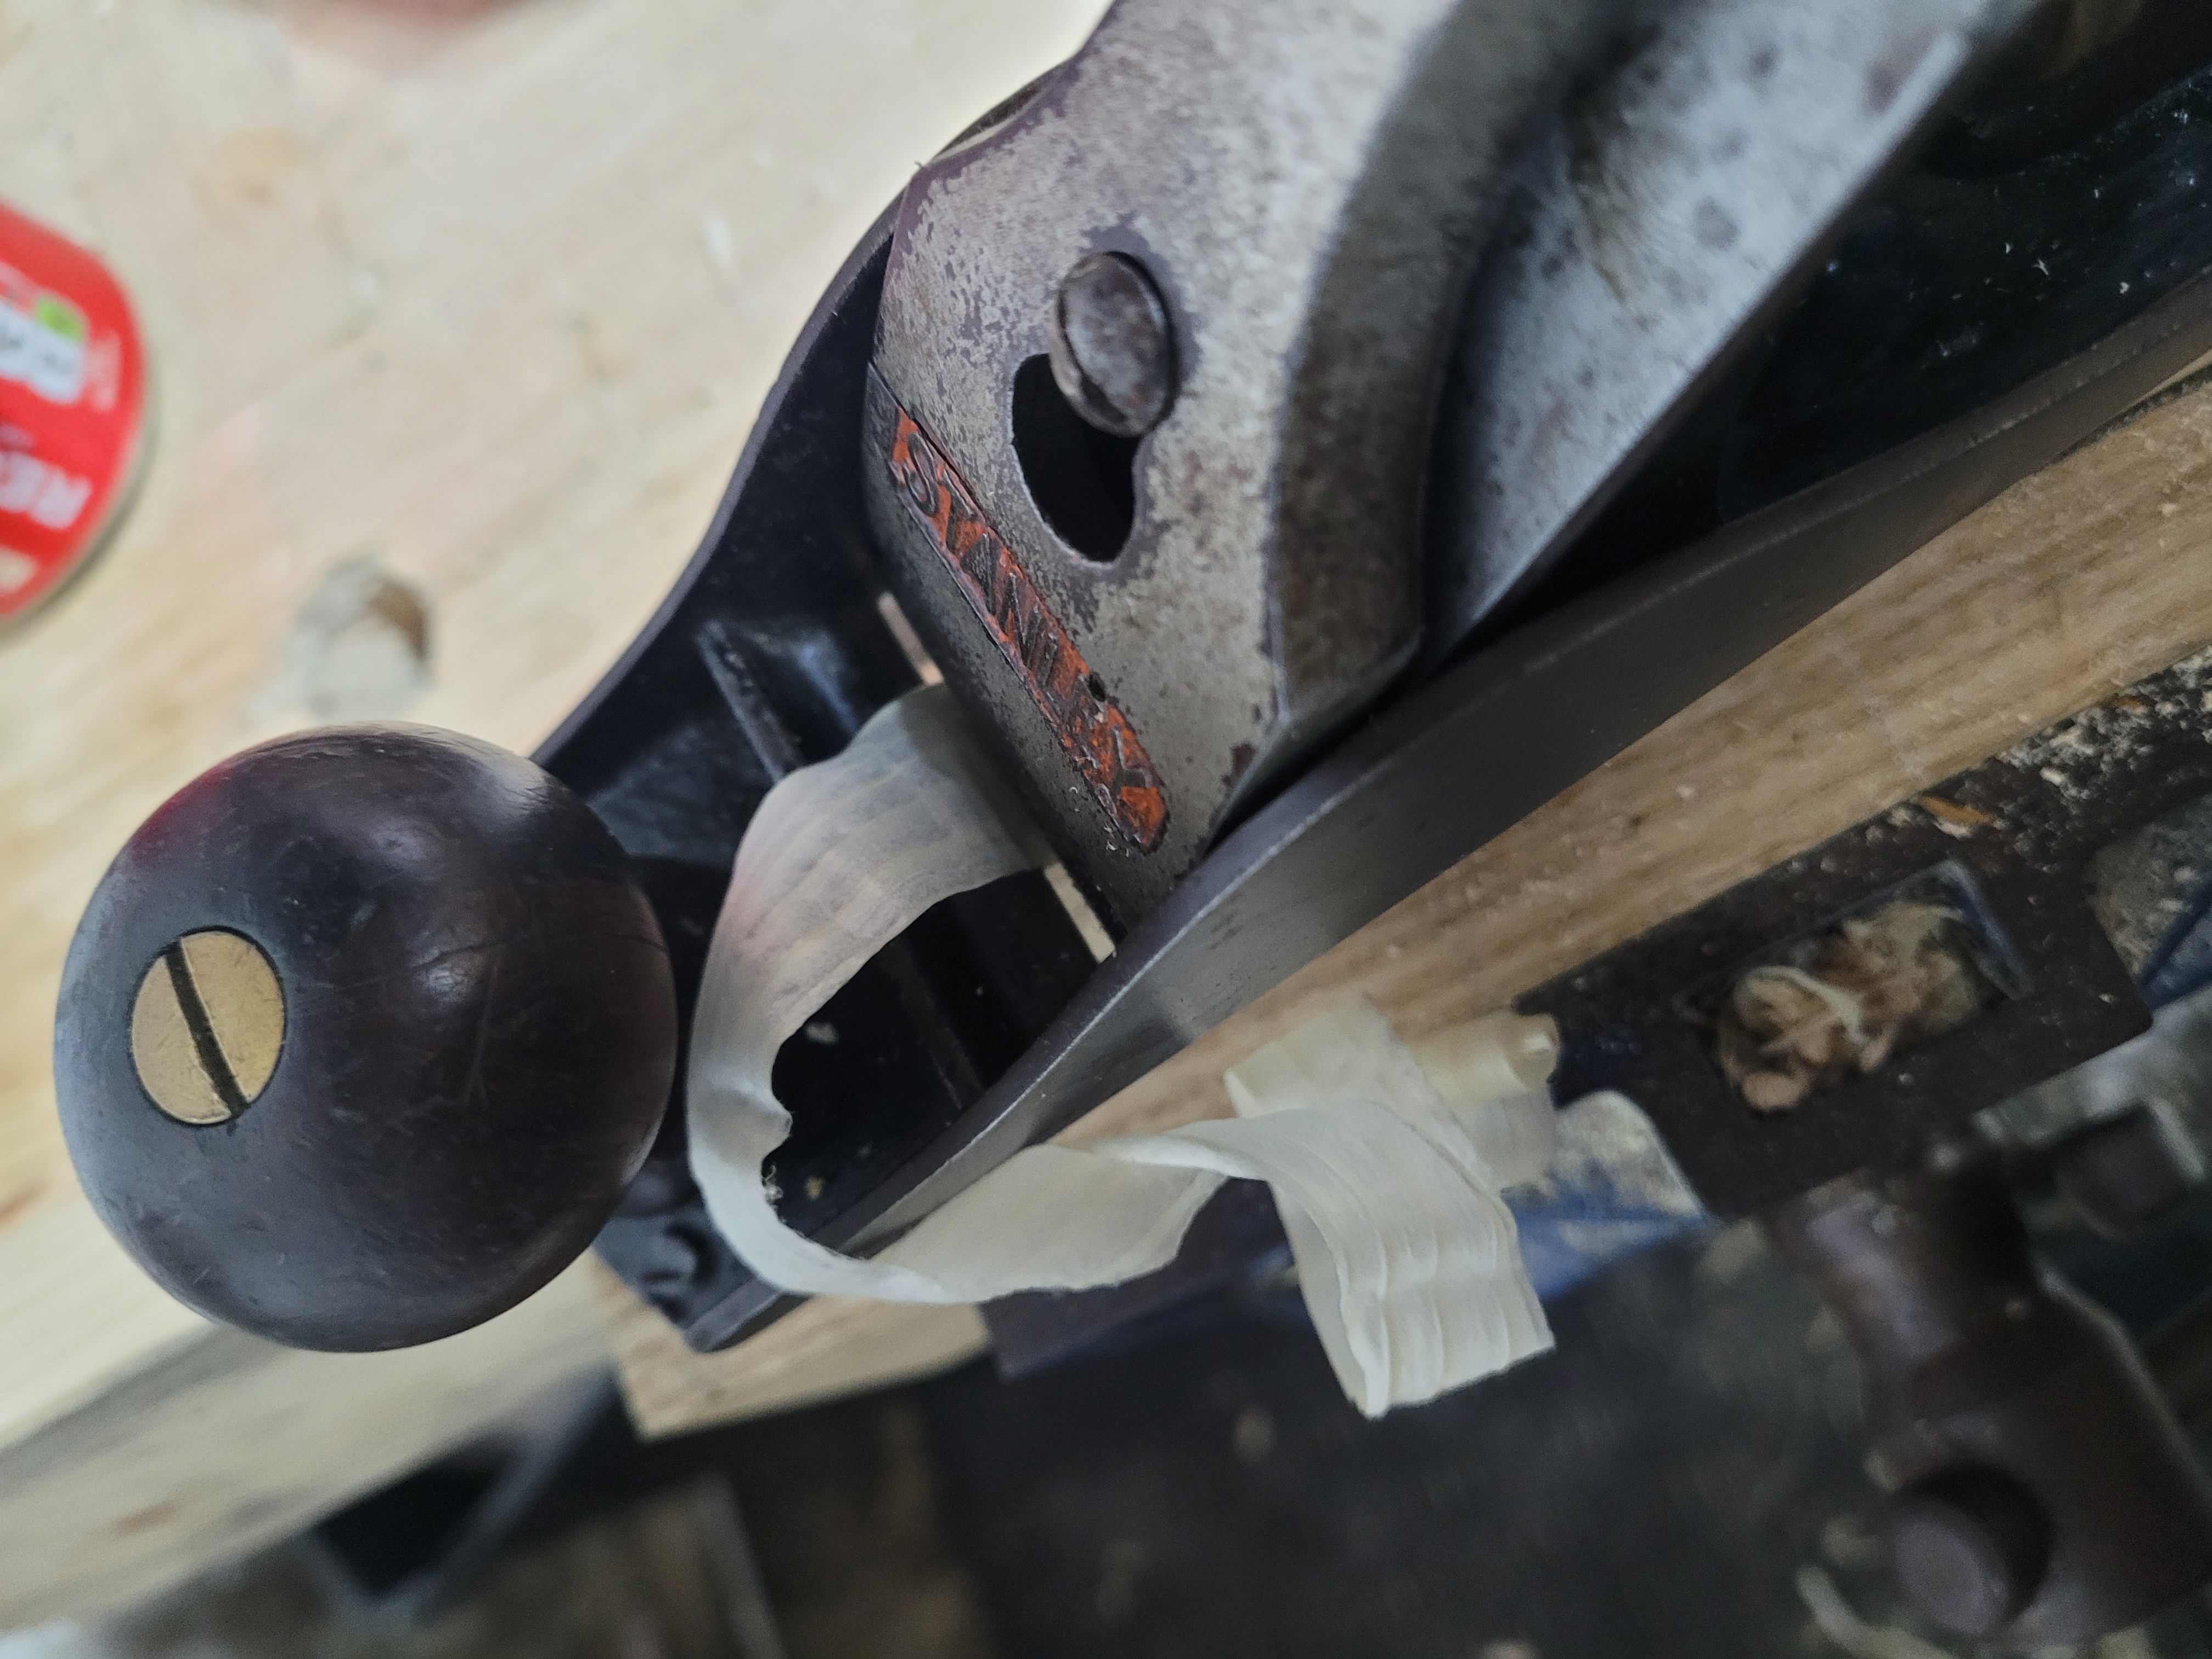
Let’s try it out, a fairly thick shaving comes out just fine.
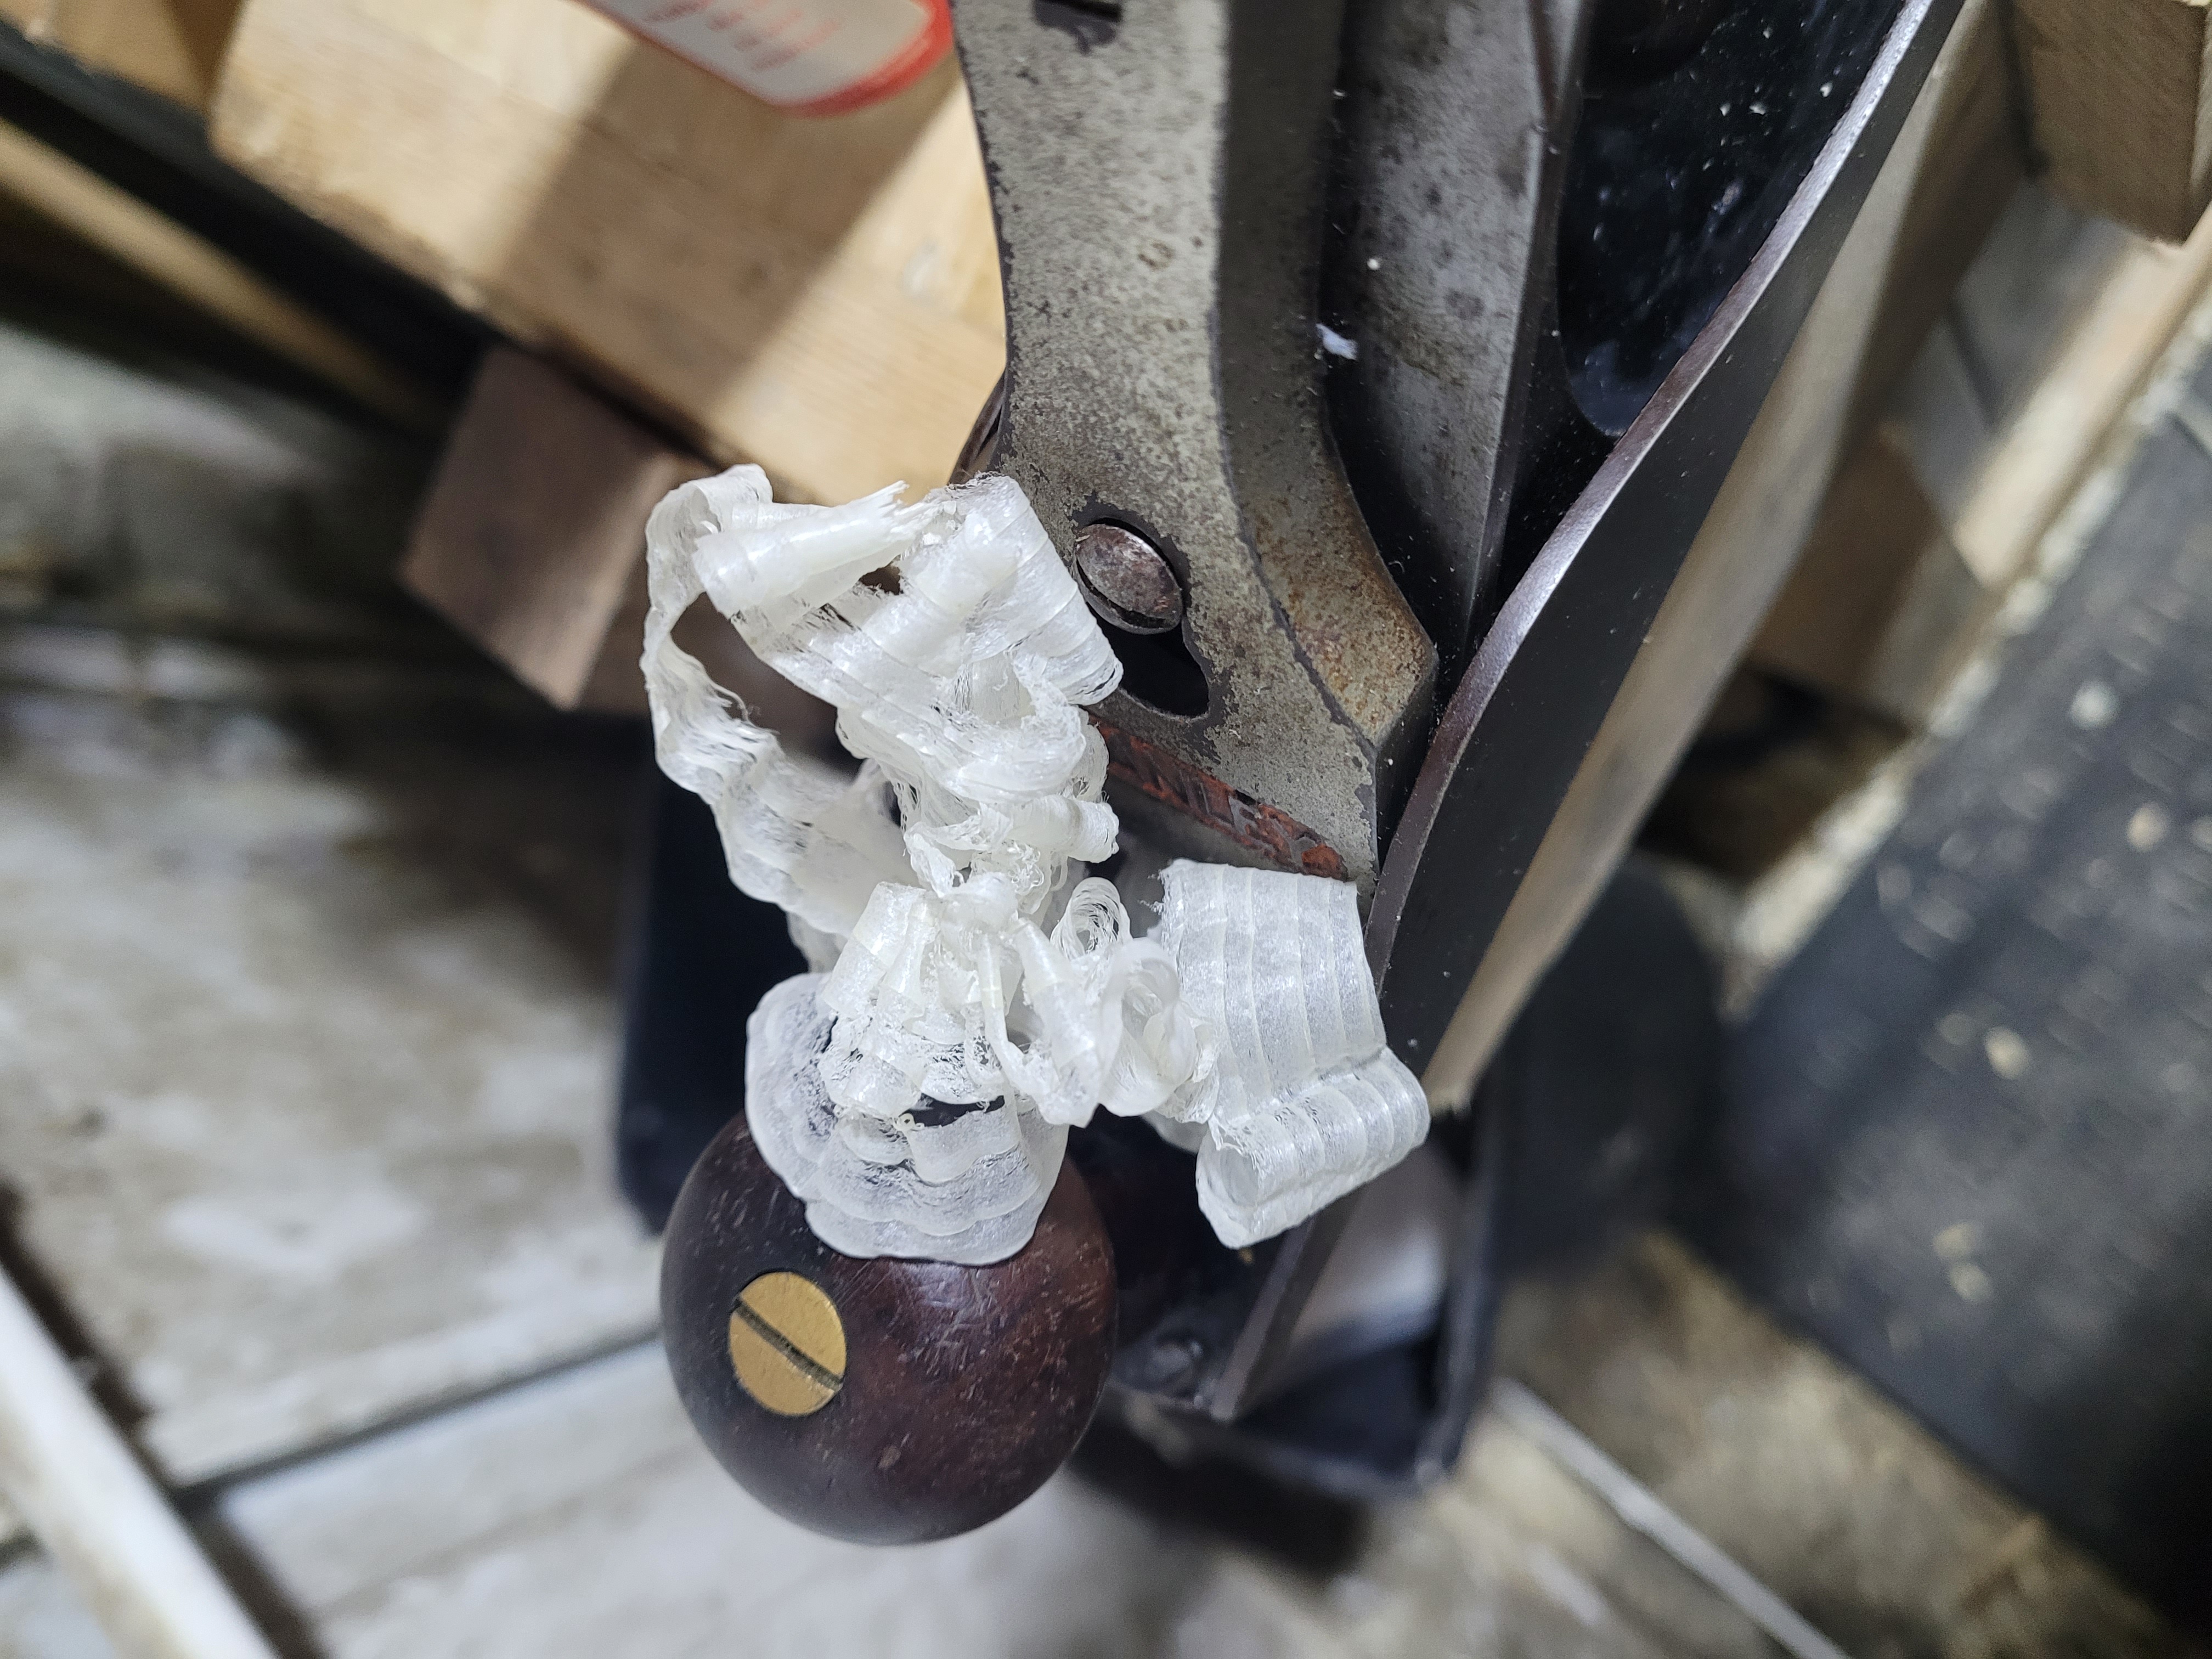
A decent light smoothing shaving gives us no problems.

Even very thin wispy shavings are coming out just fine.
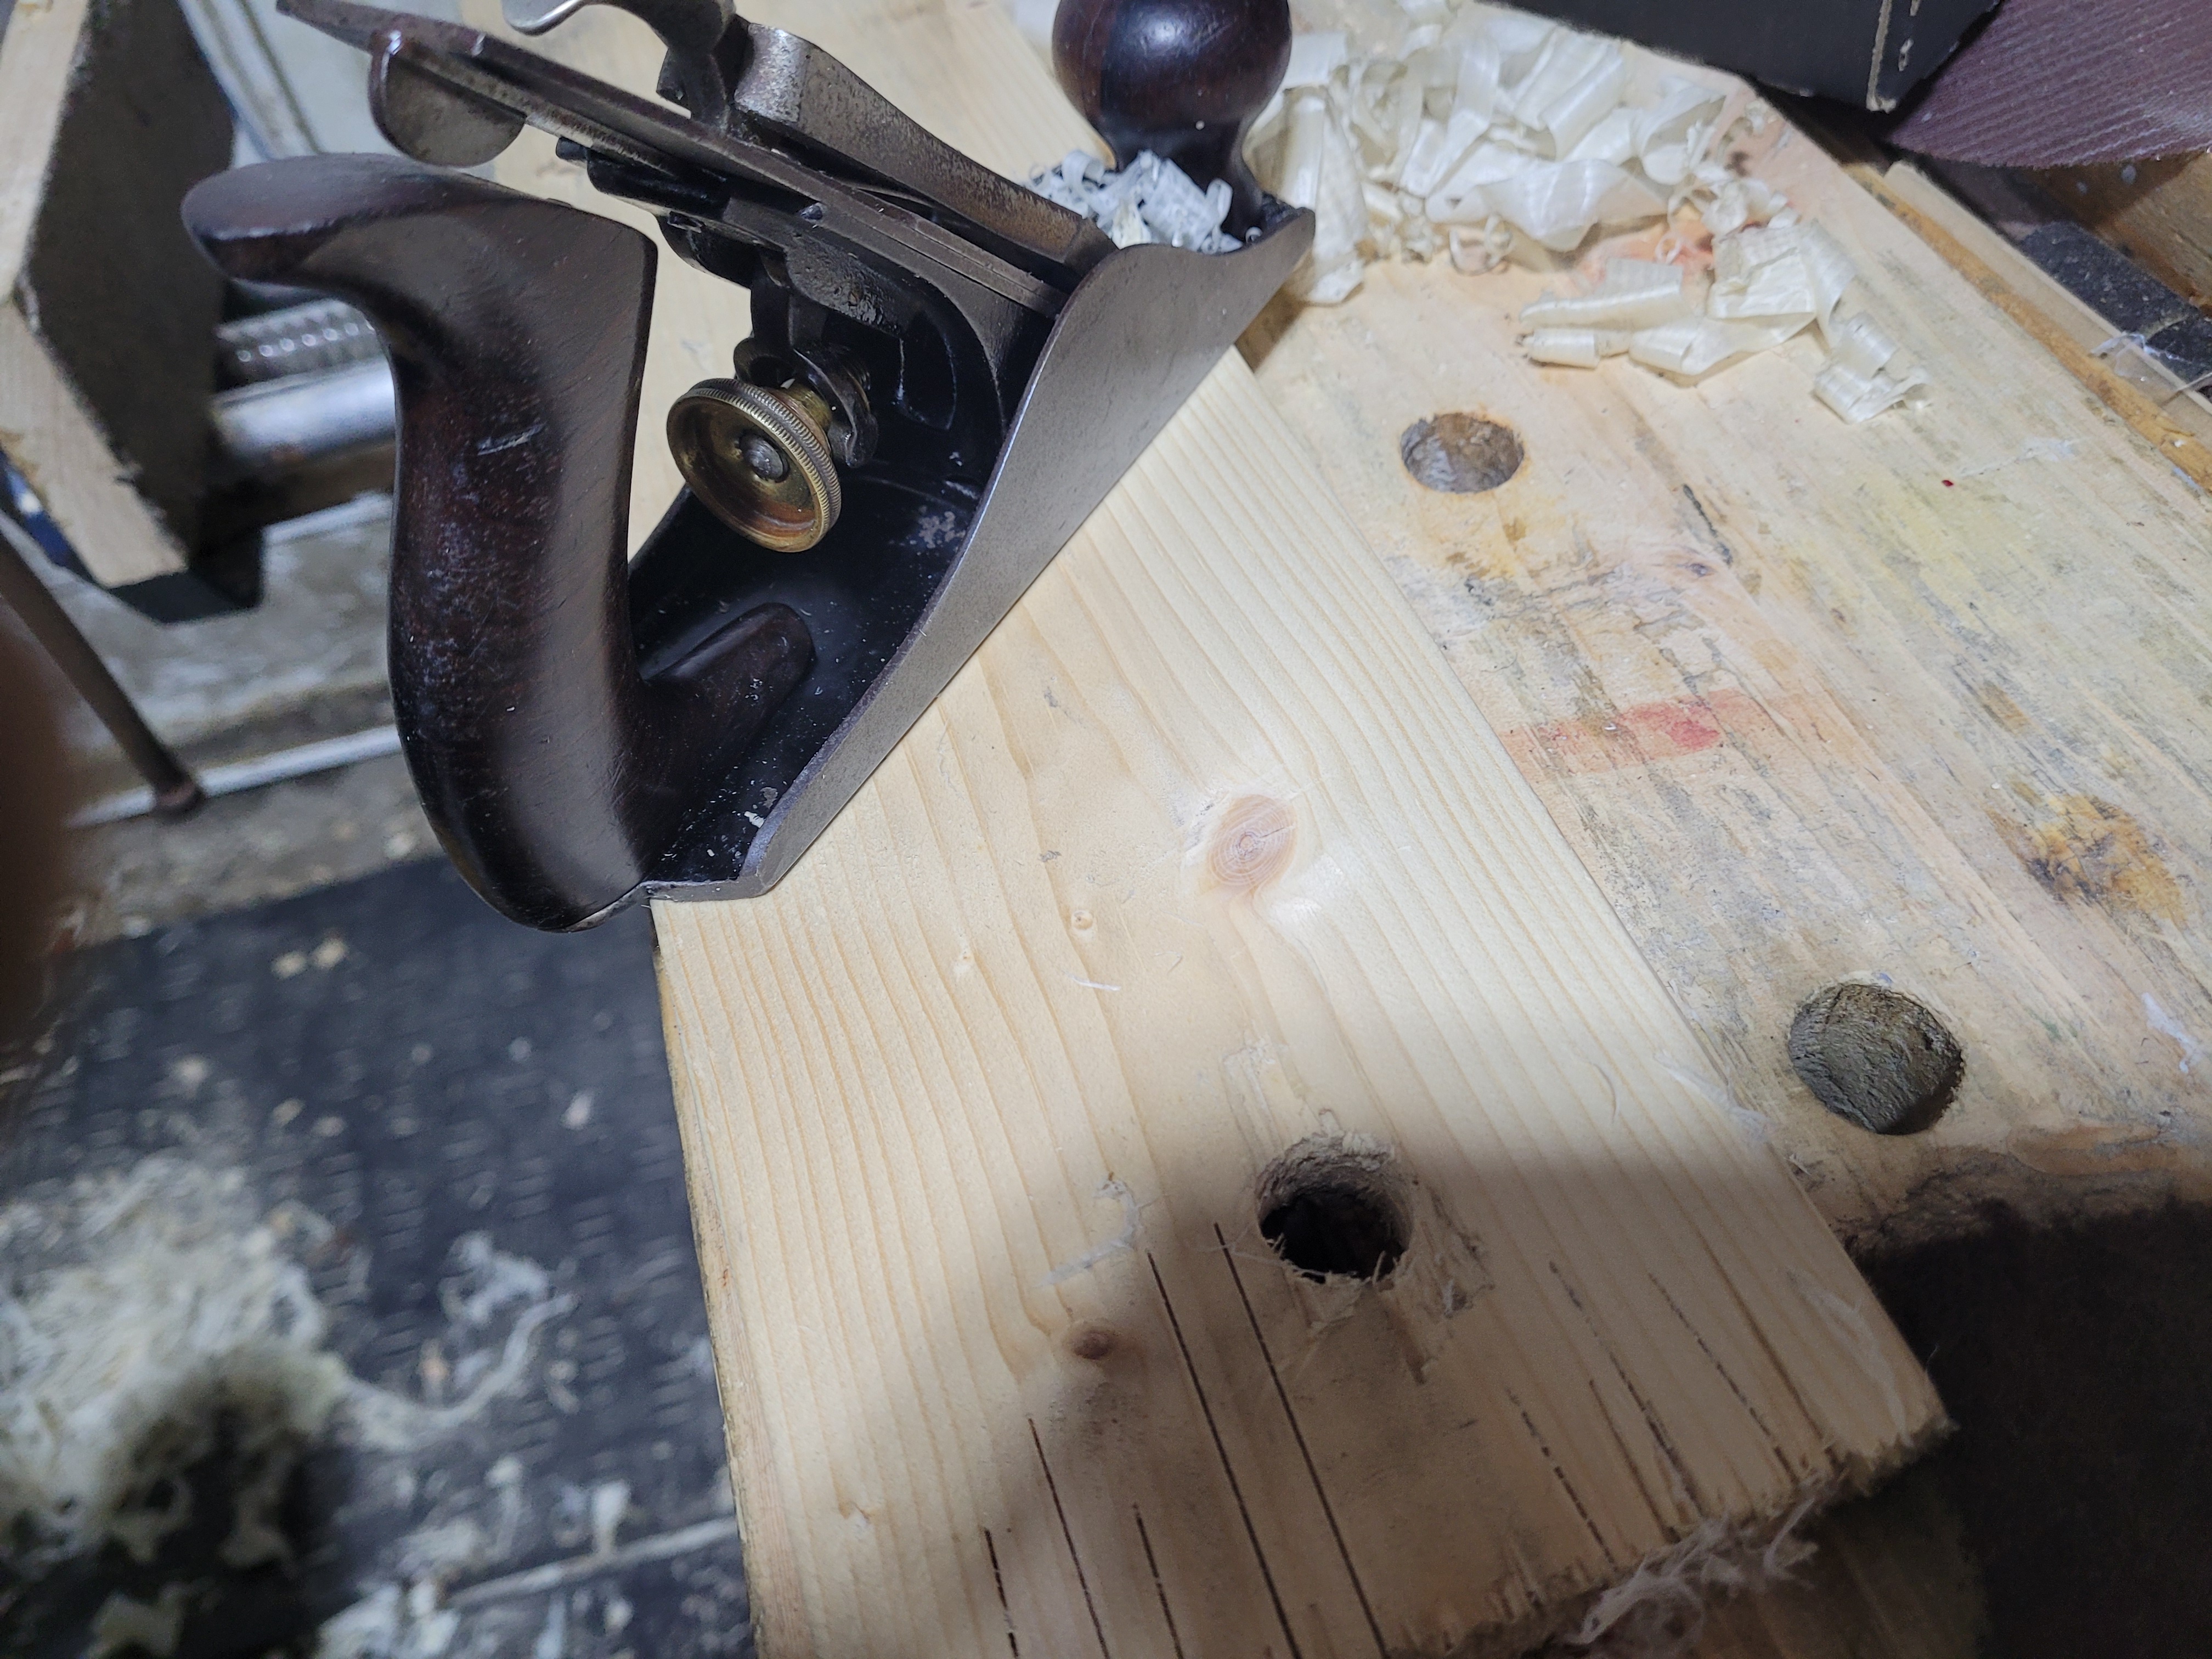
Finally plane a surface rather than an edge. Make sure you can take a smoothing shaving without leaving plane tracks. This is working great now. Back on the shelf for another few years of neglect.