Grinding Station
In a small workshop dedicated stations for tasks are simply not an option. My solution for tasks that really require it is a board and a cleat that can lock in my face vice. The board I created for my Grinder has gotten worn out. It was made of MDF, and the bolts where inset on the underside so the board could rest flat on the bench. Over time they had worn loose and now both my grinder and its stand wobbled madly in use.
This time I opted for a thick plywood board, with a scrap pine cleat. I also added two risers wider than the cleat on either side of the board I also added two risers wider than the cleat on either side of the board. The idea here is that I could simply run the bolts through from the underside without having to worry about them sticking out. I slightly messed up the layout, and wound up having to knock out two areas of riser to accommodate the tool rest.
This is as simple to make as can be. Just place the grinder and tool rest on the board, line them up where you want them. Mark around the bases with pencil and through the bolt holes. Then drill your holes. Mount the parts and you are good to go.
When its time to use the grinder, I just lift the entire board off a shelf, drop it in my face vice and get to work.
I have a machinists vice I use in a similar way. Its mounted on a similar board and cleat set up. I use it for metal work, or when I want to hold something high off the bench. Just like the grinder, it gets lifted out, dropped in the face vice and used, before going back in its storage spot.
If there is a piece of hardware like this, that you dearly want, but don’t know where to keep it, maybe this will help. See the photos below for a few details.
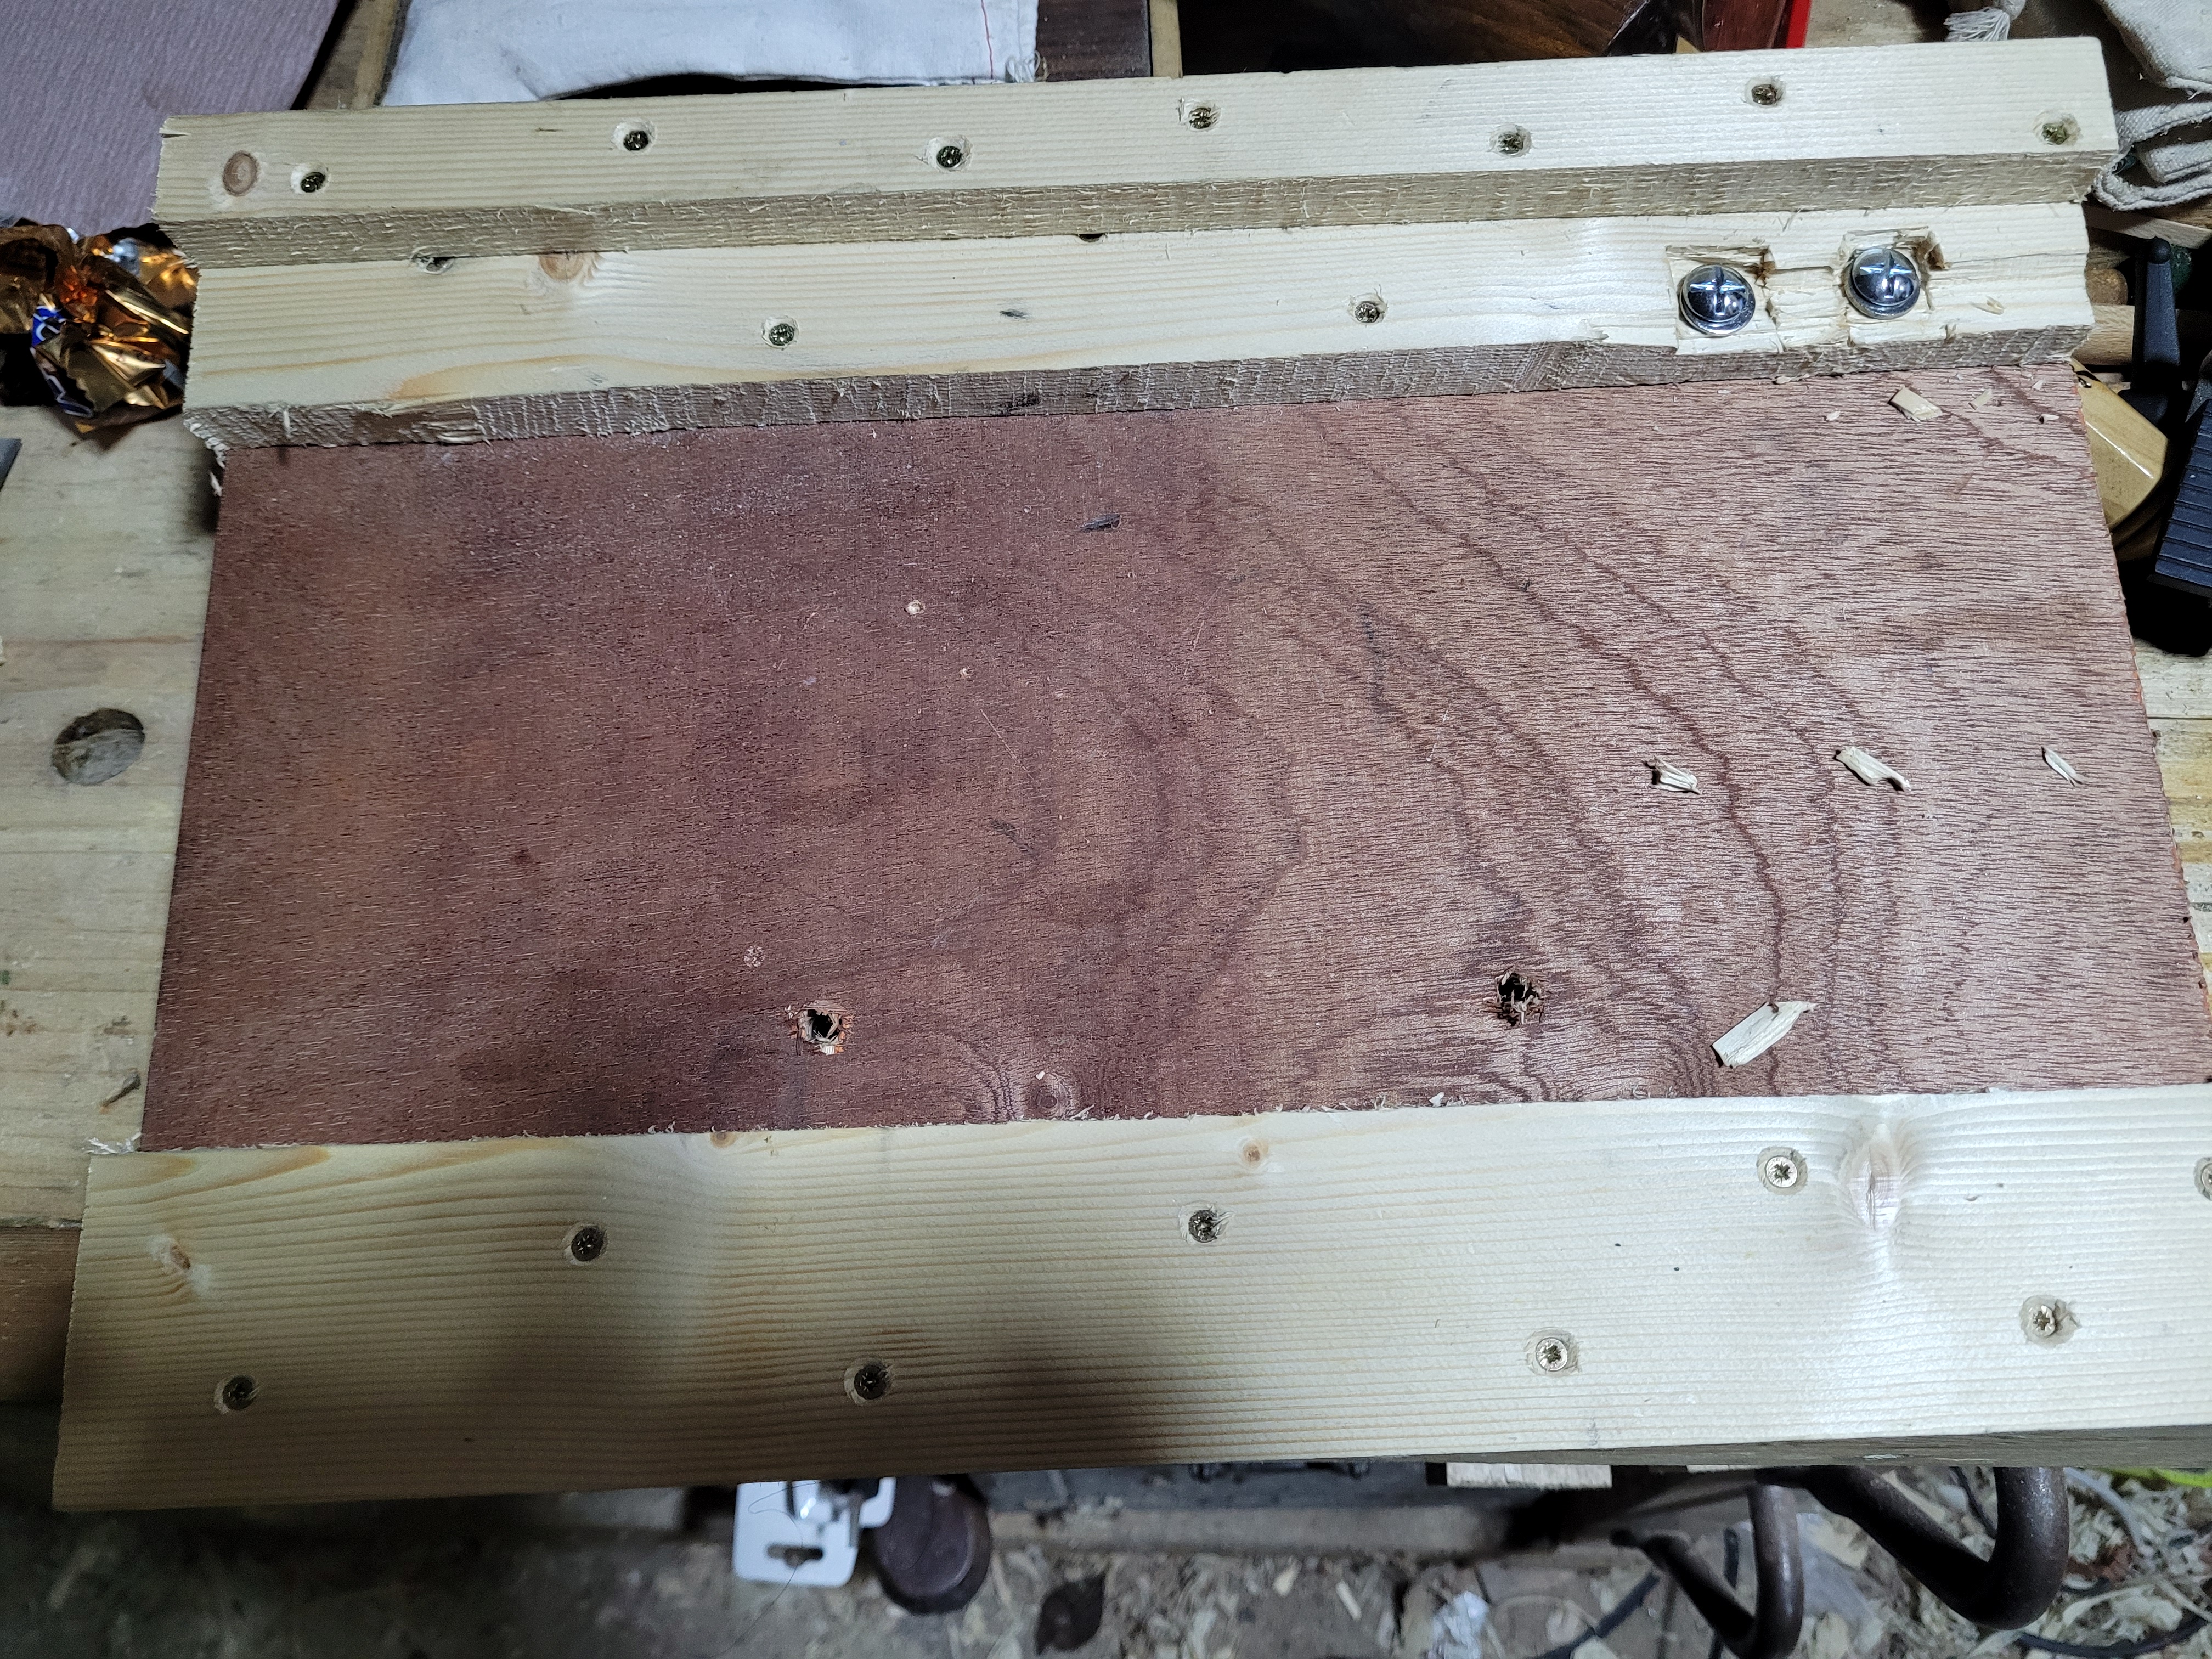
The underside. No need for the risers to be neat, I just quickly ripped them, then screwed them on with a staggered pattern of screws. The screws are all countersunk to avoid them scratching up the bench. Up top you can see where I quickly chiseled out some waste so the tool rest bolts could reach the tool rest.
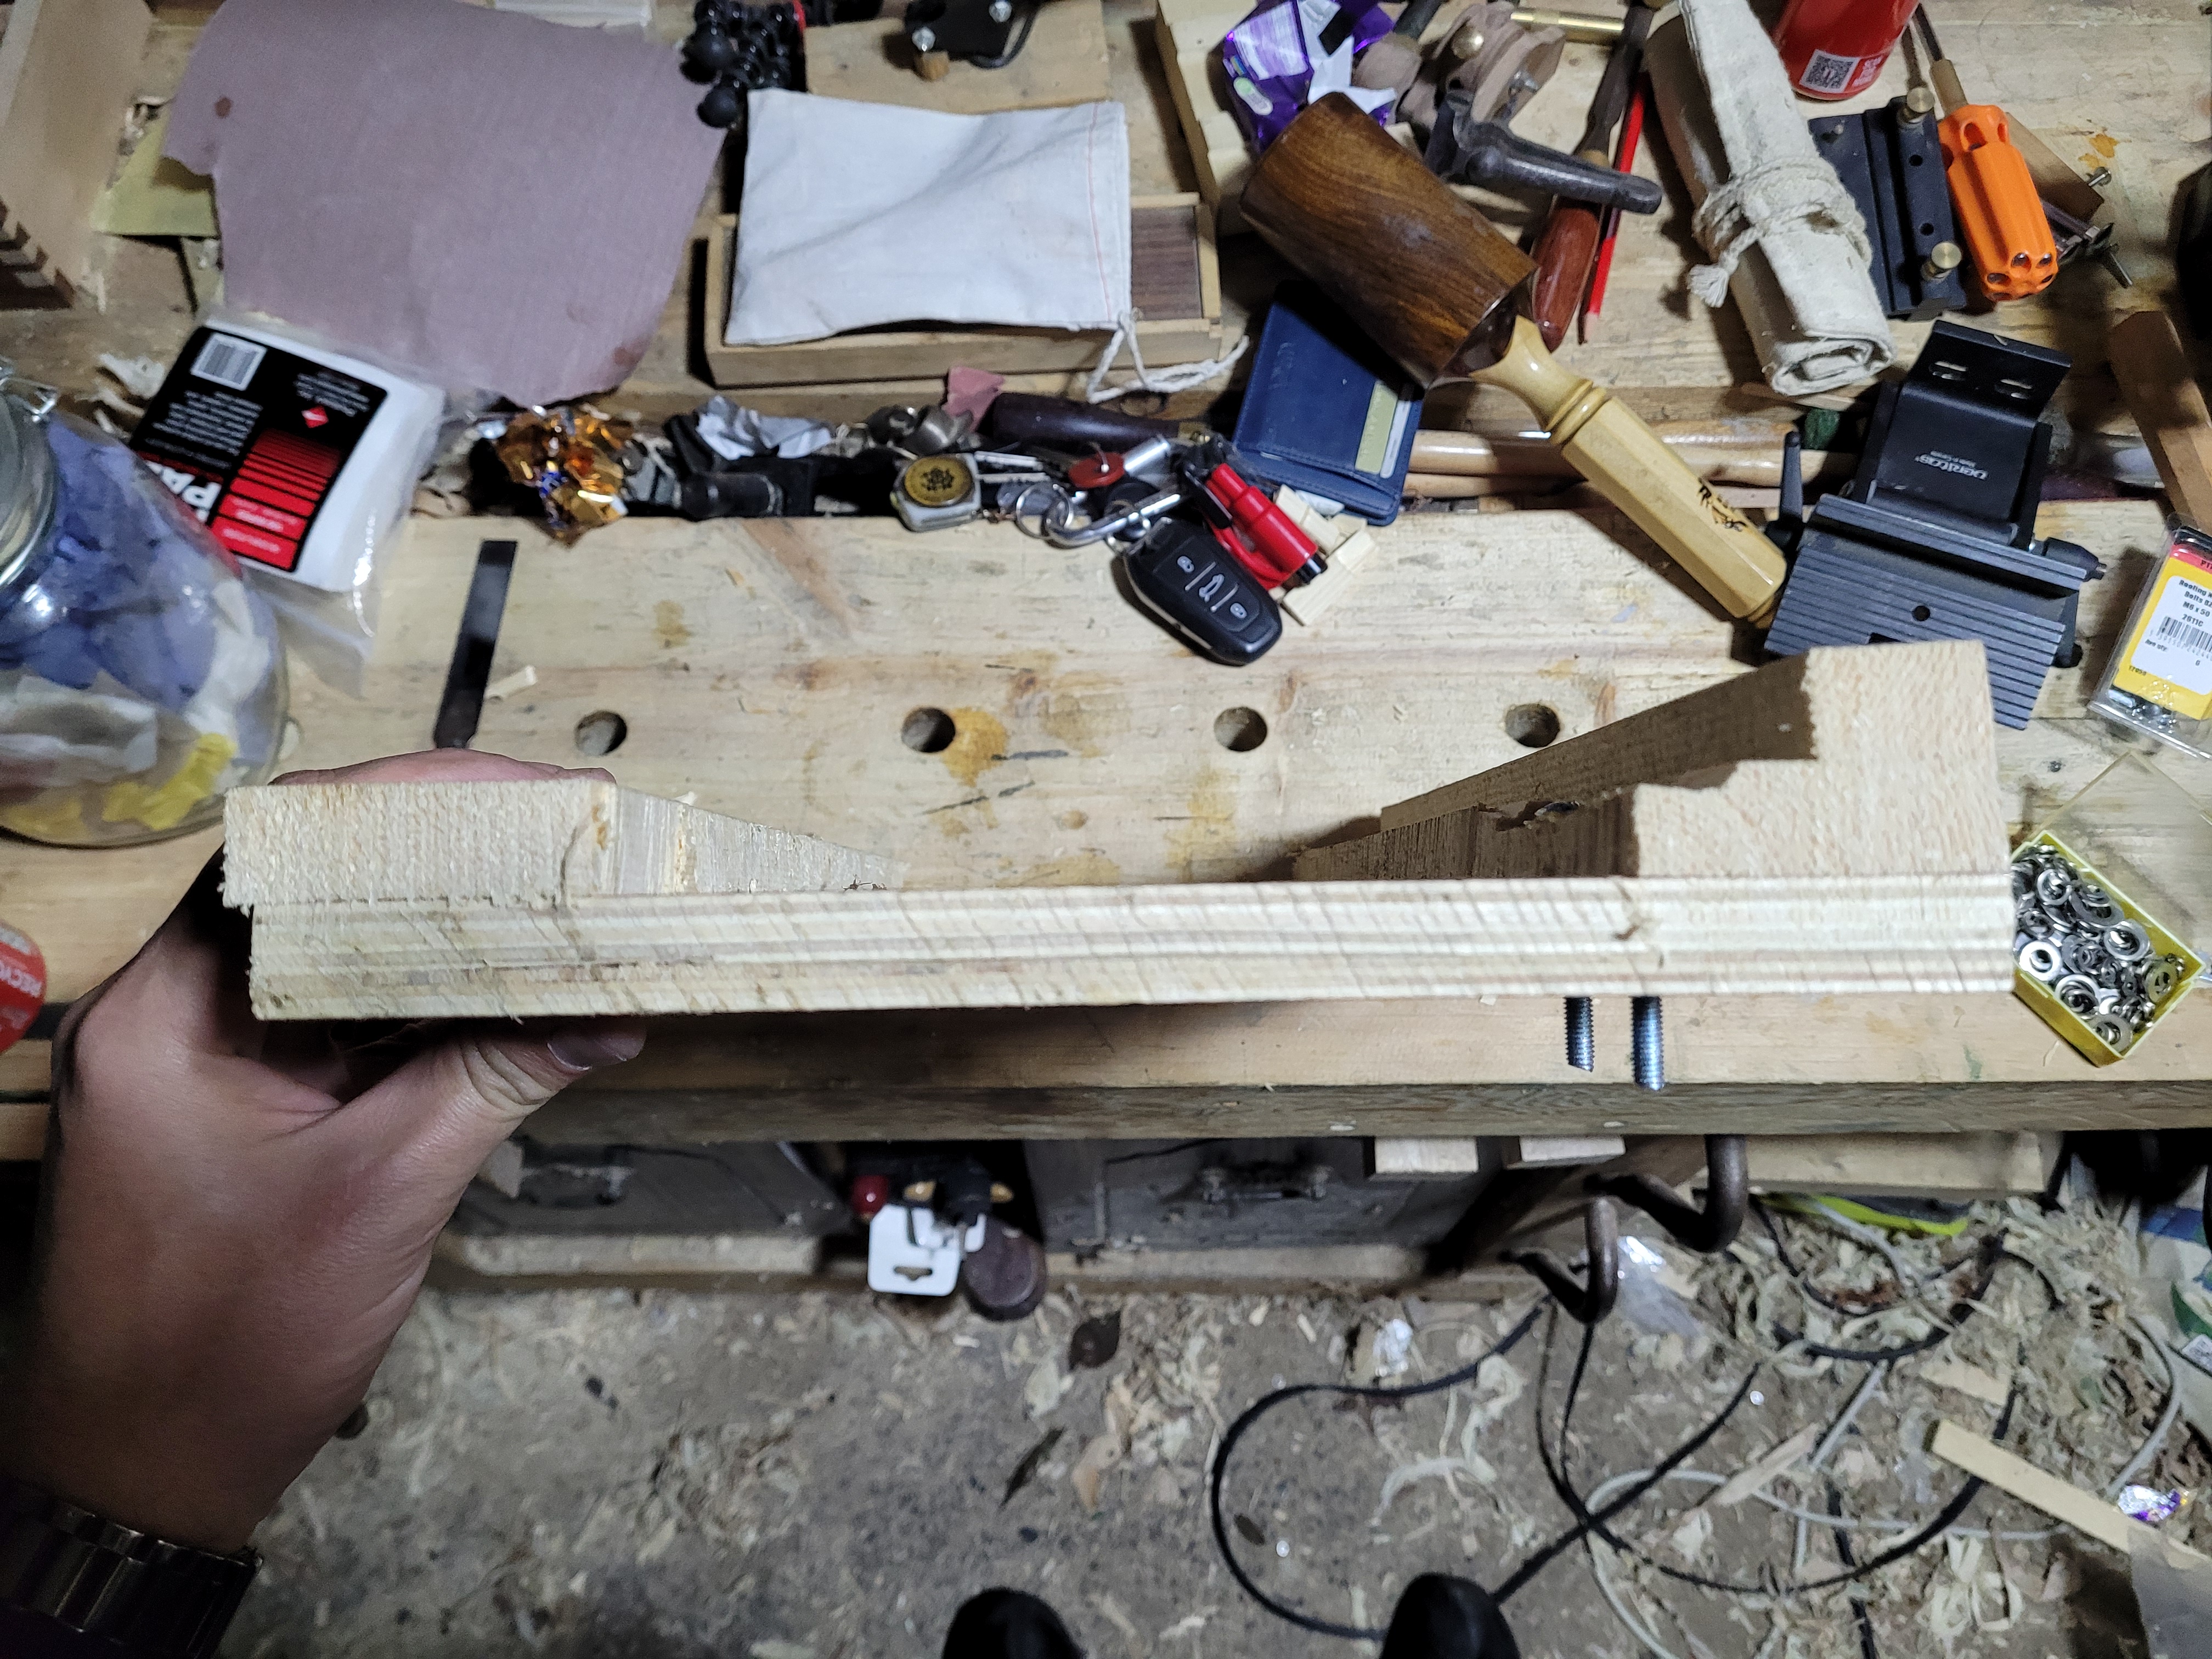
From the side, the two risers will rest on the bench, the cleat will hold it in the nice.
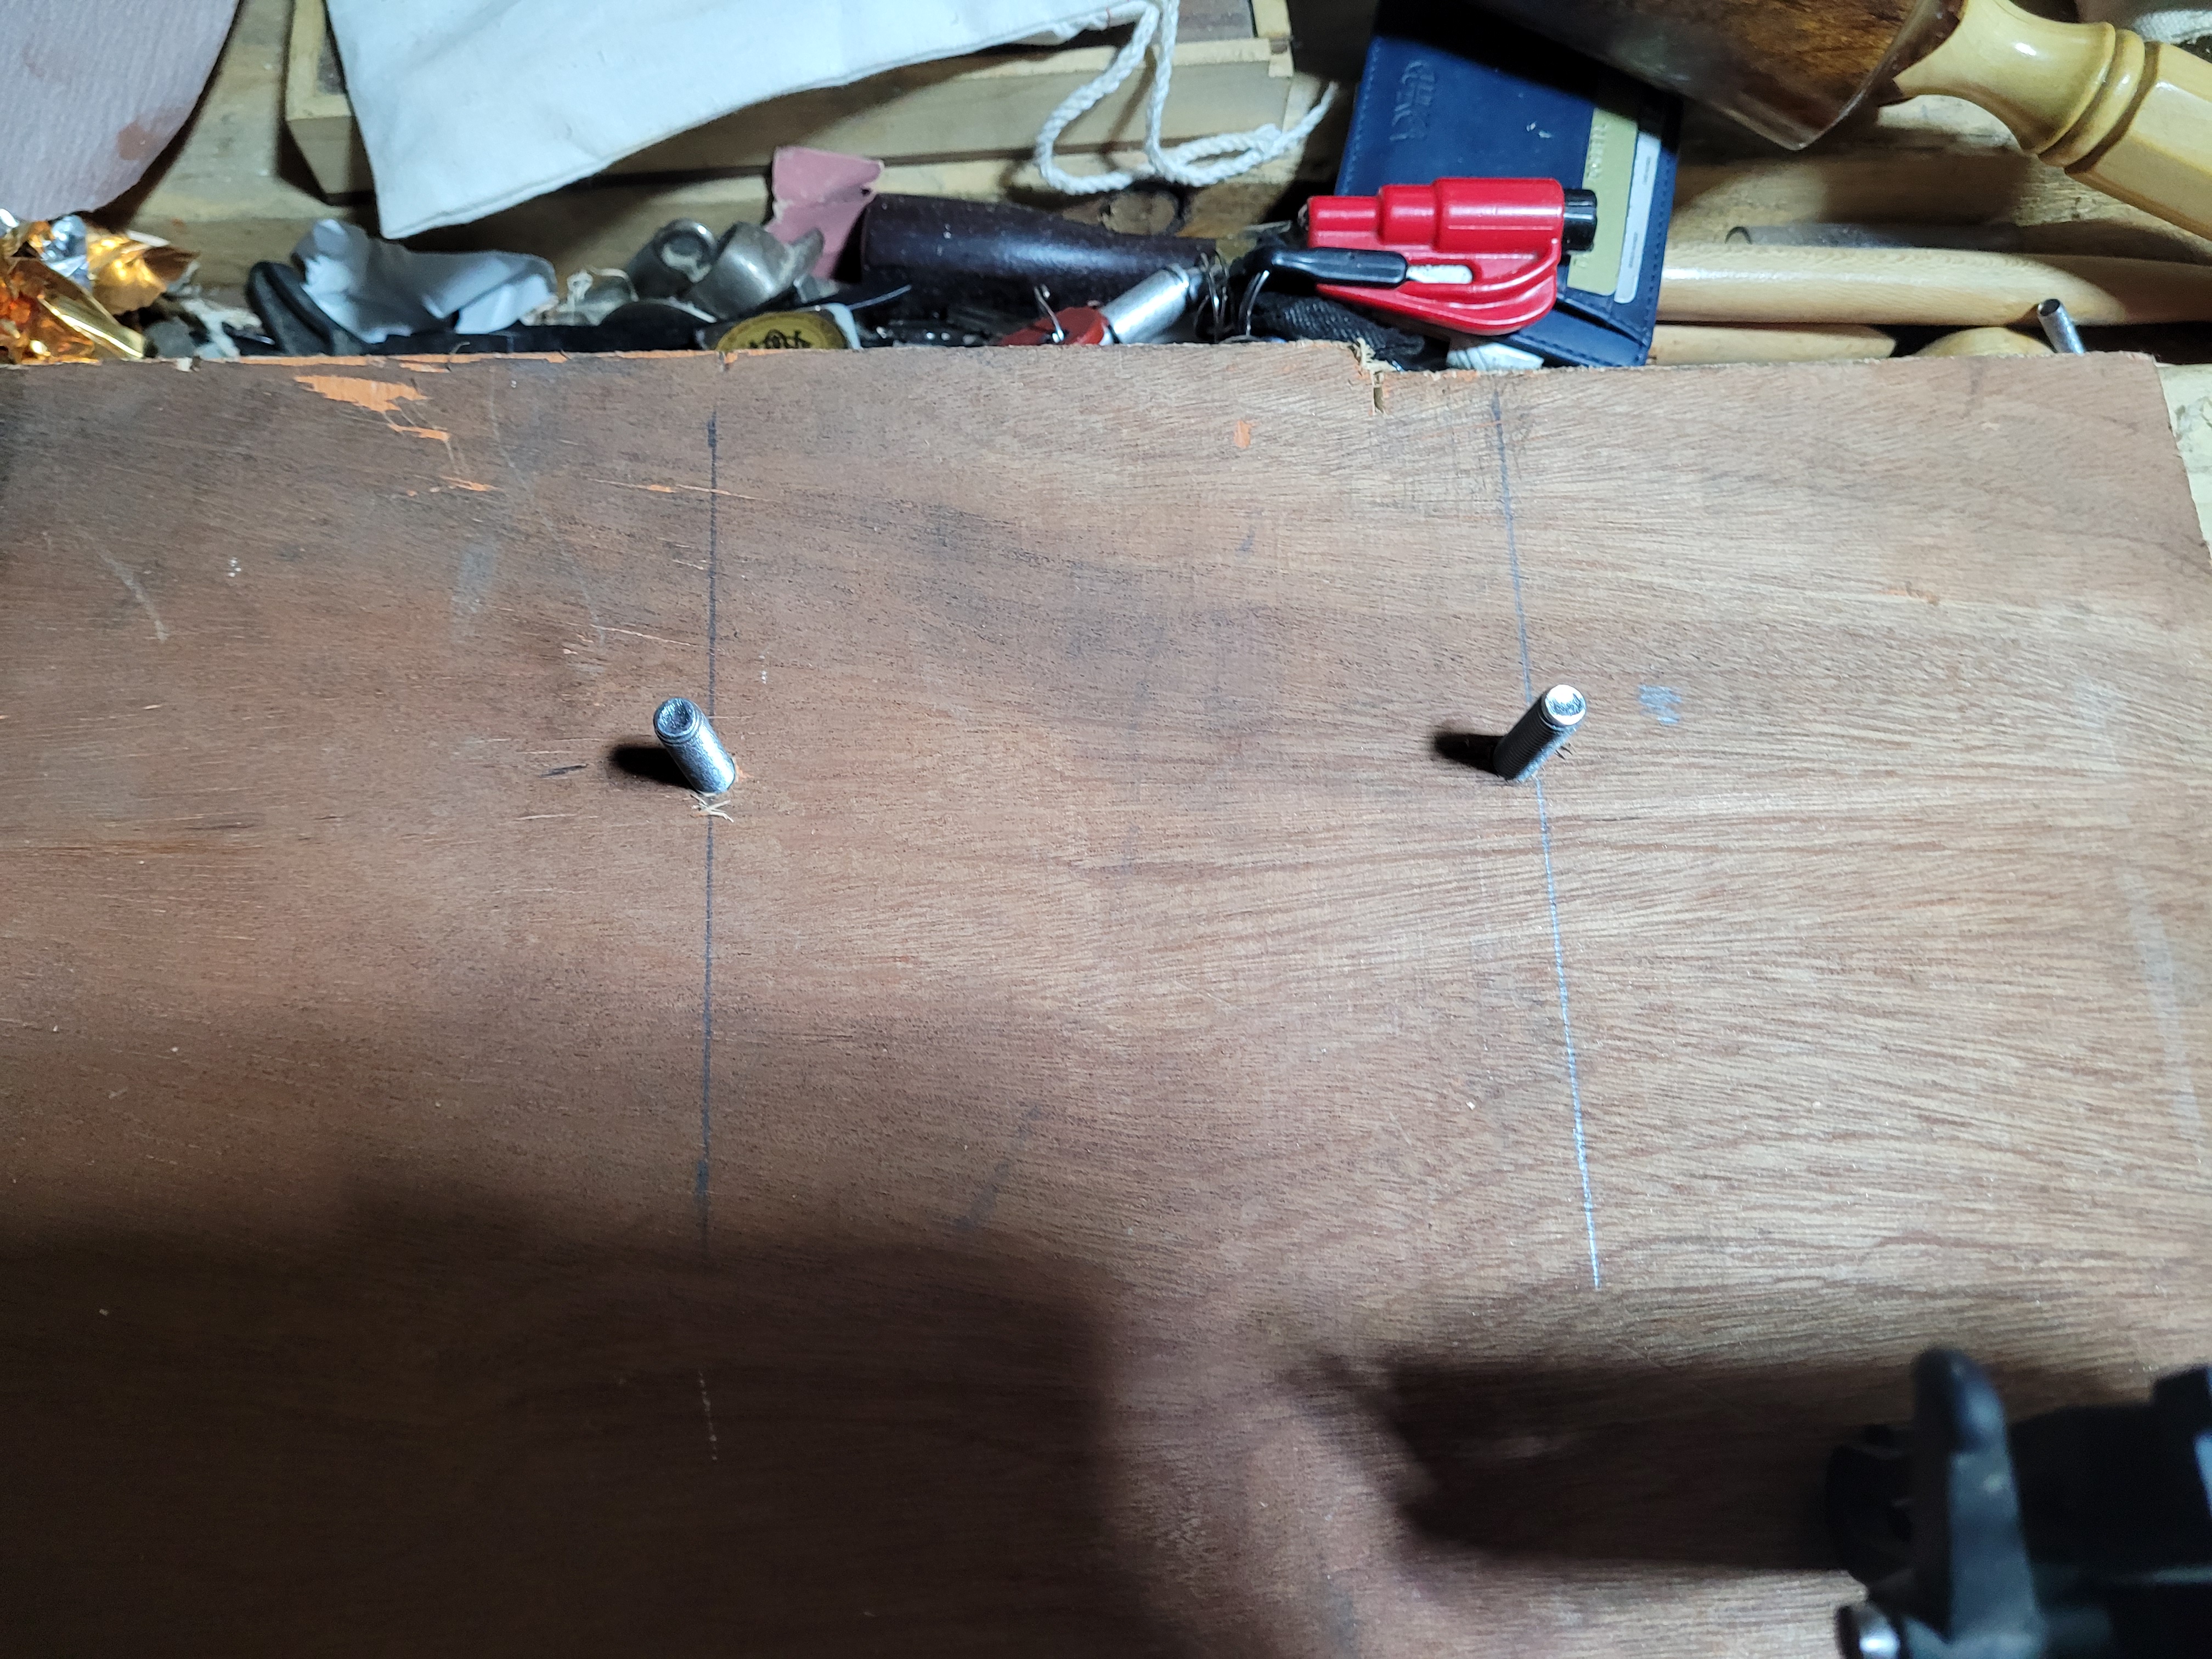
Take your time laying out the screw holes. If your table is not lined up well with the wheel, it will be a major pain.
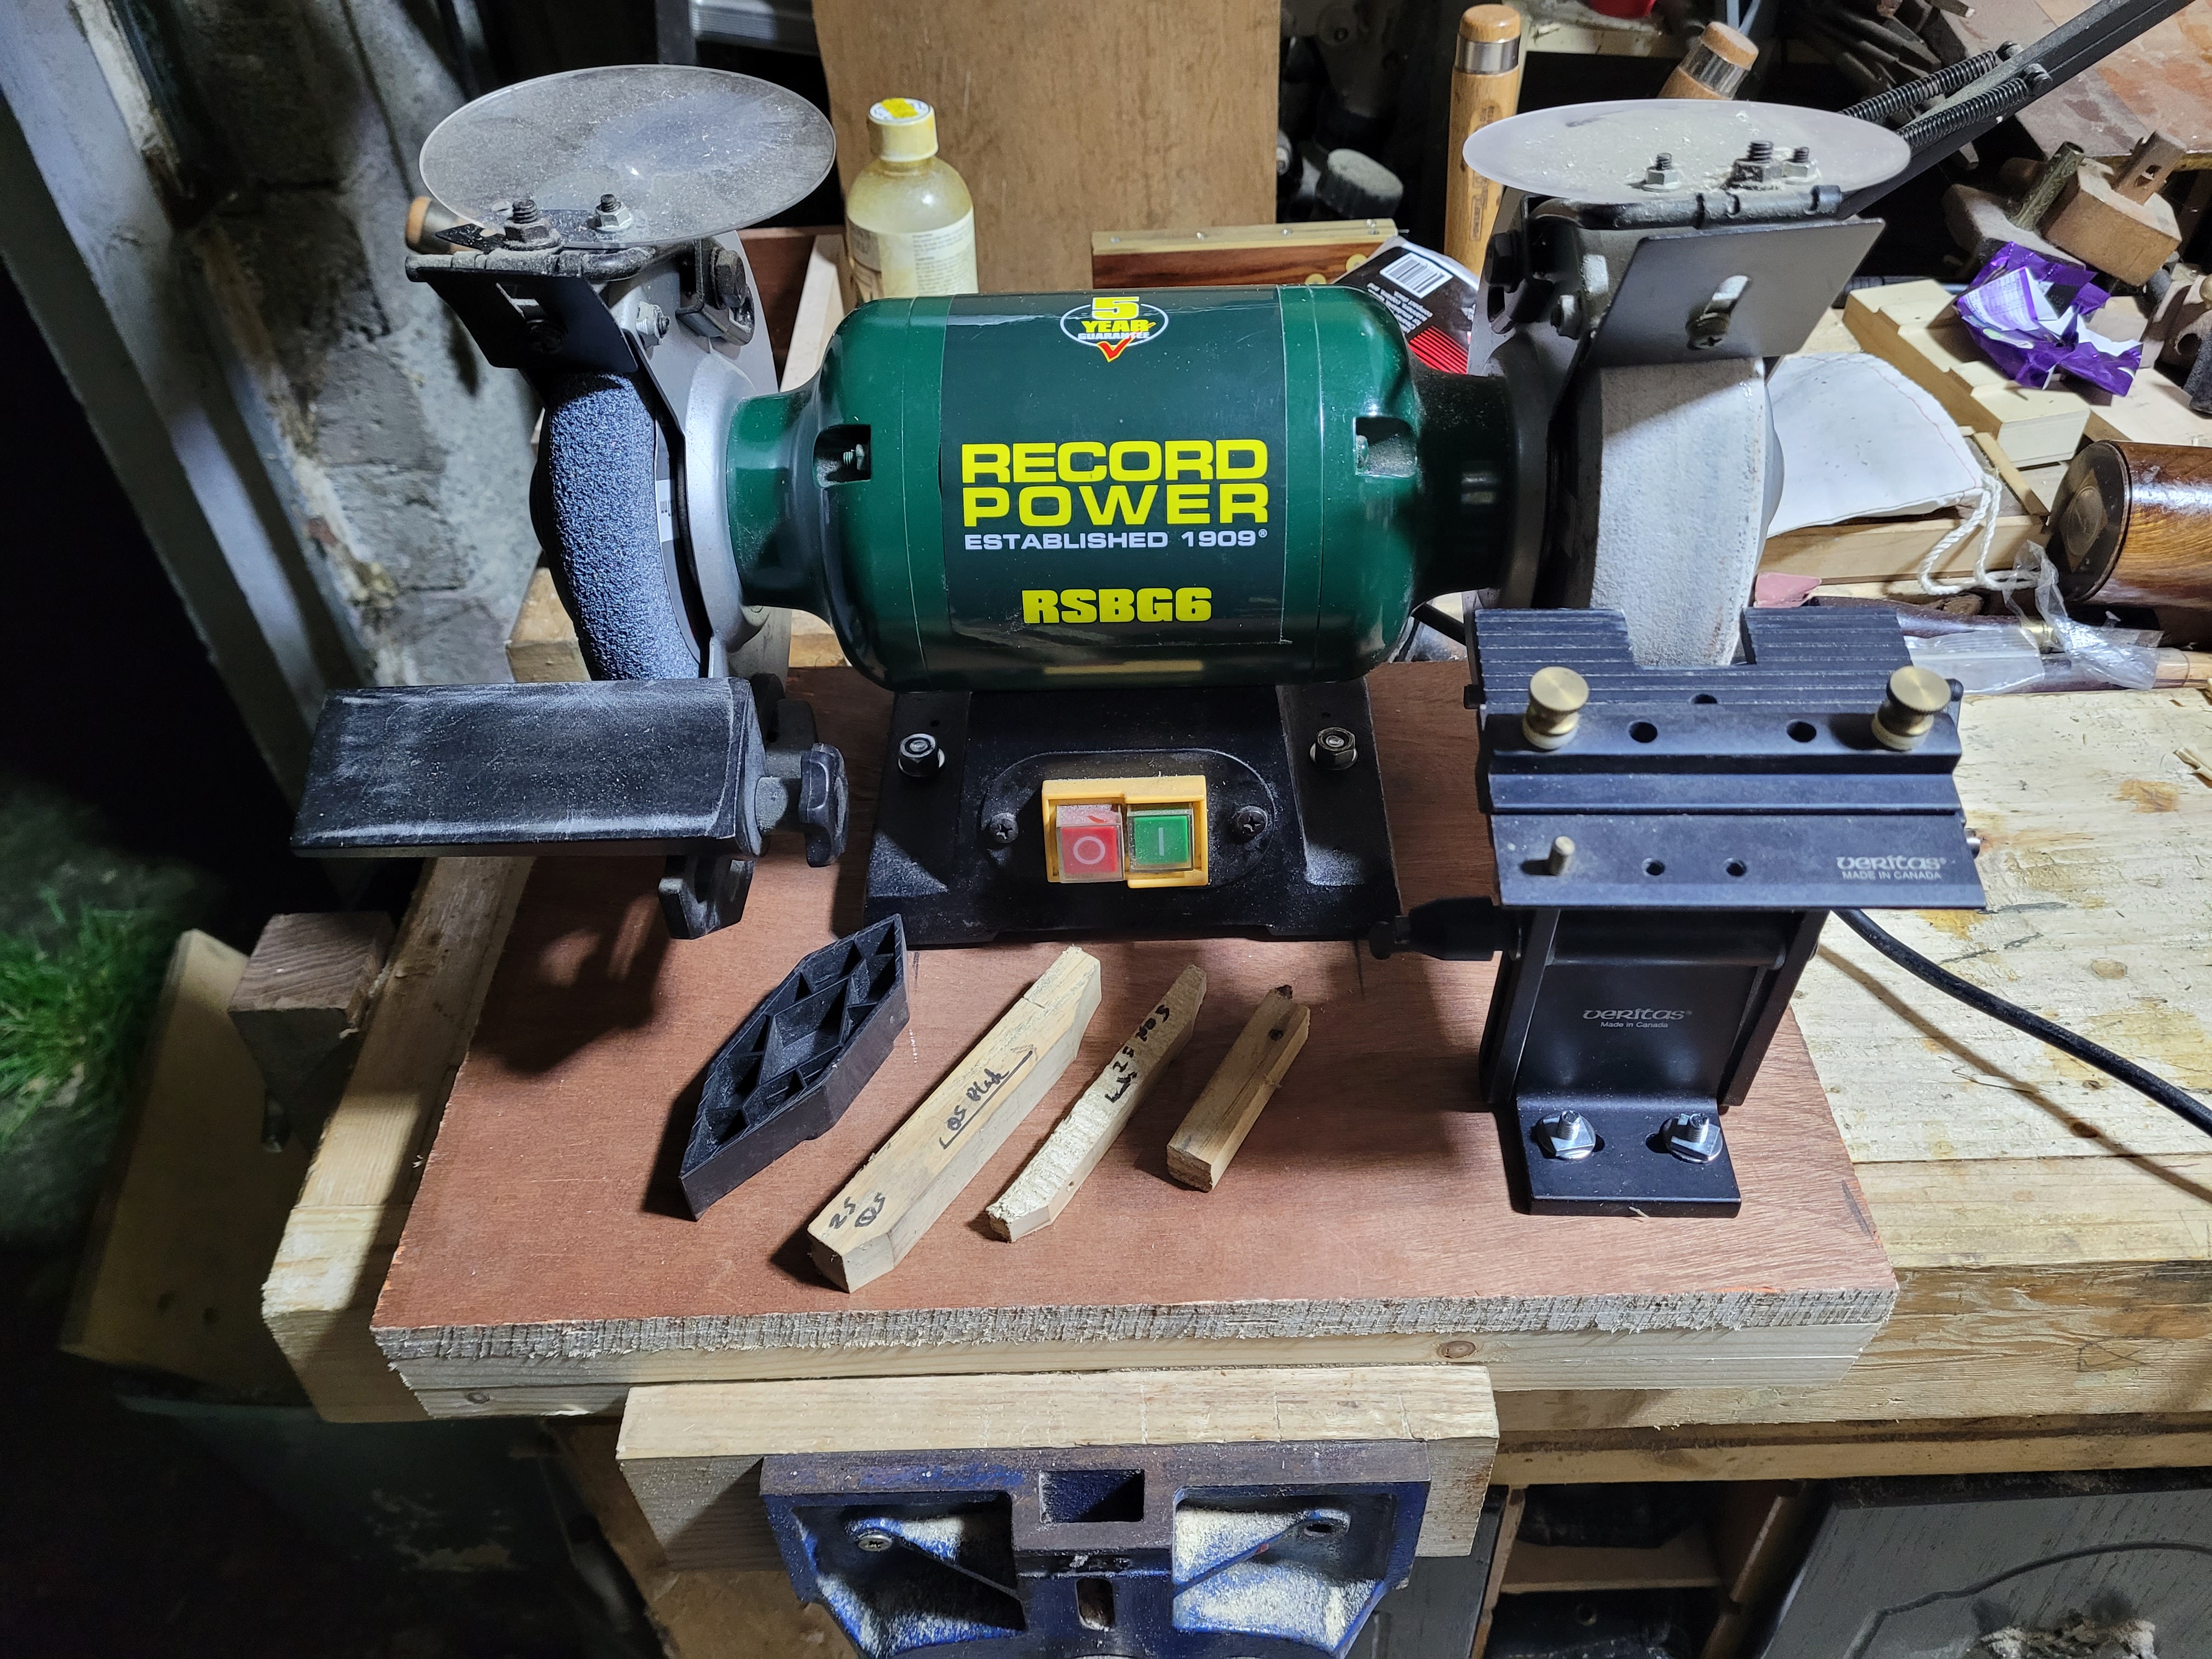
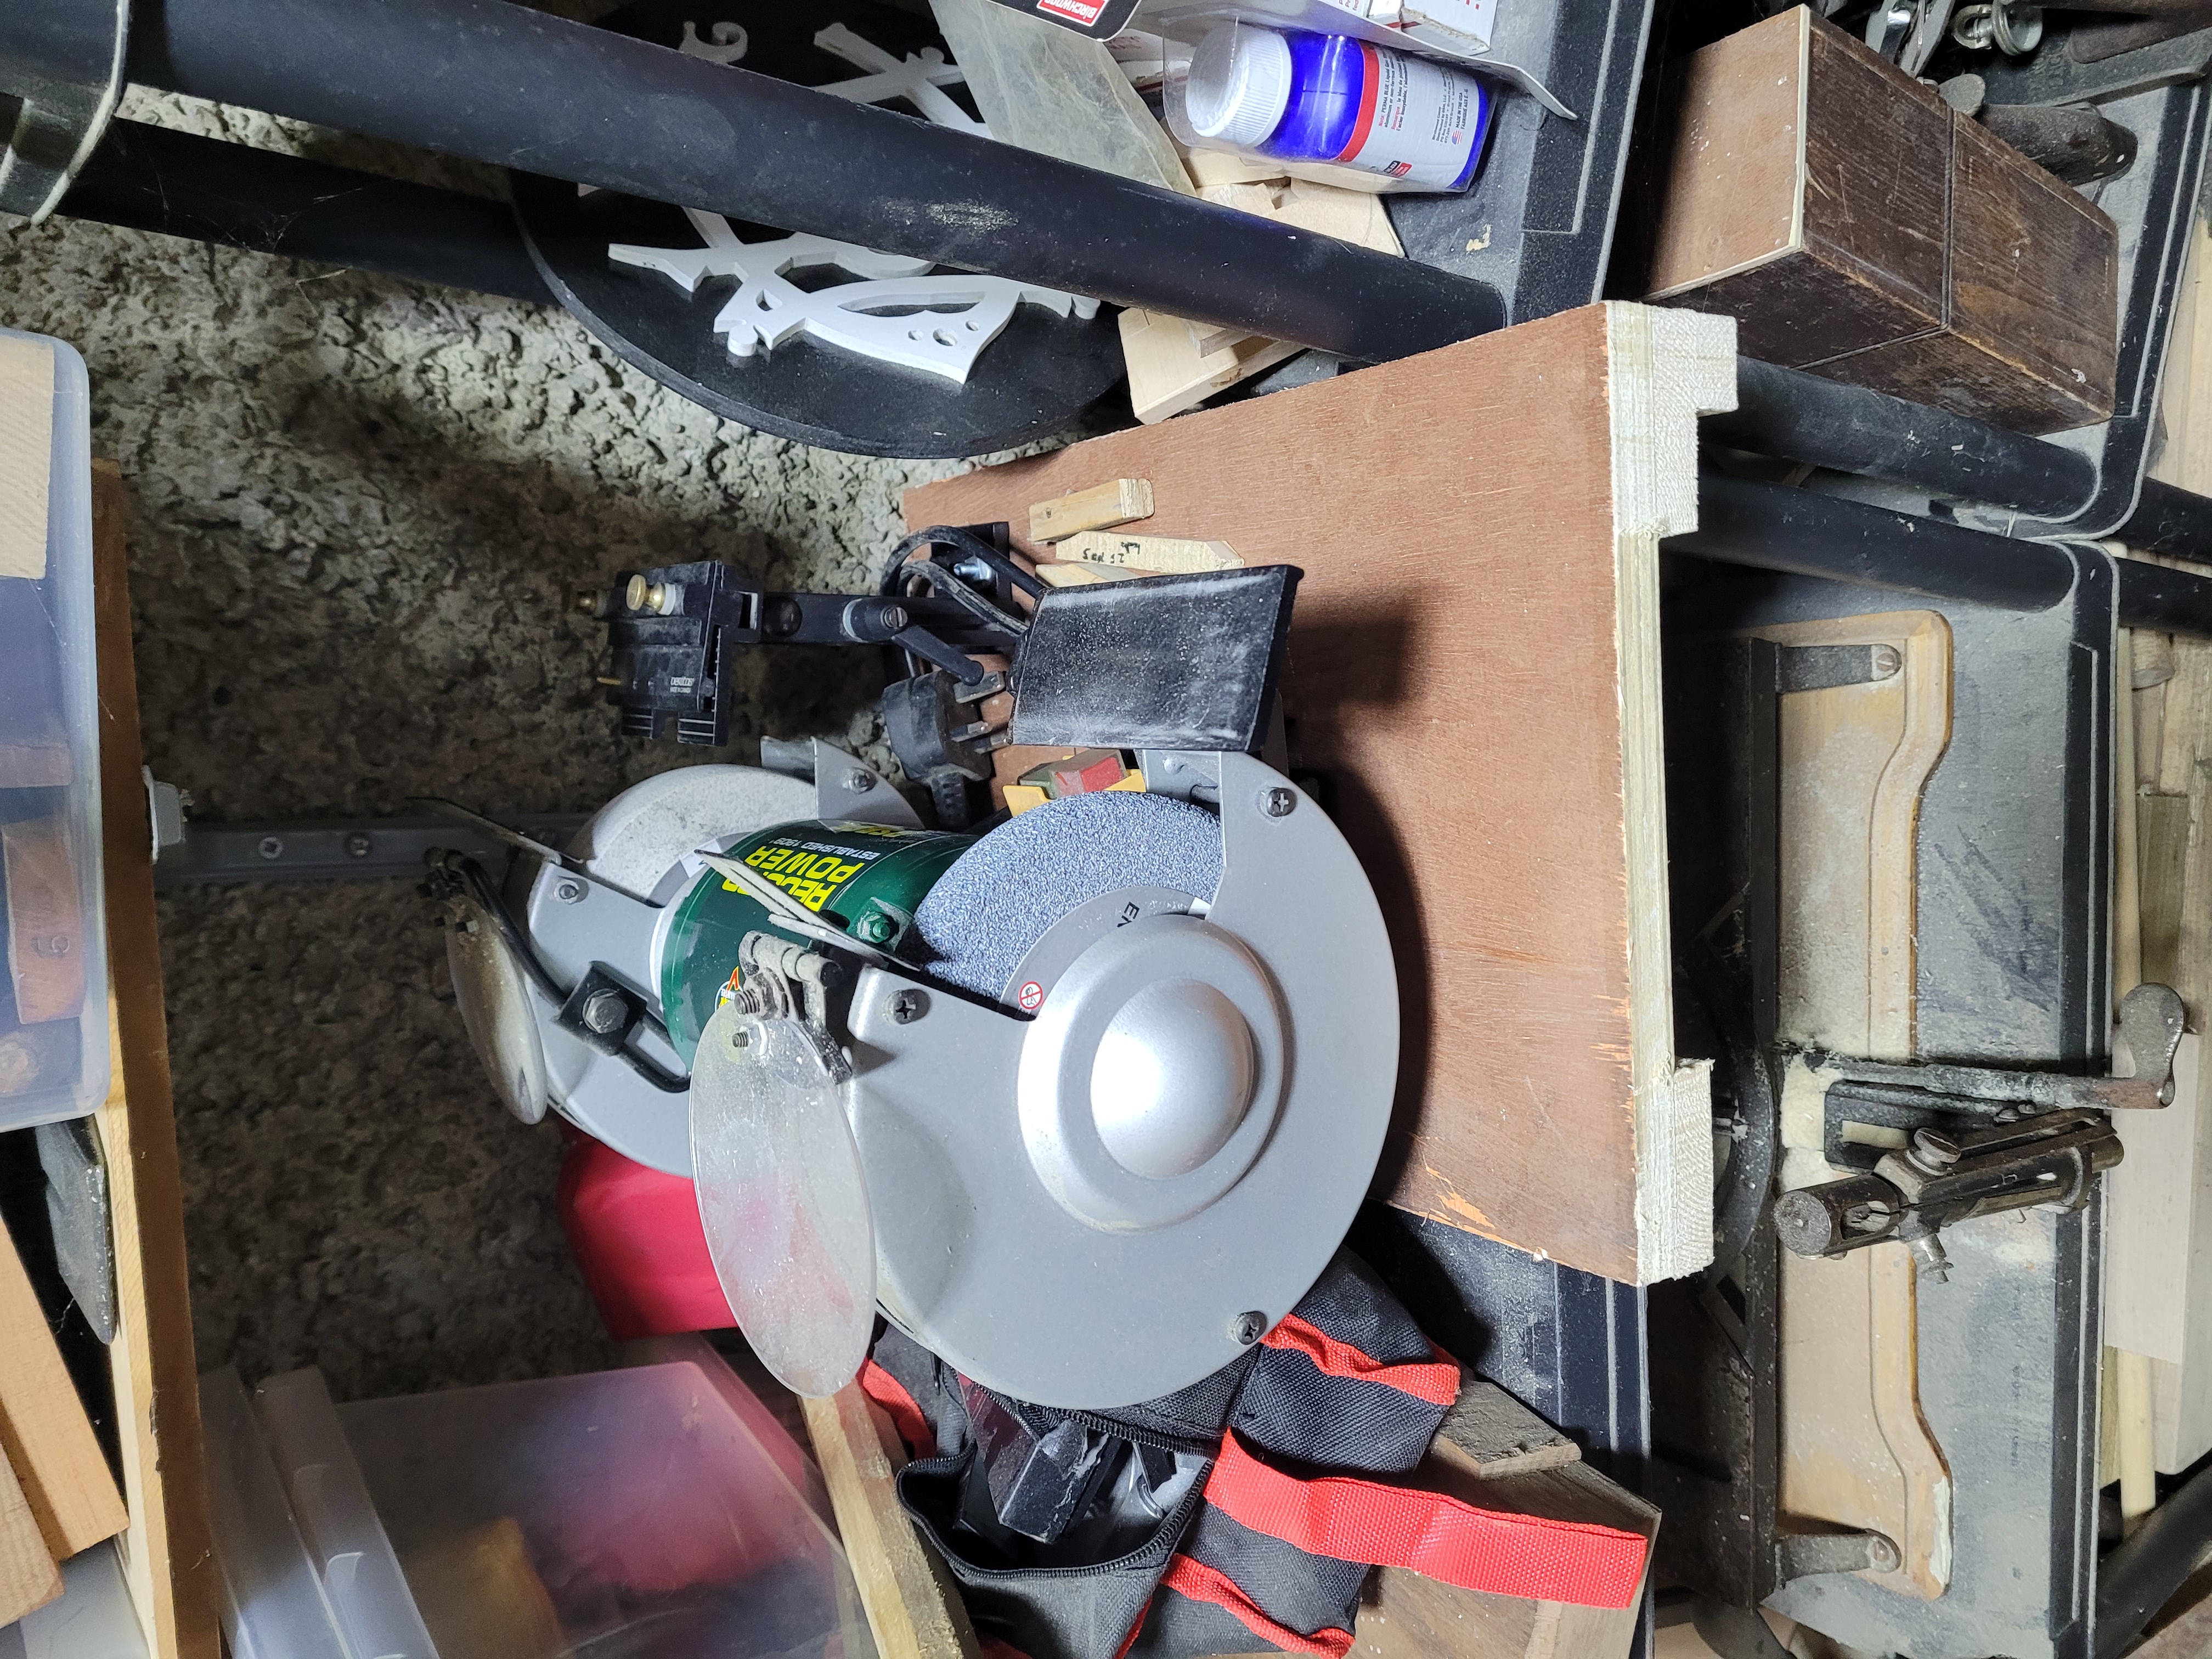
The grinder ready for use. I find the Veritas tool rest far superior to the stock grinder, so it gets used on the white friable wheel. The rough wheel on the left tends only to get used for rough metal removal, so the standard rest is fine for that.
The three little sticks down the bottom are my angle guides. Once I have the table set up for an iron, if its a thickness I have not used before, I grab a small piece of pine and run it into the grinder, trace the thickness of the iron on its side. Next time I want to grind an iron of that thickness and angle, just just rest the piece of scrap on the table and adjust until the curve is lined up with the wheel, and I’m good to go.
The grinder tucked away on its shelf, ready for future use.