Making a VCI pot holder with a hand cranked drill press
My mini Dutch tool chest is coming along nicely. The only thing left is to make the tool holders. Last night I decided to make a holder for a VCI pot, and it gave me a chance to put the wonderful hand cranked drill press I bought here on the patch from Lee Patchell to use.
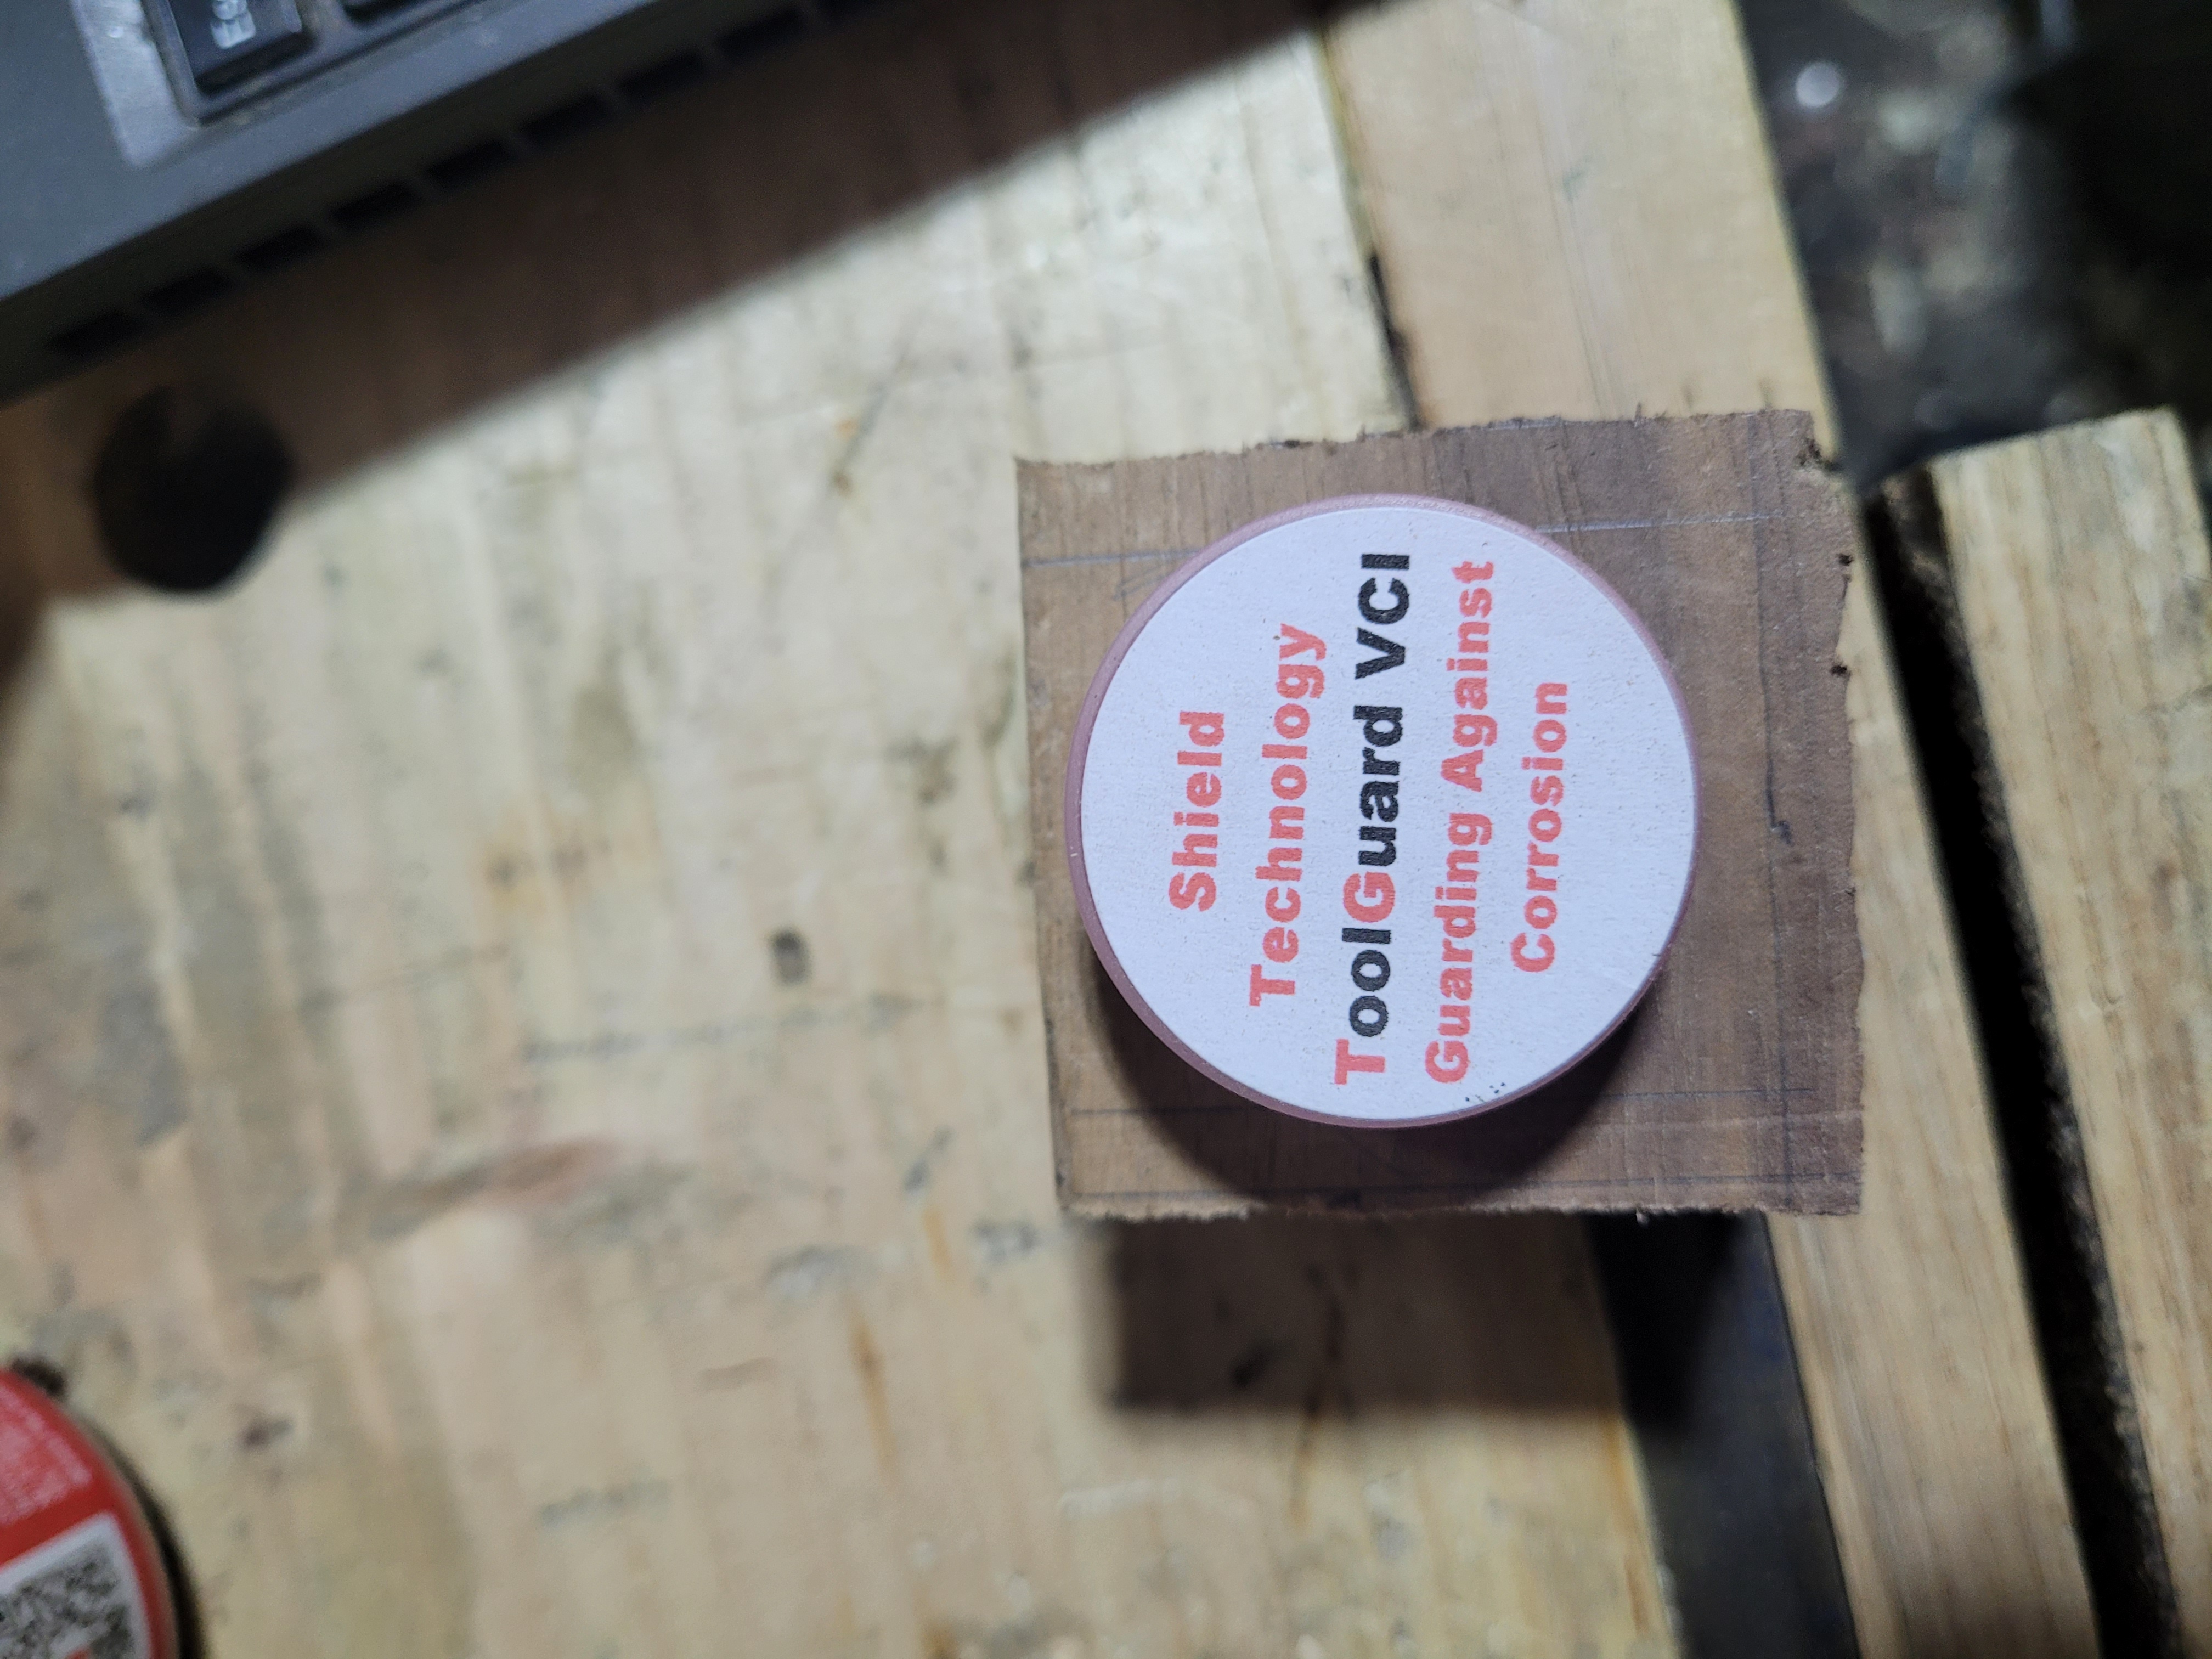
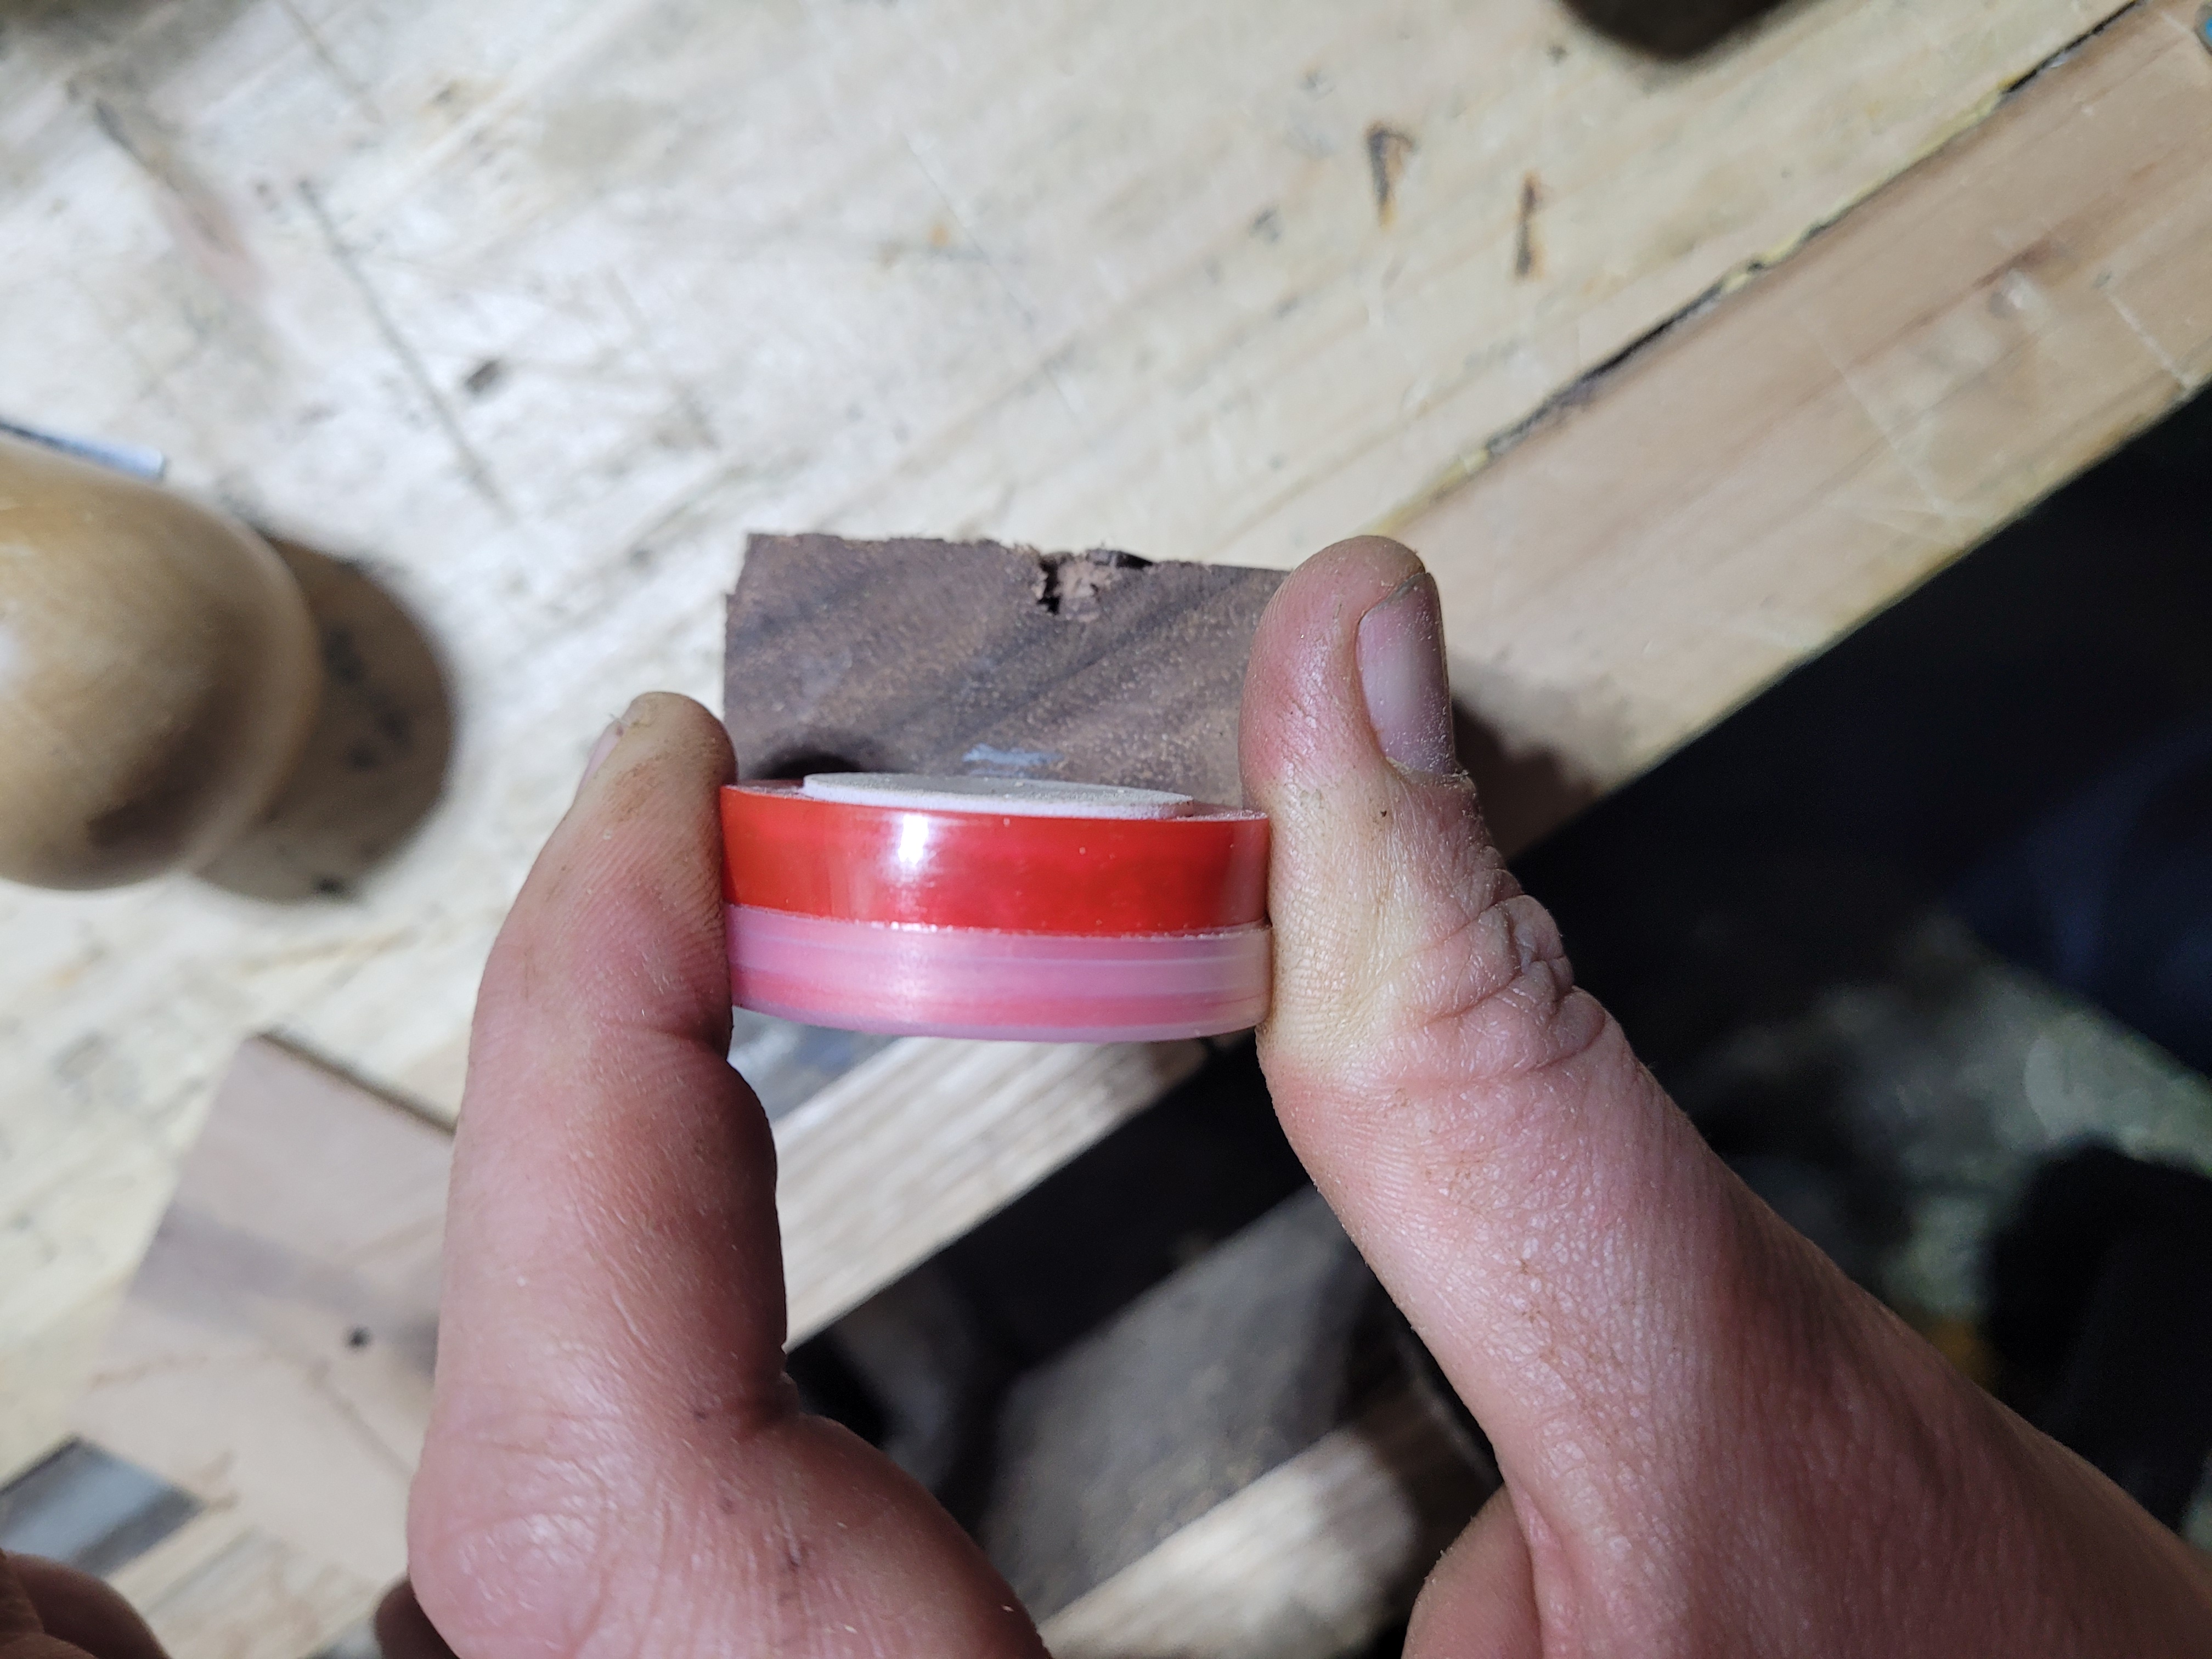
VCI pots contain the same chemical that is impregnated into the rust inhibiting paper a lot of tools ship with. The little pots release the same vapor. One pot protects a 2 cubic foot container for about a year. I got mine from Workshop Heaven.
The only downside with these pots is they are ugly little lumps of plastic. After making a nice tool chest, that is not what I want to see when I open it up. So I made a little holder out of walnut that conceals it and still lets the vapour out.
I started off with a small, but thick off-cut of walnut. The last time I made one of these I used a centre bit, but I was drilling into a much larger piece. With thin walls like I’ll have to deal with on this, its easy to apply lateral pressure by accident with a brace and break the walls. For this, you really do need a drill press. A Forstner bit, which drills flat bottomed holes, is also the perfect tool for the job.
A few months back Lee Patchell listed a wonderful Union hand cranked drill press. I already own a very small one, but its not really up to running large bits. The diameter of the pots is a little under 1 1/2 inches, and there is no way my small one would handle a forstner bit that size. I’ve tried before and failed.
The process of making this is pretty simple. Find your centre point, lay out where you want your centre hole. Use a compass the lay out the vent holes if you want them somewhat symmetrical. I use the same process to layout the holes that you can use to draw a hexagon with a compass. Then drill the centre hole all the way through. Cut off the lid, drill the pot holder with the bench press. Drill the vent holes. Drill a hole in the lid to hold a screw. And you are done. Check out the photos below for detail.
When it comes to the drill press, hand cranked presses have some pros and cons. On the pro side, you don’t need power. I could just pick this up, drop it on my bench and get to work. It is not light (about 20kg), but its very movable. You can go very slowly with a hand cranked drill press. Its unlikely to go out of control.
One of my first experiences with a powered drill press was to drill the holes for guitar knobs controls on a guitar body. The bit grabbed, and the entire guitar swung around with speed whacking me in the side and mangling the hole. Not going to happen with a hand cranked drill press. When your arm stops moving, it does too. You can also operate slowly enough to see exactly how the bit is cutting. If you are concerned about getting tear-out on the way in, you can turn it slow enough to watch if the perimeter of the entry hole is being scored well, and back up and score again if it is inadequate.
The downside is that you provide the power. On larger bits, it is quite a workout. And as with the brad points I discussed last week, a lot of modern bits are designed to be run at speed. They may not perform as well on a vintage low speed press.
This particular model is a Union A1 Two Speed. This is not the US Union would will have heard me mention frequently. But rather a brand owned by T.S.Harrison & Sons in England.
The machine has two speeds apparently, but I have yet to figure out how to switch between them. Some illustrations show the drill with the small gear on the crank wheel in the centre and not engaging the perimeter gears. I would assume that is the slow speed. My drill currently has that smaller geared wheel in contact with the gears in the perimeter. I assume this is the high speed setting. From what I can tell, you would need to remove the entire crank wheel to reconfigure it, and I cant see an obvious way to do that. If anyone out there knows how to switch the drill between the two, please let me know.
On the pot holder, I used a 2.5mm brad point to drill the pilot hole all the way through. The drill sailed through the walnut. It was effortless quick and easy. For the 1 1/2 inch hole for the pot with the forstner bit. It was hard work and took quite a while. I had to play with the feed advance lever quite a bit to dial in a setting where the bit advanced and took actual shavings, without advancing so fast that the force required to turn it was not completely exhausting.
A fun tool to play with. If you would like to see a blow by blow of making the pot holder. Check out the pictures below.
You can watch a short demonstration of the drill here
The VCI pot sitting on the walnut scrap that will become the pot. I have one flat face and one flat side at this point. I used those to mark out roughly where the walls will end and start.
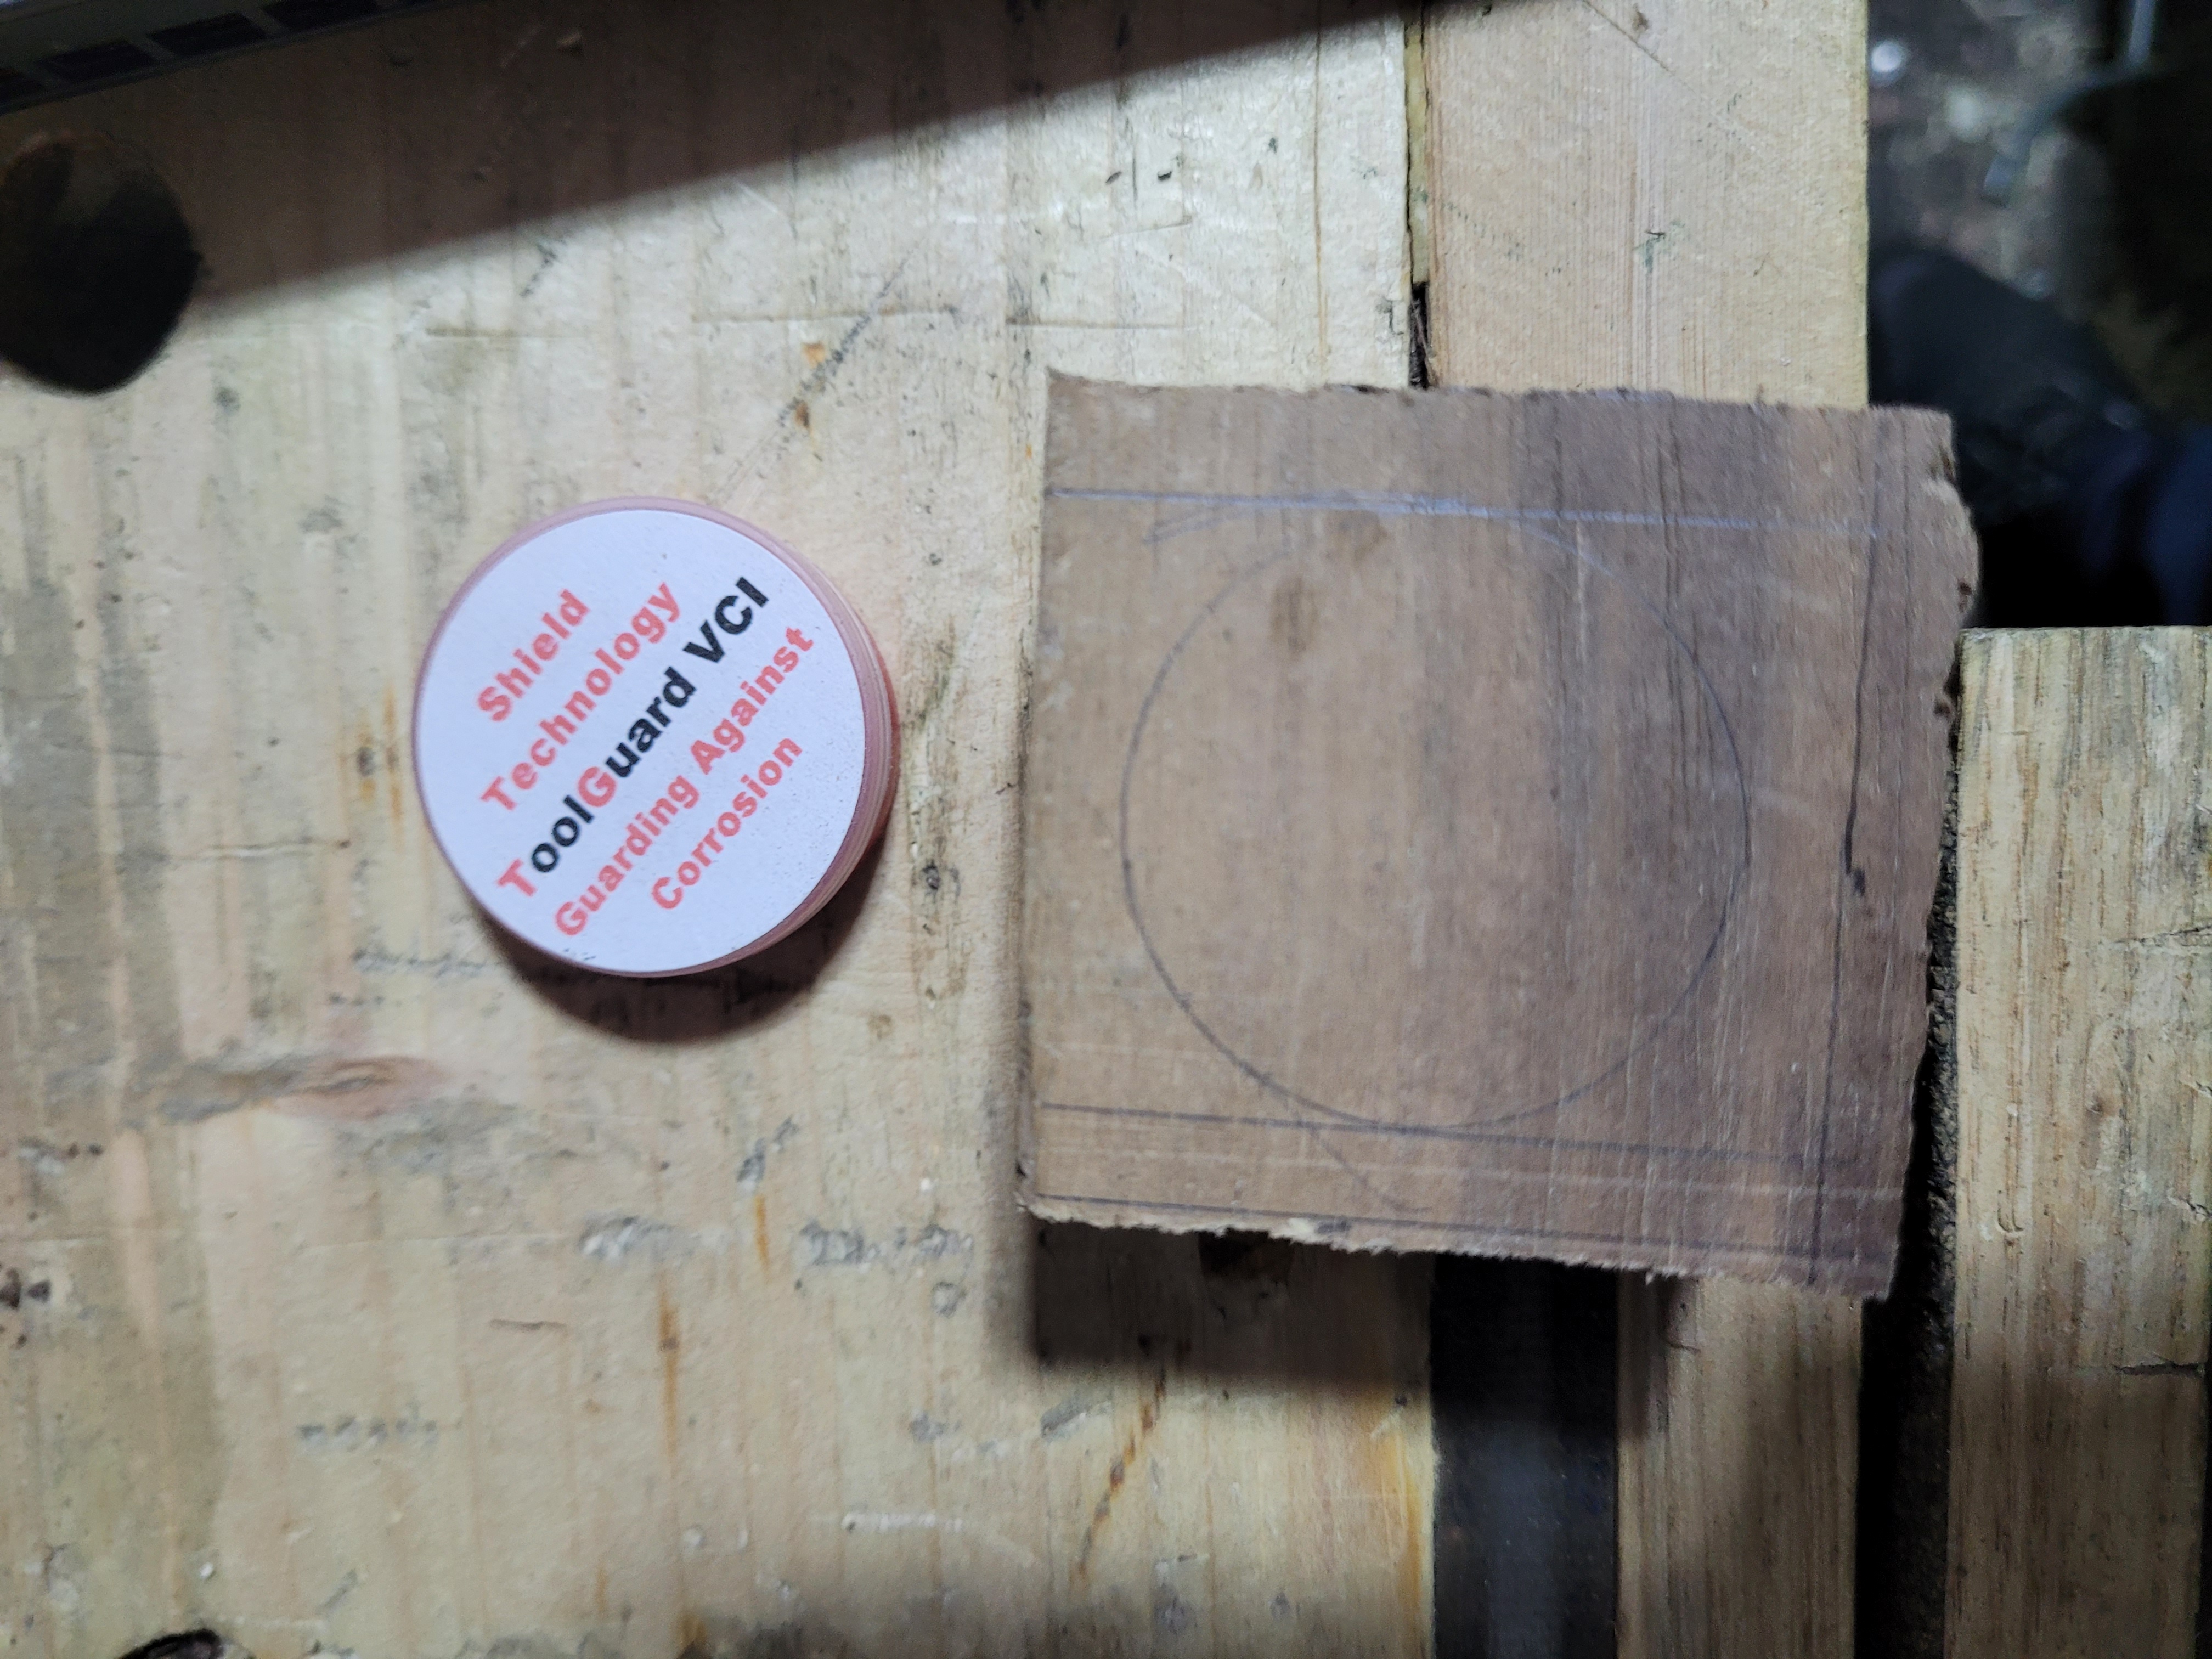
I traced the outline of the pot on.
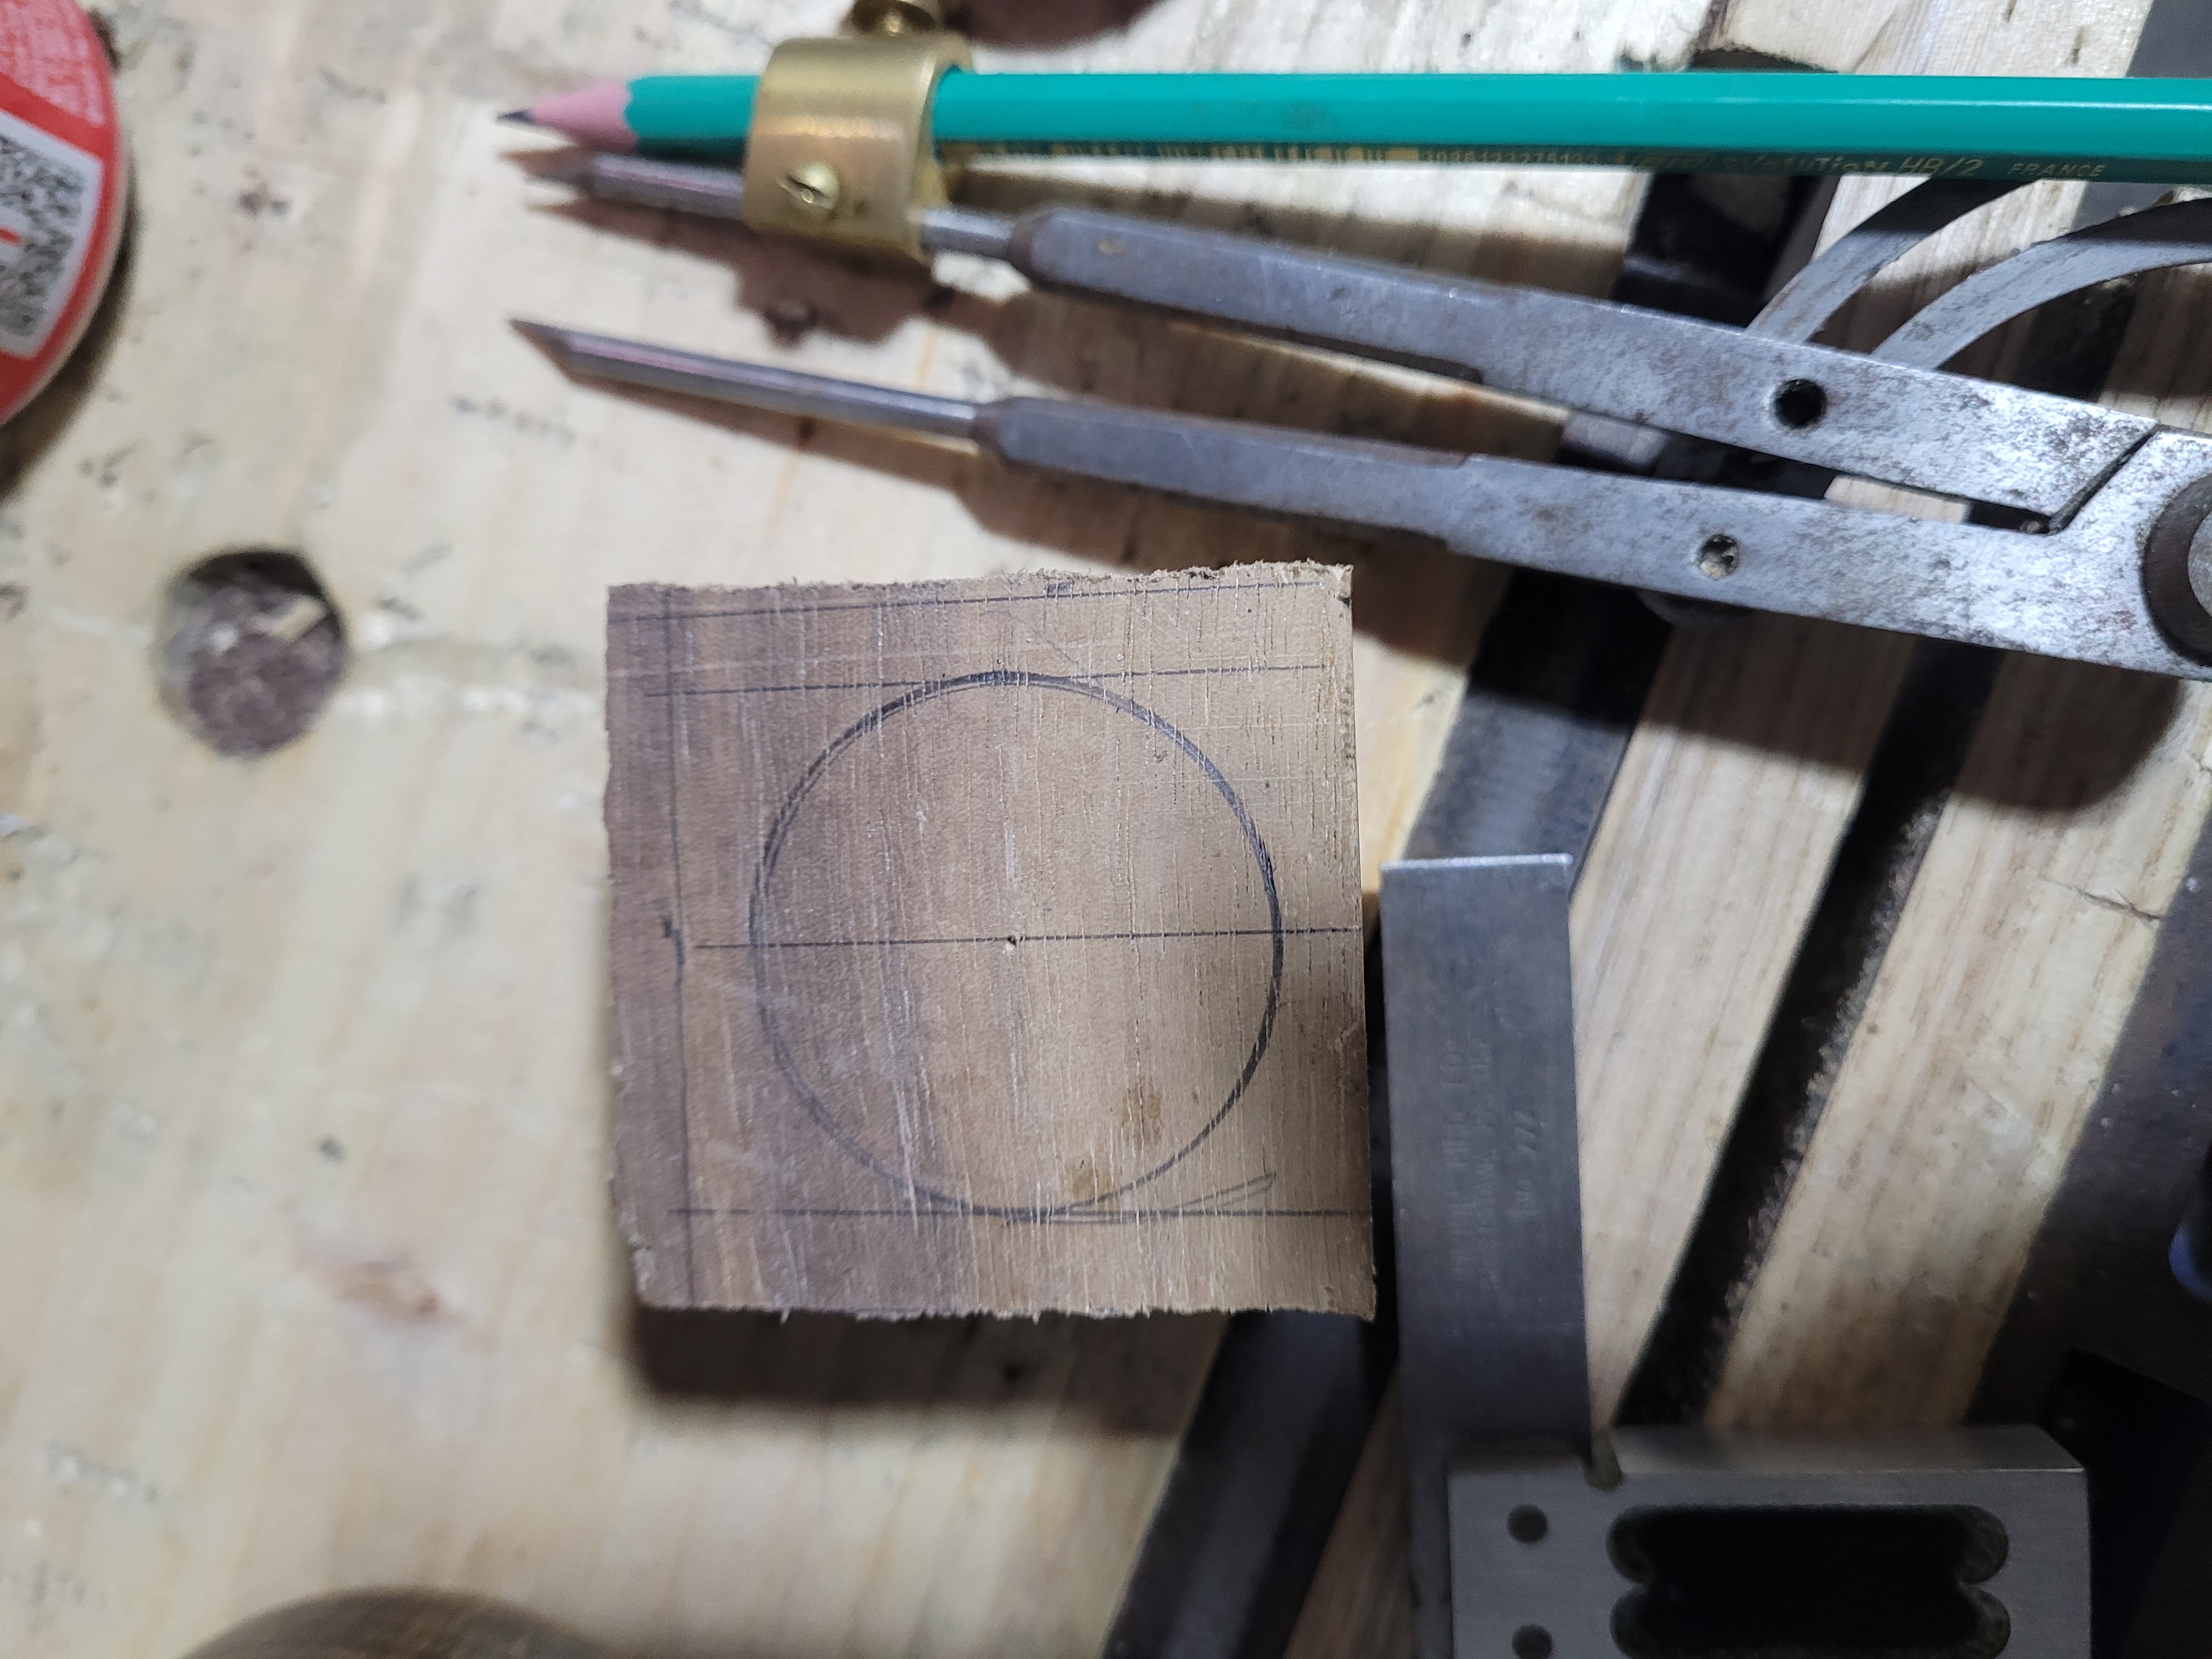
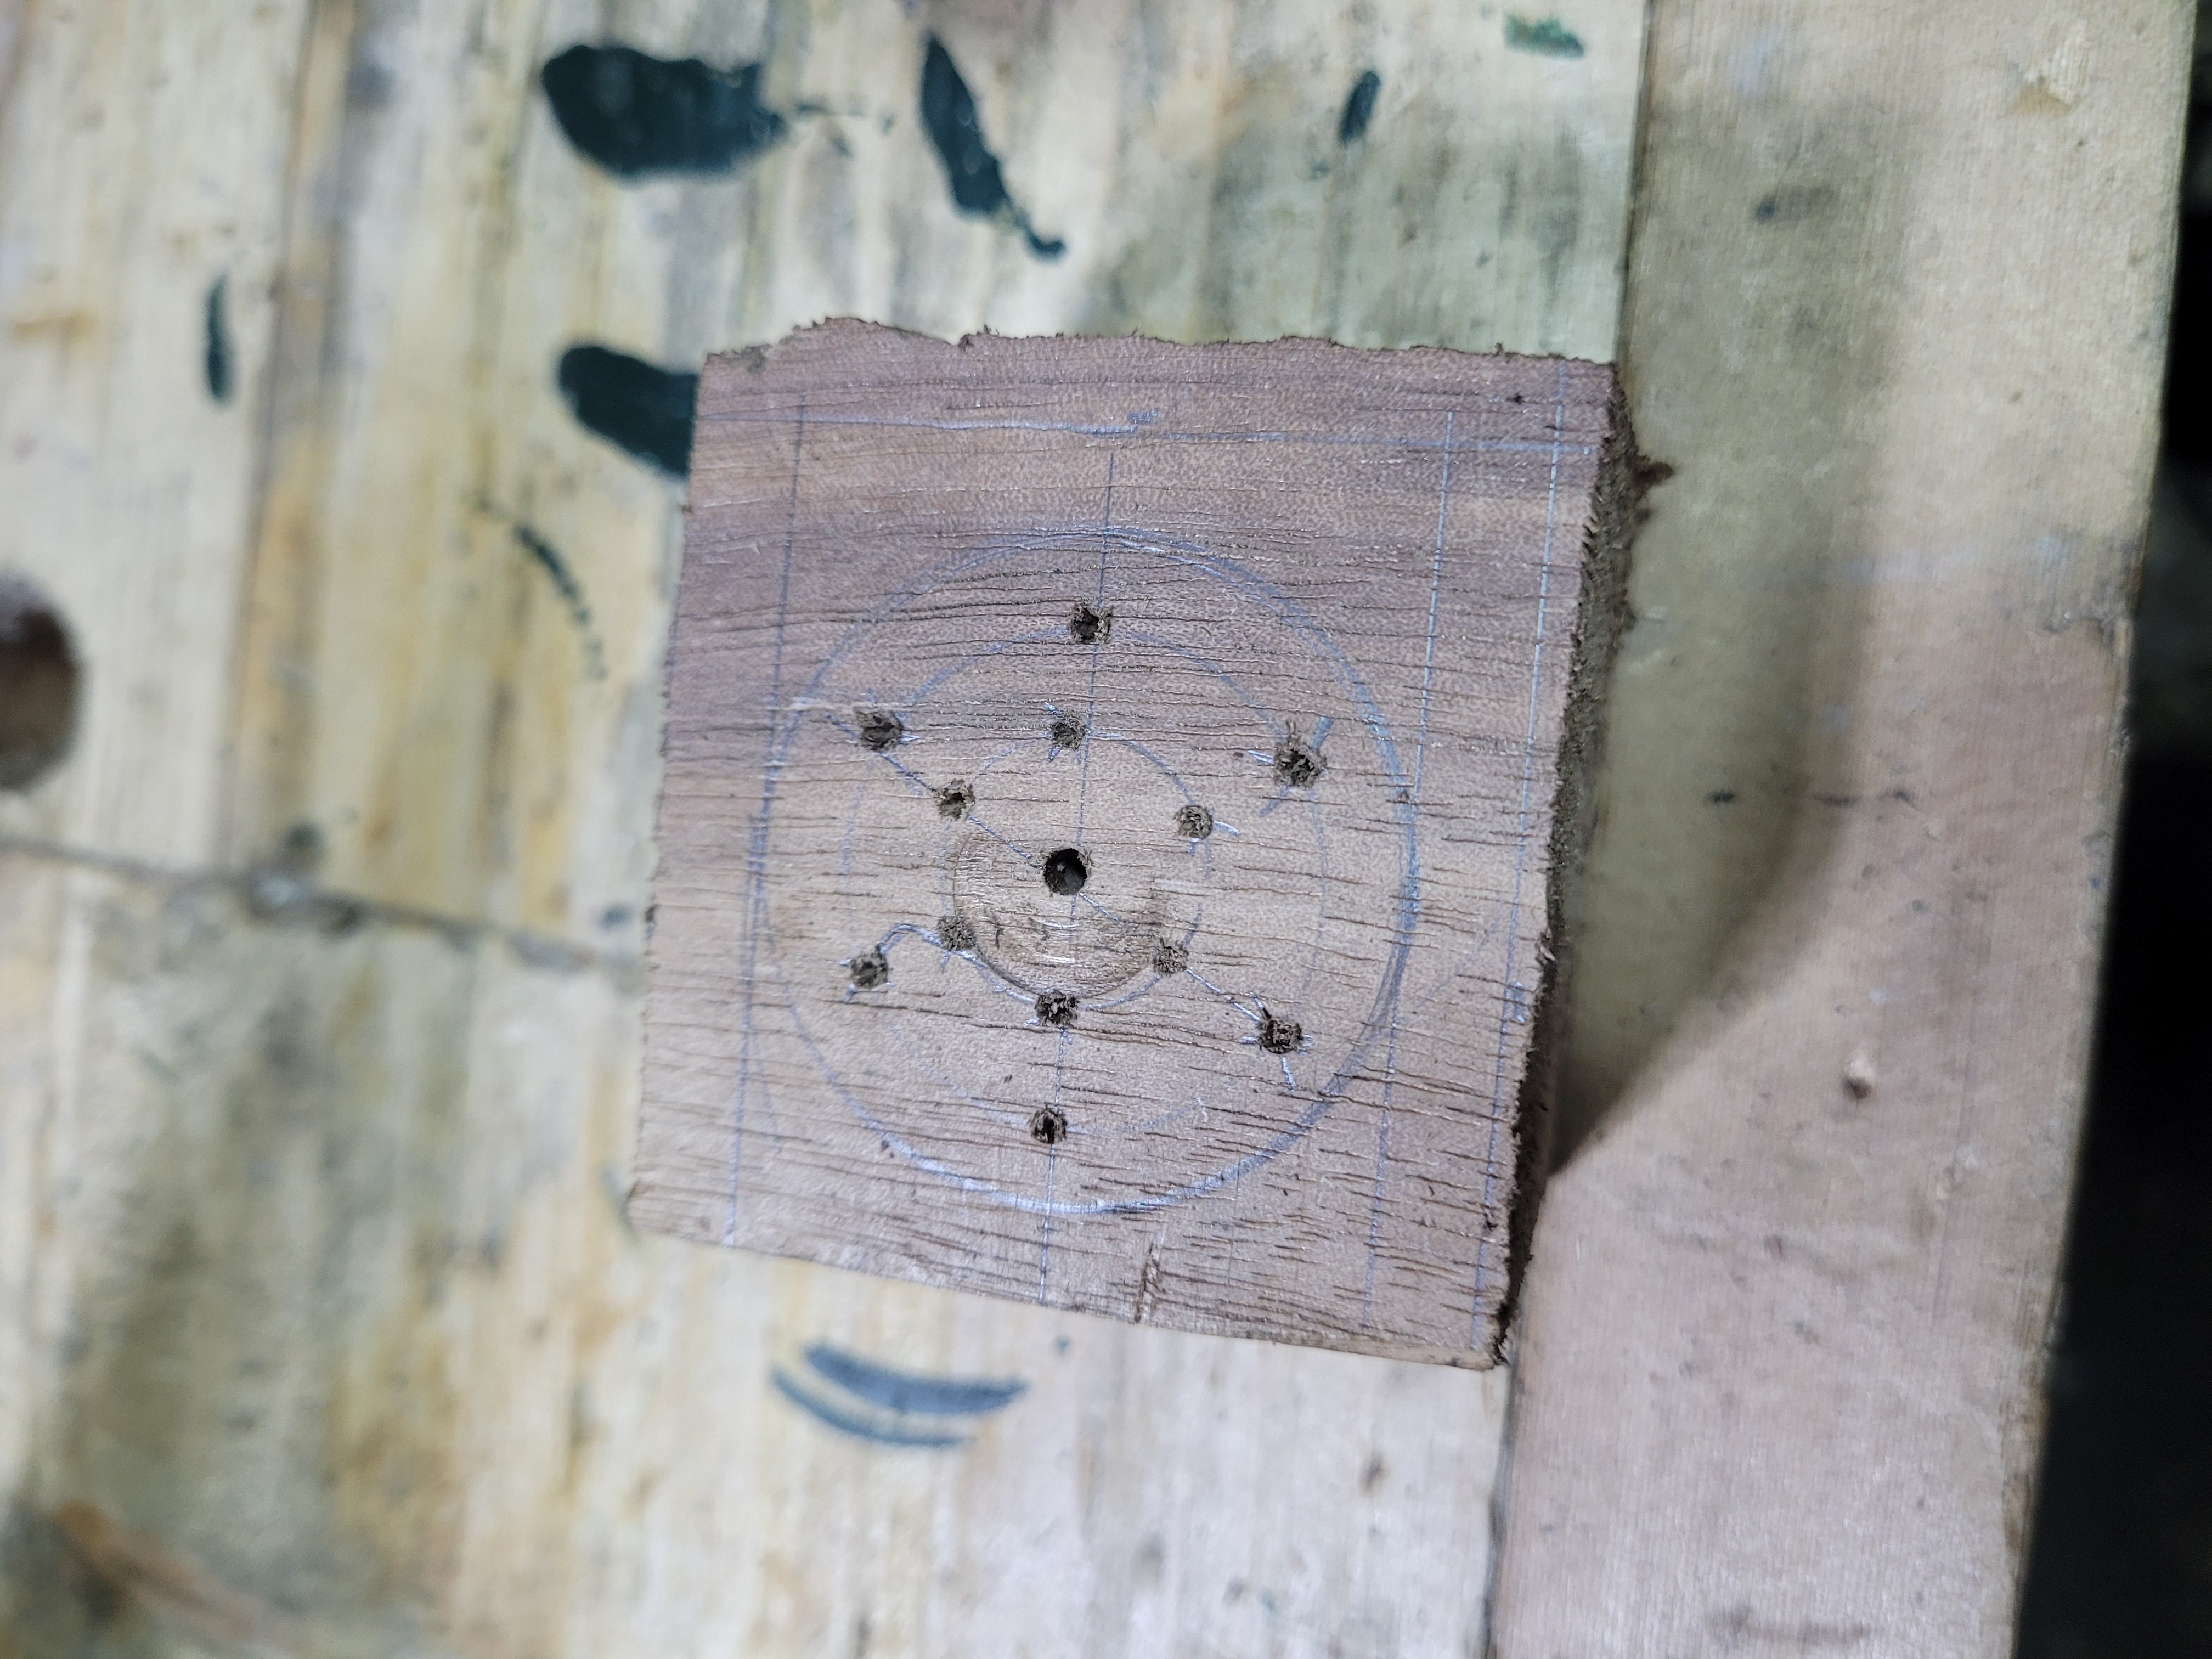
Then I played with my compass until I found the centre and could redraw. I used a square to run a line through the centre that I will use for laying out the vent holes.
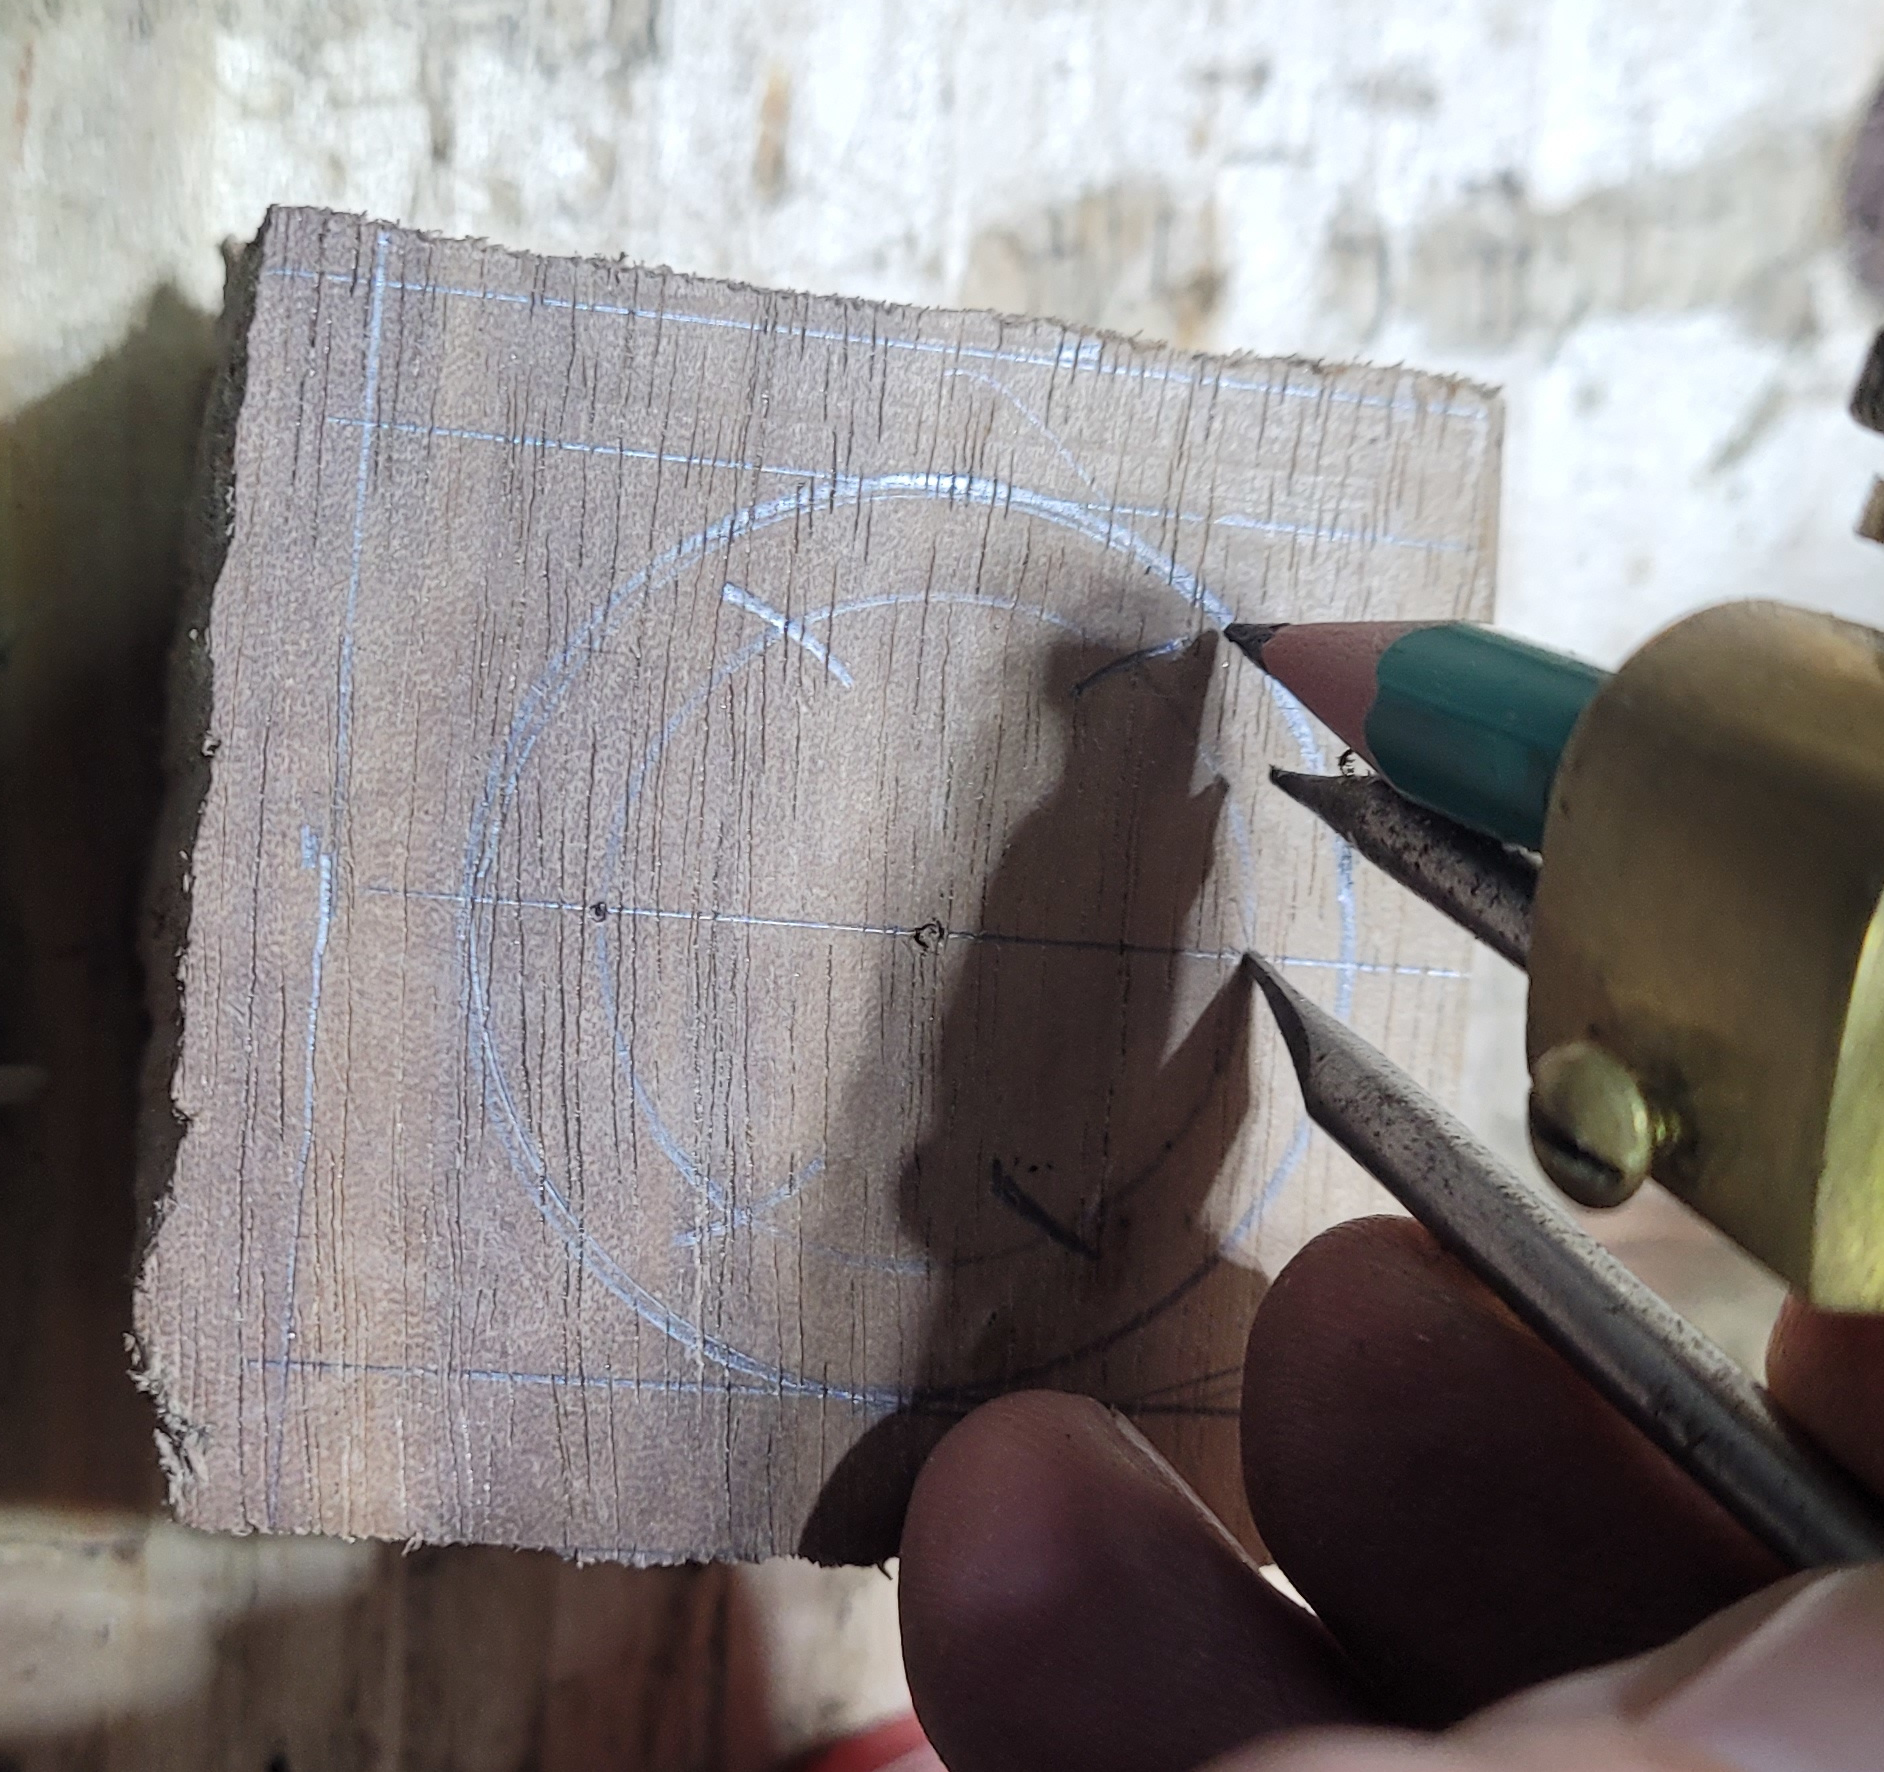
Take the compass, reduce the radius to where you want your first ring of holes to be. Draw a new inner circle. Put the compass leg where the straight line intersects the inner circle. Use the pencil end to mark where it crosses the inner circle with a little arc, do this both above and below the line.
Then move the leg to the other side of the straight line and repeat.
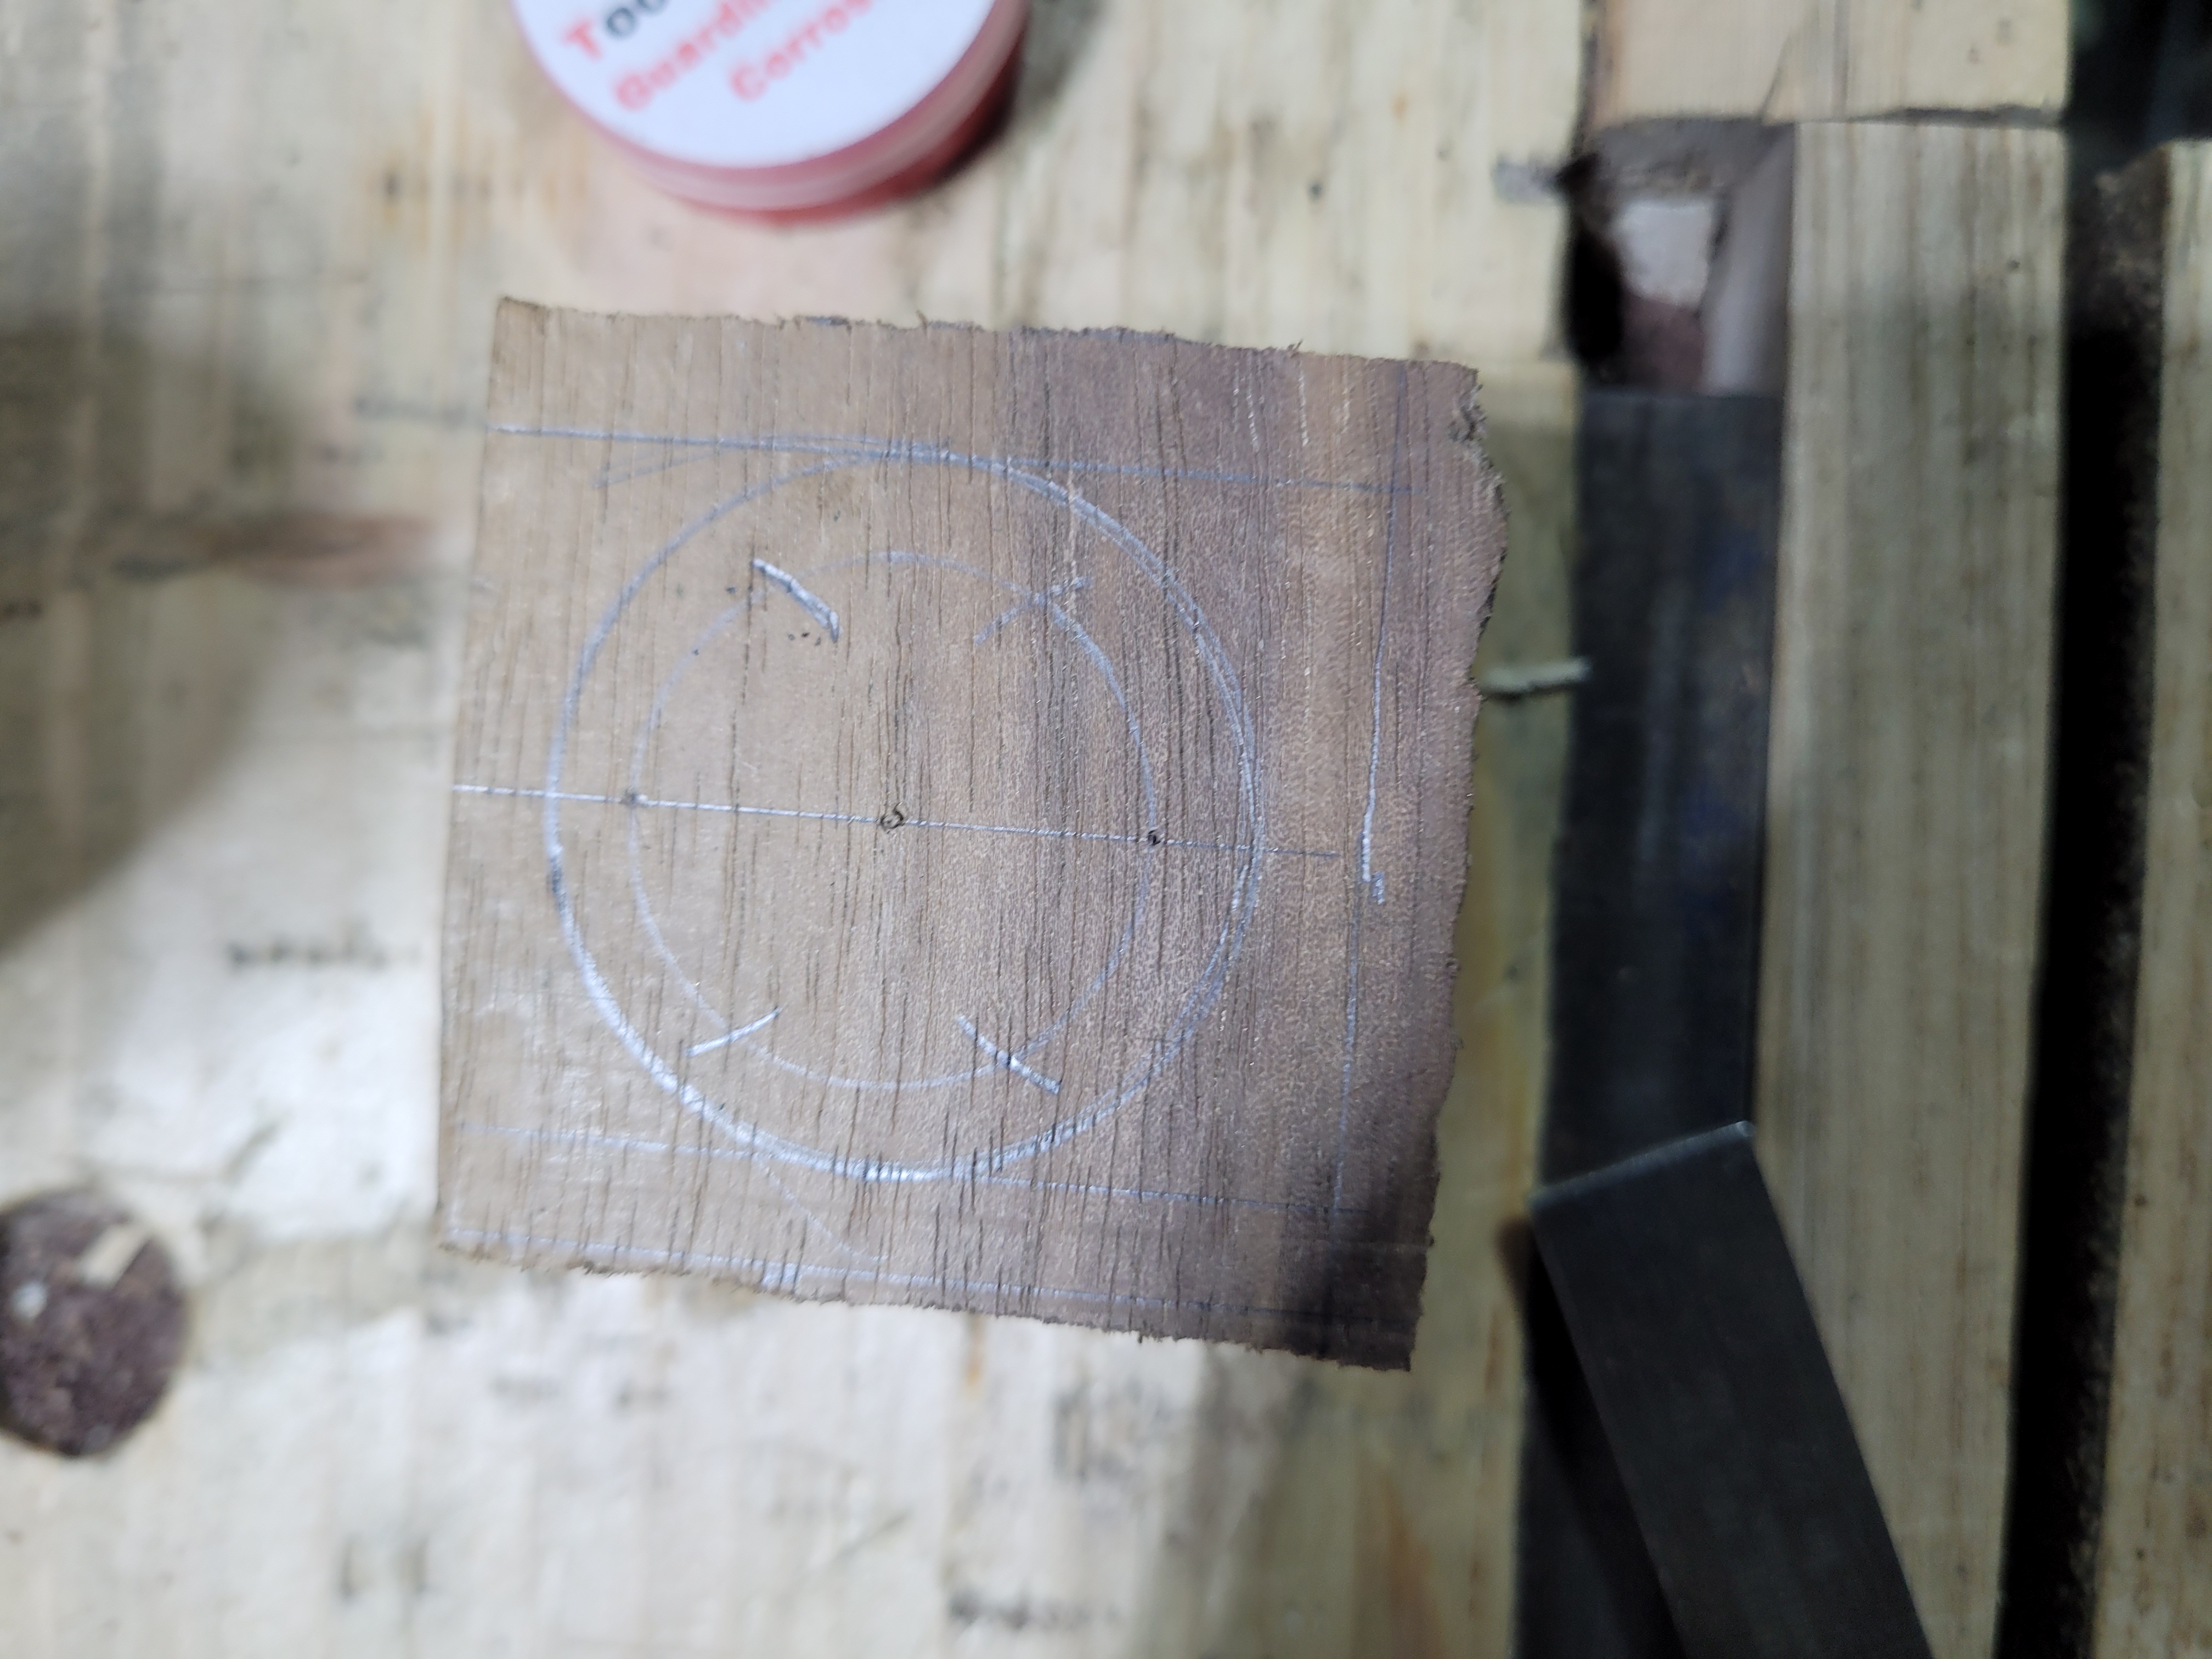
The layout for the outer ring of holes. If you used a ruler to join each of the marks, you would have a hexagon, which may be handy to know.
Then shorten again, and layout another ring of holes.
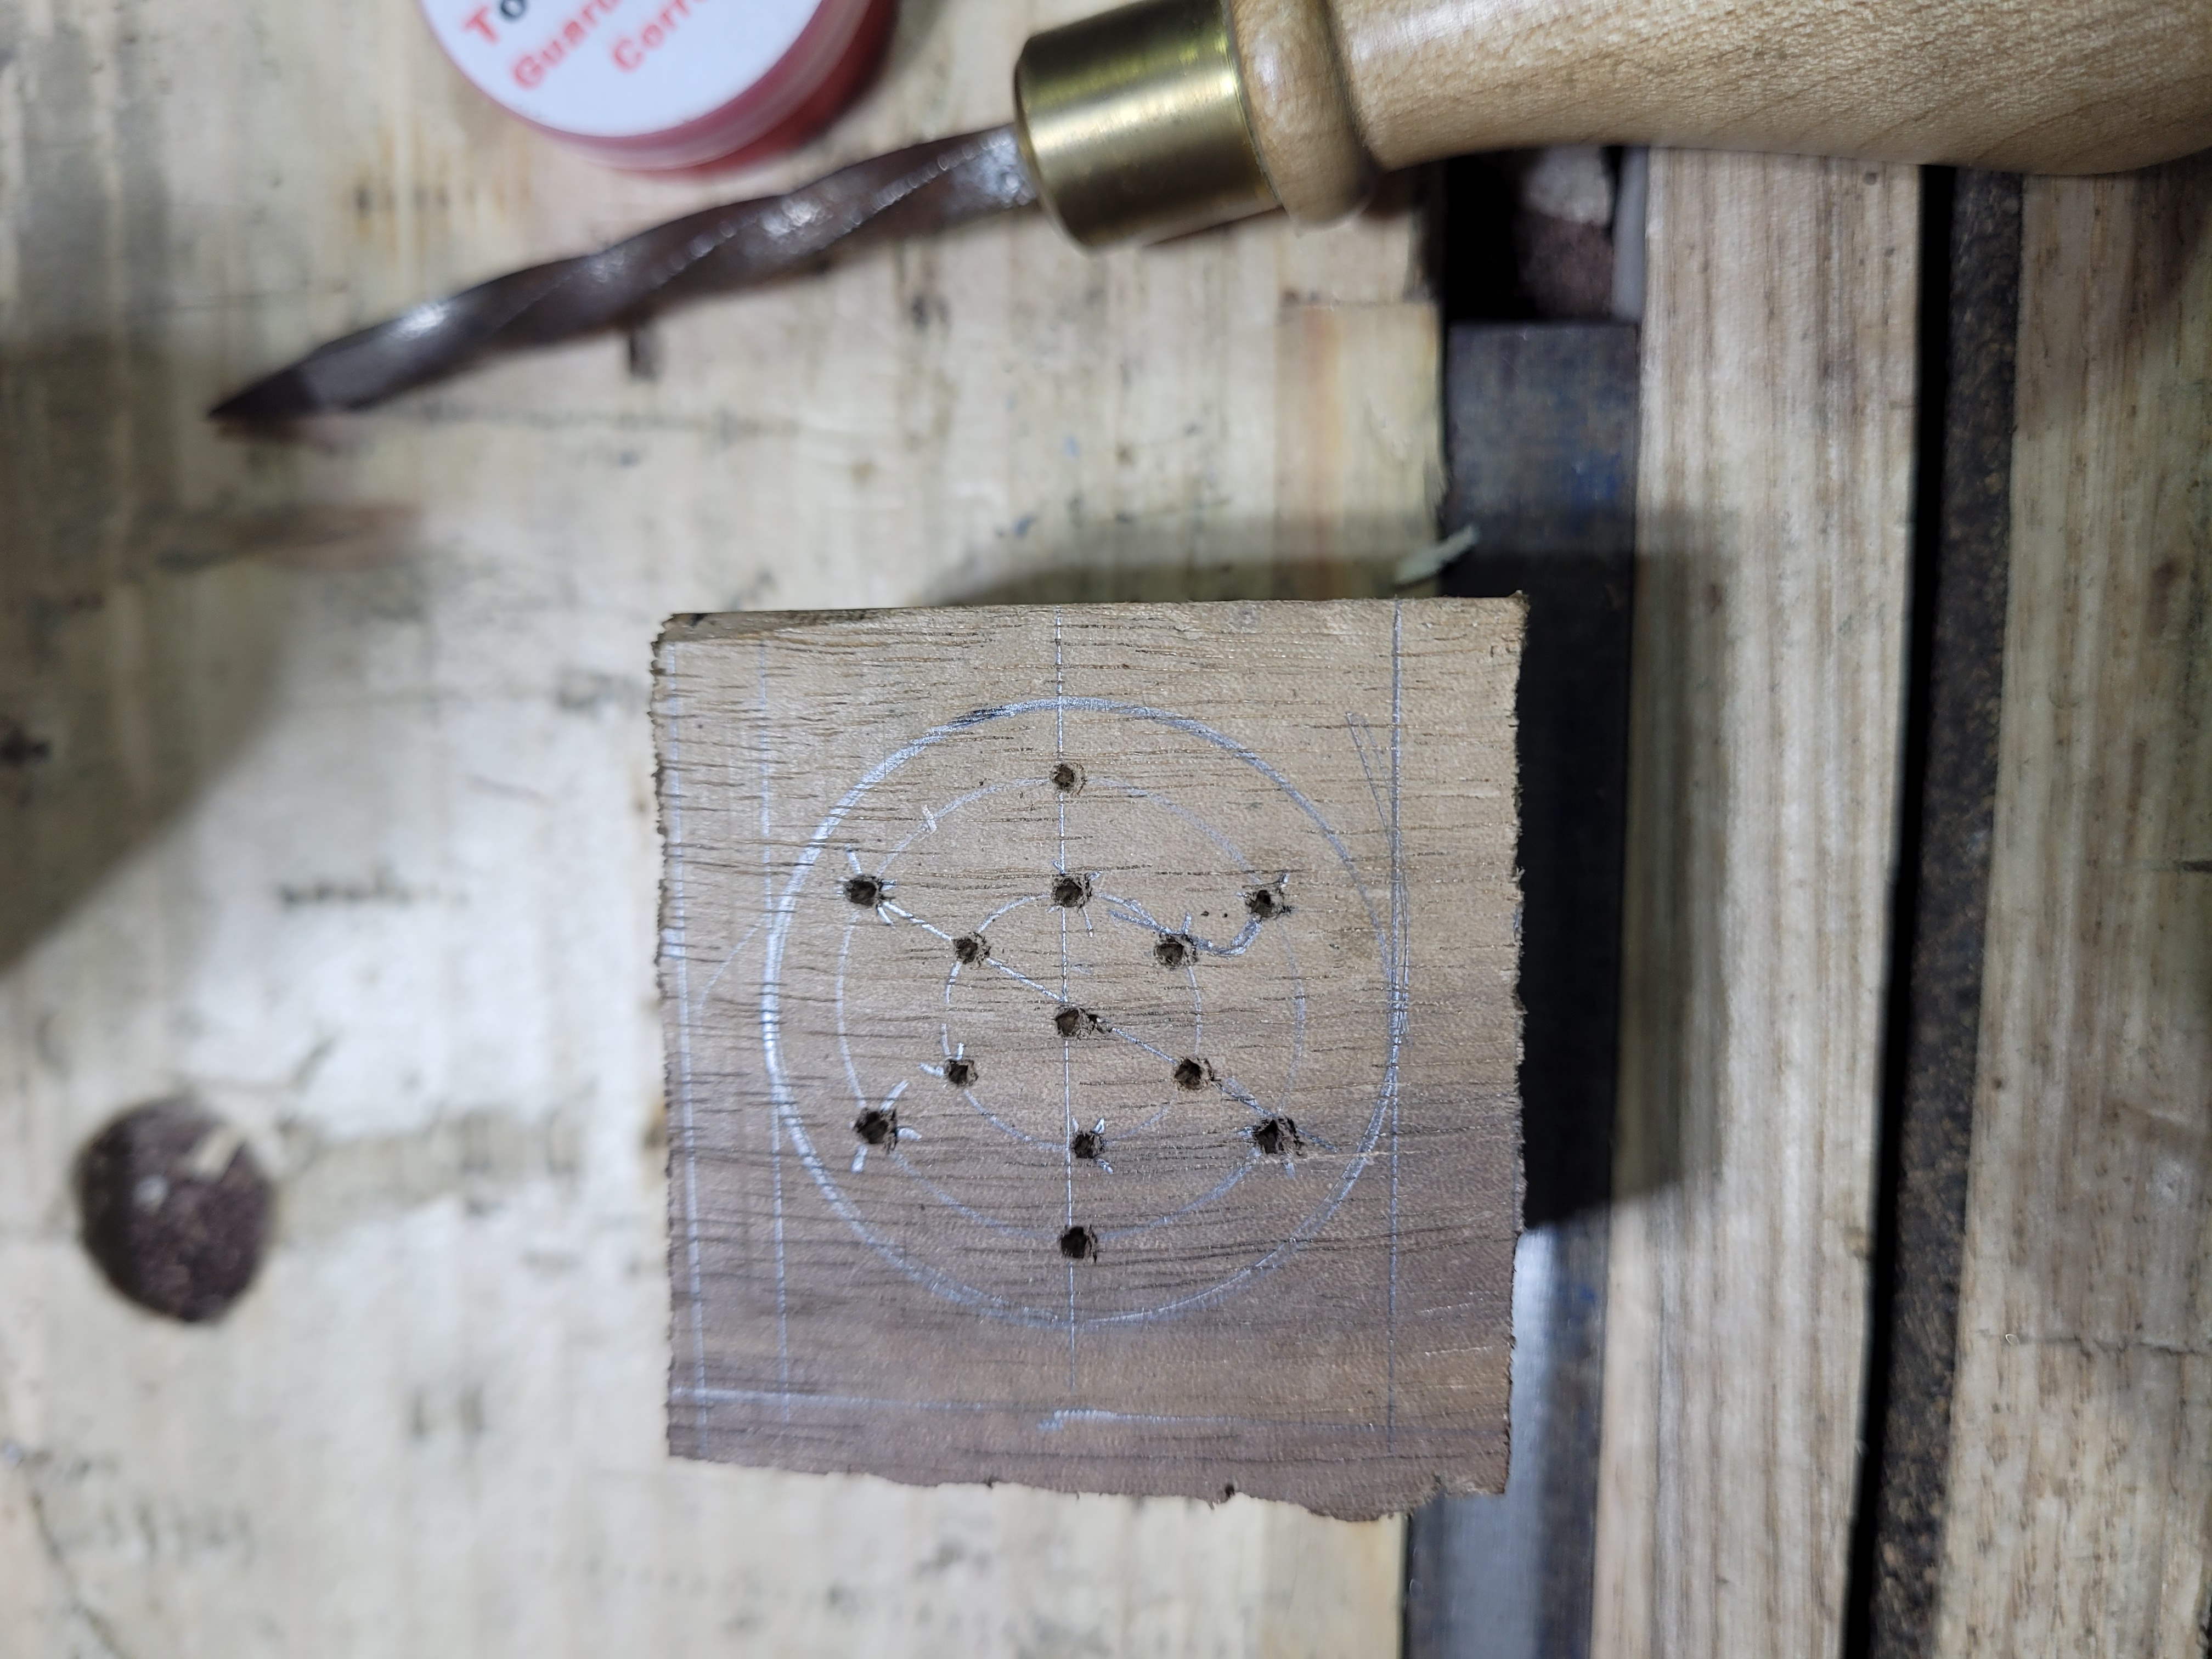
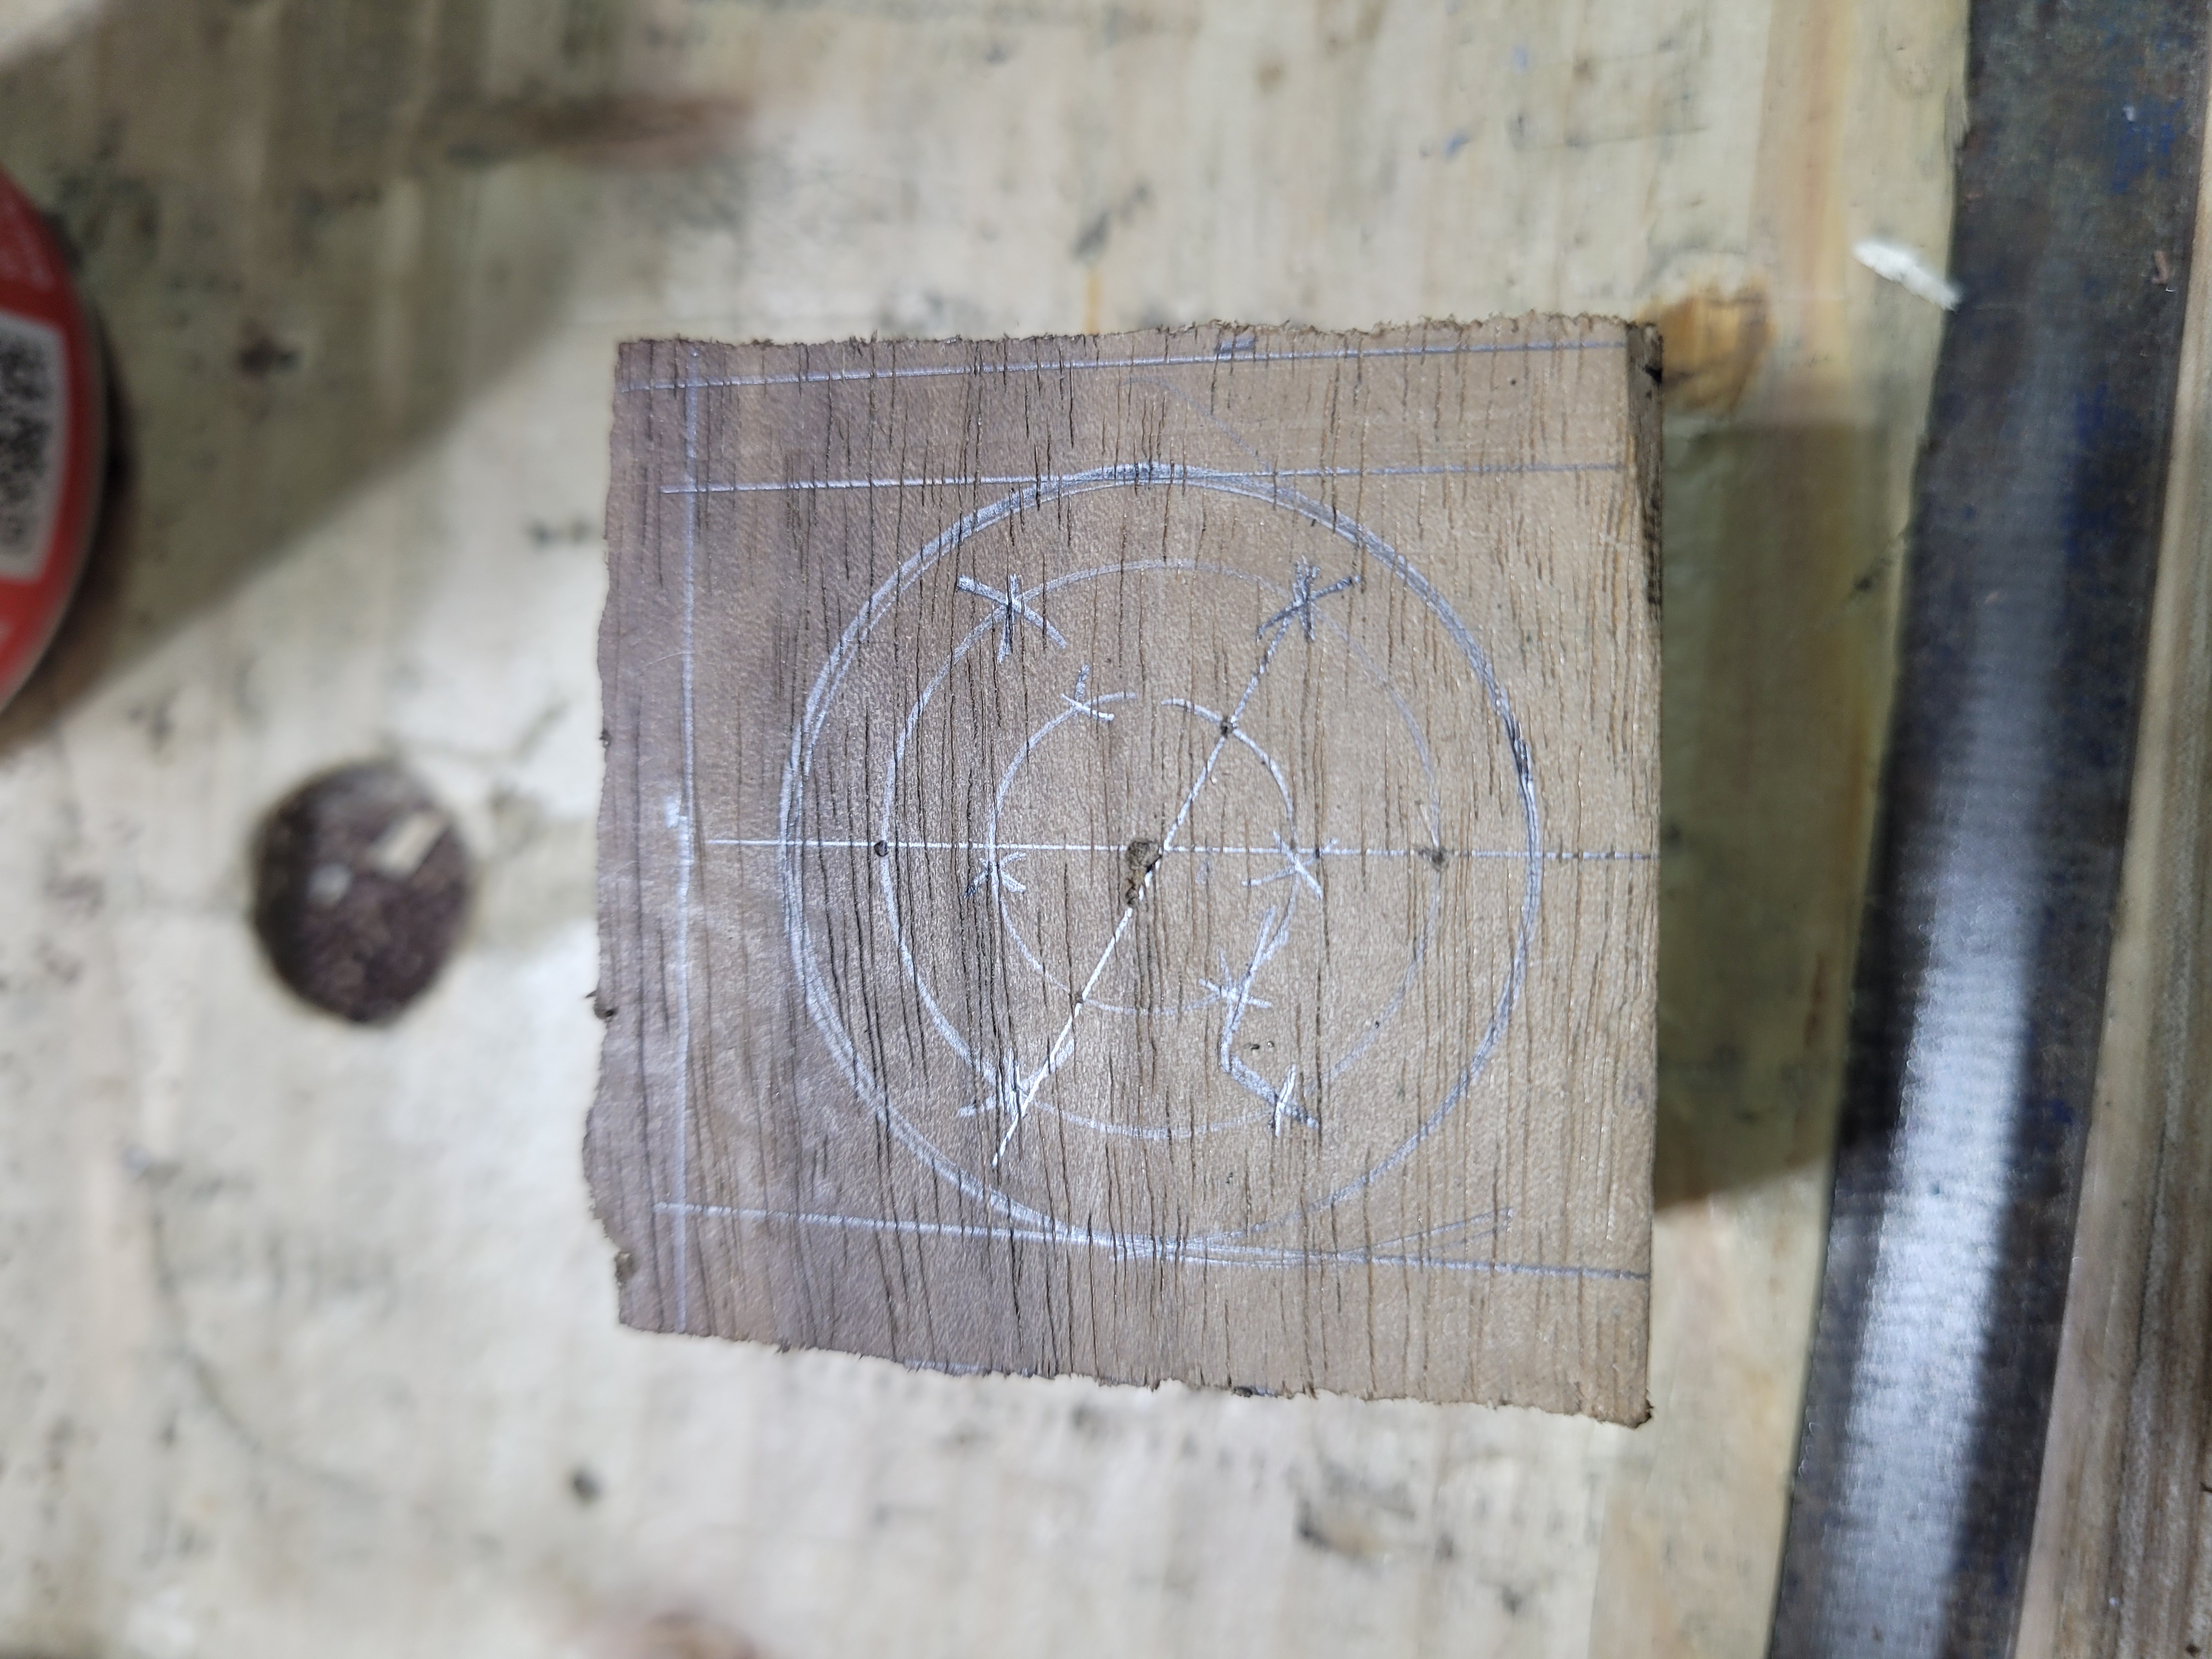
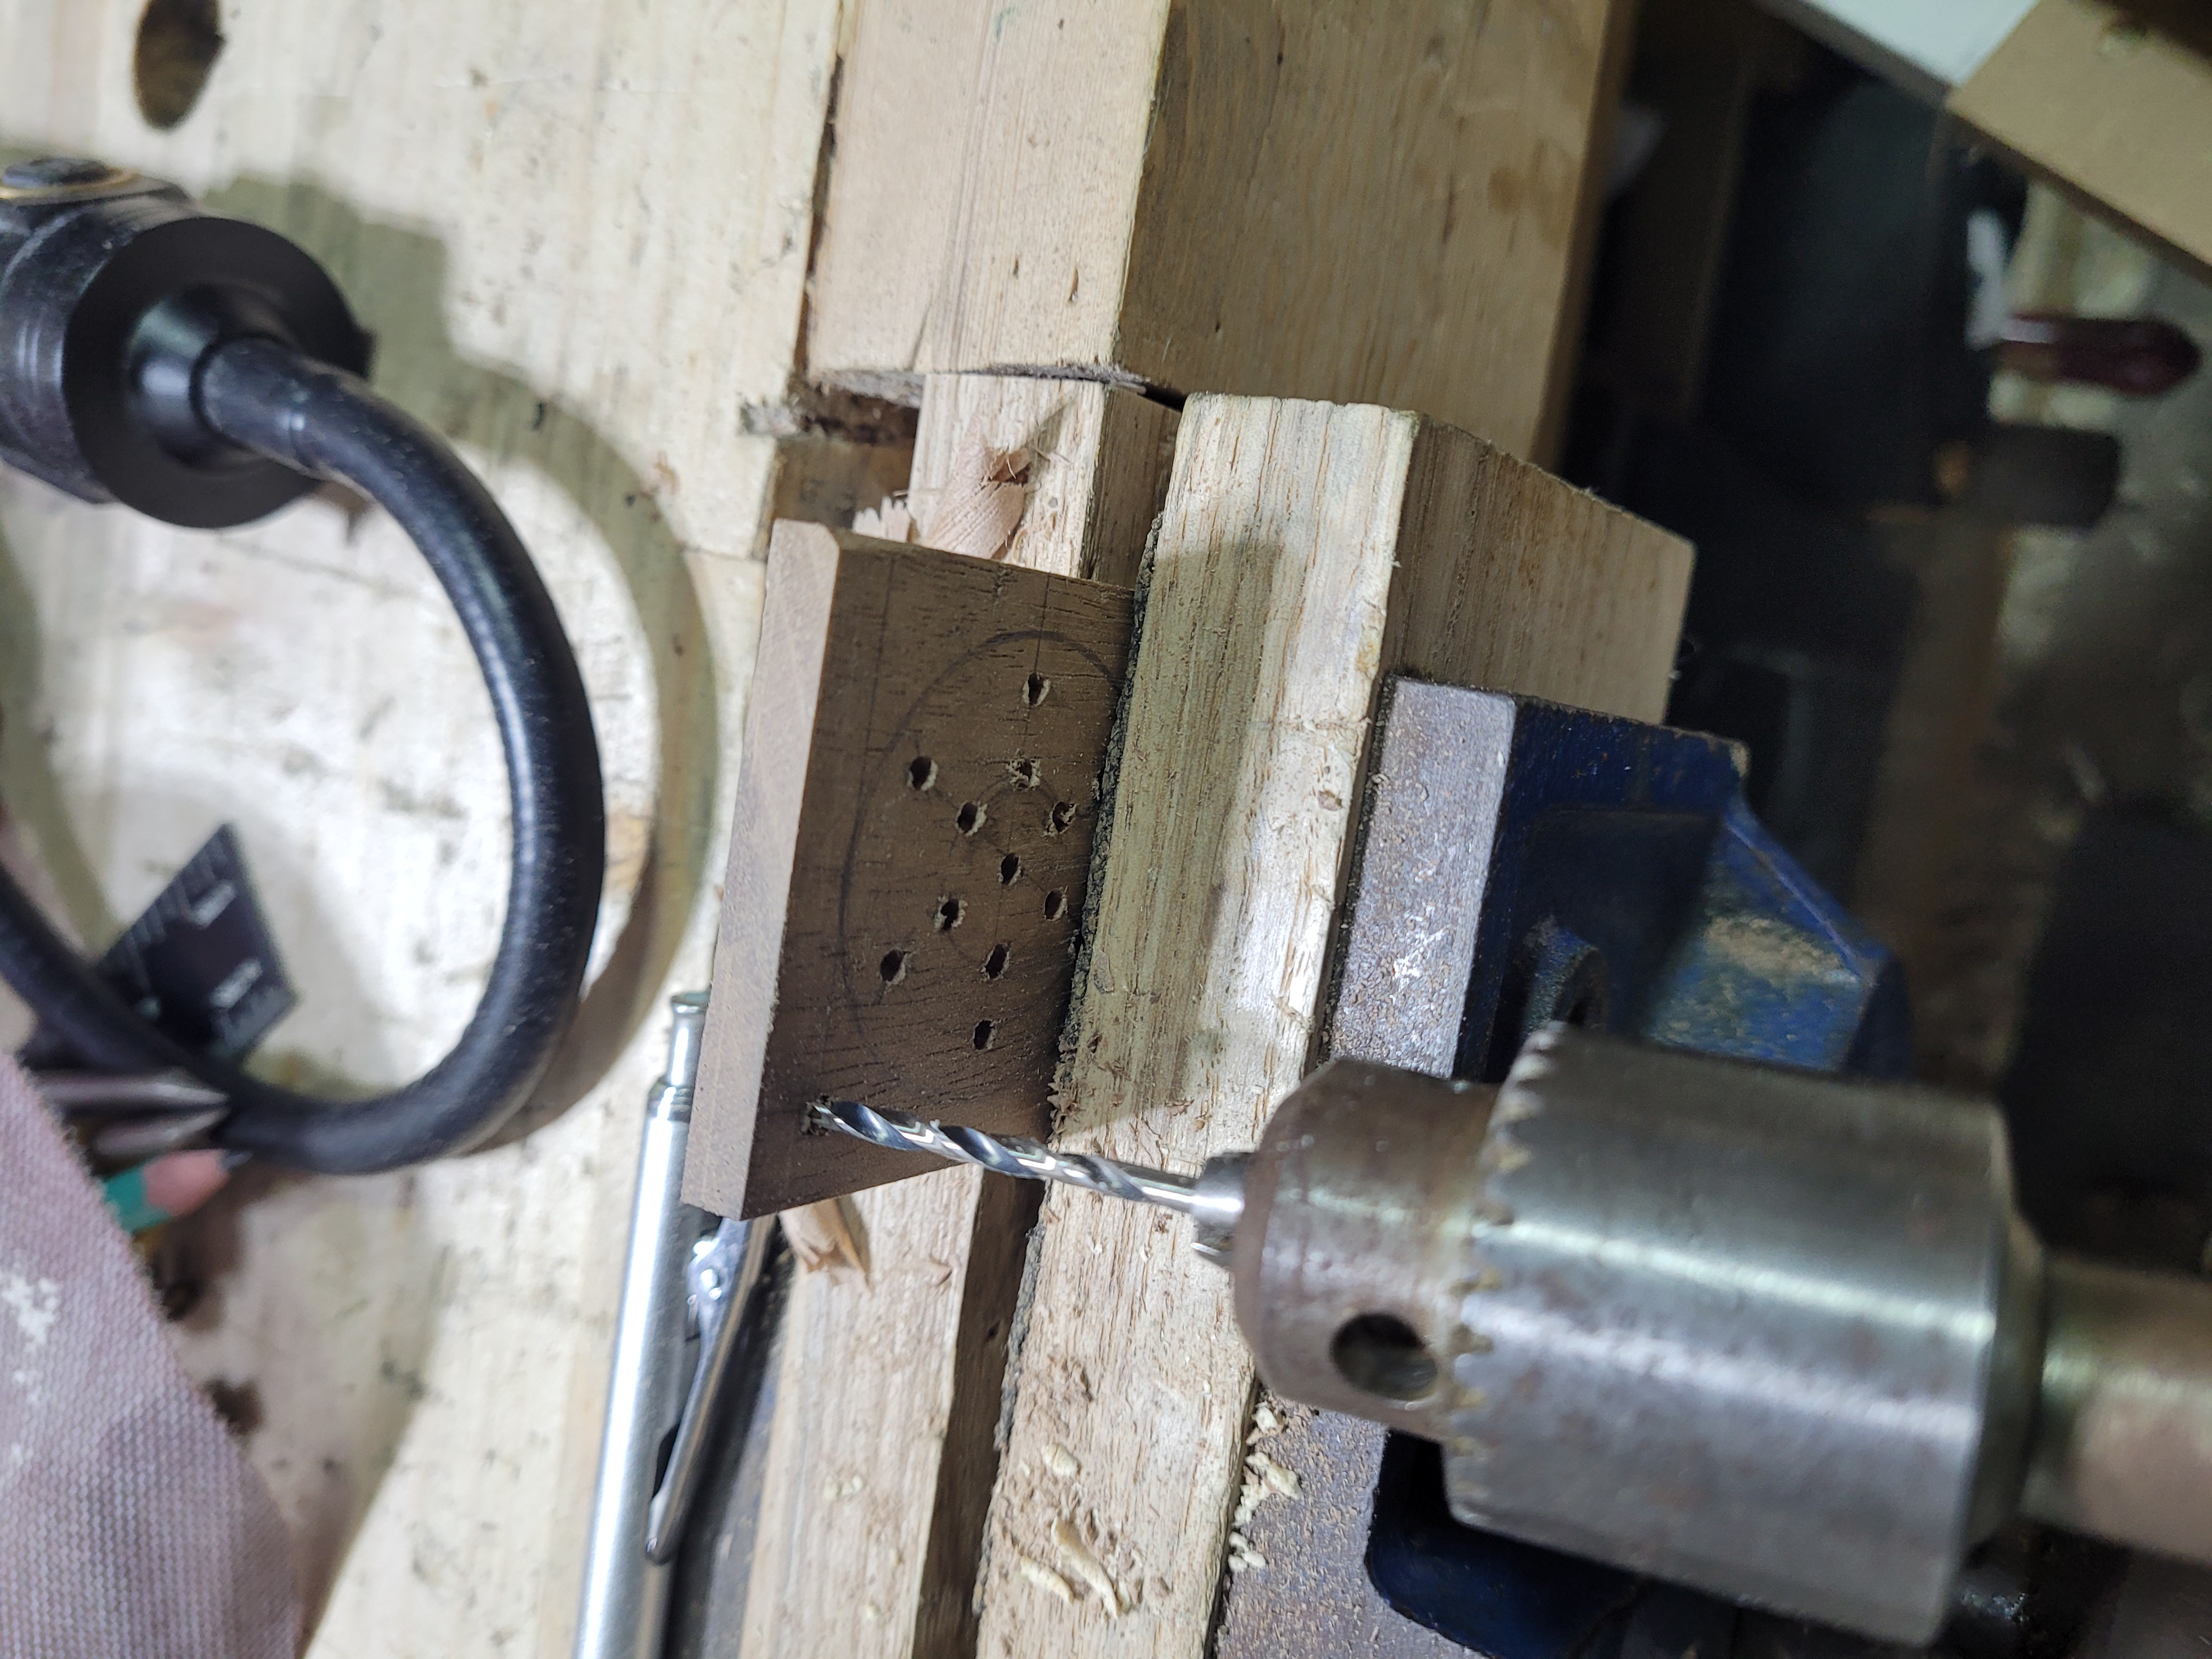
I then took a birdcage awl and marked each hole properly.
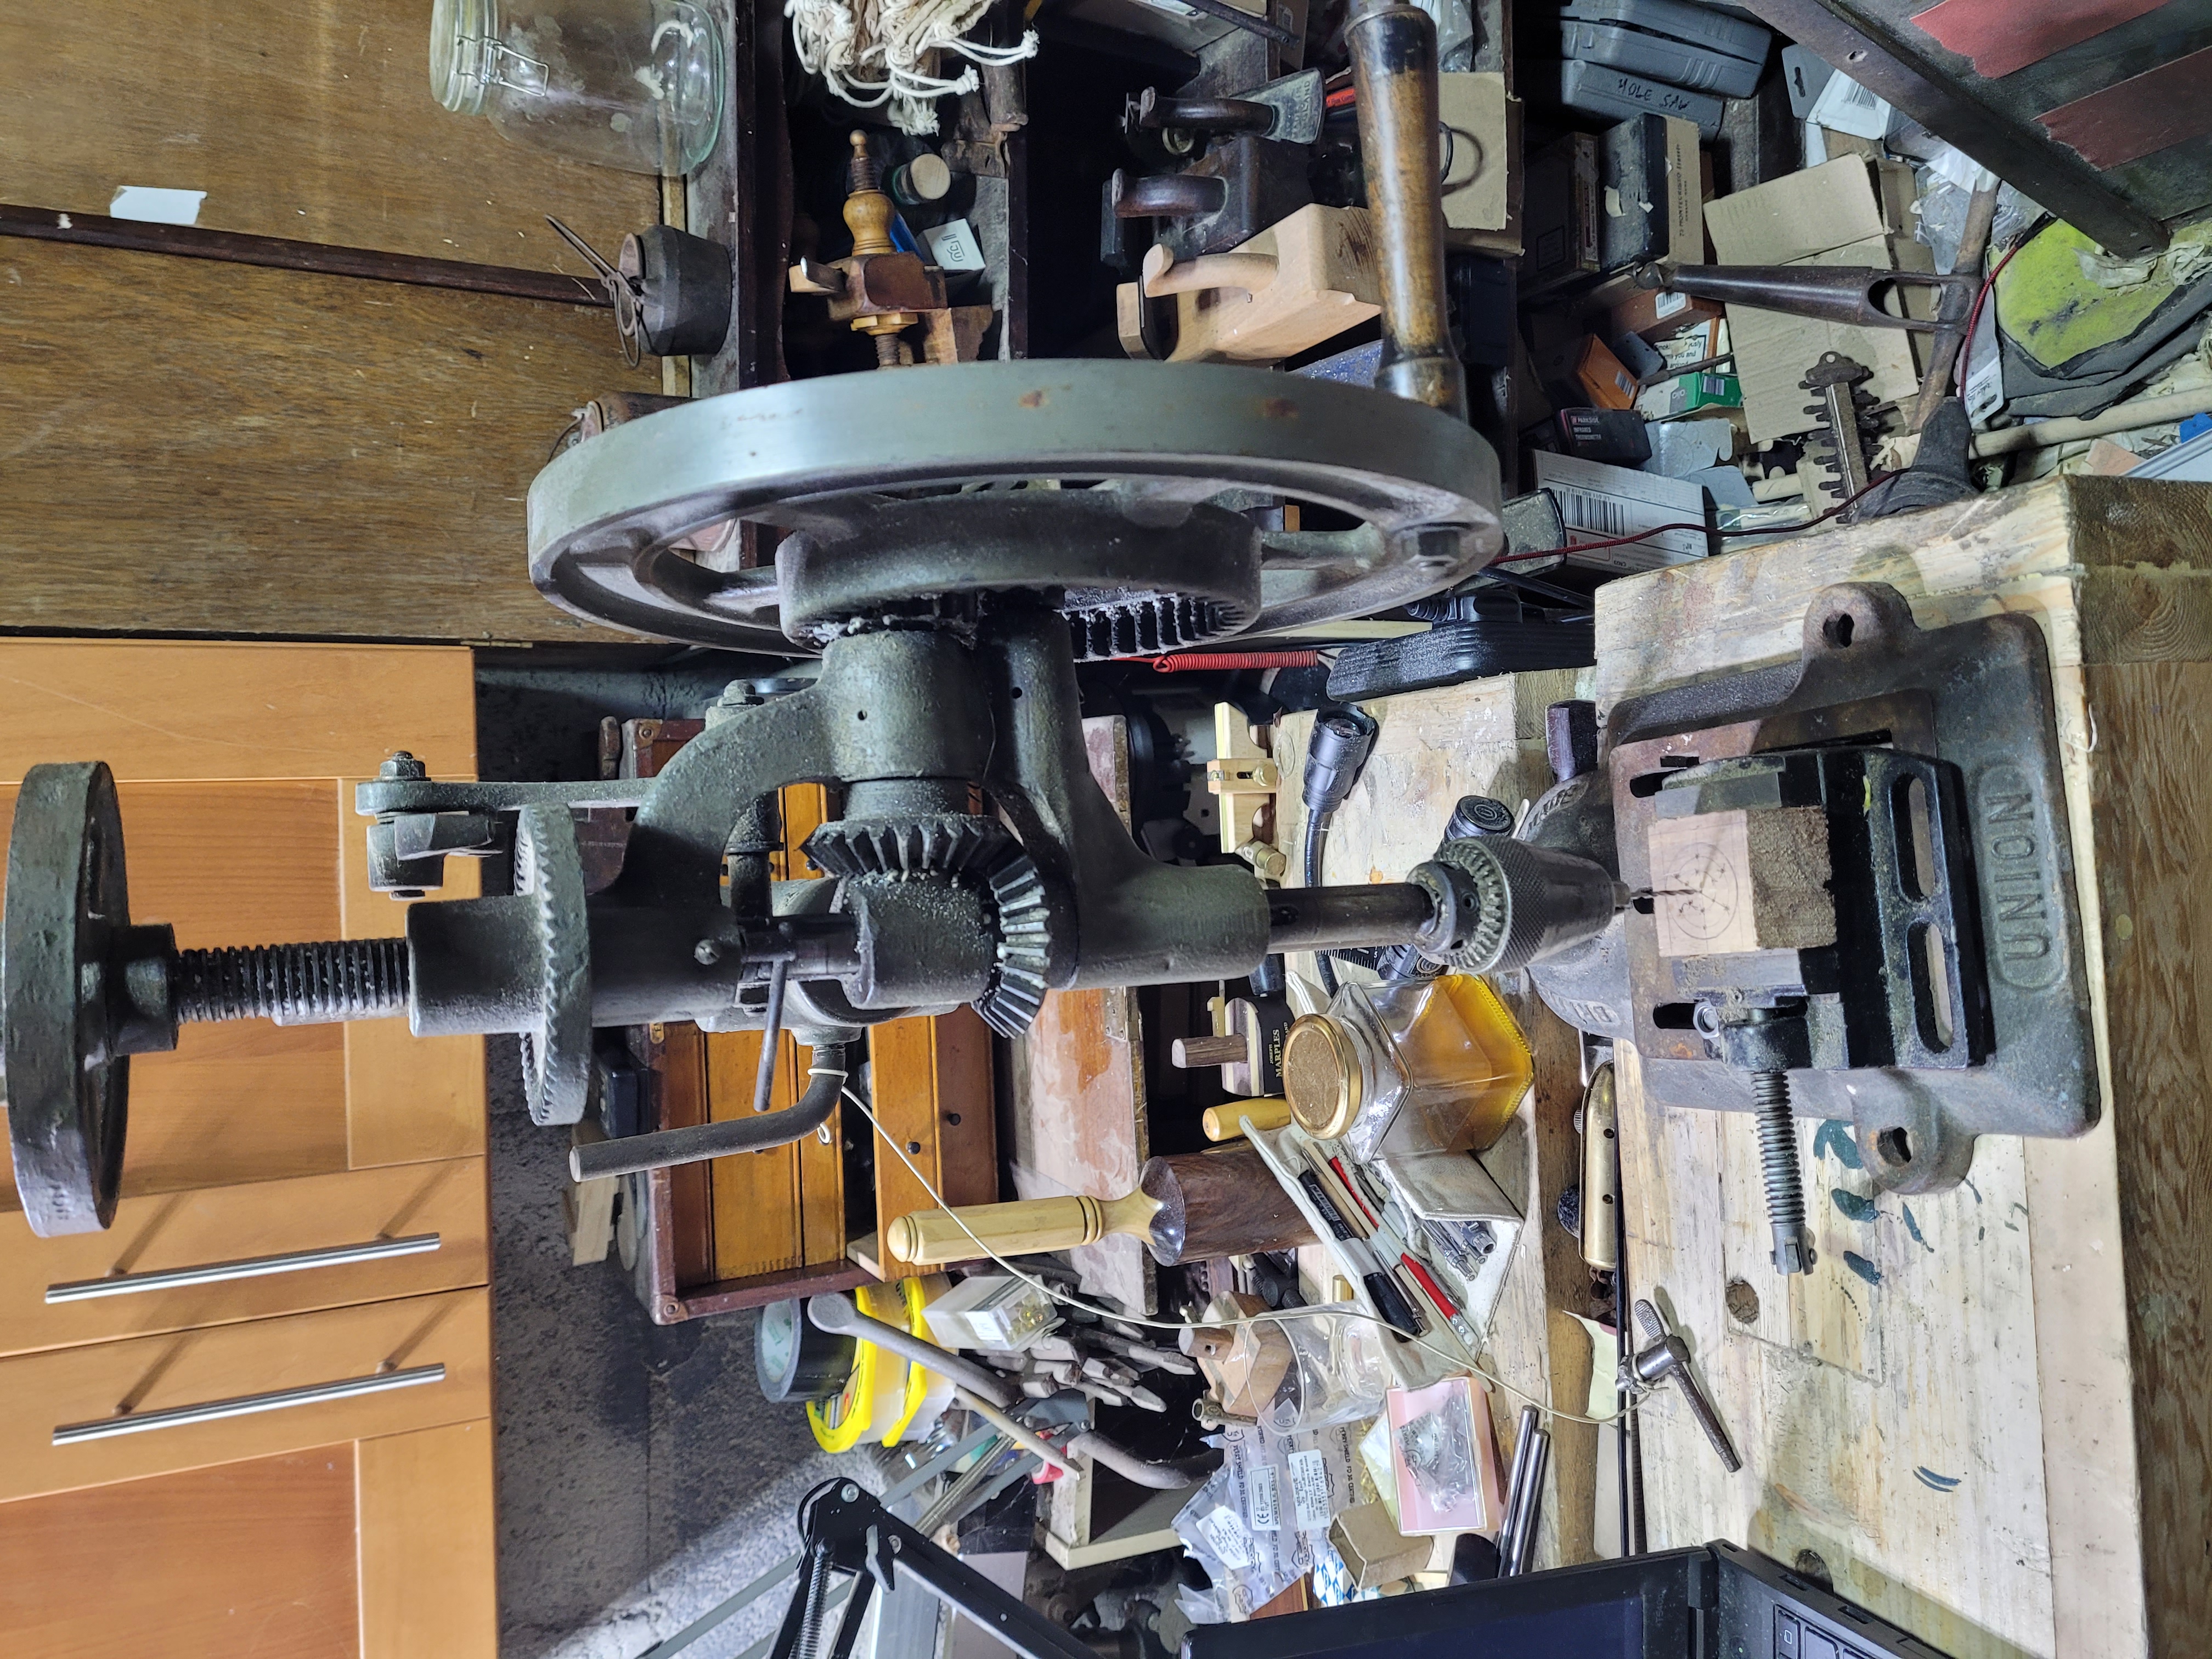
The Union Drill press.
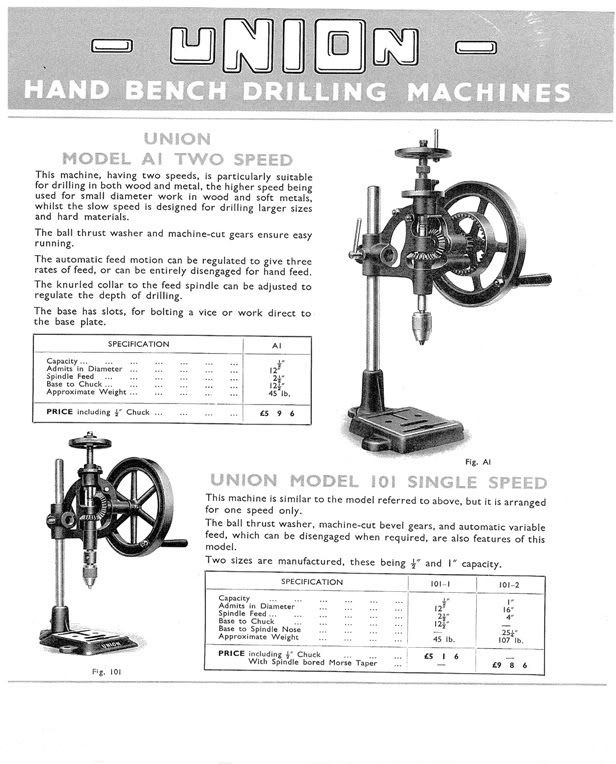
An advertisement for the press. Not the different position of the small gear on the crank wheel. I have yet to figure out how to switch to that position.
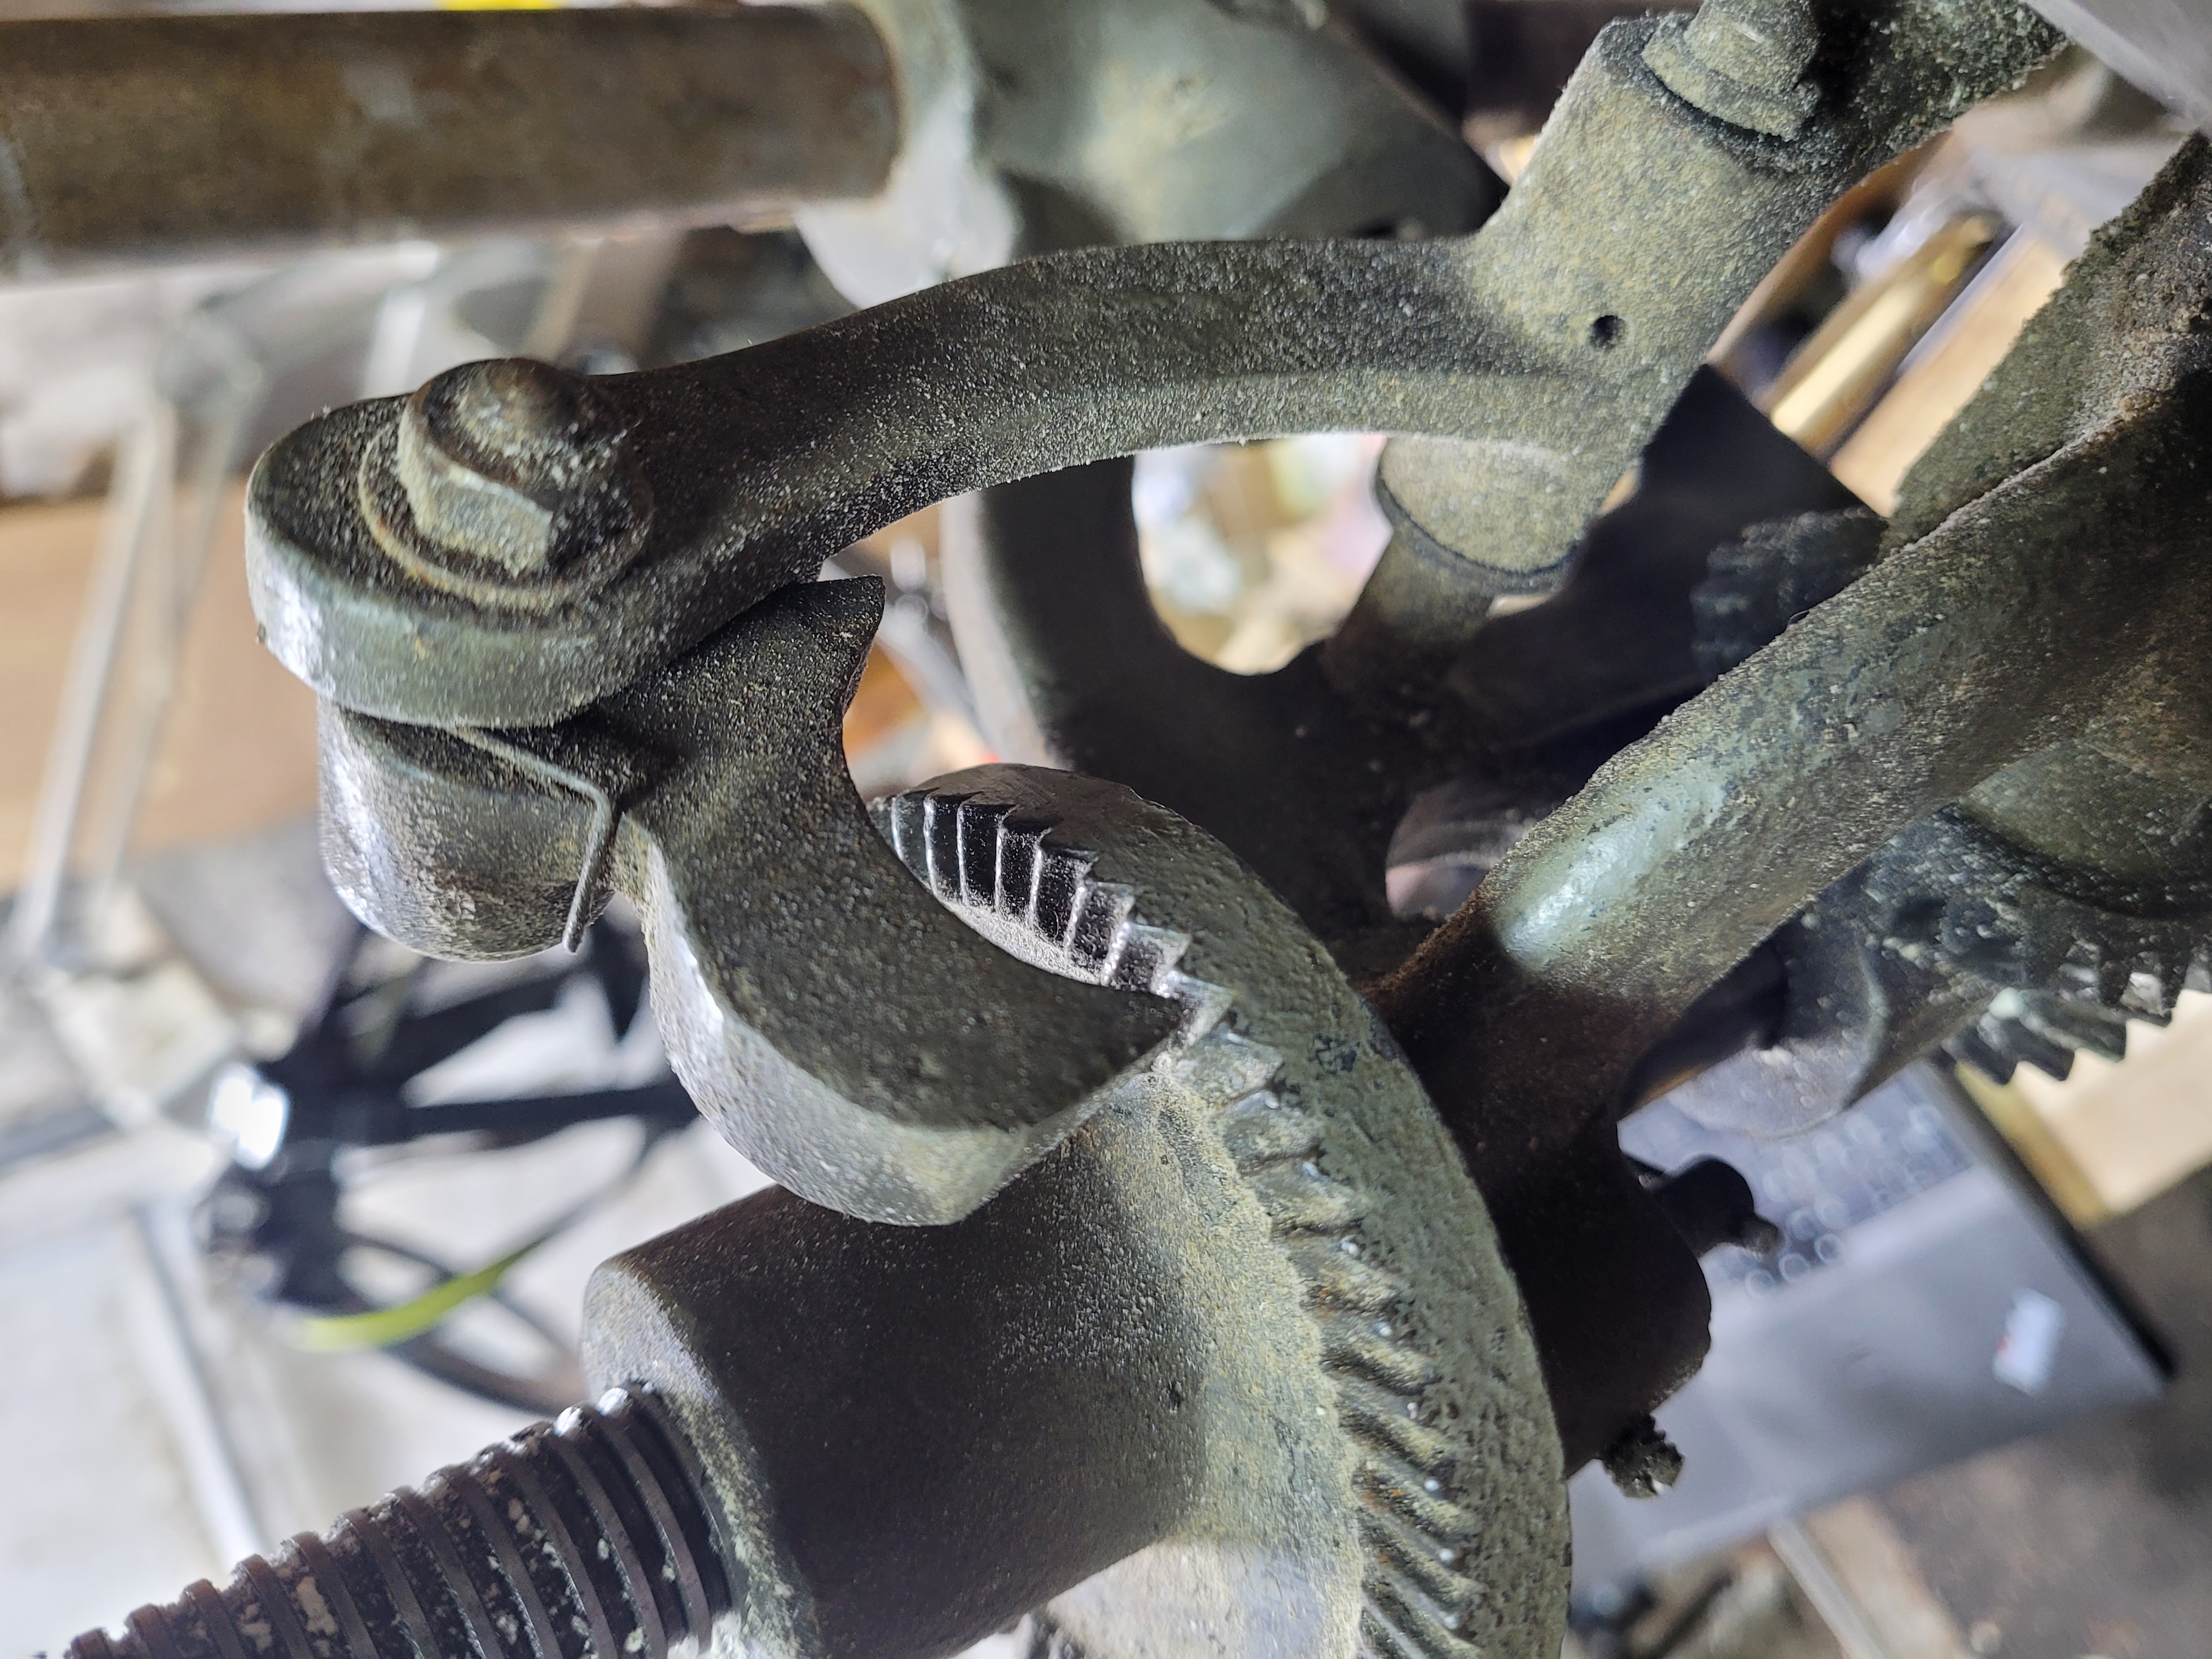
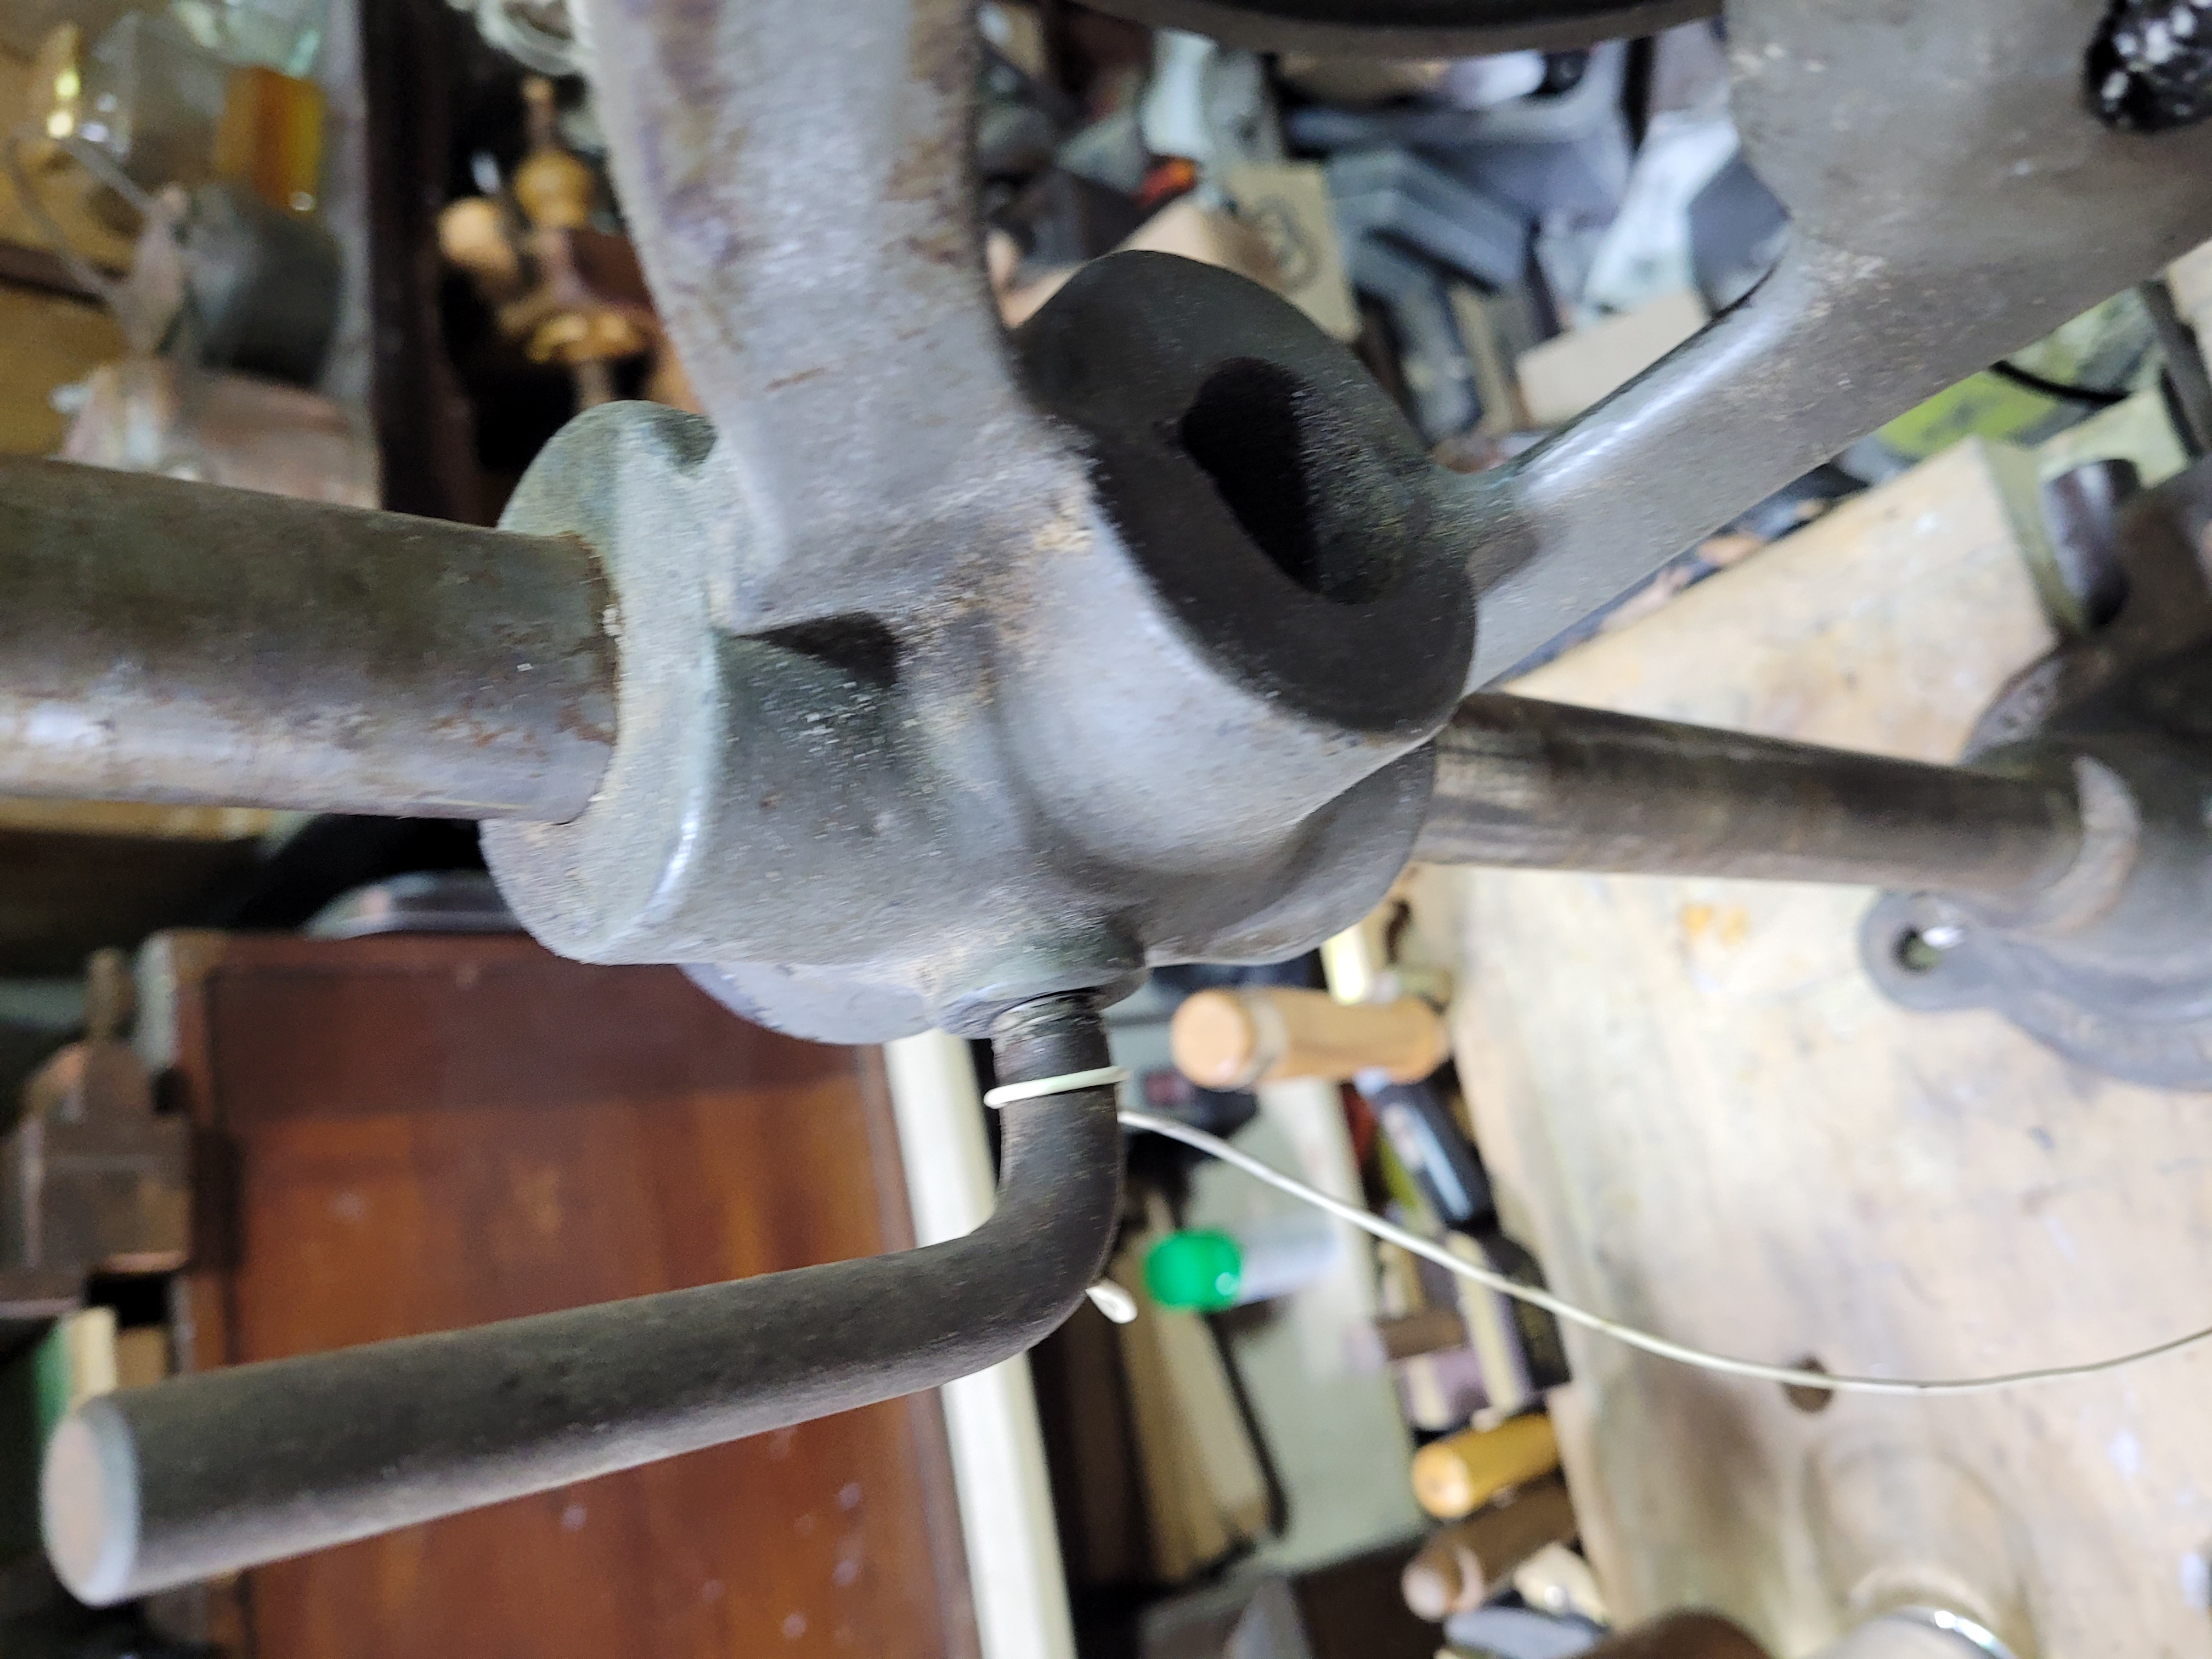
As you crank, this little claw moves forward and attempts to grab and pull the wheel back to advance the depth of cut. There is a lever that changes the hight of the wheel, which causes the claw to advance the cutter faster or slower.

The lever at the bottom controls the height of the wheel.
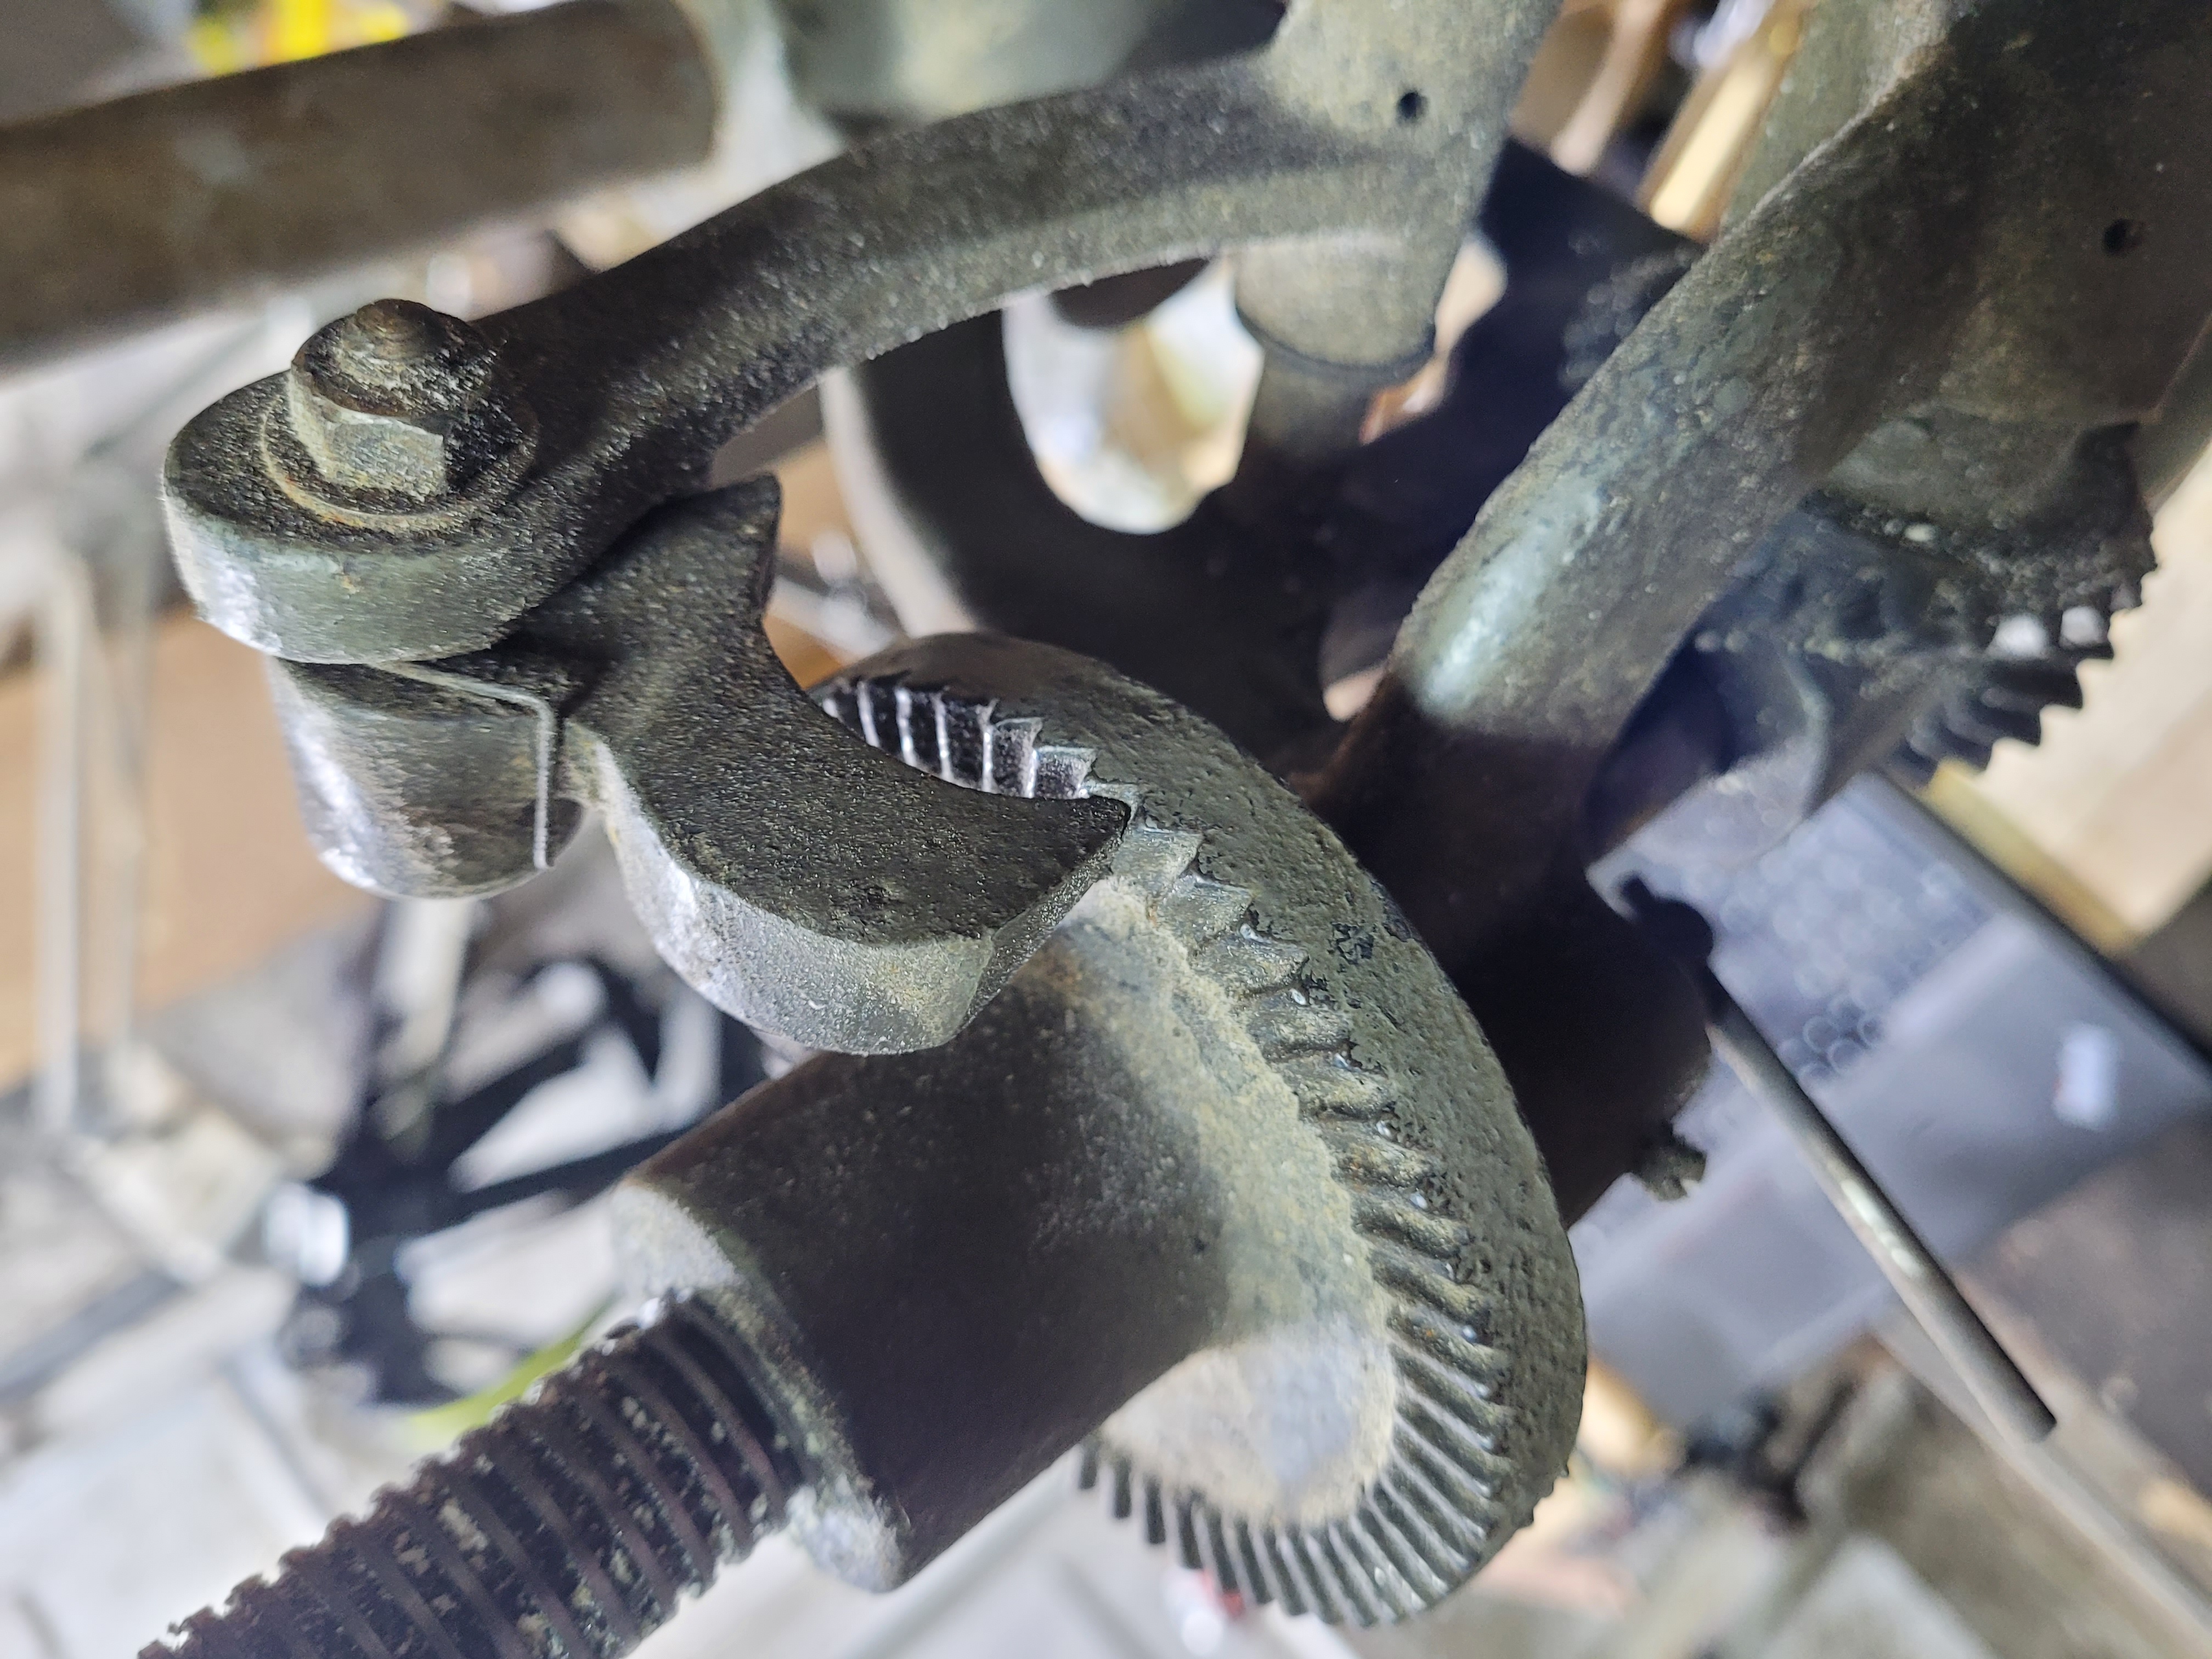
The position of the claw with the feed advance at full.
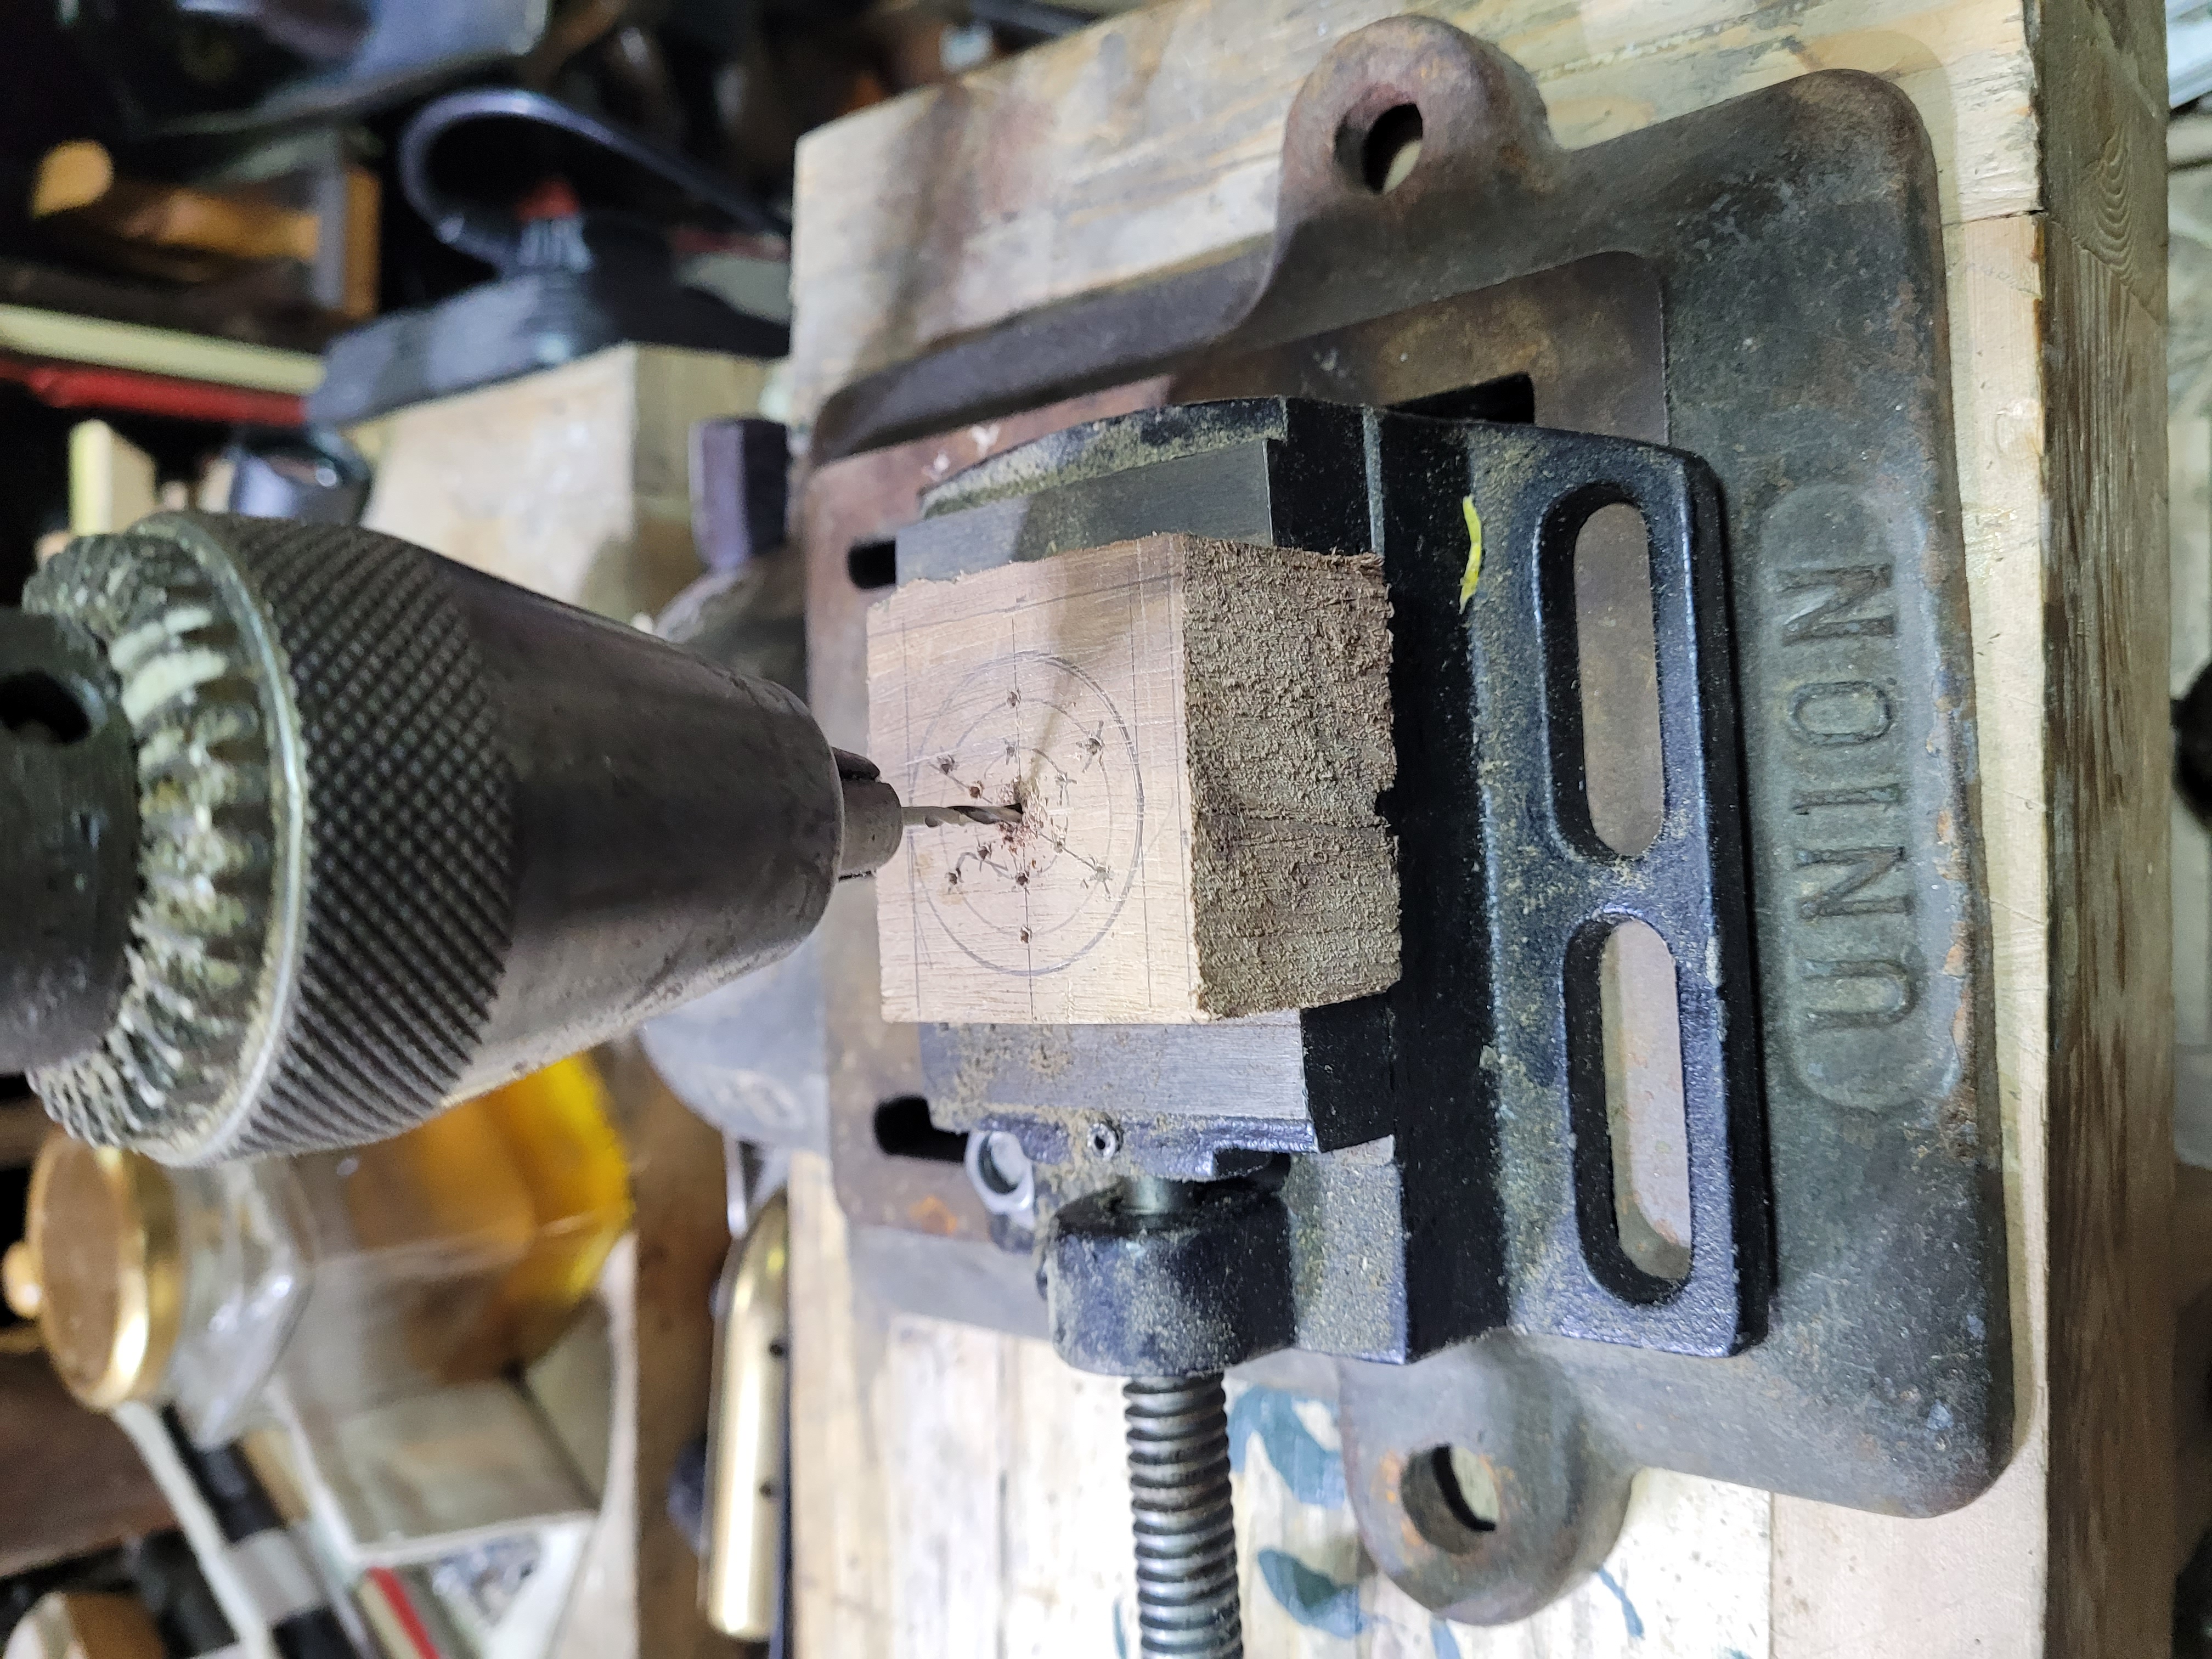
The 2 1/2 mm bit at work. The little vice on the base plate is not original to the drill. Just one I had around.
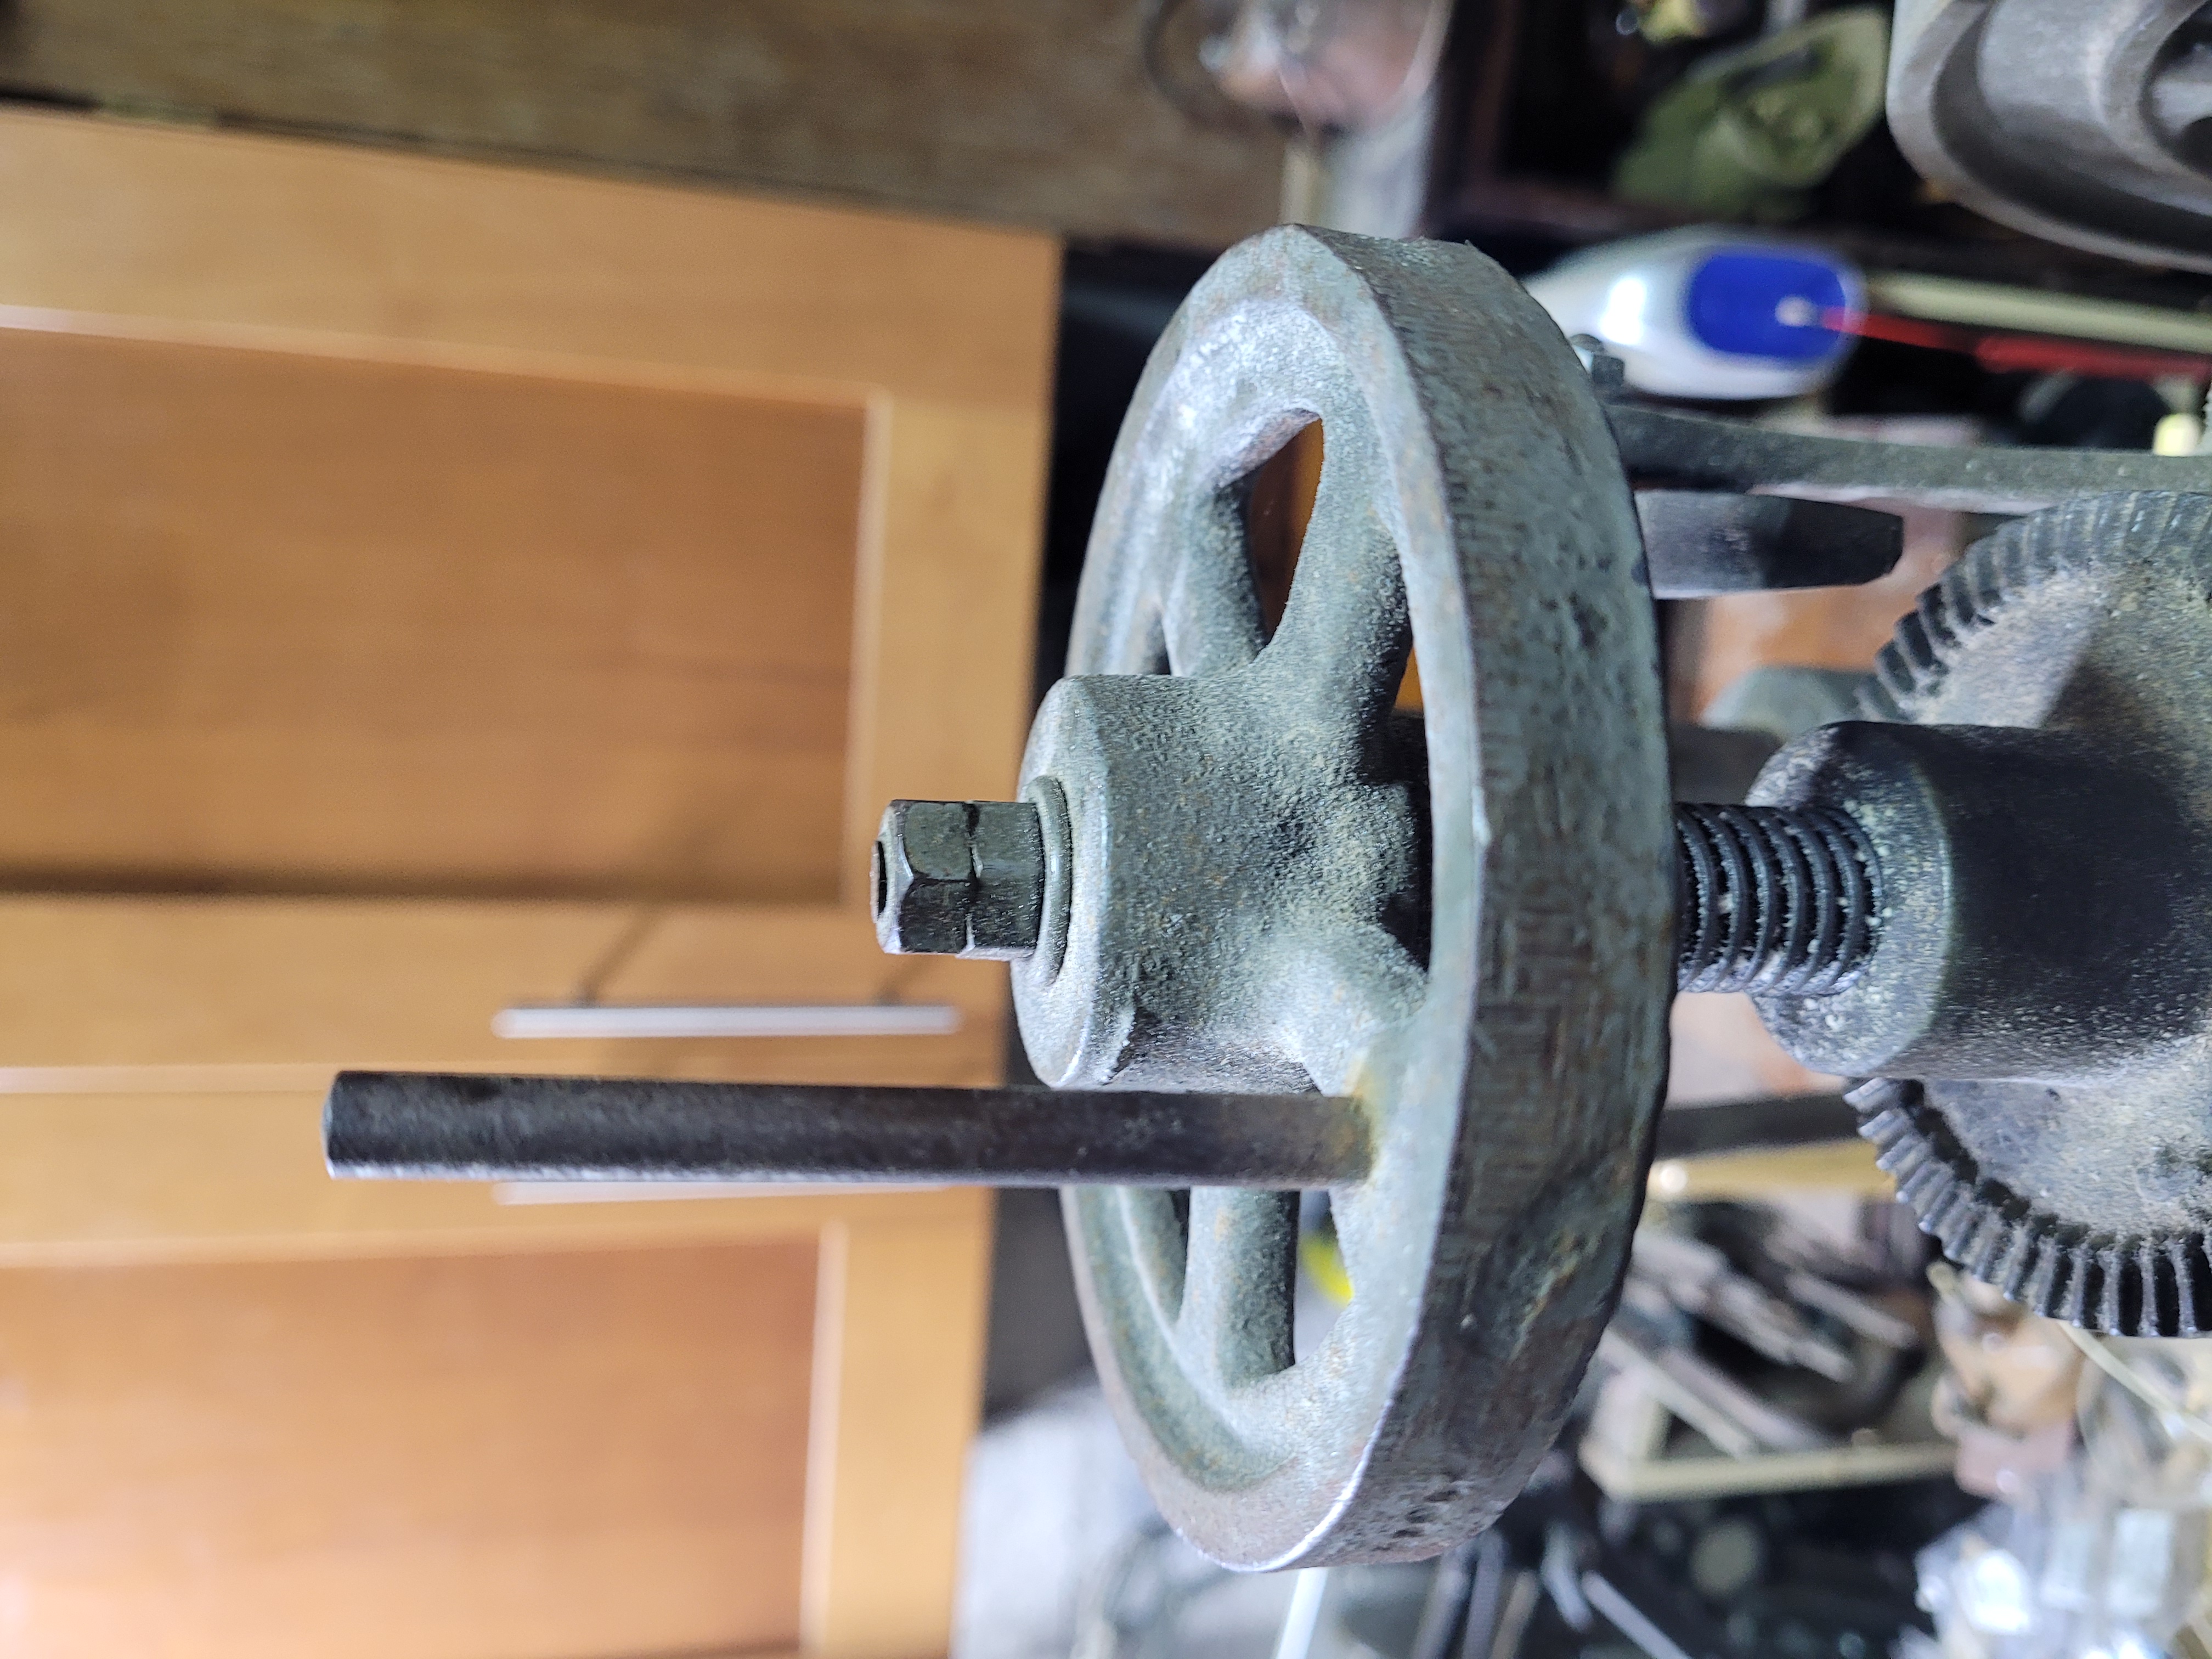
This wheel at the top serves two purposes. It’s weight causes the bit to advance and stay in the cut (A heavier duty drill would have a much larger weight). The post is for you to turn it manually to retract the drill when you are back in the cut, you should move the feed advance all the way to the left to disable it as you retract.
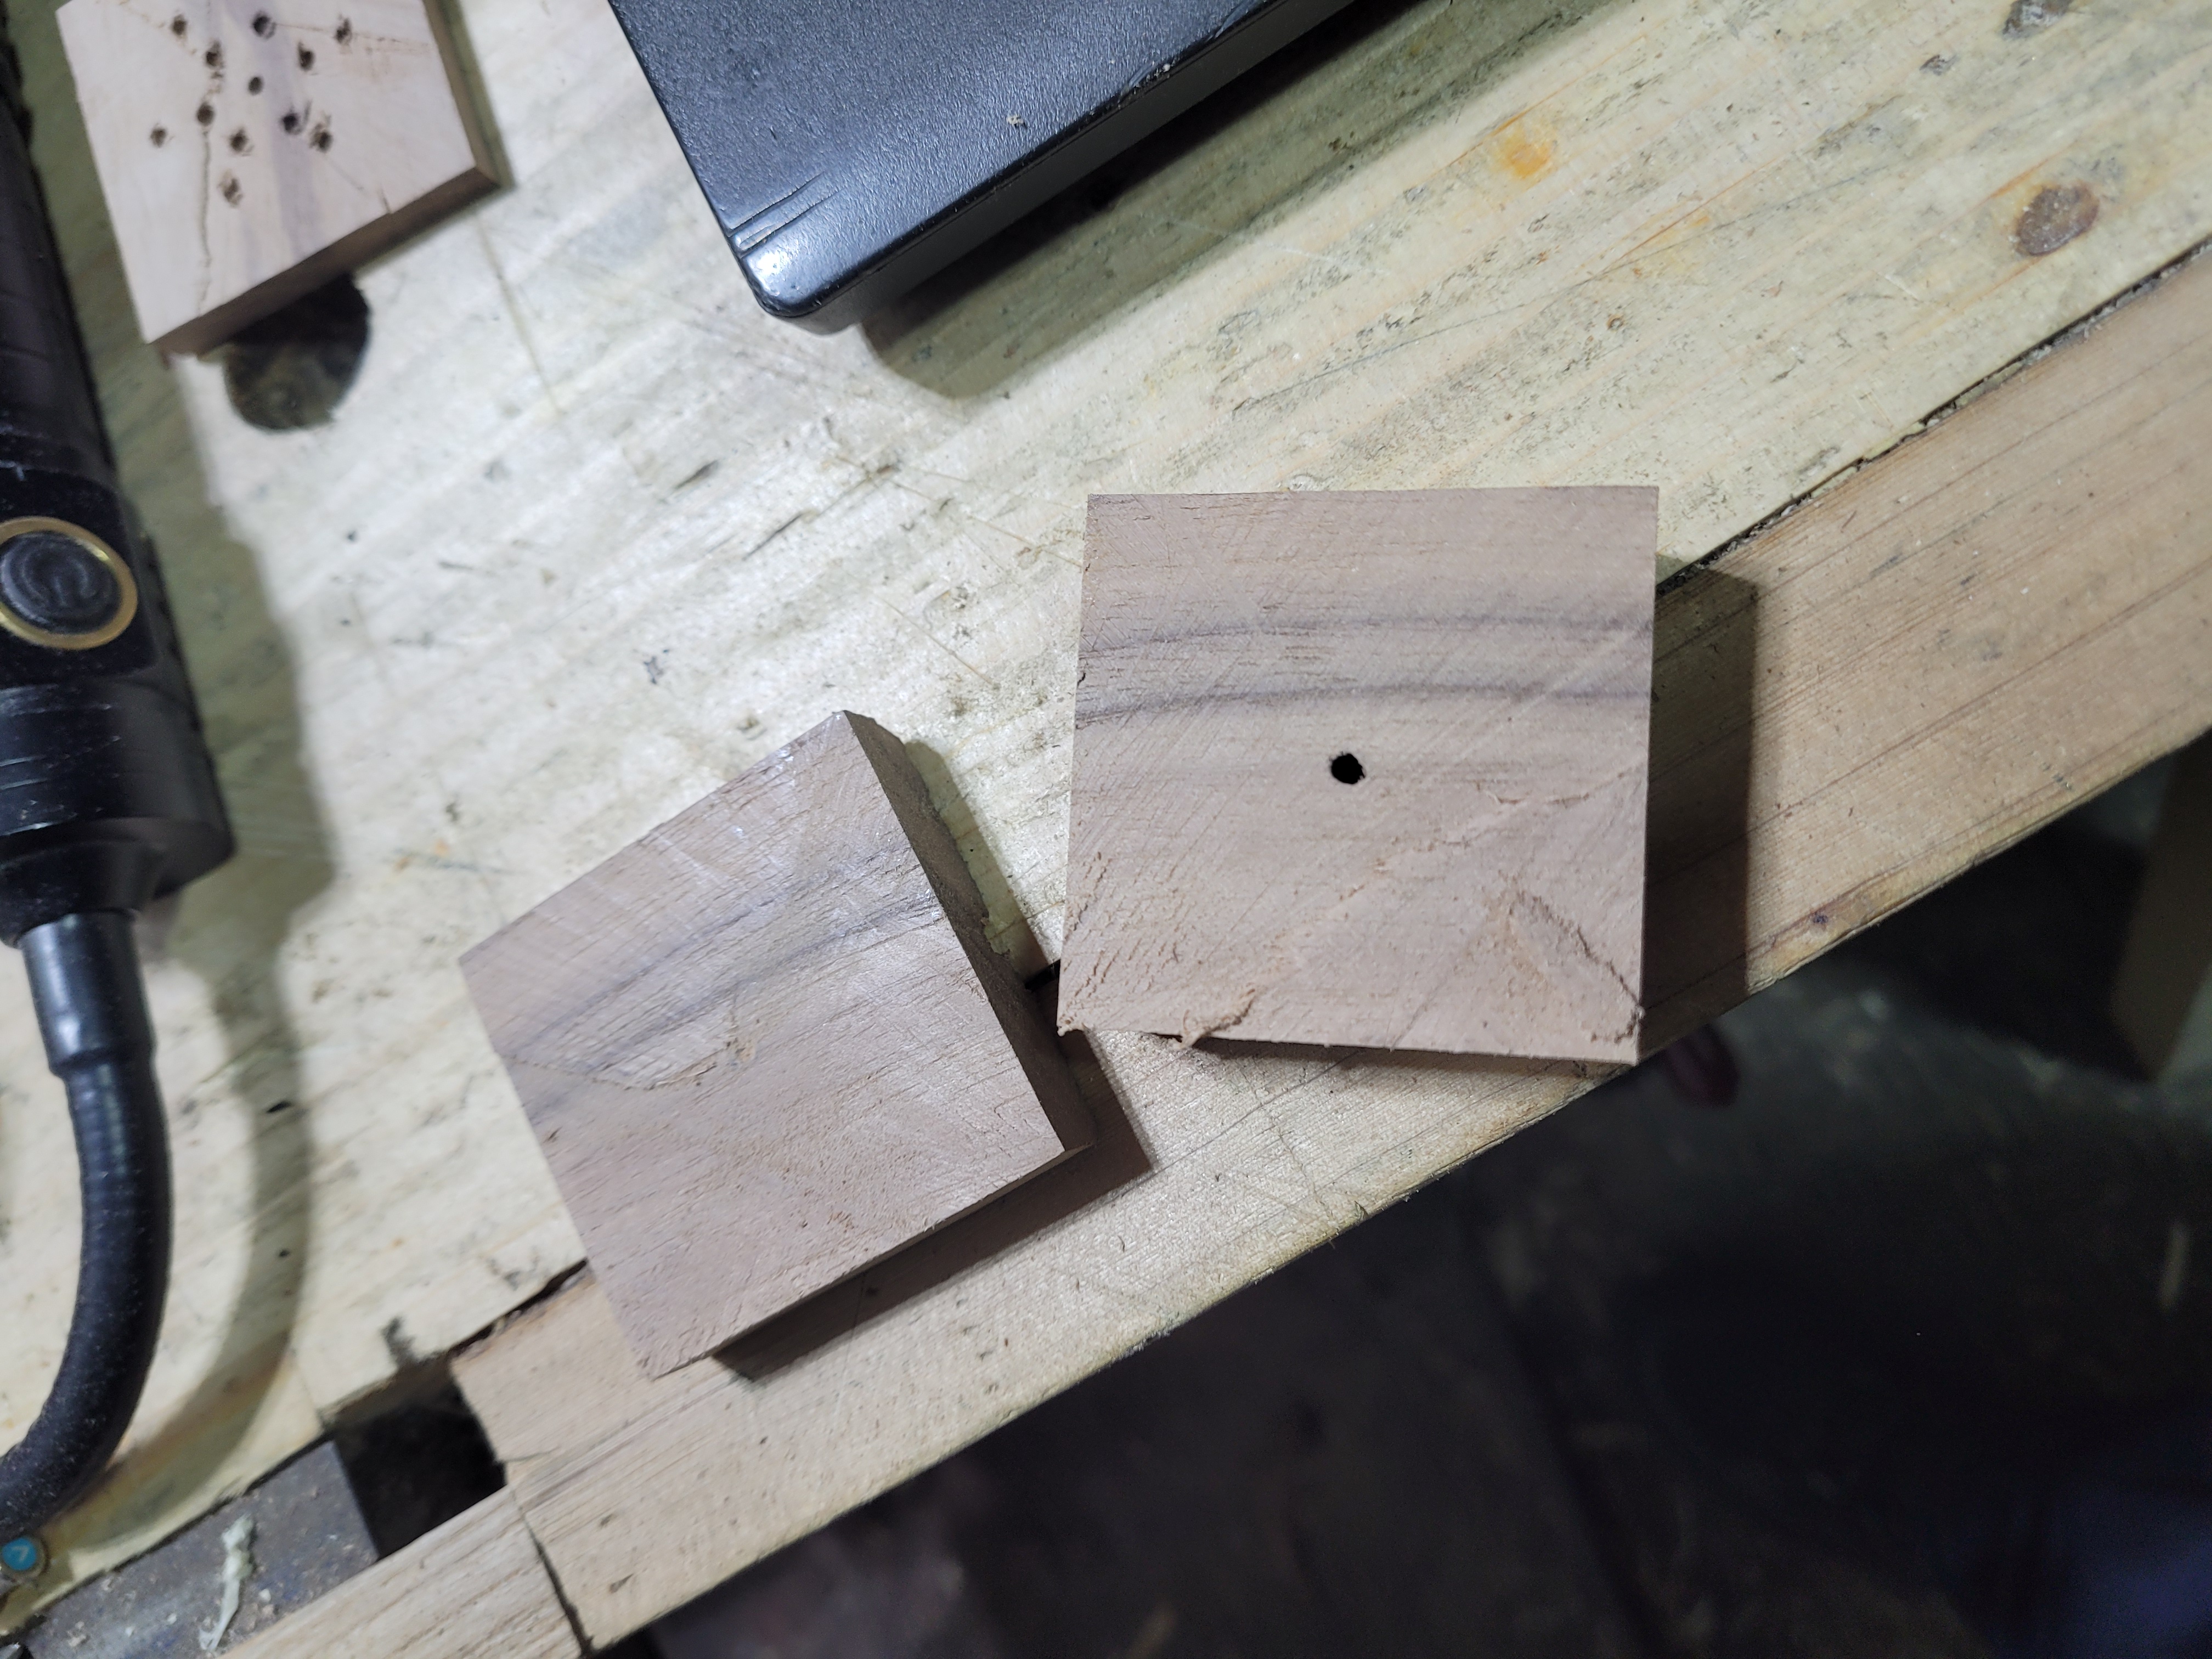
The centre hole drilled.
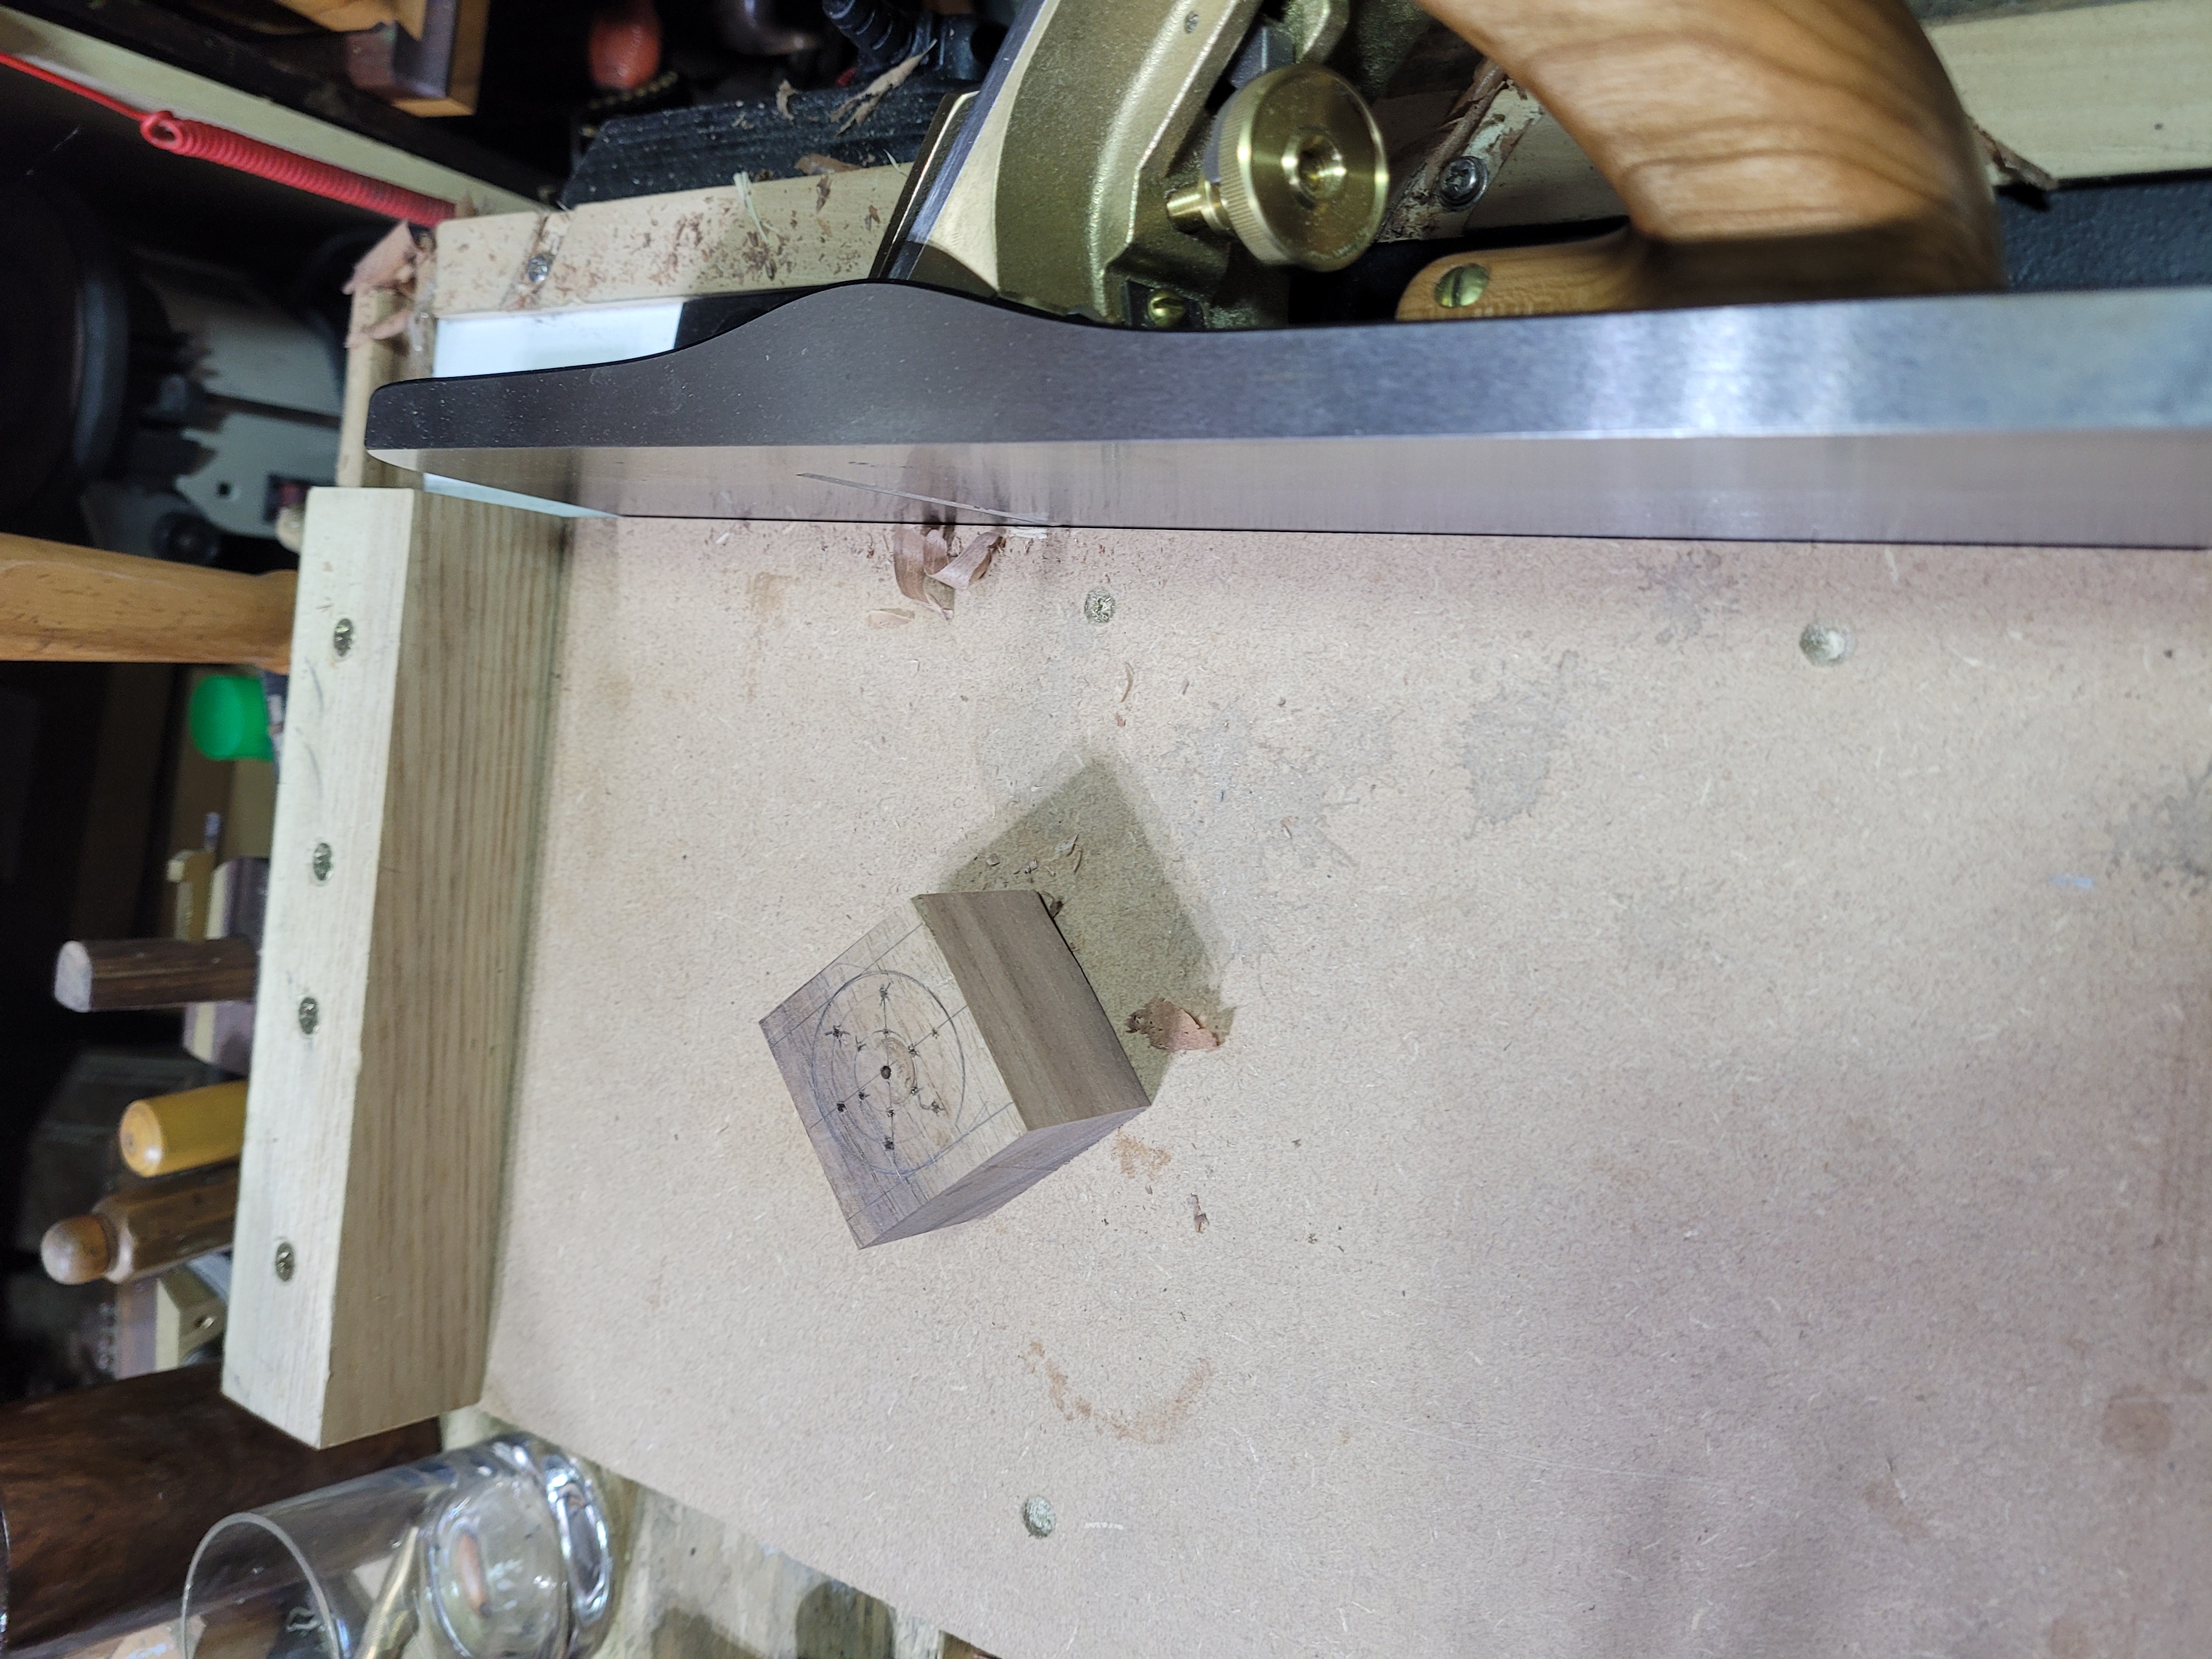
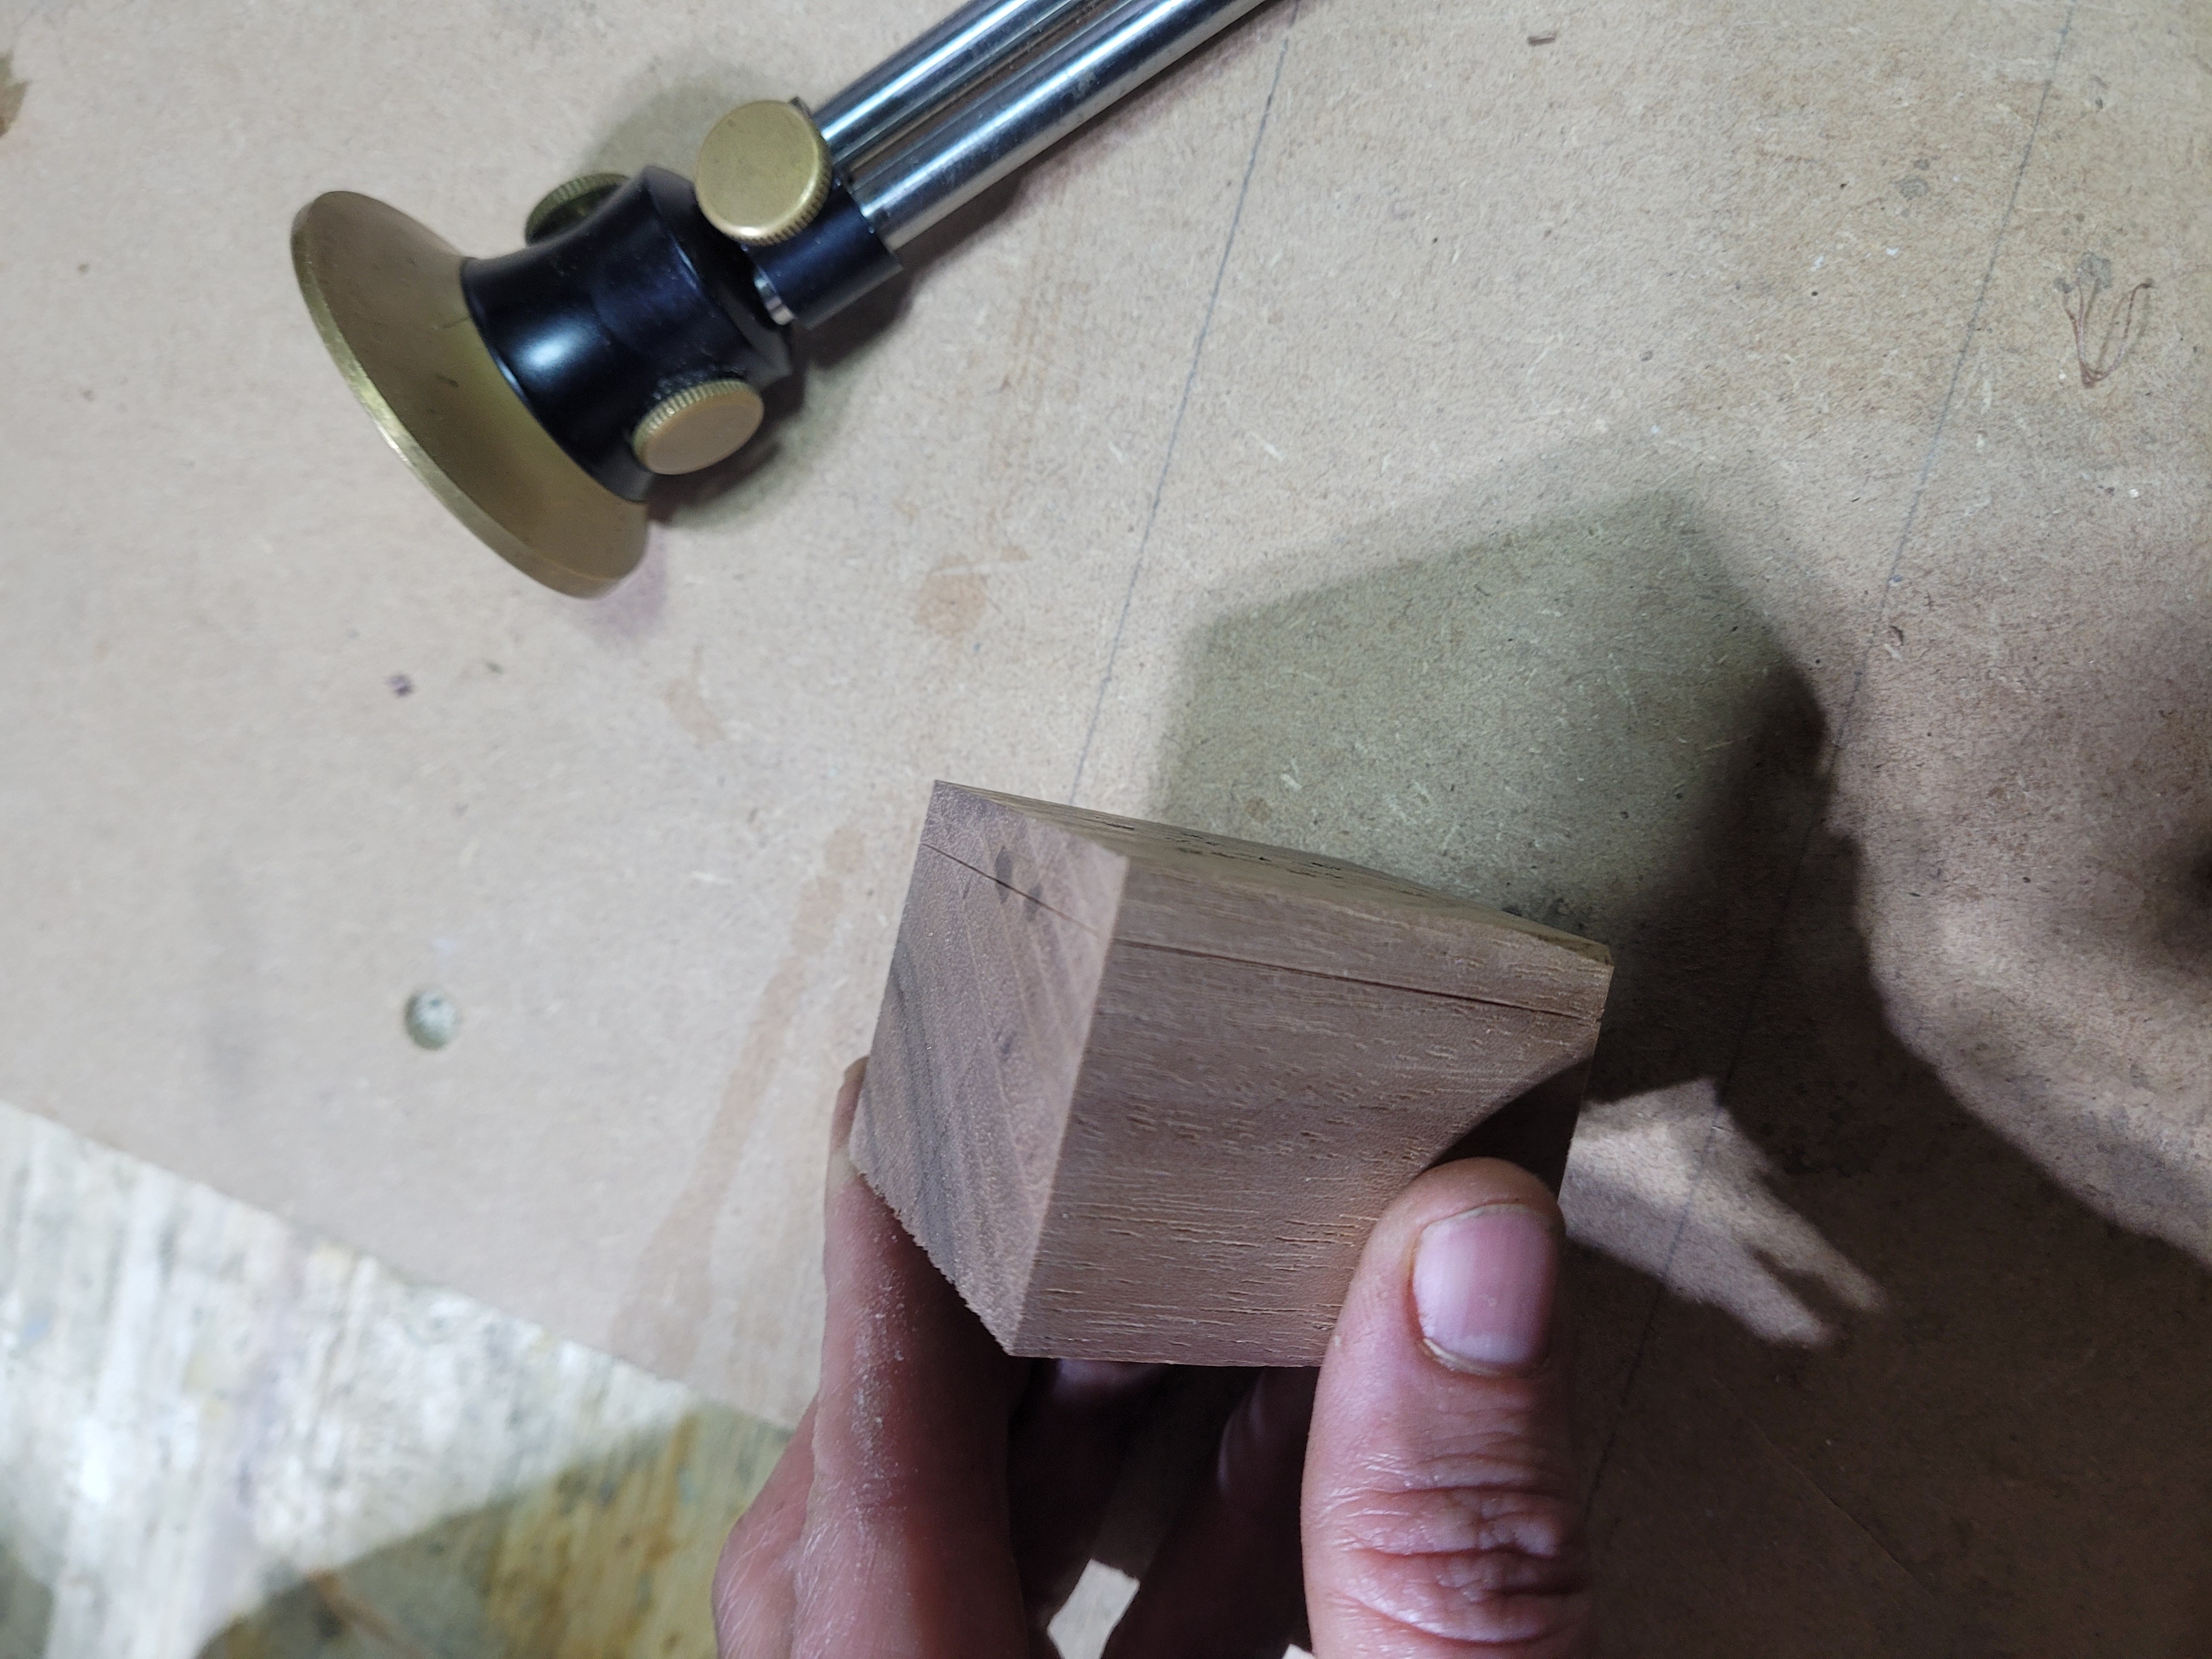
Once that was done I took it over to the shooting board to square up the sides. This will help it hold well in the drill press when the big drill bit goes in. Its also going to be good when I’m sawing off the lid.
Mark the depth of the lid with a marking gauge. Just eyeballed something suitable.
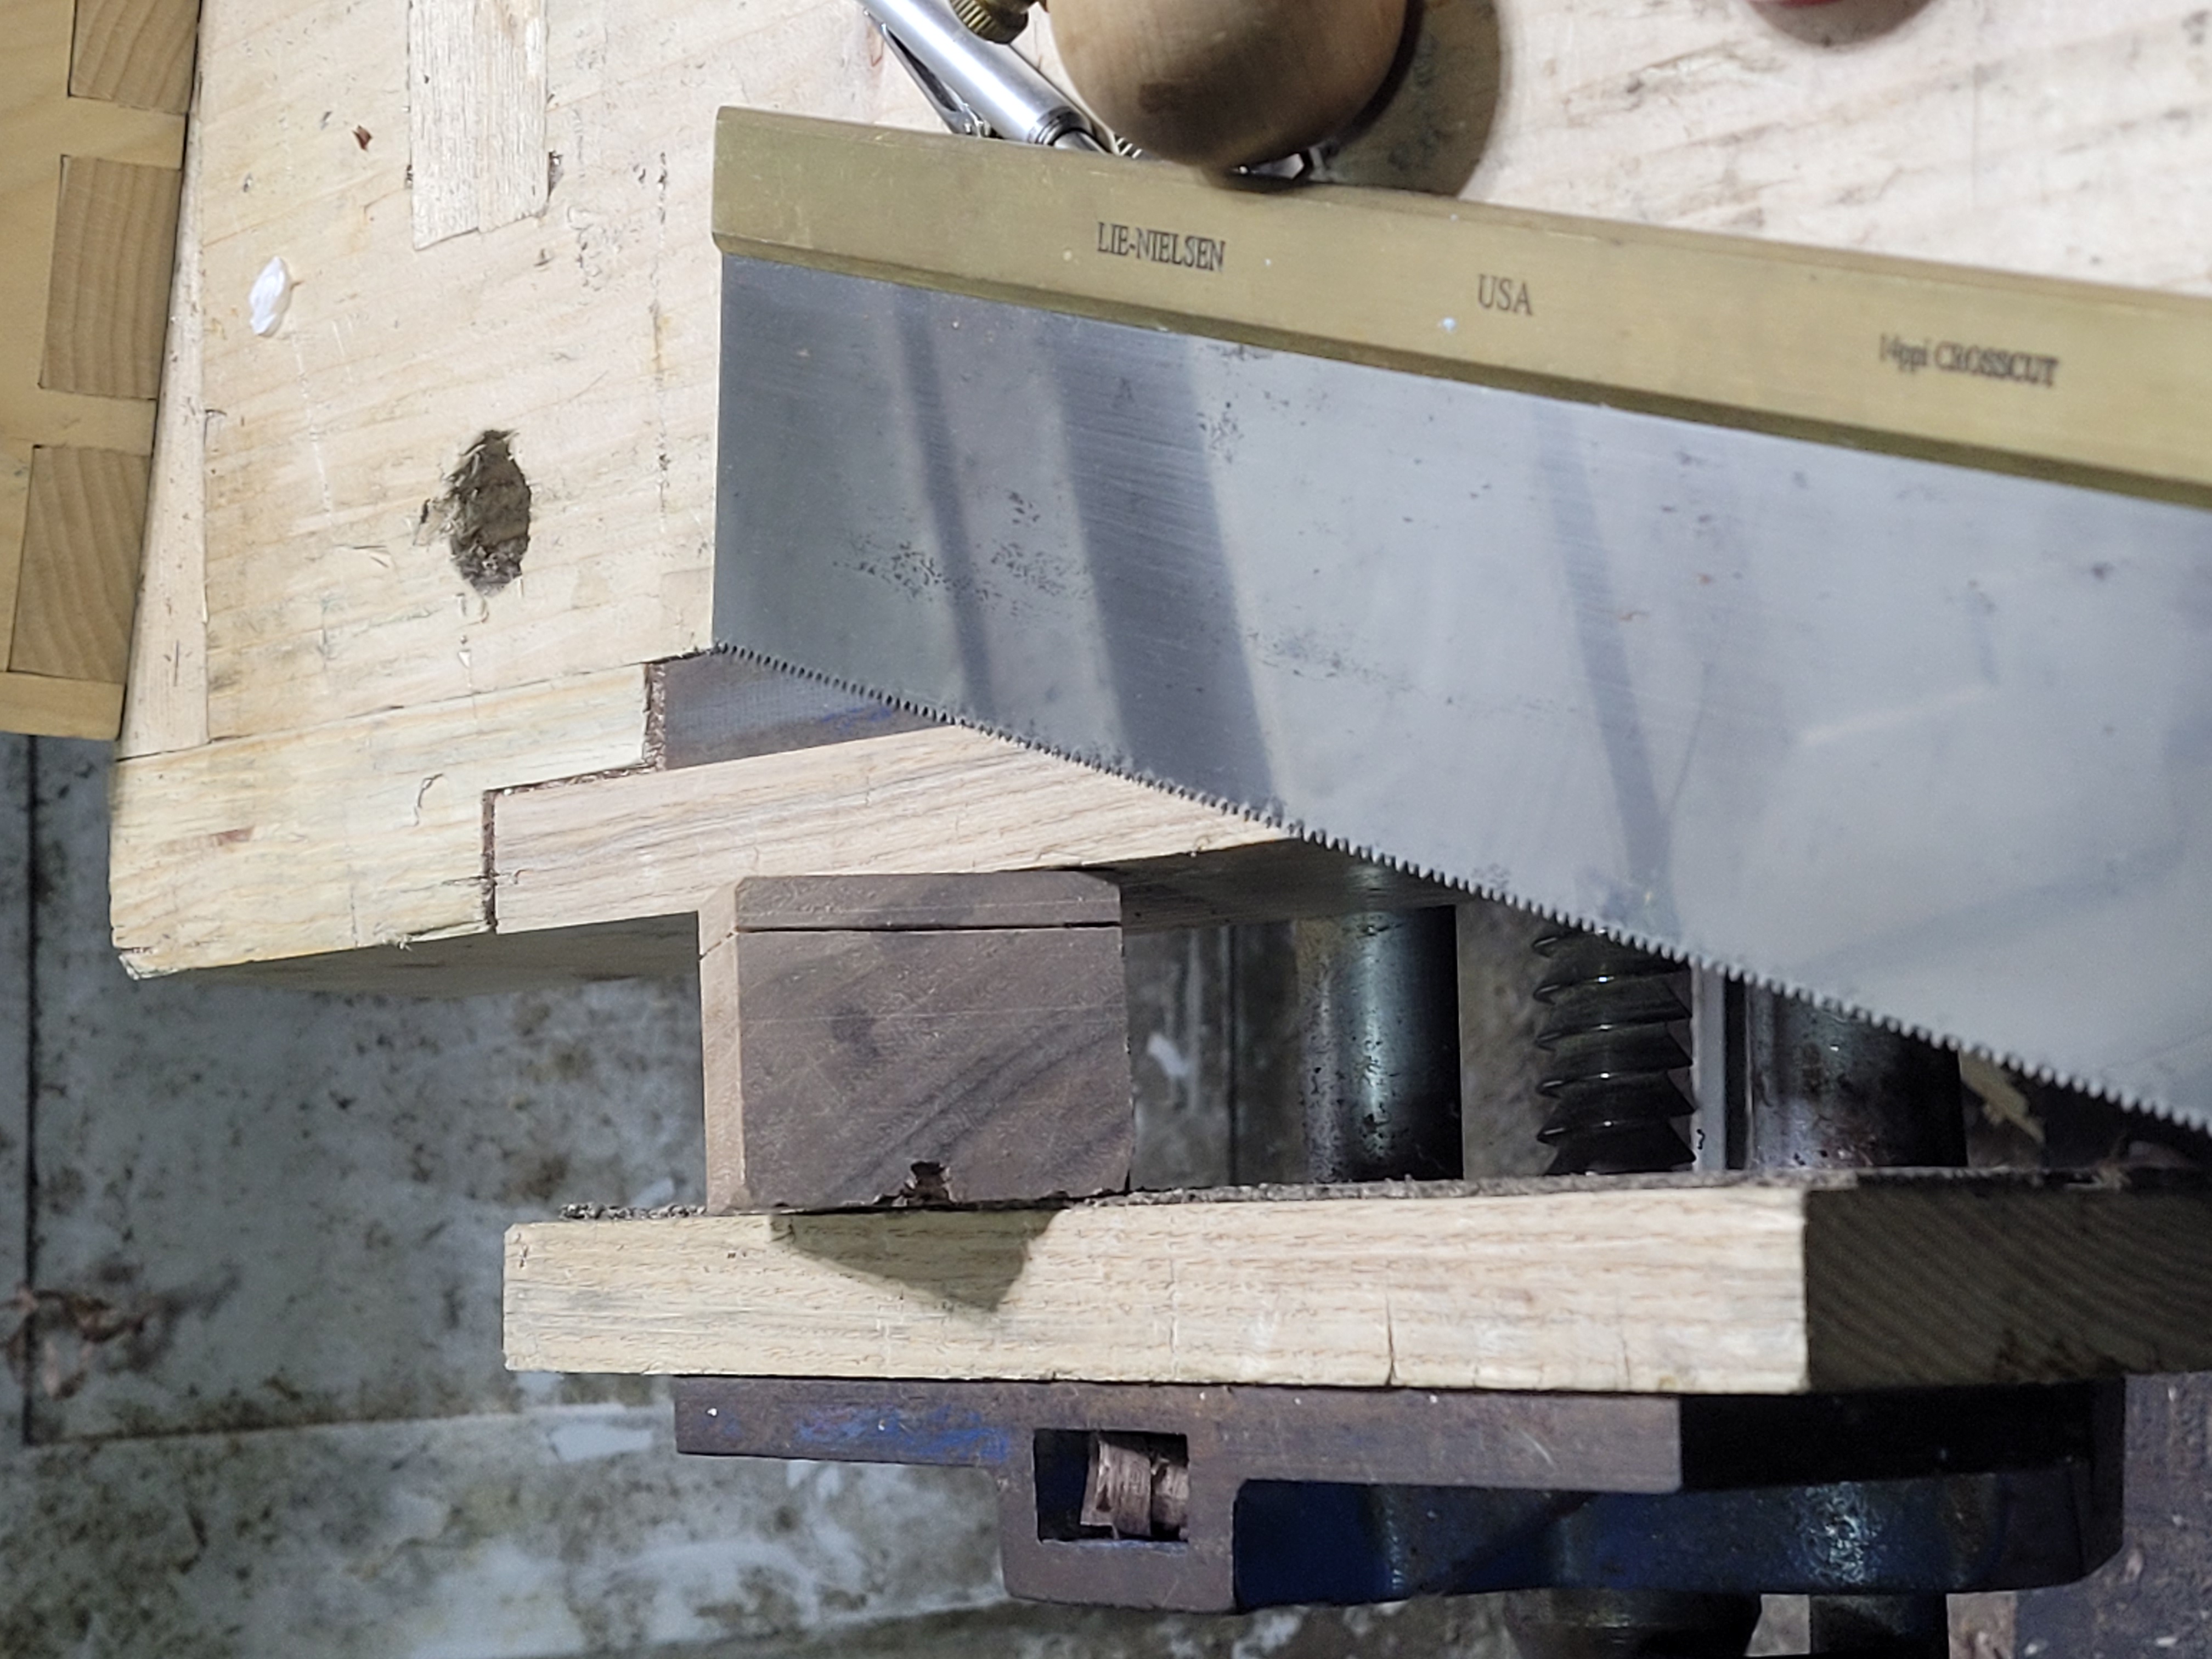
Follow the line around with the crosscut saw.
And off comes the lid.
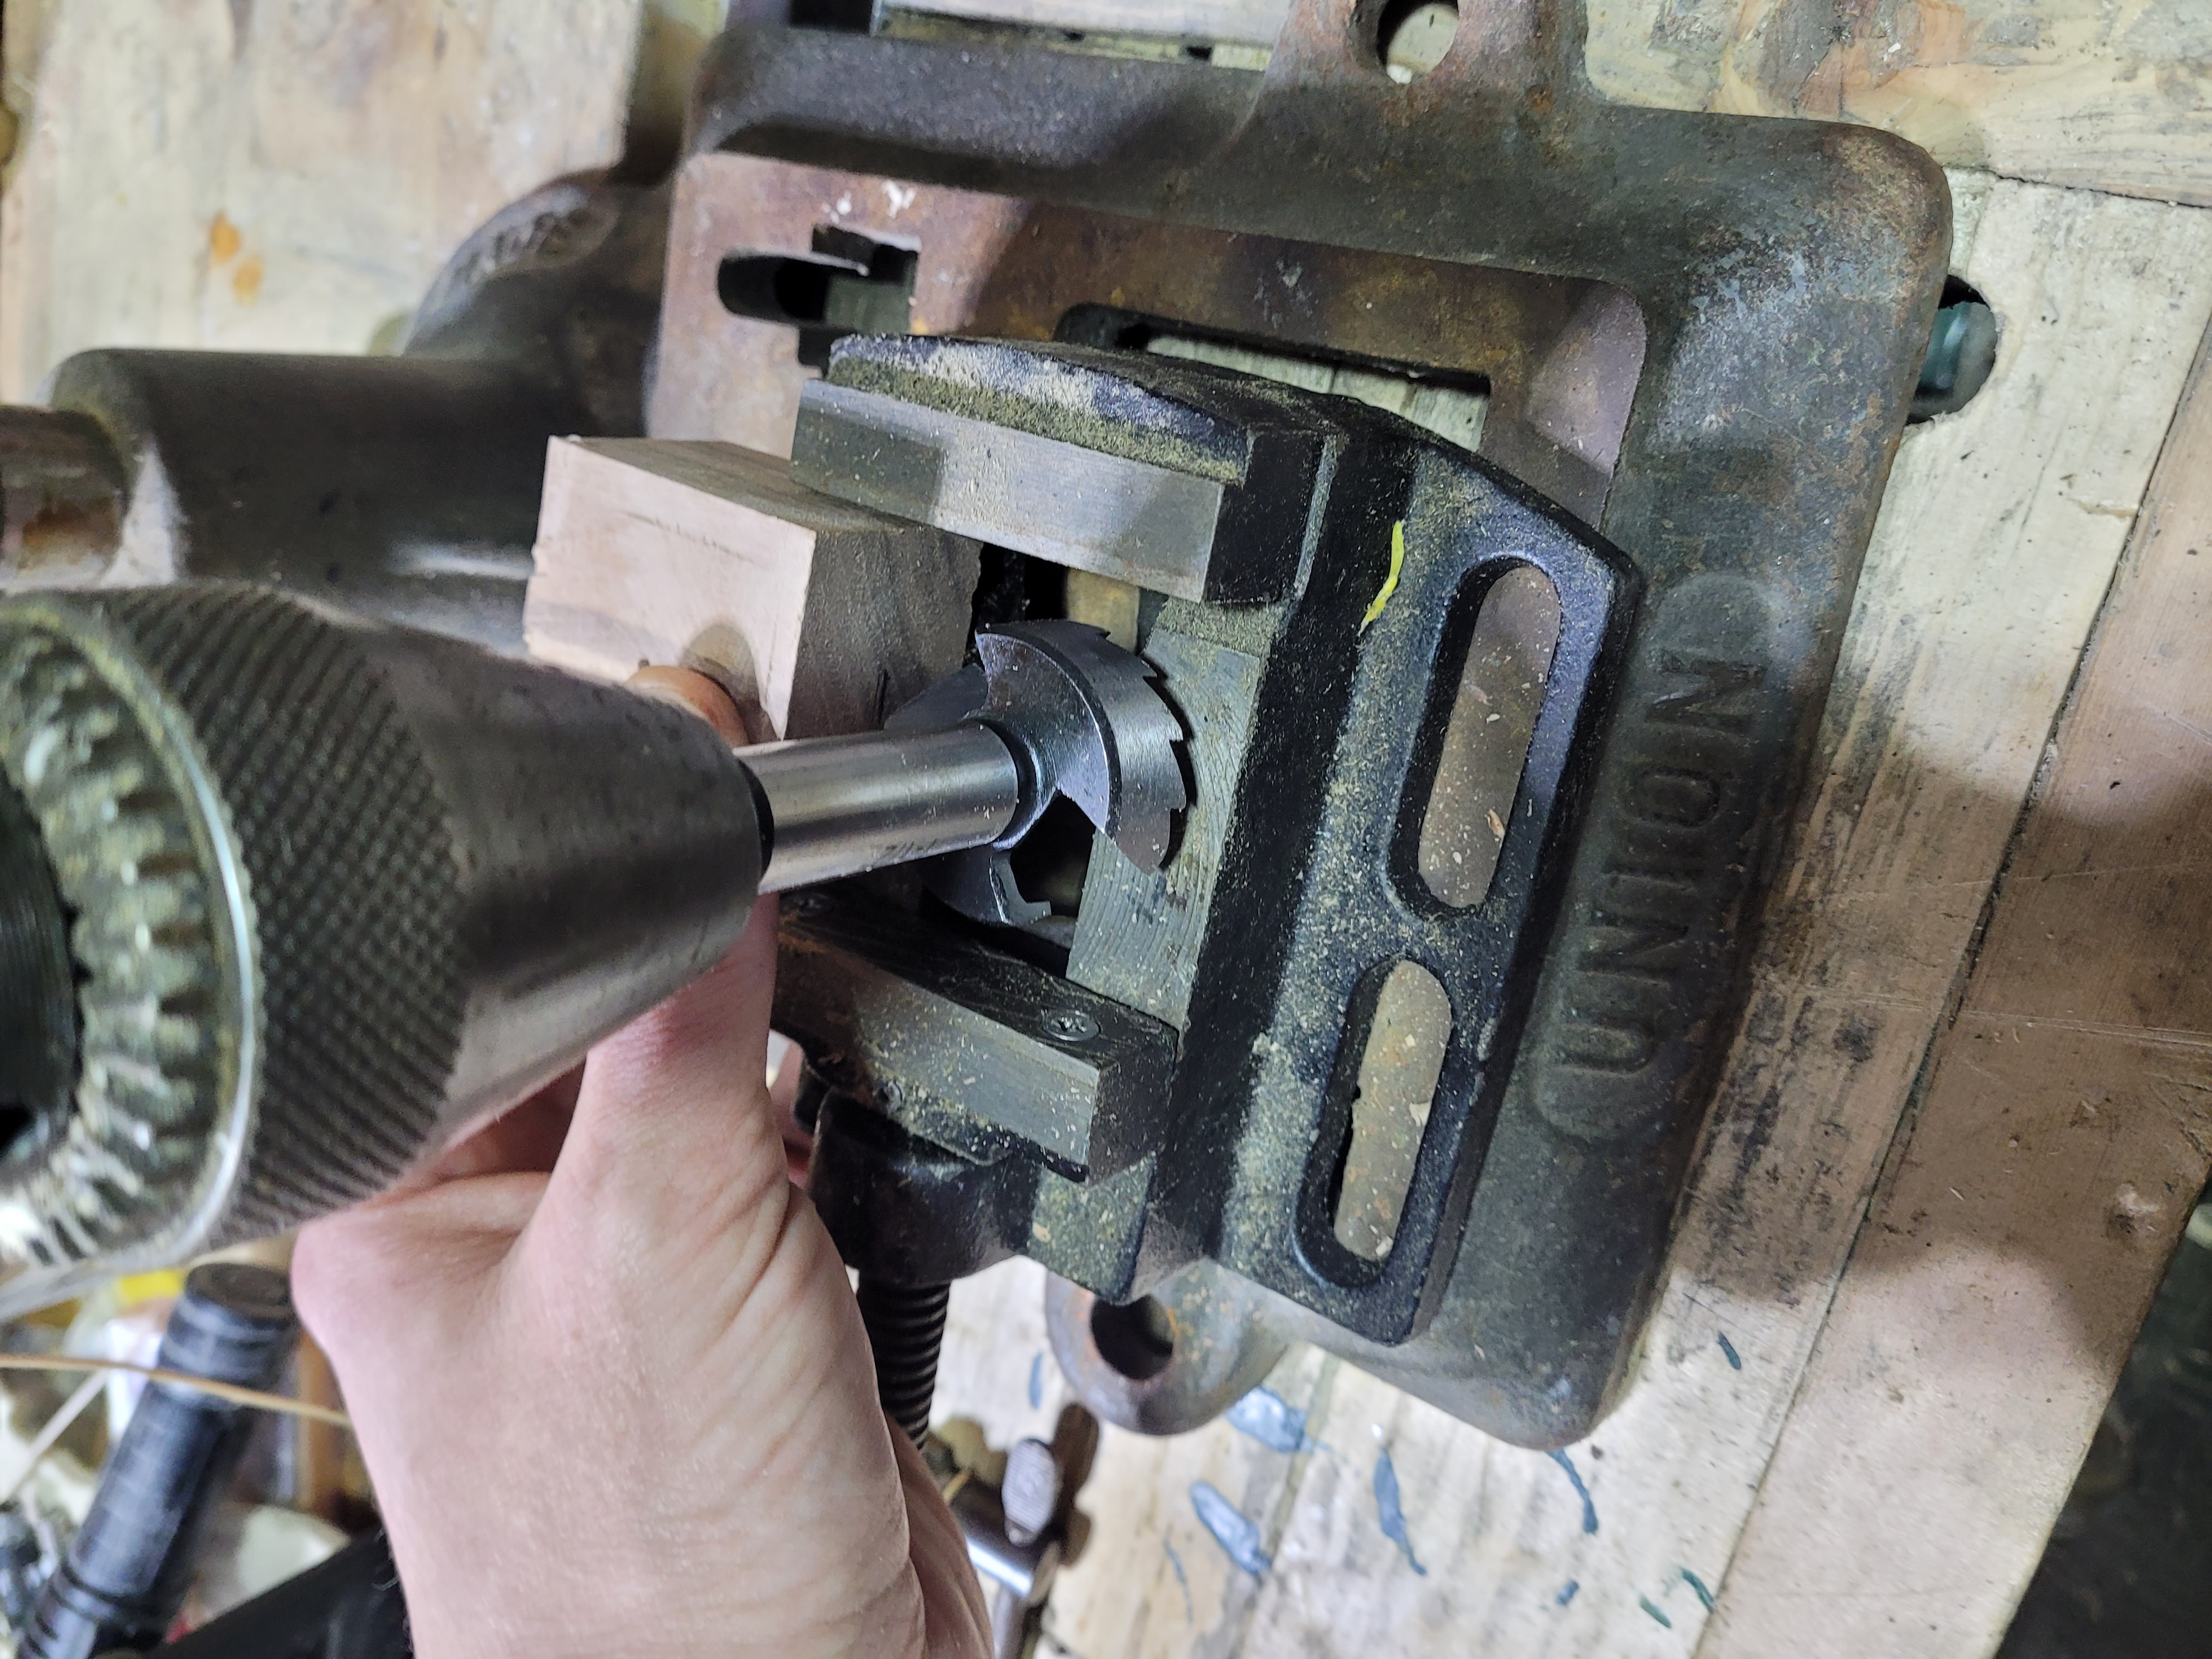
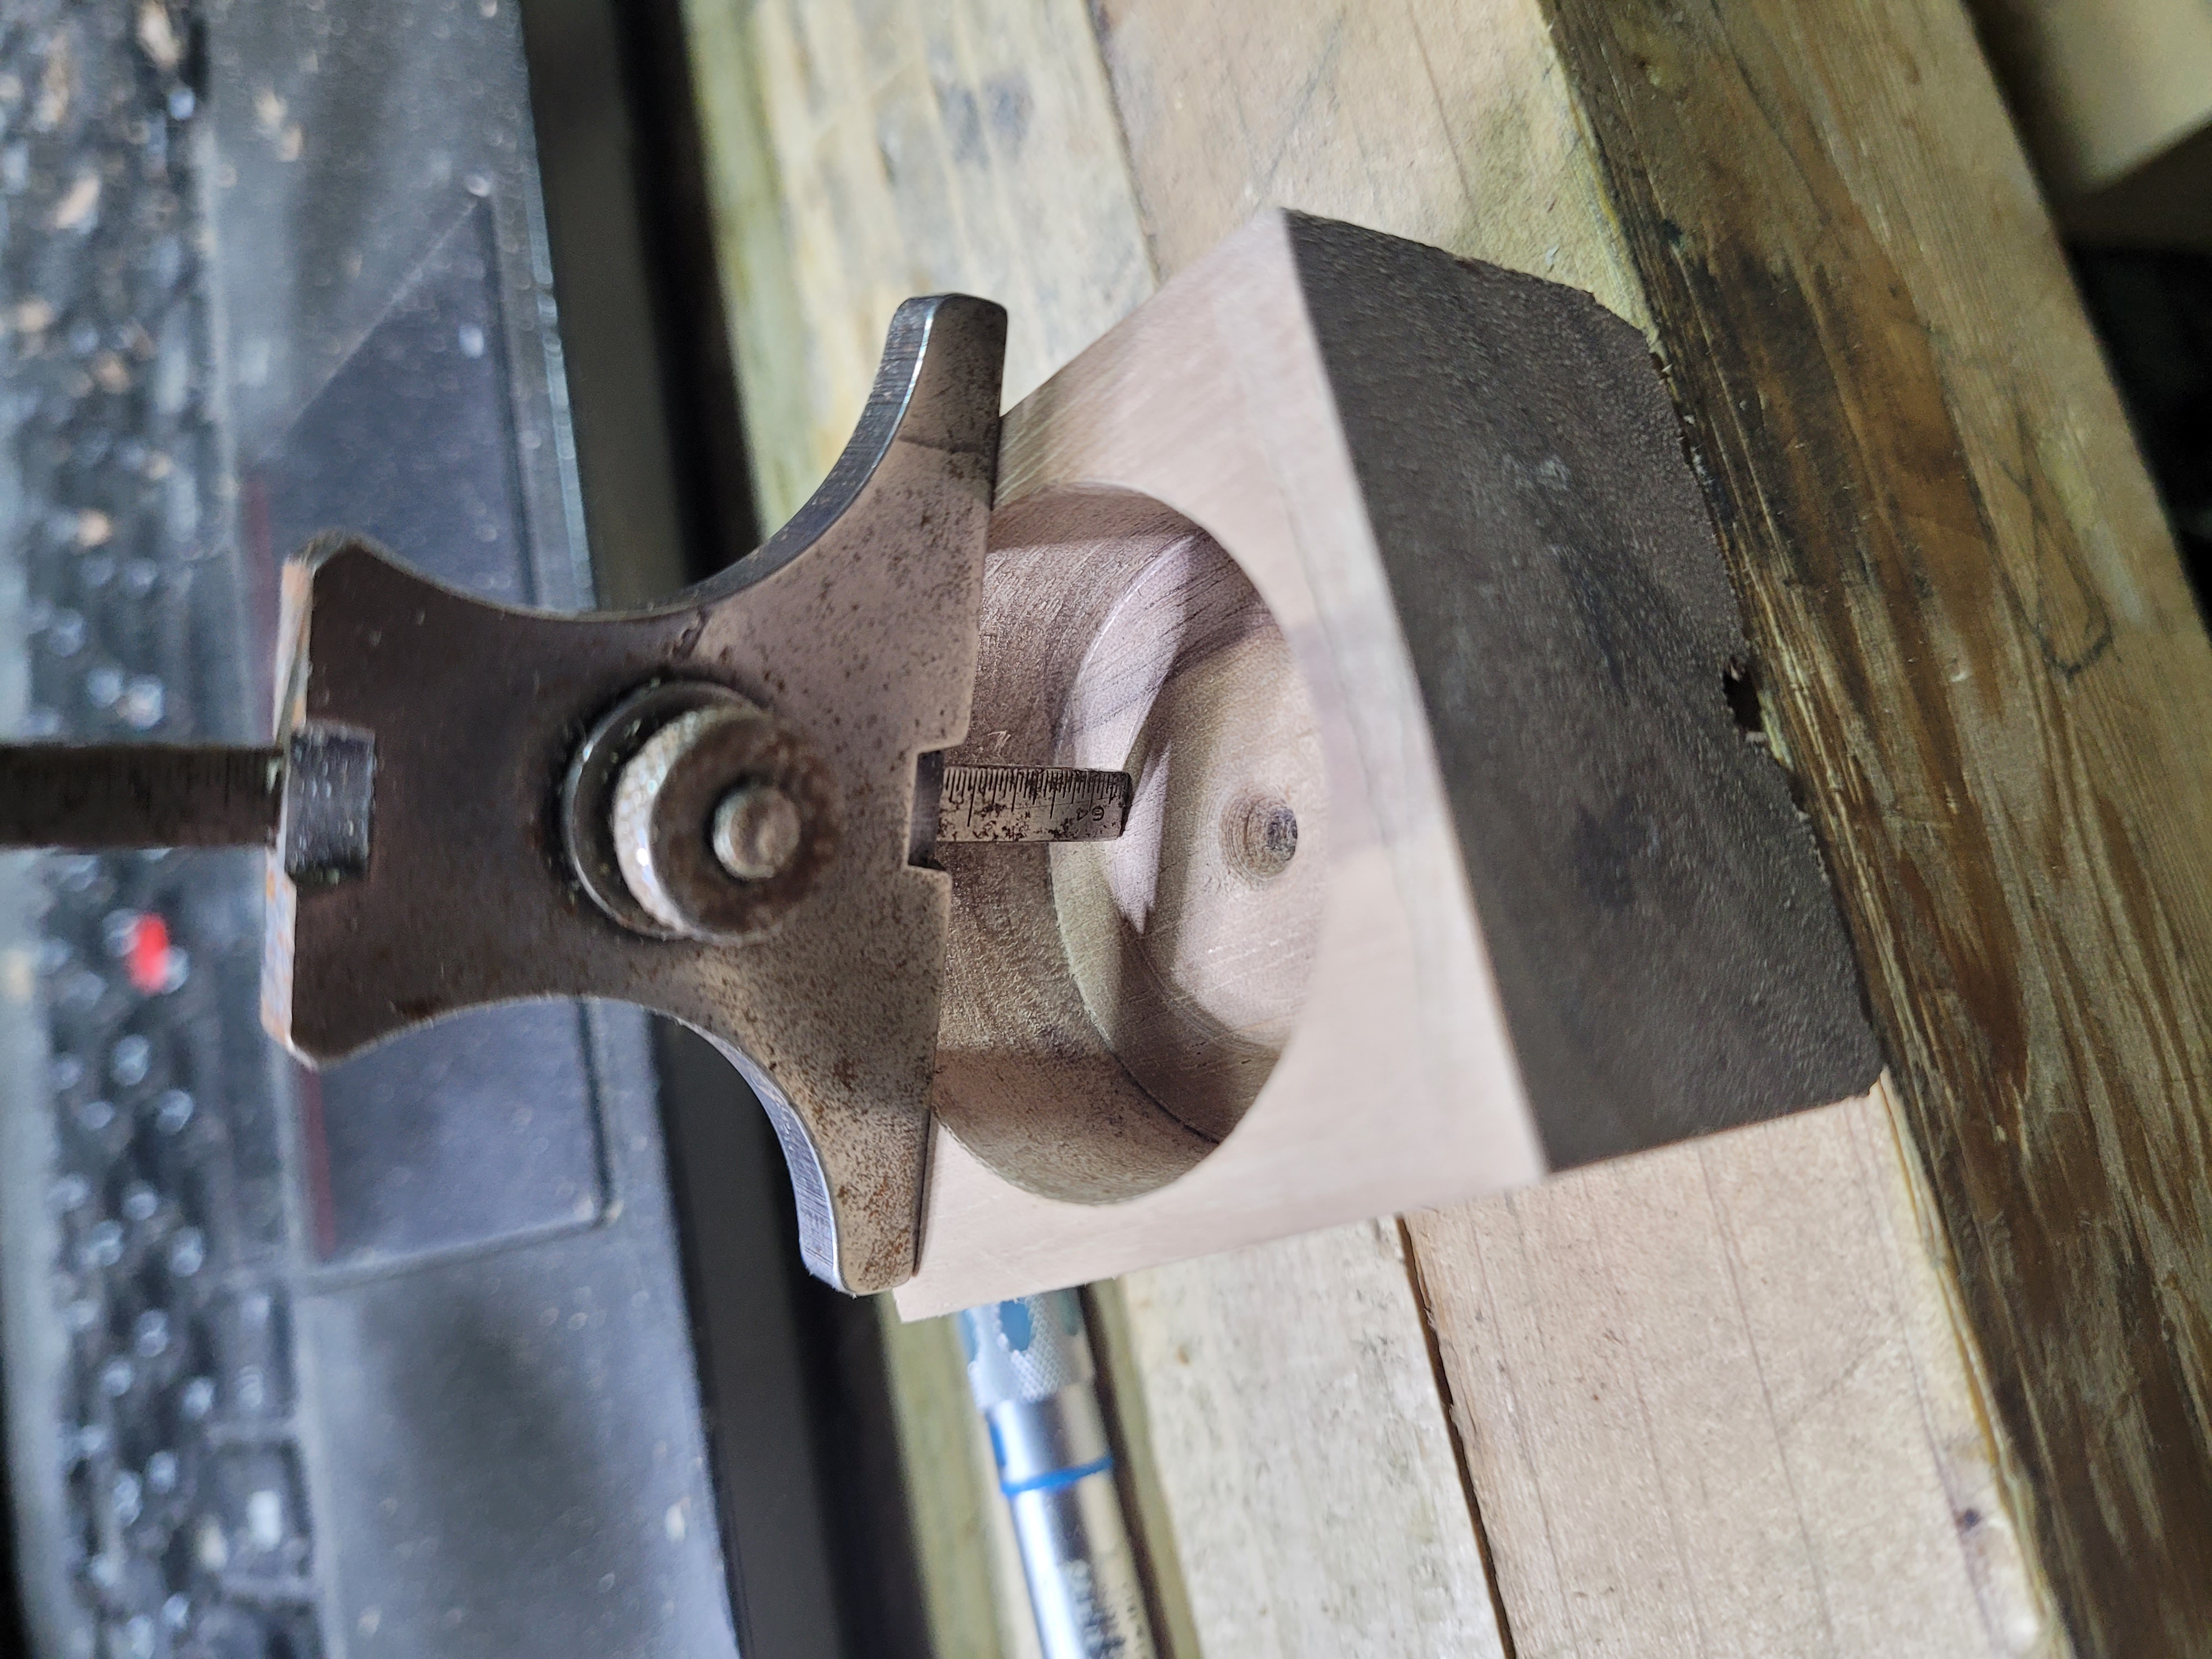
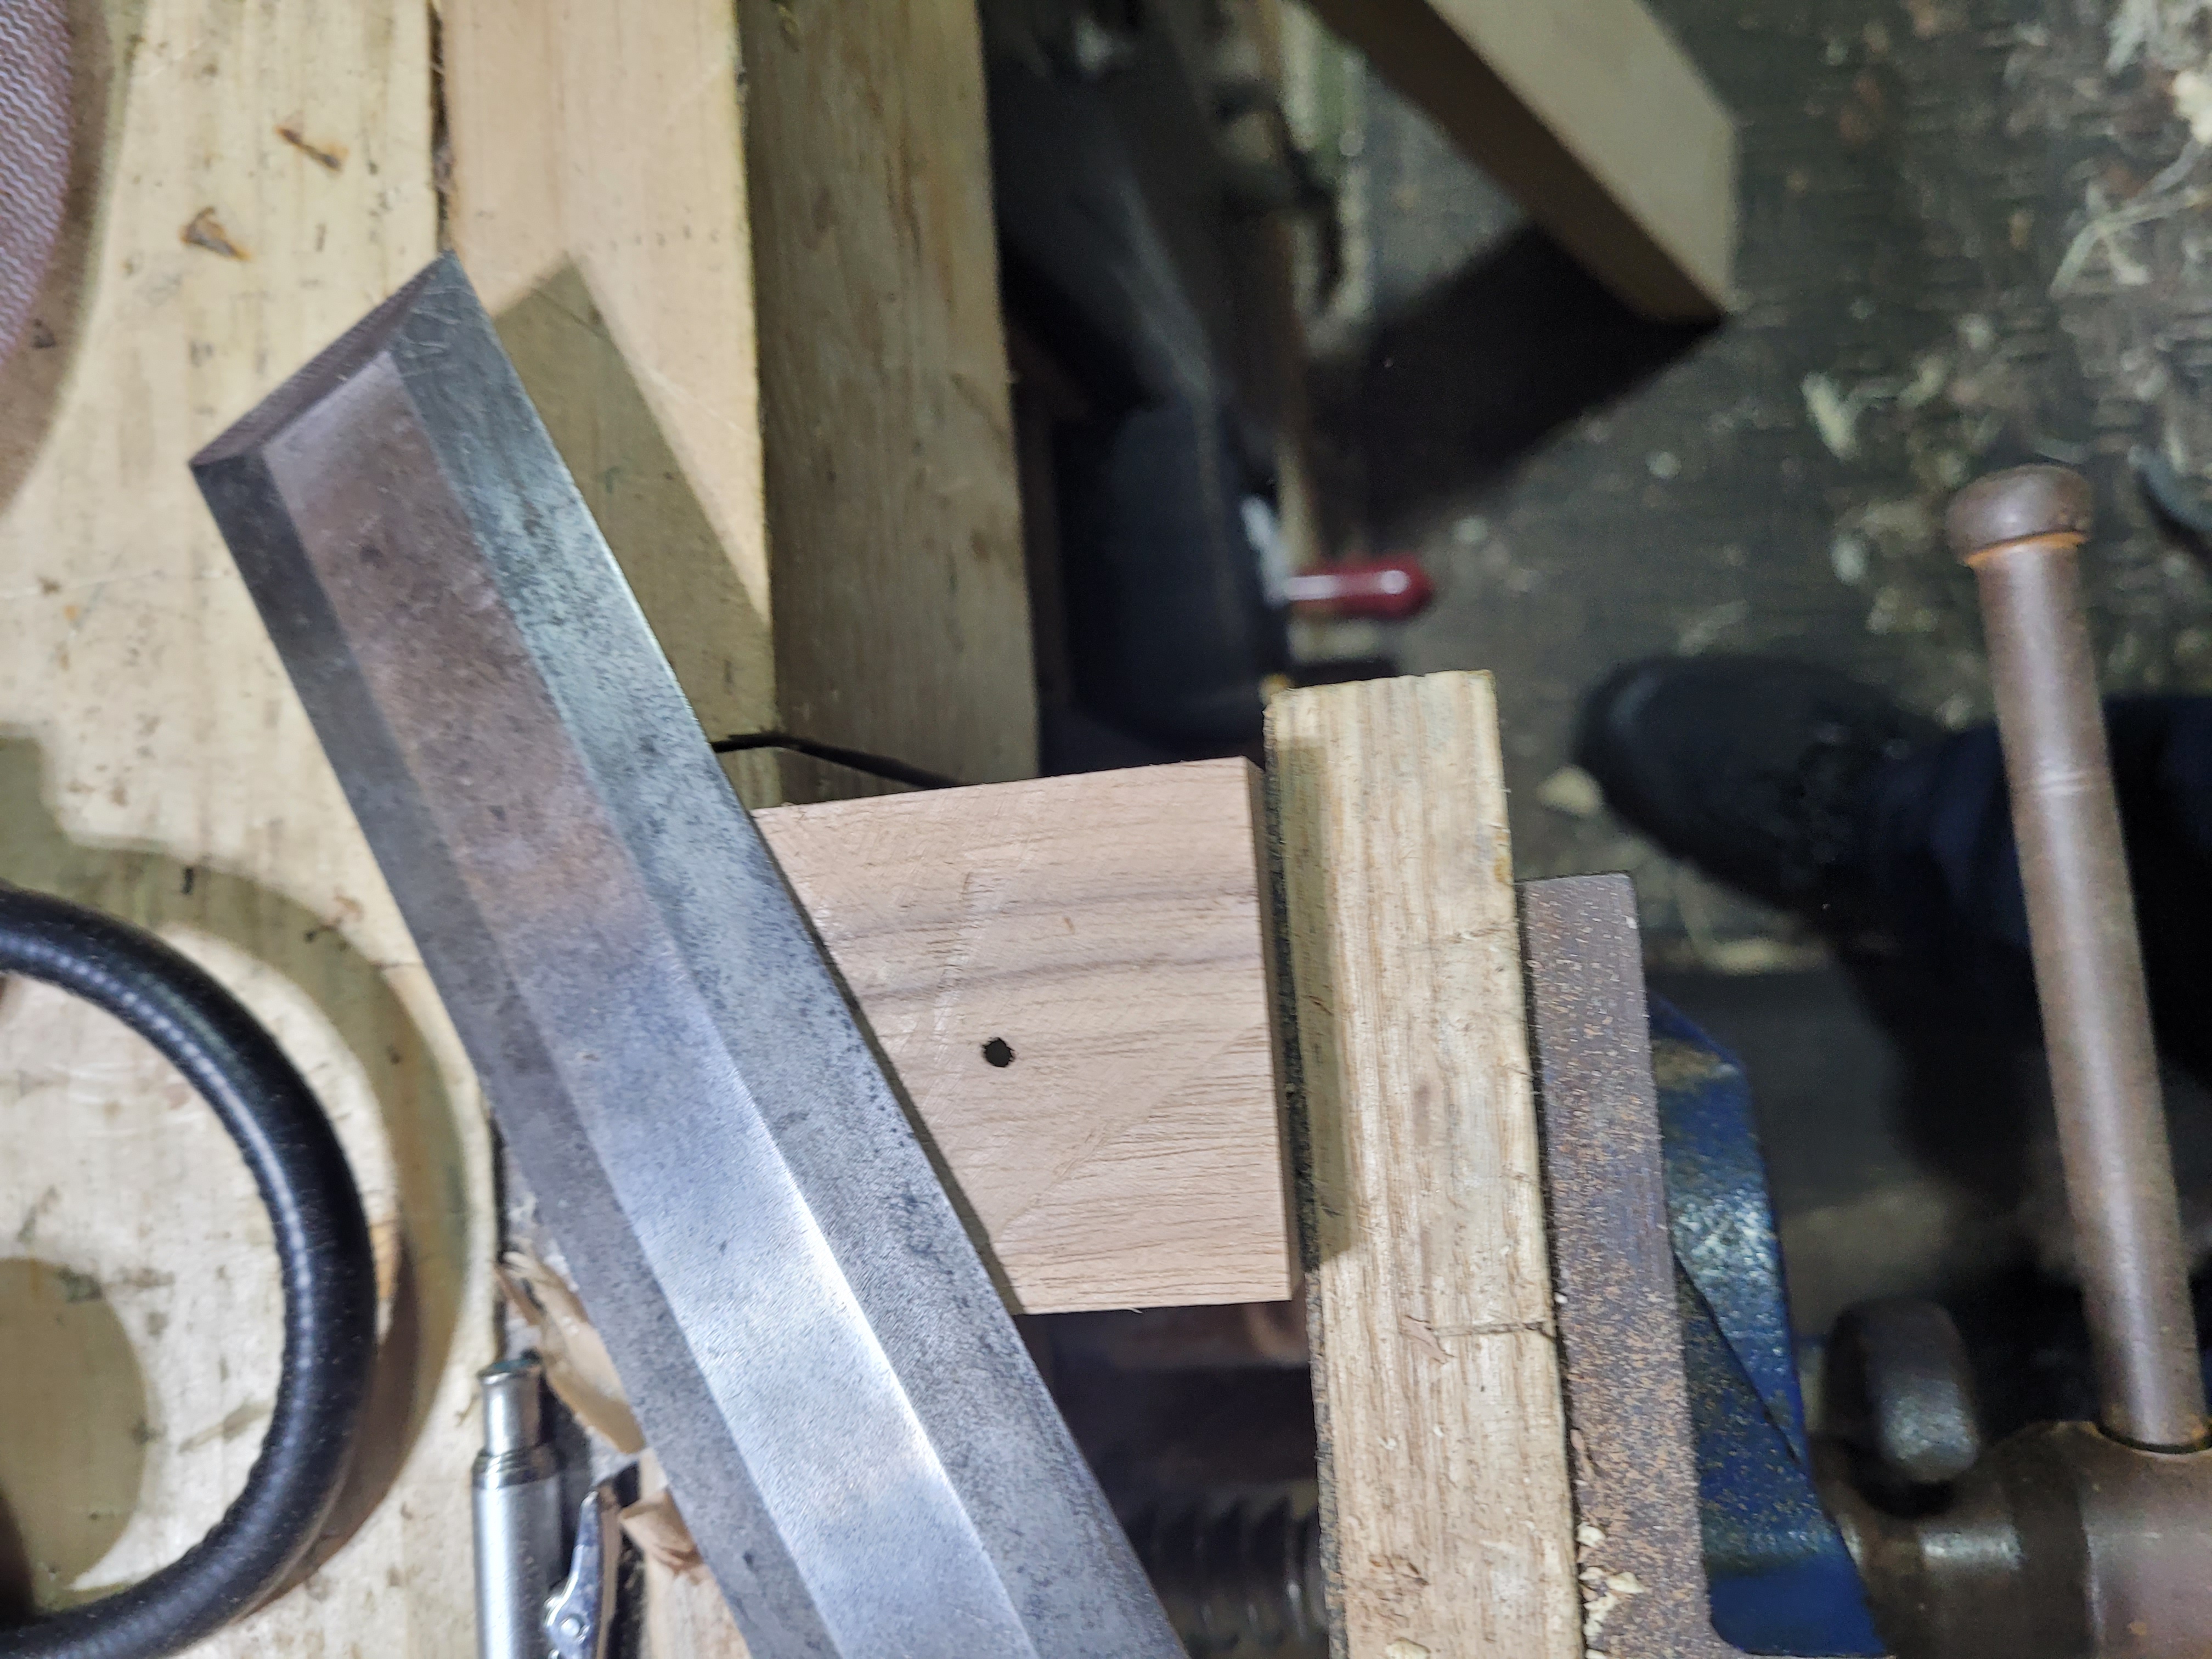
A 1 1/2 inch forstner seems a good size for the pot hole.
Mark the desired depth
Set up the drill so it cant drill any deeper than that. By advancing the bit to the drills limit, and then moving the entire mechanism up the post, I guarantee it wont drill past the desired point. The drill has a knurled nut up top that can be used as a depth stop, and that is a lot quicker and easier than moving the entire drill up the post. I have a bad history with depth stops slipping, I don’t trust them, so I did this instead. With the drill at full depth right now it will go too far.
The big lever on the side can be turned to loosen so you can move the drill mechanism up and down the post. I loosen and move up until I hit my desired maximum depth.
“Depth Stop” set
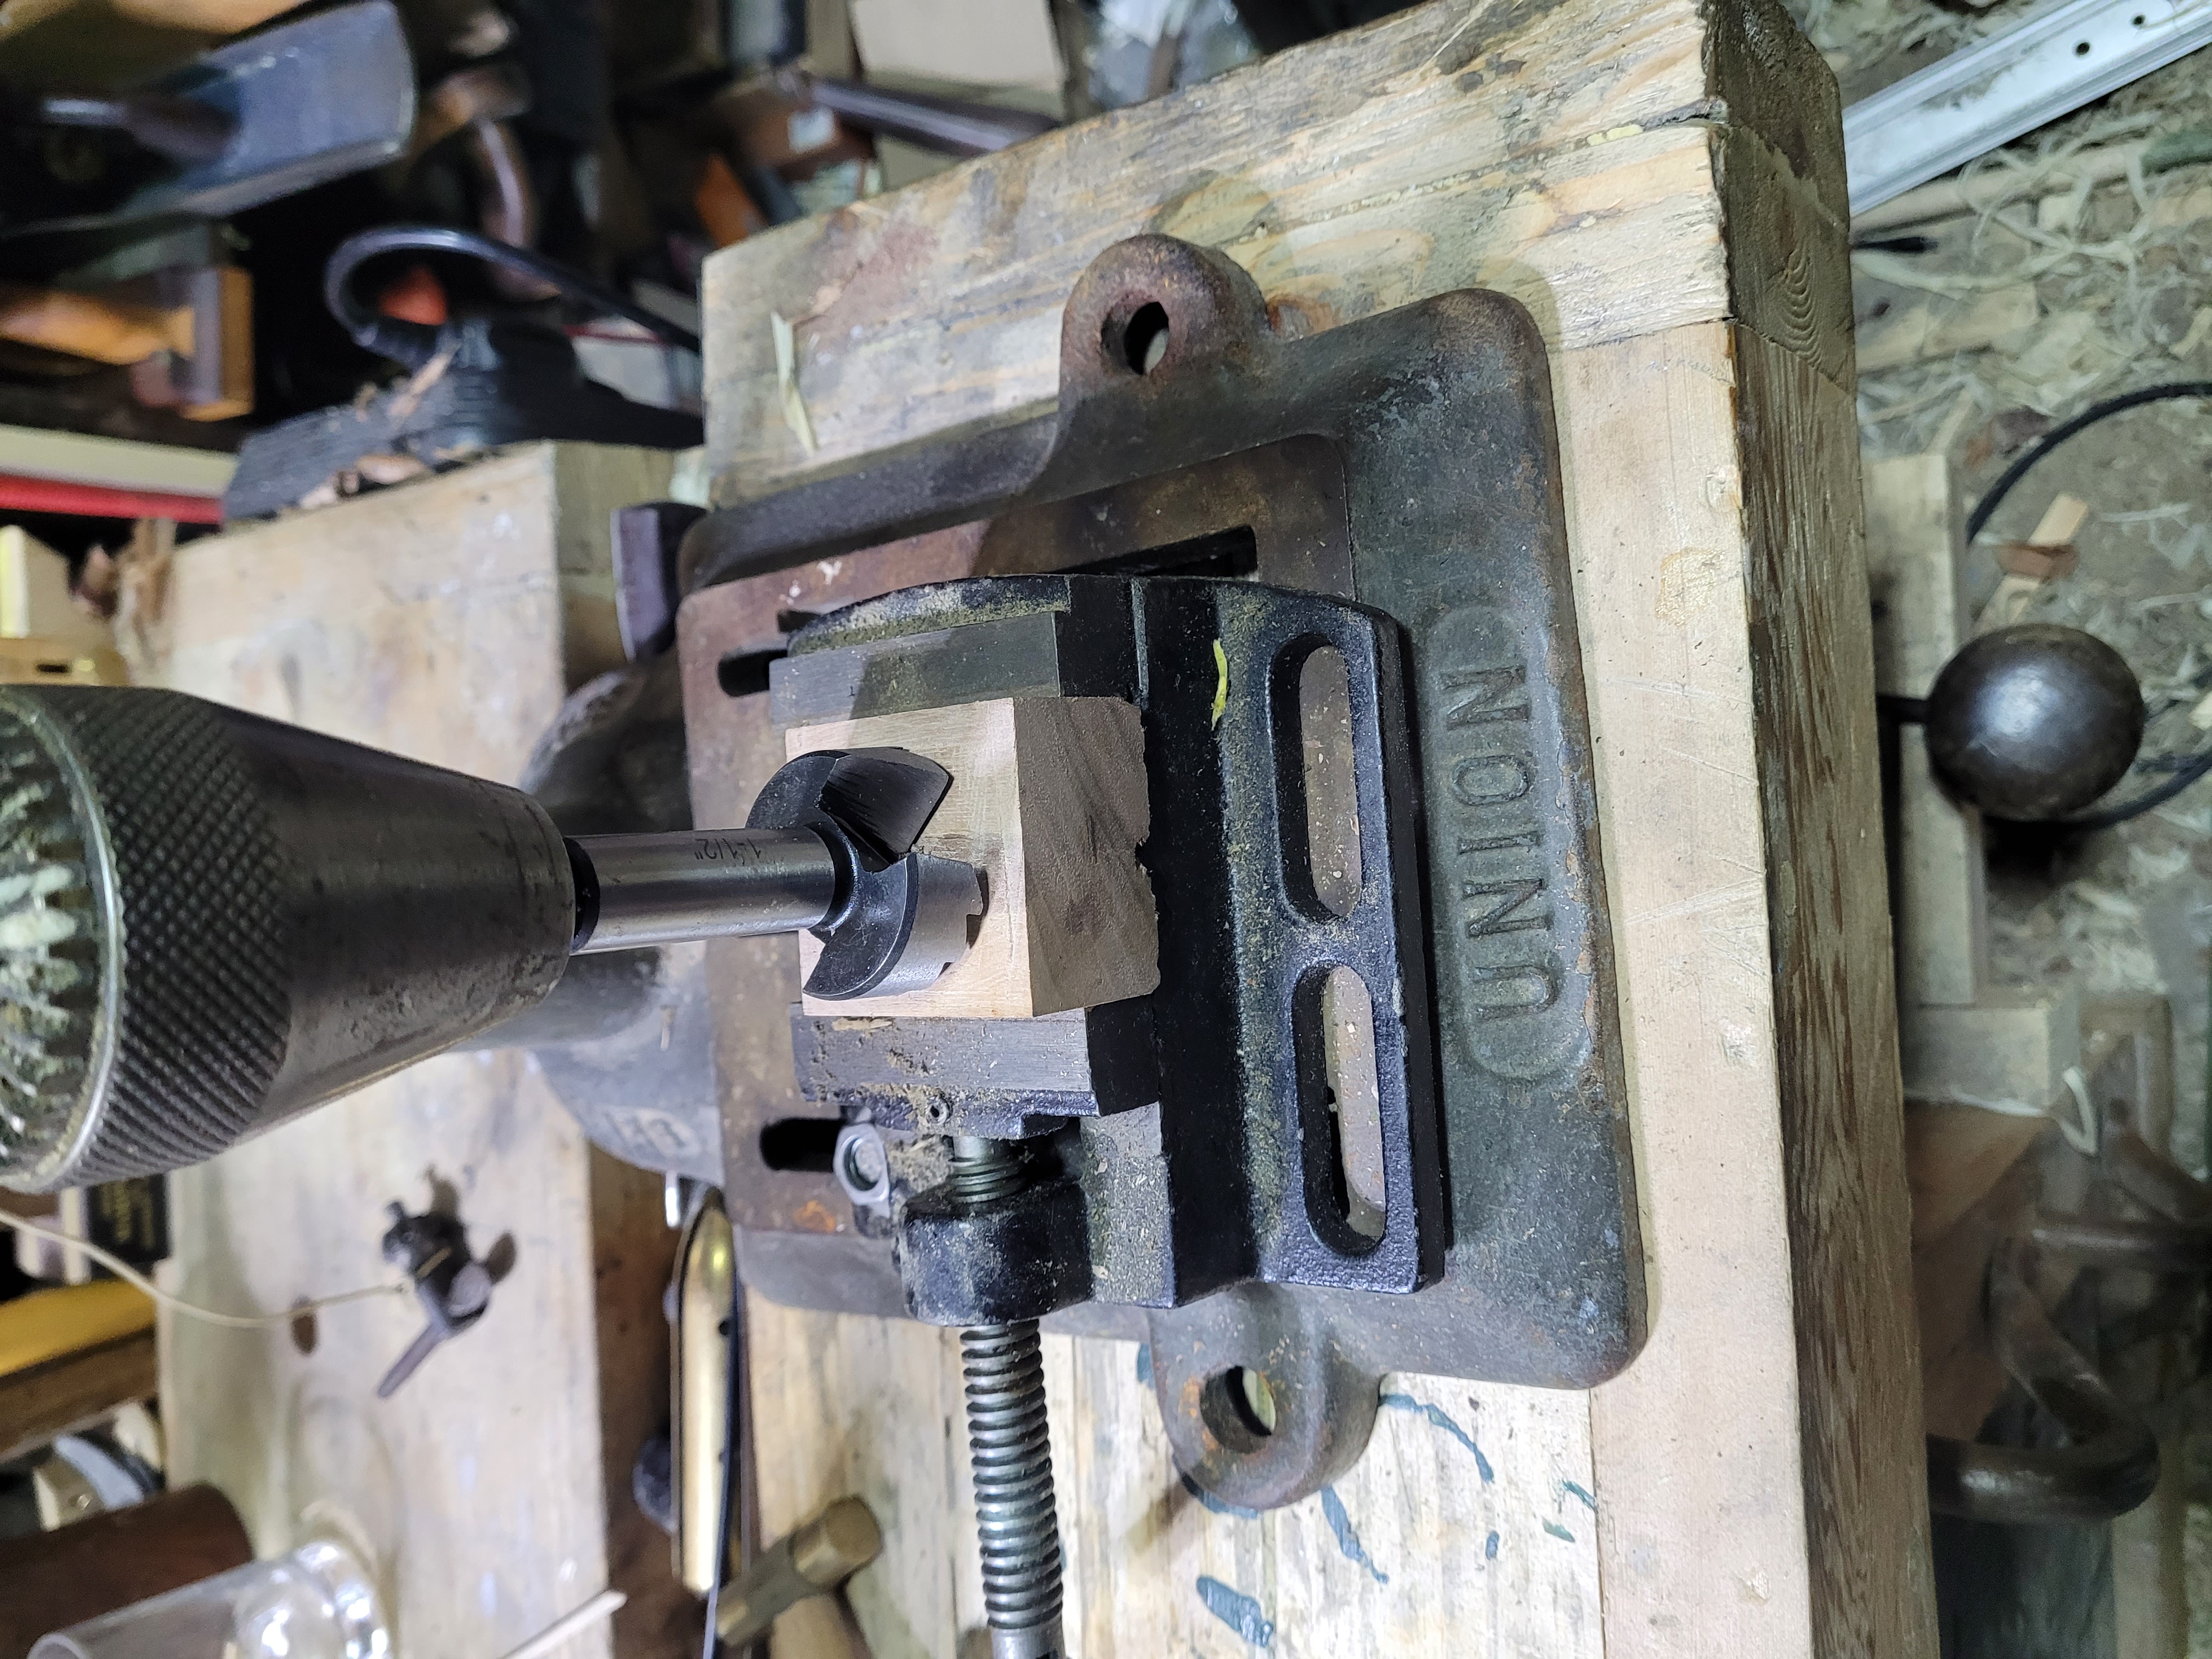
Ready to go, I make sure the tip of the forstner bit is in the hole we drilled through earlier.
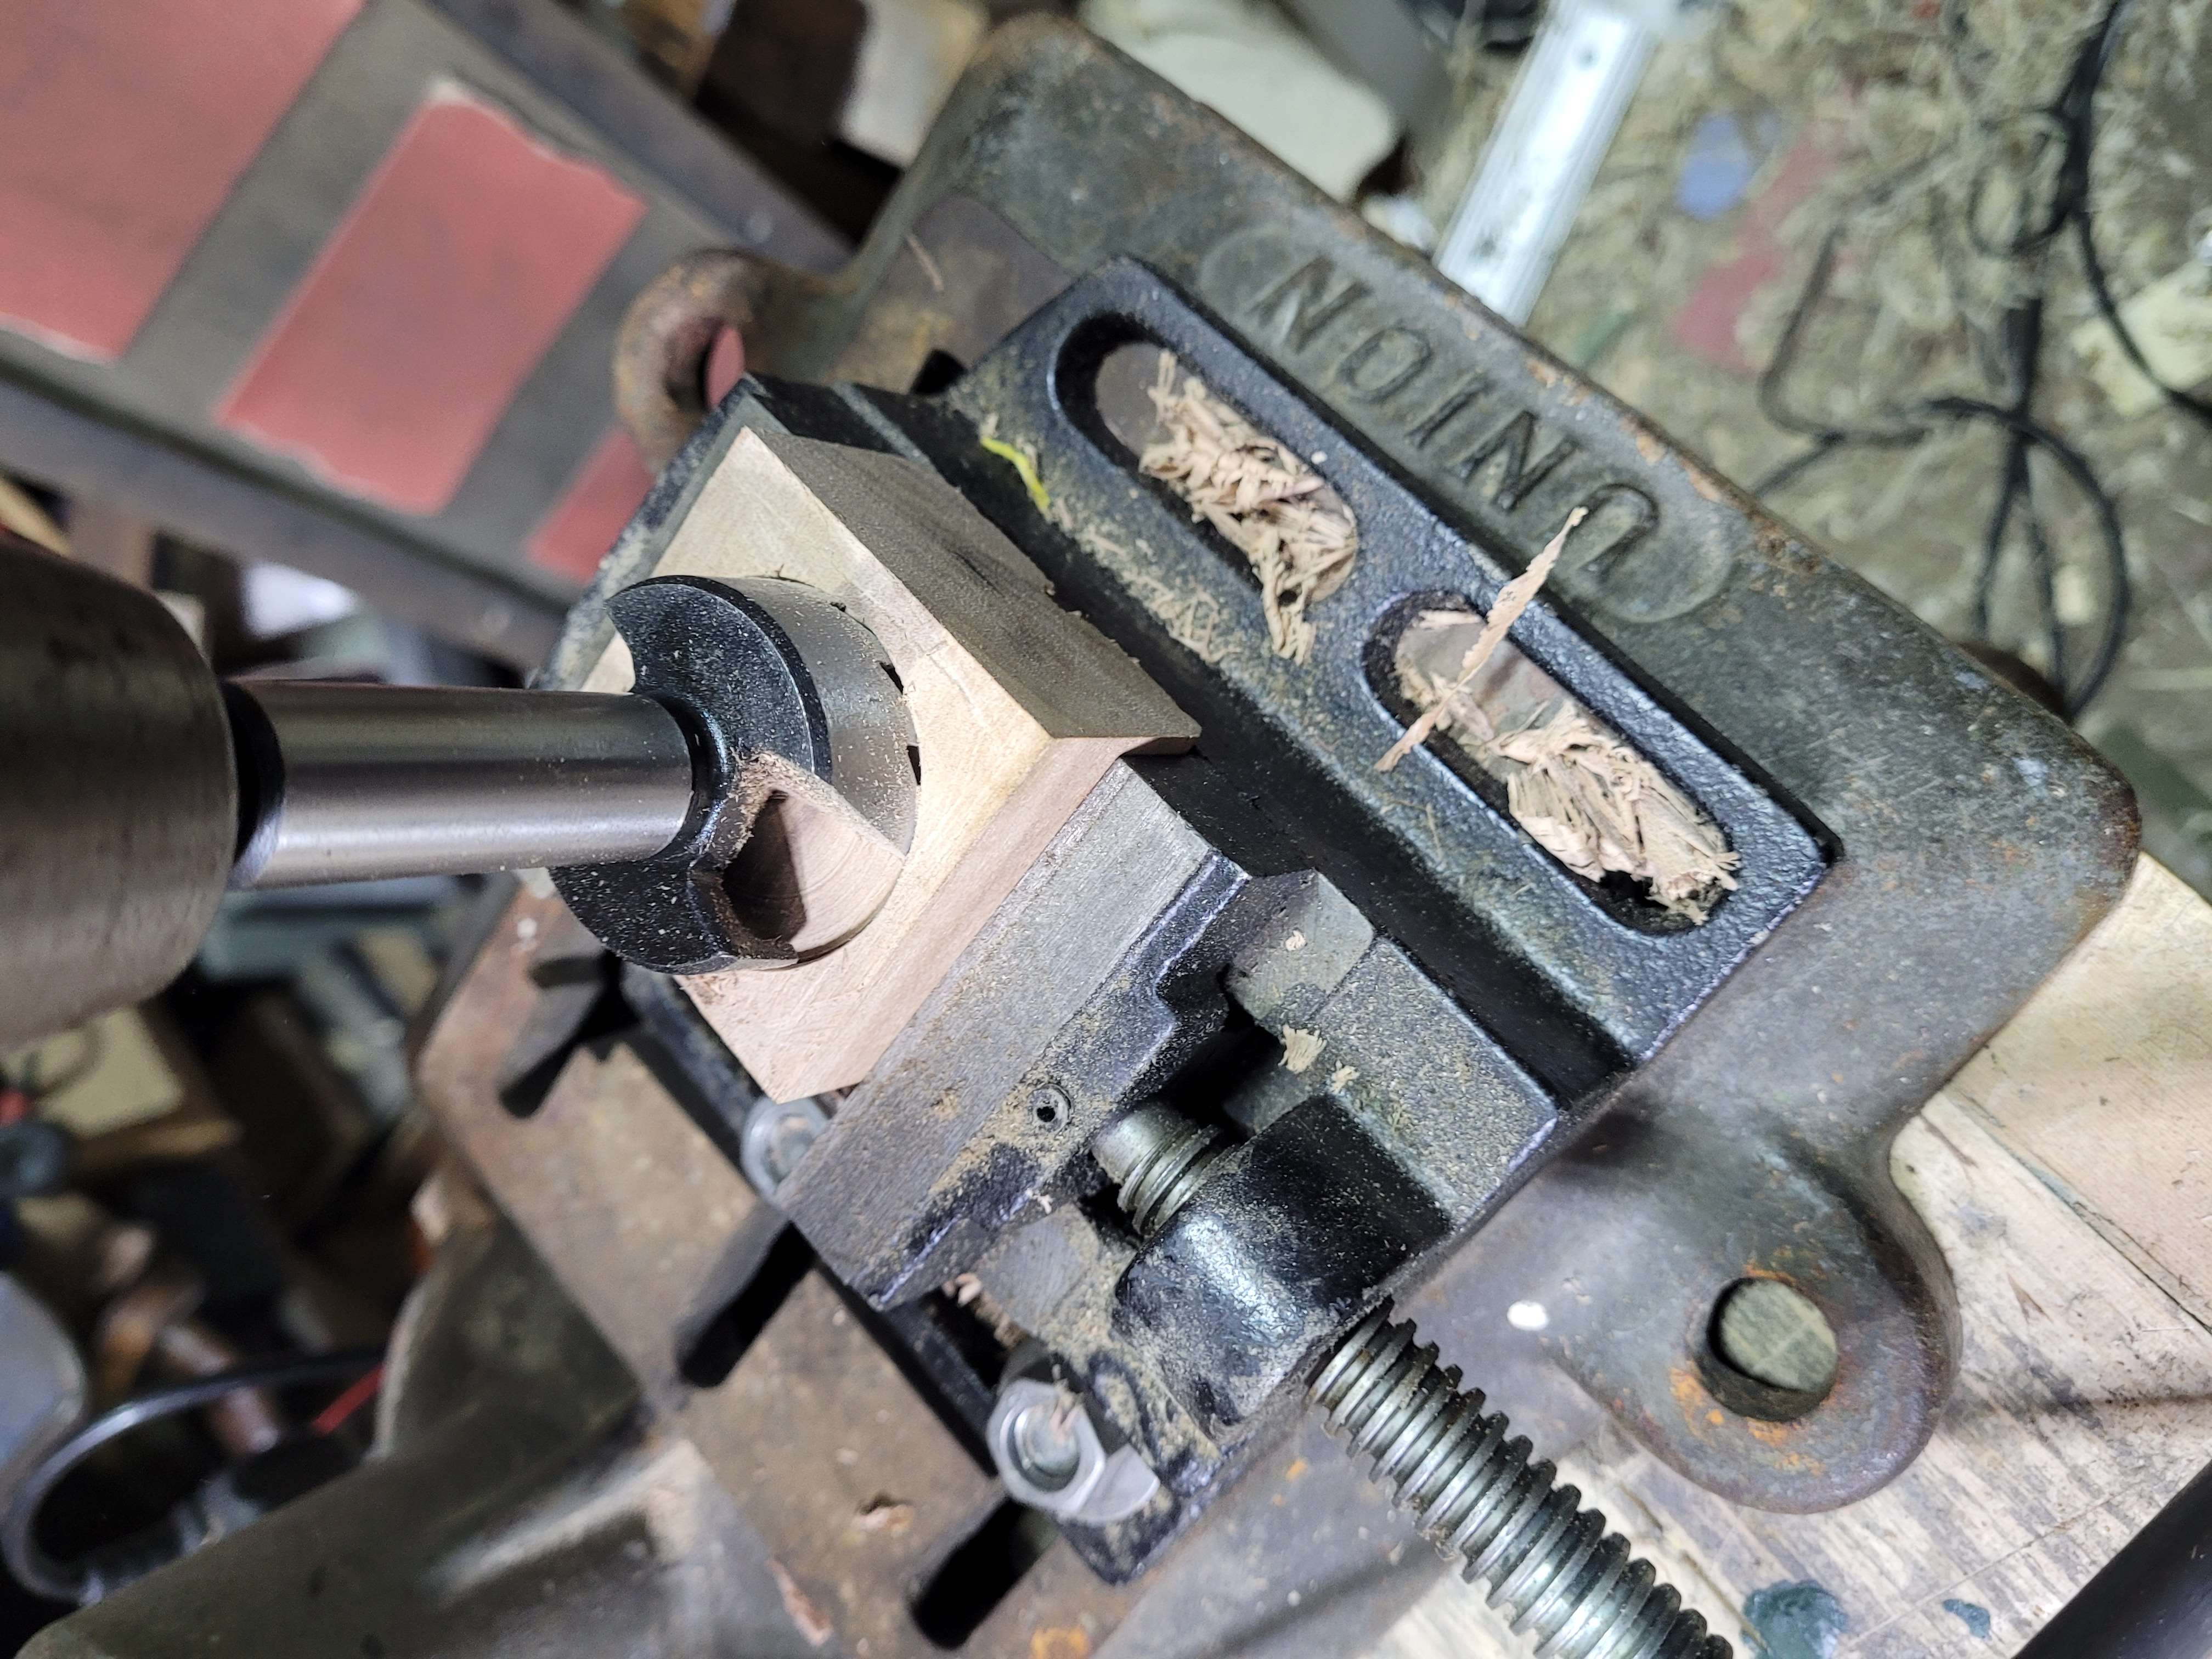
A very clean hole, but its taking forever, need to play with the feed advance rate a bit.
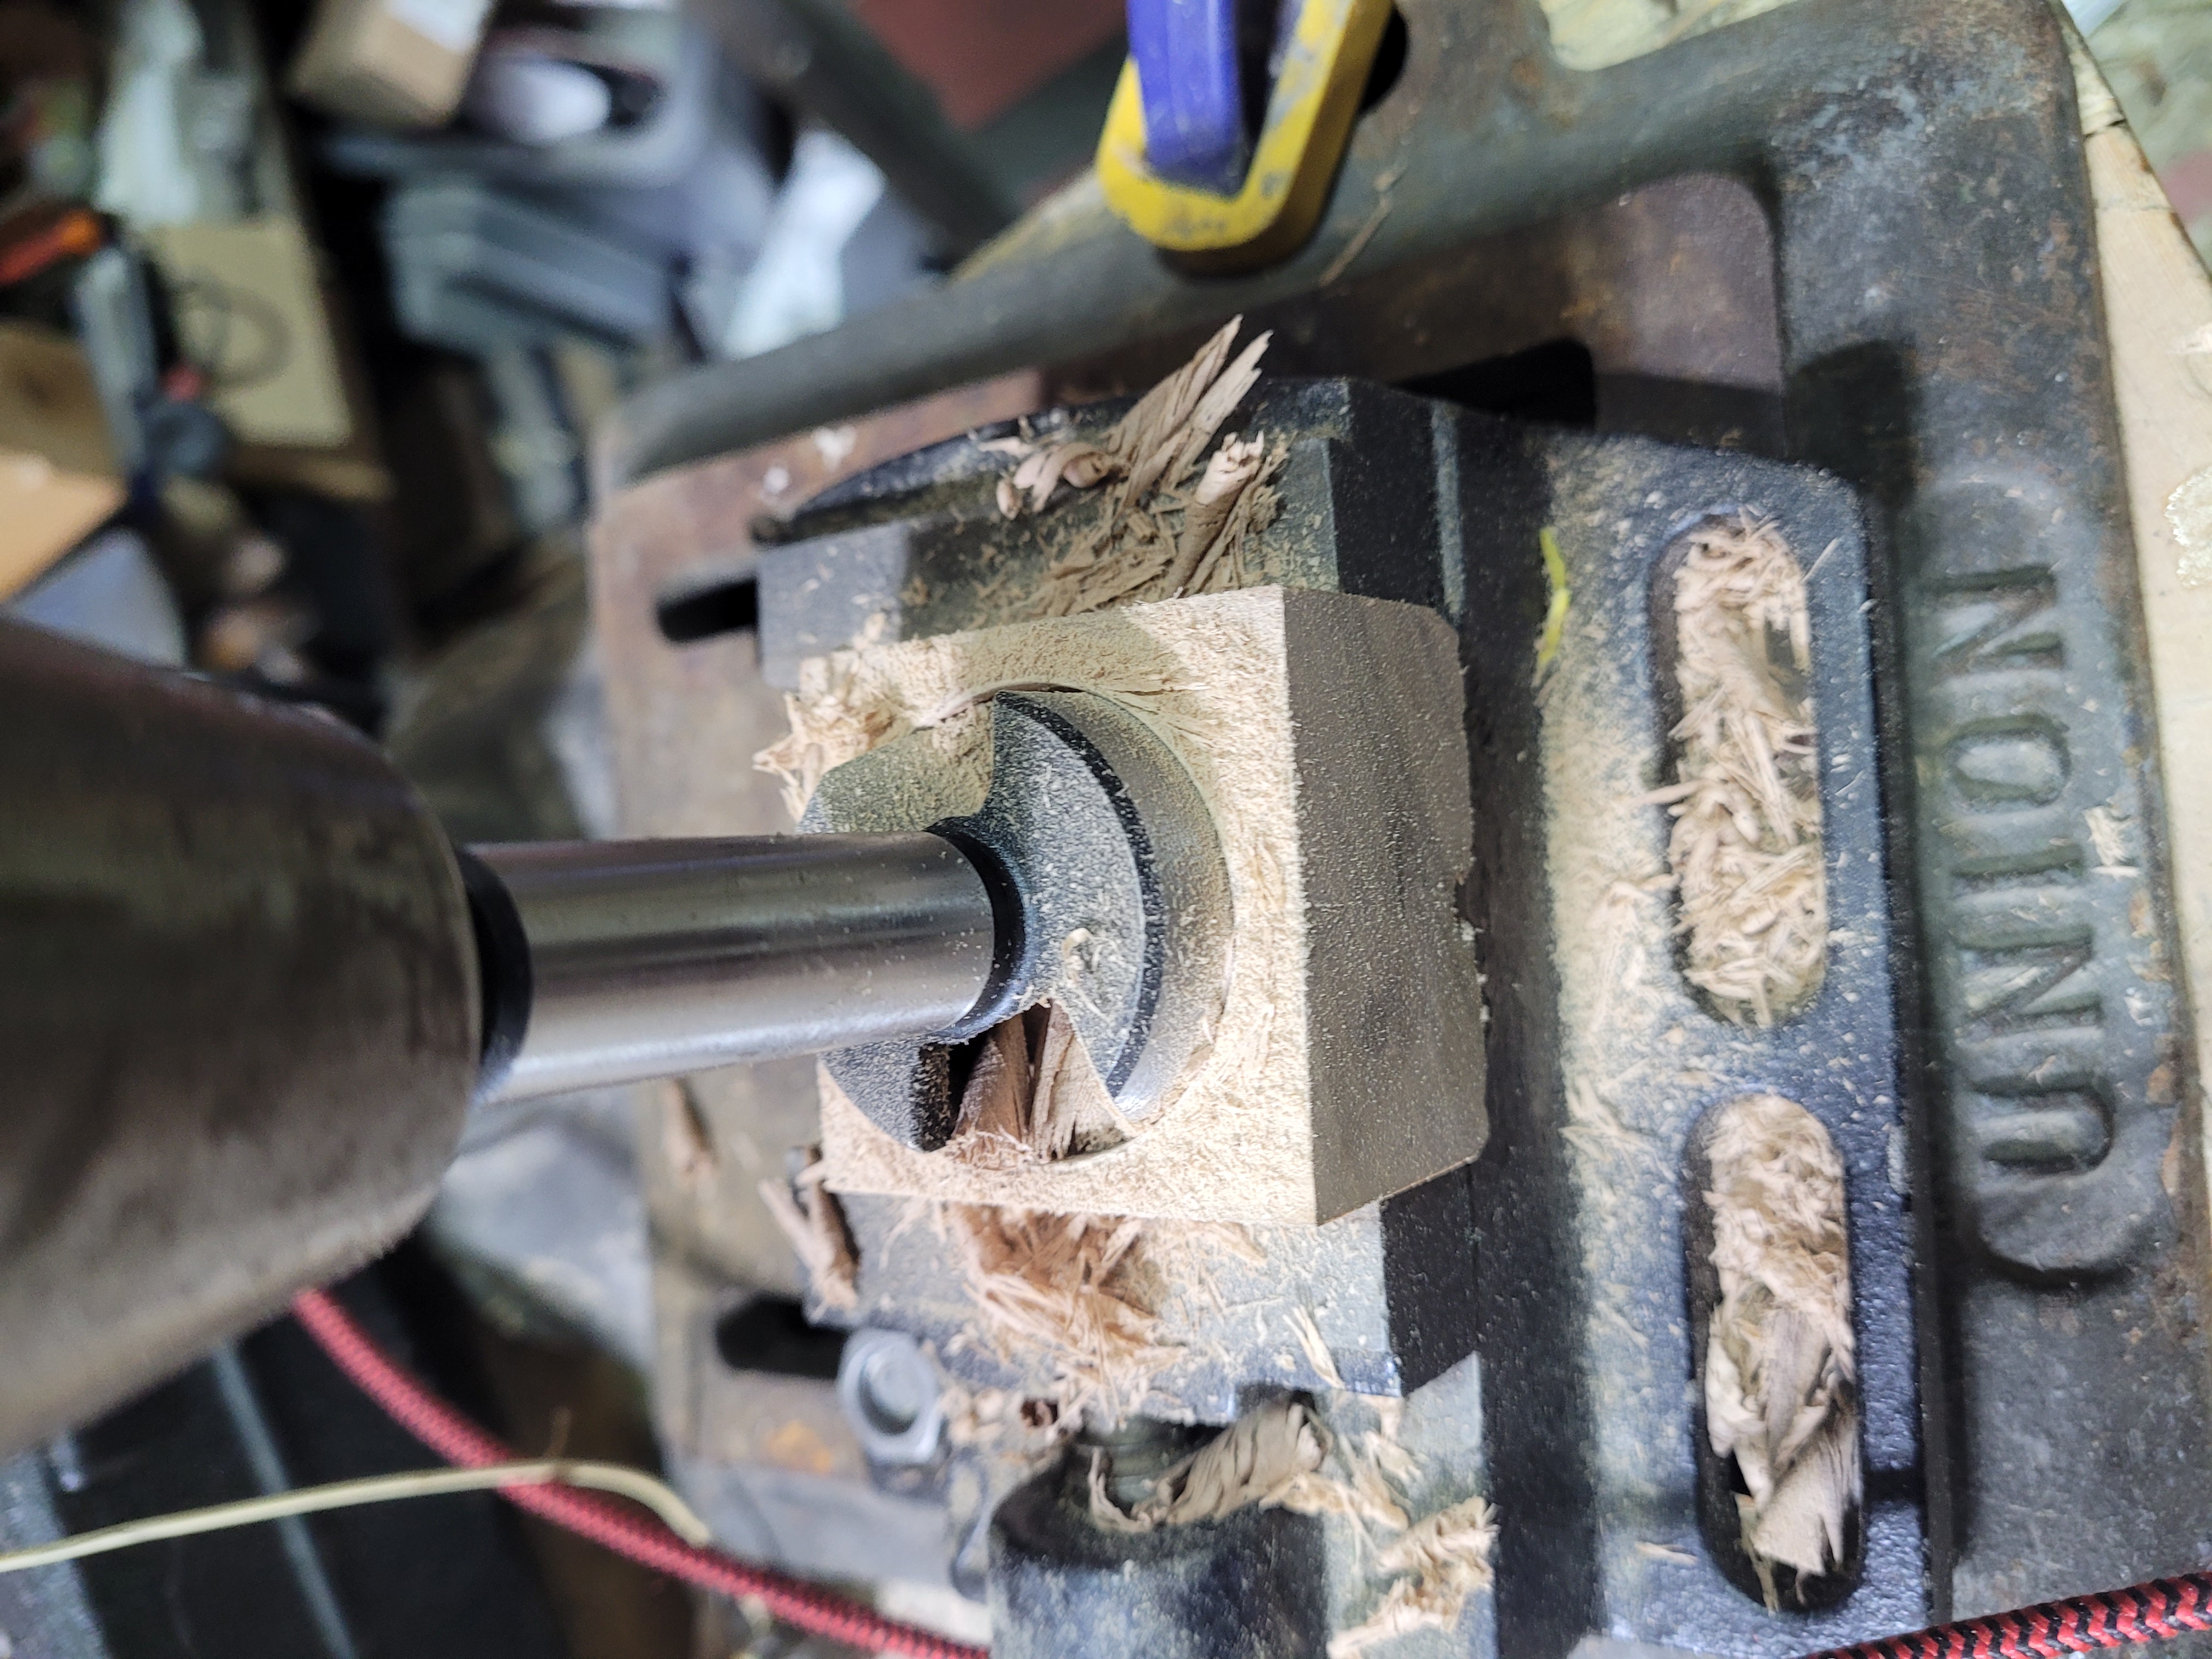
Once the feed rate is dialed in, I start getting decent shavings out of the bit.
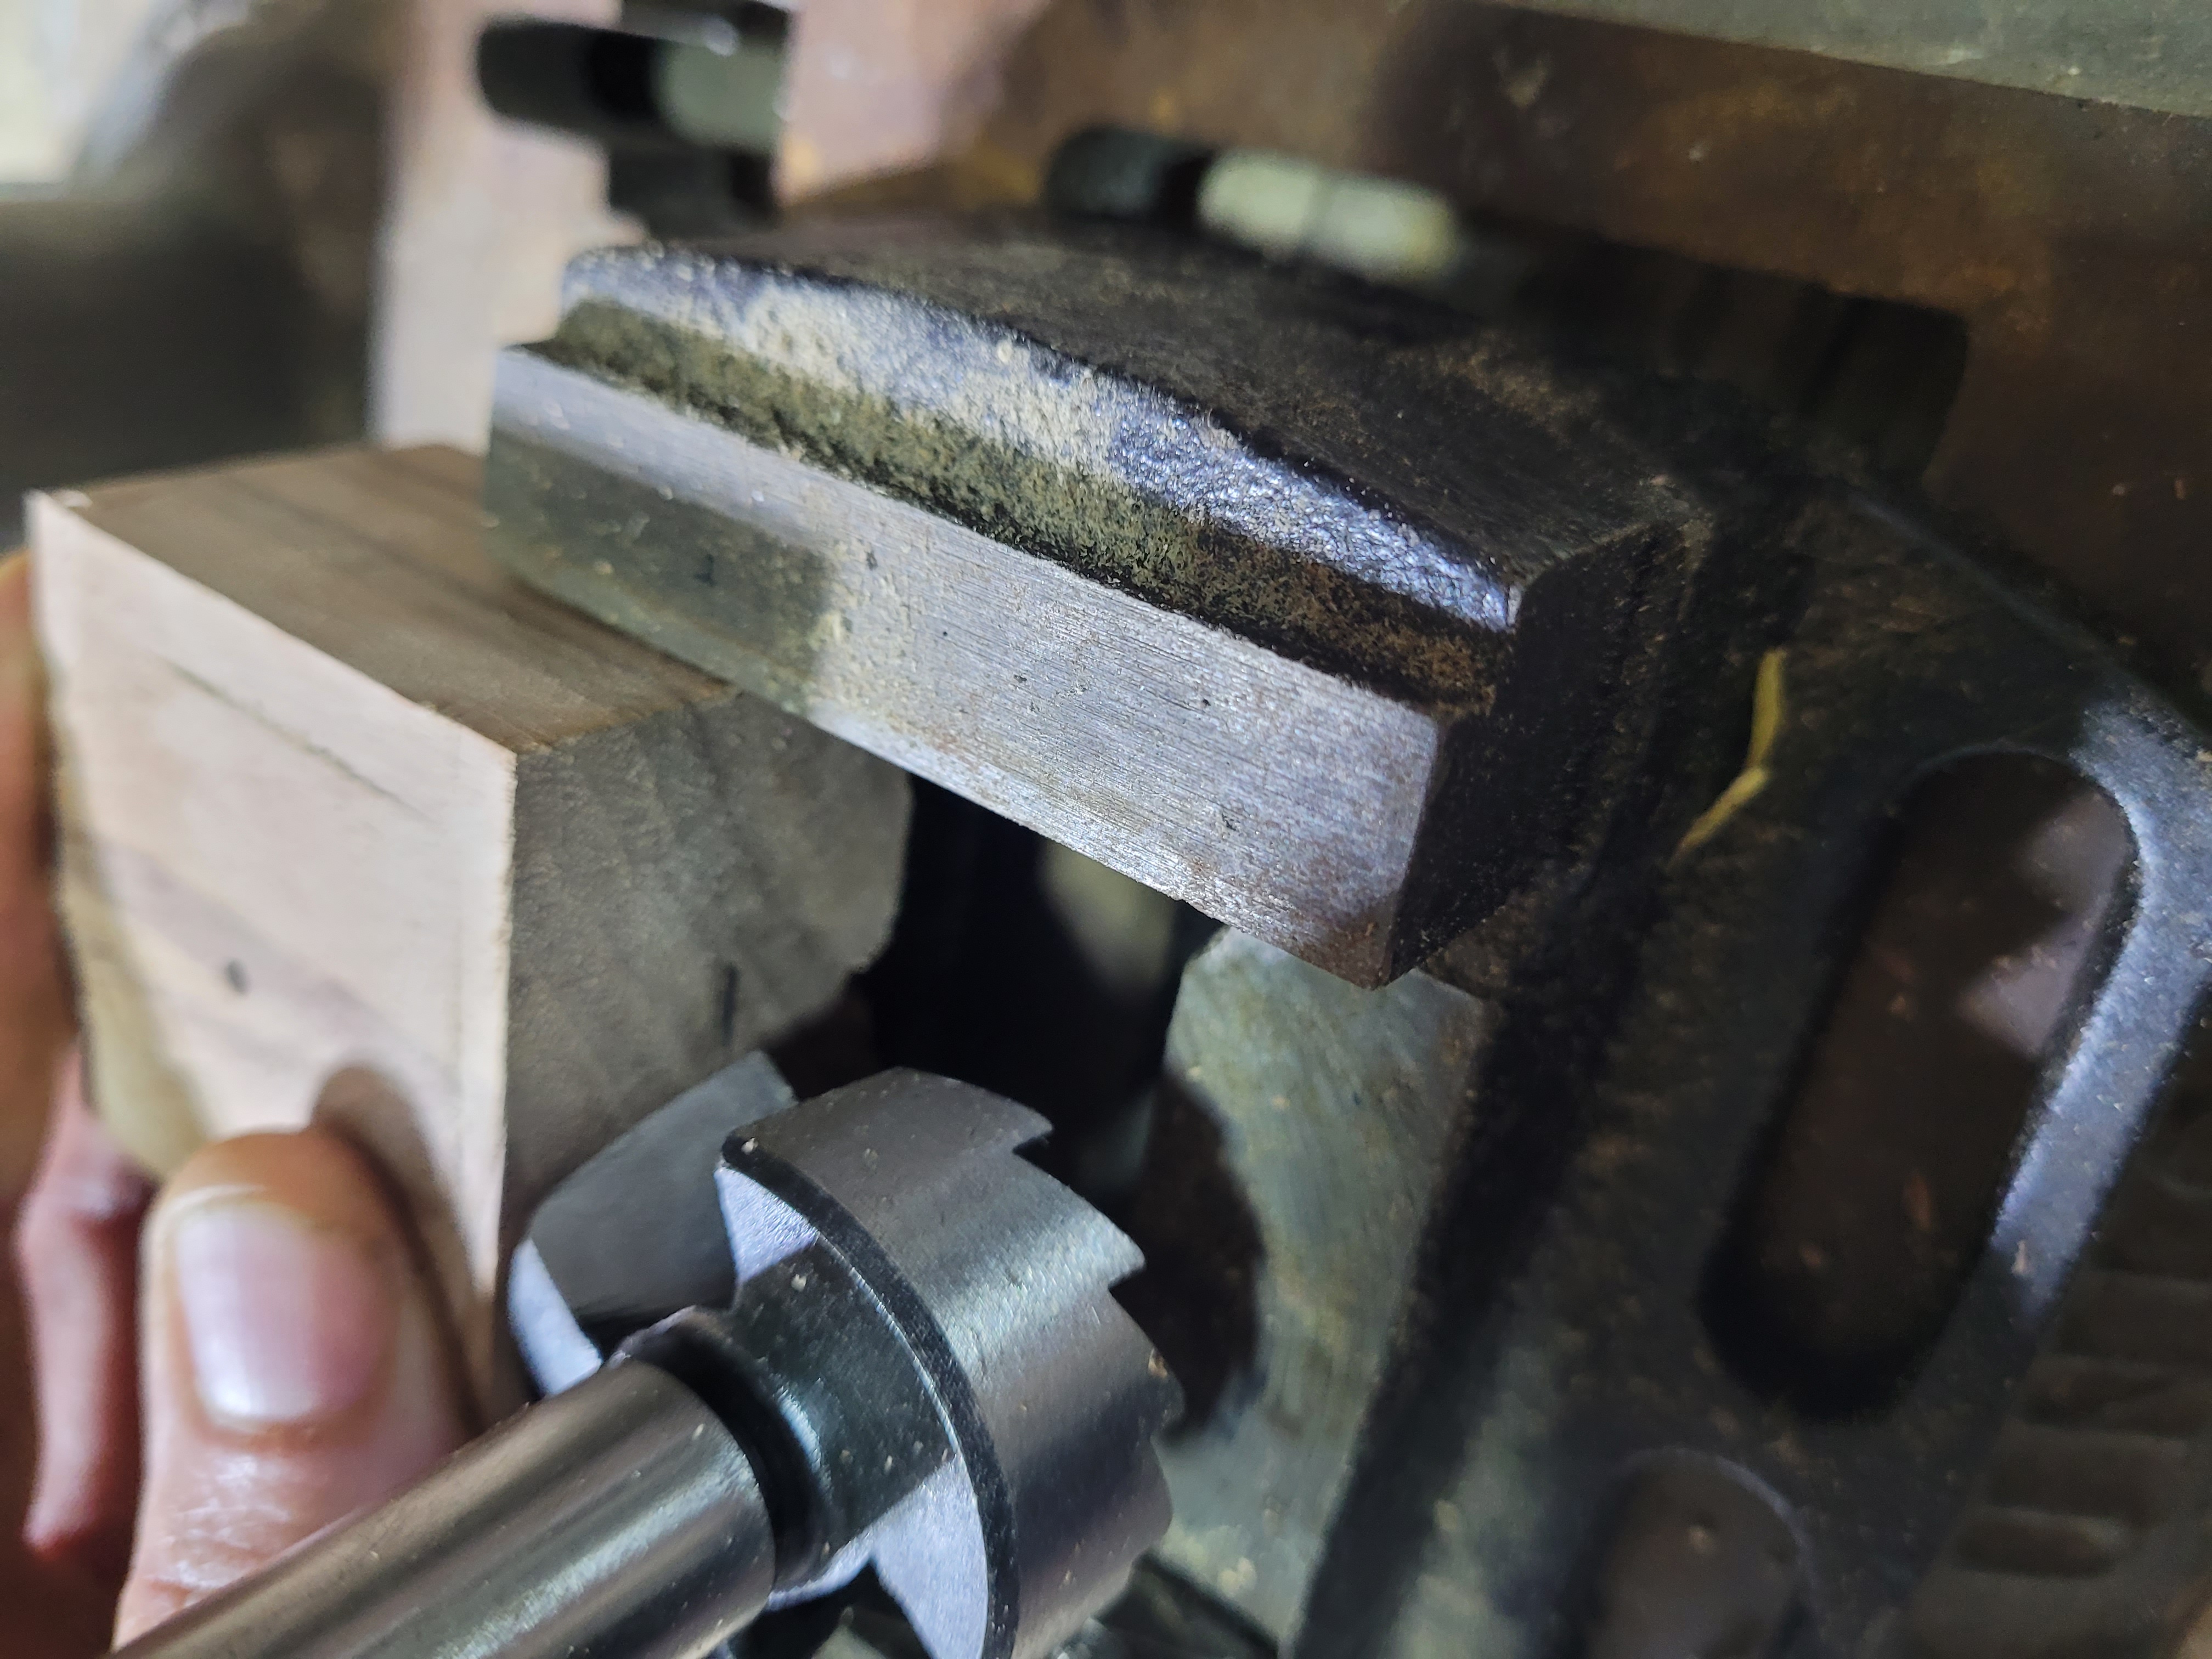
Check the pot fits before removing it.
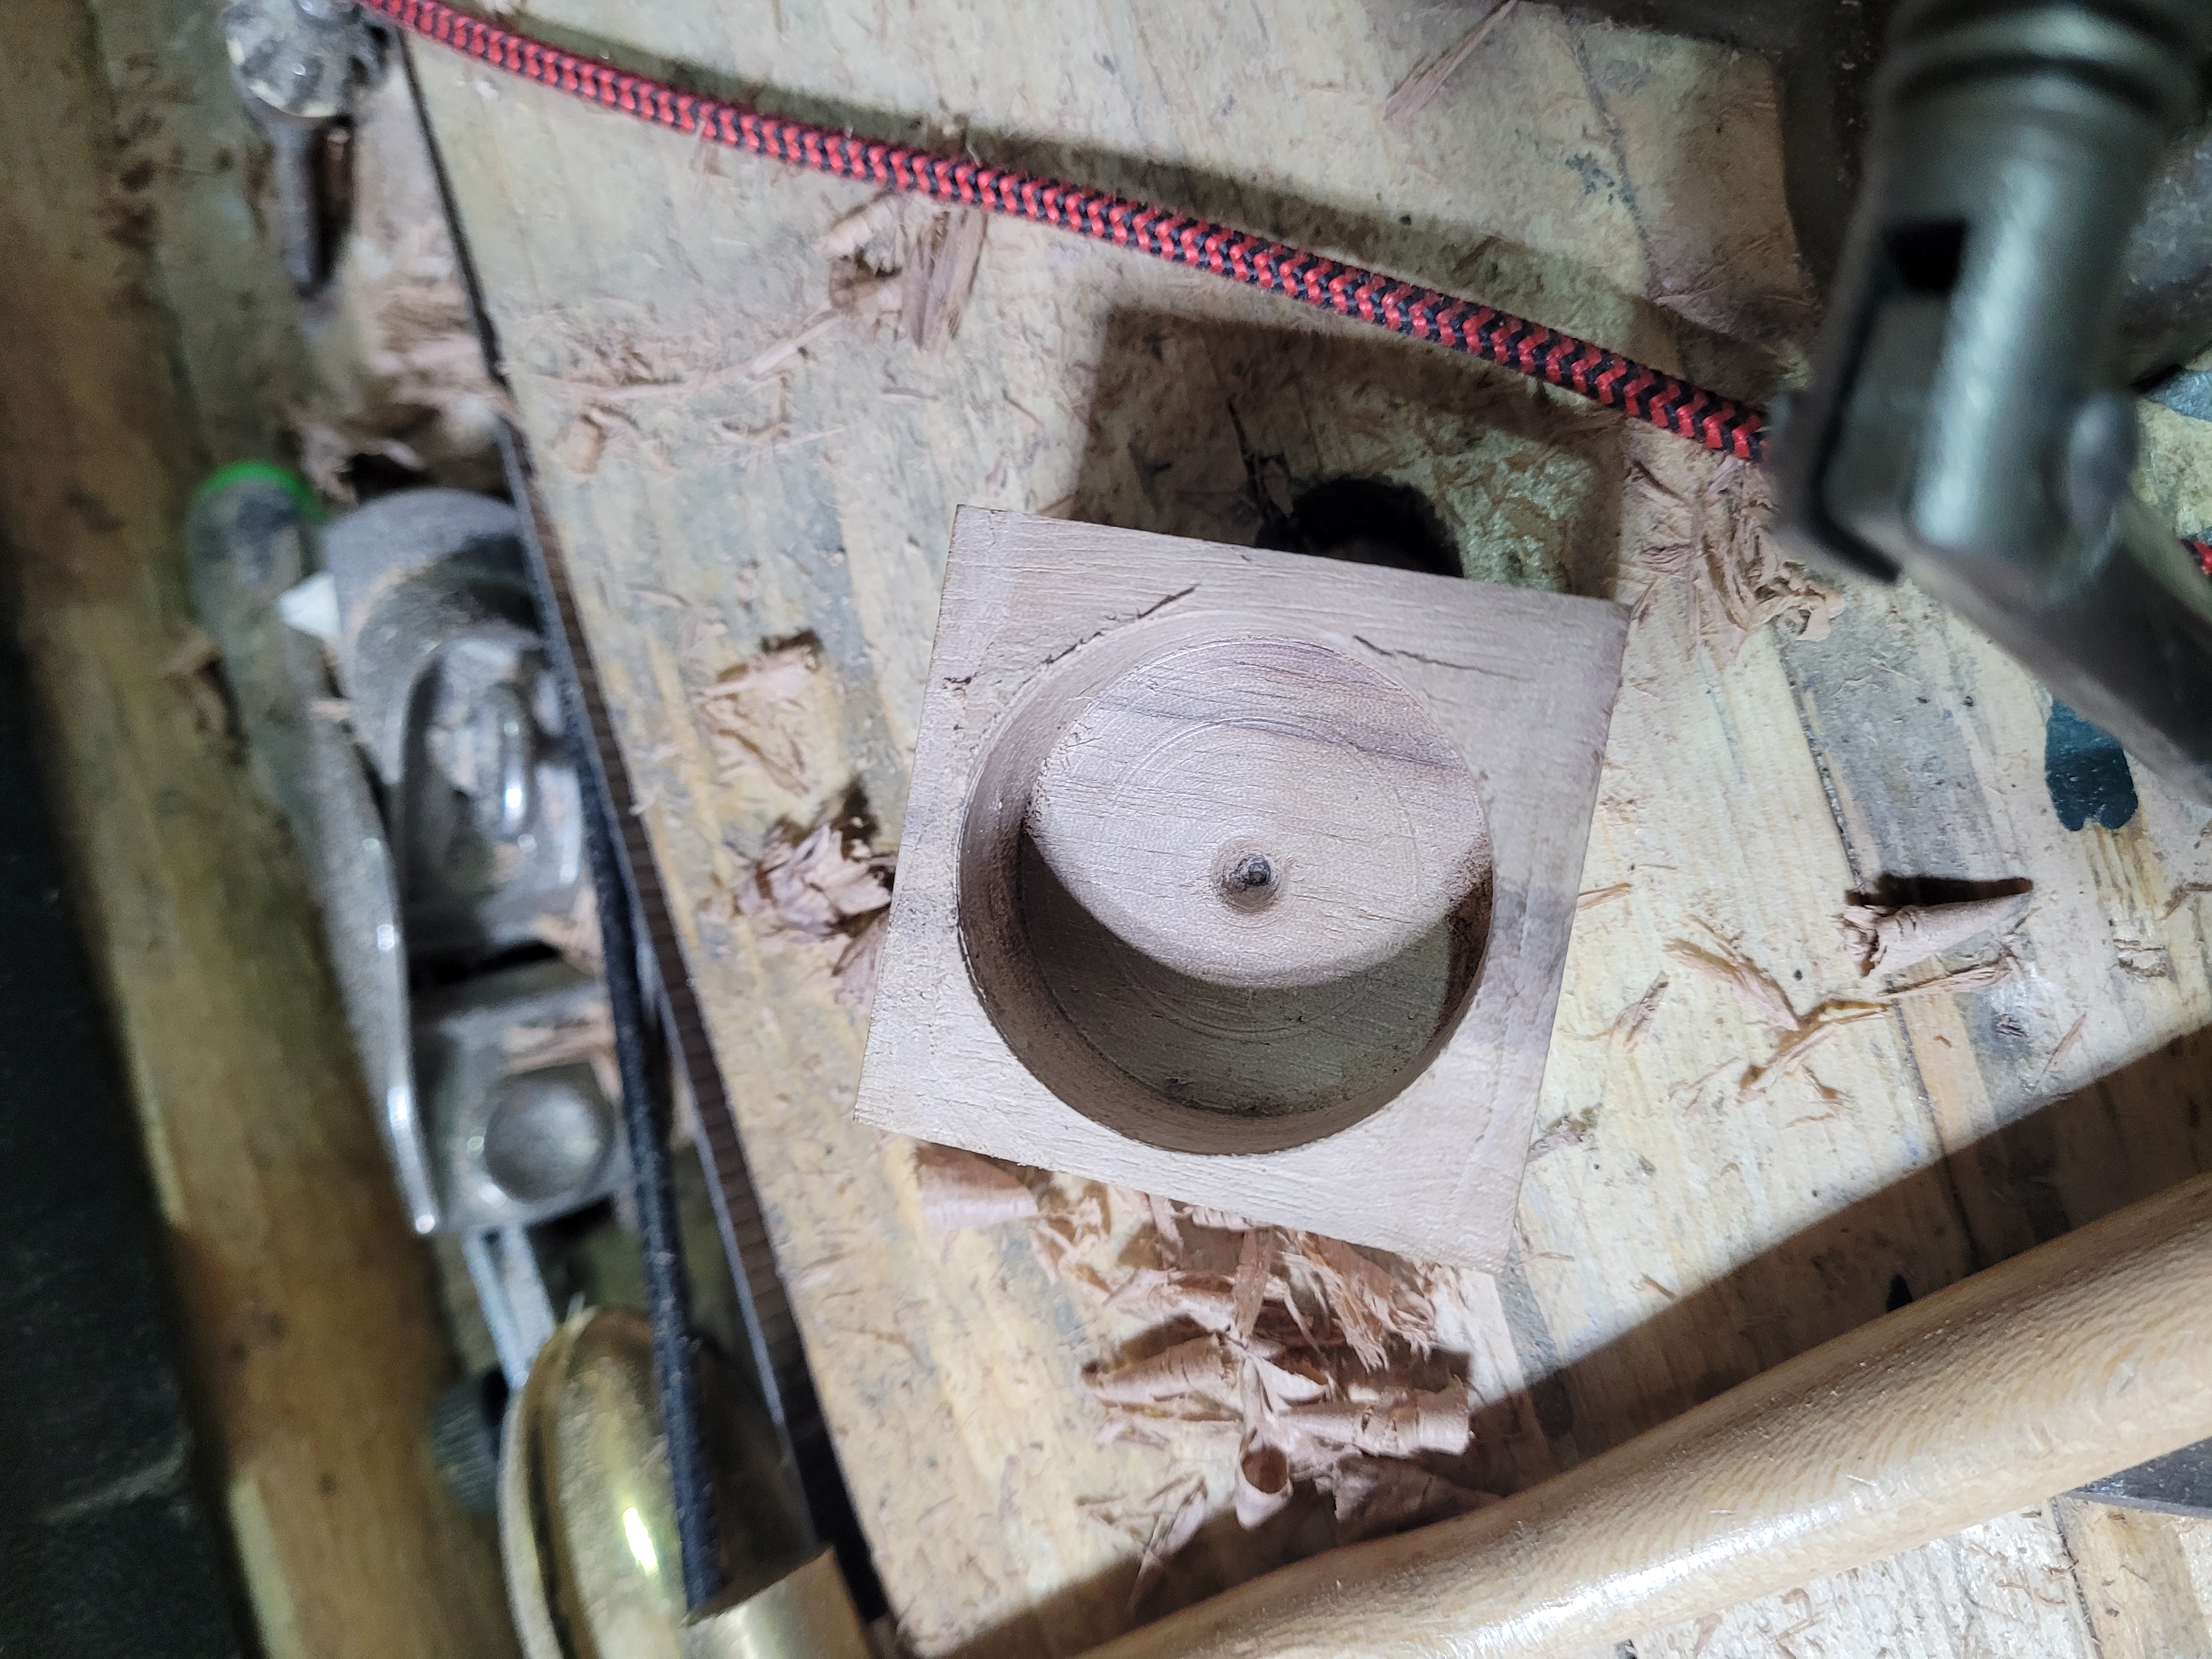
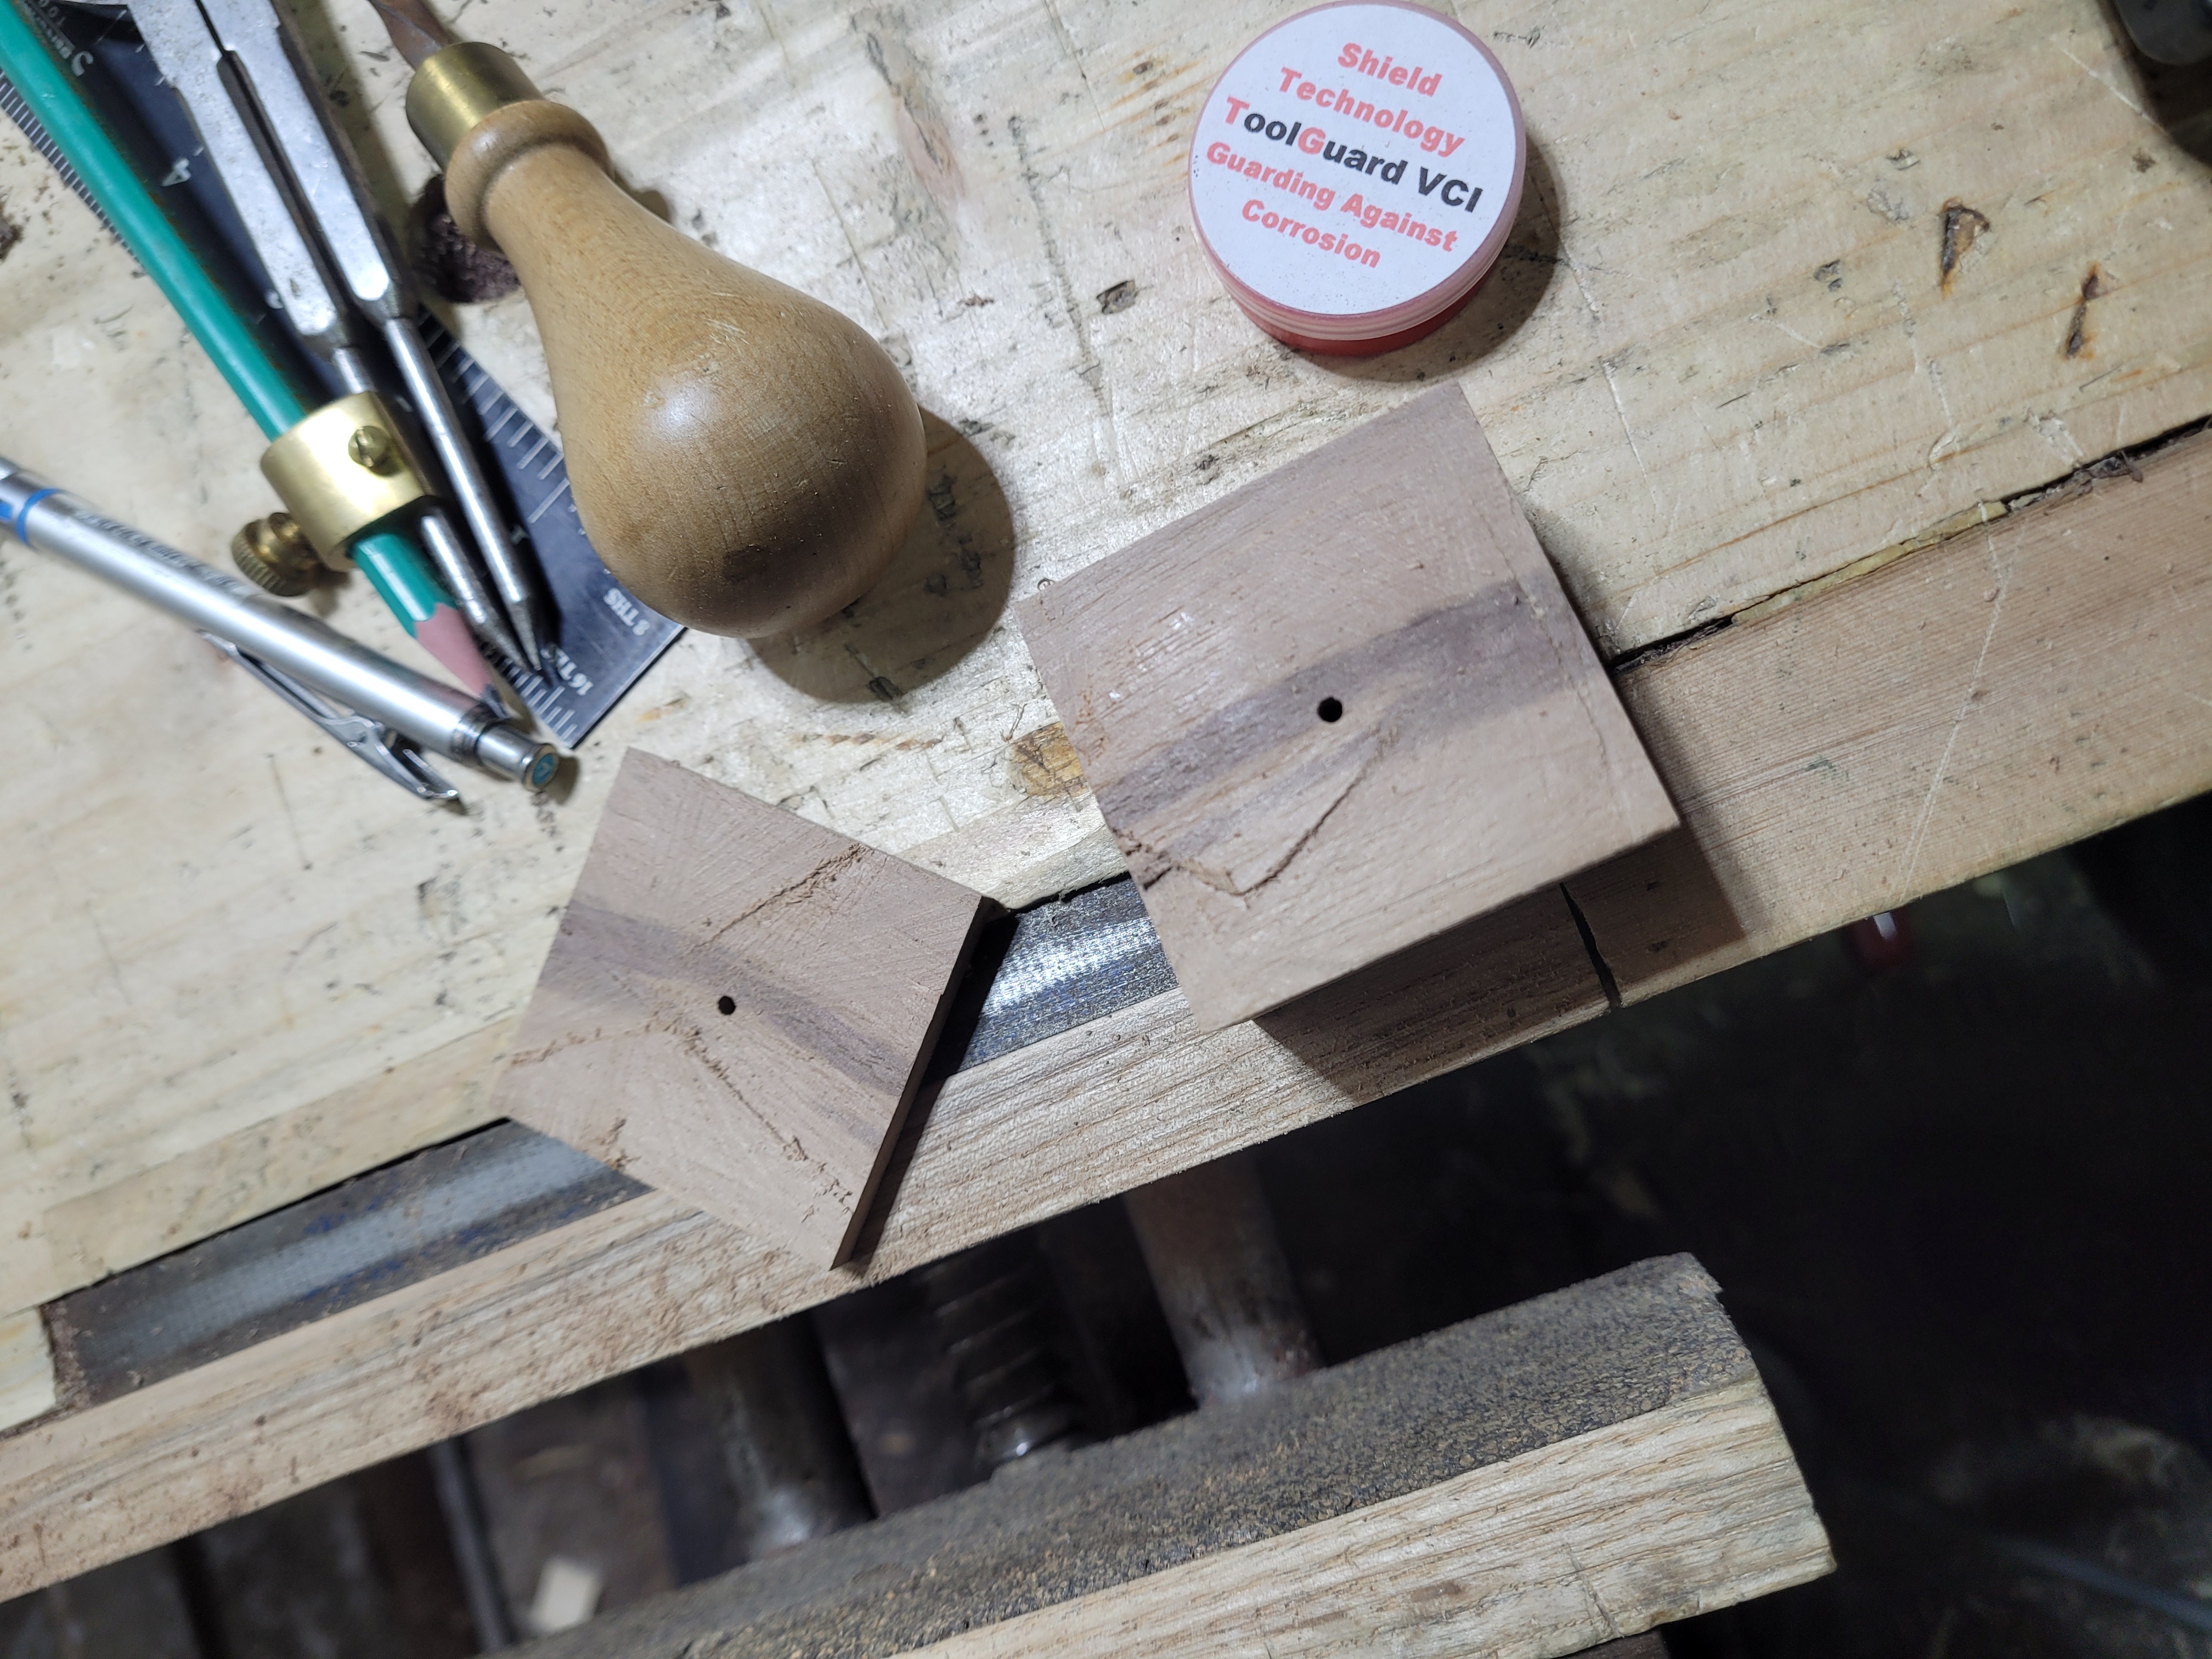
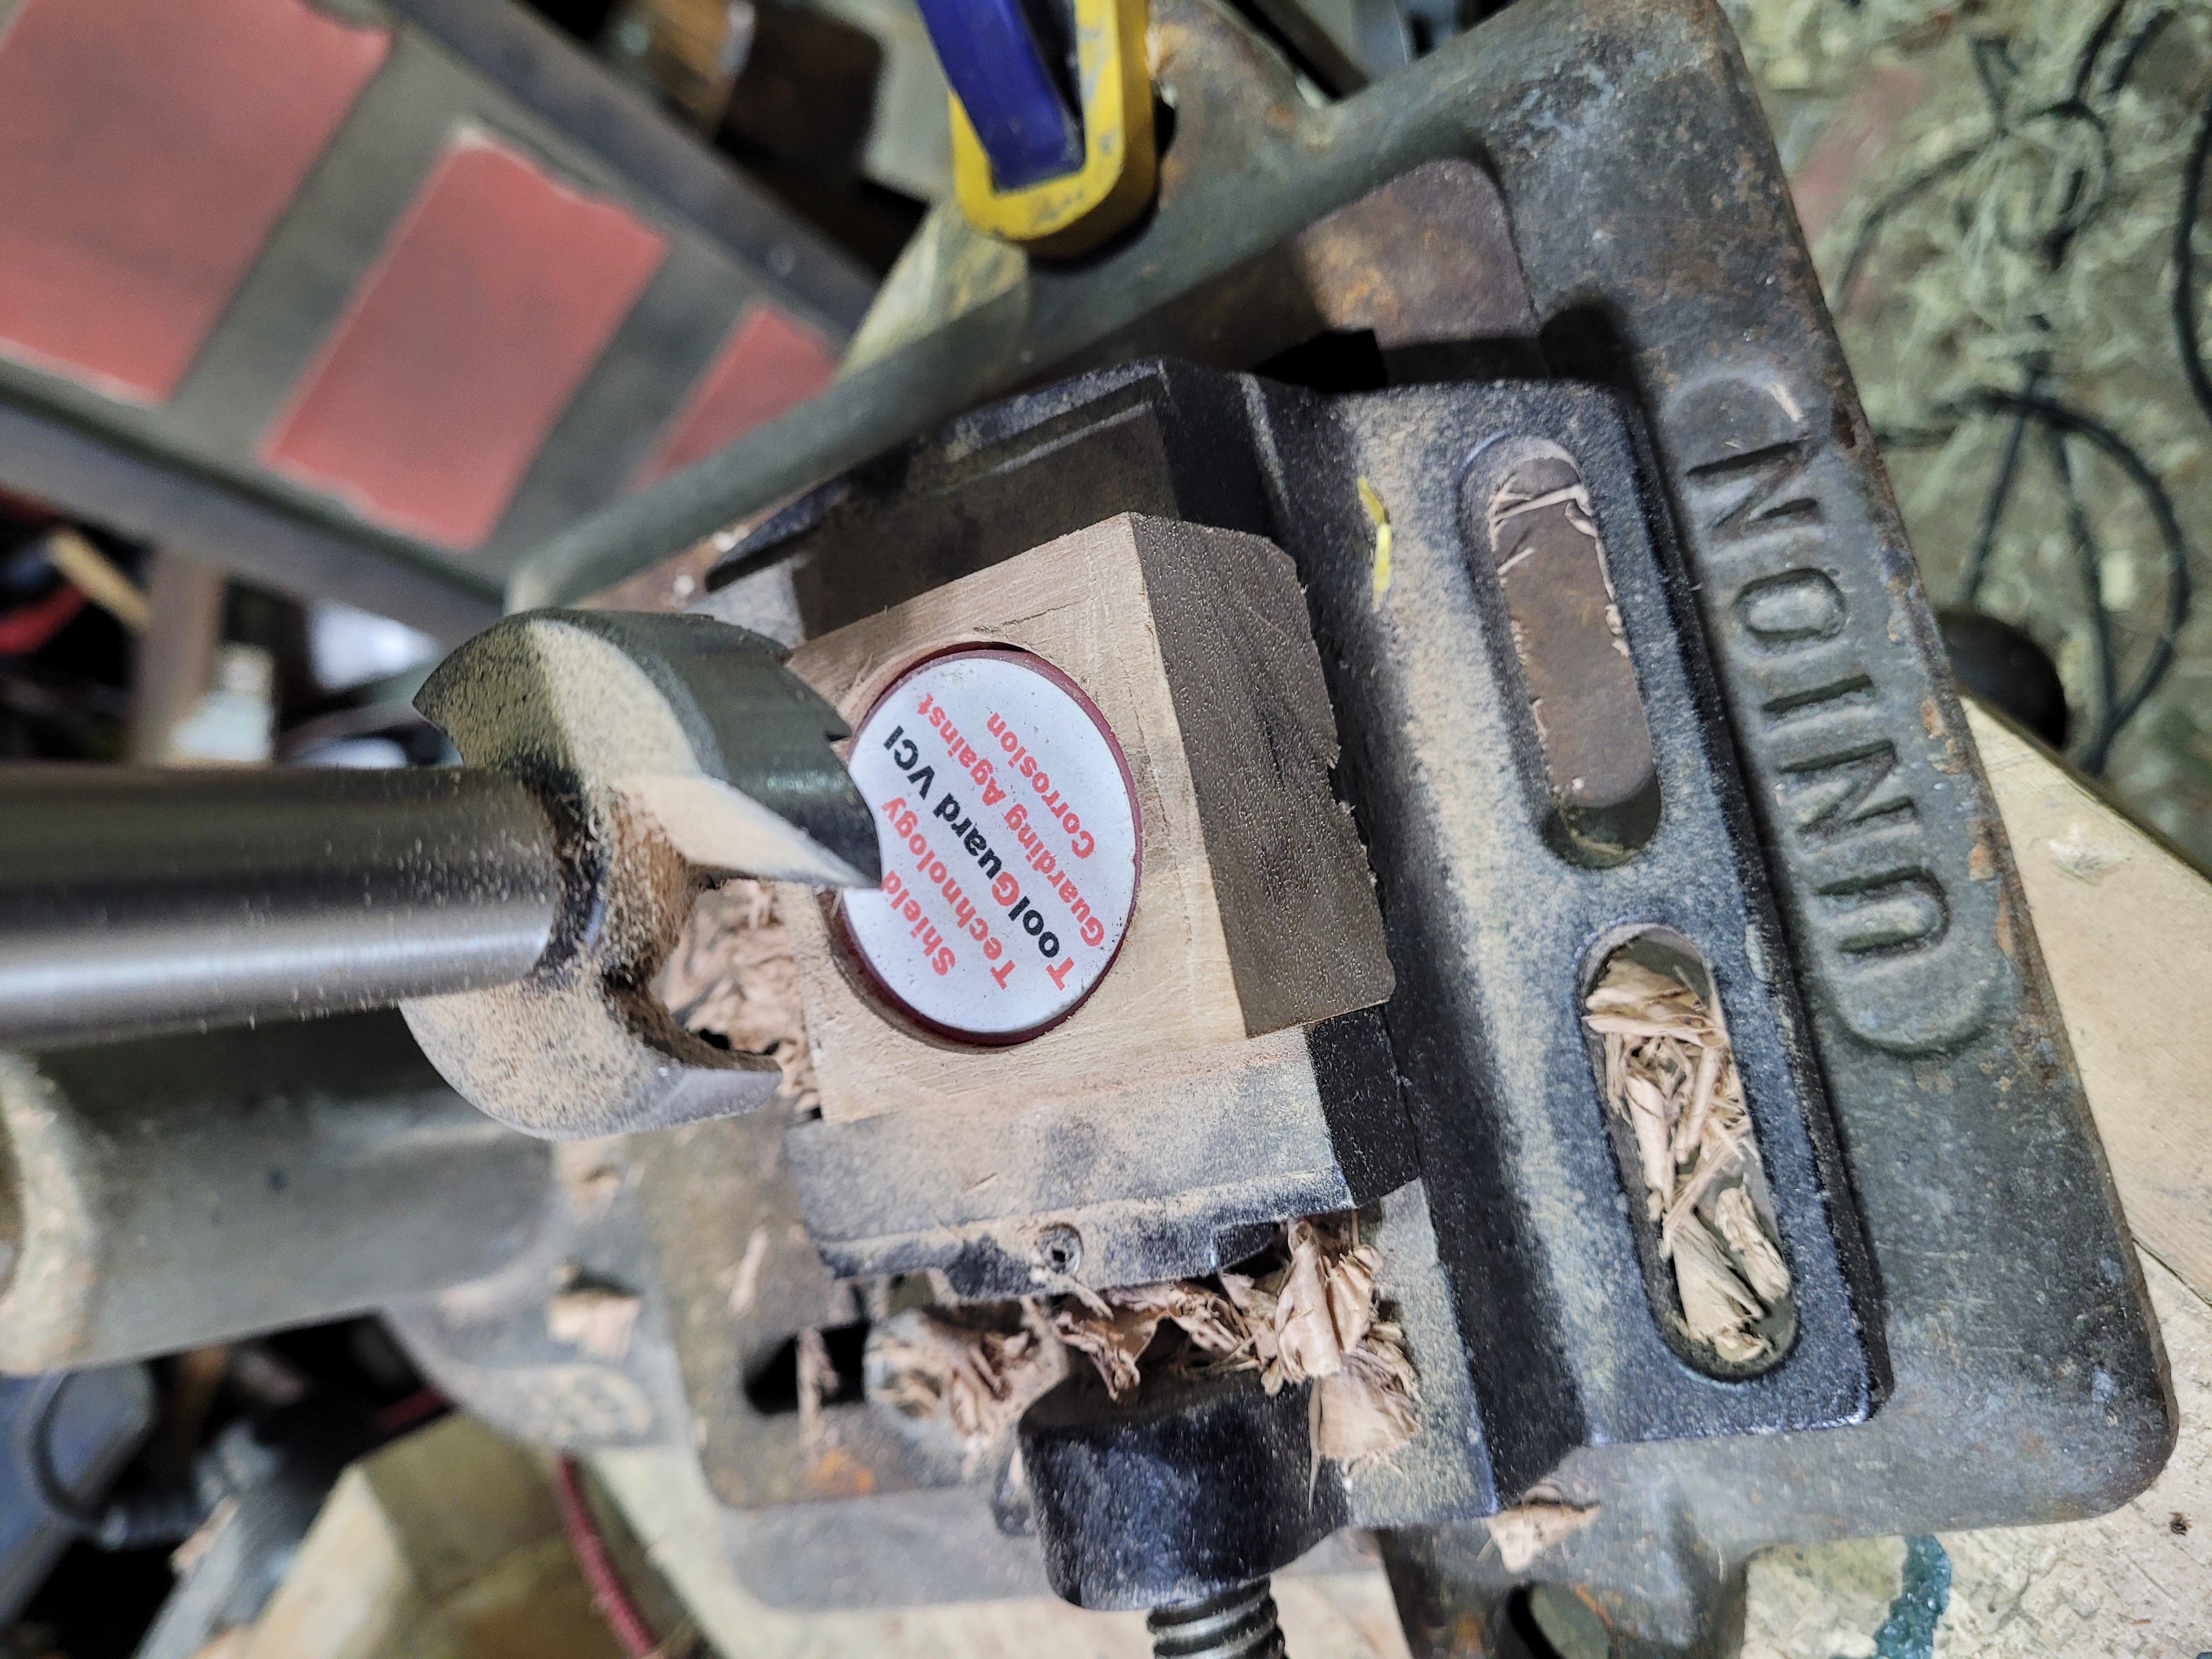
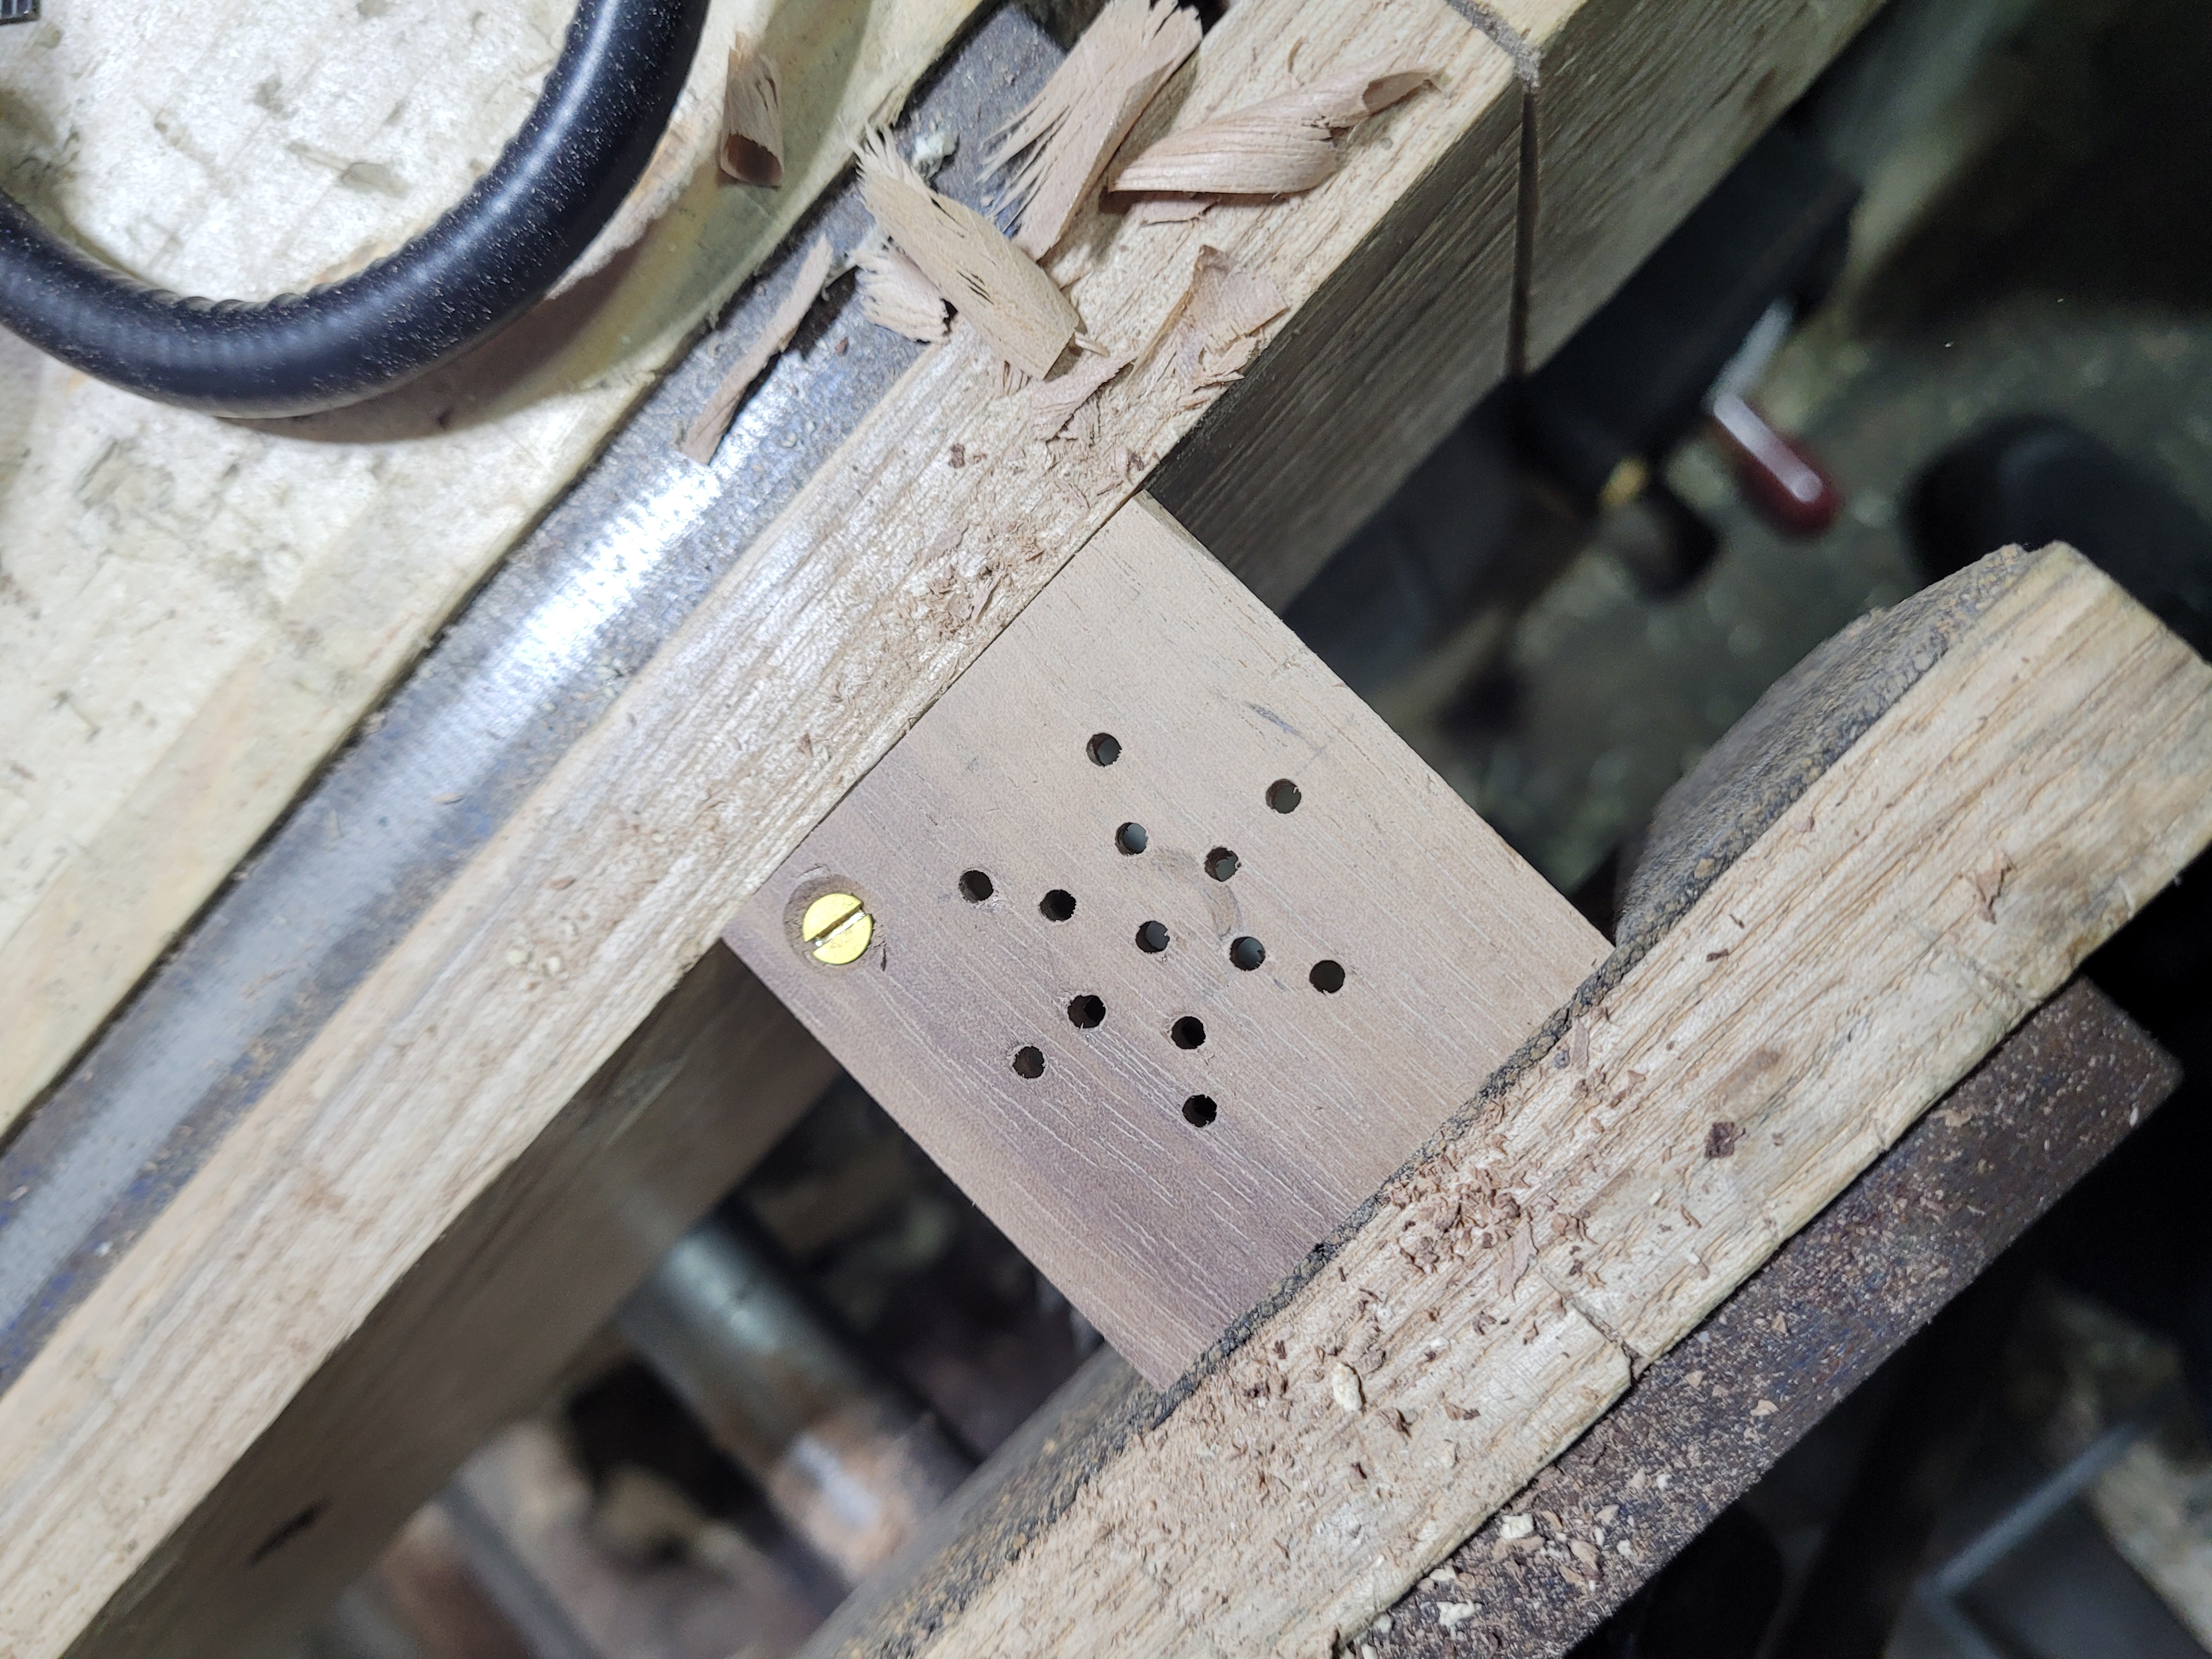
Nice clean hole. I have not decided exactly where in the chest this will go, but the hole in the bottom left by the forstner tip will probably be used to screw it down before the pot goes in.
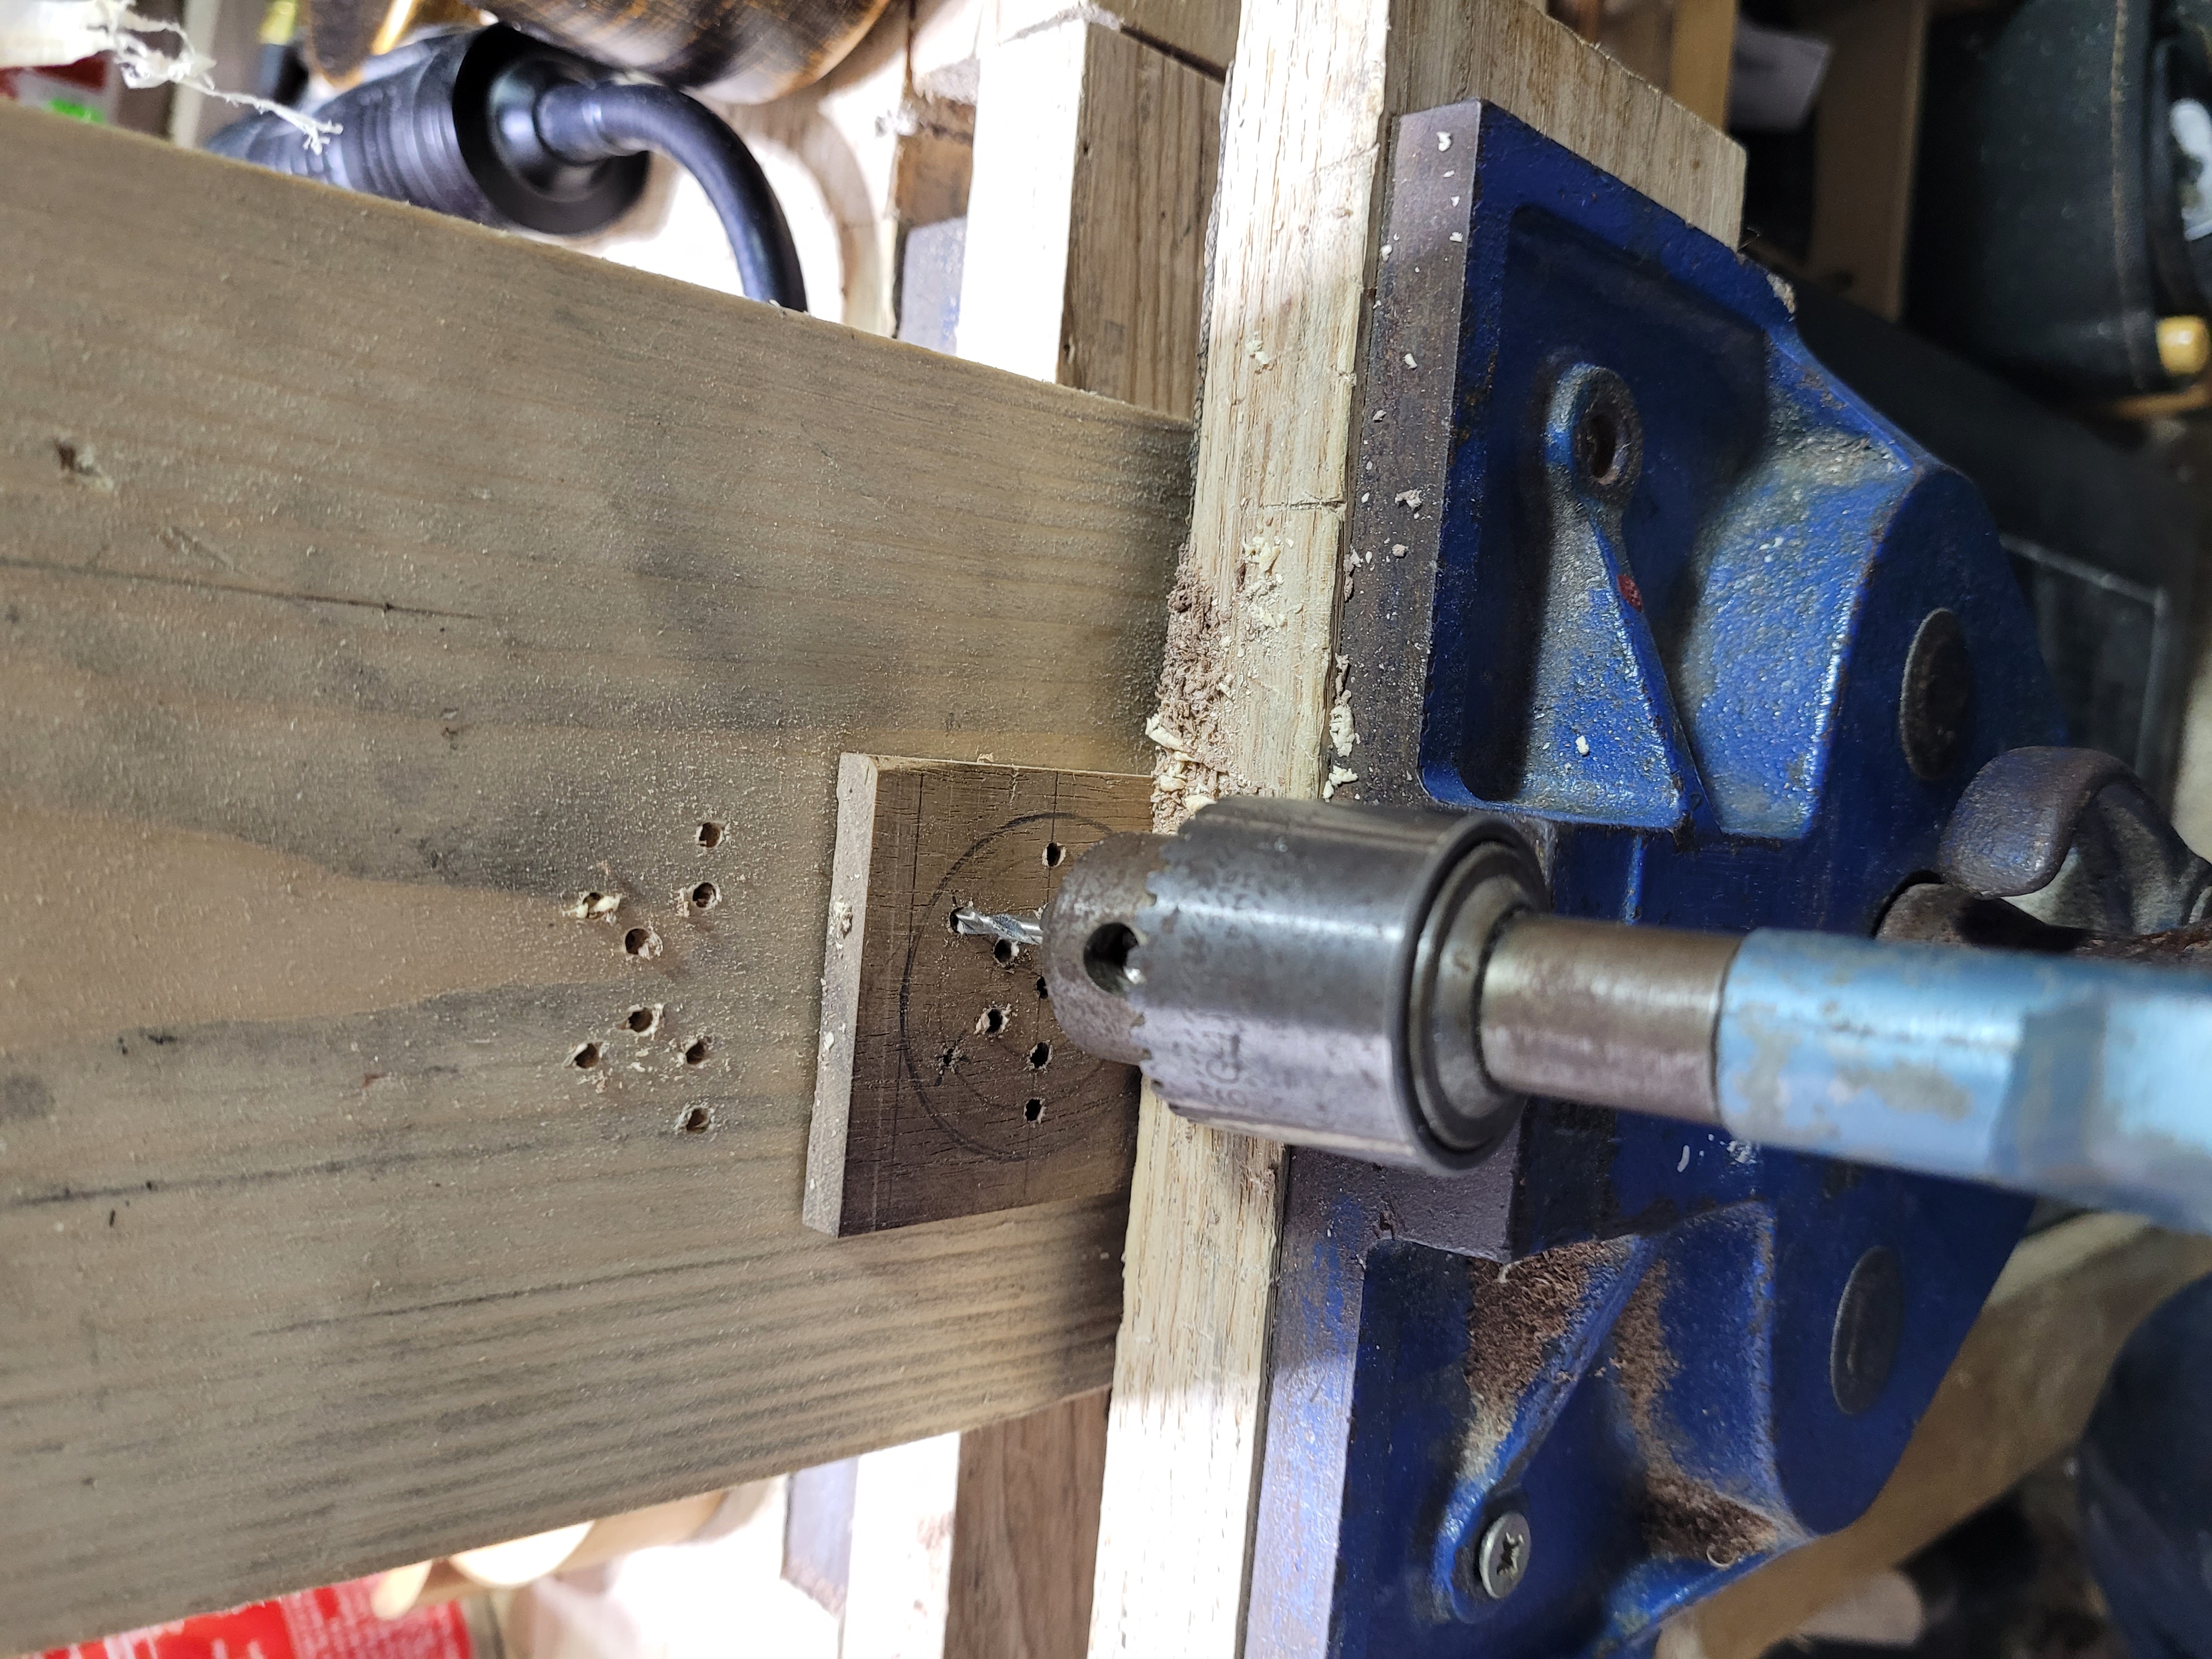
Vent holes don’t need to be particularly straight, I quickly drill those with an egg beater and a backing board.
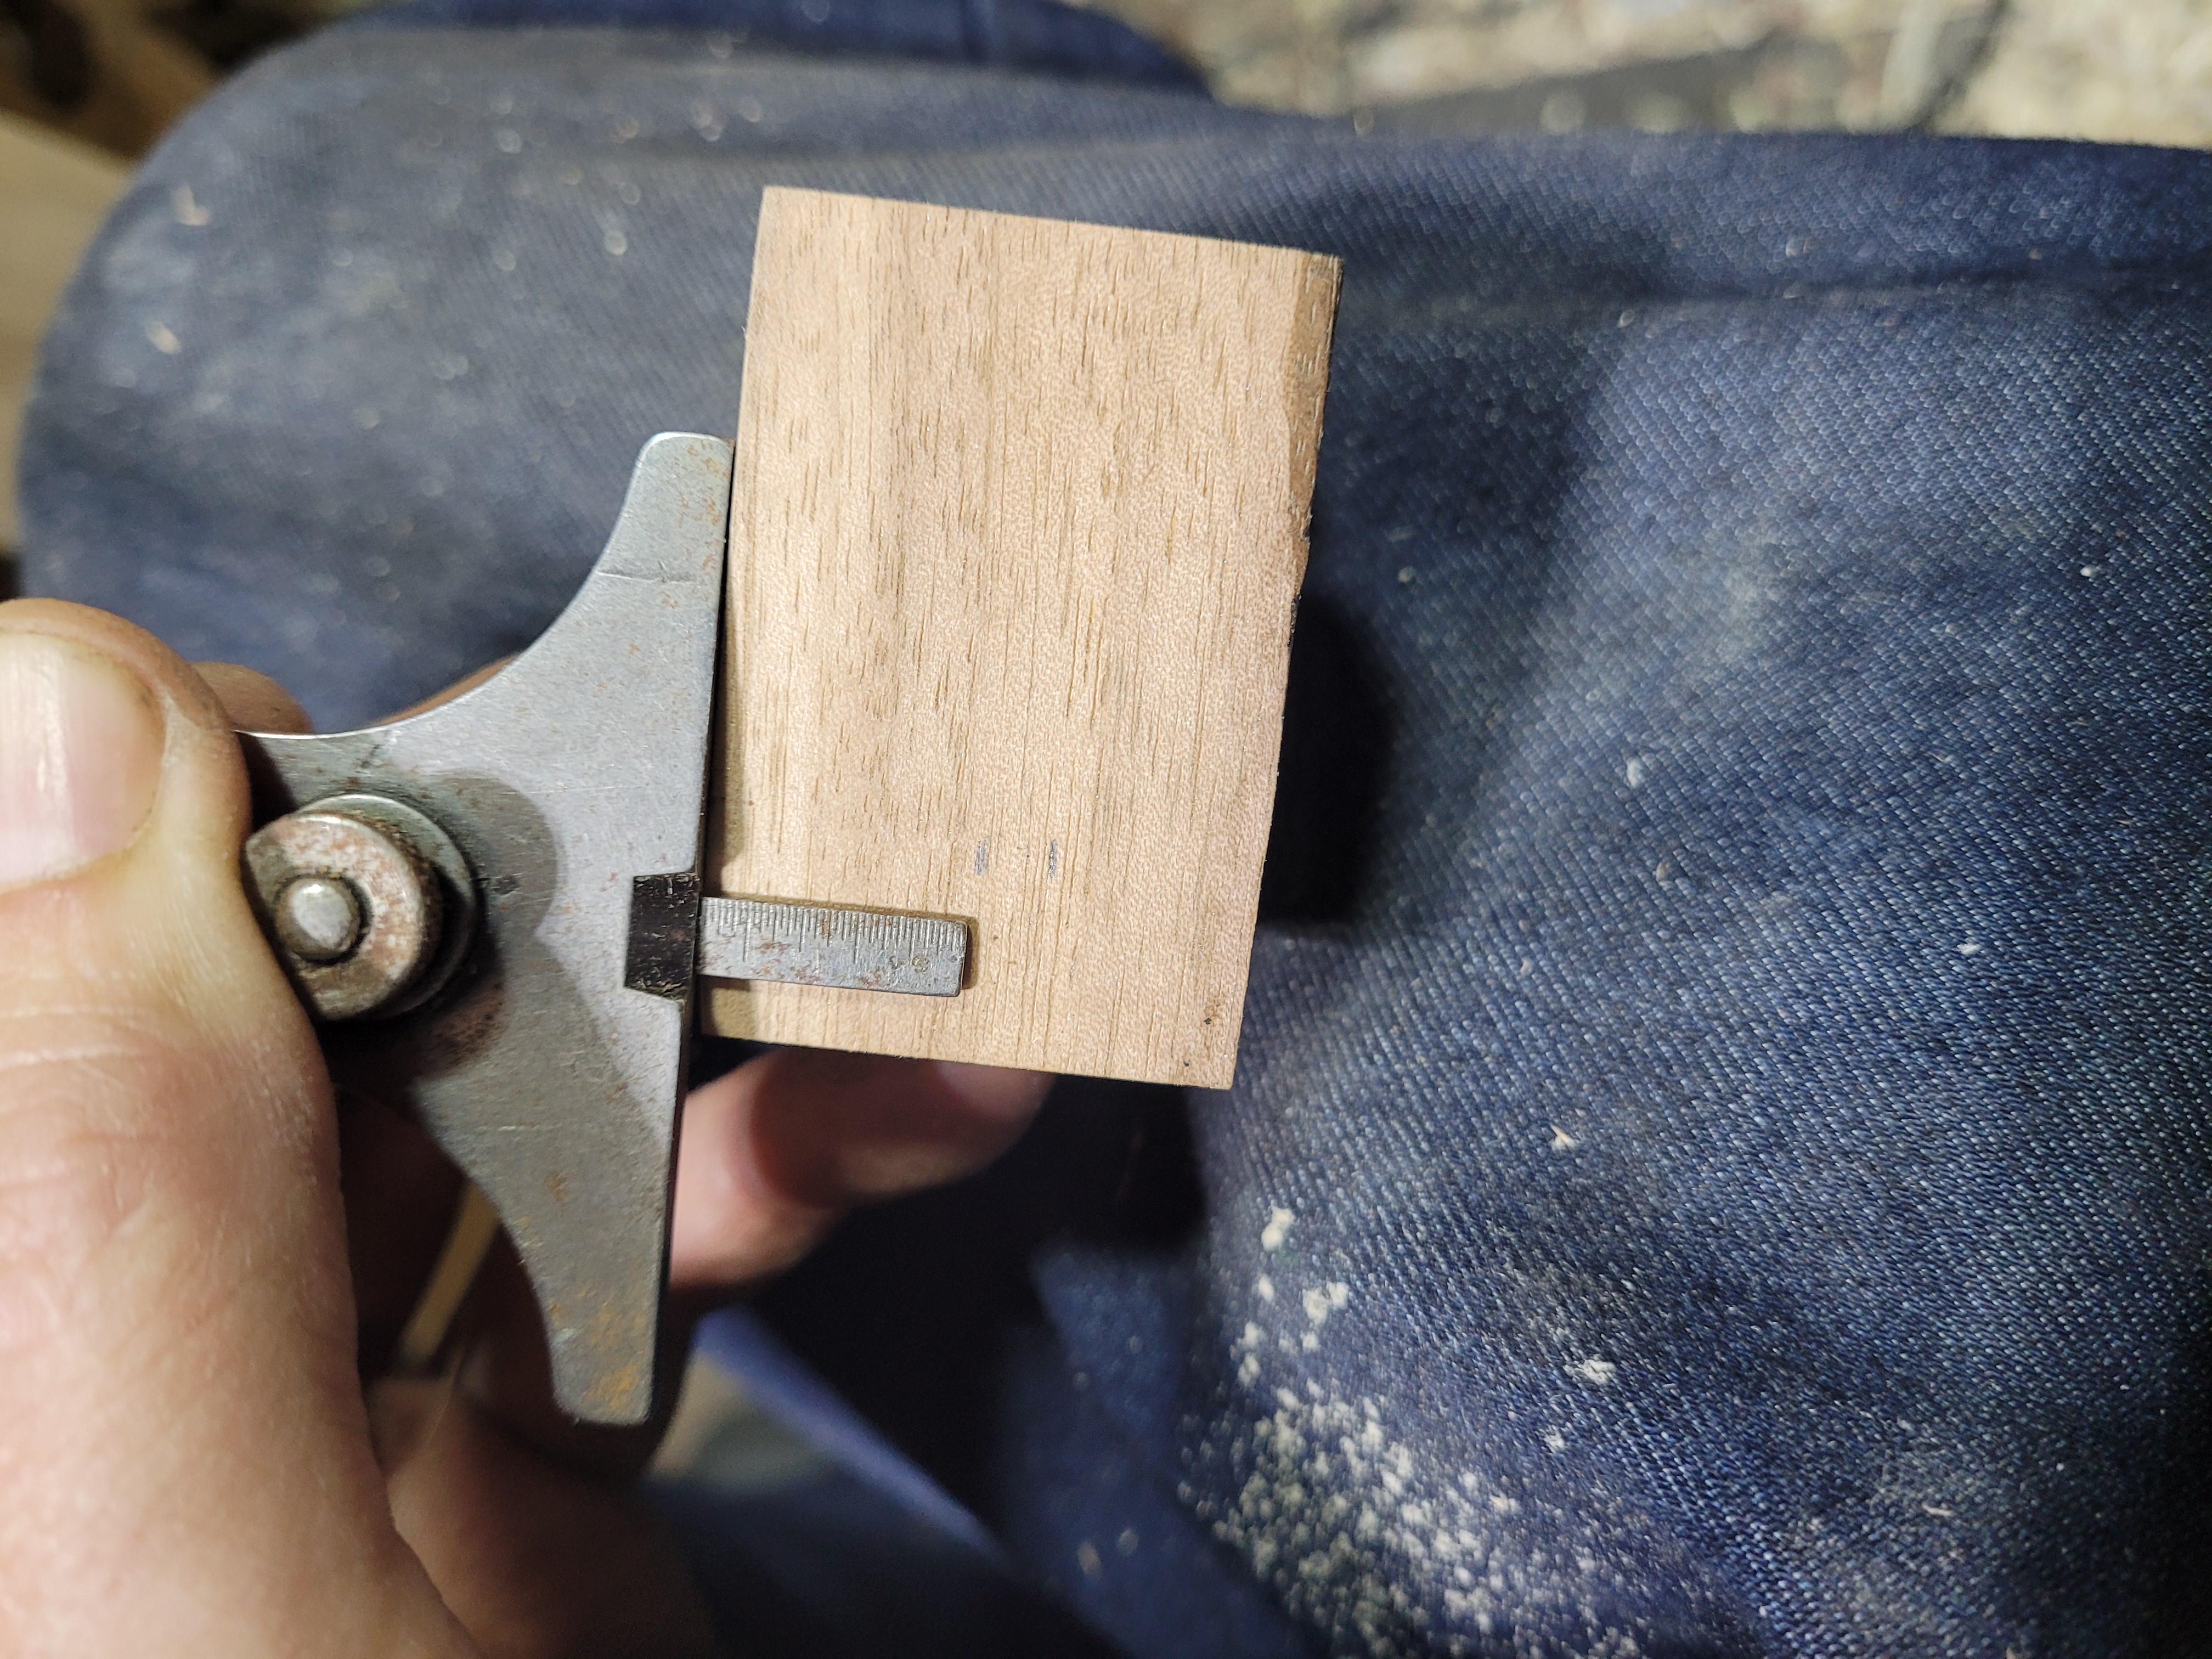
Measure the depth of the hole, so I can transfer to the outside
Mark the depth on the outside, then add a little to give the bottom a decent thickness.
Mark the line all the way around
And saw off the excess
Take off some of the unevenness from the saw with a paring chisel.
Add a hole for a screw to hold down the lid.

Start sanding off the layout, and flattening the lid bottom and box bottom.
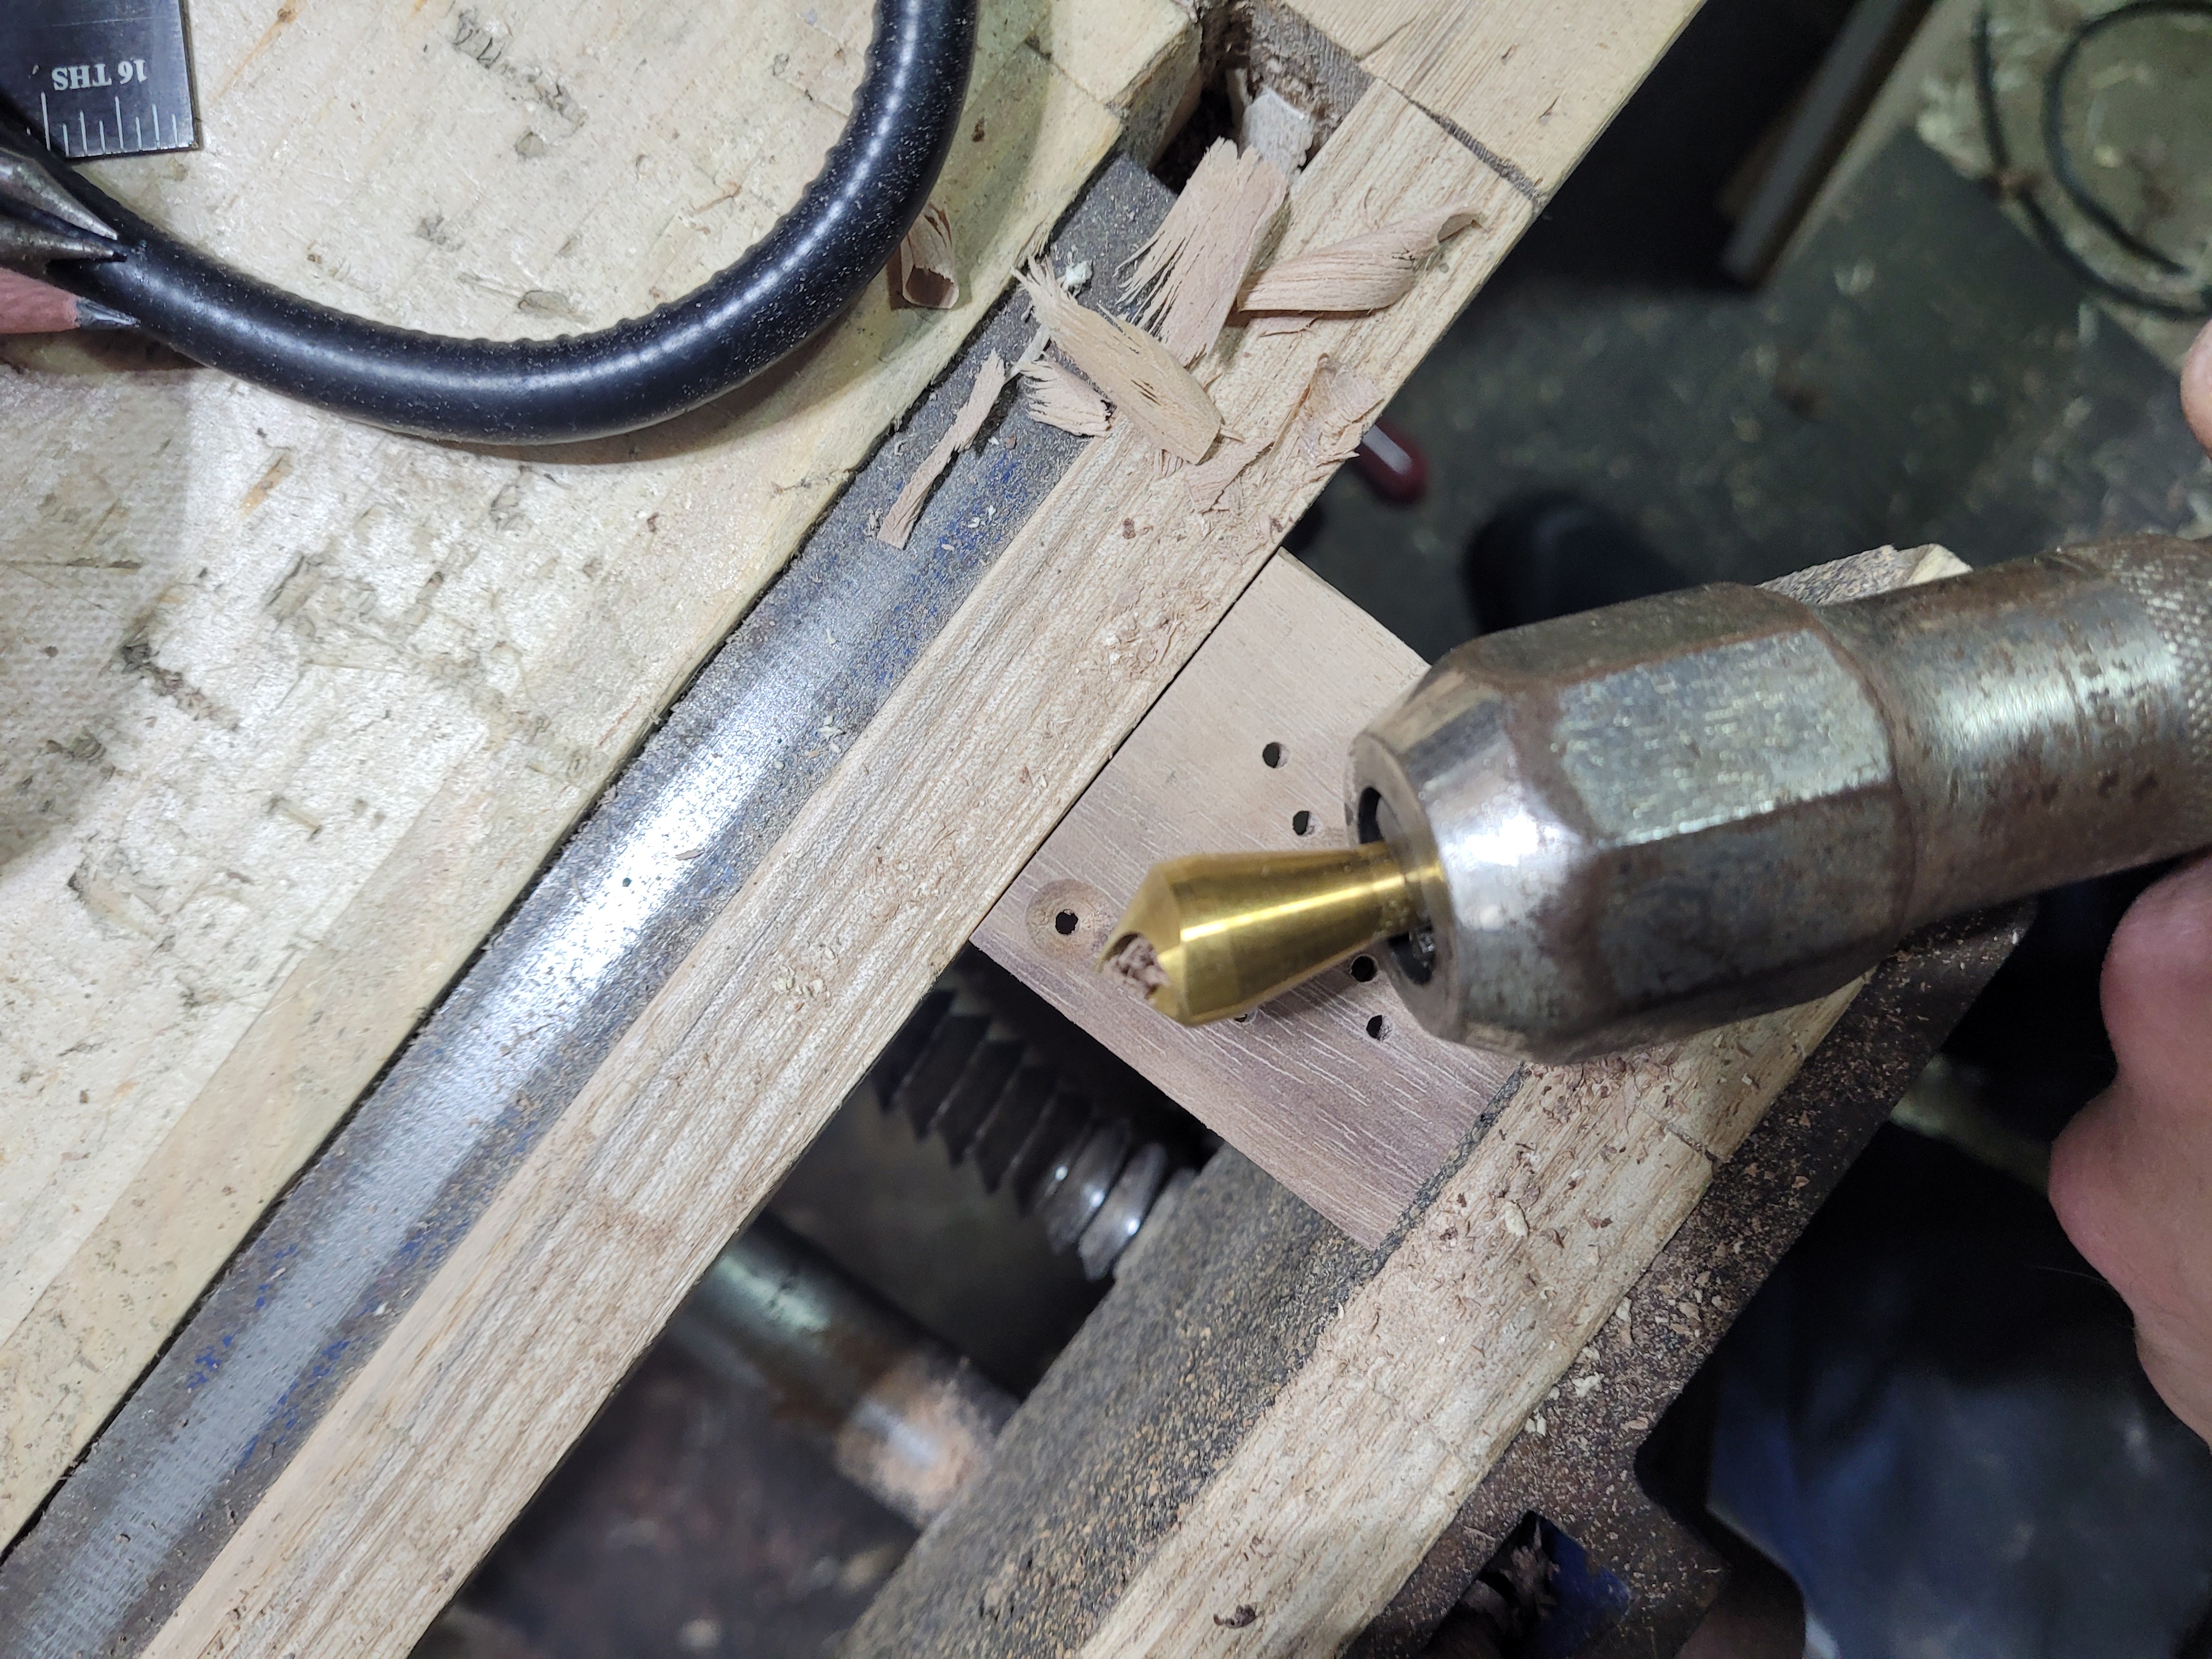
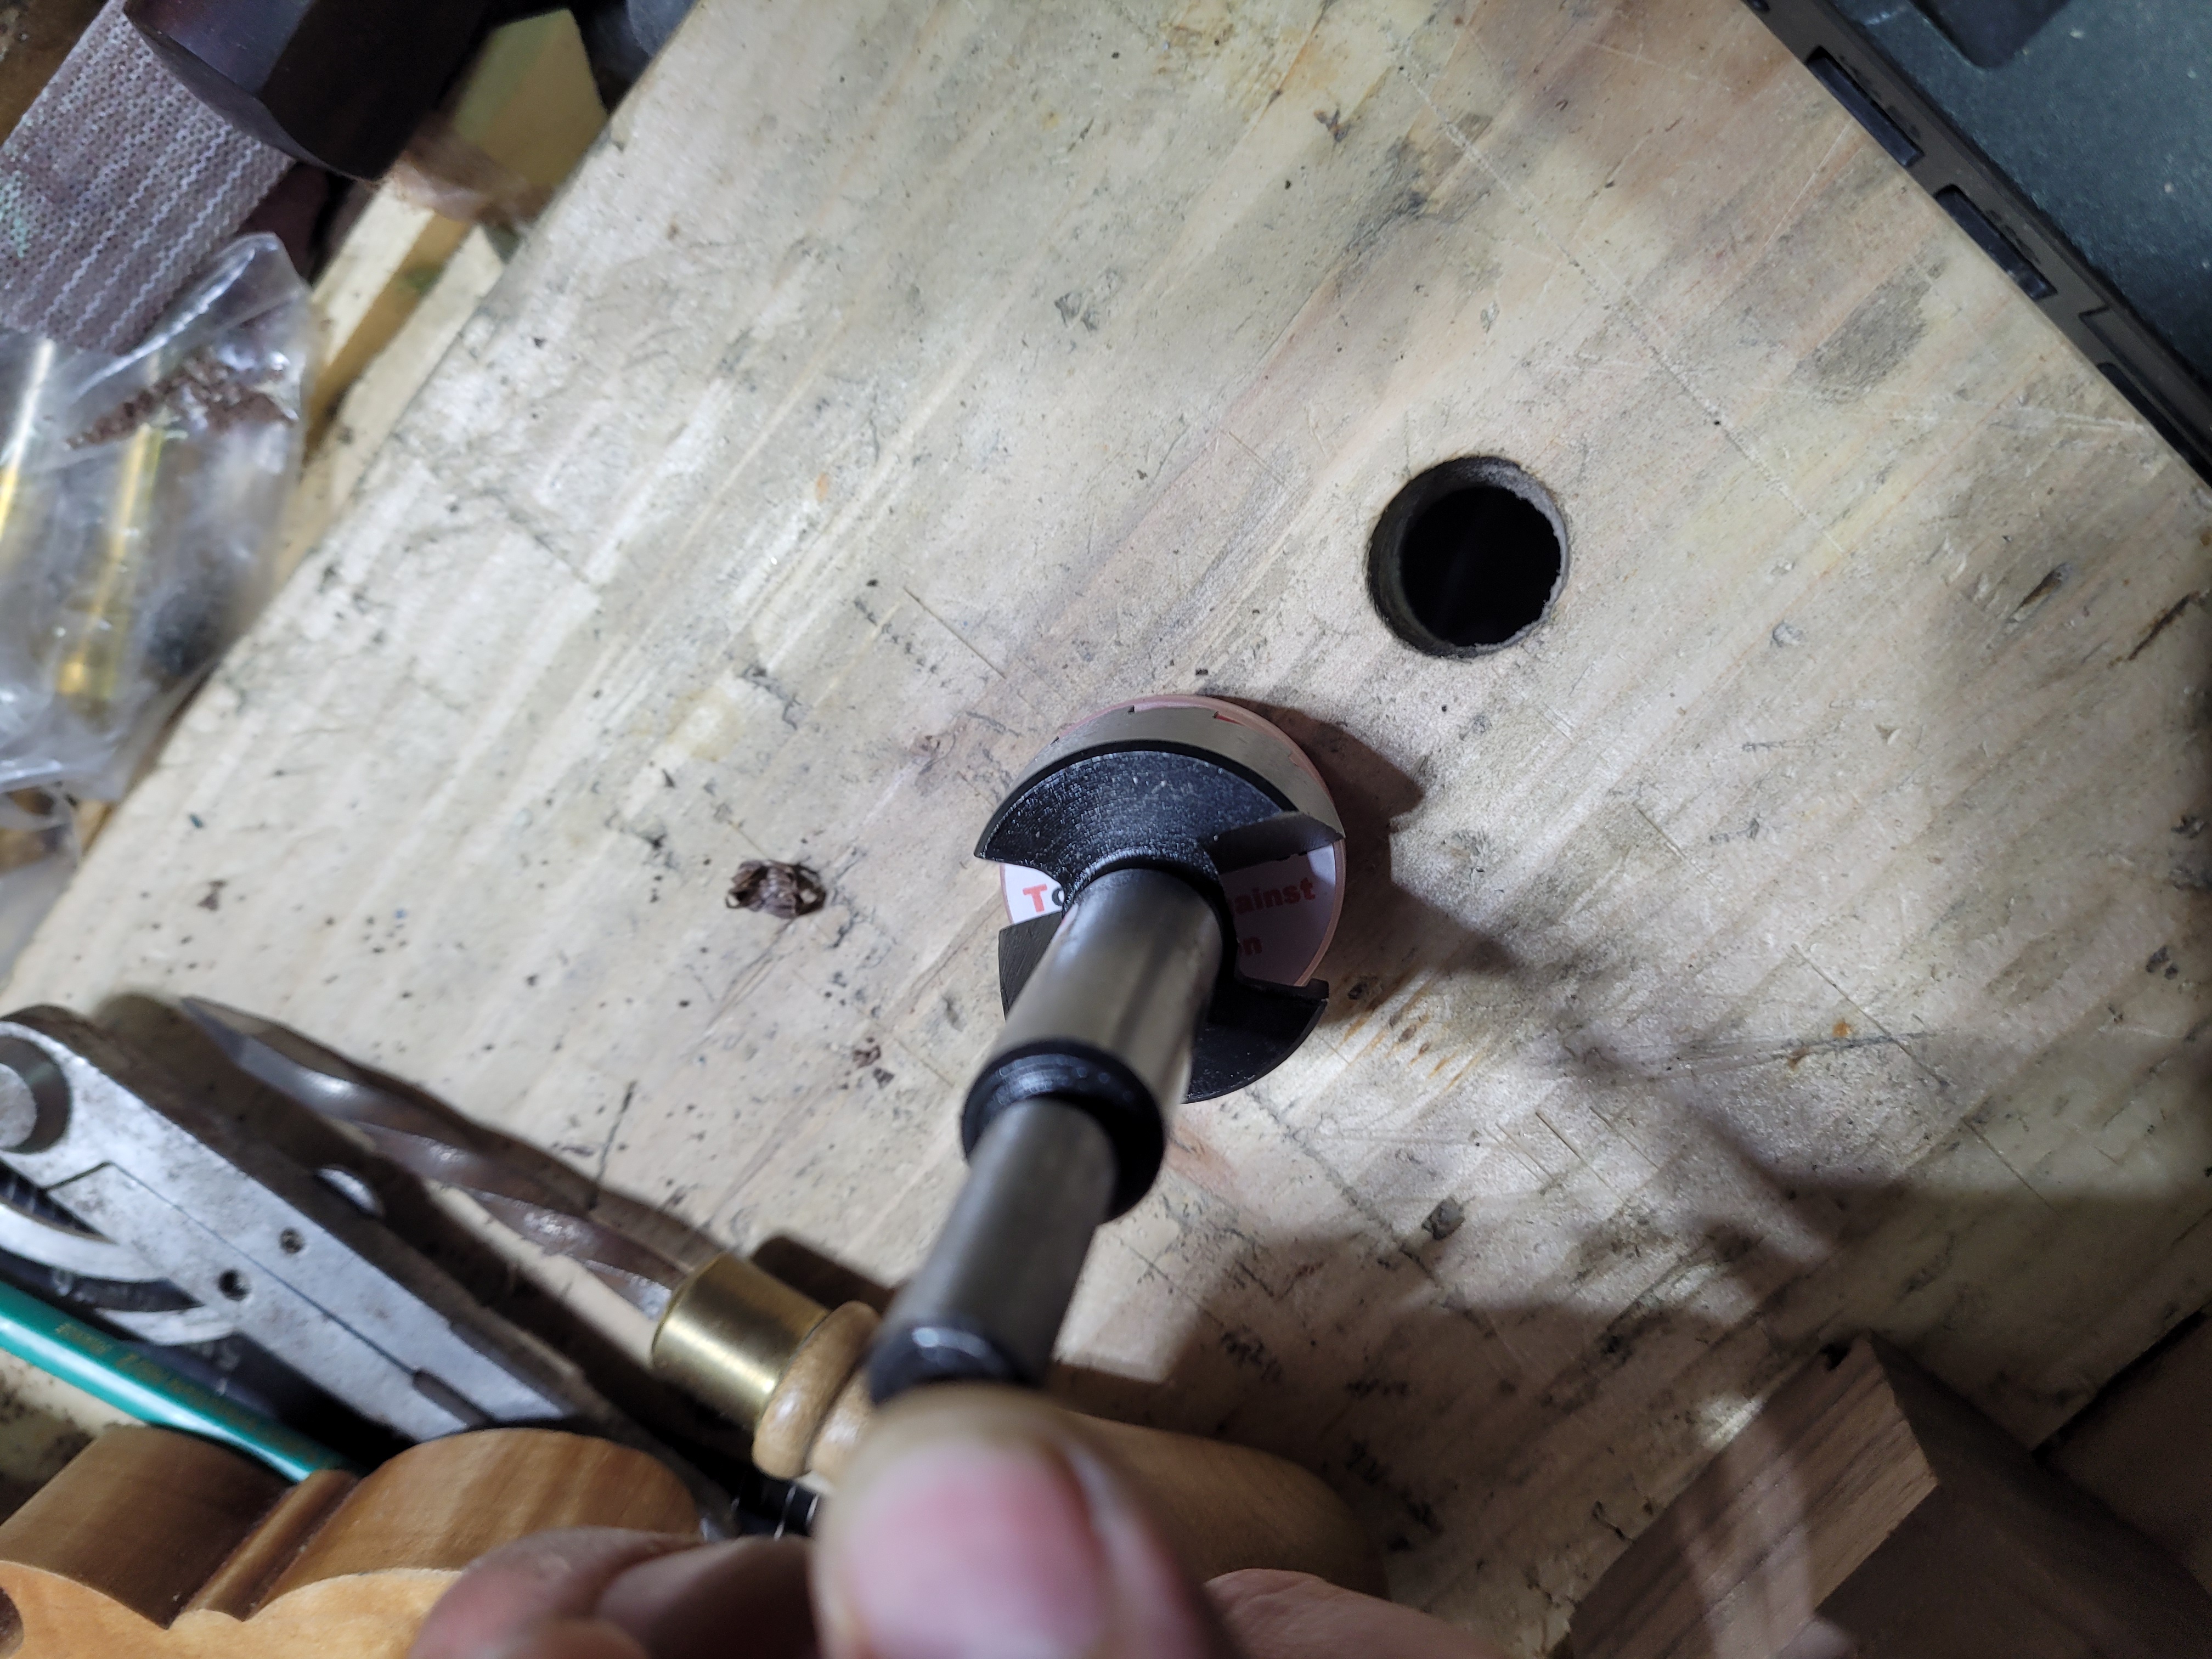
Counter sink the screw hole
Check the screw is below the surface, don’t want it catching on any tools.
i

Countersink the bottom hole.
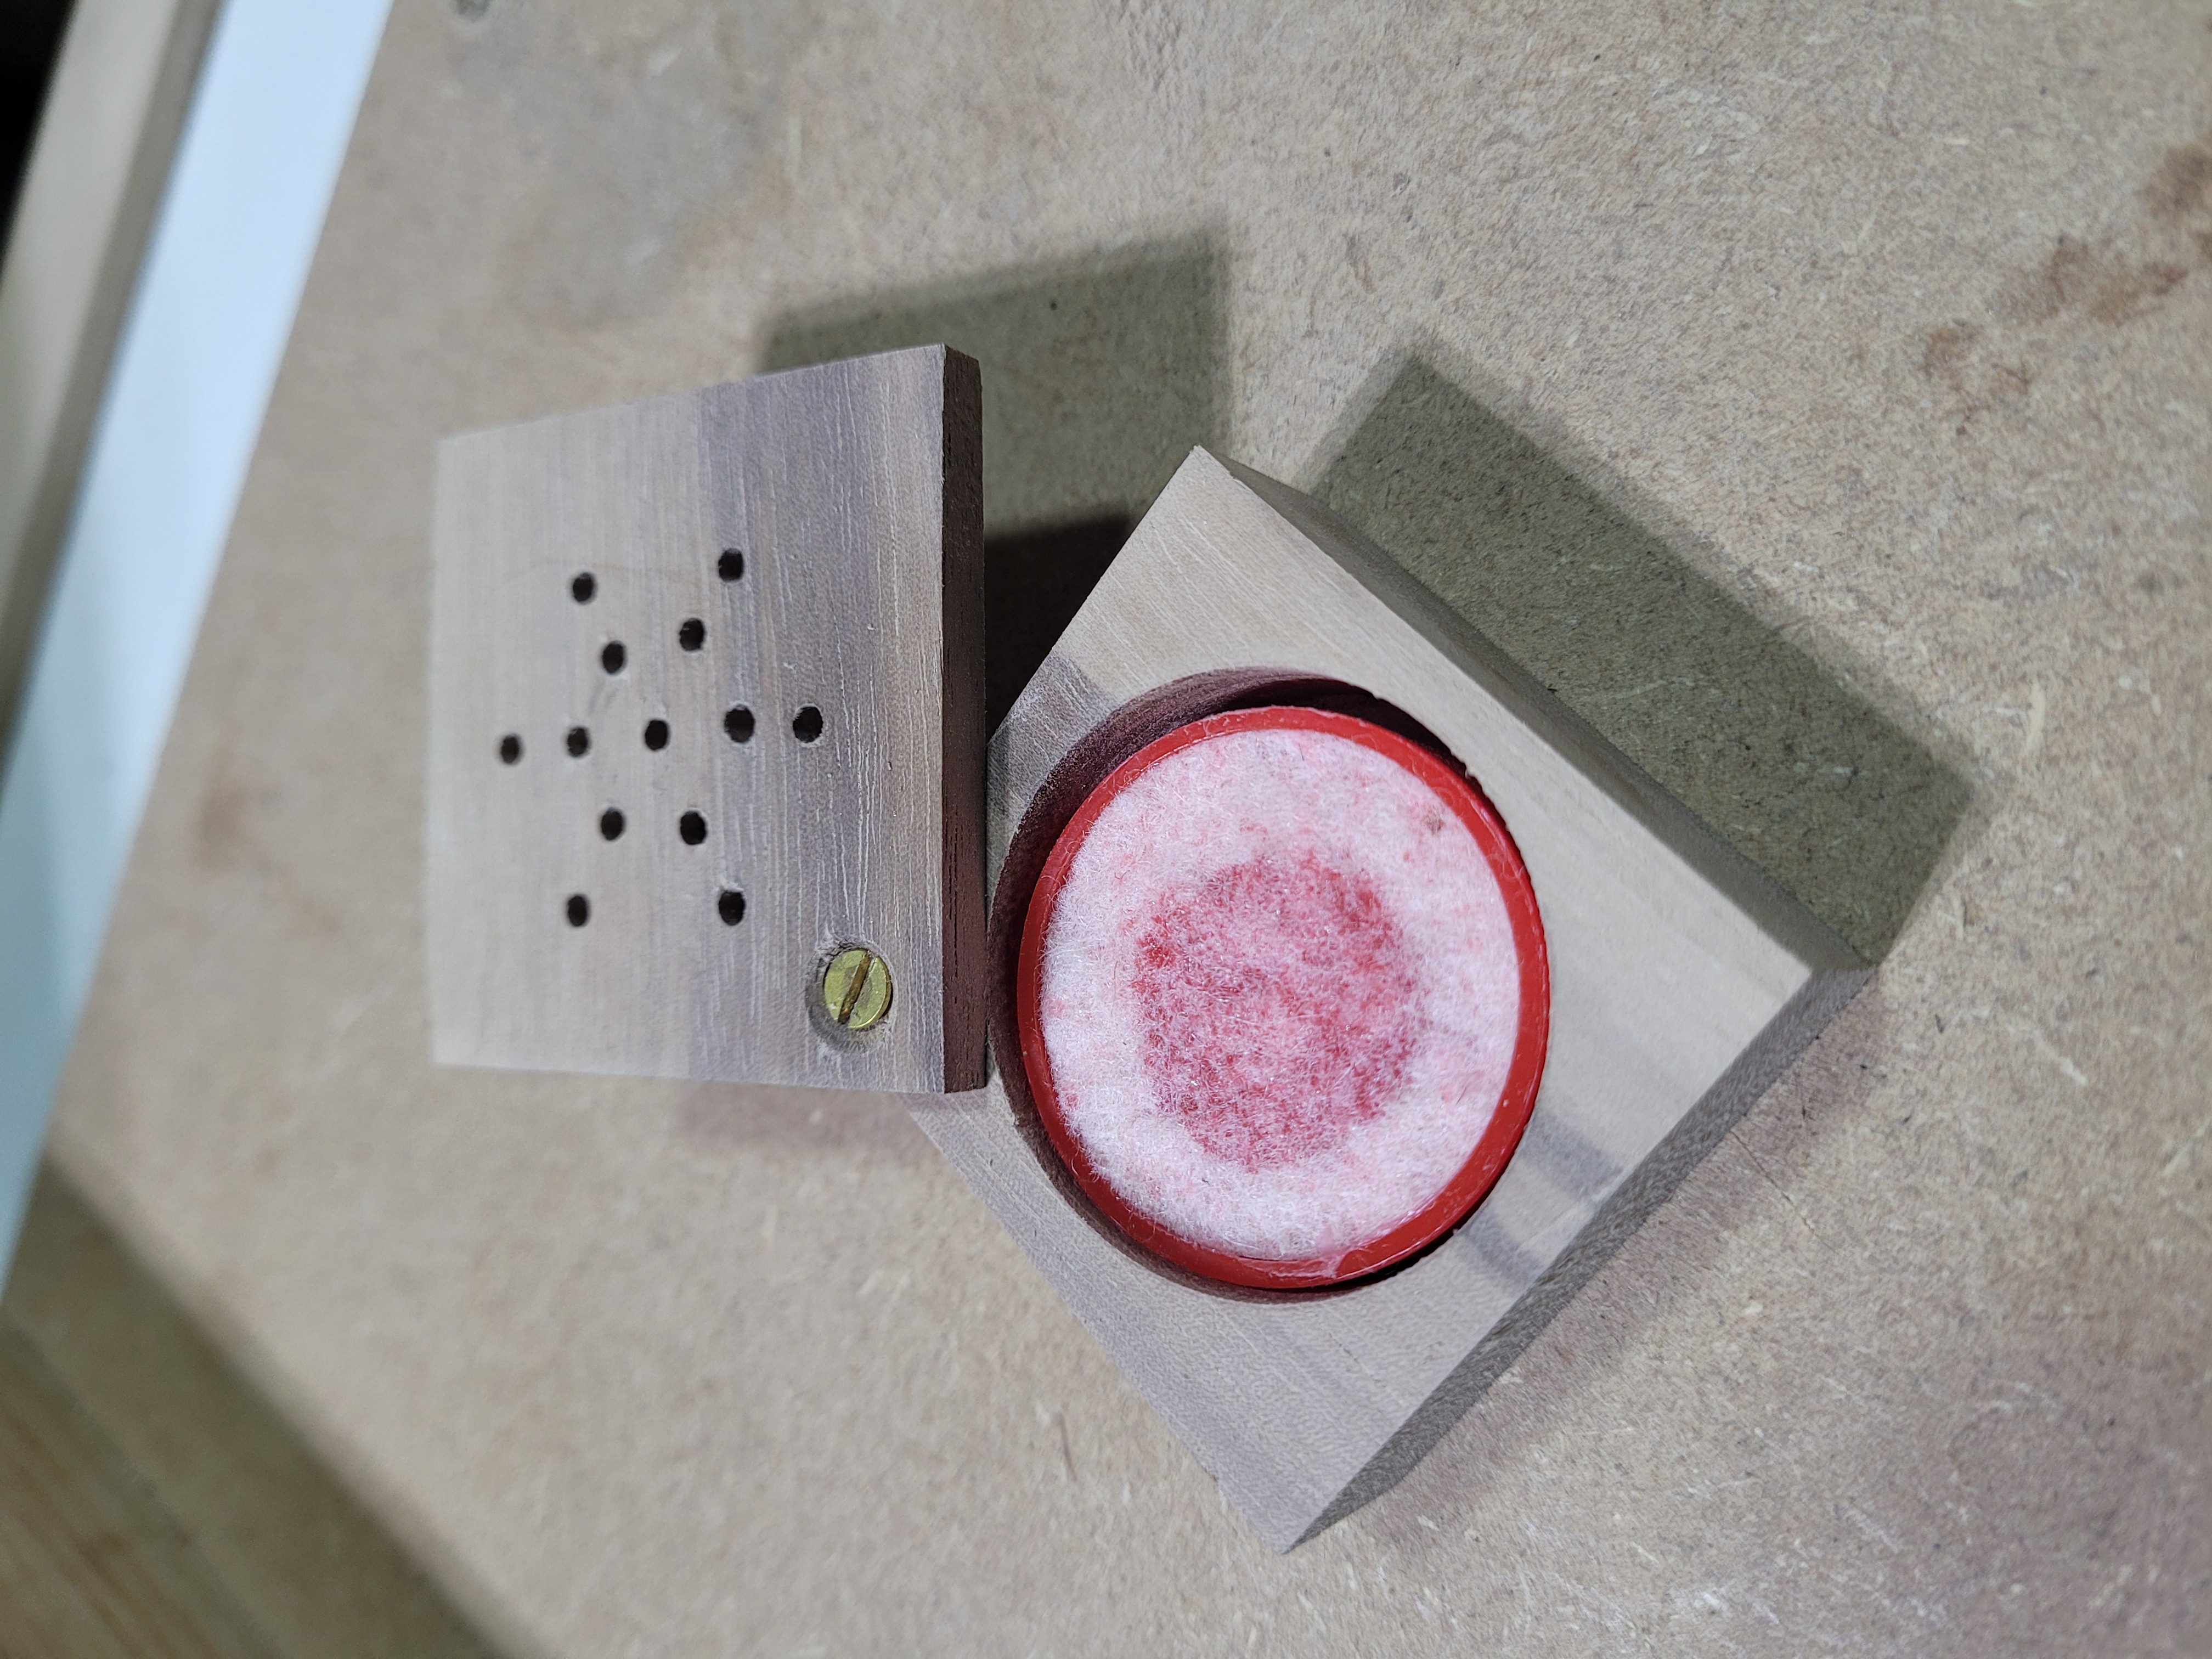
After lapping off any saw marks, test fit. All looks well.
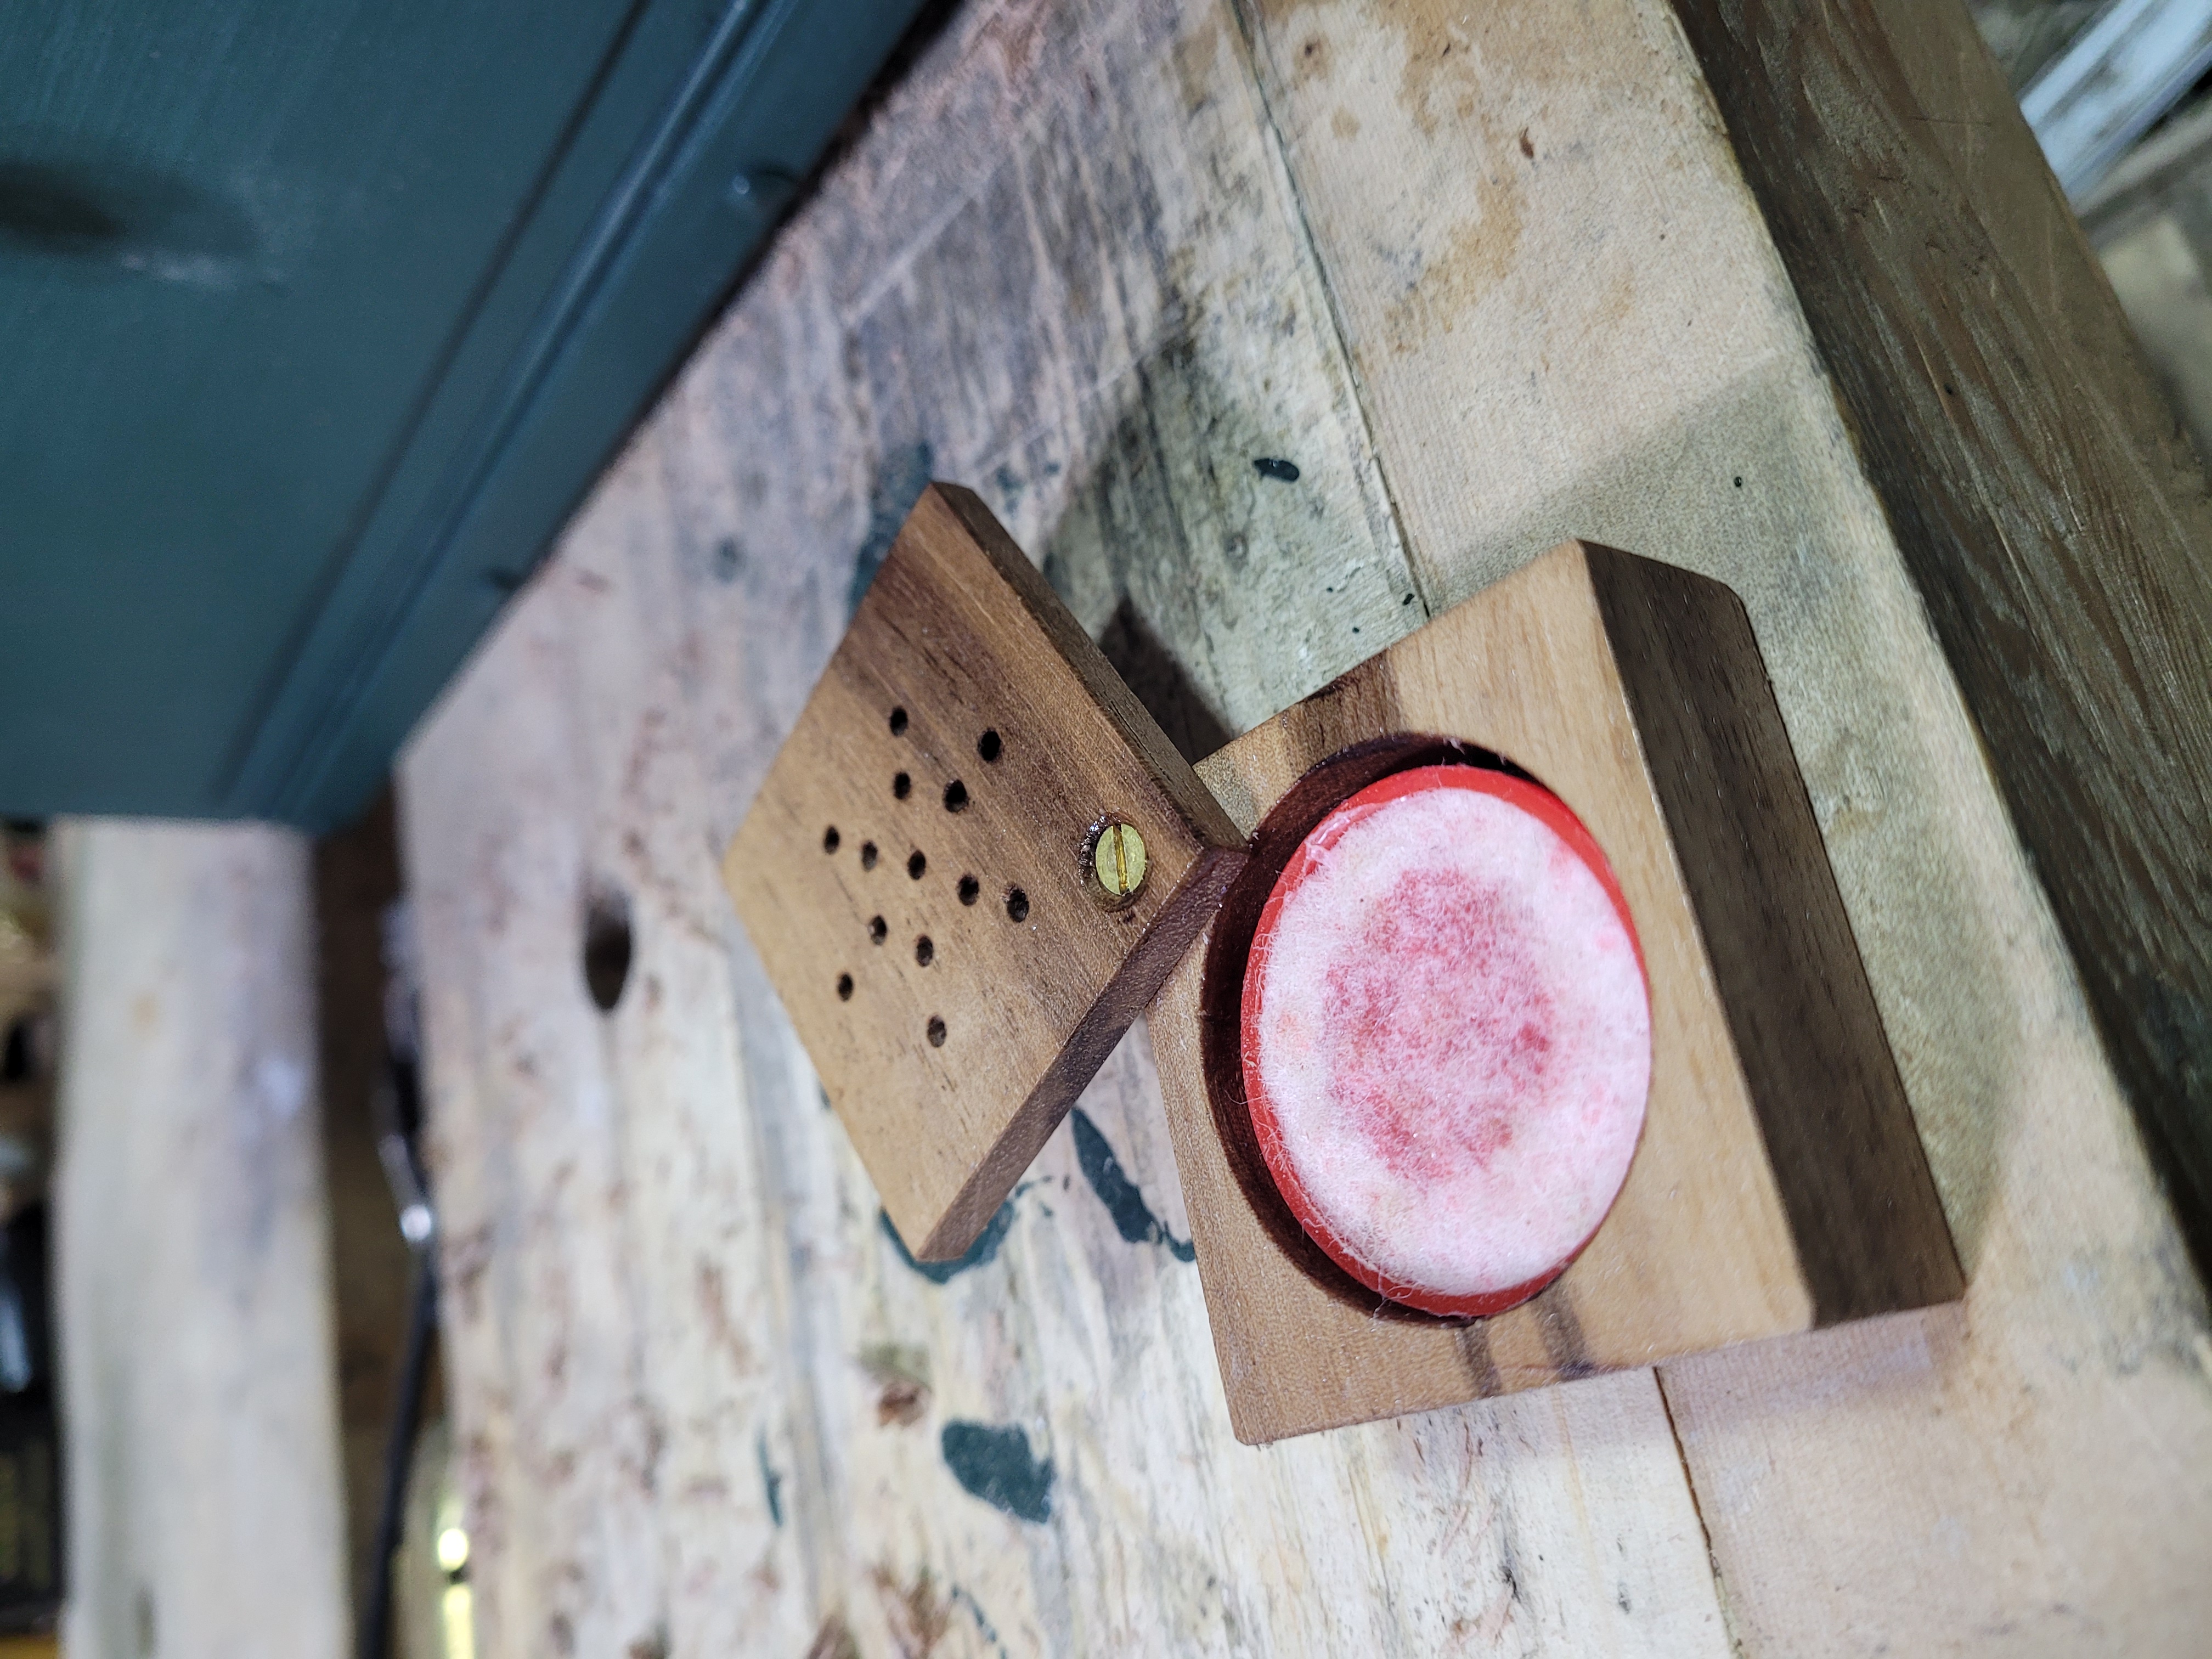
Add a little Shellac
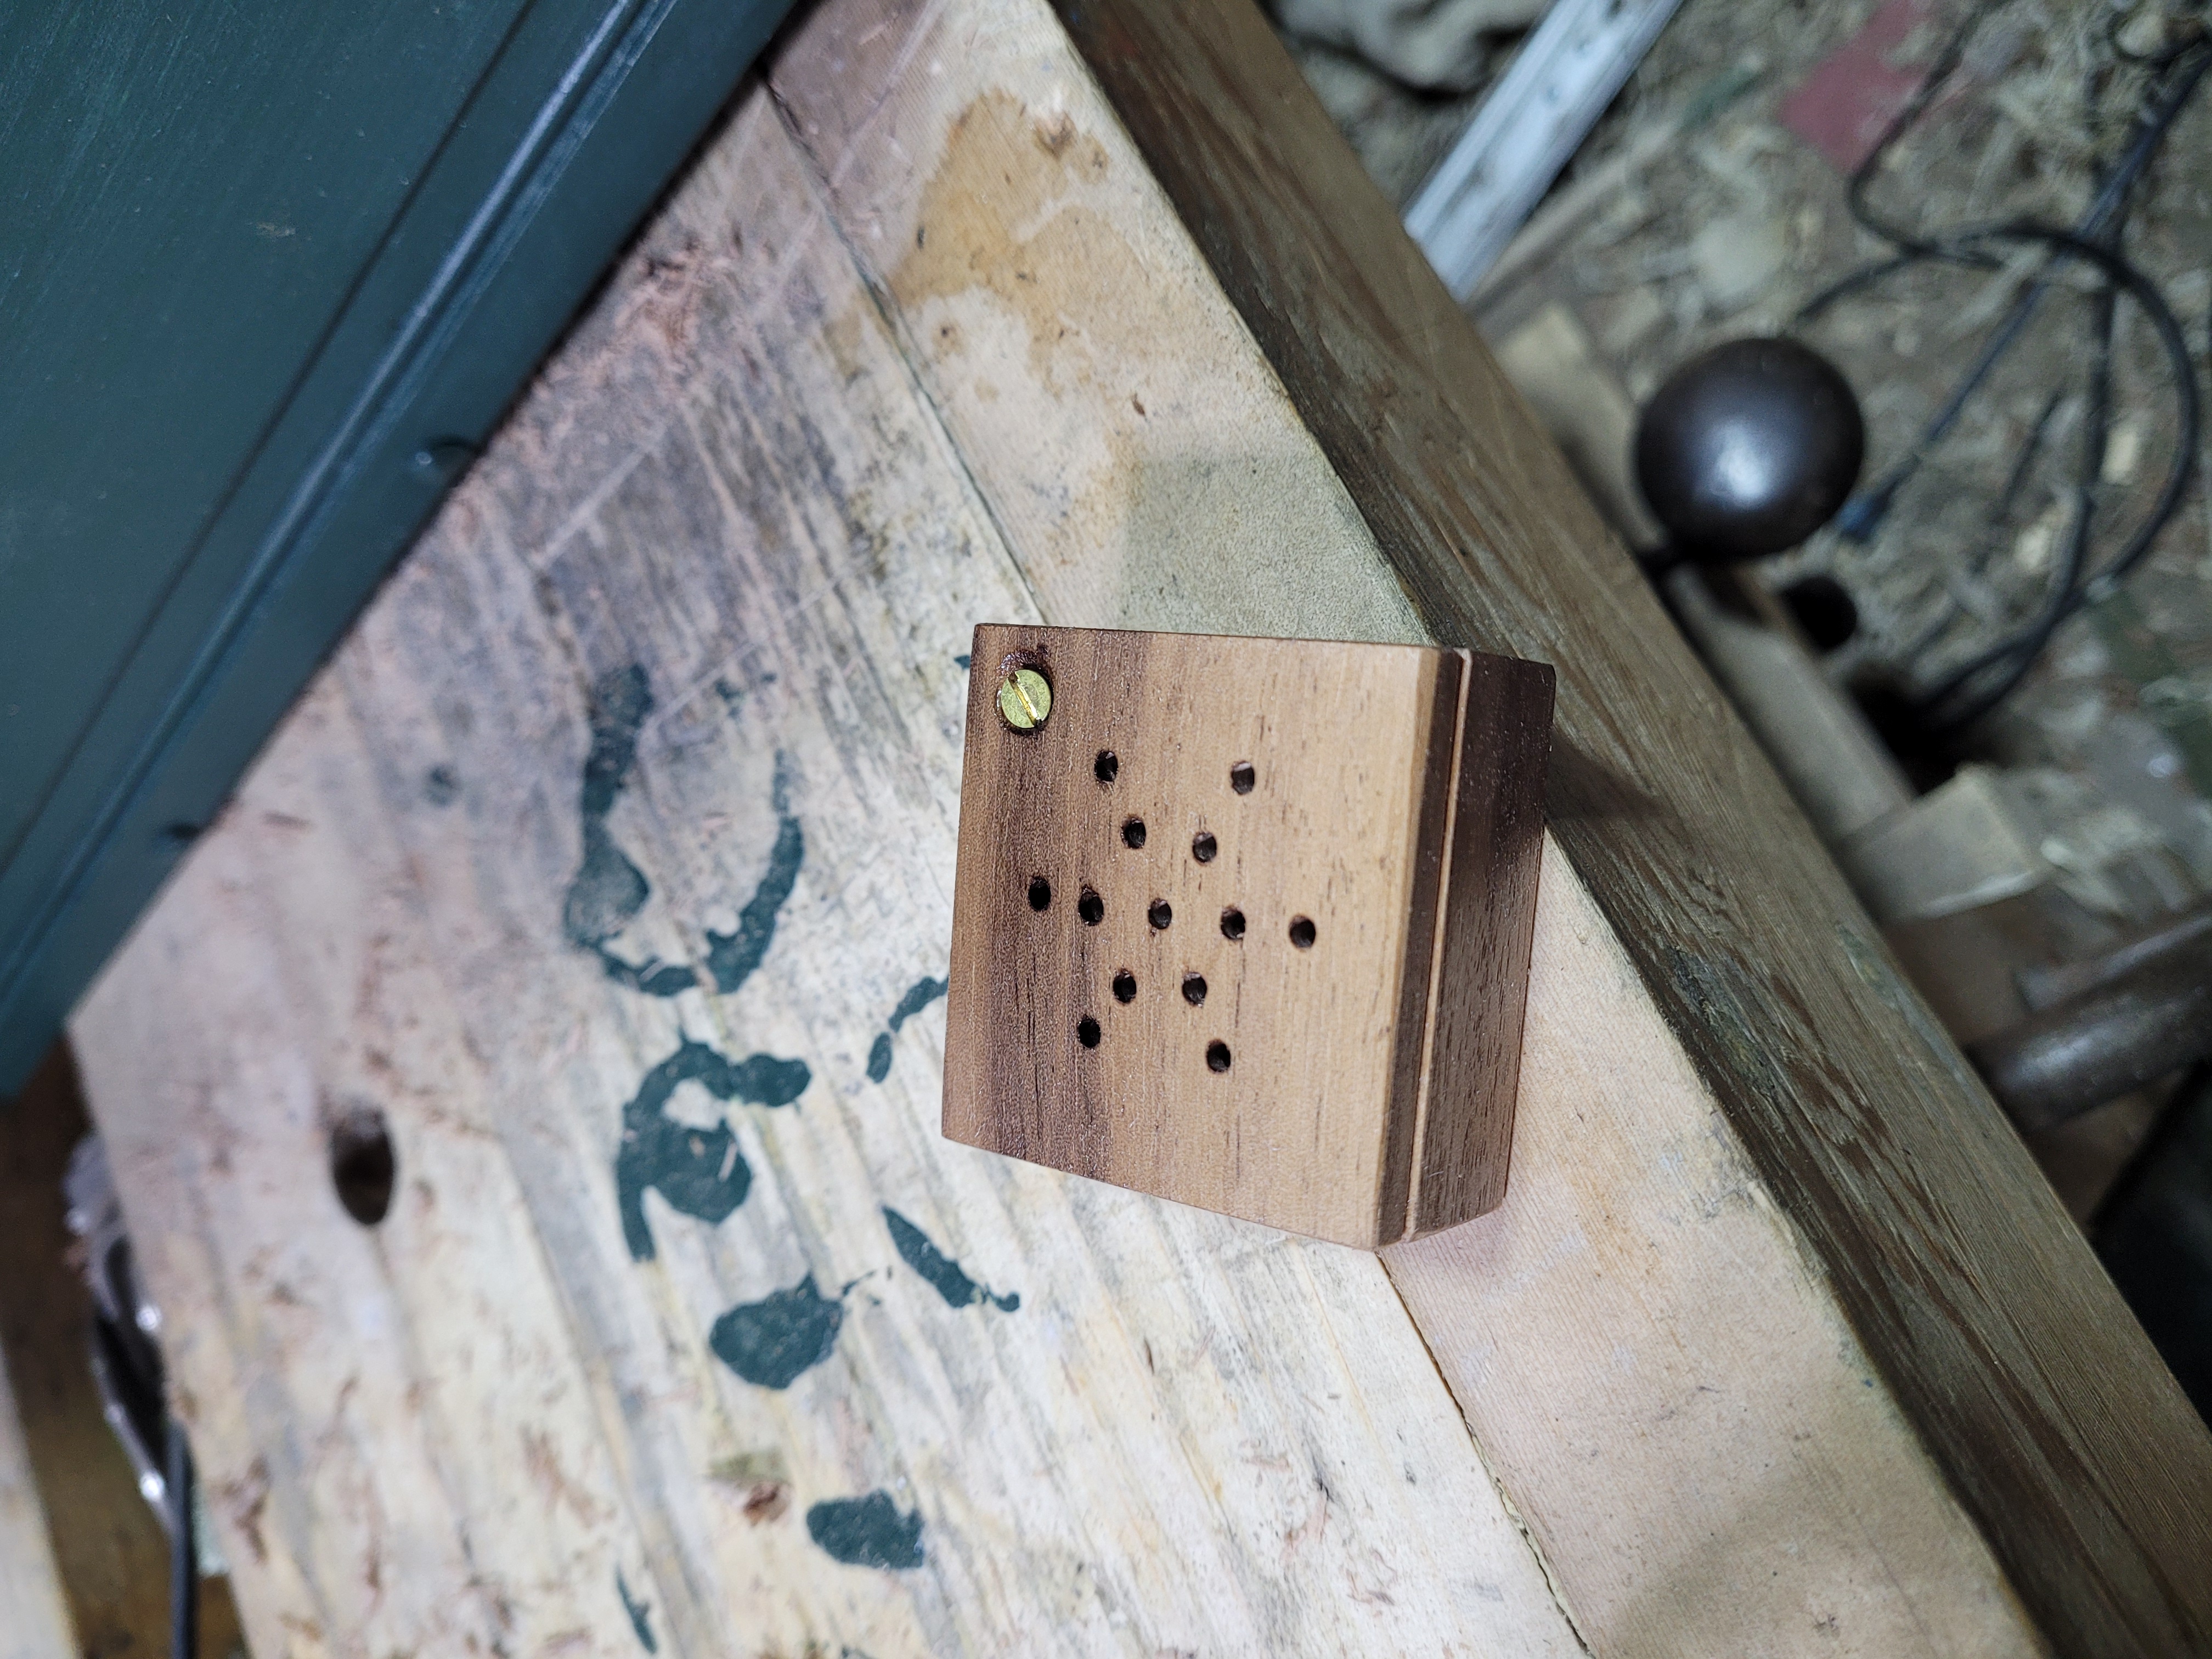
And this will look a lot nicer in my chest than a plastic pot.