Stanley 44 Bit Level
A while back Chris Godwin put up a Stanley 44 bit level here on the patch. My eyes just about popped out of my head. I had never heard of it before, let alone seen one, so I bid away merrily and in due course it arrived.
The 44 is designed to make it easy to drill a straight hole. The gauge has 3 sets of notches at the back for a bit to slot into and a screw on the far side to clamp it in place. One position is for drilling vertically, another horizontally, and a third for 45 degrees. You can see the original patent here. It is another Justus Traut patent. I swear that guy has more patents than I have had hot breakfasts.
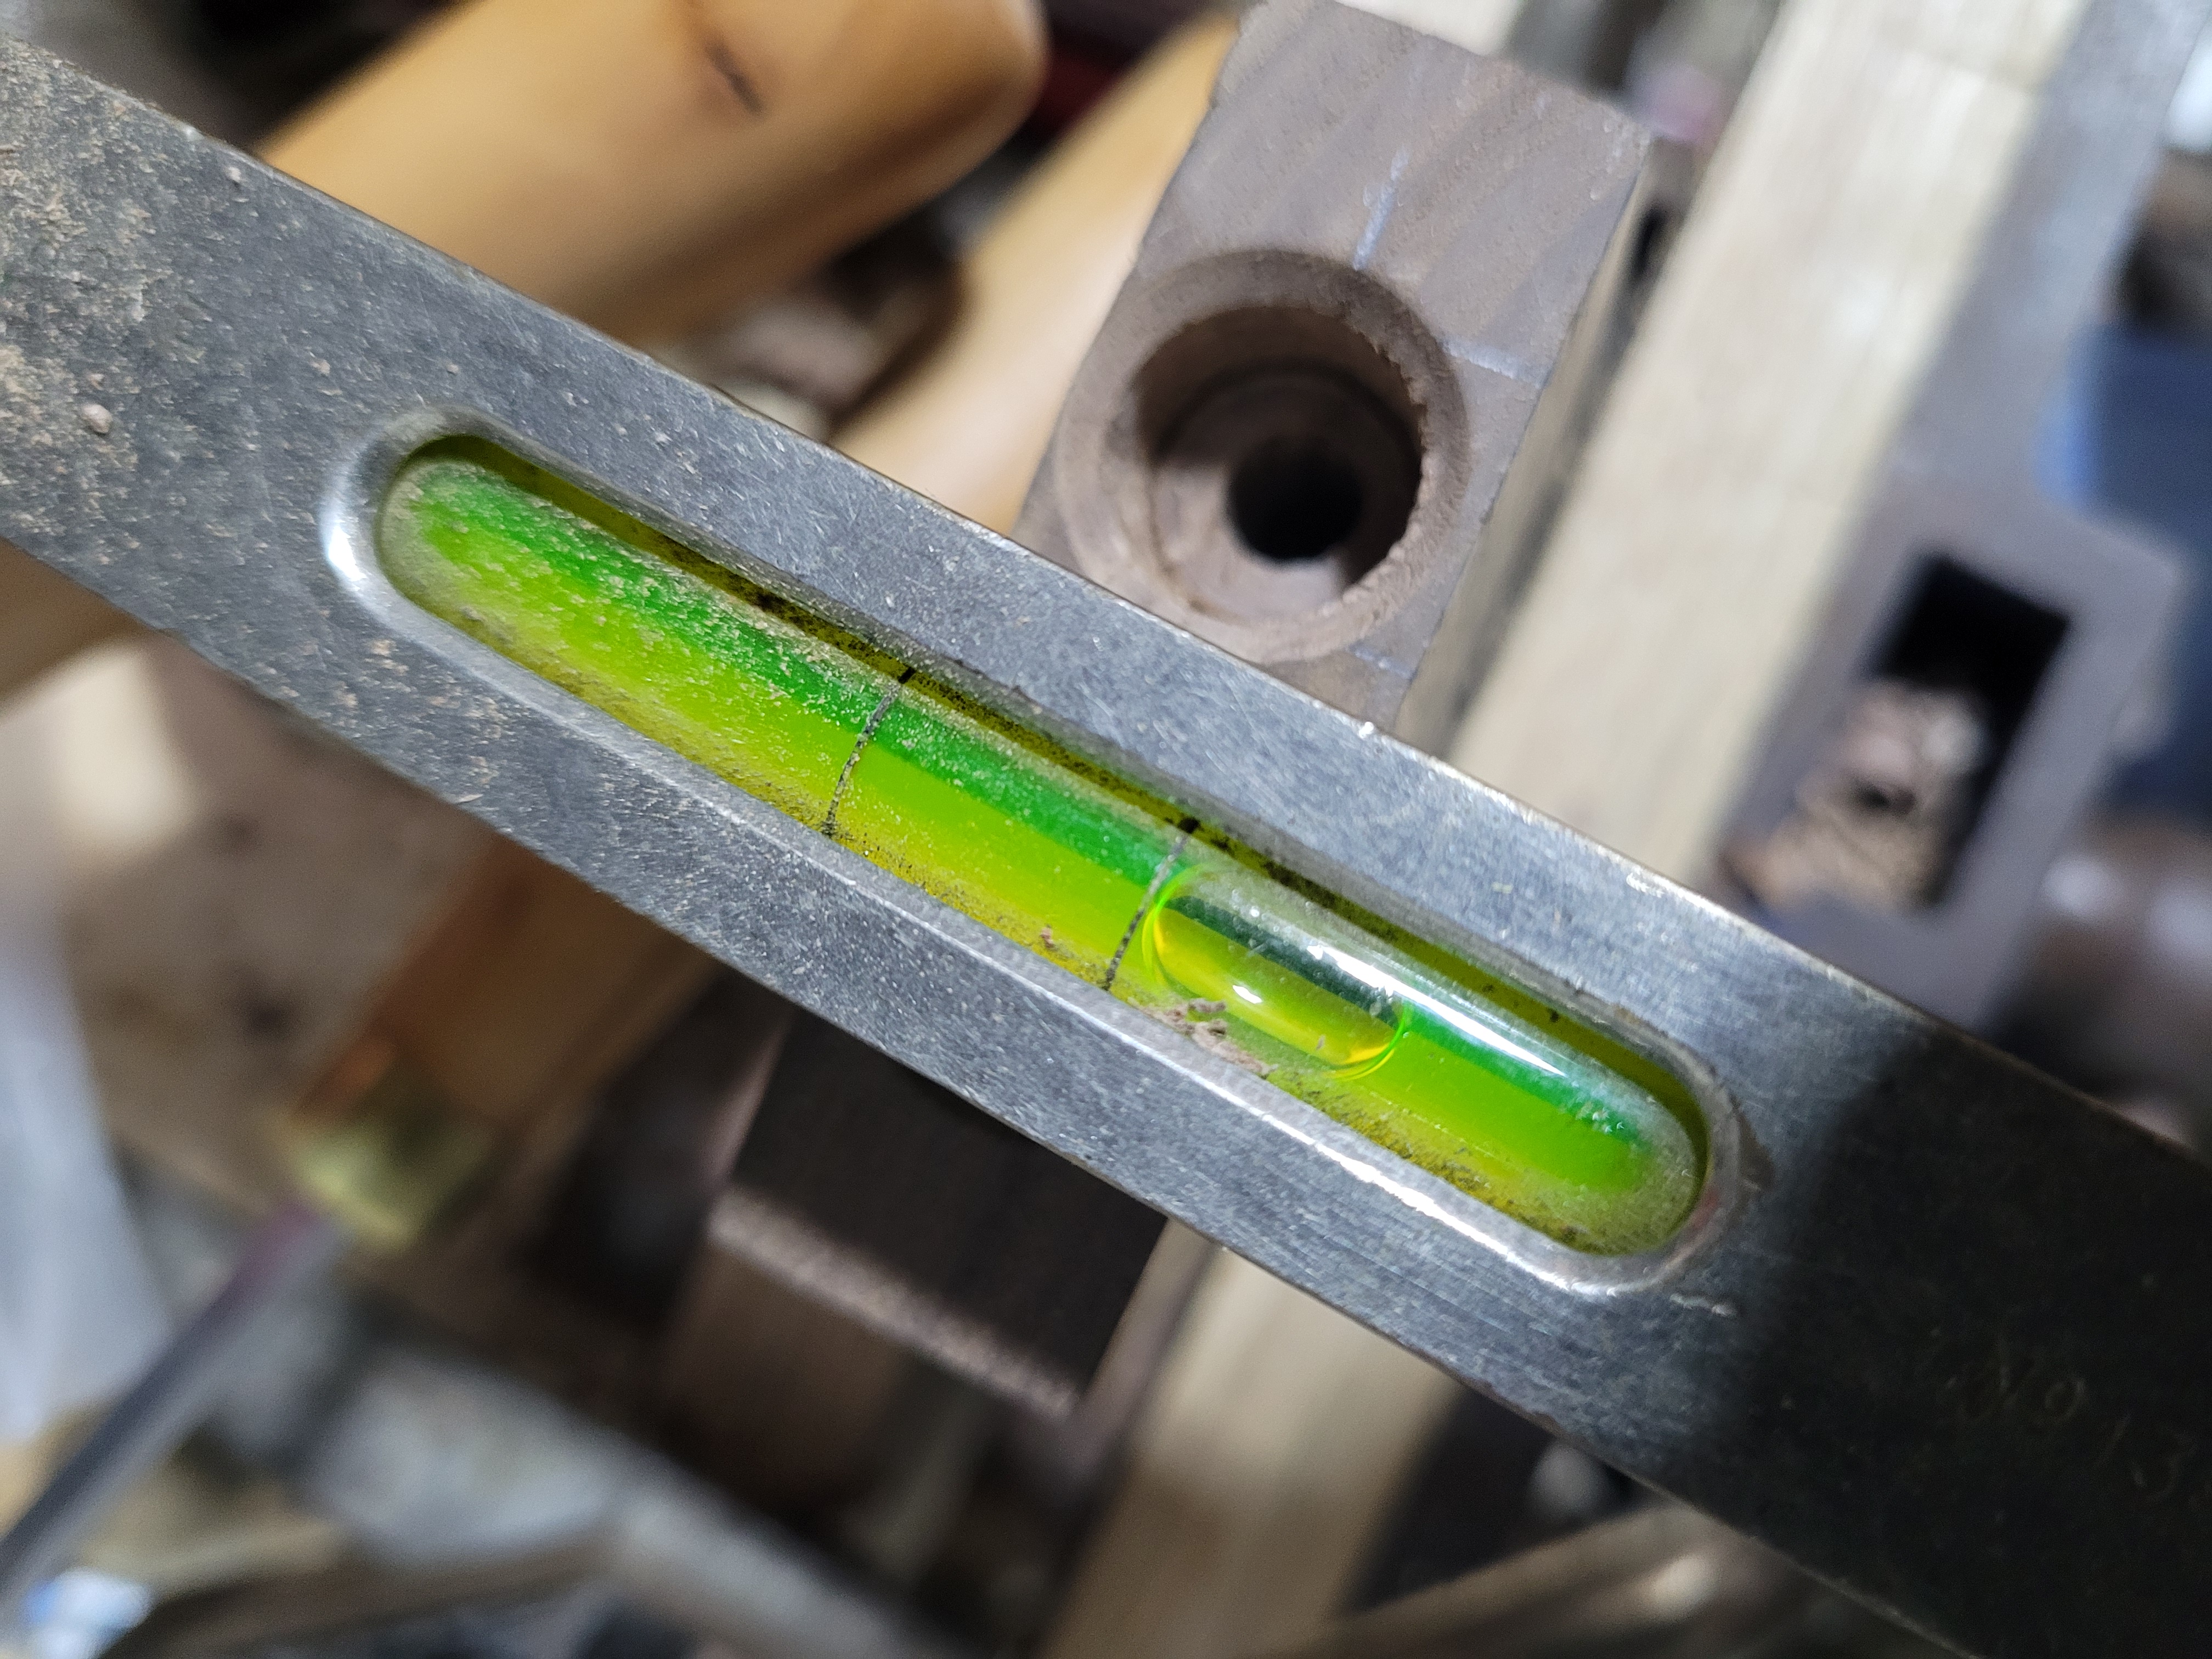
In use, you can see the bubble for about half of each revolution if you are not going too quickly. I found that if you start slow and pay a lot of attention, once you have enough depth for the bit to not wander naturally, you don’t have to pay a heap of attention after then, a quick glance every now and then will do the job.
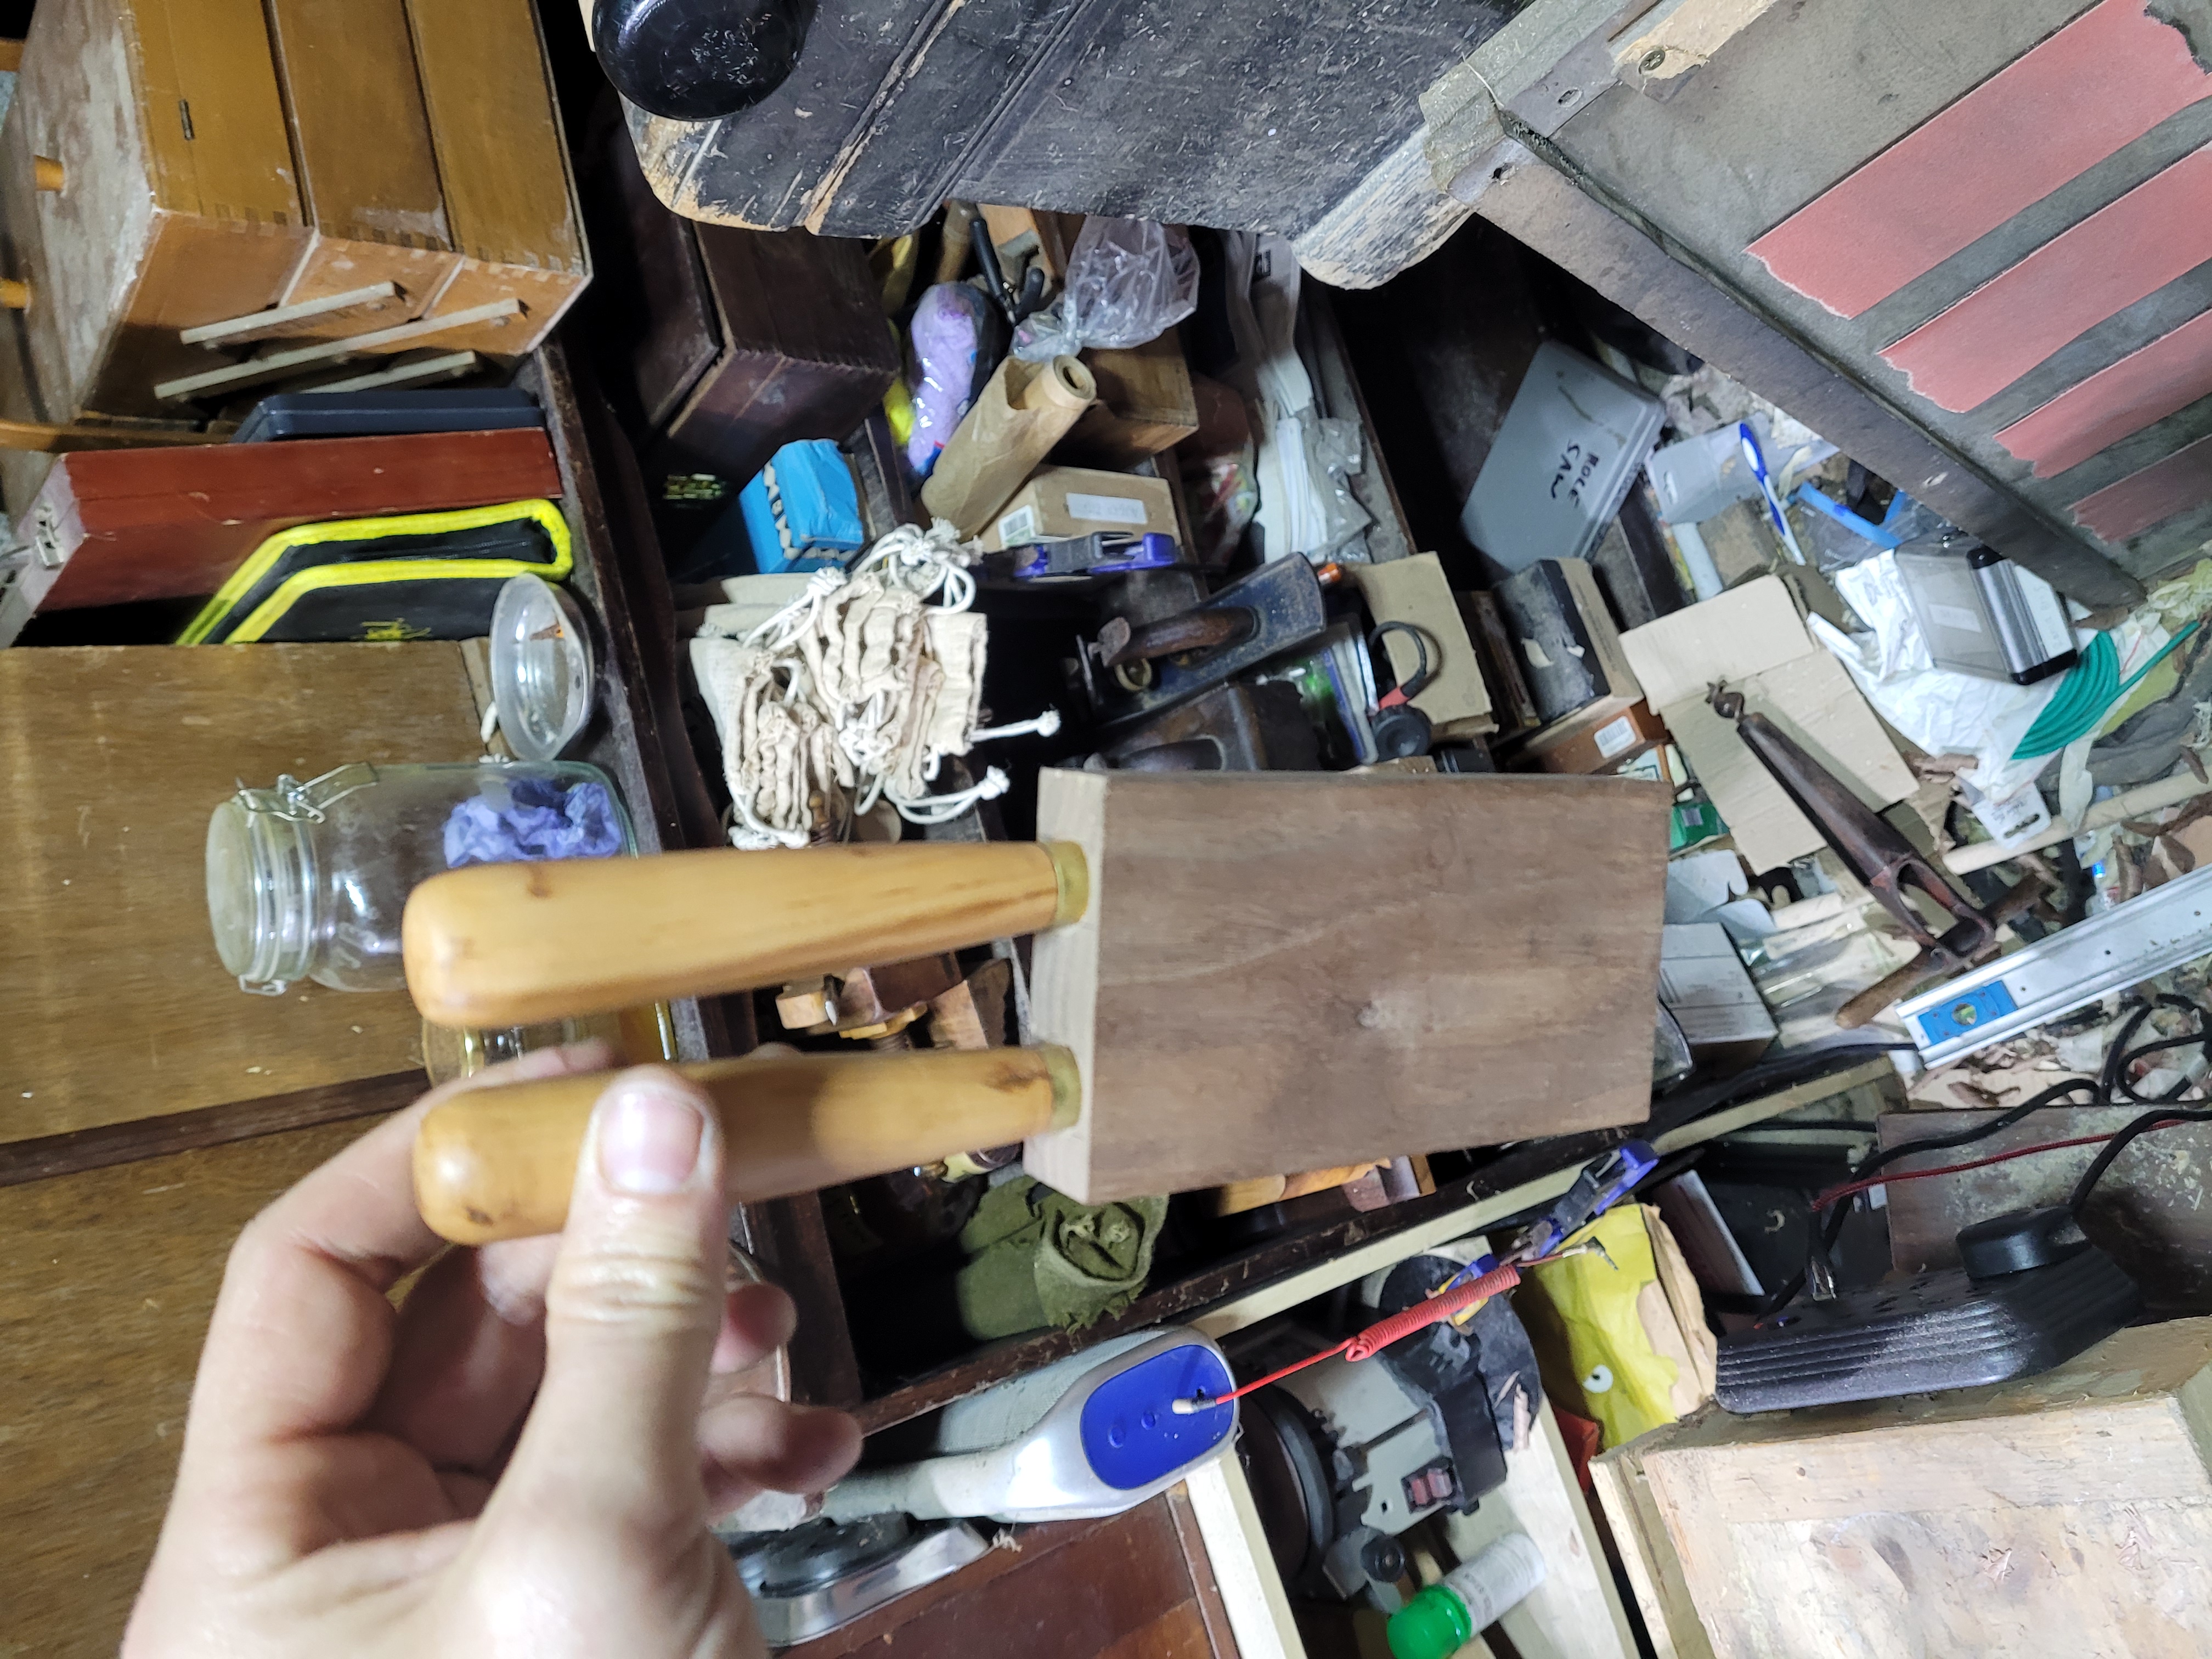
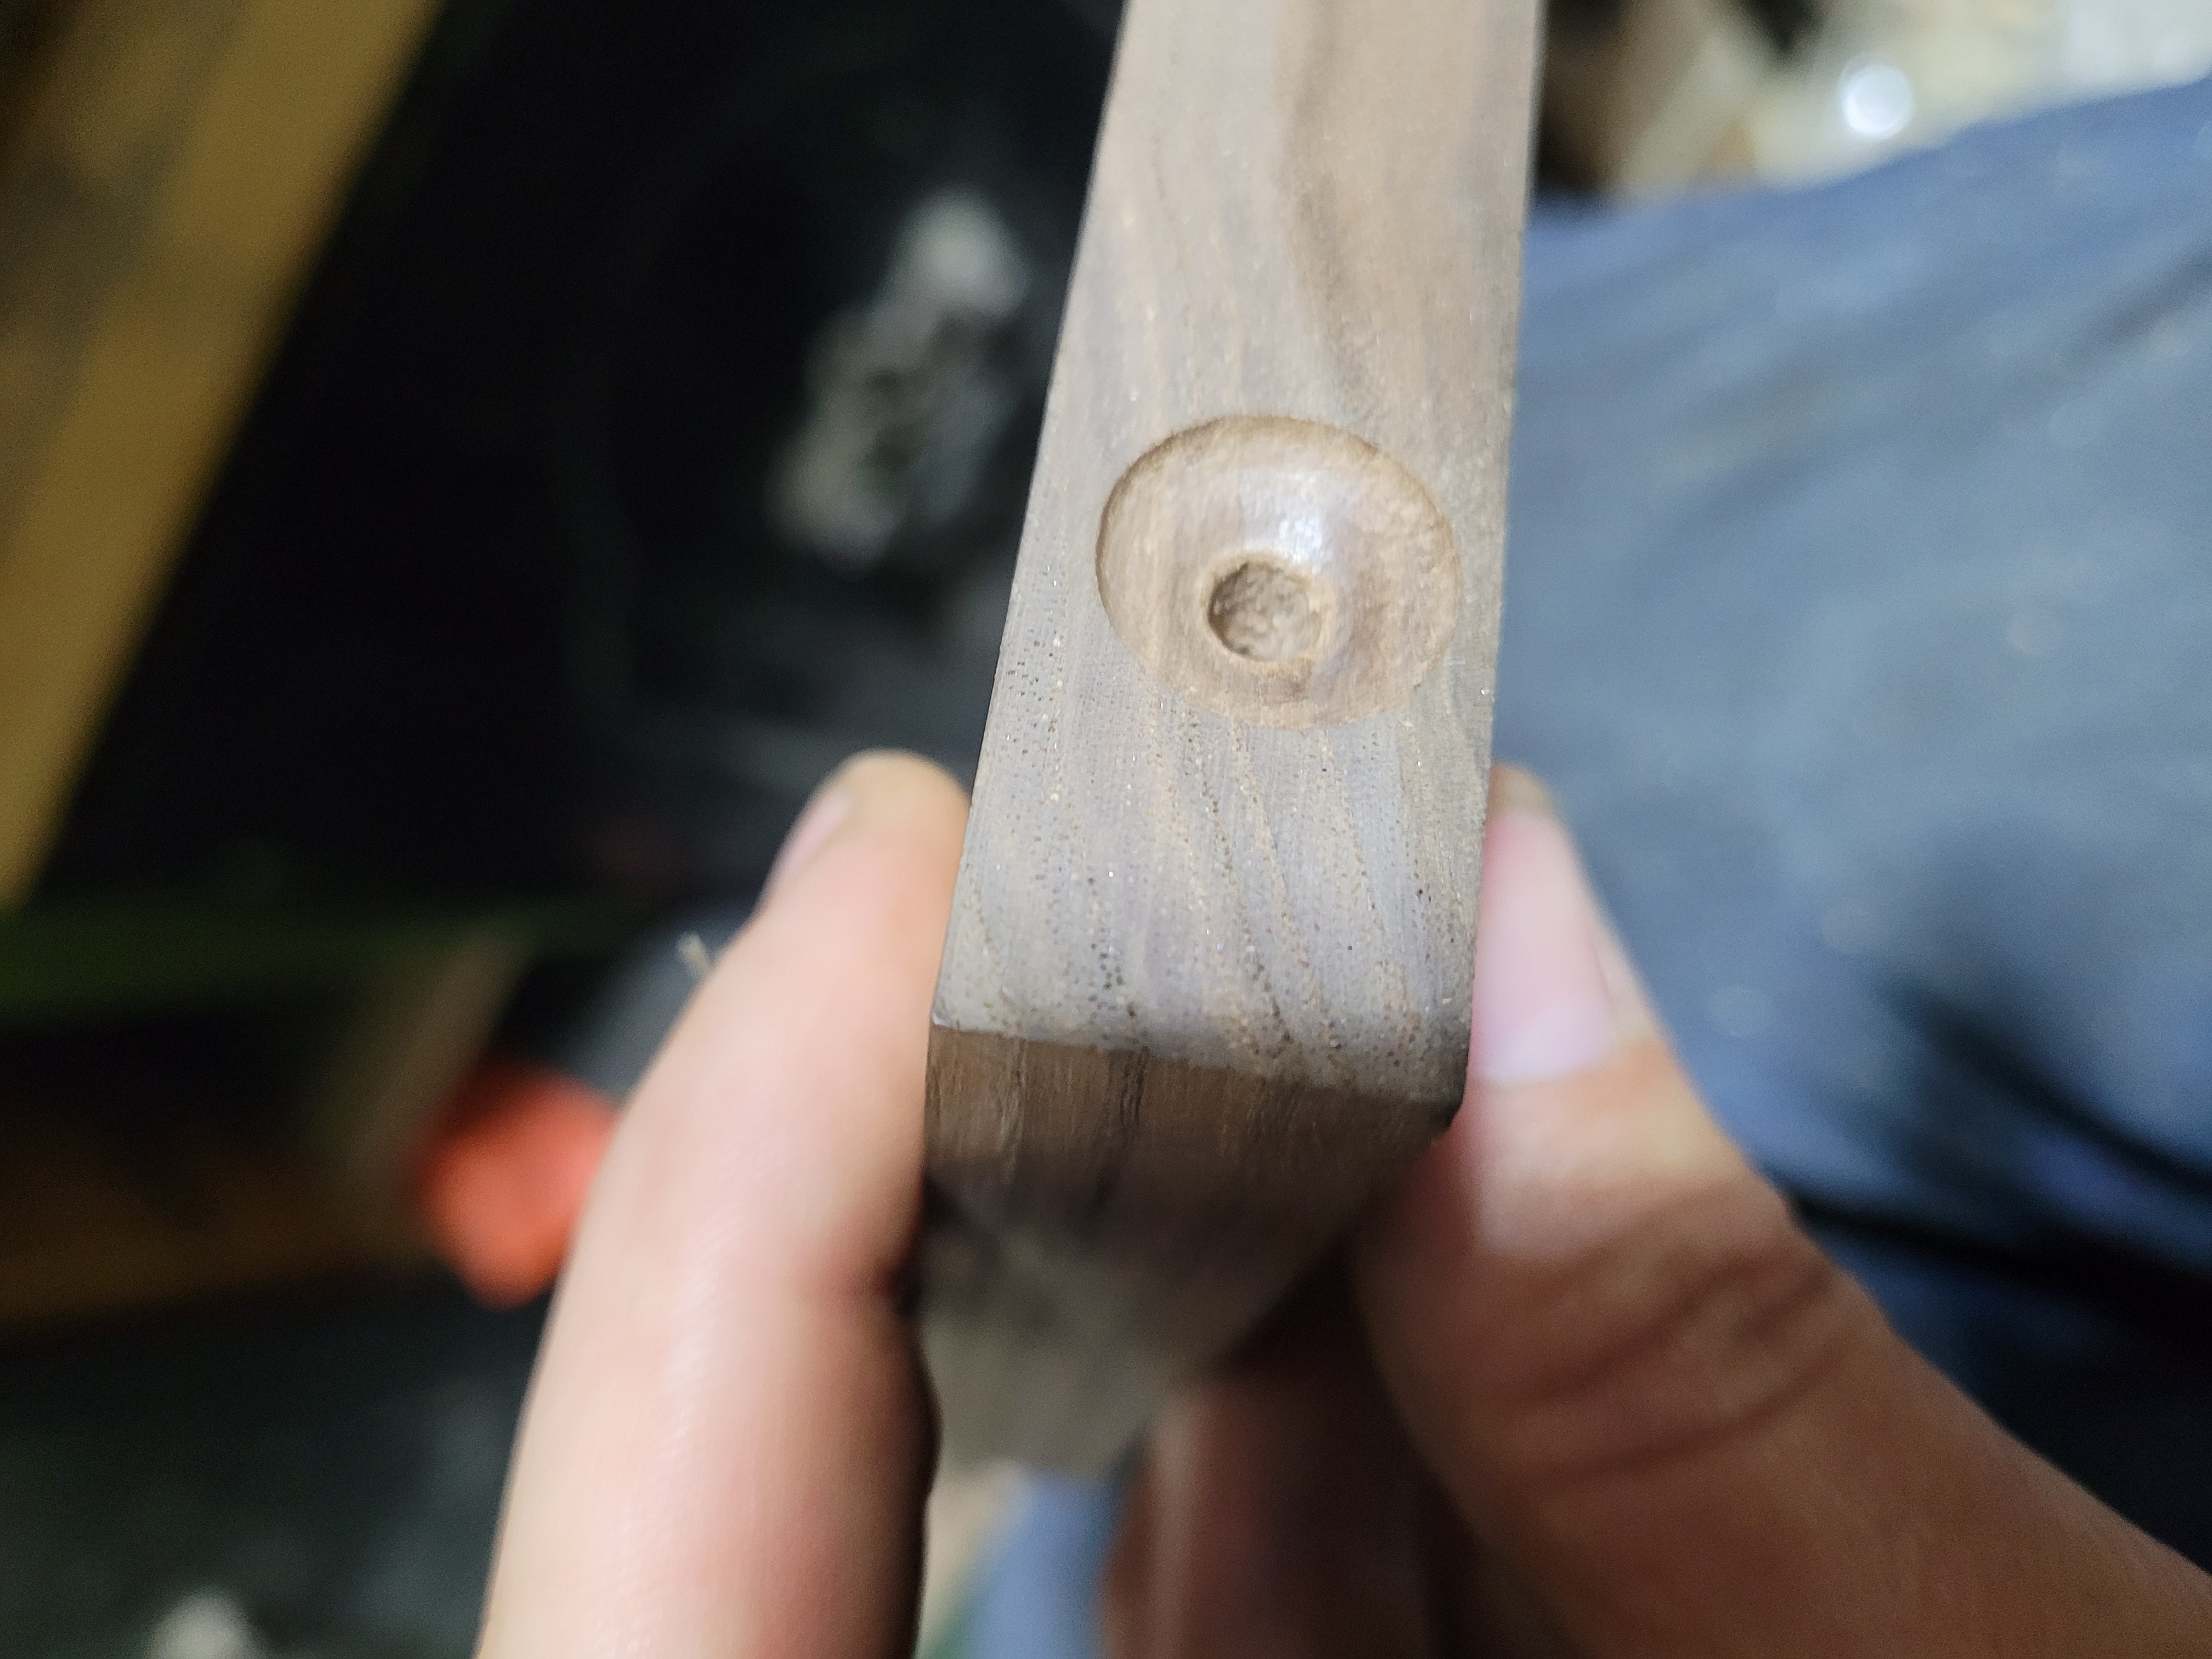
I’m in the middle of making a chisel holder. The original design called for re-sawing the wood that holds the chisels, creating grooves for each chisel, and then gluing it back together. I decided just drilling holes would do the job. I need the holder to be as short as possible to fit into my mini chest. So I drilled two different size holes. One to take a good section of the chisel ferrule, and another smaller hole to take the length of the chisel blade. I’ll go into the chisel holder design more in the future. This is just the first part.
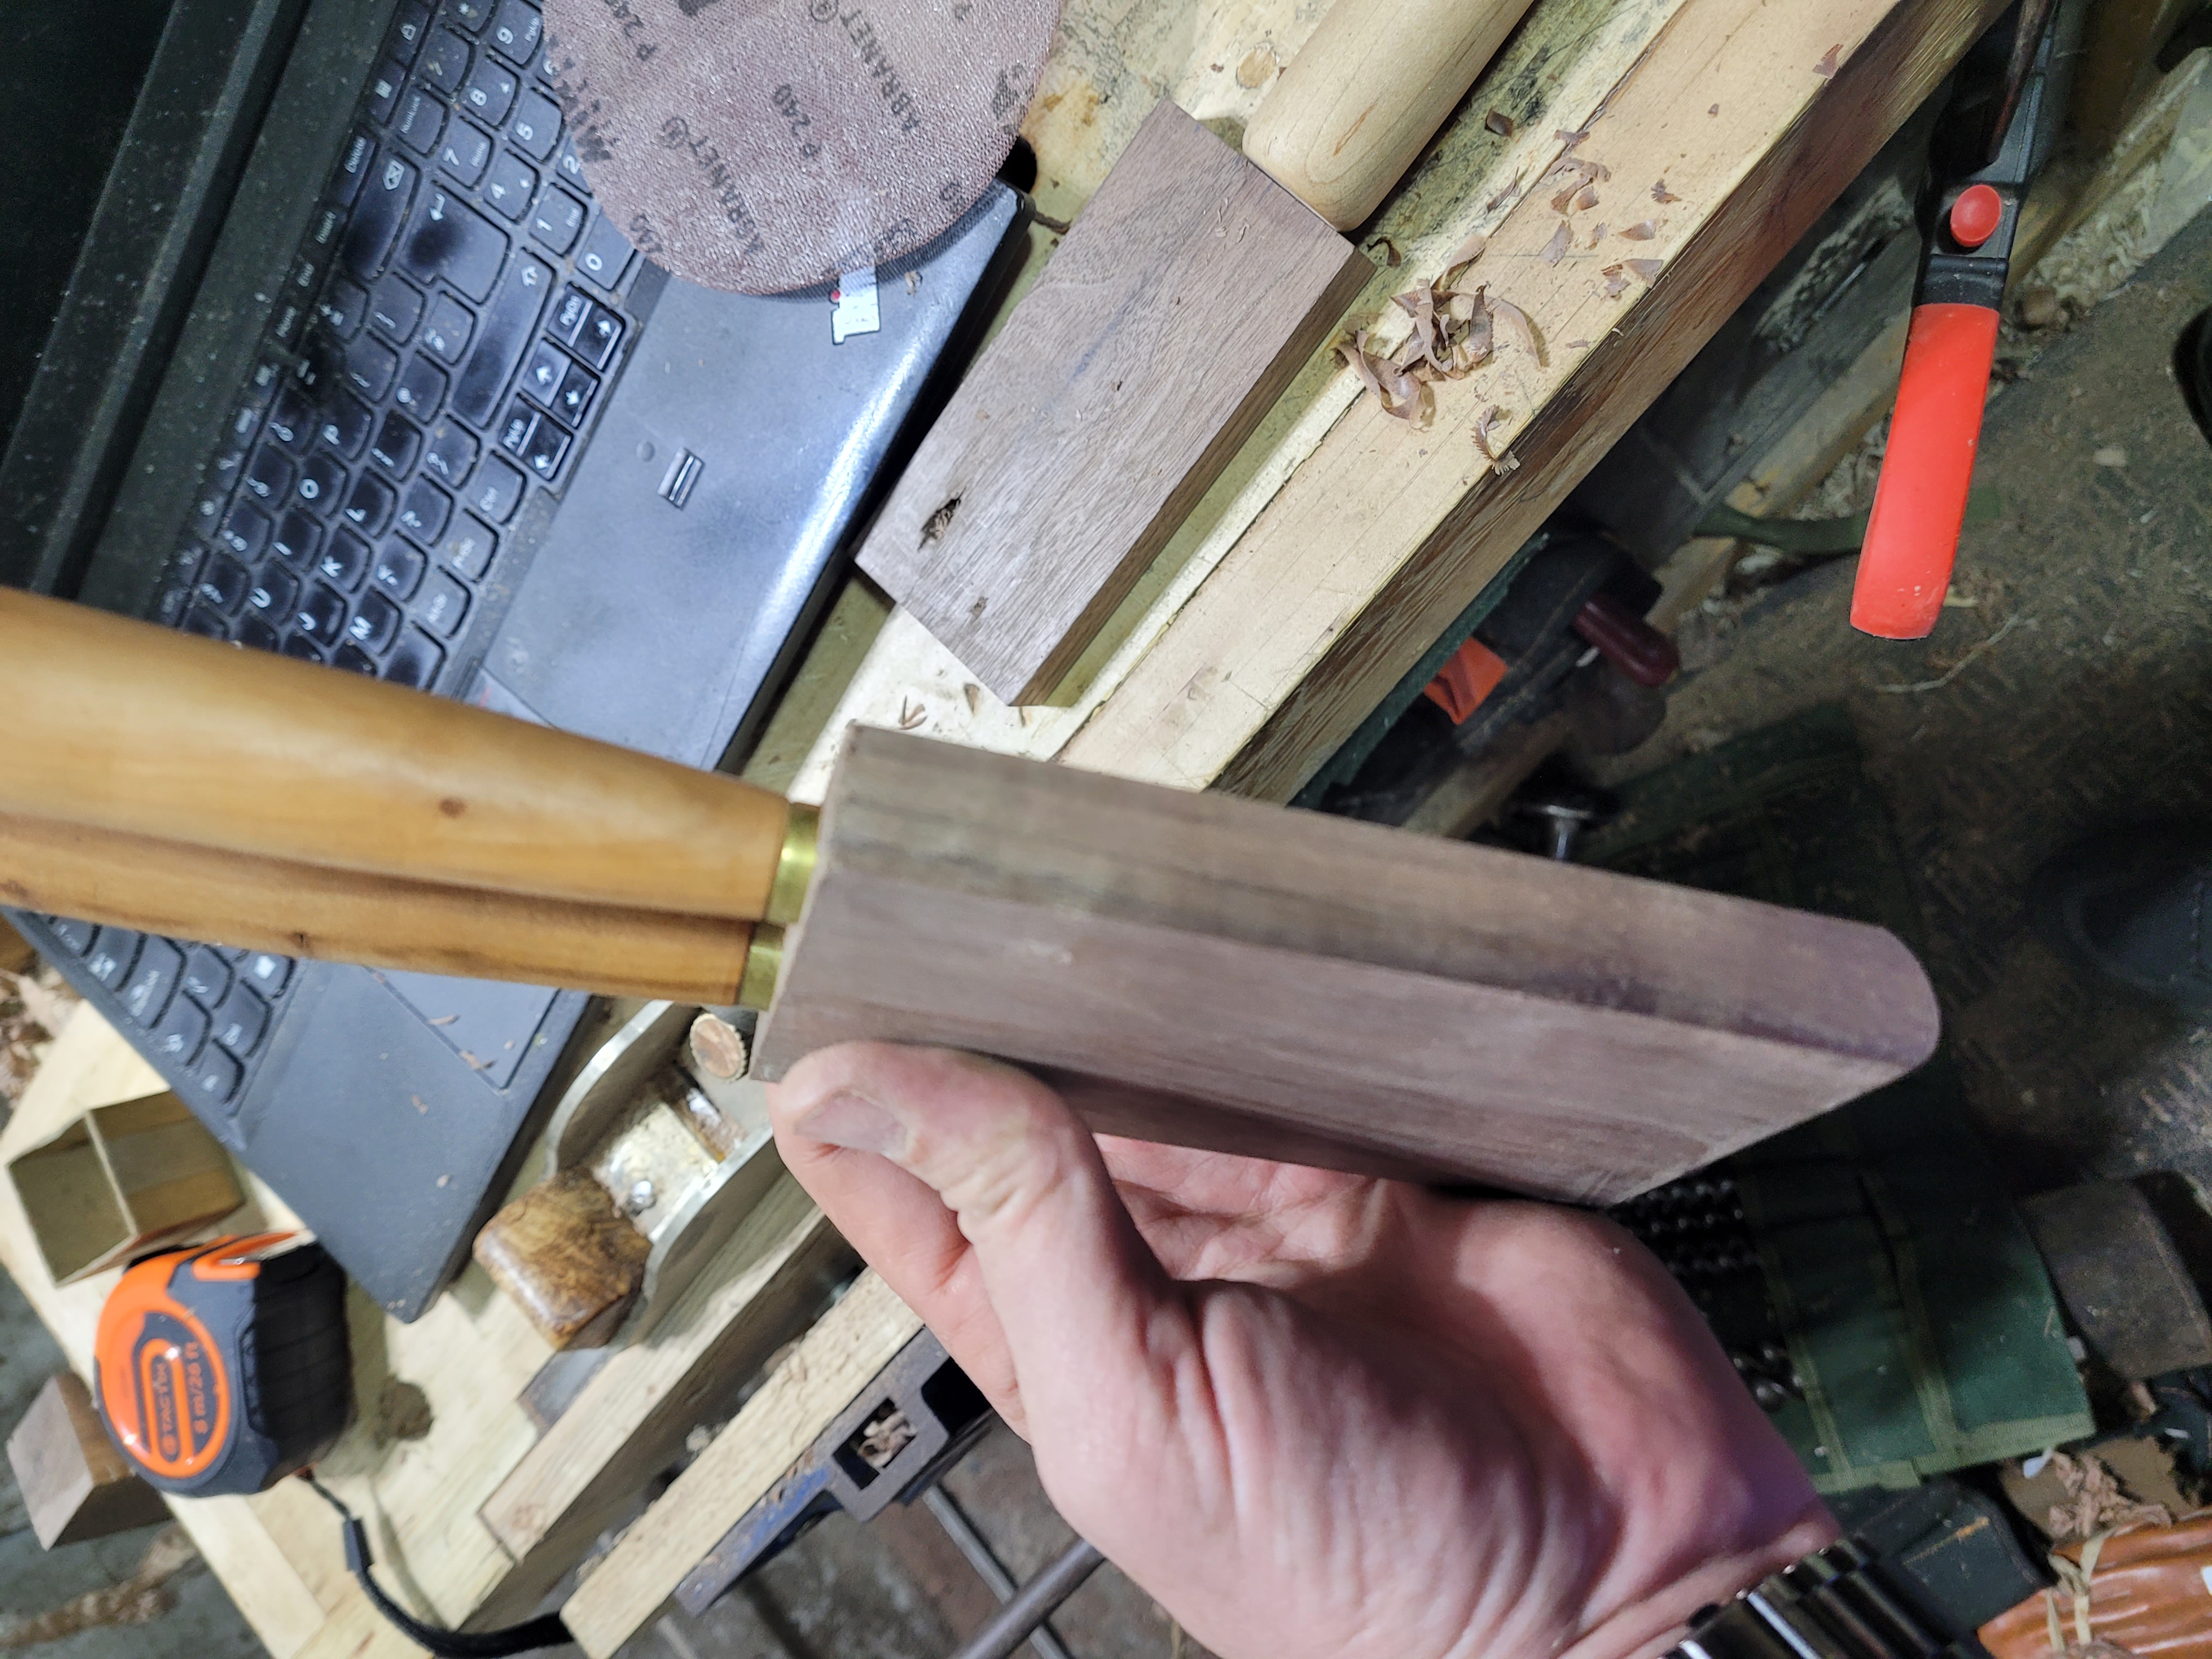
This took me 3 tries. On attempt No. 1. I neglected to check if my bench was level. I studiously trusted the bit gauge rather than my lying eyes and thought all had gone well. Then I flipped the piece over and saw where I had broken out.
On attempt no. 2 I was a bit lazy. For starters I was using a standard pattern Jennings bit. These bits do not work well in end grain. Its slow going and you have to apply a lot of pressure to make progress. I was drilling a little, checking depth with the chisel, drilling a little. Unfortunately as I got lower in the hole more of my body weight was able to get over the bit and I suddenly made faster progress. Right out through the bottom of the holder….
For the last attempt, I broke out every trick in the book. I used a hand screw clamp to hold the workpiece, and shimmed it to be perfectly level before clamping it down. I dug out the right size bullnose and Gedge bits. These bits tend not to enter as cleanly as a Jennings, but they require a lot less work to go through end grain. I also added a Stanley 47 depth gauge to the bit so I would not sail past my intended depth this time. I tested out the Gedge bit I was using on a scrap piece of walnut, and it left a perfectly clean entry hole. If it had not, I would have just used a Jennings bit the same size to score the entry hole and moved on.
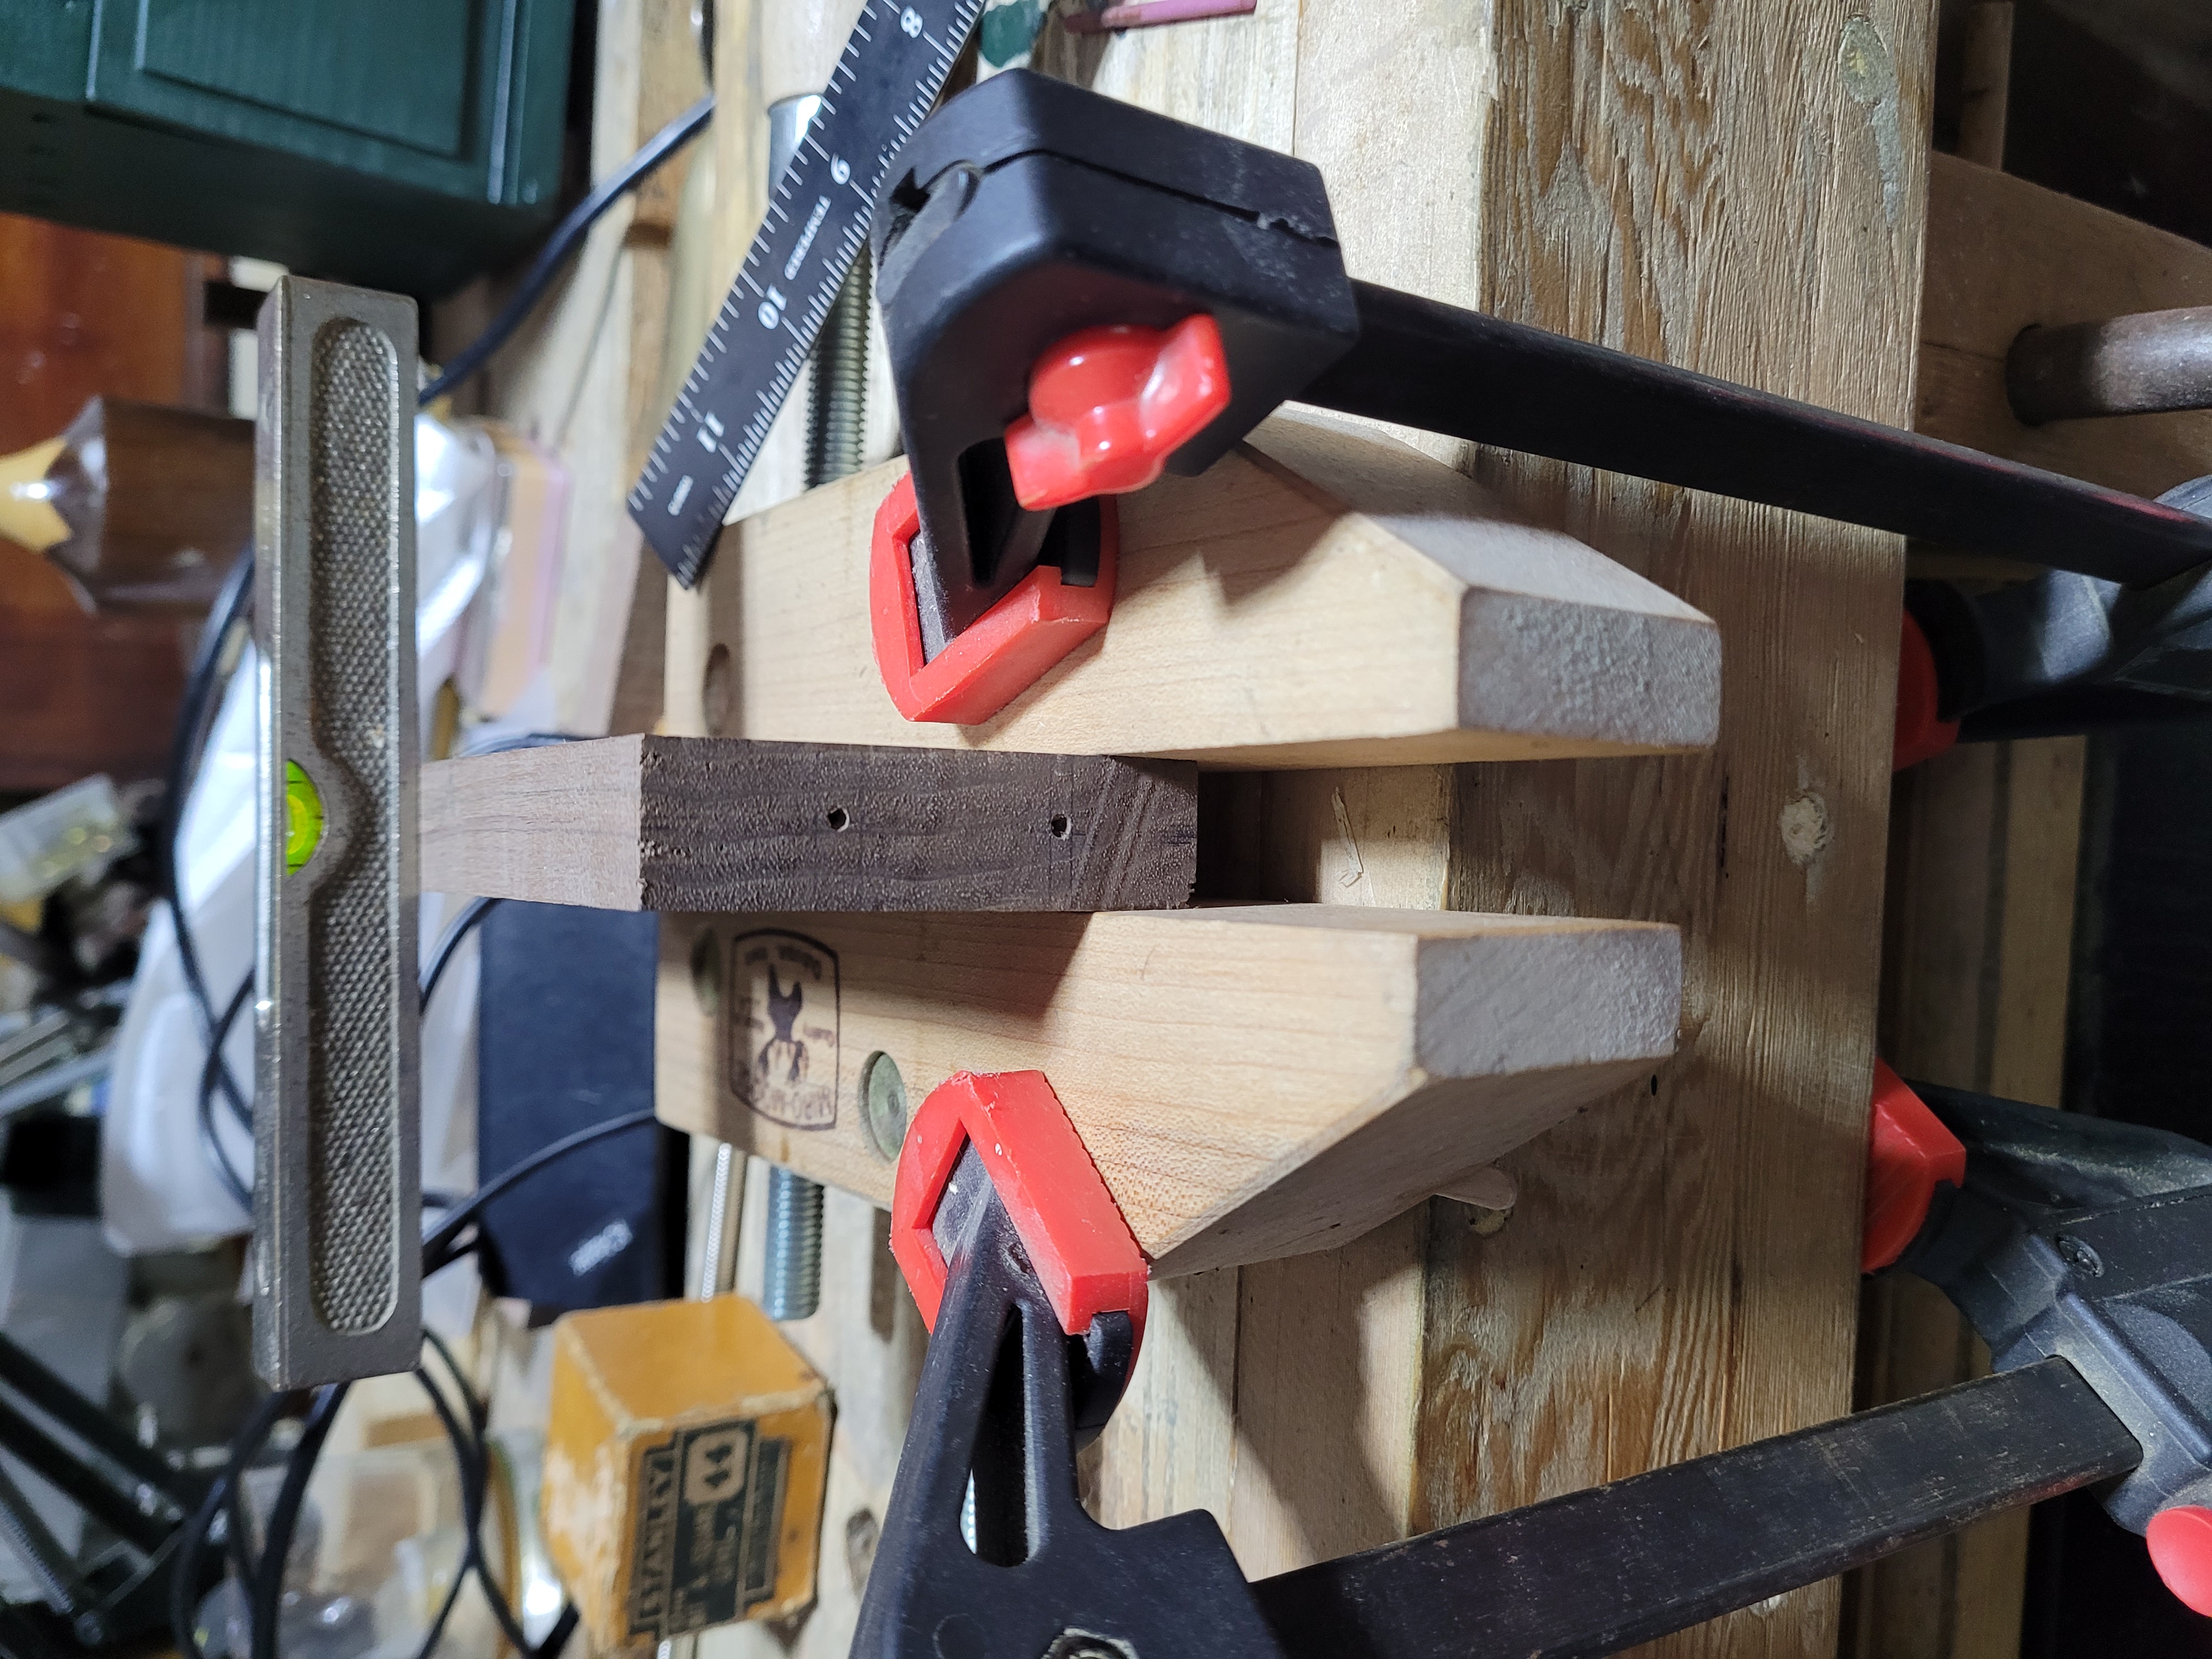
This worked great. I mounted the piece resting on its edge in the clamp. So my eyes would look down the narrow edge to judge if I was drifting left or right. I trusted the bit level to tell me if I was drifting up or down. The curse of drilling is that your eyes can only accurately judge one dimension at a time. The level takes care of that nicely. There are other ways to manage that. Some people put a ring on the auger shaft, trusting that if it is not level it will slide back or forward to let you know. The 44 is a bit of a luxury, but its a pretty and effective luxury I’m glad to have. Check out the photos below to see it in action.
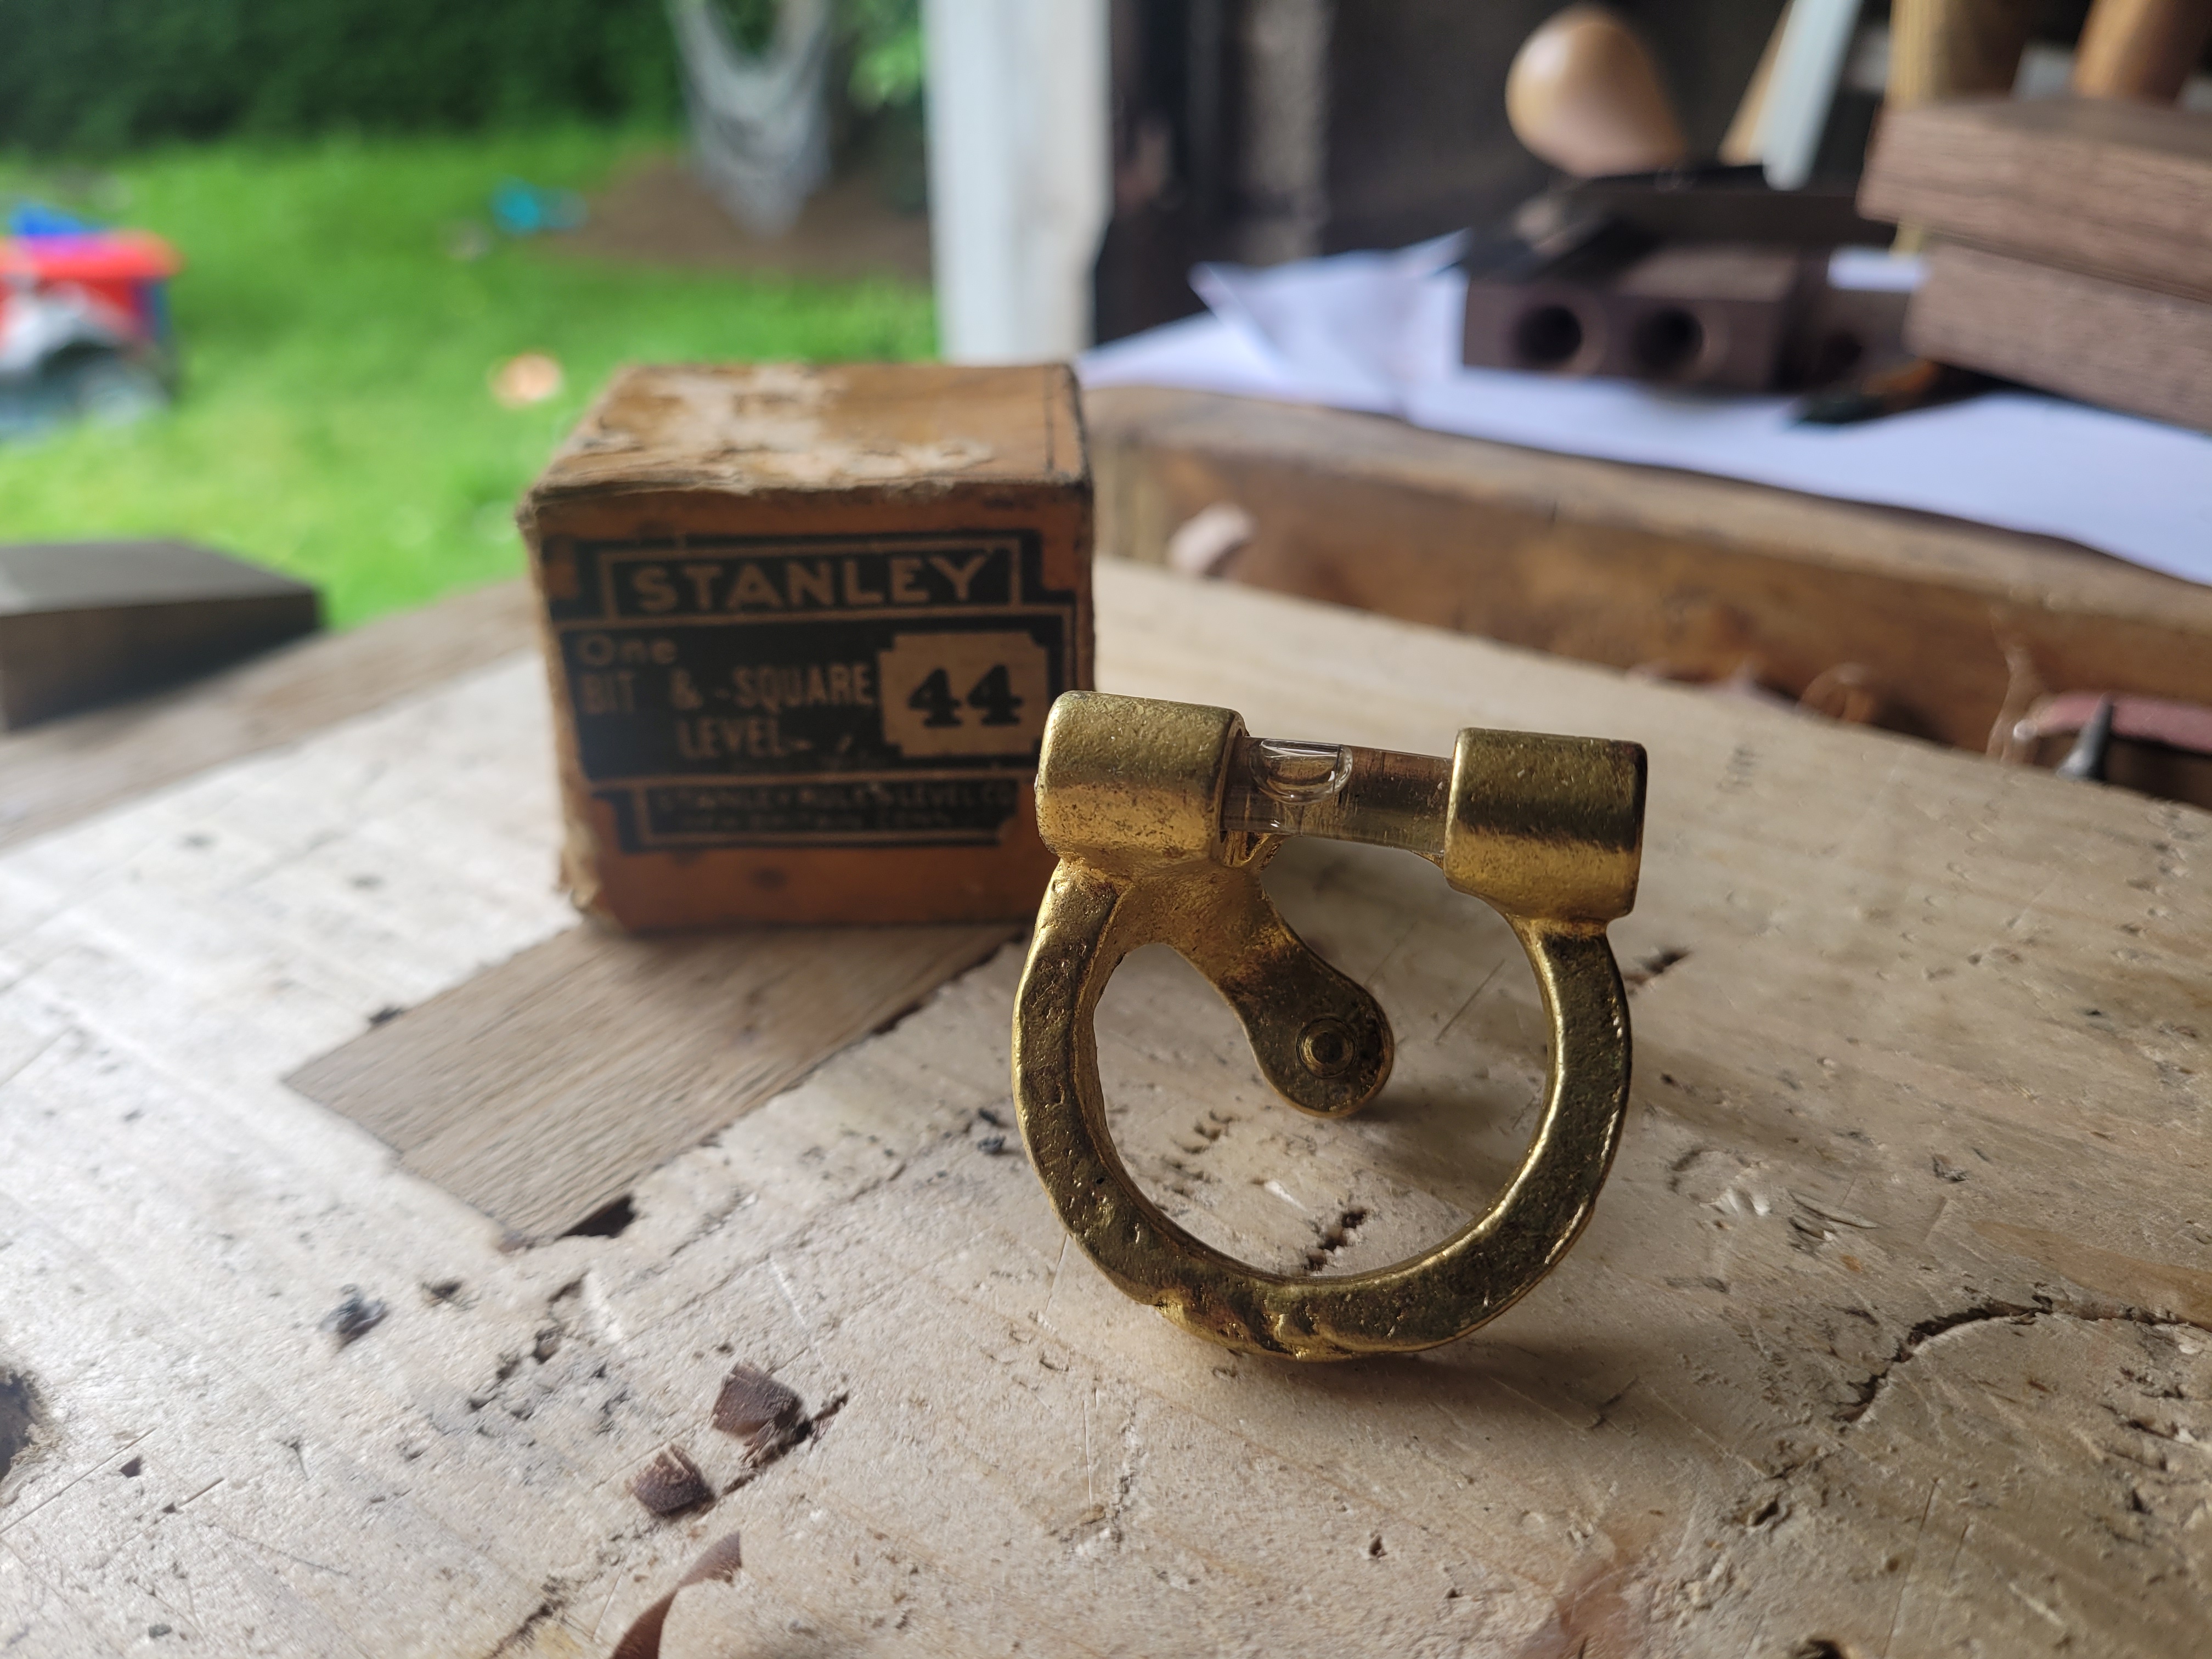
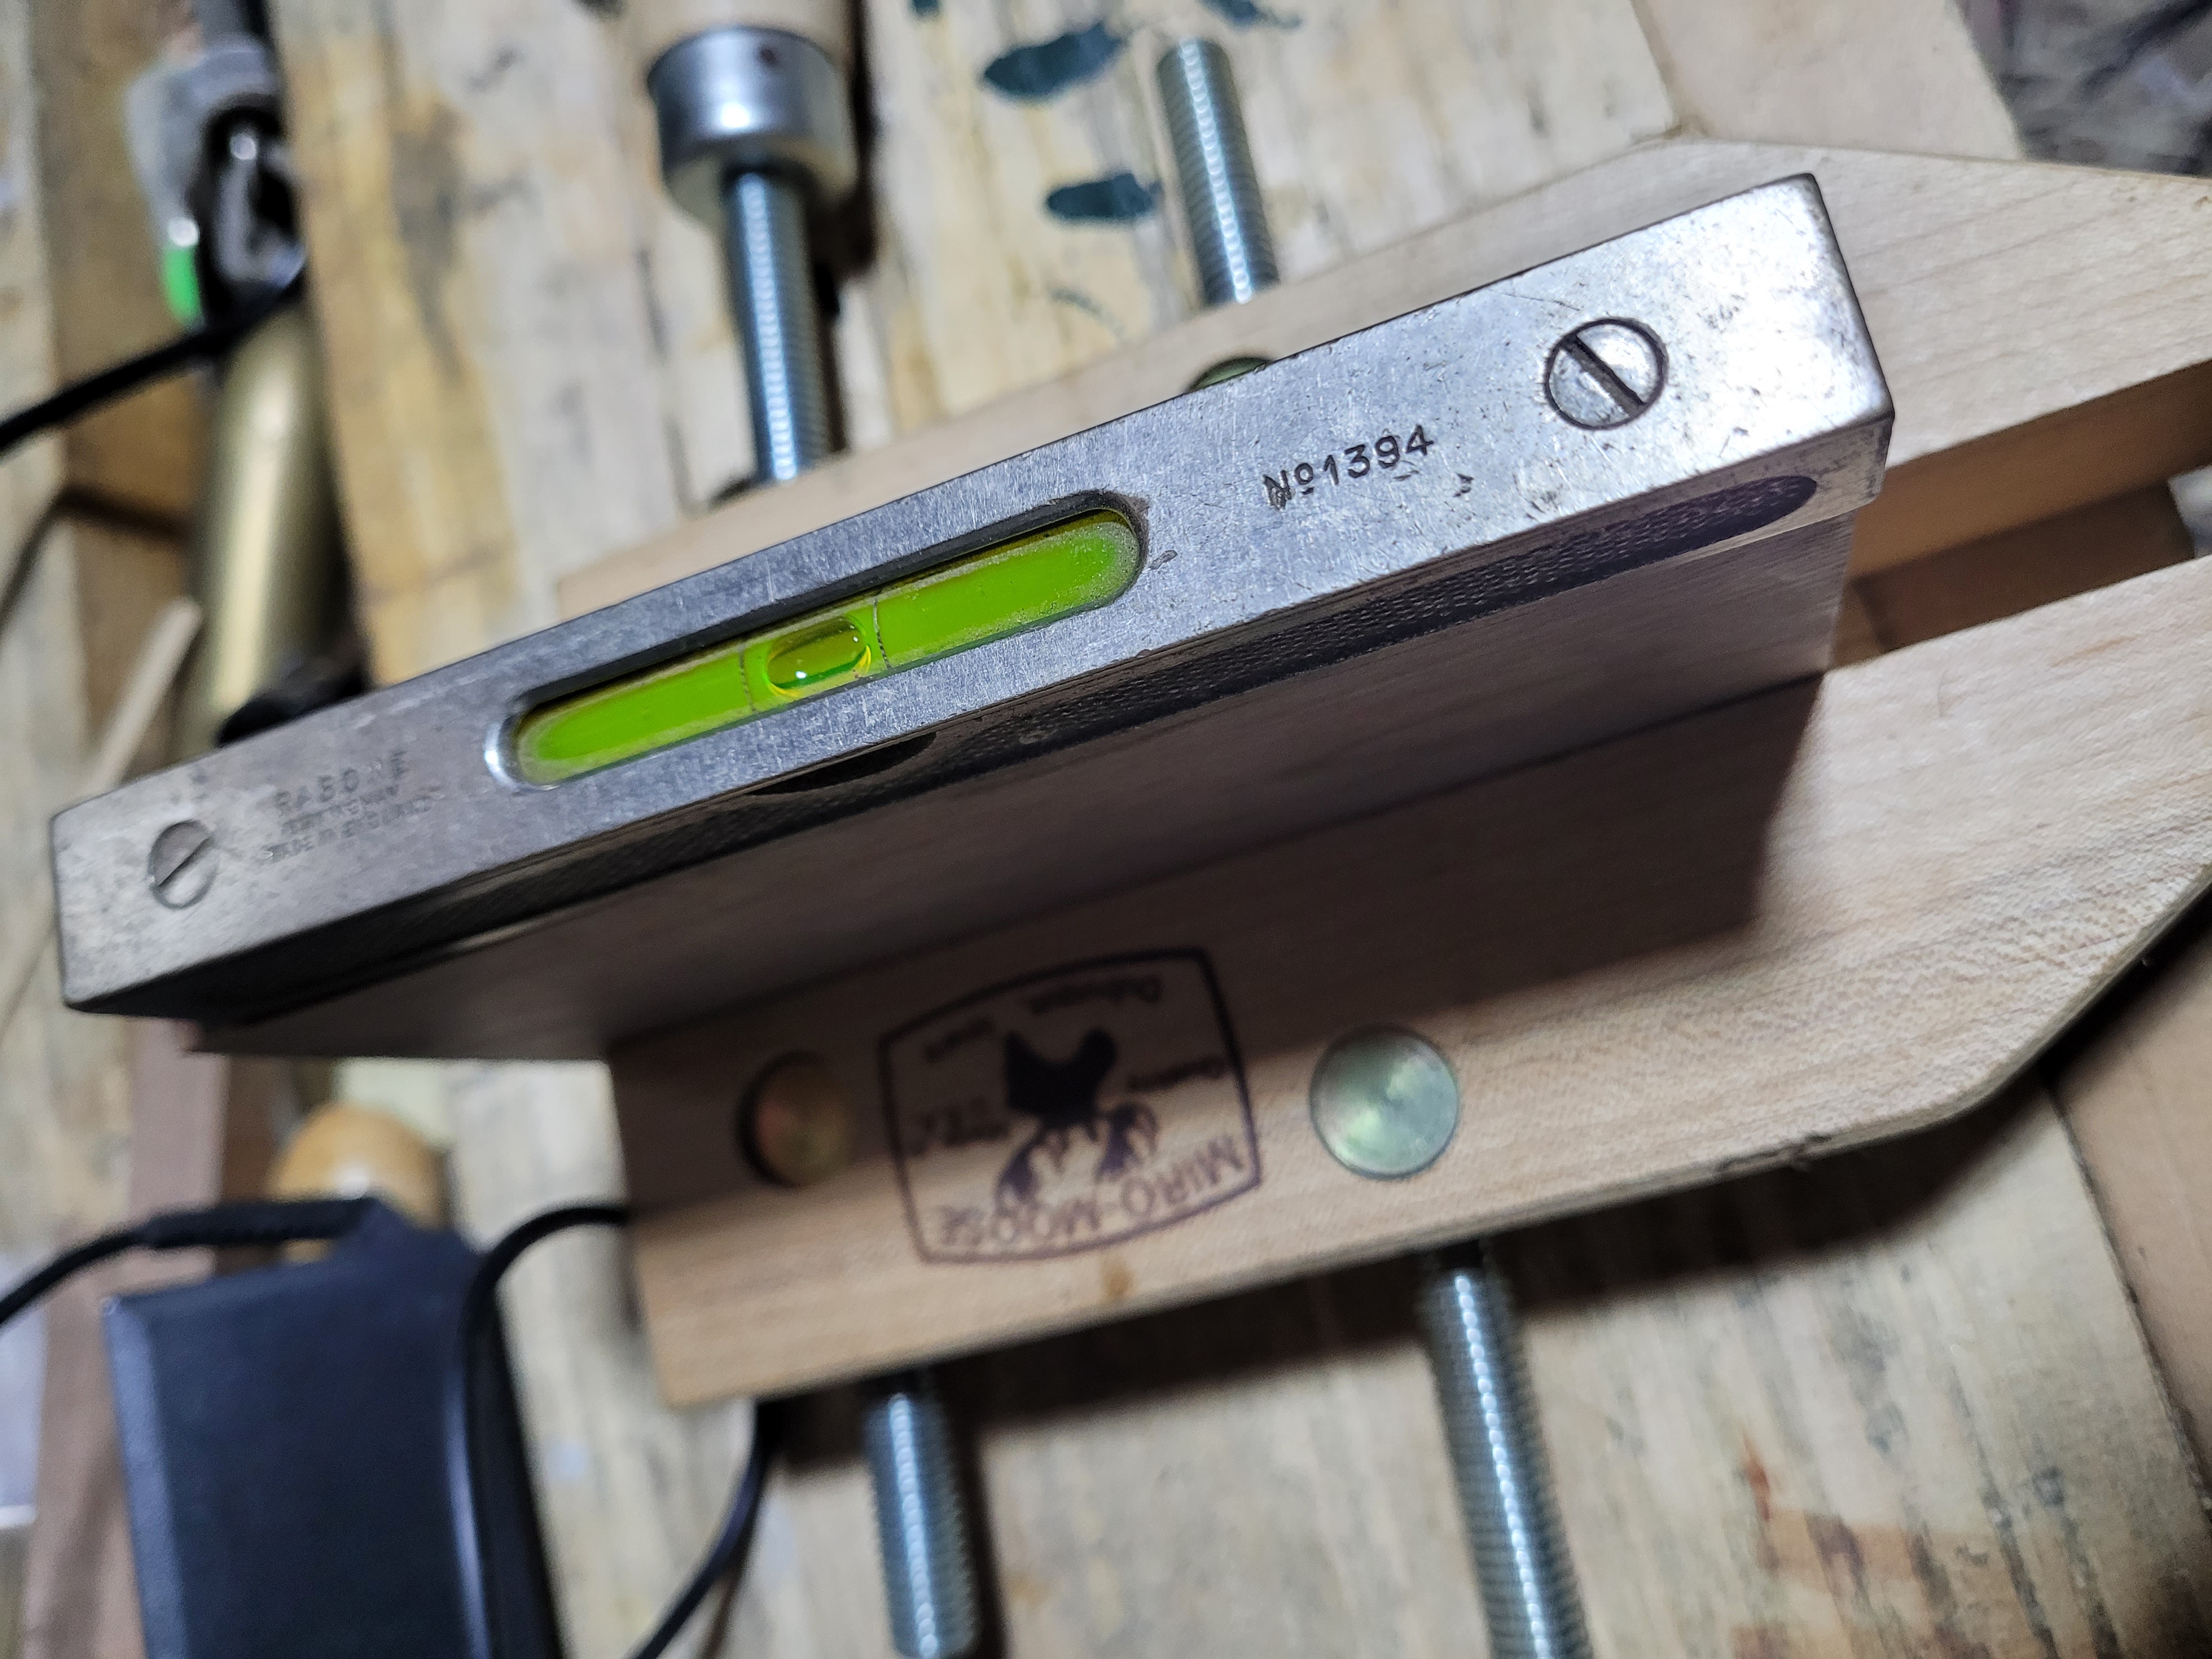
The Stanley 44 Bit Level

The 3 grooves for horizontal, vertical and 45 degree boring
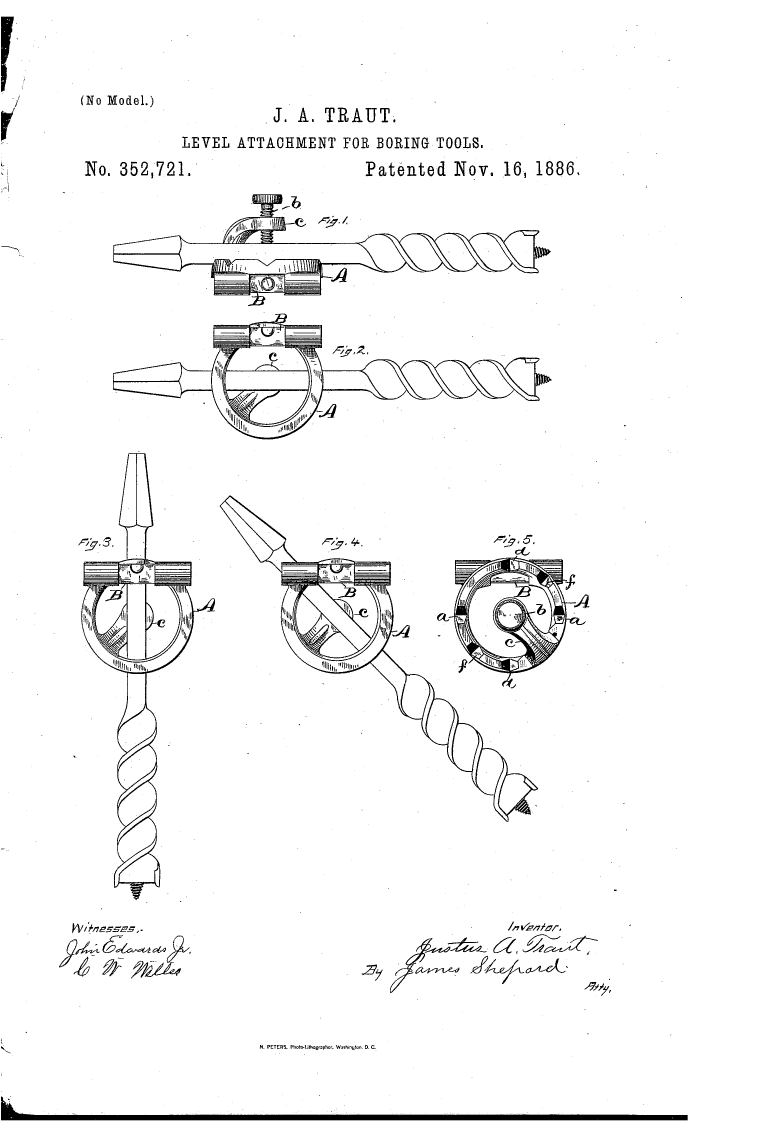
The patent

The Stanley 47 depth gauge. I have a few different auger depth gauges but this is my favourite. The spring makes it very unlikely to marr the work when you hit depth. Plus its fun to flick.
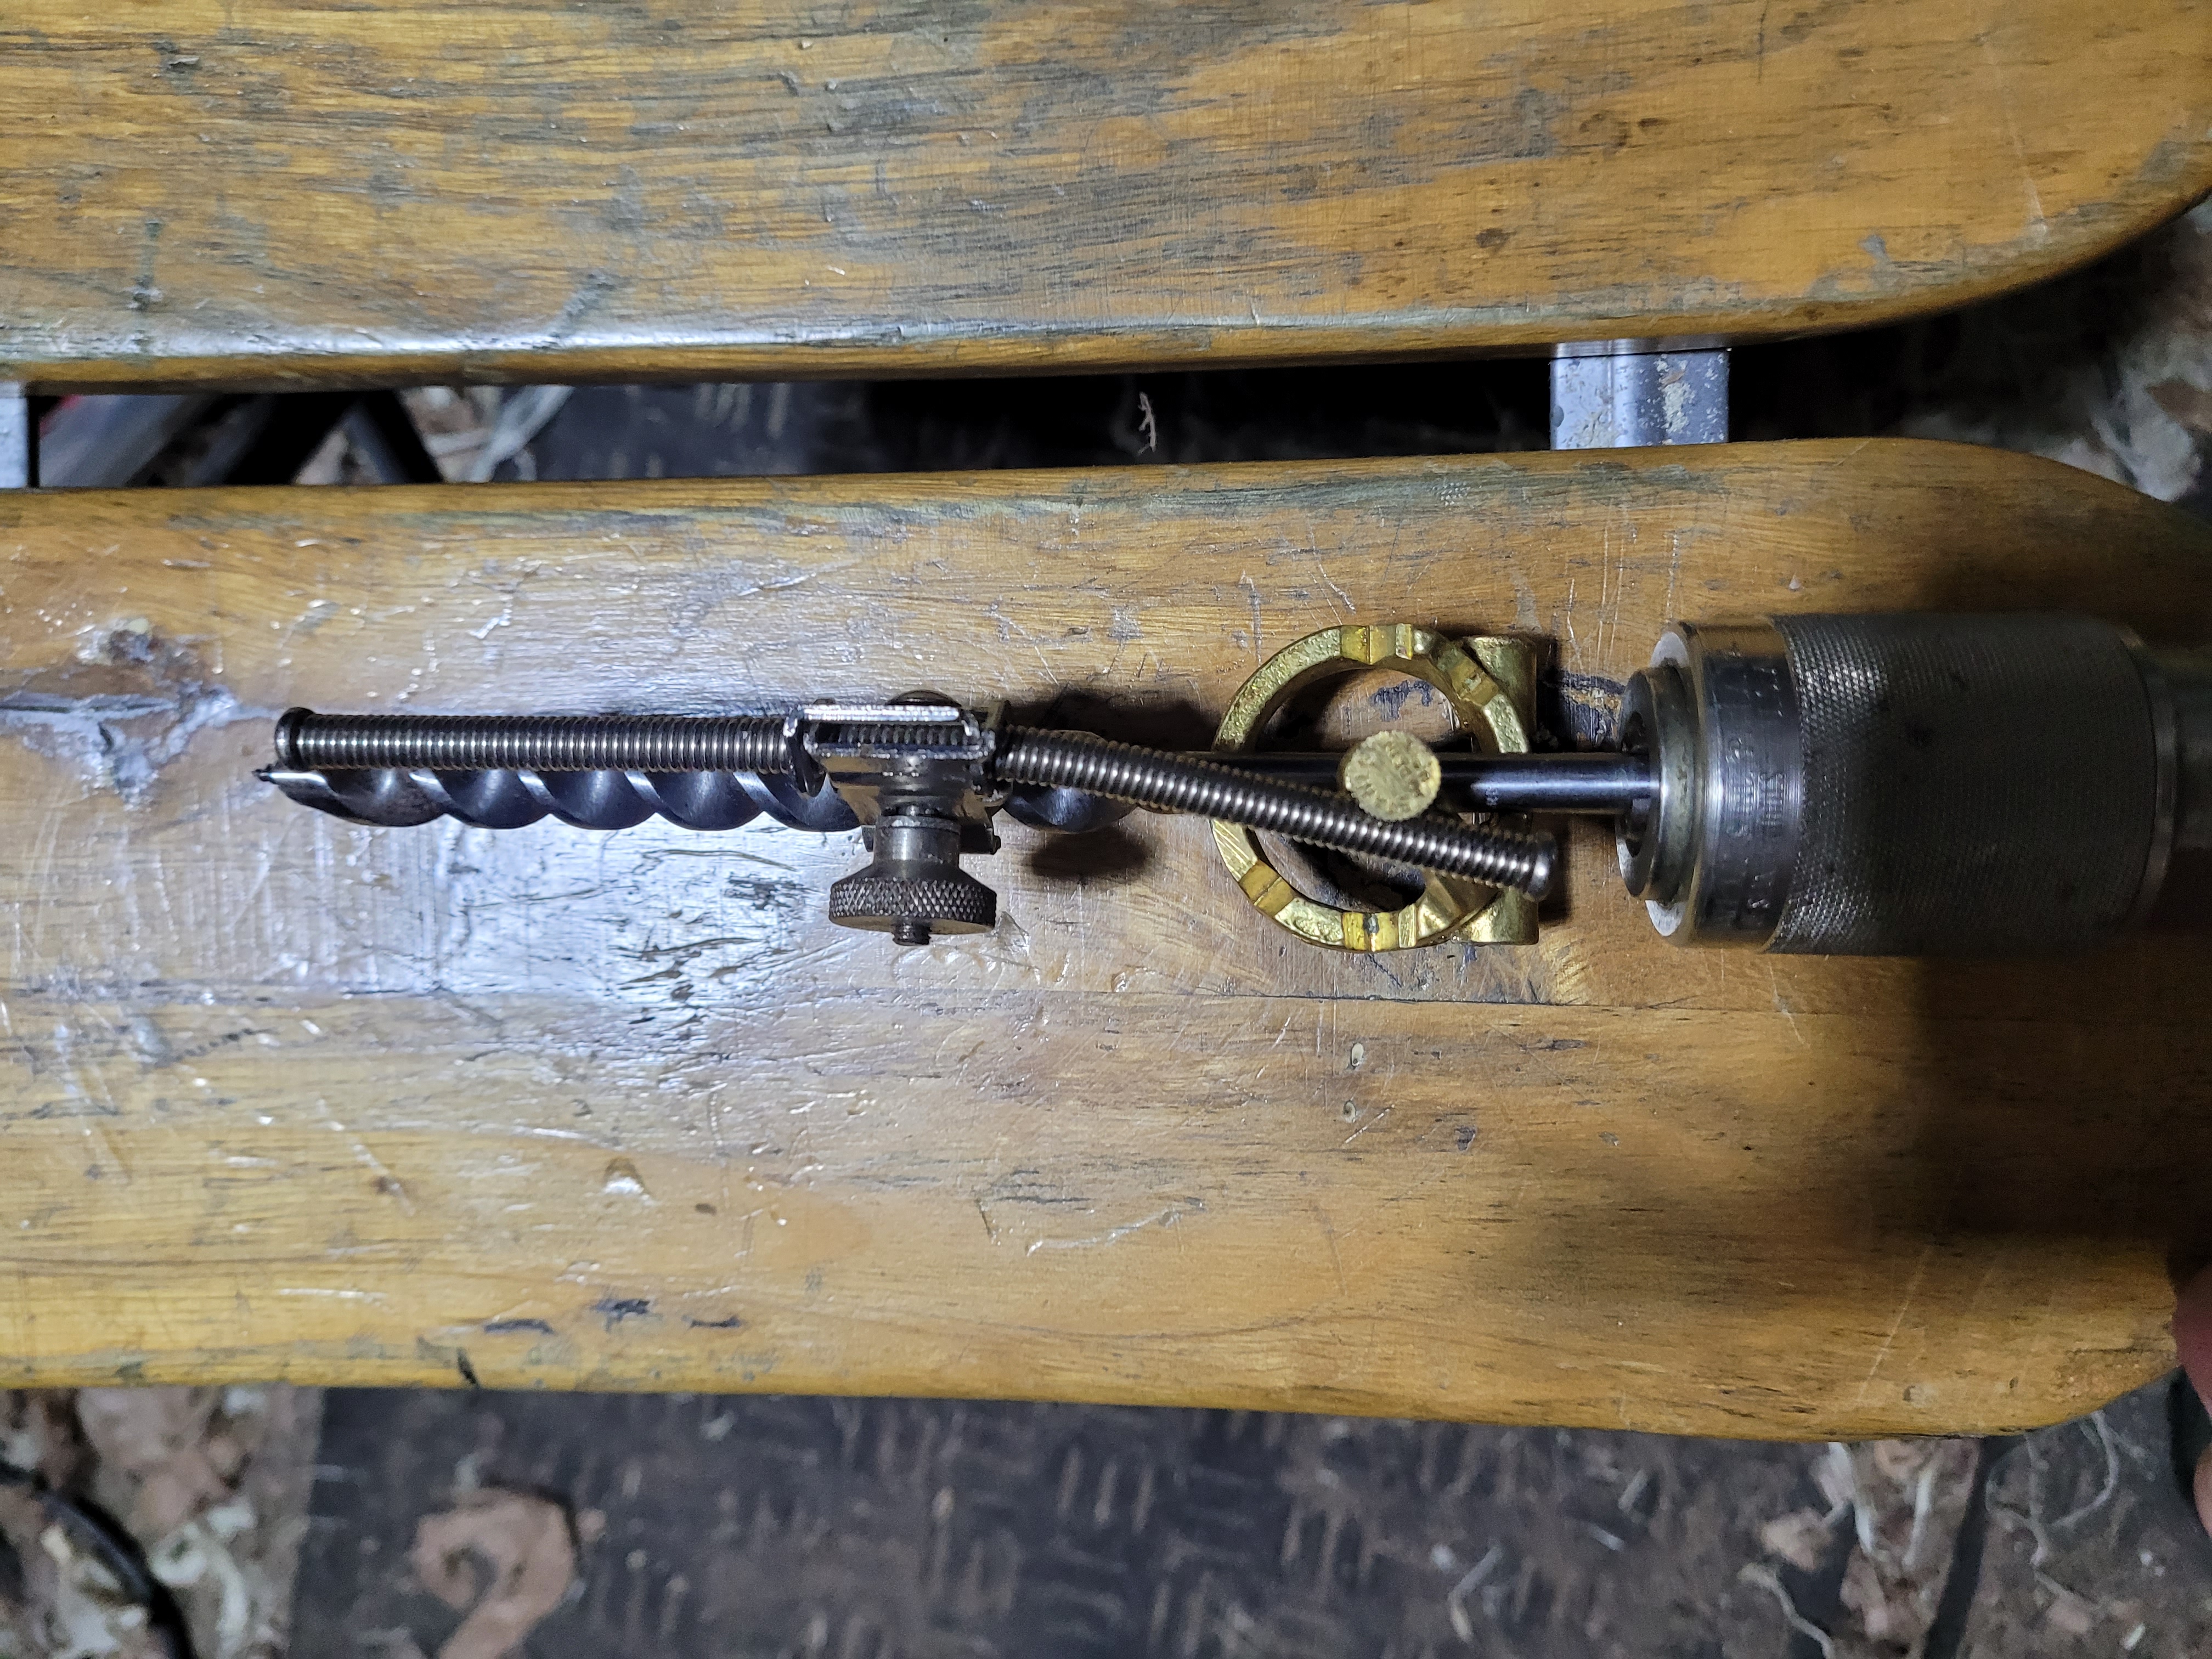
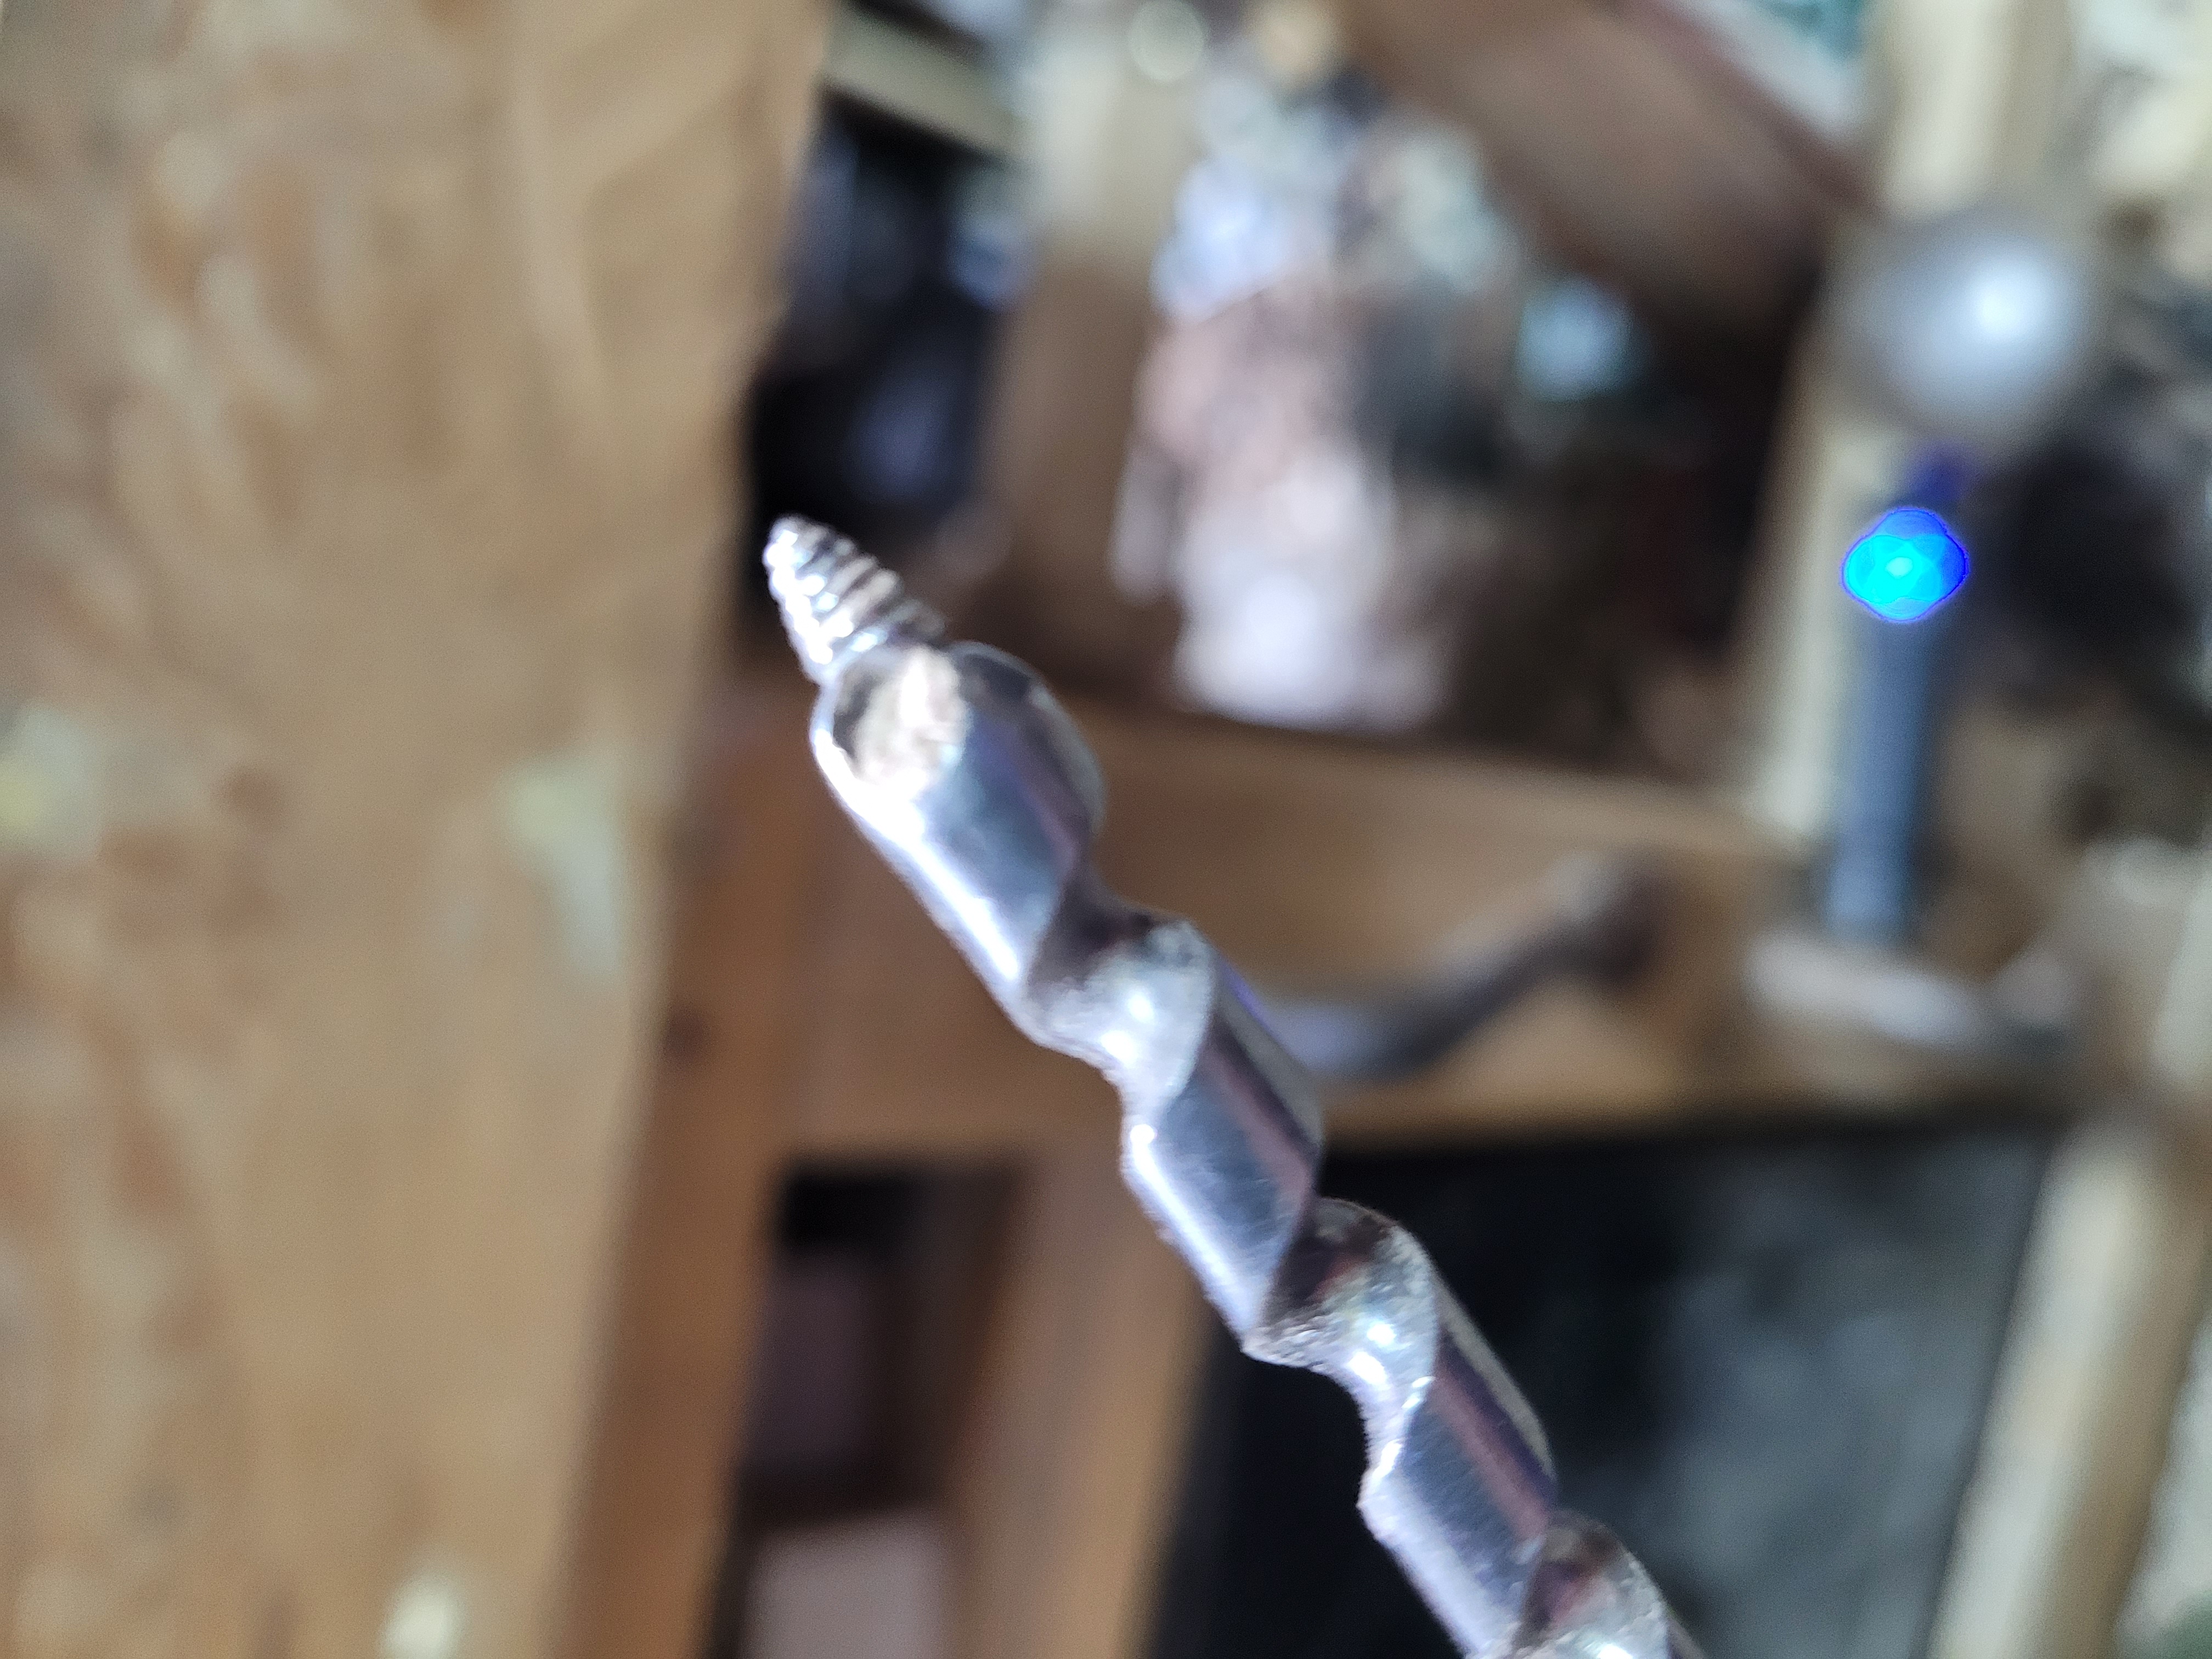
An extremely tooled up Jennings bit. Depending on the depth you want to go for it can be challenging to get both the level and depth gauge on at once. If you are stuck, you can mount the level so the edge of the ring is your depth gauge.
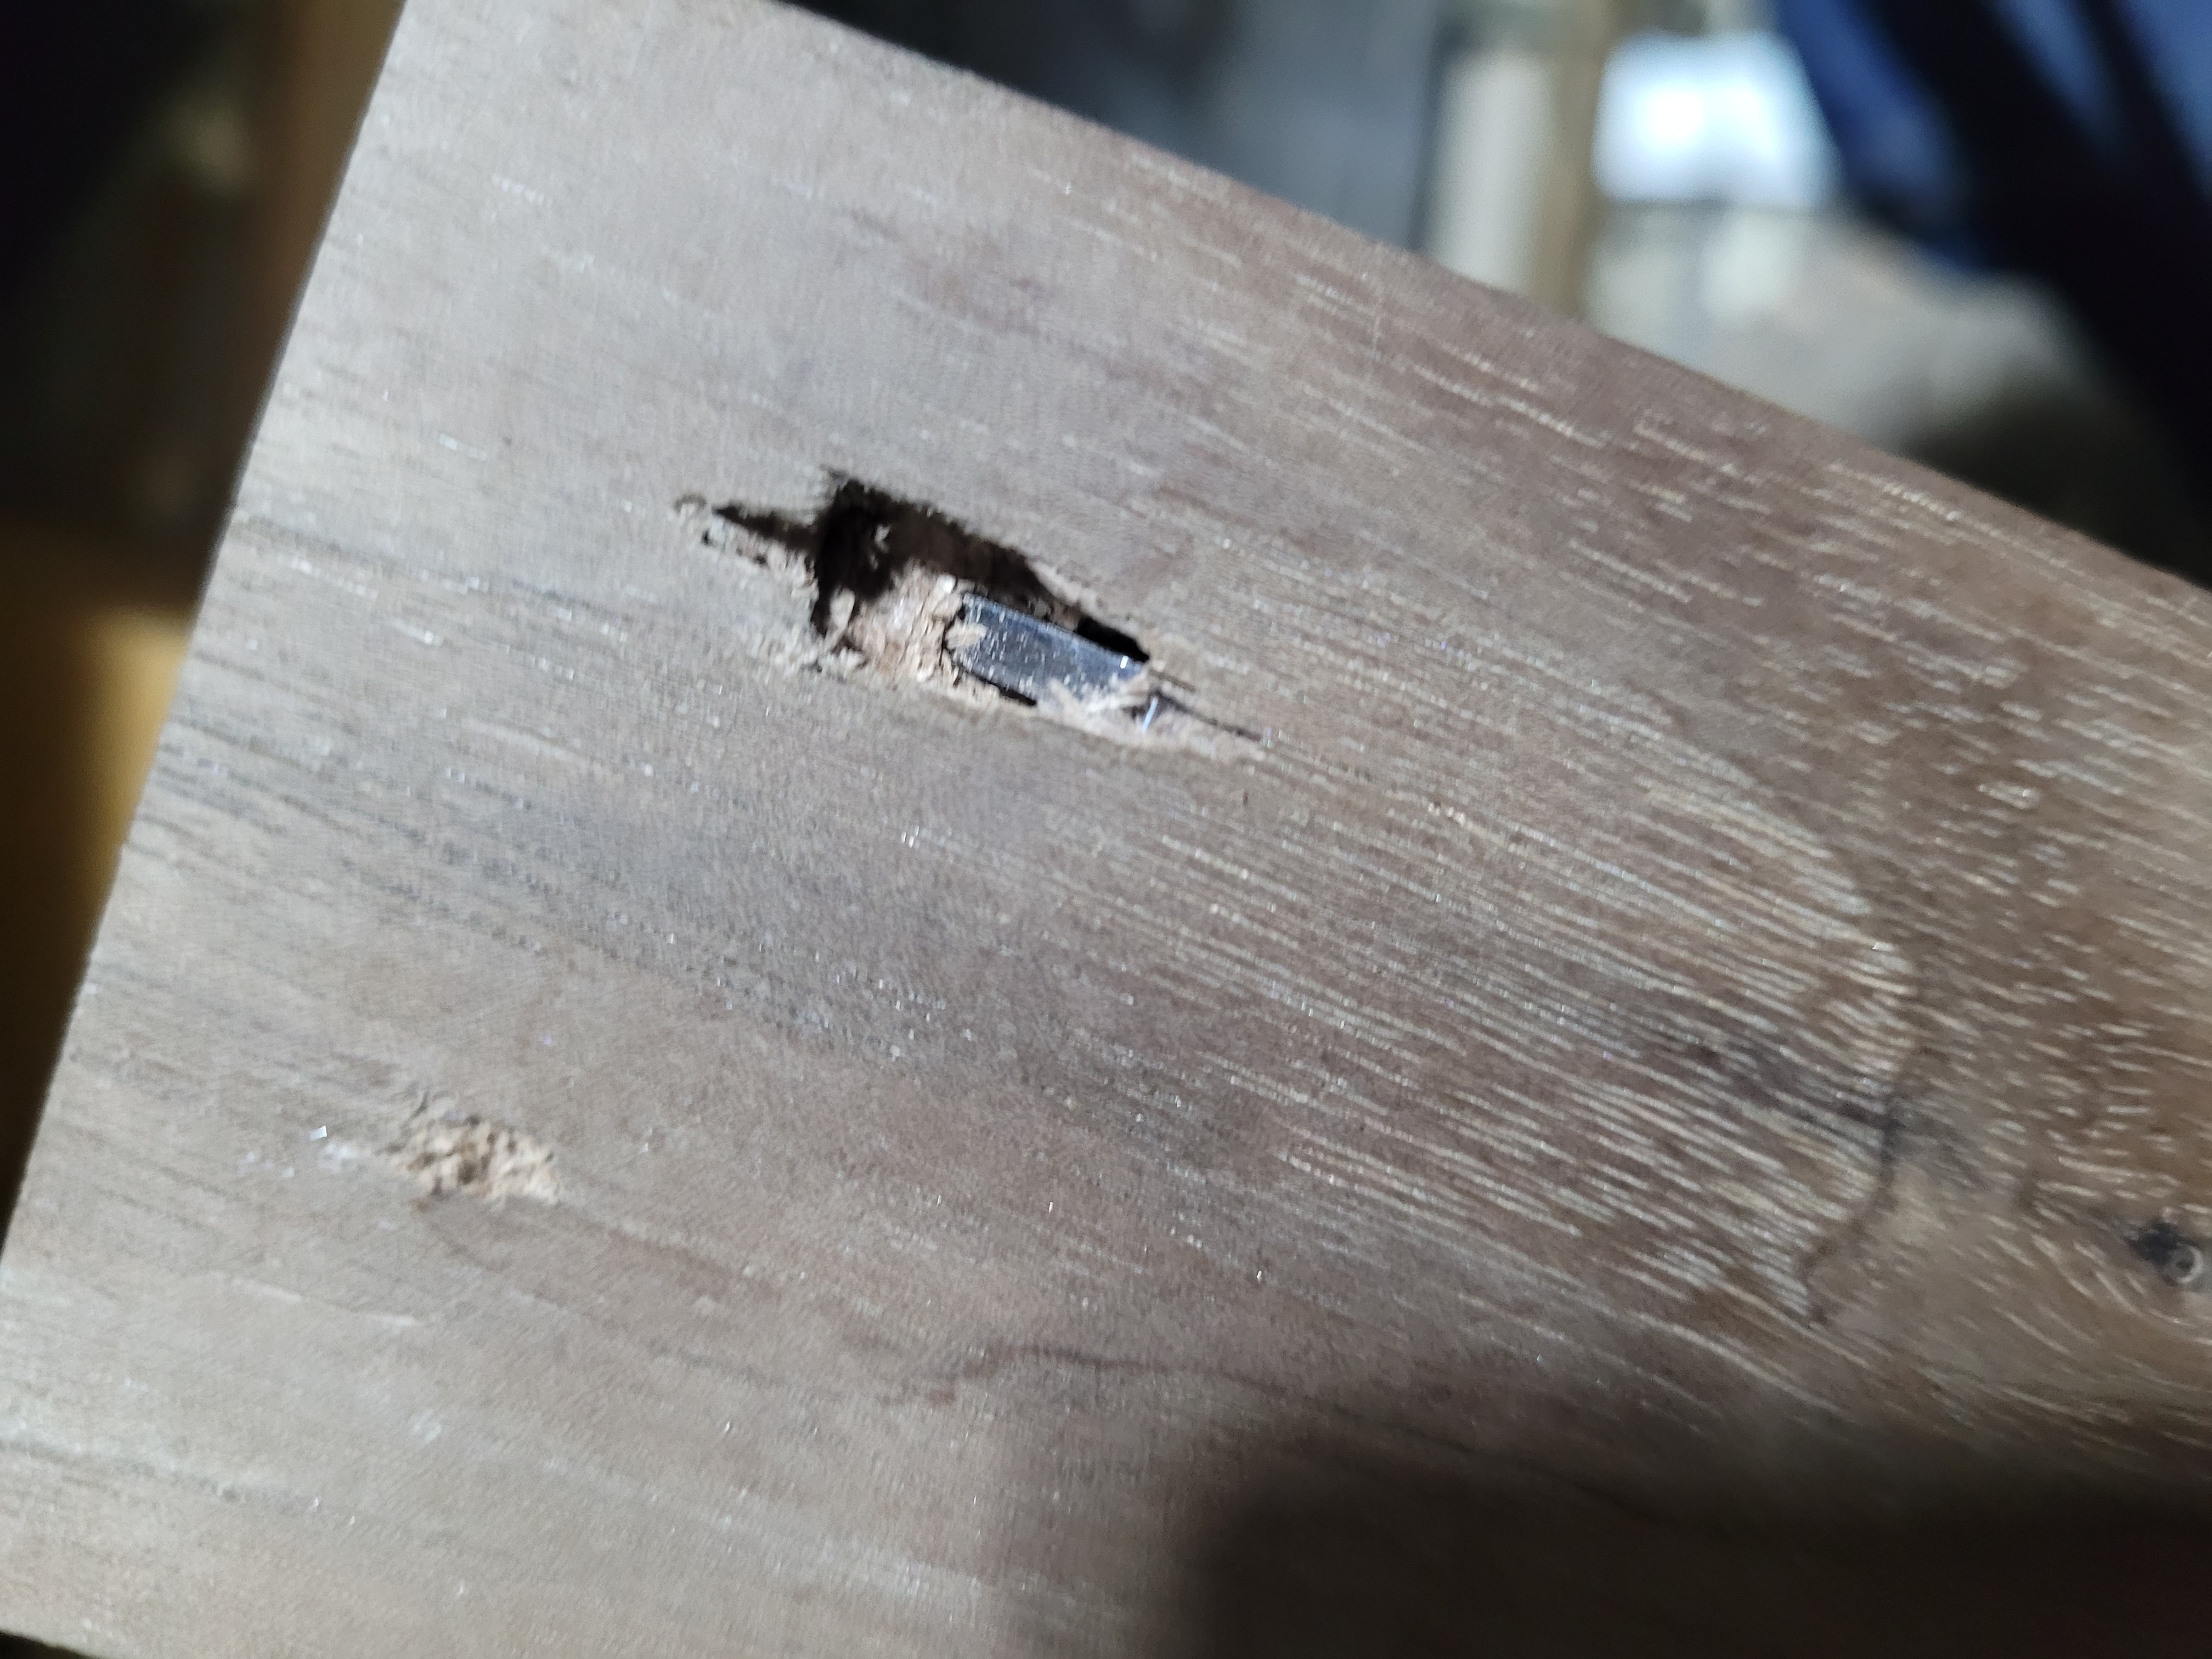
This is what happens when you do not check your bench is level…
Nope, not level at all.
On the bright side, this attempt showed me my bit sizes are spot on. I can swing the holder around with the chisels in. It is perfectly snug.
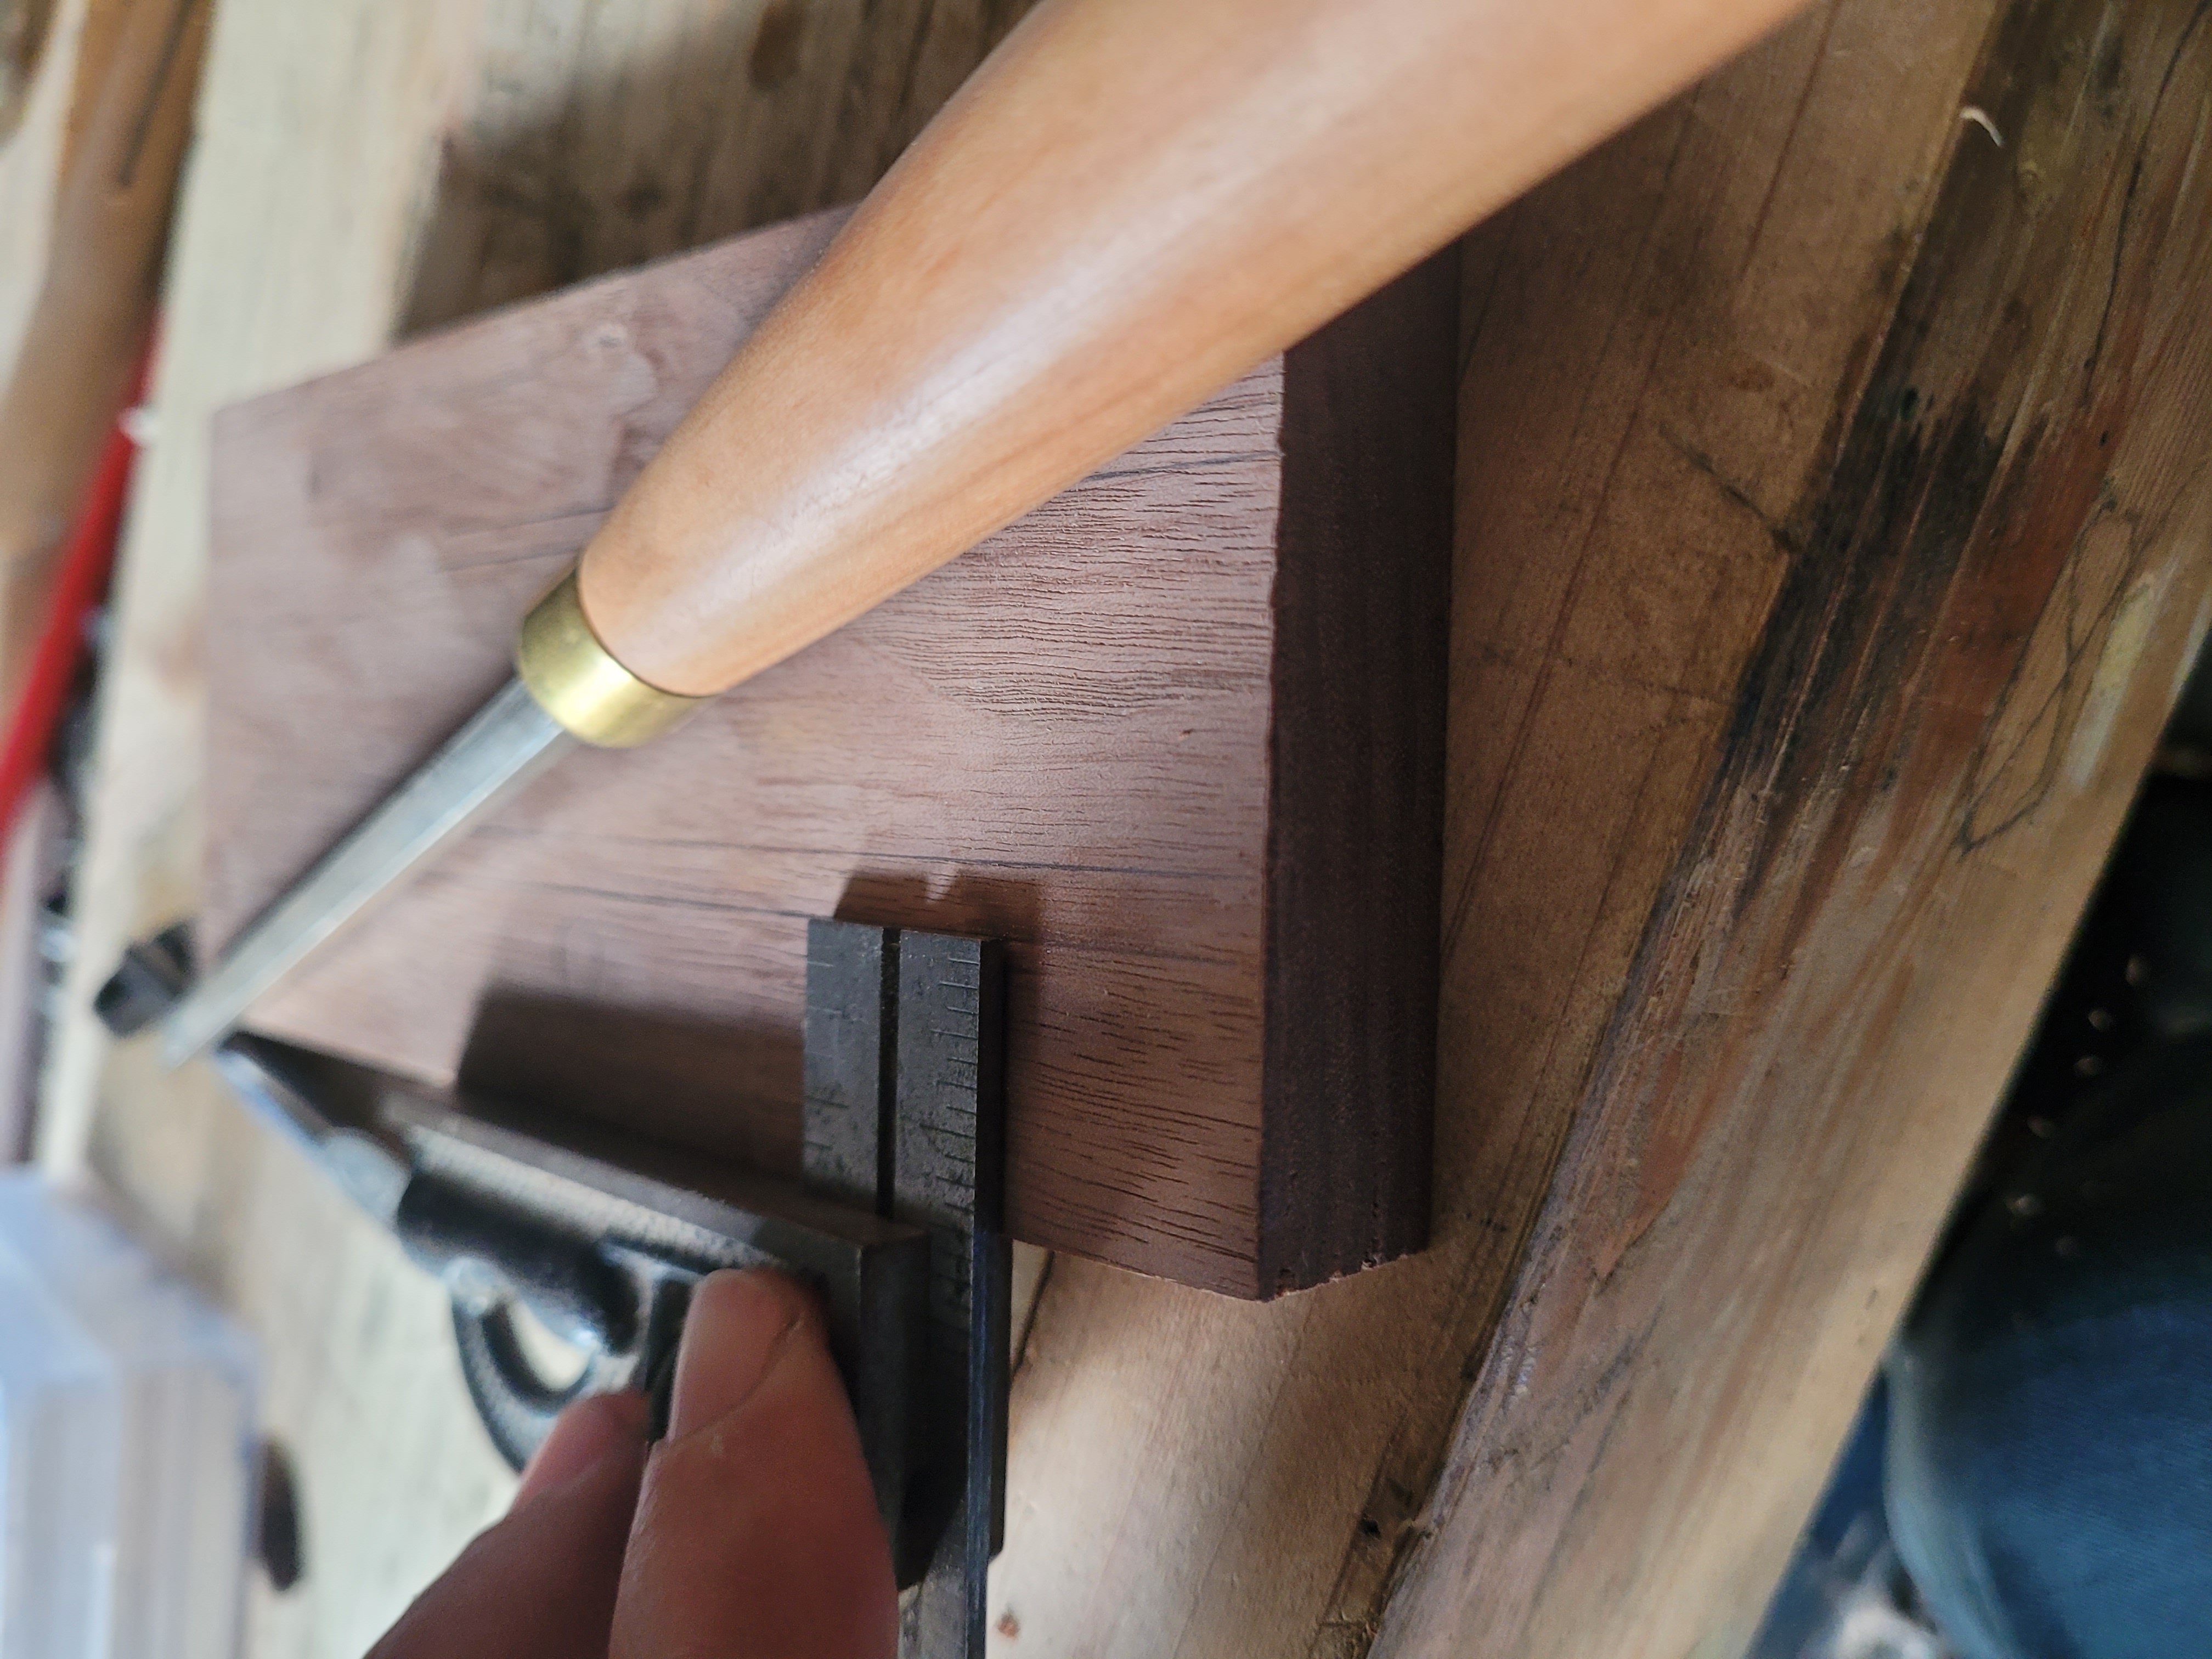
To start with I laid the chisels on the work piece, and spaced them out so it looked good to my eye. Then I took a measurement from one to the side, and nudged the other so the spacing is identical. Then traced an outline of each chisel on to the wood.
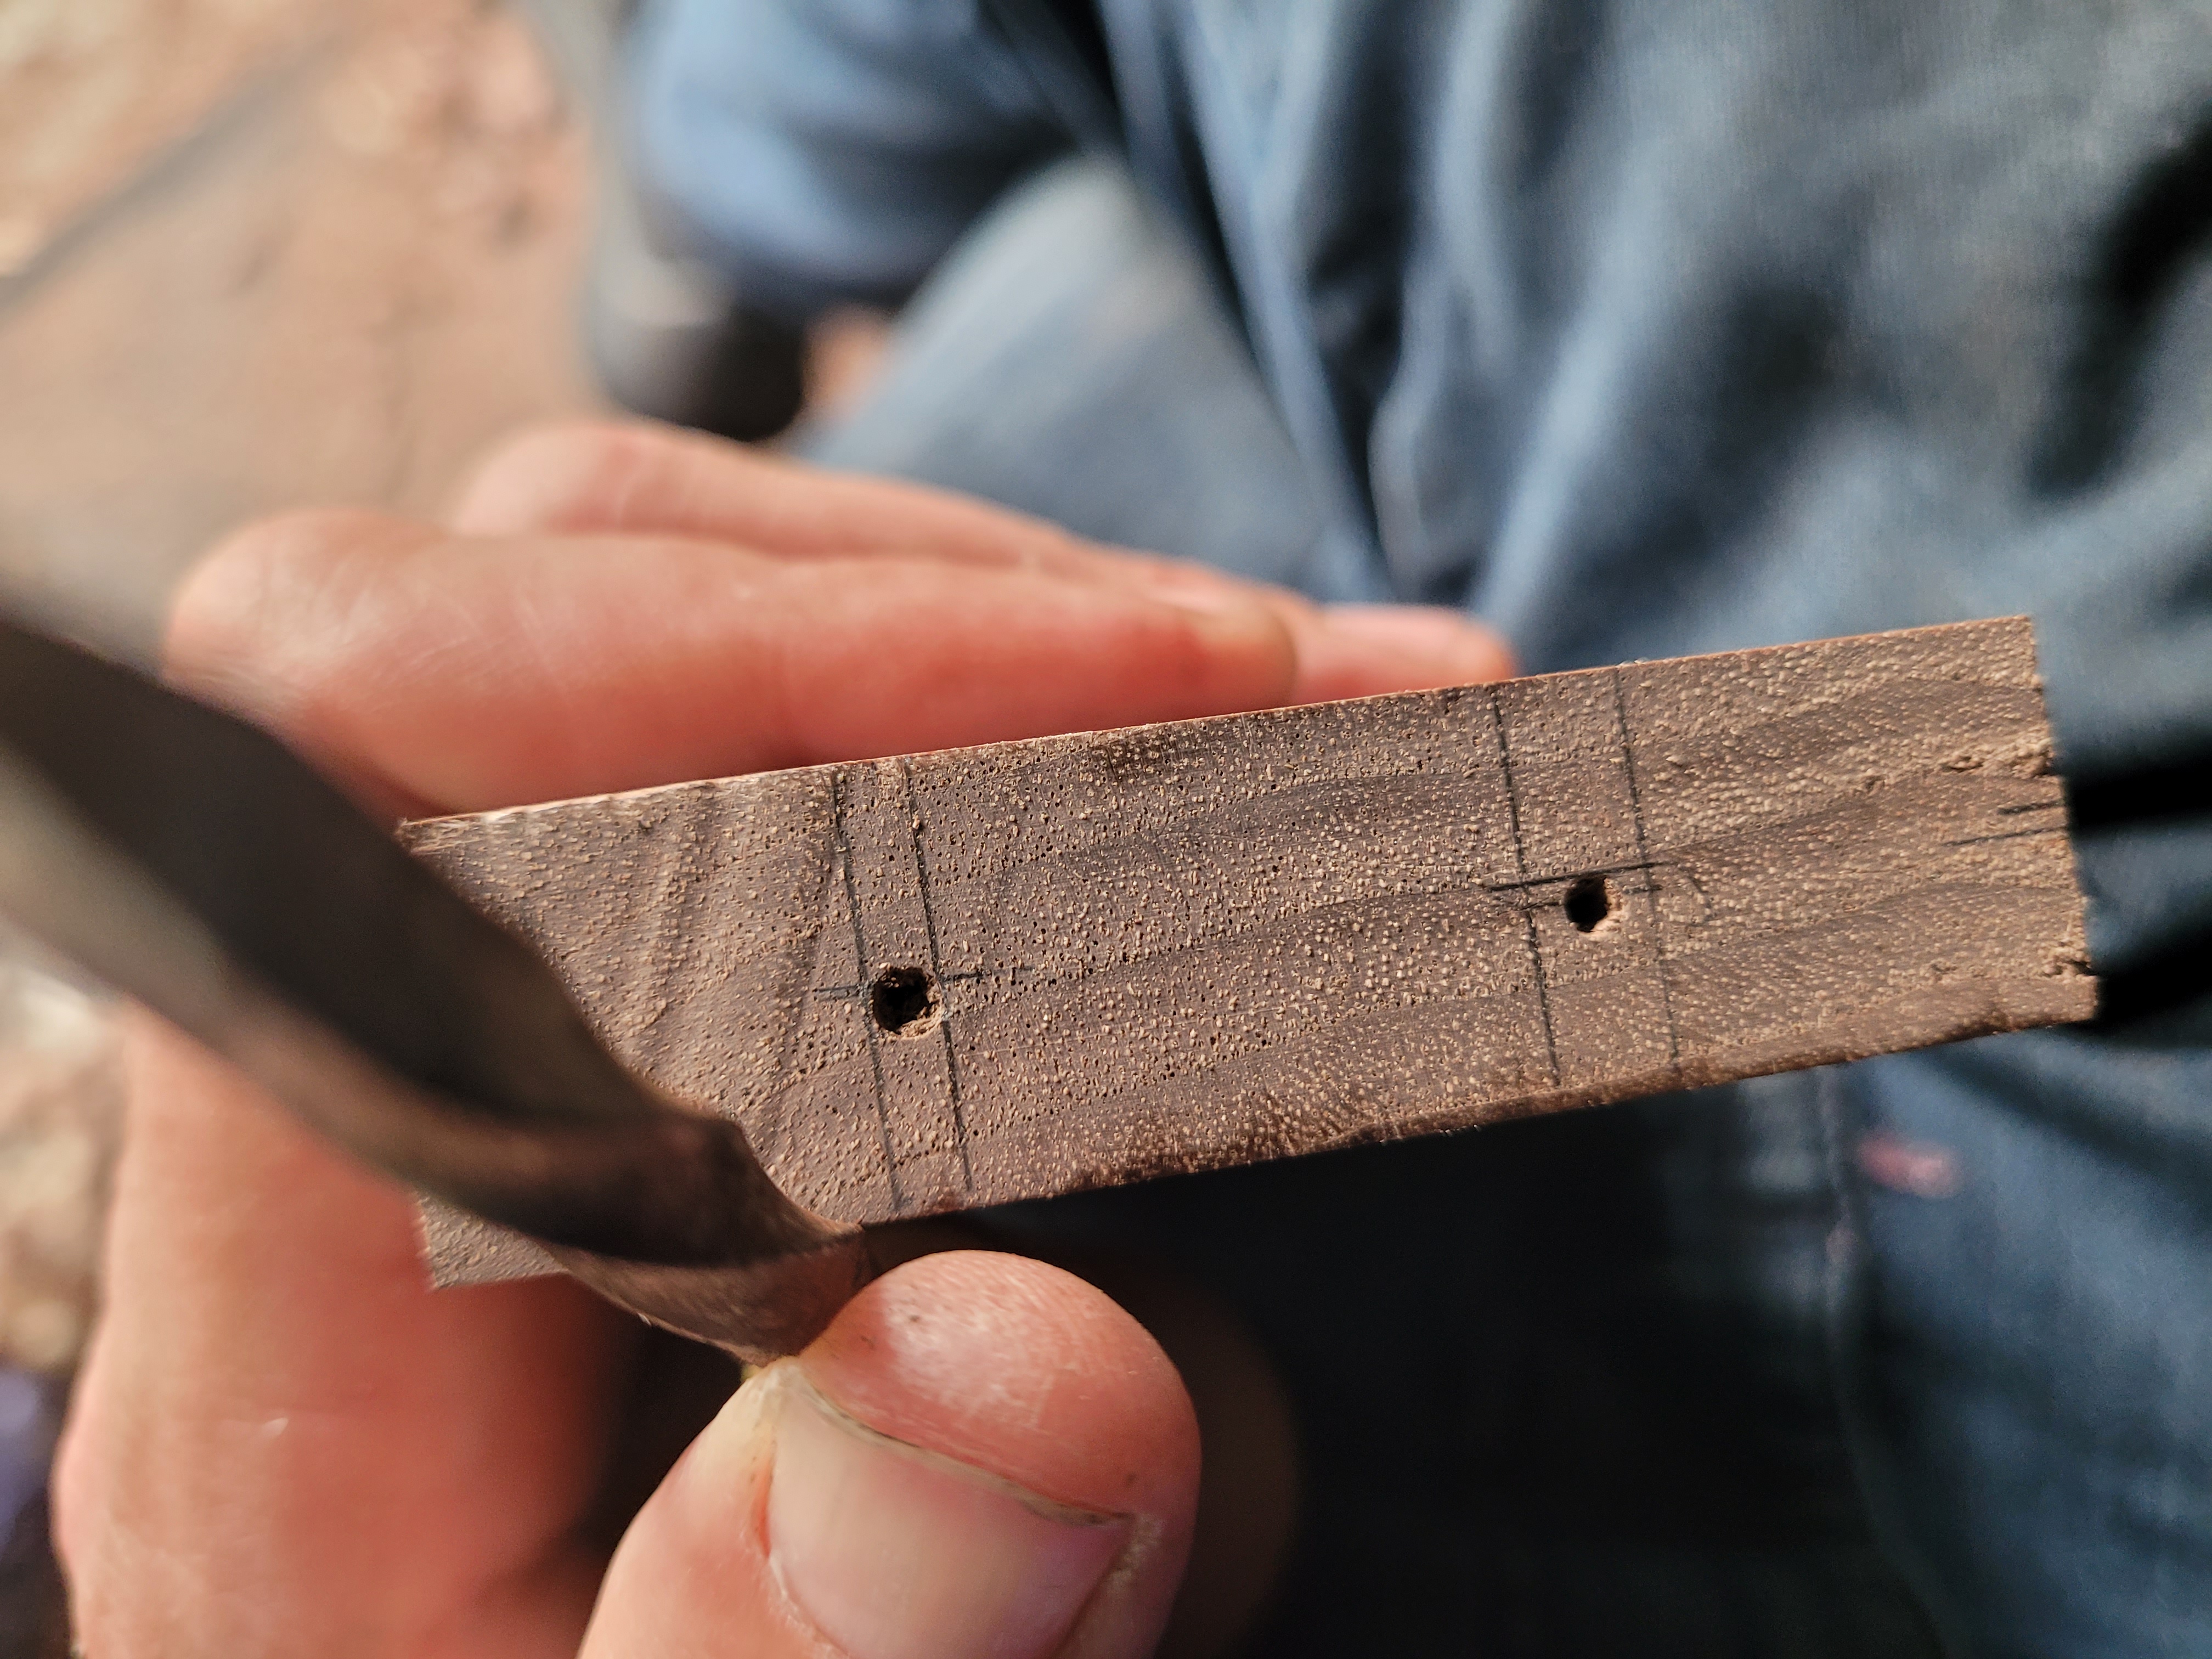
Carried the lines over to the end, found centre and marked with an awl.
Work piece goes in a hand screw clamp. For front to back level, I can just adjust its position in the clamp.
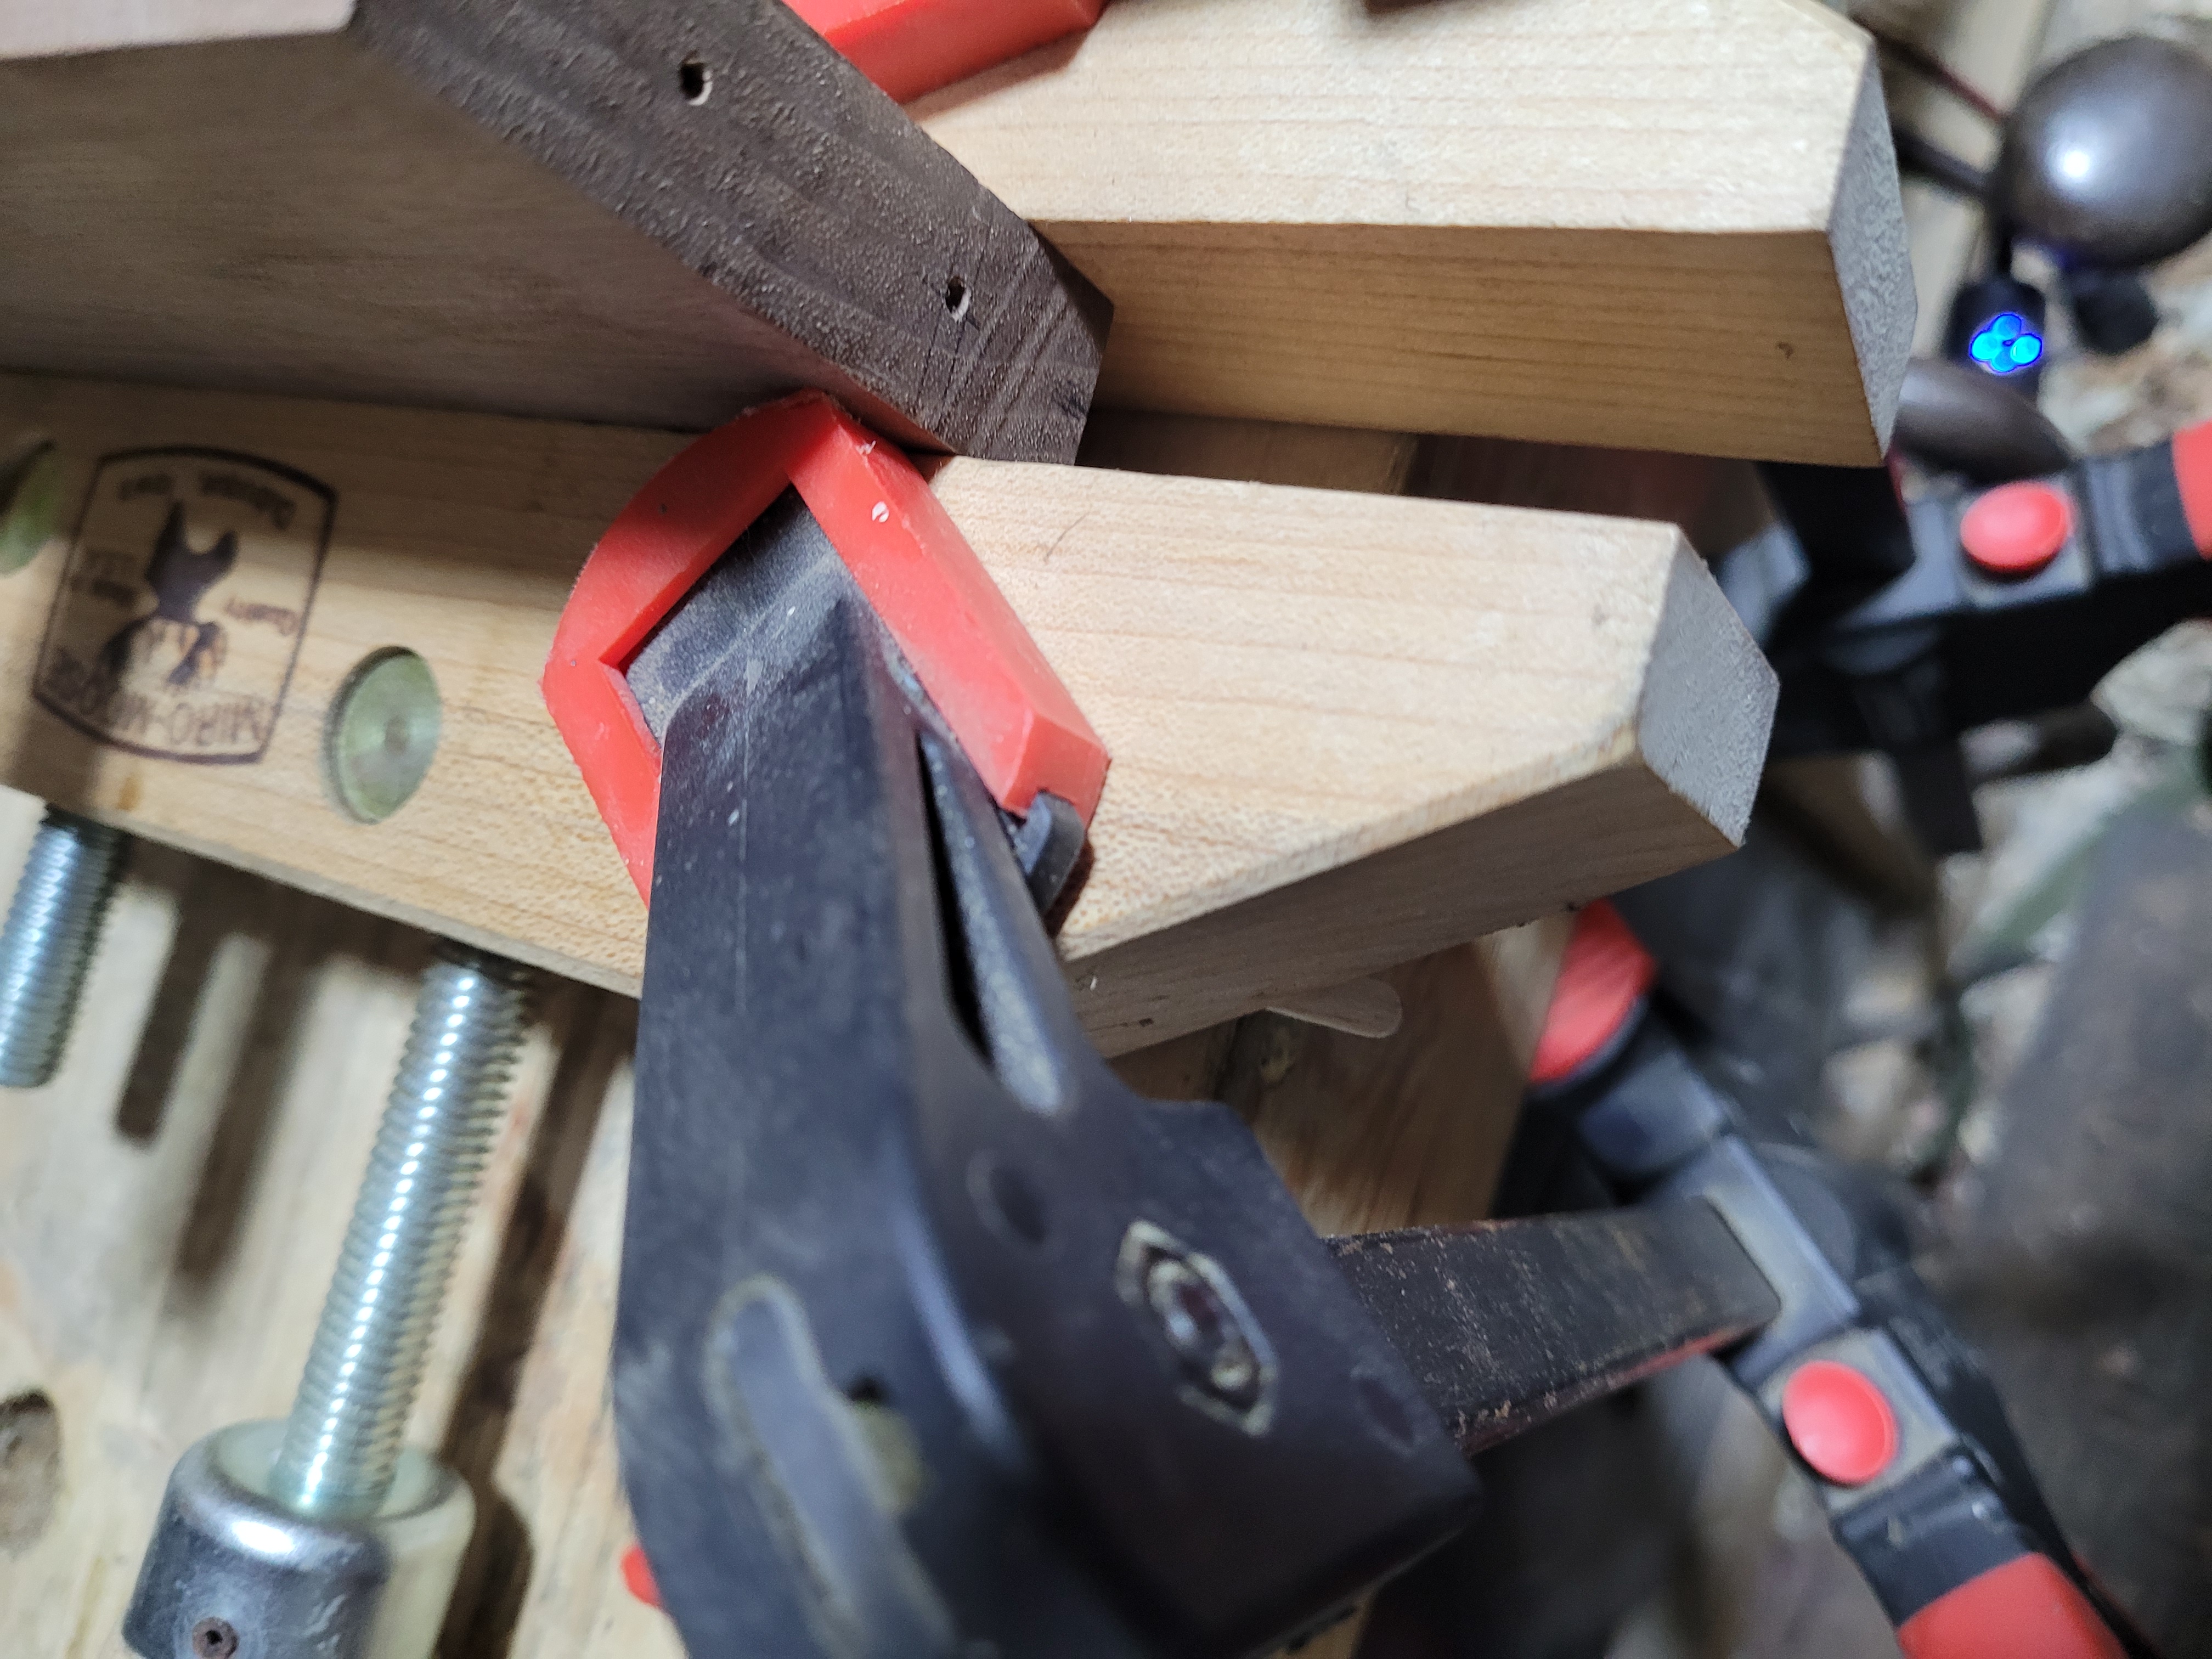
Quick clamps hold it onto the bench.
A coffee stirrer stick under one side of the hand screw clamp bring it level side to side.
Ready to go
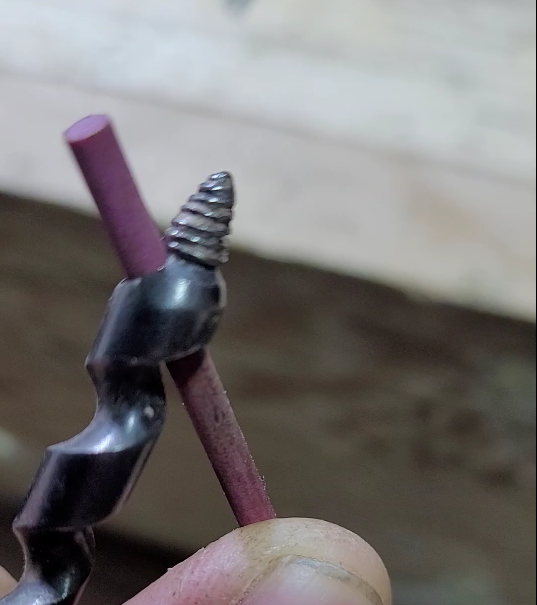
The Gedge bit makes a very clean entry.

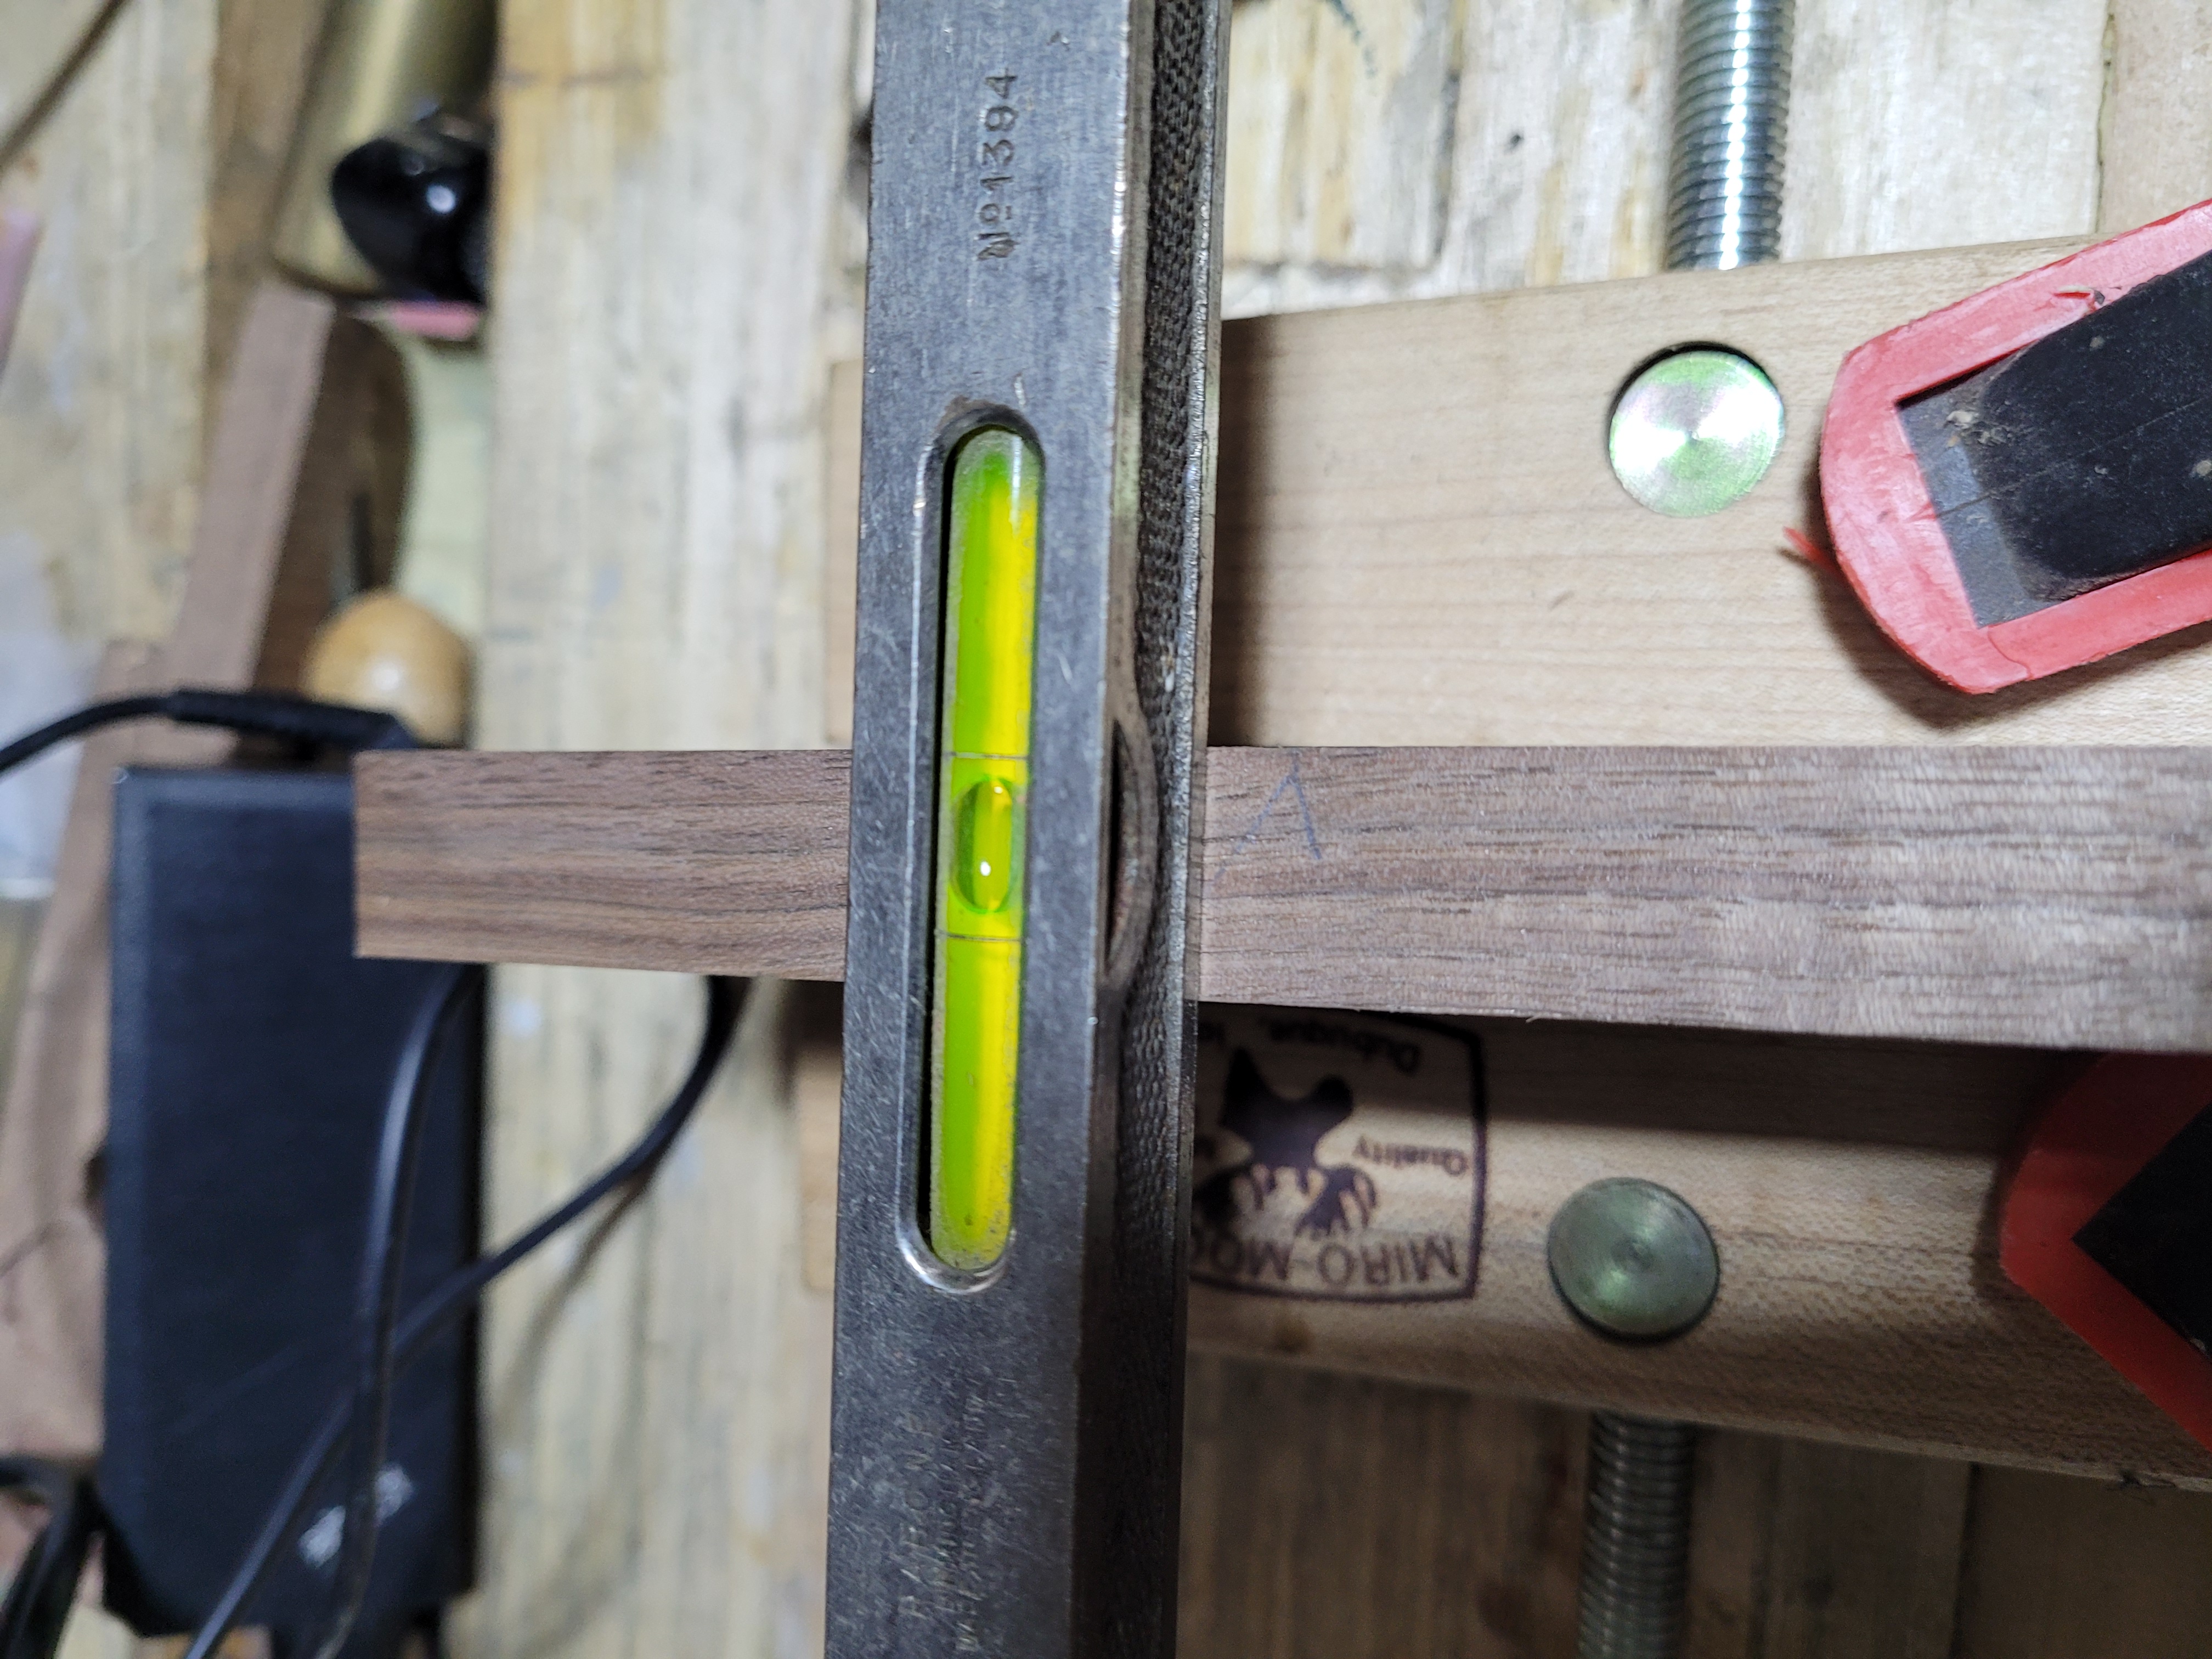
In we go with the bubble level
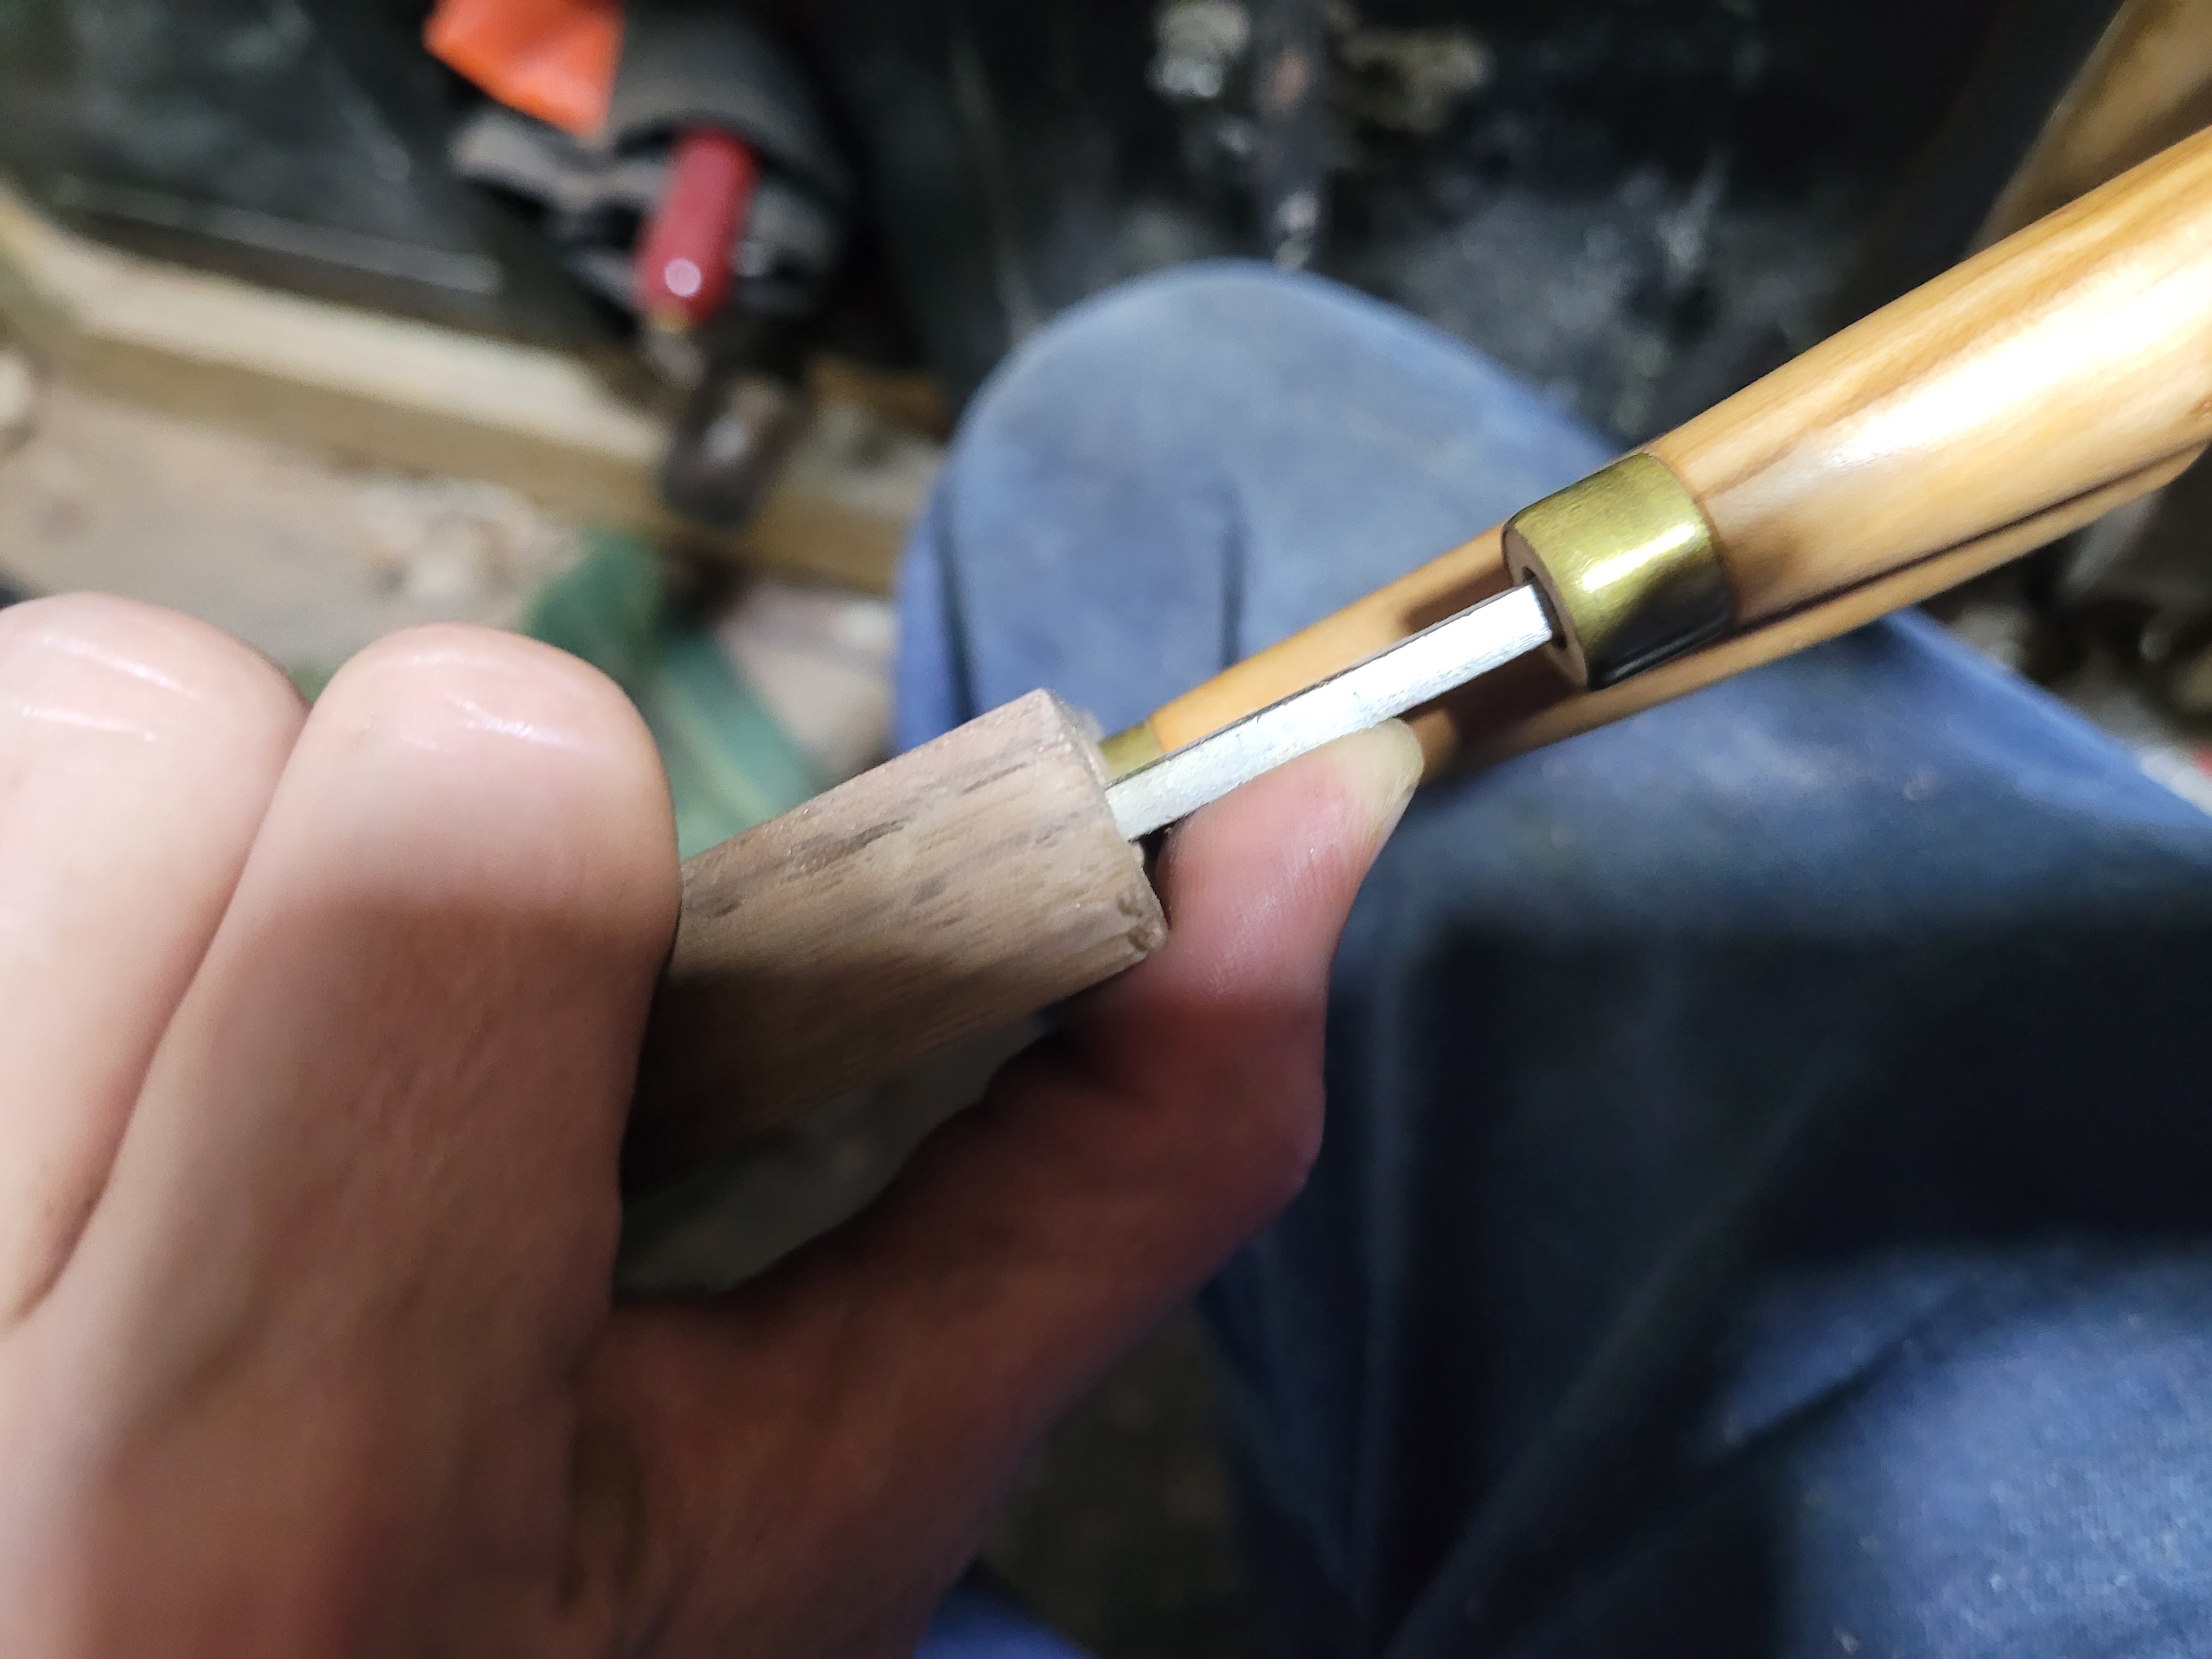
The first hole is just to take some of the ferrule, then I go to chisel depth with a 1/4 inch bullnose bit. The bullnose and Gedge bits are both great for this work, I just used the right sized bit I came across first. Sharpening these is easy. I use a small round oilstone rod. Feed it in from underneath, work around the perimeter lightly. One or two strokes should do it unless its very beat up. Give it just a little touch, test it, and then repeat as necessary.
This bit clogged quite easily in the deep hole, withdraw regularly to clear it out.
As the chisel is not straight on both sides, I apply a little pressure to check out straight I am on the flat side. Looks pretty good.
 Looks pretty good to me
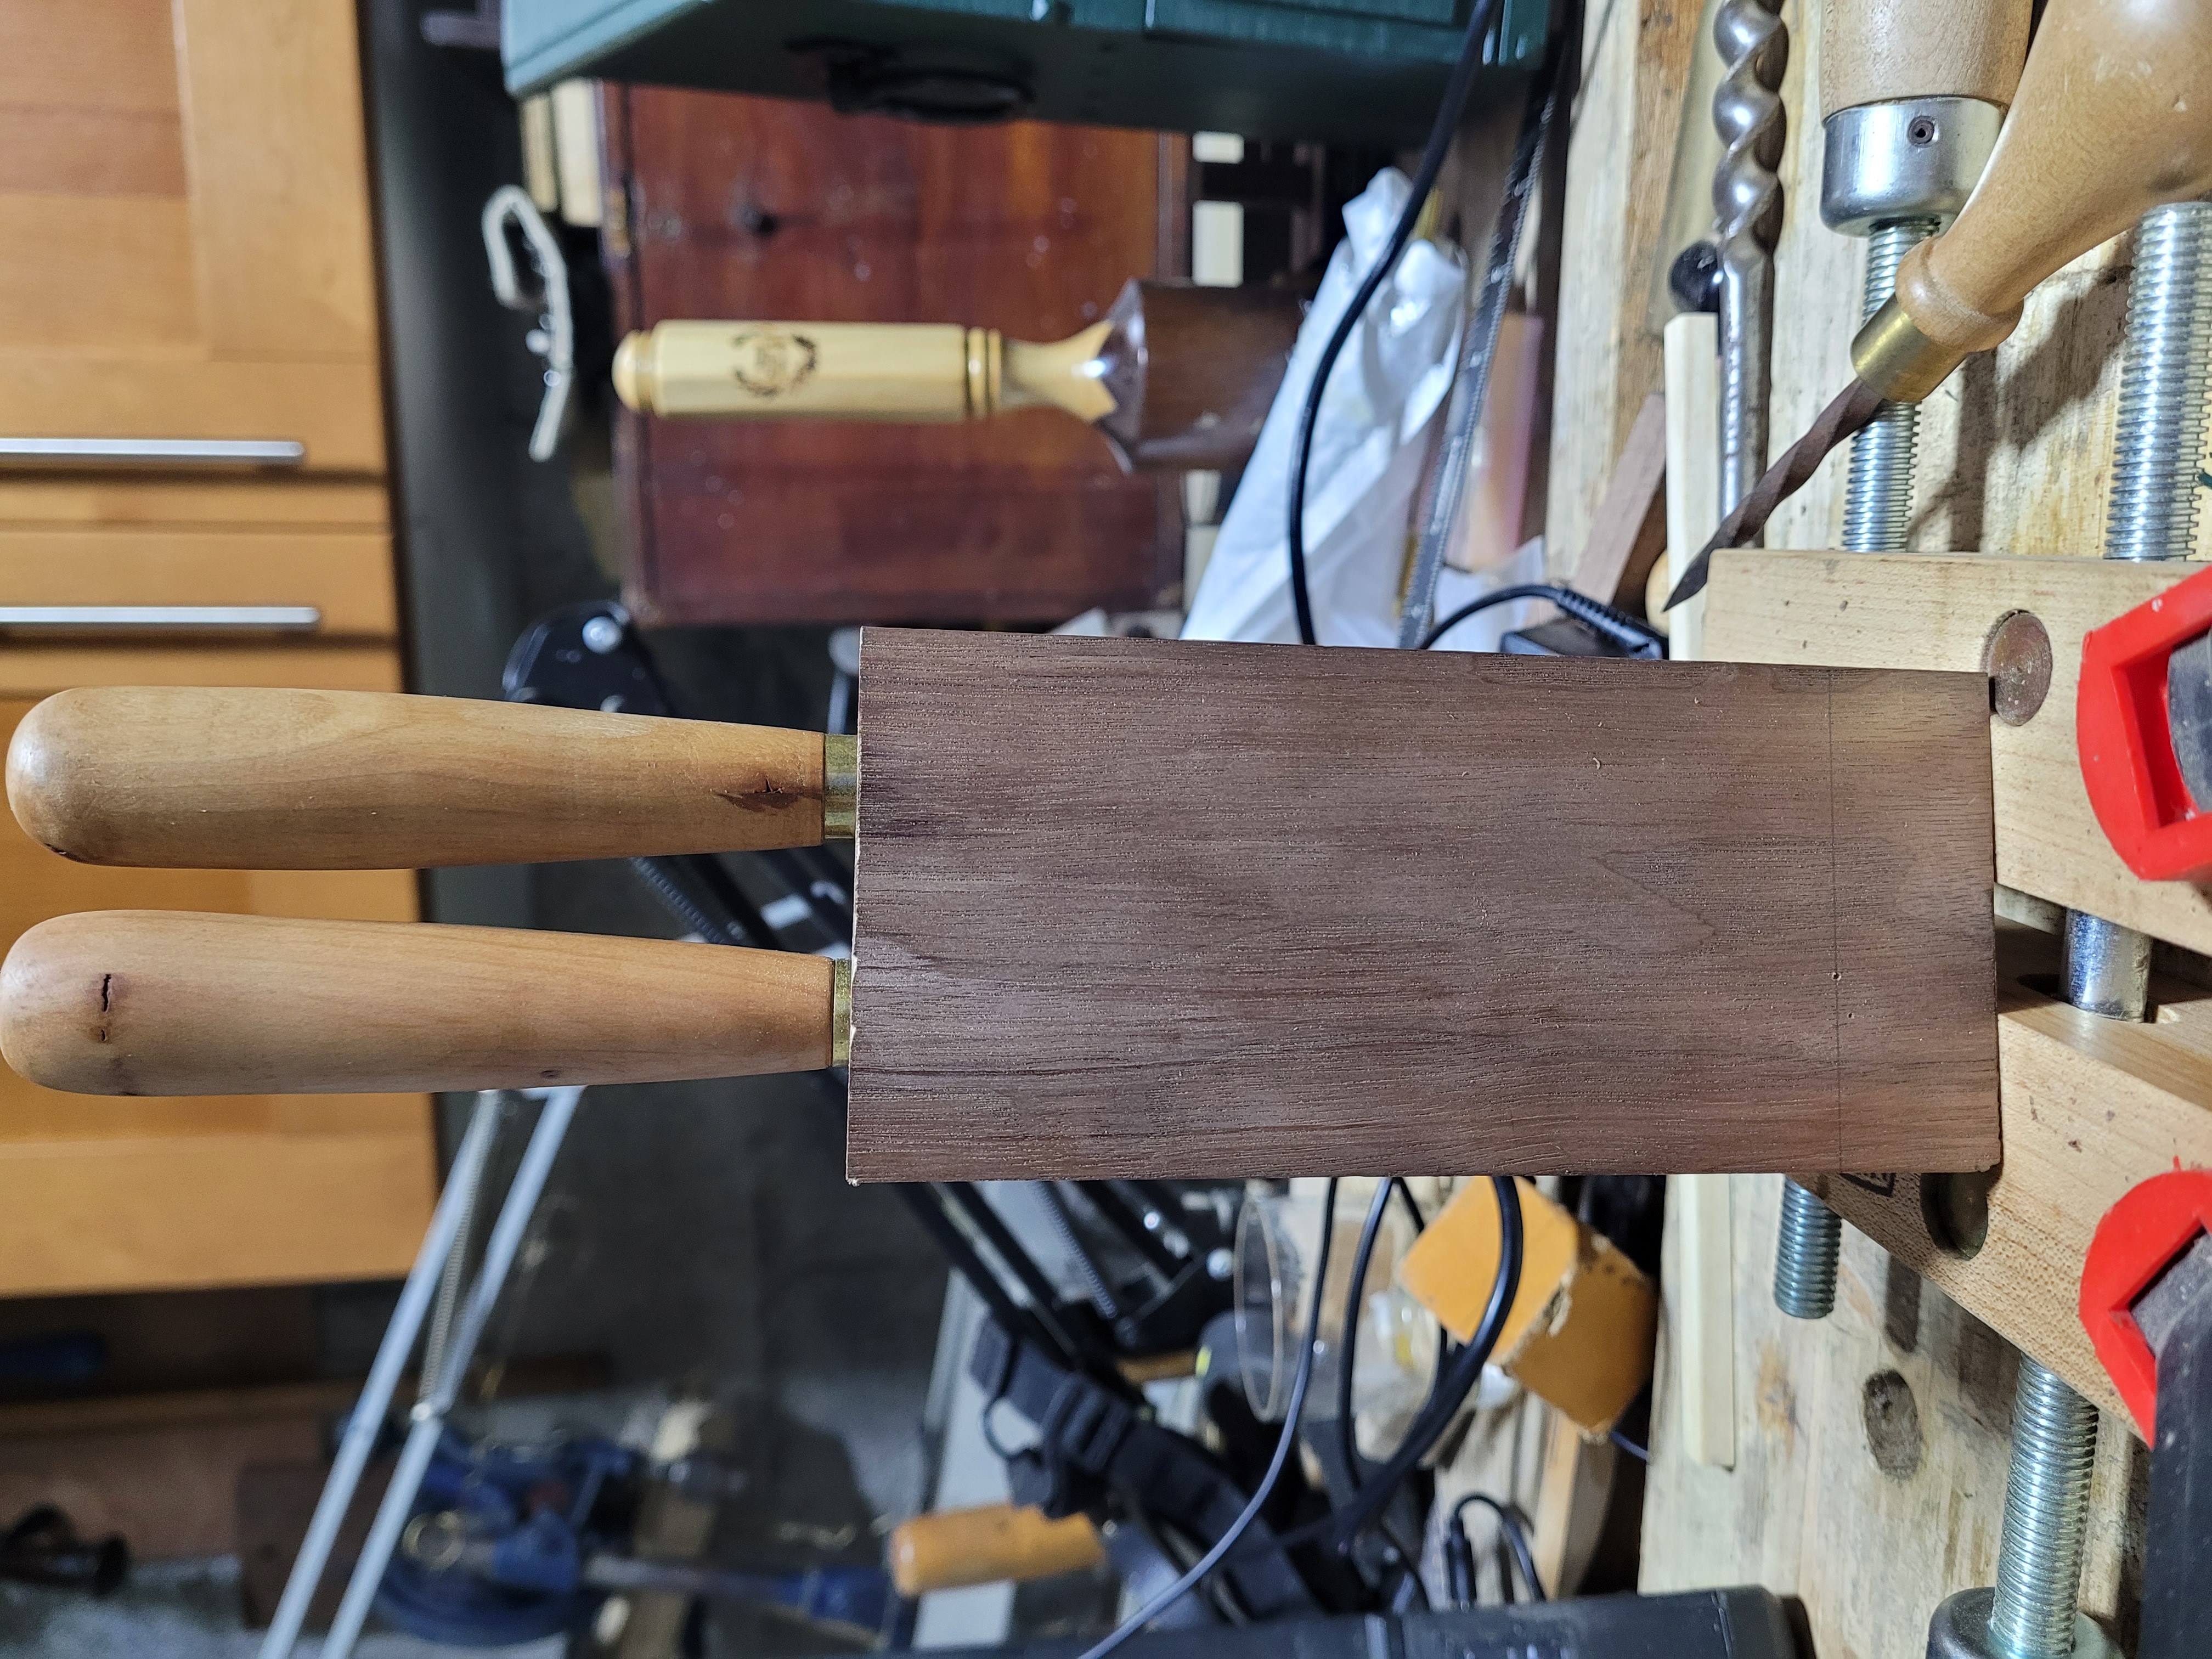 The chisels and handles are not the same size. So I evened them up by drilling different depth holes for the ferrules.