Cutting Compound Mitres
I’m pretty much finished with my mini Dutch tool chest. One of the last pieces I tackled was an internal dust seal for the lid. Its not something I’ve seen on a Dutch tool chest before, but the inspiration very much came from the improved dust seal on Mulesaw’s Seaborne Chest
Having done it, I can see why no one bothered on a Dutch chest before. As the lid slopes downward with the side of the case, in order to keep the depth of the dust seal consistent, you need compound angles on the mitres. Cutting these by hand is quite definitely the most challenging thing I have ever done with a saw. Yes I could have just not made the corners mitred and made it a lot simpler. But I am a stubborn beast, and by the time I realised just how difficult this was going to be I was committed.
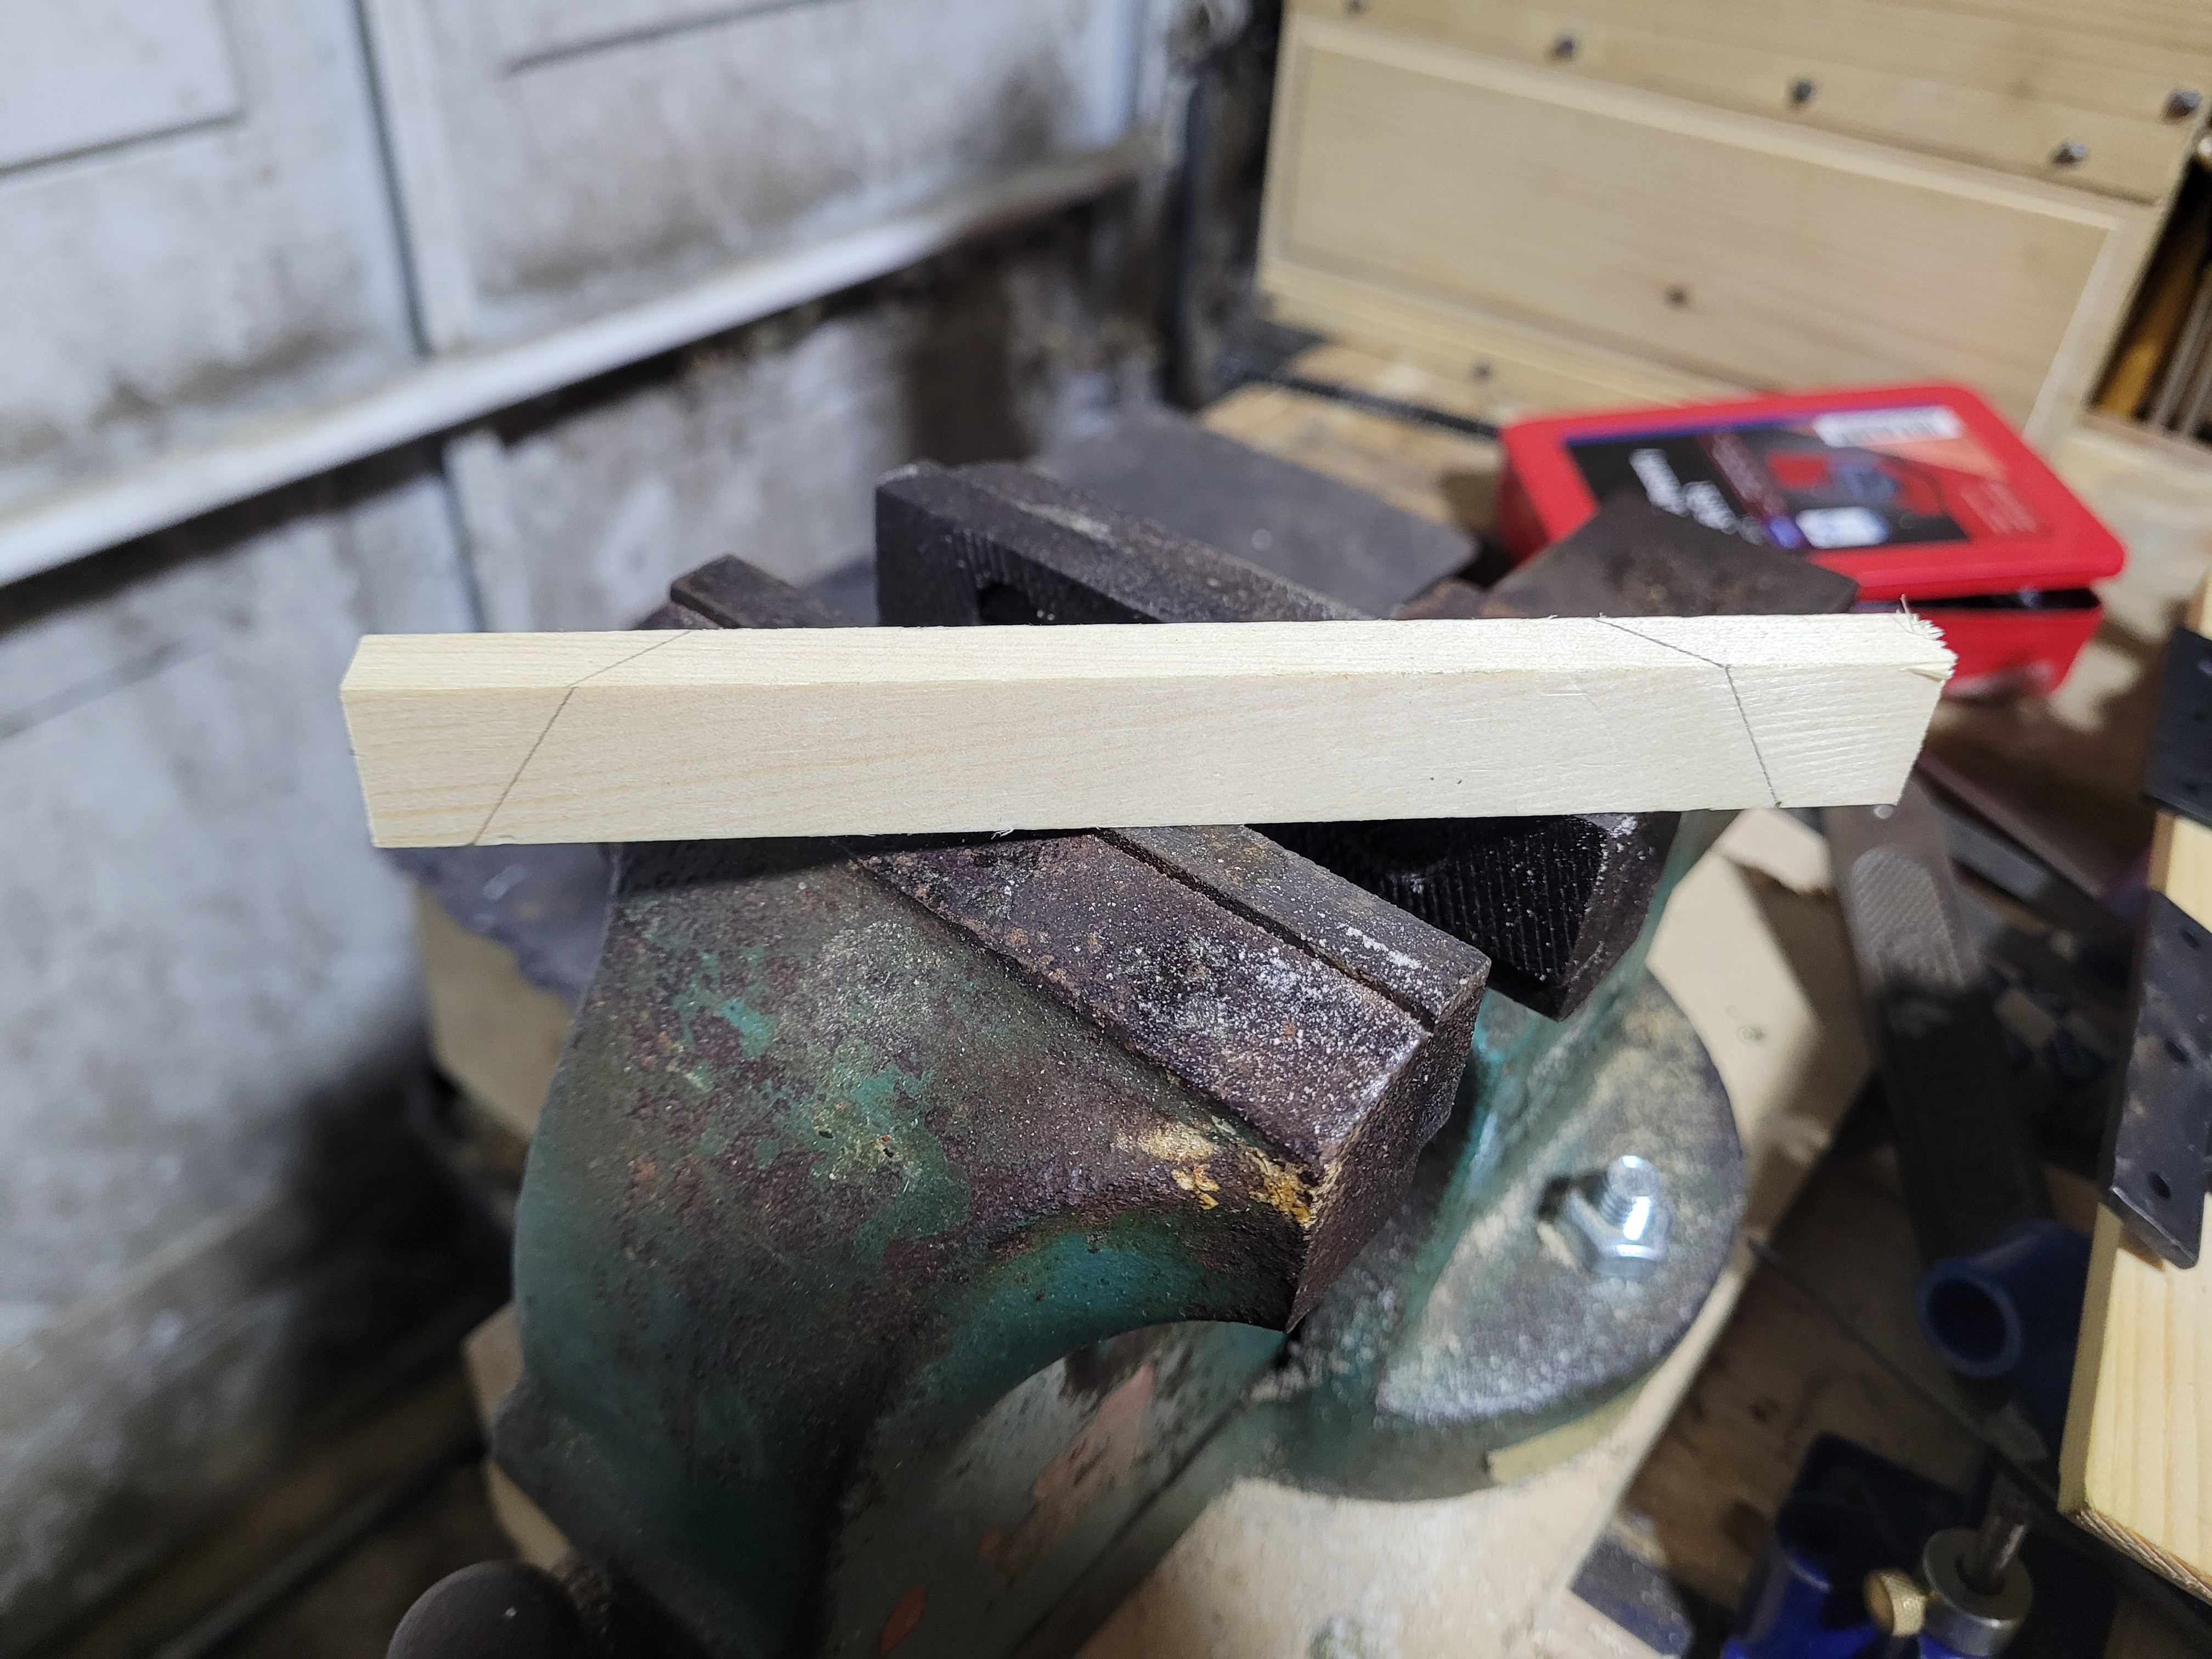
The long front and back pieces were the easy part. I simply shot standard 45 degree mitres on them using my shooting board. I could also shoot them until they were exactly the right size. This let me get a friction fit across the width of the chest to hold them in place. This was the one and only easy part.
When it came to the left and right hand side of the dust seal there were several challenges. First off, its a compound angle. As the side piece is going to tilt down toward the front of the chest. You have the 45 degree mitre on top, and then an angled cut down the side so when it mates with the front or back the piece rests at a 30 degree angle to match the sides.
The chest itself is not perfectly square, so every corner is a little different.
My initial plan was simple. Clamp the side piece onto the side of the chest underneath the top and bottom pieces. Use a combination square to make sure the depth was consistent all along the side. And then take a marking knife and scribe from the back/front piece onto the side piece. This never worked. In my brain, it should work, but it never did. No matter how good the saw cut looked, it never lined up correctly. Part of this is probably down to minor errors in lining up the piece. Part of it is probably the very small reference surfaces. But after many many attempts, I never got a good match, even when it appeared I had sawn to the lines perfectly.
I eventually gave up on this tactic. I screwed the front and back pieces and attached them to the lid. Being able to reach into the chest through the open back made it simple to get them lined up right and get a perfect fit. Once those were in place, I could remove the entire lid, and use bevel gauges to take the required angles and transfer them to the side pieces.
This was a clear improvement. It still took a lot of attempts to get it right. I used my 52tpi gents saw, as that meant I had a great surface at the end. Experiments in trying to correct pieces by hand all failed. So once I had a good cut, I did not want to even touch it with sand paper or a file. From here on out it was mostly trial, error and practice. You had to cut perfectly, and you had to get the length right first try. After a lot of failed pieces I seemed to develop the required muscle memory and began to get passable pieces almost every try. For both sides I would make 4 or 5 pieces. Take the best, and then screw it in.
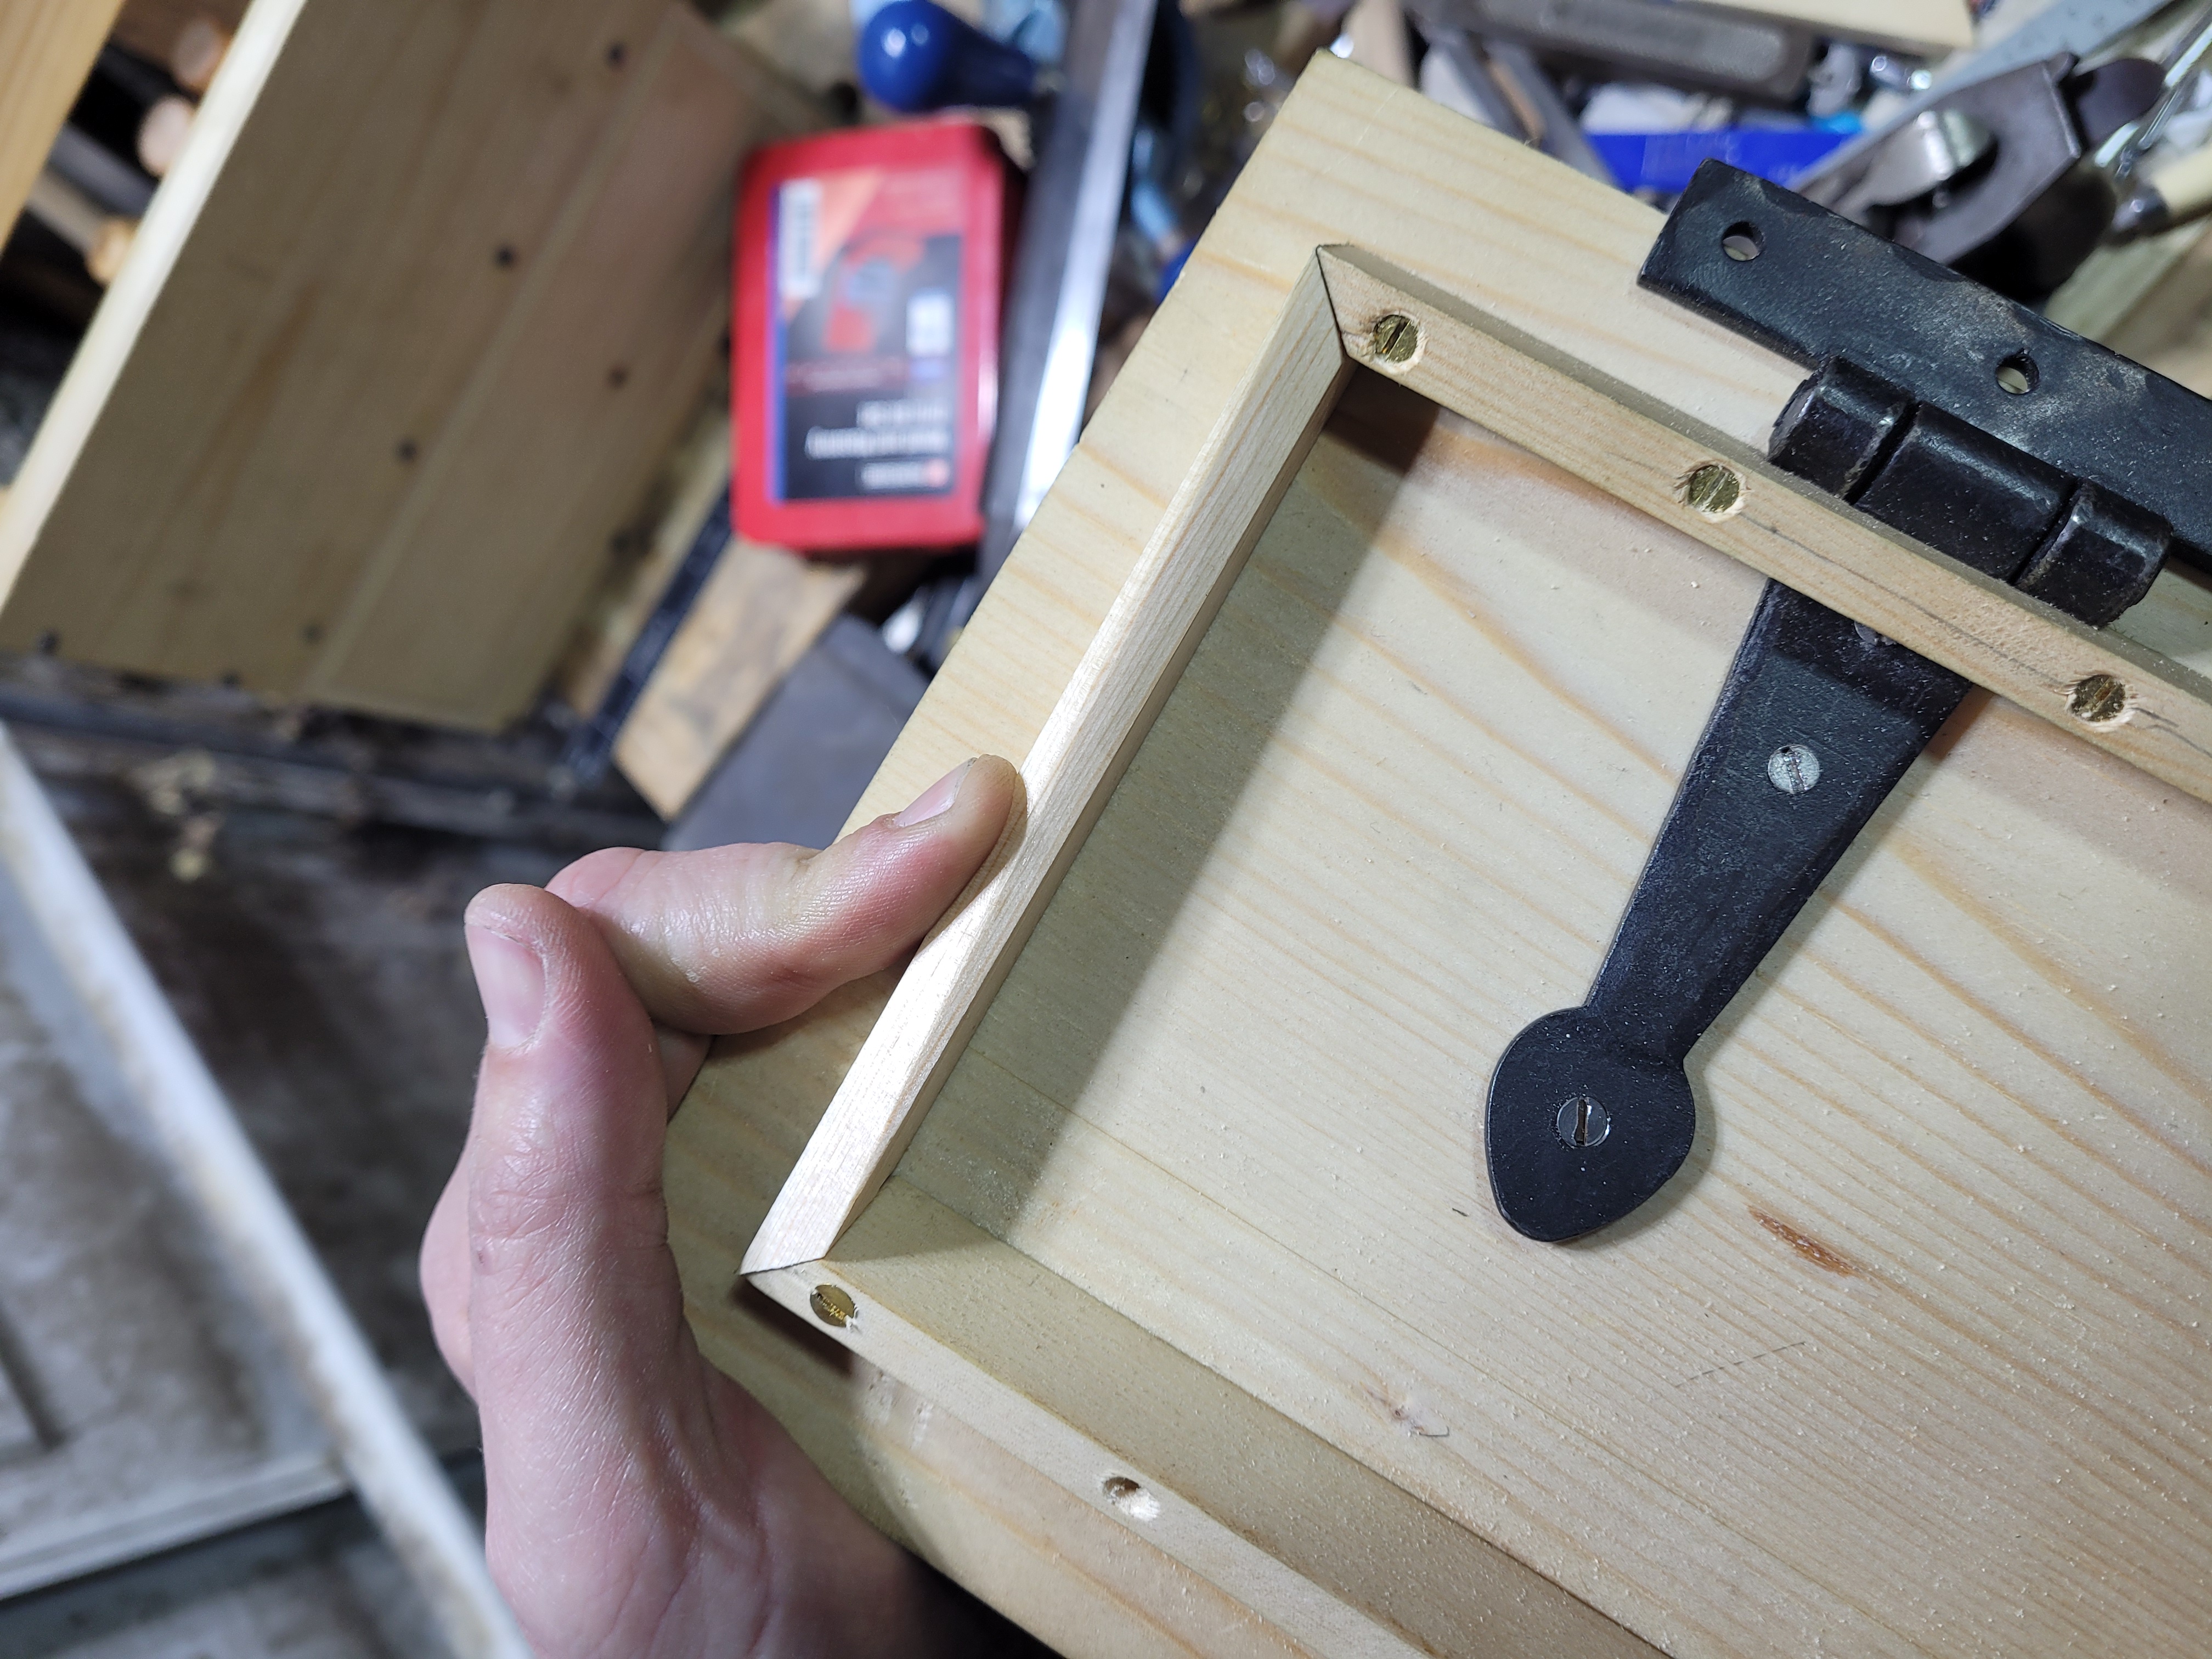
Once I had 2 workable sides I screwed them in and started working on bringing them to final height. An interesting detail of the mitres and the fact that the front and back pieces are leaning at an angle is that you cannot have a flat surface that runs from one corner to another. I settled on a sort of a double bevel design on the side pieces. Take a look at the photos below if you are not sure what I’m talking about. Then the front piece needed to be bevelled to provide clearance for the lid to be shut.
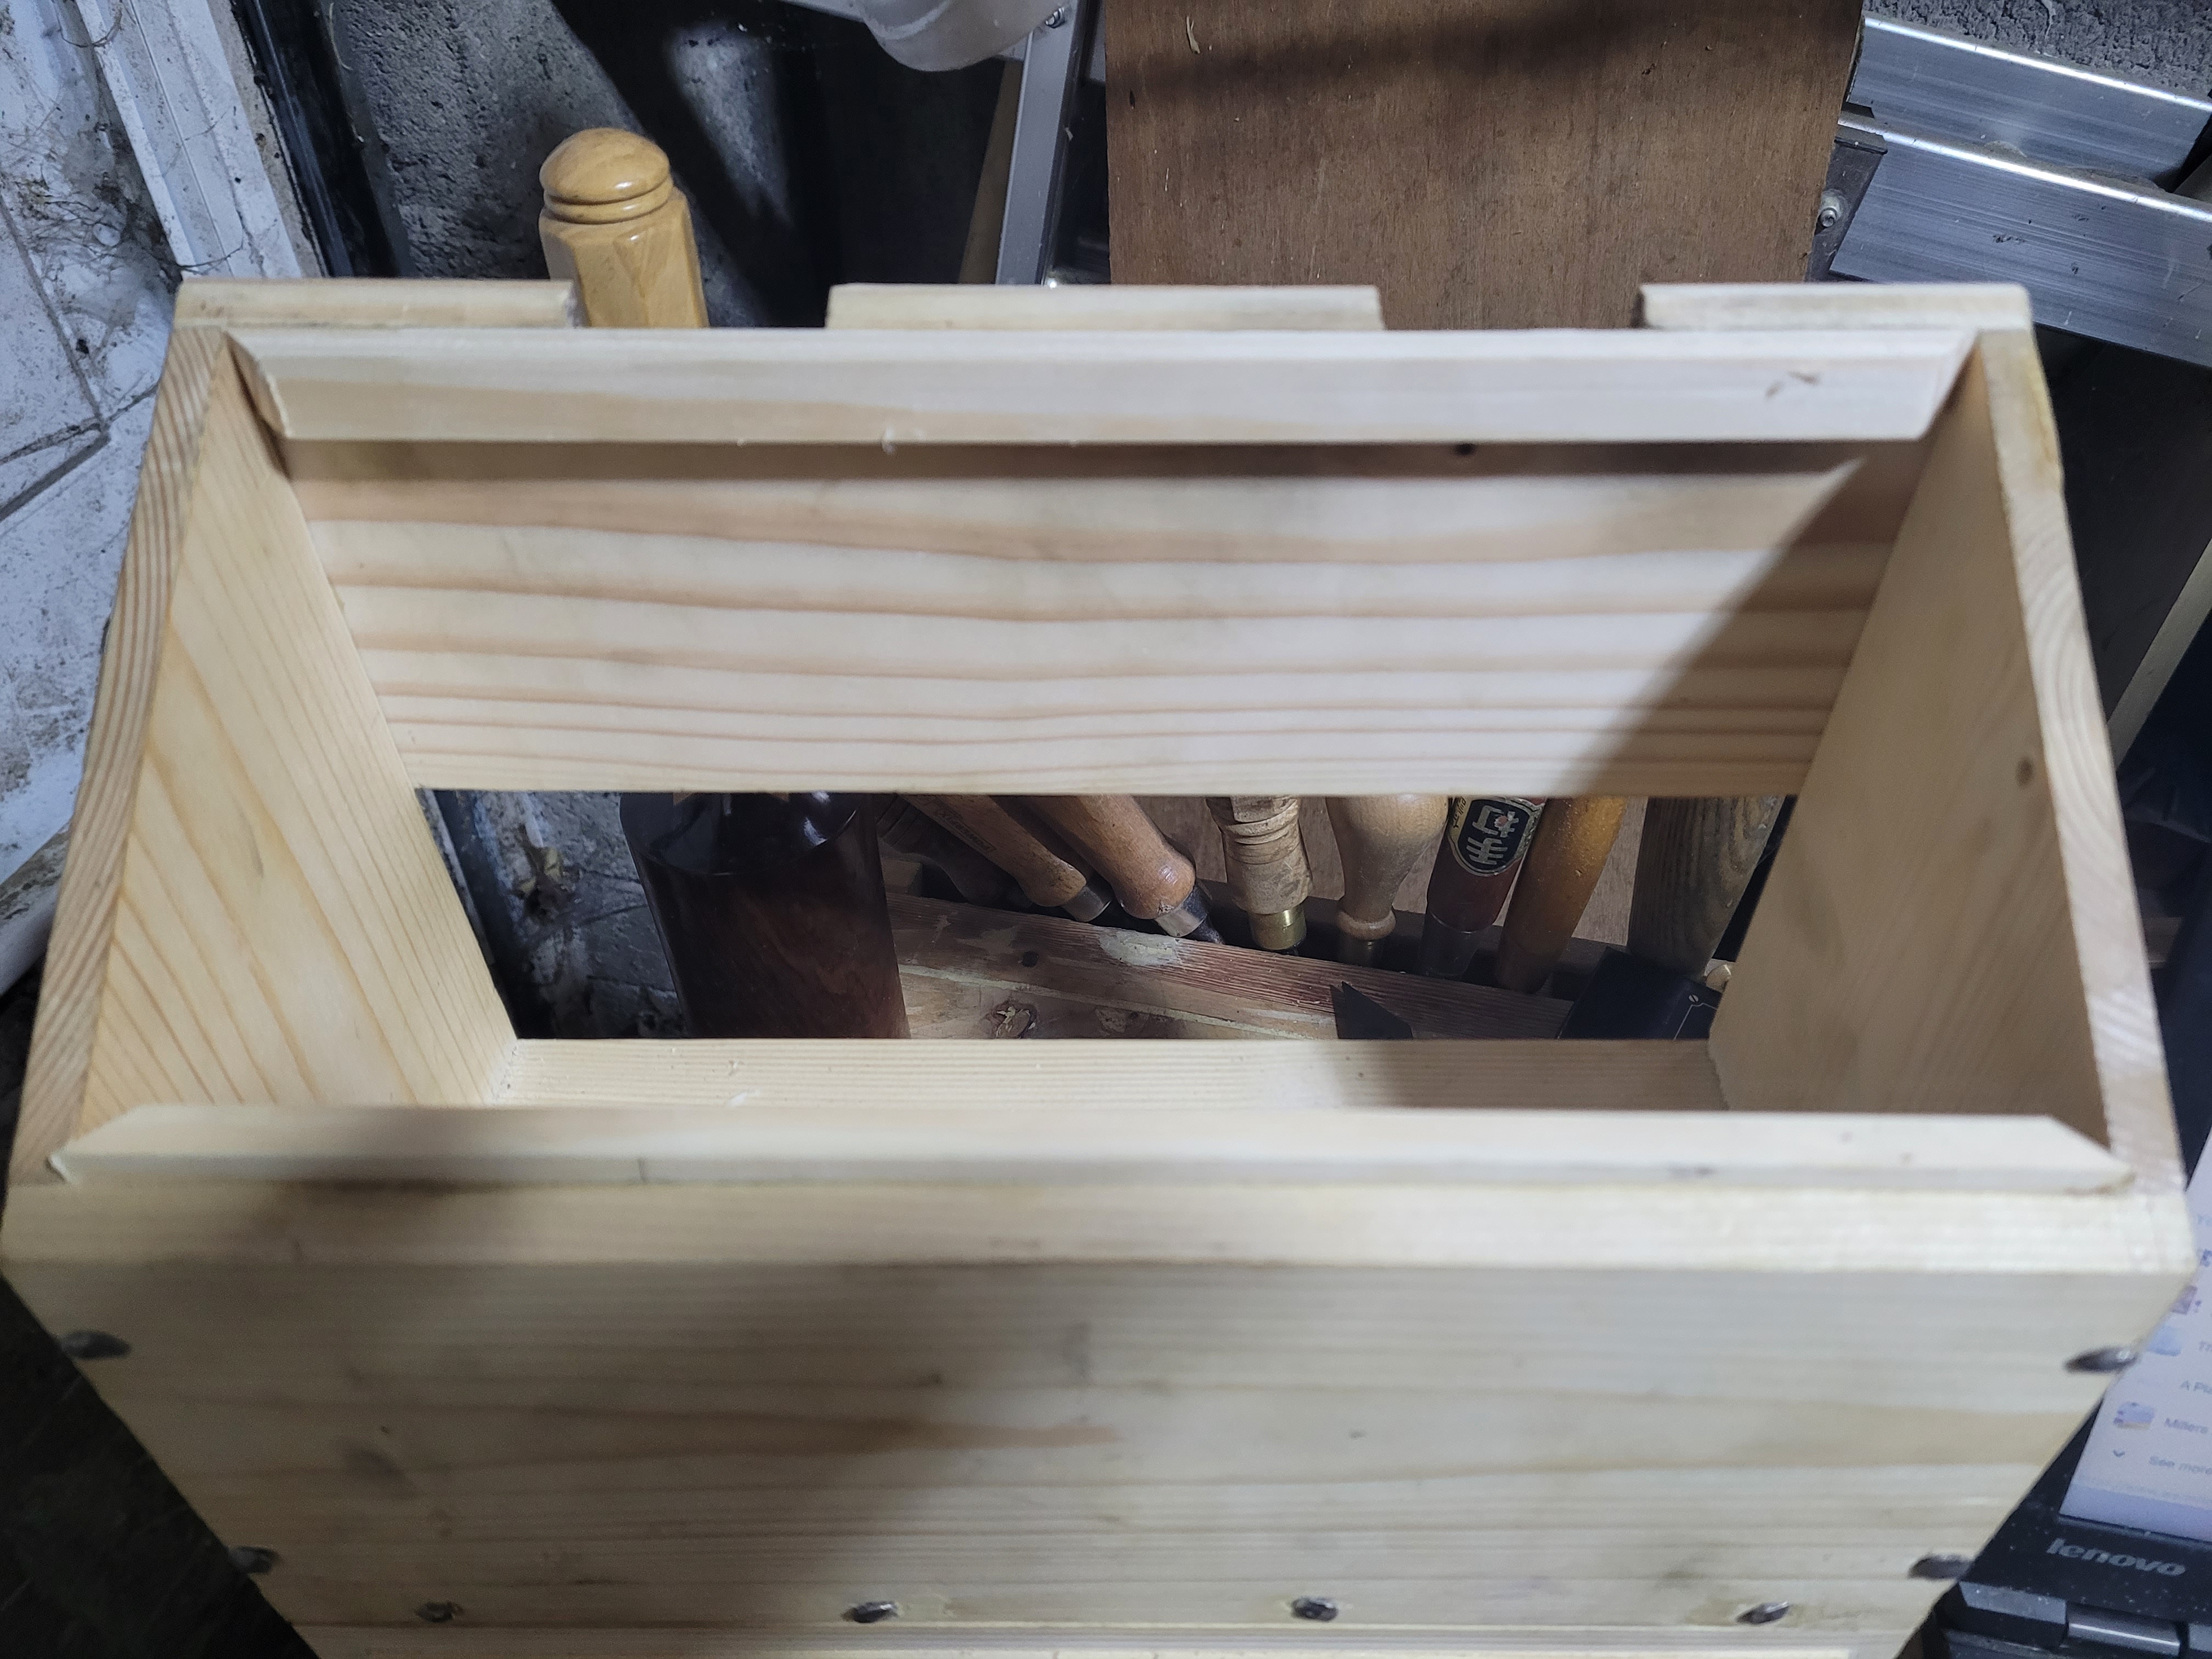
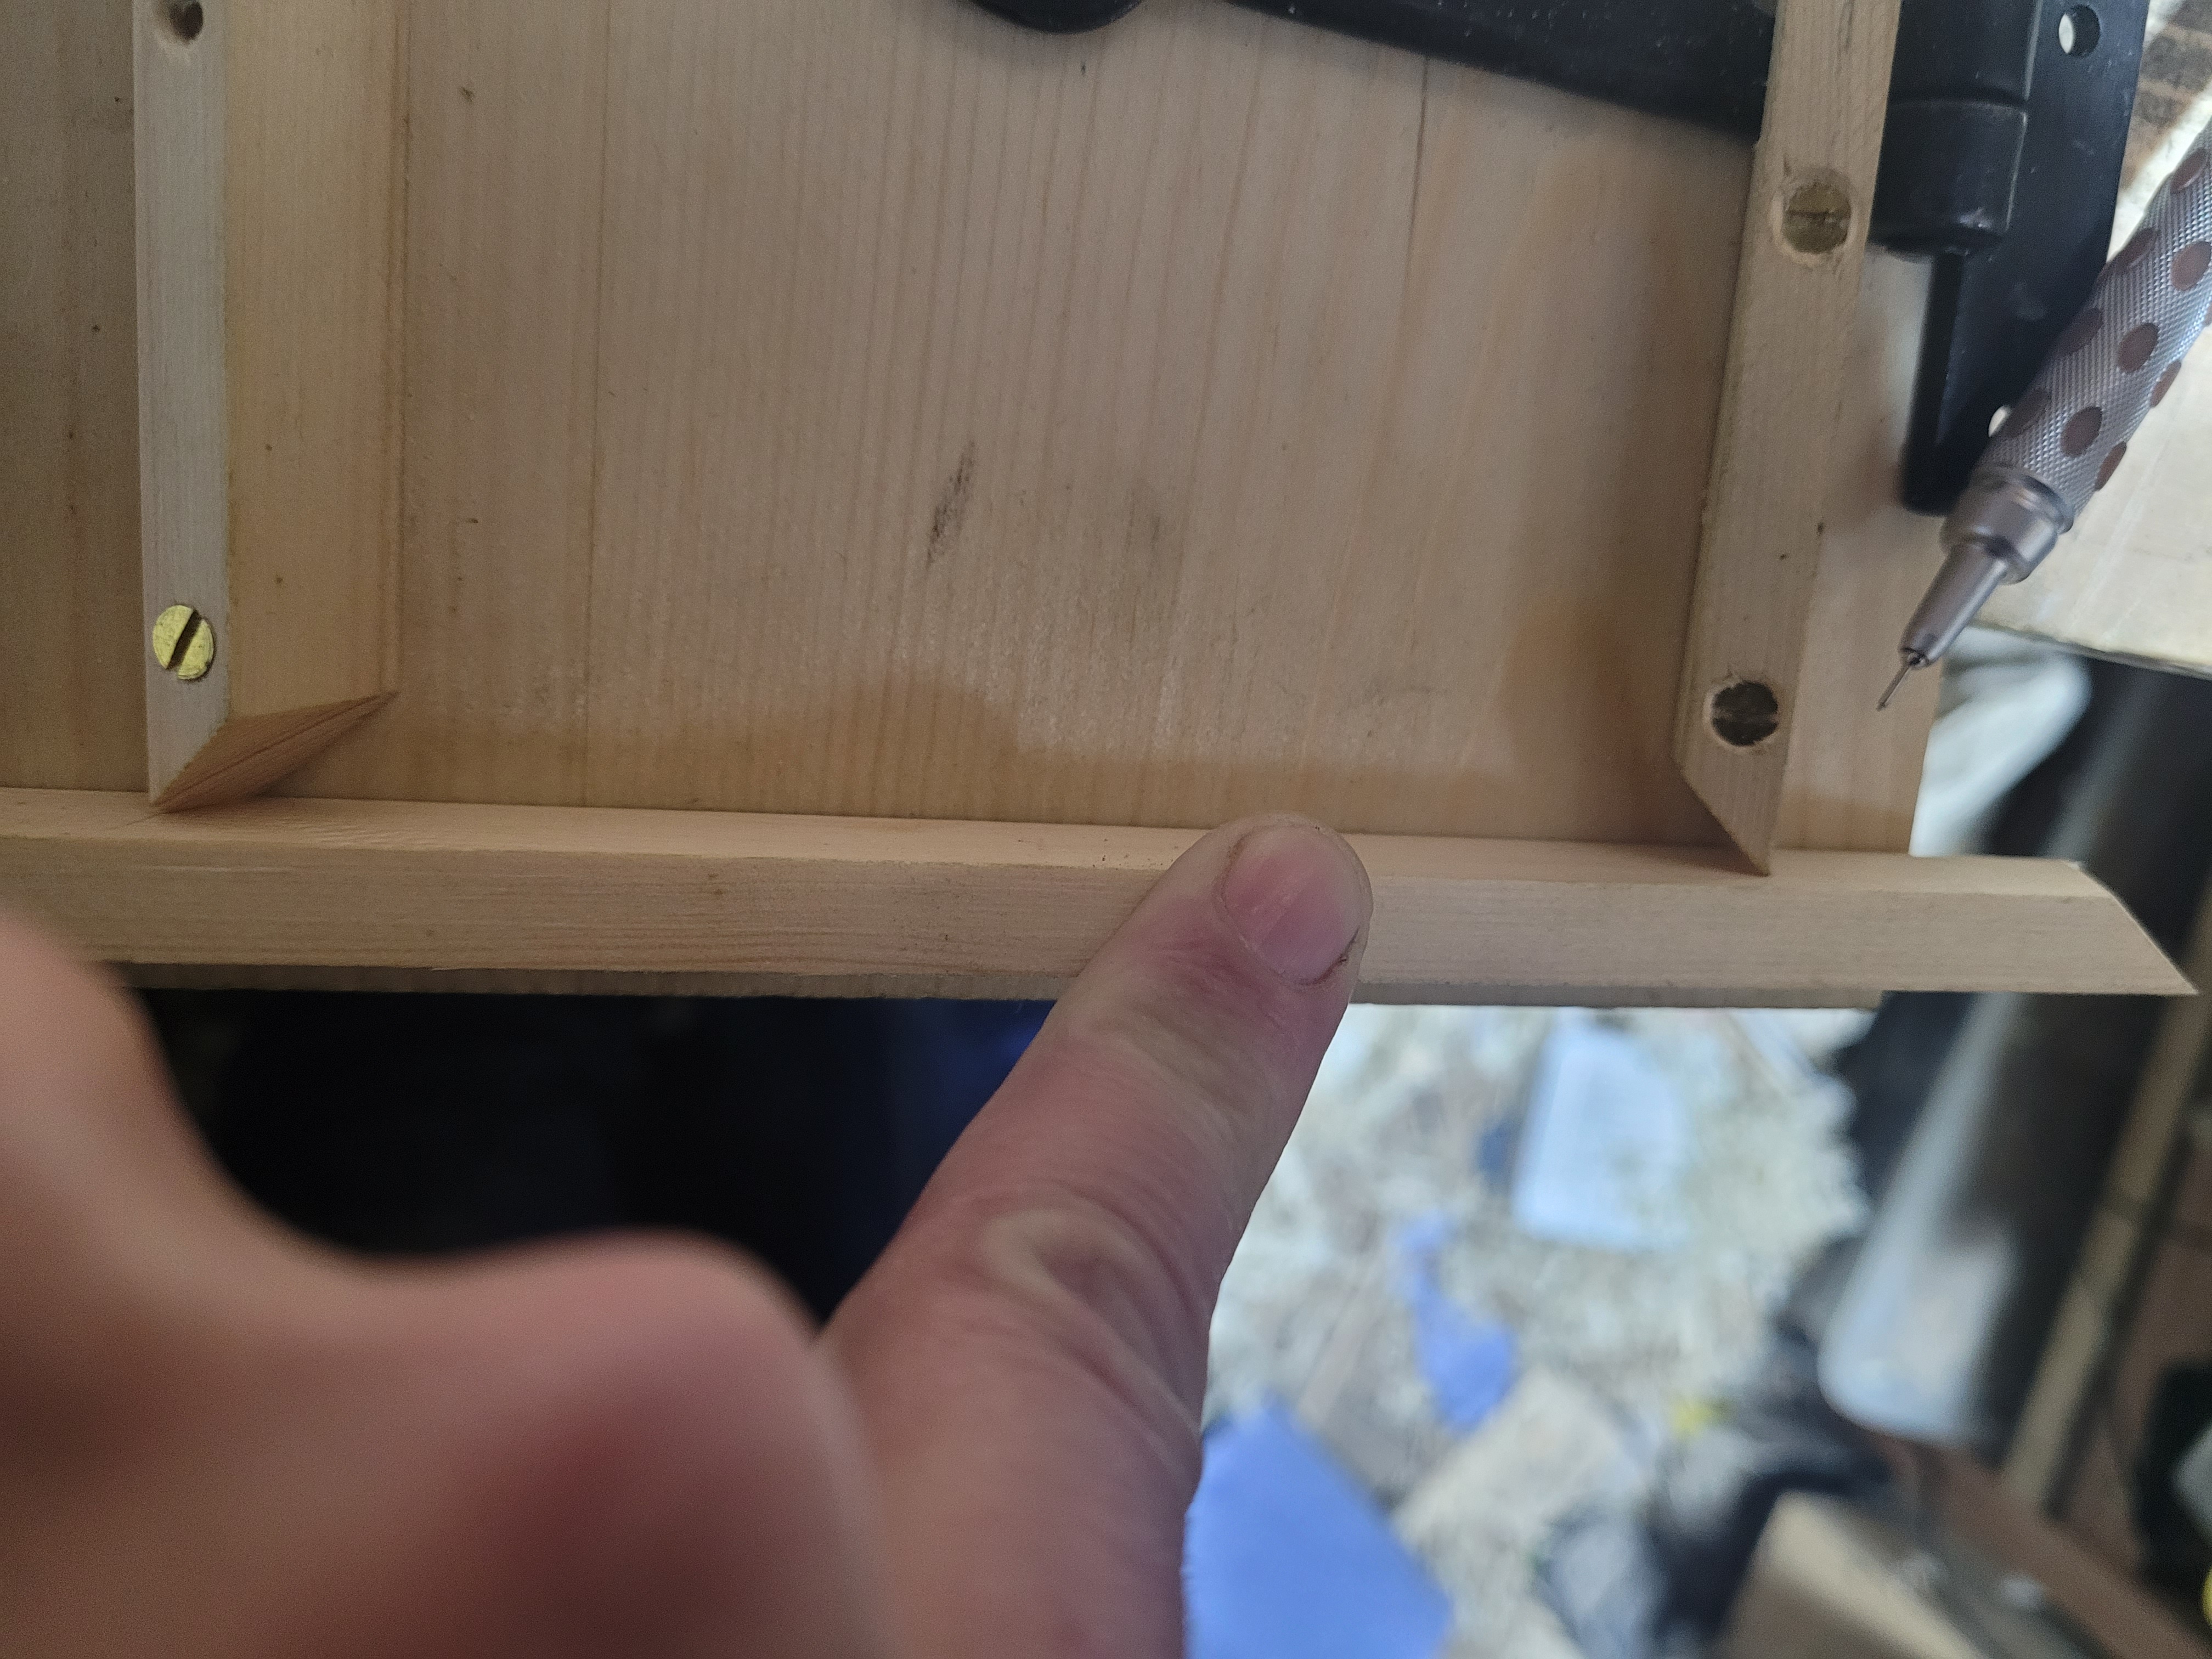
Once the pieces were in their final form, I screwed them in for the last time (no glue yet, maybe at a later date). Flipping the lid up to the light, I could not find any light coming through at any corner or under any piece, so I’m pretty pleased. Its a very tight fit, so it takes a little pressure to open or close the lid. This should do a nice job of keeping dust, and thus rust away from my tools.
If you want to see exactly how I transferred the angles to the side pieces and my set up for sawing. Check out the photos below.
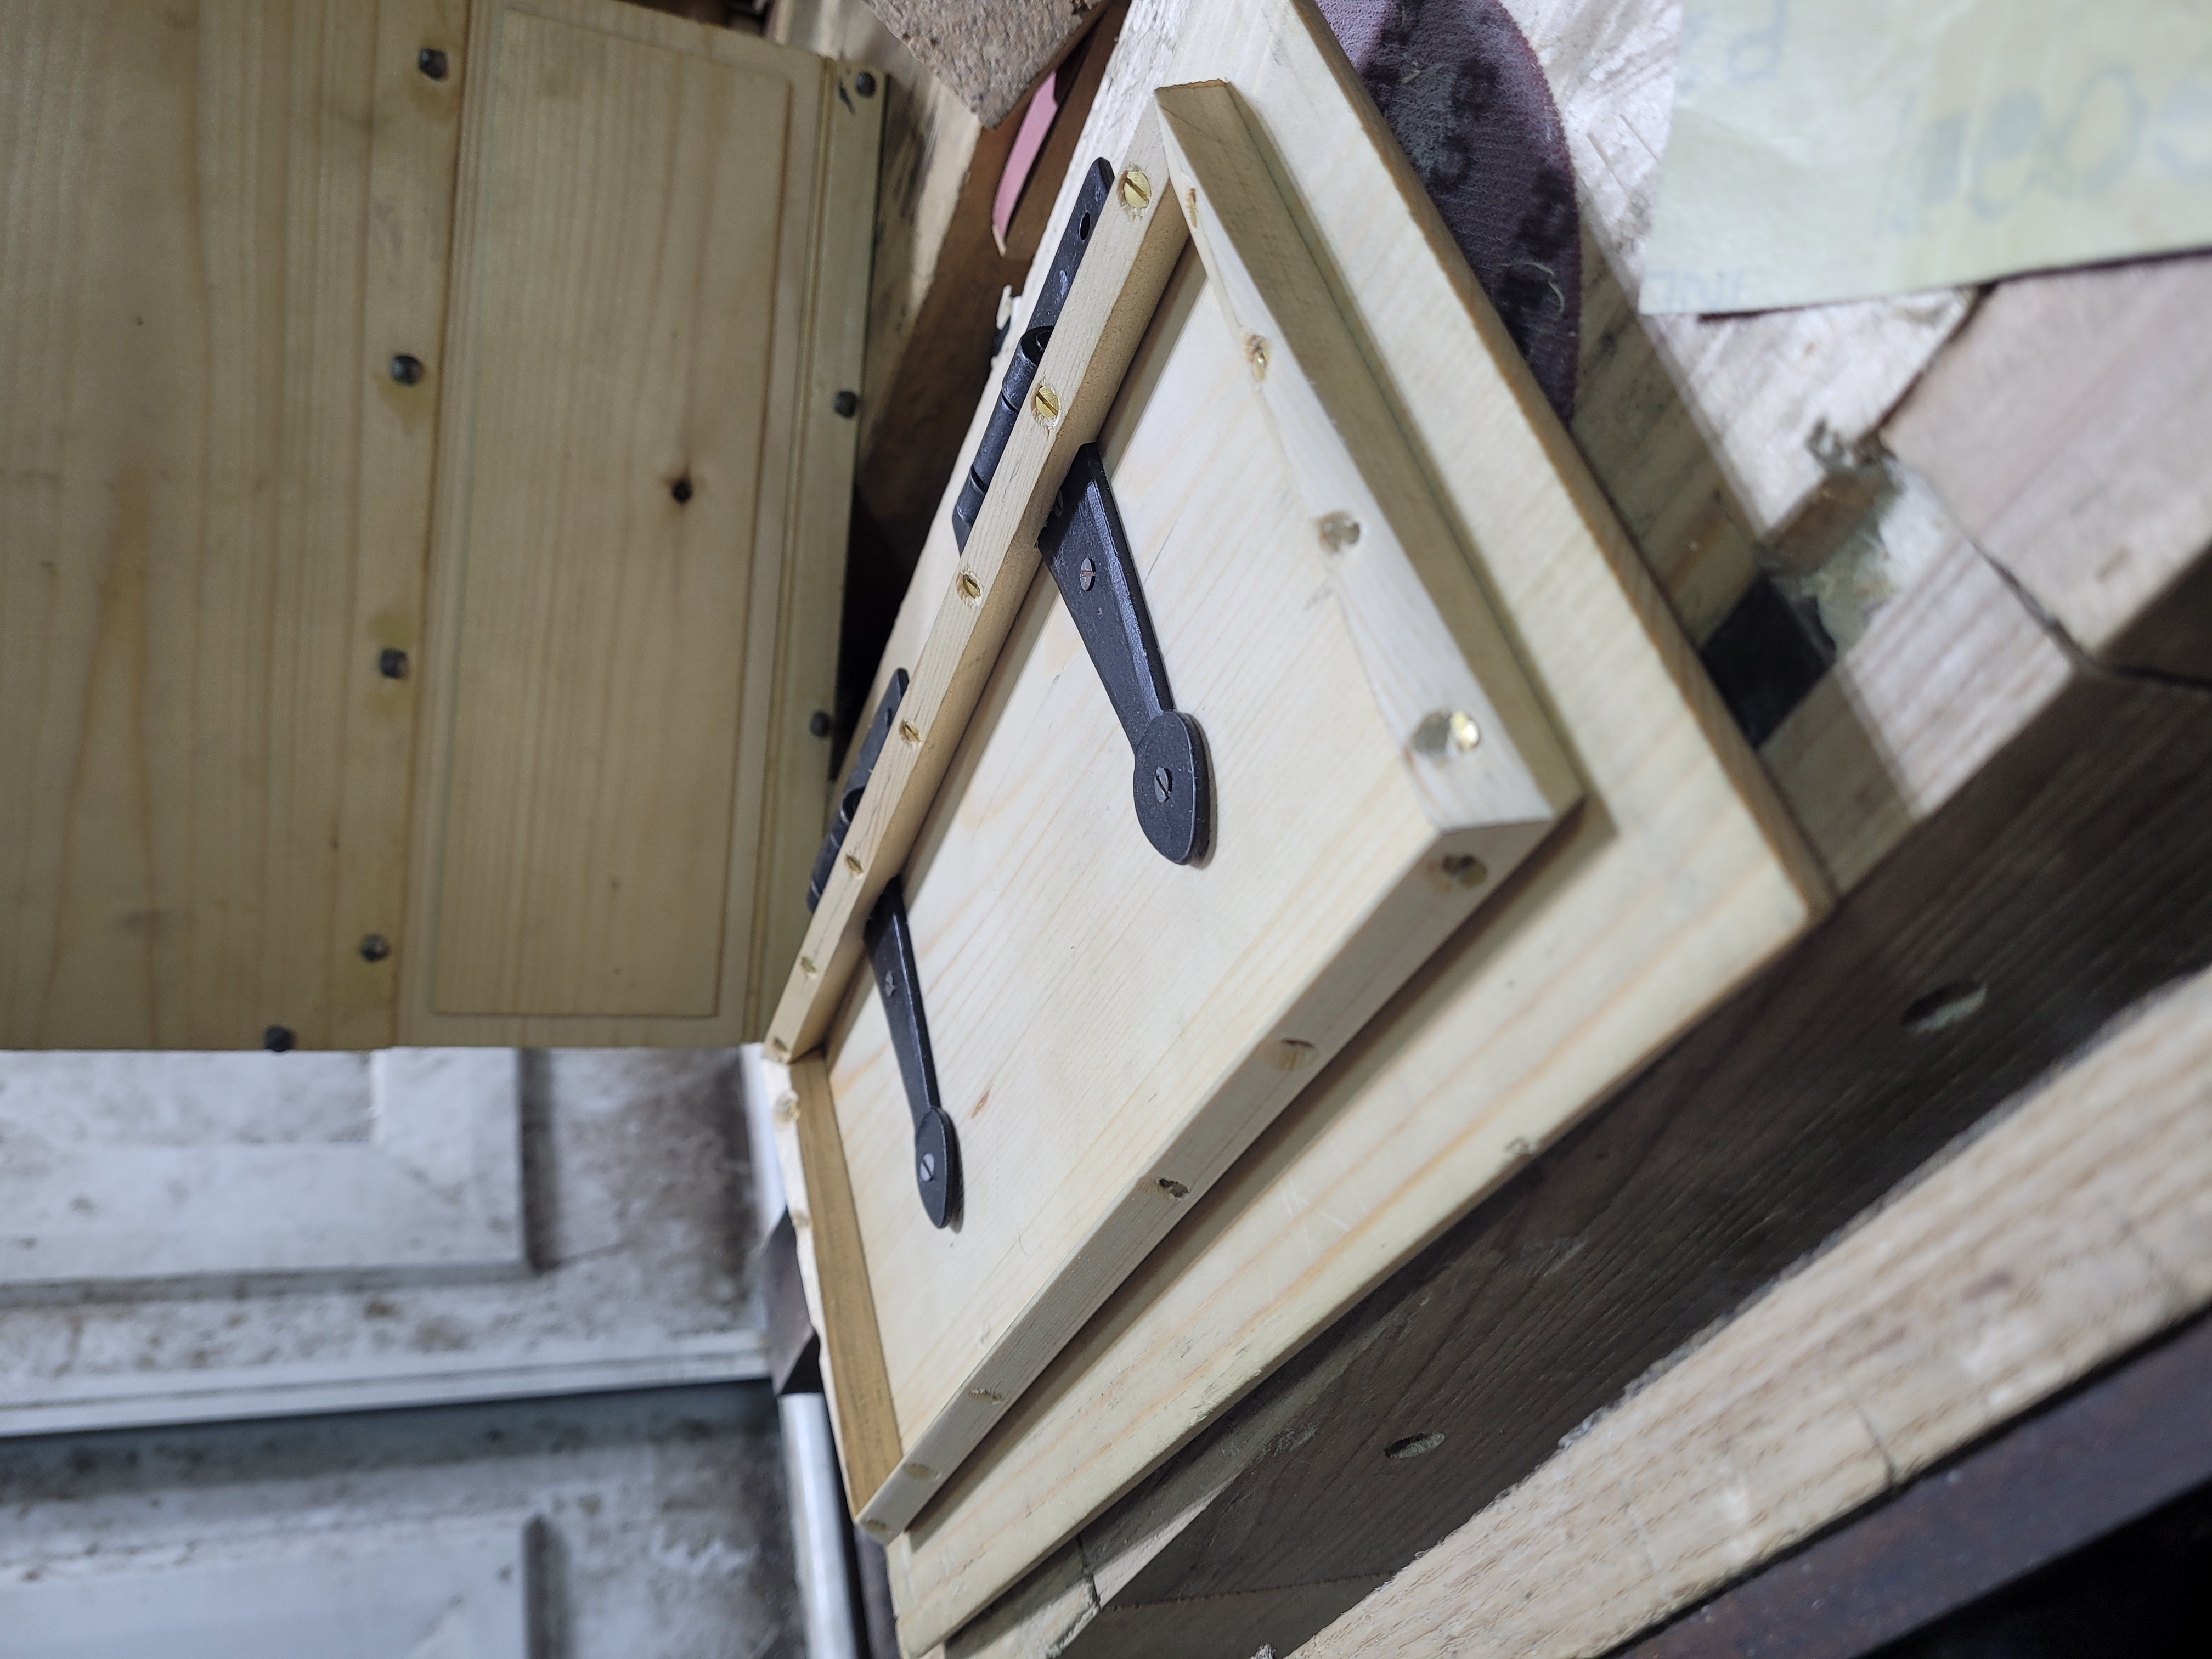
This is the finished result I’m going for.
From this angle you can see where some of the challenges came from. Both the front and back piece are angled to match the 30 degree angle on the sides of the Dutch tool chest. This means the side pieces can’t be created on a shooting board.
Shooting the 45 degree angle on the front and back piece is pretty straightforward. The shooting board made it easy to trim them to a length that gave a friction fit as well. The square I’m using to get 45 degrees has slightly clipped ends, so you don’t have to worry about running into the square with your shooting plane.
I only had the upper back board of the chest fitted at this point. This makes it much easier to fit the pieces so they line up perfectly with the chest walls.
This is how I initially tried to transfer the angles. It never worked.
Both the front and back piece need to be shaped so they will be vertical when the lid is closed. To do that I just clamped them in place, traced around with a pencil, and then planed off the material above the line.
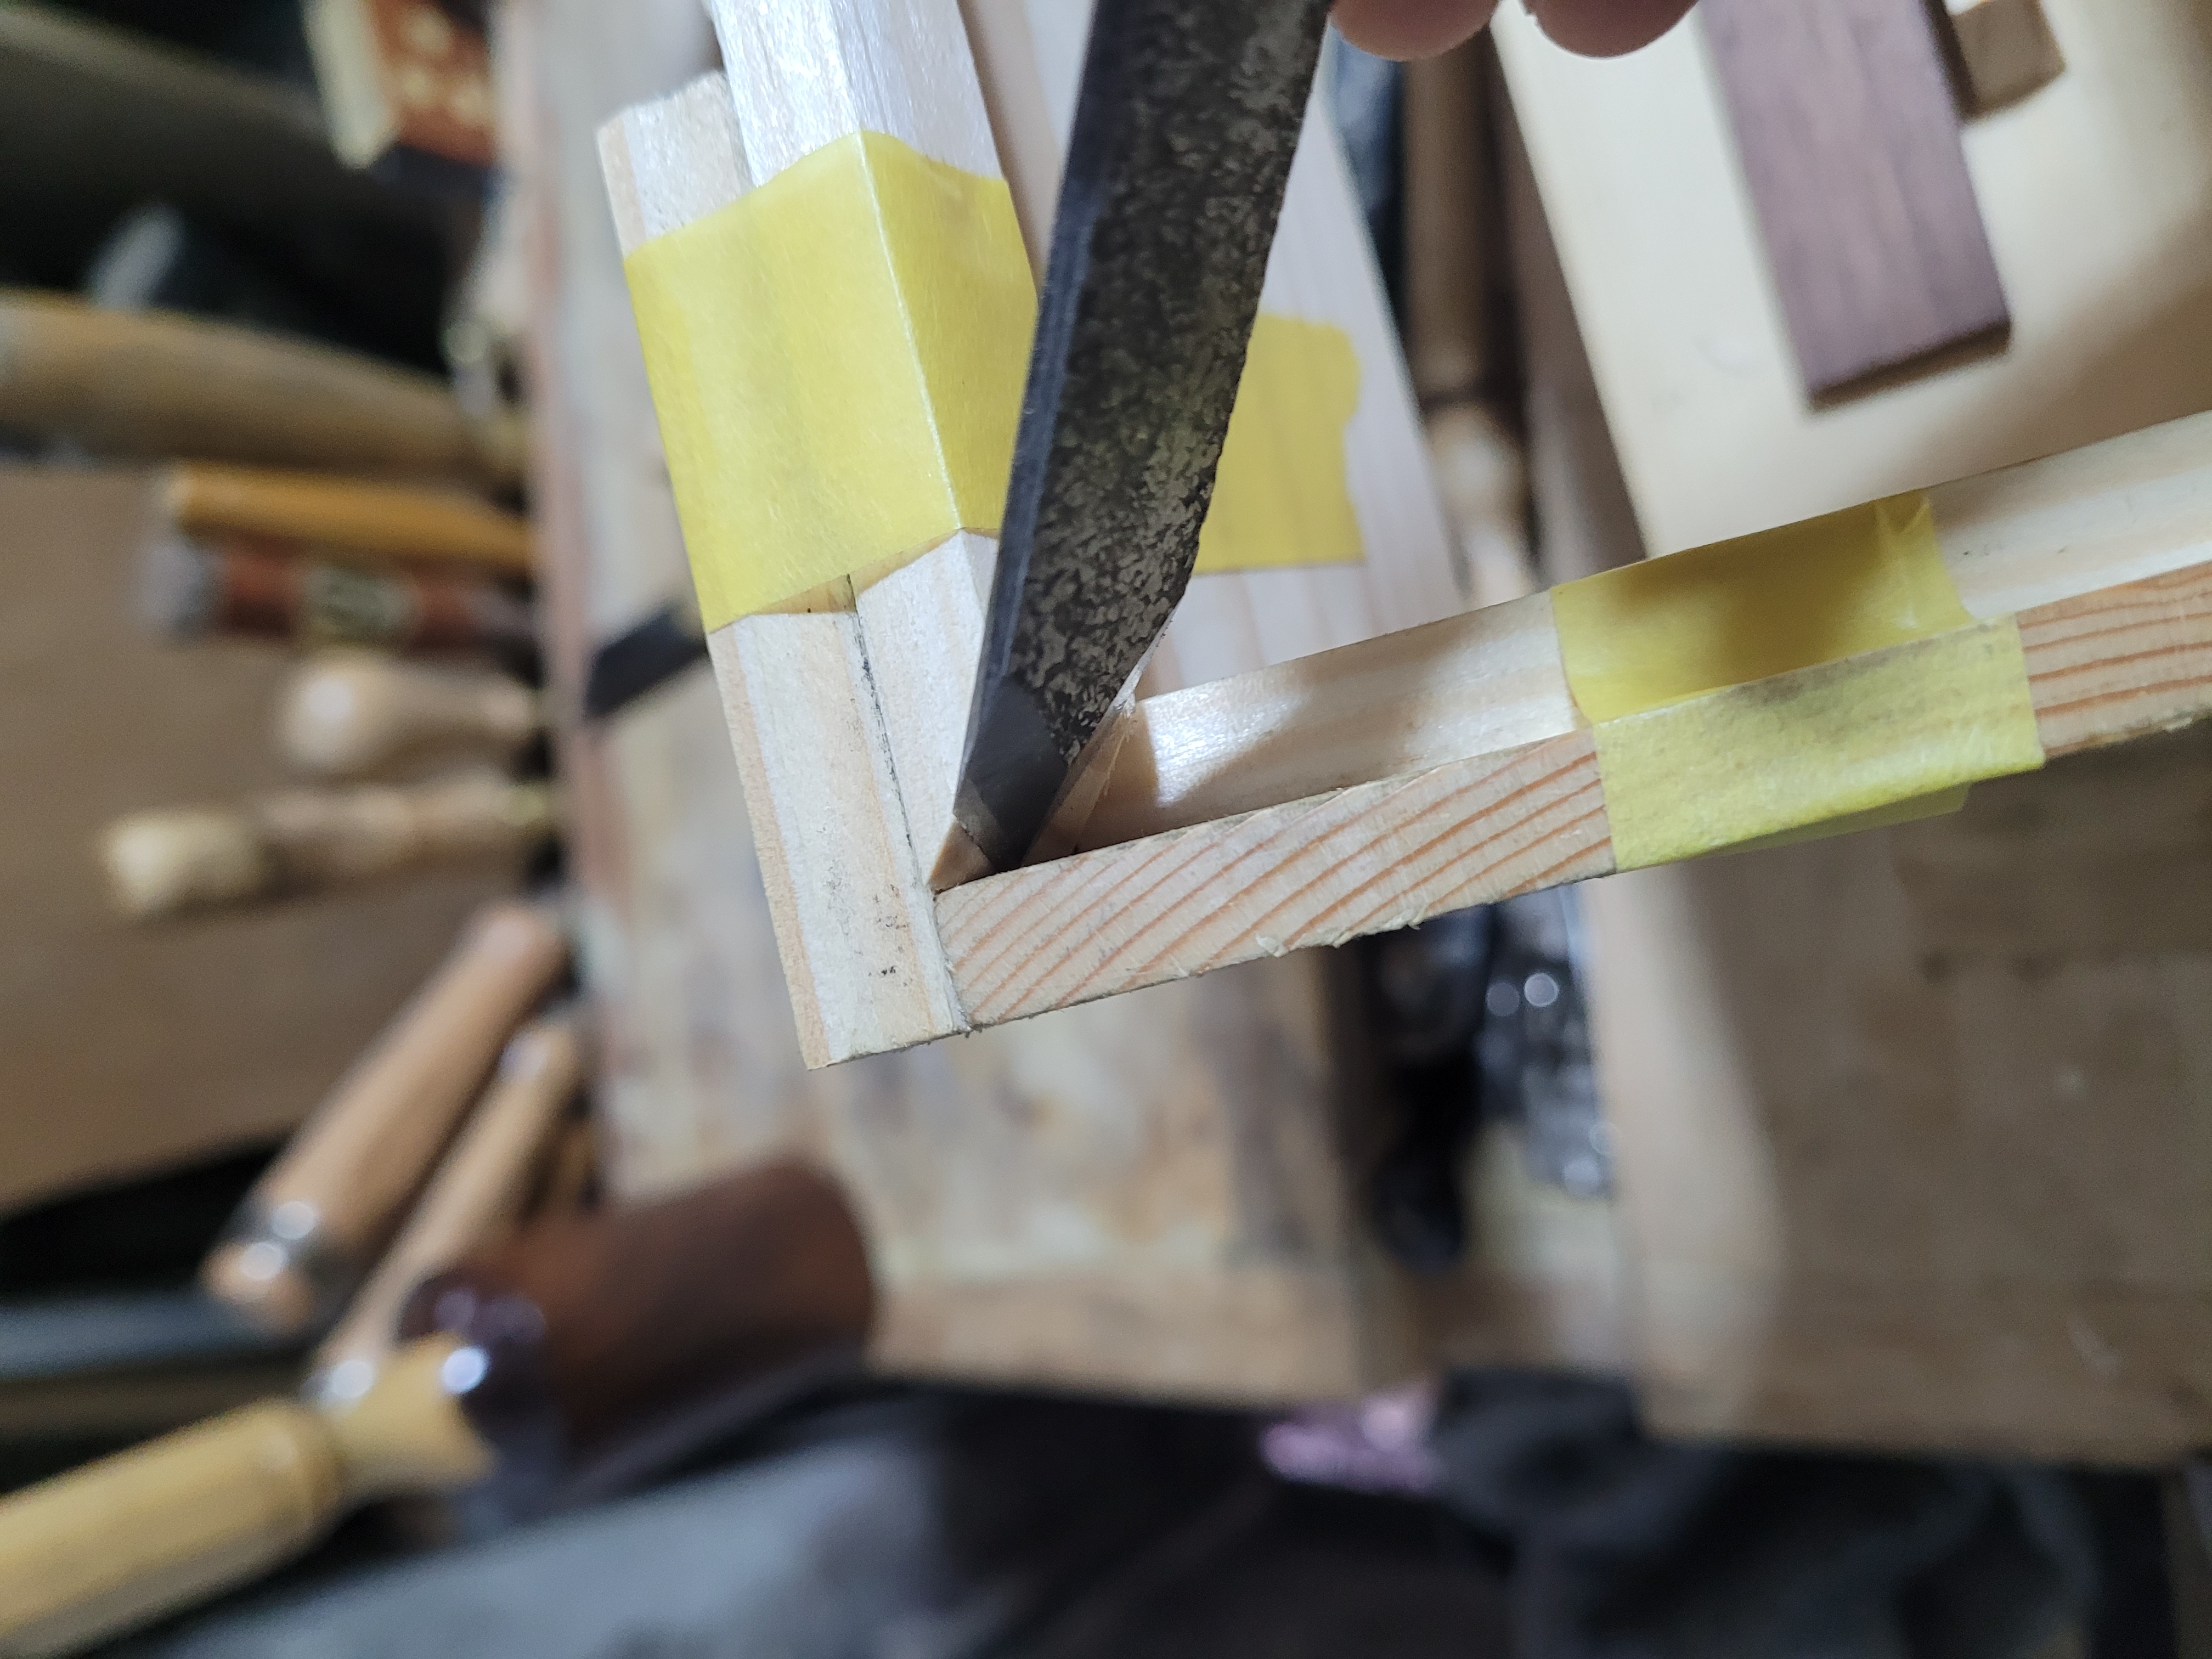
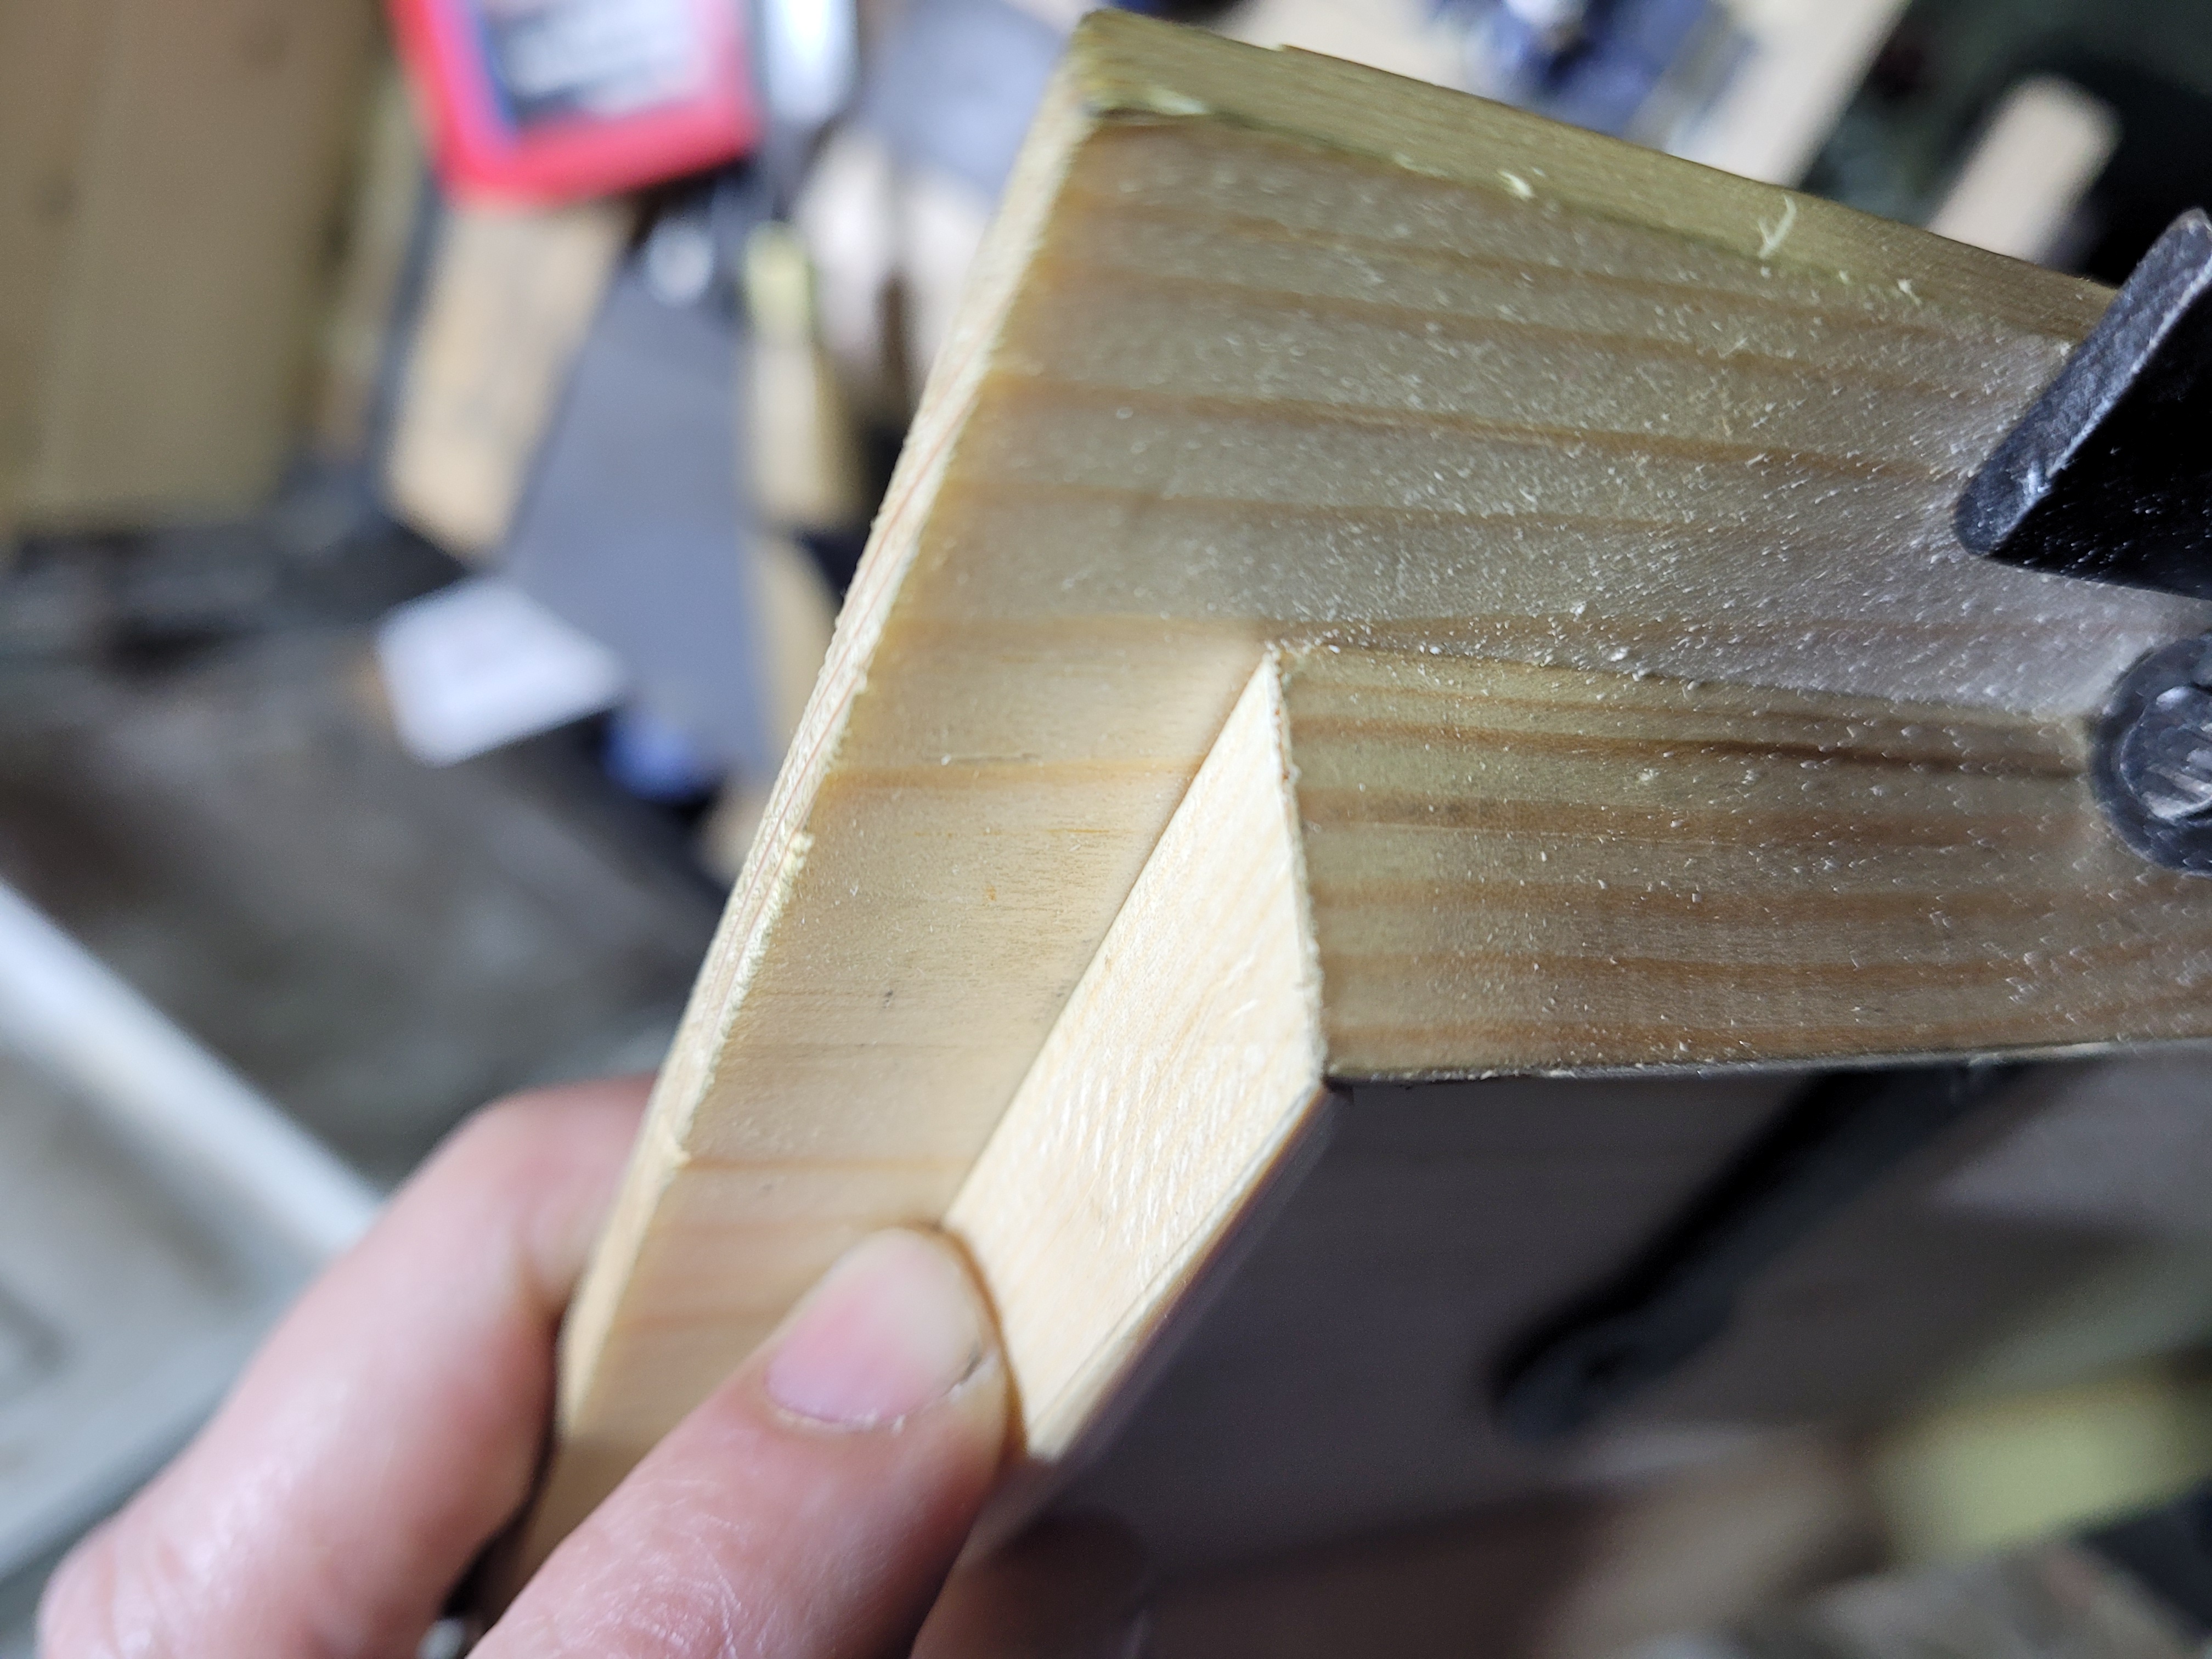
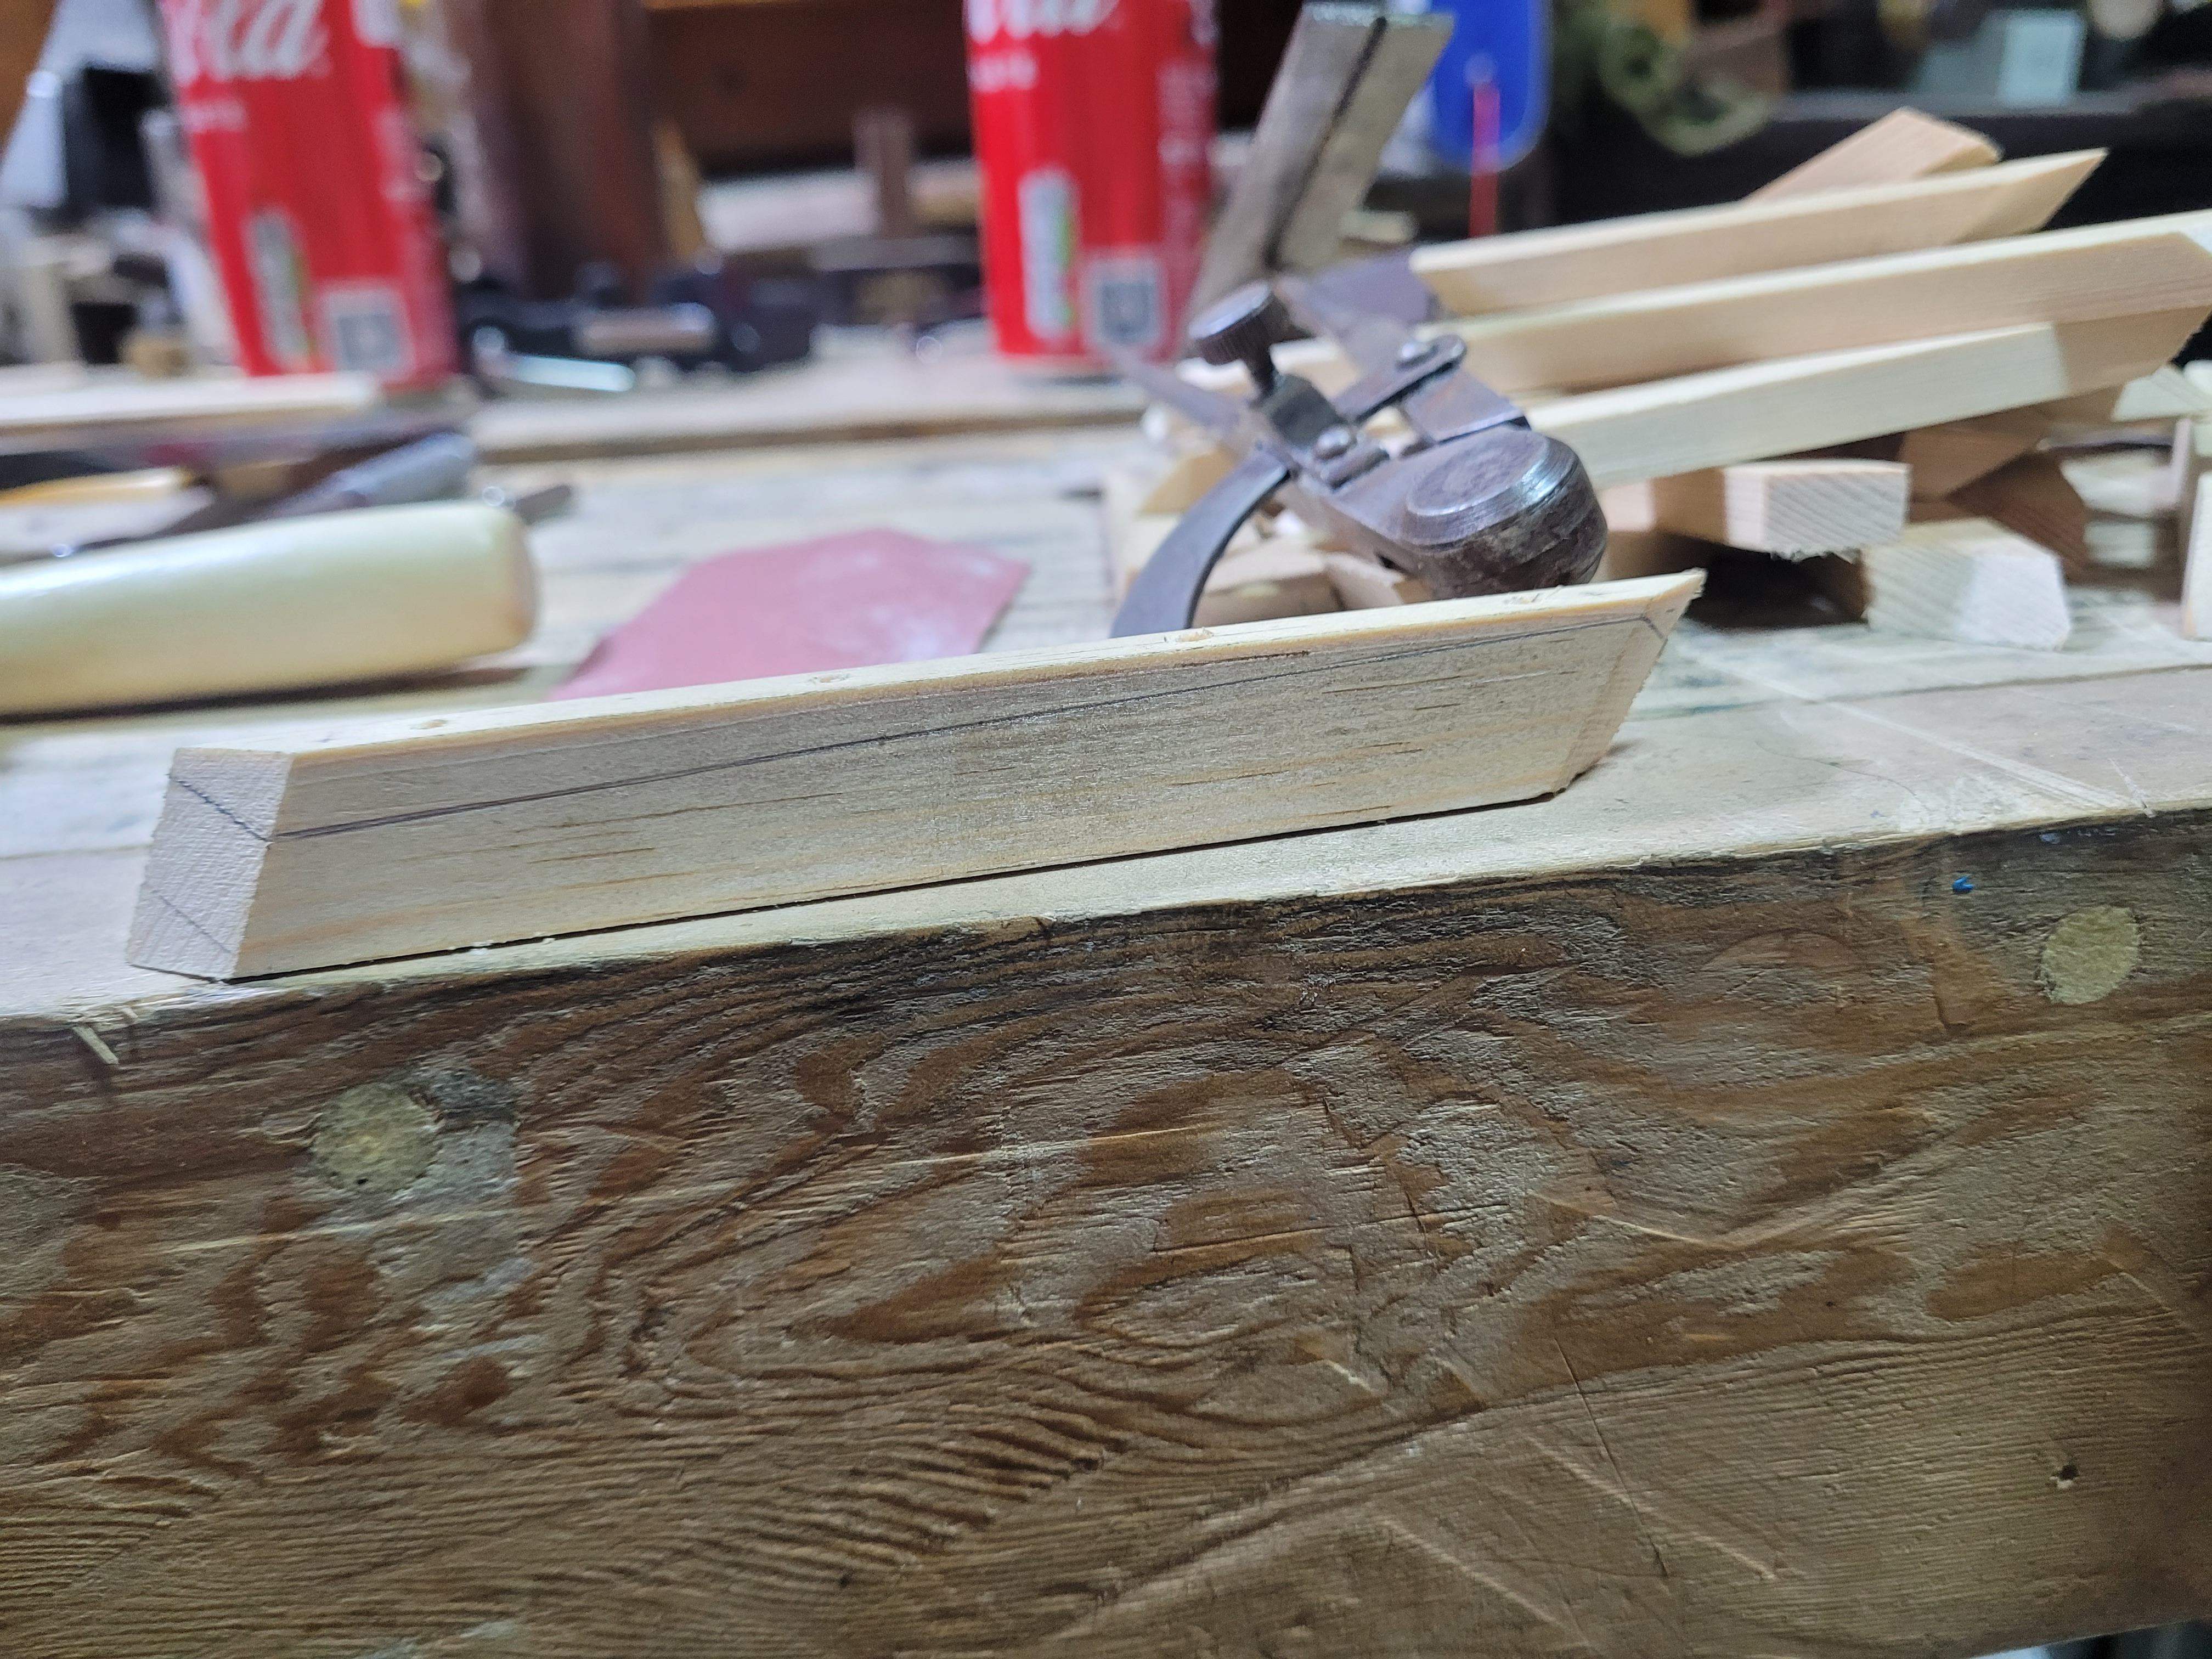
Here is a marked out side piece. No 90 degree angles. A bit of a challenge to accurately cut freehand.
This is the step that allowed me to finally start making progress. By actually fitting the front and rear pieces to the lid and then removing the lid. It was a lot easier to see how well the pieces actually fit (I had to stick a camera inside the chest before that, as the “bottom” was actually the show face. It also made it easier to transfer angles to bevels.
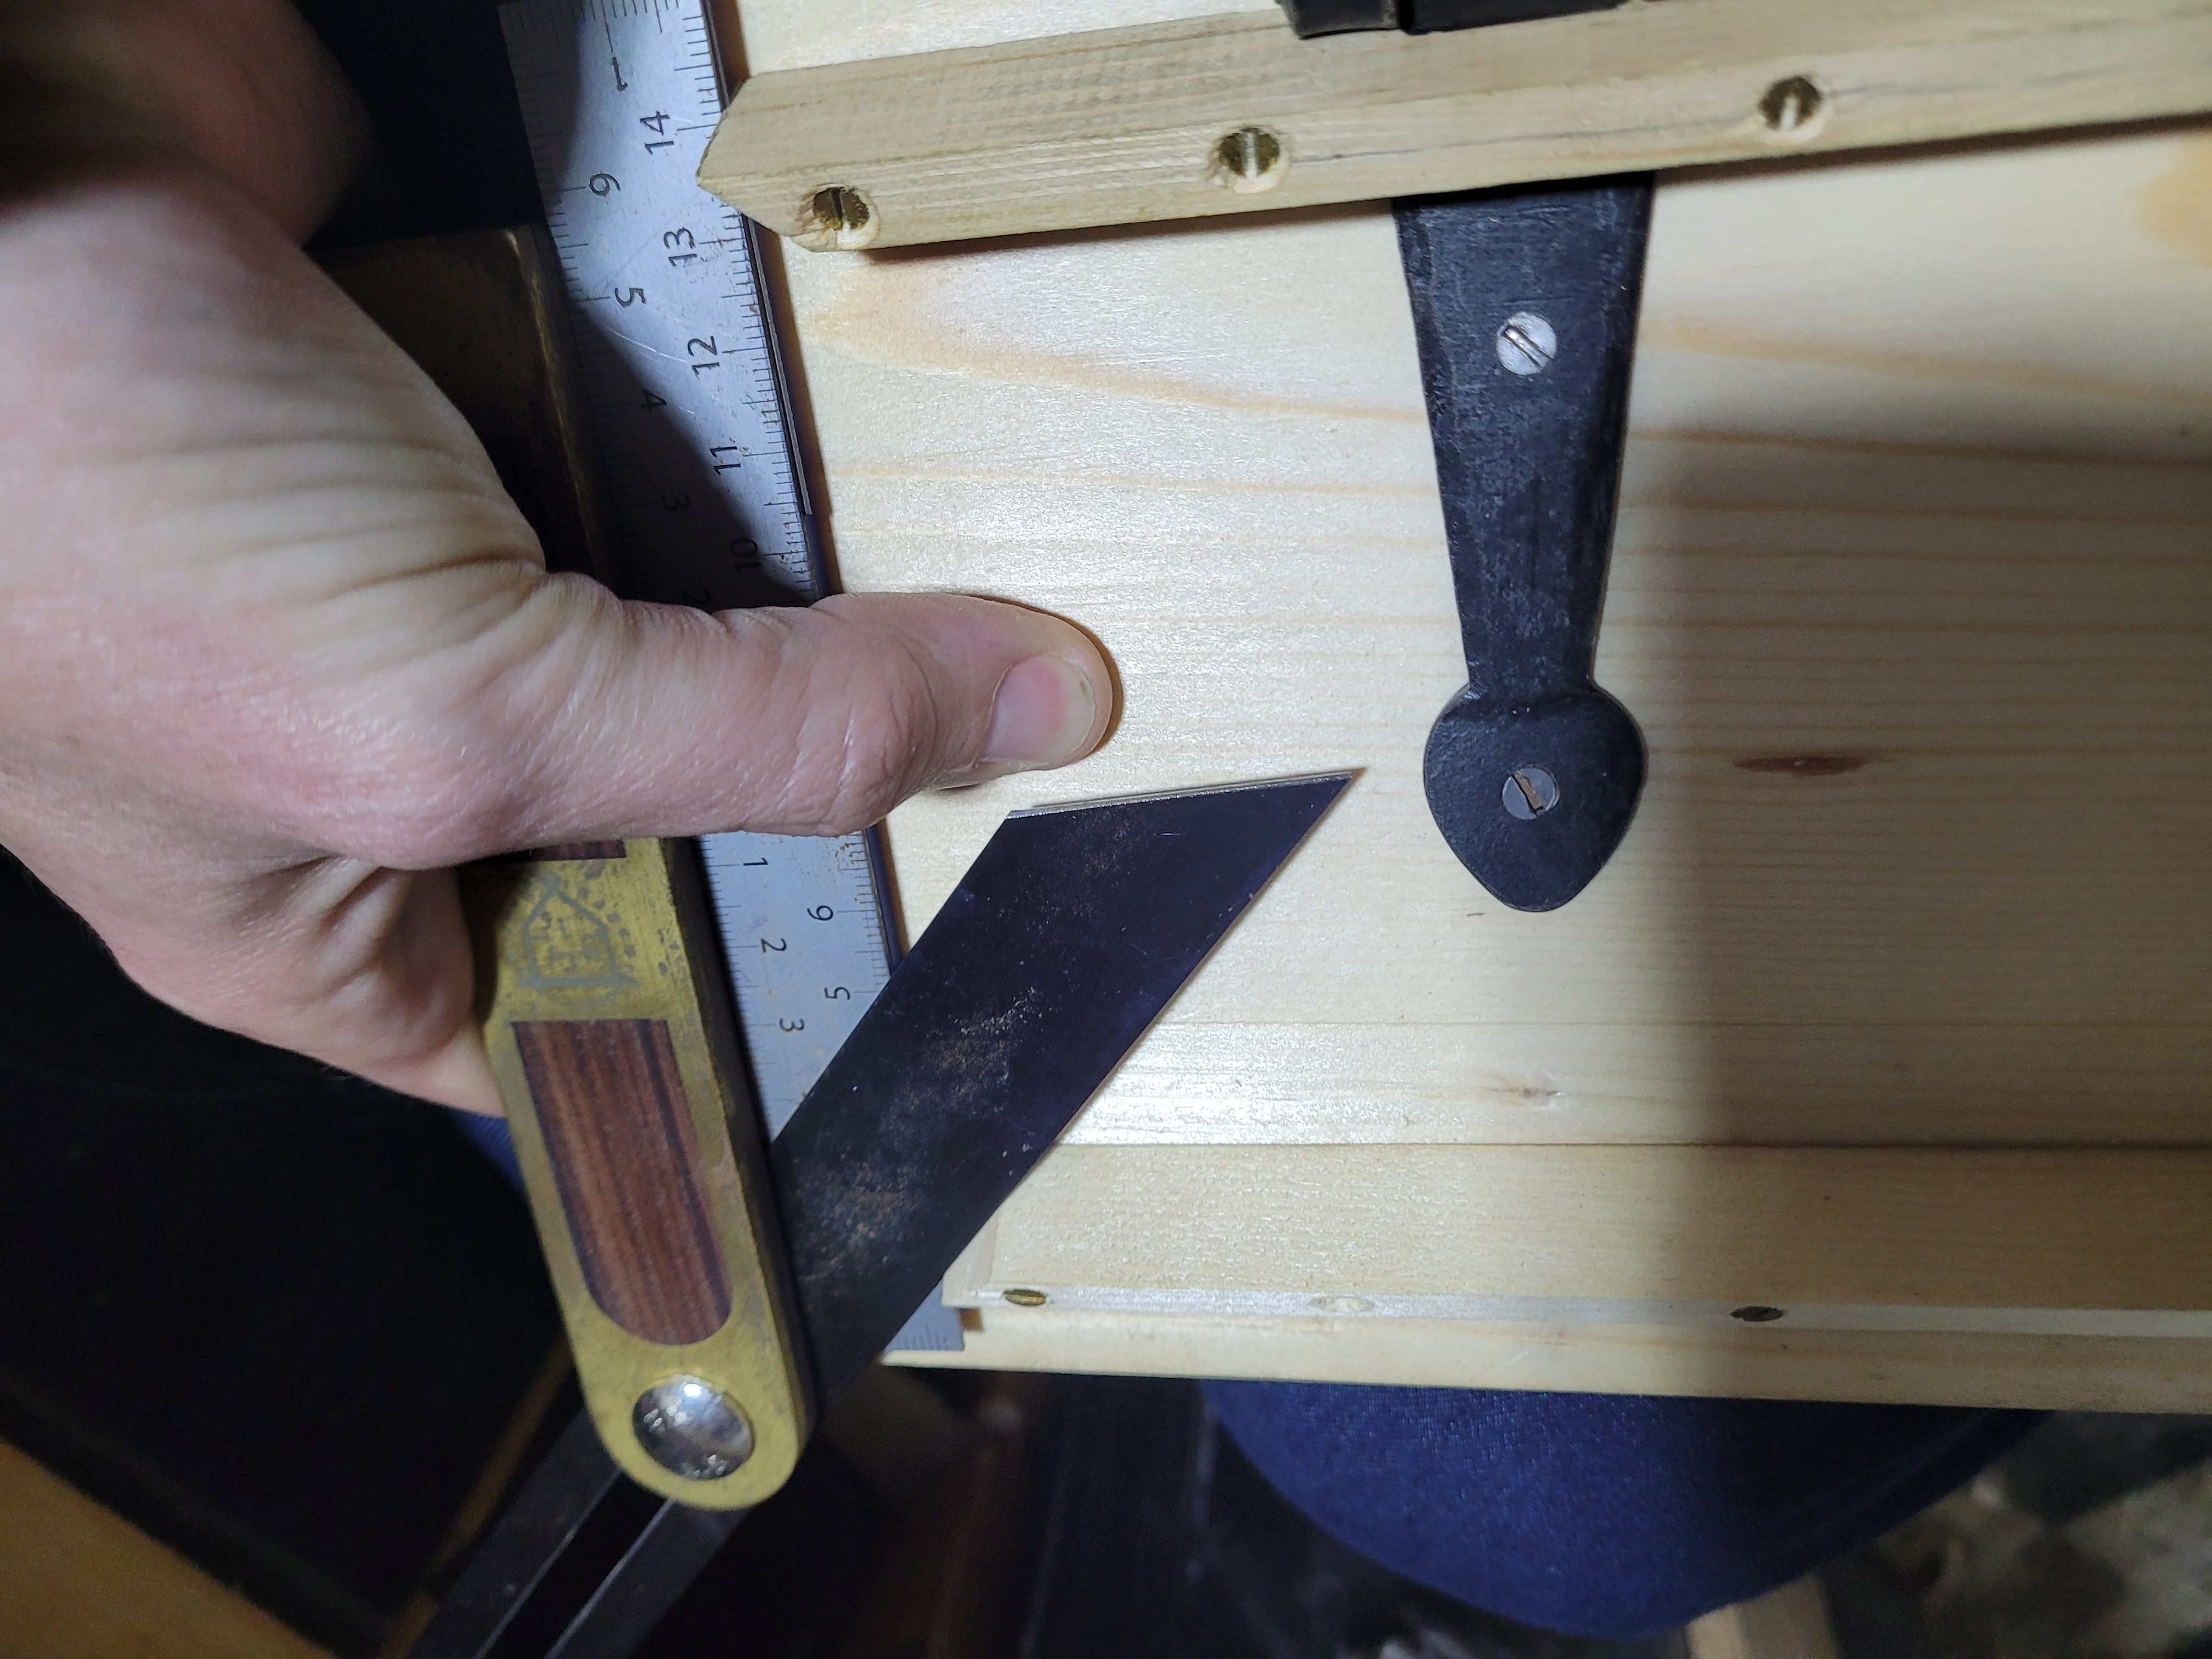
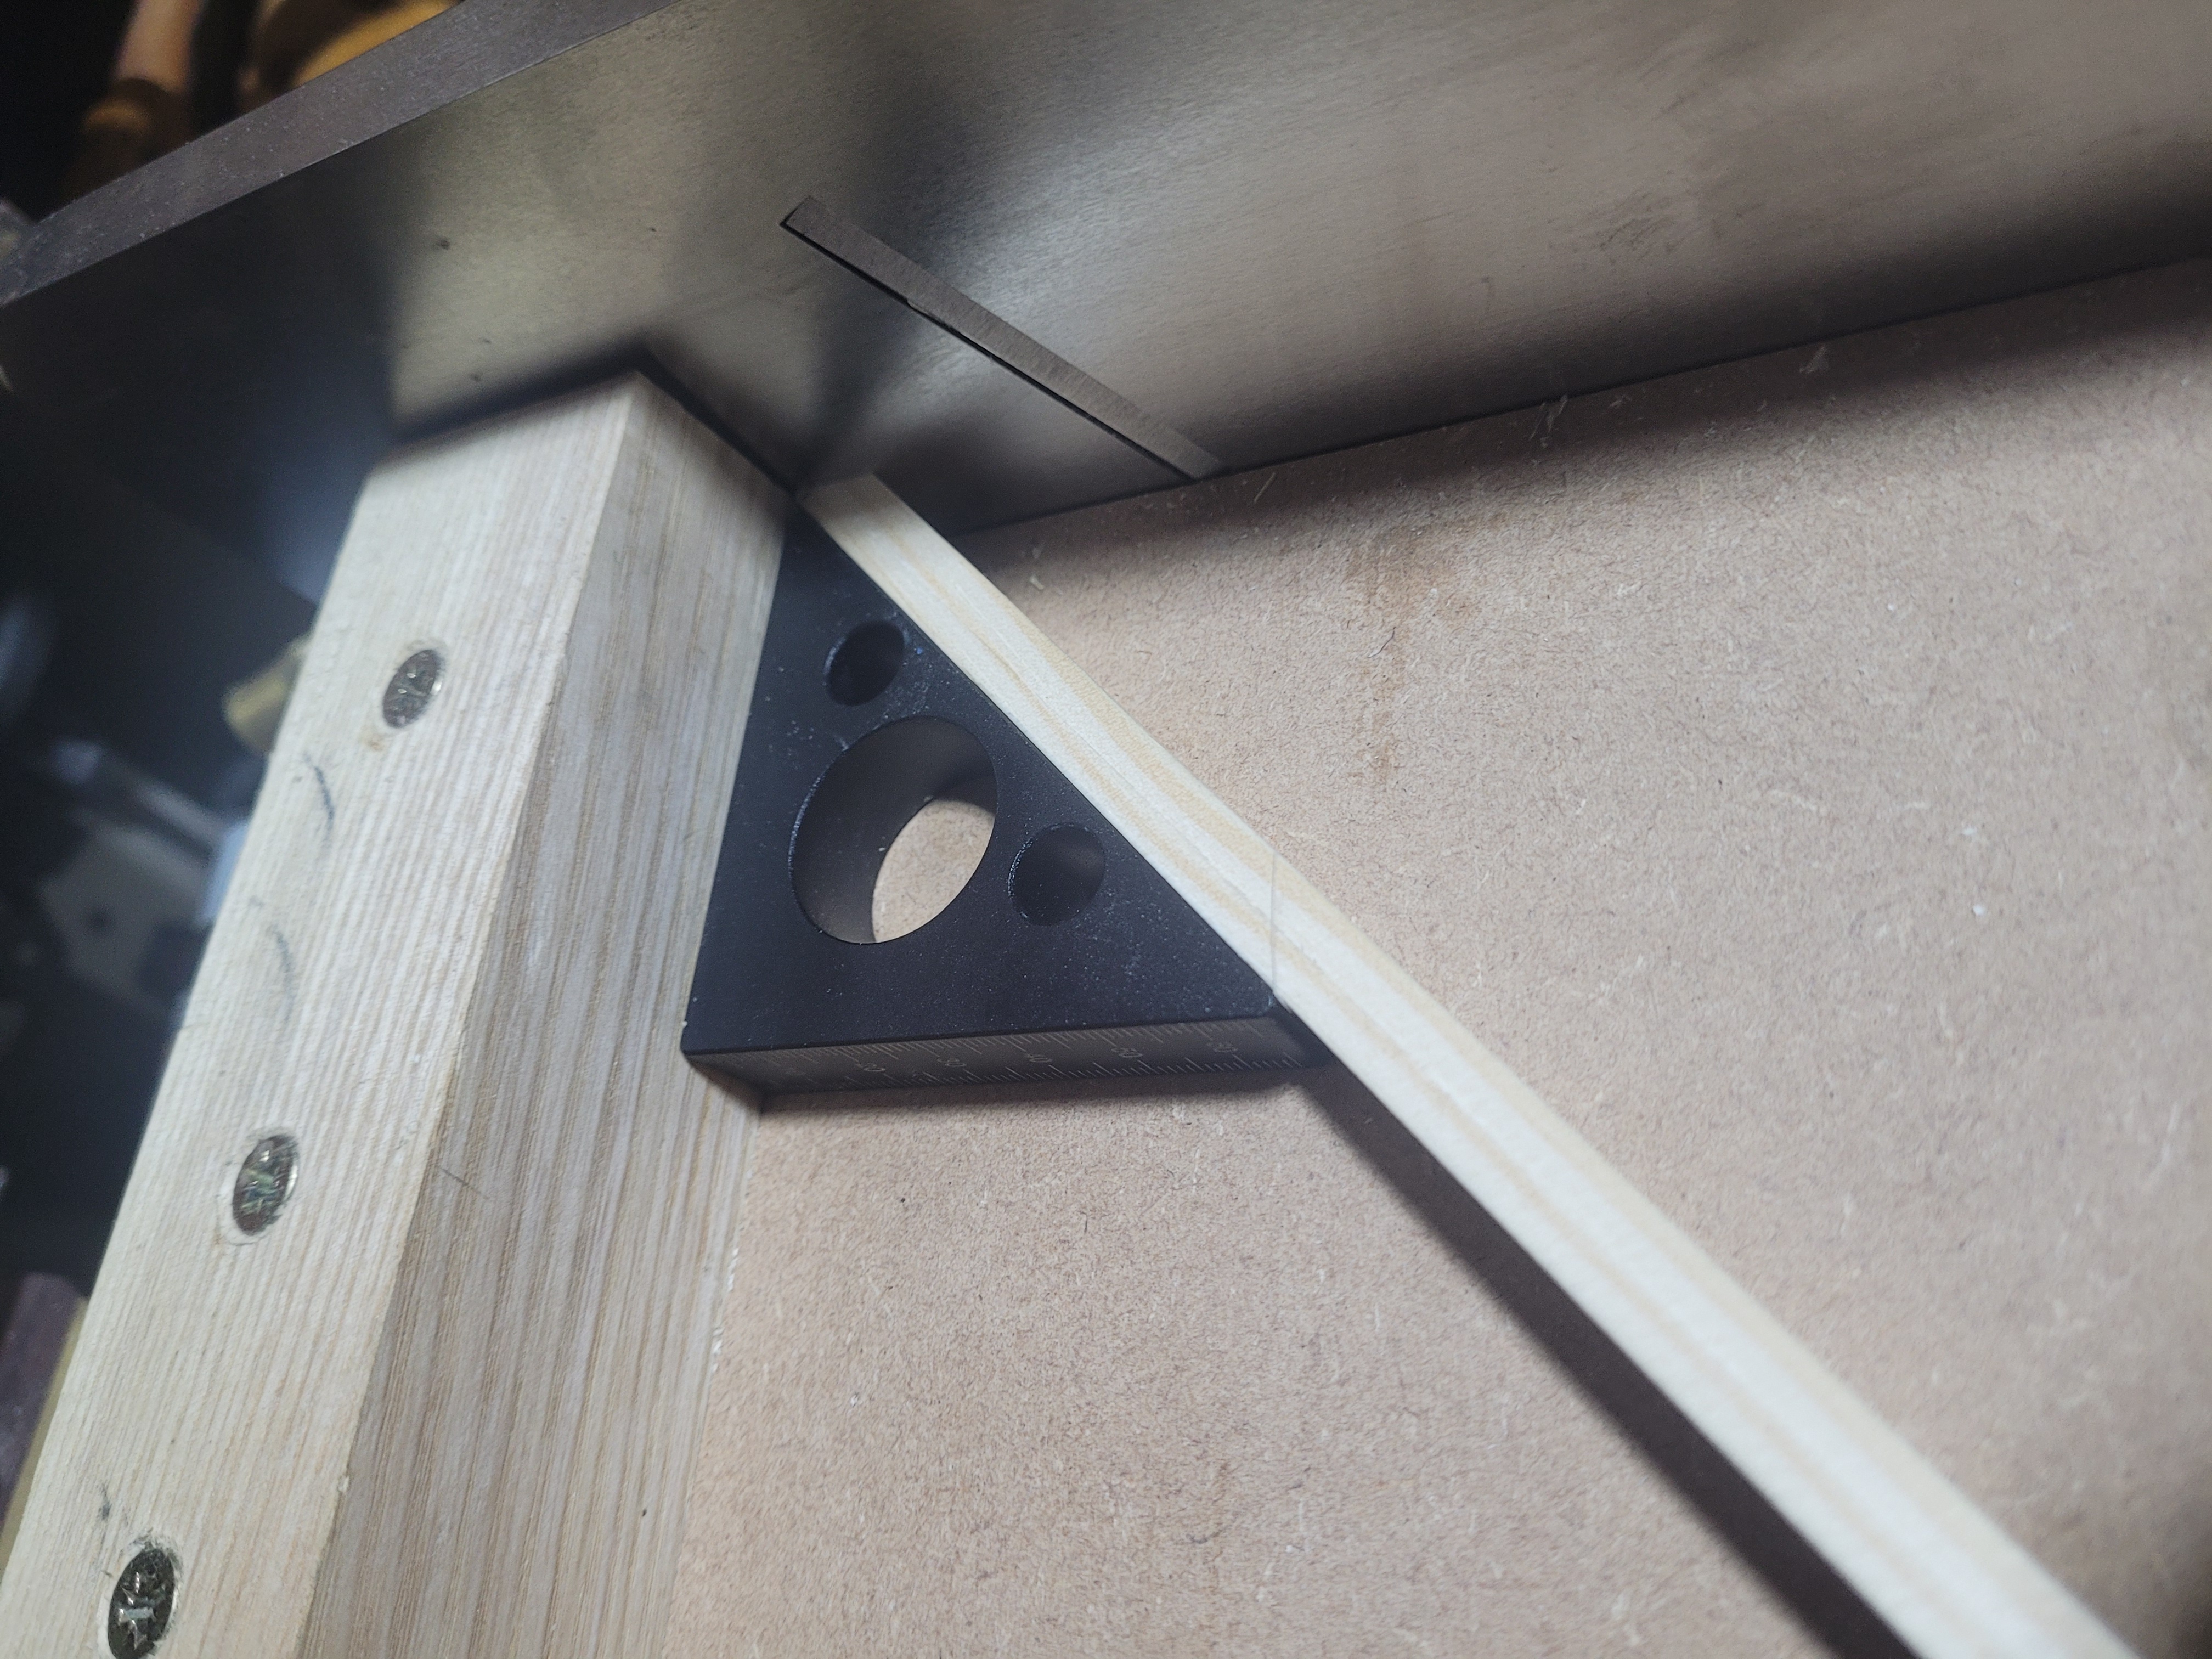
To transfer the angles, I bridged the two pieces with a ruler, and then used the side of the ruler as the reference for the bevel body.
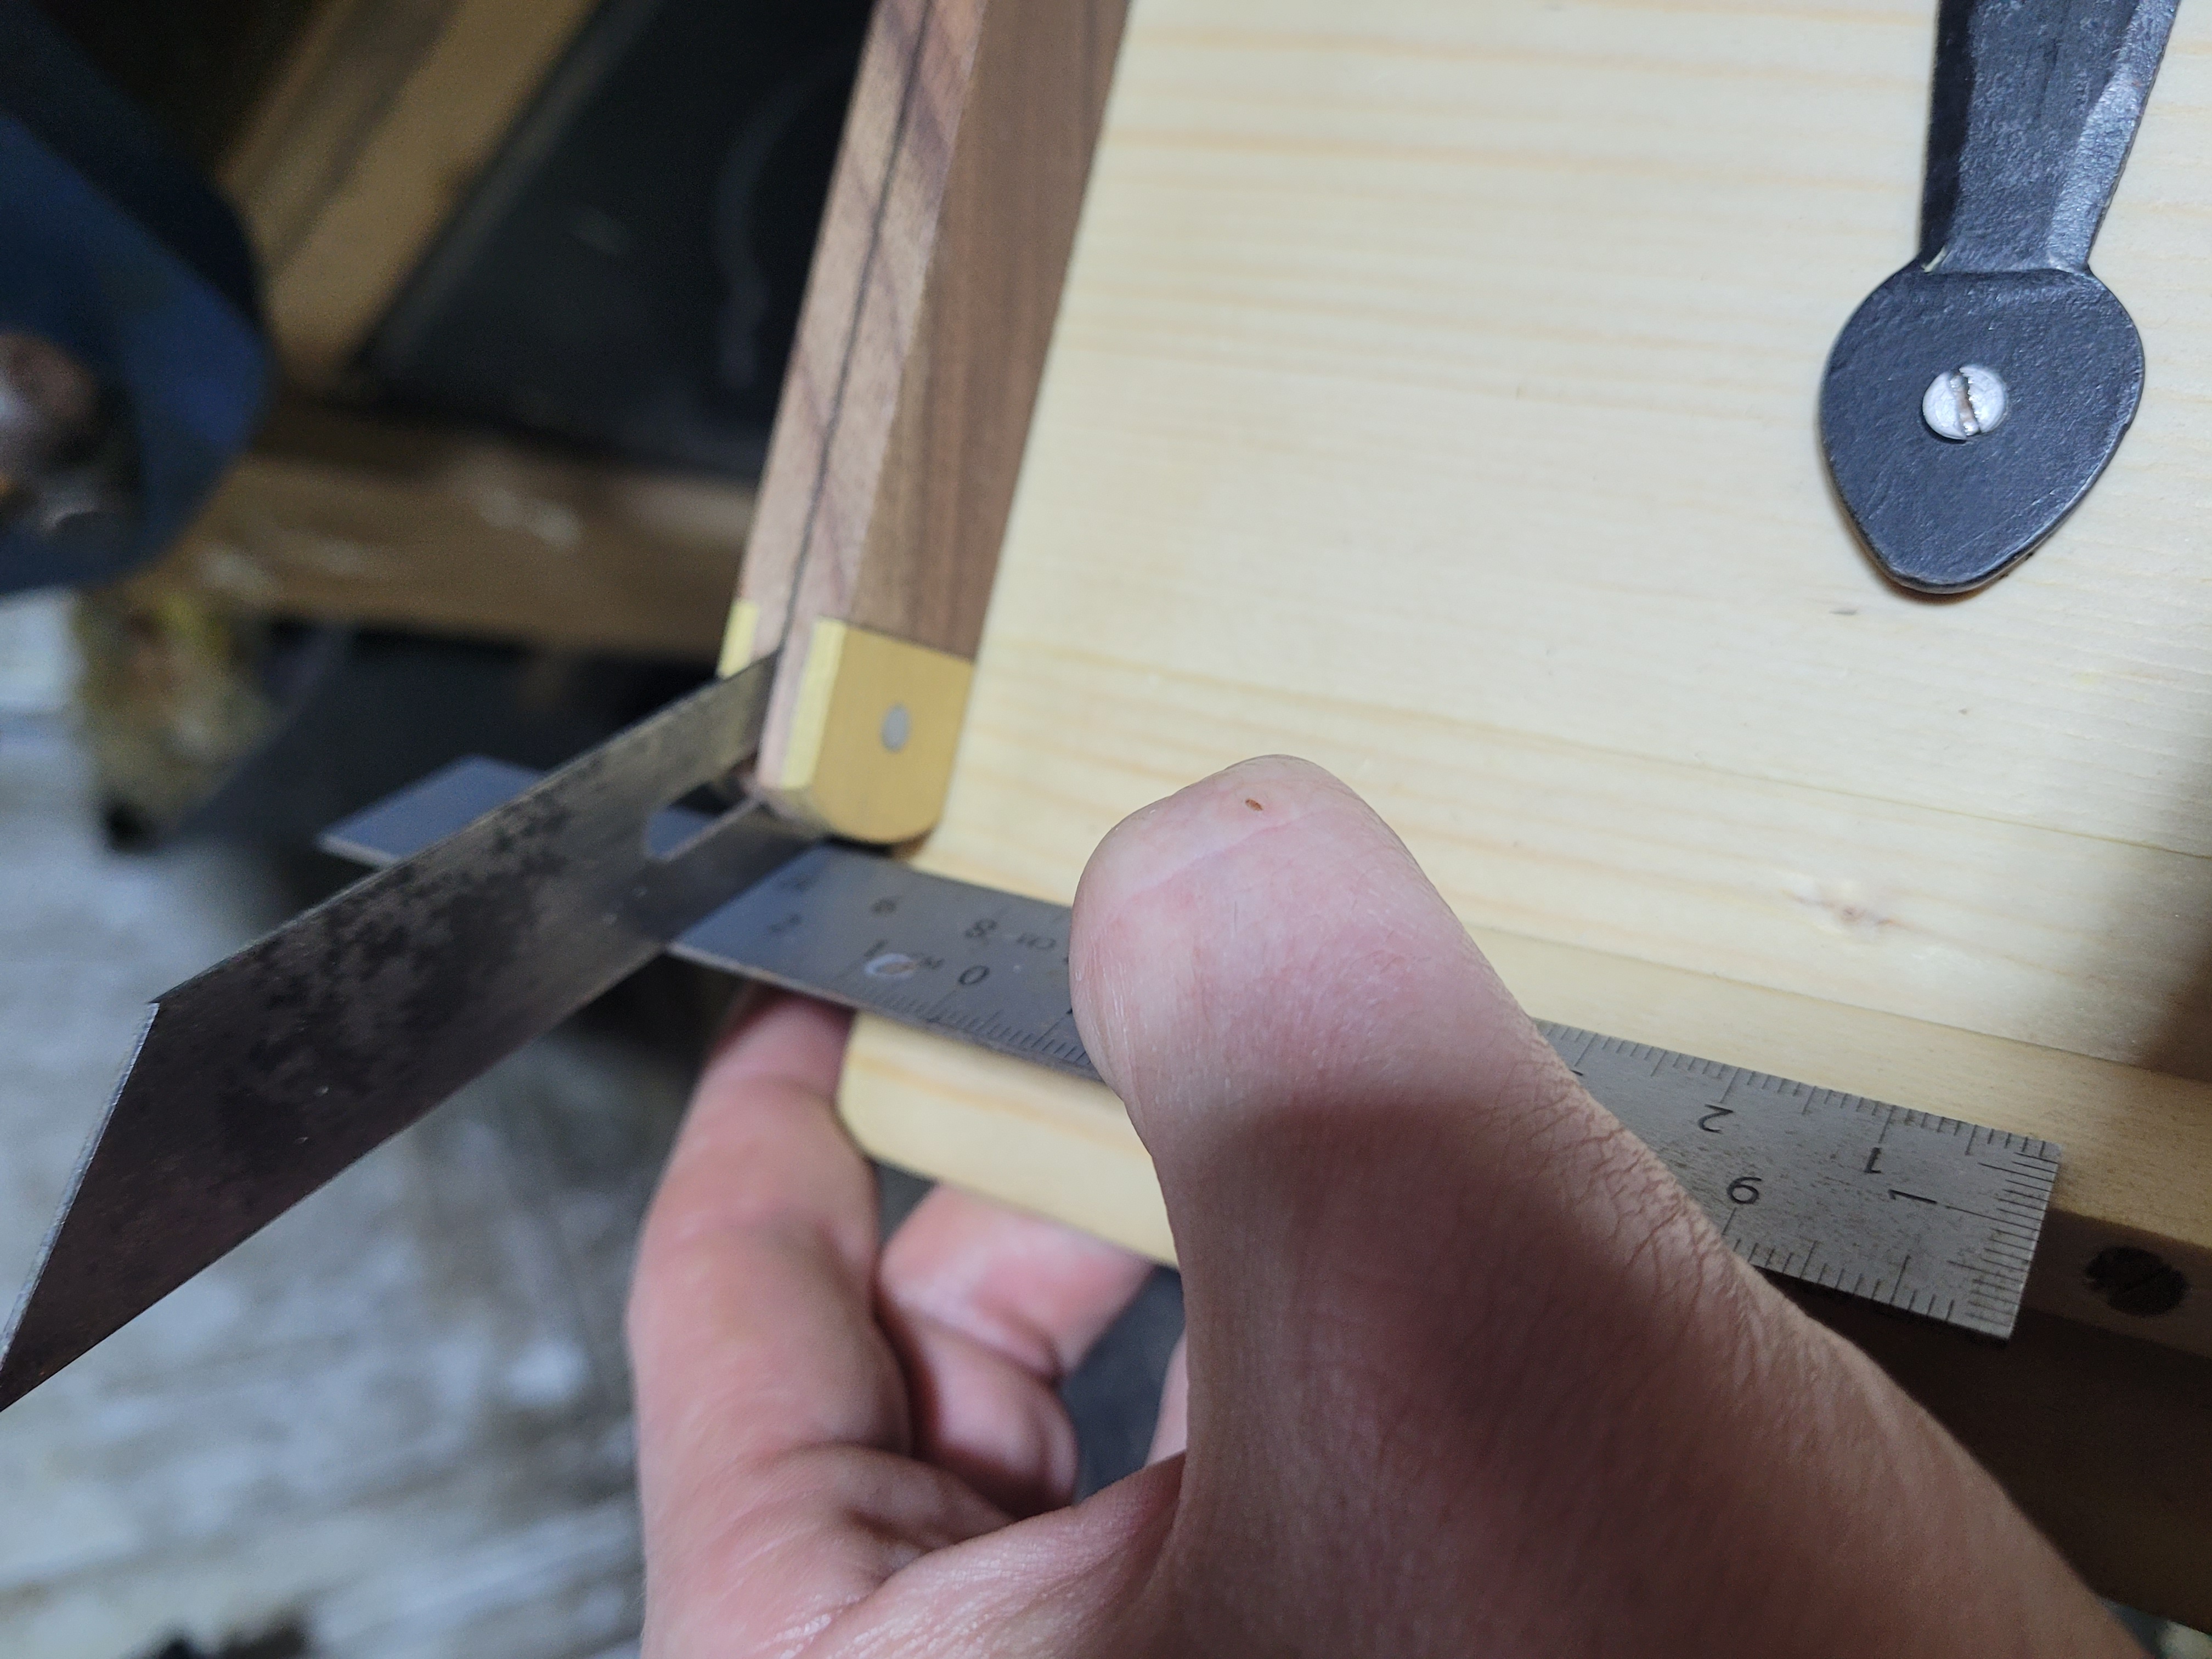
Getting the slope for the sides was a little tricky as the bottom of the body of every bevel I had would interfere. I used a similar trick. Rest a ruler against the front/back piece, and then take the angle from that to the bevel. Don’t forget, every corner was slightly different. So it took 4 bevels to transfer the angles for one side. (Given how many attempts it would take to cut them, having the bevels remain set is a major time saver).
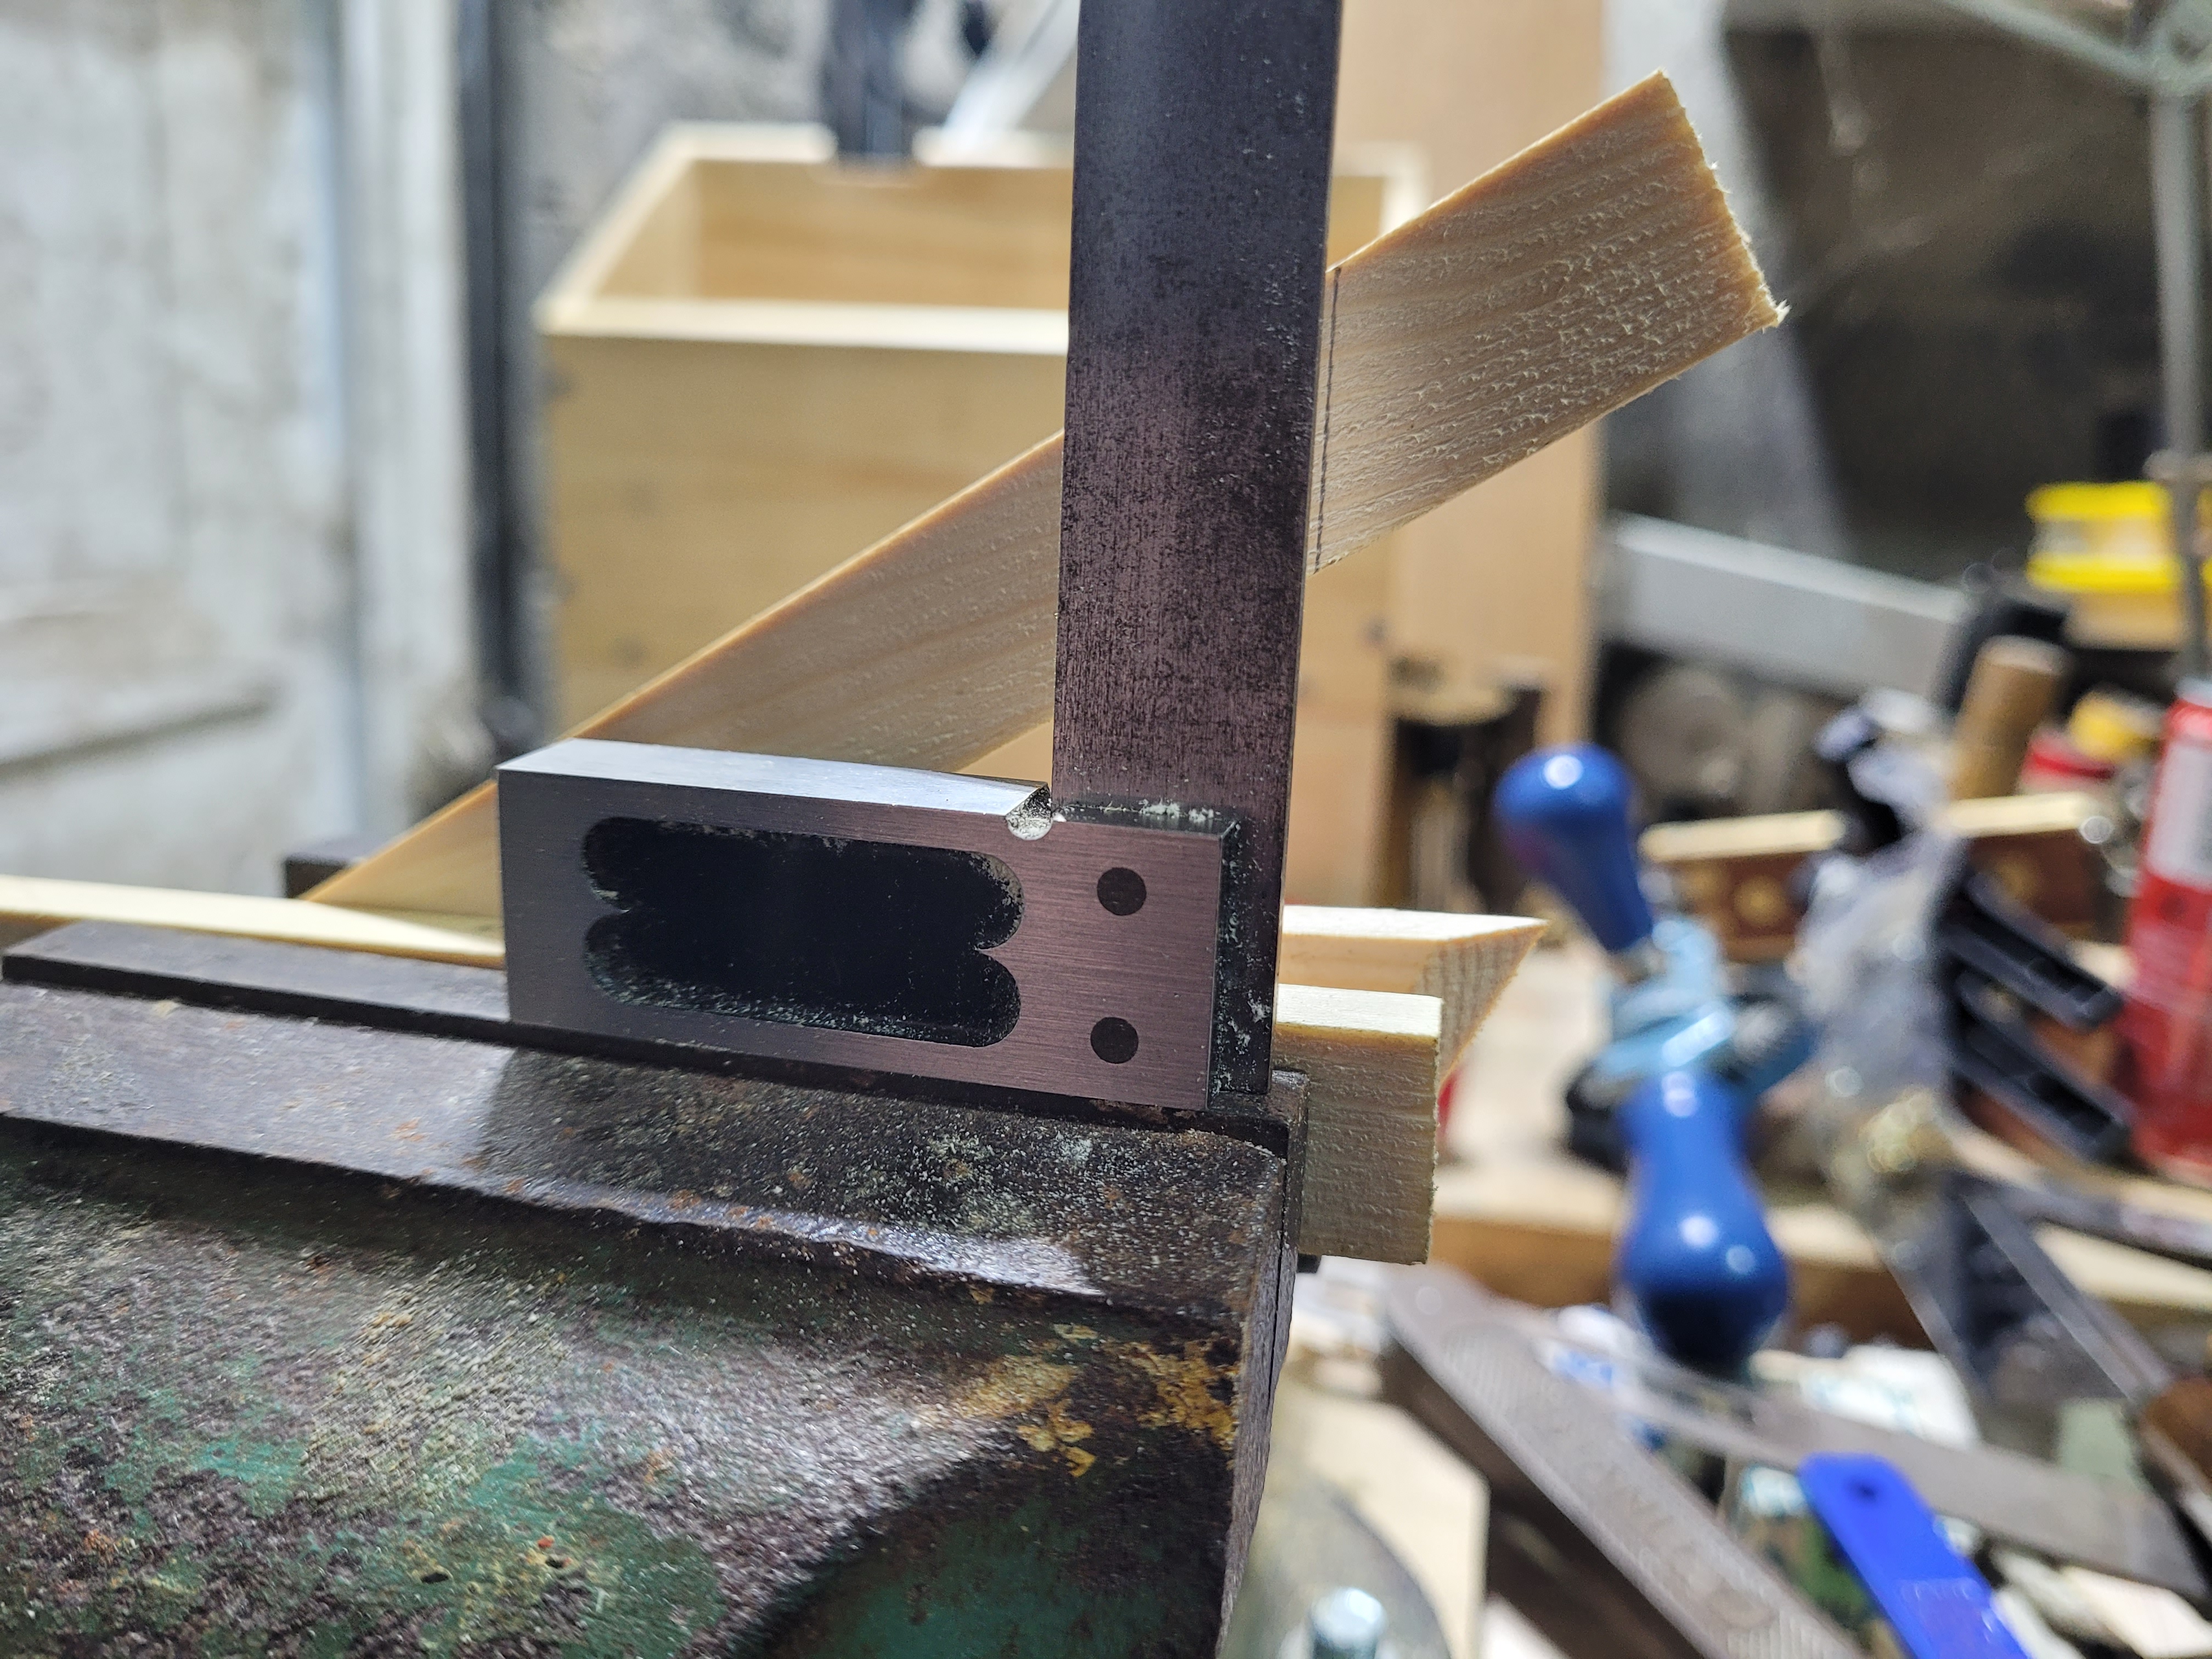
I made the cuts in a machinists vice. It raised the work up to a more comfortable level. I would angle the piece so the side cut was effectively vertical. Then I could mainly worry about get the top angle right, and saw straight down. Thanks to Scott Anderson for suggesting this setup. I had no soft jaws for the vice, so I used a few pieces of scrap to project the piece.
Still not easy, but I began to get pieces that fitted well.
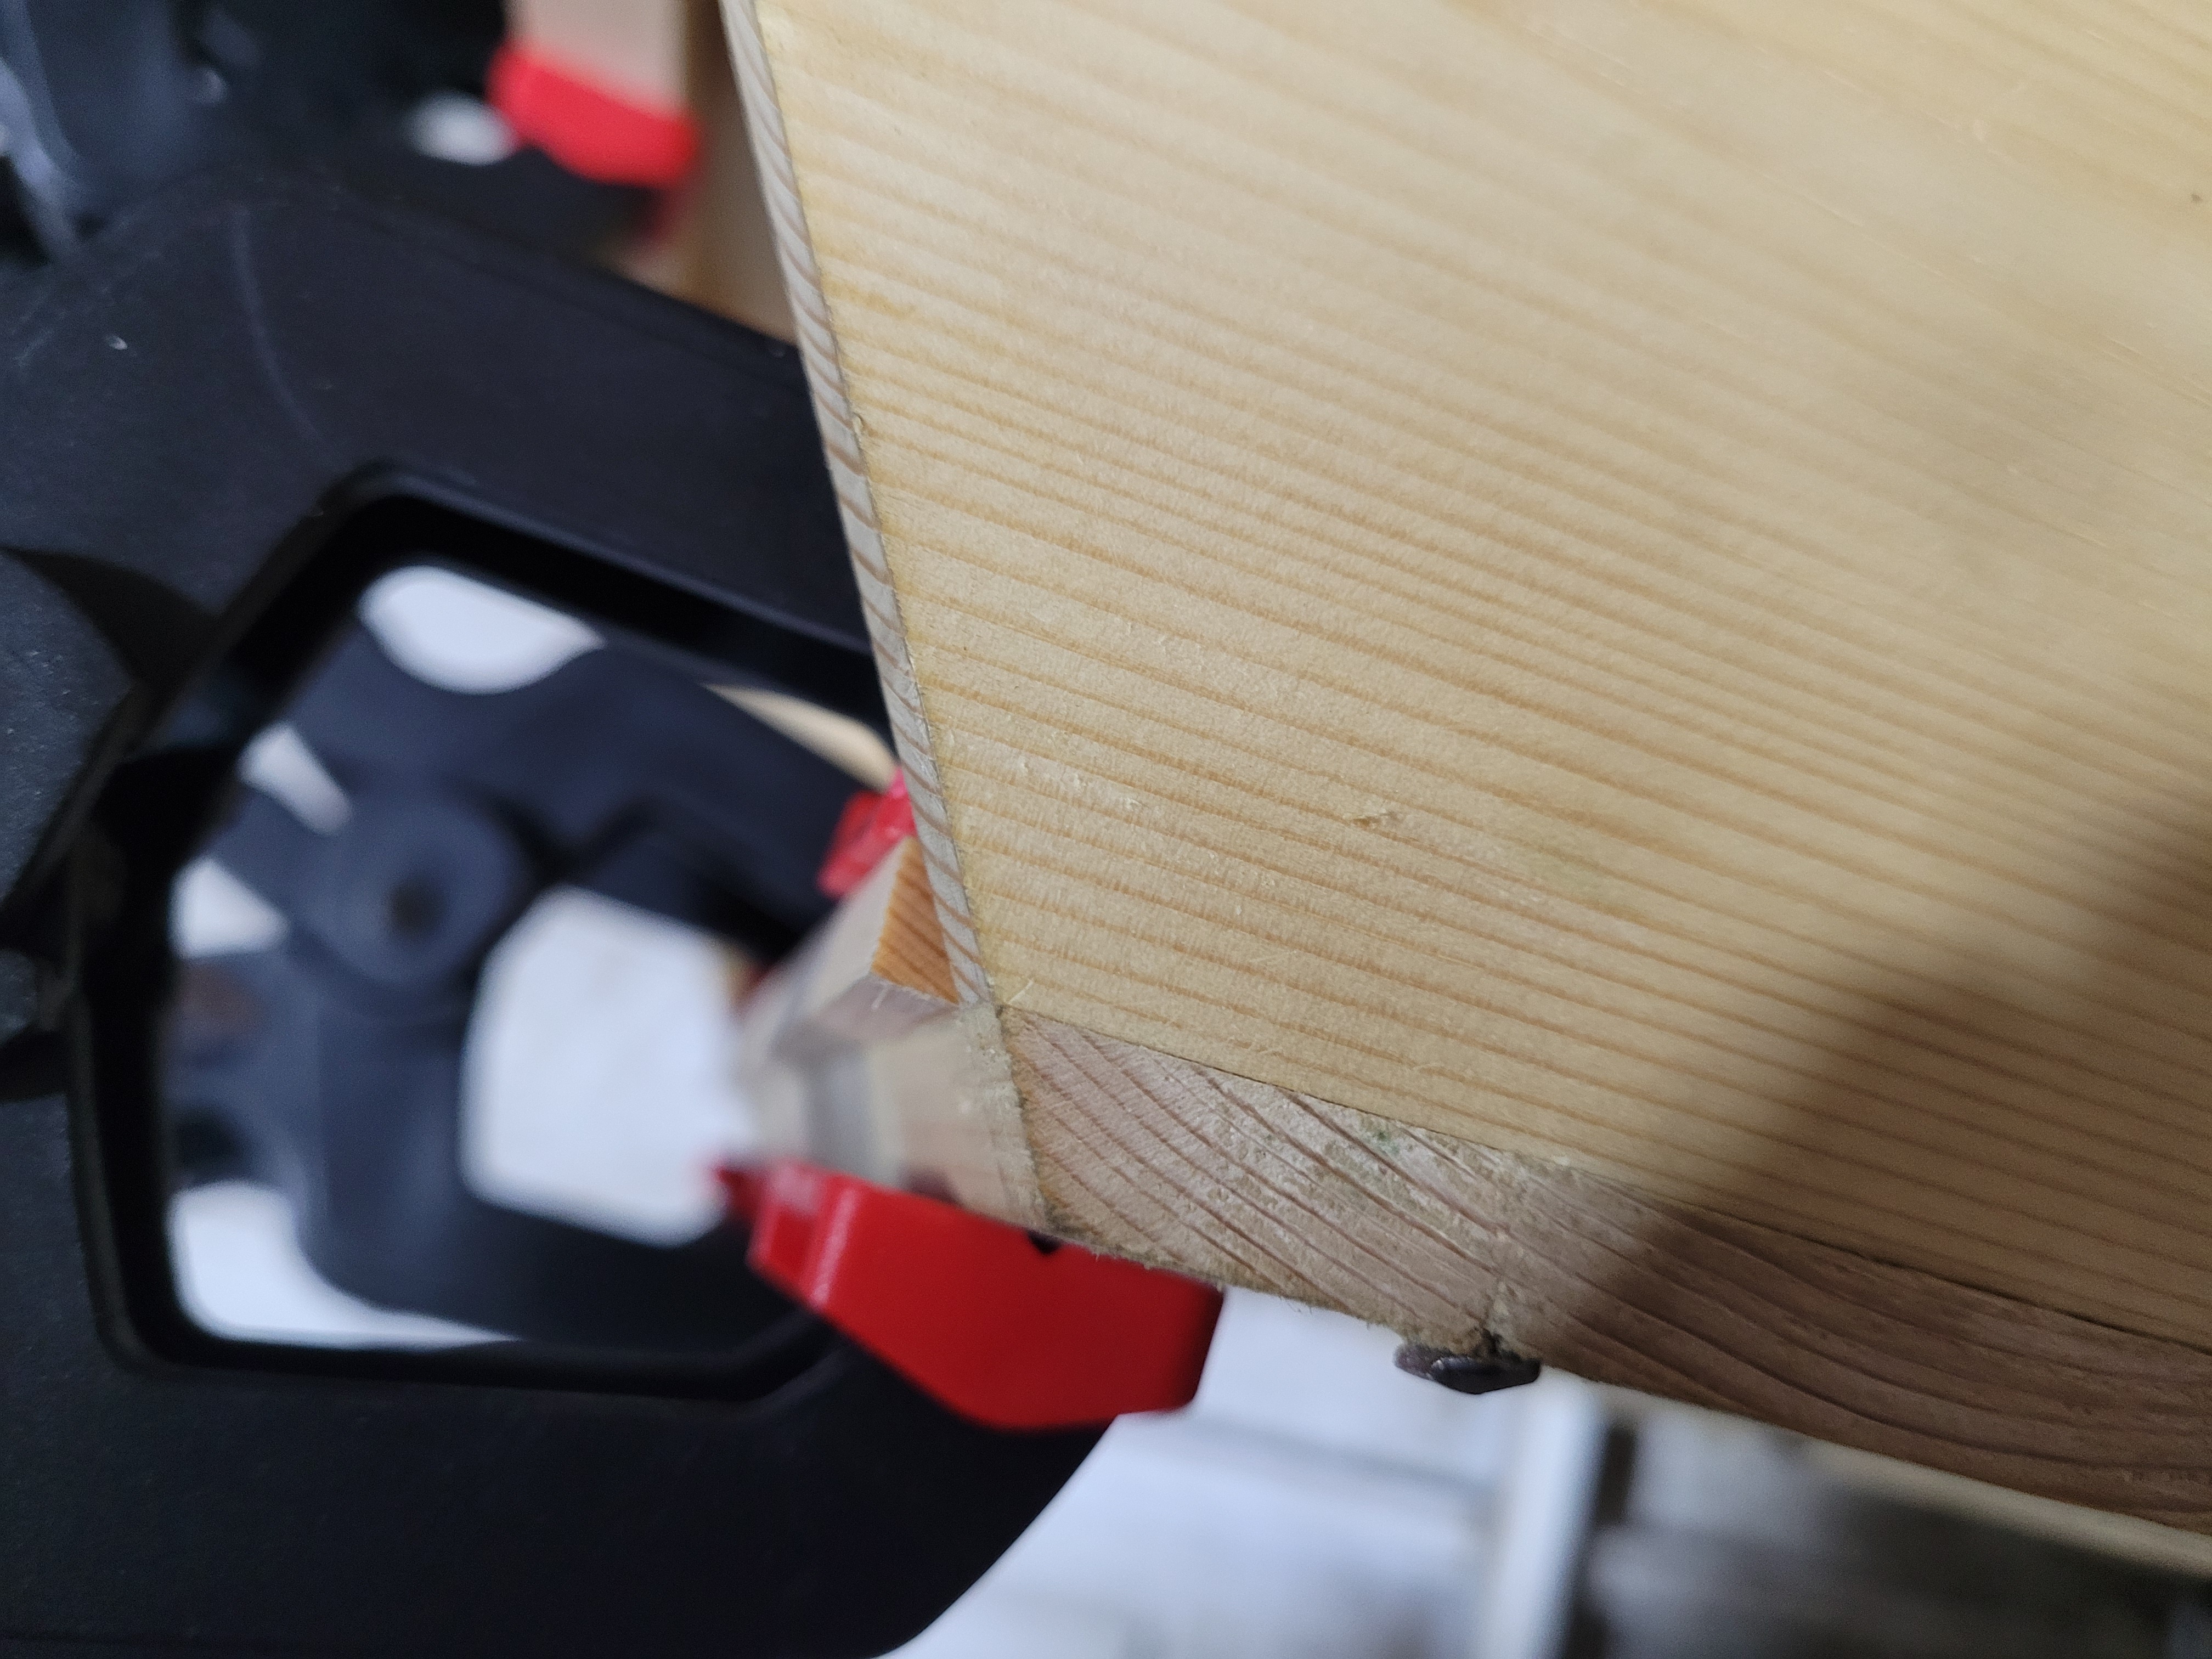
Decently mating corners. My biggest problem on most cuts was that the joint would look good from above, but have a gap lower down.
As I mentioned, I found that trying to adjust an angle after it was cut usually went poorly. So both saw cuts need to be precise, and the finished length needs to be spot on. Bridging the front and back pieces with the stock, and marking the start/end of the side piece before doing the rest of the layout was essential.
A good cut
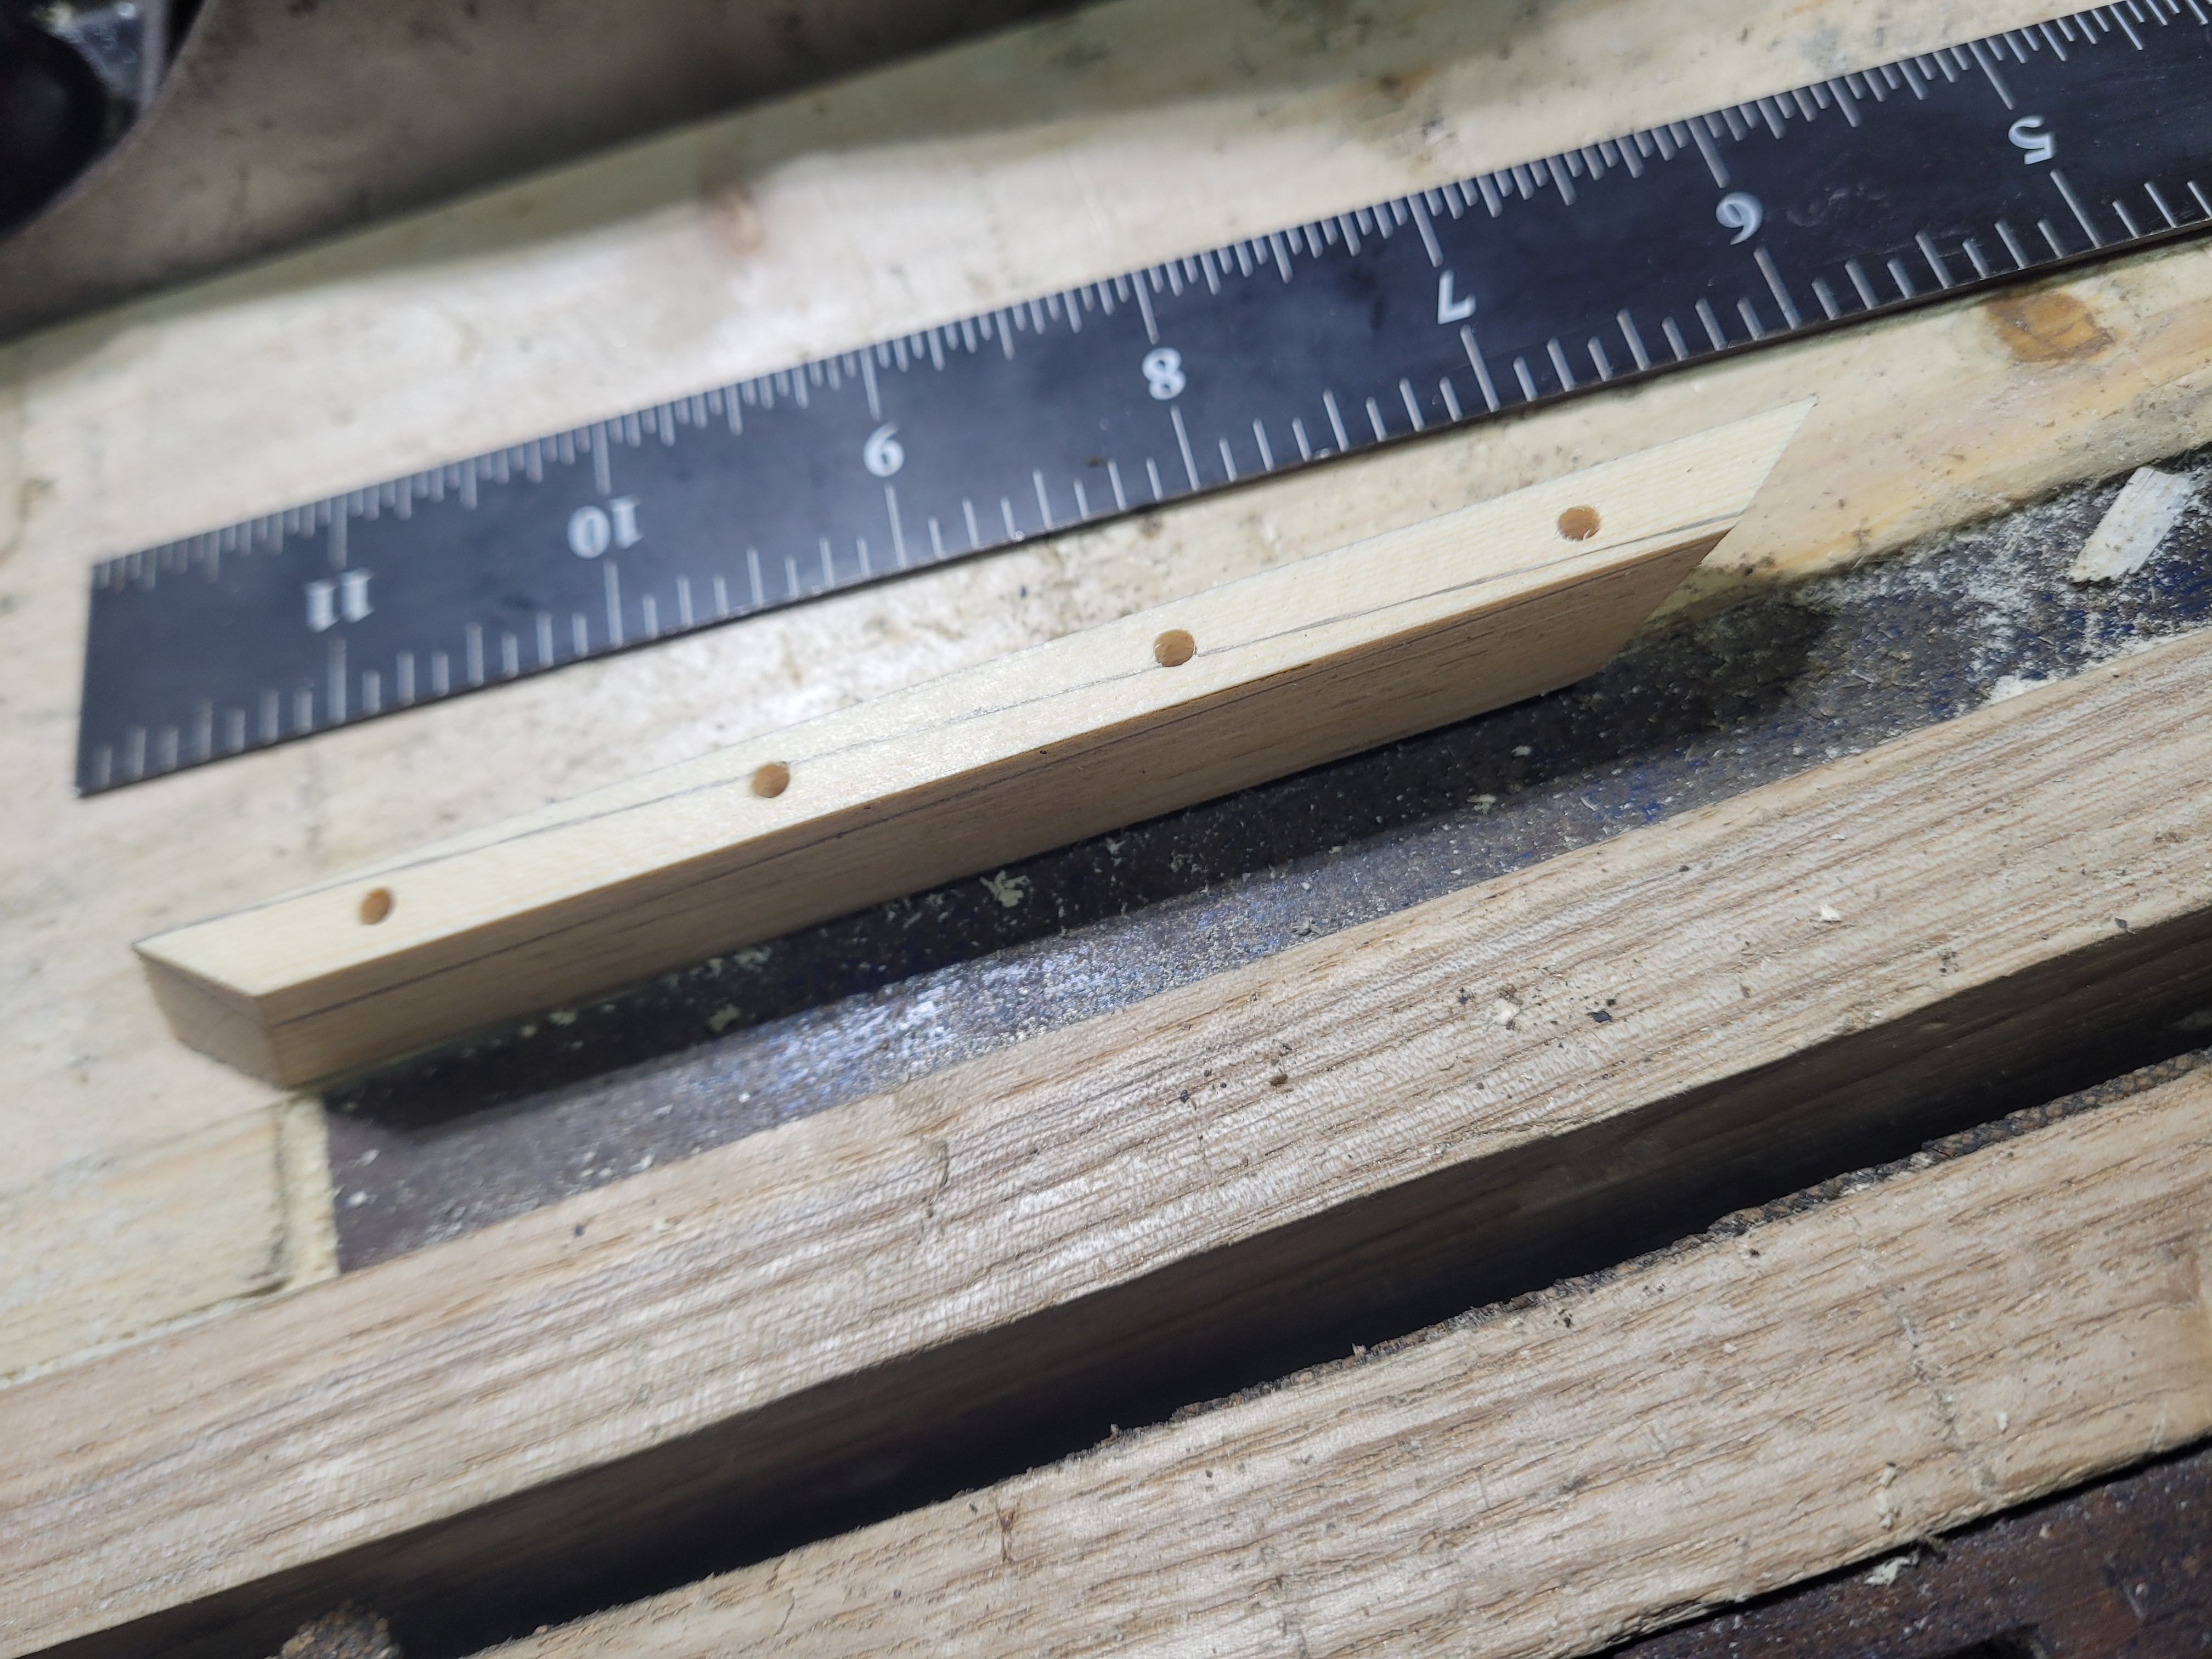
Once the side pieces had been cut, I had to bring the height down. I could mark the excess on each end by presenting it to the front and back piece and tracing with a pencil.
Then join up the lines from both ends with a ruler. The first time I did this, it became clear this did not describe a single flat plane. Not something I thought about when I started.
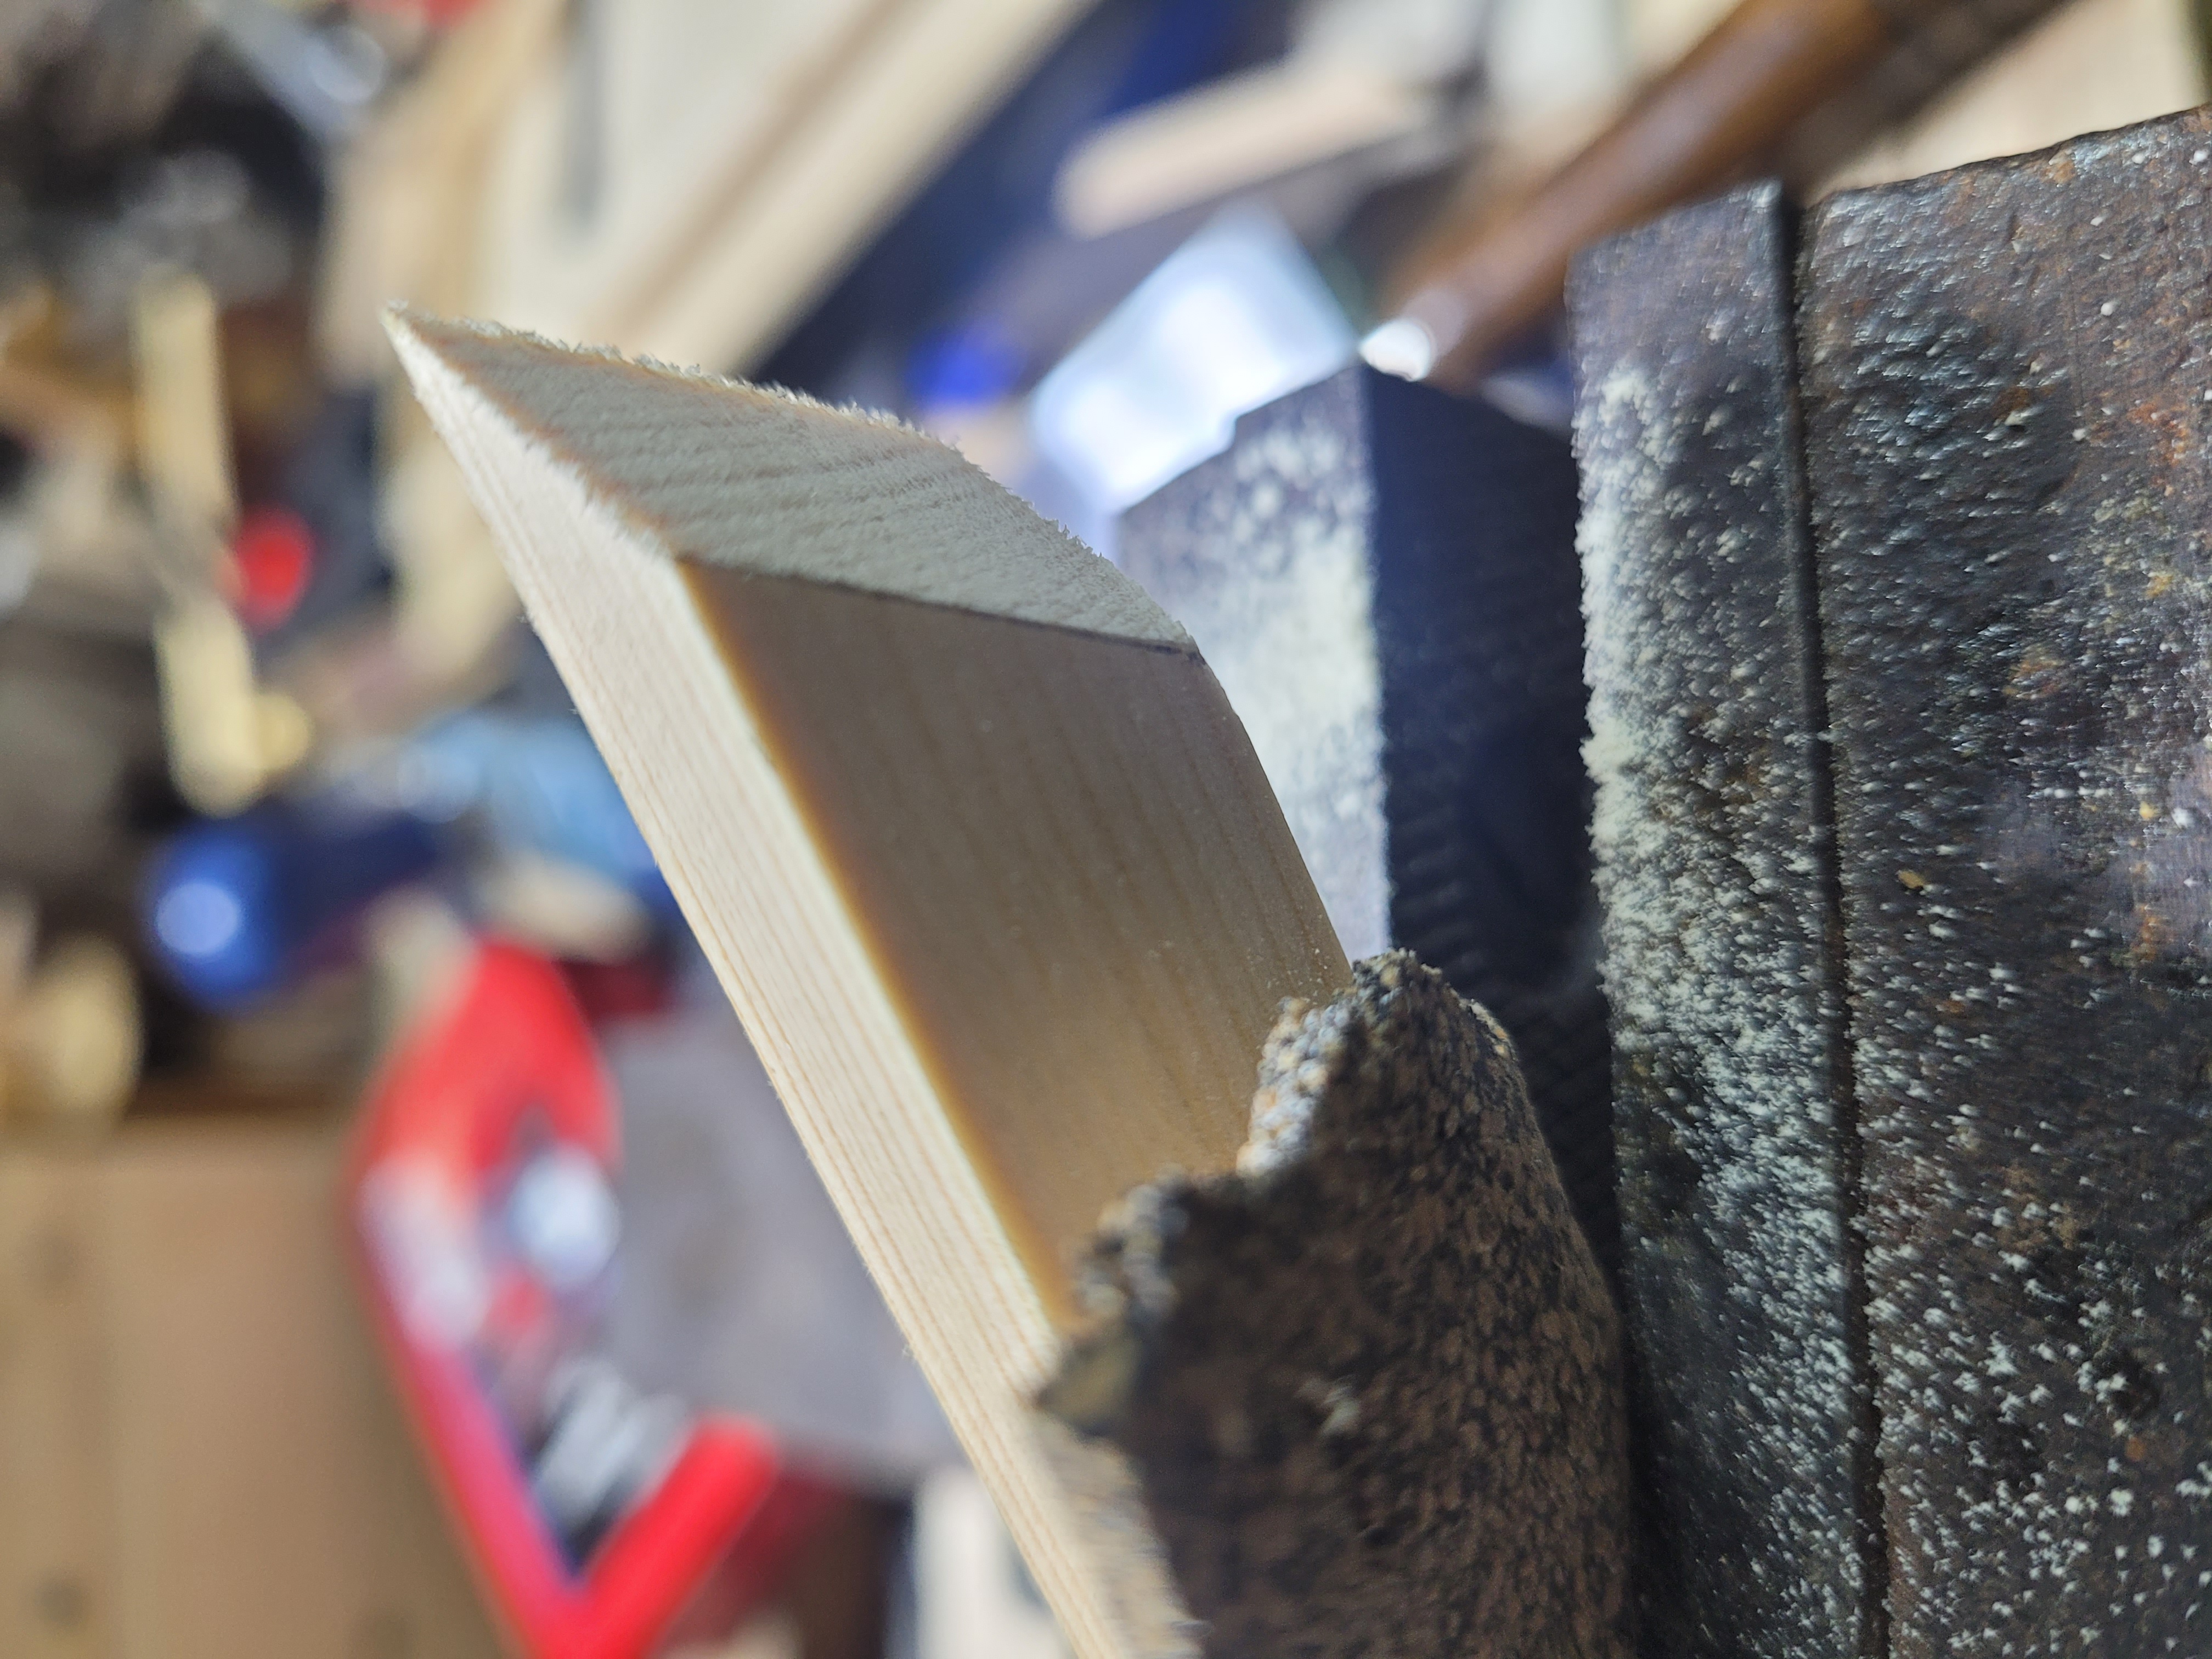
My solution was to draw a diagonal line between the two corners, splitting the top into 2 separate flat planes.
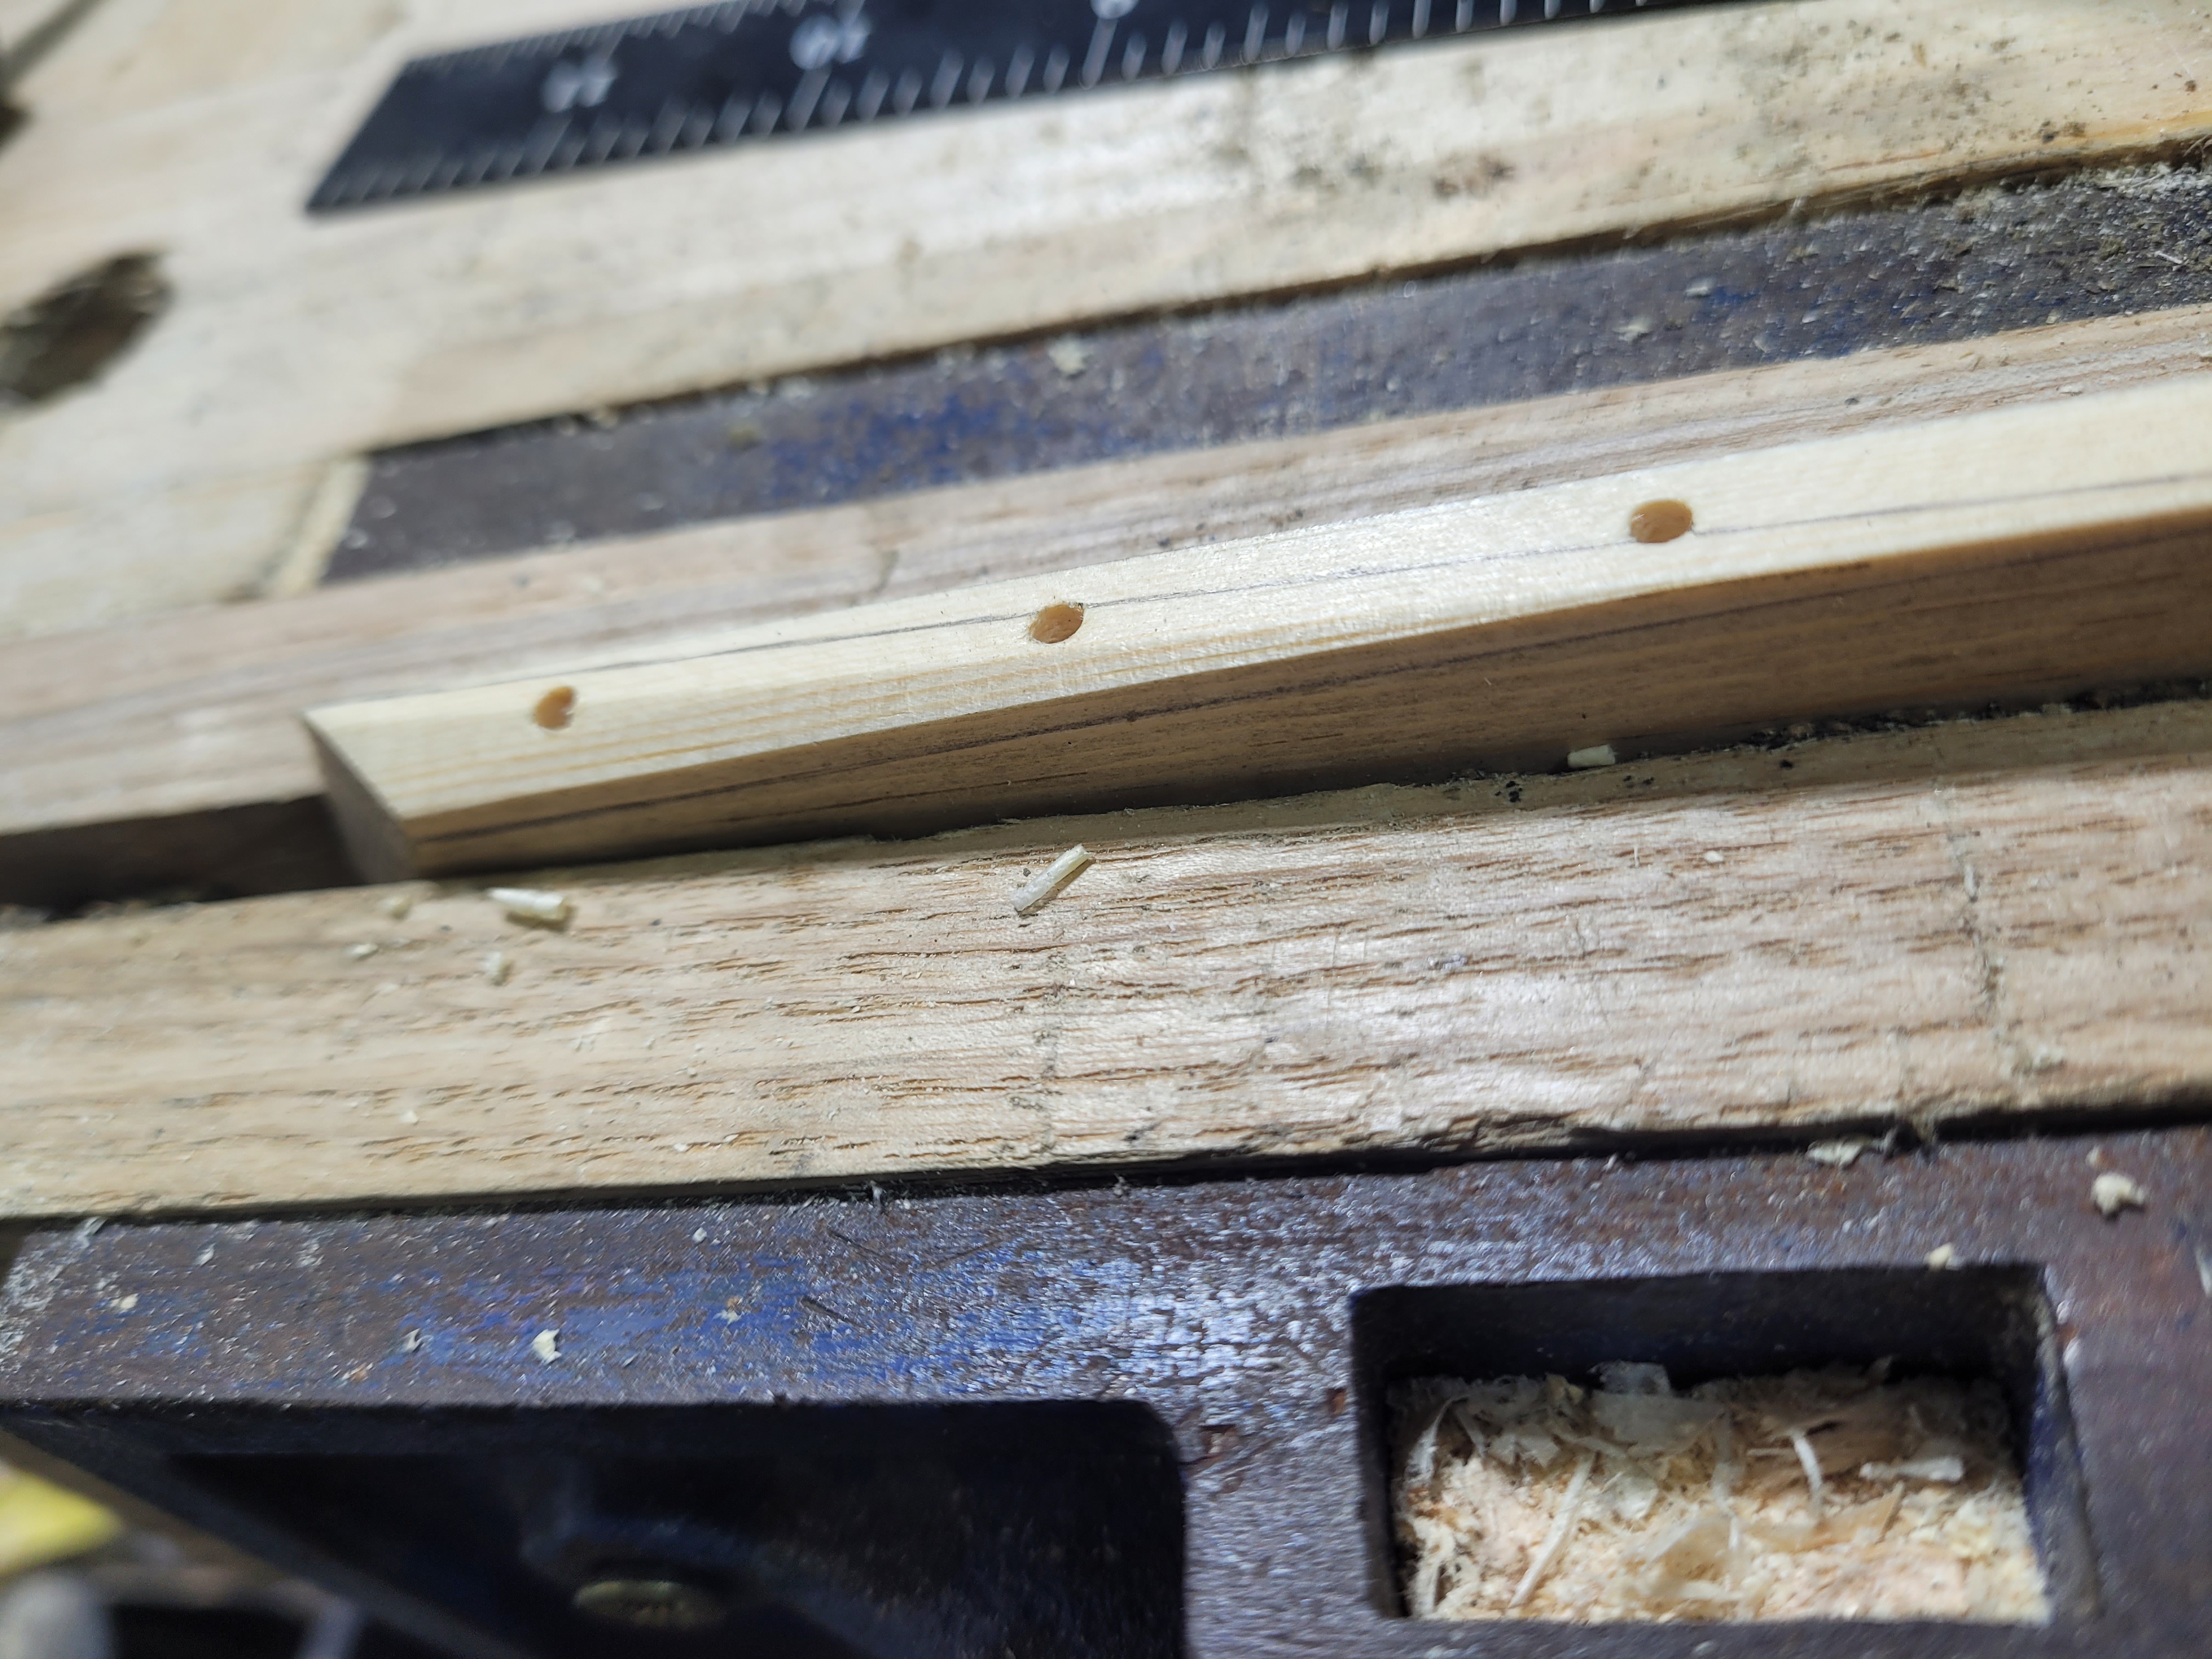
And then plane down to the line. Its a good idea to drill the pilot holes for your screws before you do this. Ask me how I know.
And here you can see the result. On the right, planed down to meet the corners. On the right a side piece before the height is brought down.
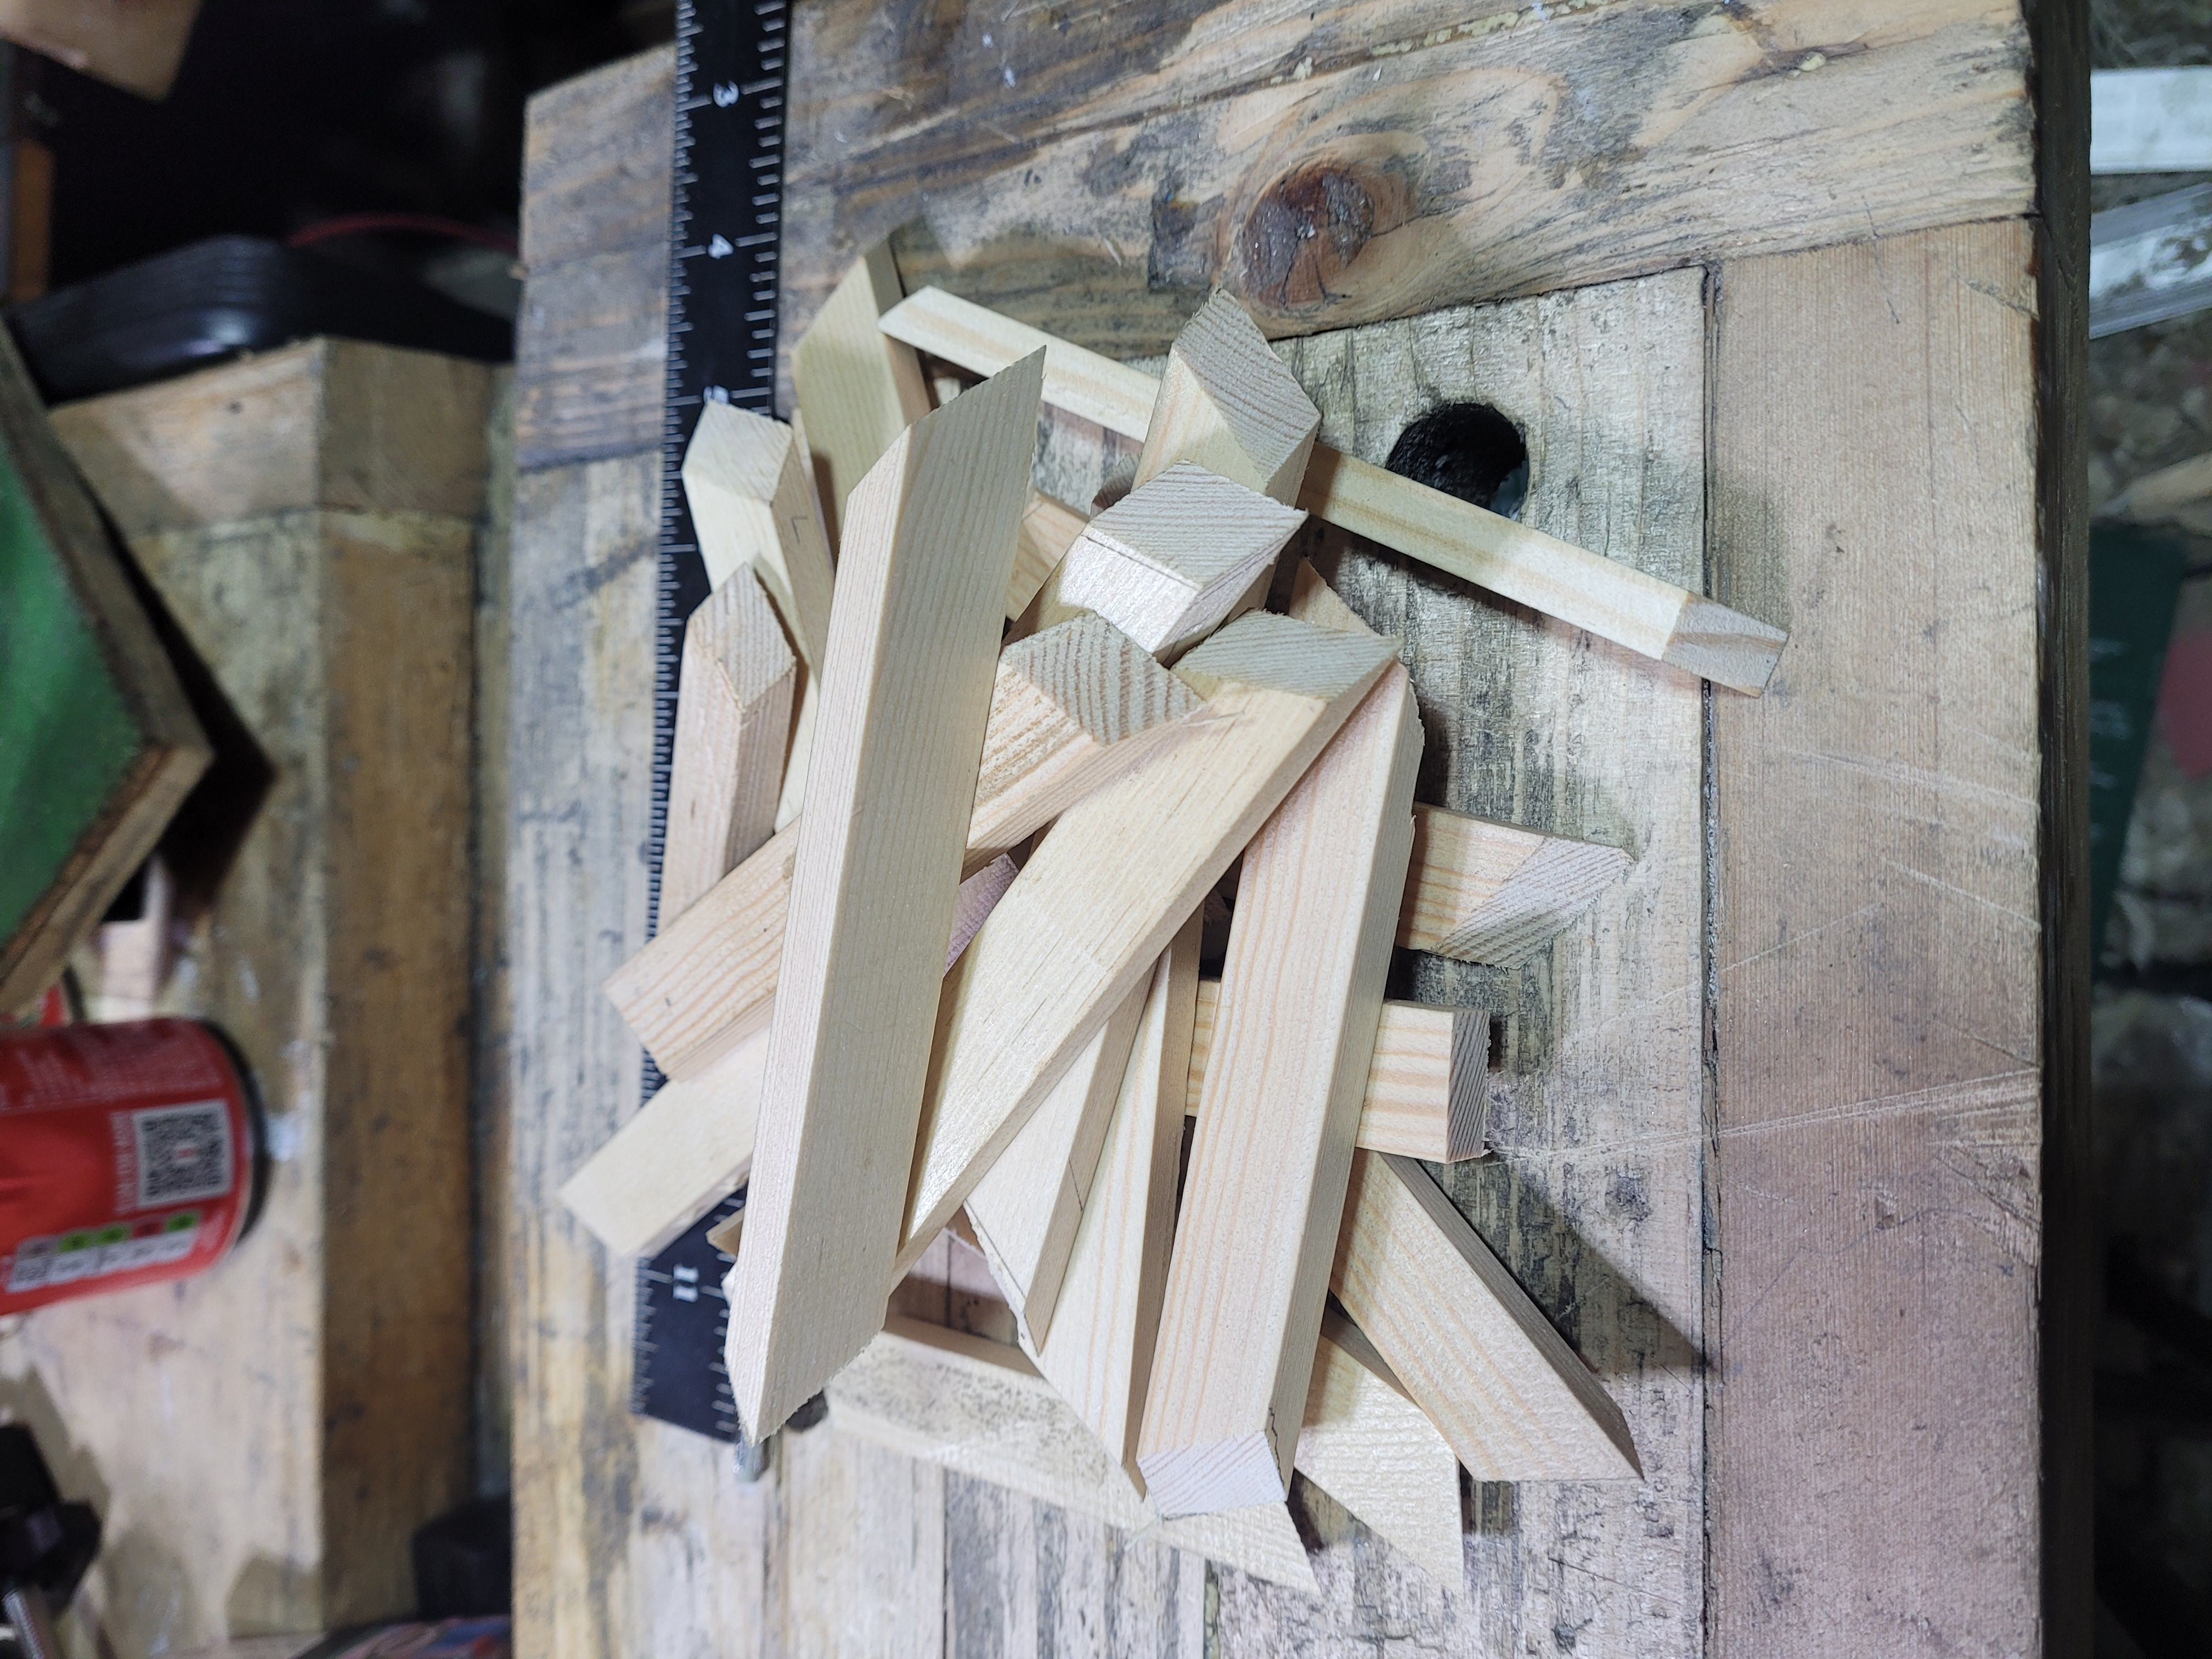
If at first you don’t succeed. This is not even remotely all my failed scrap pieces. Eventually I got a working process and probably built my skills a little. For each of the final side pieces, I successfully cut 4 or 5 in a row, all of which were viable, and then fit the best one. So while it was a nightmare to get there, its probably something I could do without too much fuss if I ever decide to repeat it.

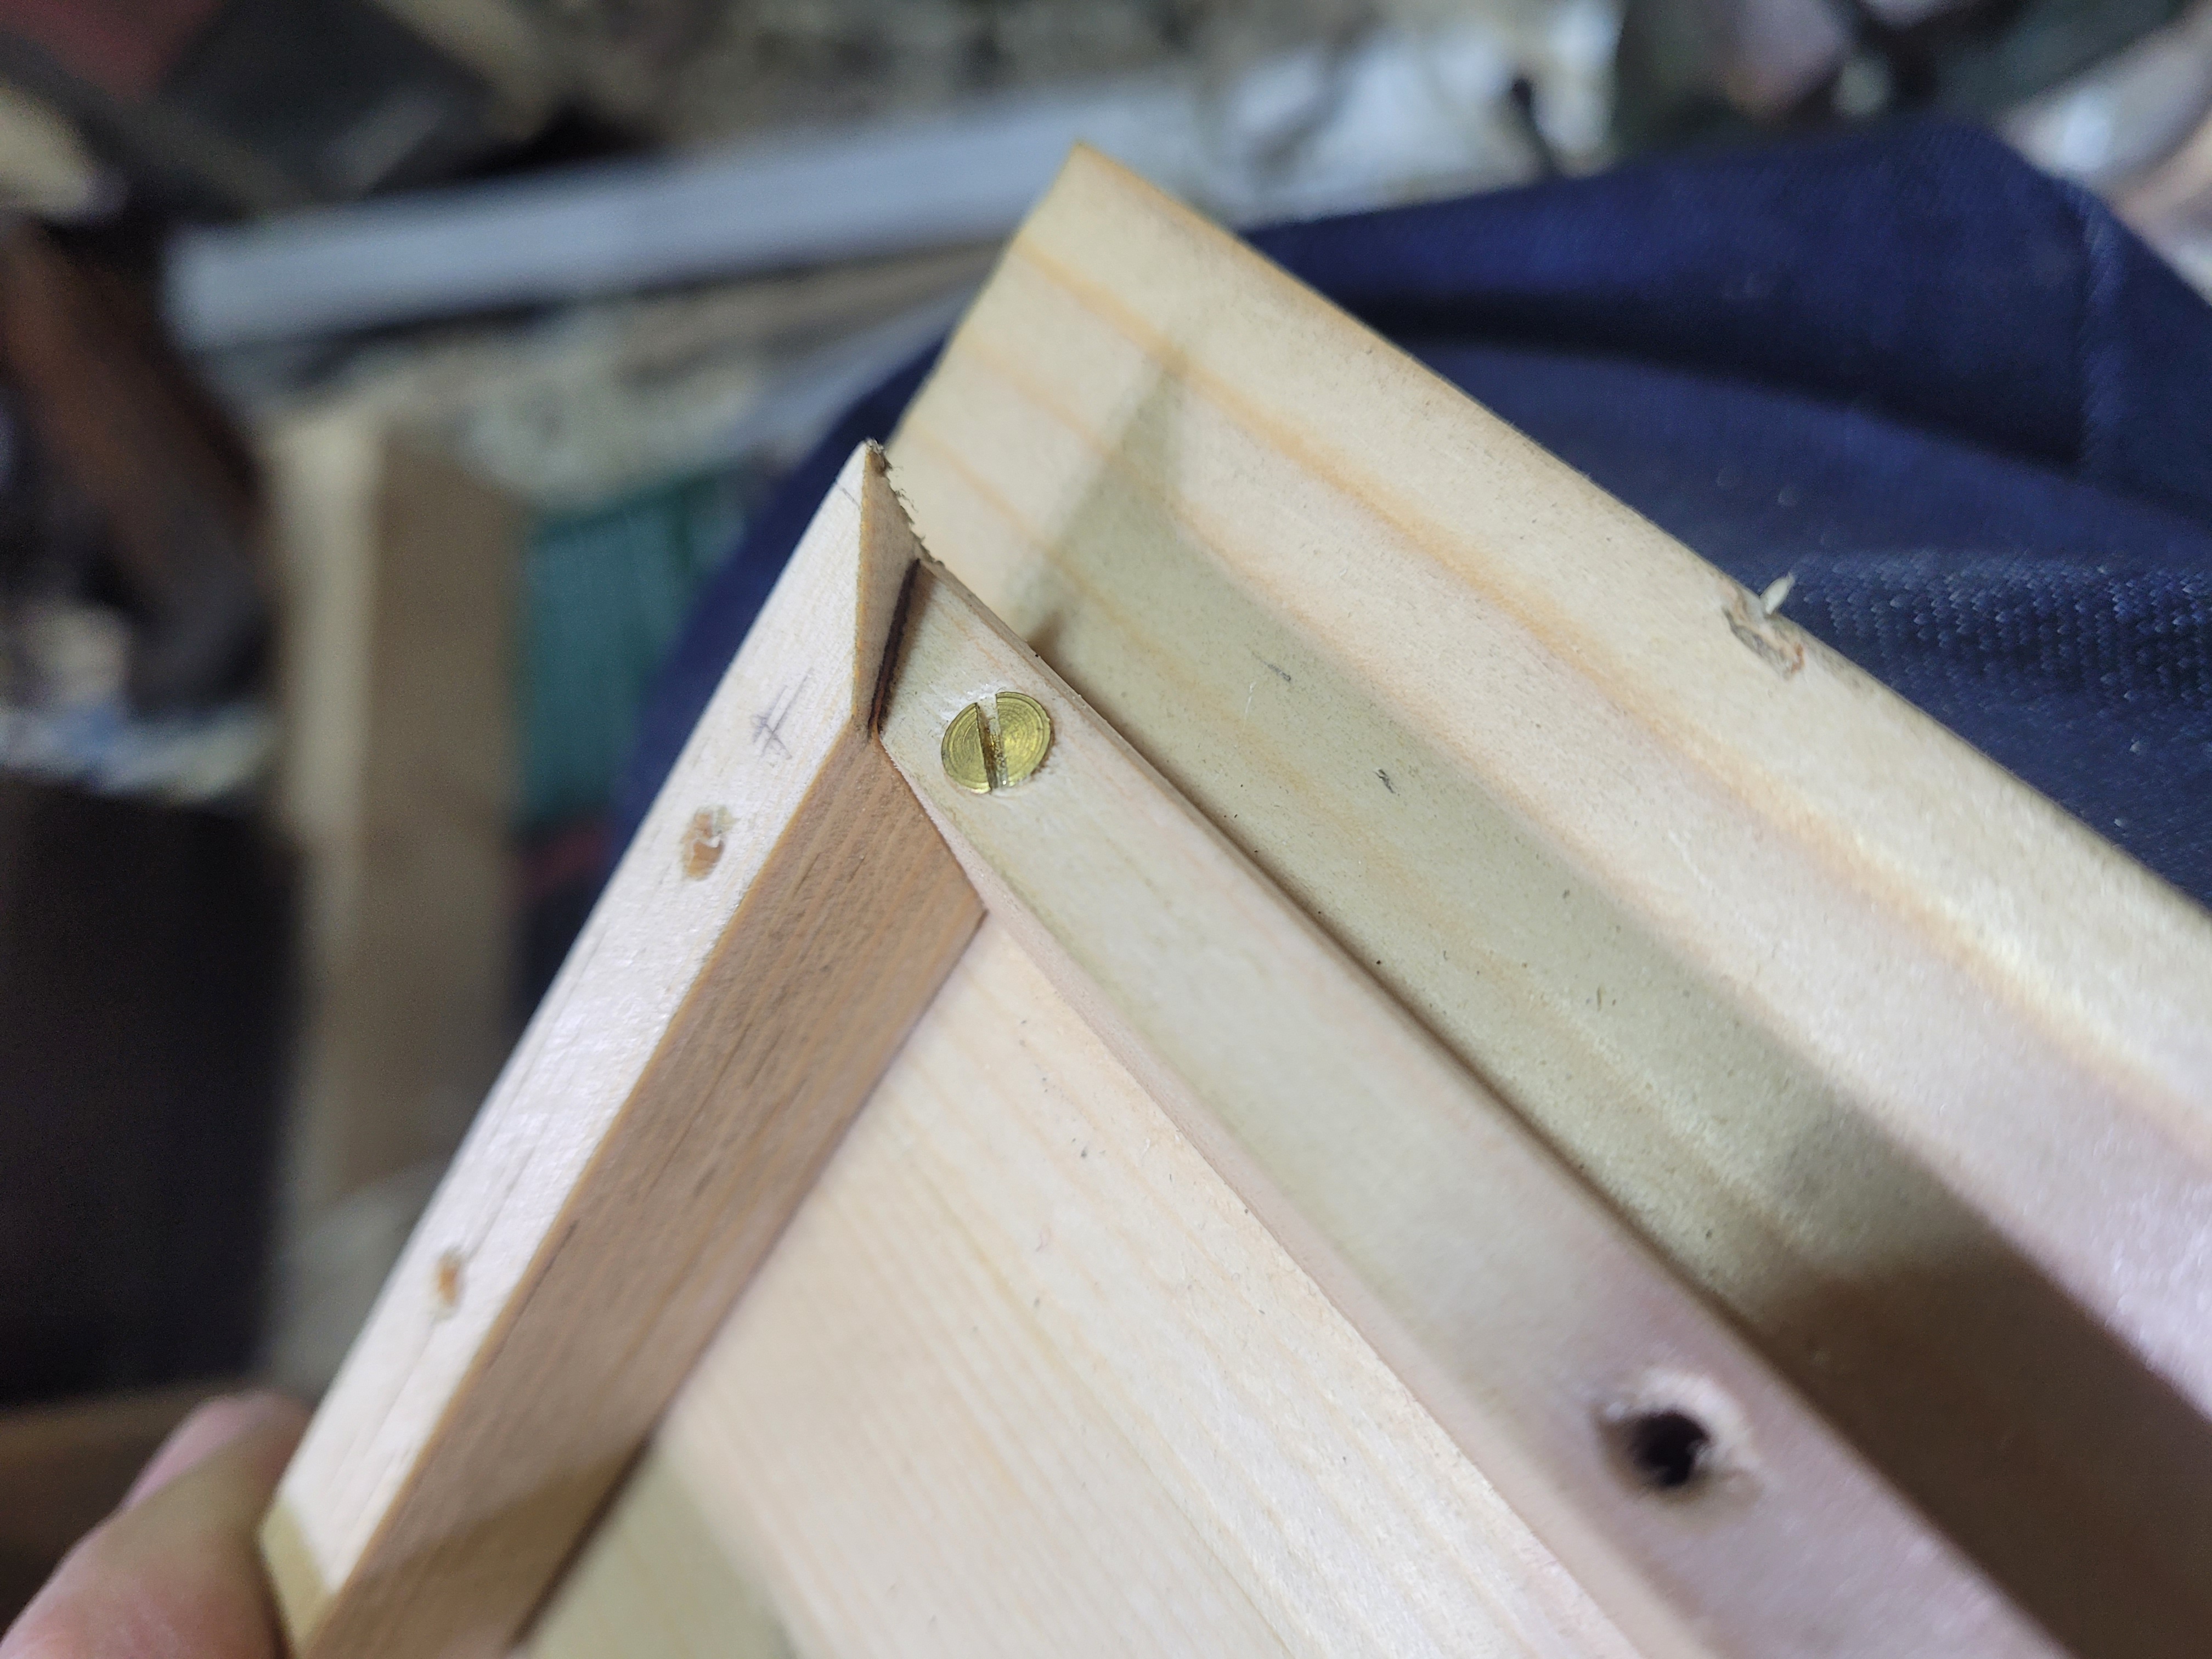
The seal after the front piece has been bevelled to allow the lid to close.
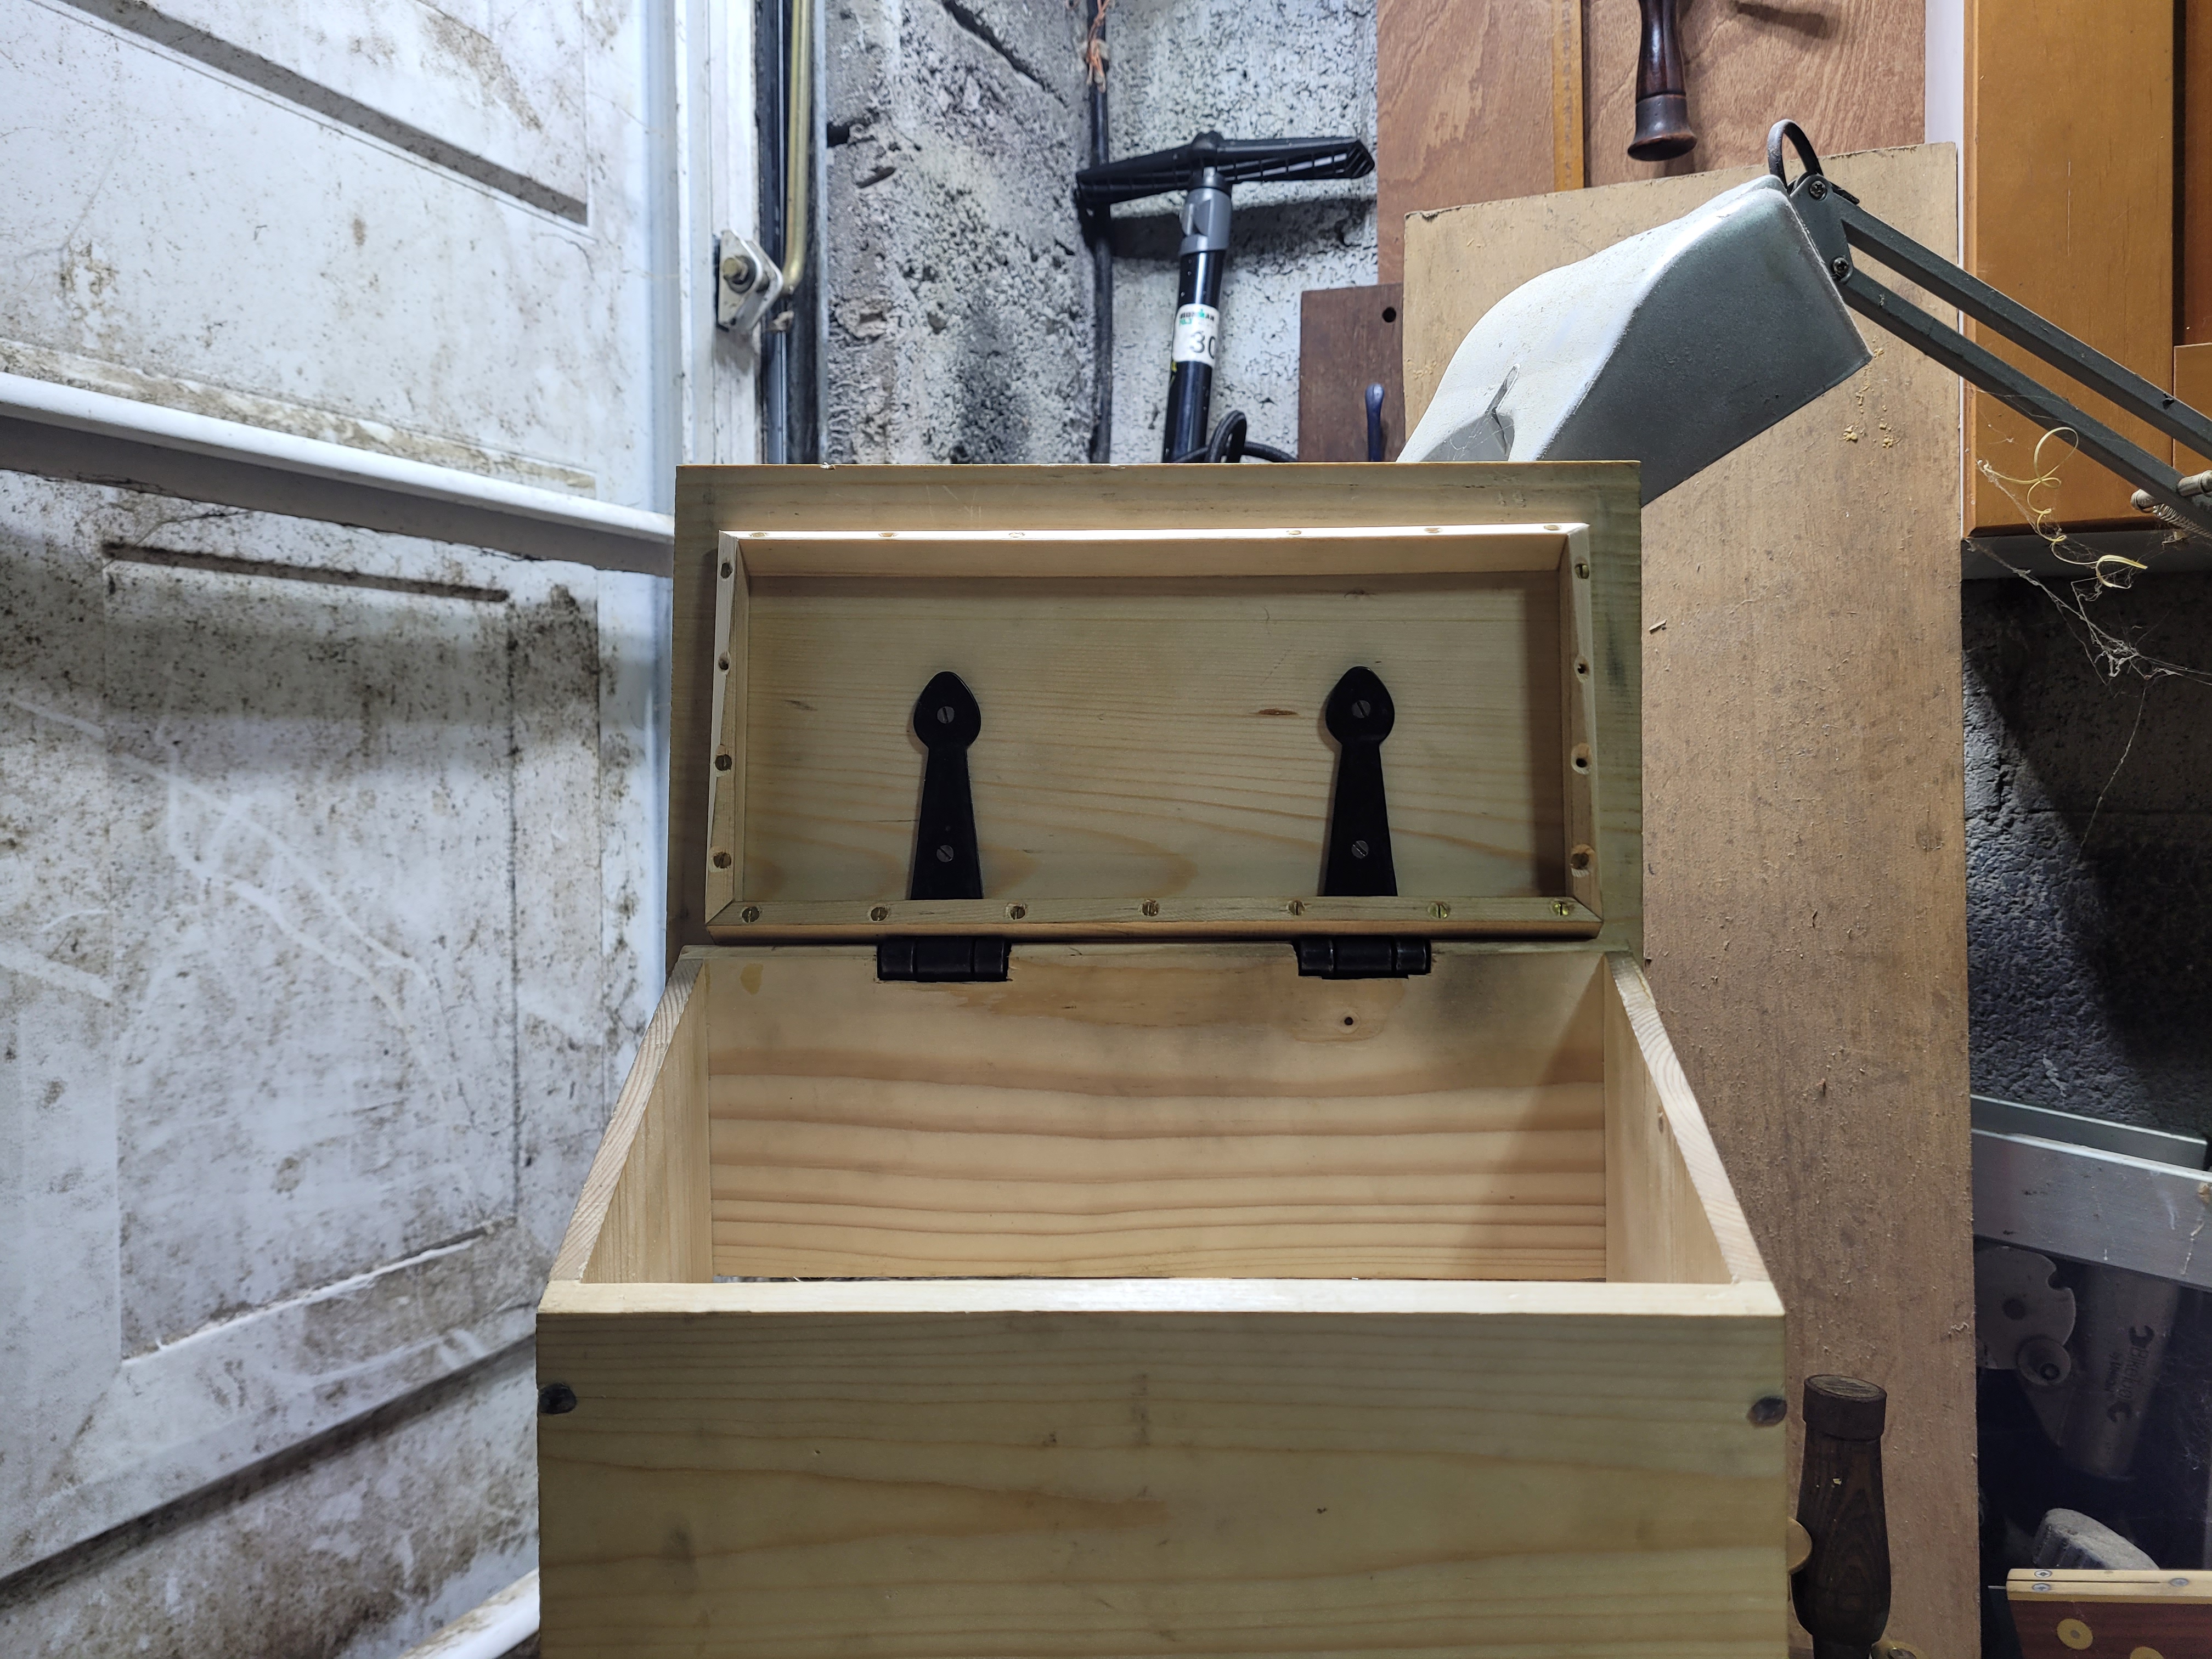
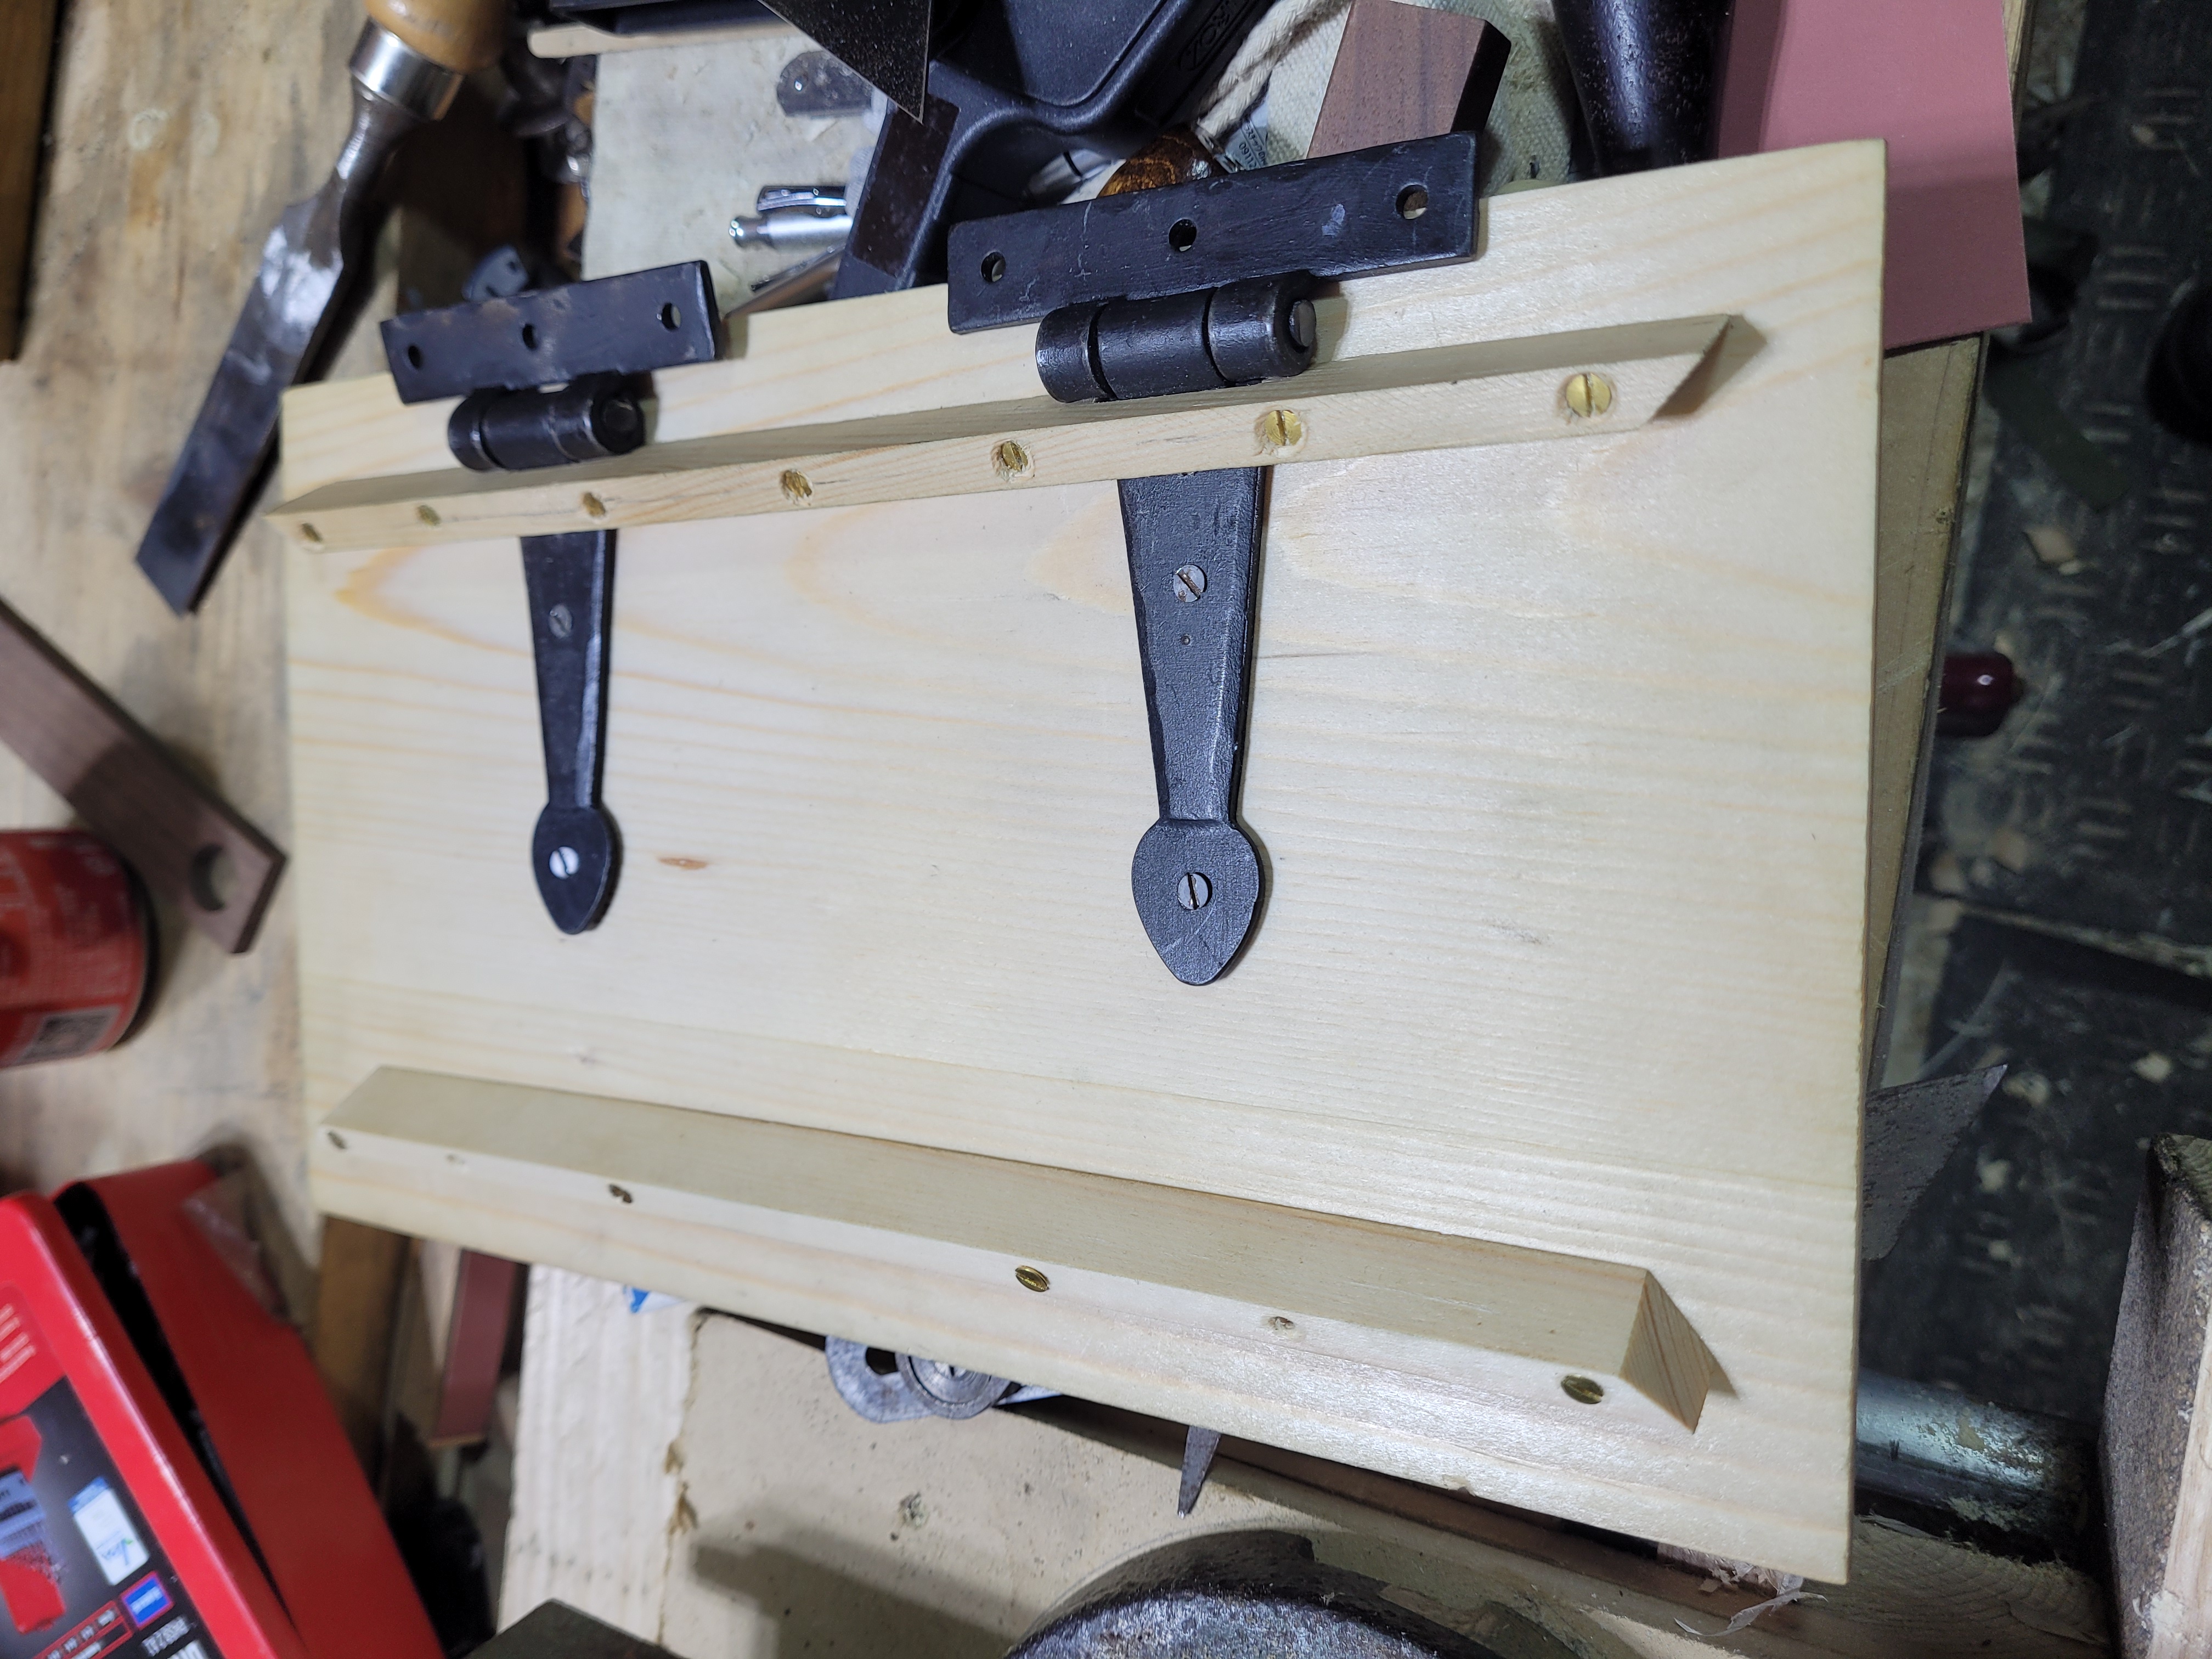
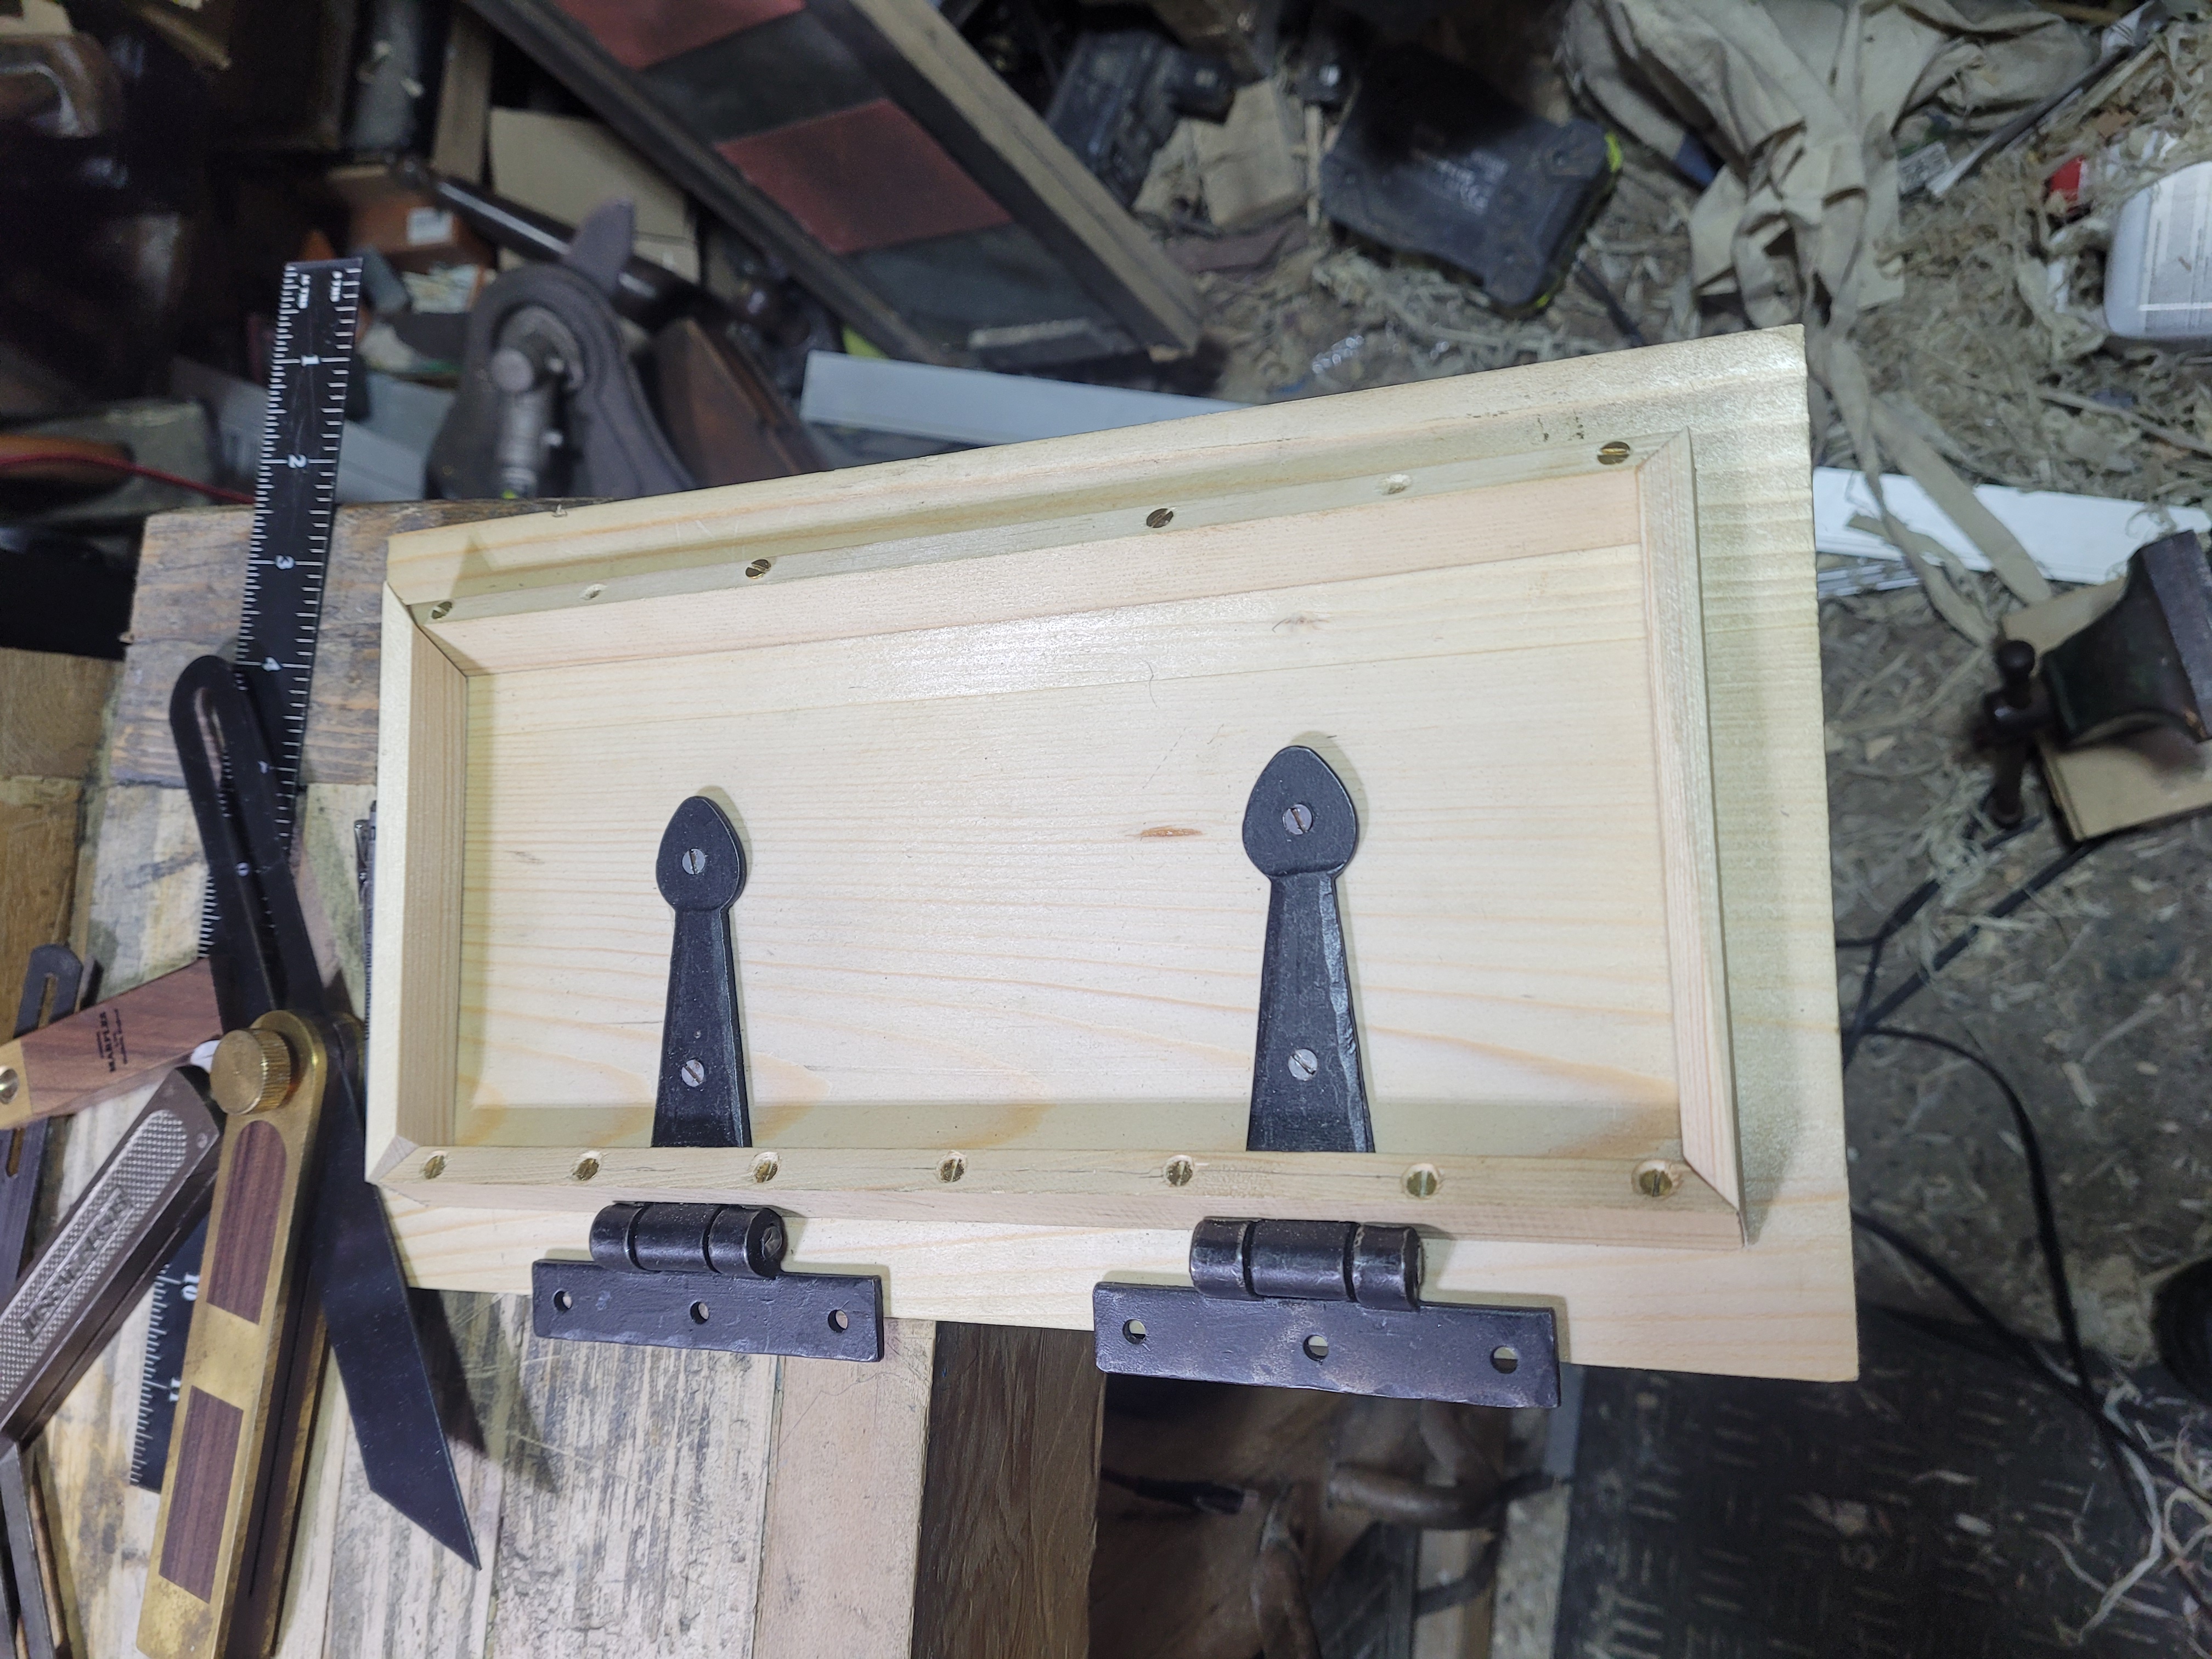
The lid fitted with the seal in place. Its very snug, its more than tight enough to keep dust out. I’m happy to move on with the rest of the chest. At this point, its nail on the back boards. Fit the hardware. Paint it and make tool holders.