Building a Deck Box
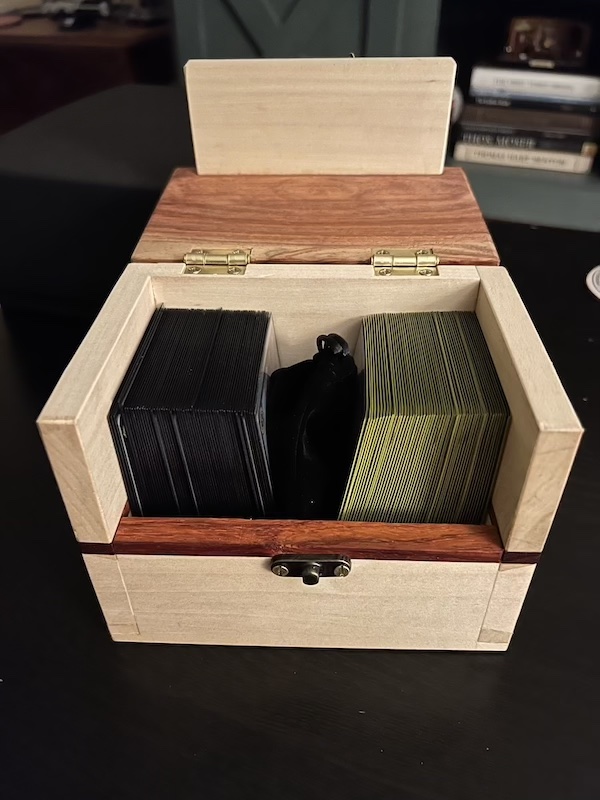
Some of you may have noticed I haven’t been too active lately. Thankfully I remain in good health, but life has been super busy. I’ve missed woodworking and creating things with my hands, though, so I ended up making a small card/deck box for a friend. Small boxes are great! You can knock one out in a day or so, and this felt like a good project to get me back into some woodworking. If any of you have played Magic the Gathering, it’s a box to hold that sort of cards… most people buy cardboard or plastic boxes to keep their cards in, but this was meant to be a special thank you. Anyways, feel free to click through the pictures or grab a cup of coffee or tea and read on.

Because this was a spur-of-the-moment project, I picked over my offcuts and found some 1” thick “bacon padauk”, a 1/4” thick piece of padauk, and some 1/2” thick and 3.5” wide poplar. A quck drawing later, and I determined my box would be 6” wide, 4.75” tall, and 4” deep.

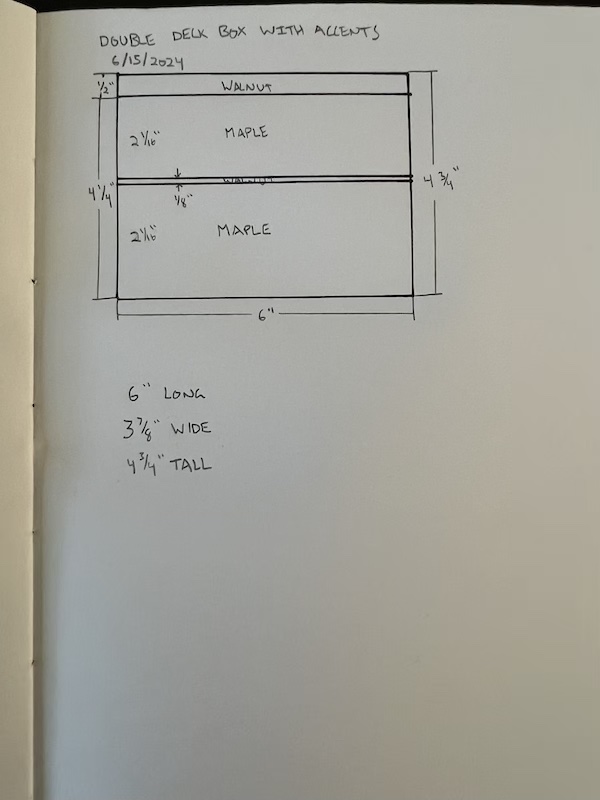
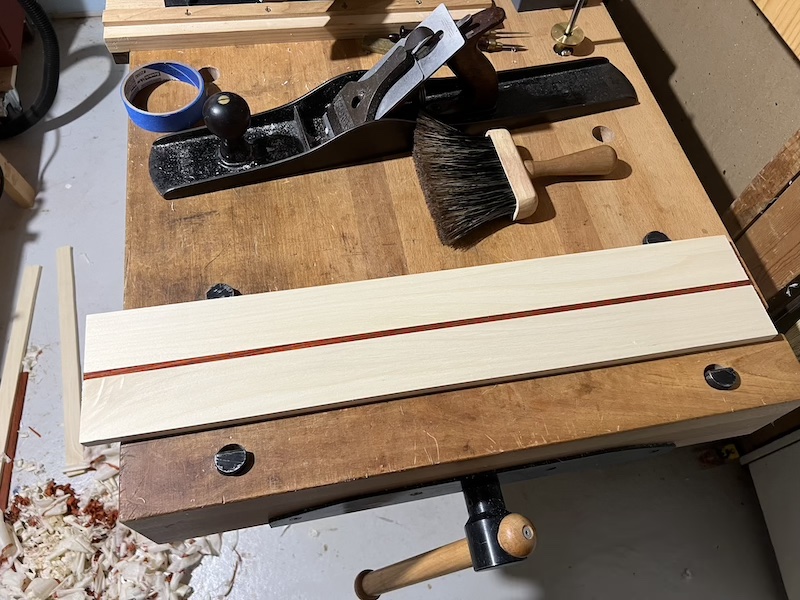
Because my poplar was 3.5” wide, and I wanted the box (before the lid) to be 4.25” tall, I needed to glue some boards. So I used my 1/4” thick padauk and quickly laminated and planed up a board that was 4.25” wide and about 24” long. By quickly, I mean it took me about 3 hours. I did all the ripping, jointing, and planing by hand. And I had to be careful not to glue one section of the board that would later make the lid.
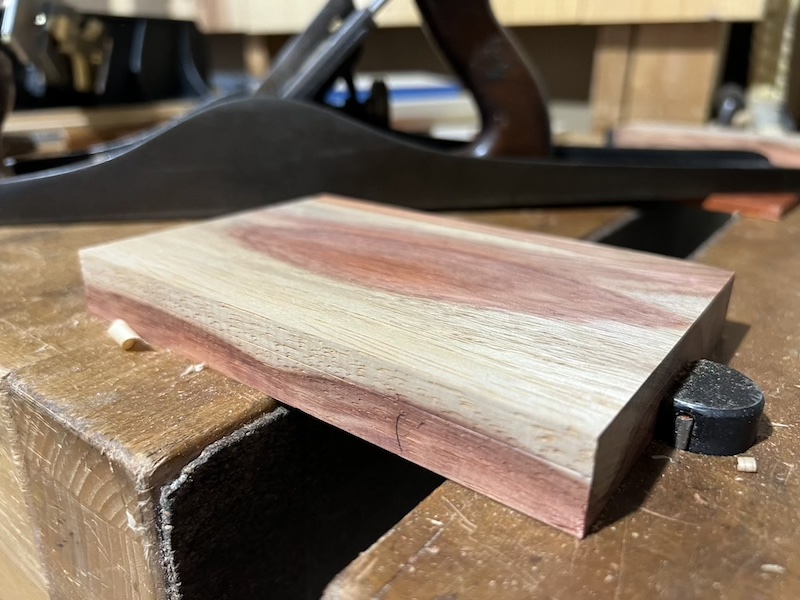
I also needed a lid, so I cut my paduak around a paticularly interesting section (to me), and then marked and planed it down to 1/2” thick.
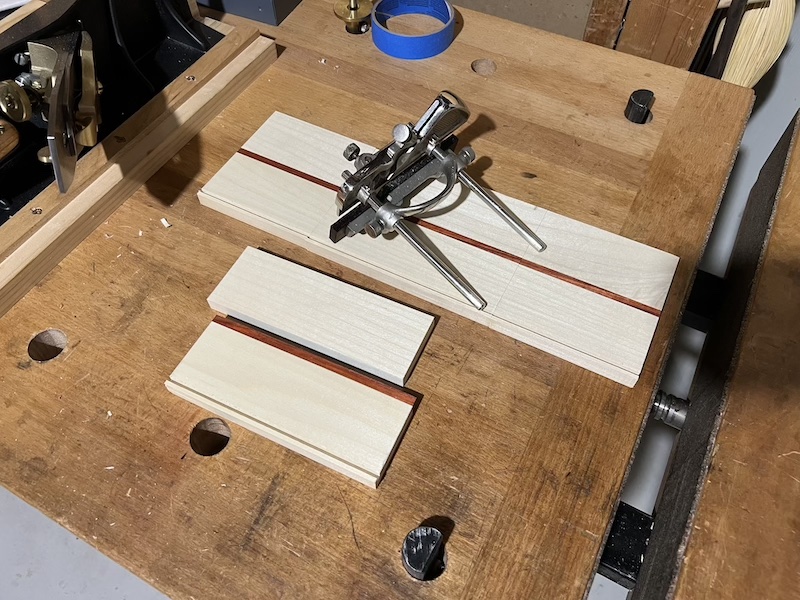
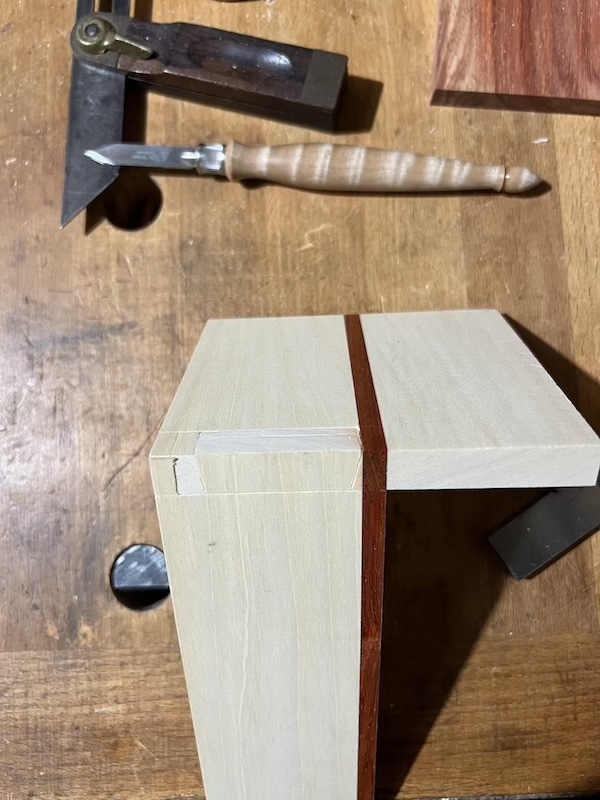
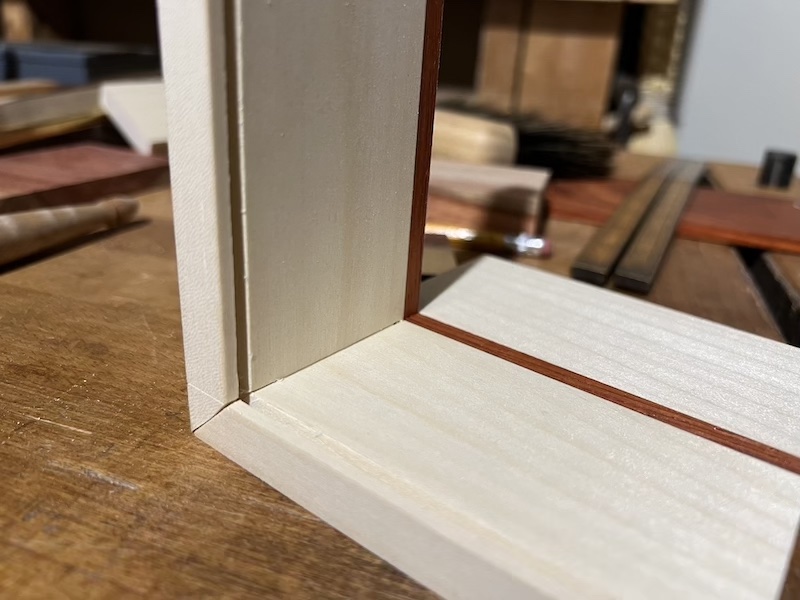
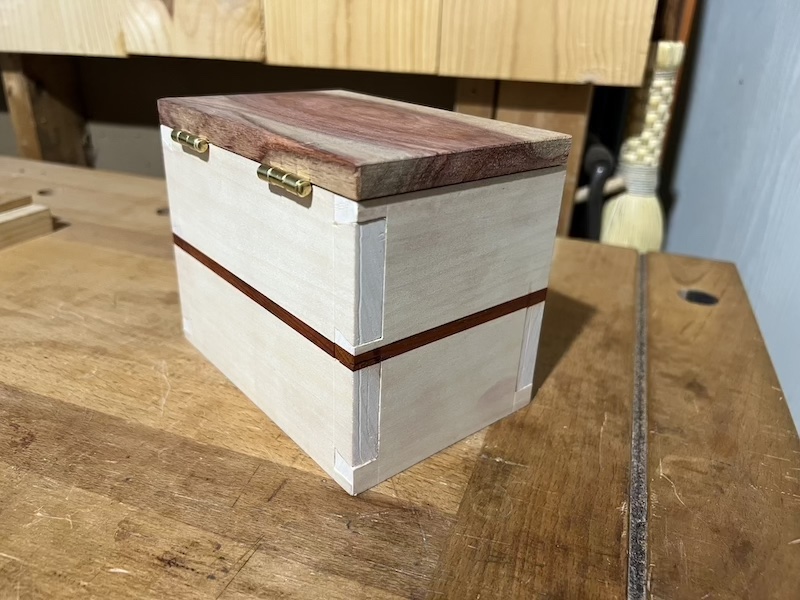
As I had my sides, I ran a groove for the bottom with a Record 043. This little plane belonged to a former VTP member, Francis d’Aguilar, and I think of him every time I use it. The plan was originally going to do rabbet joints with dowels, but that was before I chose padauk, and I wasn’t super excited about making dowels… so I found my favorite dovetail saw and pivoted to much more challenging mitered dovetails. Poplar is soft and brittle, and I didn’t have extra stock prepared, so this would have to be cut right the first time. I took my time (about 30 minutes per joint) to lay out, cut, cope, and chisel. Luckily things fit pretty tightly with only a few uneven gaps on the miters.
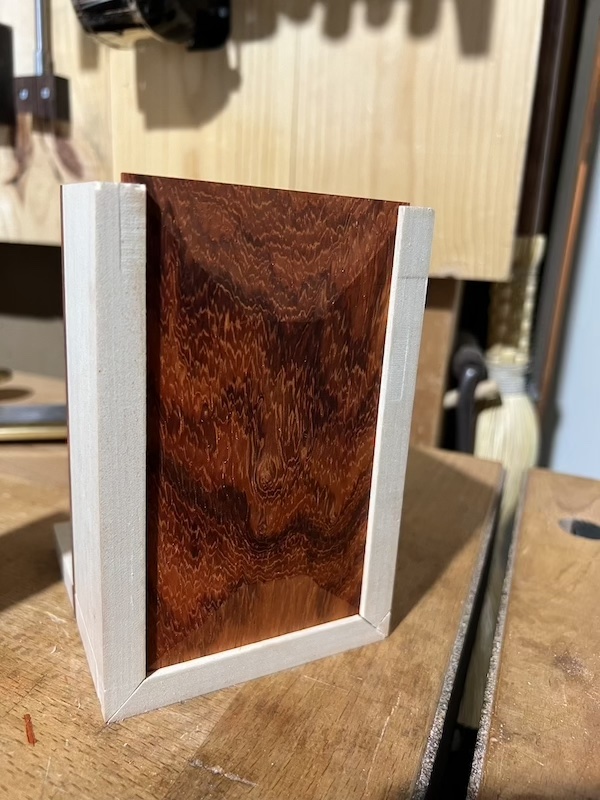
I beveled the bottom and slid it in, then realized made it too long. This was quickly fixed with my Stanley 150 miter box and shooting board.
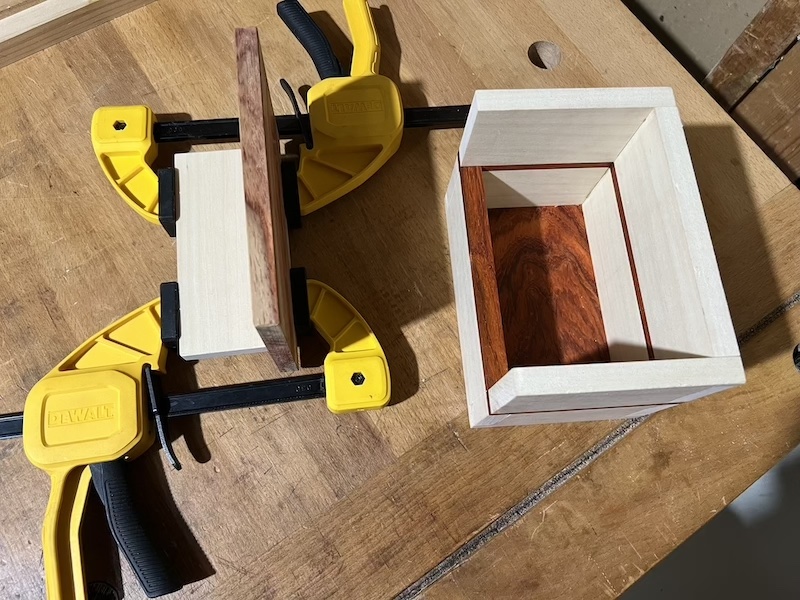
Some glue up for the top, I rummaged up some hinges, mortised them in, and added a hasp. At this point I had spent just about a whole day on the box, but it just needed finish. I saved that for the next day.
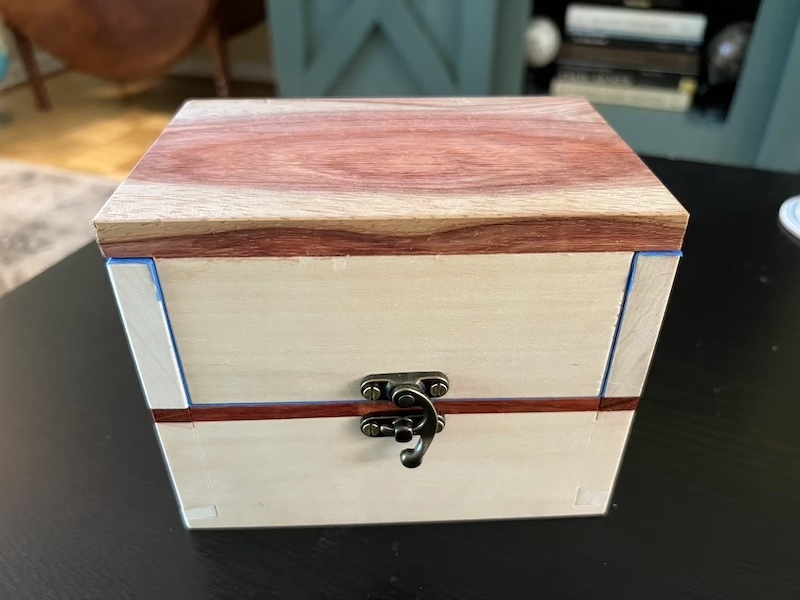
For a finish, I went with Odie’s Oil on the outside only. Why? Well I chose Odie’s OIl because it’s easy and is quite nice to handle. I left the inside unfinished because you don’t want oils or waxes getting absorbed into the box’s contents. After a couple hours in the sun, I buffed it off, brushed on a coat of Alfie Shine, and then let it sit overnight. The next morning (we’re now on Monday) I buffed everything out, added another coat of Alfie Shine, and left it again for most of the day before giving it a final buff.
So that was it. A weekend project, and a nice little box!