Stanley 72
David O’Sioda very kindly lent me this plane to try out a very very long time ago. It is not that often I reach for a dedicated chamfer plane, so I apologise for how long it has taken me to actually try it out.
Chamfer planes chamfer. They put a bevel on a piece of work. It is not that hard to chamfer an edge with any old plane. Mark your lines and work away, a little care towards the end. The chamfer plane comes into its own when you want to chamfer a lot of pieces, or you want to be very sure your chamfers are consistent.
I have written a little bit about chamfer planes before when I covered the Patsy 55A. I gave this fella a little sharpen and then put it to work on a walnut board.
The 72 is a weird little plane. The nose piece can be raised and lowered to set the size of the chamfer, the further up you lift it, the larger the chamfer. The majority of the sole is really a depth stop. You can sight down the sole and eyeball your desired chamfer size pretty easily as you slide it up and down.
The plane has no depth or lateral adjuster. So its hammer time when it comes to setting it. You want it set for a moderate cut. Well above a smoother, deep enough that you make good progress without tear out.
I find starting at the end of the board a little award with this plane. The sole is very short and it does not feel incredibly stable. I felt more comfortable starting a little into the board, and working to the end, and then working the opposite direction to finish off the bevel.
Due to the short front sole, its very easy to nose dive the plane at the end of the cut. That said, as the bevel deepened, as long as I kept pressure on the back of the plane at the end of the cut (which is the case with most planes. It evened out nicely by the time I was done.
To give myself a fresh comparison, I dug out my Chris Byrne chamfer plane and bevelled the other side with it. It works in a very similar way. The position of the sliding block that does the job of a sole/depth stop makes it a little easier to start on the end of the board. Its a touch harder to set up as the depth and iron are being set at the same time. The results are near identical.
I quickly found with the 72, I was more comfortable holding the rear body rather than the tote. With Chris’s plane that is just the natural way to hold it. Both did a very similar job, but I found the wooden chamfer plane a little more comfortable to work with.
My end verdict is it works well. It is the nicest metal body chamfer I’ve used. But given its value due to rarity, I would not go out of my way to get one unless you get lucky and get it cheap. There are a number of designs out there for chamfer sleds for standard planes that will do just as nice a job. As a little bit of woodworking history, its very cool.
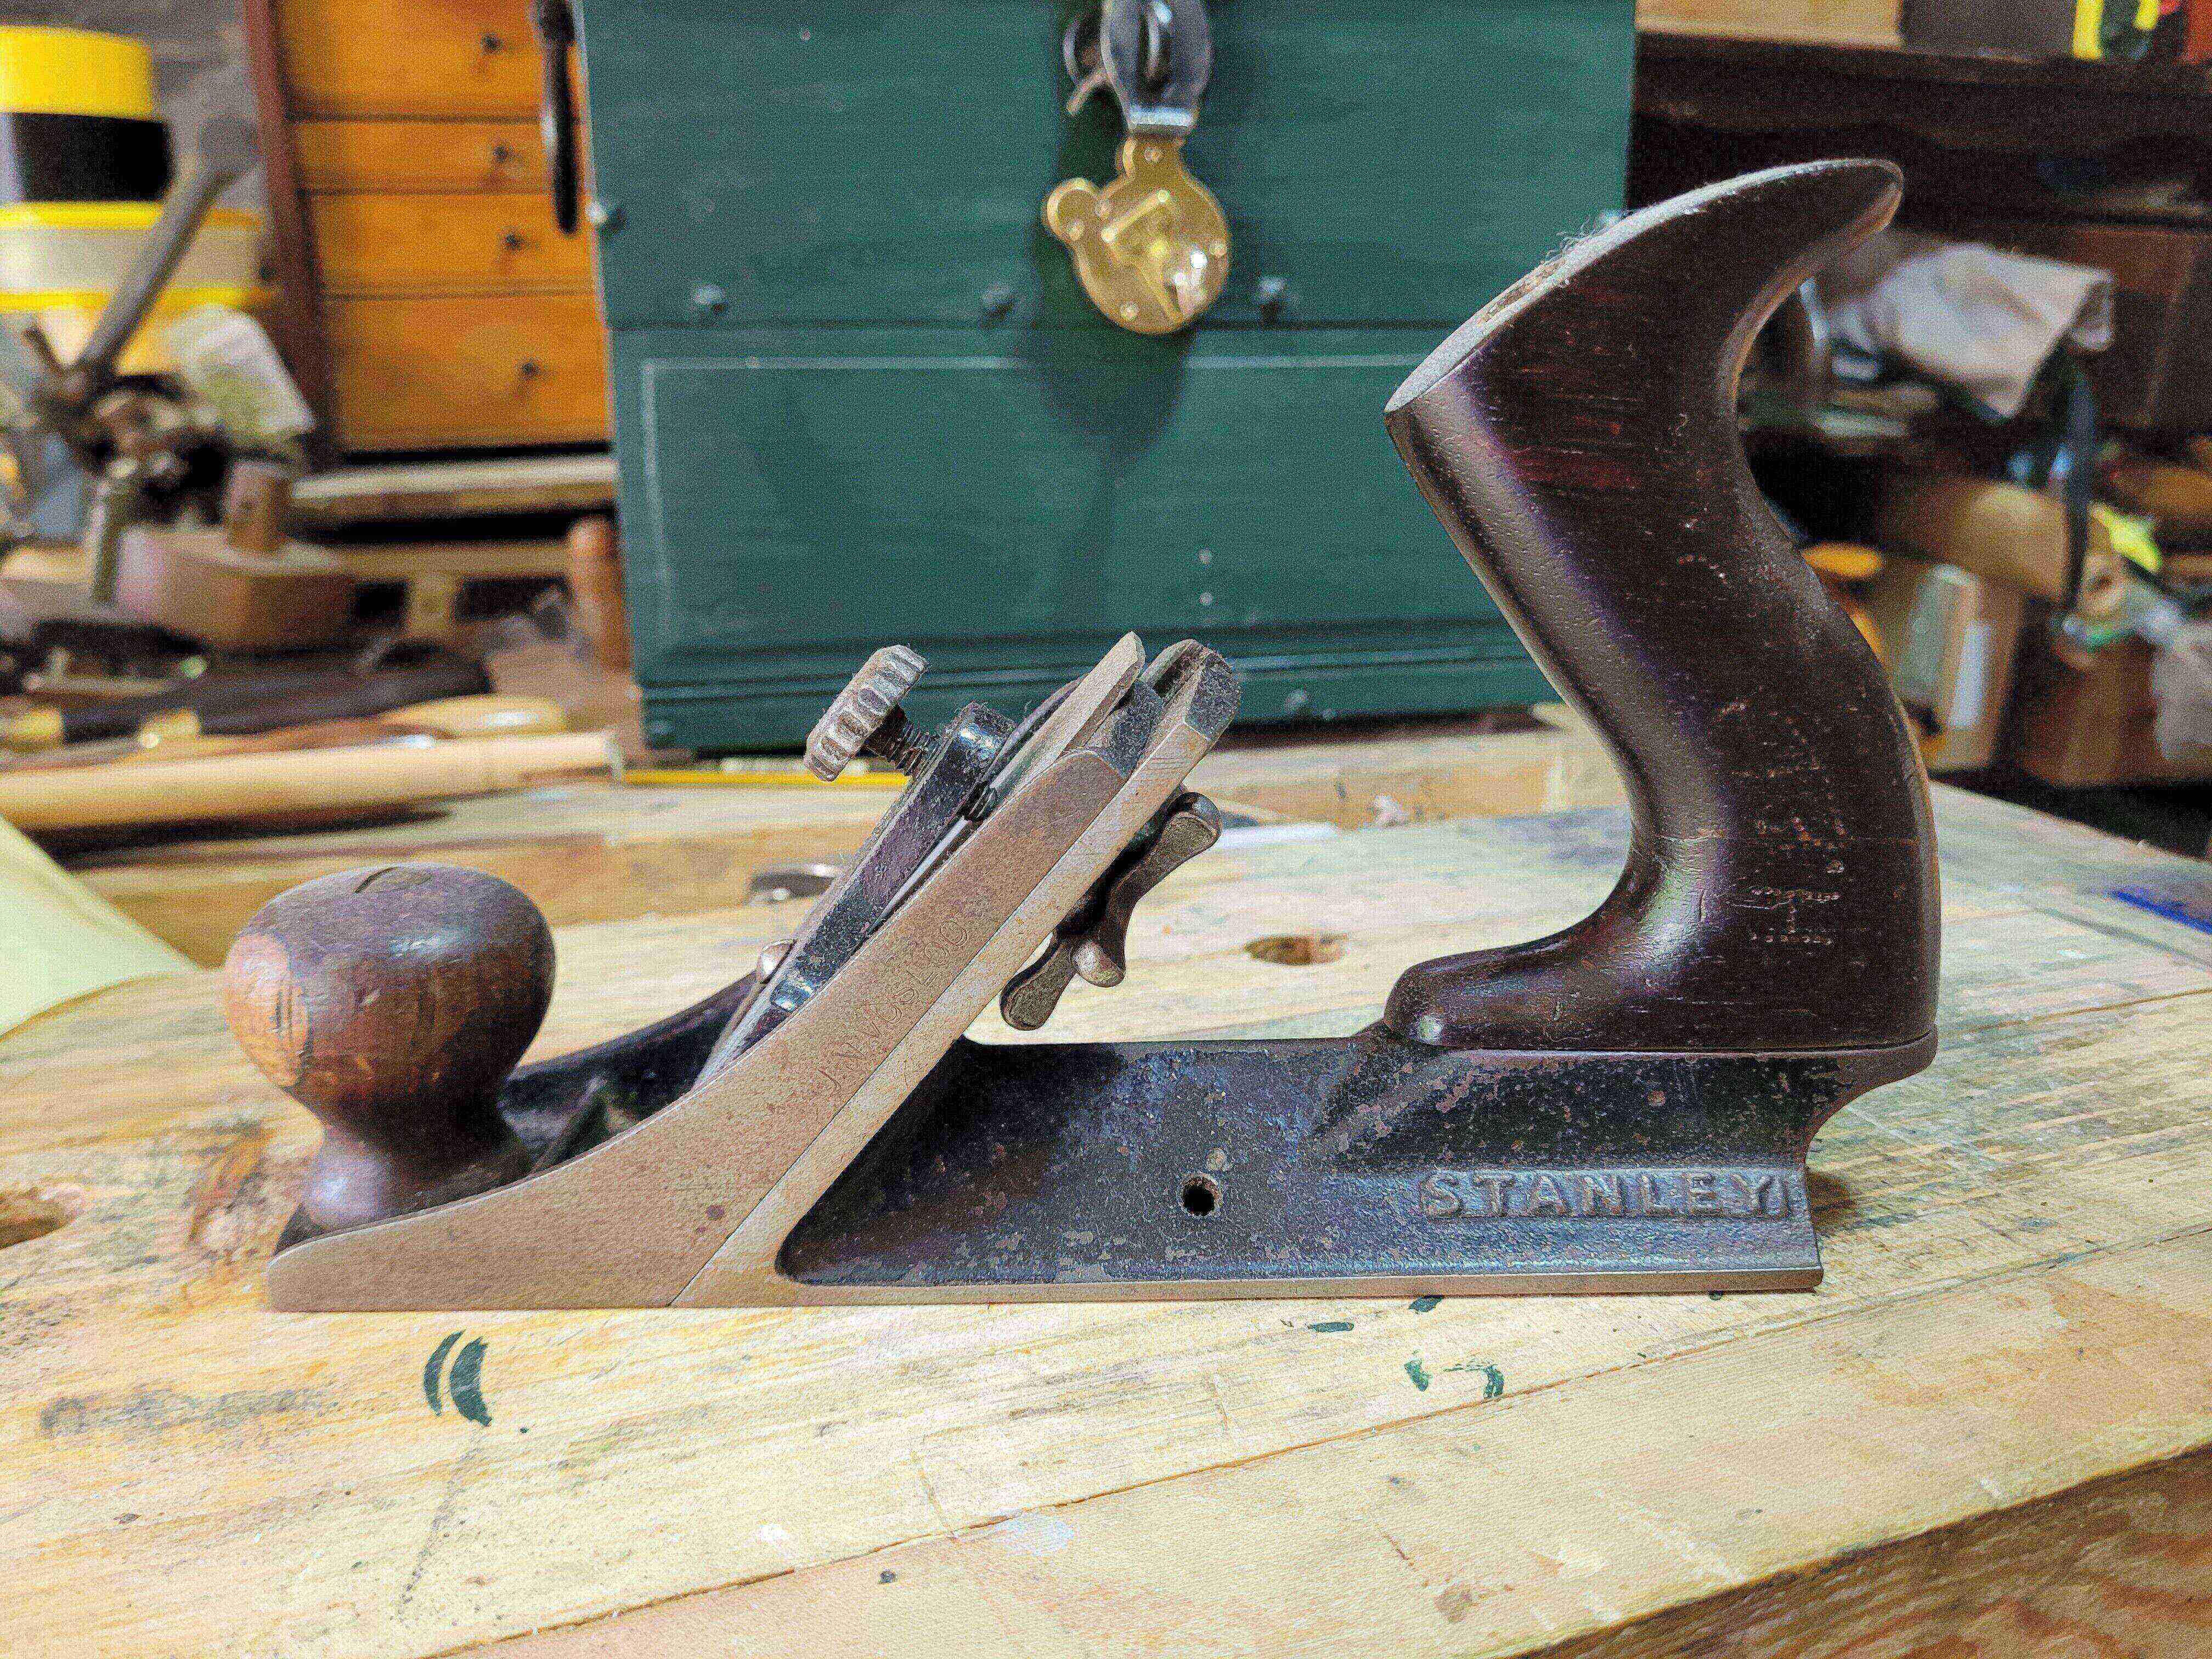
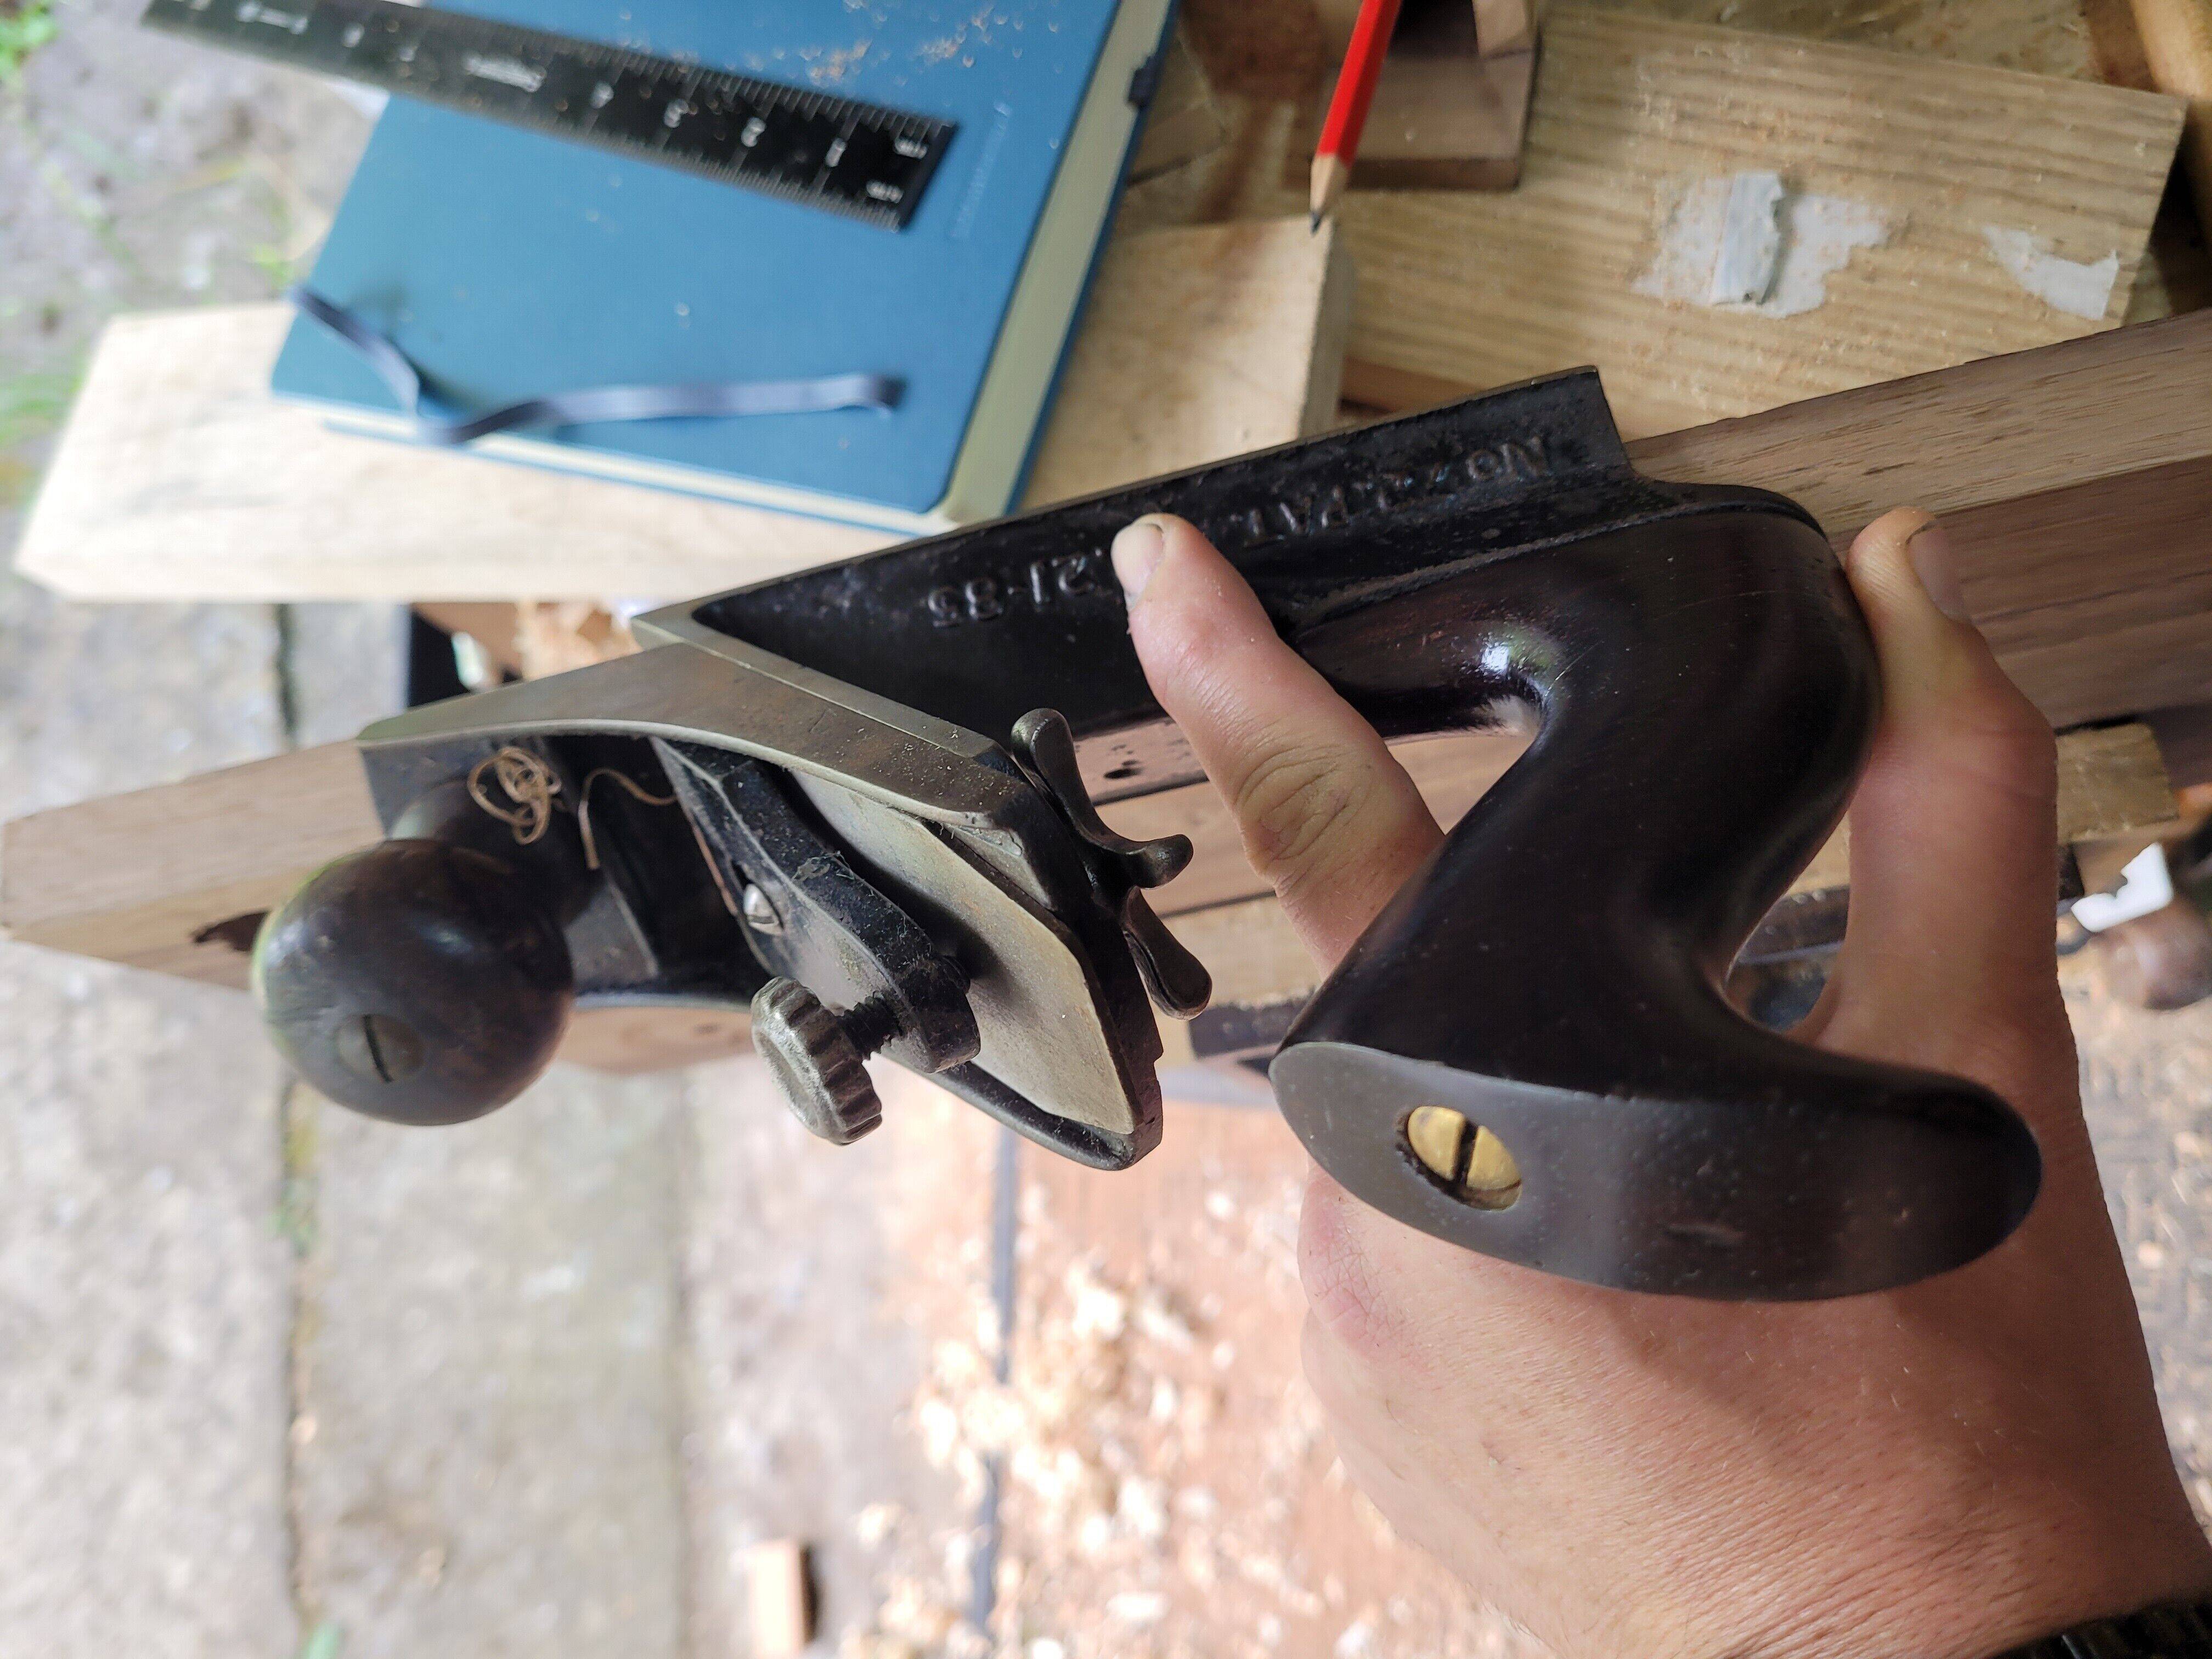
The 72. From this angle, other than the odd angles and the tap like adjuster for the nose, it does not look too weird.
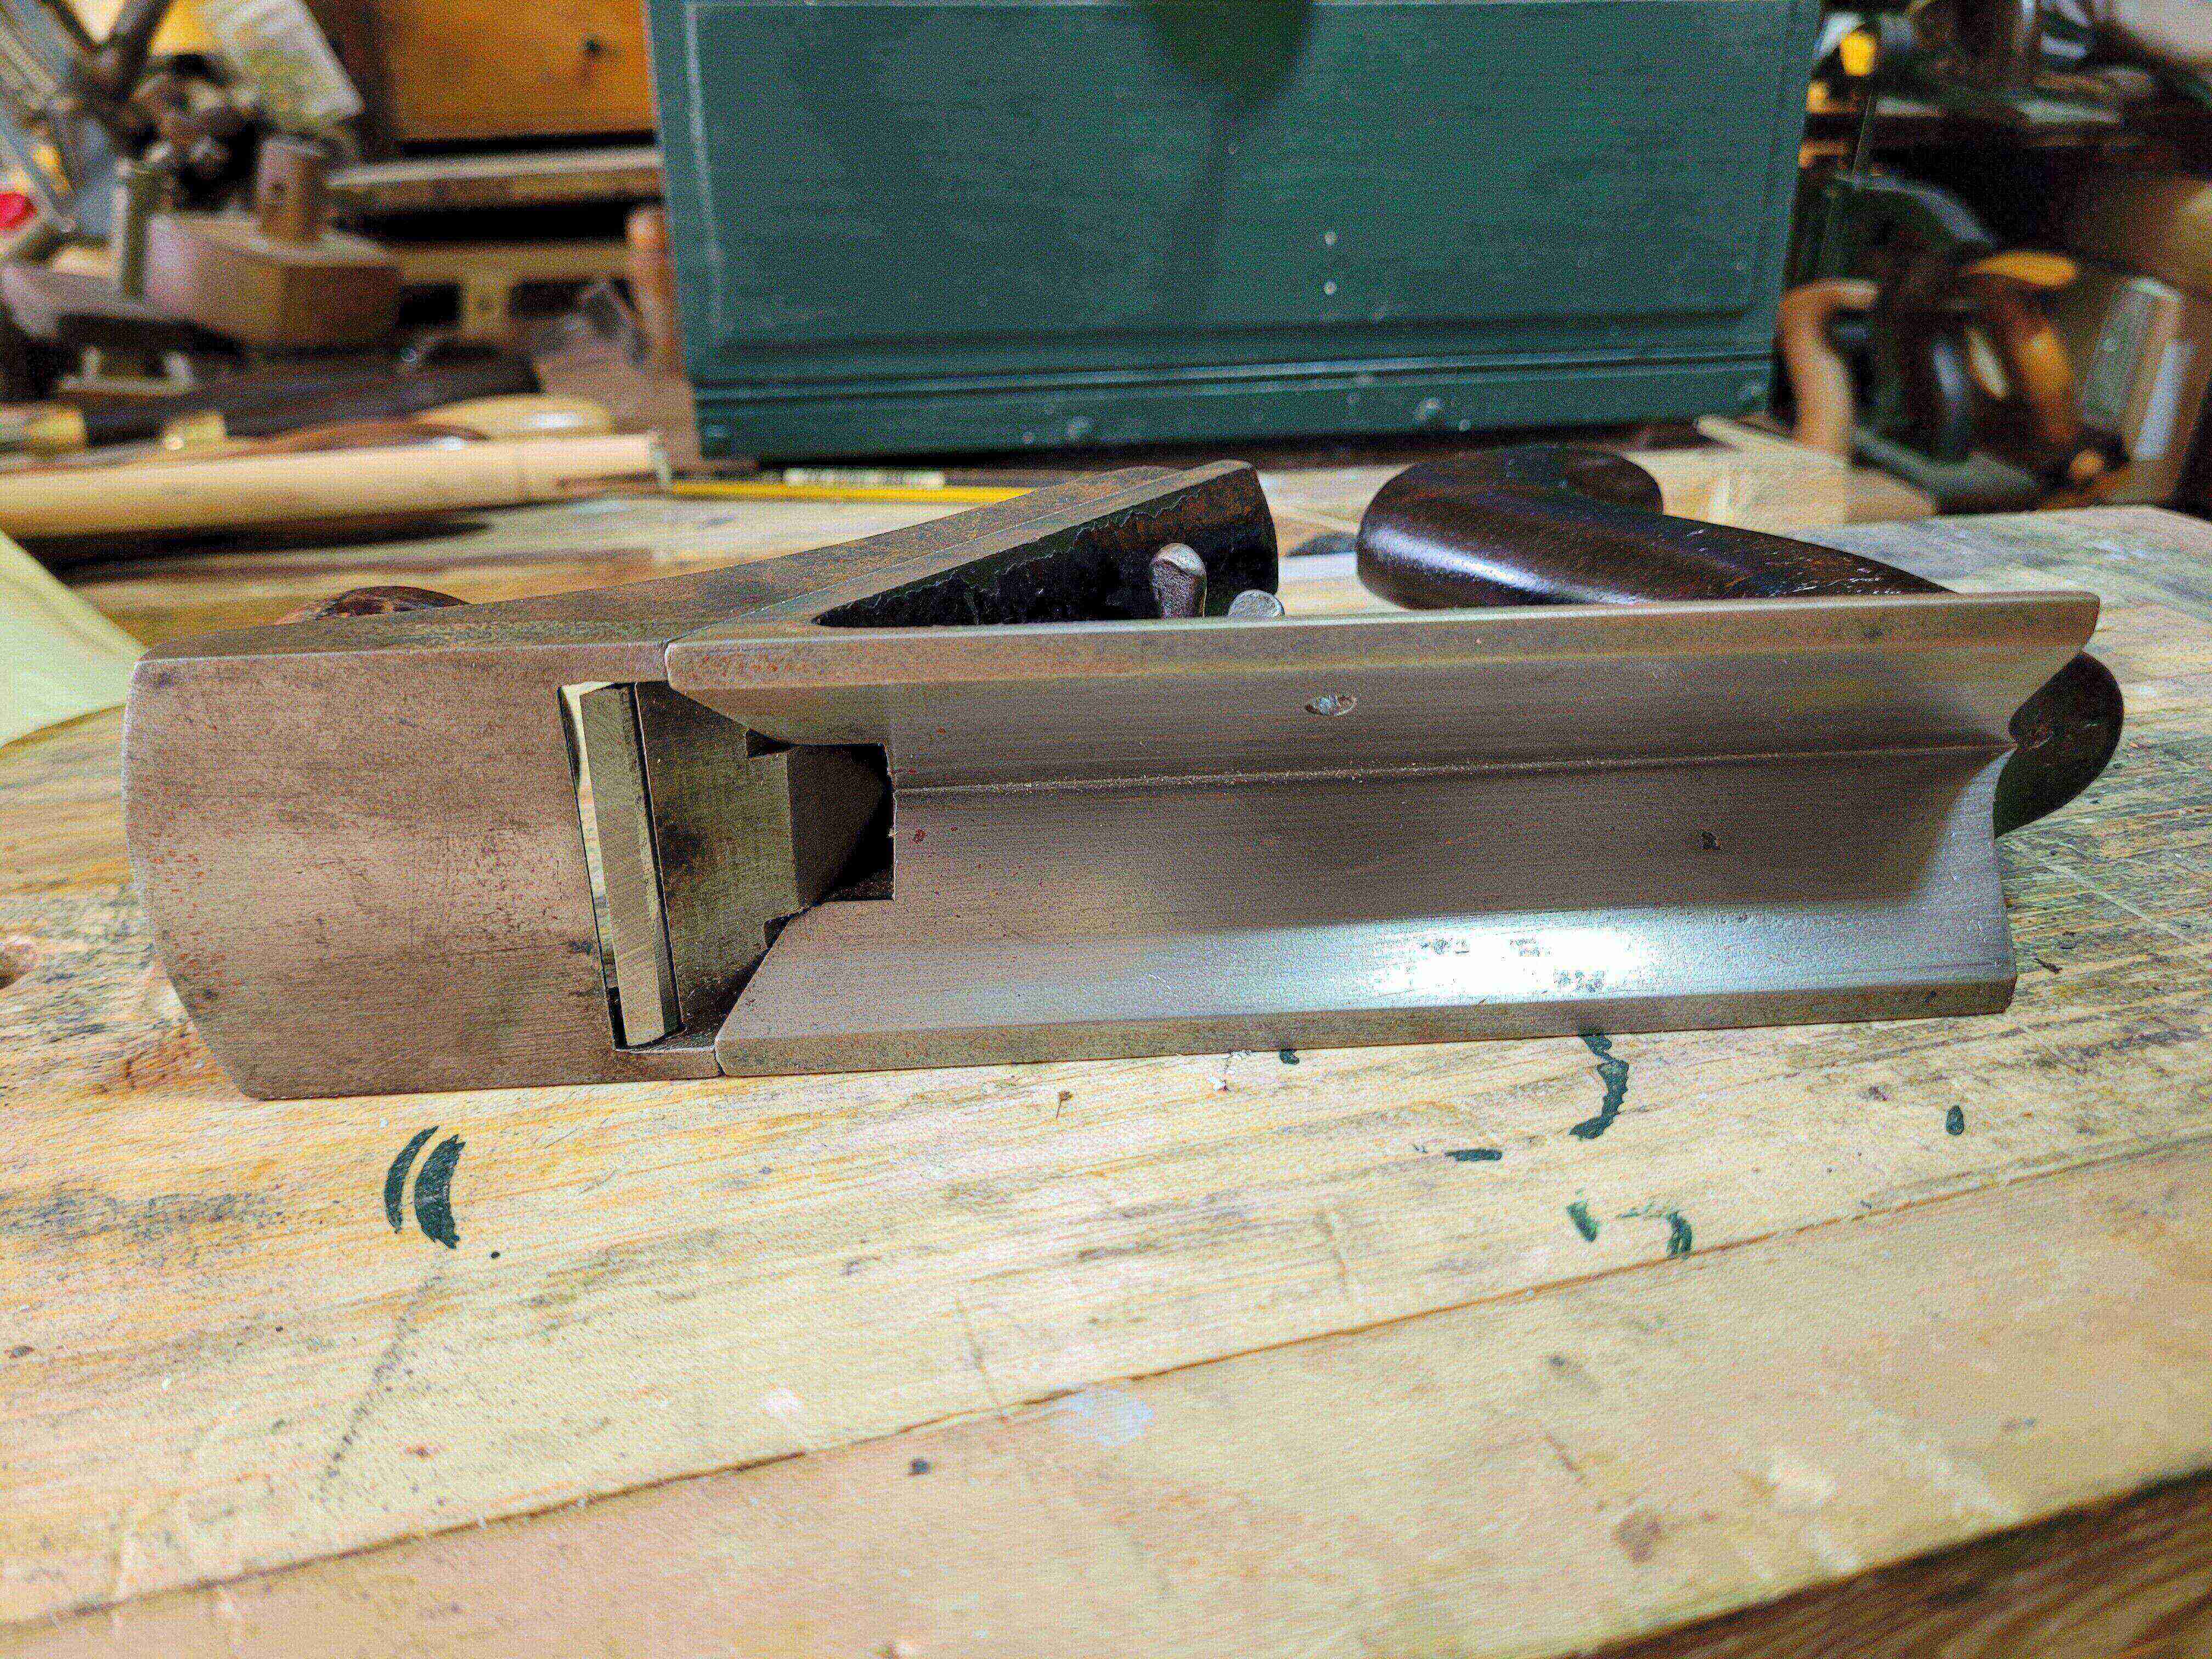
The sole gives the game away. The front piece is really the sole for cutting, the rear is a guide/depth stop.
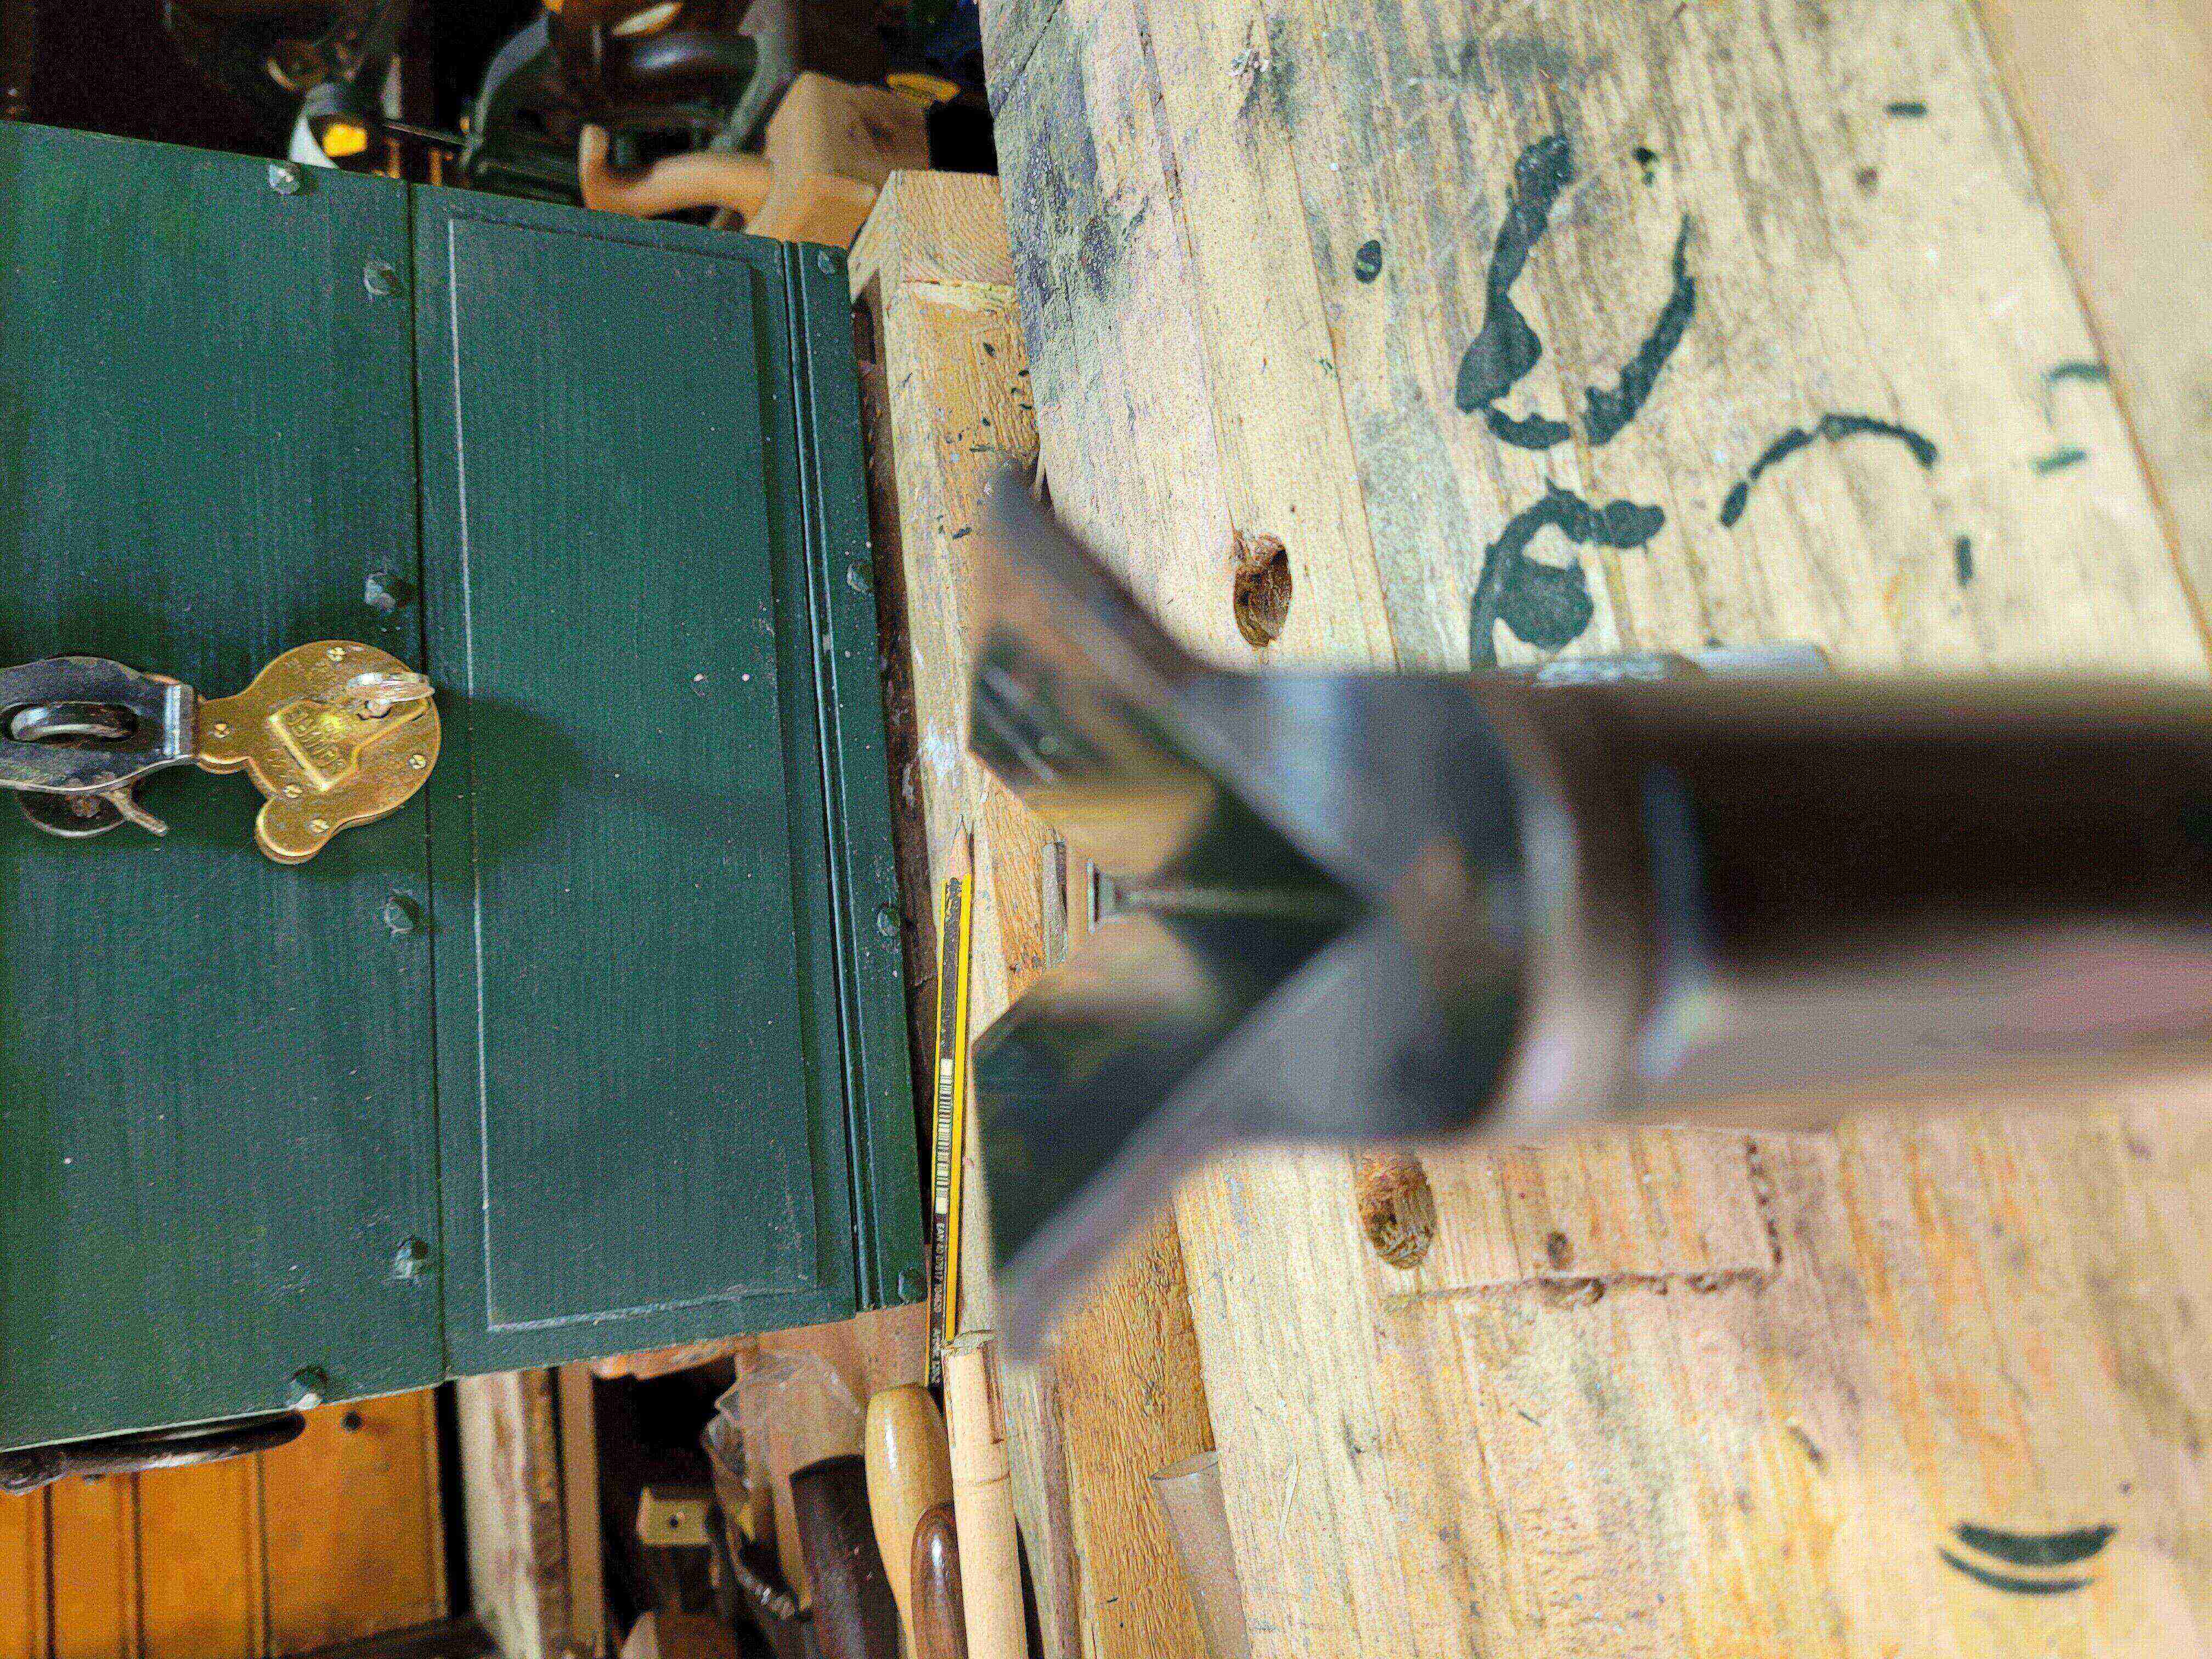
Sight down the plane, and raise/lower the nose until you have the desired size of chamfer.
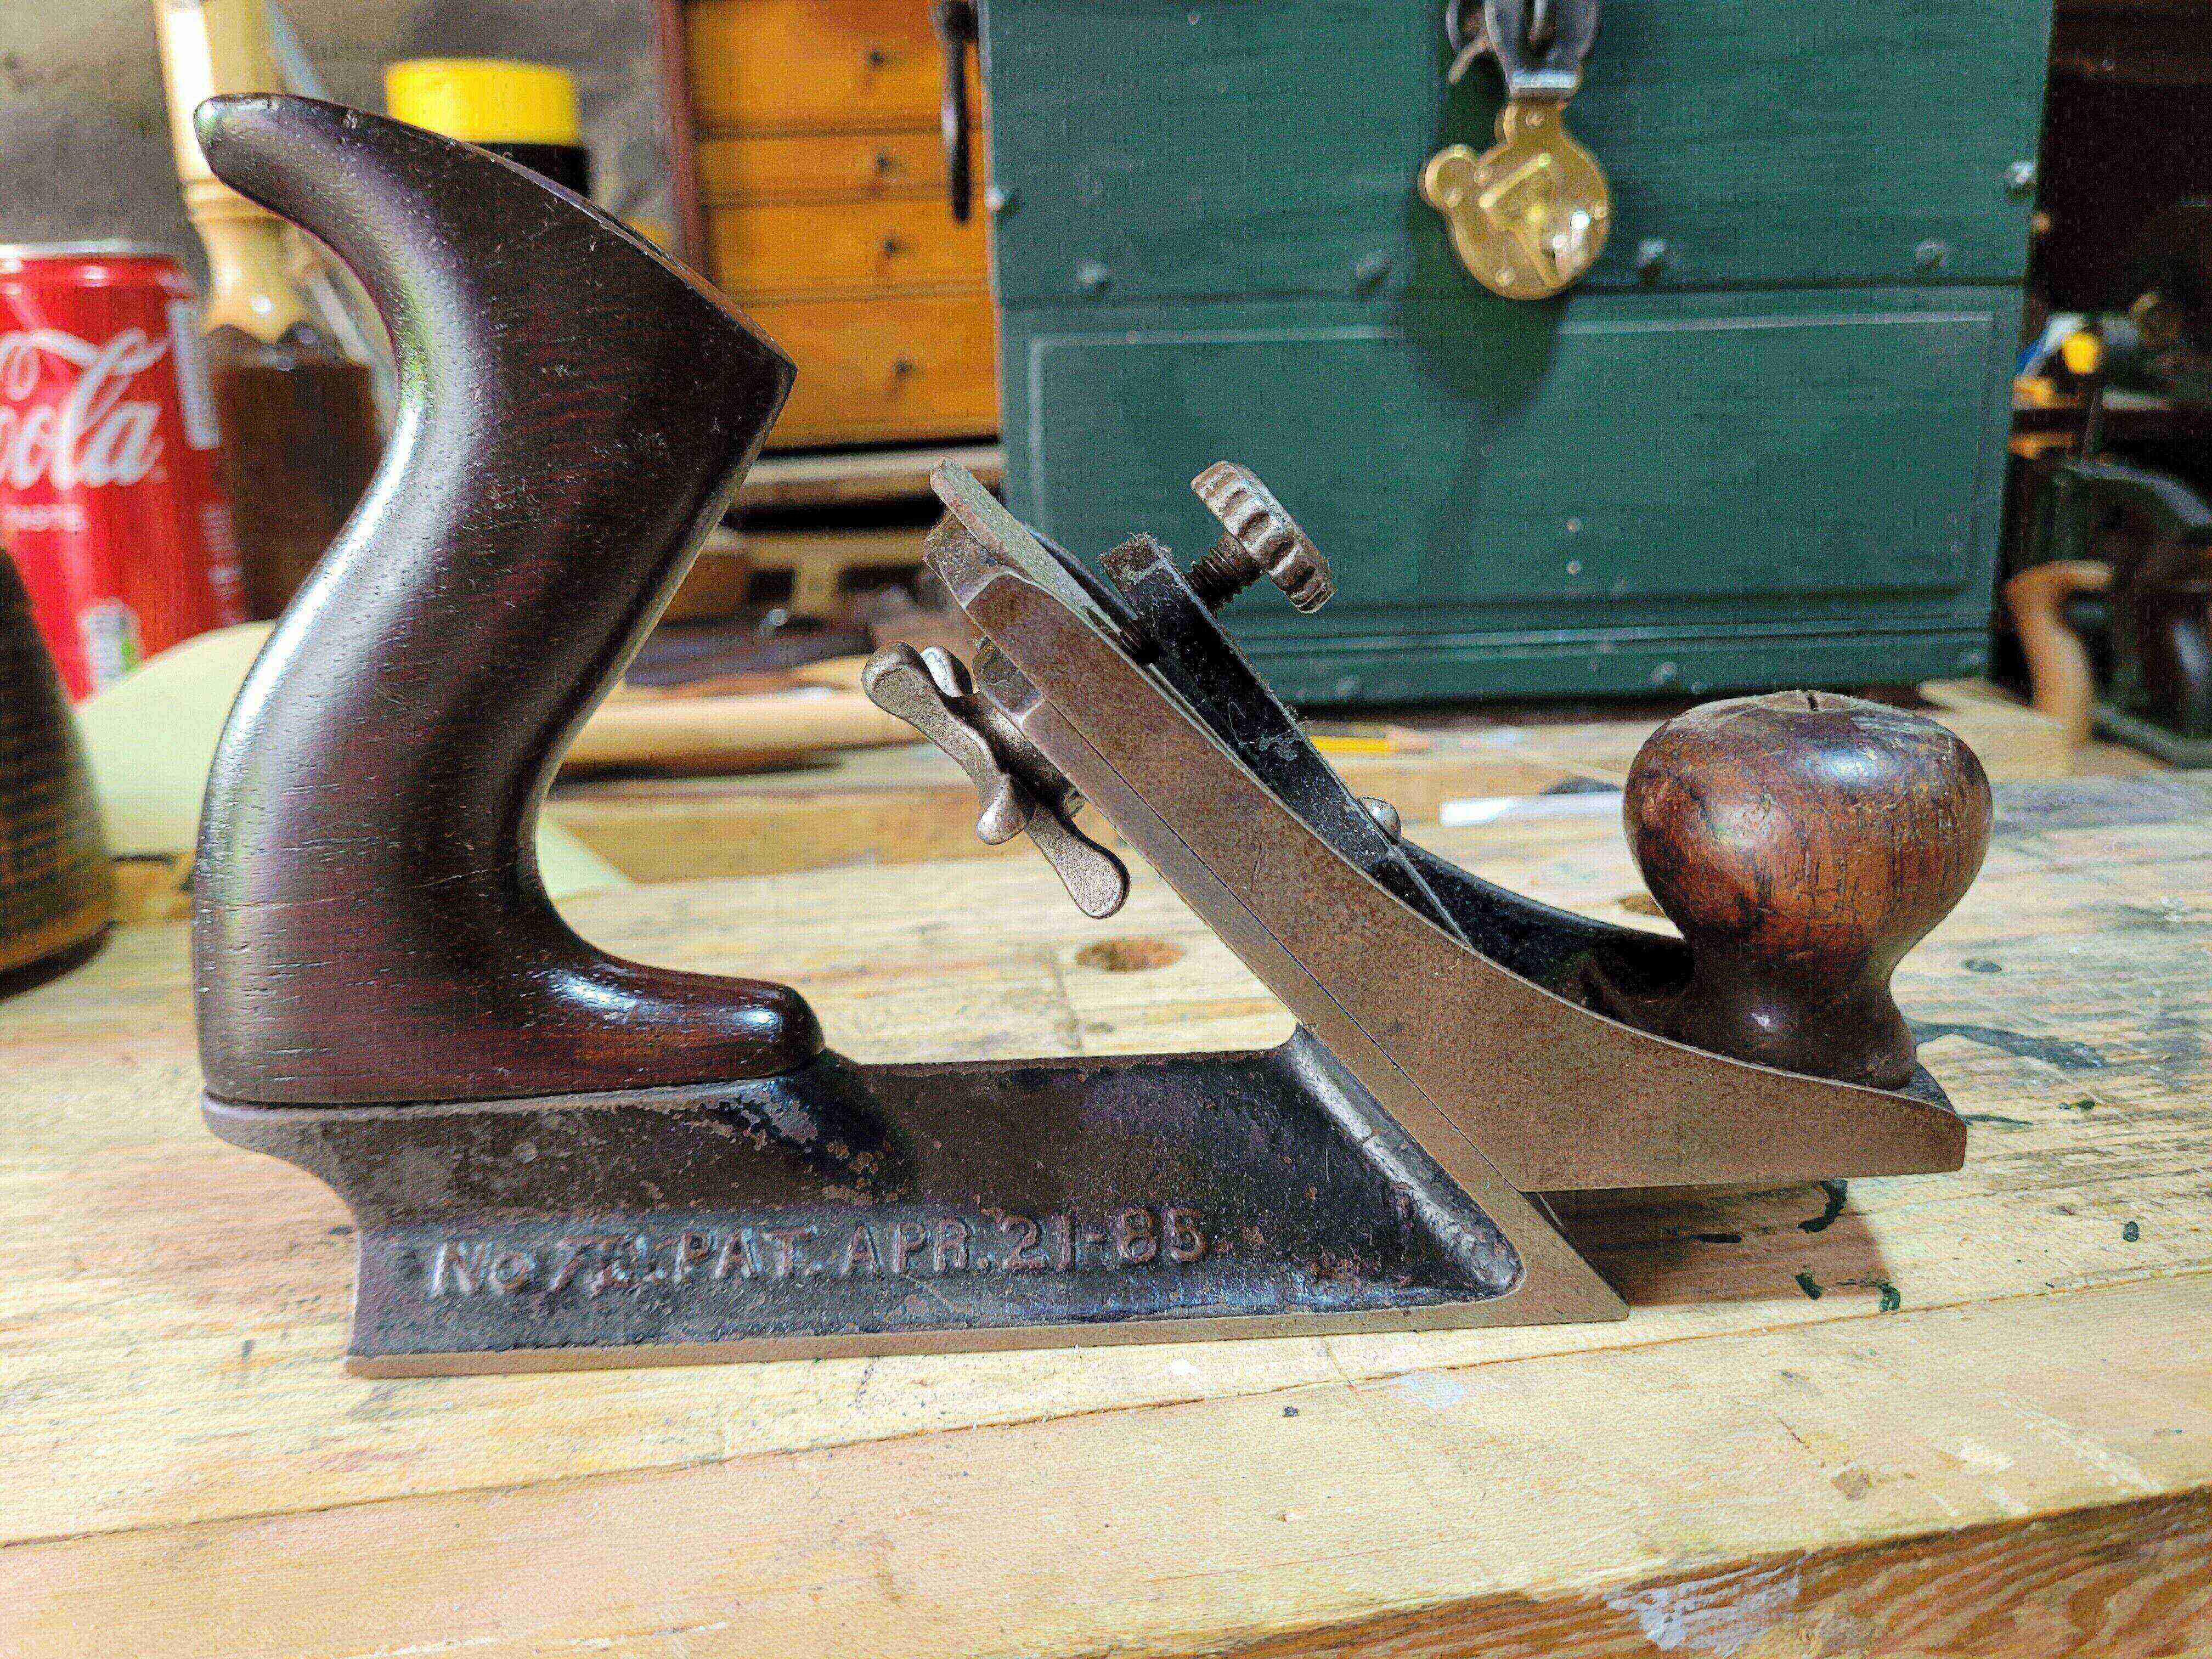
Here it is with the nose raised for my cut.
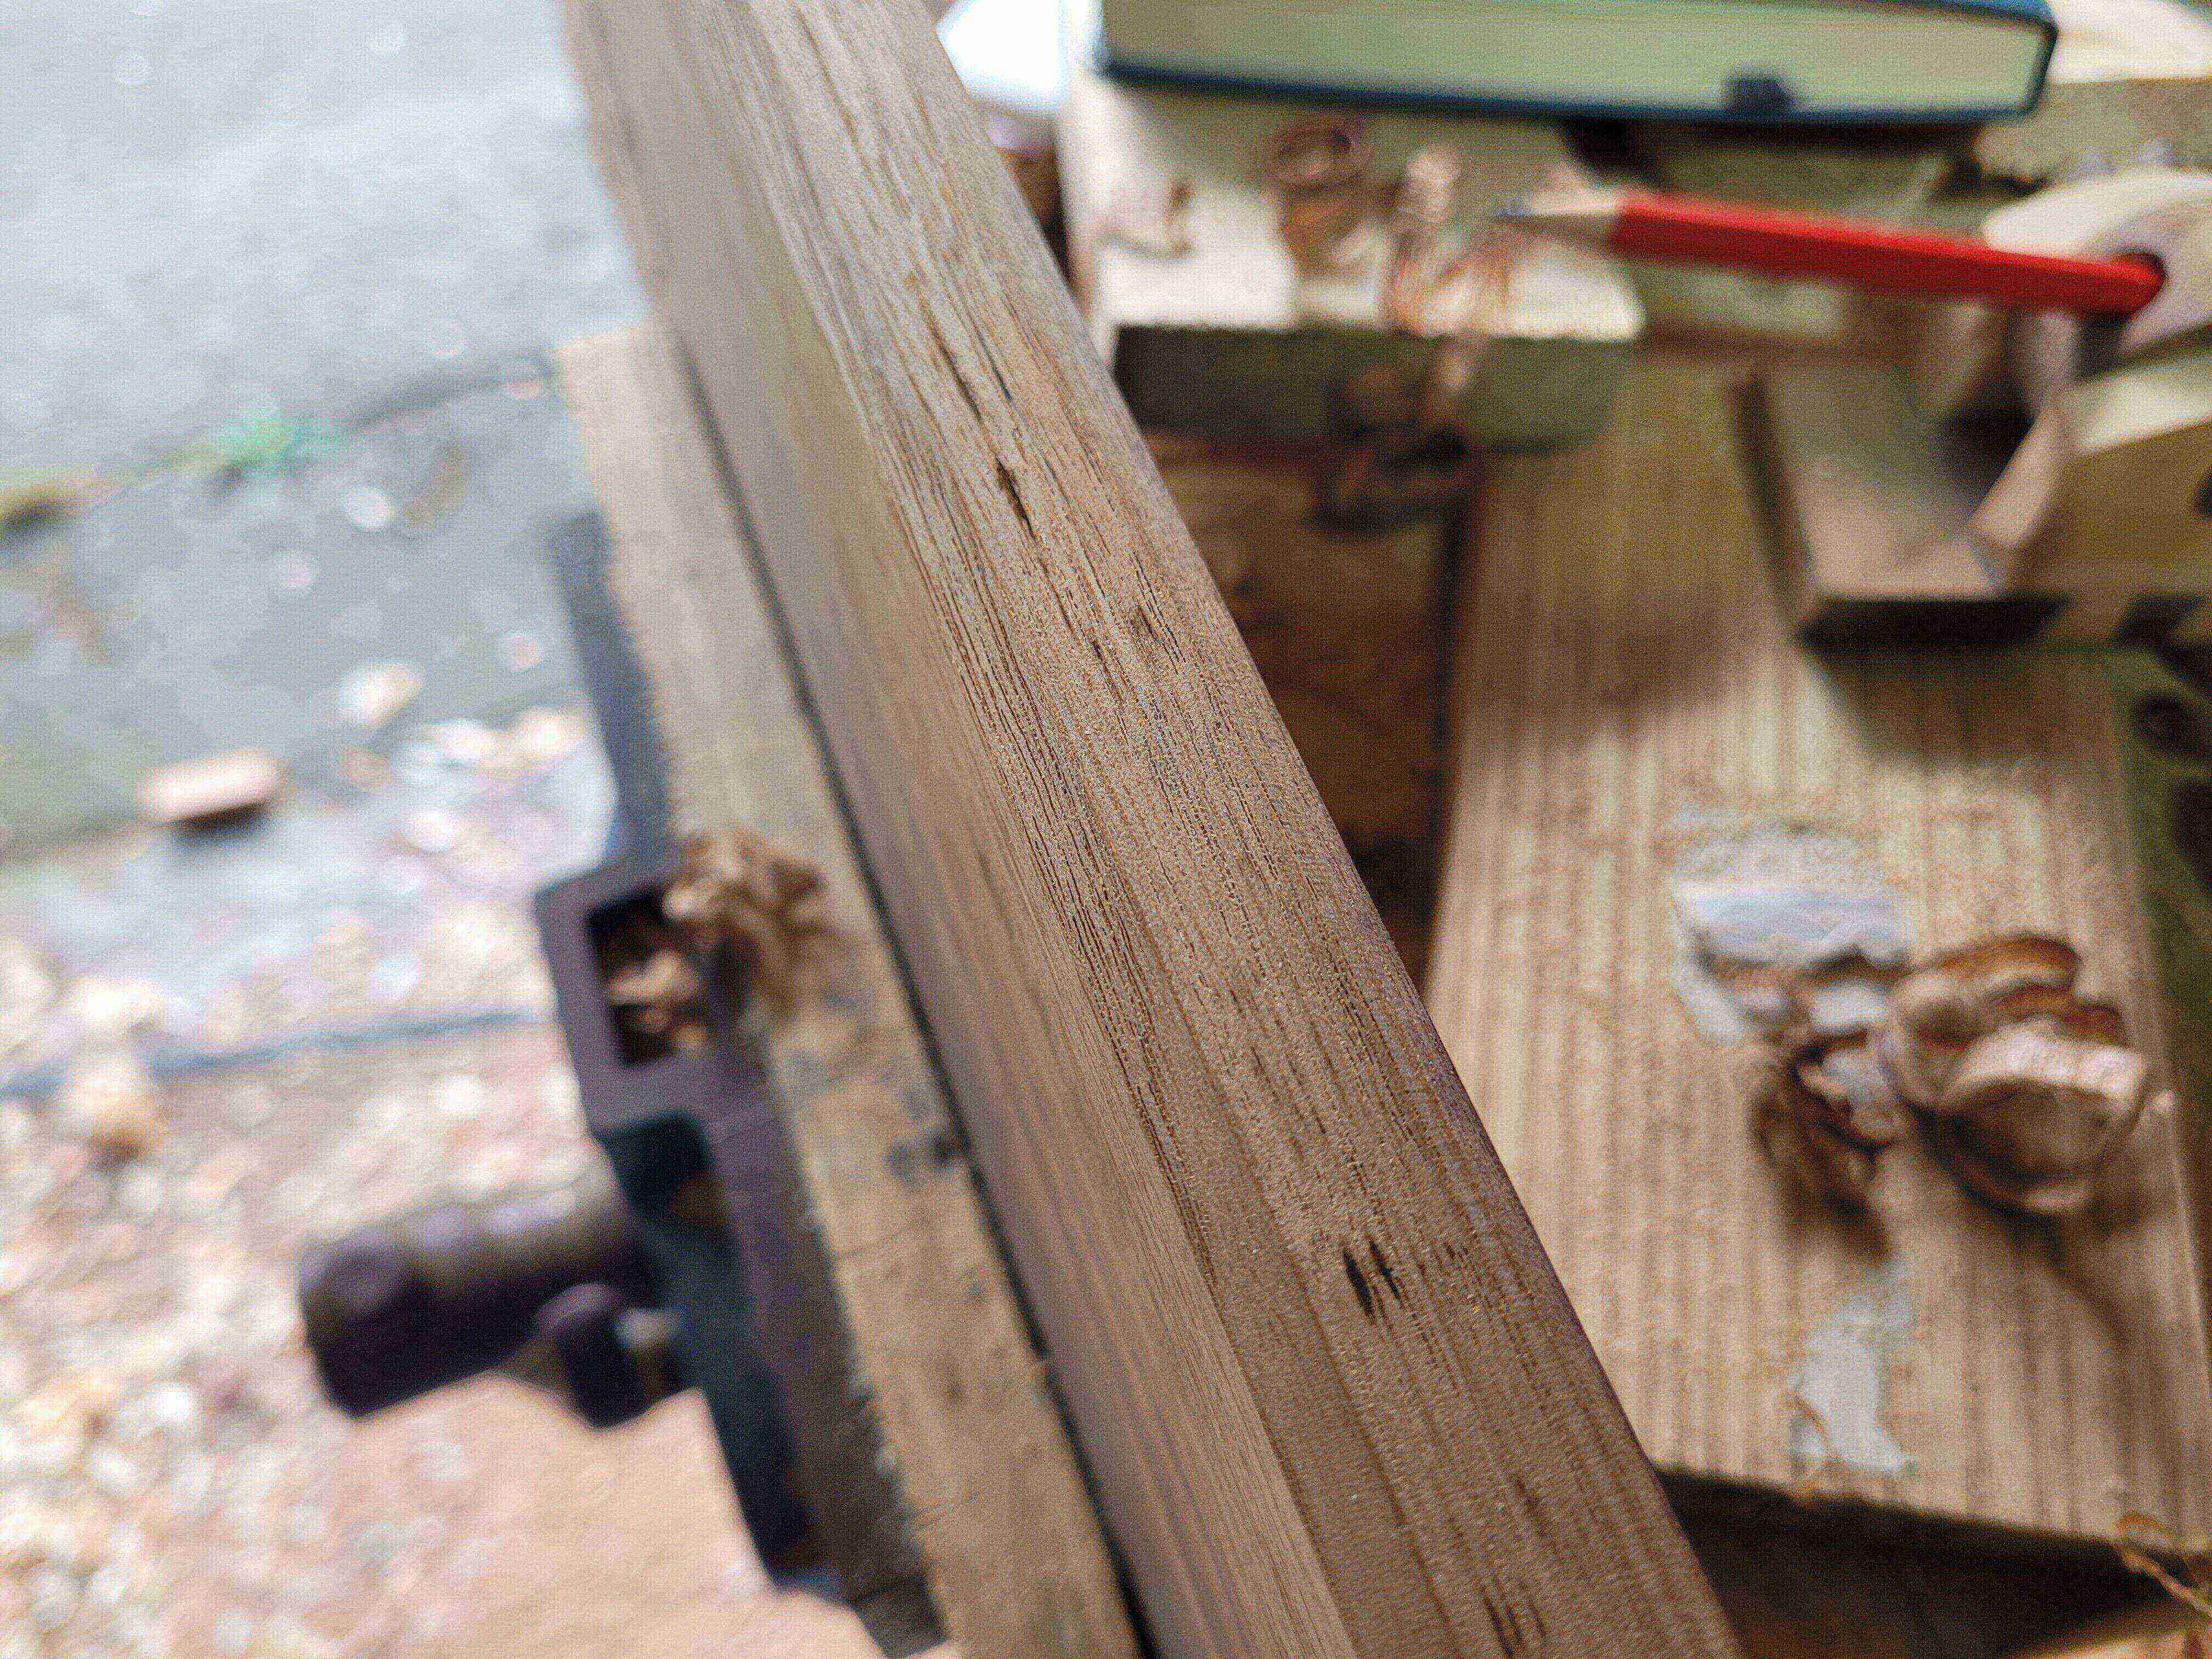
You can see the first fine string of the first cut here.
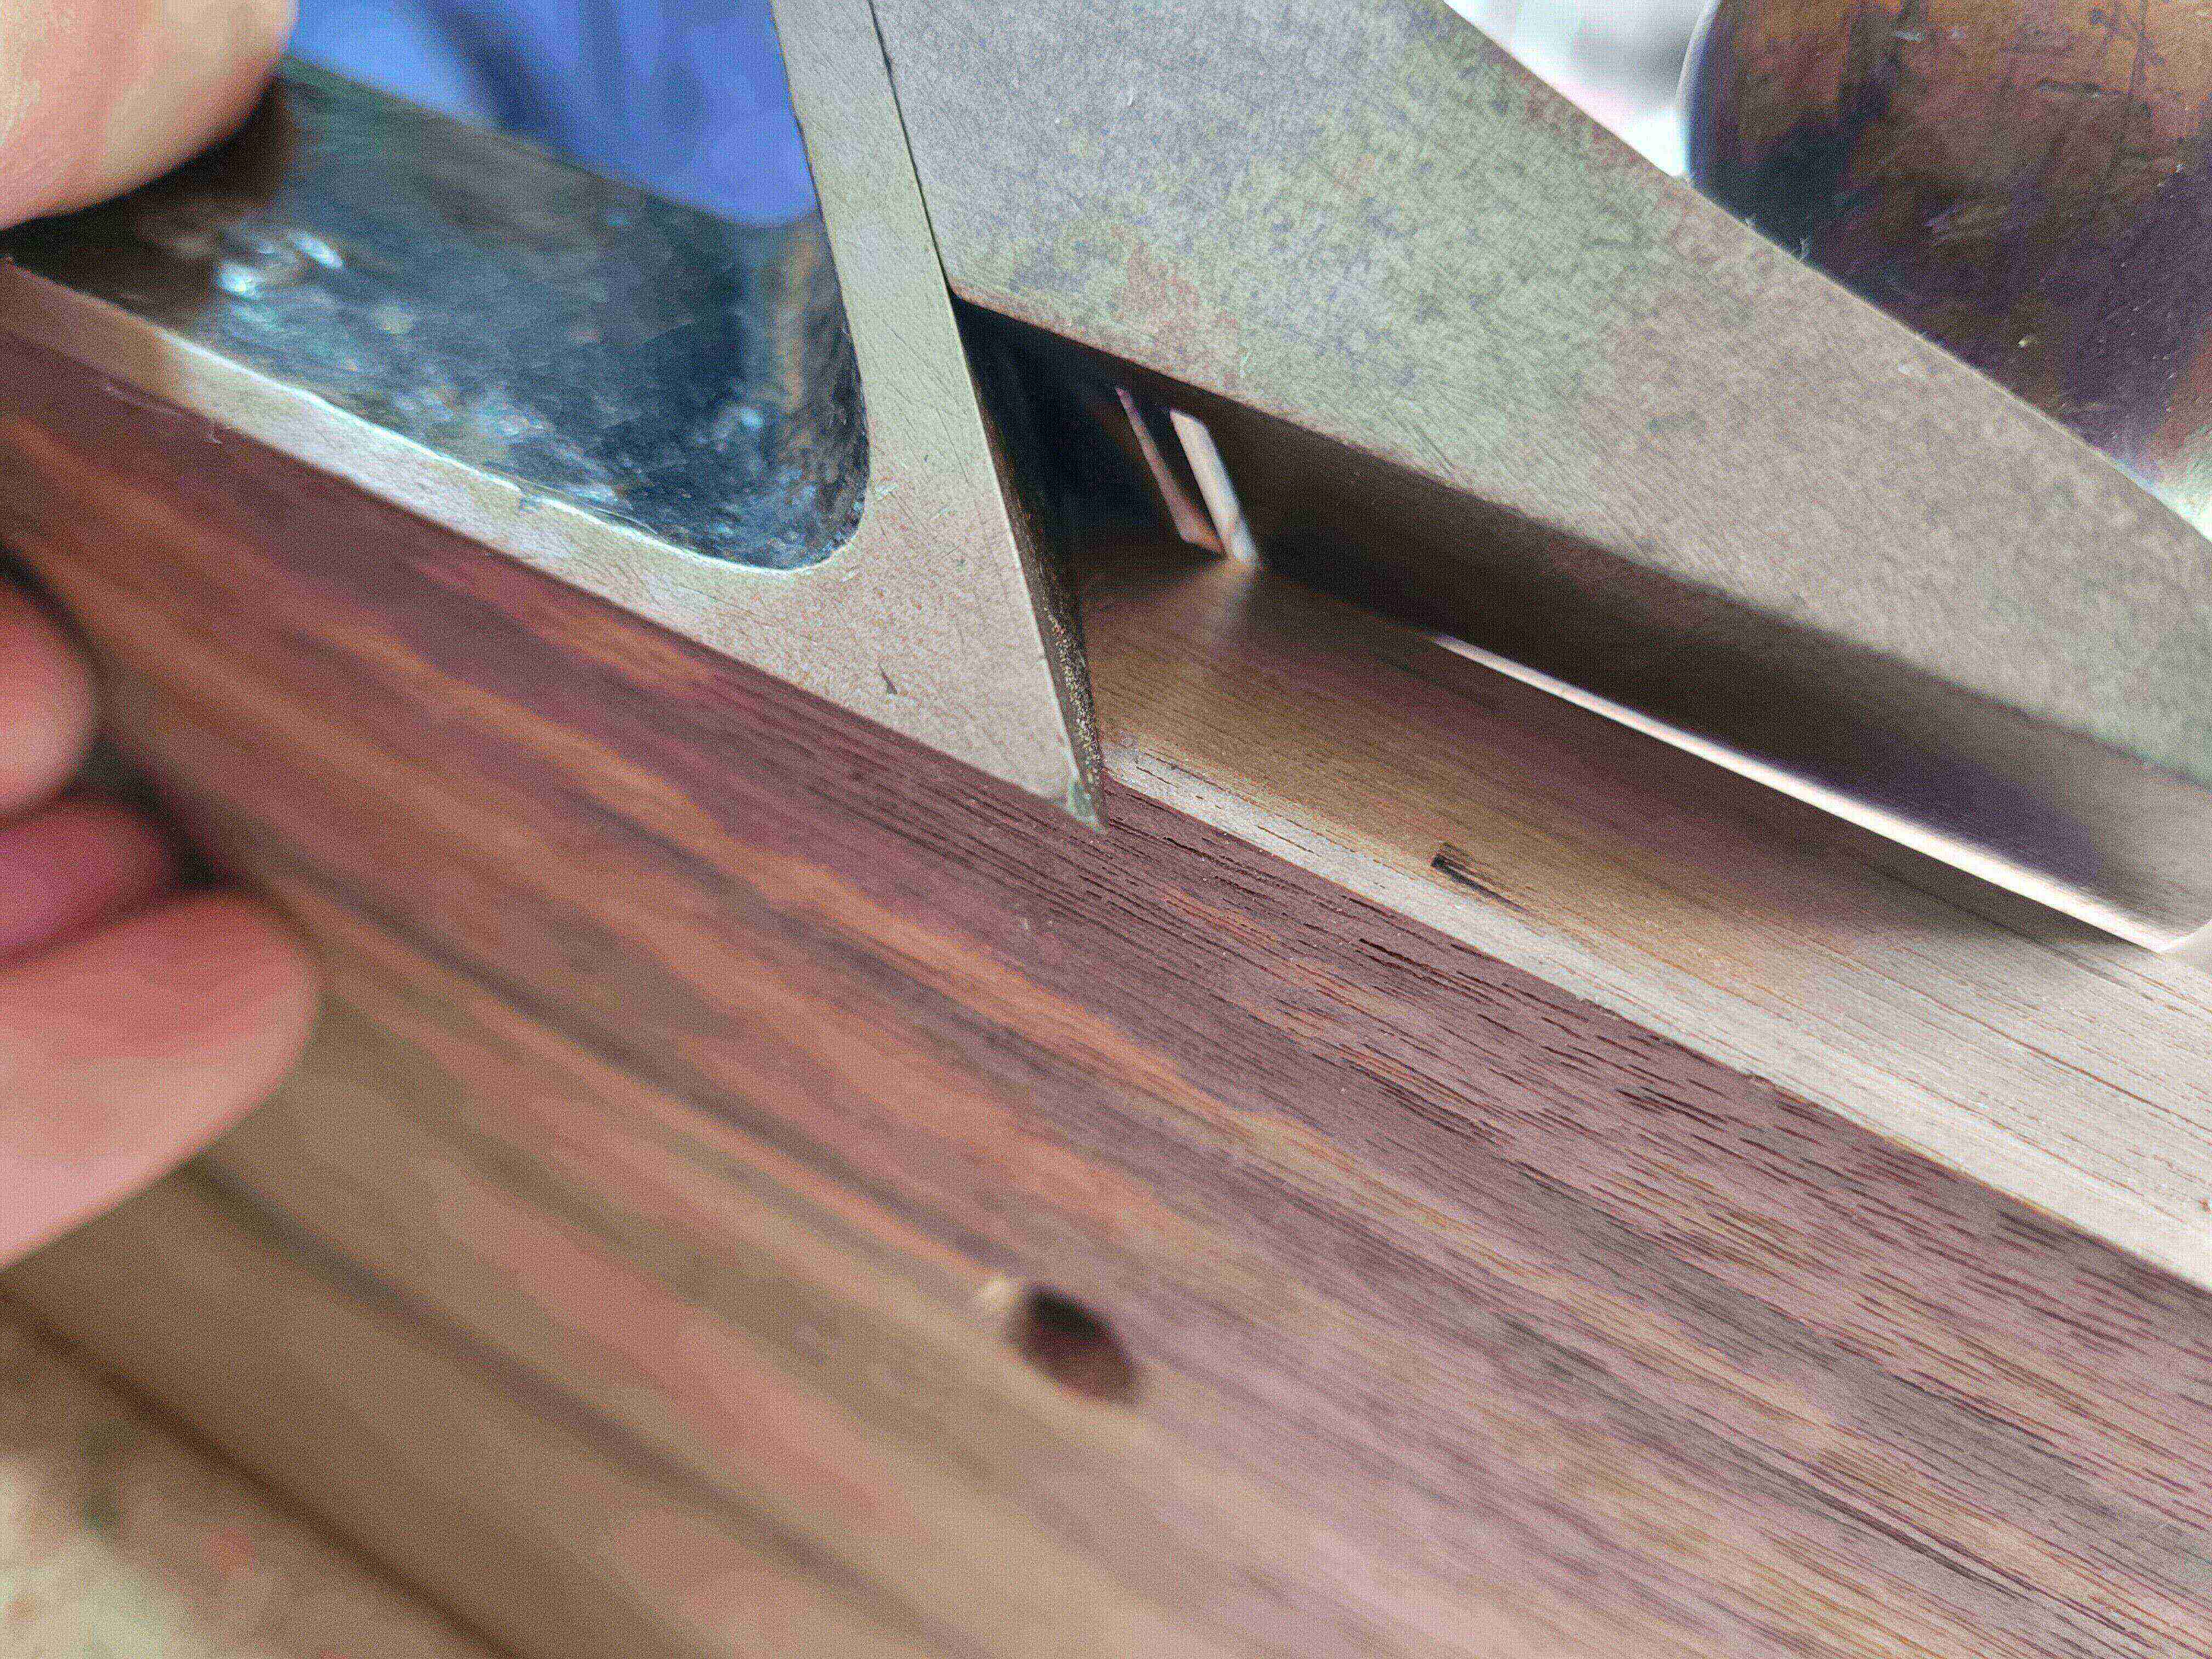
I found just letting the rear rest of the work was a lot less effort than trying to keep the nose flat. It feels more balanced and the cut works just fine.

The shavings get more substantial as you work your way along.
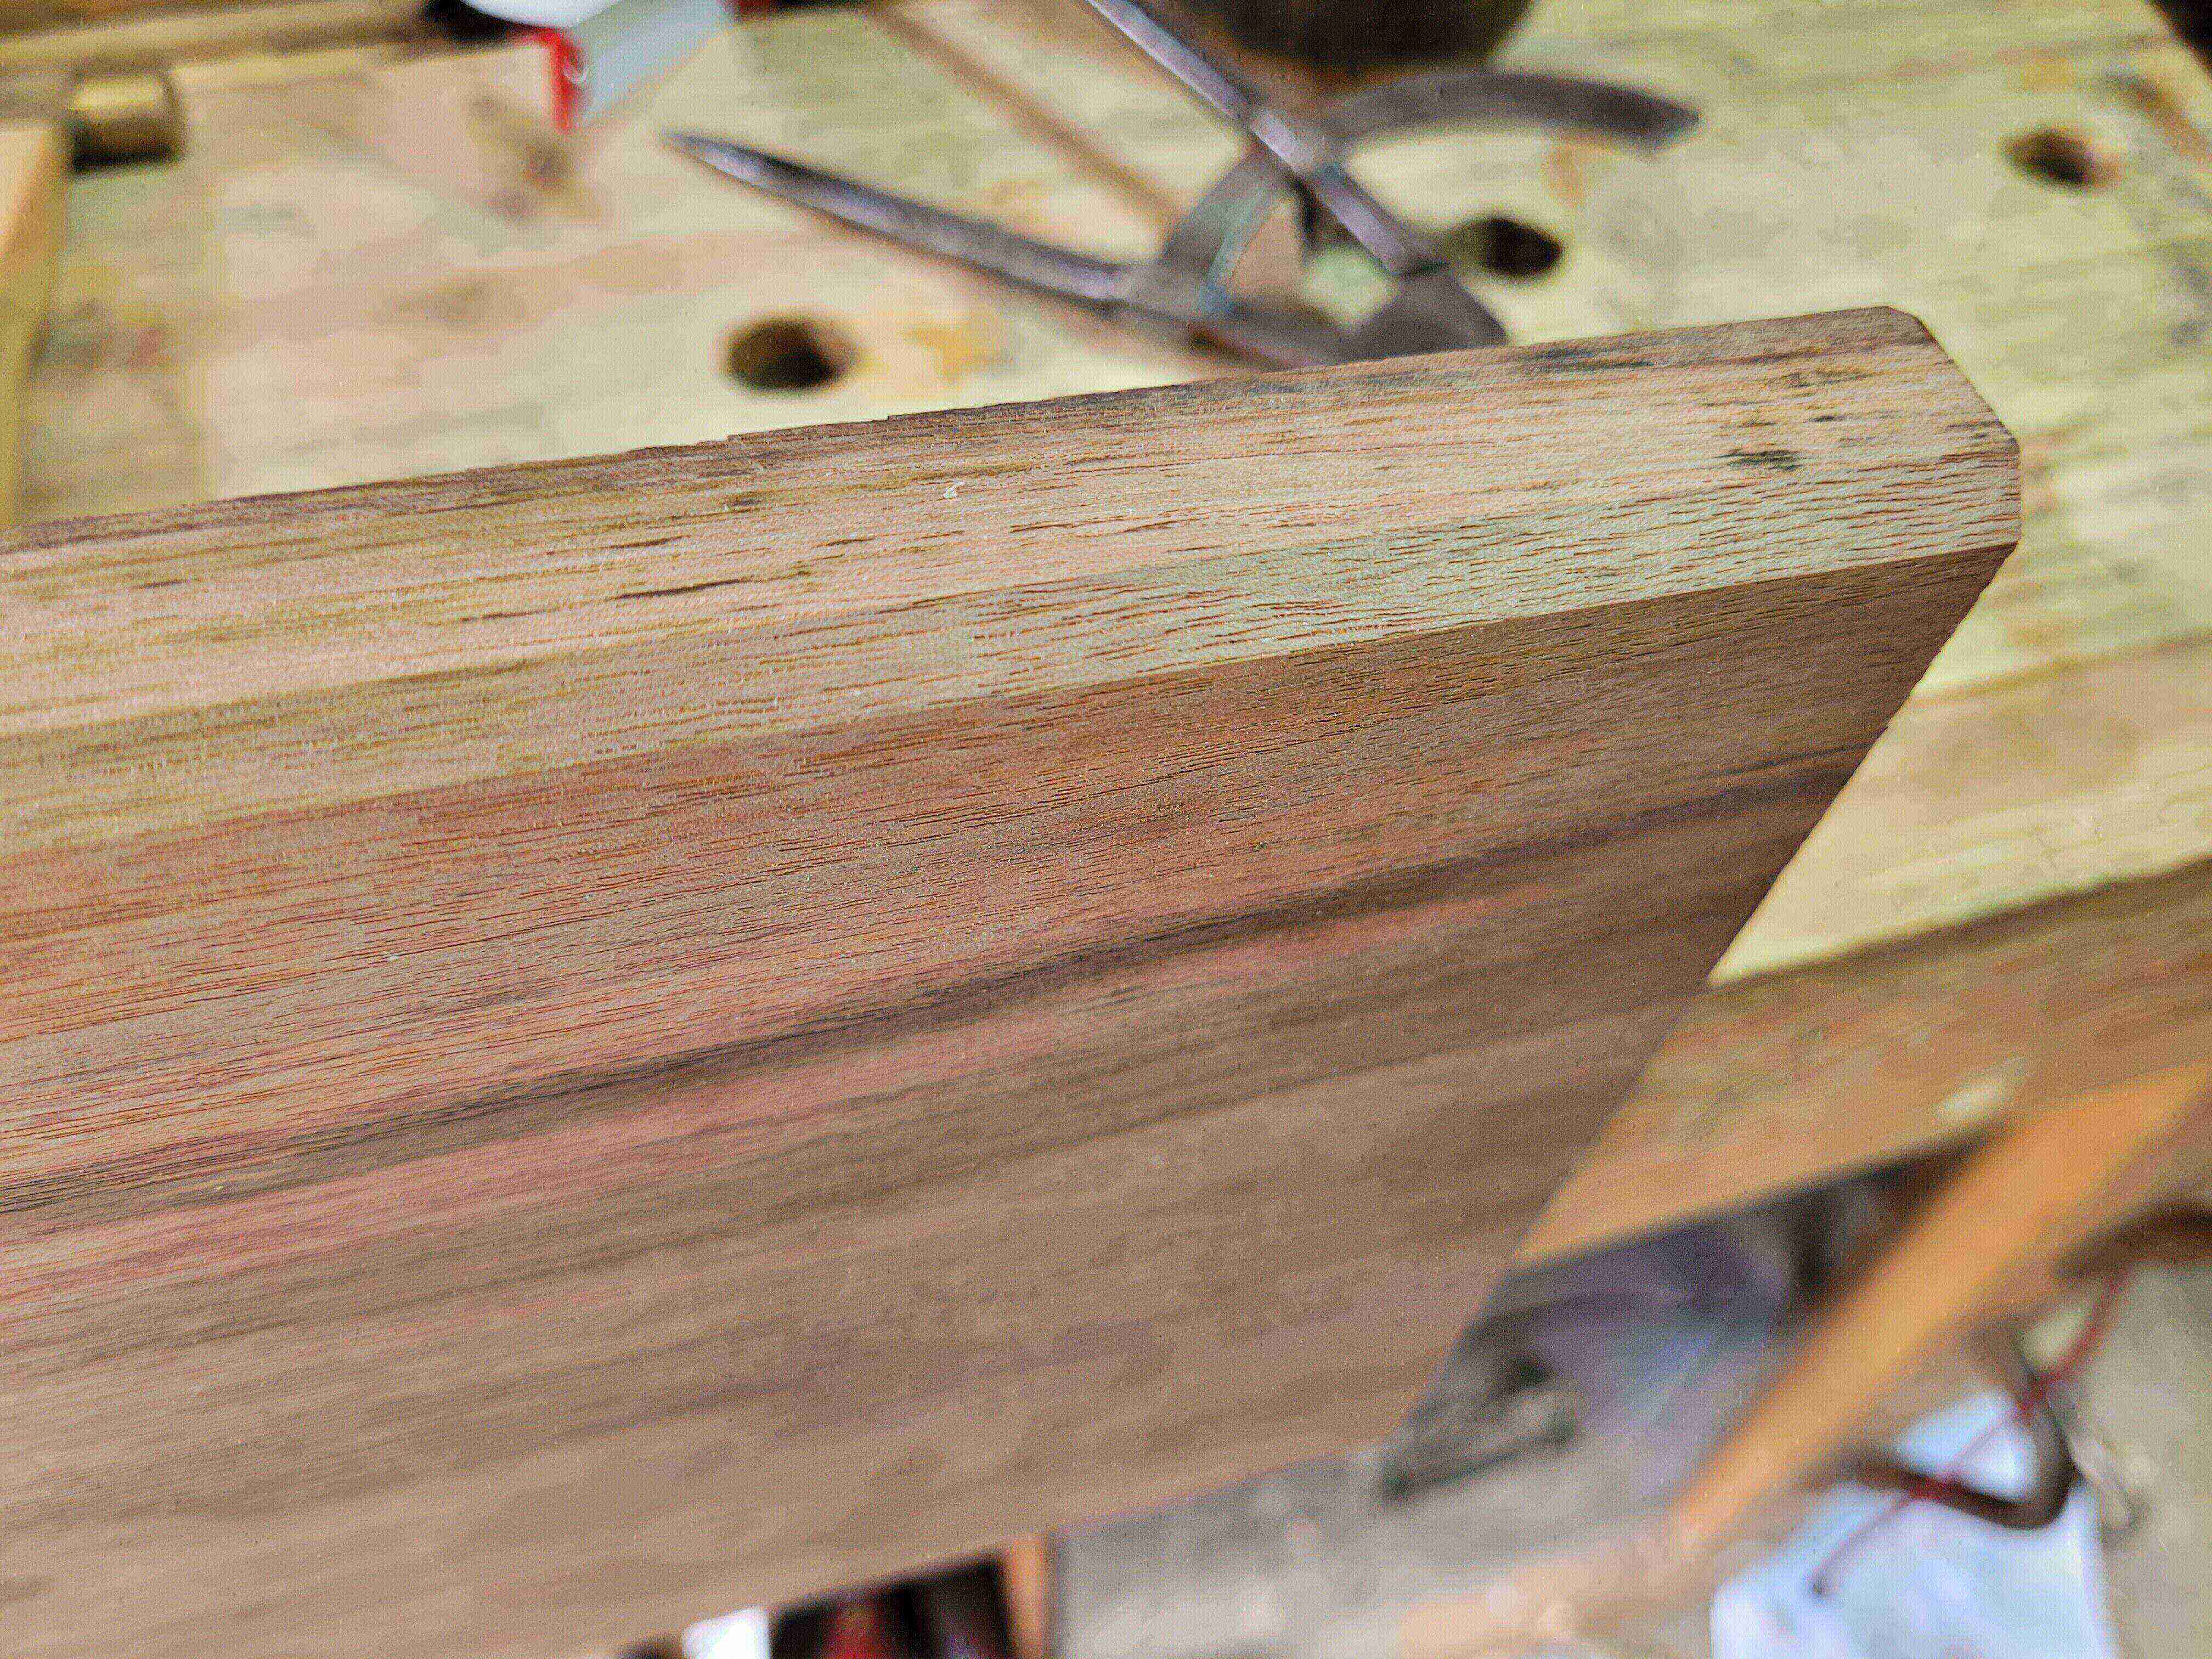
The finished chamfer. Perfectly even all the way along.
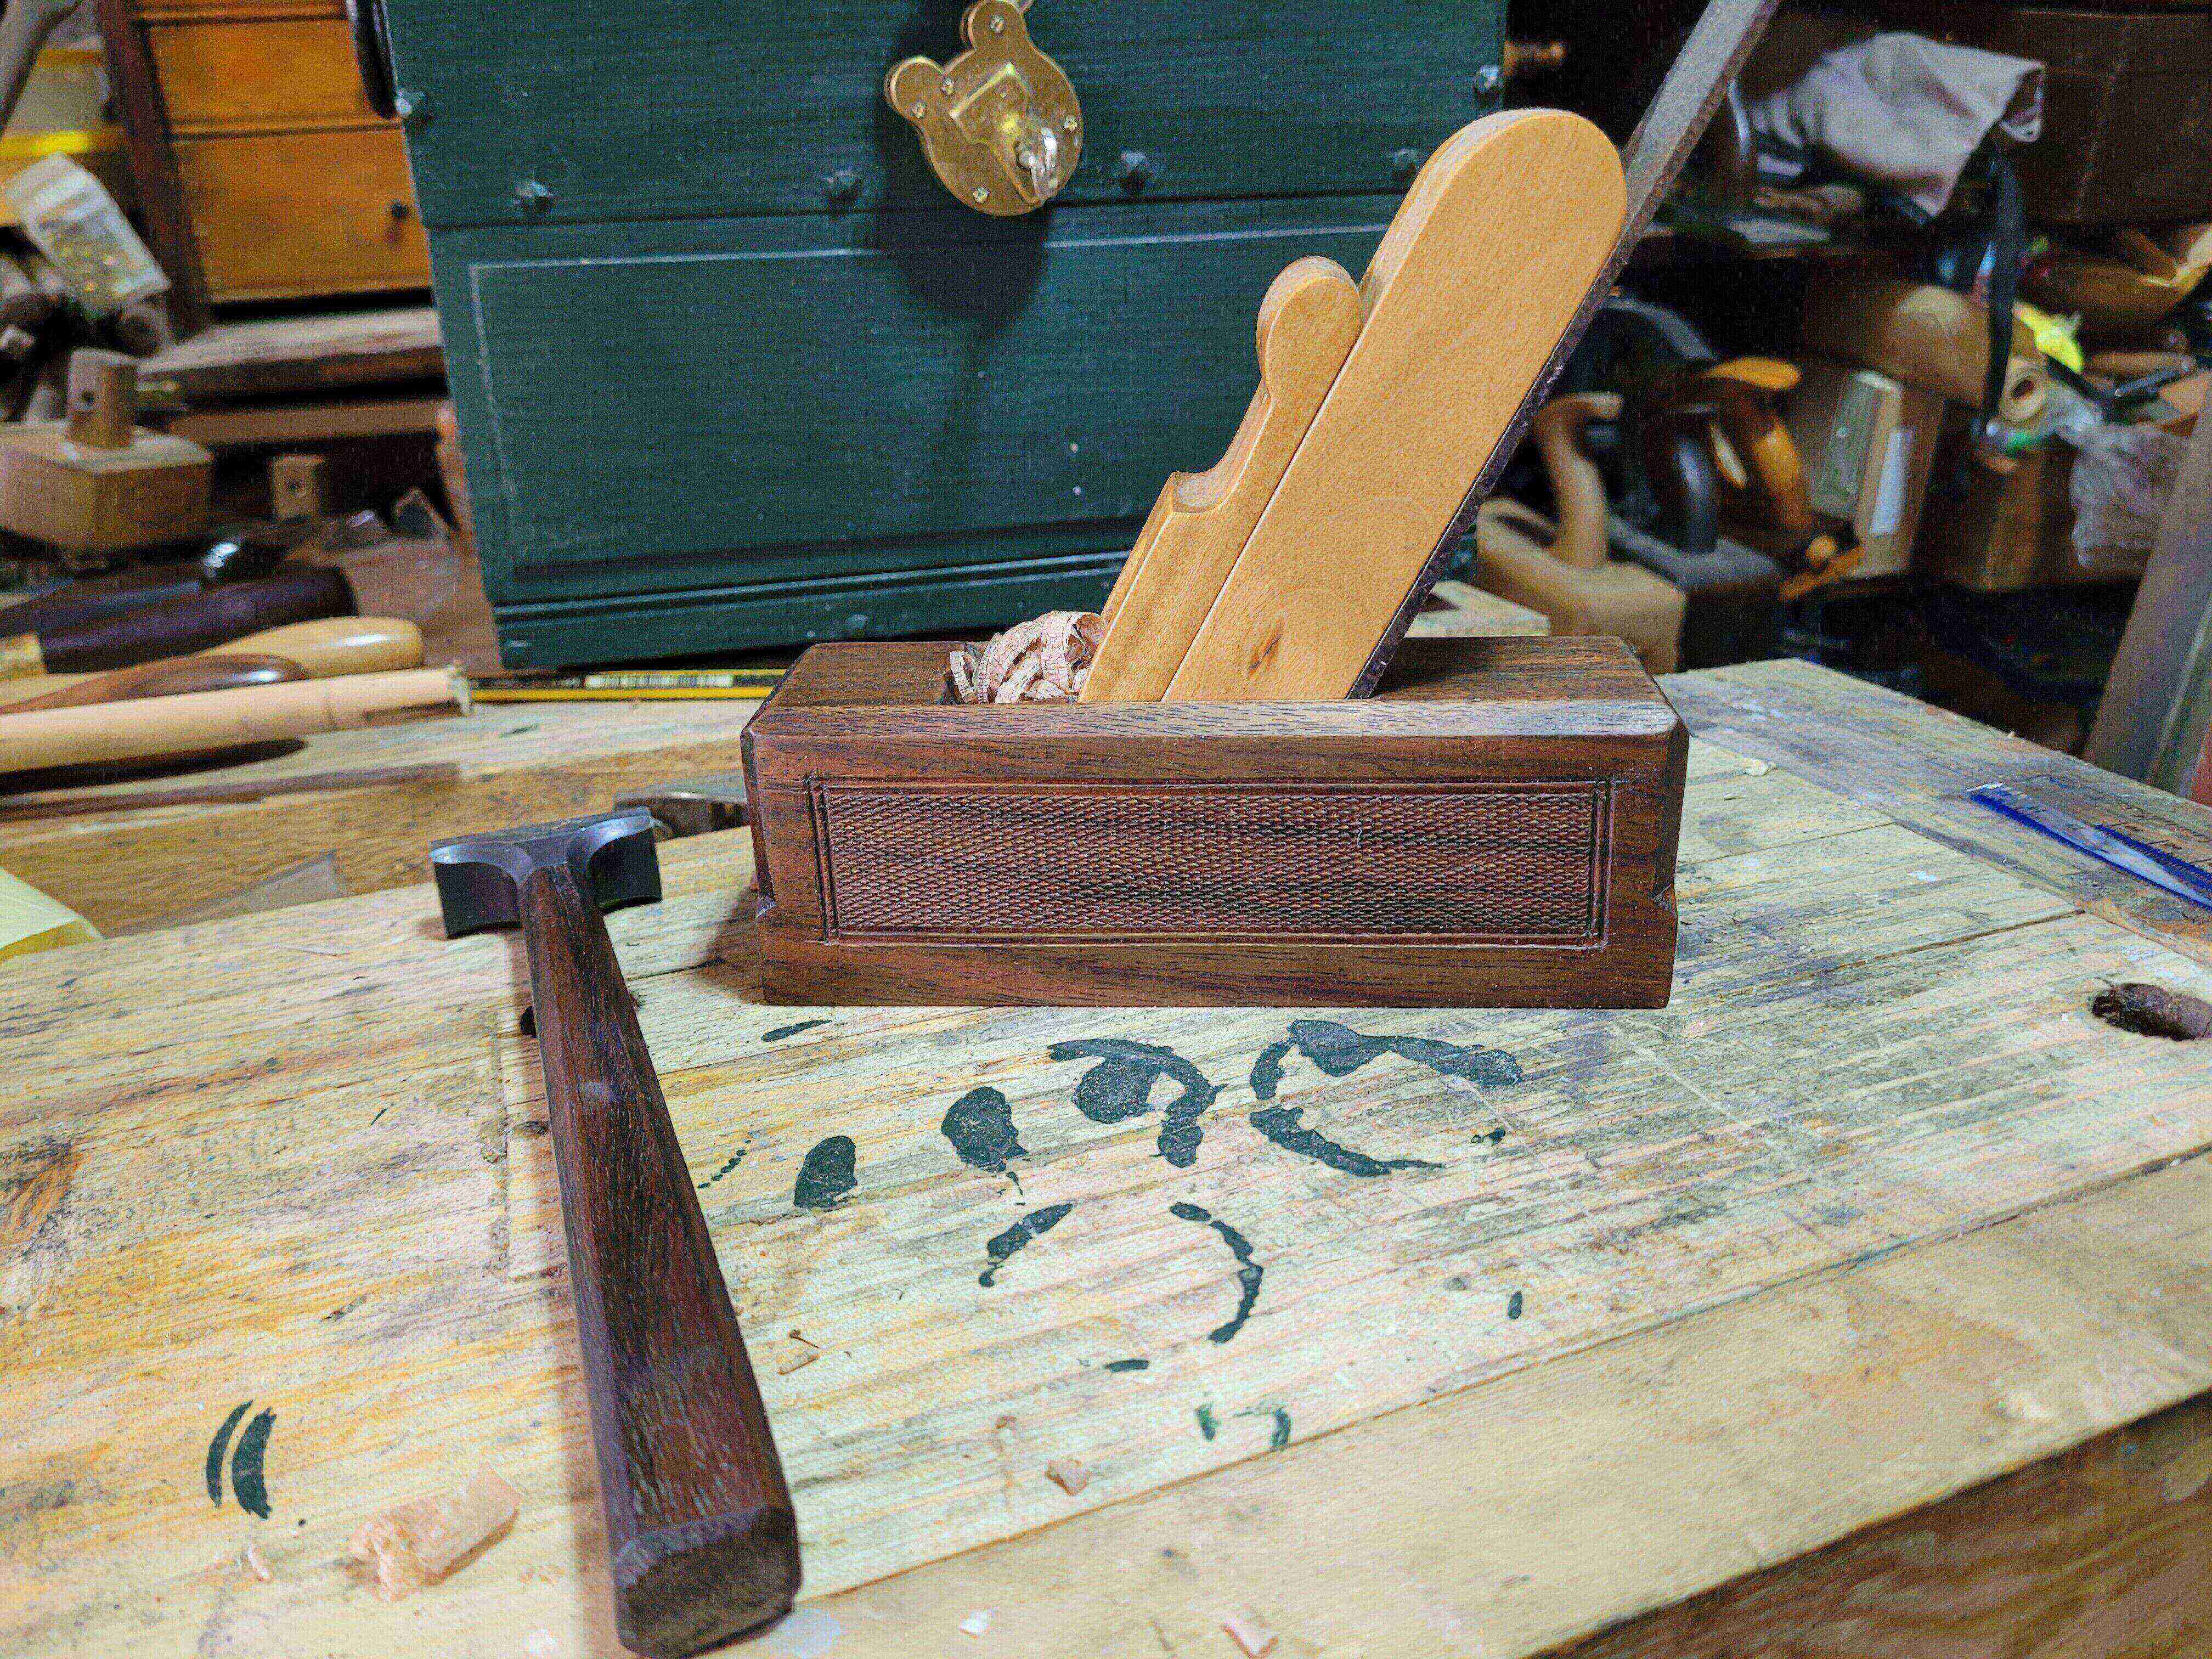
The Chris Byrne chamfer, prettier, a little more comfortable to work with, but ultimately did a pretty much identical job.

I found the “sole” position on the Byrne chamfer a little more comfortable to balance.
But the end result is…. a perfect even chamfer, just like the 72