Sticking Board
I’m making a box, a gift for my lovely lady. I received some offcuts of the Fenland Black Oak. Its 5000 year old bog oak. The pieces I have are fairly small, and once they are gone, they are gone. There is just enough for a small box. I can make the front and back from it. I’ll be using some boxwood for the sides. When it comes to the lid and bottom, I have some bog oak pieces that are 1/8th thick, and a little too small. I have decided to do a frame and panel style lid. A boxwood frame will hold the bog oak panel, and make up enough width for it all to work out.
I do very little real design on most projects. I just start building and alter things to work out as I go. With this wood I want to make sure everything will work out in advance. If a piece is too small, too big, or does not look right I have no opportunity for a do-over. With that in mind, I’m going to make the box twice. The first one will be made from Maple & Sapele, and allow me to make sure I’ll be happy with the end result.
The first thing to de-risk is the frame for the box lid. I’ve sketched this out a few times, but I’ve reached the point where its time to try it out. Before making the entire frame, I decided to make a small section of frame so I could stare at it and see how I like the proportions. The frame design requires me to create a 1/8th inch groove, a rebate, and a bevel on a 7 inch long, 5/8th by 7/8th piece of stock.
Working such a small piece presents work holding problems. How to hold it in place while allowing the fences of the various tools involved to reference? They are too small for the face vice to be an option. Not enough space to just clamp down and still be able to work it.
Thankfully, there is an established solution for this kind of work. The sticking board. Woodworkers who make moulding by hand are used to working long lengths of stock, that may be somewhat flexible and not very wide or tall.
A sticking board is a simple thing. A long board, with a fence on the right hand side to stop the stock sliding inwards, and a stop on one end to prevent the stock moving forward. Mine is made out of a length of melamine board left over from some Ikea shelves. A piece of strip wood nailed to the right for the fence. The stop is just a screw.
Being assembled from random scraps in minutes, I do not have to be too precious about the sticking board. If it gets banged up for any reason, I can put another one together in minutes.
To use the board, I place it hanging a little over the front of my bench and hold it down with holdfasts. The wood you typically work on a sticking board can vary a lot in width and height. You want the workpiece slightly overhanging the edge of the sticking board. I find an off-cut that’s wide enough to position the workpiece at the edge and stick it between the work and the fence. Then I adjust my screw to an appropriate height. If its not positioned well to hold the work, I remove the screw and sink it again somewhere it will work.
The head of the screw is probably going to mark your work a little. If I’m working something like moulding, I work a single piece as long as I can, and then cut it to length for each part once the entire long piece is finished. That helps make sure its consistent. It is a lot harder to make 4 separate pieces that all match up perfectly, than to work one very long piece and then cut sections to size. The tiny bit at the end that has been marked will usually get cut off as I break it down.
Its a simple tool, and worth building if you often work with stock like this. Check out the photo’s below to see my sticking board in action. If you would like to see a very fancy sticking board, check out this one from the Hand Tool Chronicles.
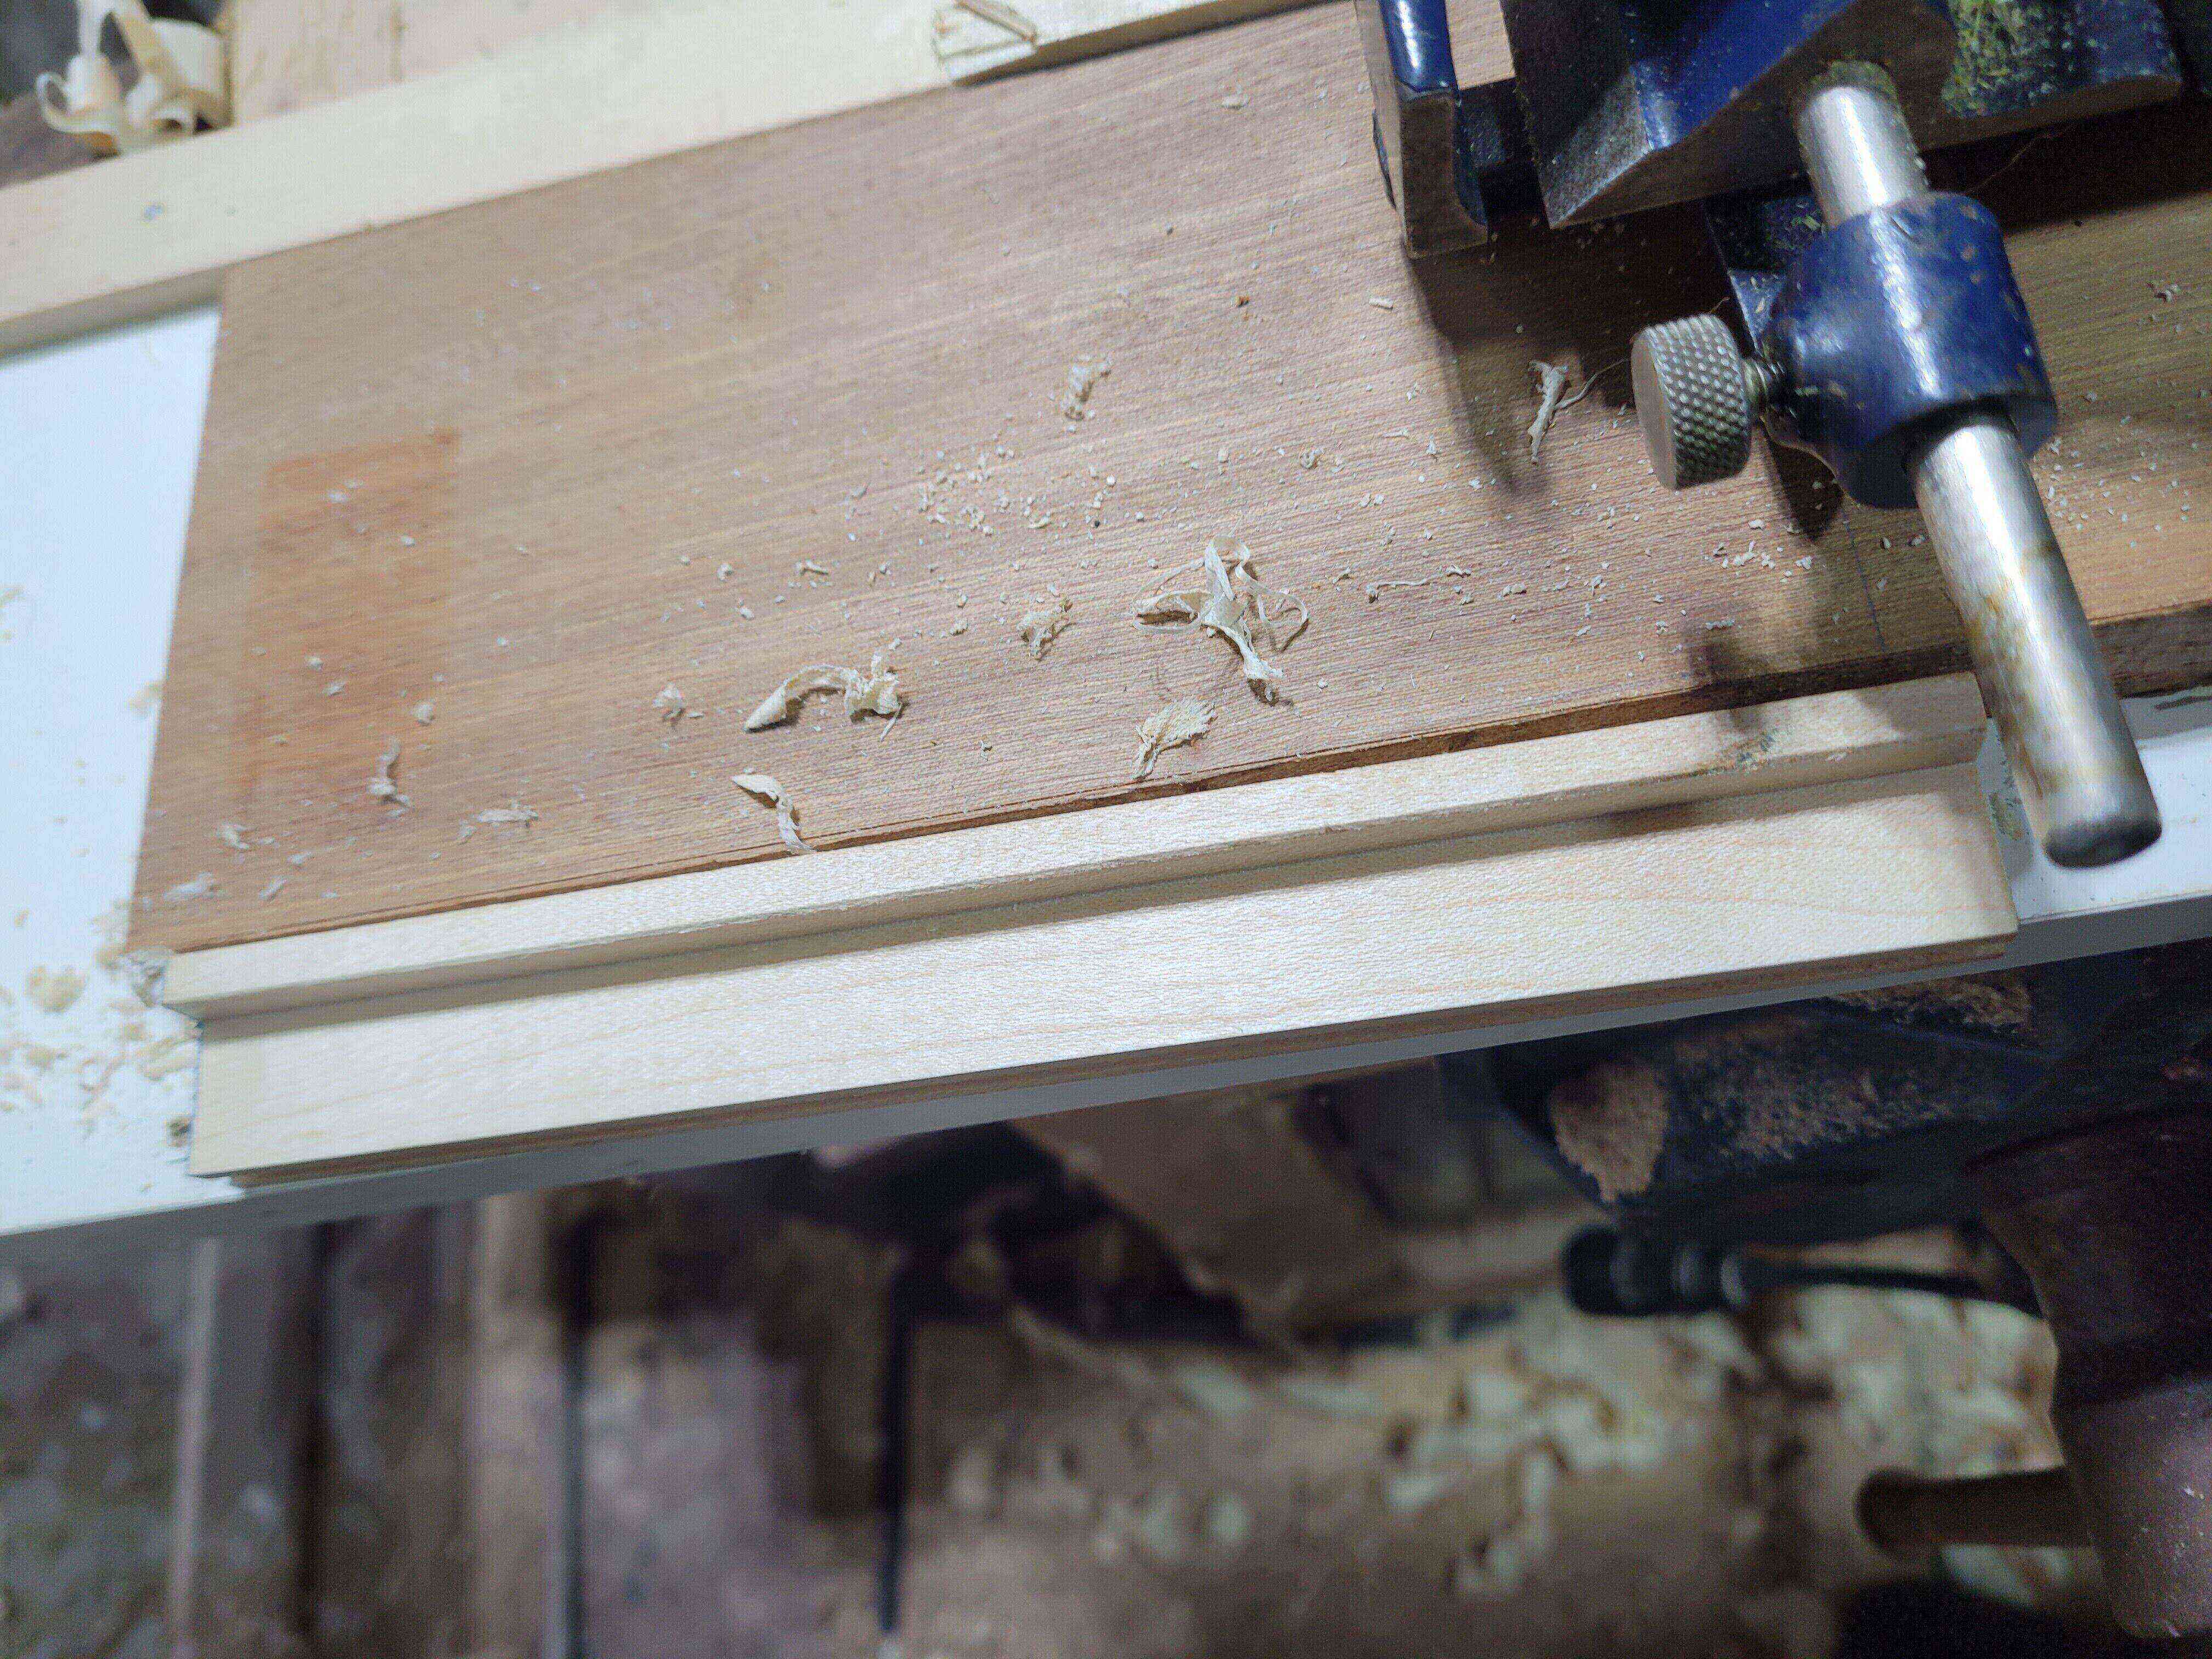
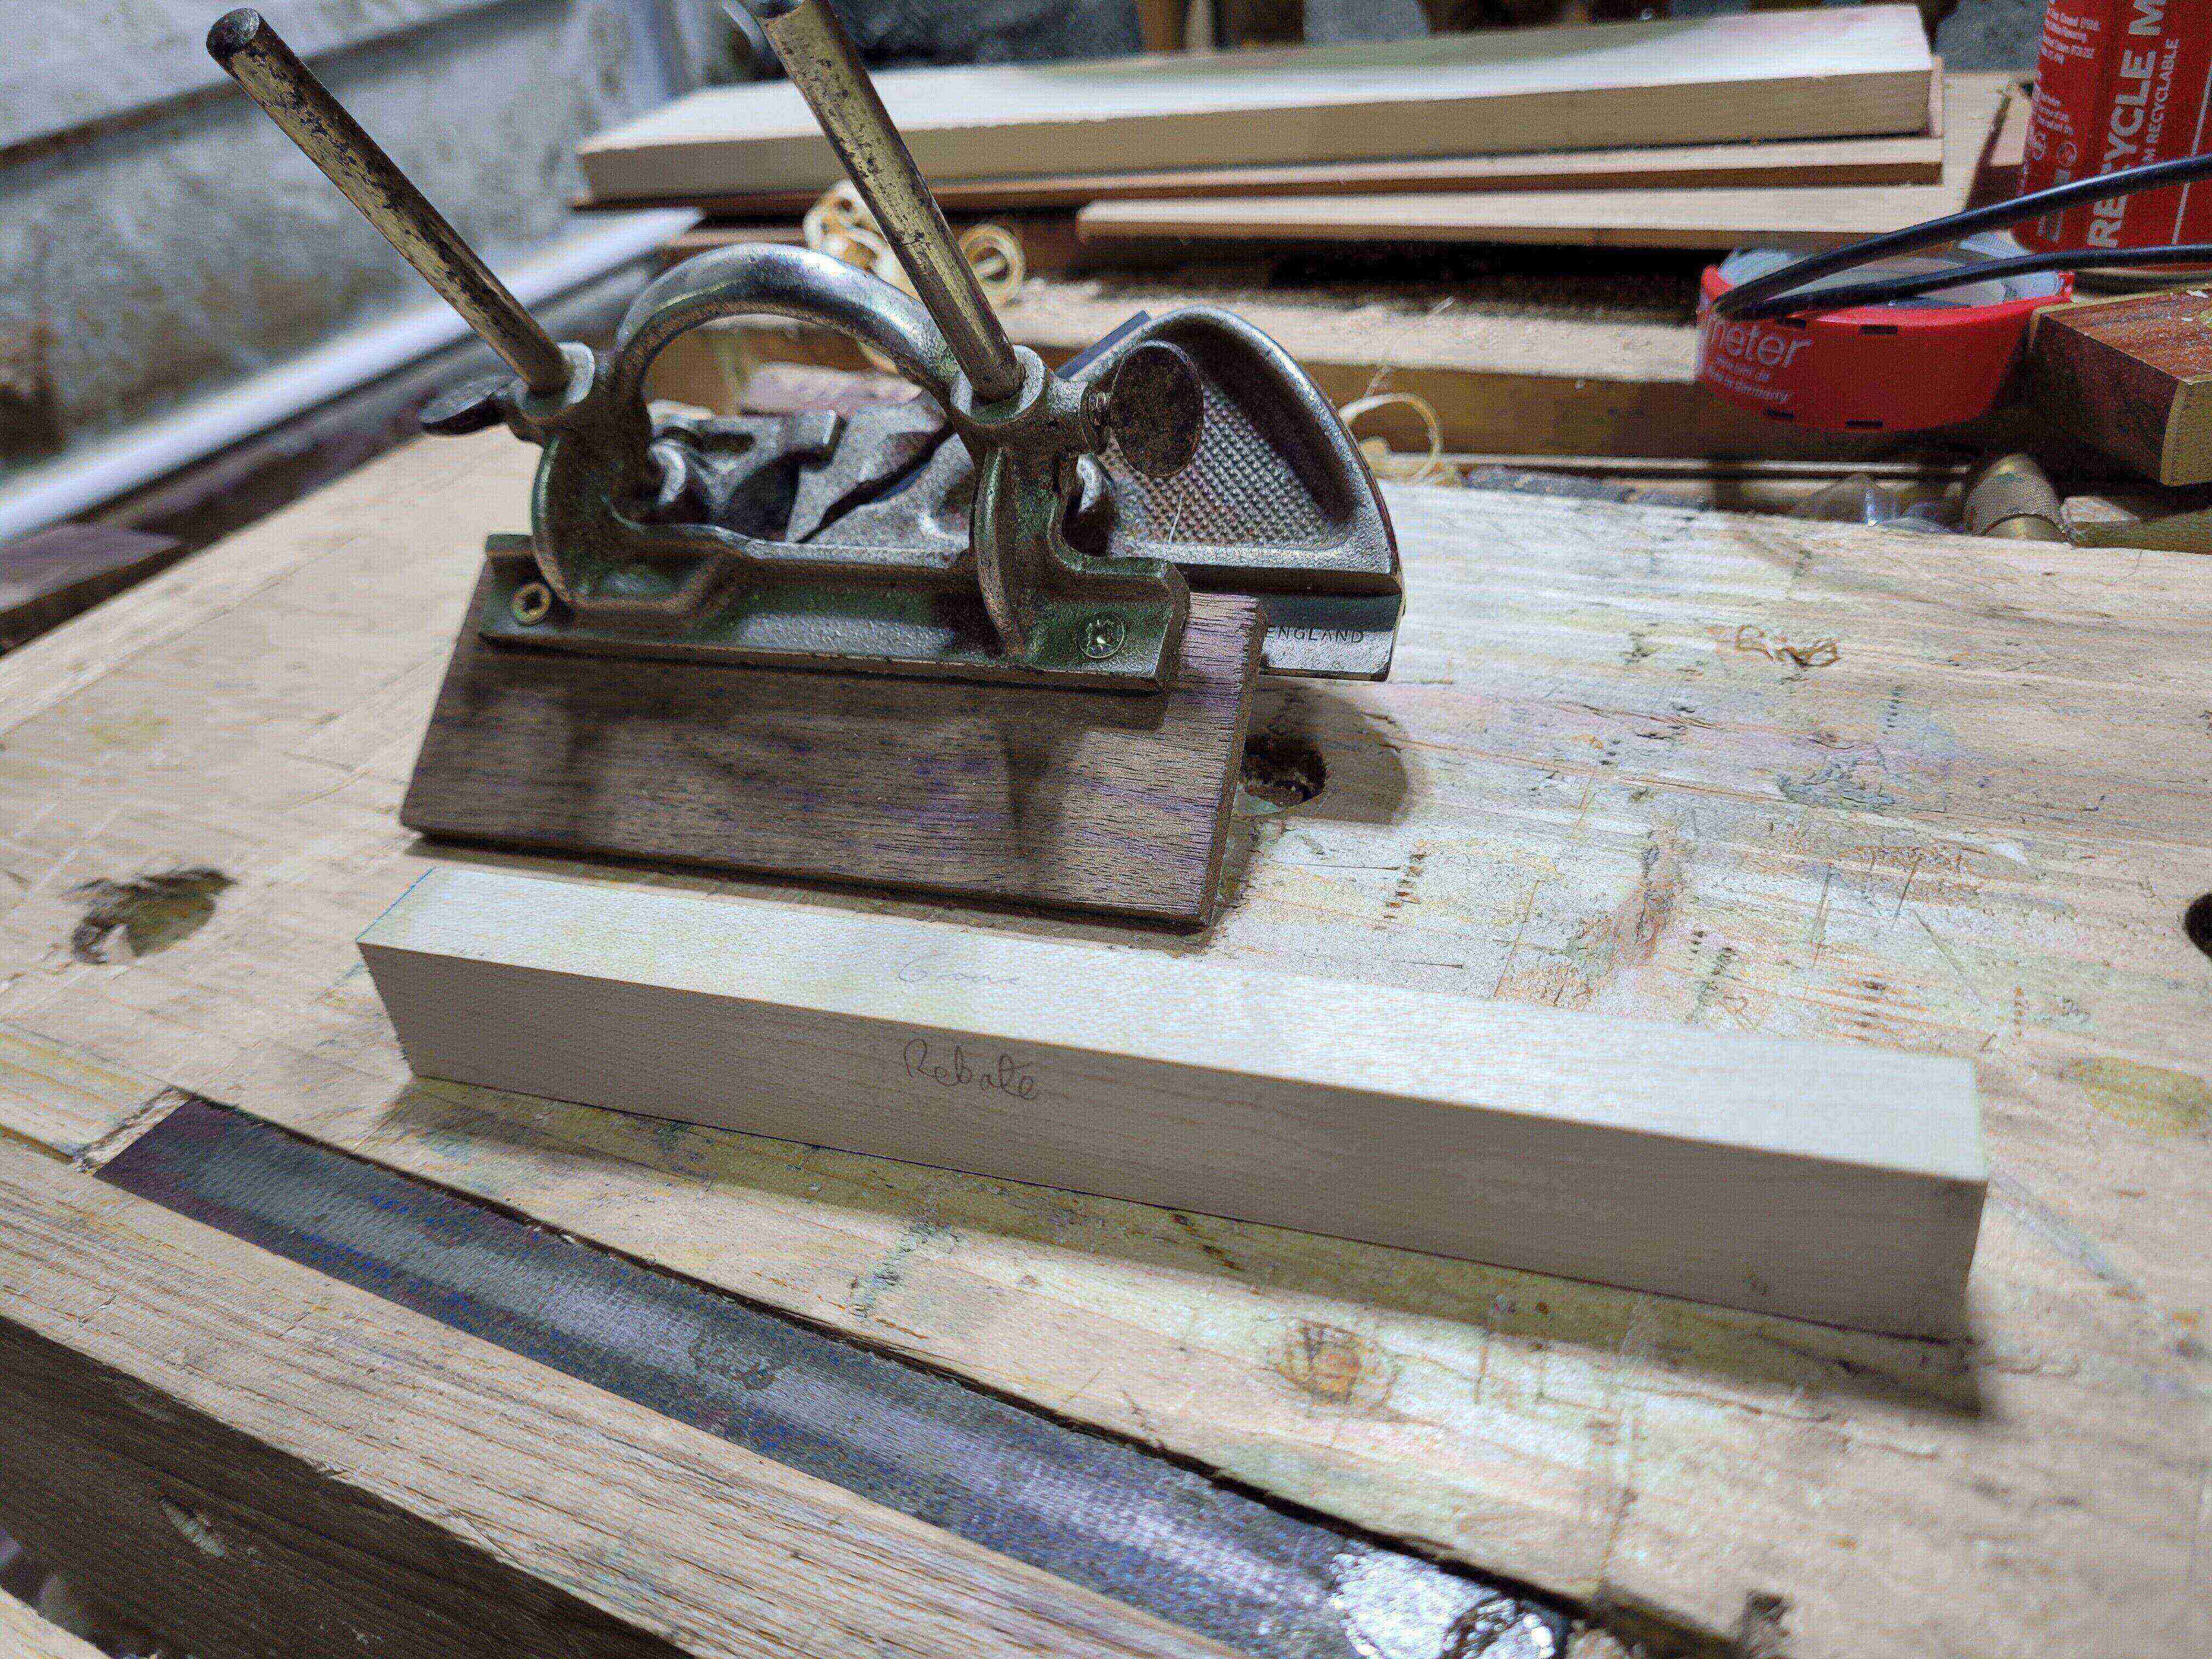 The workpiece, only 5/8th * 7/8th, and the Record 043 plough that is about to work it. If I just stuck it in my face vice, the jaws would not allow the fence to work.
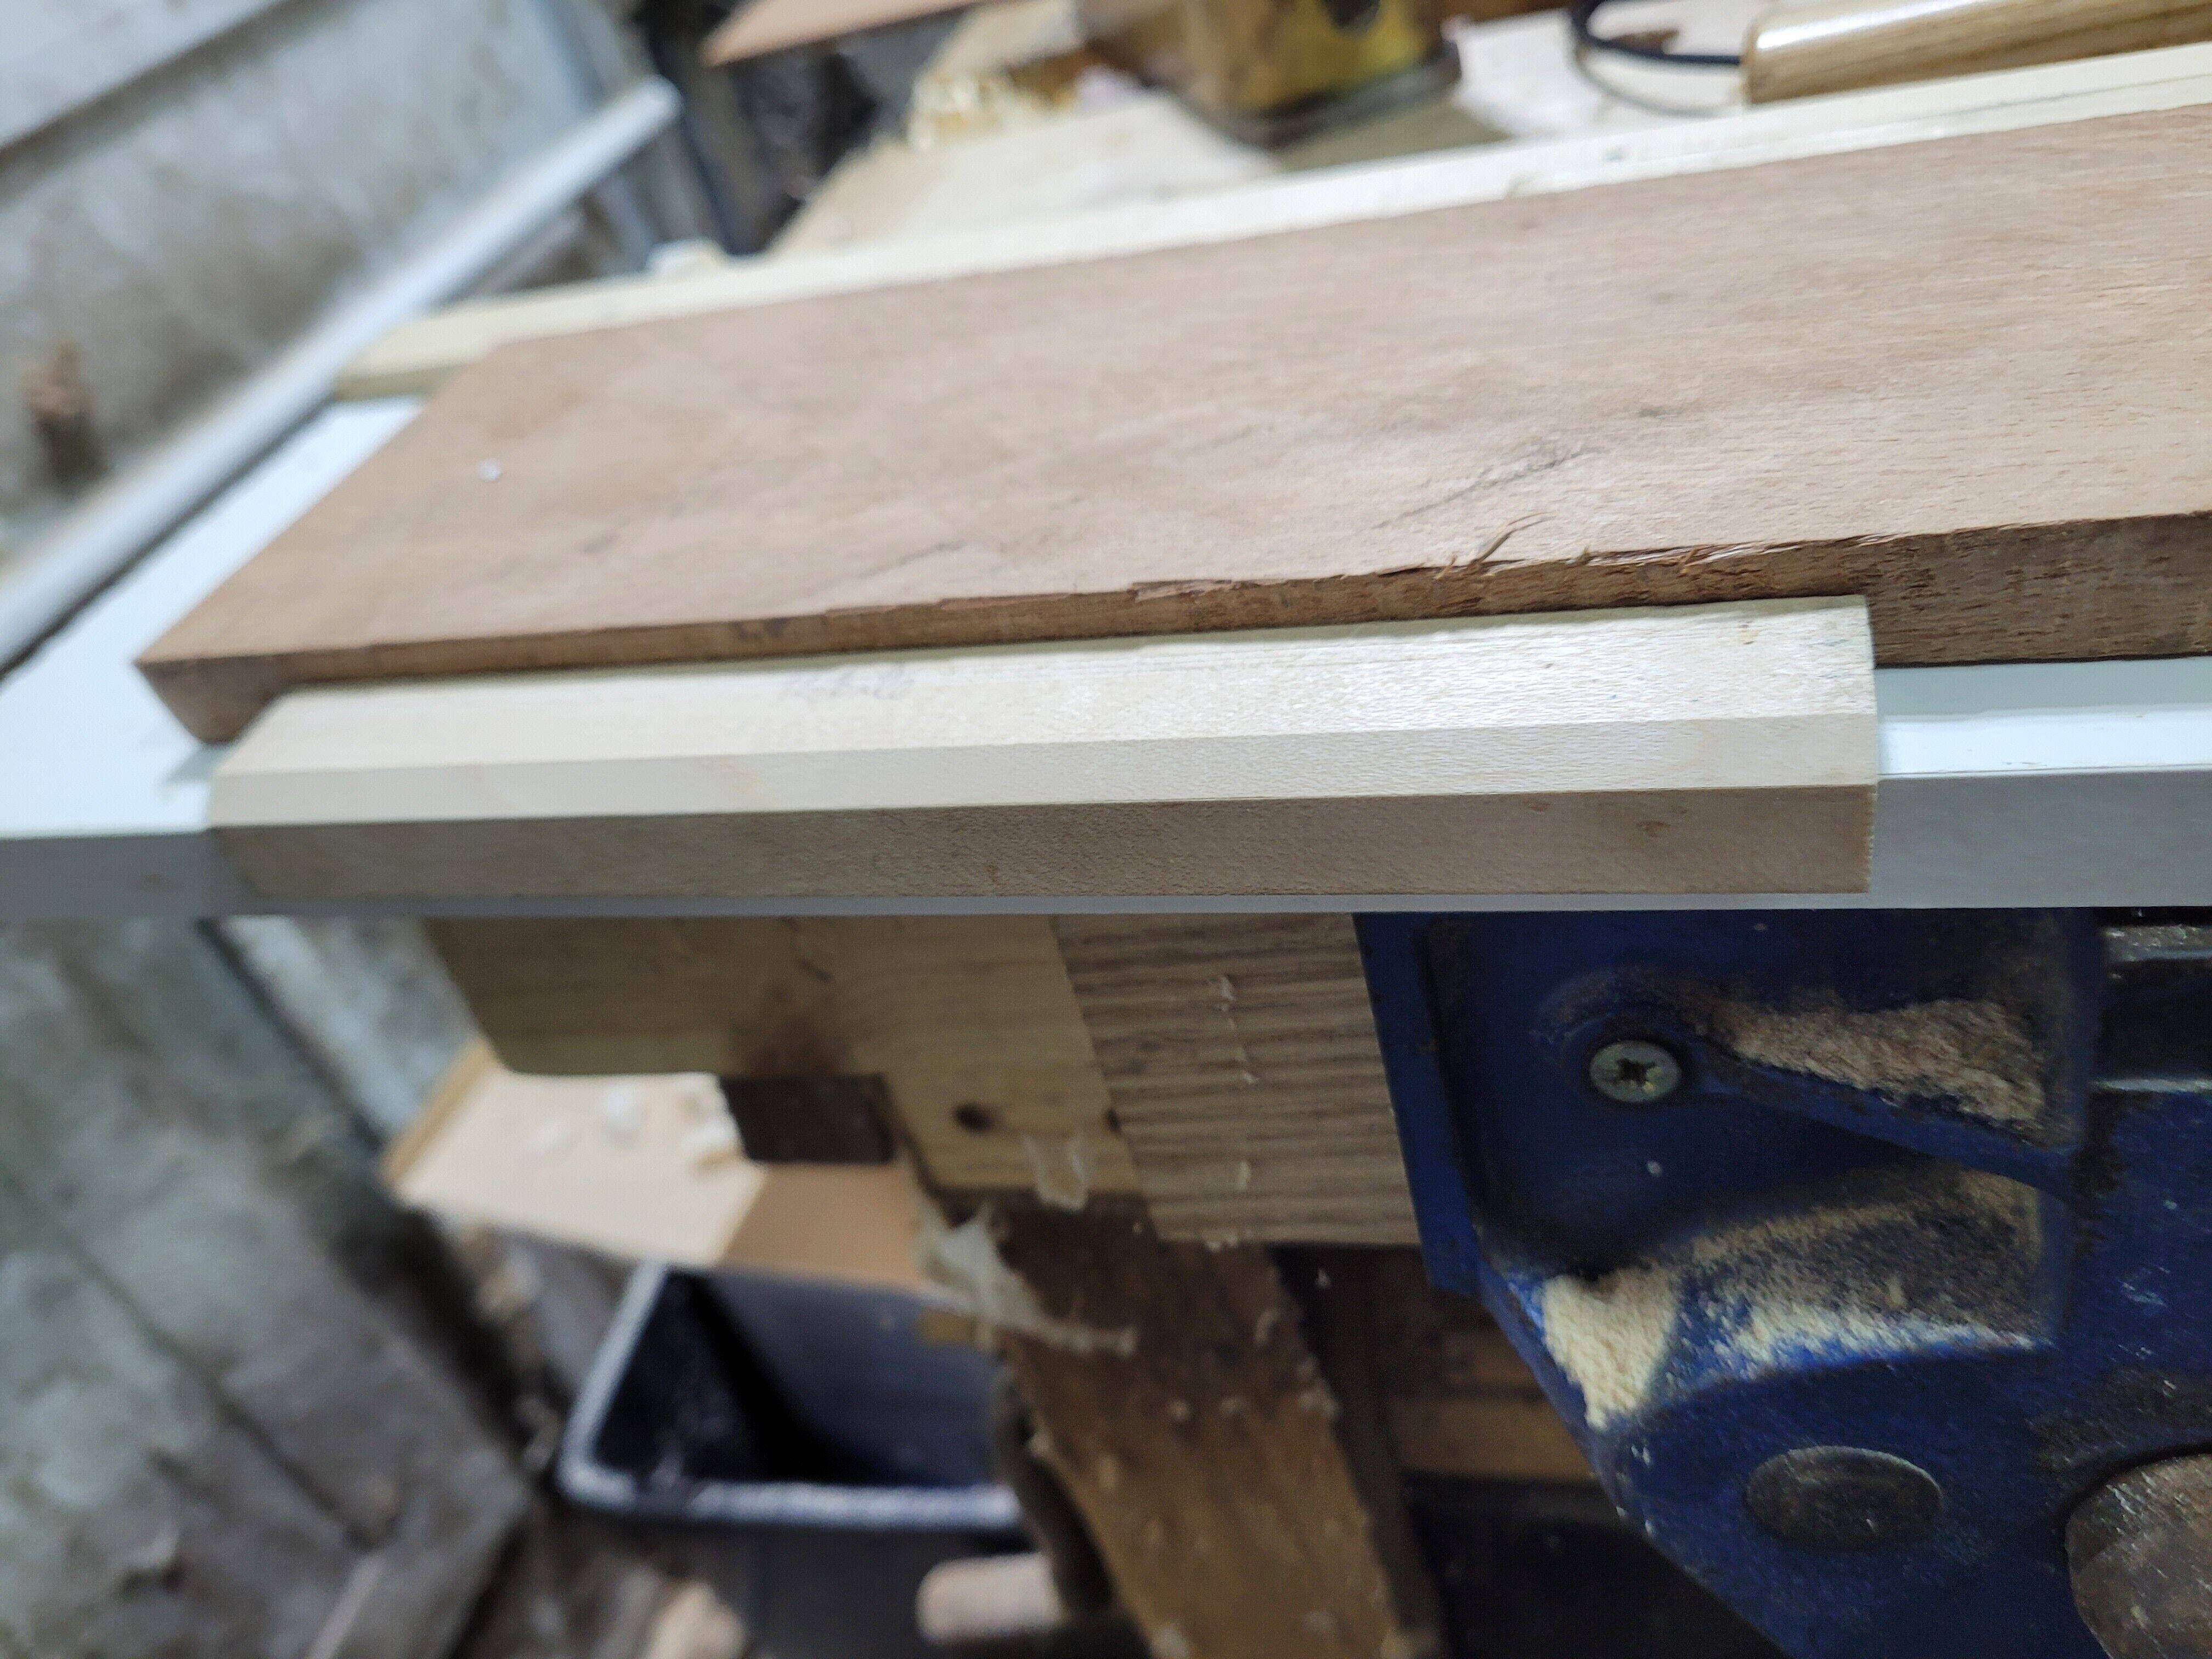
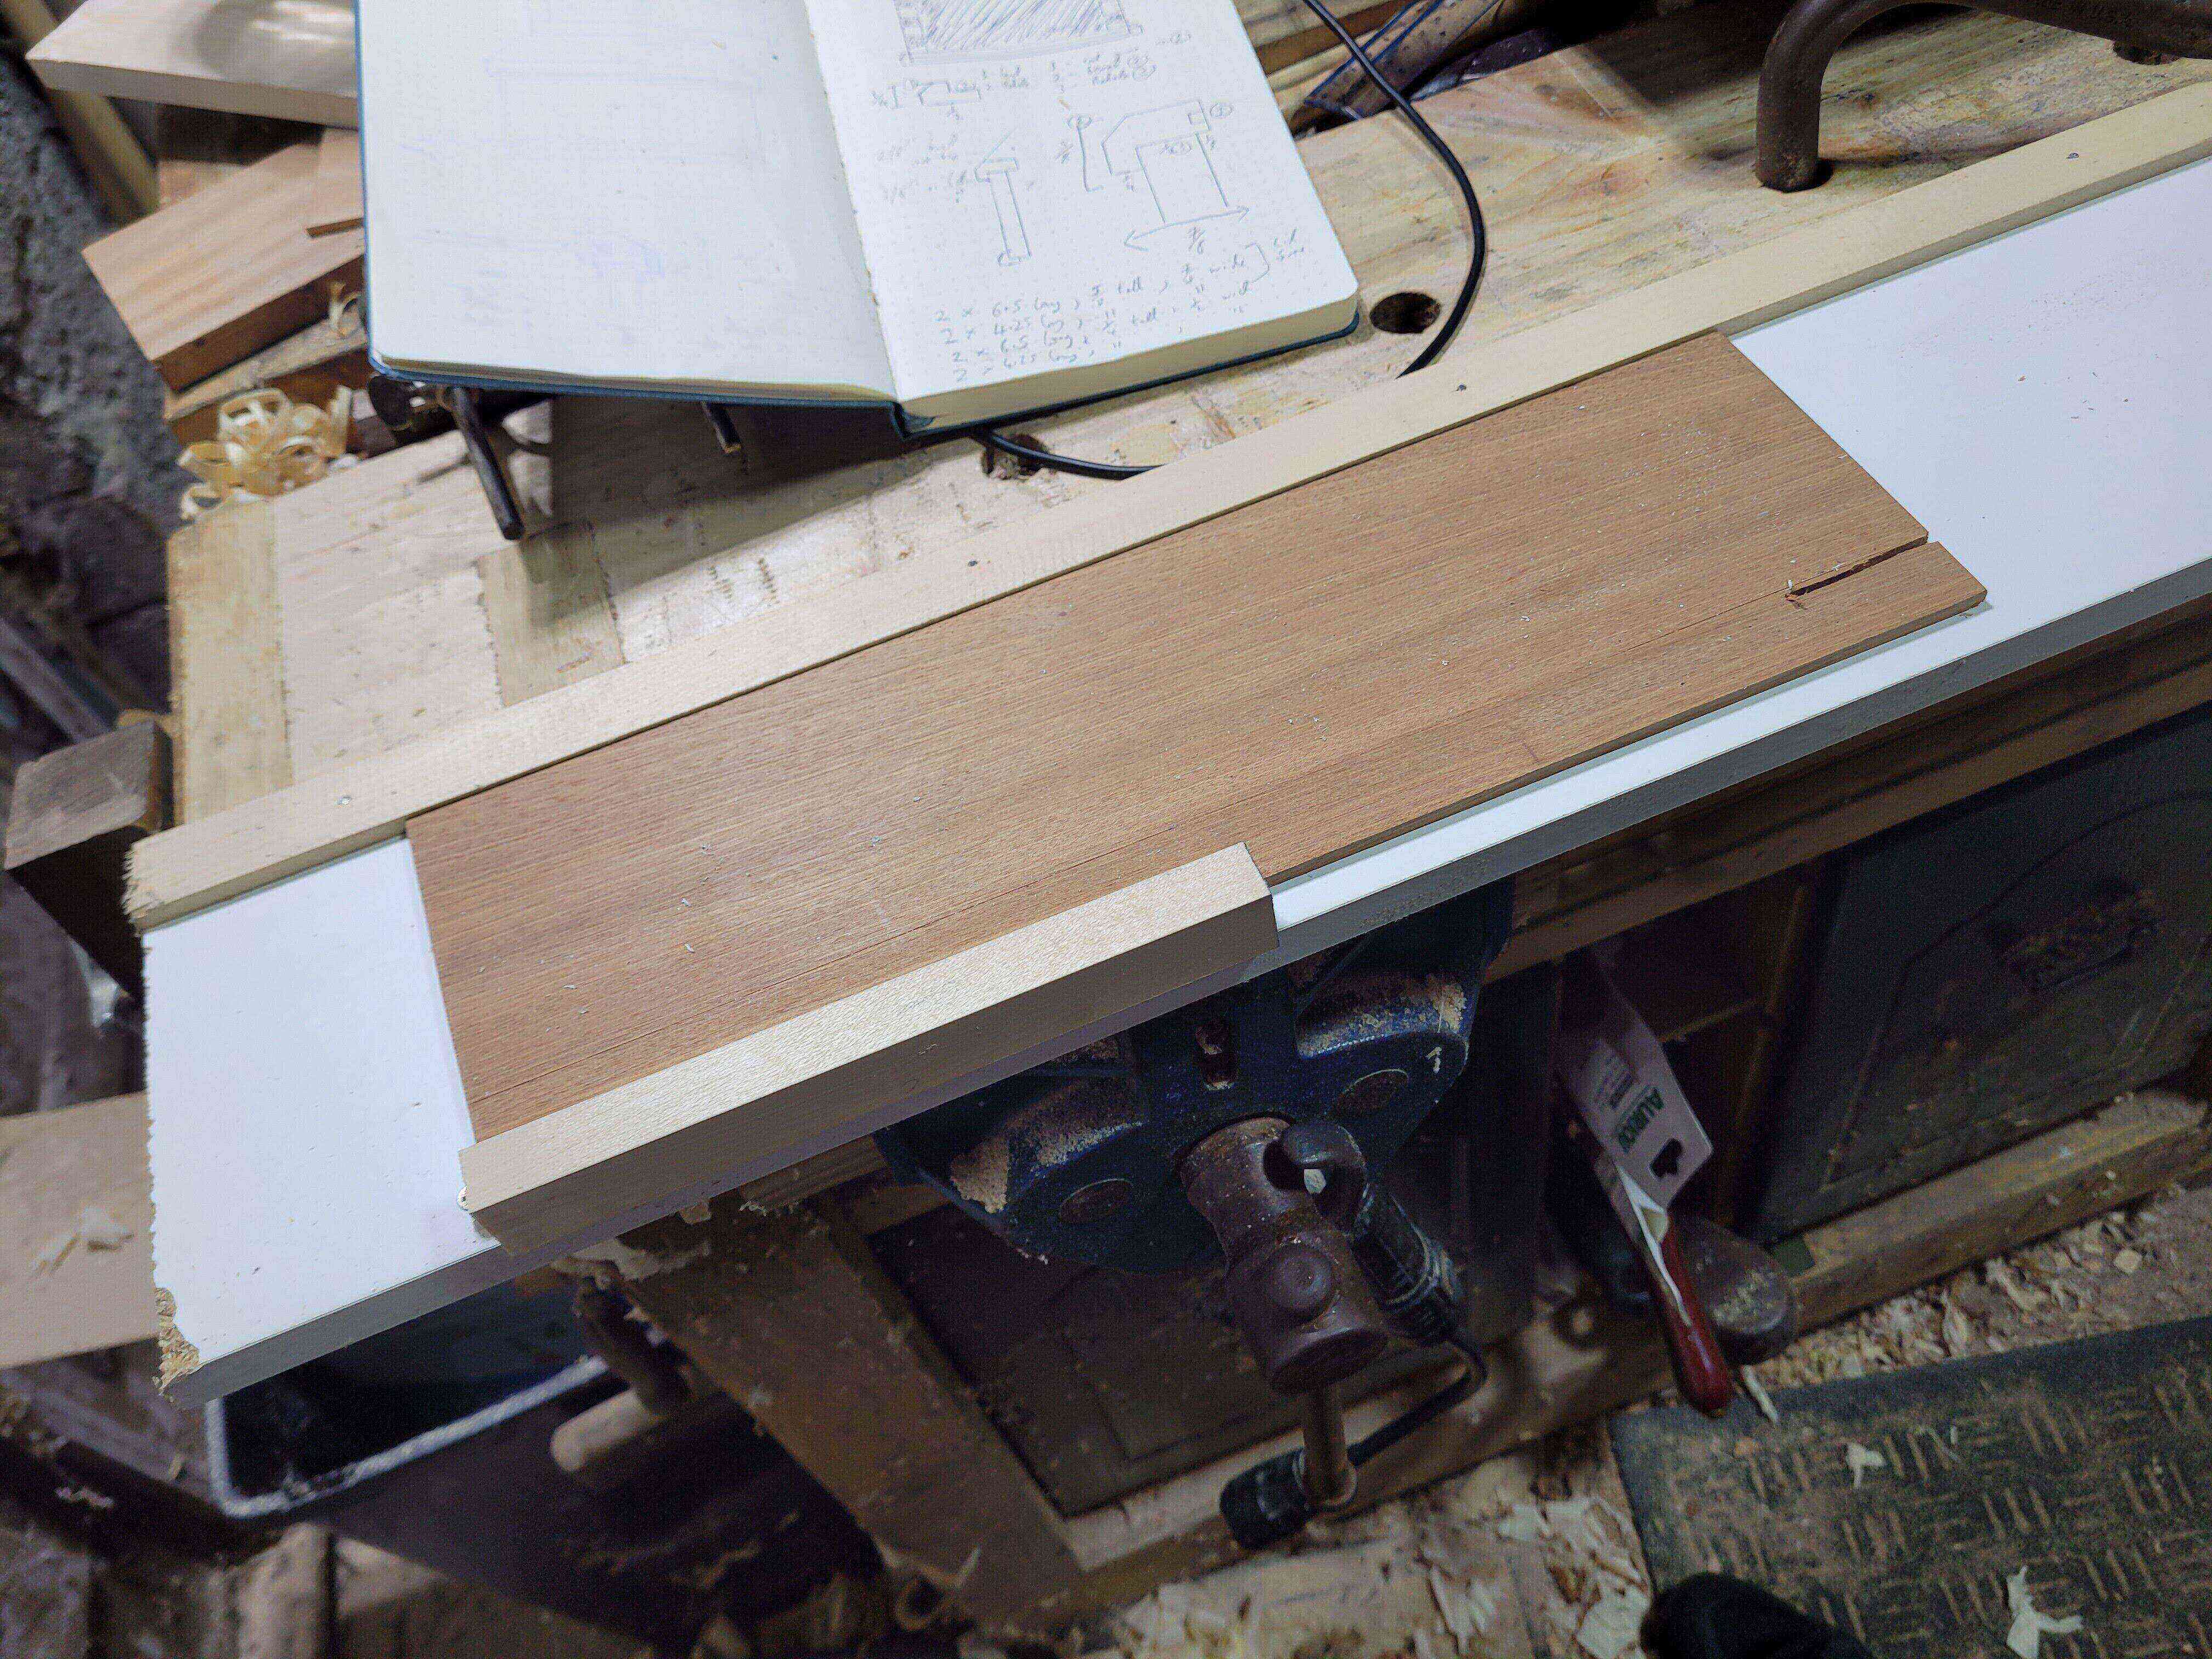 The sticking board. The scrap sits between the workpiece and the fence to stop it sliding in as you work it.As long as the entire workpiece hangs over the edge slightly, it is not at all important that the fence or scrap are square. You can just see once of the holdfasts that hold the board in place on the right.
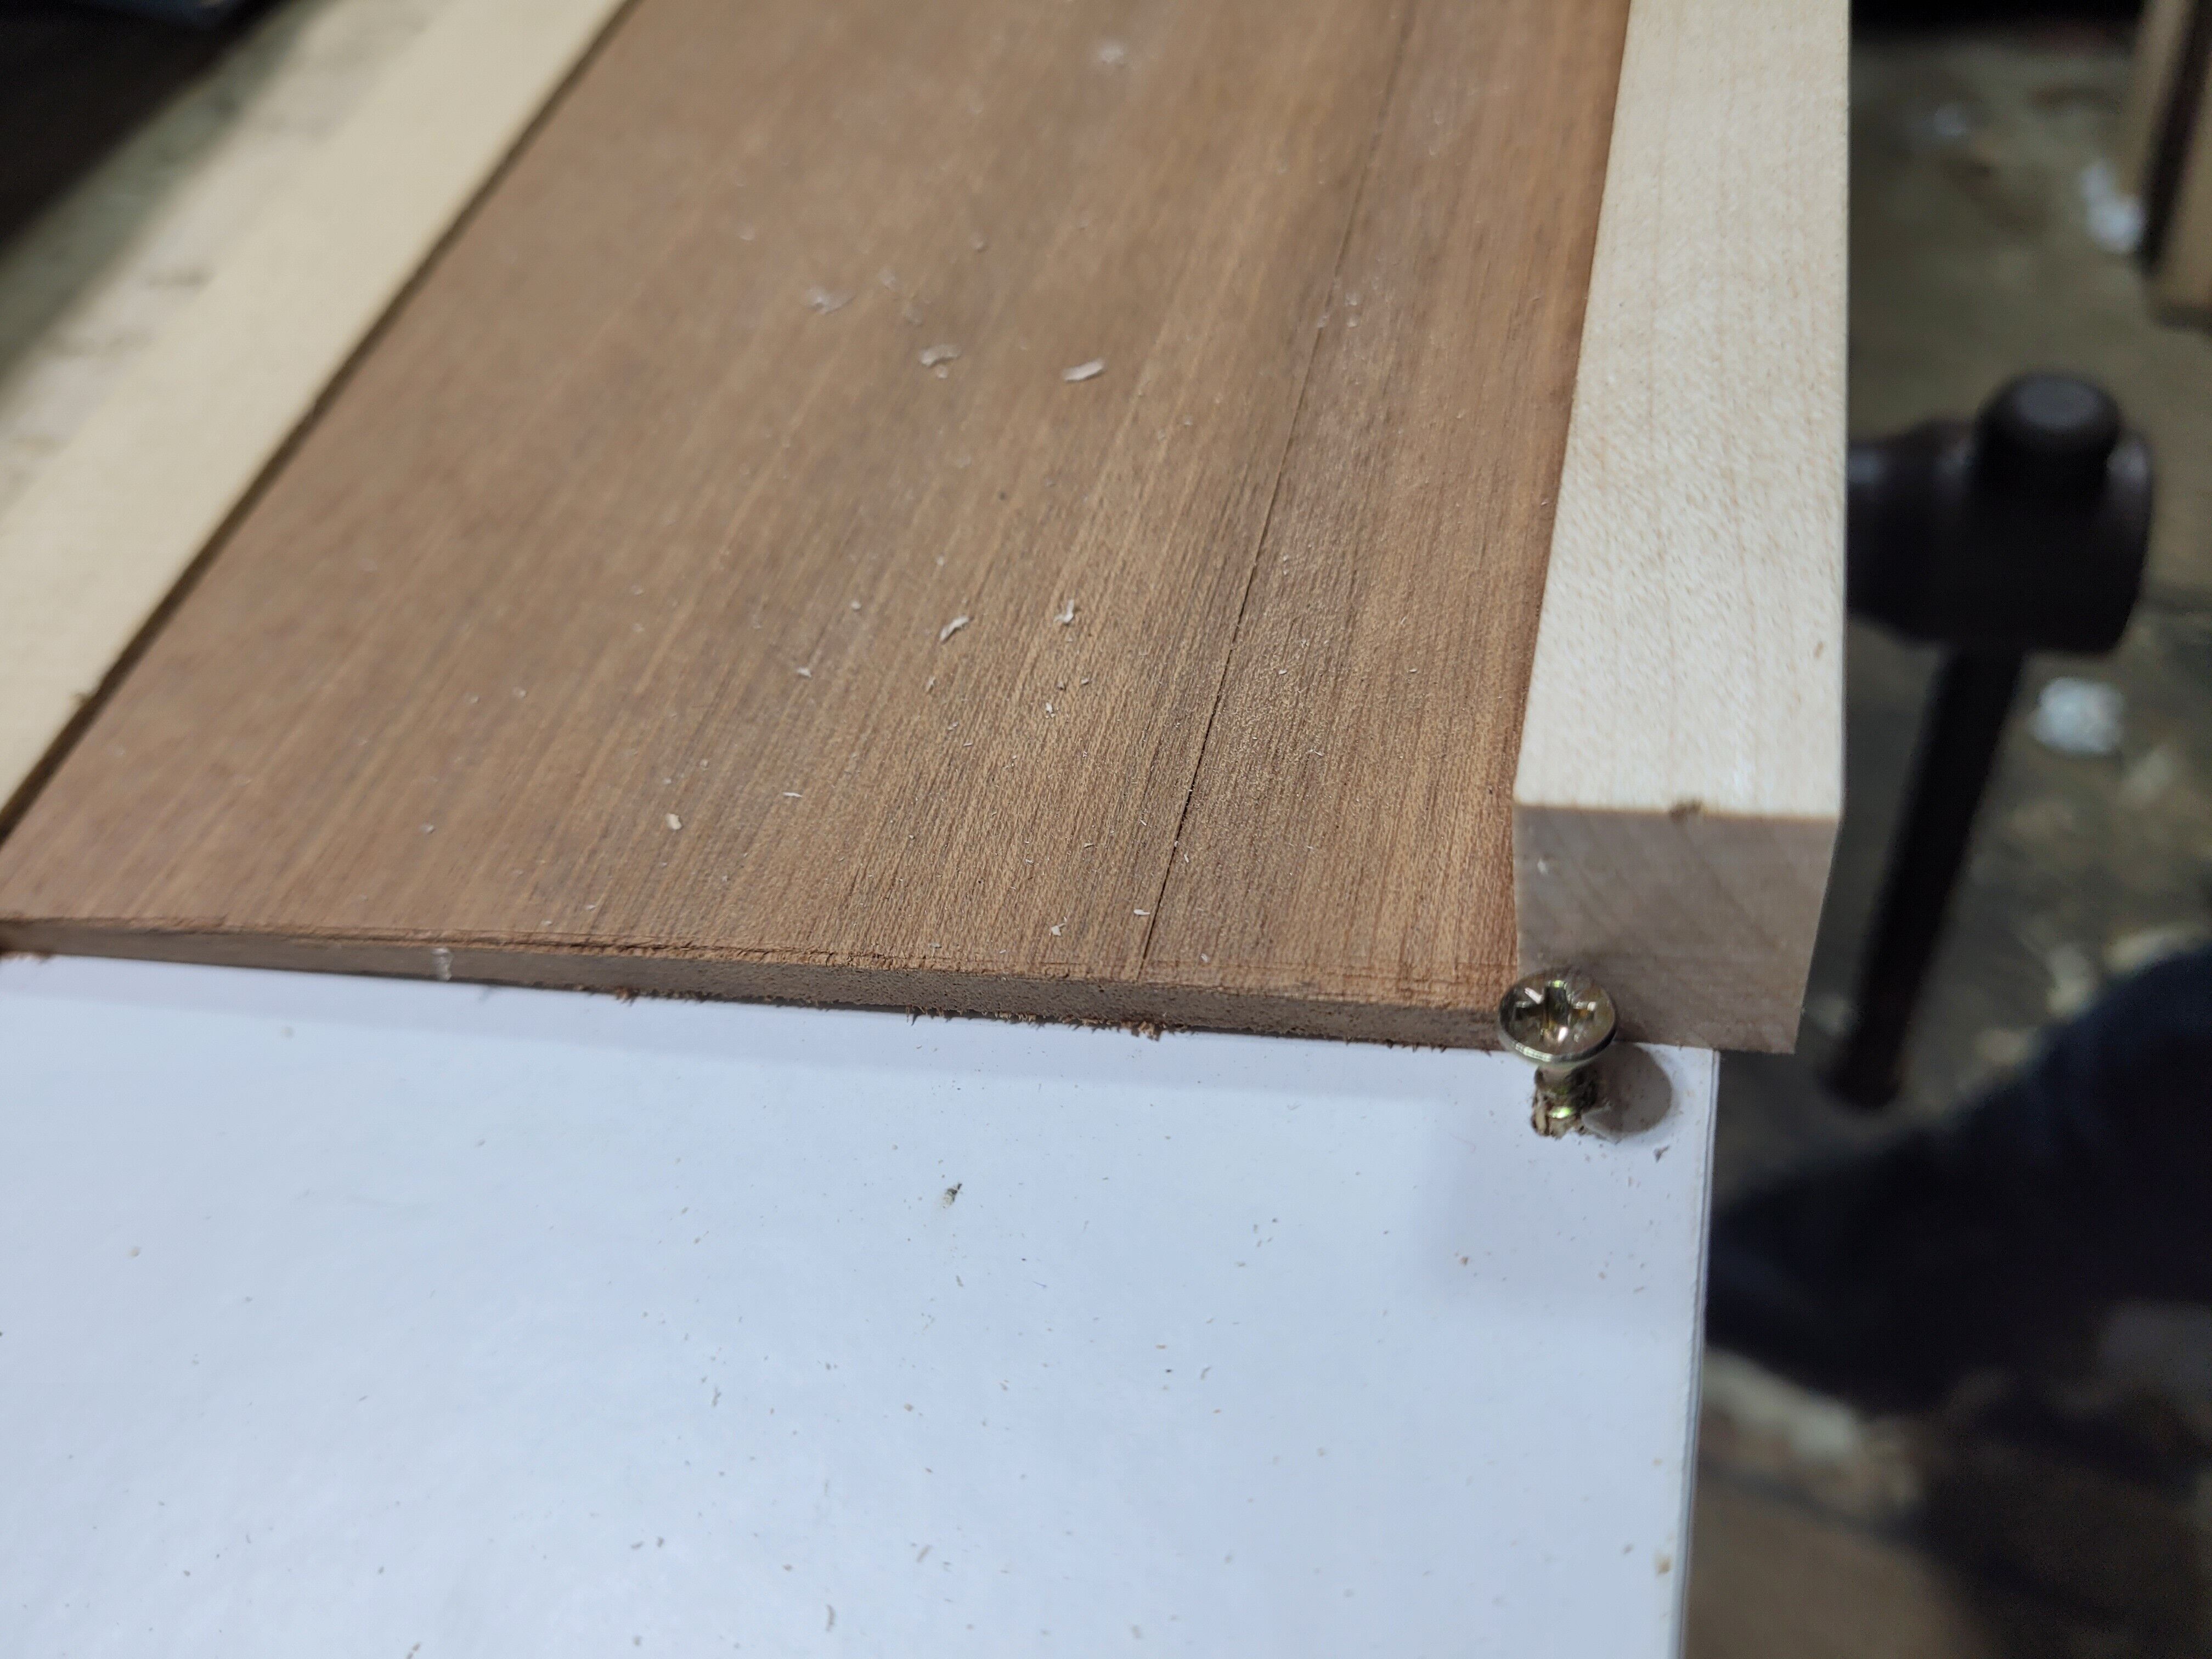 The screw that acts as a stop to prevent the work moving forward. To adjust height, just turn it.
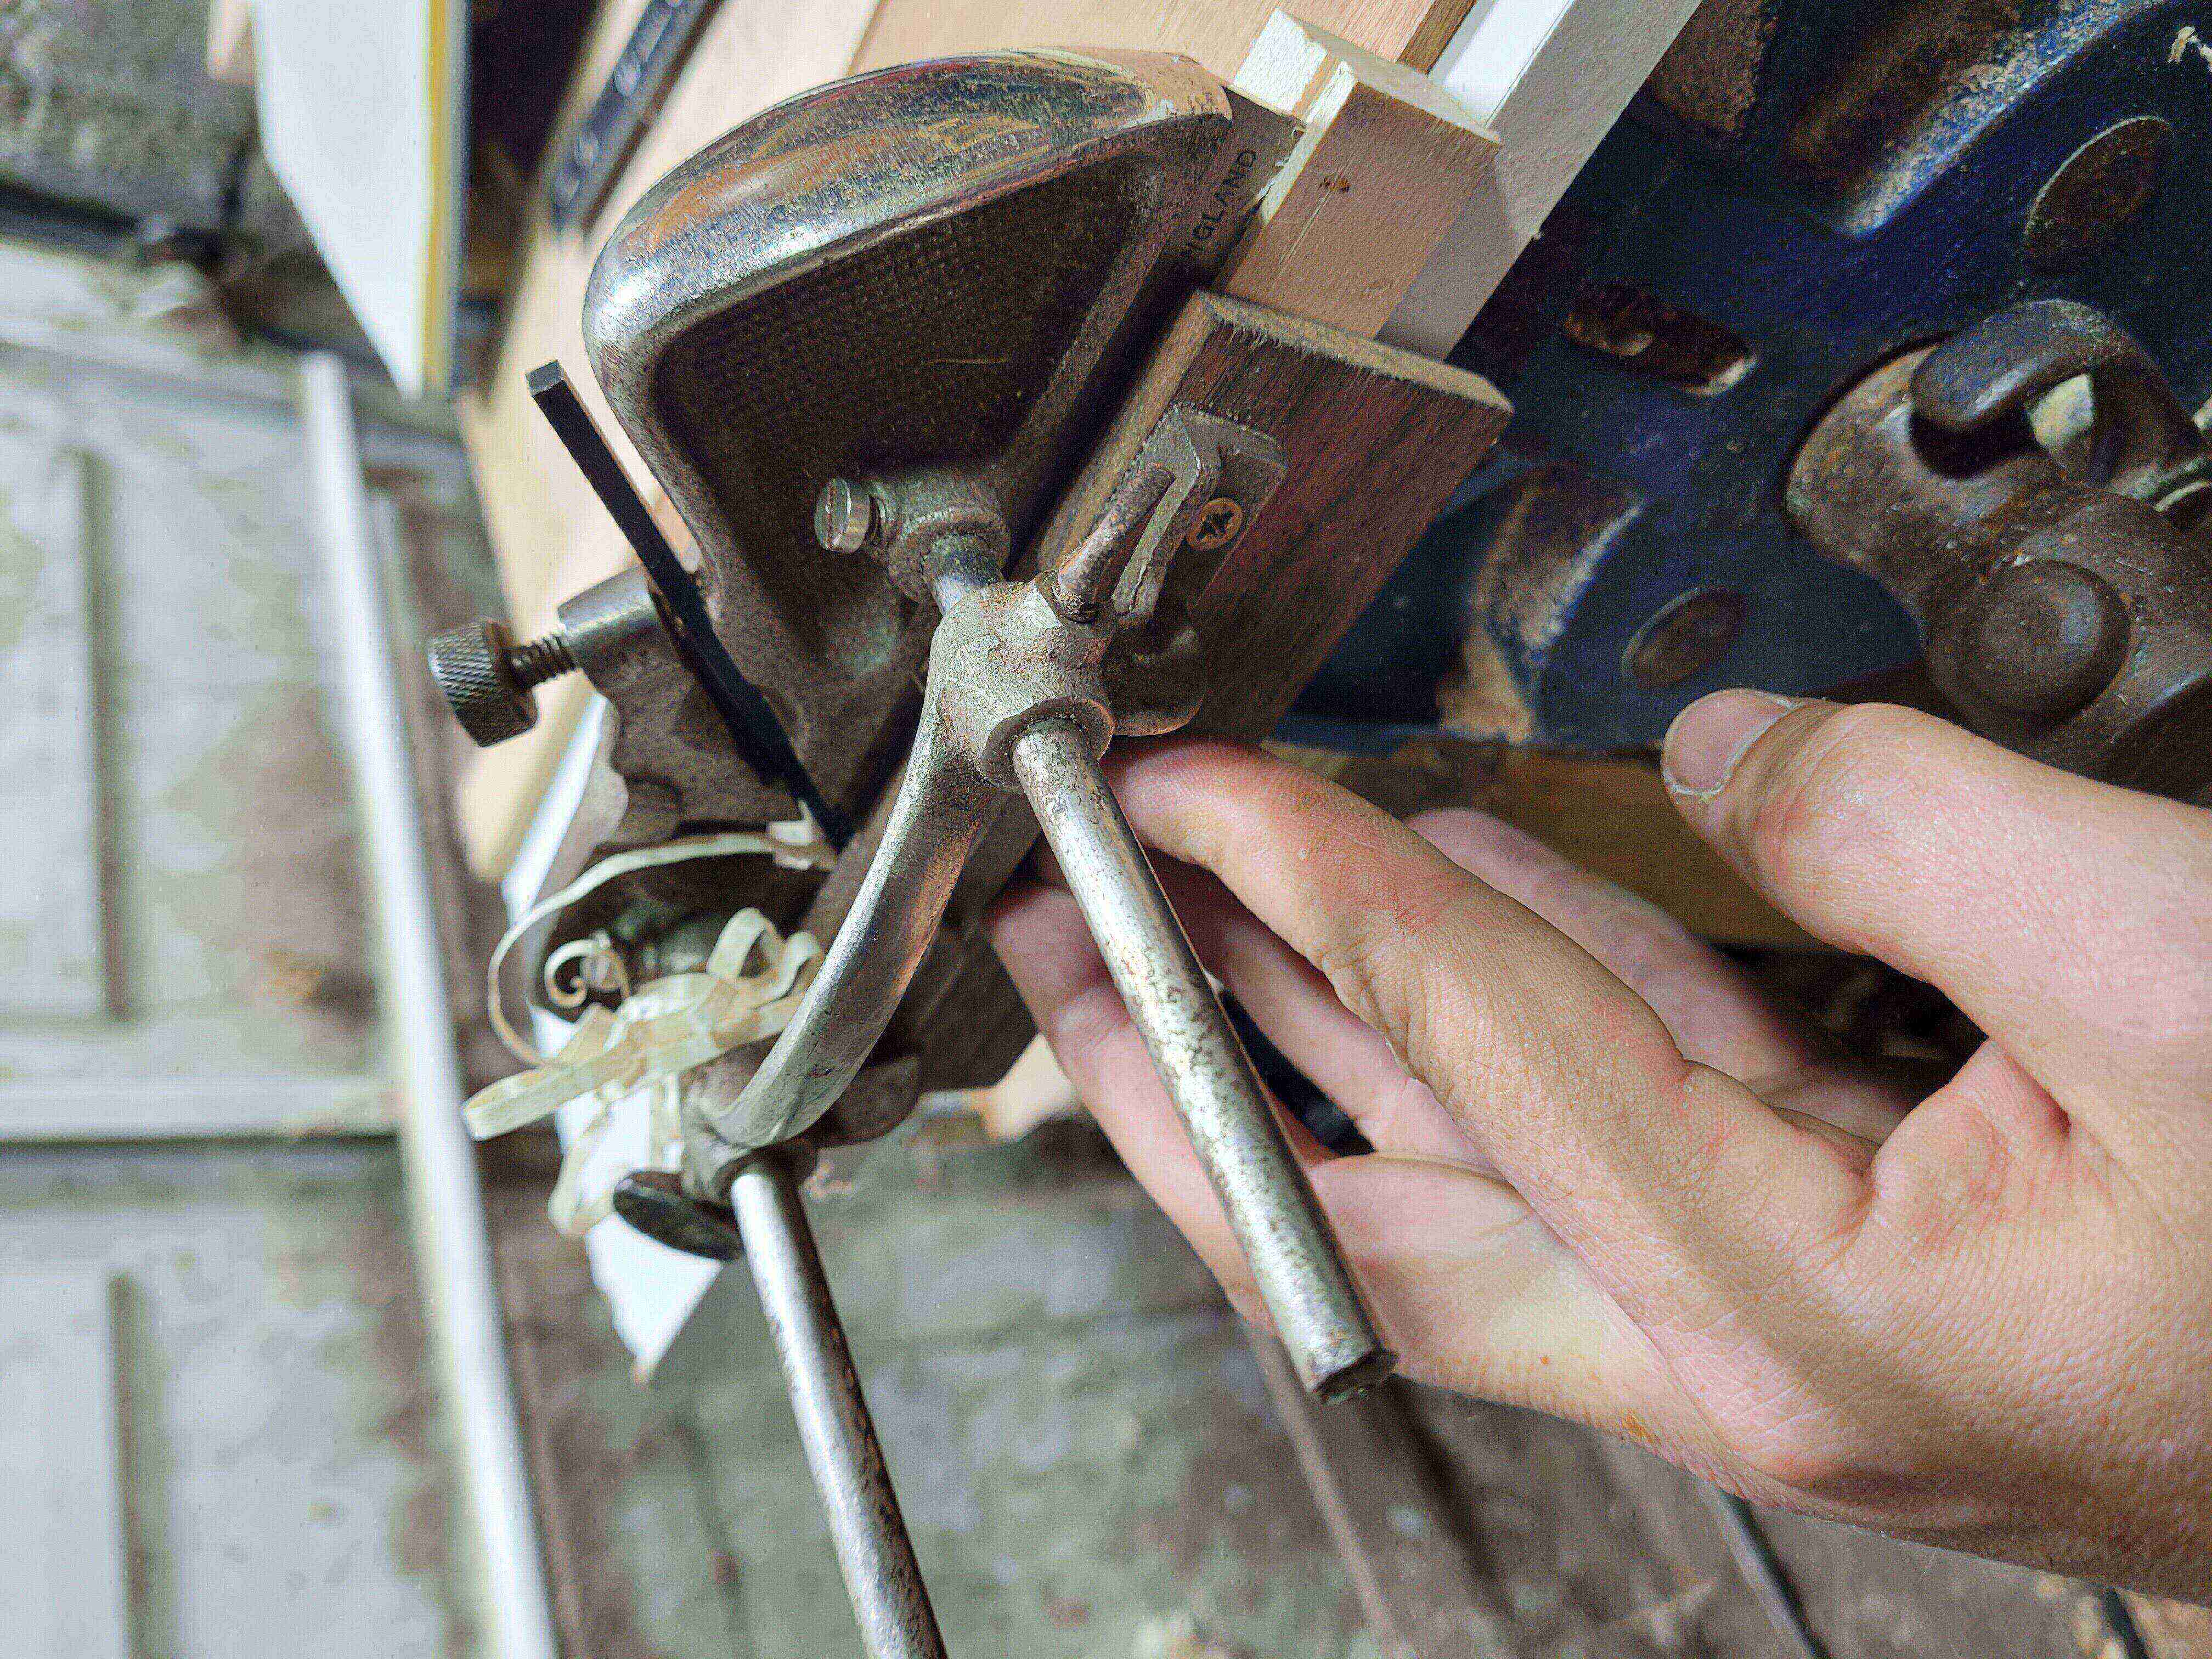 Grooving in progress.
 Then rebating
 And finally some chamfering
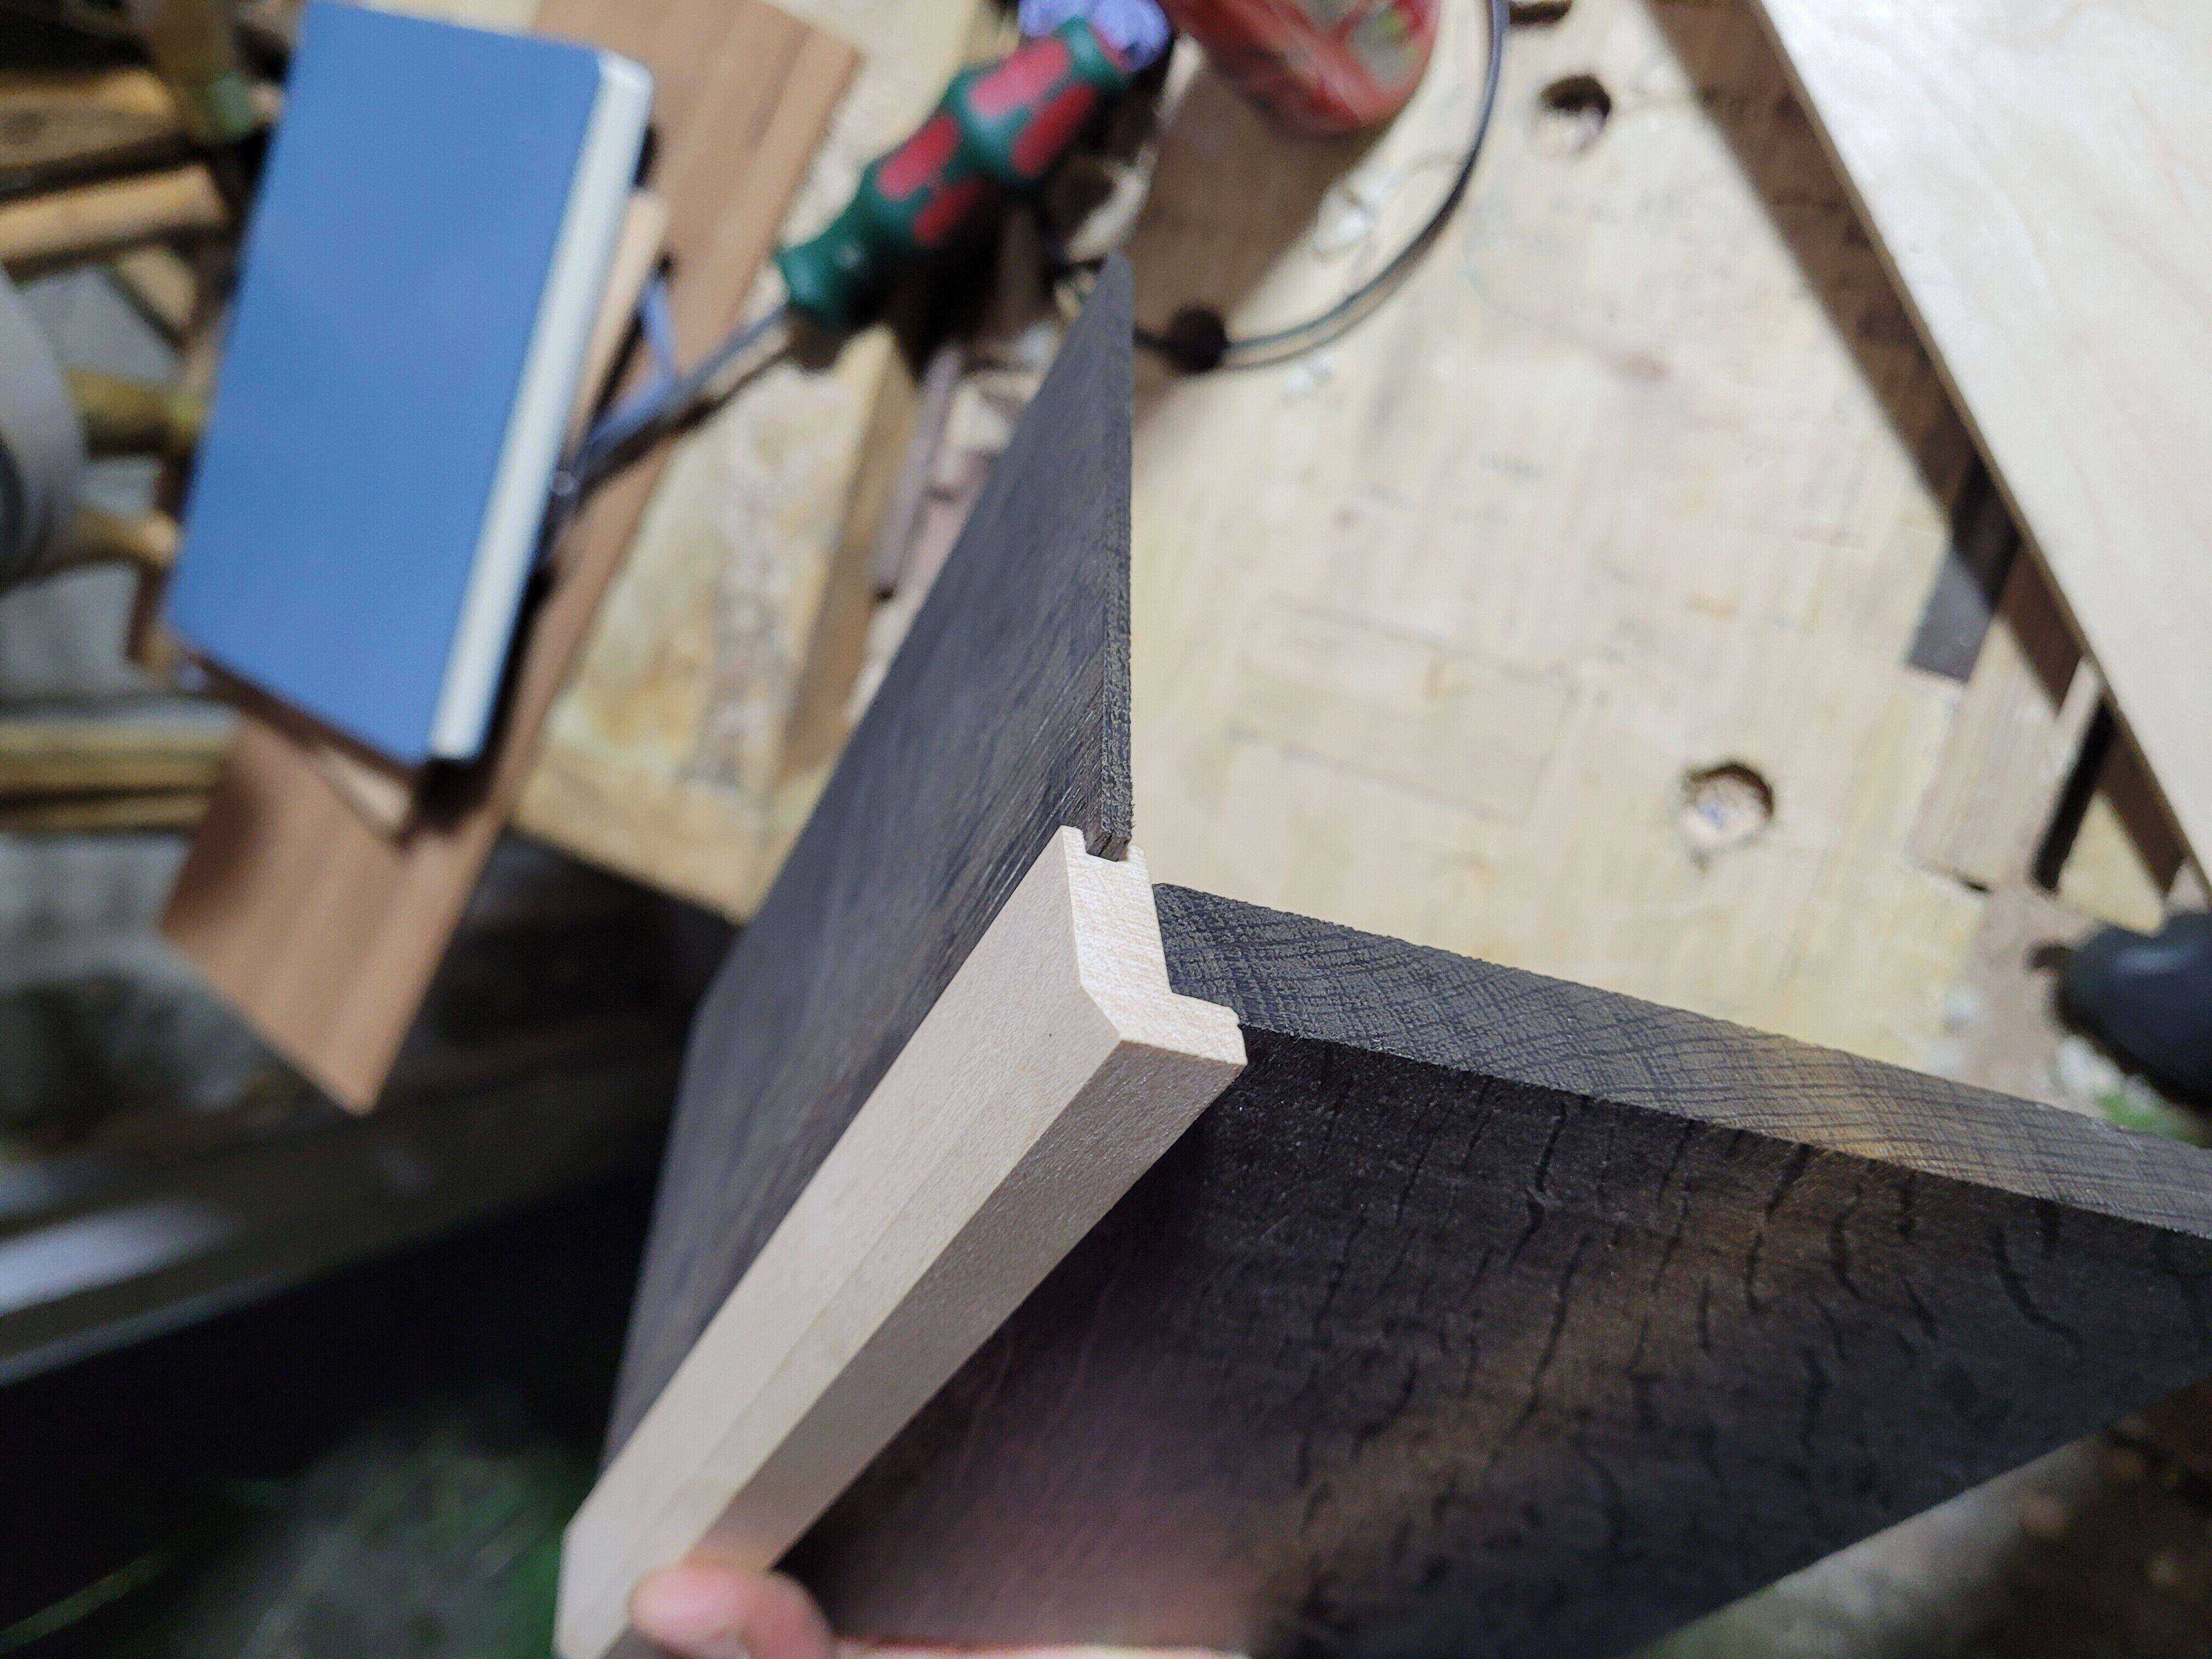
Now you can see how the frame is supposed to work. In practice the corners will be mitred. I’ll stare at this for a few days, and then if I’m happy with it, I’ll move on to make a complete frame.