A Tool Tote for Plane Wellness
For the last 5 years, I’ve been making toolboxes to share with other woodworkers. This last year had been a bit of a challenge to get something done, but I made a promise that I’d put together a box for Plane Wellness. I pushed between Christmas and New Year to try and get something done before 2024 was out. How this box is used is up to the organization; whether in the hands of someone who needs them, as a community/loaner set of tools, or a travel set of full-size tools… so long as it’s used I’ll be thrilled.
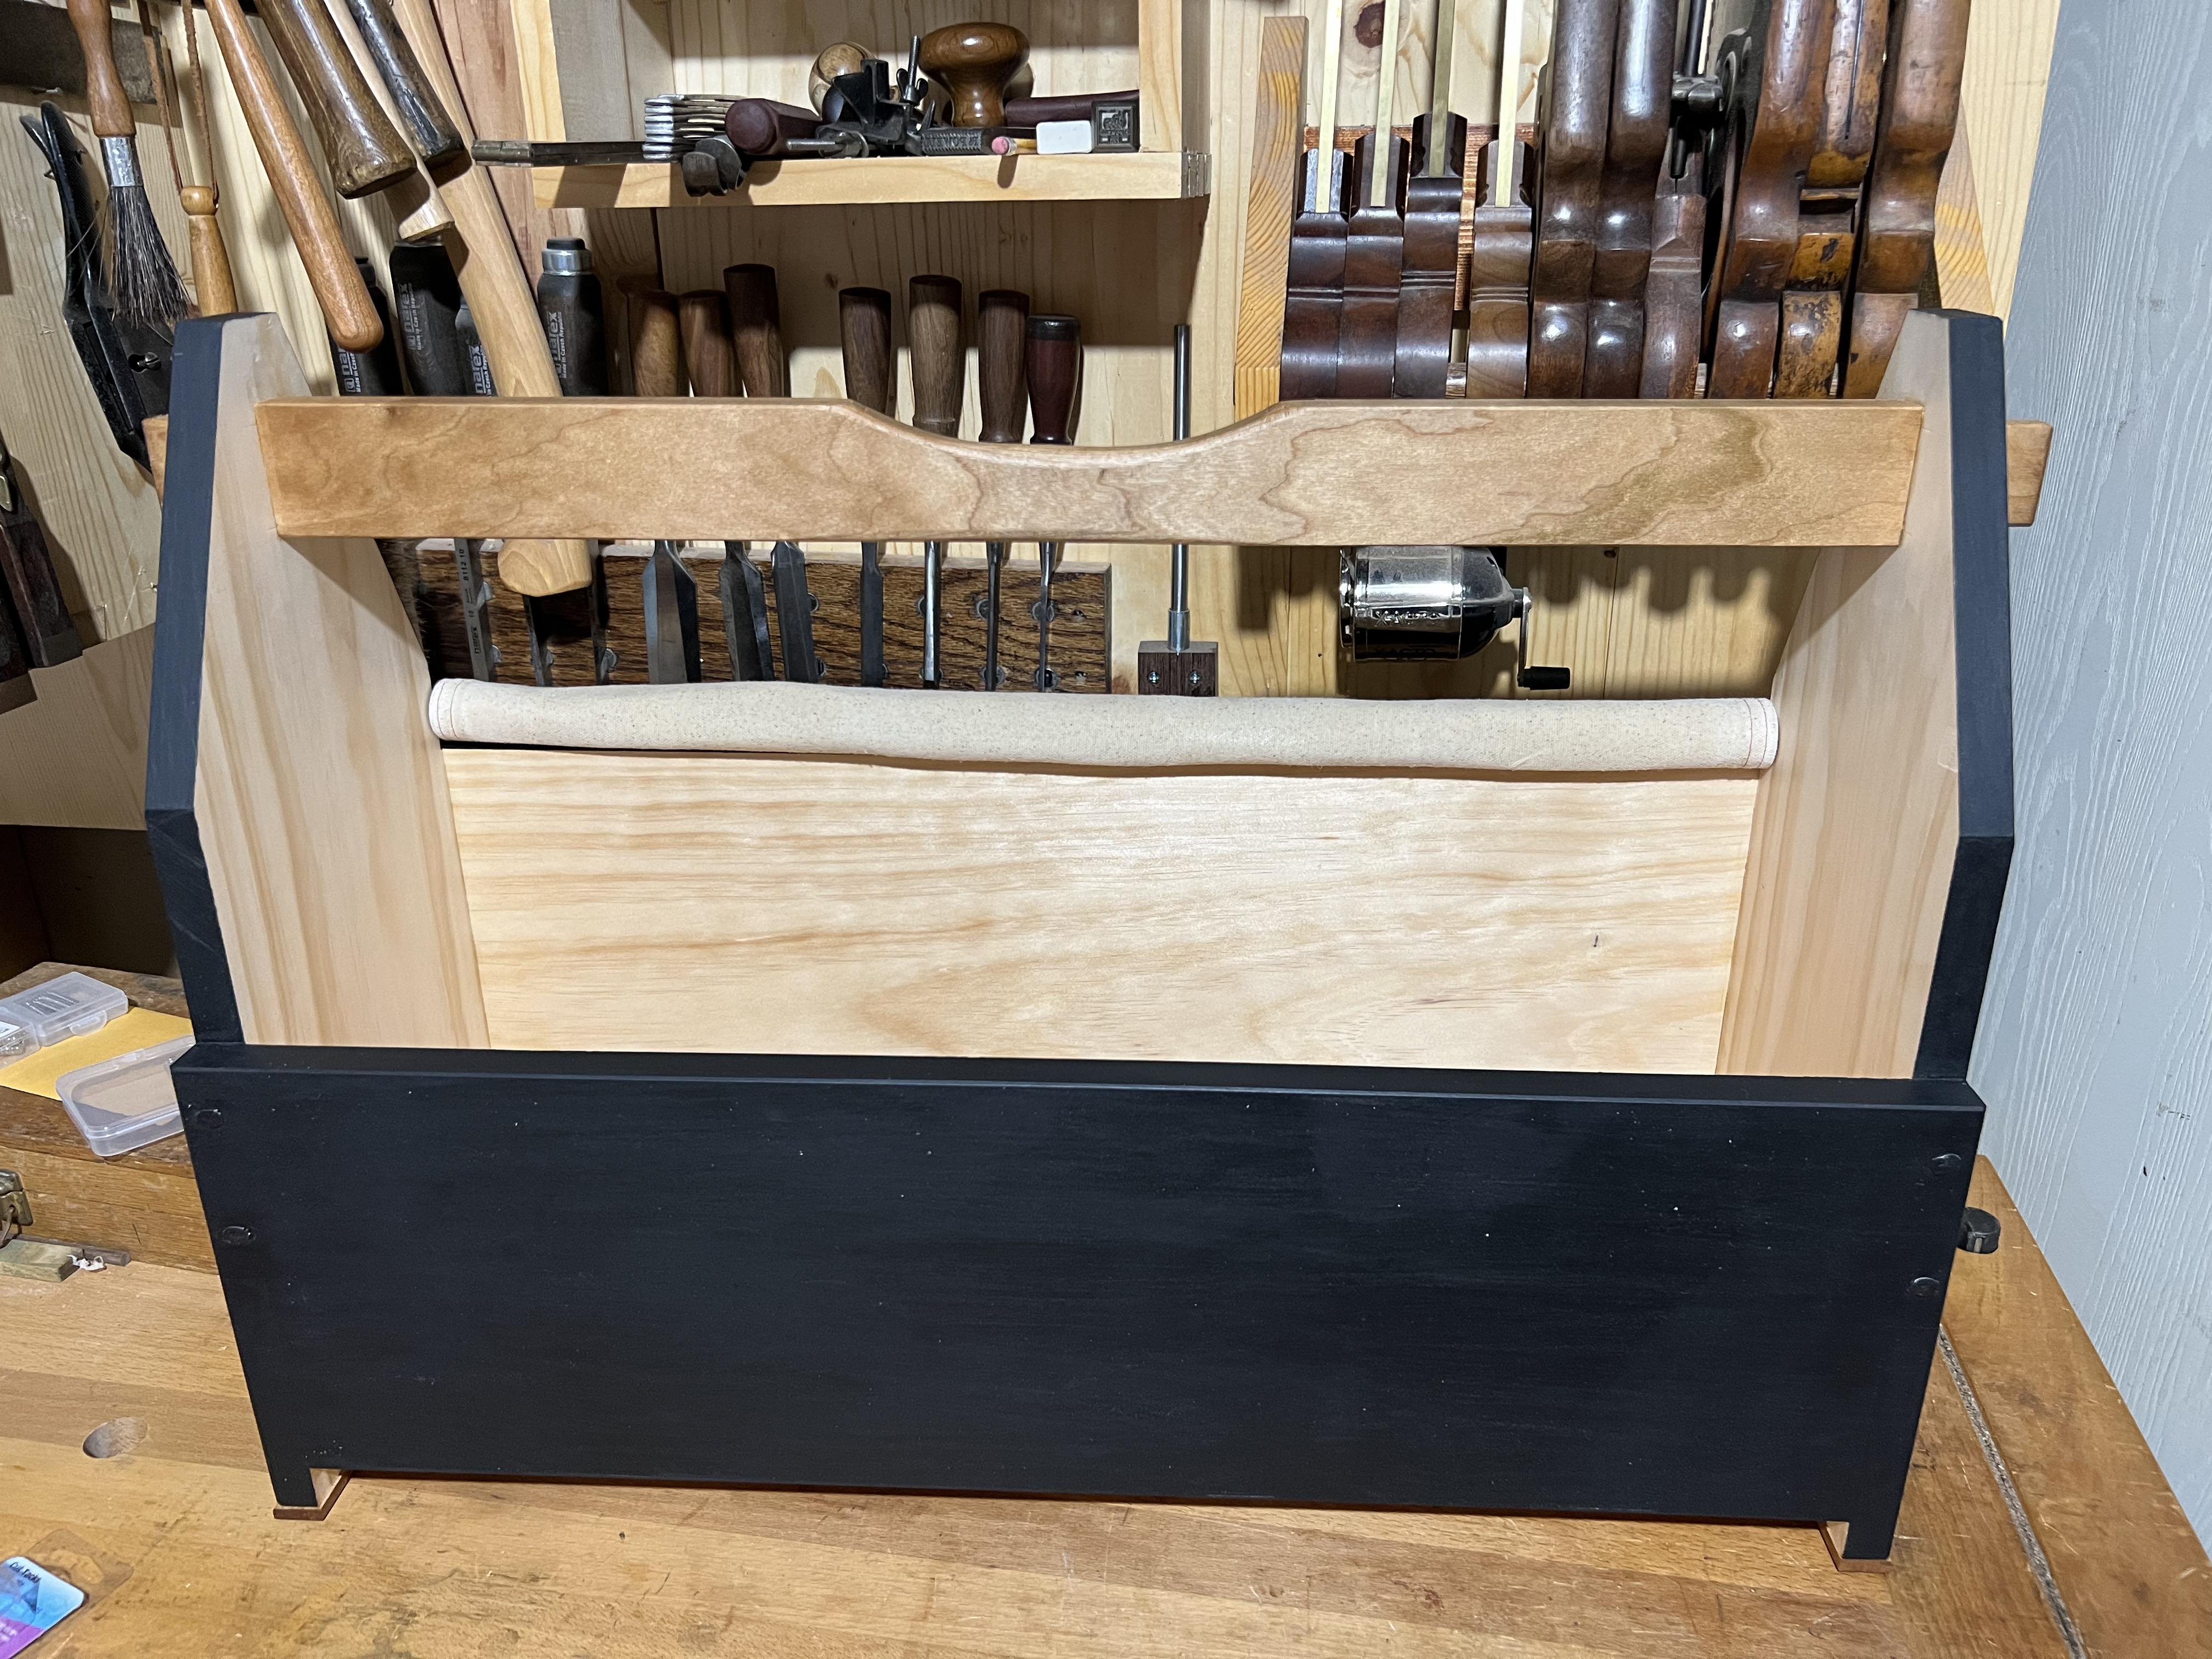
The design for this box came from a Filson How-To article. I chose this design as it was simple (no hardware!), and should have plenty of space for a very basic set of hand tools.
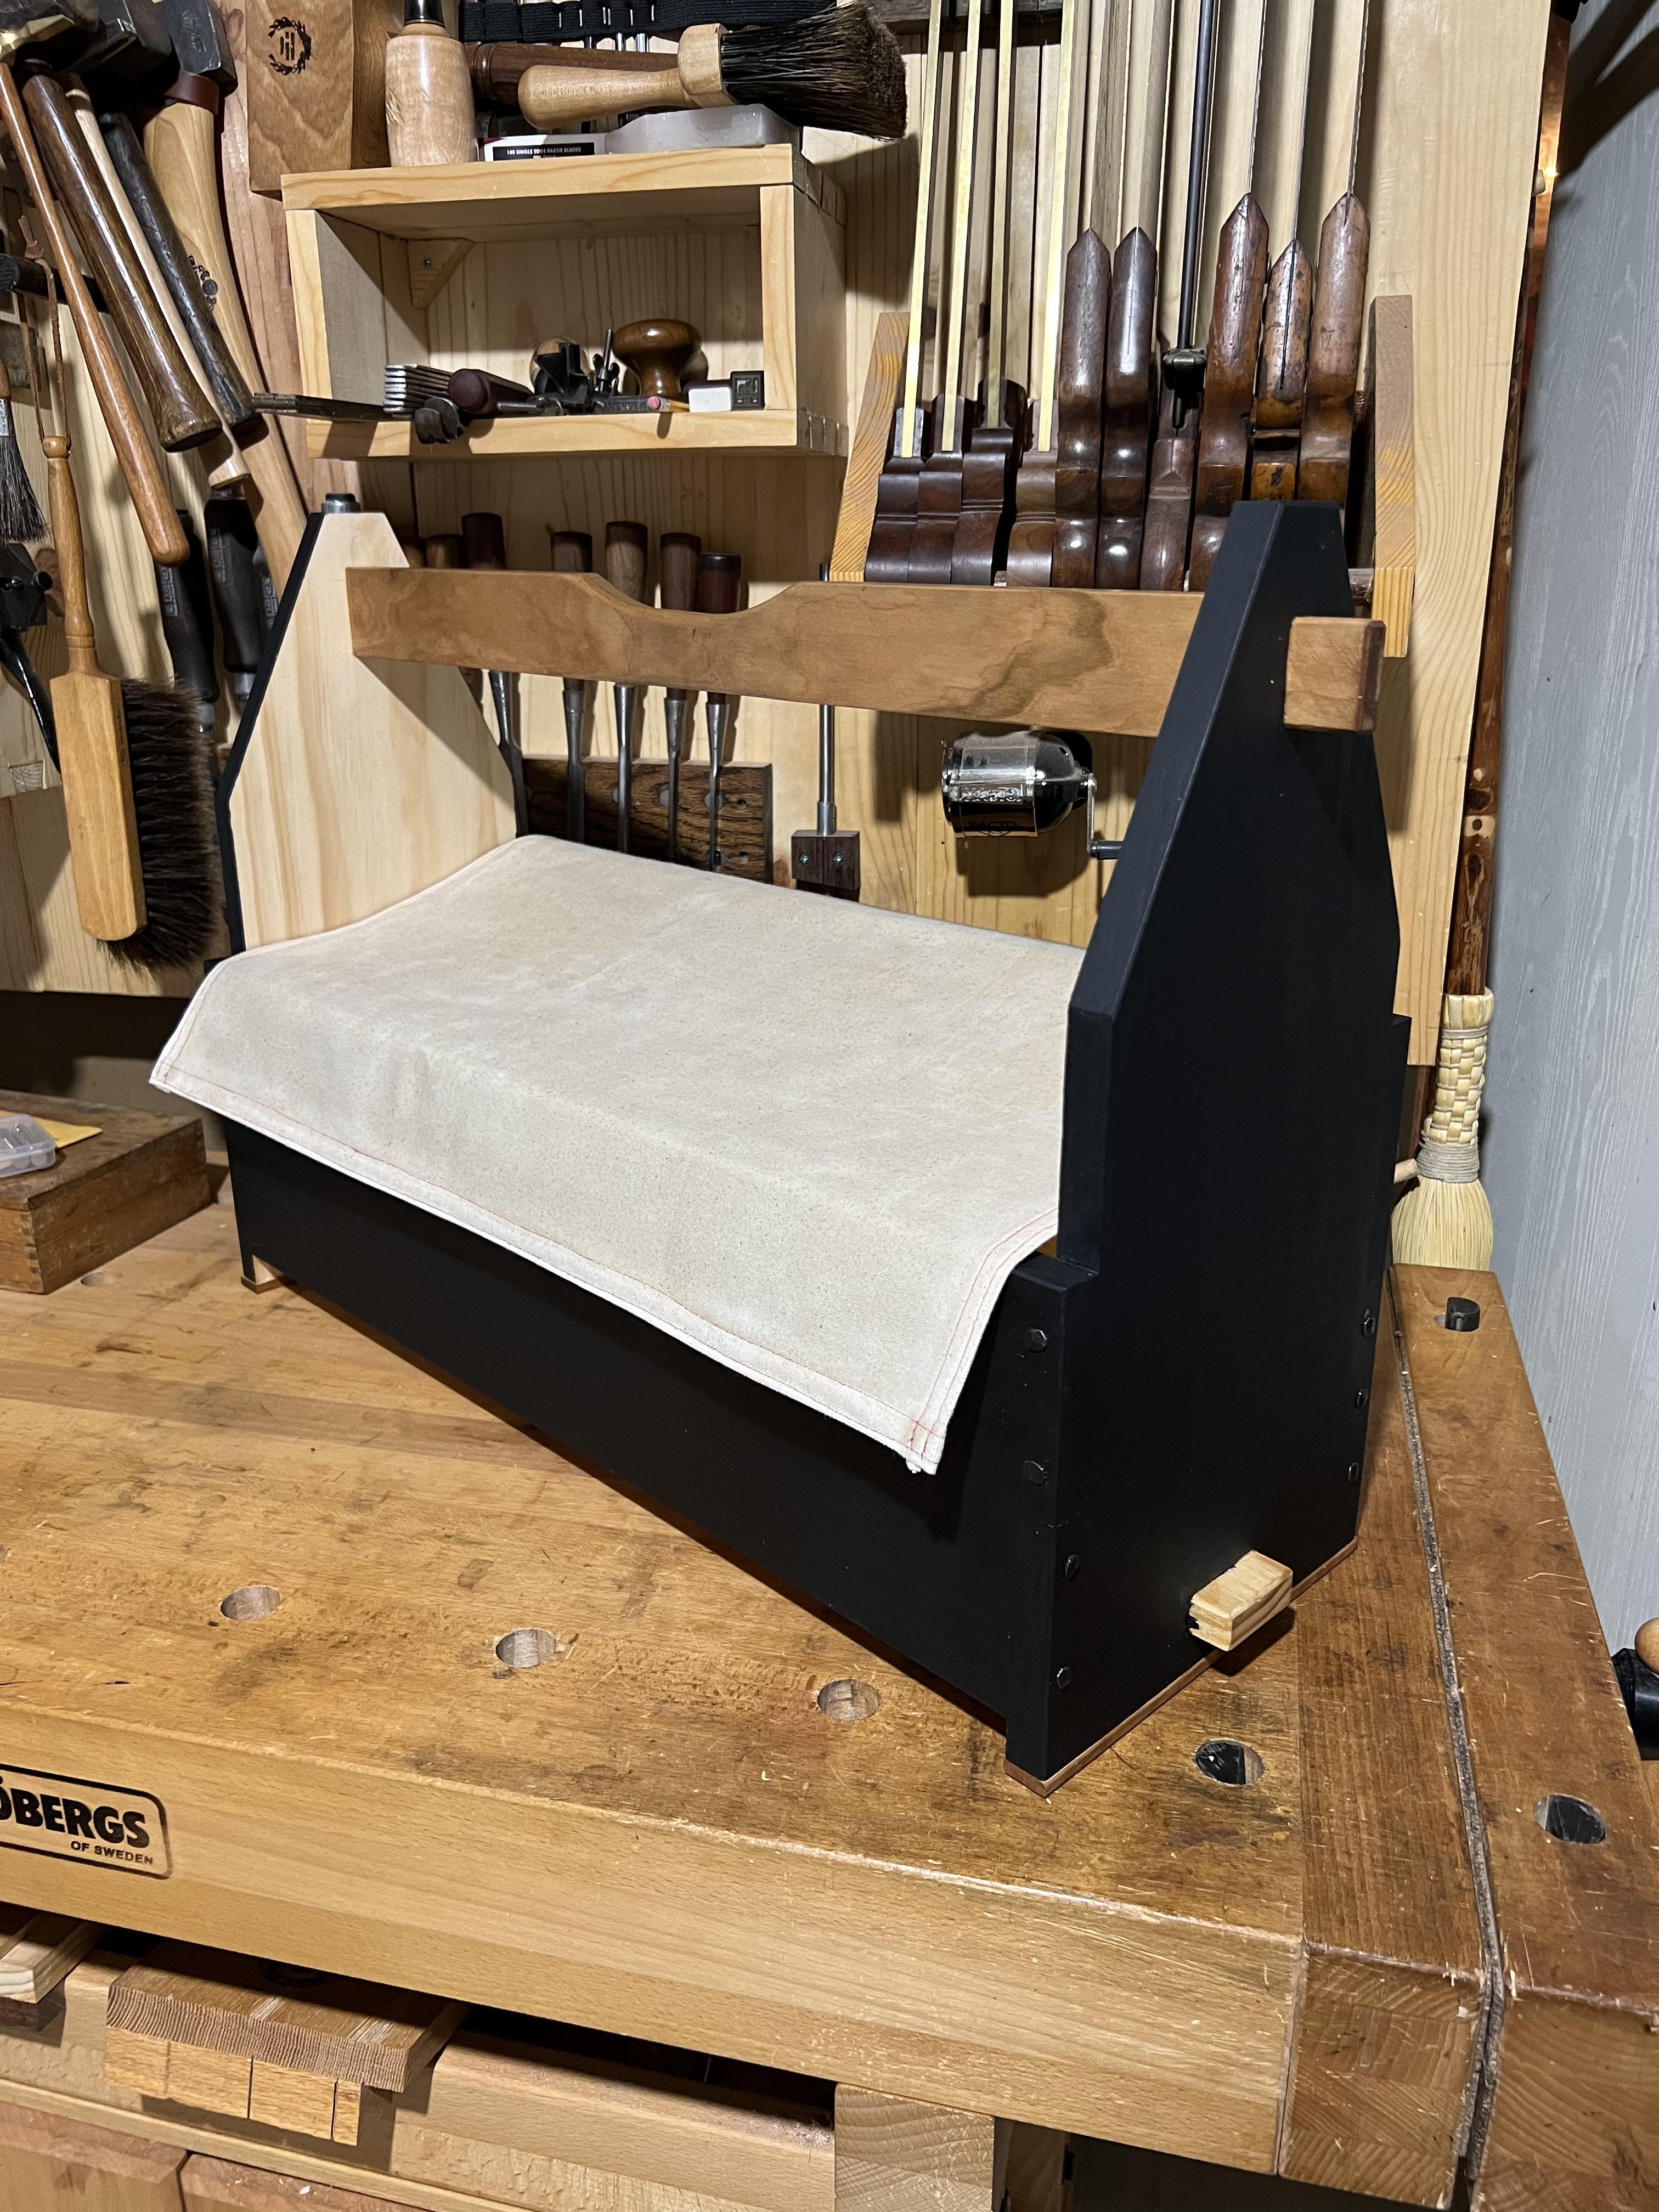
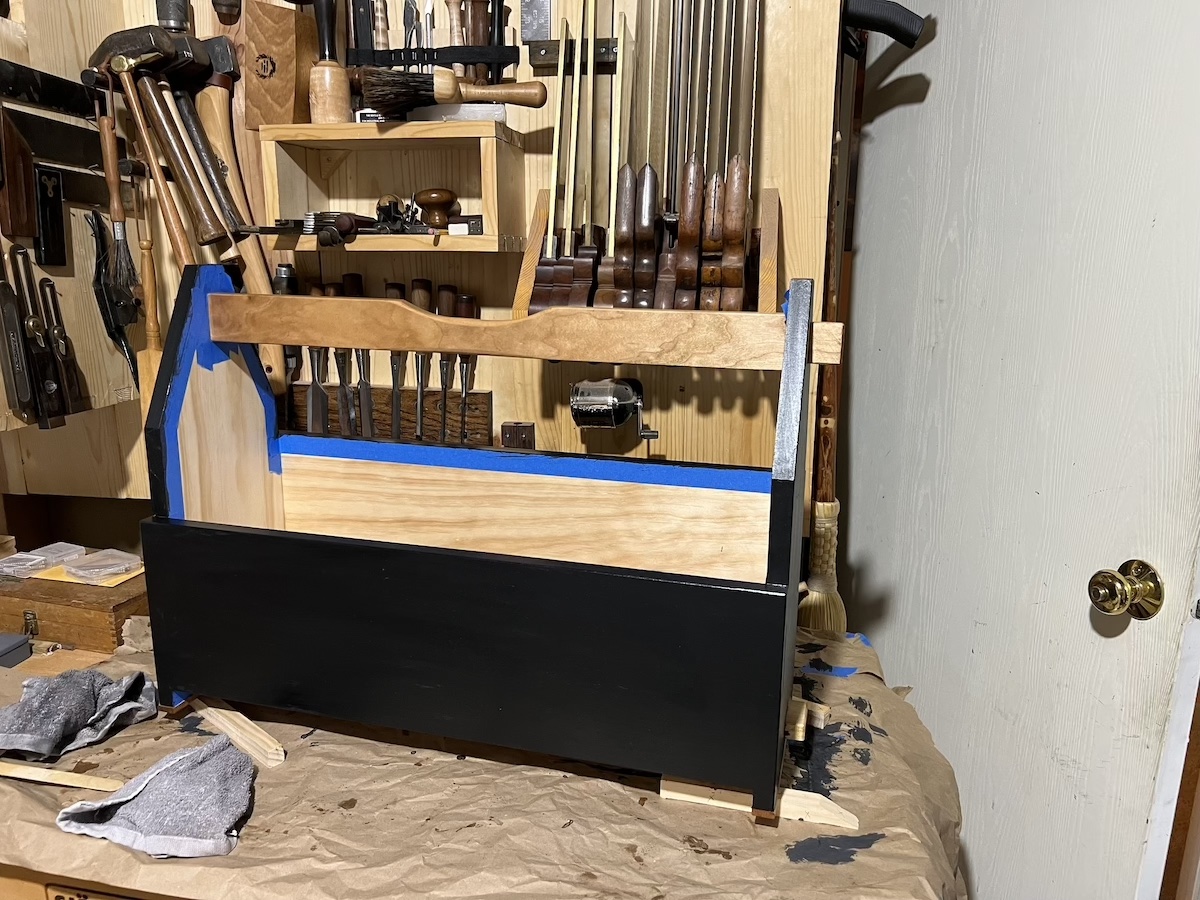
I did make a few adjustments from the source design. First, I shortened the length to 25.5” from 30” based on the tools it will carry (no long panel saw). Secondly, I chose pine over poplar to save on weight. Thirdly, I changed the end angles. I originally cut them the same intending to trim down later, but I decided I liked them as they were instead as they showed some of the hand tool marks.
Construction was pretty straightforward and done using only hand tools: hand planes sized 7 and 4, a crosscut panel saw, joinery saws, chisels, spokeshaves, brace, and hand drill. I first cut the end pieces, then sized and planed the sides, bottom, and handle. For the handle, I chose cherry because that’s what hardwood I had in the right size. My cuts aren’t perfectly square, but the design is very forgiving. I drilled the mortises with an auger, and squared them up with a sharp chisel.
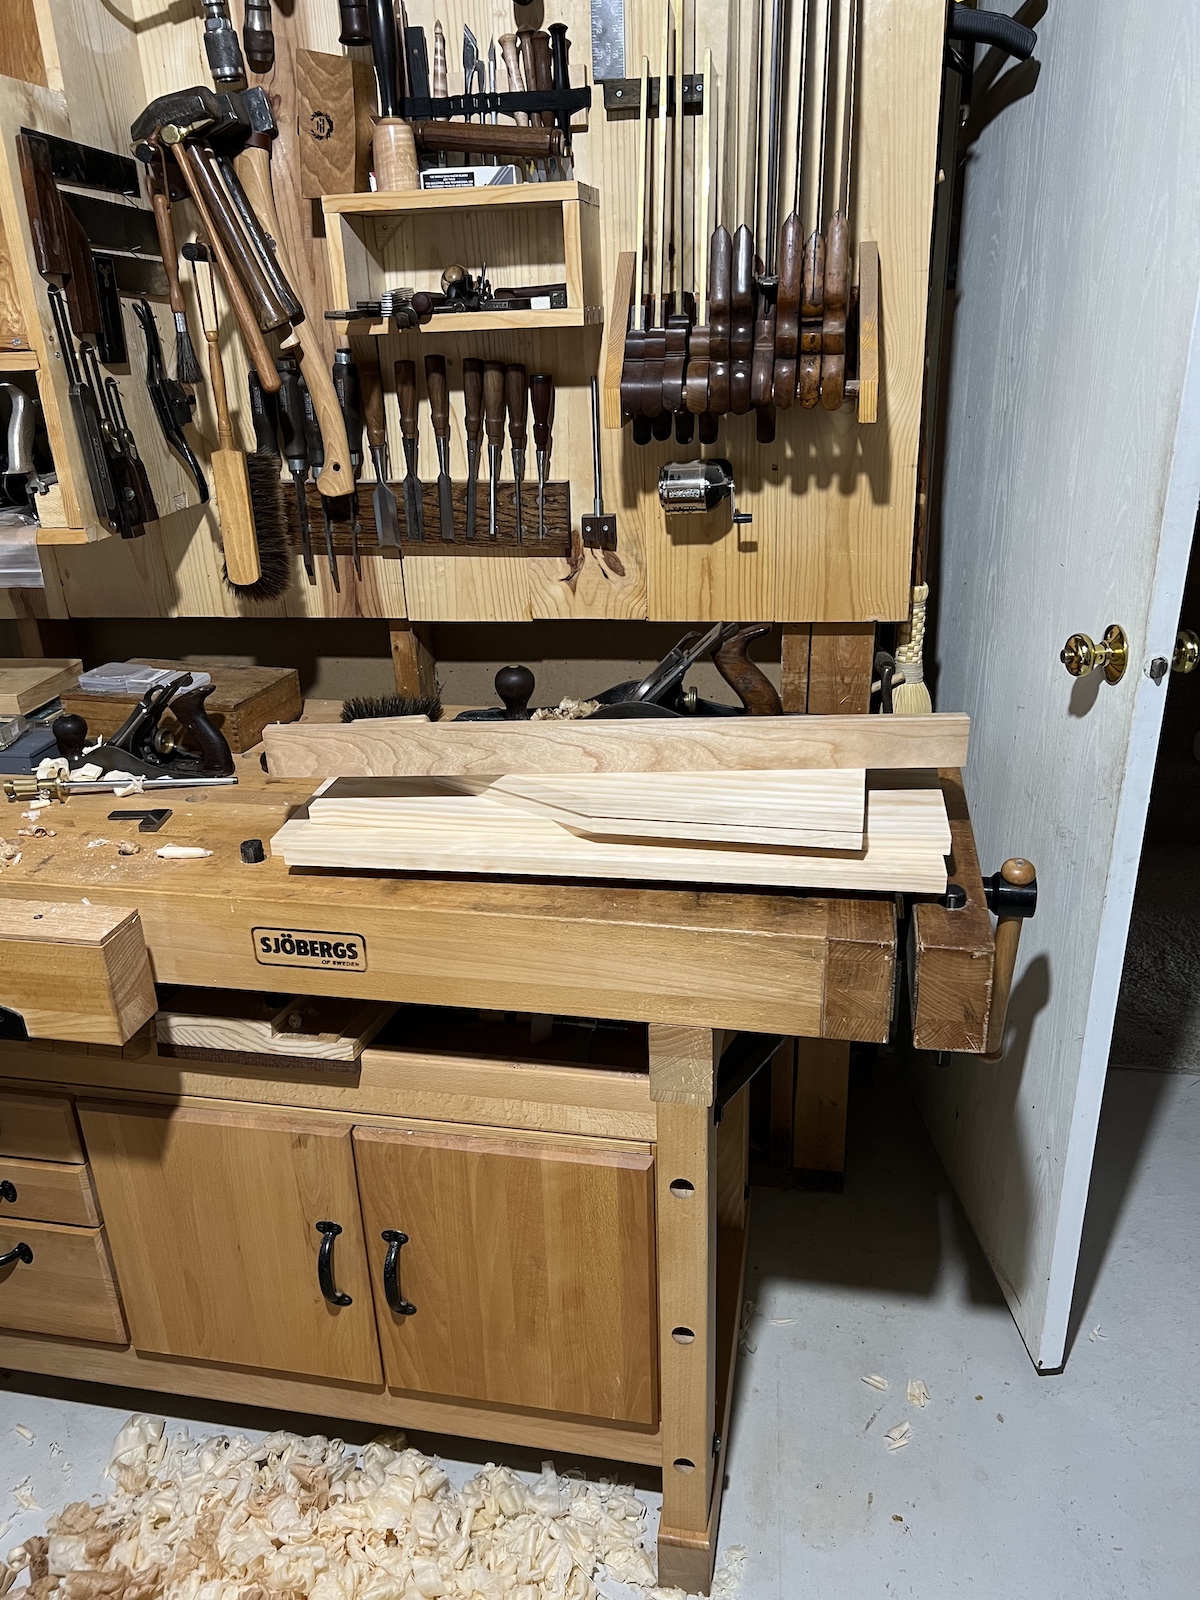
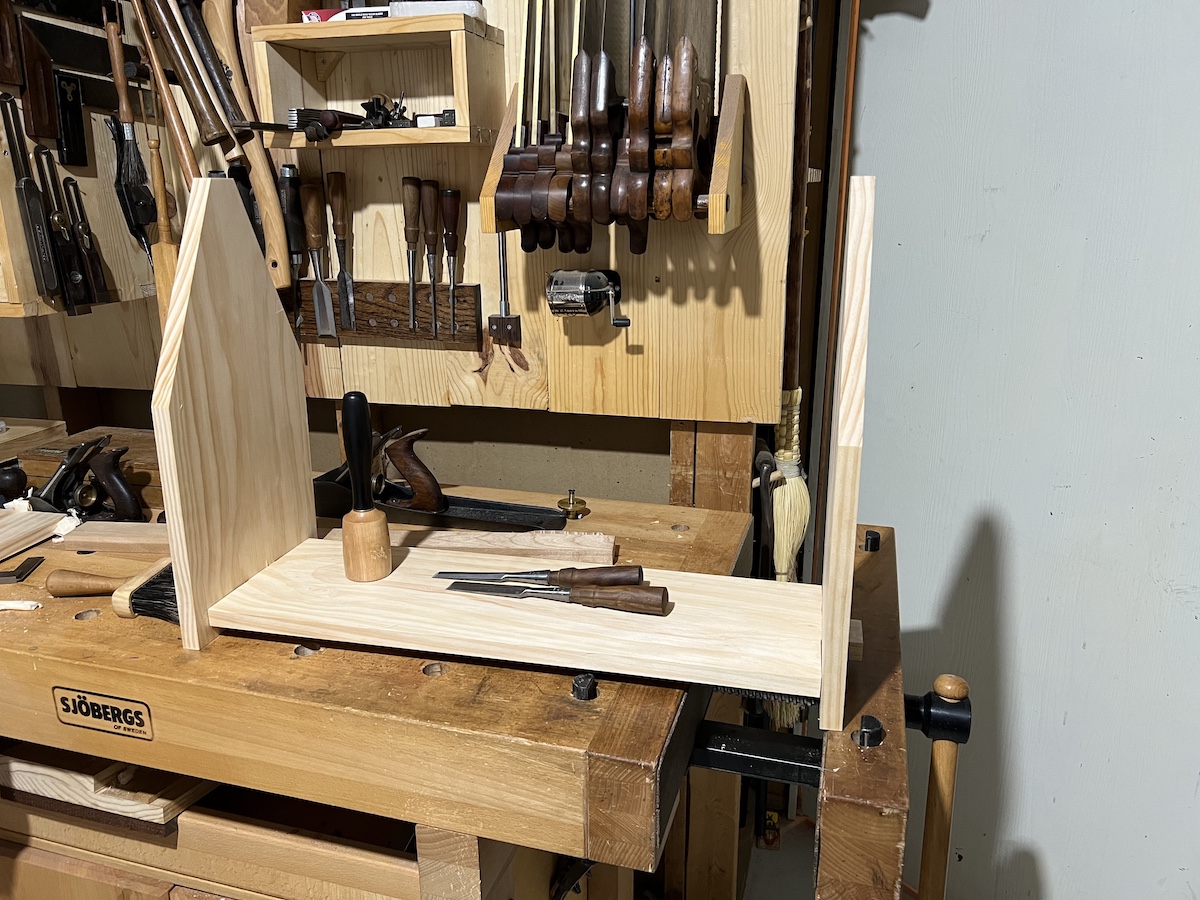
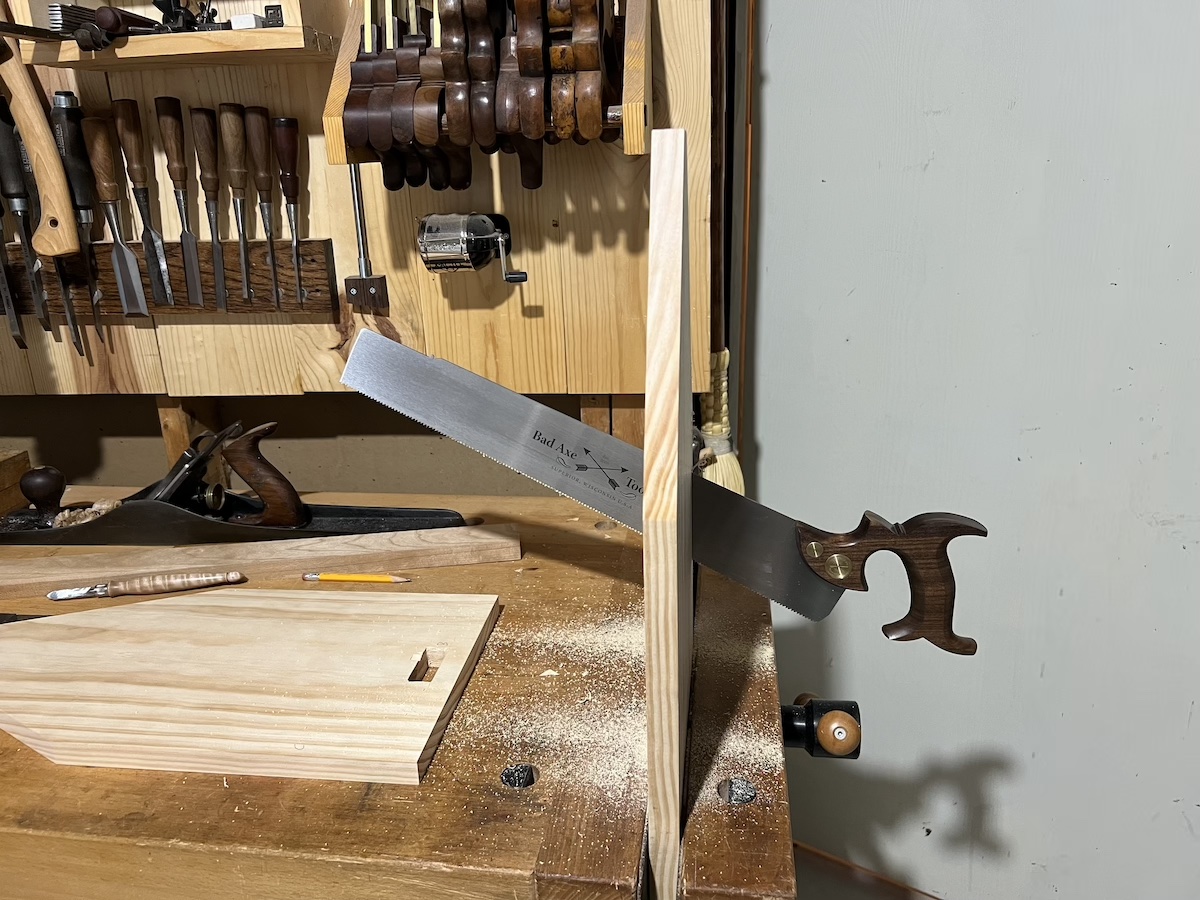
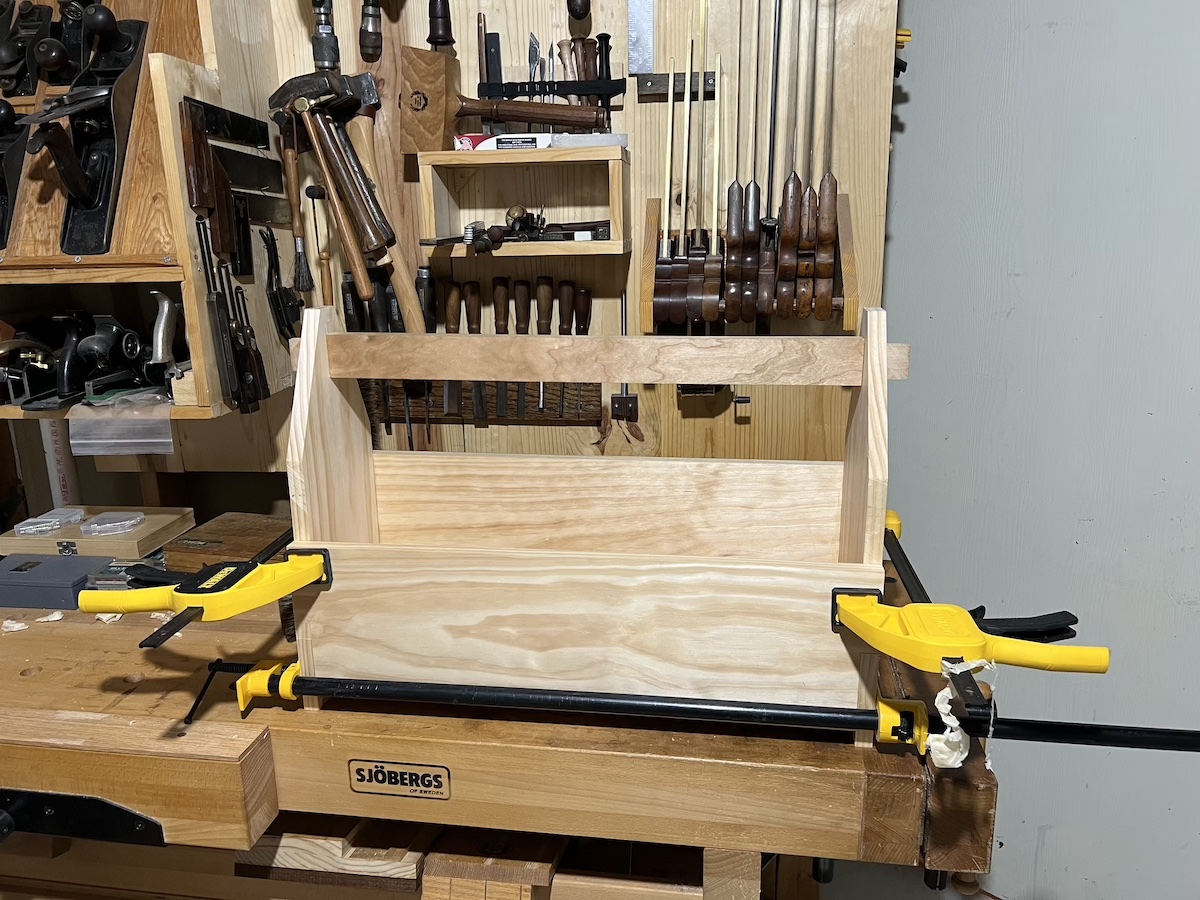
The case came together in about 8 hours from start to finish, including dimensioning, smoothing, joinery, and waiting for glue to try. I shaped the handle after it was installed with flat and curved boggs spokeshaves choosing to shape the handle from the top instead of the bottom for aesthetics.
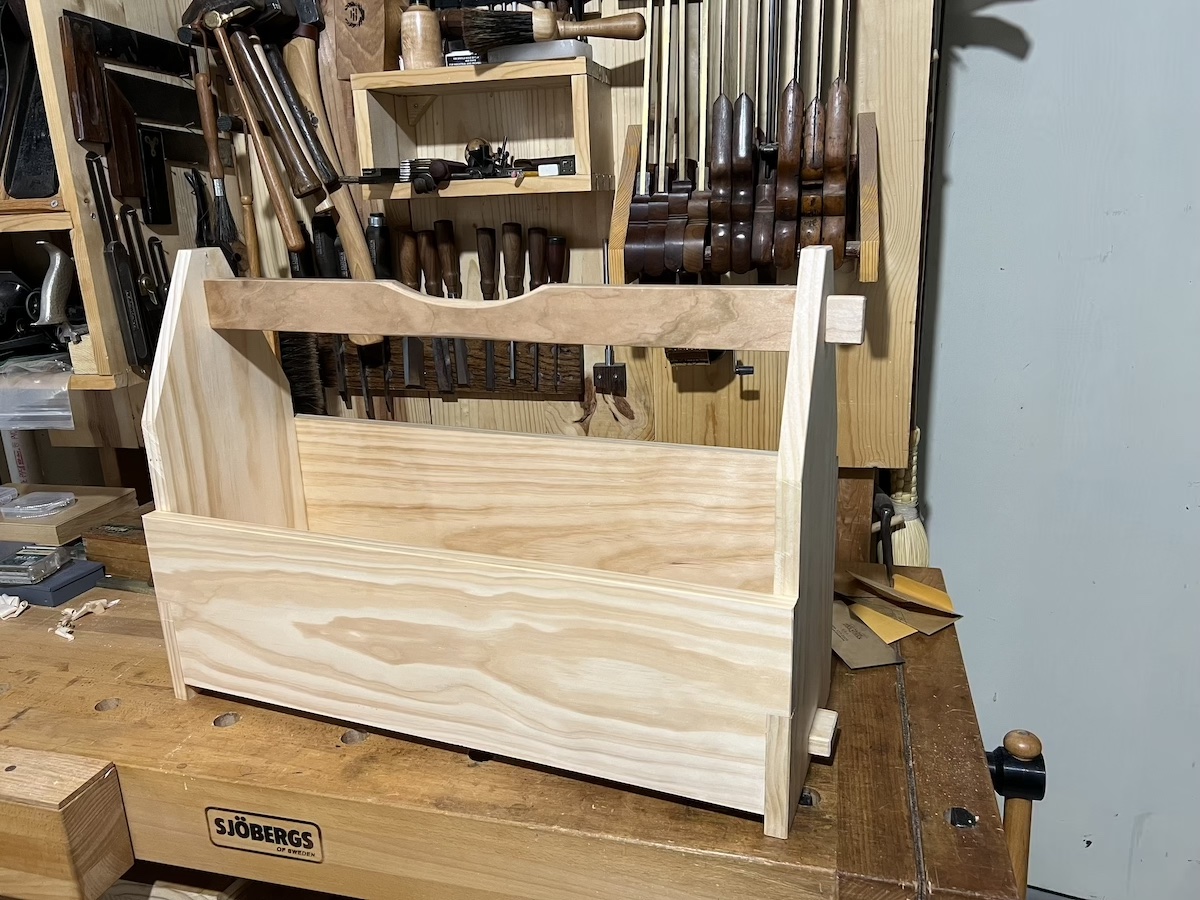
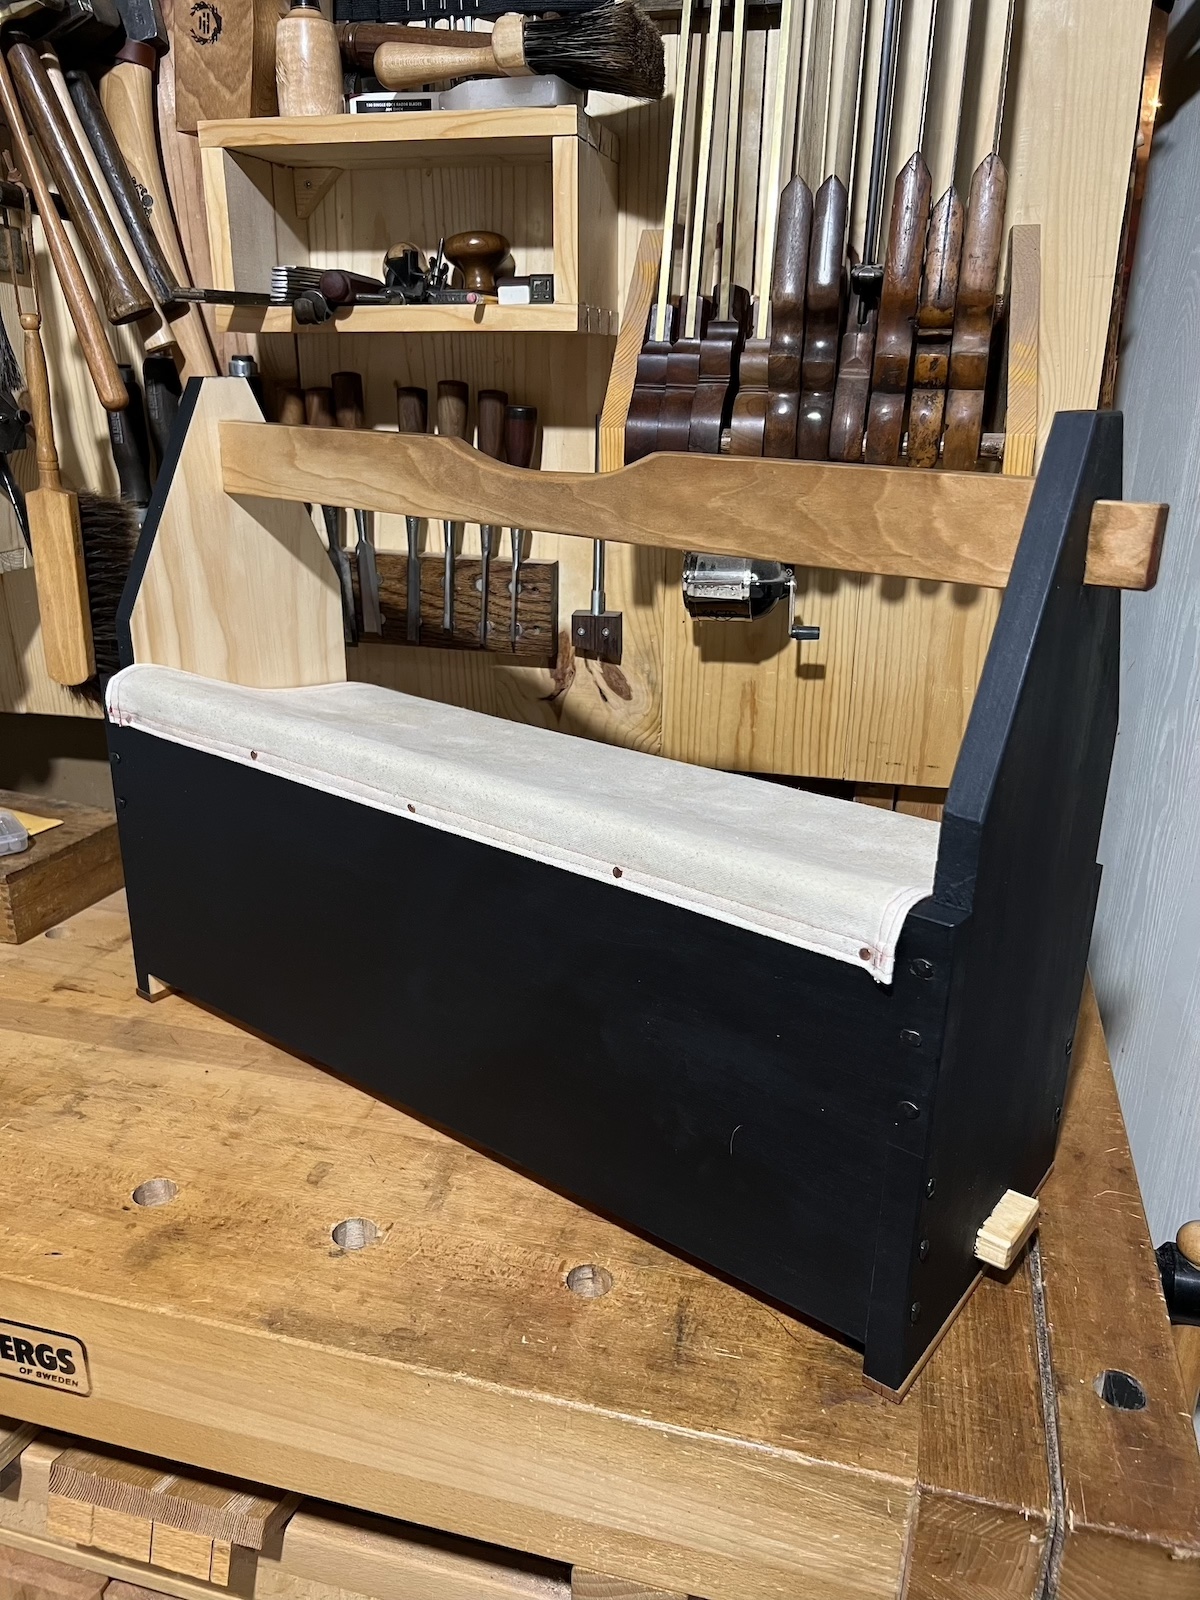
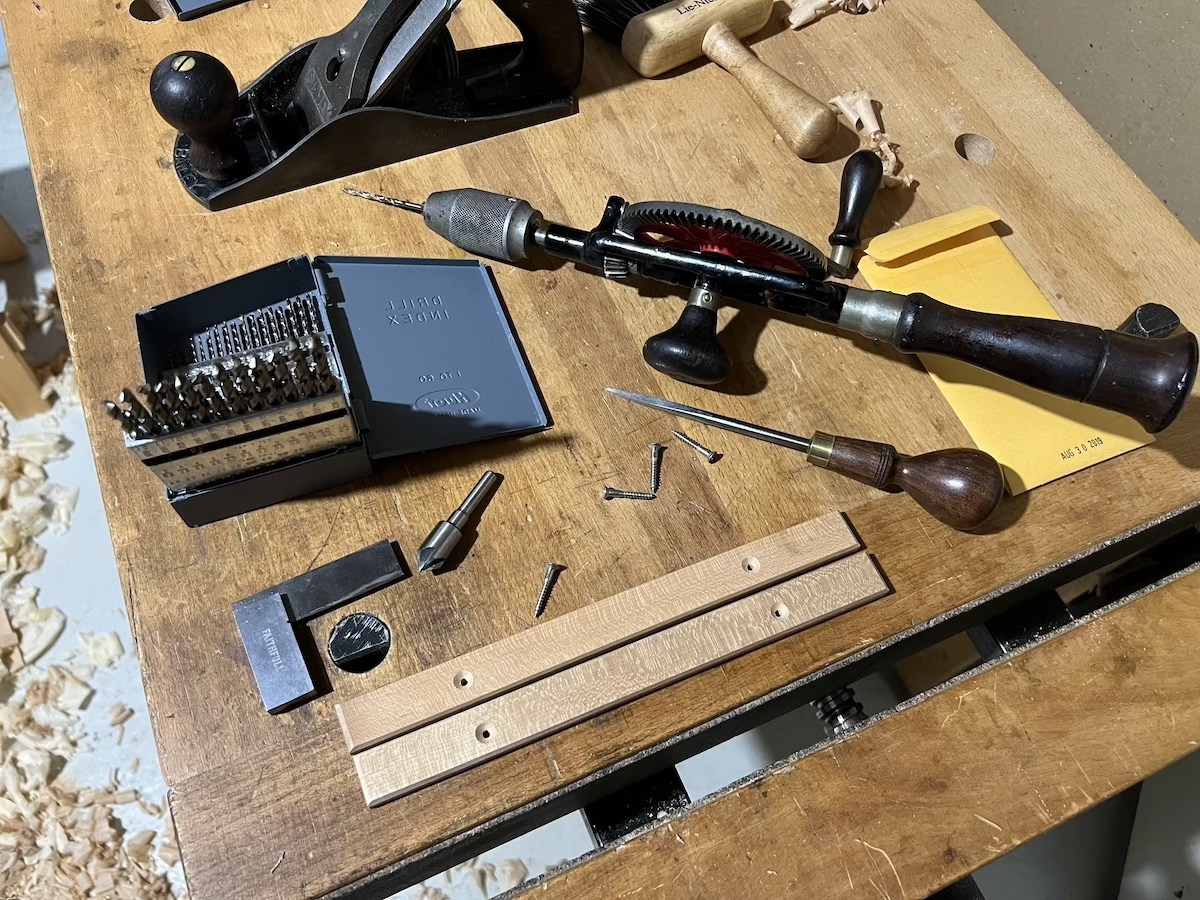
At this point the ends were maybe 1/32” out of square rocking slightly on my bench top. To fix this, I made some 1/4” thick cherry rot strips, a unique touch that matched the handle, was functional, and allowed me to more easily adjust the bottom to get everything in the same plane and eliminate the rock.
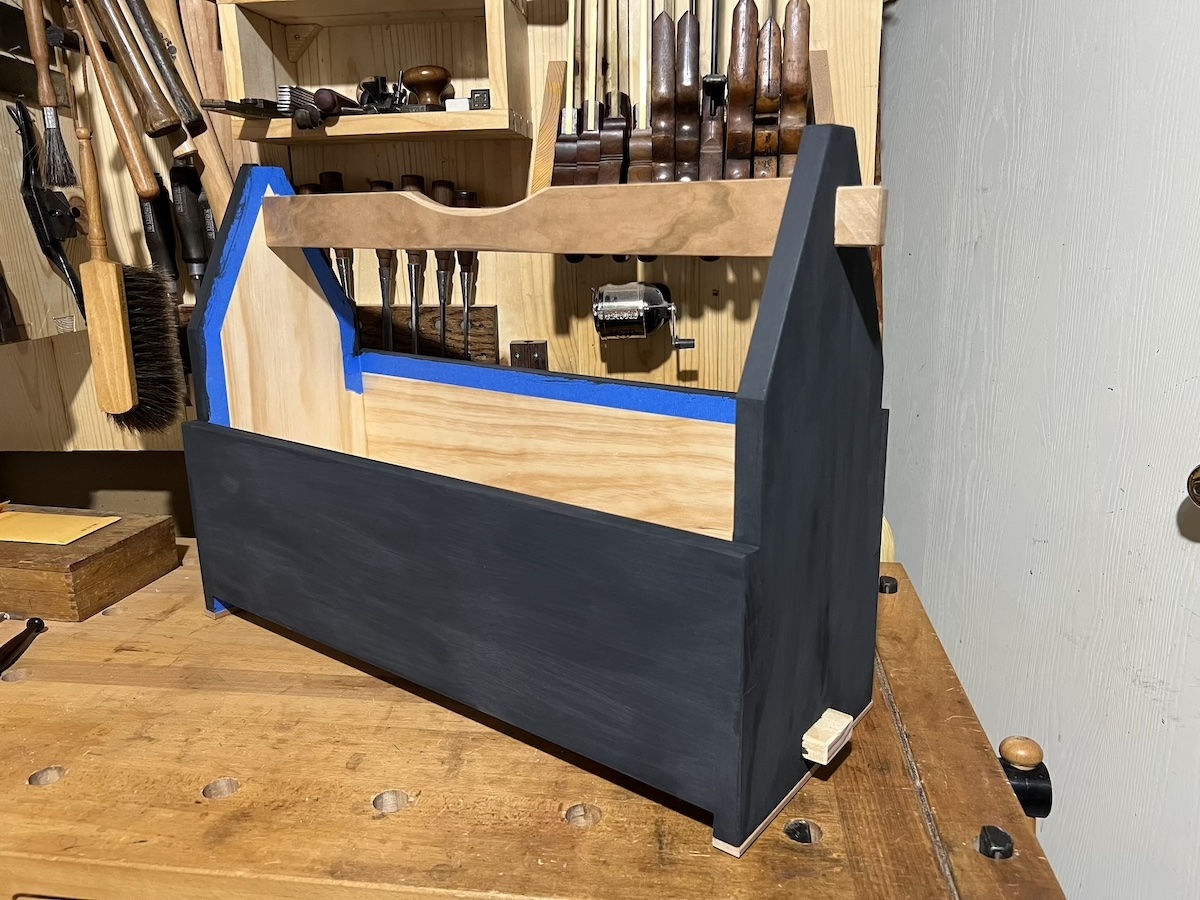
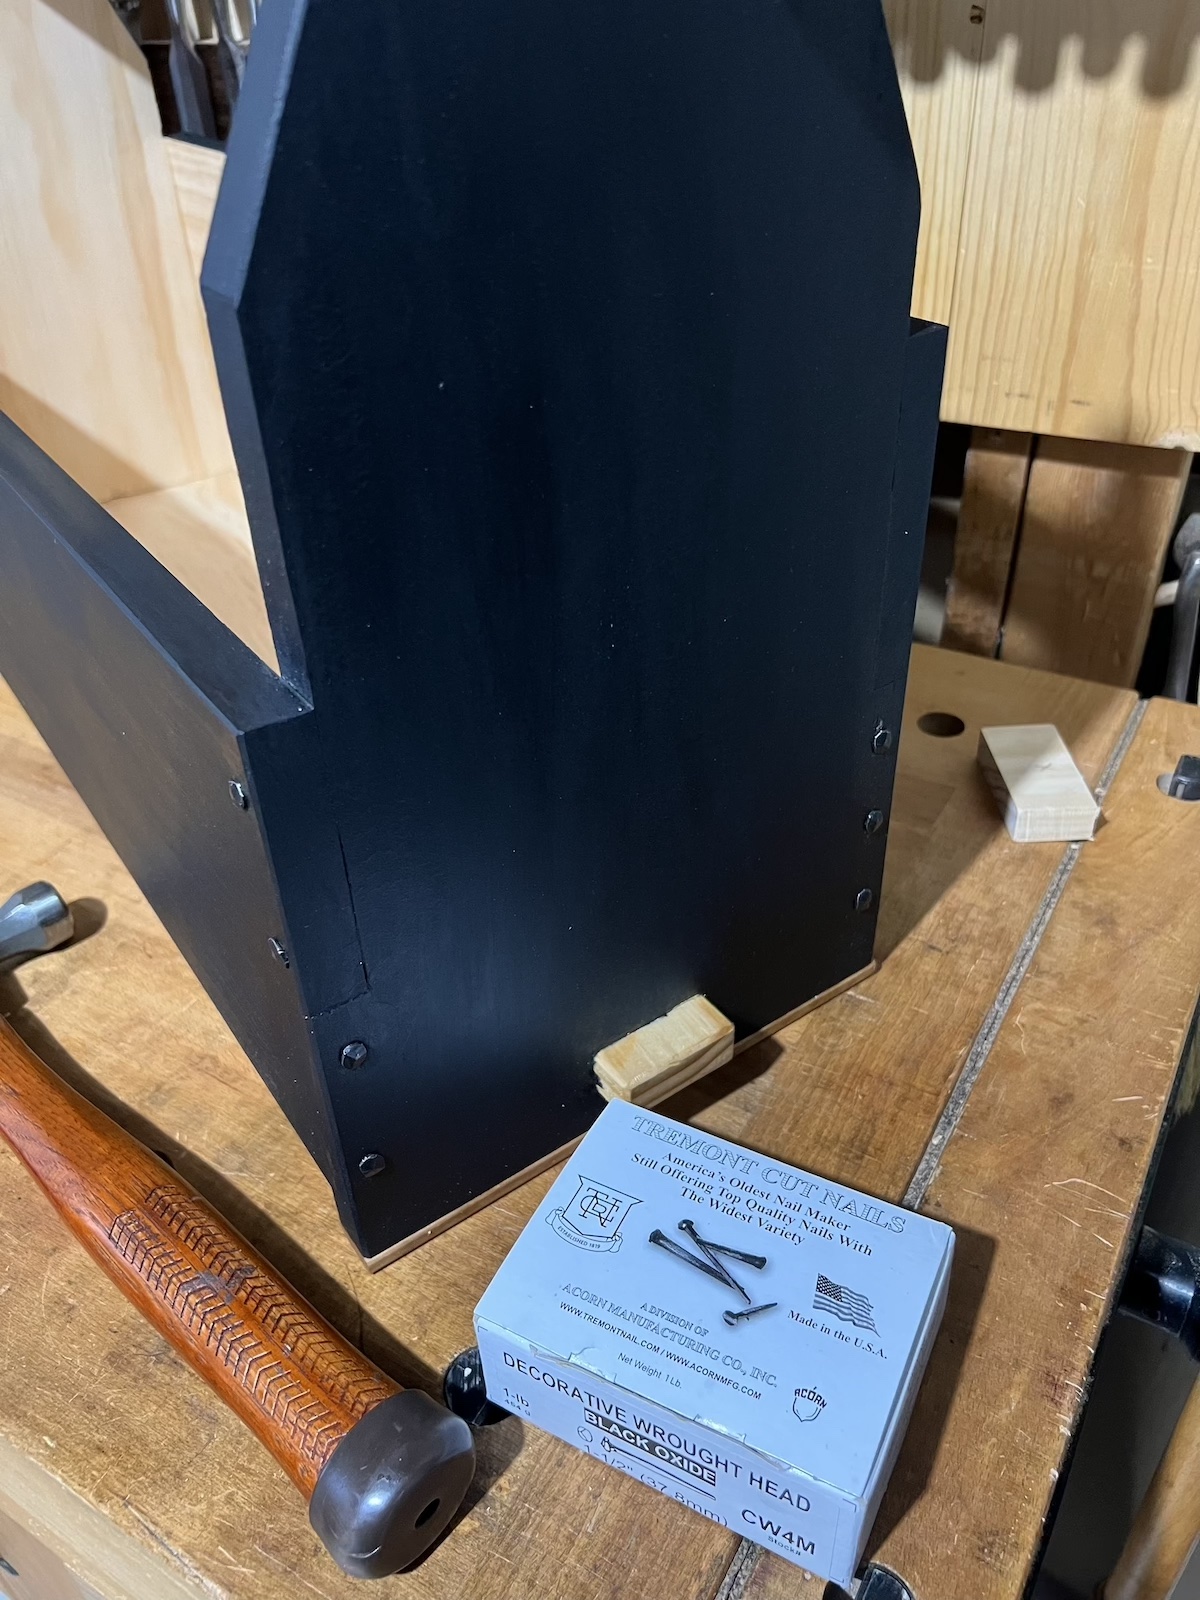
The finish I went with was 4 coats of Old Fashioned Milk Paint with a top coat of Odie’s Oil, and the end nails are Tremont Nail Company decorative rosehead cut nails. The inside of the tote is left raw wood. Any oil finish works great to seal the milk paint, but Odie’s Oil sure is convenient. I opted not to nail the sides to the bottom as it’s a long-grain glue joint and I didn’t want the nails catching on your leg when carrying this.
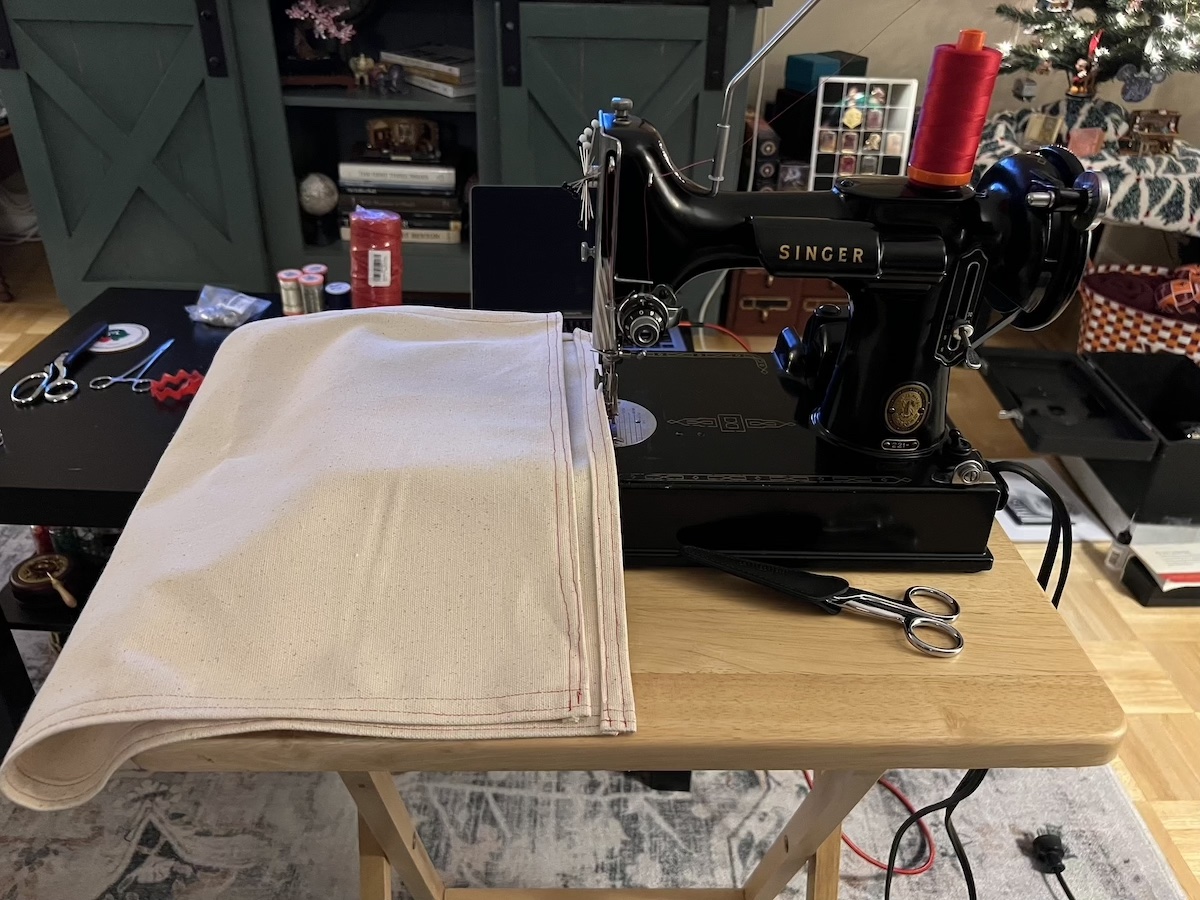
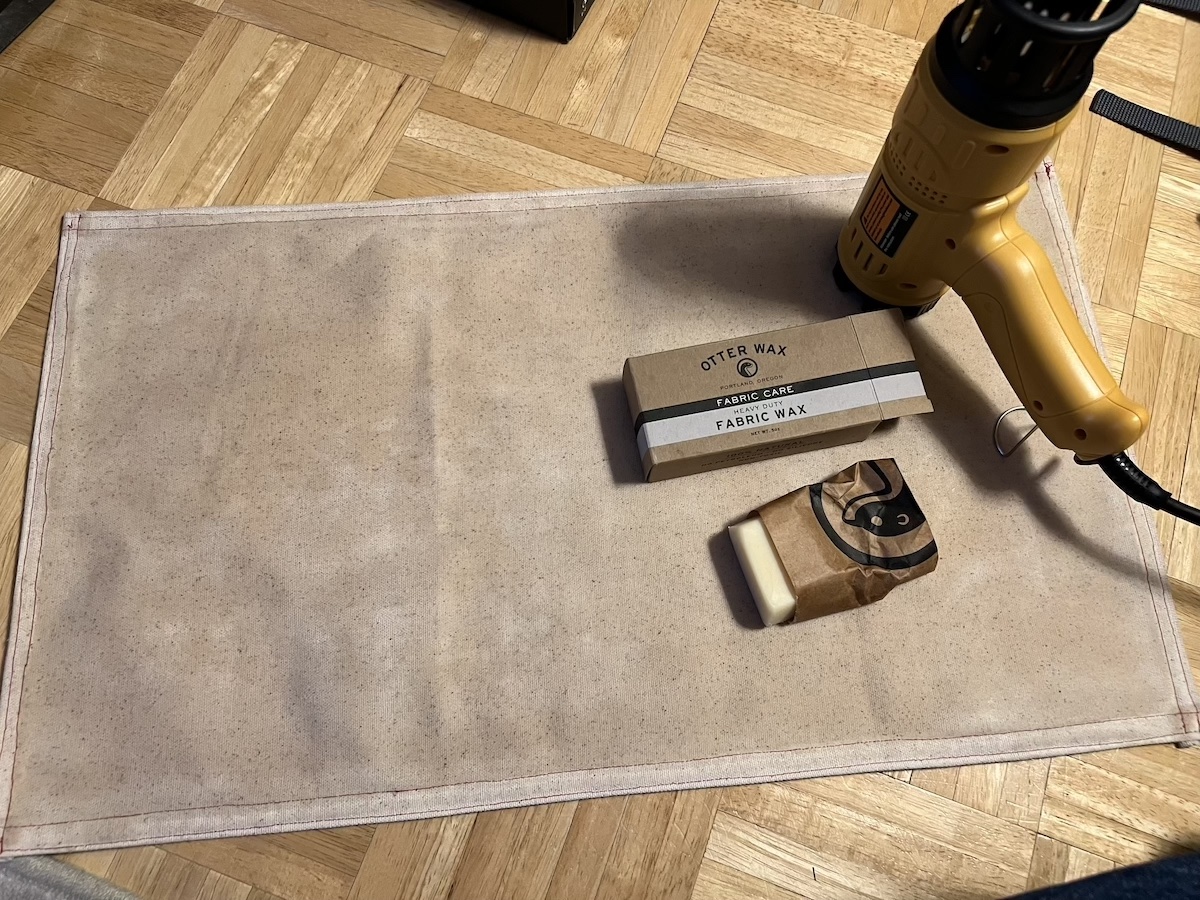
One of the more fun parts of this build was the waxed canvas cover. It’s a hemmed piece of canvas that’s tacked onto the higher side. It does a decent job of keeping out dust and should protect tools when carried outside in the rain. It was hemmed on a vintage sewing machine, and sealed with Otter Wax.
