Applying Finish to a Chair
I’m finally at the point of applying finish to my stick chair. I’ve chased tearout and dings around and around. I’m partially convinced that the tearout in this chair has developed the ability to breed. Hit it with light from a new angle, and you find a new spot. The chair is really too big a project for my shop. It can’t even sit on my bench if I turn it sideways. I’m adding dings almost as quickly as removing them. I’m at the point of “good enough” rather than perfect. That leaves applying finish.
I like oil finishes. I’m particularly fond of Skelton Peacock Oil. I picked some of the wick version (quicker drying) up last time I was in the UK. I brought home some scraps from the chair class, tested the clear wick version on them and liked the results. Like every clear oil finish I have ever tried, the clear wick still darkens the wood. I like the resulting shades on the elm and the oak. It is always a good idea to test out your finish on some scraps and be sure you like what you are going to get.
The hard job is applying it on a large piece in a small space. Most of my work is pretty small. I normally don’t bother with gloves. I’m going to have to grab this and turn it repeatedly to get everywhere. Out come the cheap surgical gloves. They prevent me from leaving grubby fingerprints all over it.
I’ve taken to using Tack Cloths immediately before applying the first coat of finish. They are cloths impregnated with… something. They do a great job of getting any dust and grot off the piece. They leave a slightly sticky residue behind. I’m not sure what it is, but it does not interfere with my finish.
For applying the finish itself I like to use Pec Pads. They are non woven, and do a great job of applying finish without leaving any lint on the work. For this project they were a disaster. There are enough rough spots that the pads caught and tore. They leave behind ultra fine strands that are a nightmare to get off the wet piece.
I quickly then Pec Pads in favour of a roll of blue shop towel I had handy. That tears easier, but the bits of blue paper are much easier to spot and remove. What I should have used is white non woven abrasive pads. The white ones (usually, check your source) have no actual abrasive. They load with finish well. They almost never tear. You can cut them to your desired size with scissors, and the edges don’t shed any material. I love the stuff, but it would appear I have run out. I’ve ordered more (Odies Oil are the cheapest source I could find).
For the first coats, just keep applying the Peacock oil every 15 minutes, until every surface stays wet. Rub off the excess and go away. That is done, and I really like the results. It took about 6 coats to get everything to stay wet. End grain is going to want more oil than long grain.
After that, a coat every 8 hours. This means about a coat a day in my case. Before applying I de-nib with 1000 grit non woven abrasive pads (usually the grey ones are about that). Just like the white ones, they don’t shed, and can be cut to any size/shape you like. I cut a 1 inch square for getting between chair sticks. A longer 1 inch wide strip that makes it easy to wrap around sticks. The rest gets left in one giant pad that makes larger flatter areas a quick job.
If you have never de=nibbed a finish before, expect to see grey/white spots. If you finish is getting thick, you are abrading it down. You are looking at abraded finish. The first time I did this, I panicked a little thinking I was ruining my work. Just wipe it down with paper towels or a clean cloth, and after the next coat goes on you will not be able to see it any more.
Then a quick coat of oil all over, and wait 8 hours to do it again. I’m in the middle of that process now. How many more coats? I’m not sure. I’ll keep going until I like what I see. Then its getting some wax. Wish me luck! And maybe my white pads will arrive before I’m done.
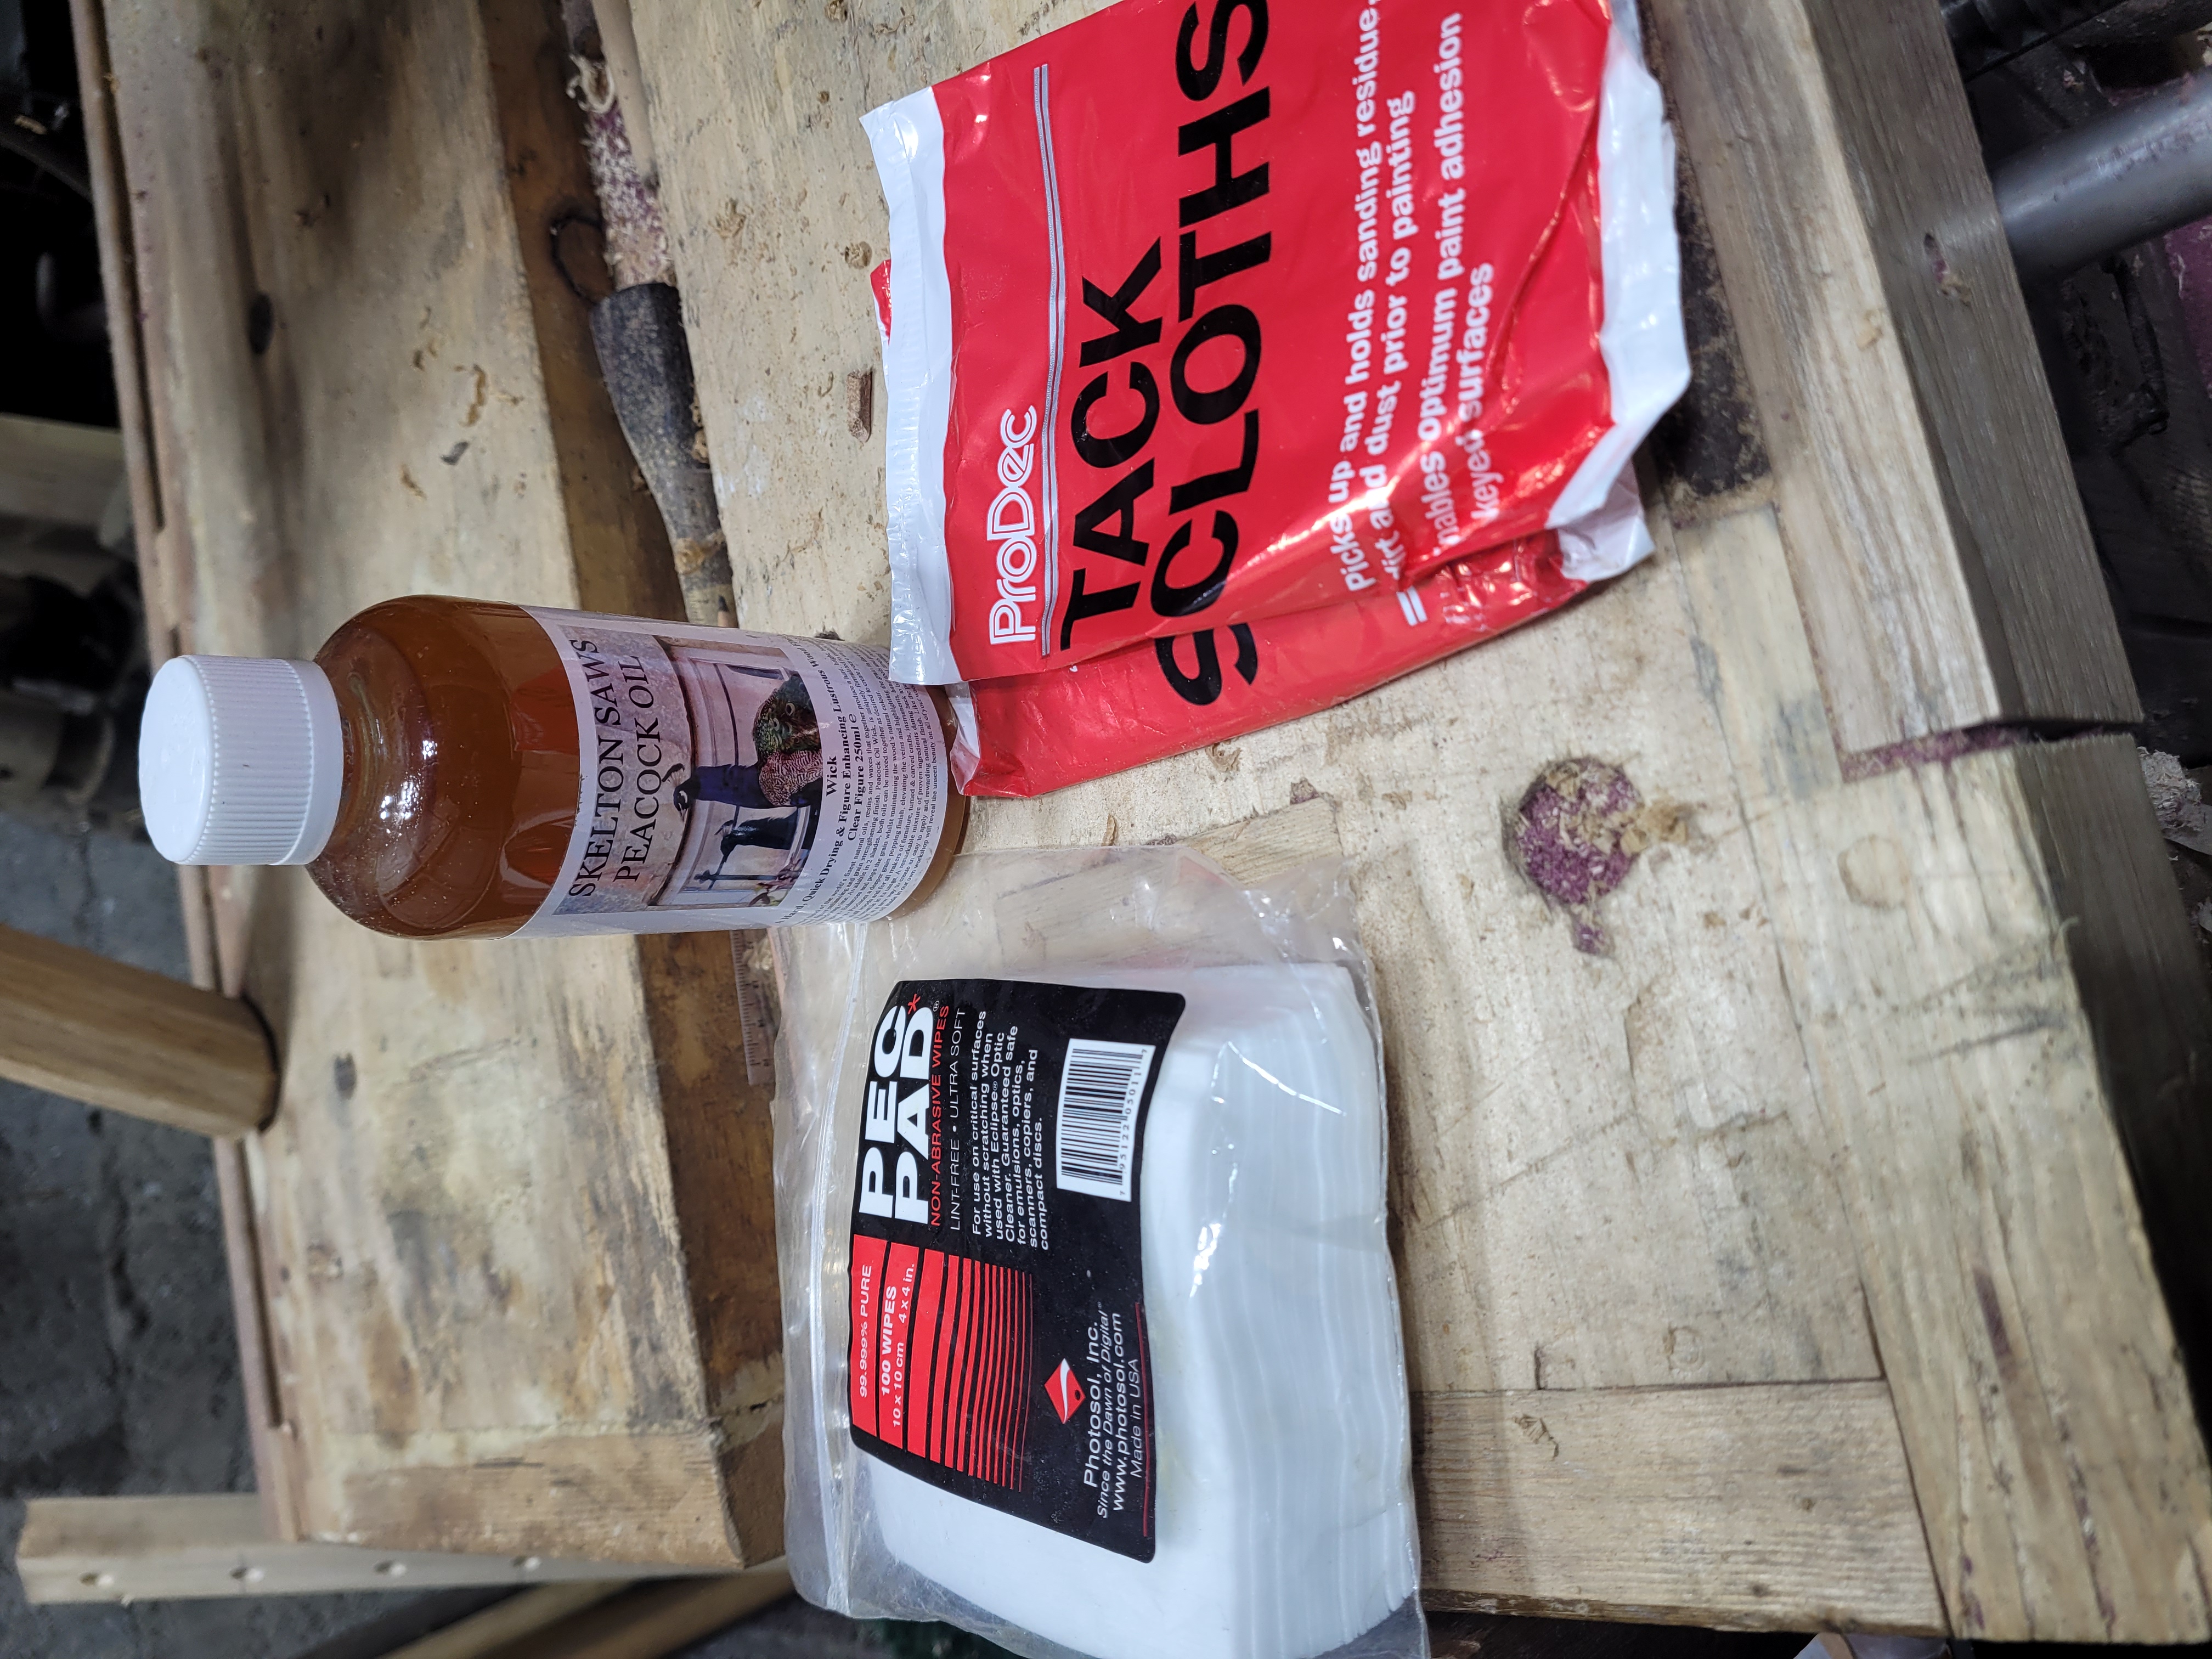
Pec Pads, Tack Cloth and Peacock oil ready to go.
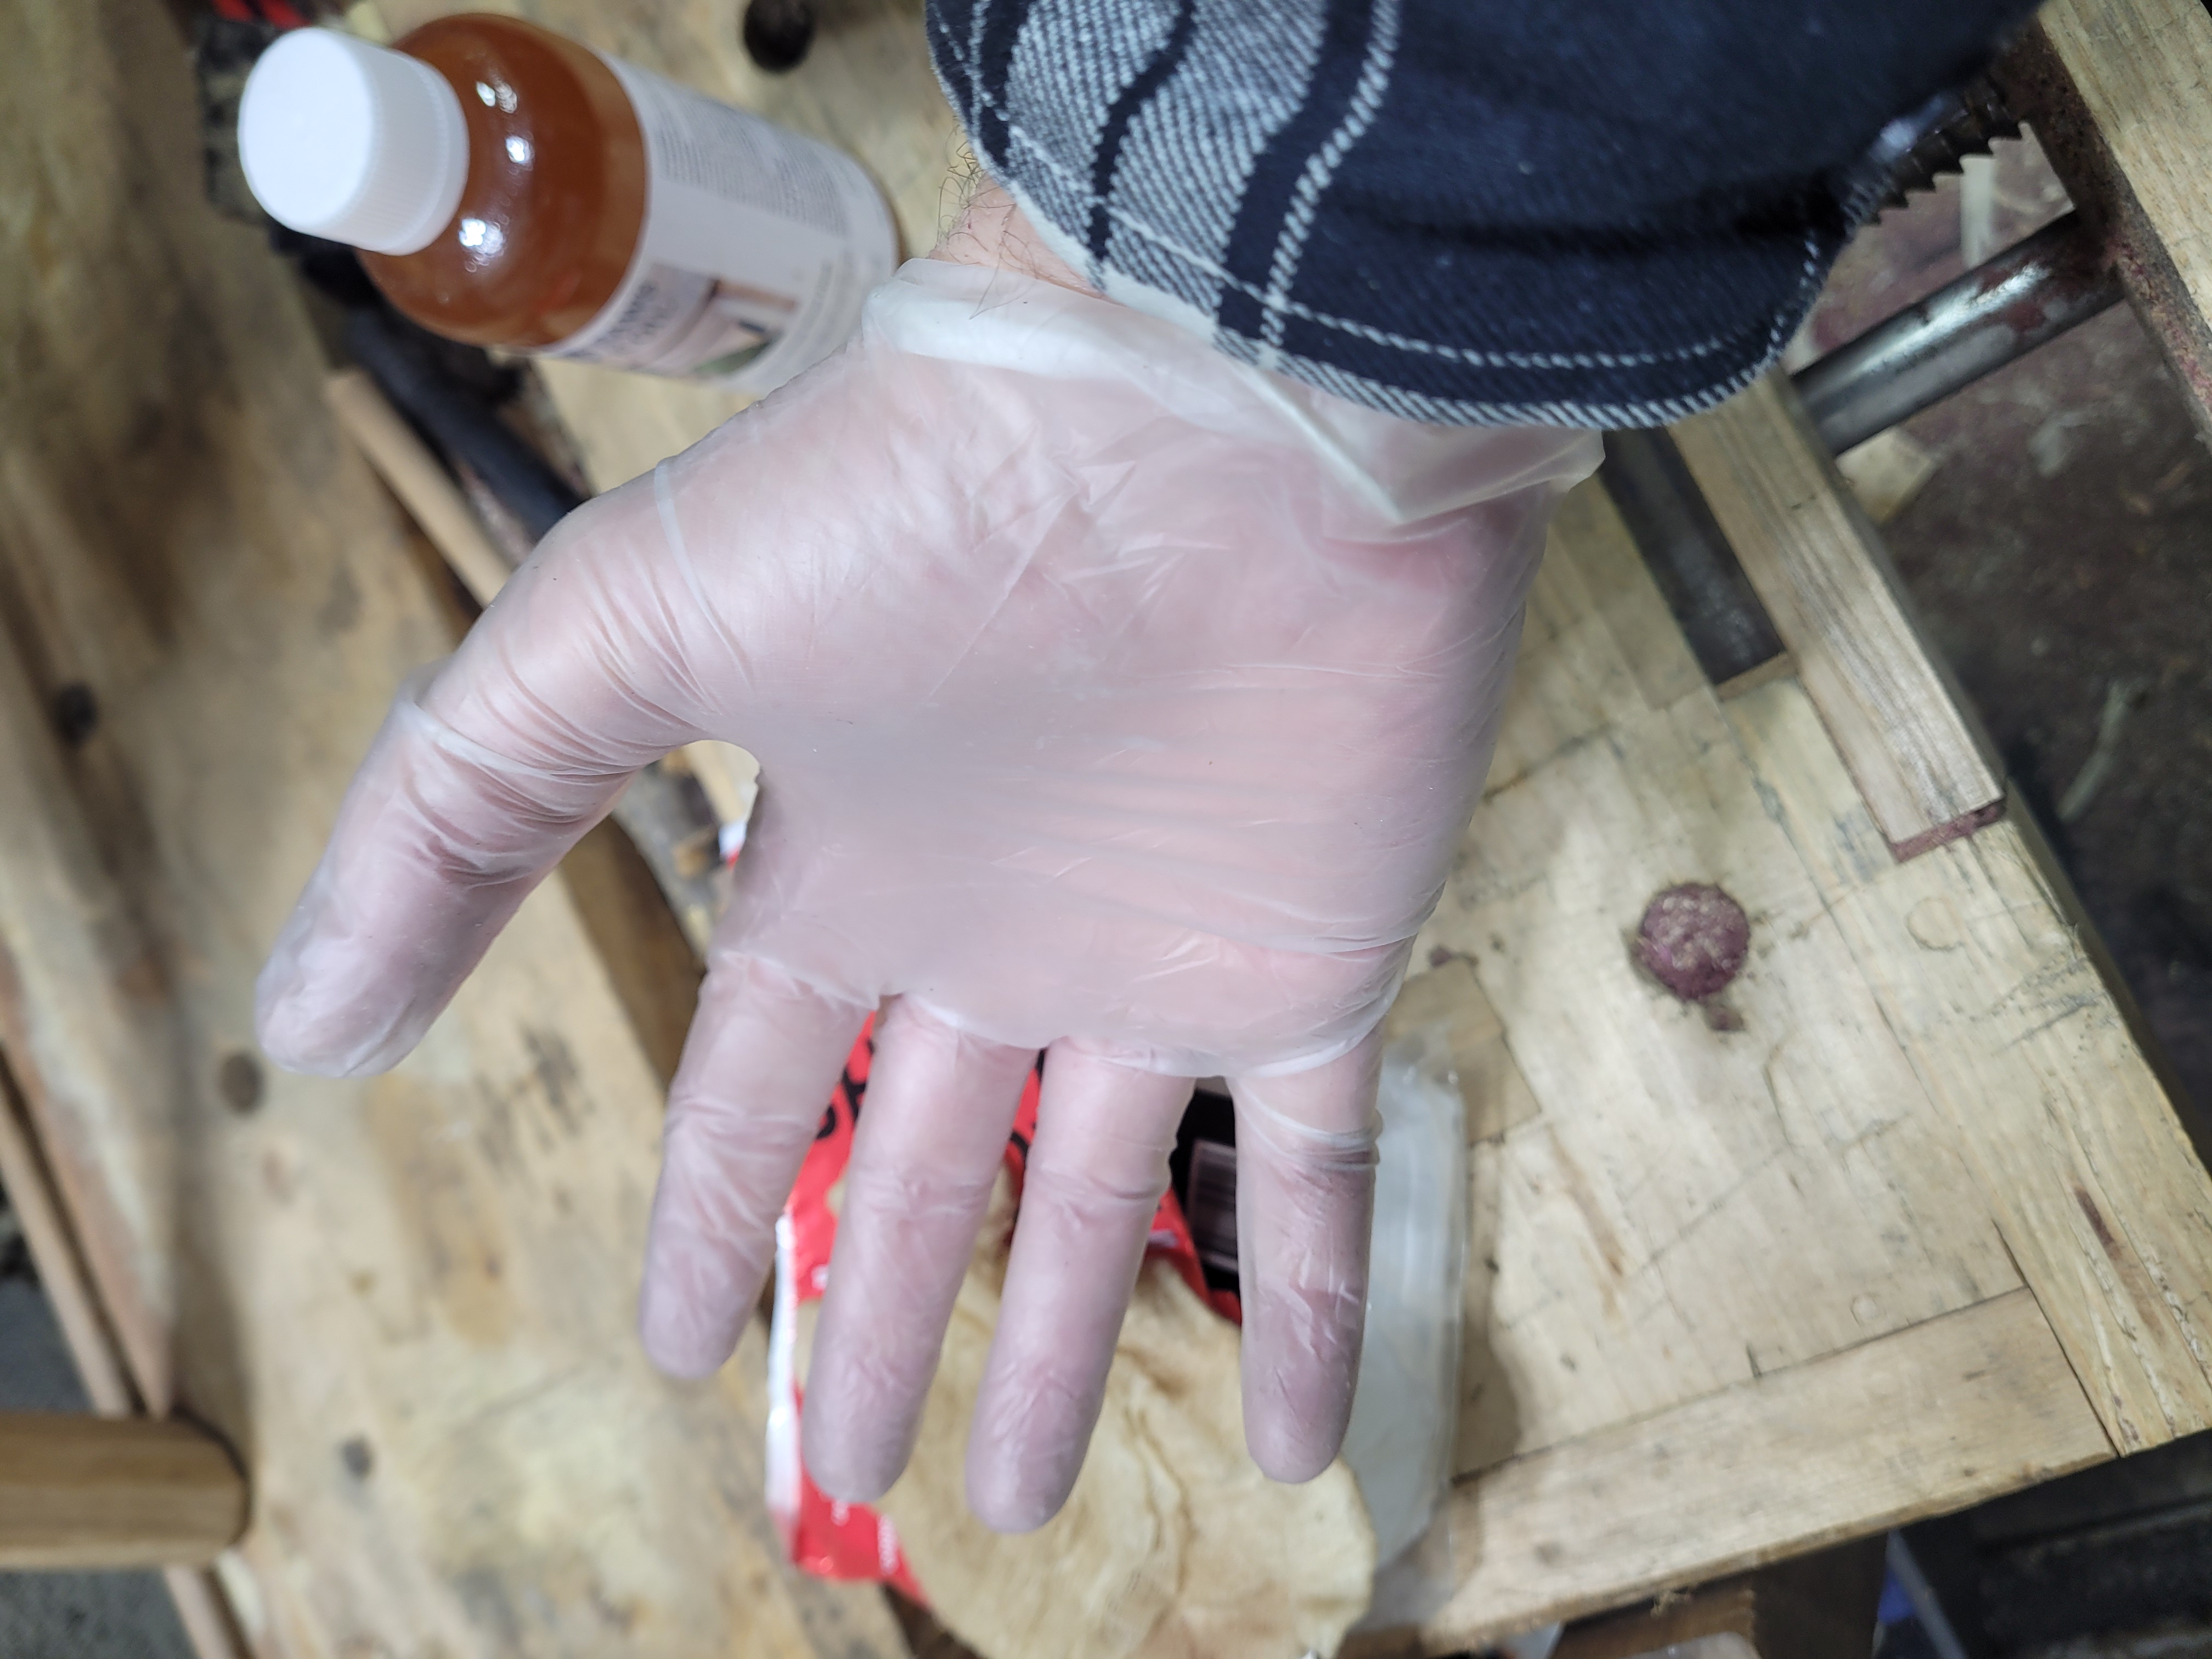
And gloves so I can handle the chair without wrecking the finish.
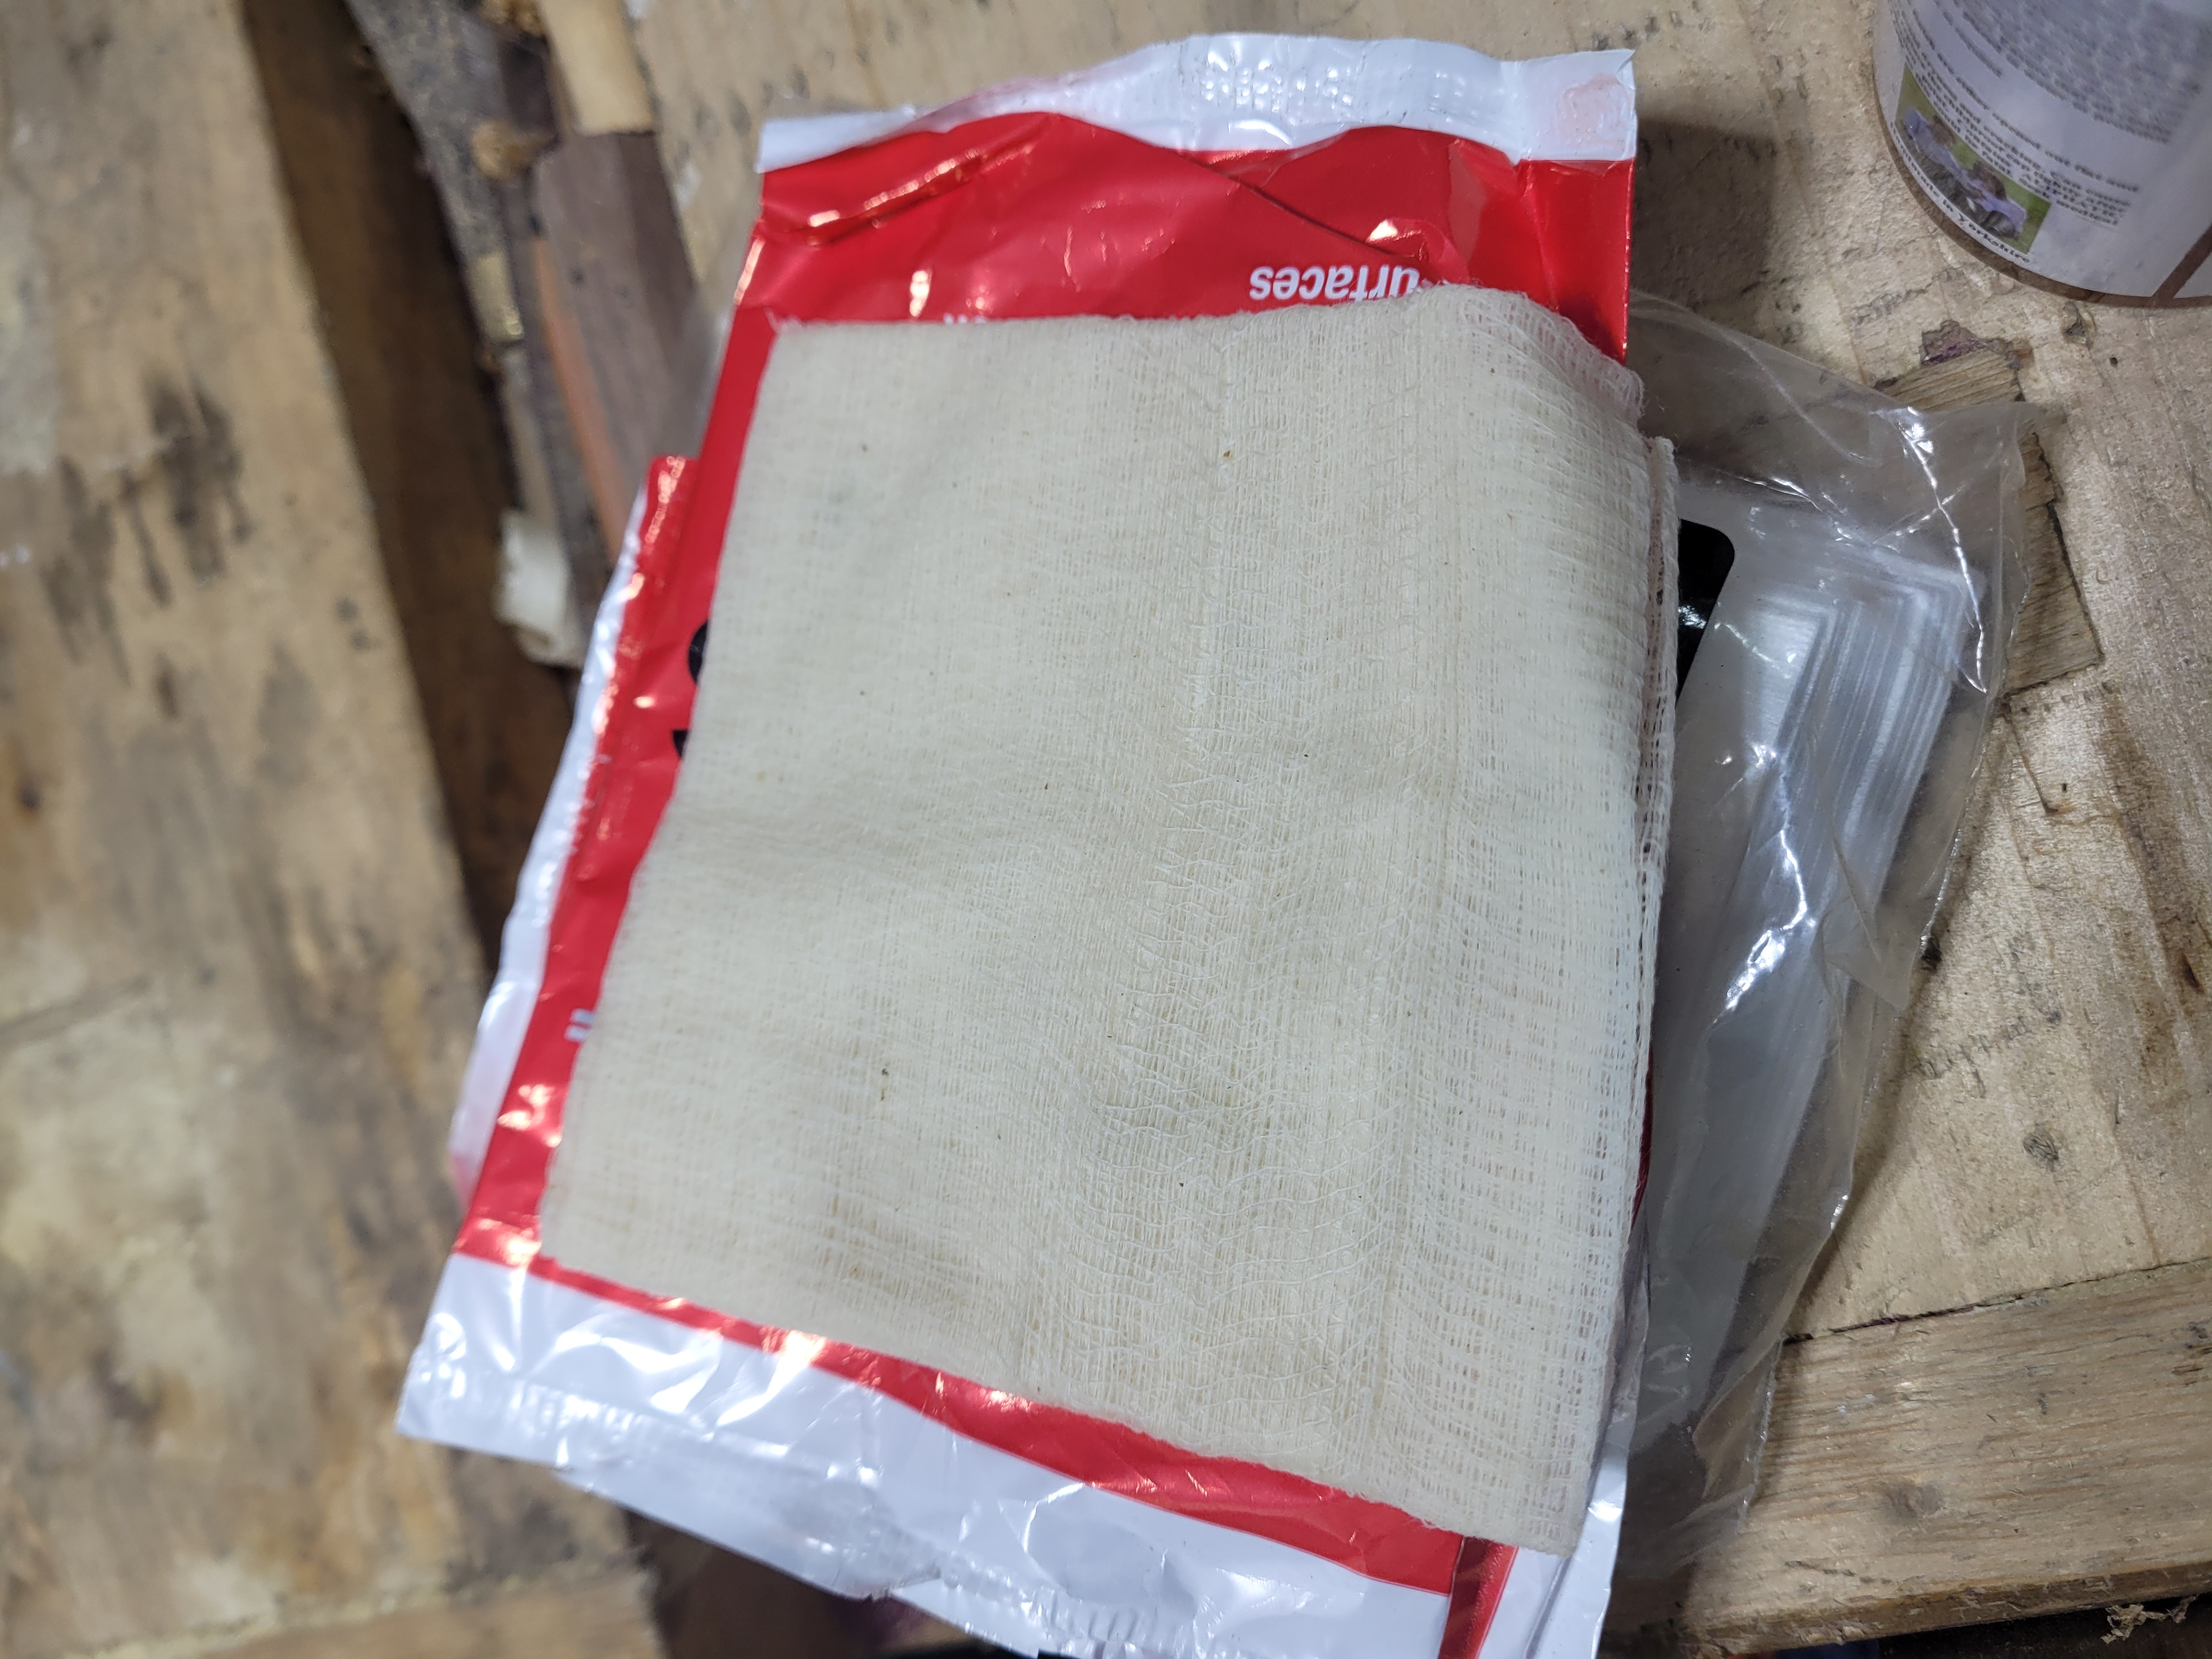
This is what the Tack Cloths look like out of the packet.
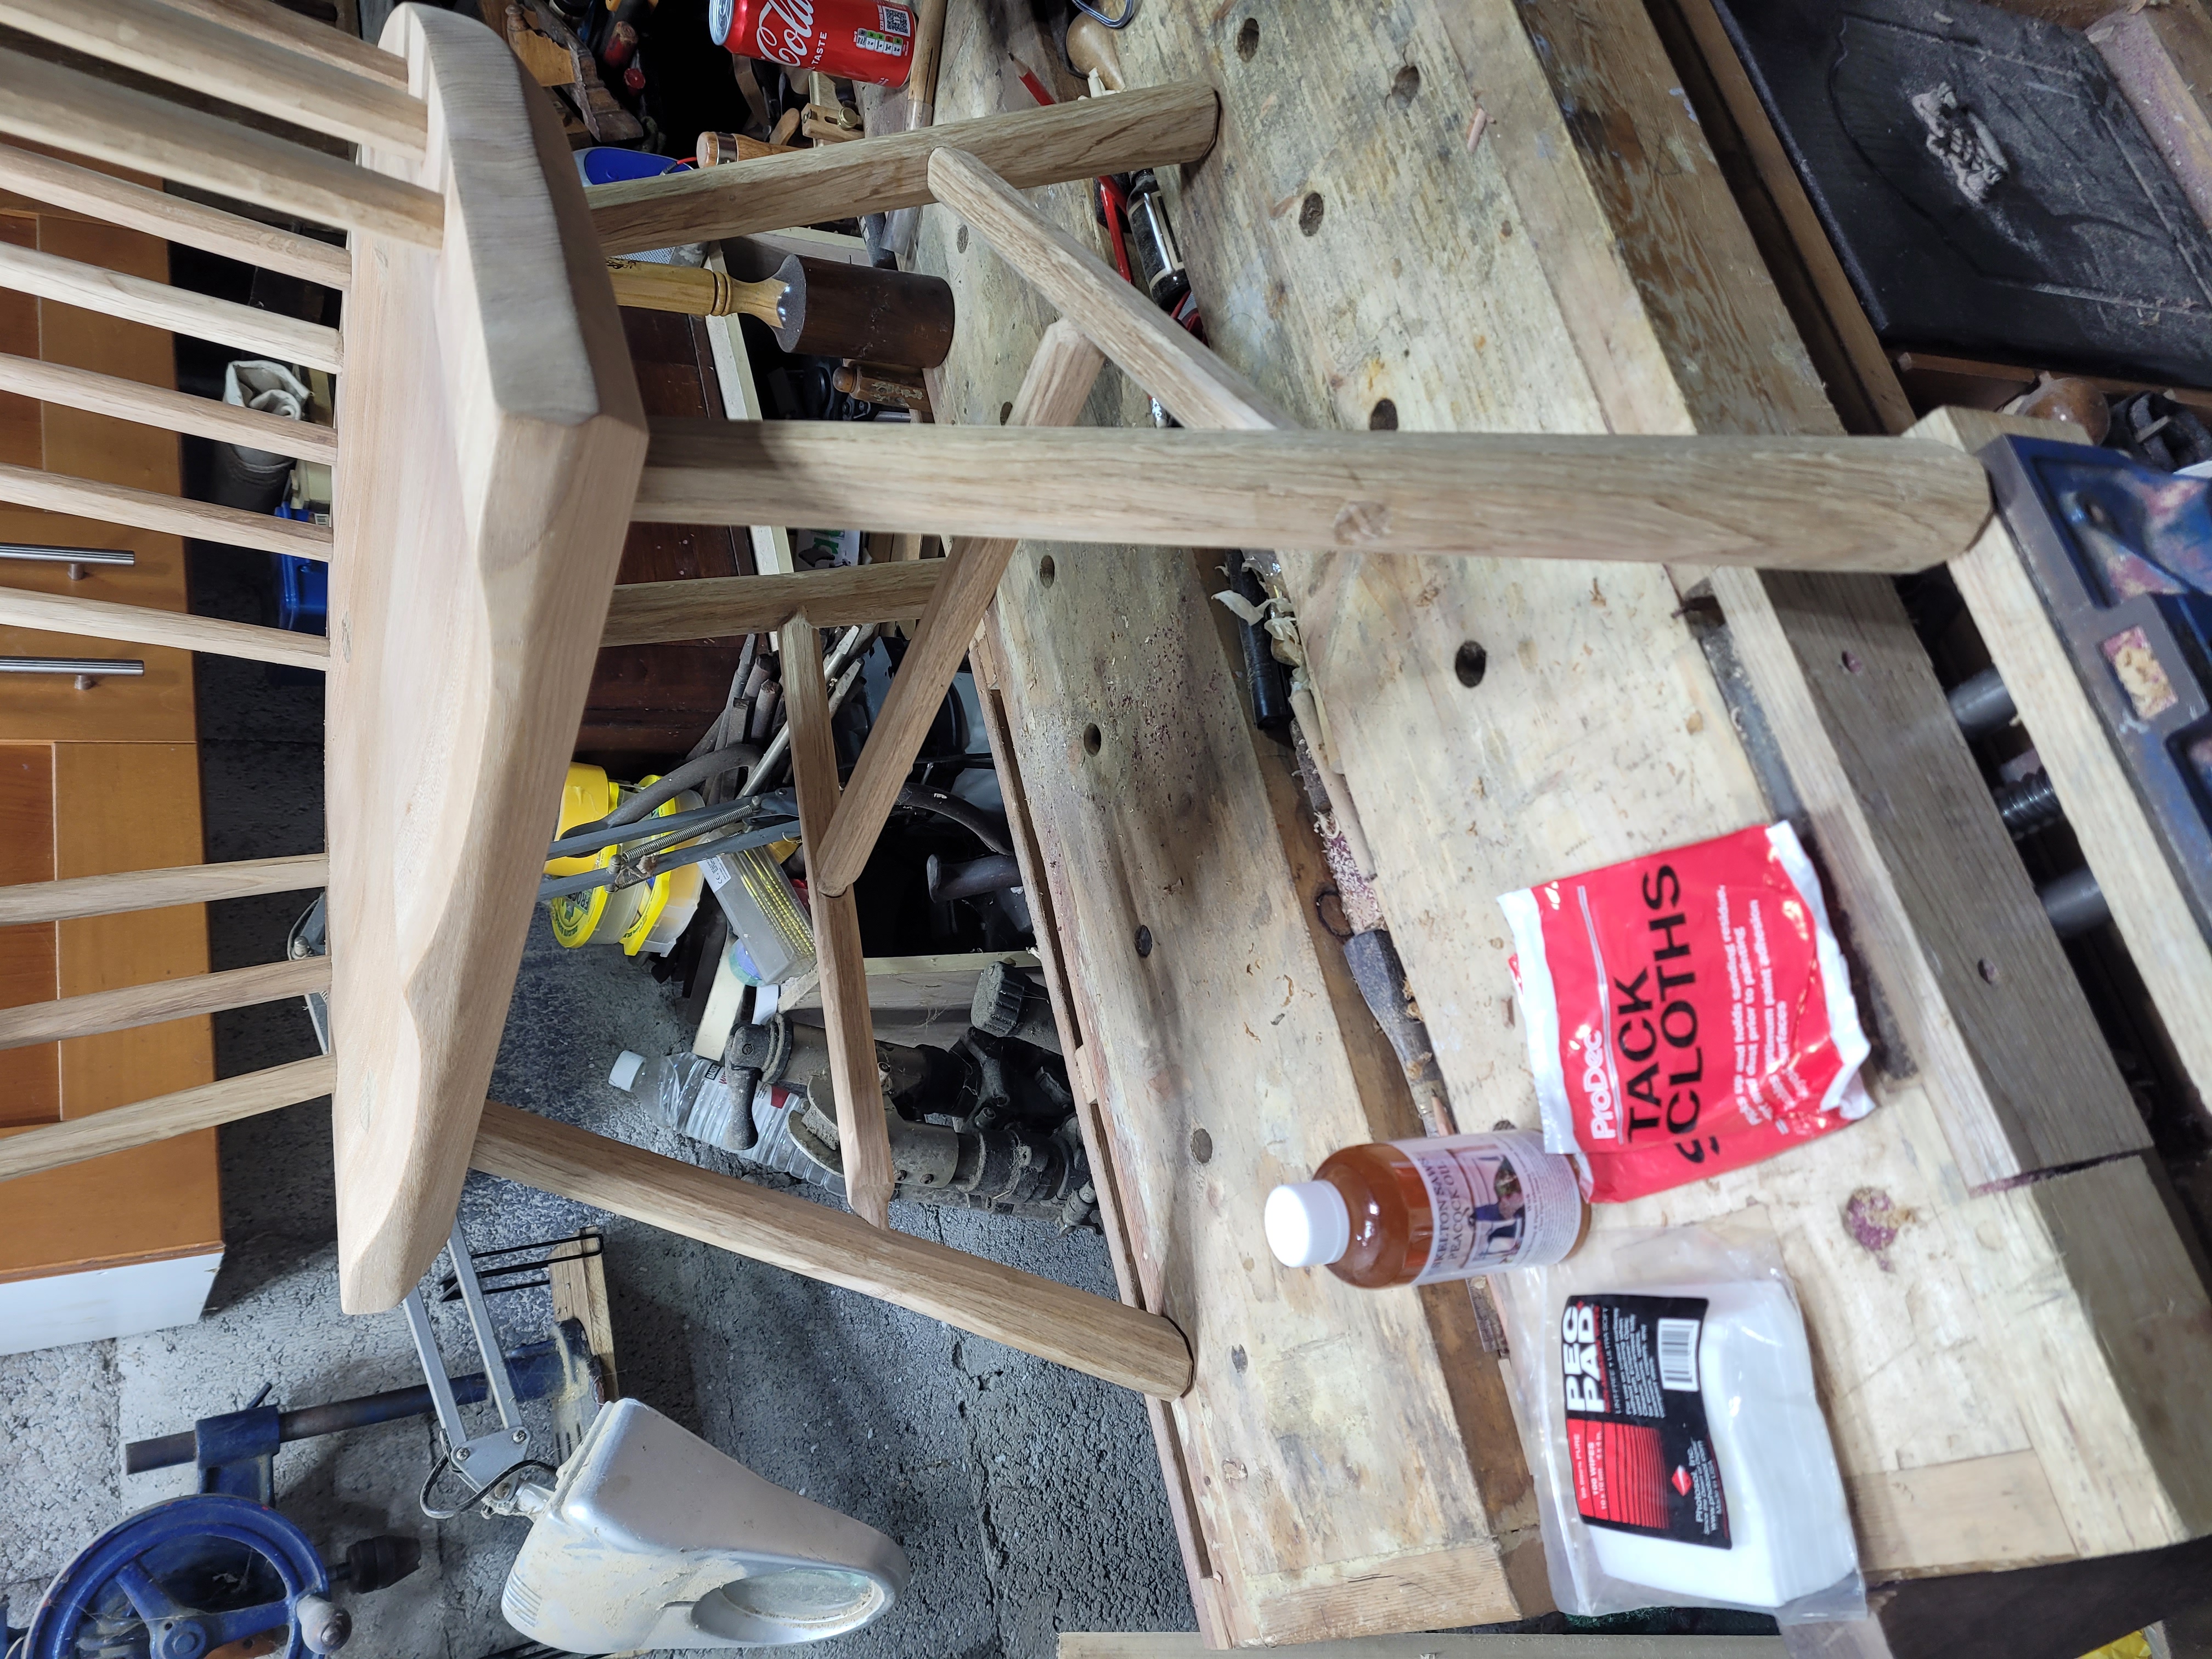
Note the chair leg sitting on the open vice jaw. This is really a bit big for my bench.
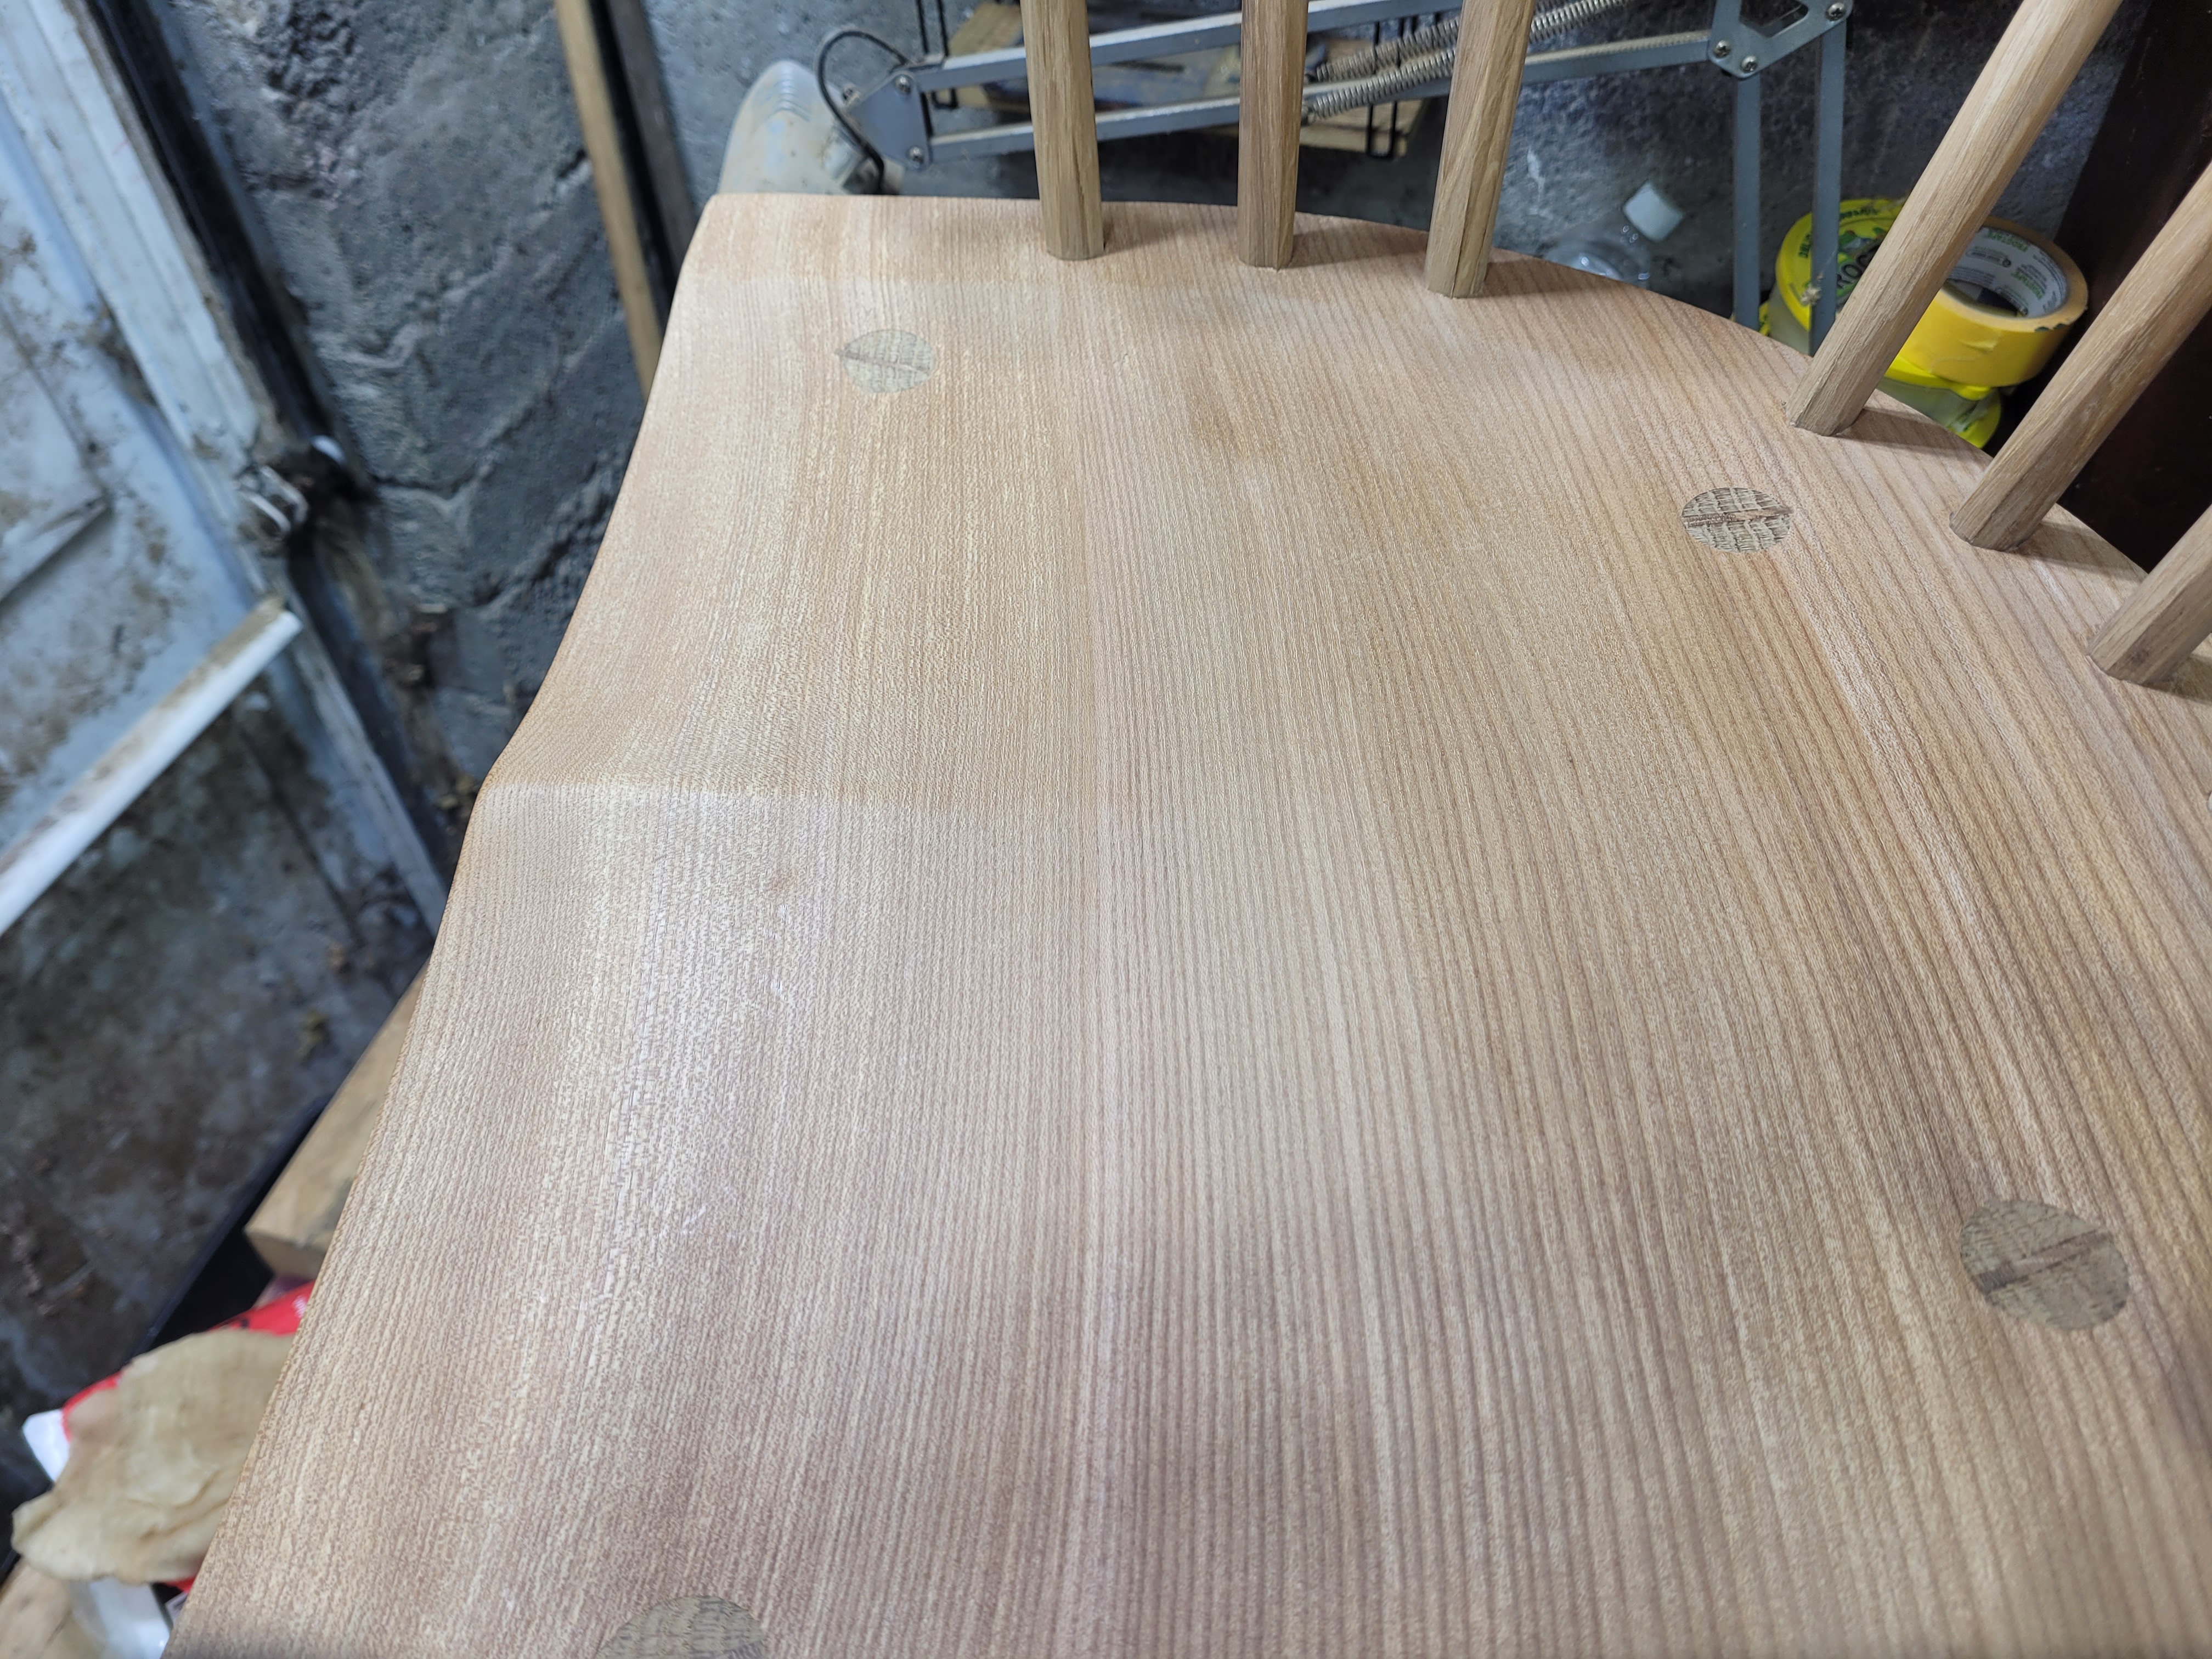
The seat before
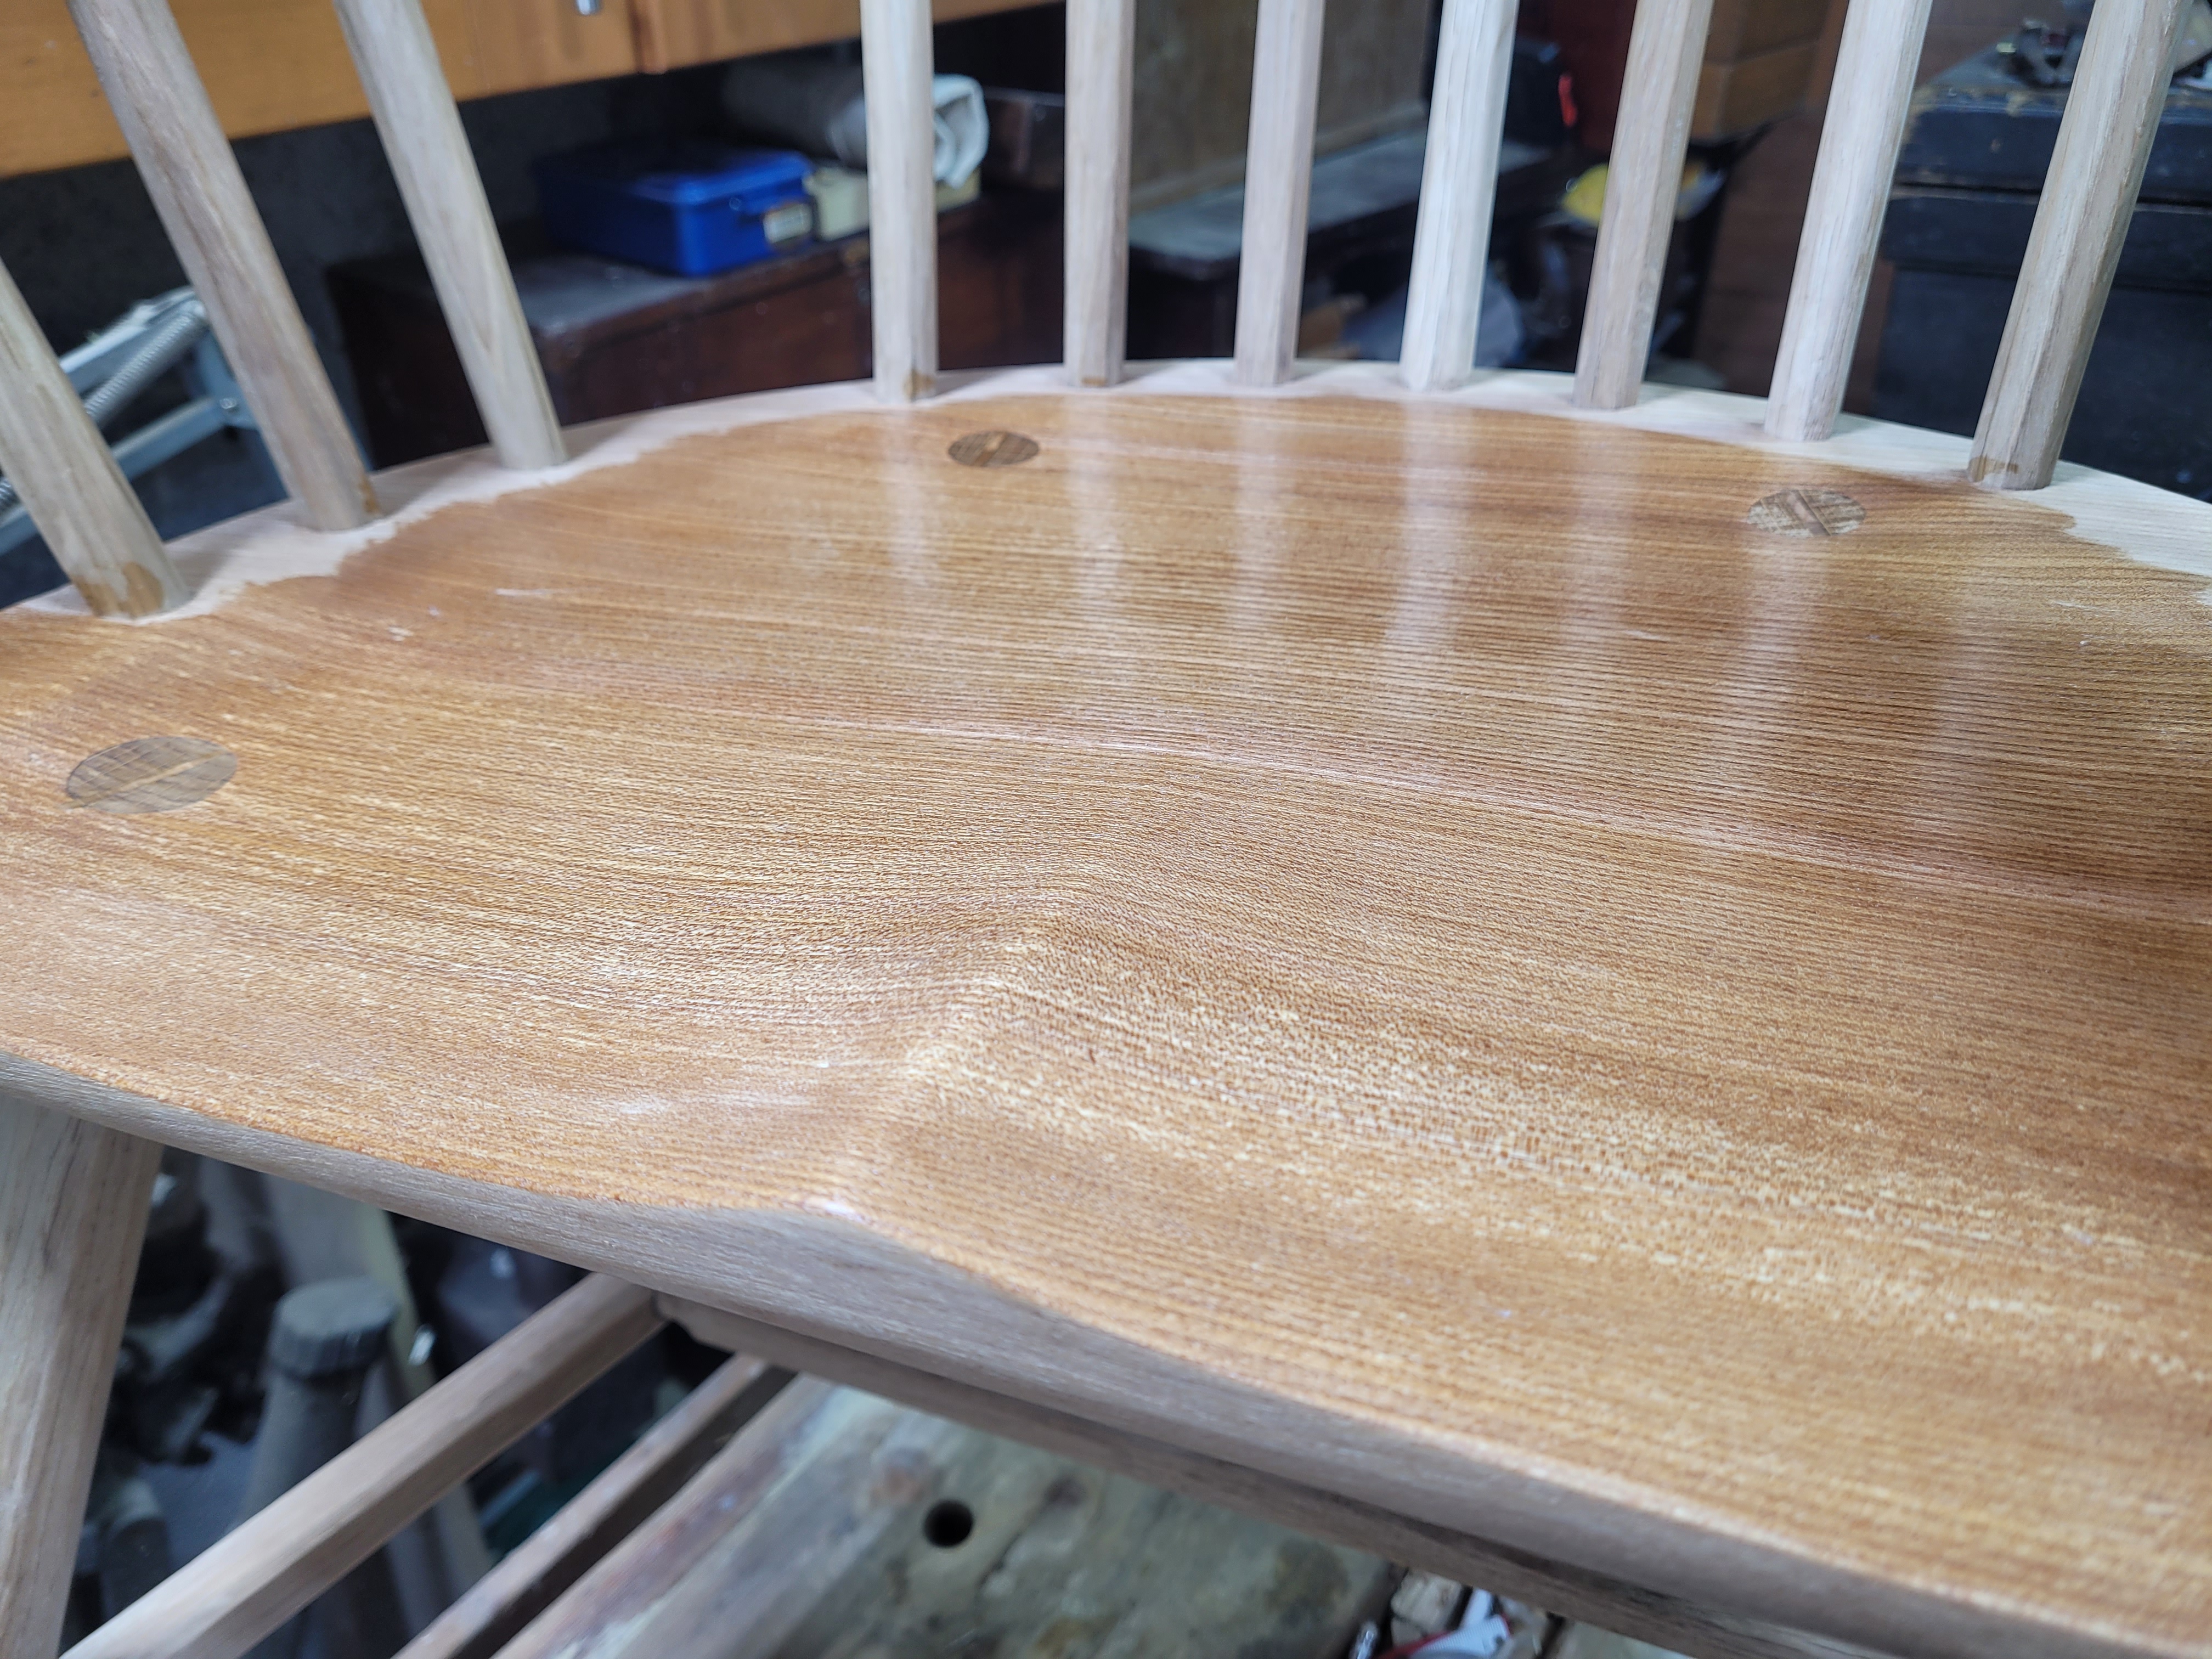
The seat after, you can see a video of the finish going on here.
The oil going on the top of the crest does a nice job of illustrating the before and after colour. Clear oil still darkens a lot. Particularly on the elm.
Demon white fluff from the torn Pec Pad, took forever to chase it all down and get rid of it.
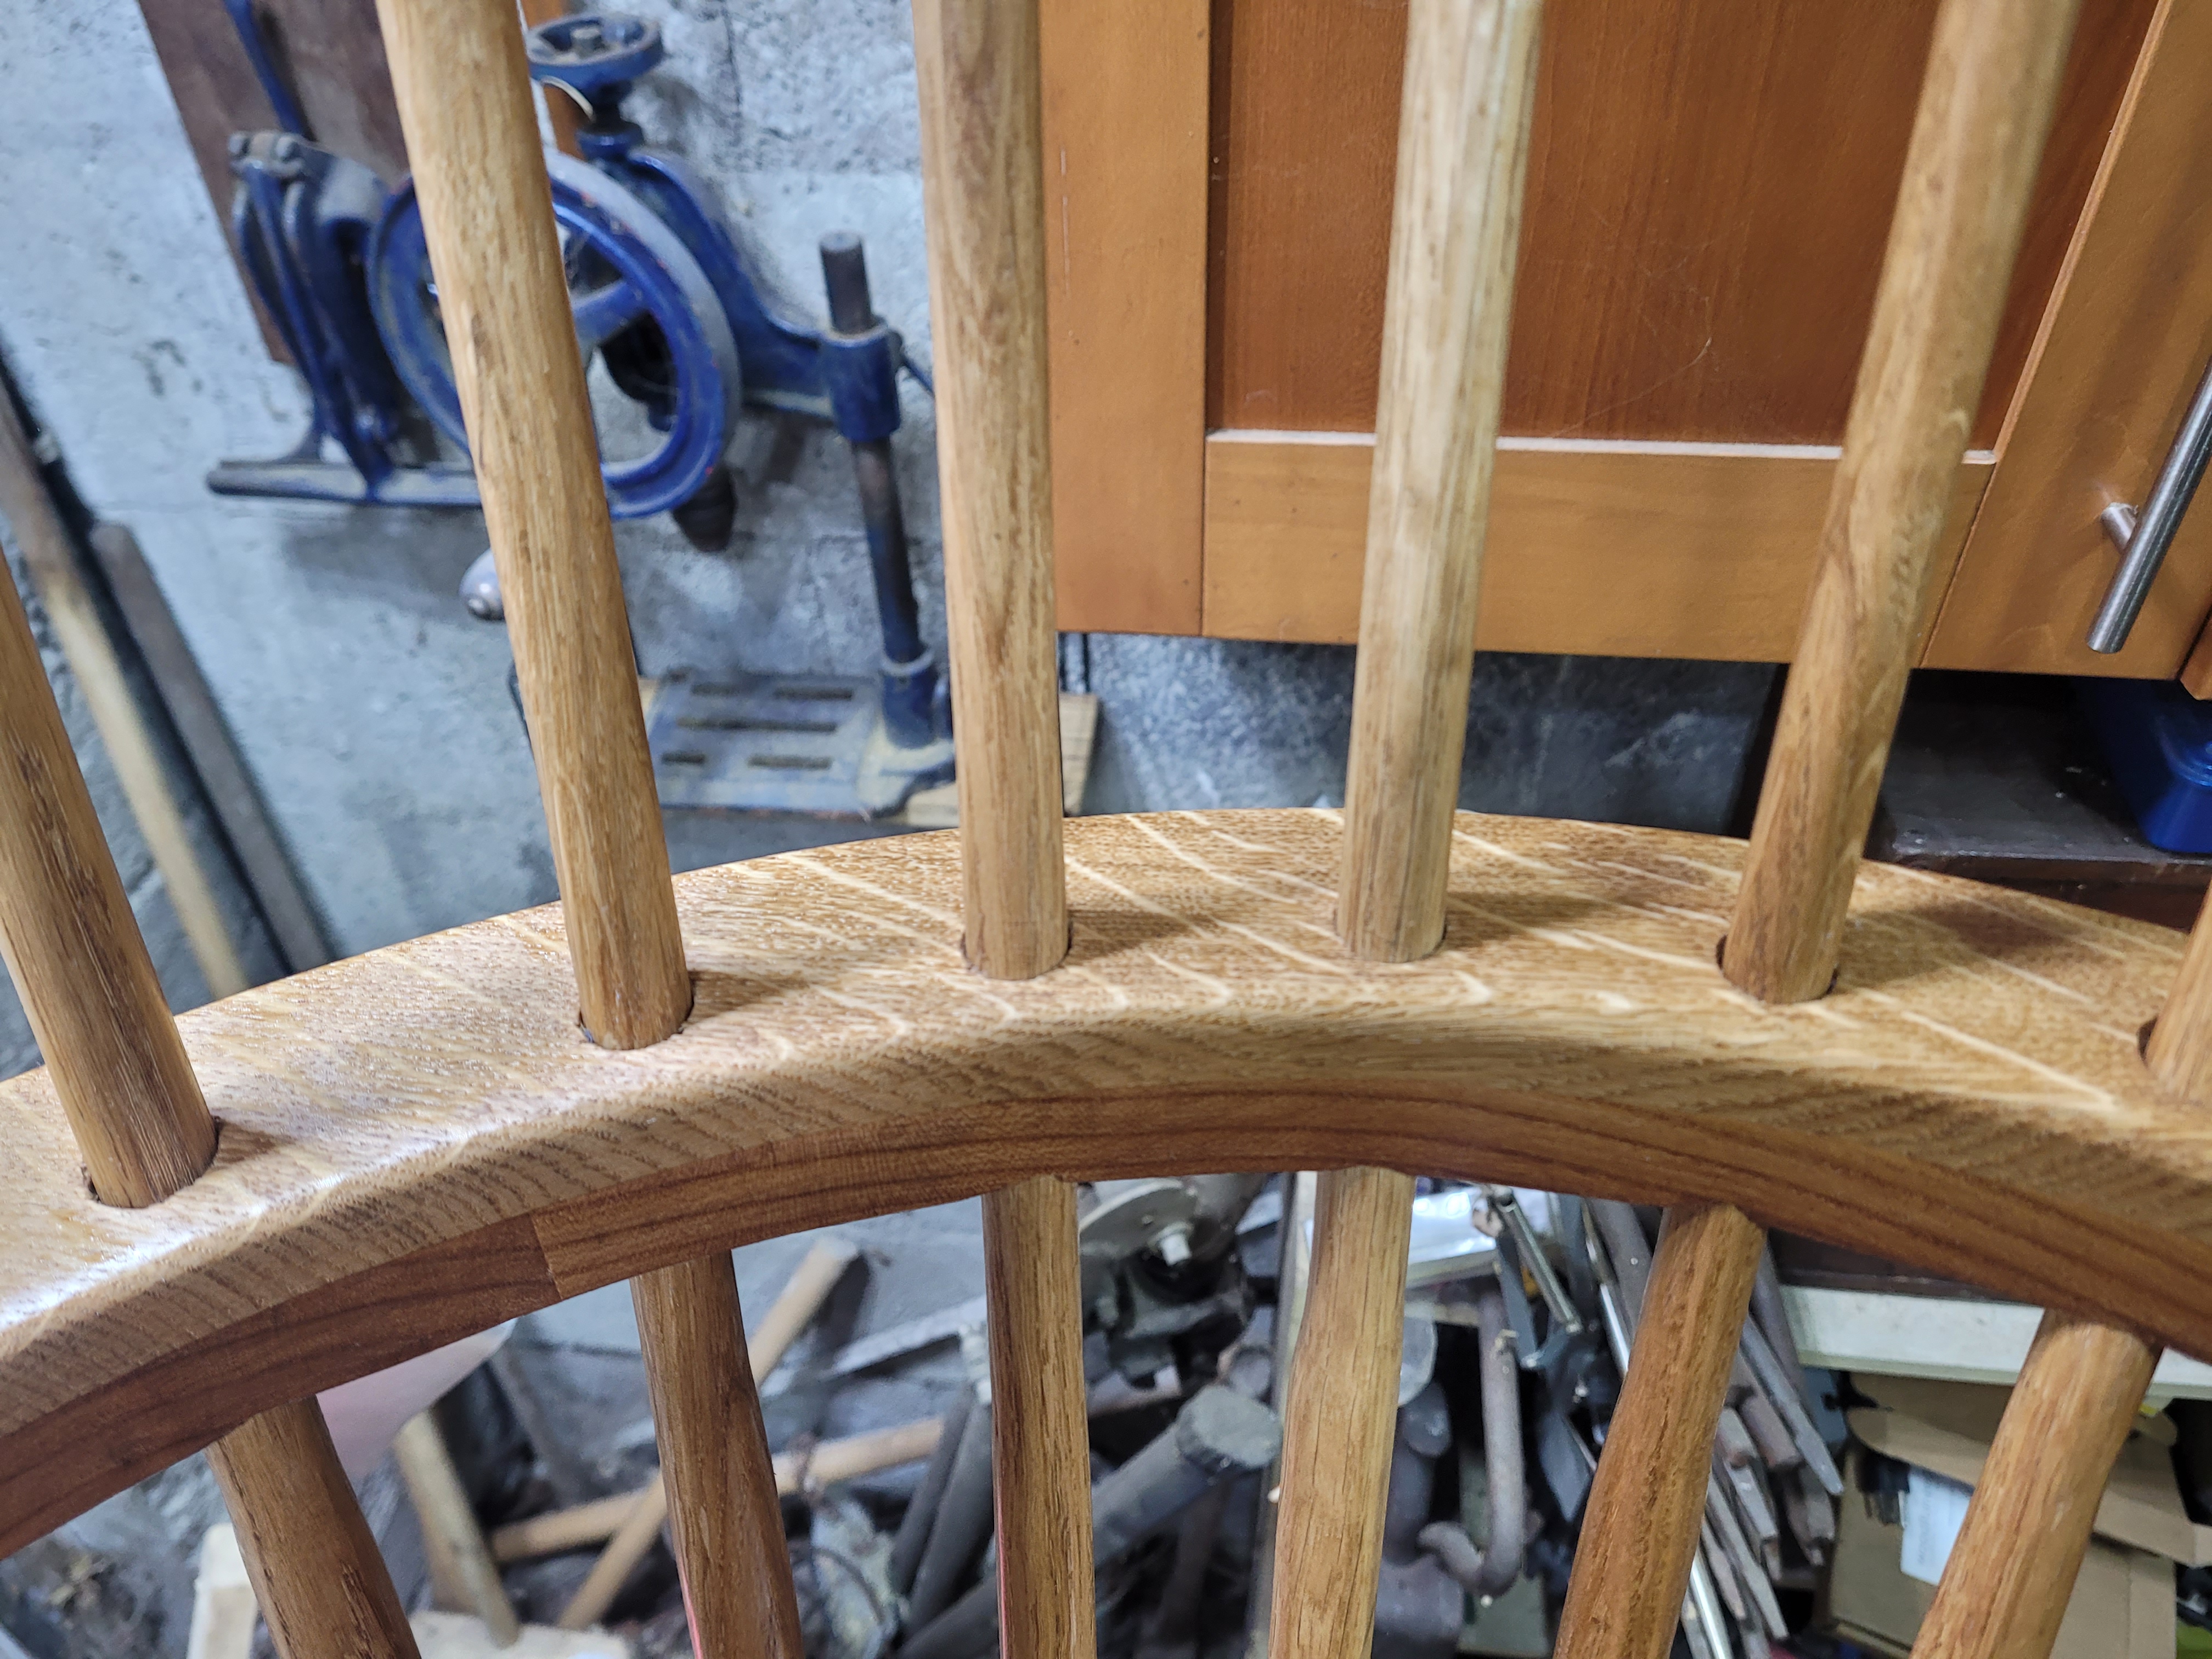
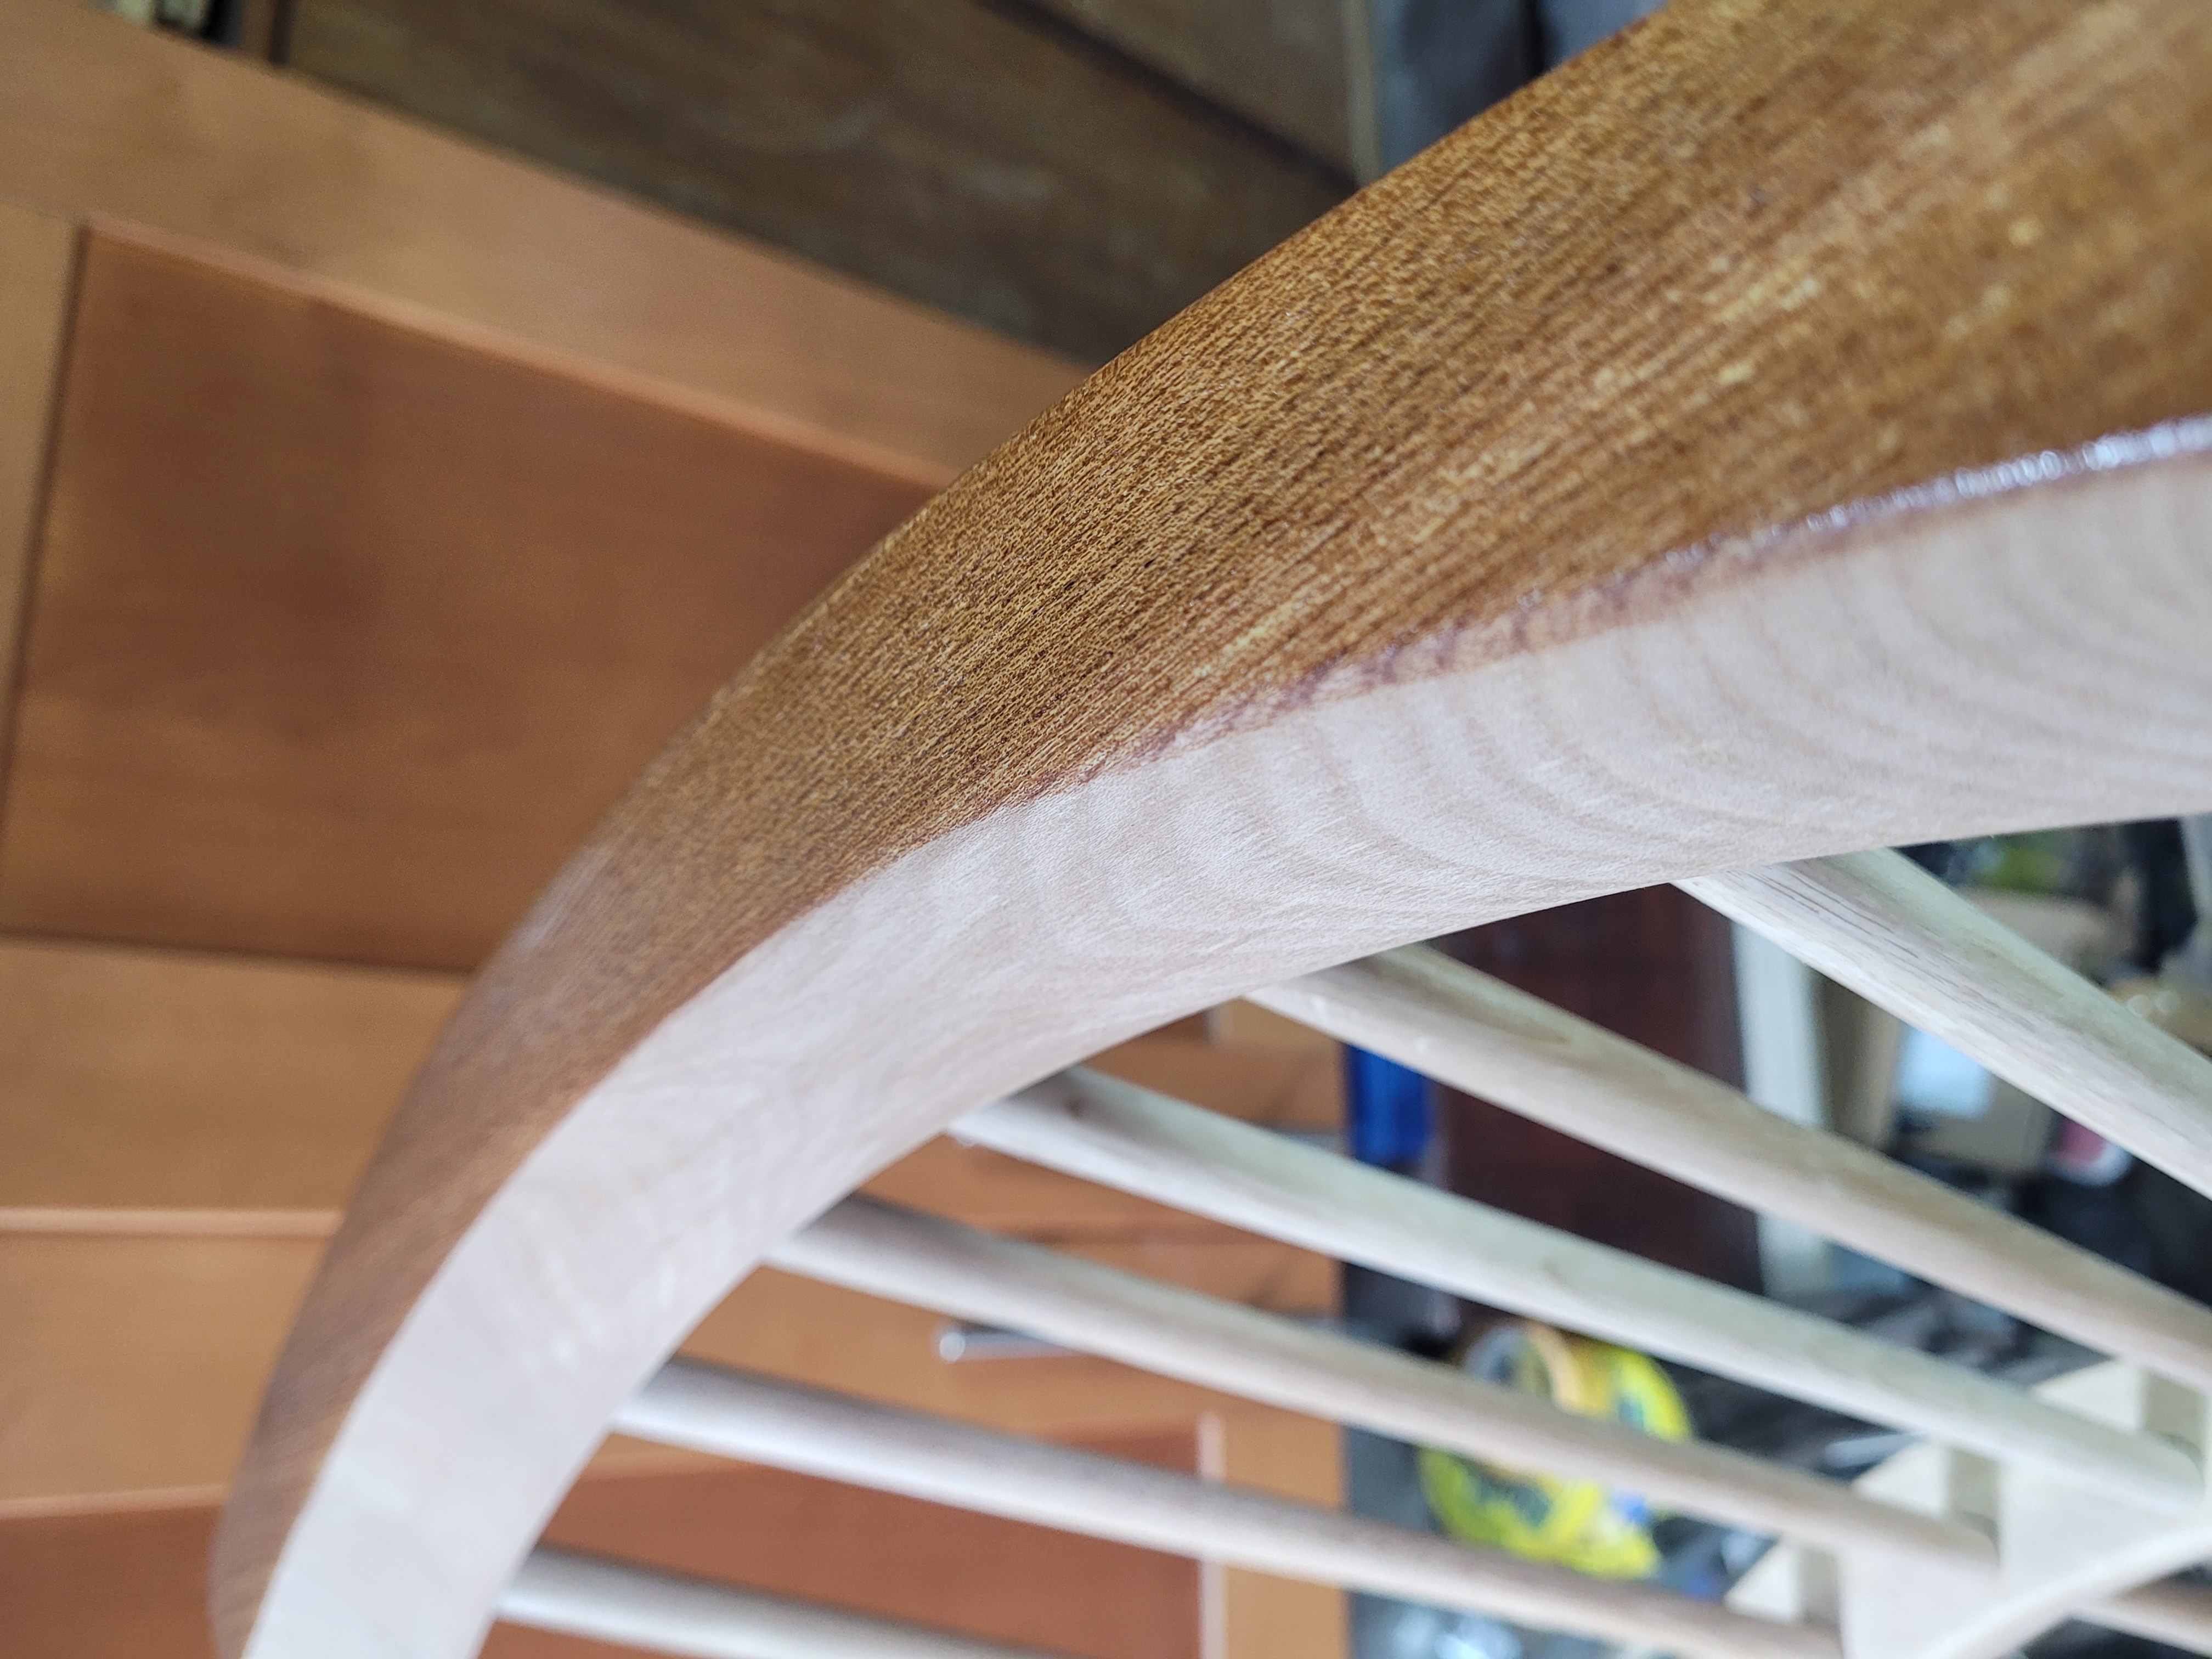
I’m particularly happy with how the oak portion of the arm bow came out.

Fine non woven abrasive. My de-nibbing tool of choice. You can cut it up easily, and the cut sides wont shed any material.
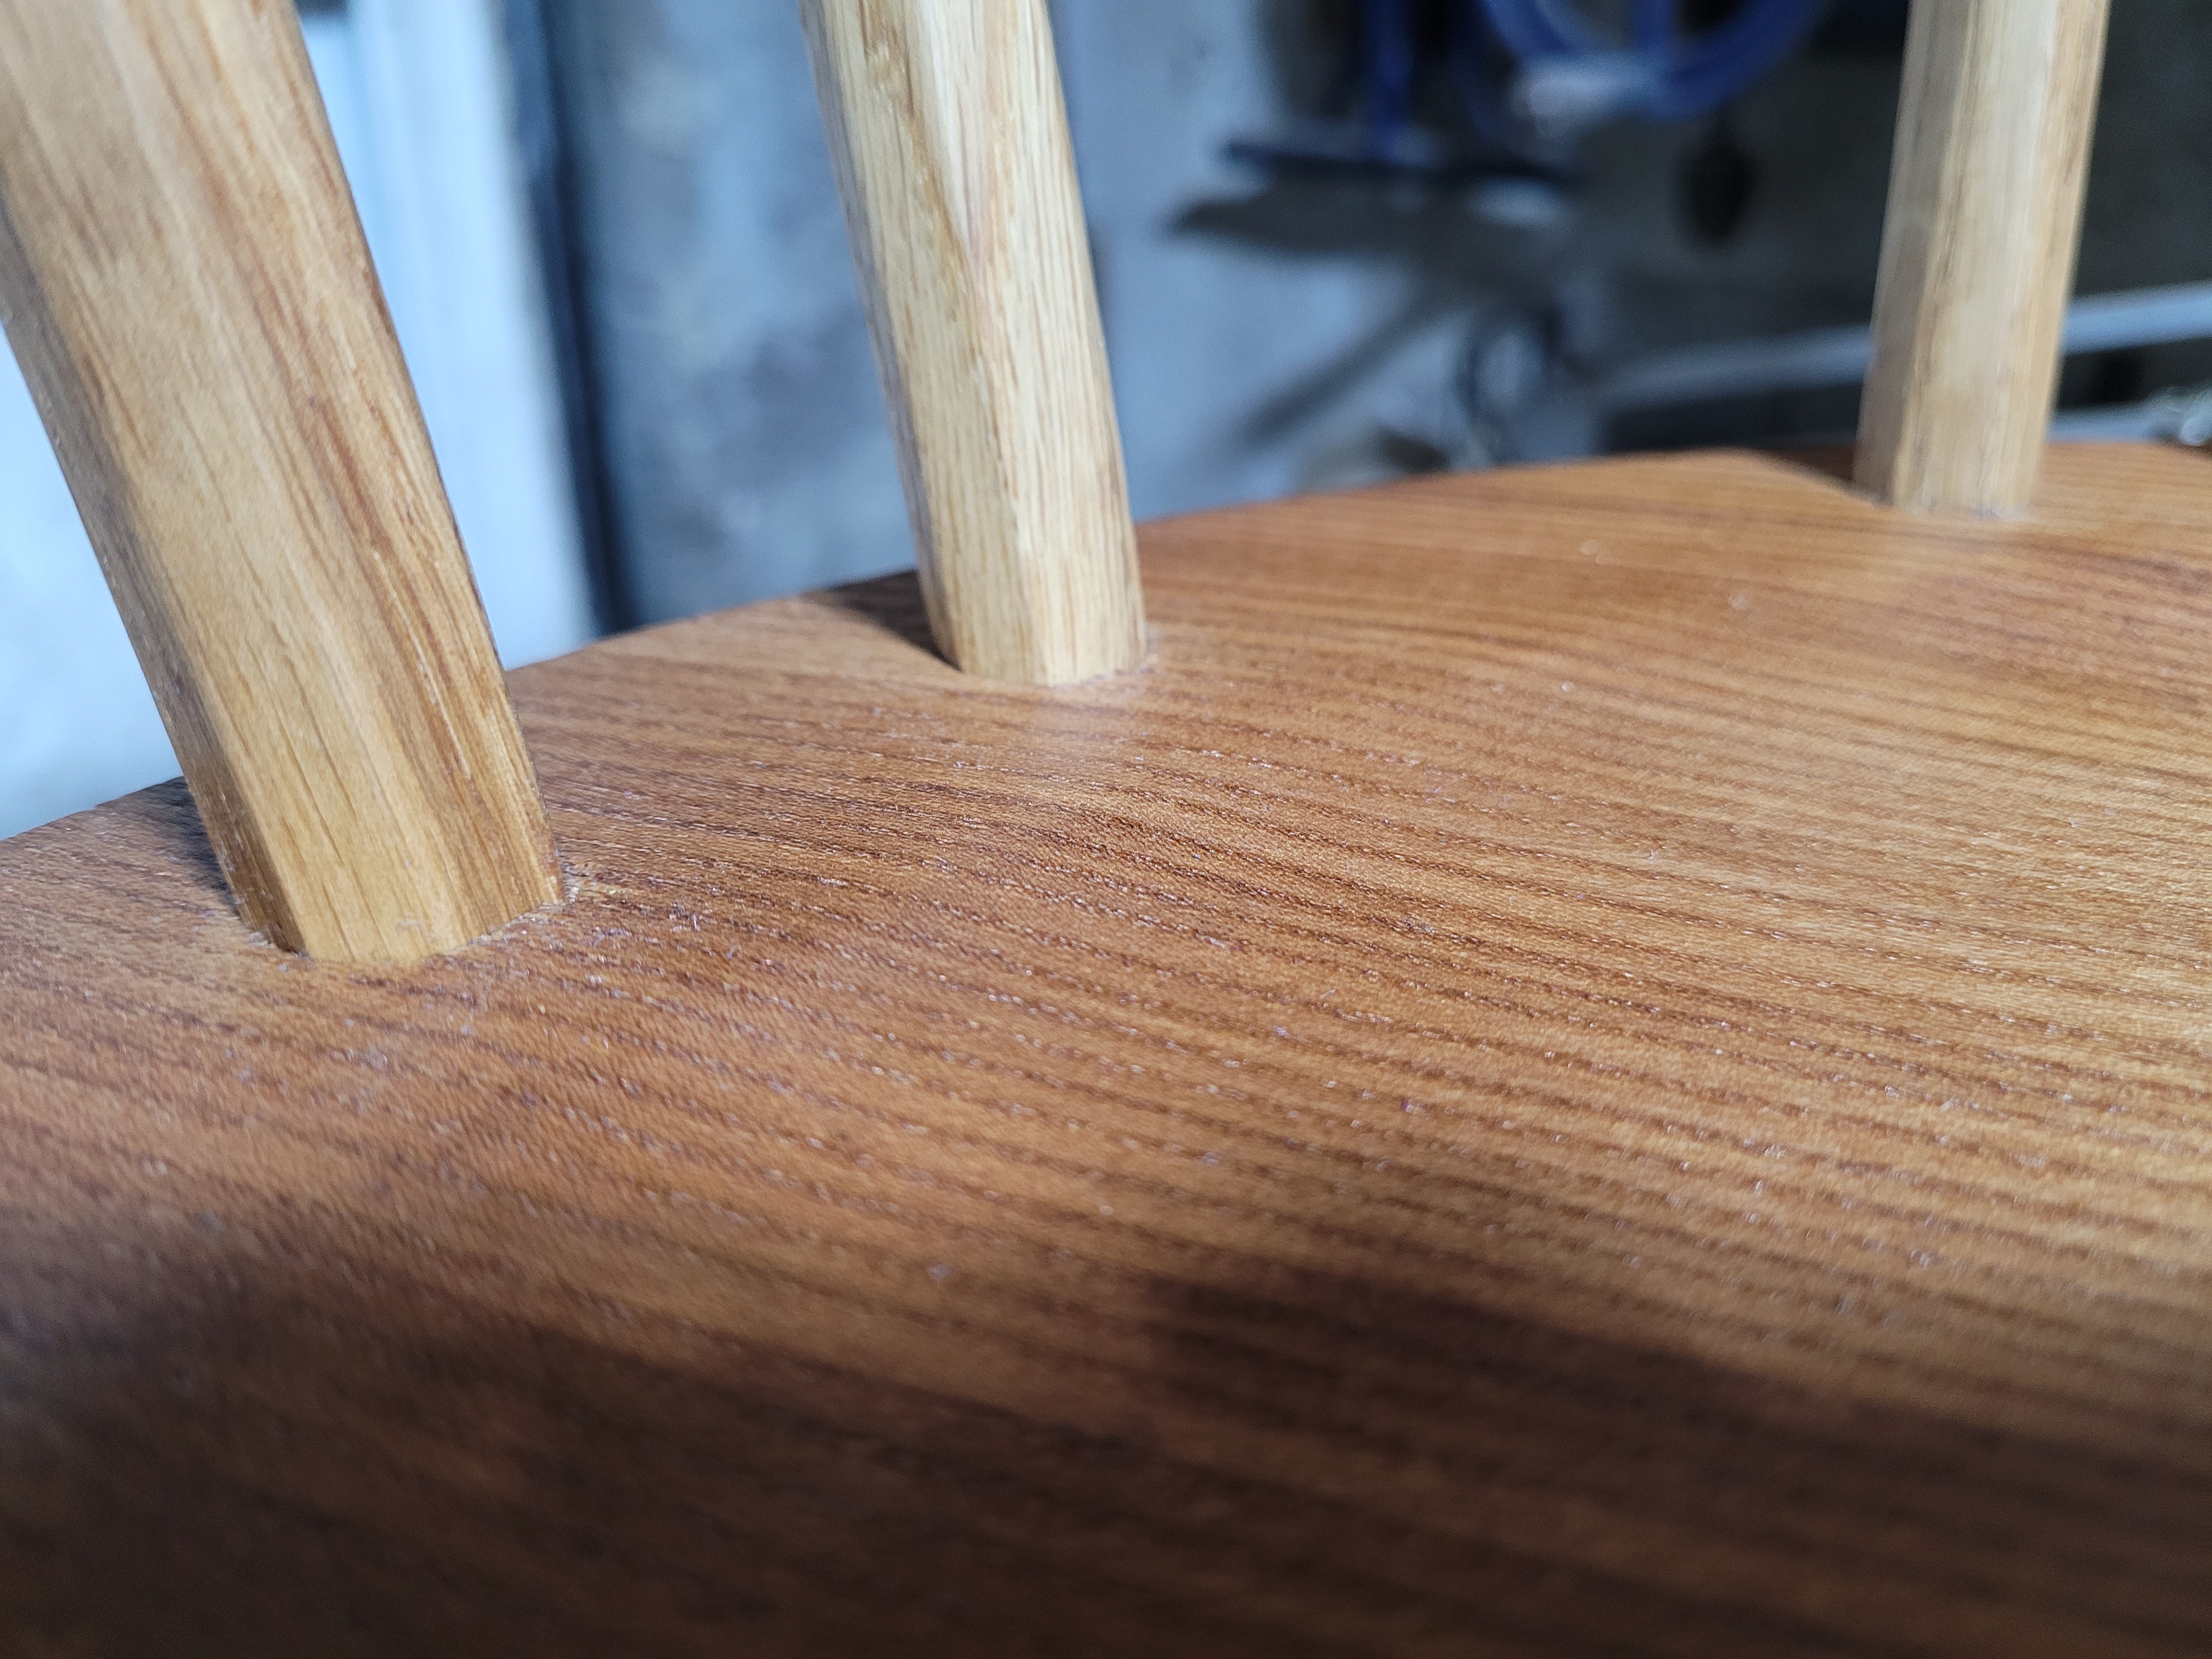
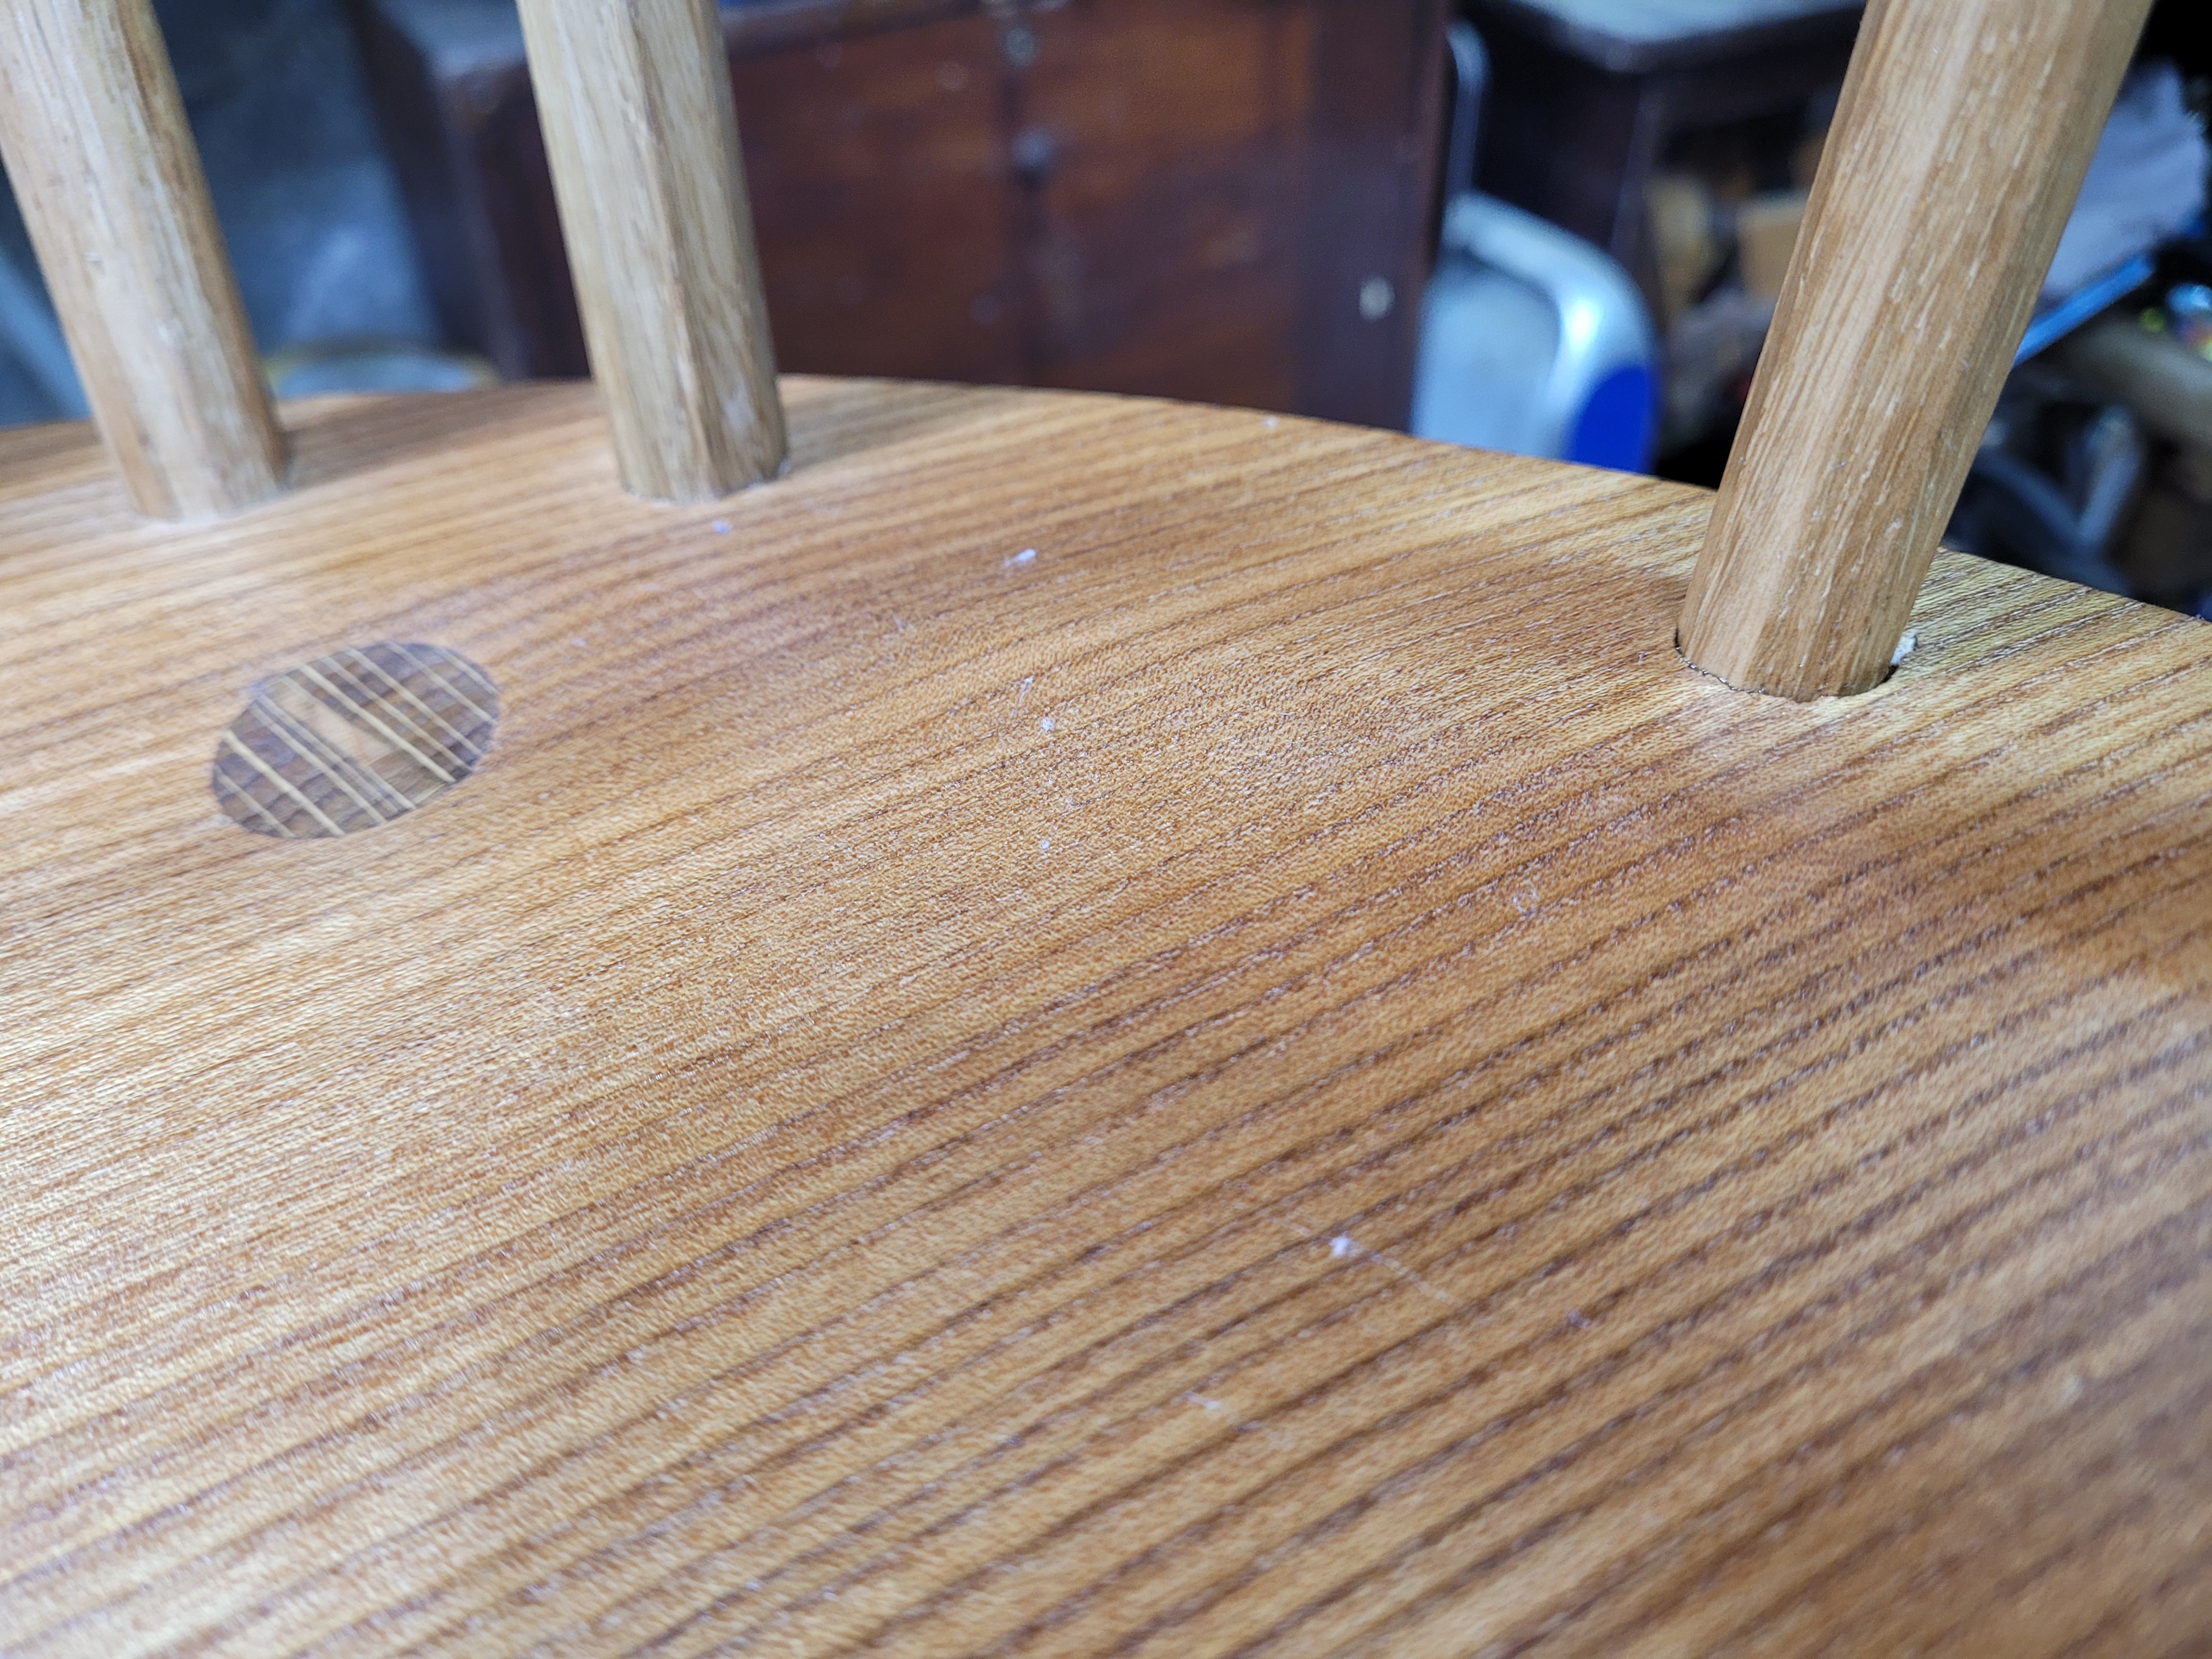
Hard to make out in the photo, but you can just about see the grey haze after de-nibbing. If its your first time, don’t panic. Its expected. Wipe it off with paper towel and get on with the next coat.
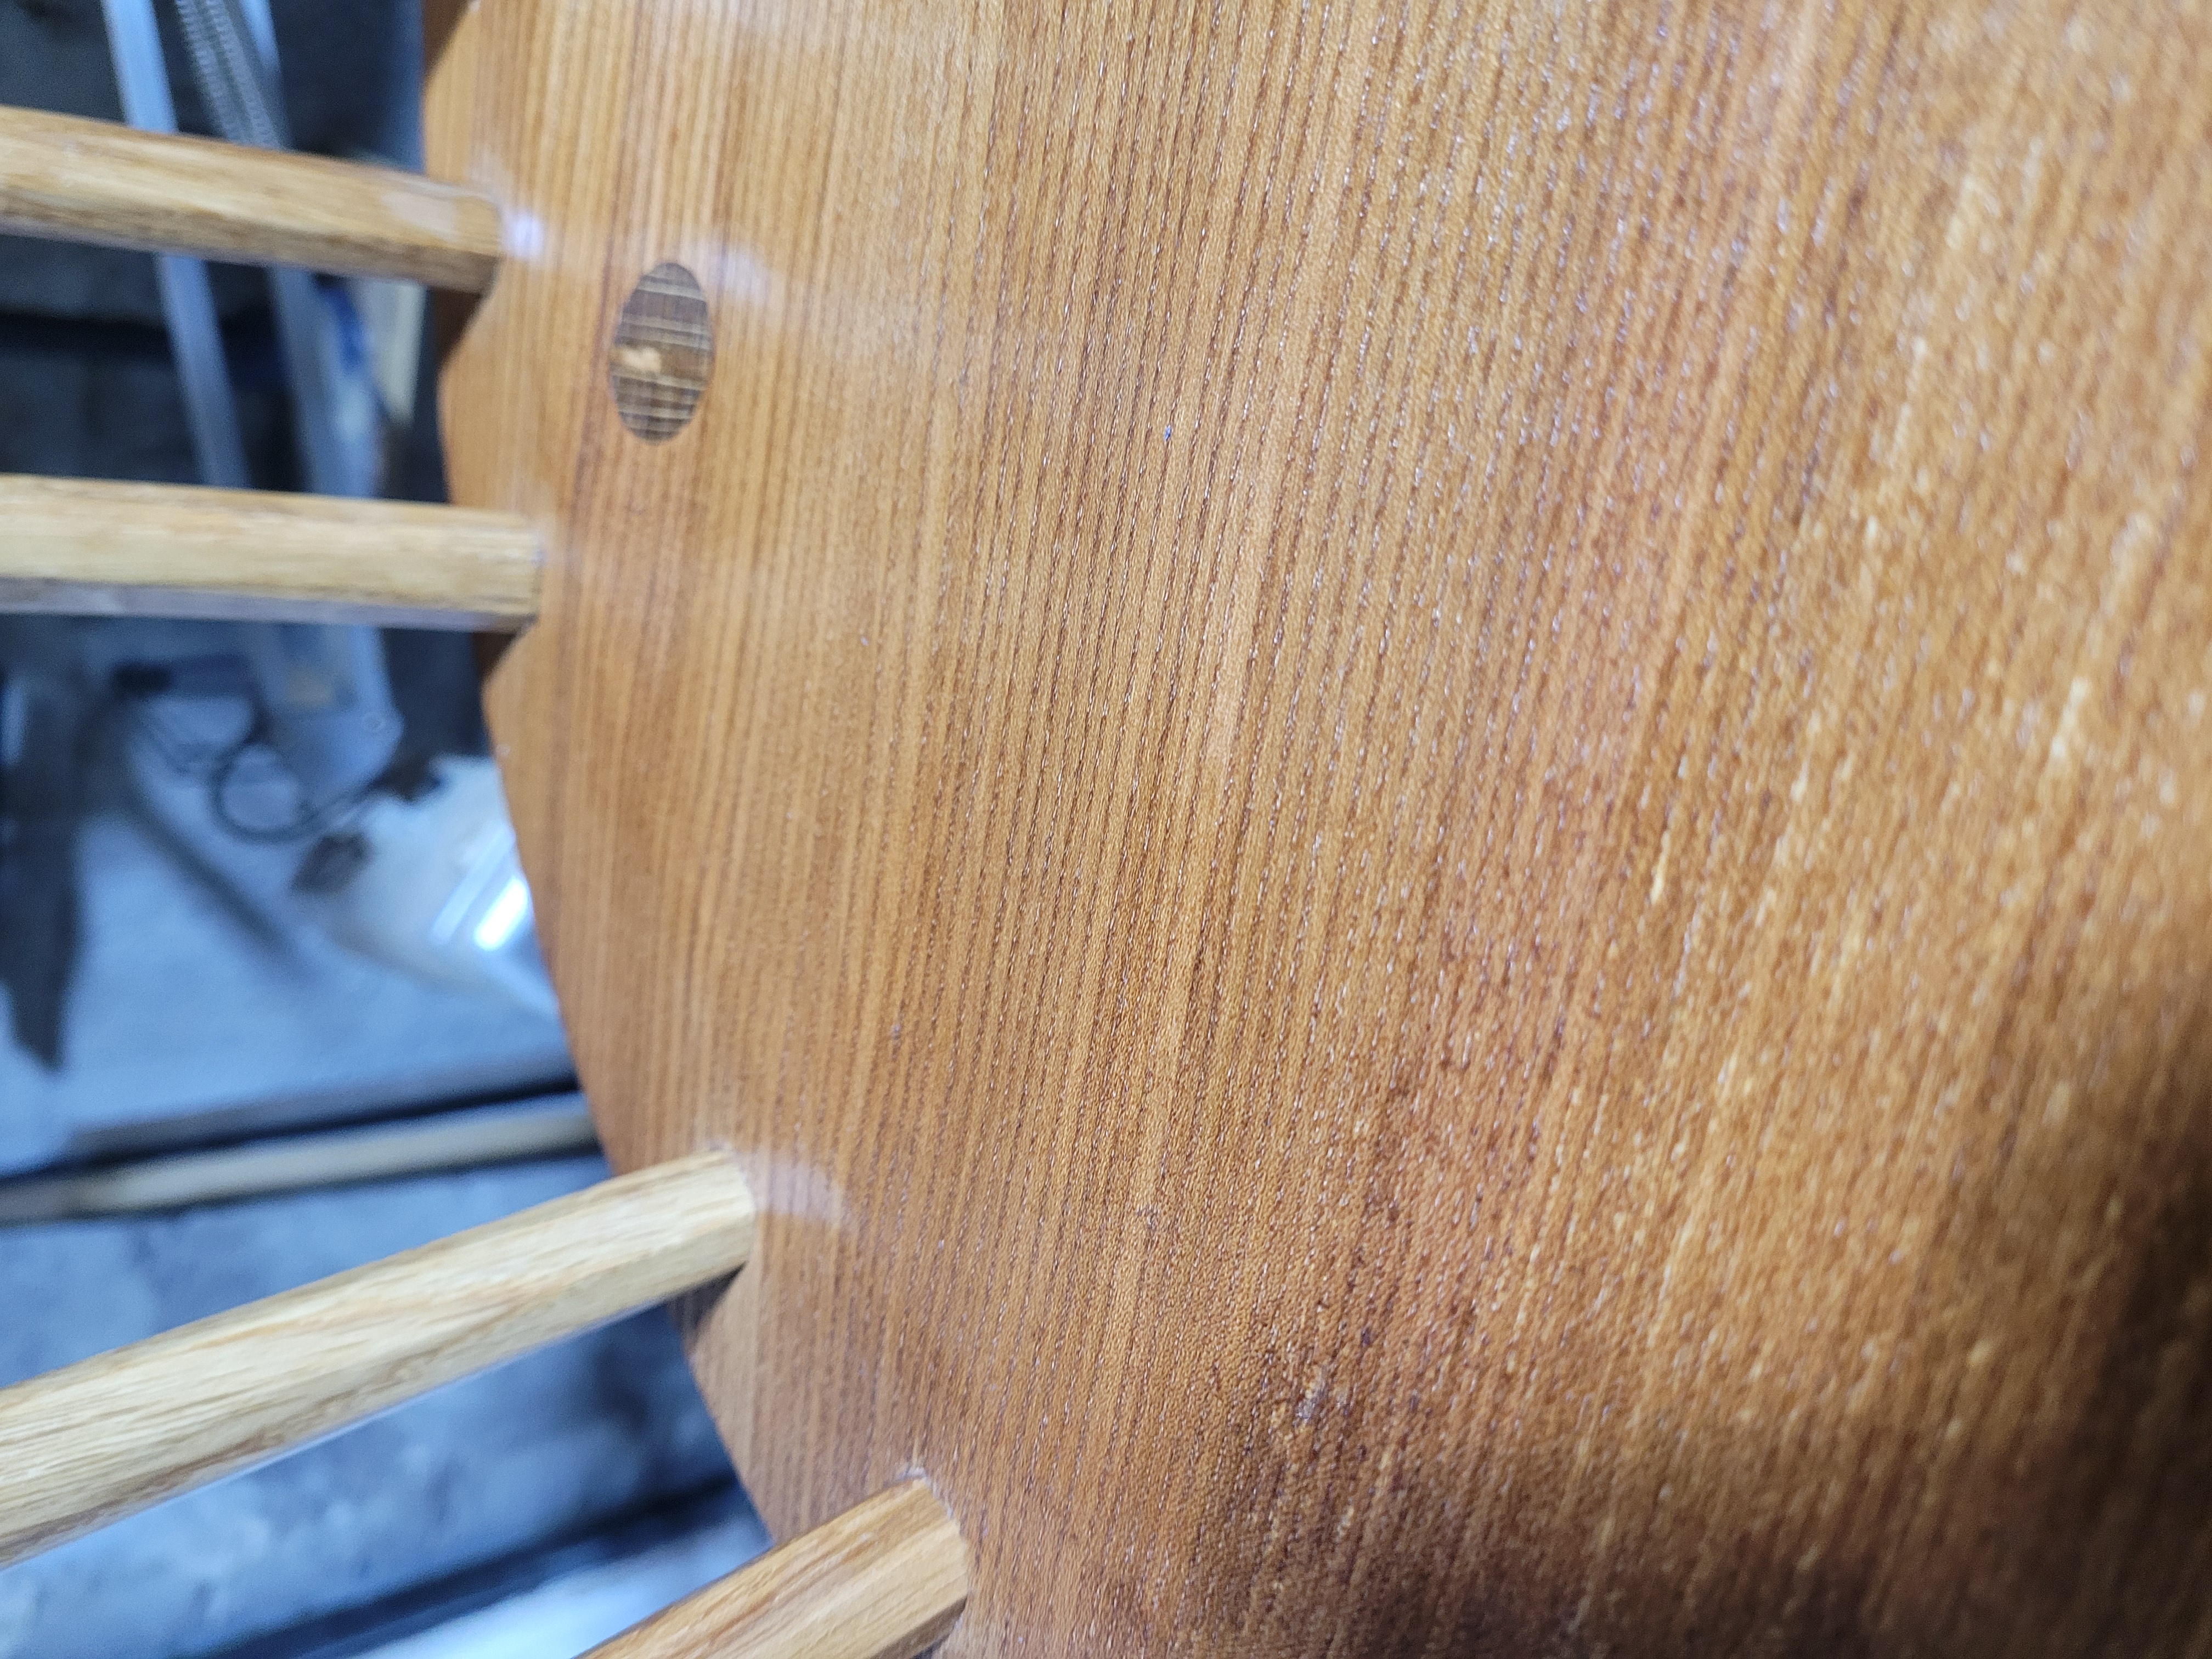
The same spot after another coat, its gone.
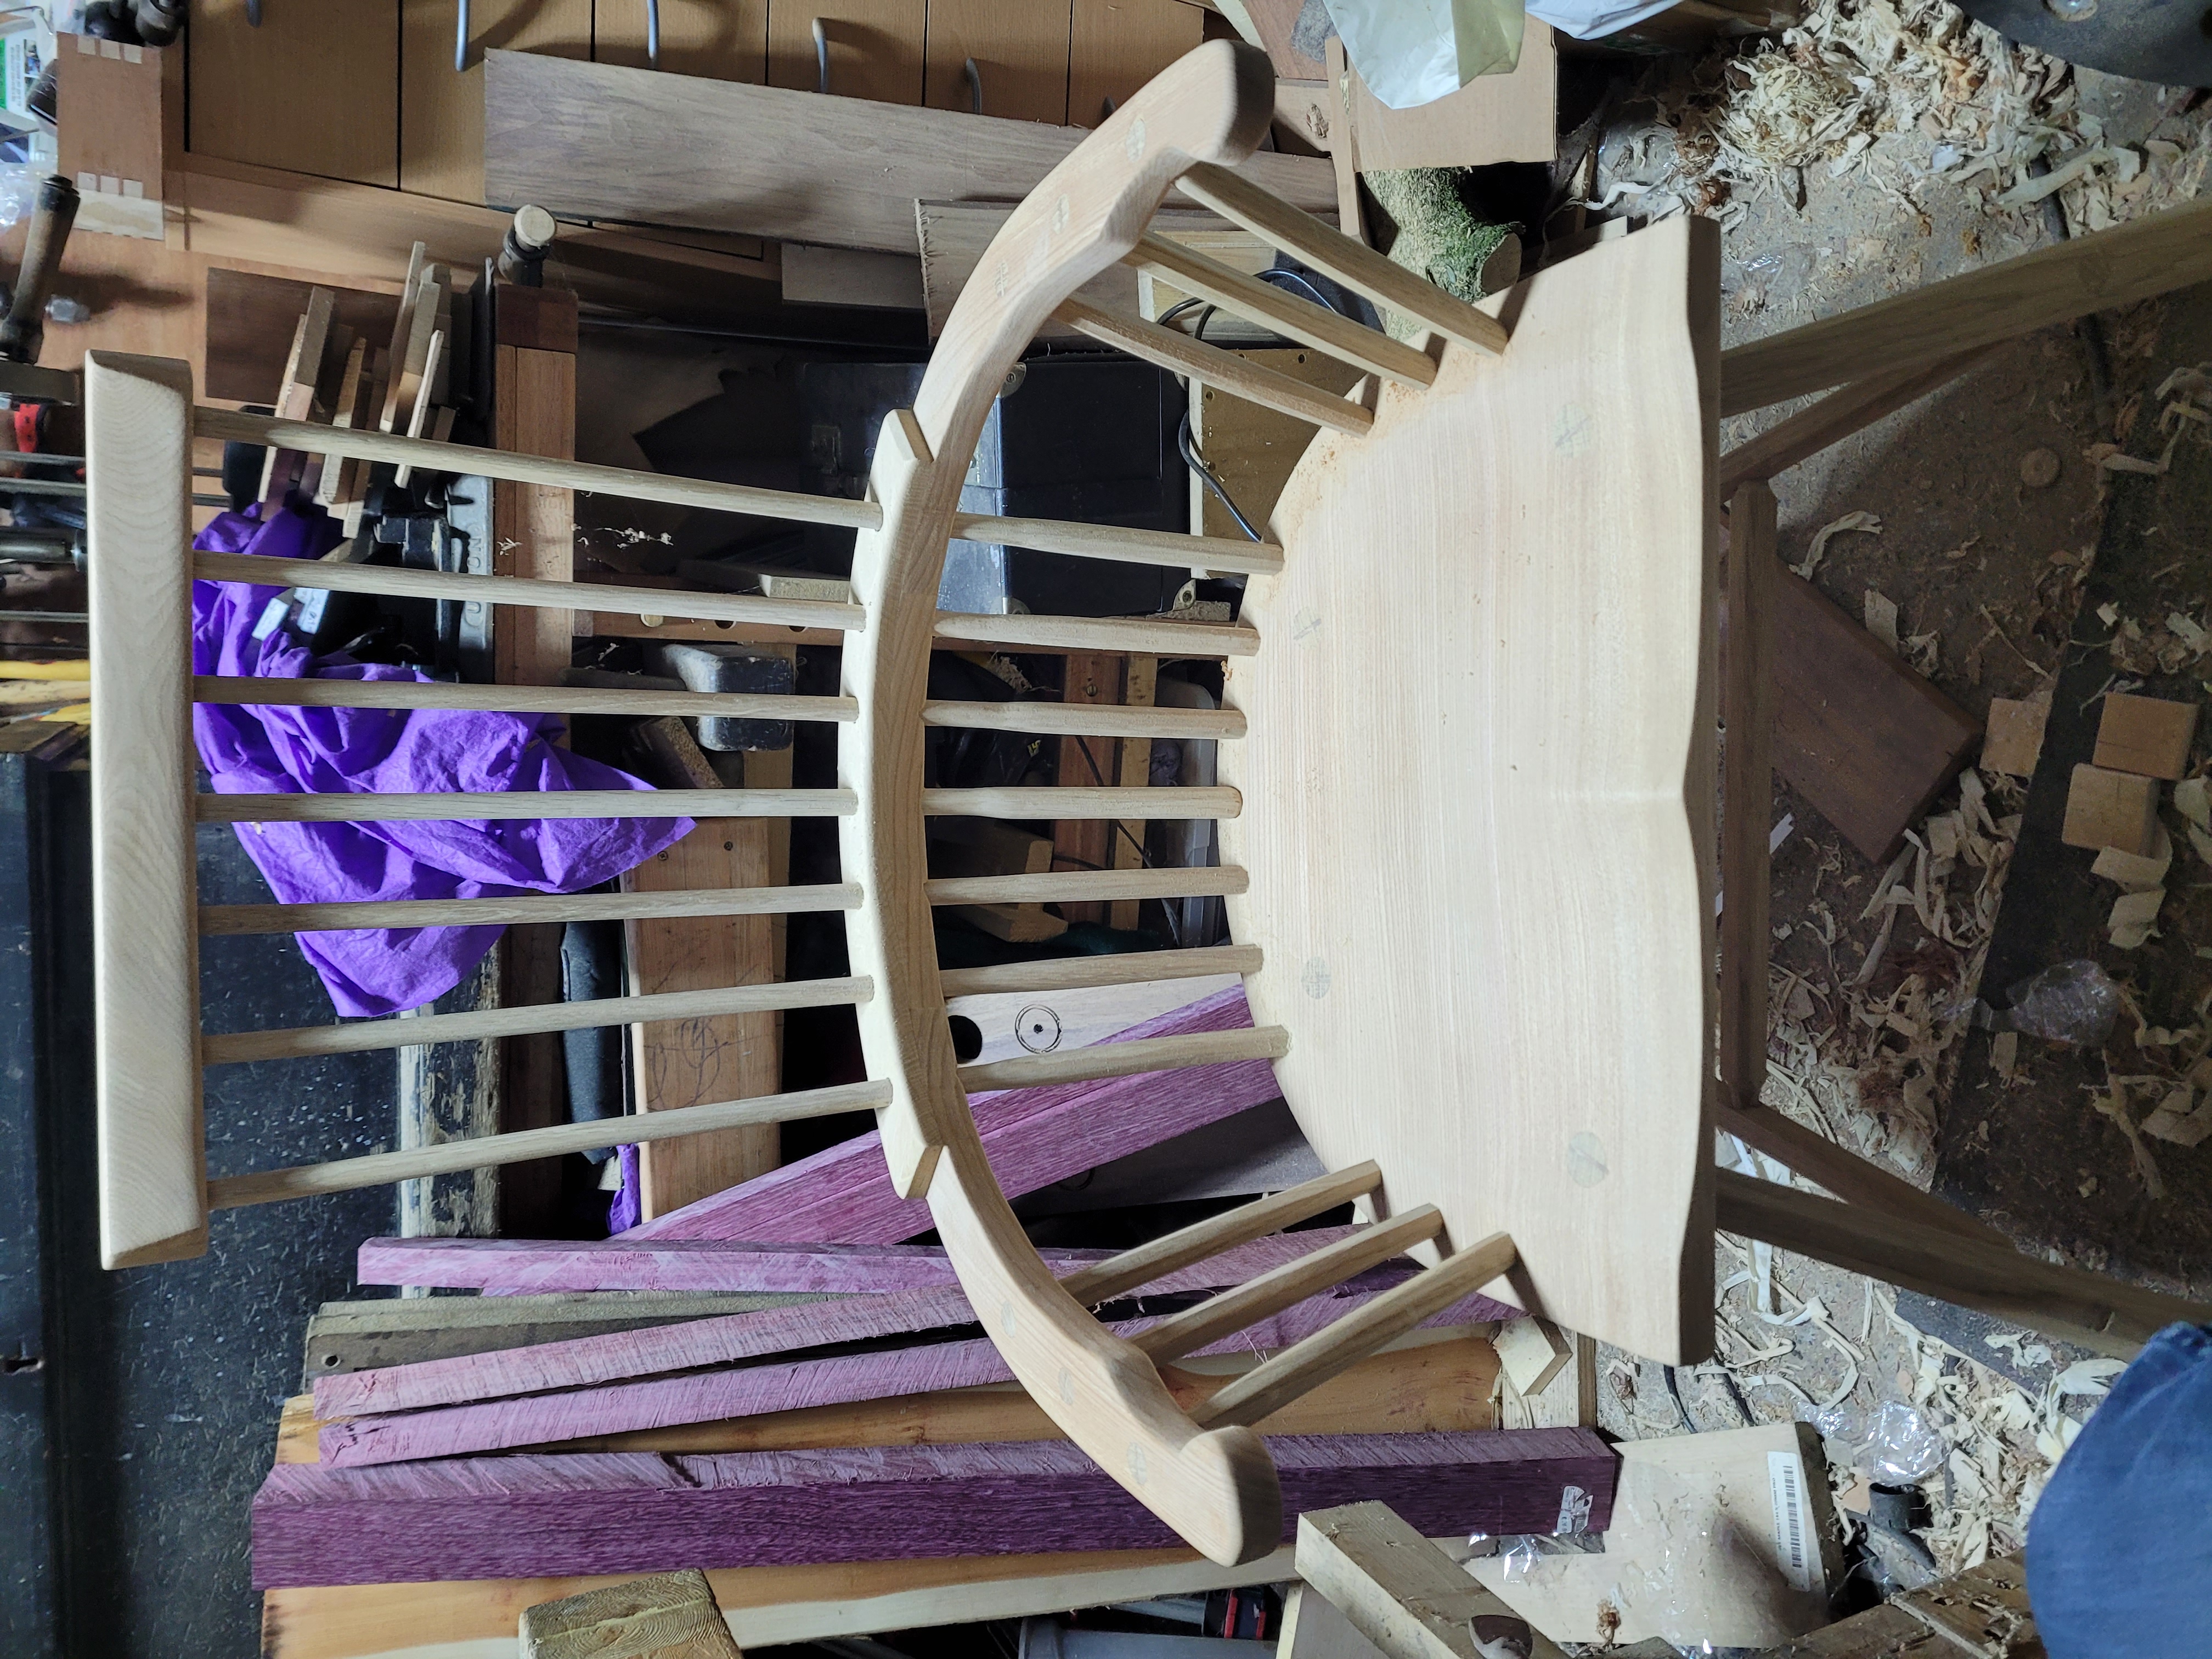
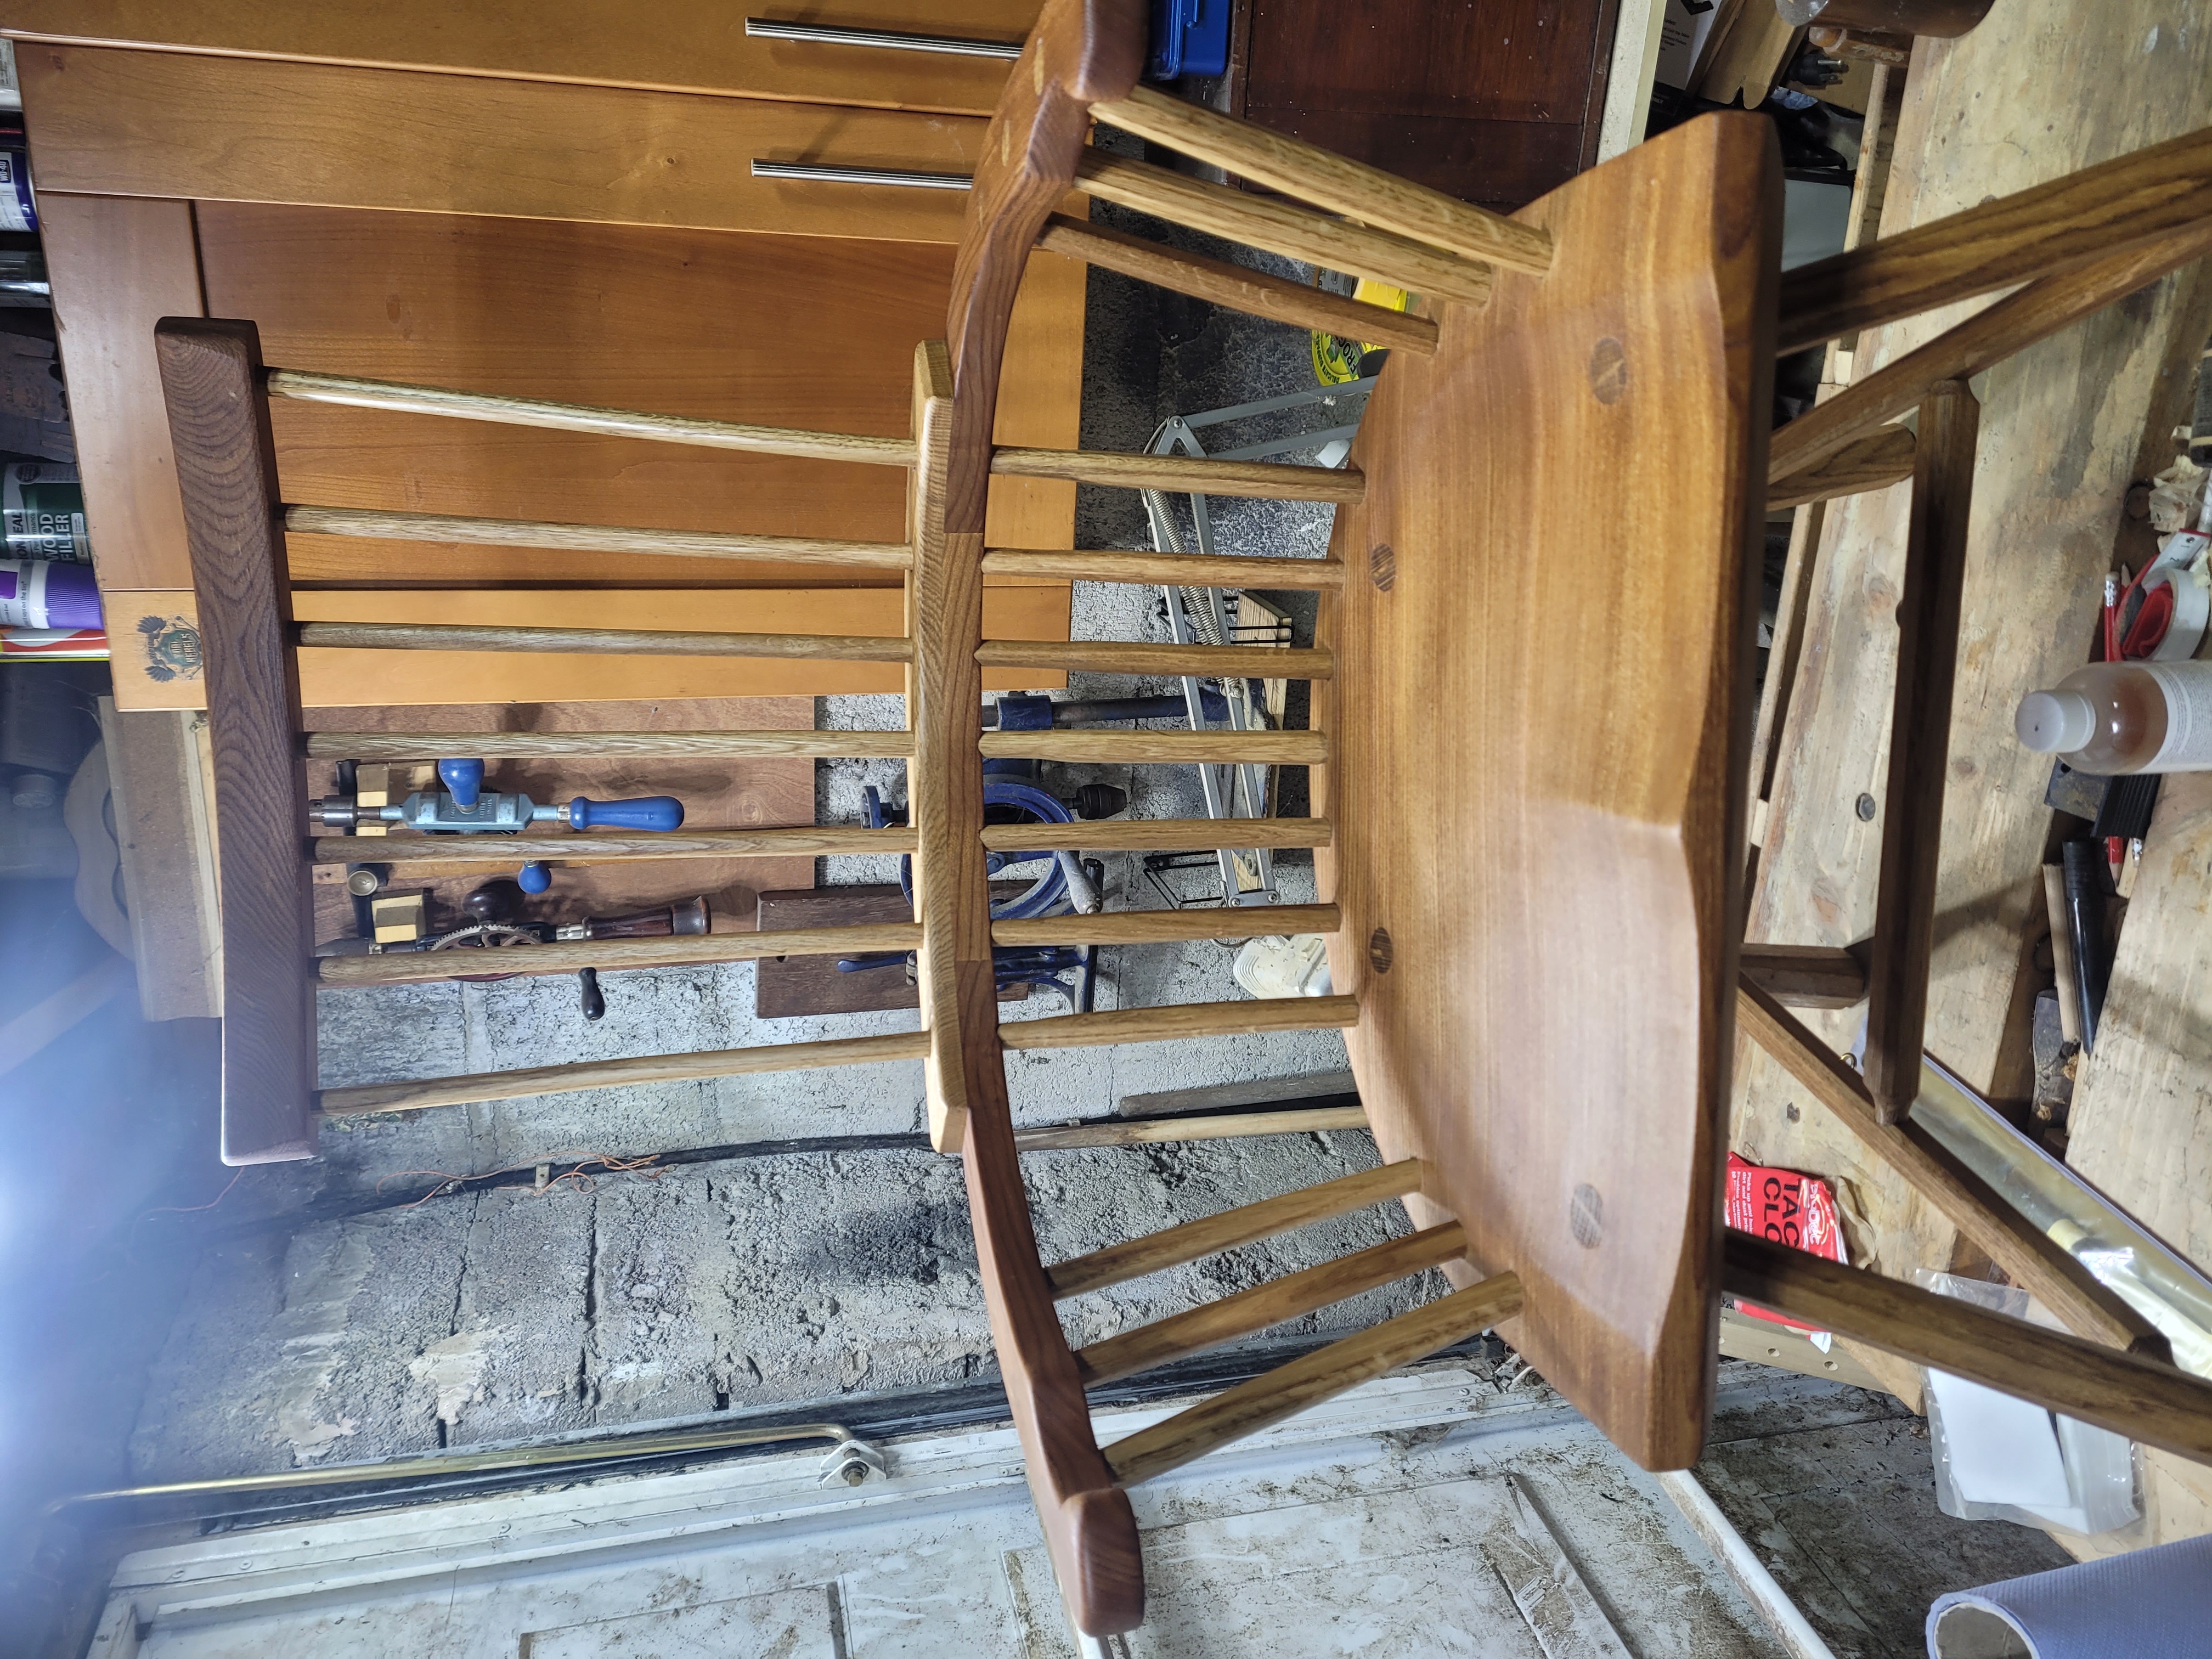
The chair before finish.
The chair after the finish. I’m loving the colours. A few more coats and oil, then some wax. And it will be done!