Lap Joints
I’ve never made a lap joint before. When I attempt something new, I like to read several accounts of how others do it, and ideally watch a few videos first. Lap joints would appear to be considered so obvious that I could not really find a detailed blow by blow guide. If anyone knows of a good one, please point me towards it.
At the risk of boring everyone to death on a relatively boring joint. What follows is a detailed account of how I approached it. To start with, the stock needs to be square. If its not square all round, your reference surfaces will be off, and you will get gaps. For my project, its not really important that the finished frame is perfectly square, but I’m going to do my best for the sake of it.
See the photos below, for a step by step in detail.
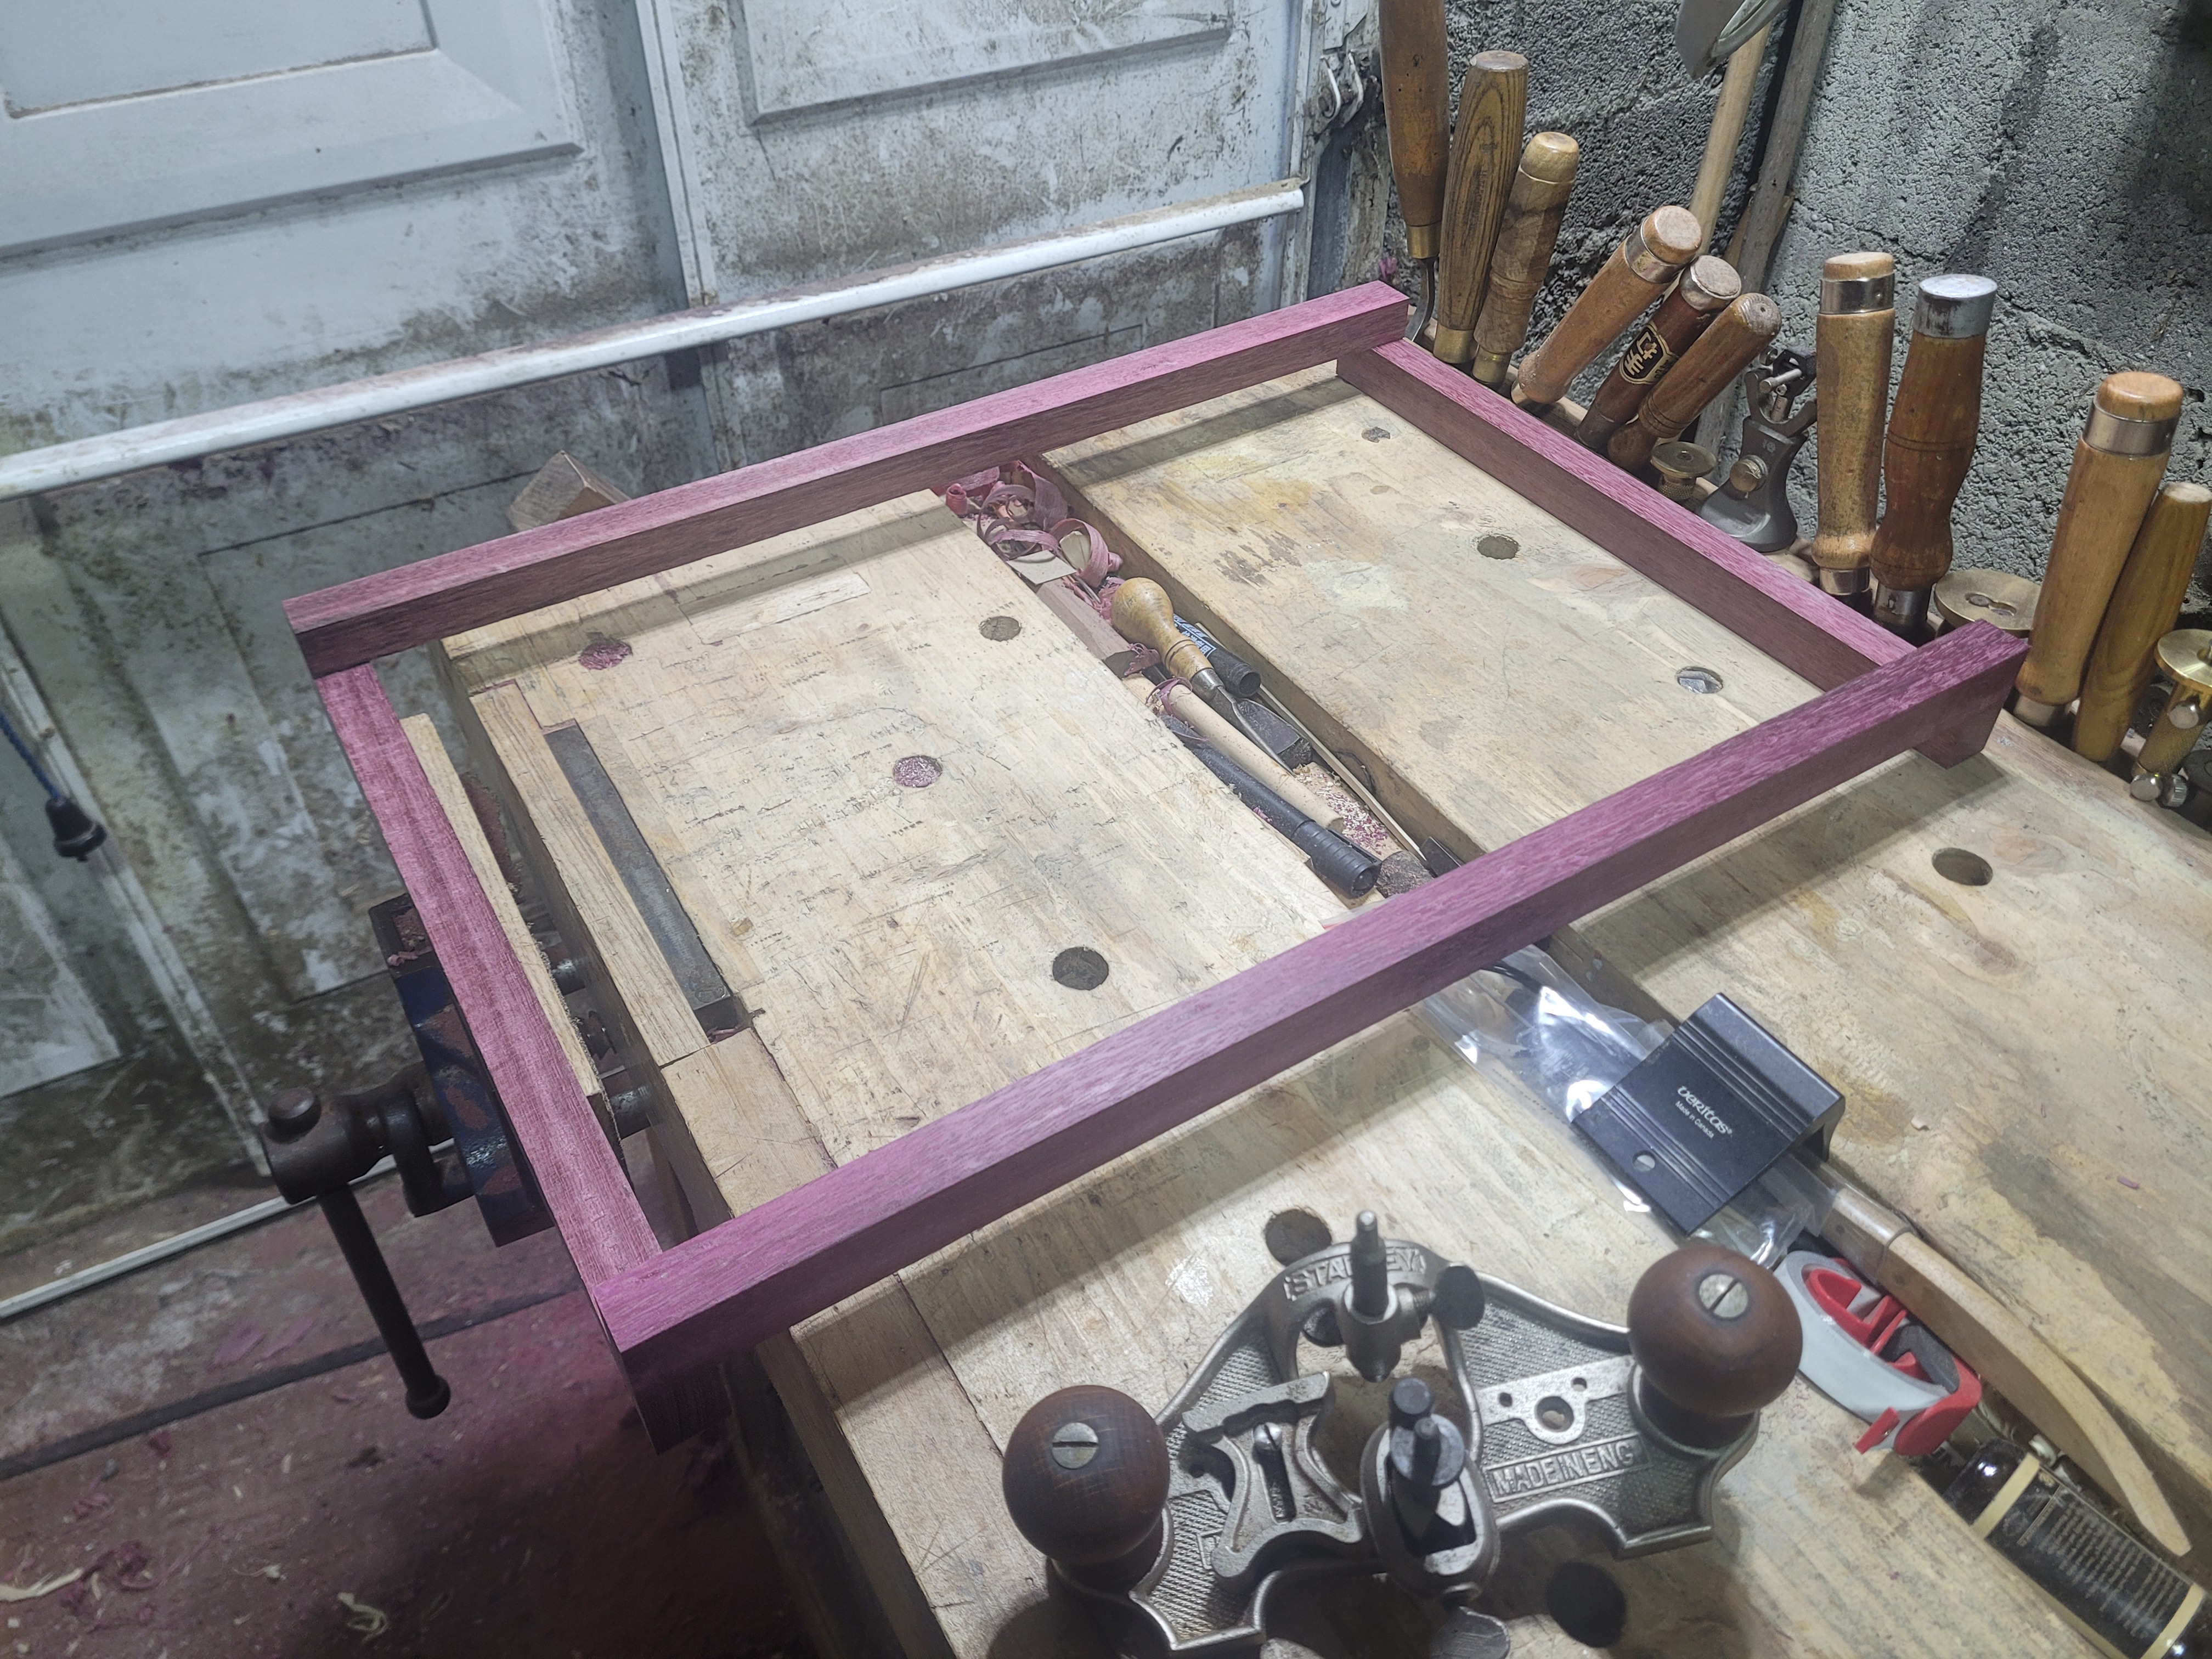
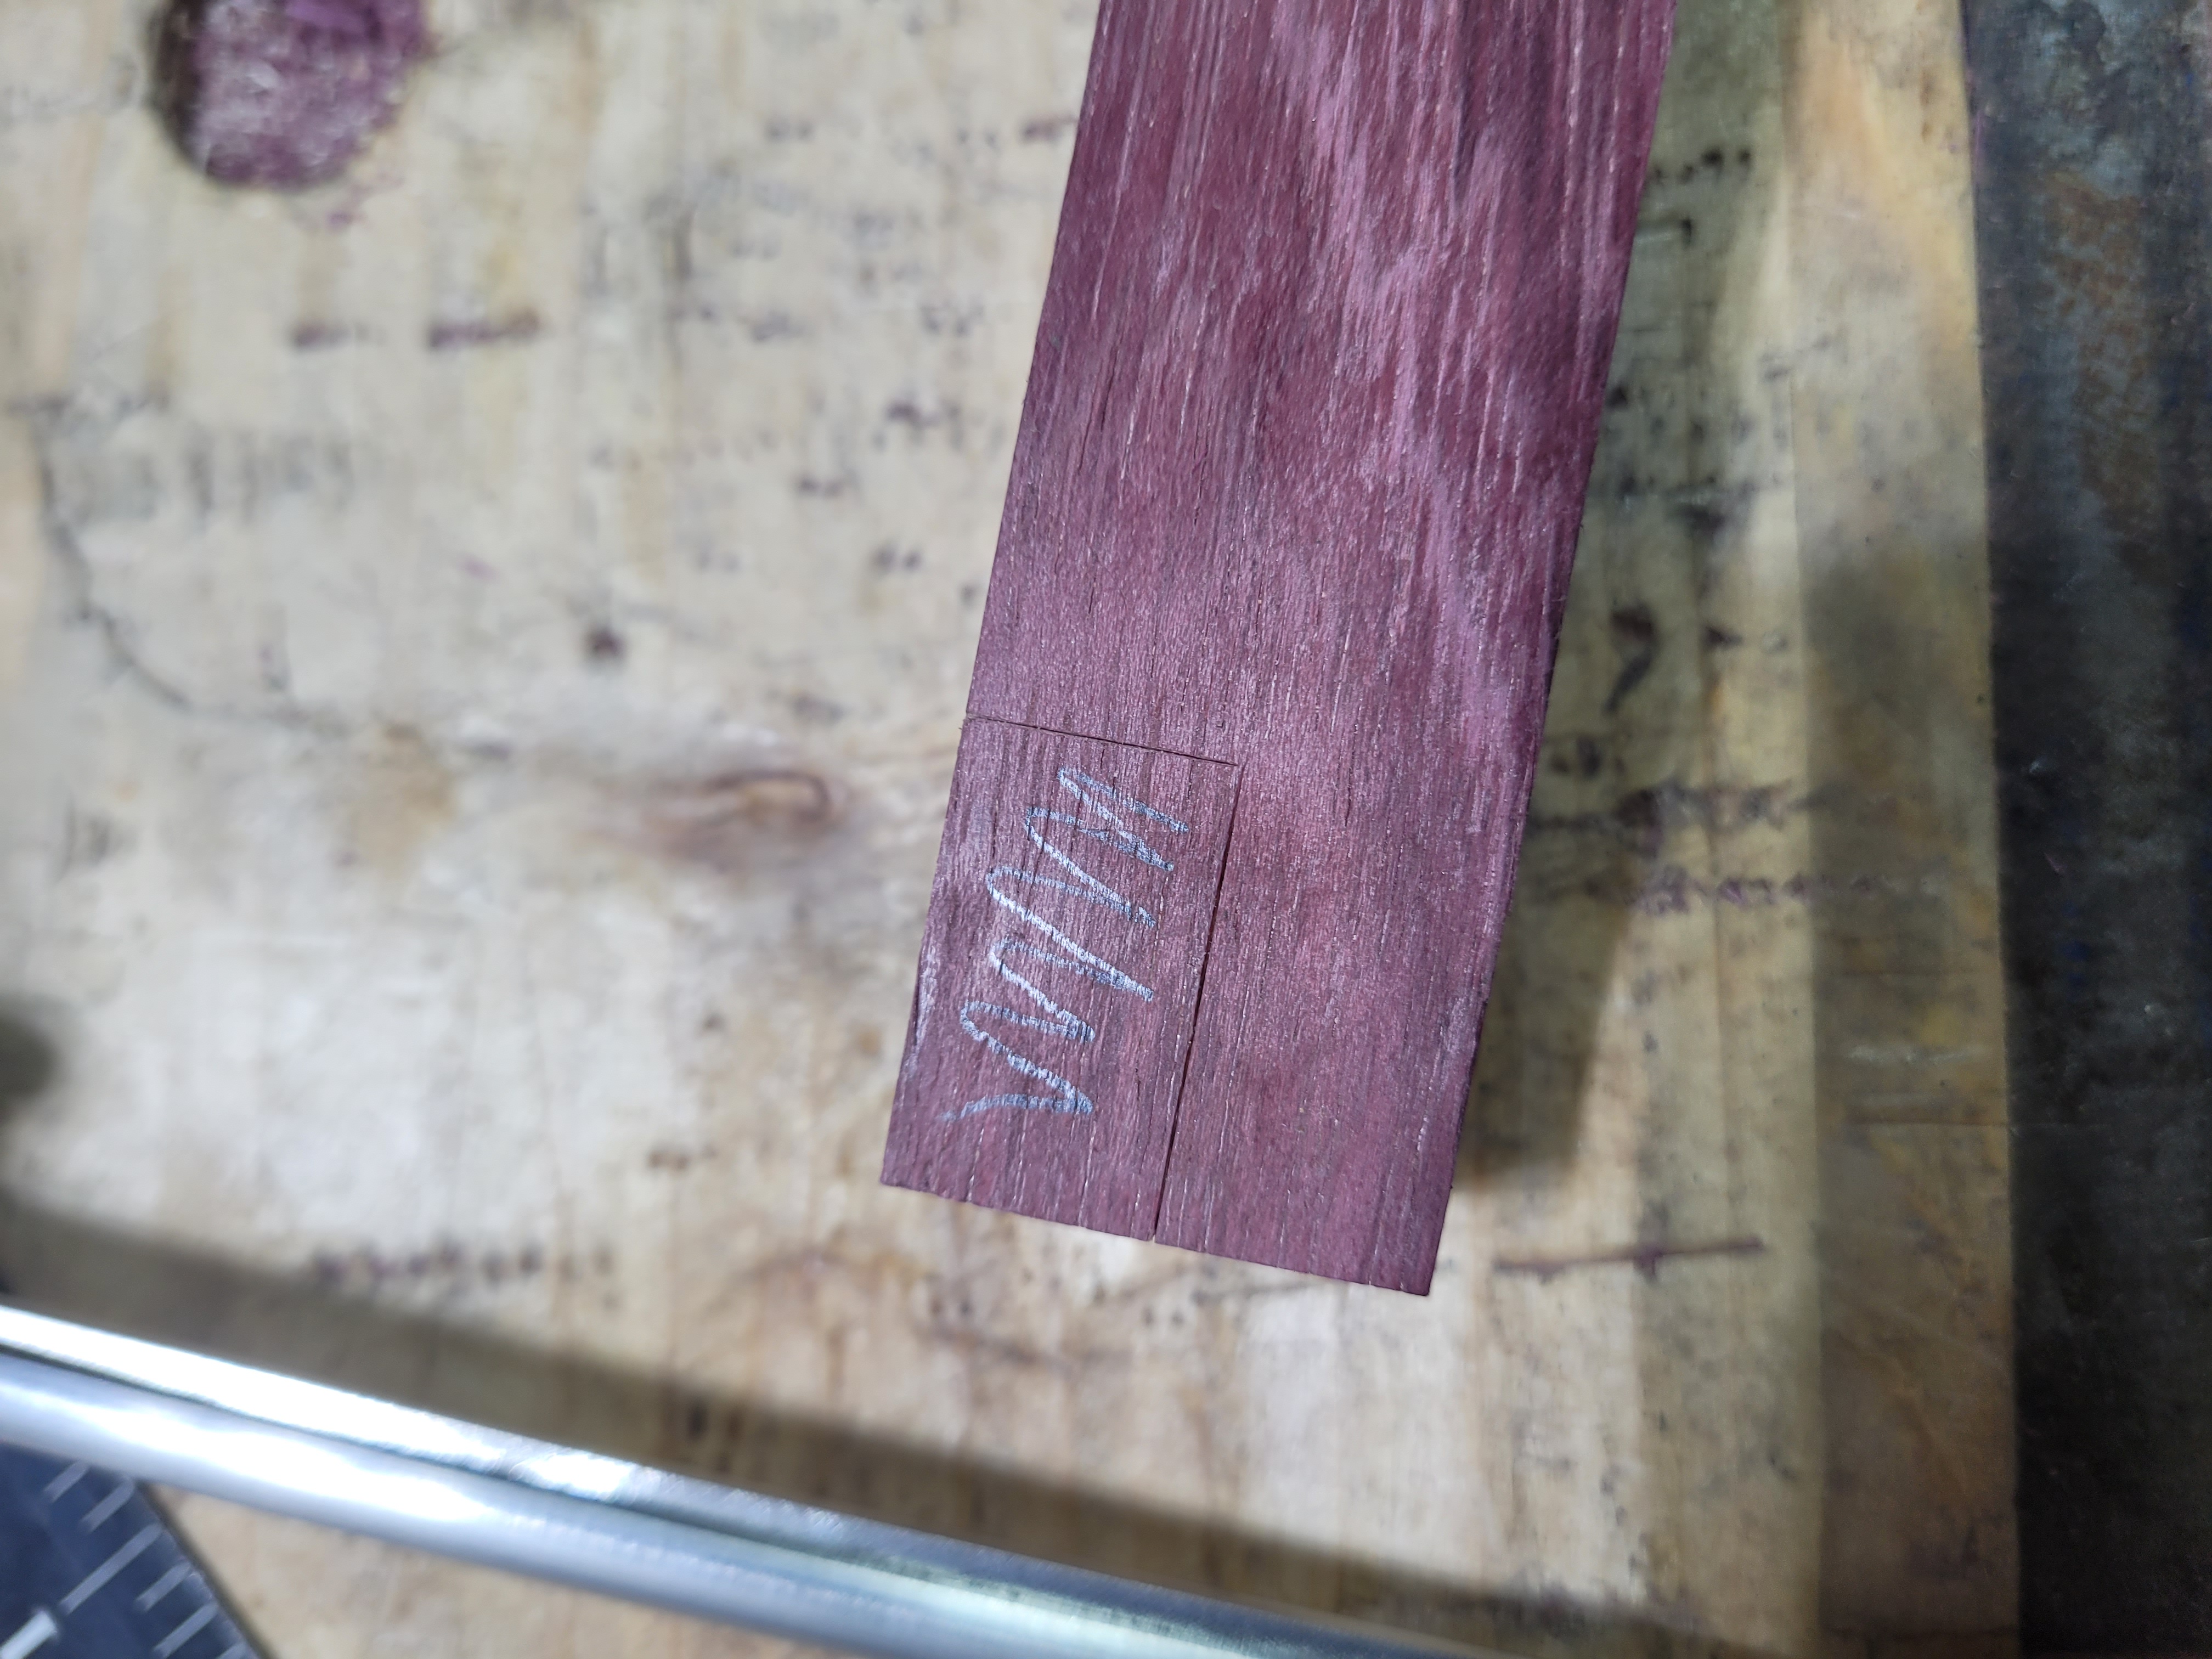
To start with I laid my pieces out on the bench. Both the side pieces and the front and back pieces had been taken to matching length on the shooting board. I rotated the pieces to pick my show faces. Then I marked each pair. A “1” on each piece in the top left, with the mark being put on the surface away from where I will be cutting. Then a pair of “2”s going clockwise, followed by 3s and 4s. This makes it easy for me to reconstruct the pieces in the right position later.
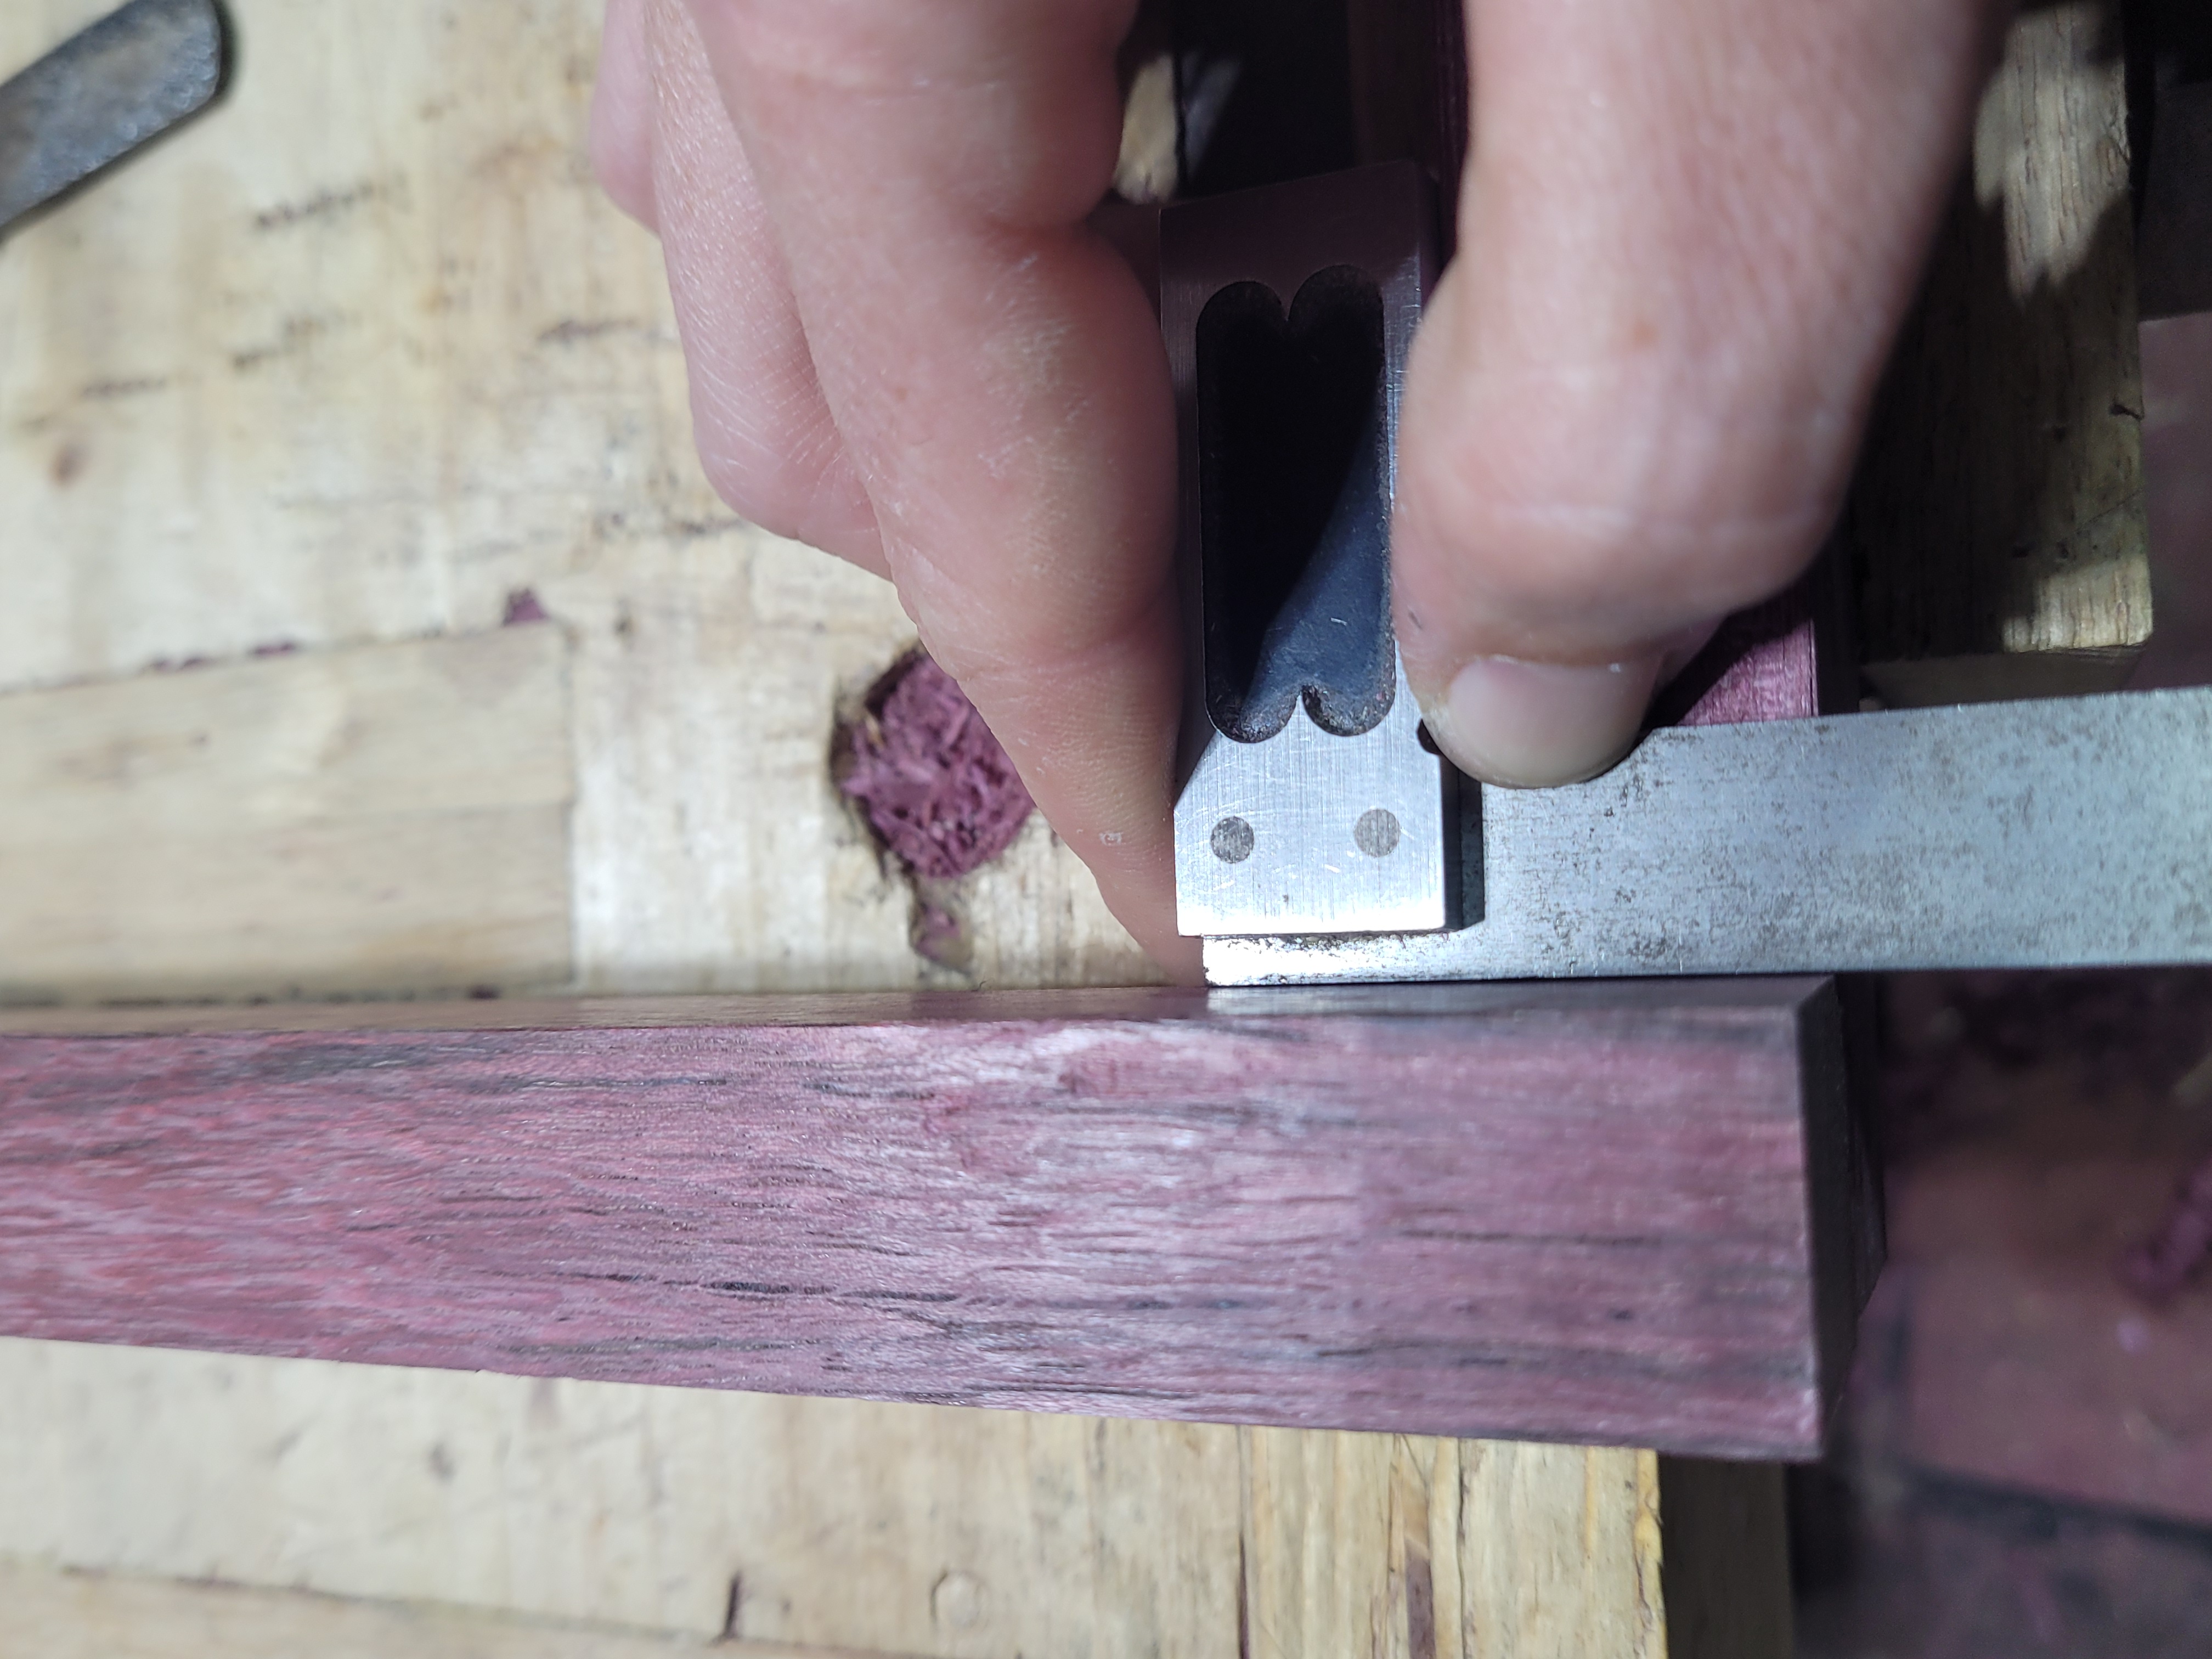
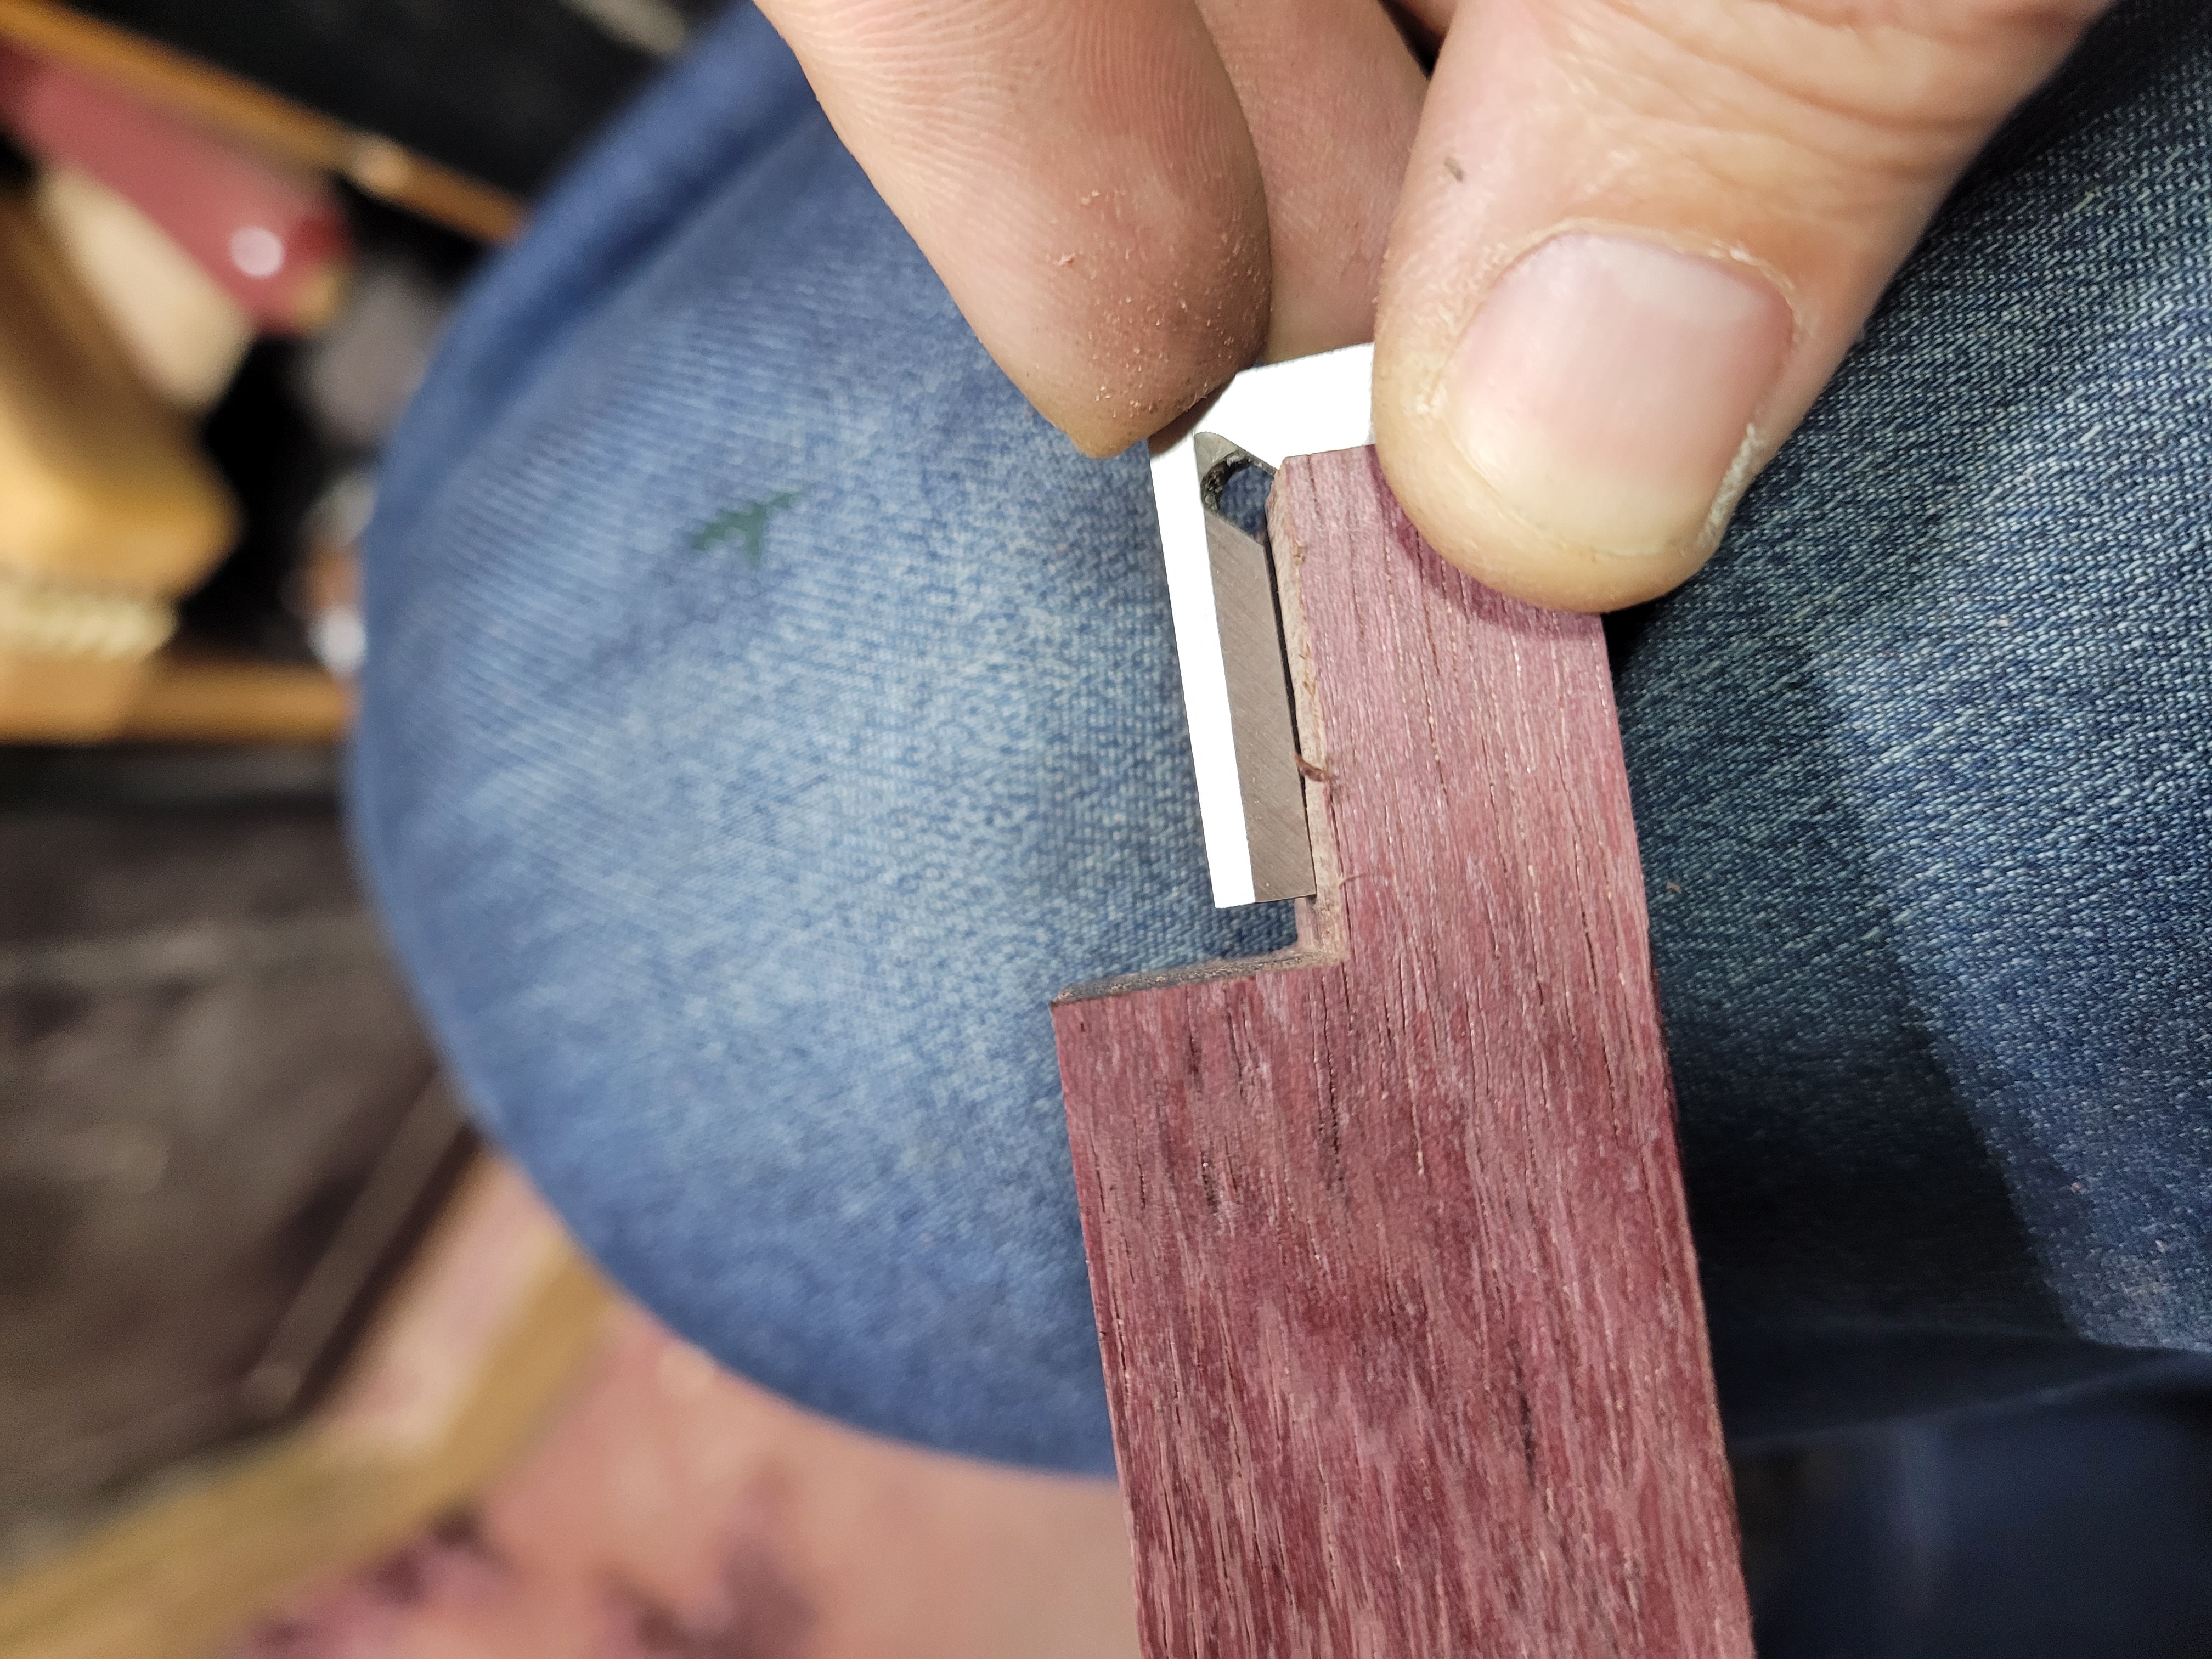
Now its time to mark the first cut. I’m marking out the bottom left corner of the frame. The square references the inside surface, so the resulting frame should end up square on the inside. The blade is butted up against the upper piece of the lap joint. I use my fingertips on the left of the upper workpiece to ensure its exactly in line with the lower piece. I make sure the upper piece is square to the lower piece. When I’m happy with that, I hold the square in place with my hand, and remove the upper piece. Coming in with the square from the right, means my single bevel marking knife will have its bevel on the waste side, which helps with accuracy.
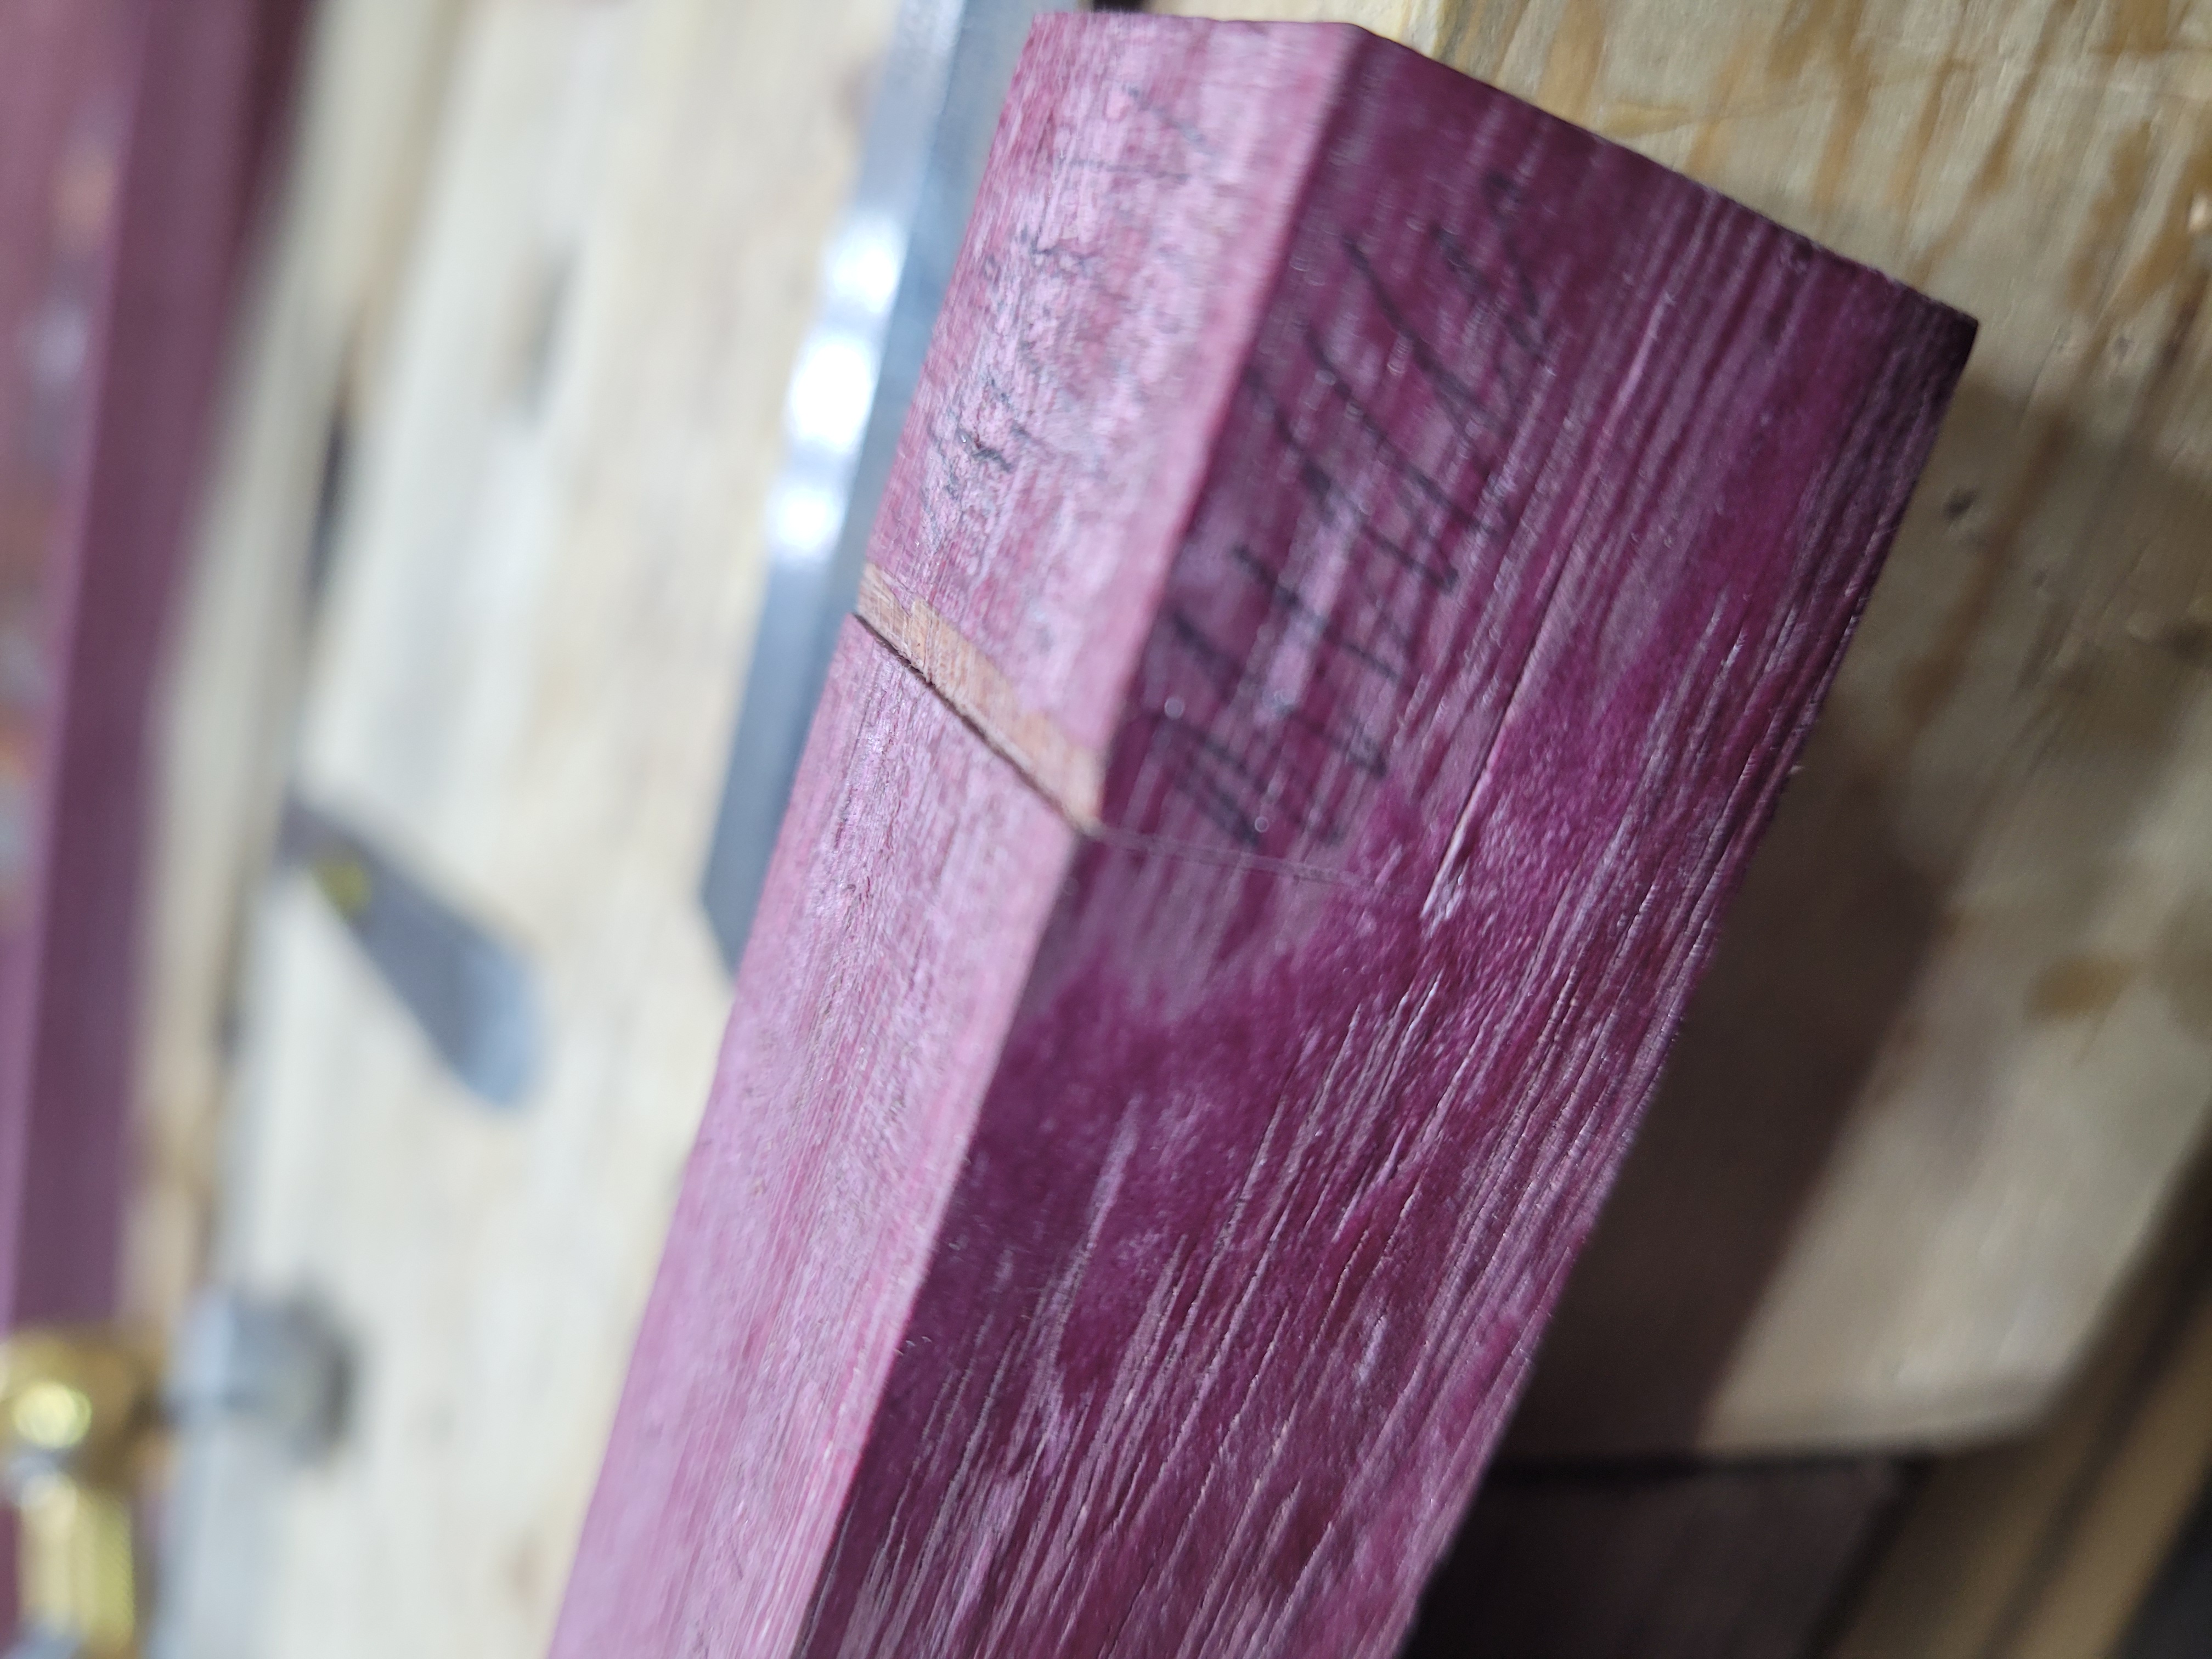
The line left by my marking knife. This is really 3 passes. A light, a medium and then a heavy. The Purpleheart is tough and really needs it.
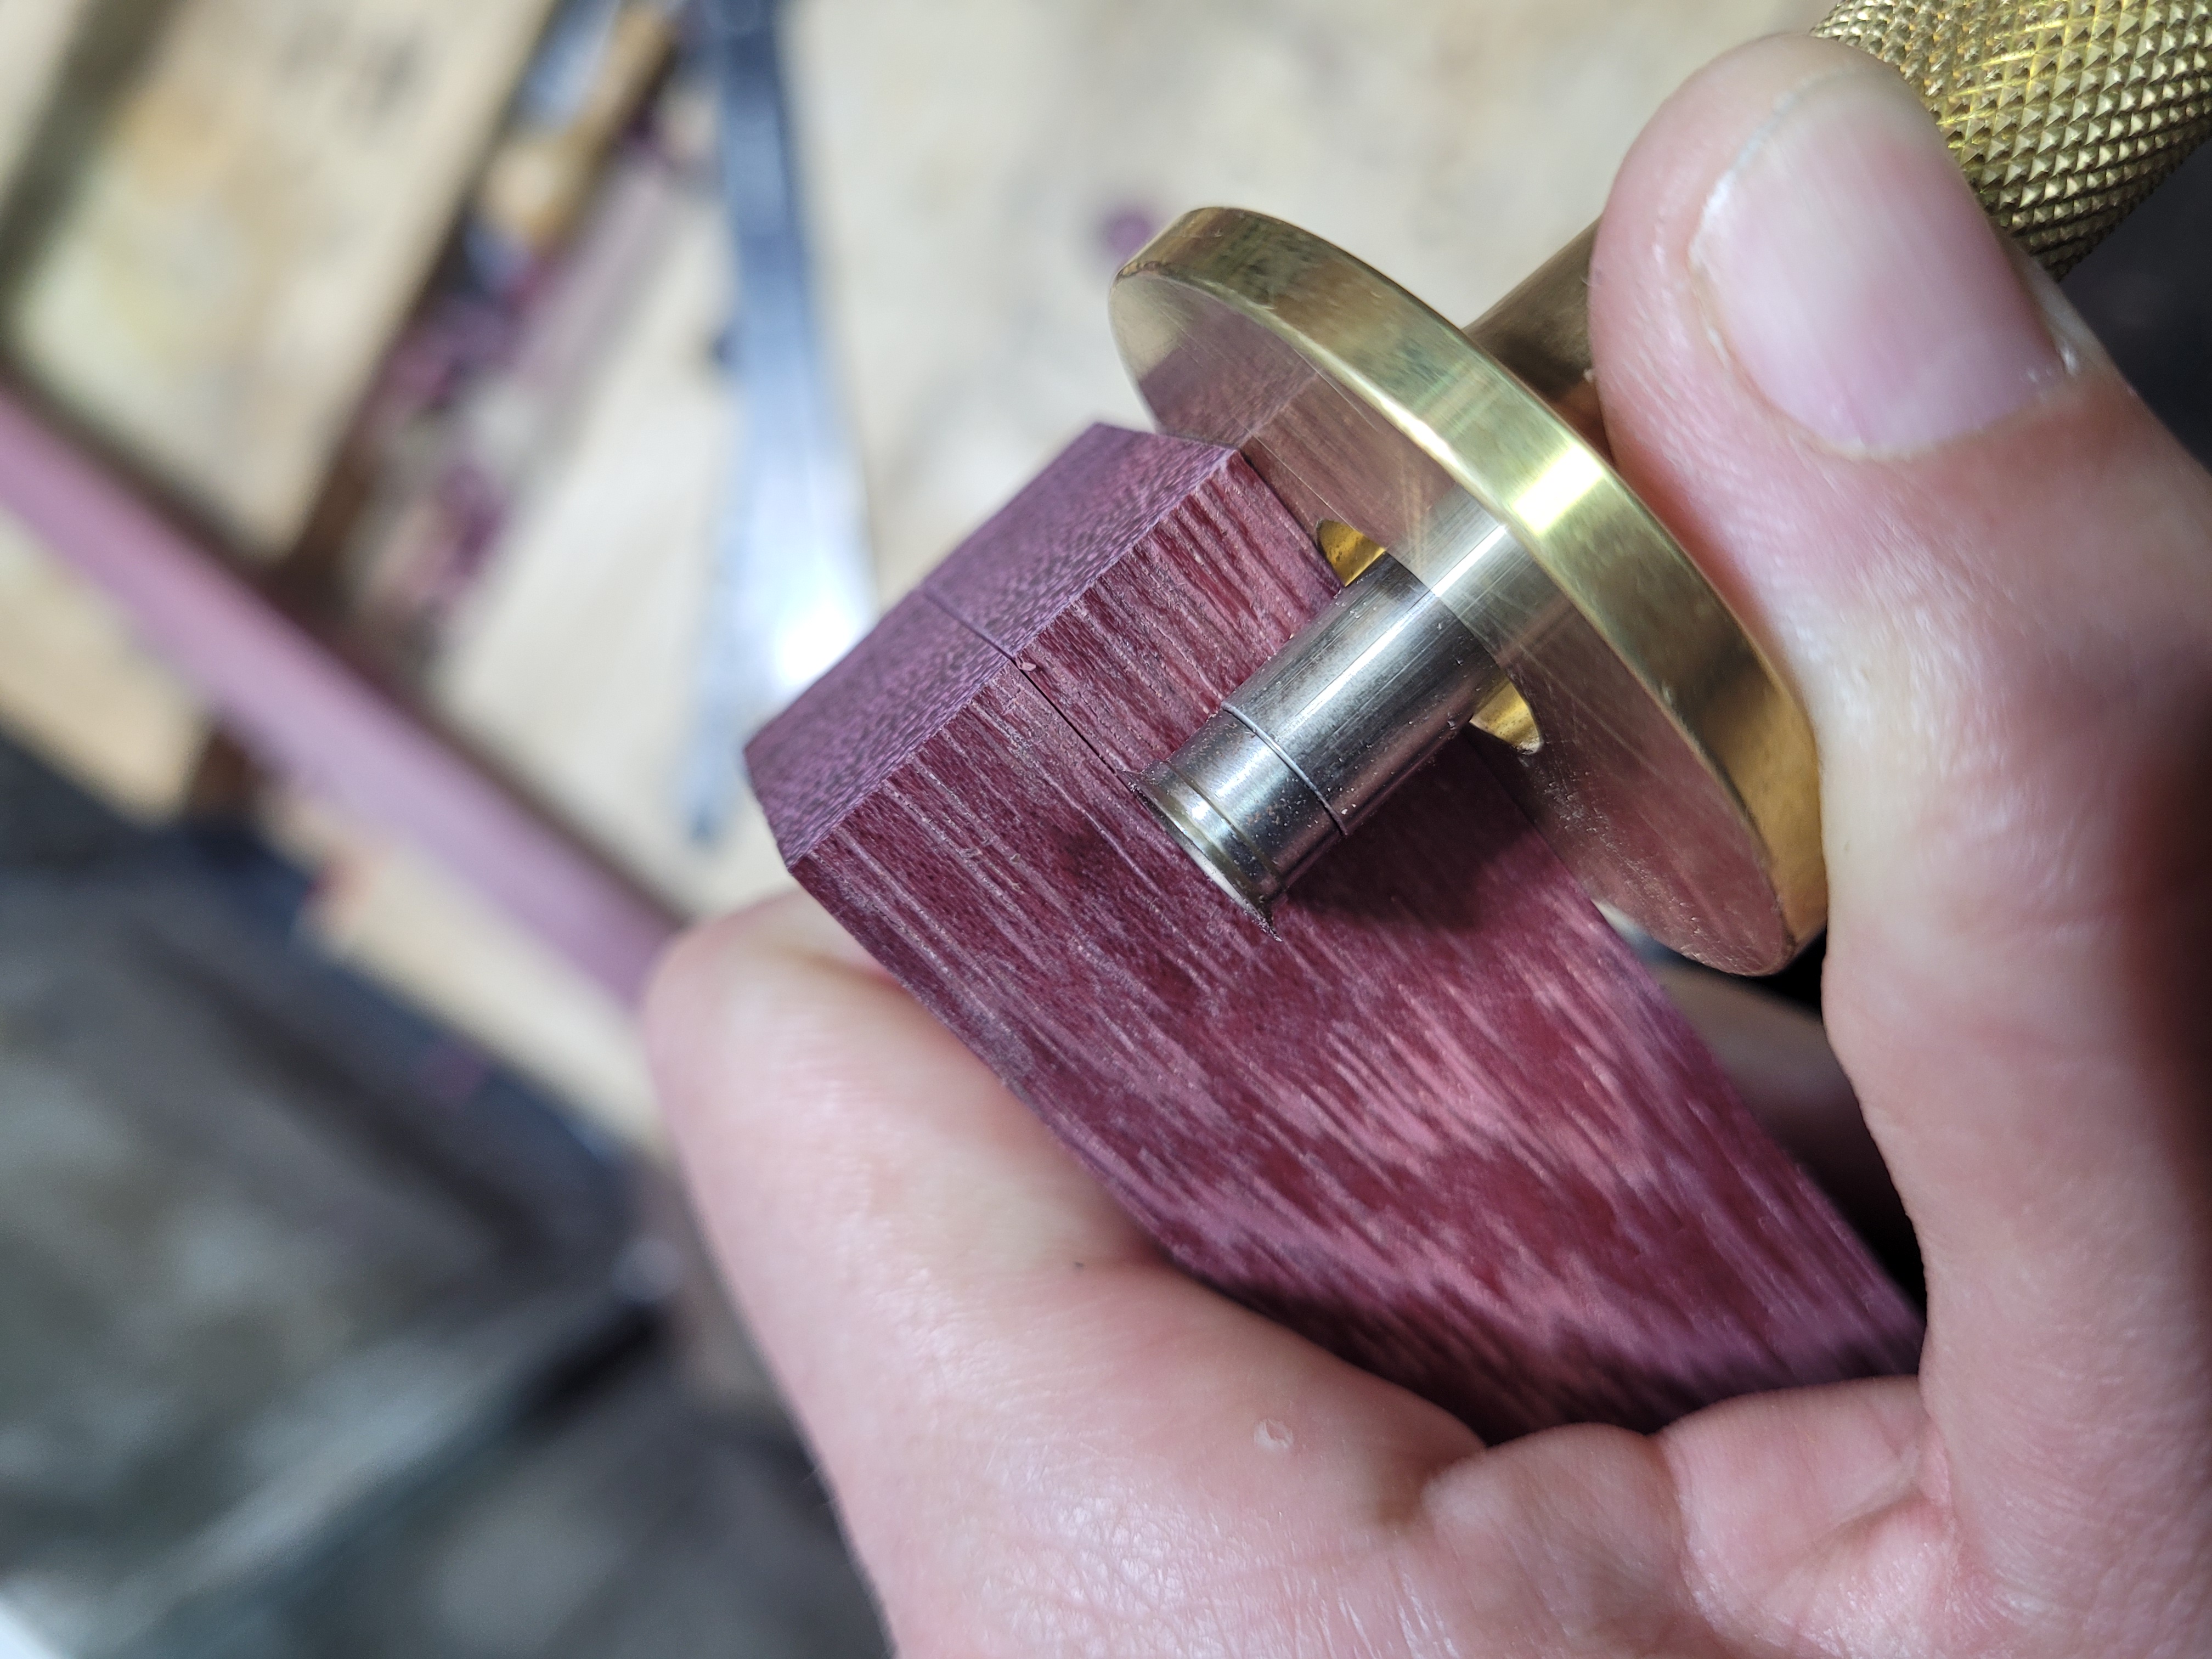
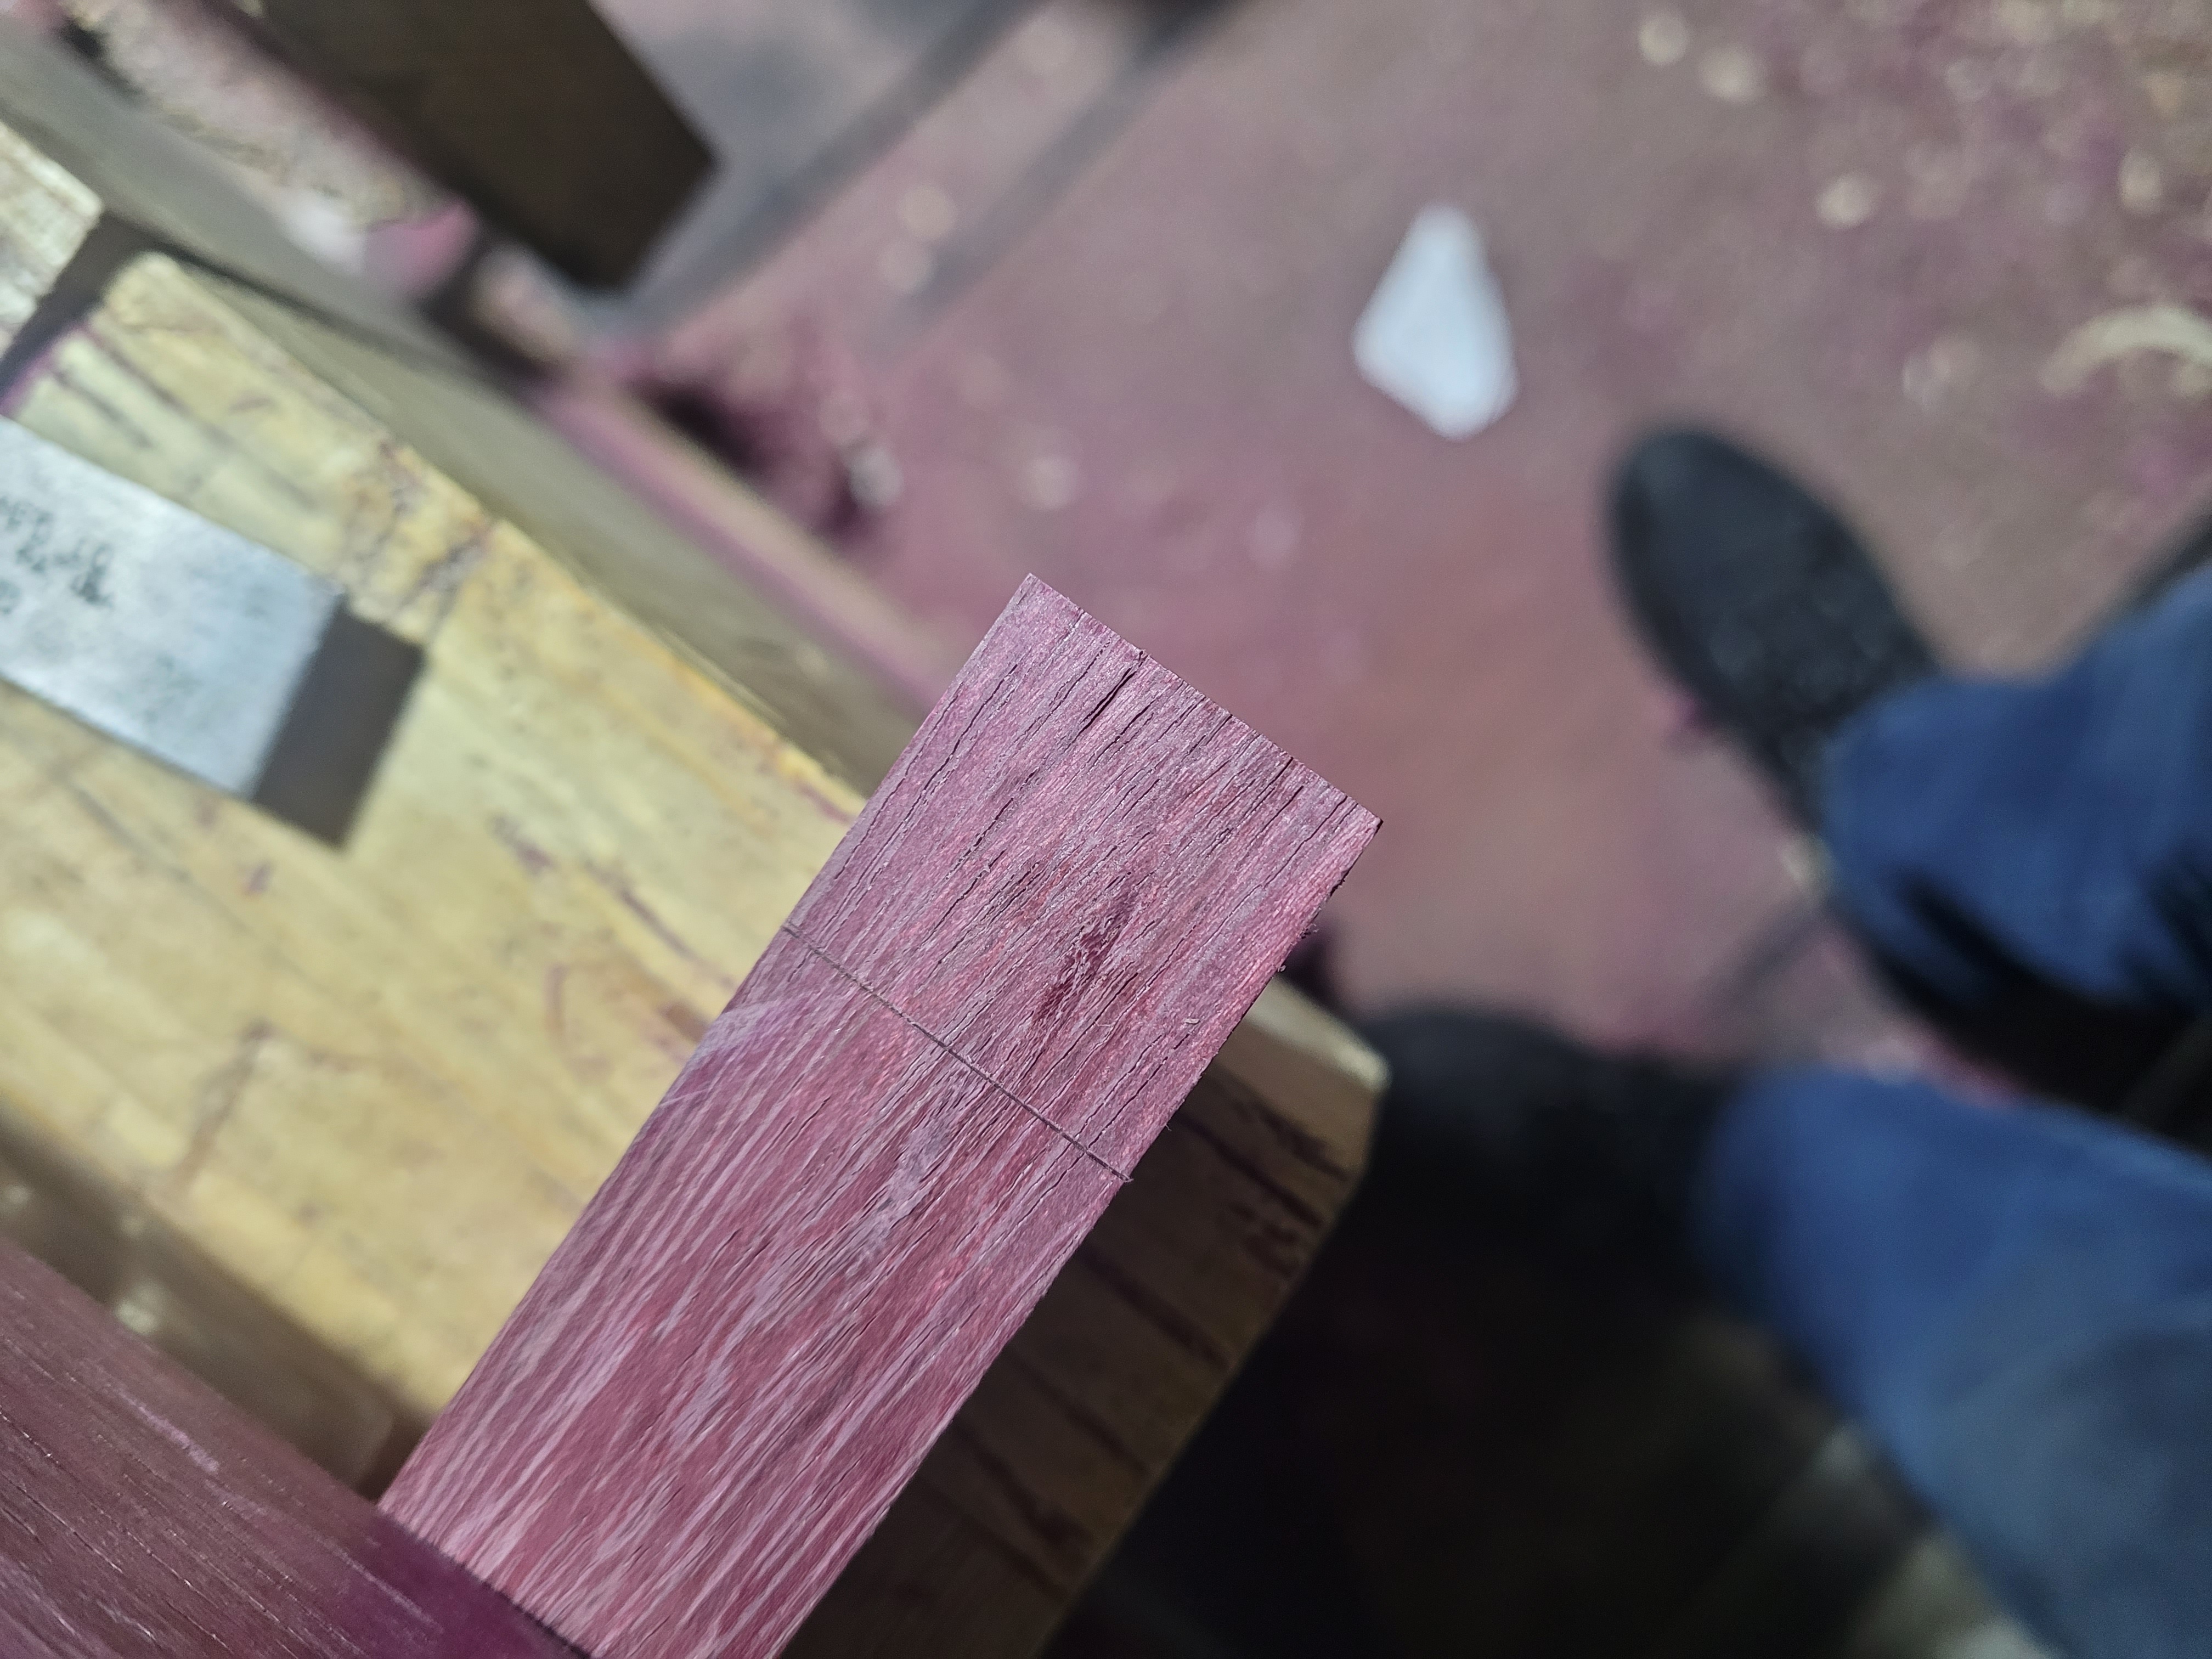
With the top line in place, I set my marking gauge to half the height of the workpiece, and mark the end grain all the way across. I carefully mark the sides, stopping a tiny bit short of where I can see I should stop by looking at the previously marked line at the top. Its hard to stop in exactly the right place with a wheel gauge, better to be a tiny bit short.
Then I take my square and knife. I run the knife, bevel facing the waste side, along the piece until it drops into the line I already marked on top, then slide the square up to it, and mark down the side. I take care not the go past the marking gauge line. Once I’m finished doing that on both sides, I mark the waste to be removed with a pencil.
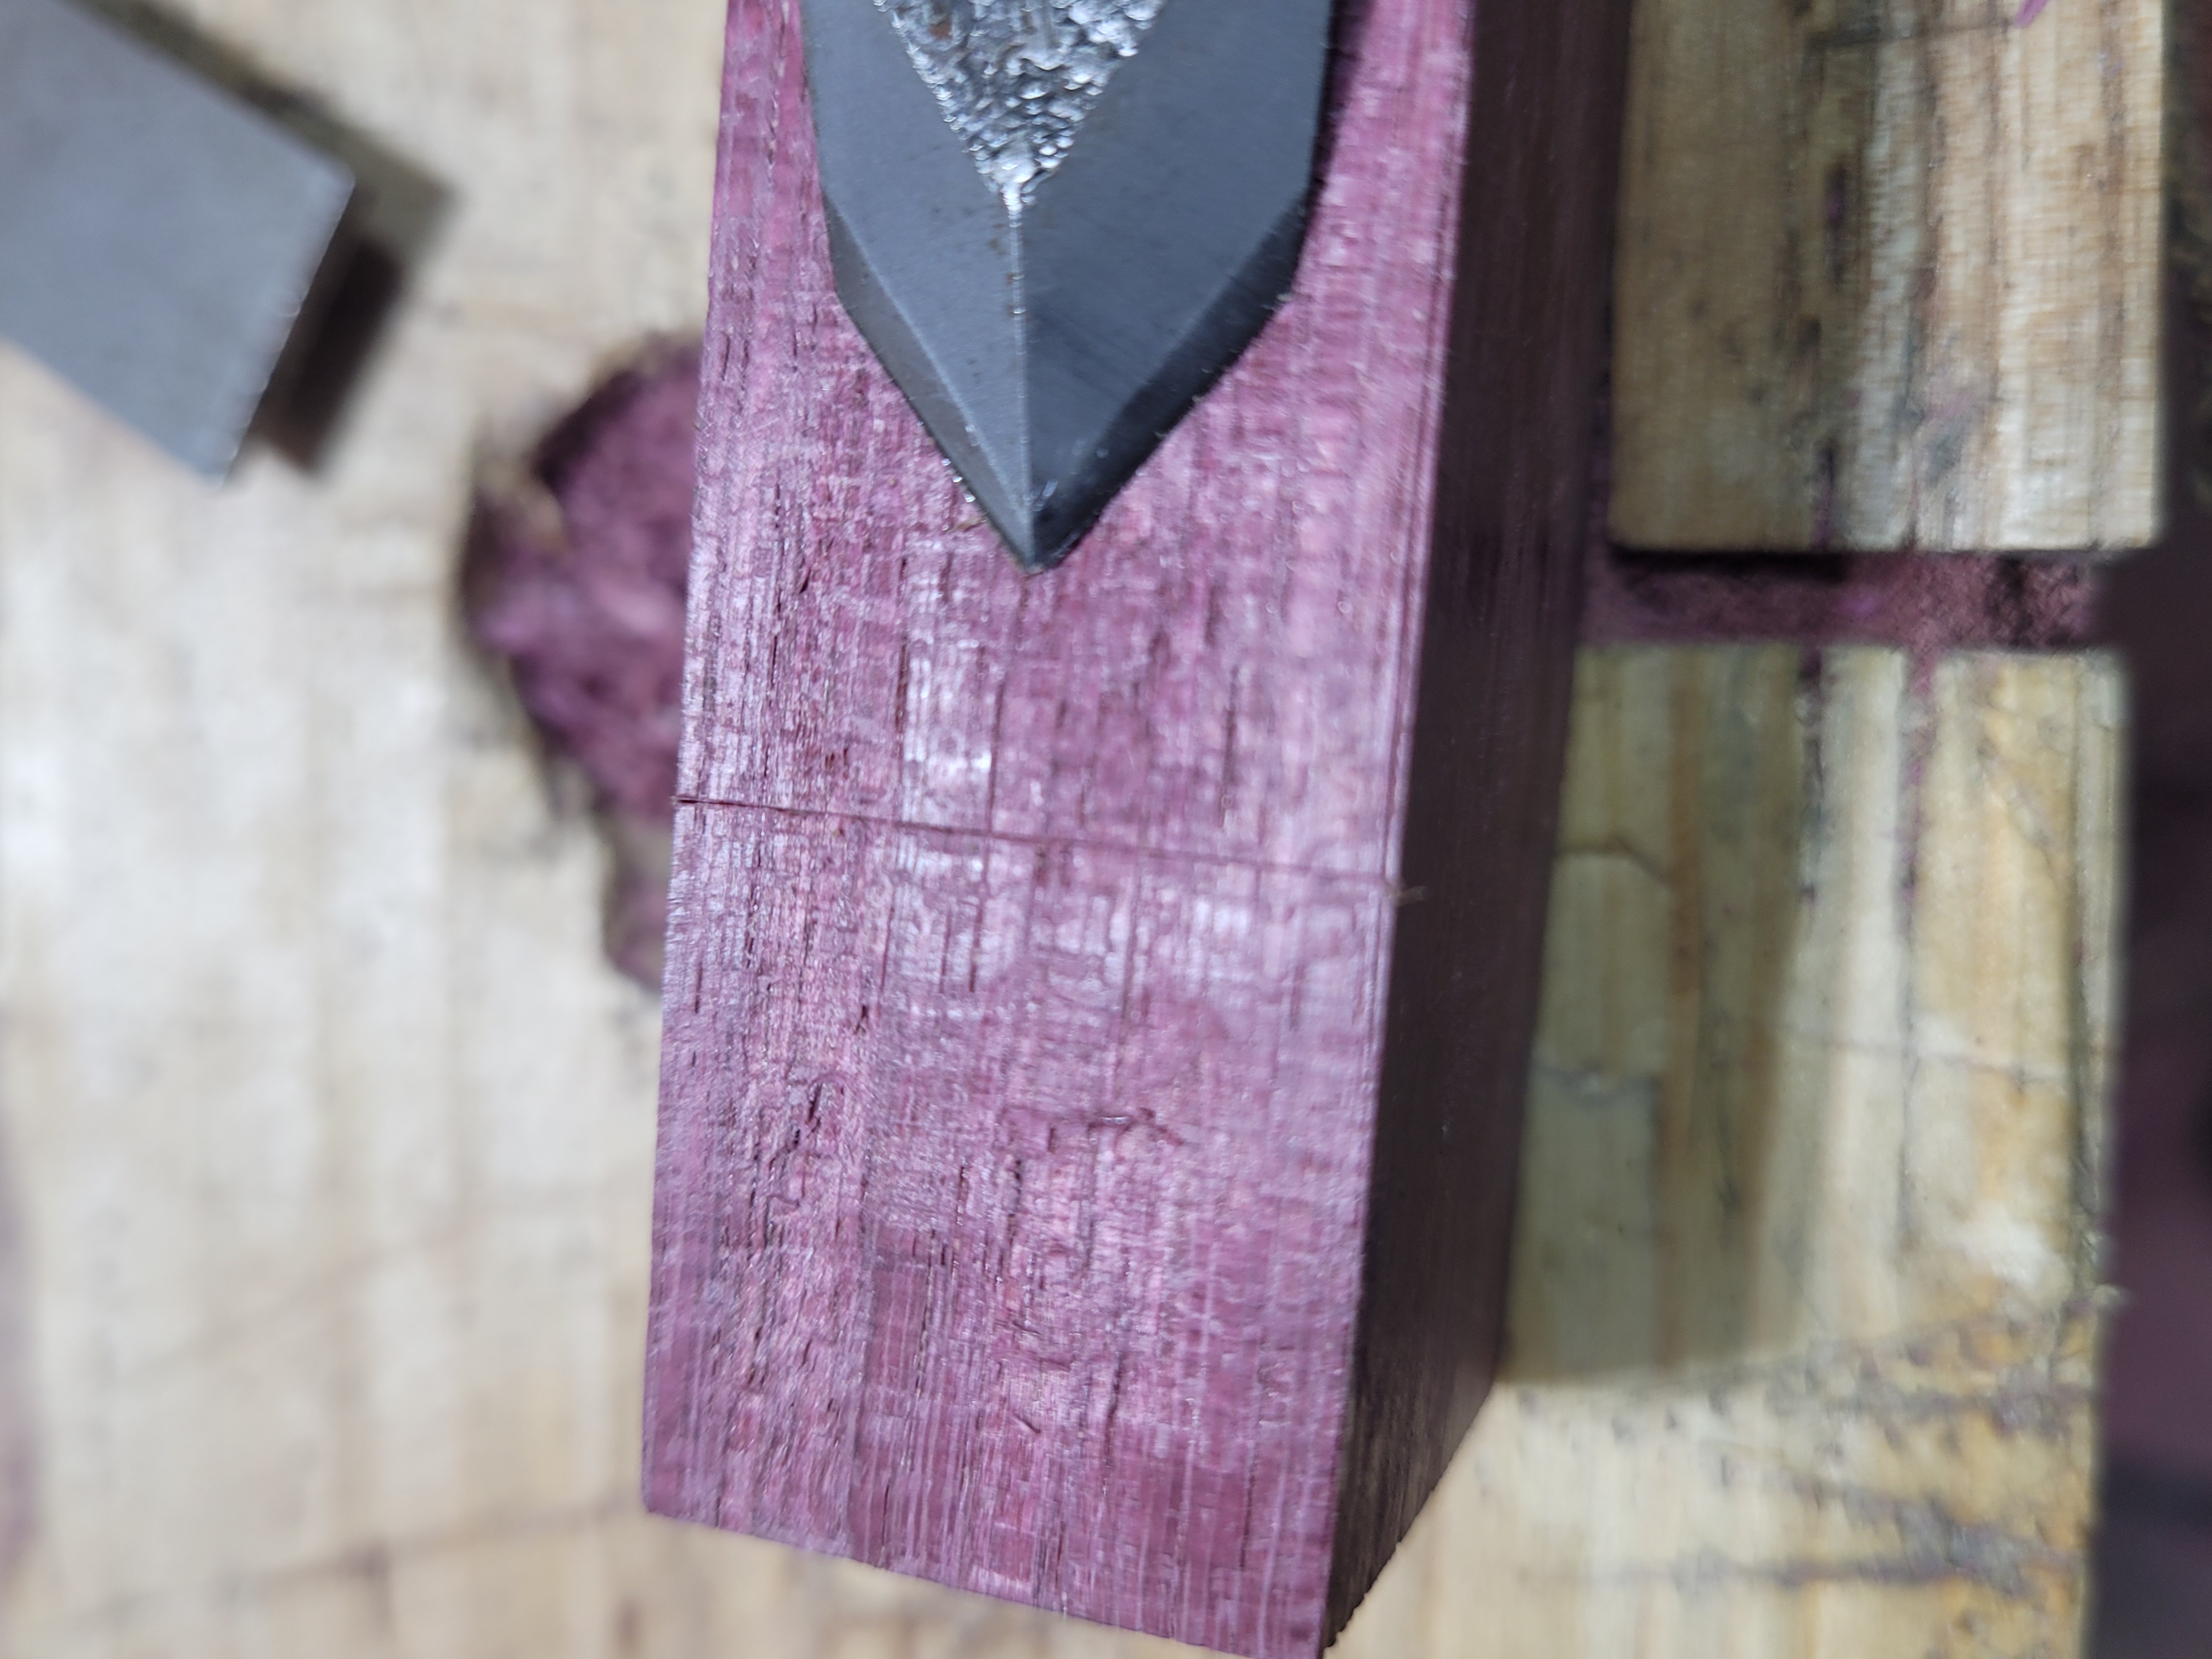
Now I make a knife wall to help me when it comes time to make the cross cut. Take a chisel and make a very shallow angled cut toward the knife line. If its shallow enough the waste should just fall away. Better to stop short than to cut too deep and erase your knife line. If in doubt, I go back over the line with the knife and cut again with the chisel. Stop when its wide enough to accommodate the saw place, and deep enough that the plate can register against it.
With the saw plate registered against the knife wall, check the reflection of the workpiece to mark sure you are plumb. If the mirror image is off at an angle (its bending slightly up in the photo, not quite right) you are not about to saw plumb. Get a perfect mirror image, and then saw. Don’t panic if you do not saw perfectly plumb, it can be fixed later. Keep an eye on your base knife line and don’t saw past it, better to stop a little short.

The first cut. Notice I’ve stopped short of the base line. The saw kerf from the next cut will meet it anyway.

Now for the rip cut. I have again created a knife wall. Its harder to do this in end grain. Go slow and careful, make sure your chisel is really really sharp. A touch up of the chisel edge right before this is a good idea.
Most of the way down.
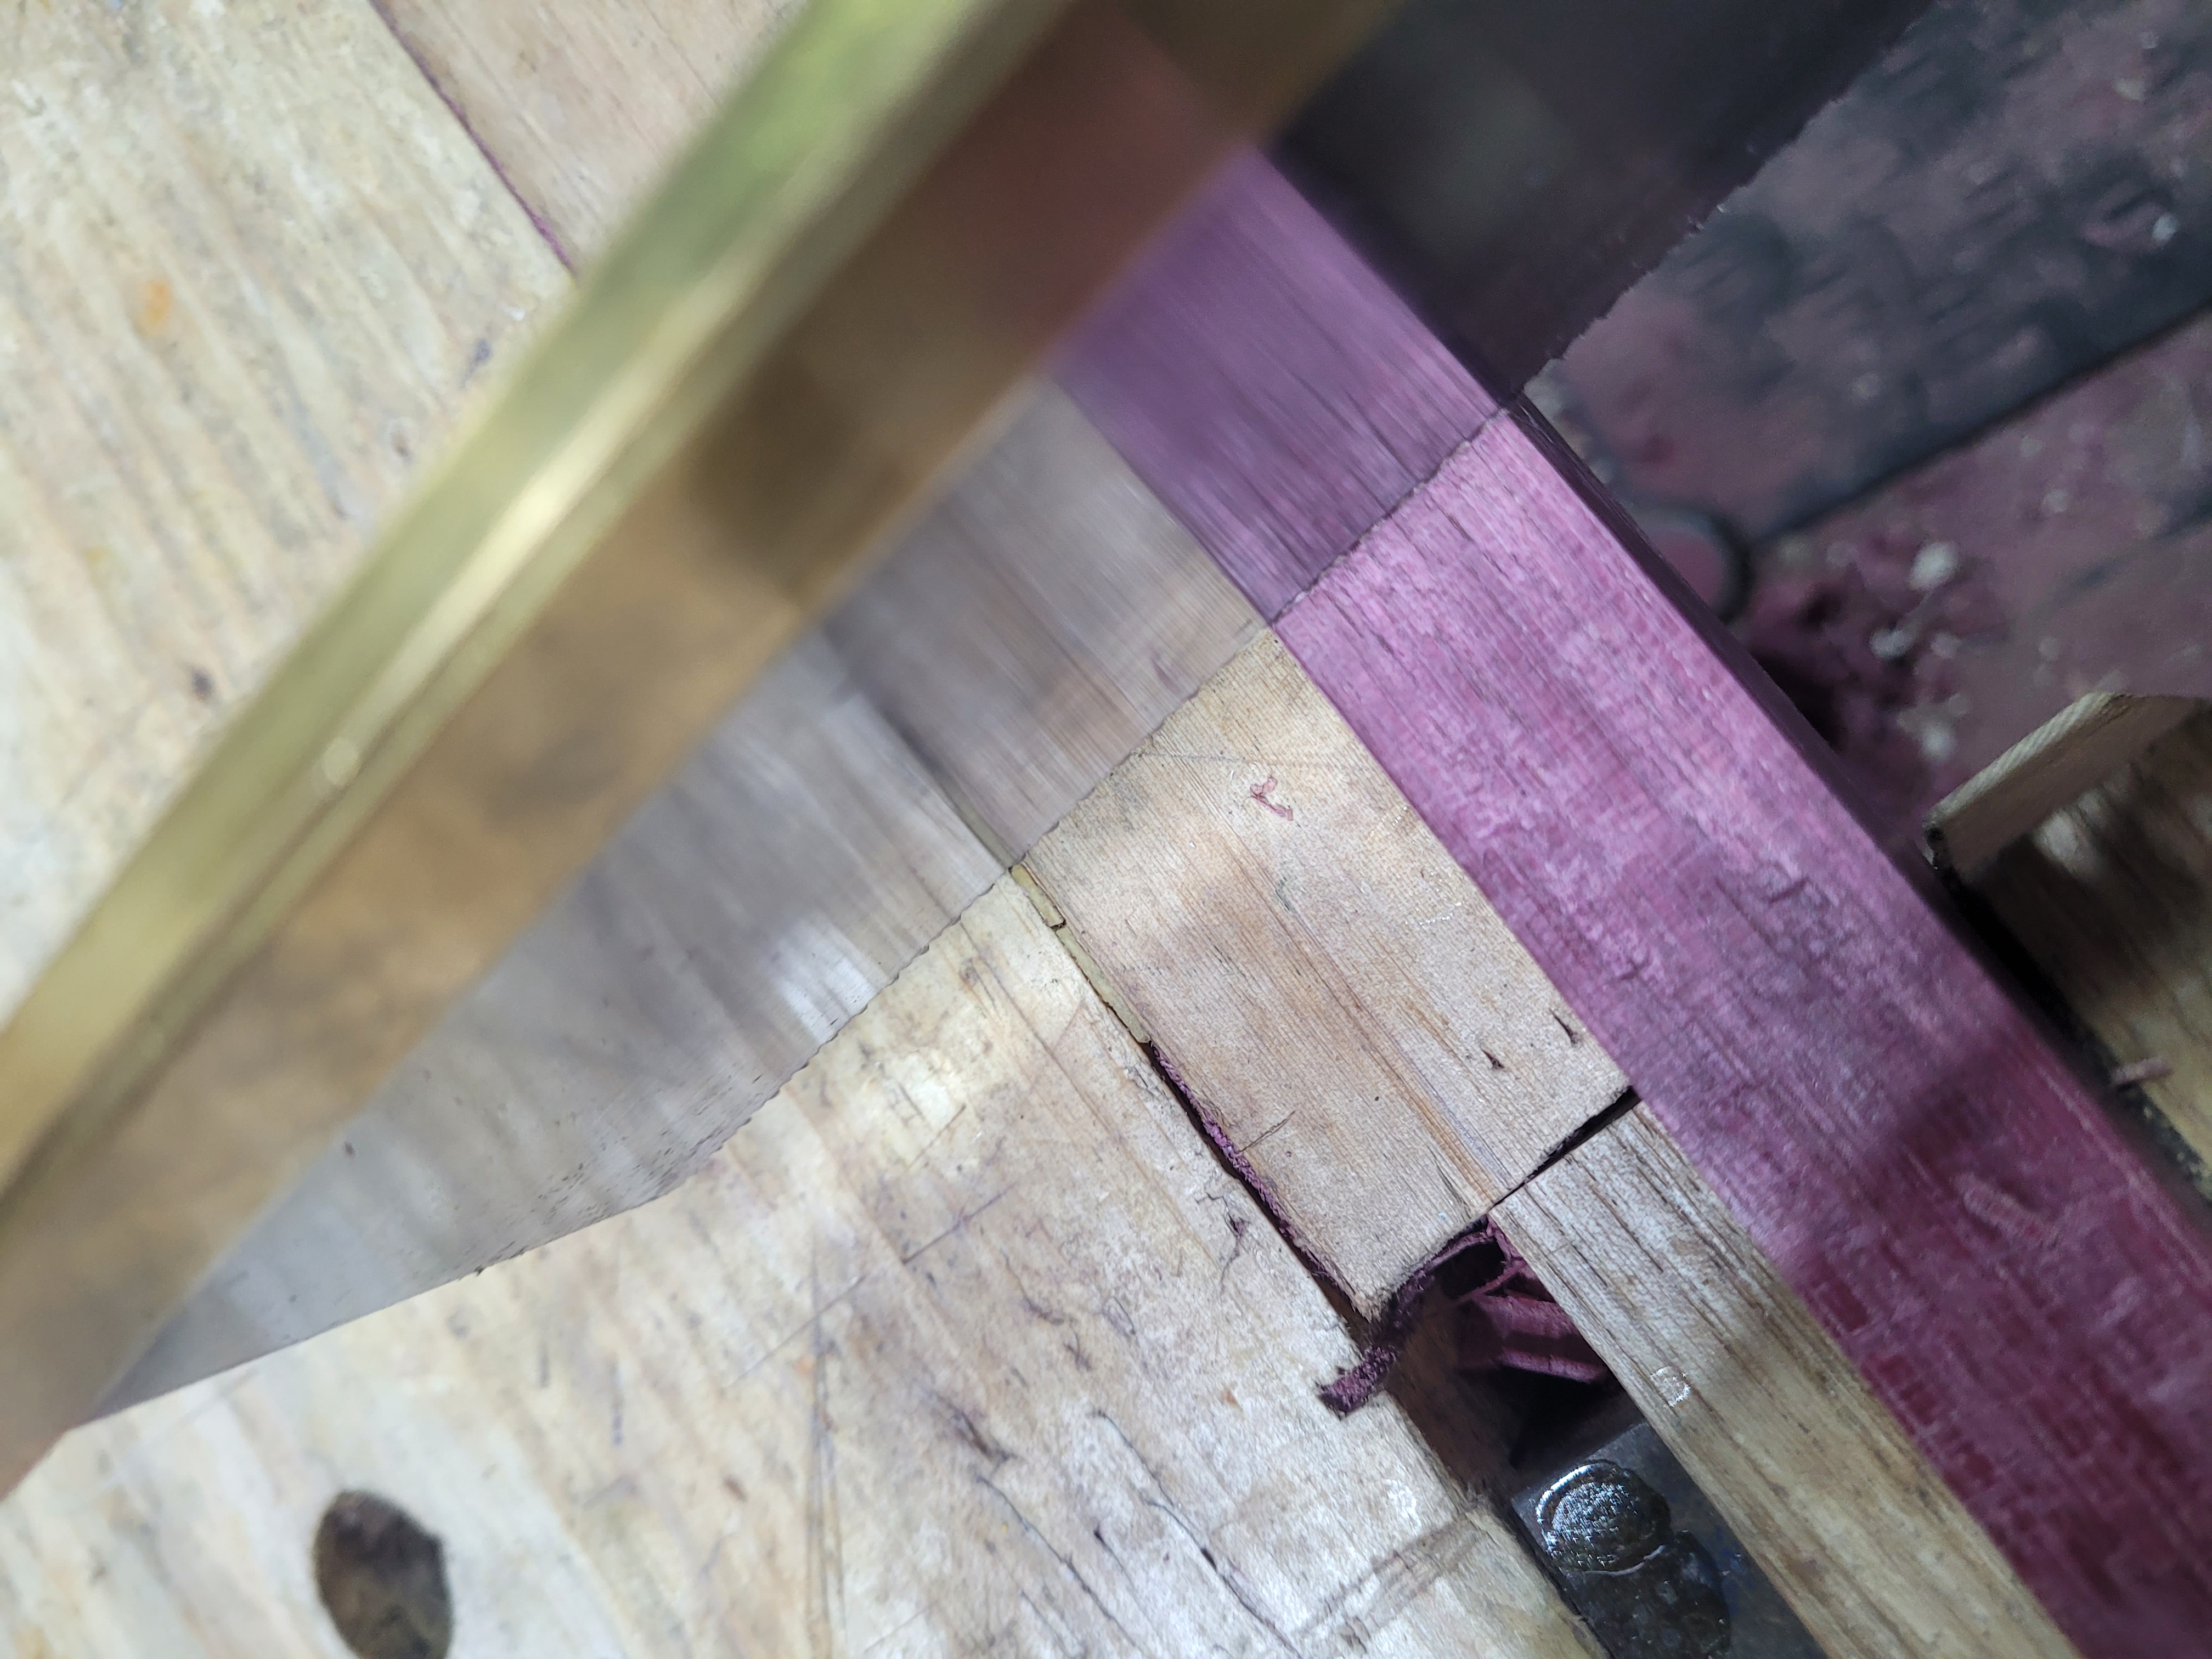
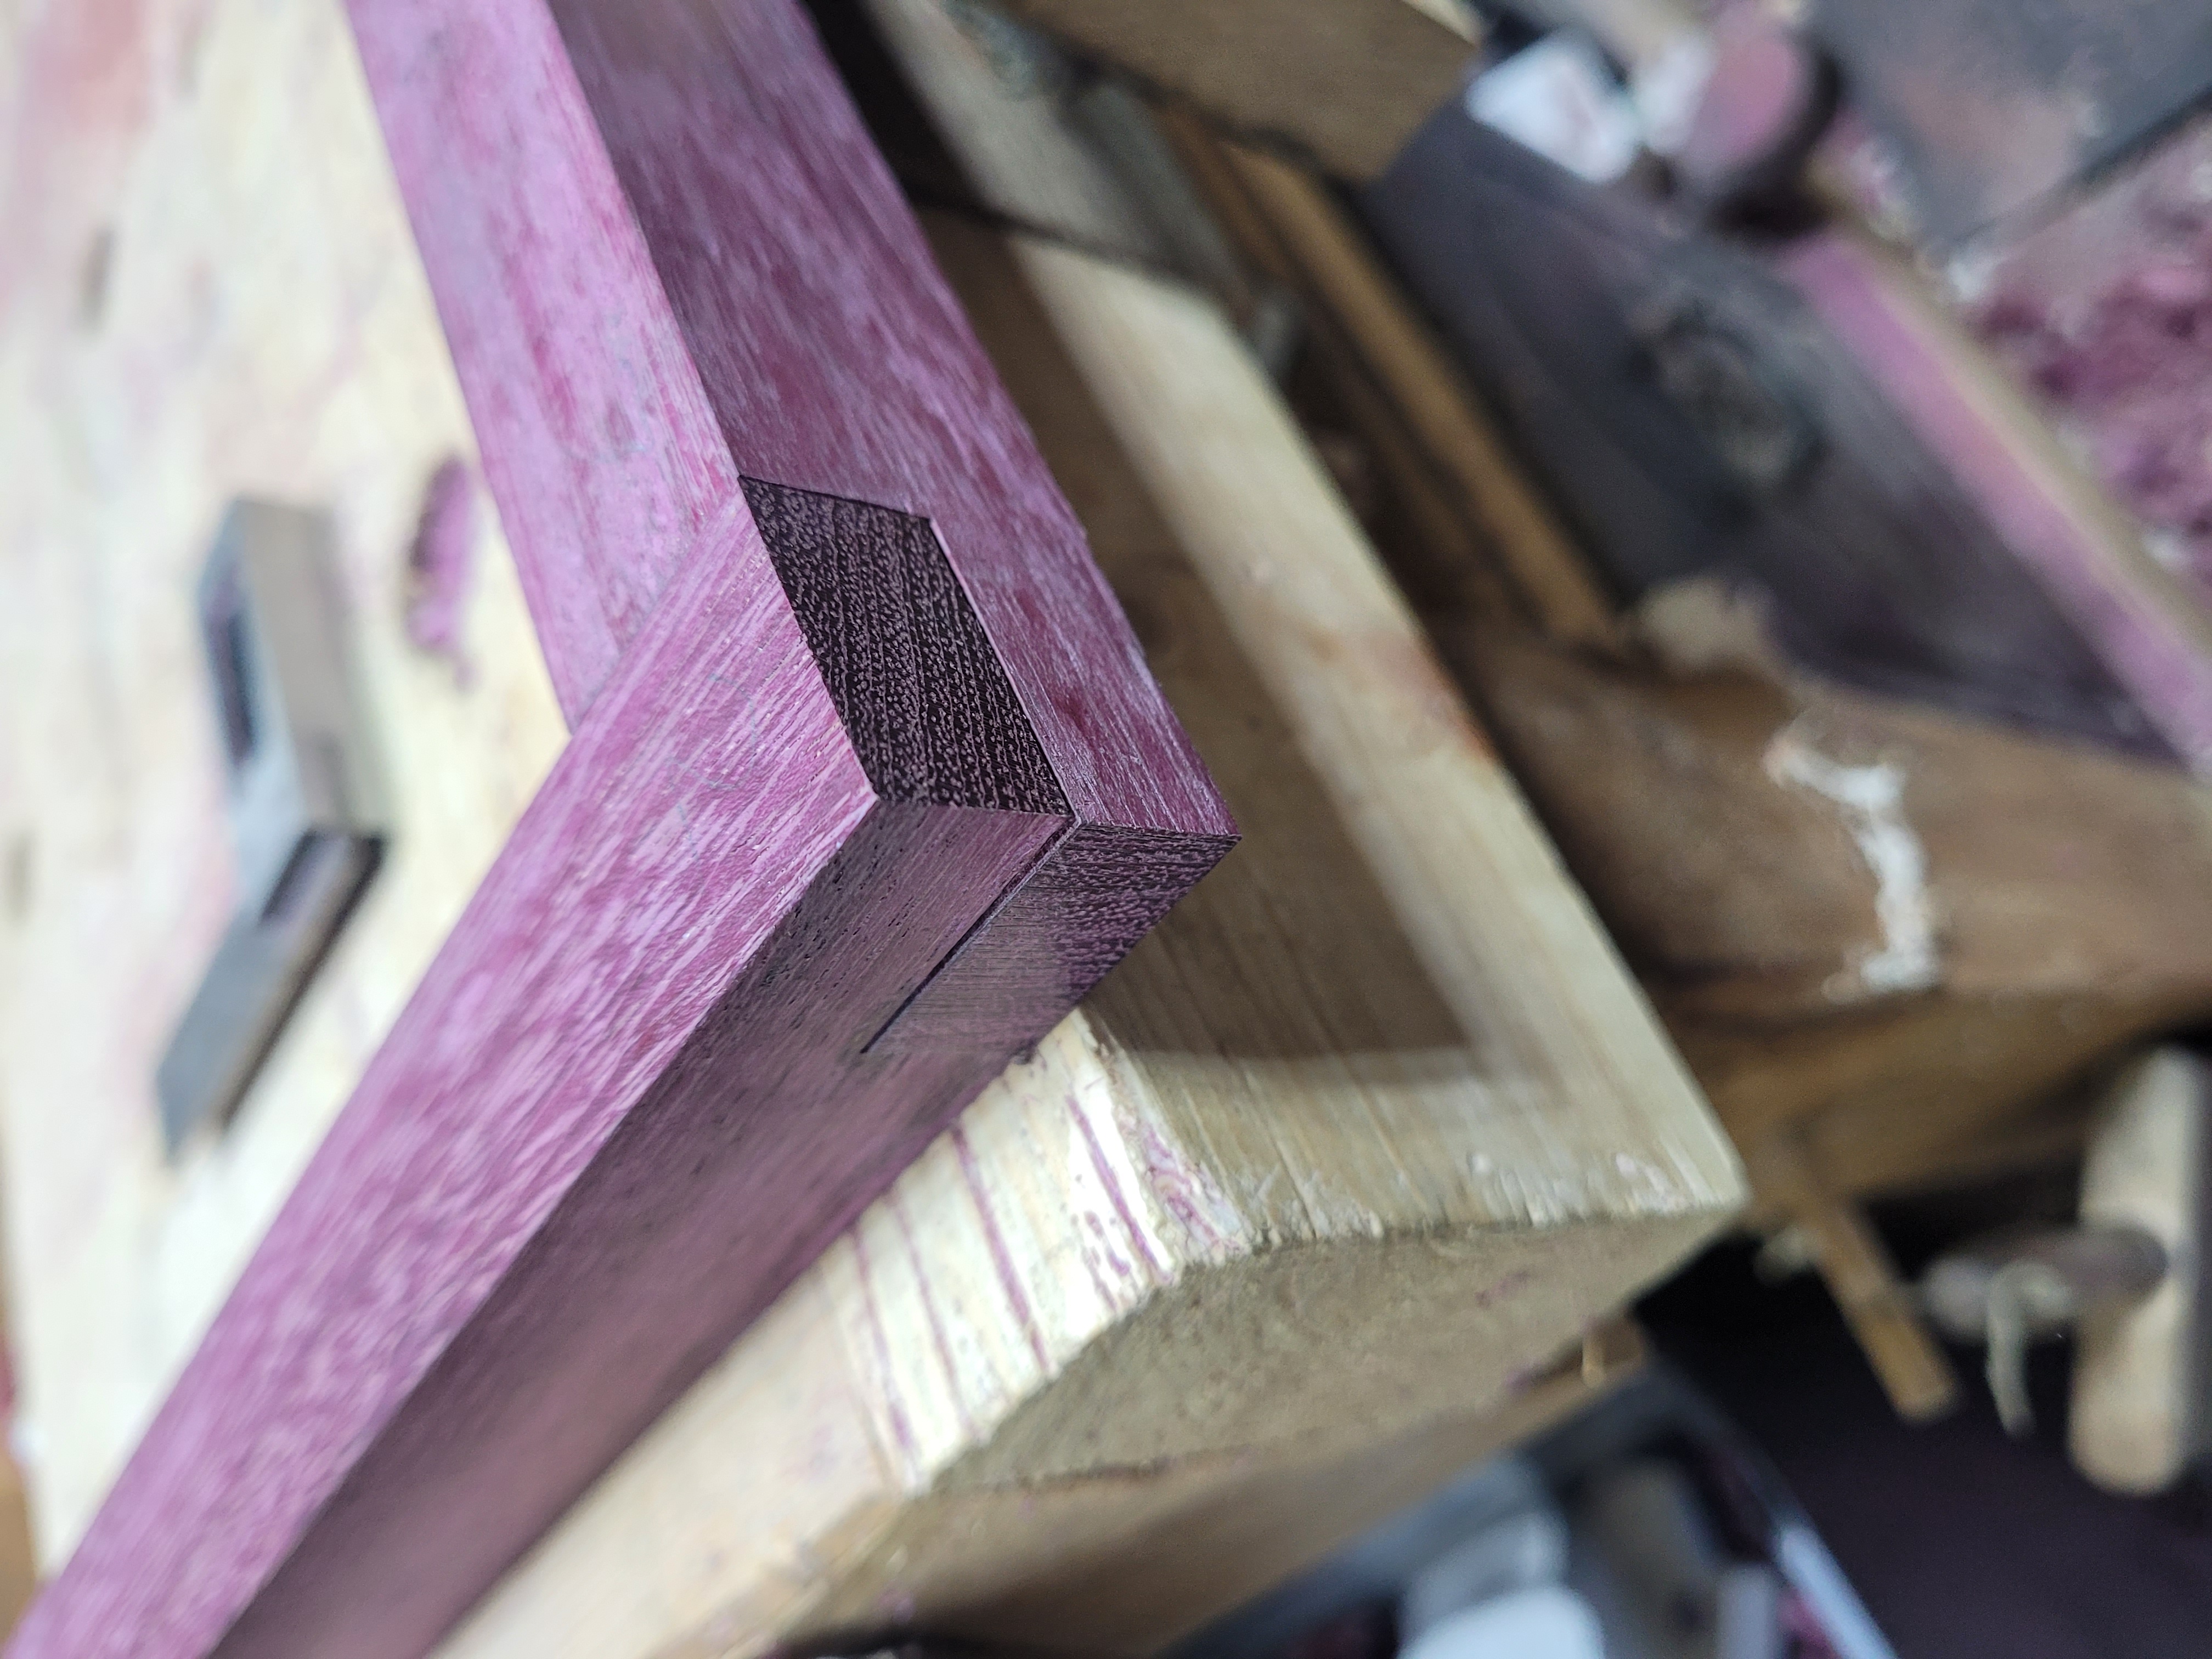
The cut is done. There are mistakes here. None of which are fatal. Look at the knife wall up top, I’ve sawn a little to the right on the far side. Nothing to worry about. The router plane will fix that soon. There is some waste in the corner of the joint. That will get cleared out with the router plane and the chisel.
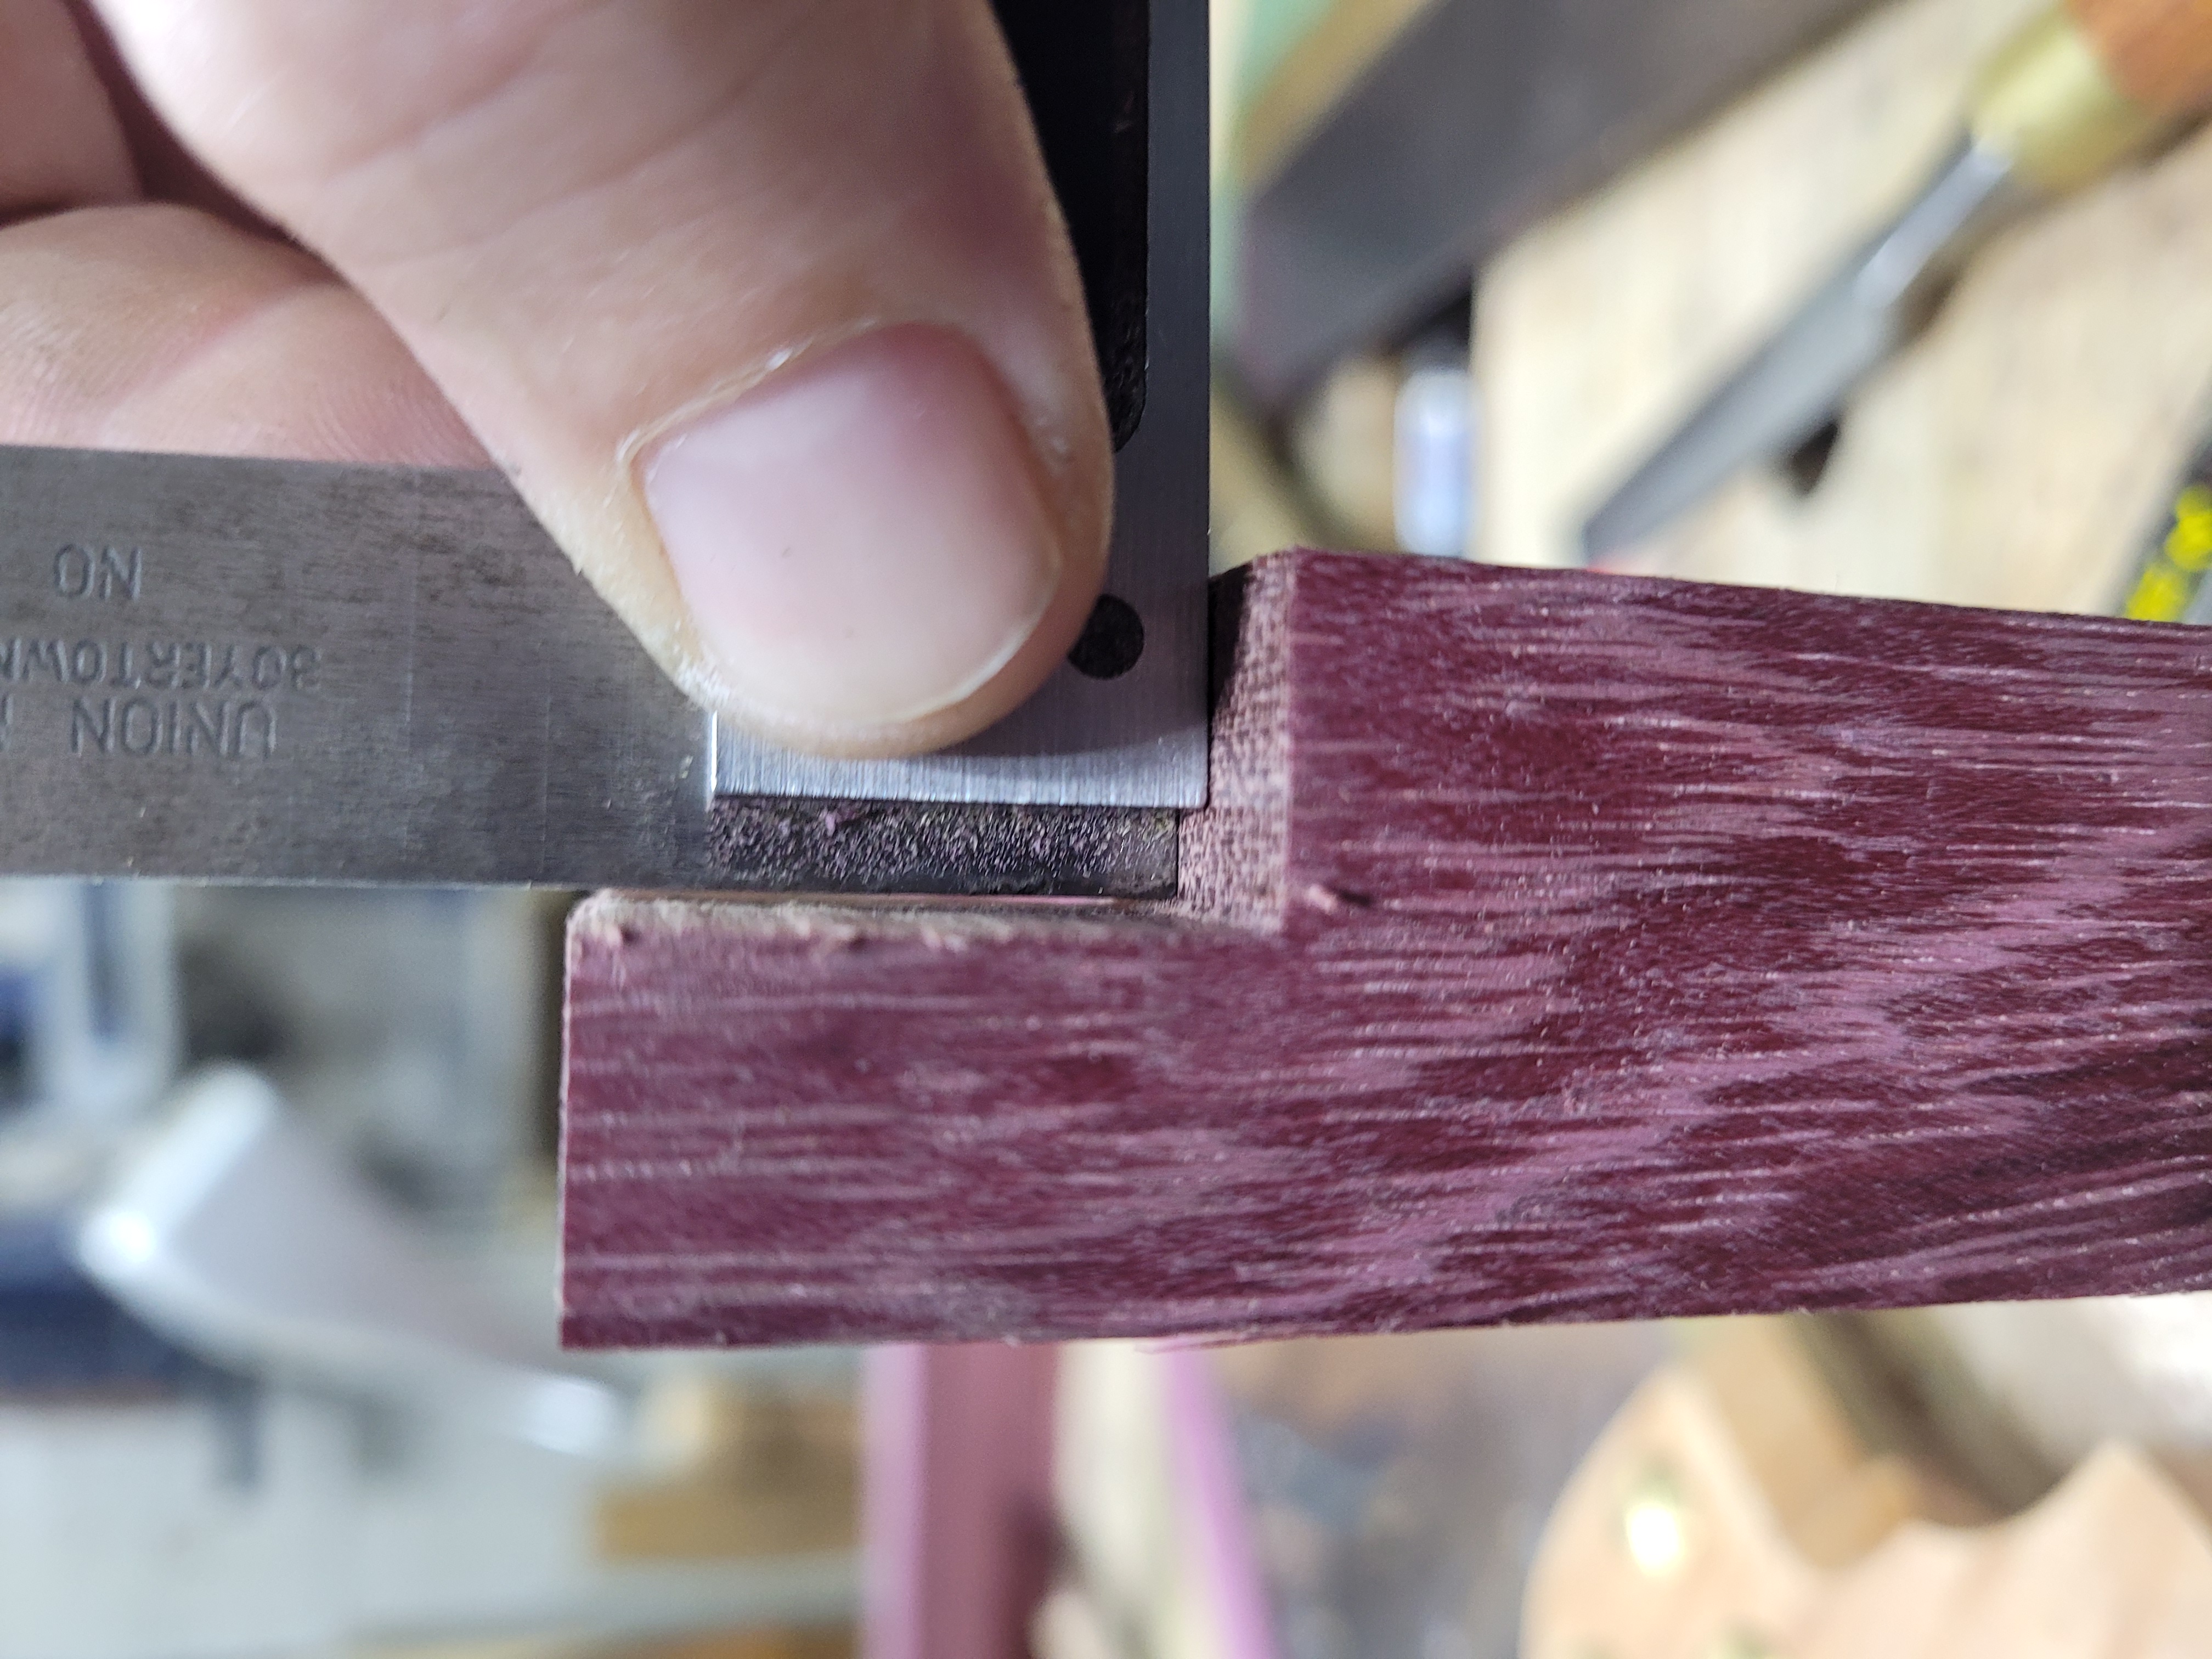
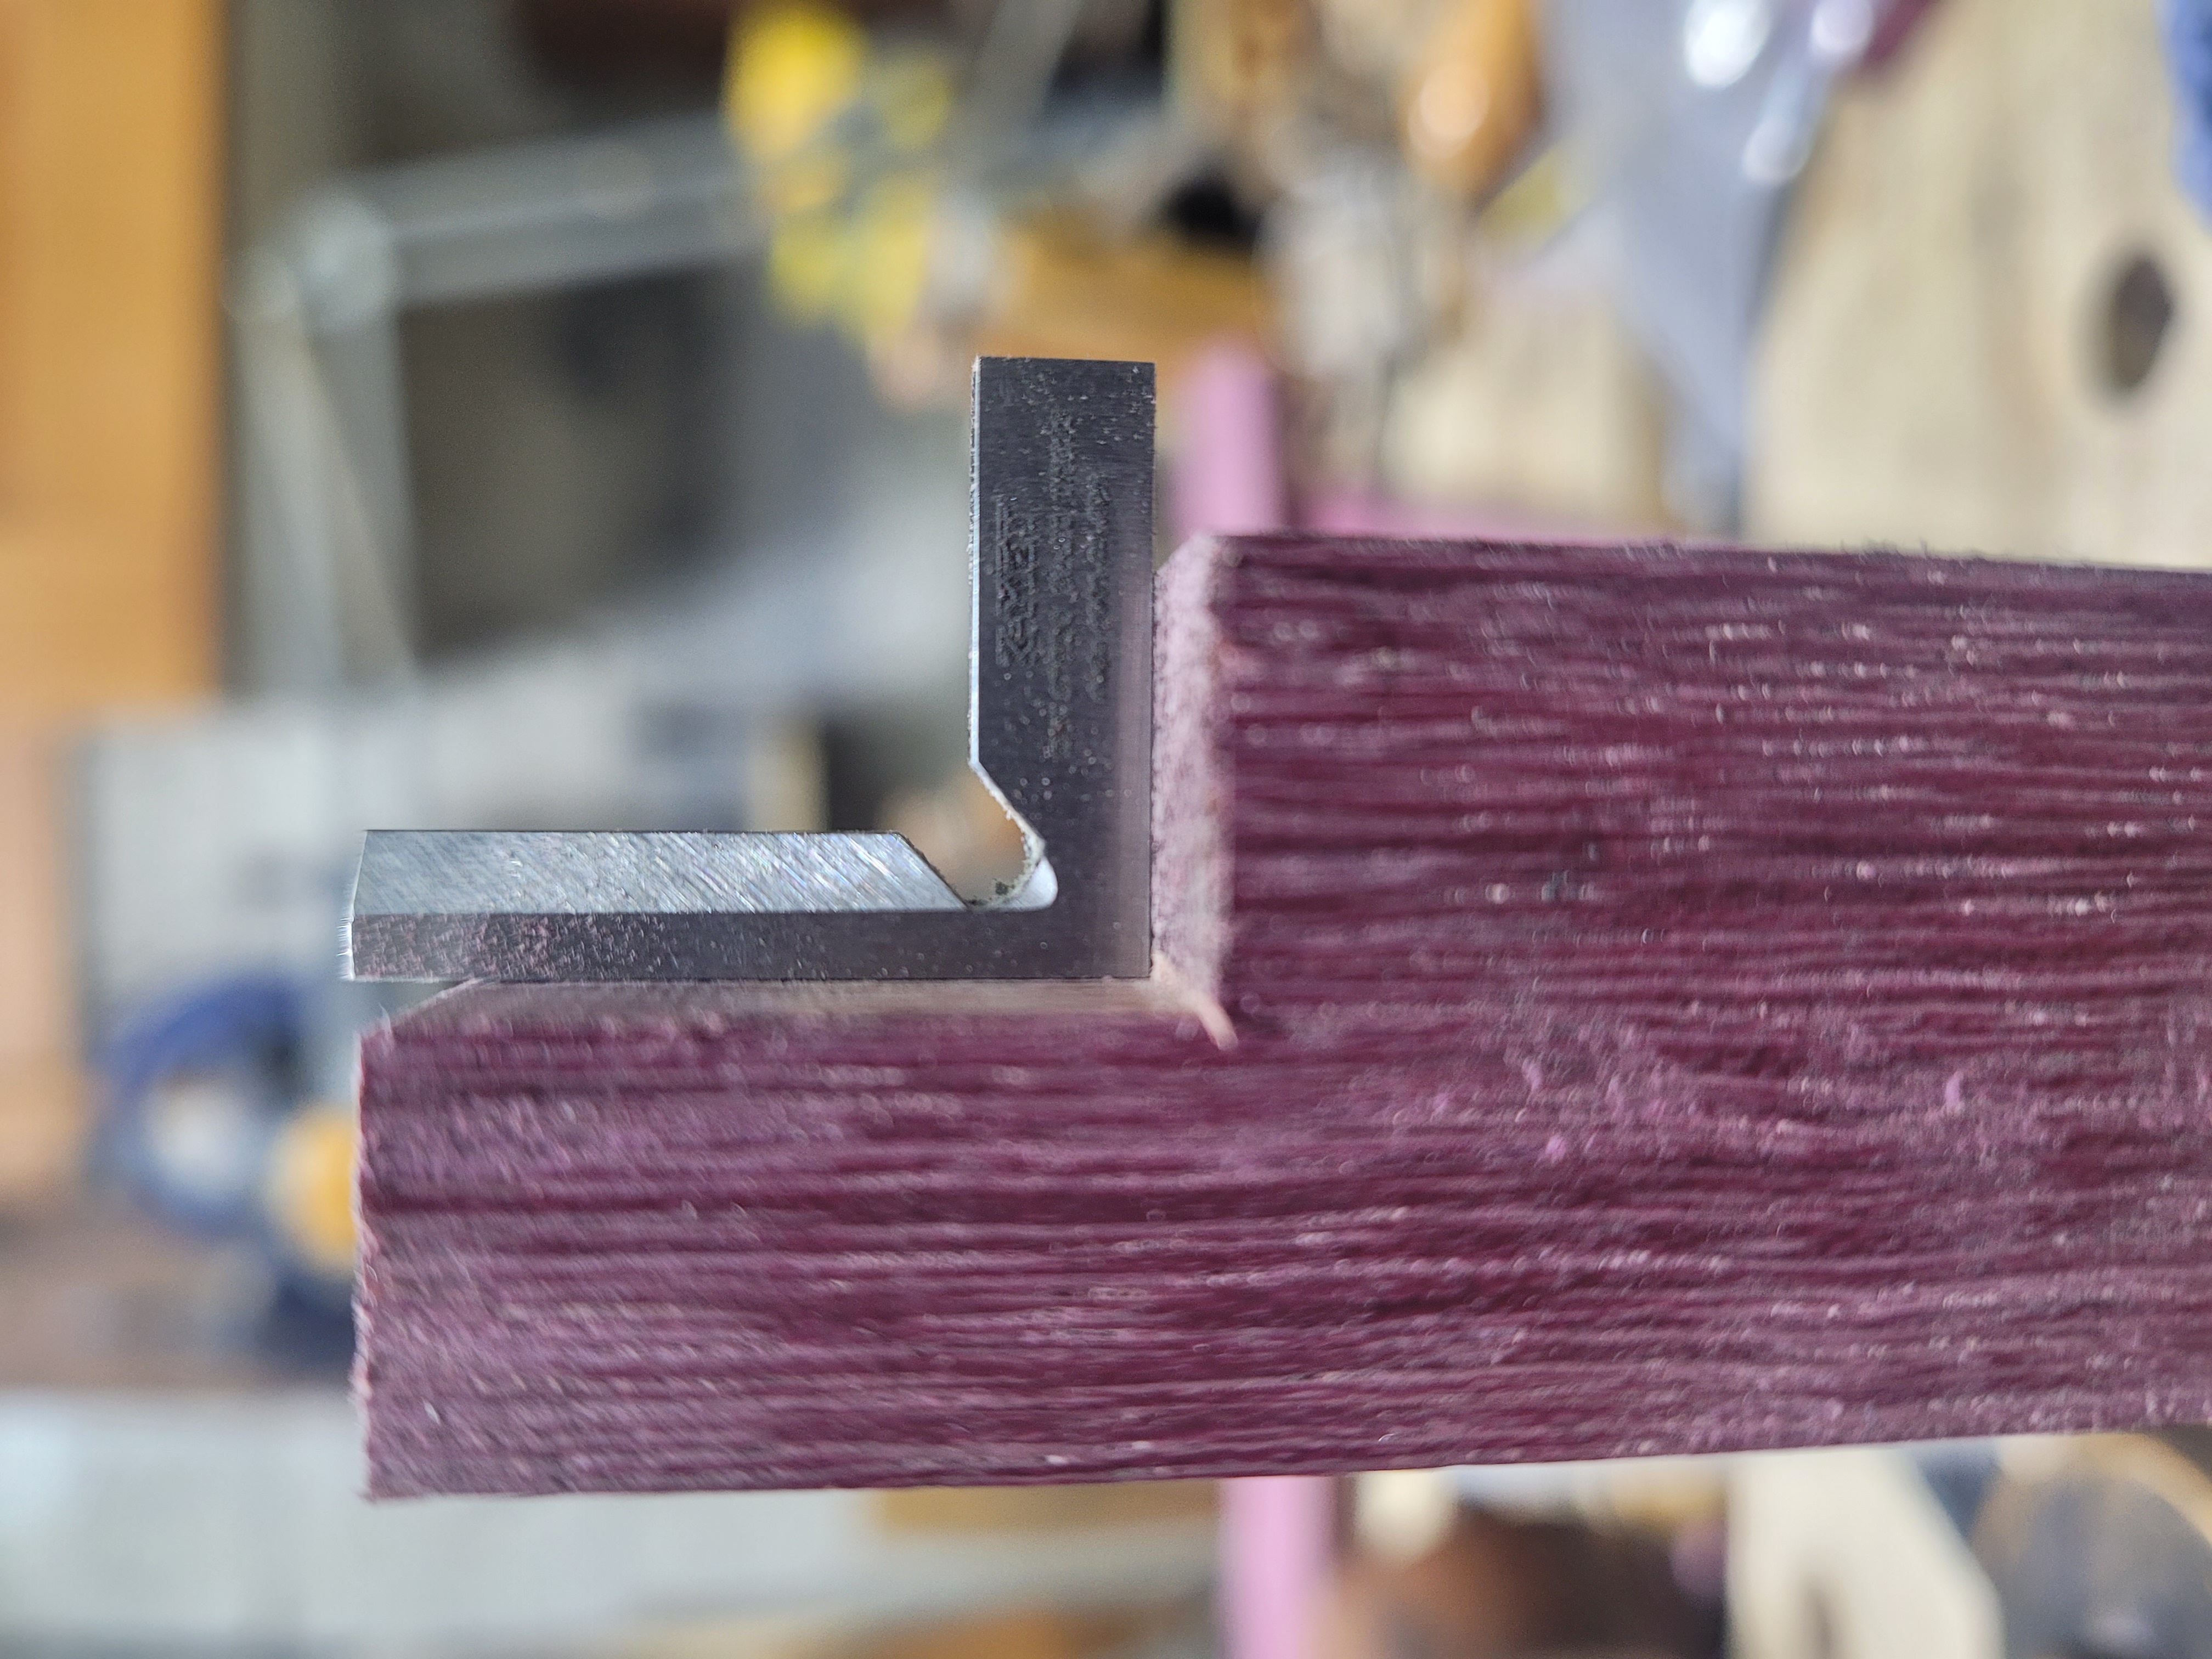
Sliding in a square shows there is some waste in the corner preventing it from reaching the wall.
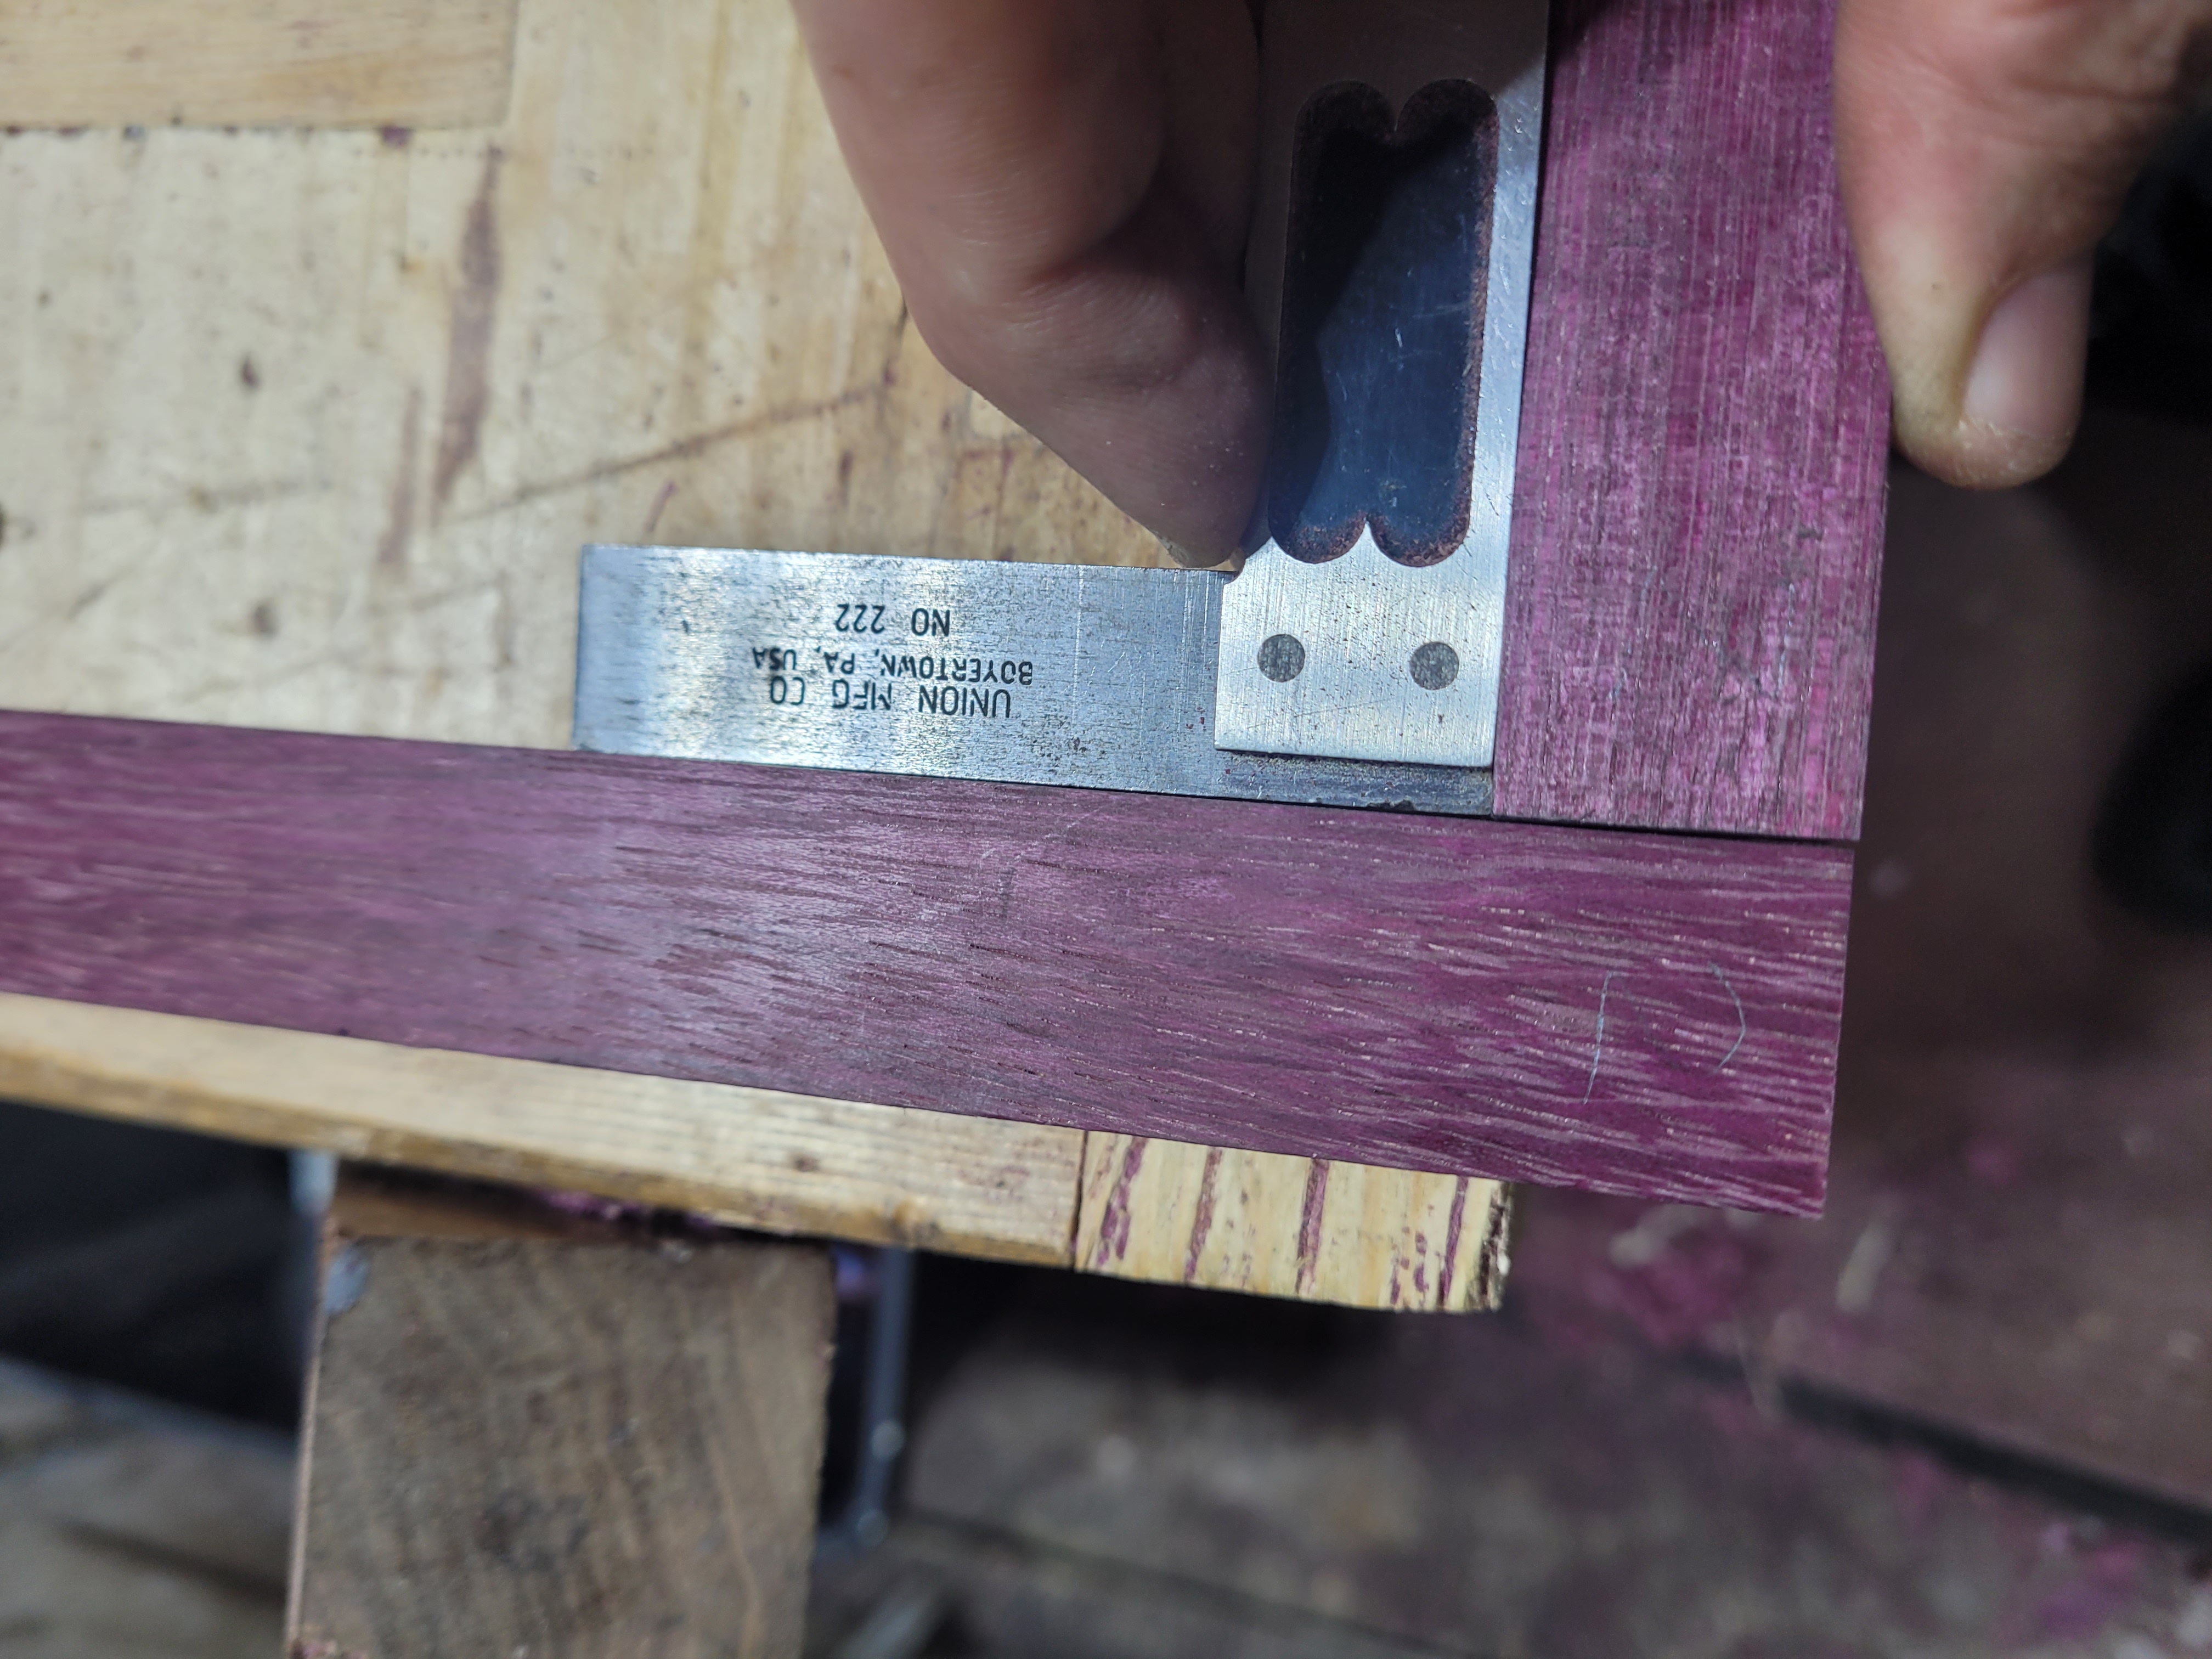
A little cleaning of the corner with a chisel, and the square shows a remarkably square cut. None of the remaining cuts were that square off the saw.
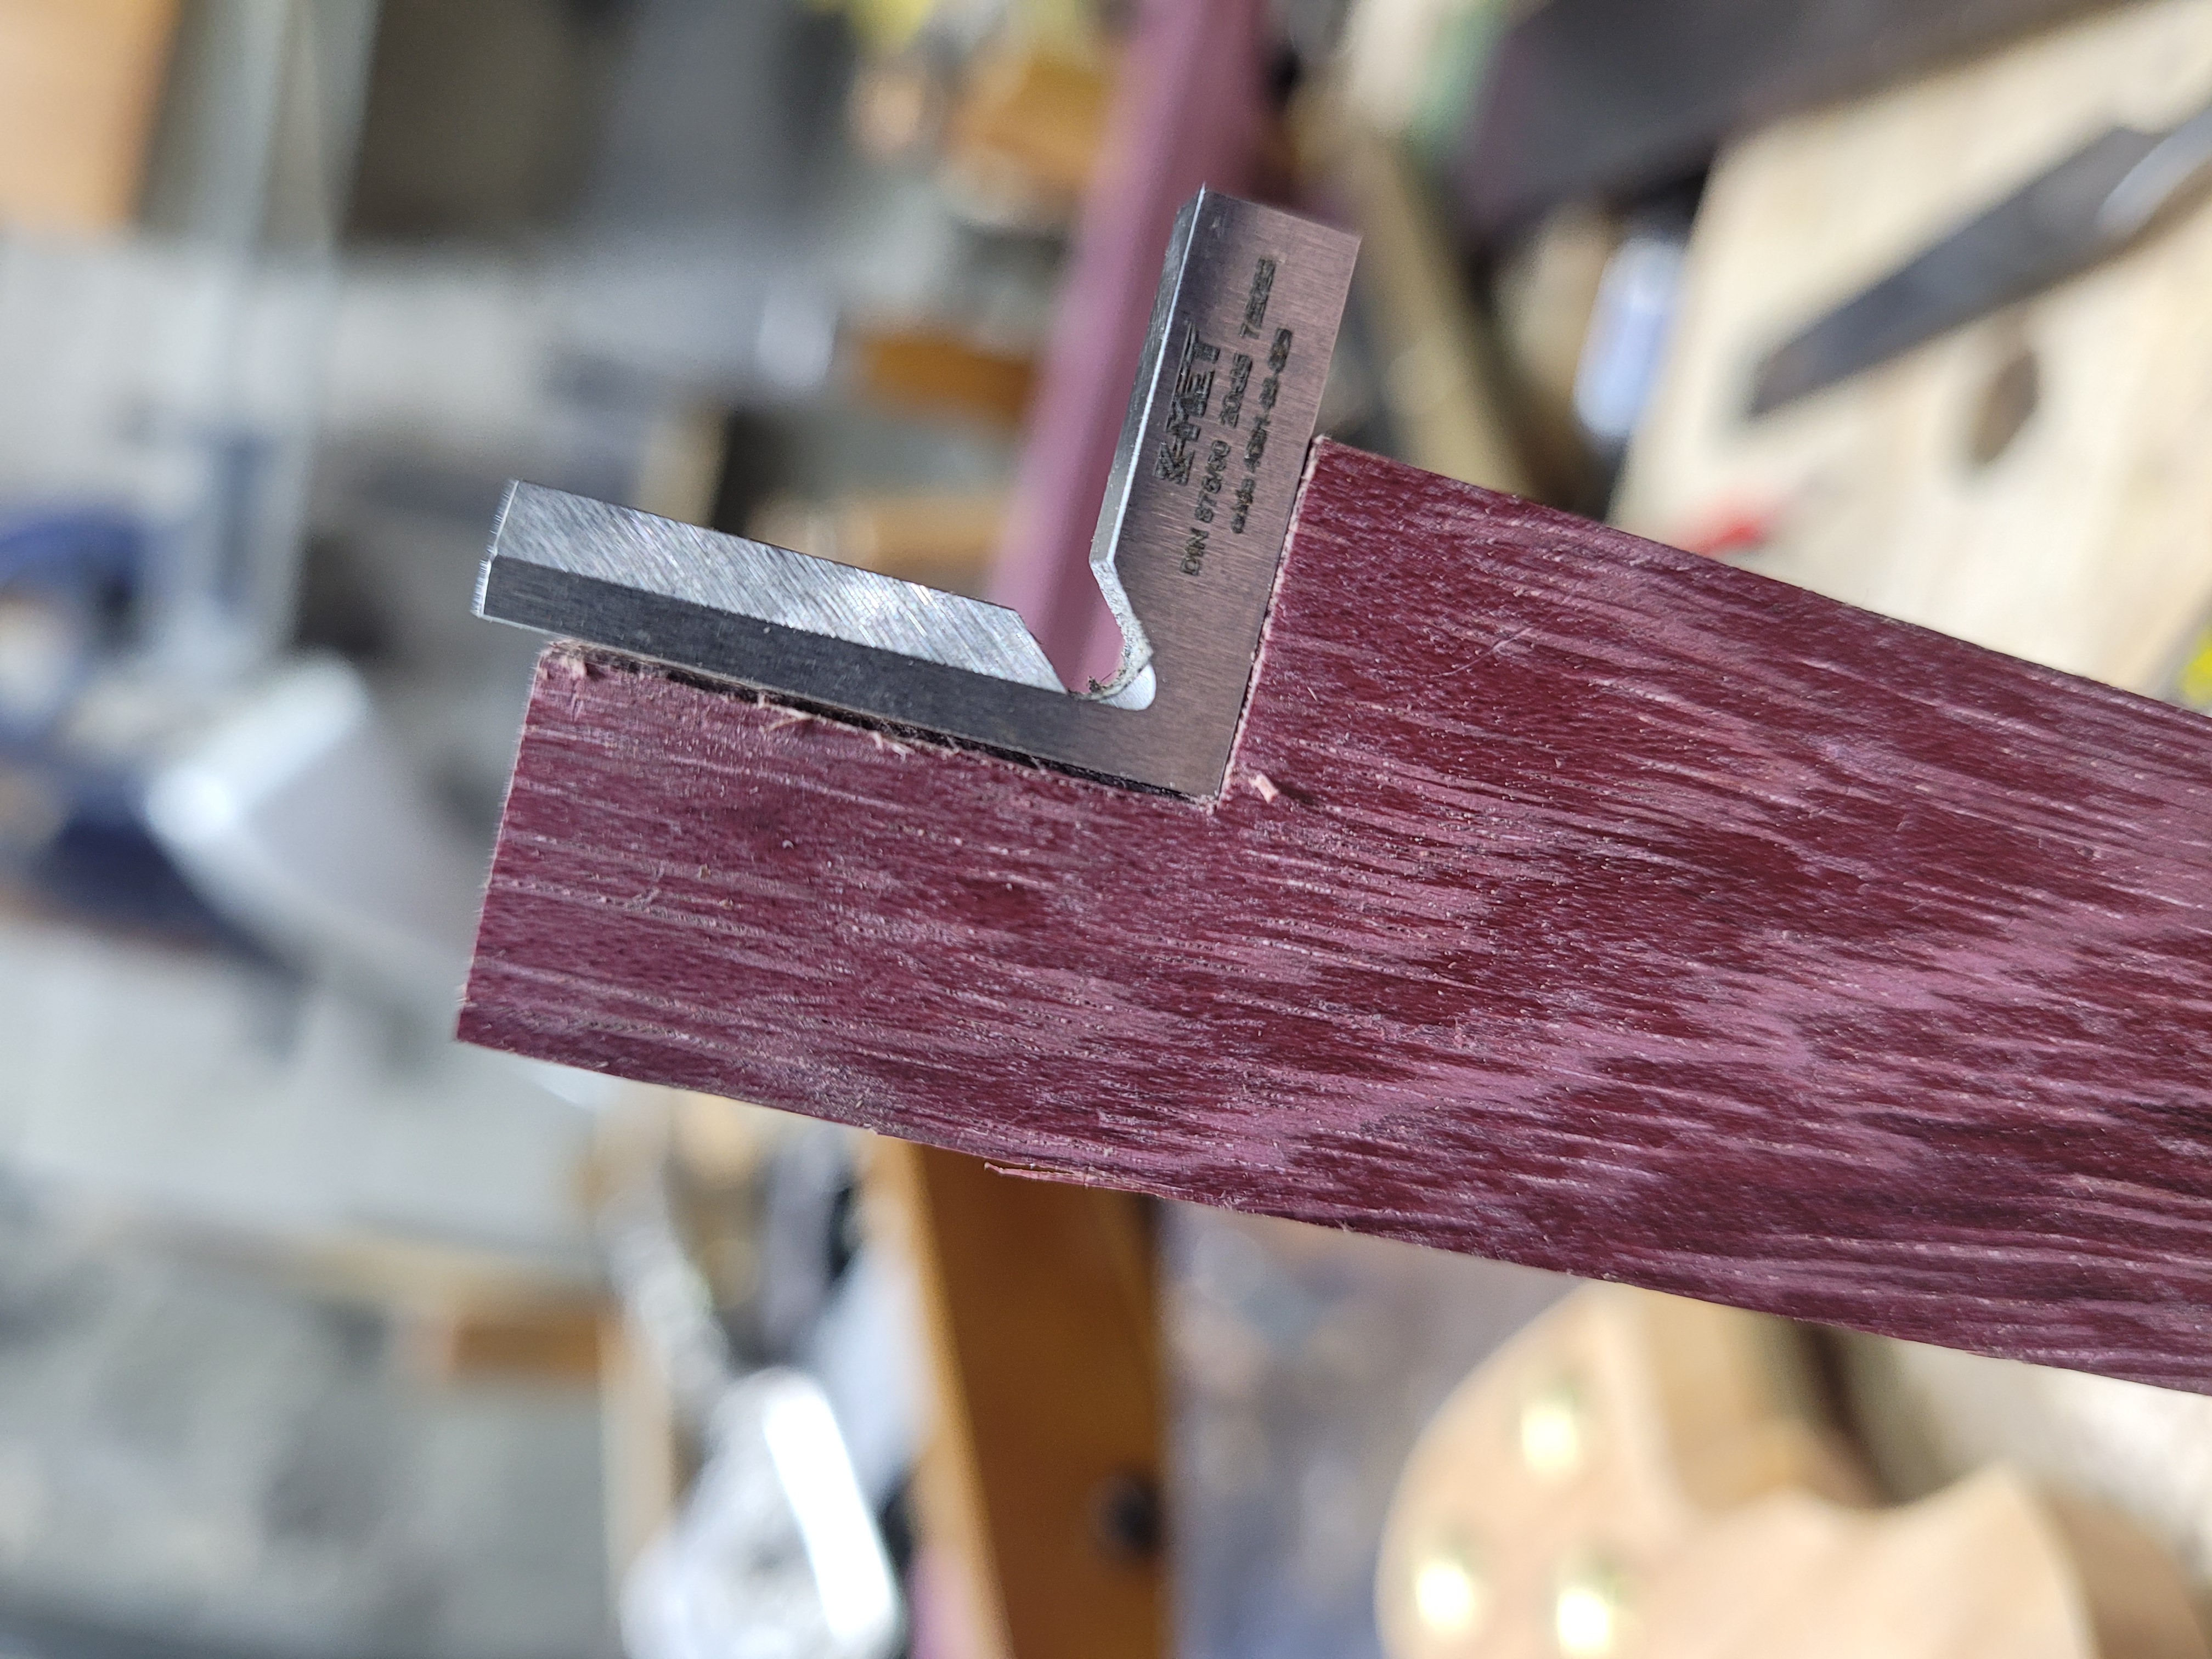
The square shows what the knife wall already told us. Not a perfect 90 degree cut across. Easily fixed with the router plane.
The cross cut is square though. You want to check all of these, and check them again after fixing.
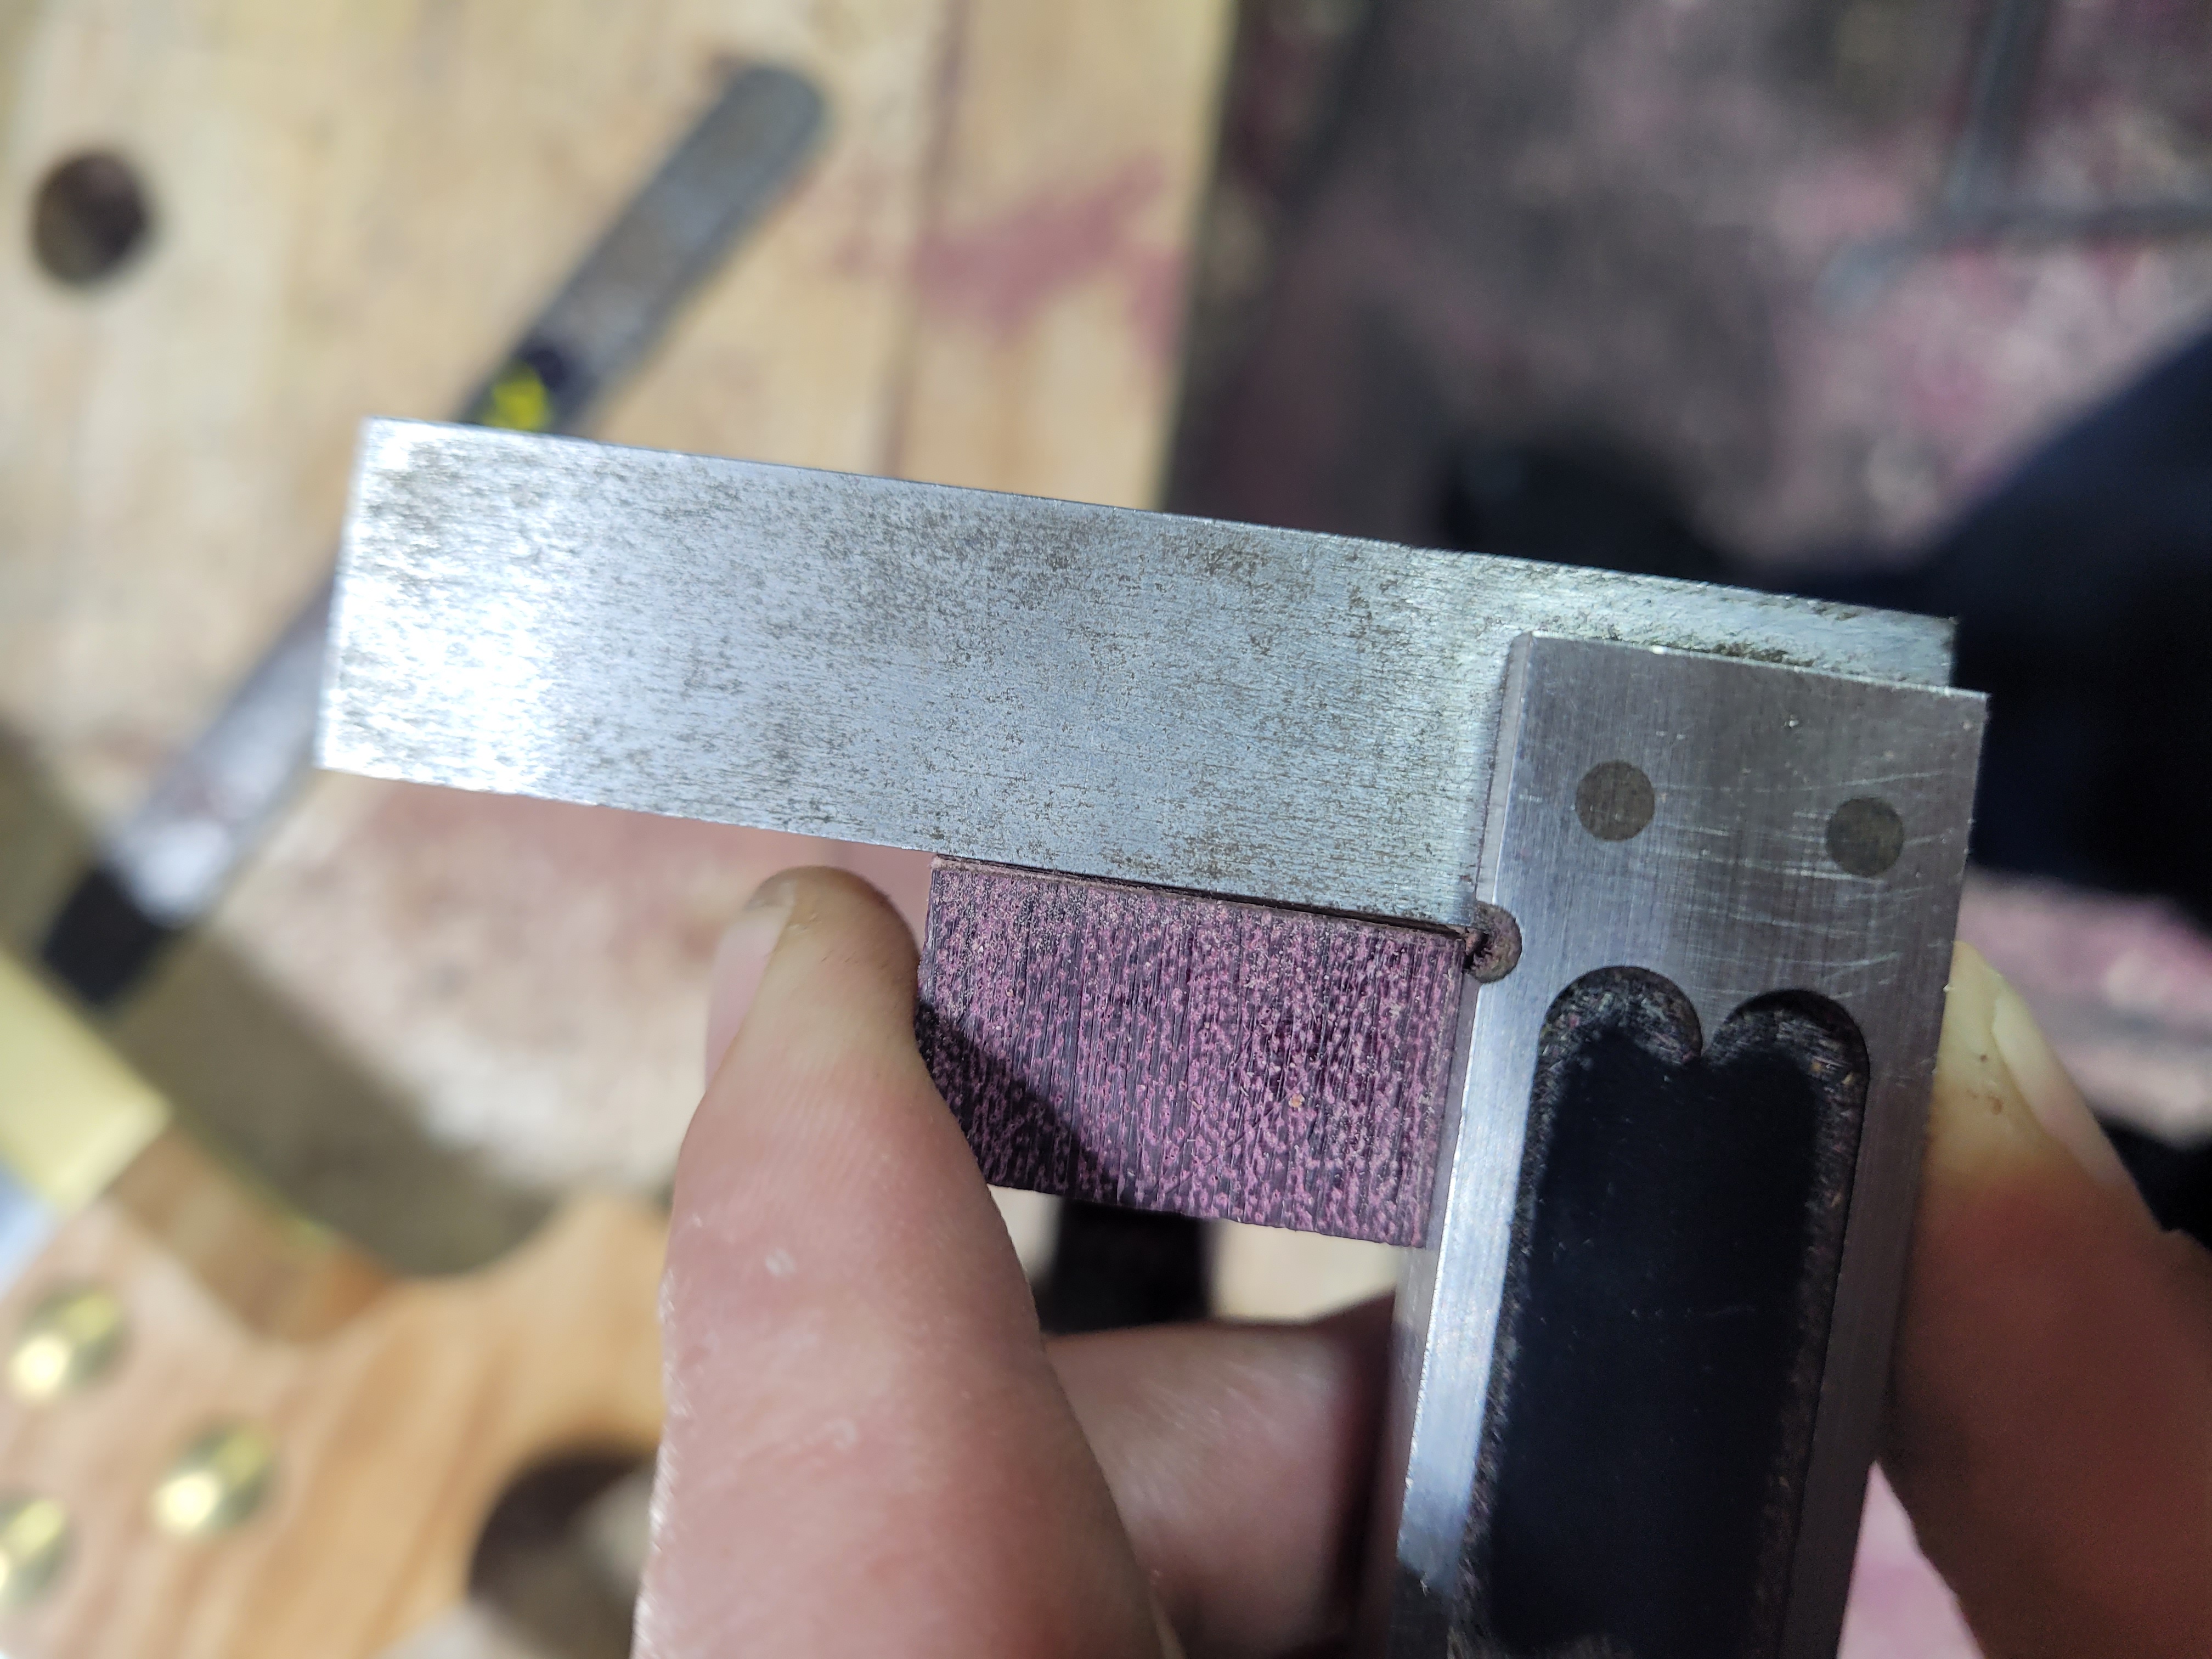
A later mistake on a different joint. The rip cut is off square, again easy to fix with the router plane.

And even that is not terrible. Showing the work to the other piece, shows a little gap on the left, that glue will probably take care of, but we will fix it anyway.

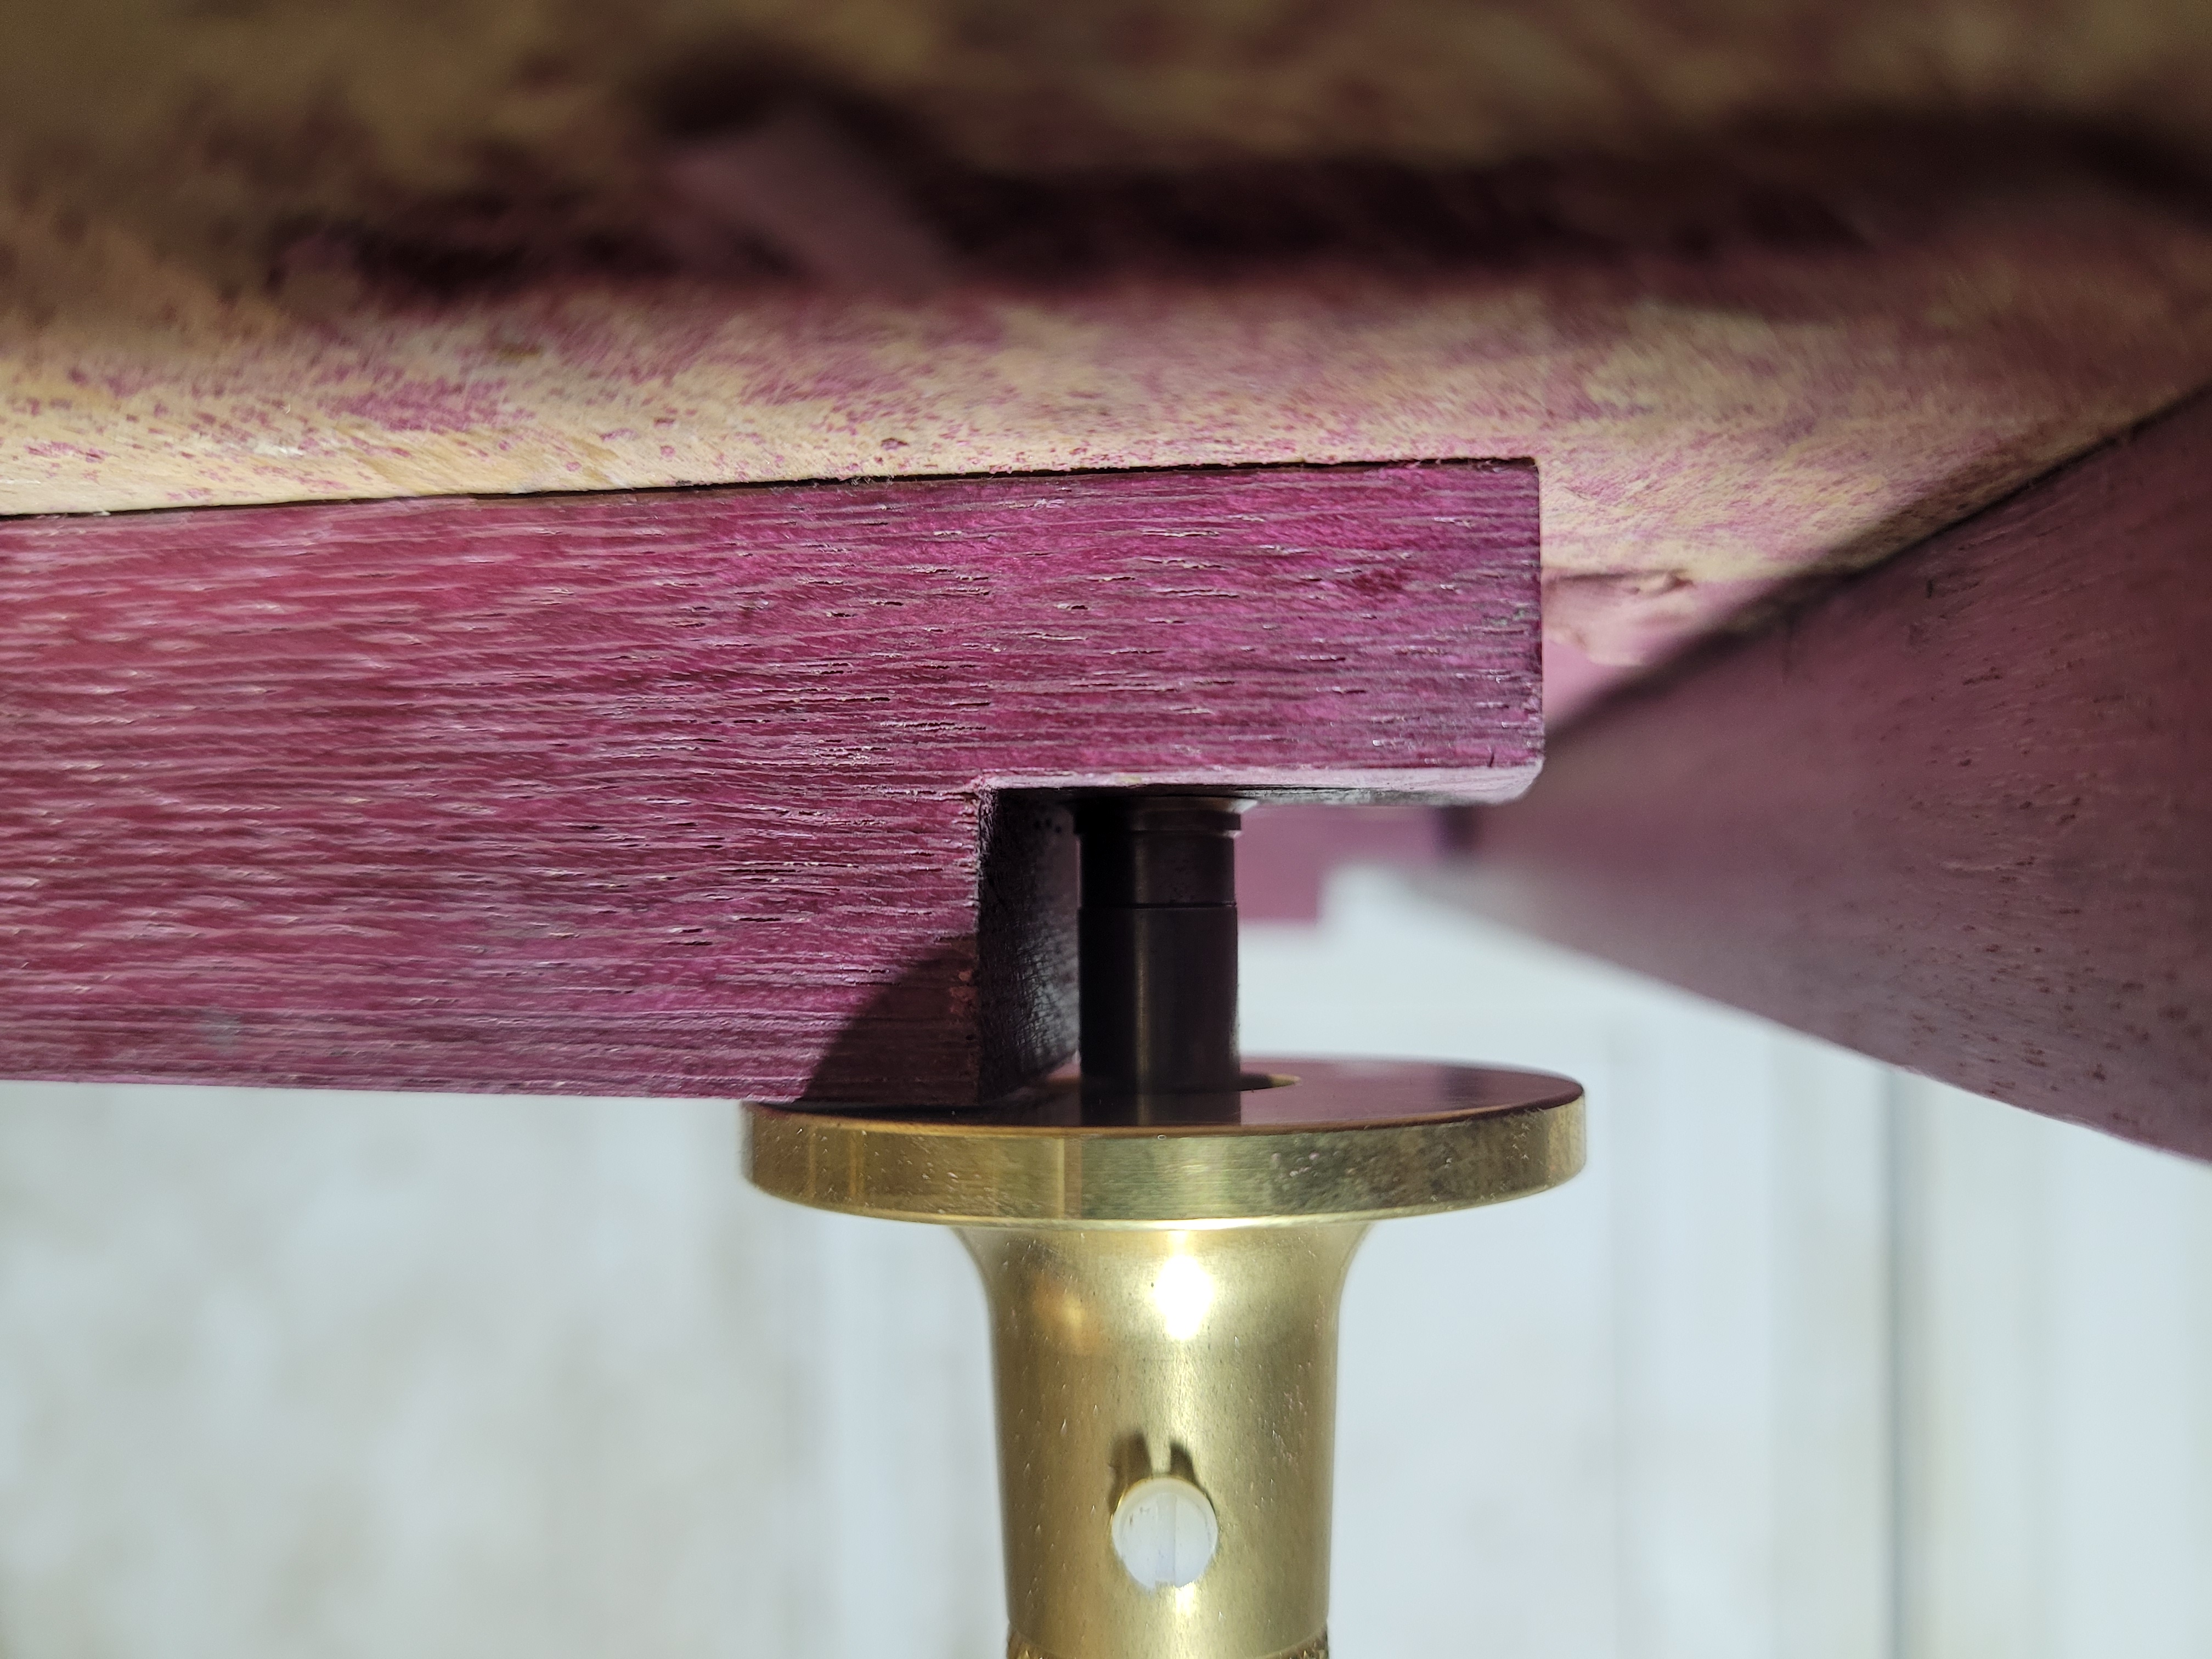
Fixing with the router plane is pretty easy. Register it on the top piece, and come in from the side to make your cuts. If you cut from the end of the piece toward the wall of the joint, you might get tear-out depending on grain direction. Better to rotate the iron in from the side, making very shallow cross grain cuts. The important thing is to keep the sole of the router plane firmly registered on the top. On a narrow piece like this, its easy to let it tilt, in which case you could be making your joint worse, not better. I started off with Chris Byrnes router plane in the picture, but its more suited for dado and rabbet work than this. I switched to the blue spruce router plane after the first joint. Find the high spot, then work your way down until you have taken a very light cut off the entire surface. That should result in a flat shoulder perfectly in plane with the top of the workpiece.
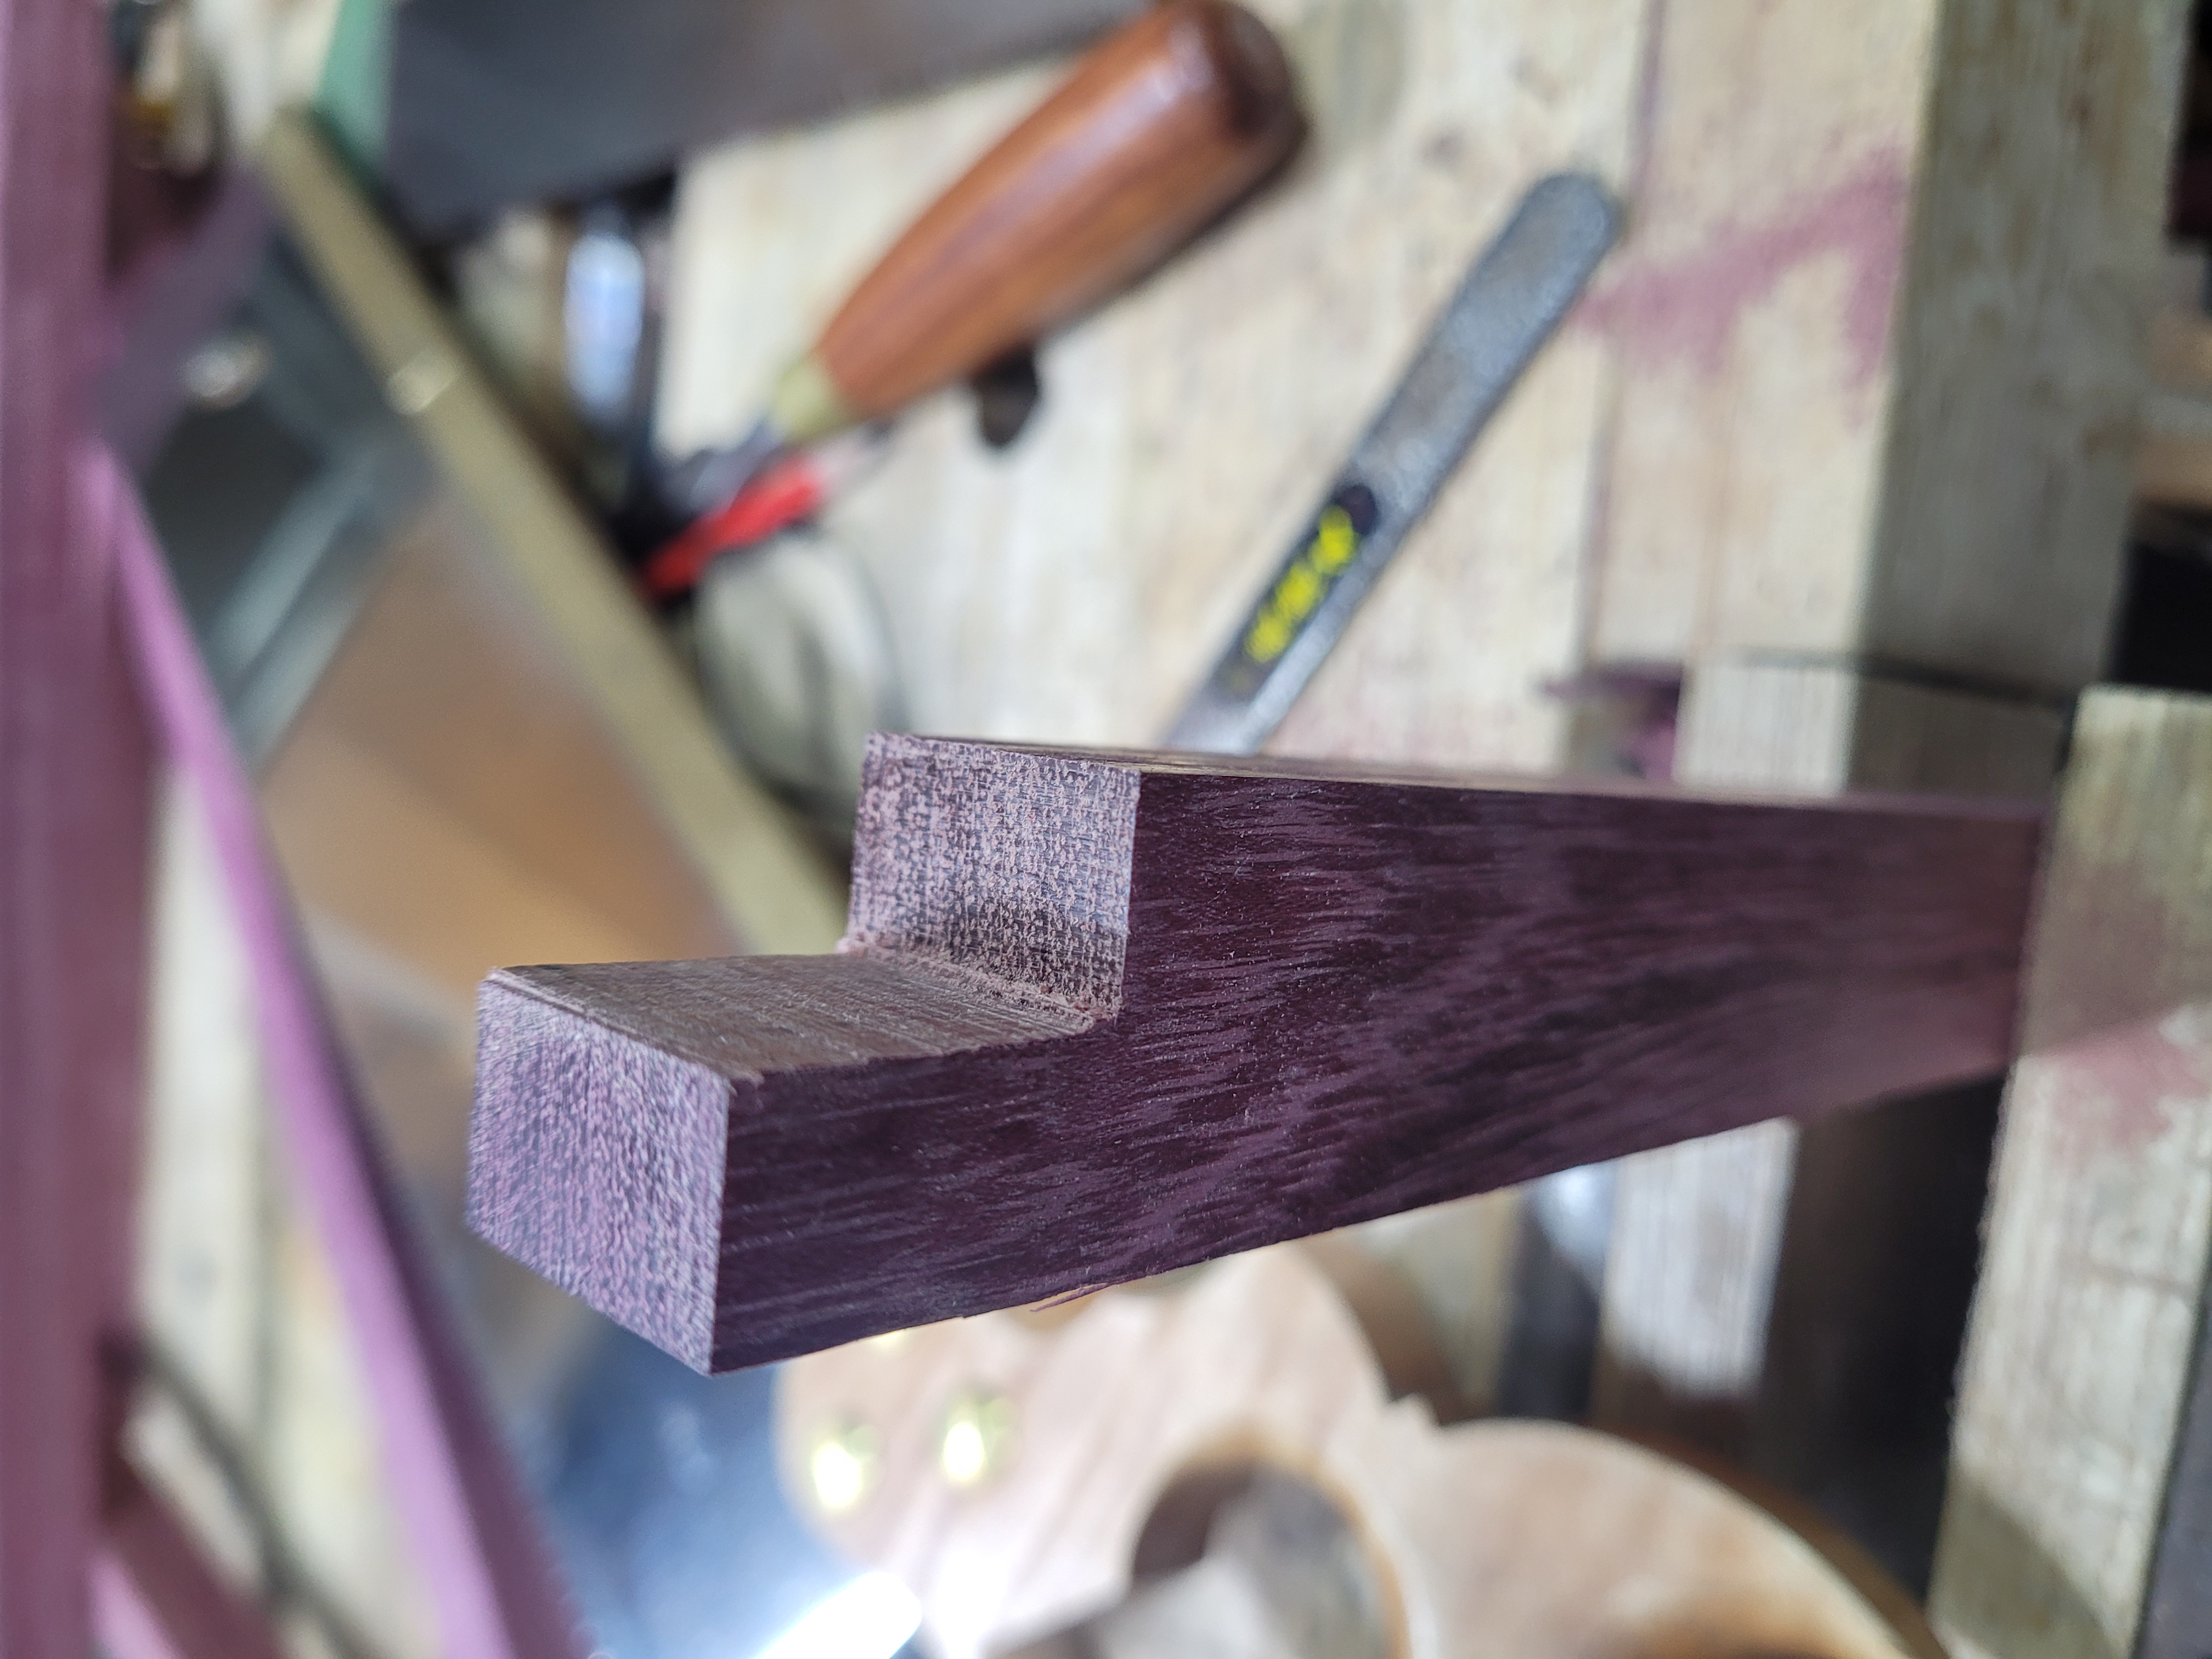
The fixed surface. Only a minutes work, and while I neglected to take a photo, the rip cut is now perfectly 90 degrees as well.
Now its time to cut the other half of the joint. We removed waste from what will be the top half of the joint in the first steps. So this time we are removing waste from the bottom half of the workpiece.
With that in mind, we flip the second piece upside down, as we are removing waste from the bottom. For all the following operations, the second piece is upside down! That’s important!!!!
Take the piece we just cut, and drop it on top of the upside down matching piece. Its a little easier to line up with half the joint in place. Slide the square up from the inside. Make sure the with is lined up with your fingers tips, and everything is square. Then remove the top piece, and mark your line with your knife.
Knife line on the matching piece.
Take the piece you have already cut, and drop your marking gauge cutter down. This will give you the exact depth you need to remove from the other piece. Just like marking out the first piece, use the marking gauge to mark the end grain and around the sides. We still have the piece upside down as we are doing this. Then use the square to carry the first knife line down the sides. We cut it out exactly as we did with the first piece, knife walls, cross grain cut, rip cut. And again, fix any errors with the router plane.
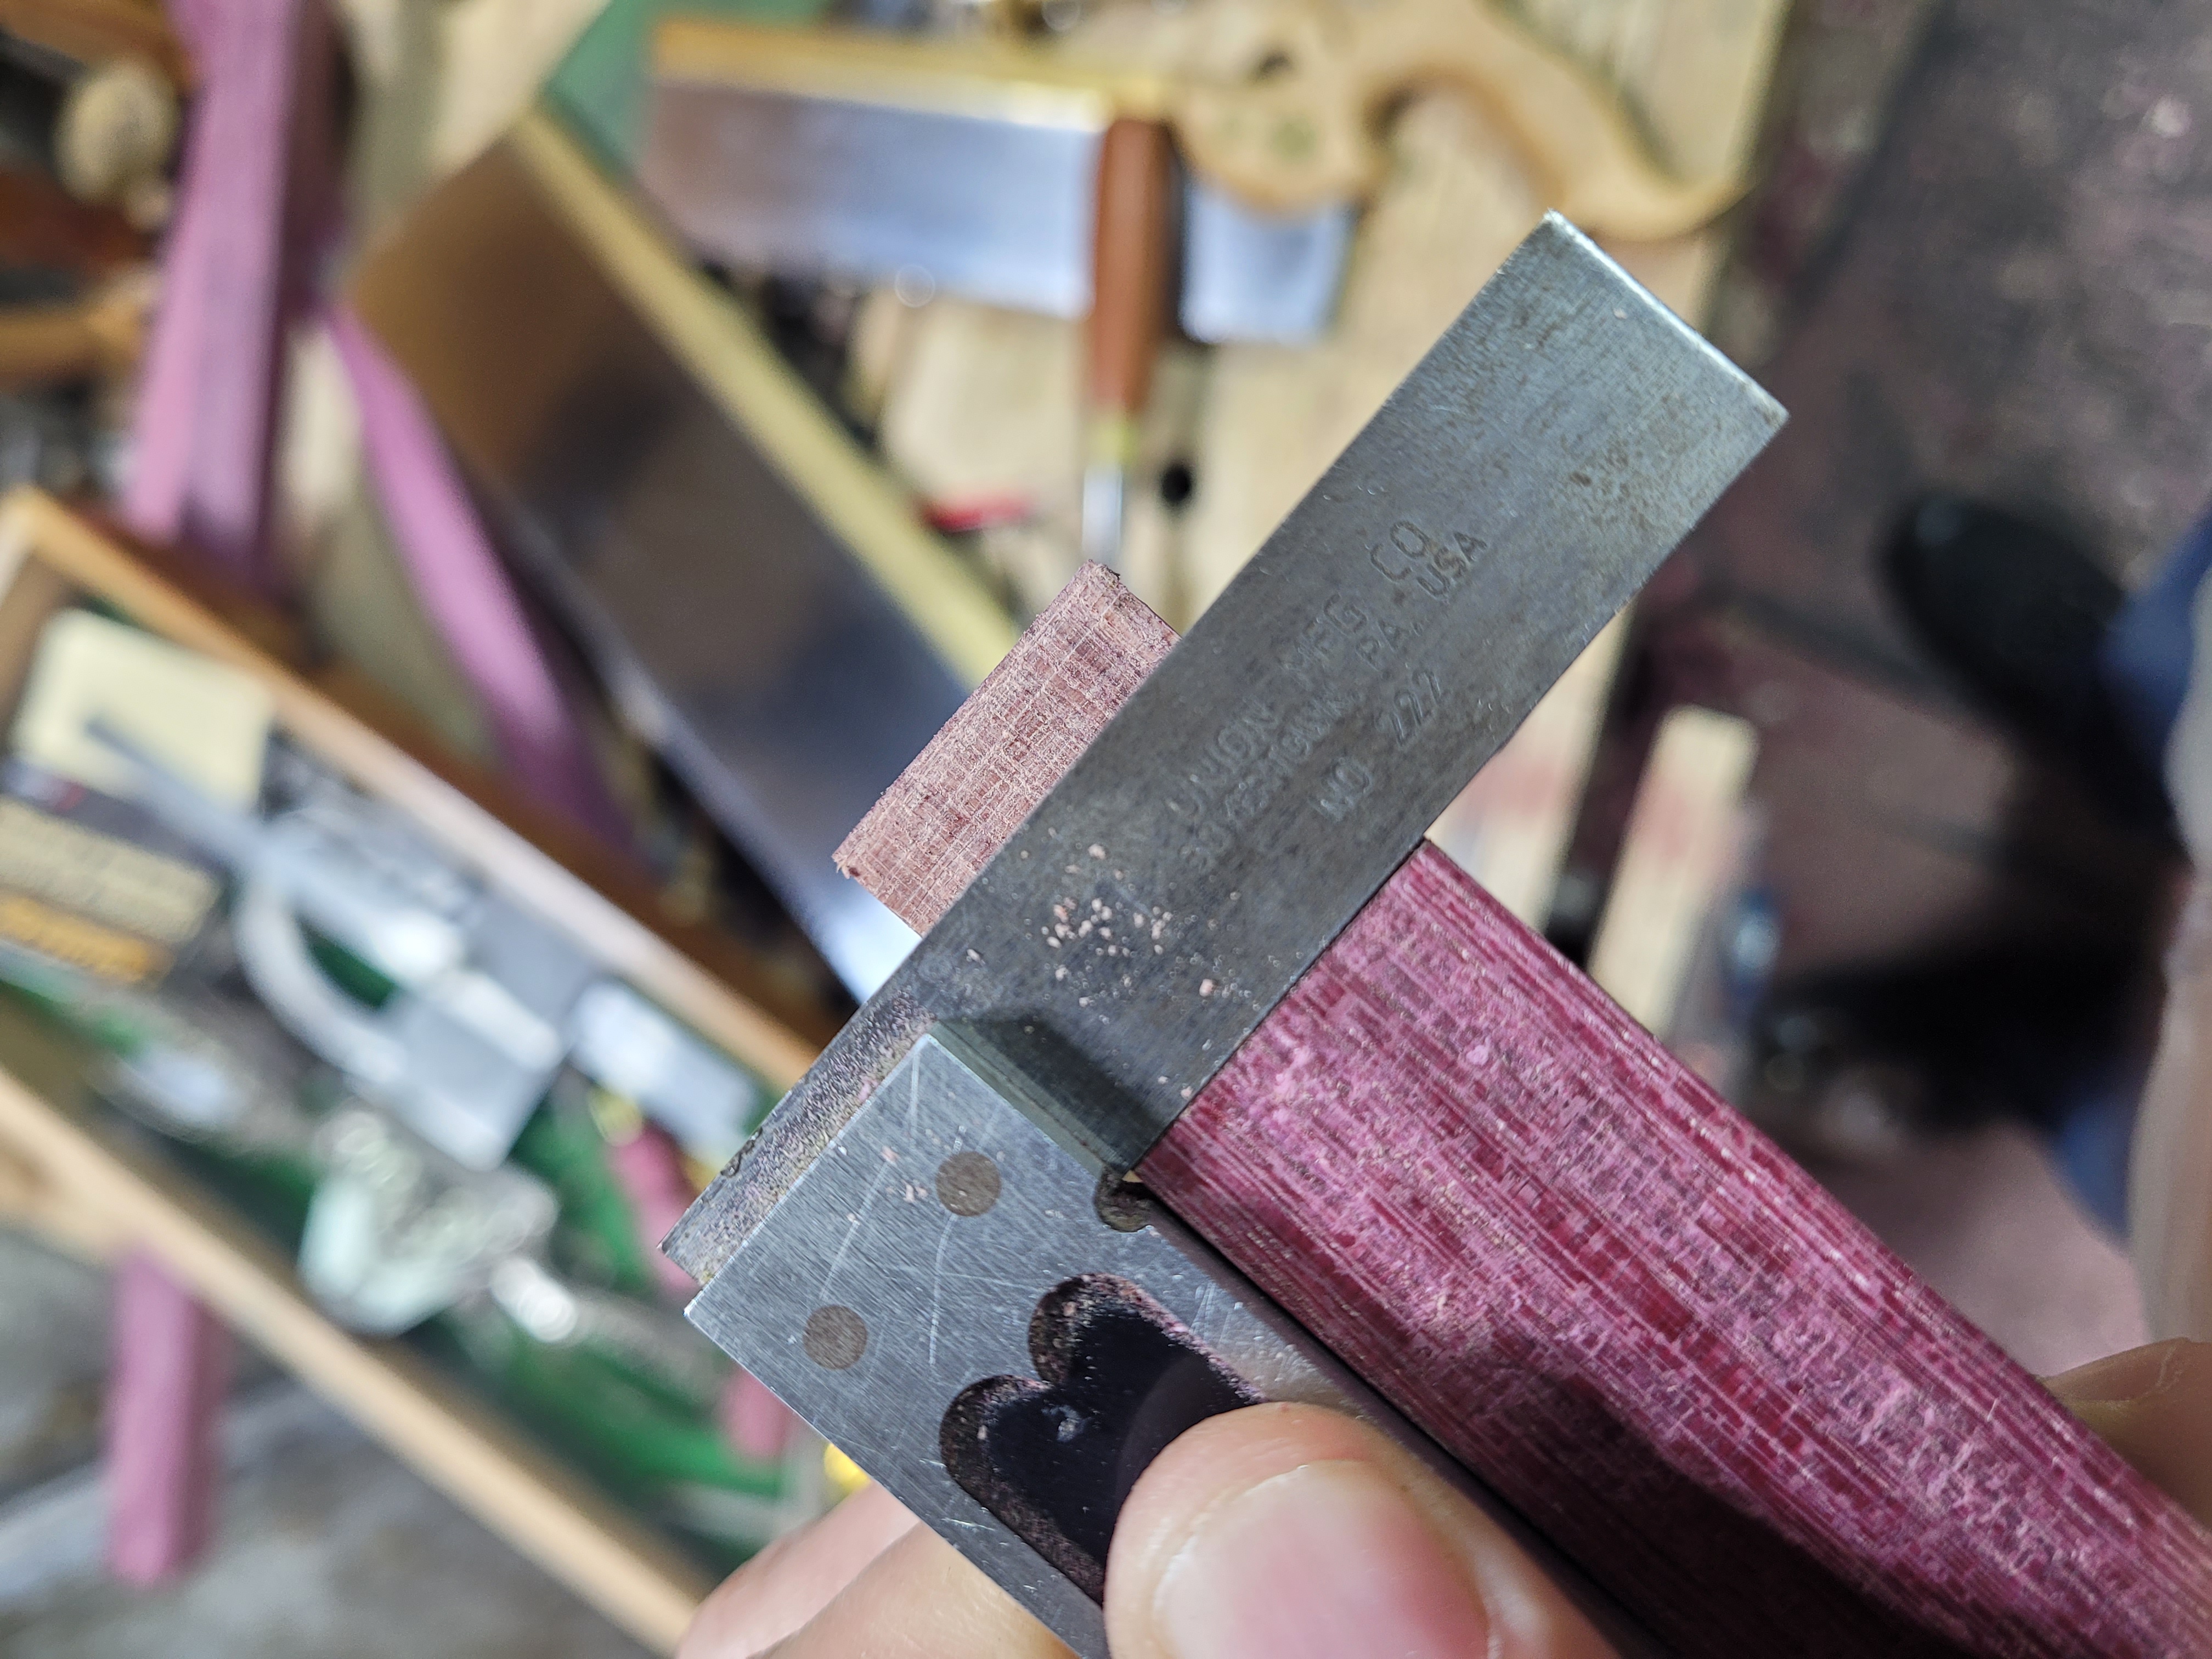
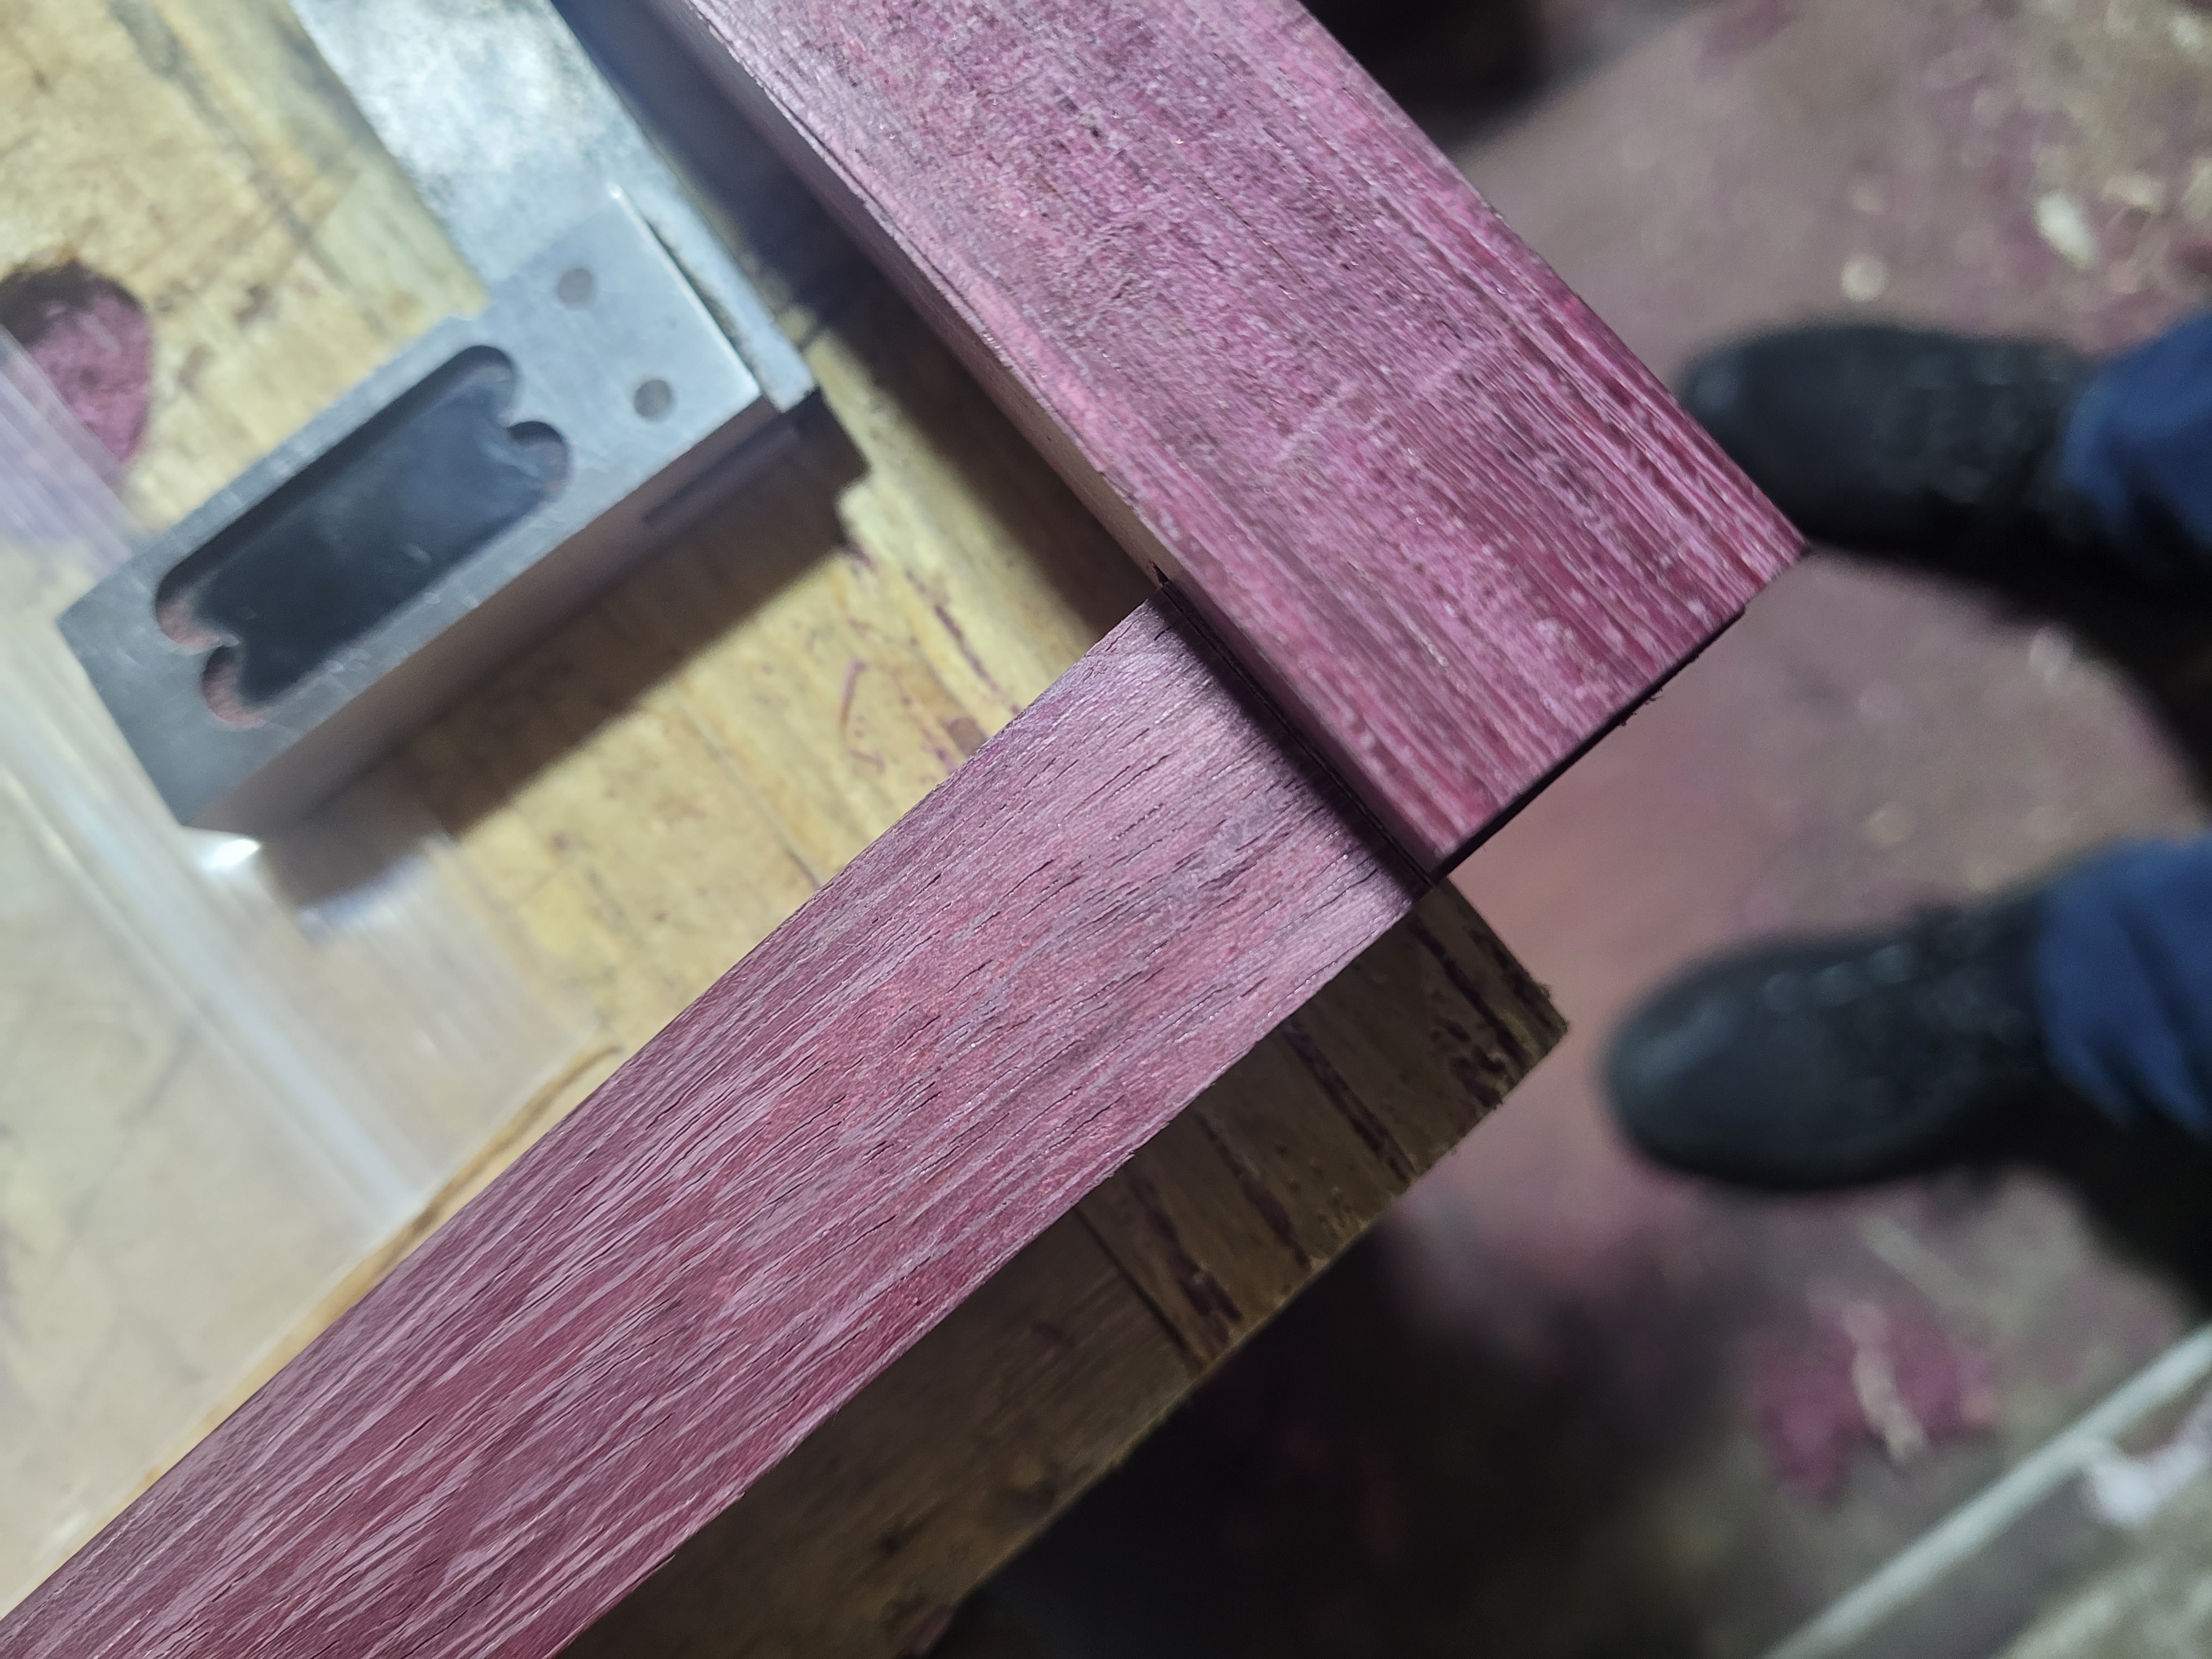
The I show the two pieces to each other. Slightly off in terms of length, but otherwise they match up perfectly.
Checking for square works out too.

Once all 4 joints had been cut, I found the one with the lowest joint. Set the router plane to that depth, and did a final pass on all 4 joints to bring them to the same depth. It eliminates small gaps created by one end of a piece resting lower than the other. All 4 were almost exactly the same depth, so it was only a tiny skim of a cut to have them all match. And that’s it for the lap joints for the frame. Still some more work to be done before glue up. The front and back pieces will get a groove to stop yarn from slipping, and notches to run the yarn through. I’m pretty happy with that as a first attempt at lap joints. They are harder to saw than a dovetail, as every saw cut needs to be perfect, with a dovetail, only the pin cuts (if you are working tails first), need to be spot on. But correcting lap joints is child’s play with a router plane. The front and back pieces are a little proud of the joint. The side pieces are a little taller than the front back pieces. But in both cases, only by a hair, and final smoothing/scraping will take care of that.