Loom Glue Up
Glue ups are always stressful. On any moderately complicated project, something always seems to go wrong. So lets see how this one goes.
Step 1 for me is always to do a dry glue-up. When possible, clamp everything together without glue. This will show you if a piece just will not seat, and let you fine tune out without having a clock running because your glue is drying on other parts. Some projects do not lend themselves to a complete assembly. Fully seating dovetails before gluing can be risky. Its easy to damage them as you take them apart. But here, with only lap joints, its easy and pretty risk free.
It will also let you know if you are a bit short on clamps, or if that clamp you thought was long enough, is not in fact long enough. Again, better to learn these things before the glue starts drying.
I’m very fond of using liquid hide glue. You can reverse it pretty easily, so even if I miss something during the dry assembly, all is not lost.
Check out the photos below for my process here and the end result
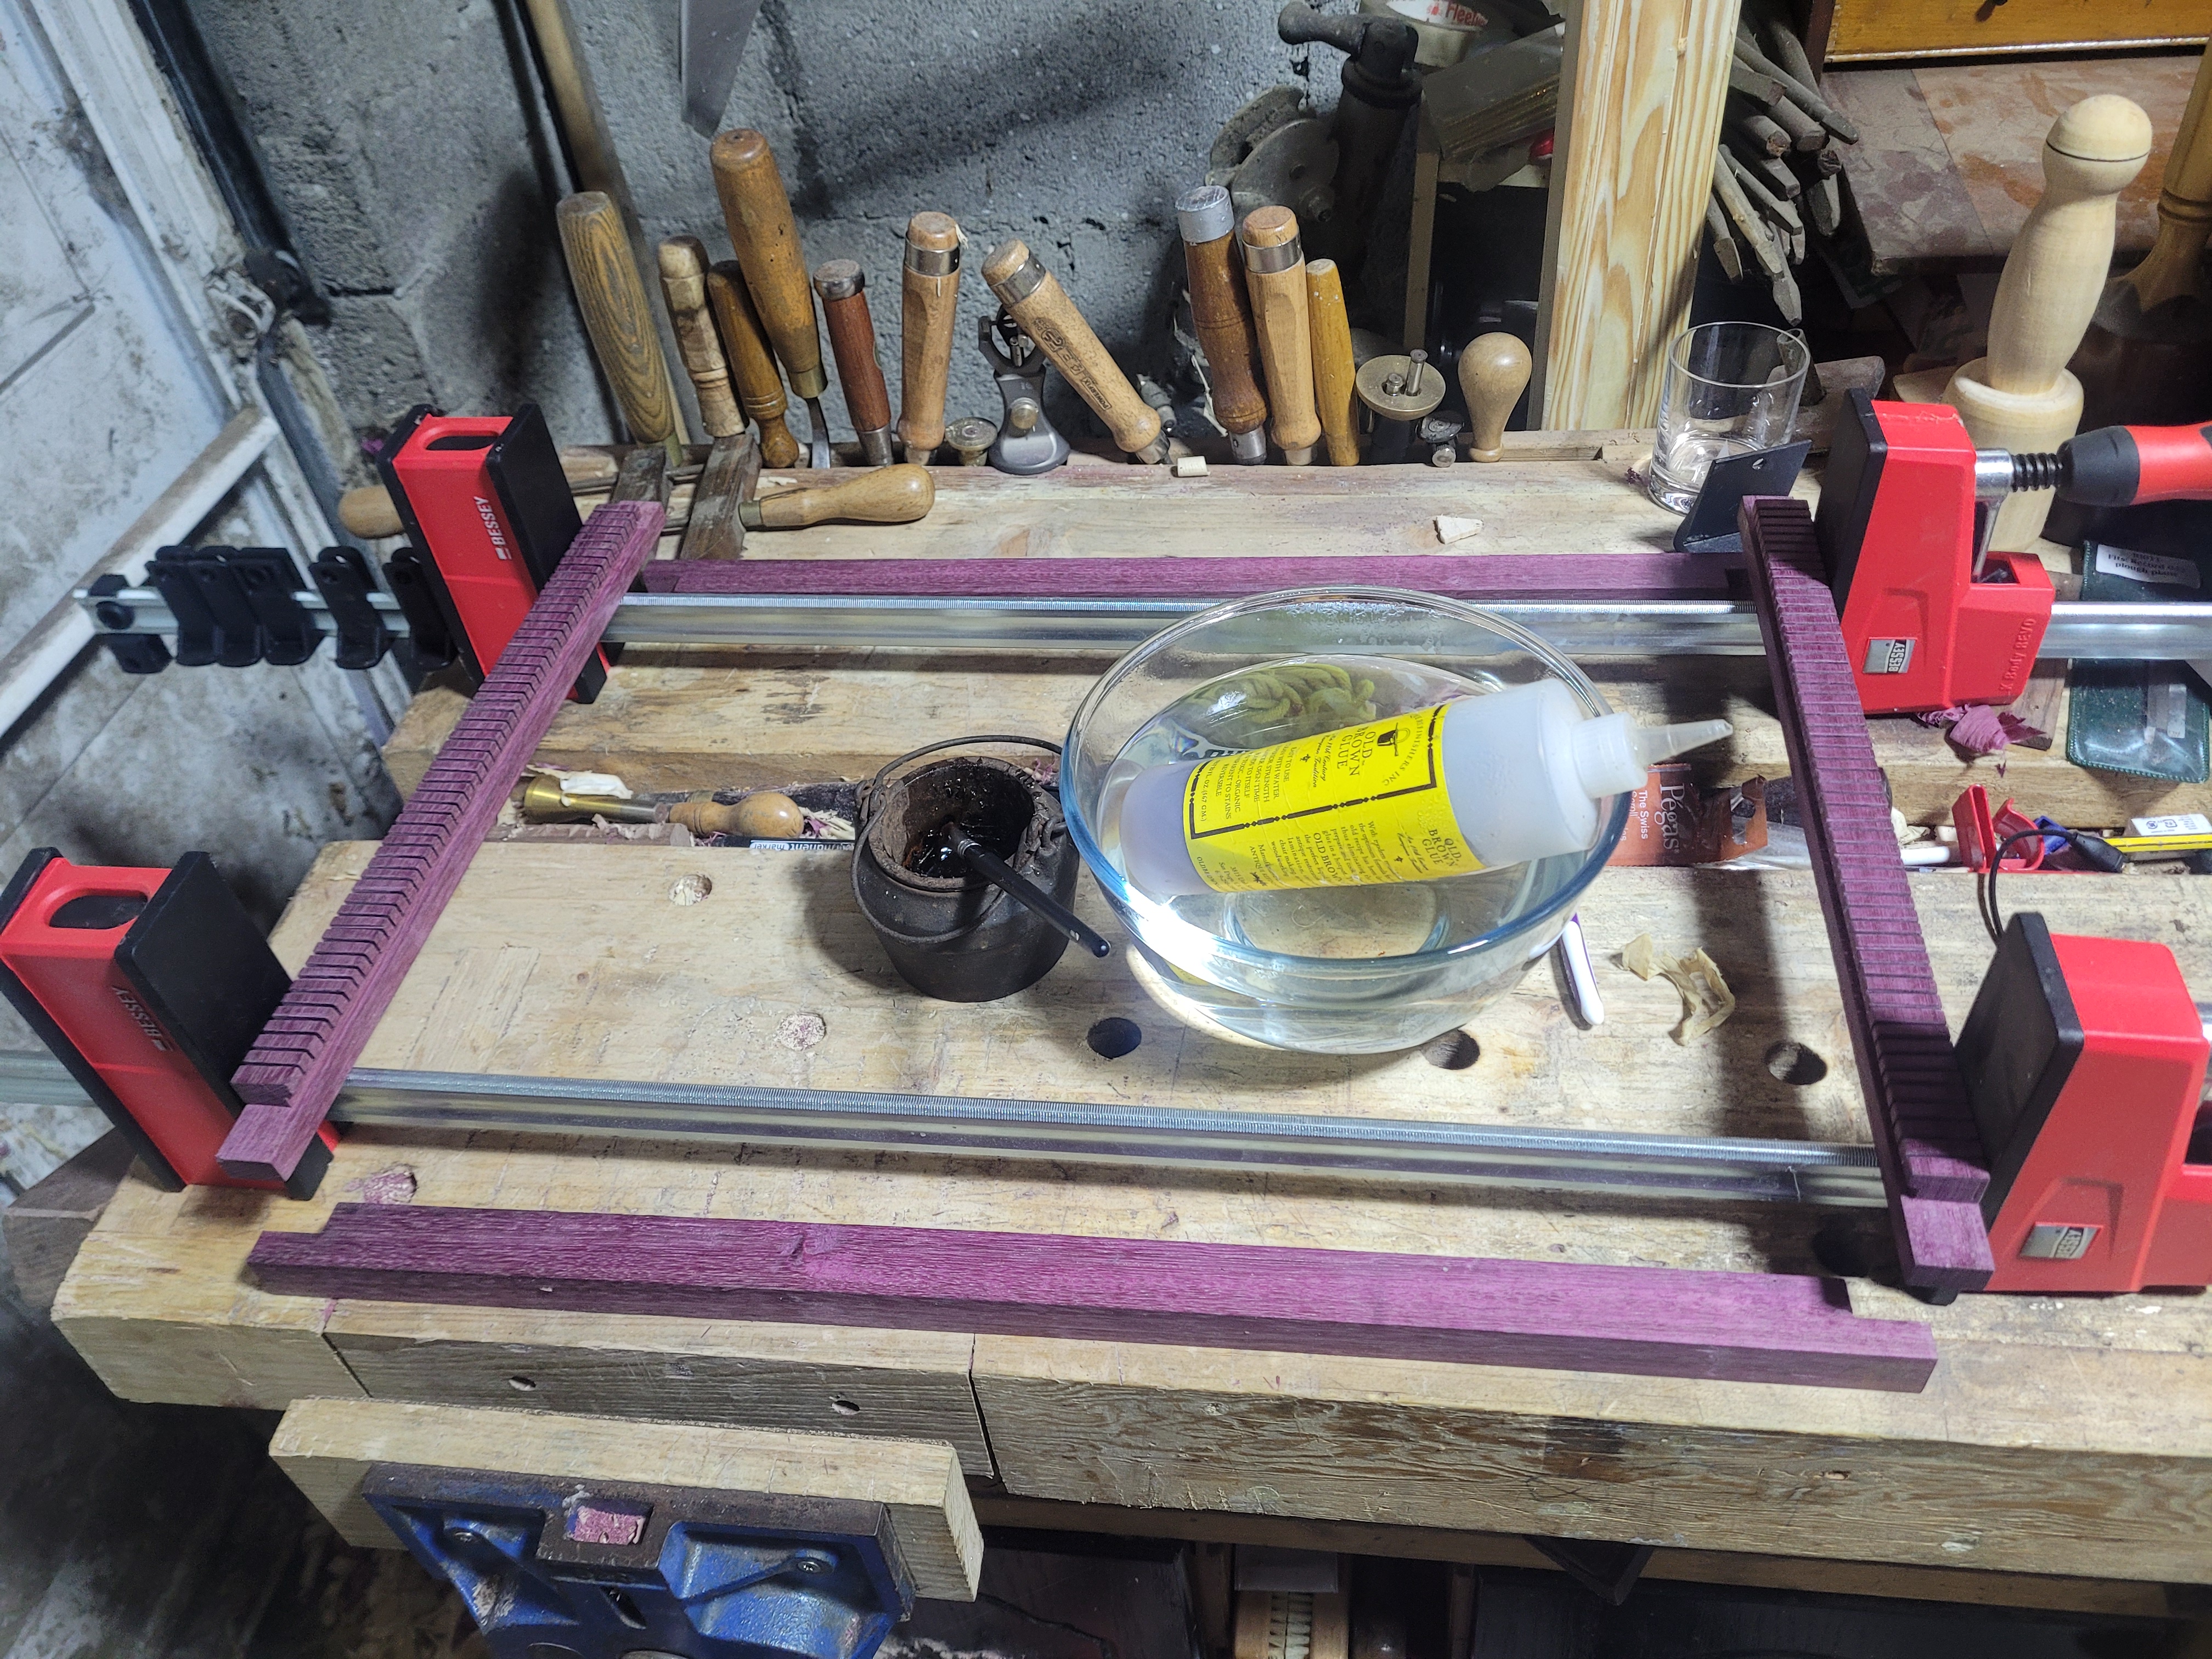
I didn’t take photos of the dry glue-up, but every clamp I think I need from it is stacked within arms reach. I have my Browns liquid hide glue at the ready. I use a little iron double boiler glue pot with some water from the kettle keeping the glue liquid. Browns is not liquid at room temperature, or at least Irish room temperature. I have the entire bottle a little further away in a bowl of hot water in case I run short.
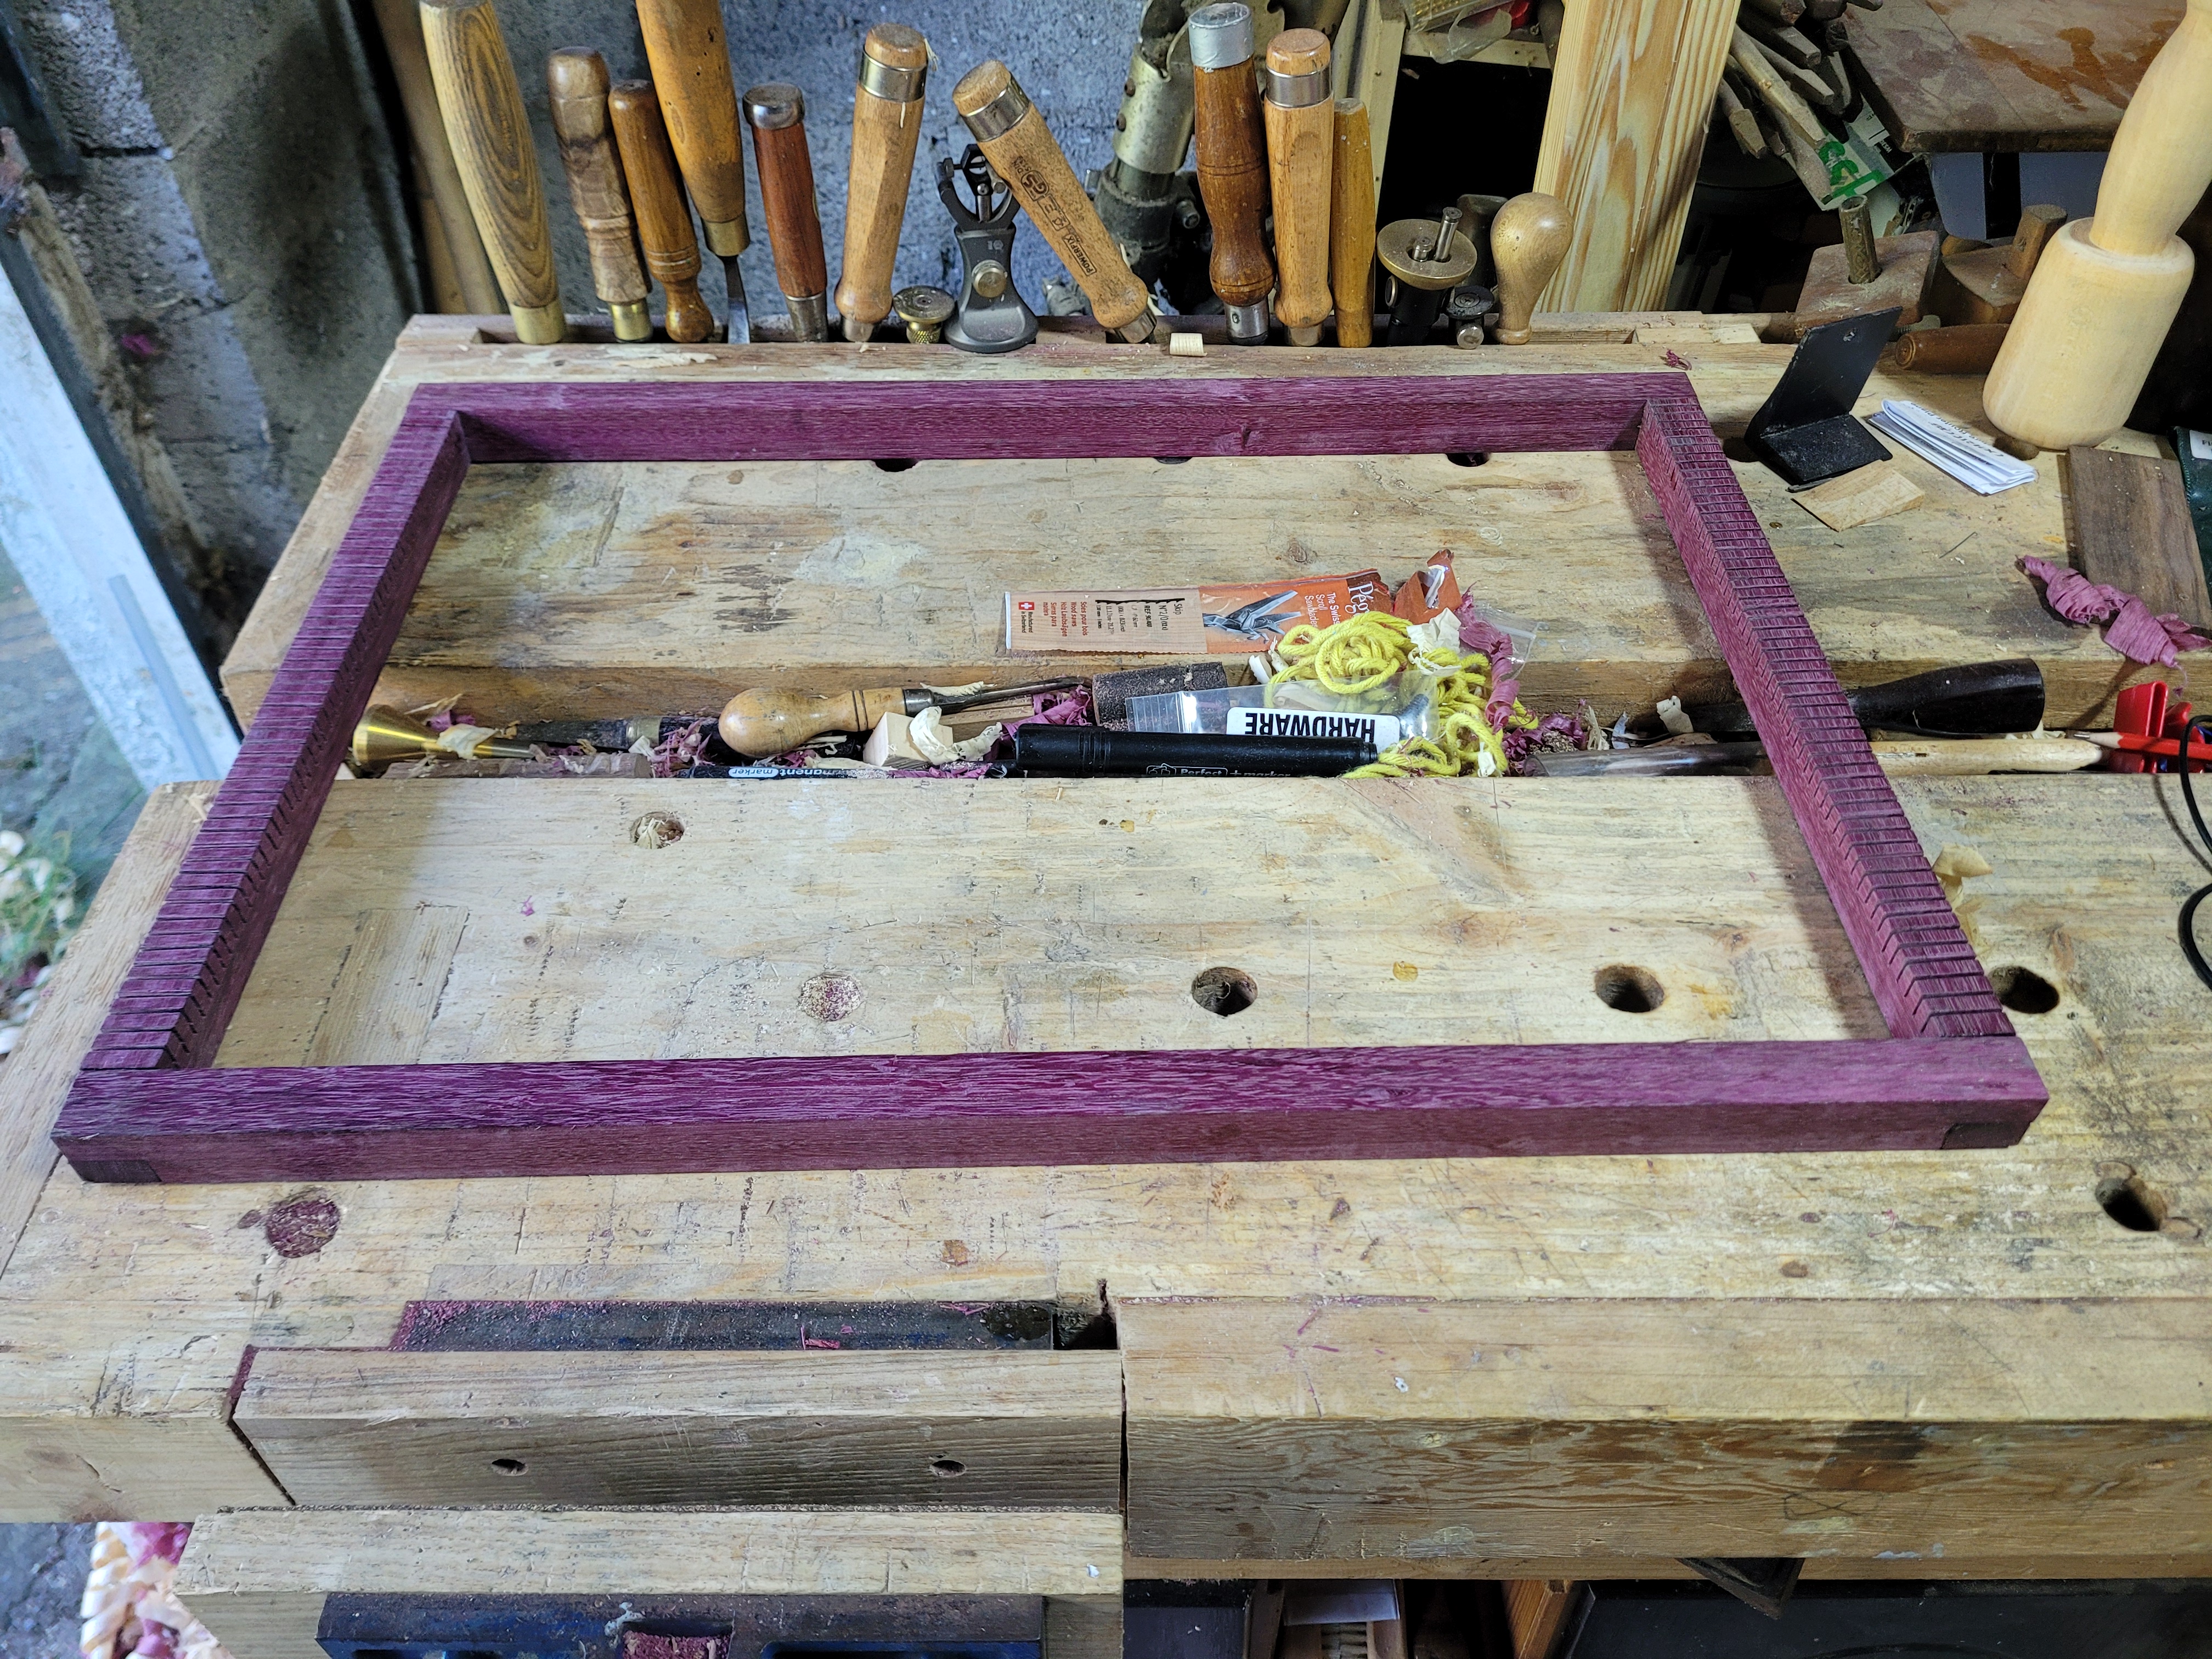
The foundation of my glue-up is the two Bessey clamps that everything will rest on. They have been left open just a little bit longer than the long side of the frame.
First I size the end grain. Every end grain surface to be glued gets a little coat of glue, and then I leave it for 10 minutes to drink it up. In the purpleheart’s case, it drank up very very little, I probably could have skipped it, but it does not harm.
Then glue goes on every mating surface. I drop the side pieces on the end pieces, and tighten the Bessey clamps. Just gentle pressure, enough to close the joints. I have the clamps just inside the sides. That minimizes bending the frame, and if one of the side pieces is a little proud, it still pushes the end pieces home.
Next up, side clamping. I have Bessey clamps long enough to do this, but the bars are so long it makes it very hard for me to move around my shop. So instead, I used pairs of speed clamps to bridge the gap. Again, these clamps are just past the joints, so a proud surface wont stop them from exerting force.
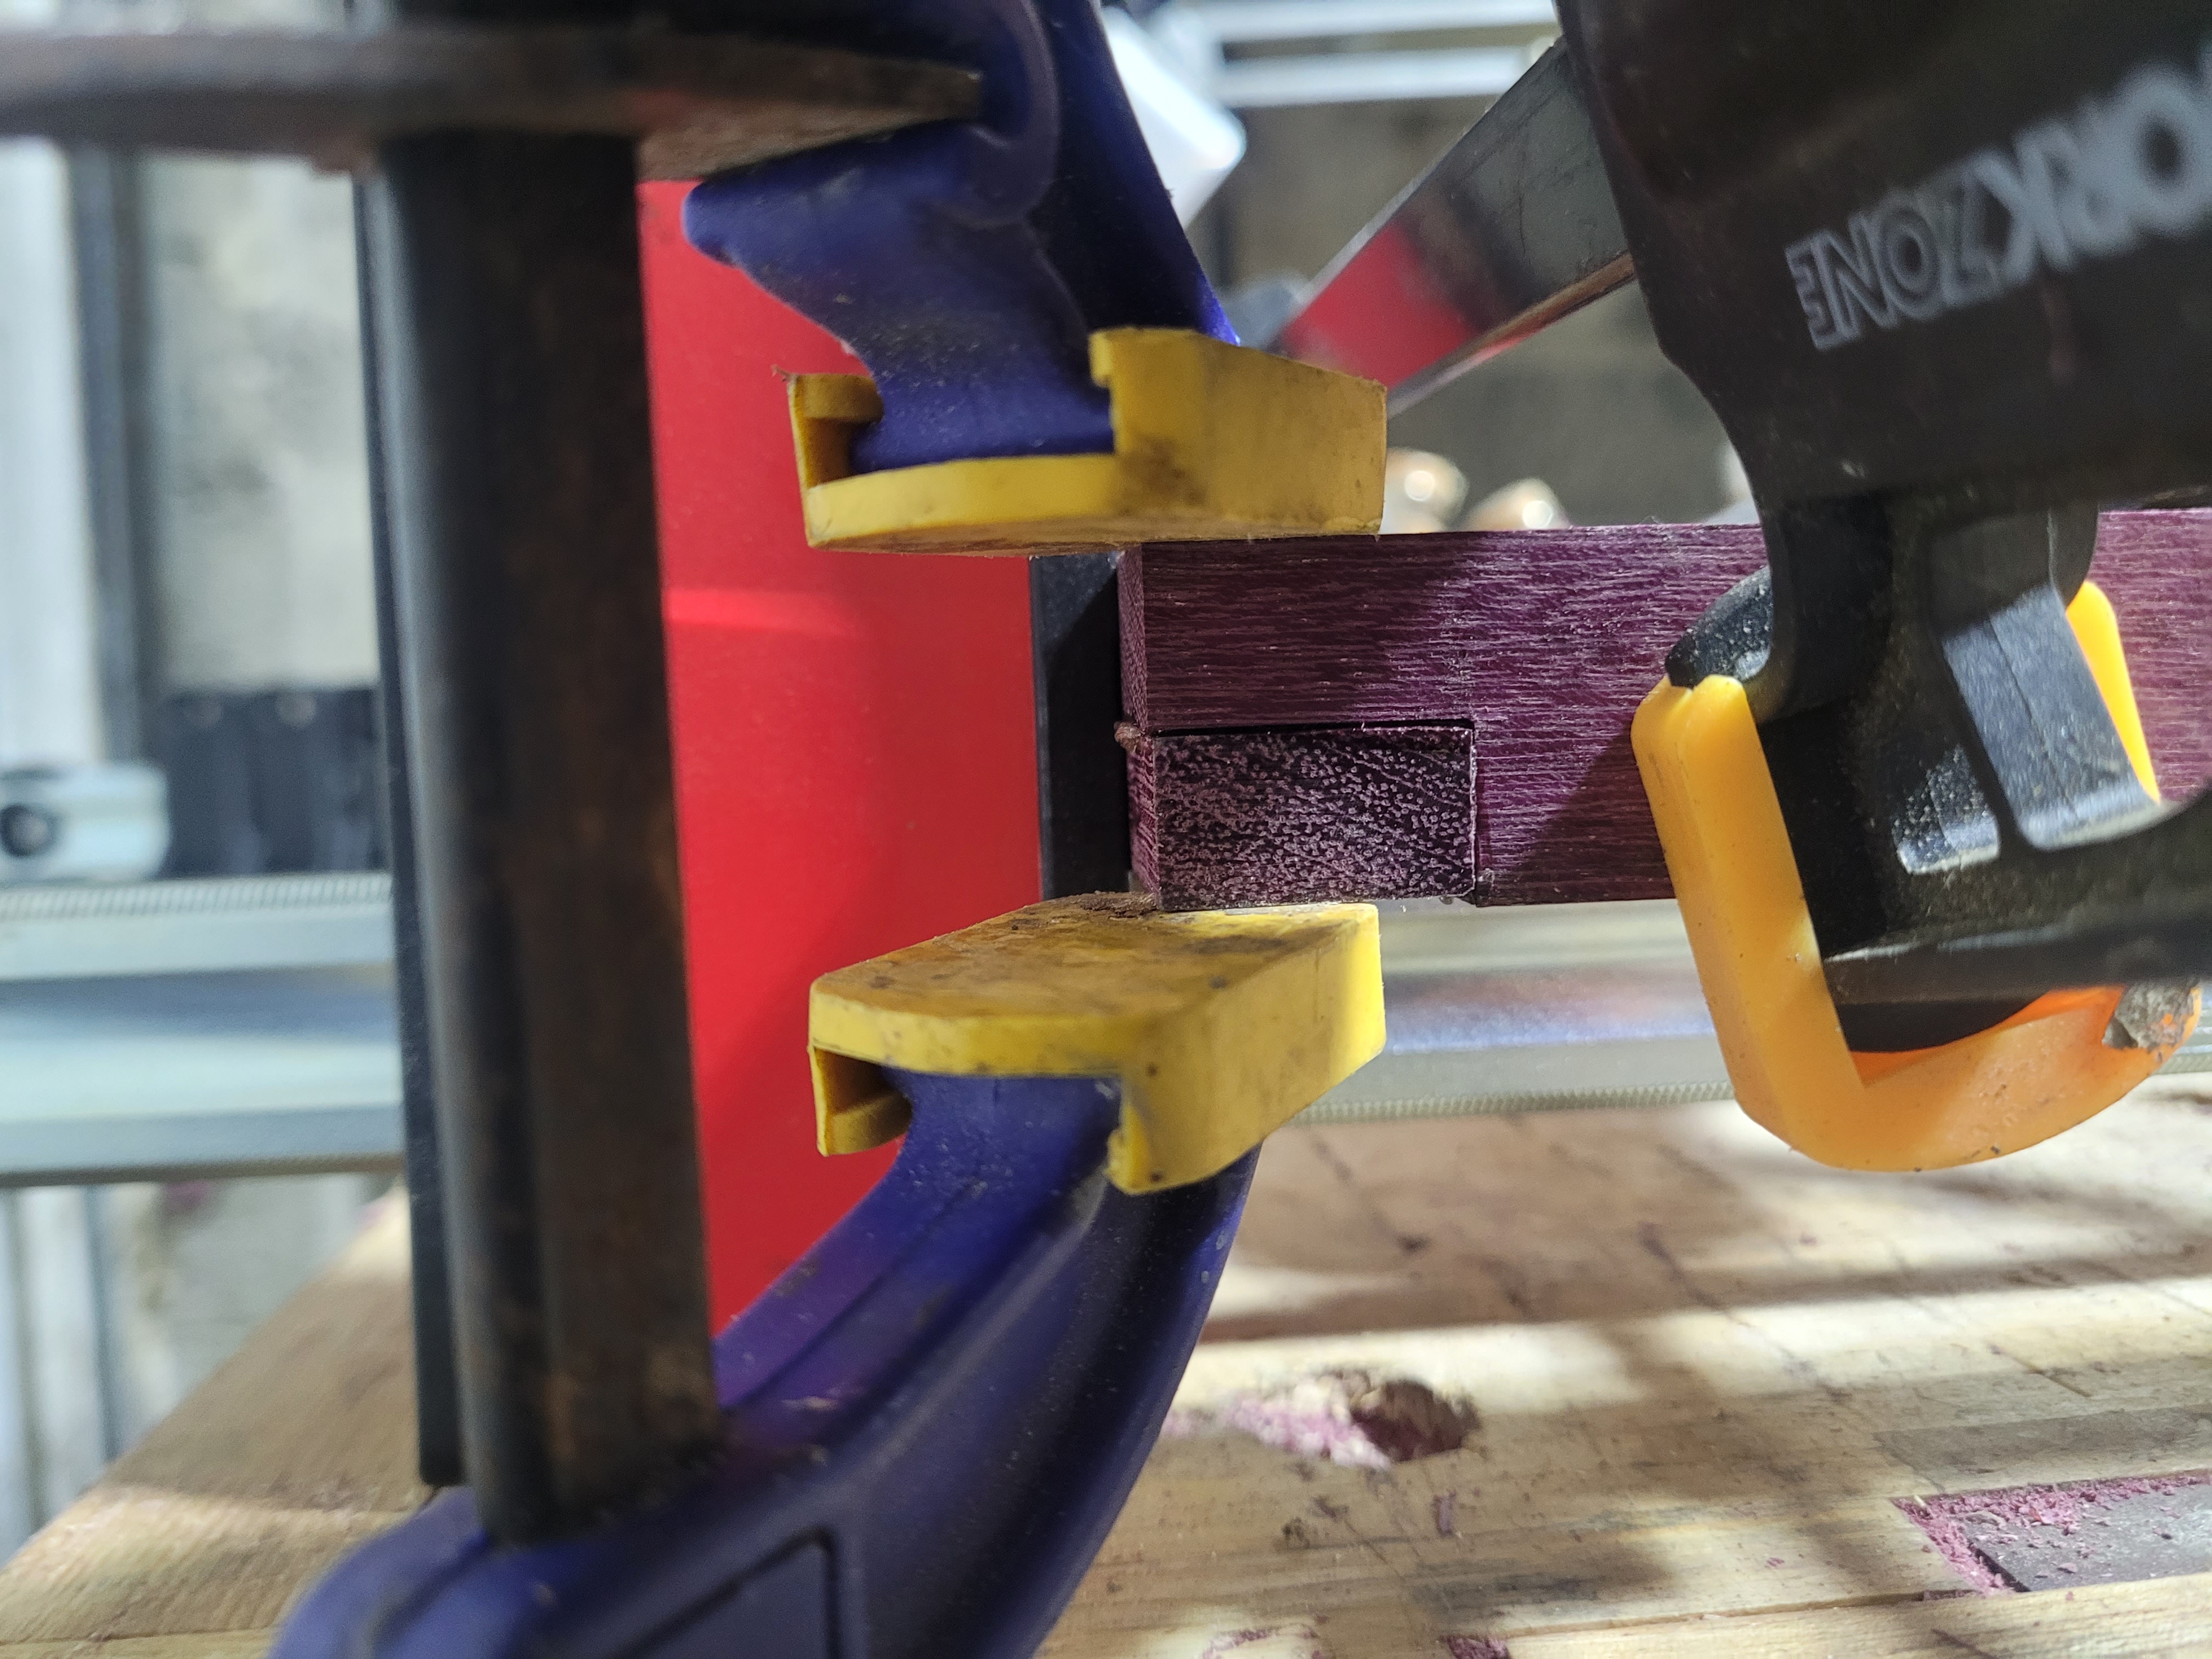
Now I go around each corner adding a speed clamp to add top/bottom pressure. During the dry glue-up, I found that once everything was clamped together, at least one corner would have a gap. Something is a bit out of square/true somewhere. With some luck, clamps and glue will deal with it.
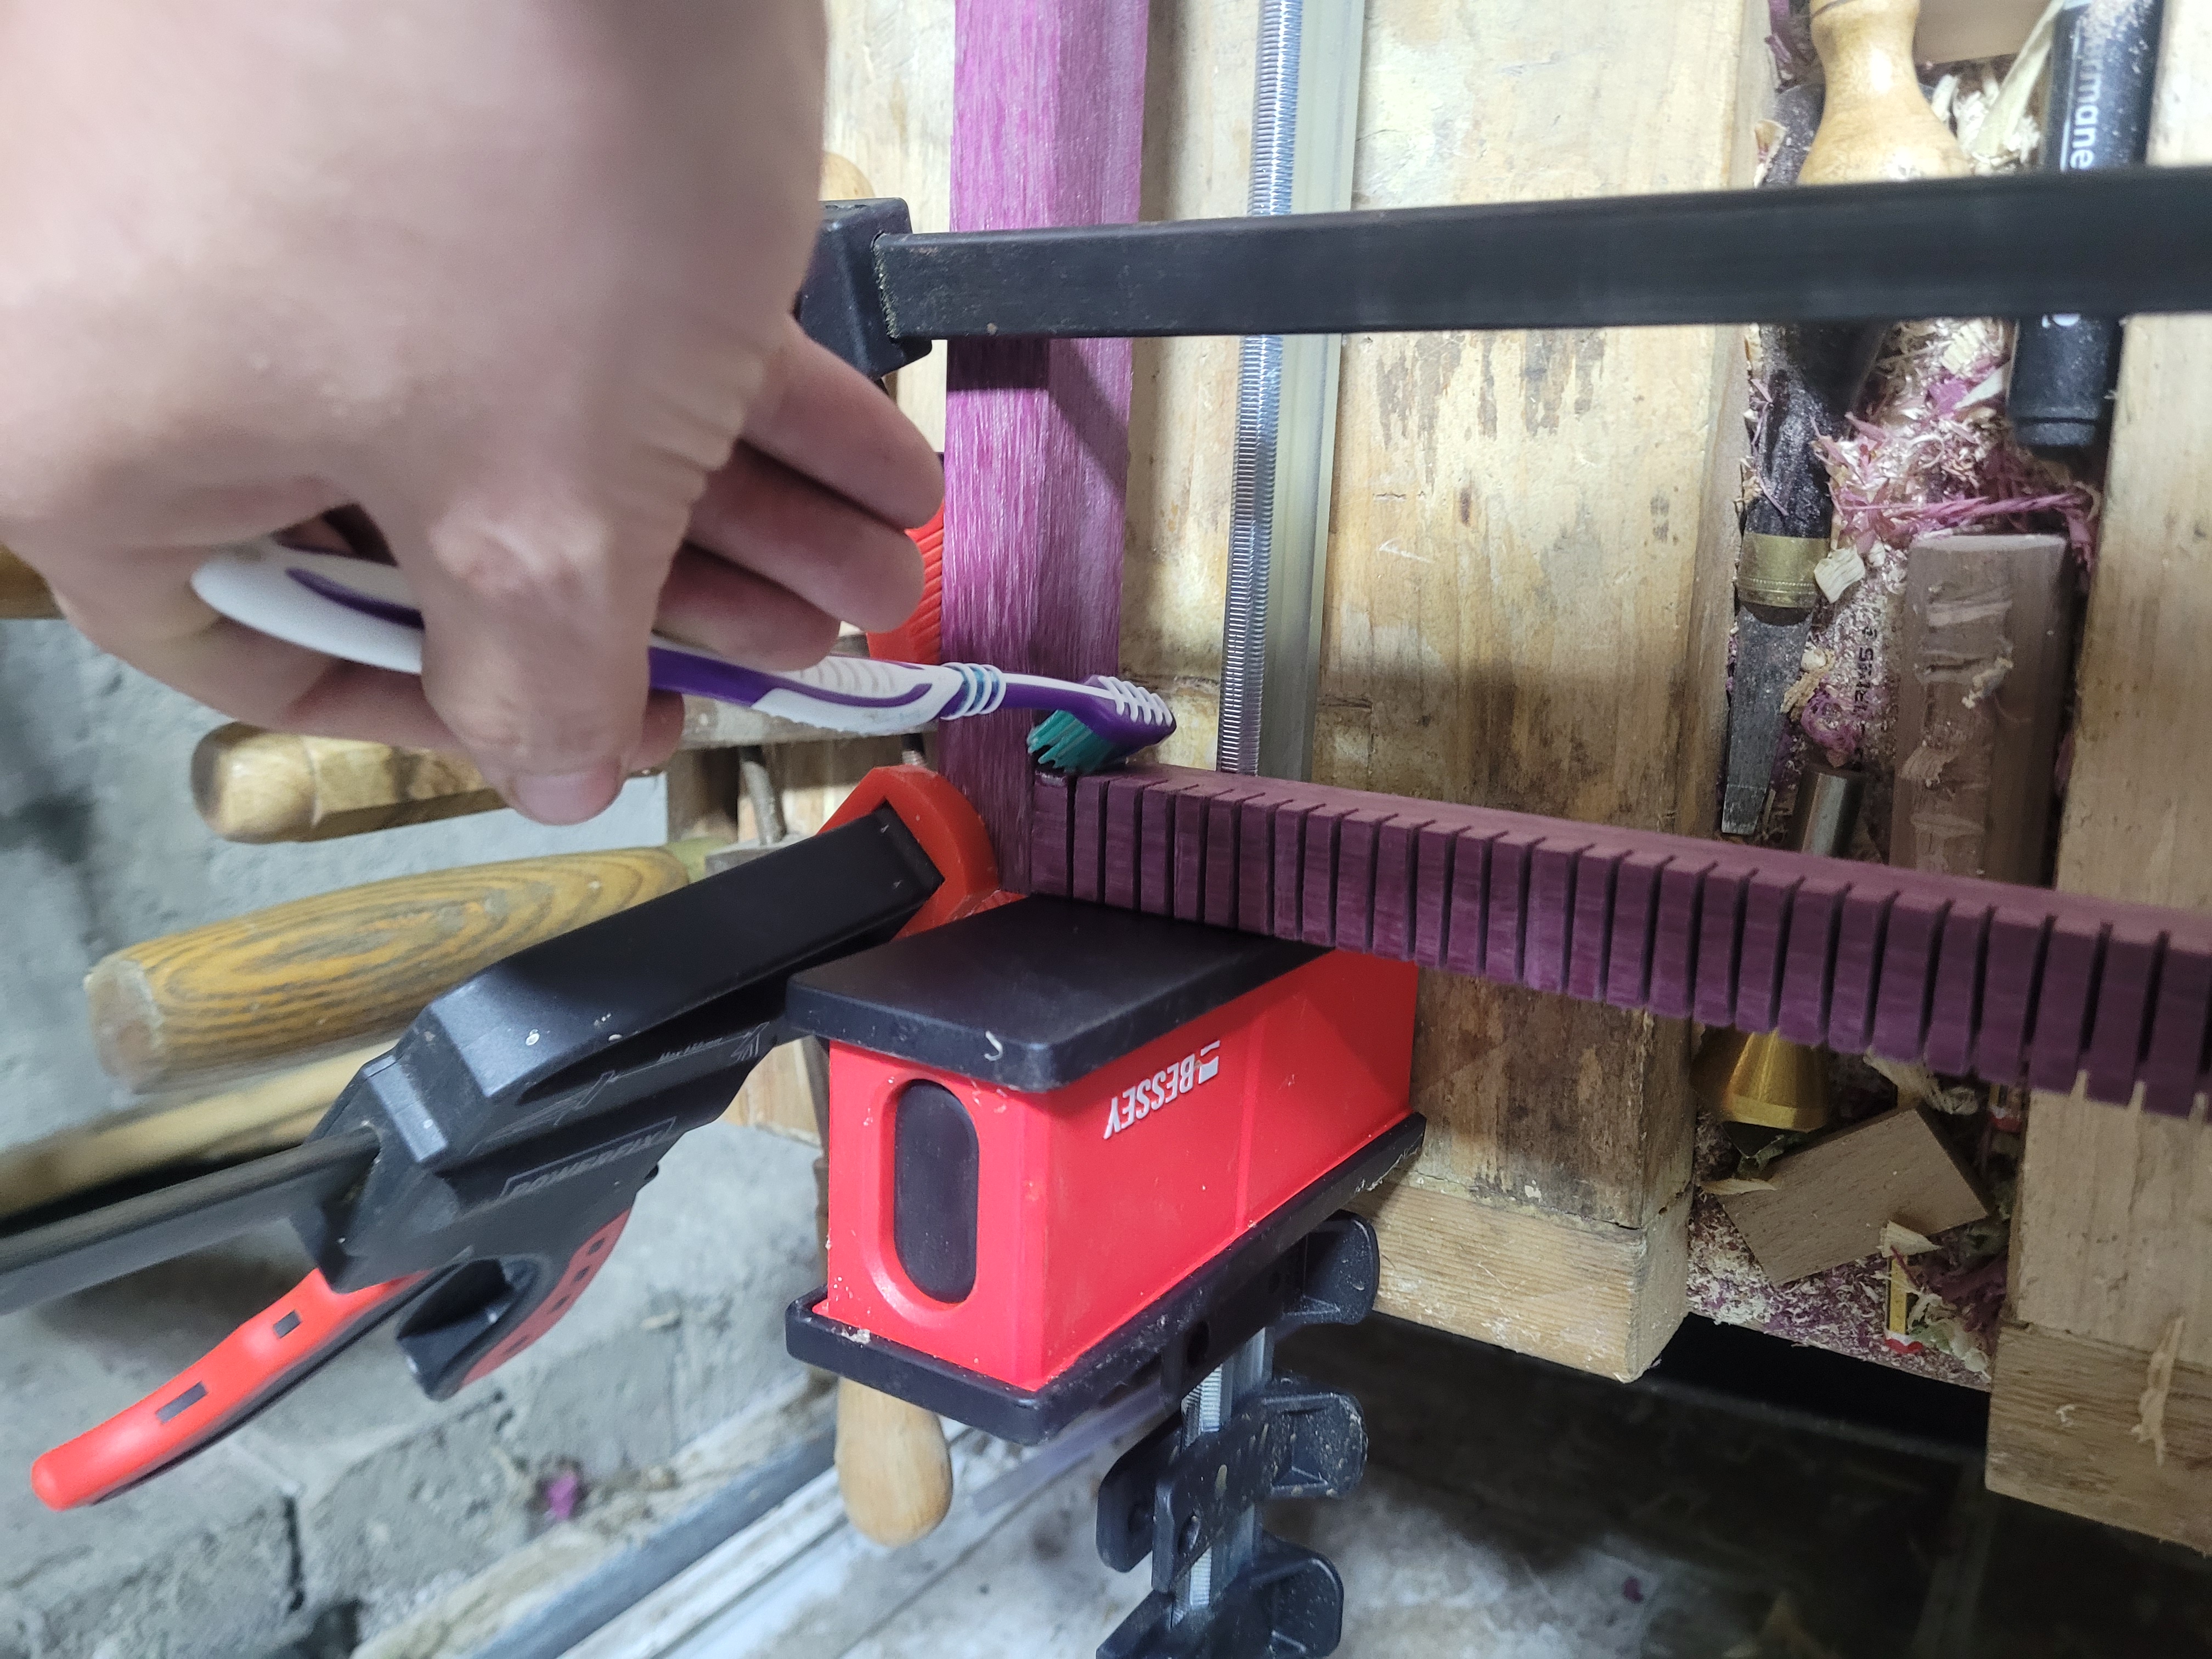
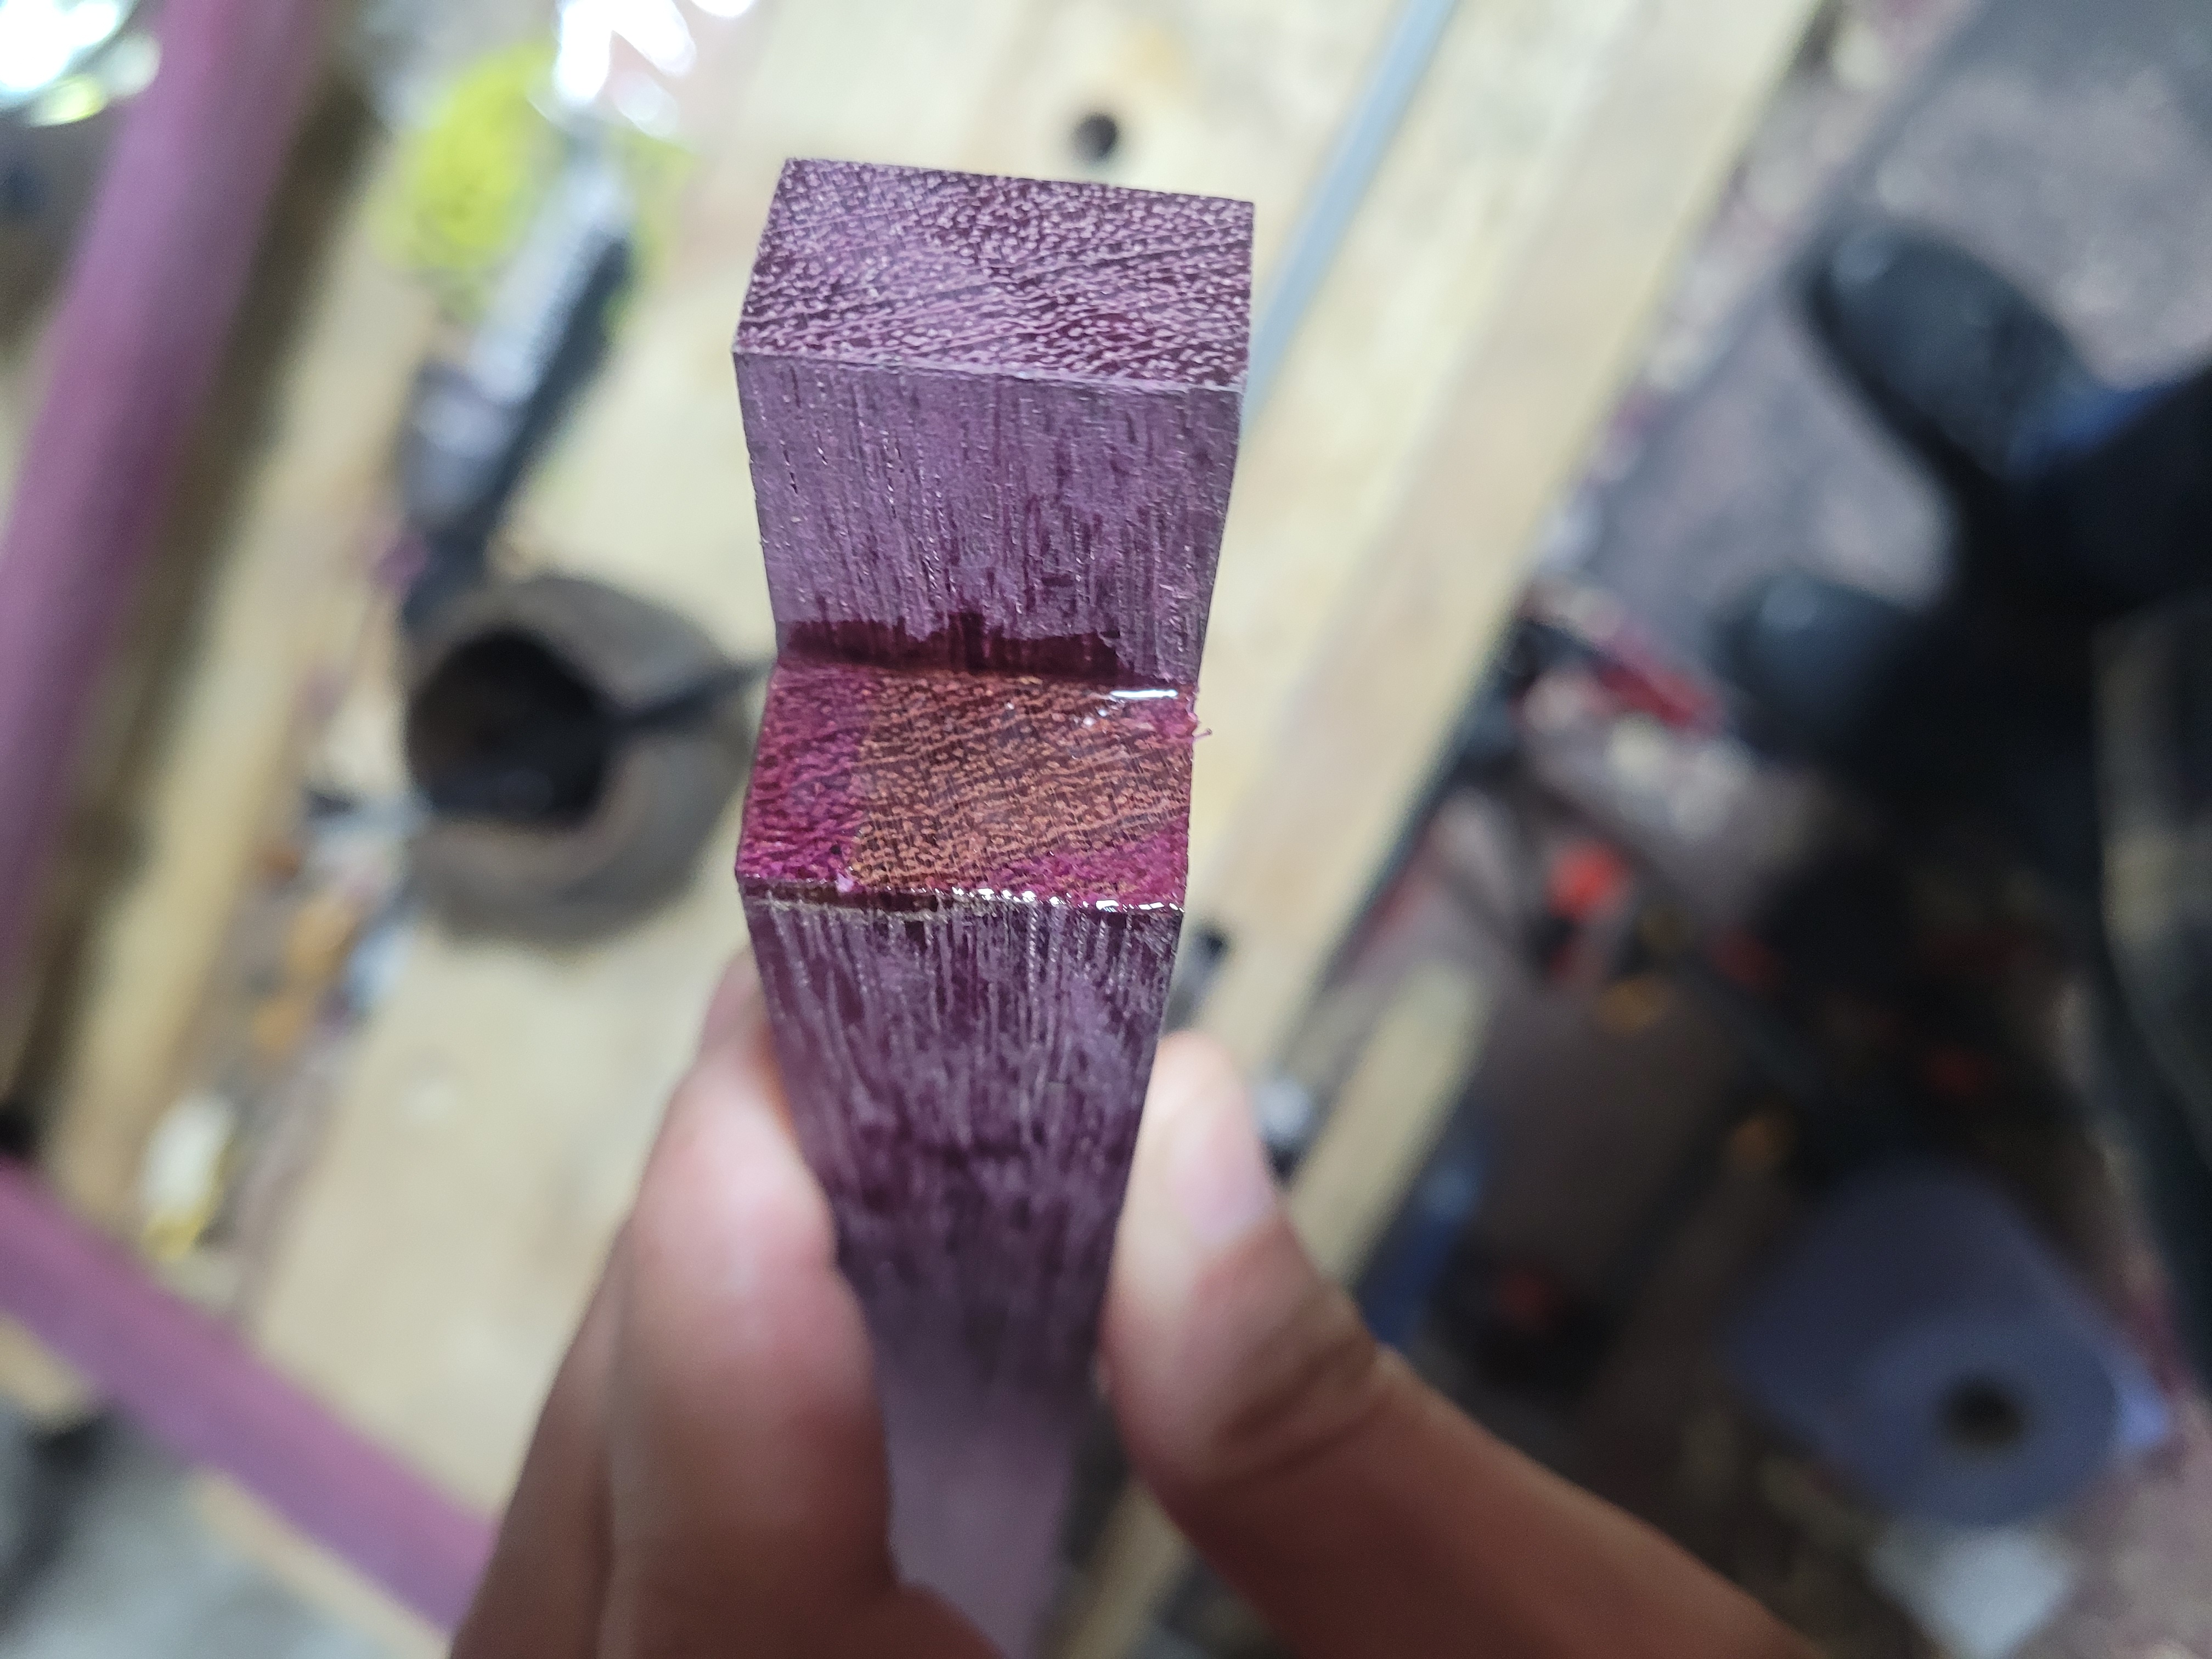
Once everything is together. Go to work with an old toothbrush, hot water and some paper towels. Get as rid of as much squeeze out as possible. Pay particular attention to inside corners, they will be harder to clean out later.
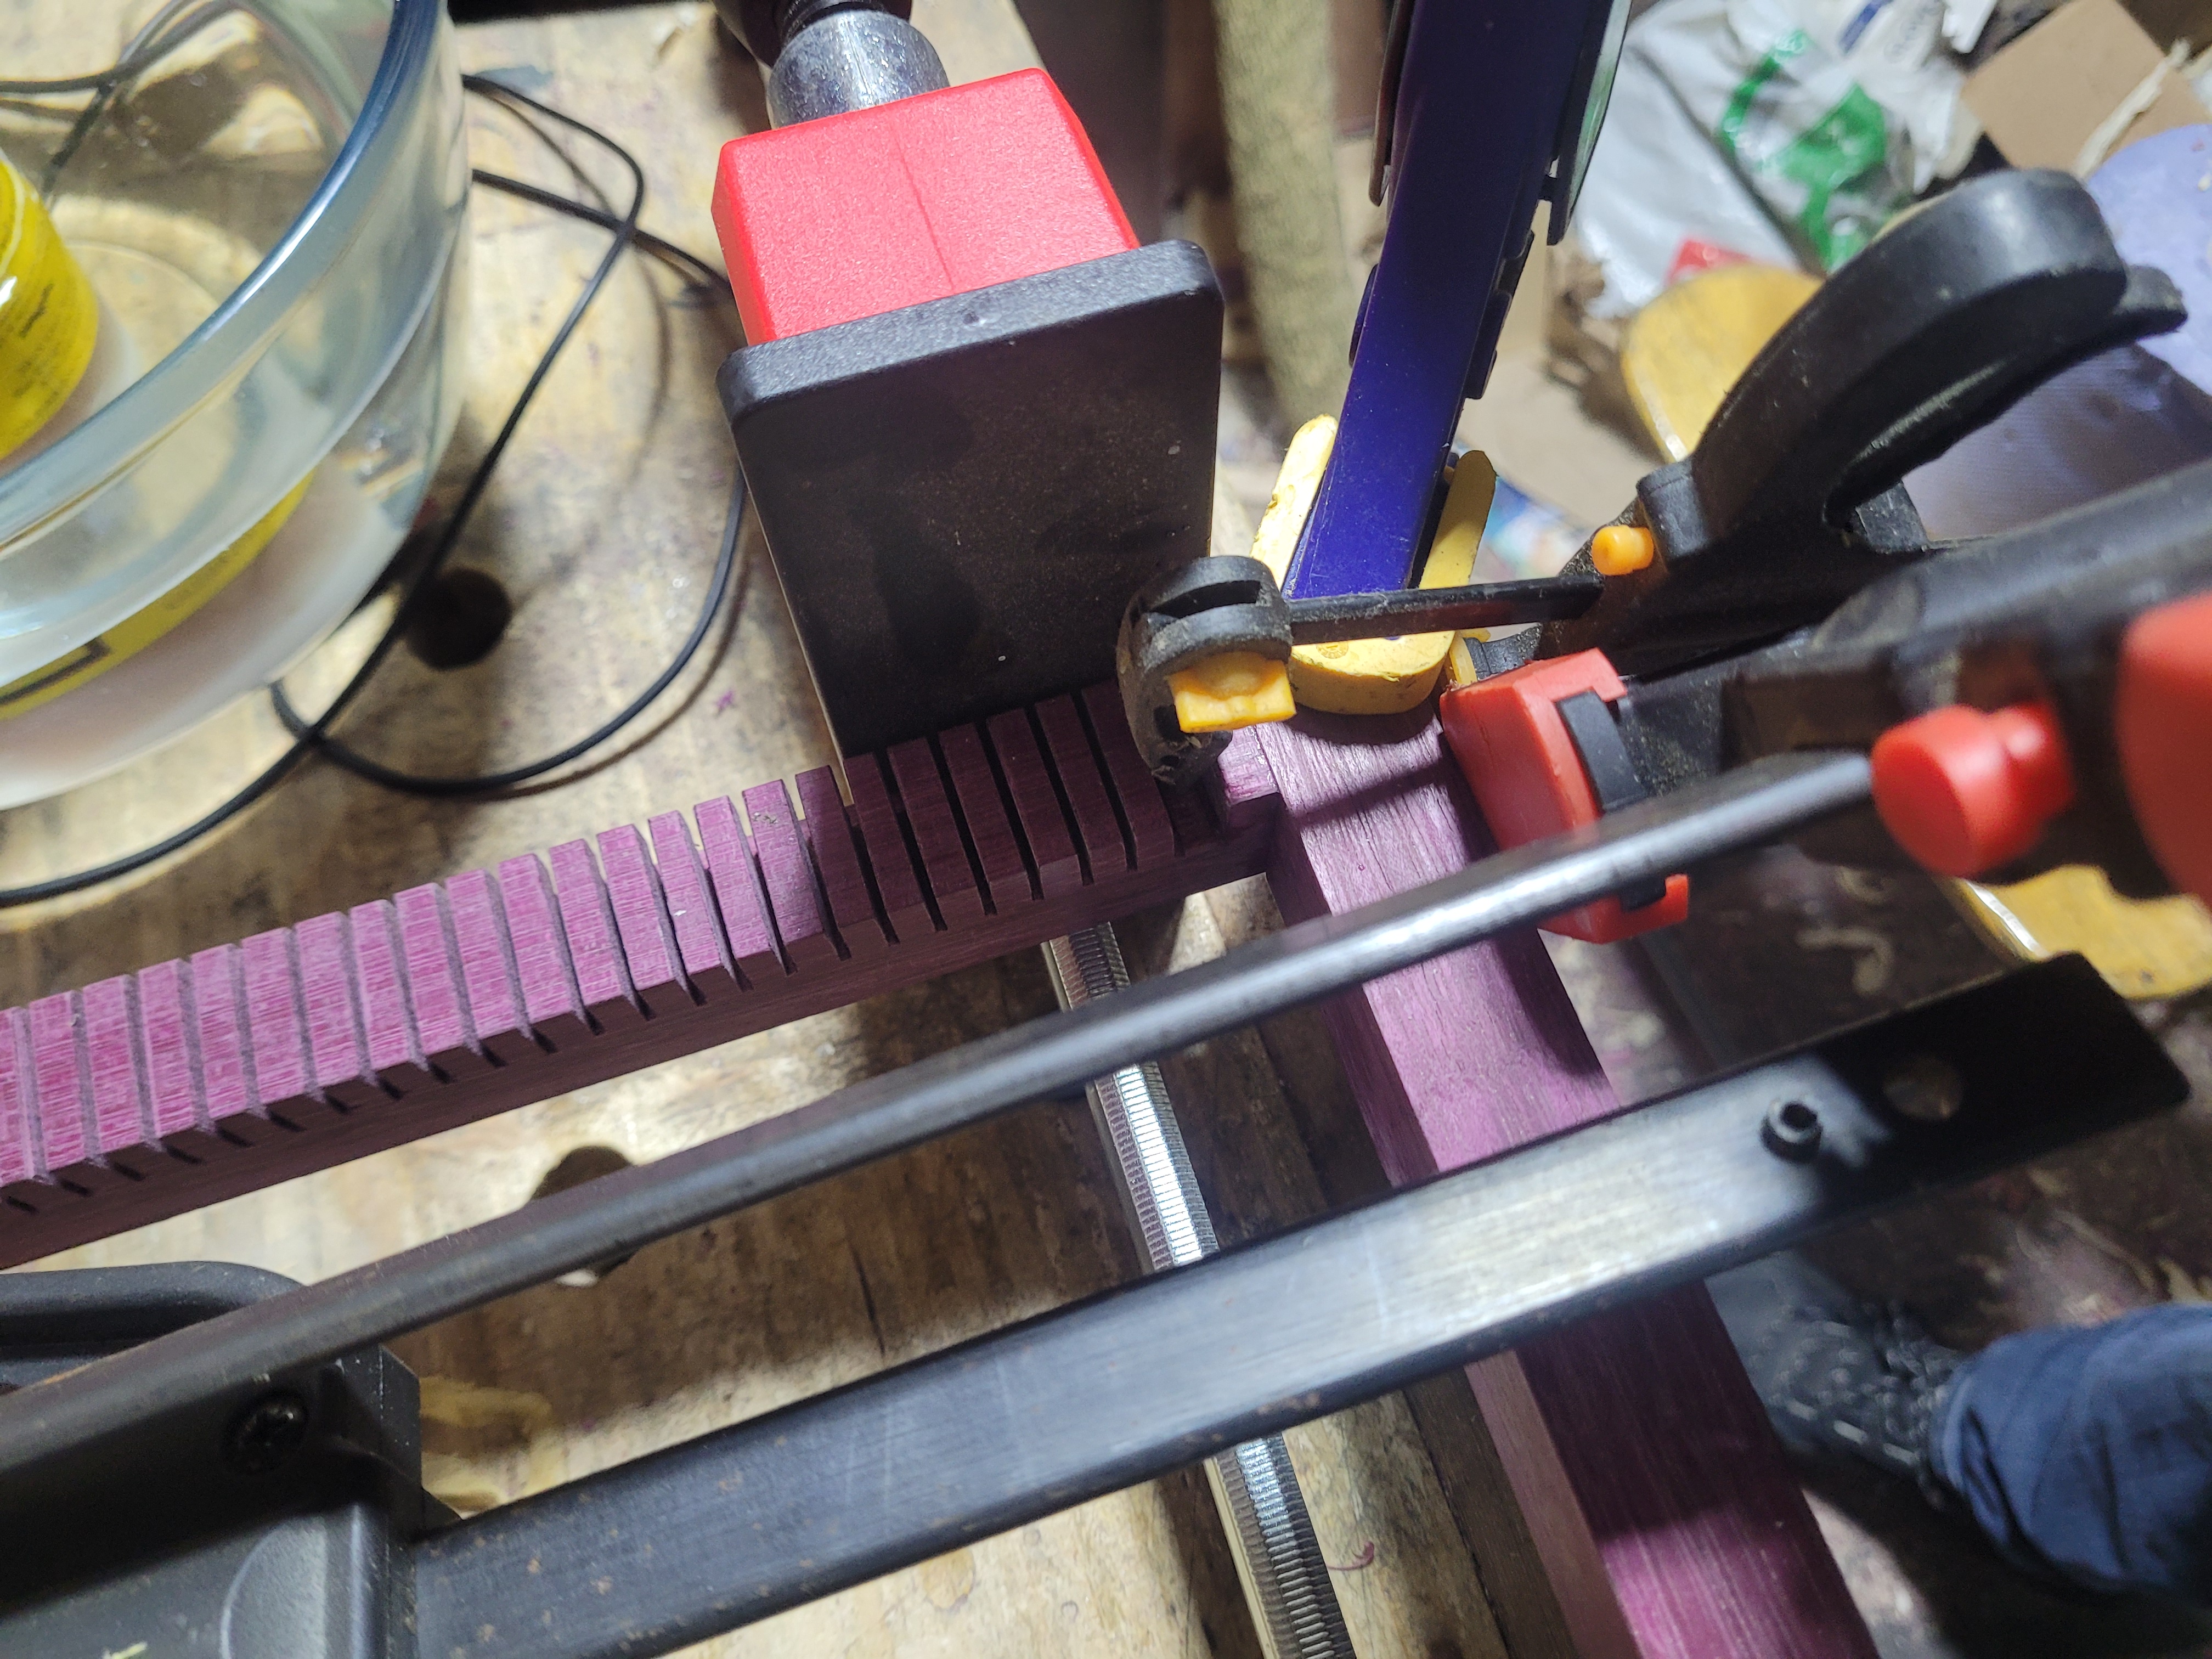
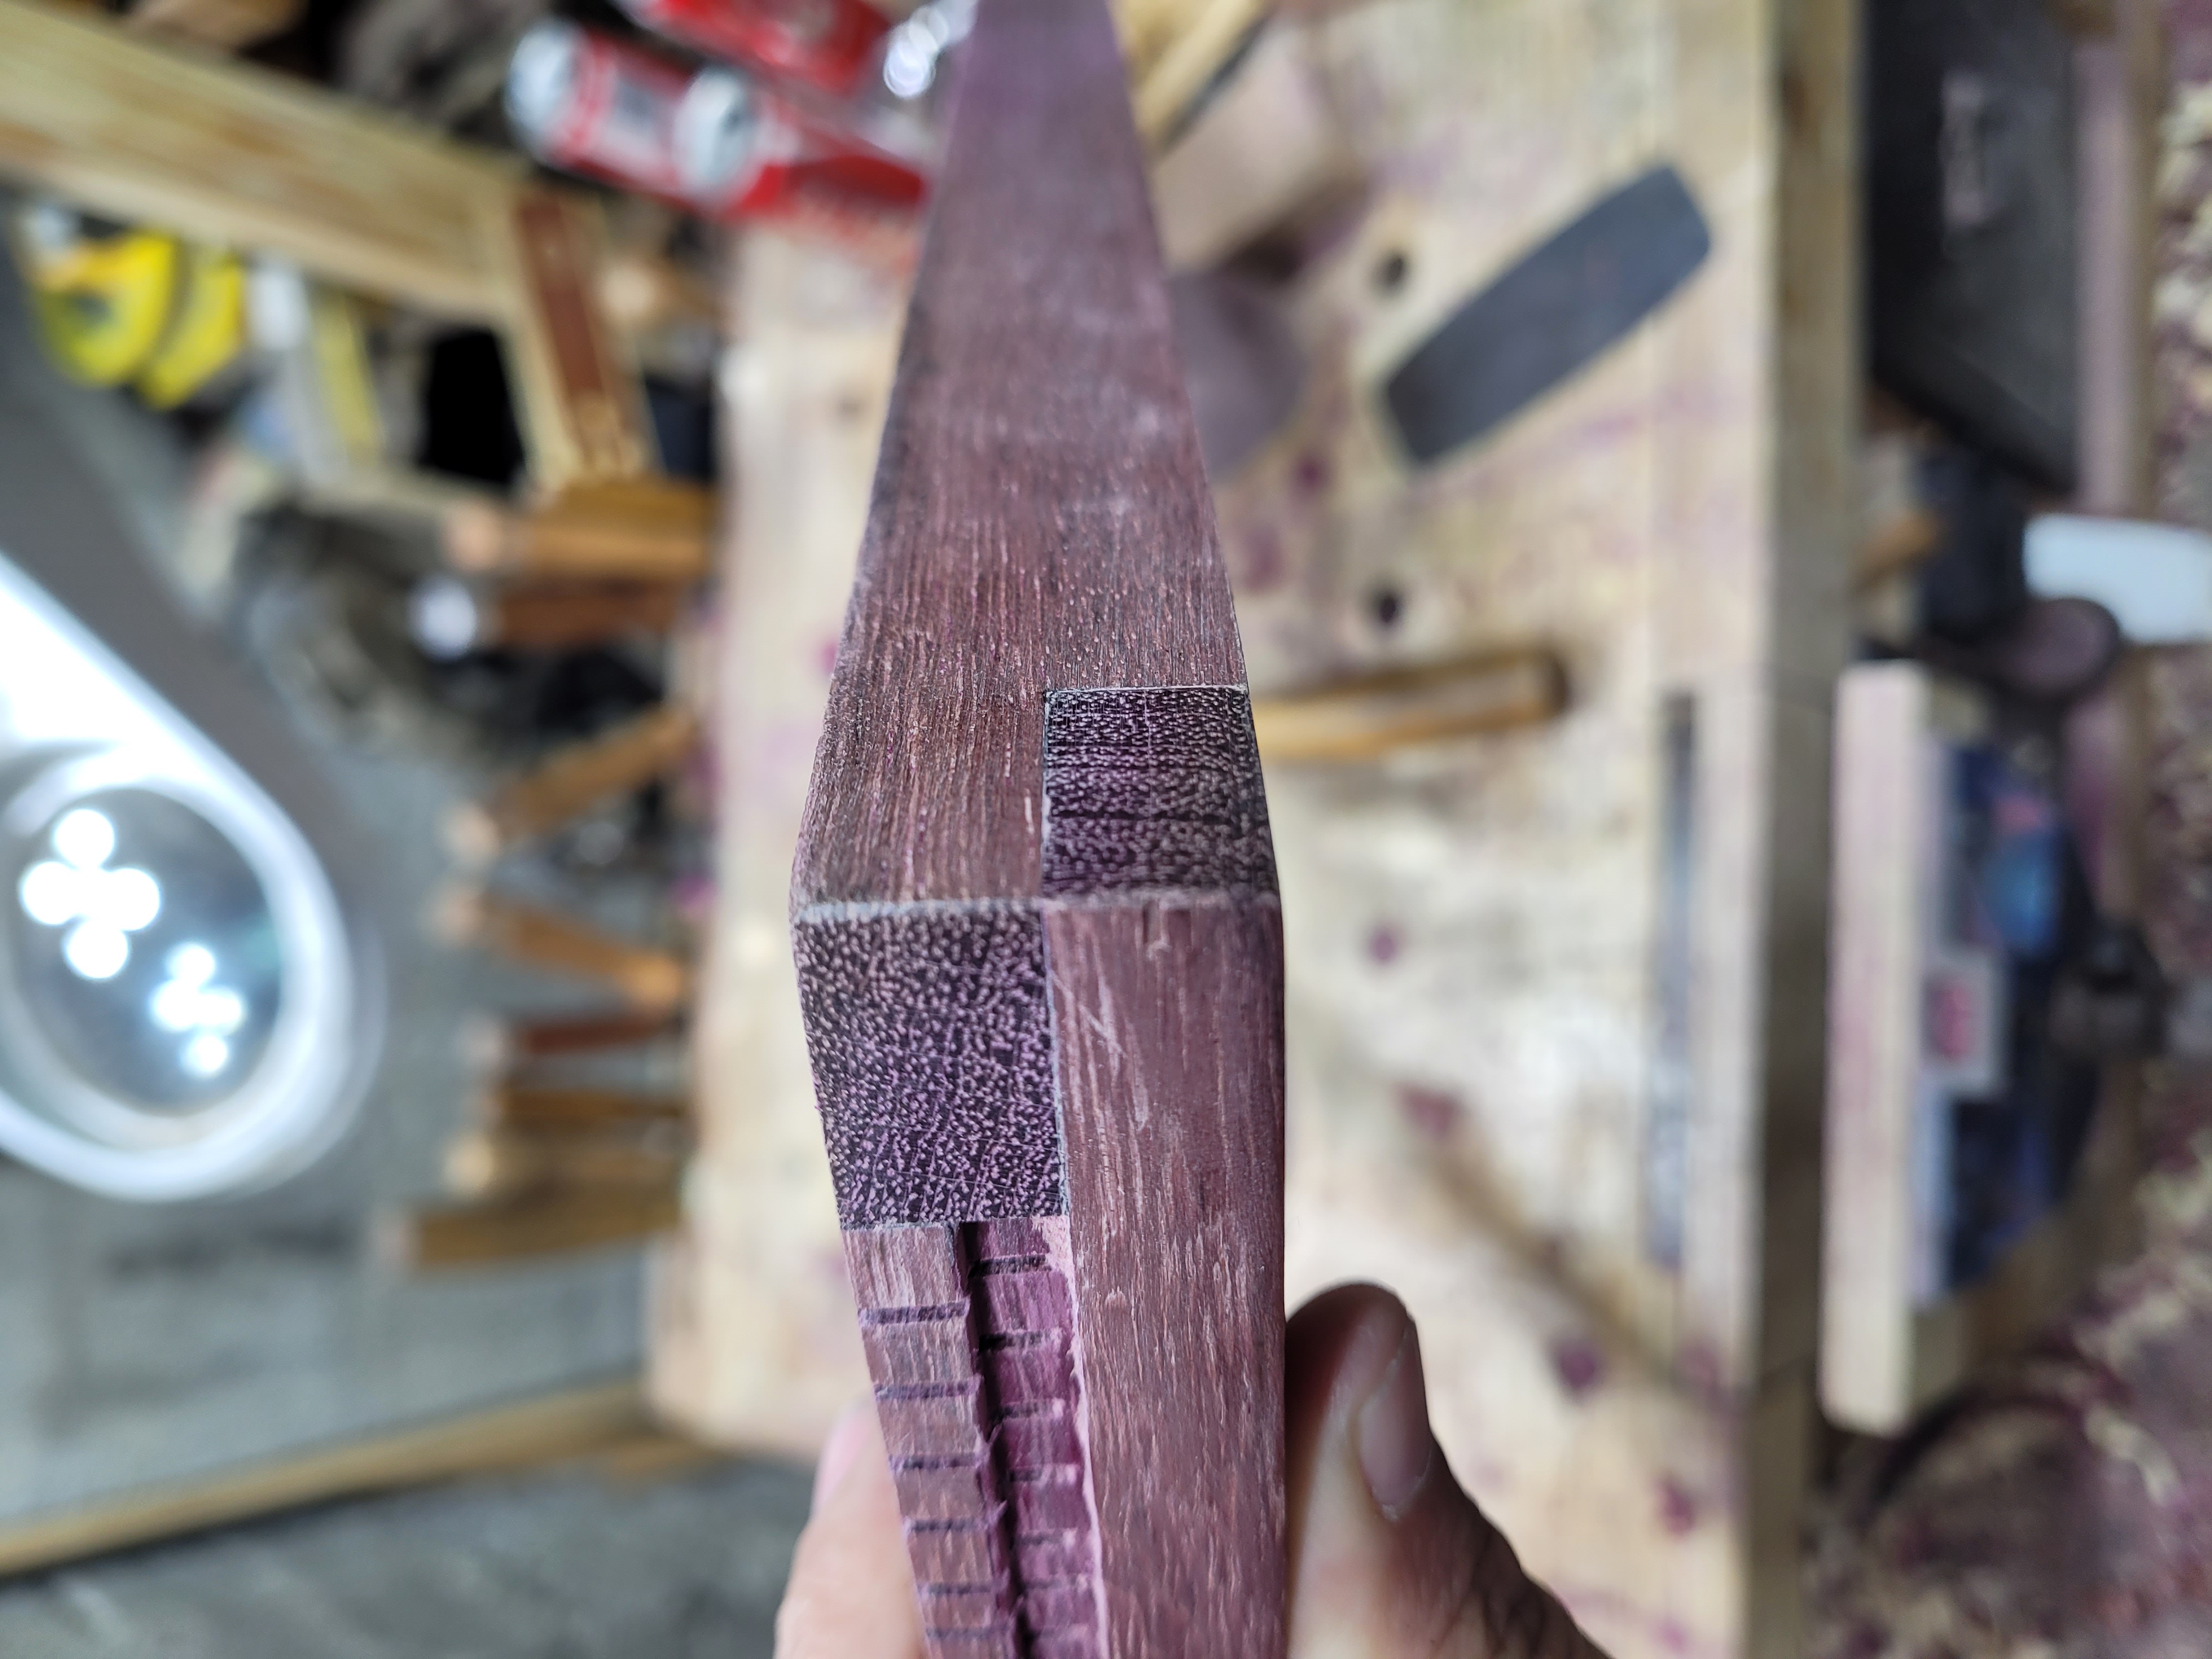
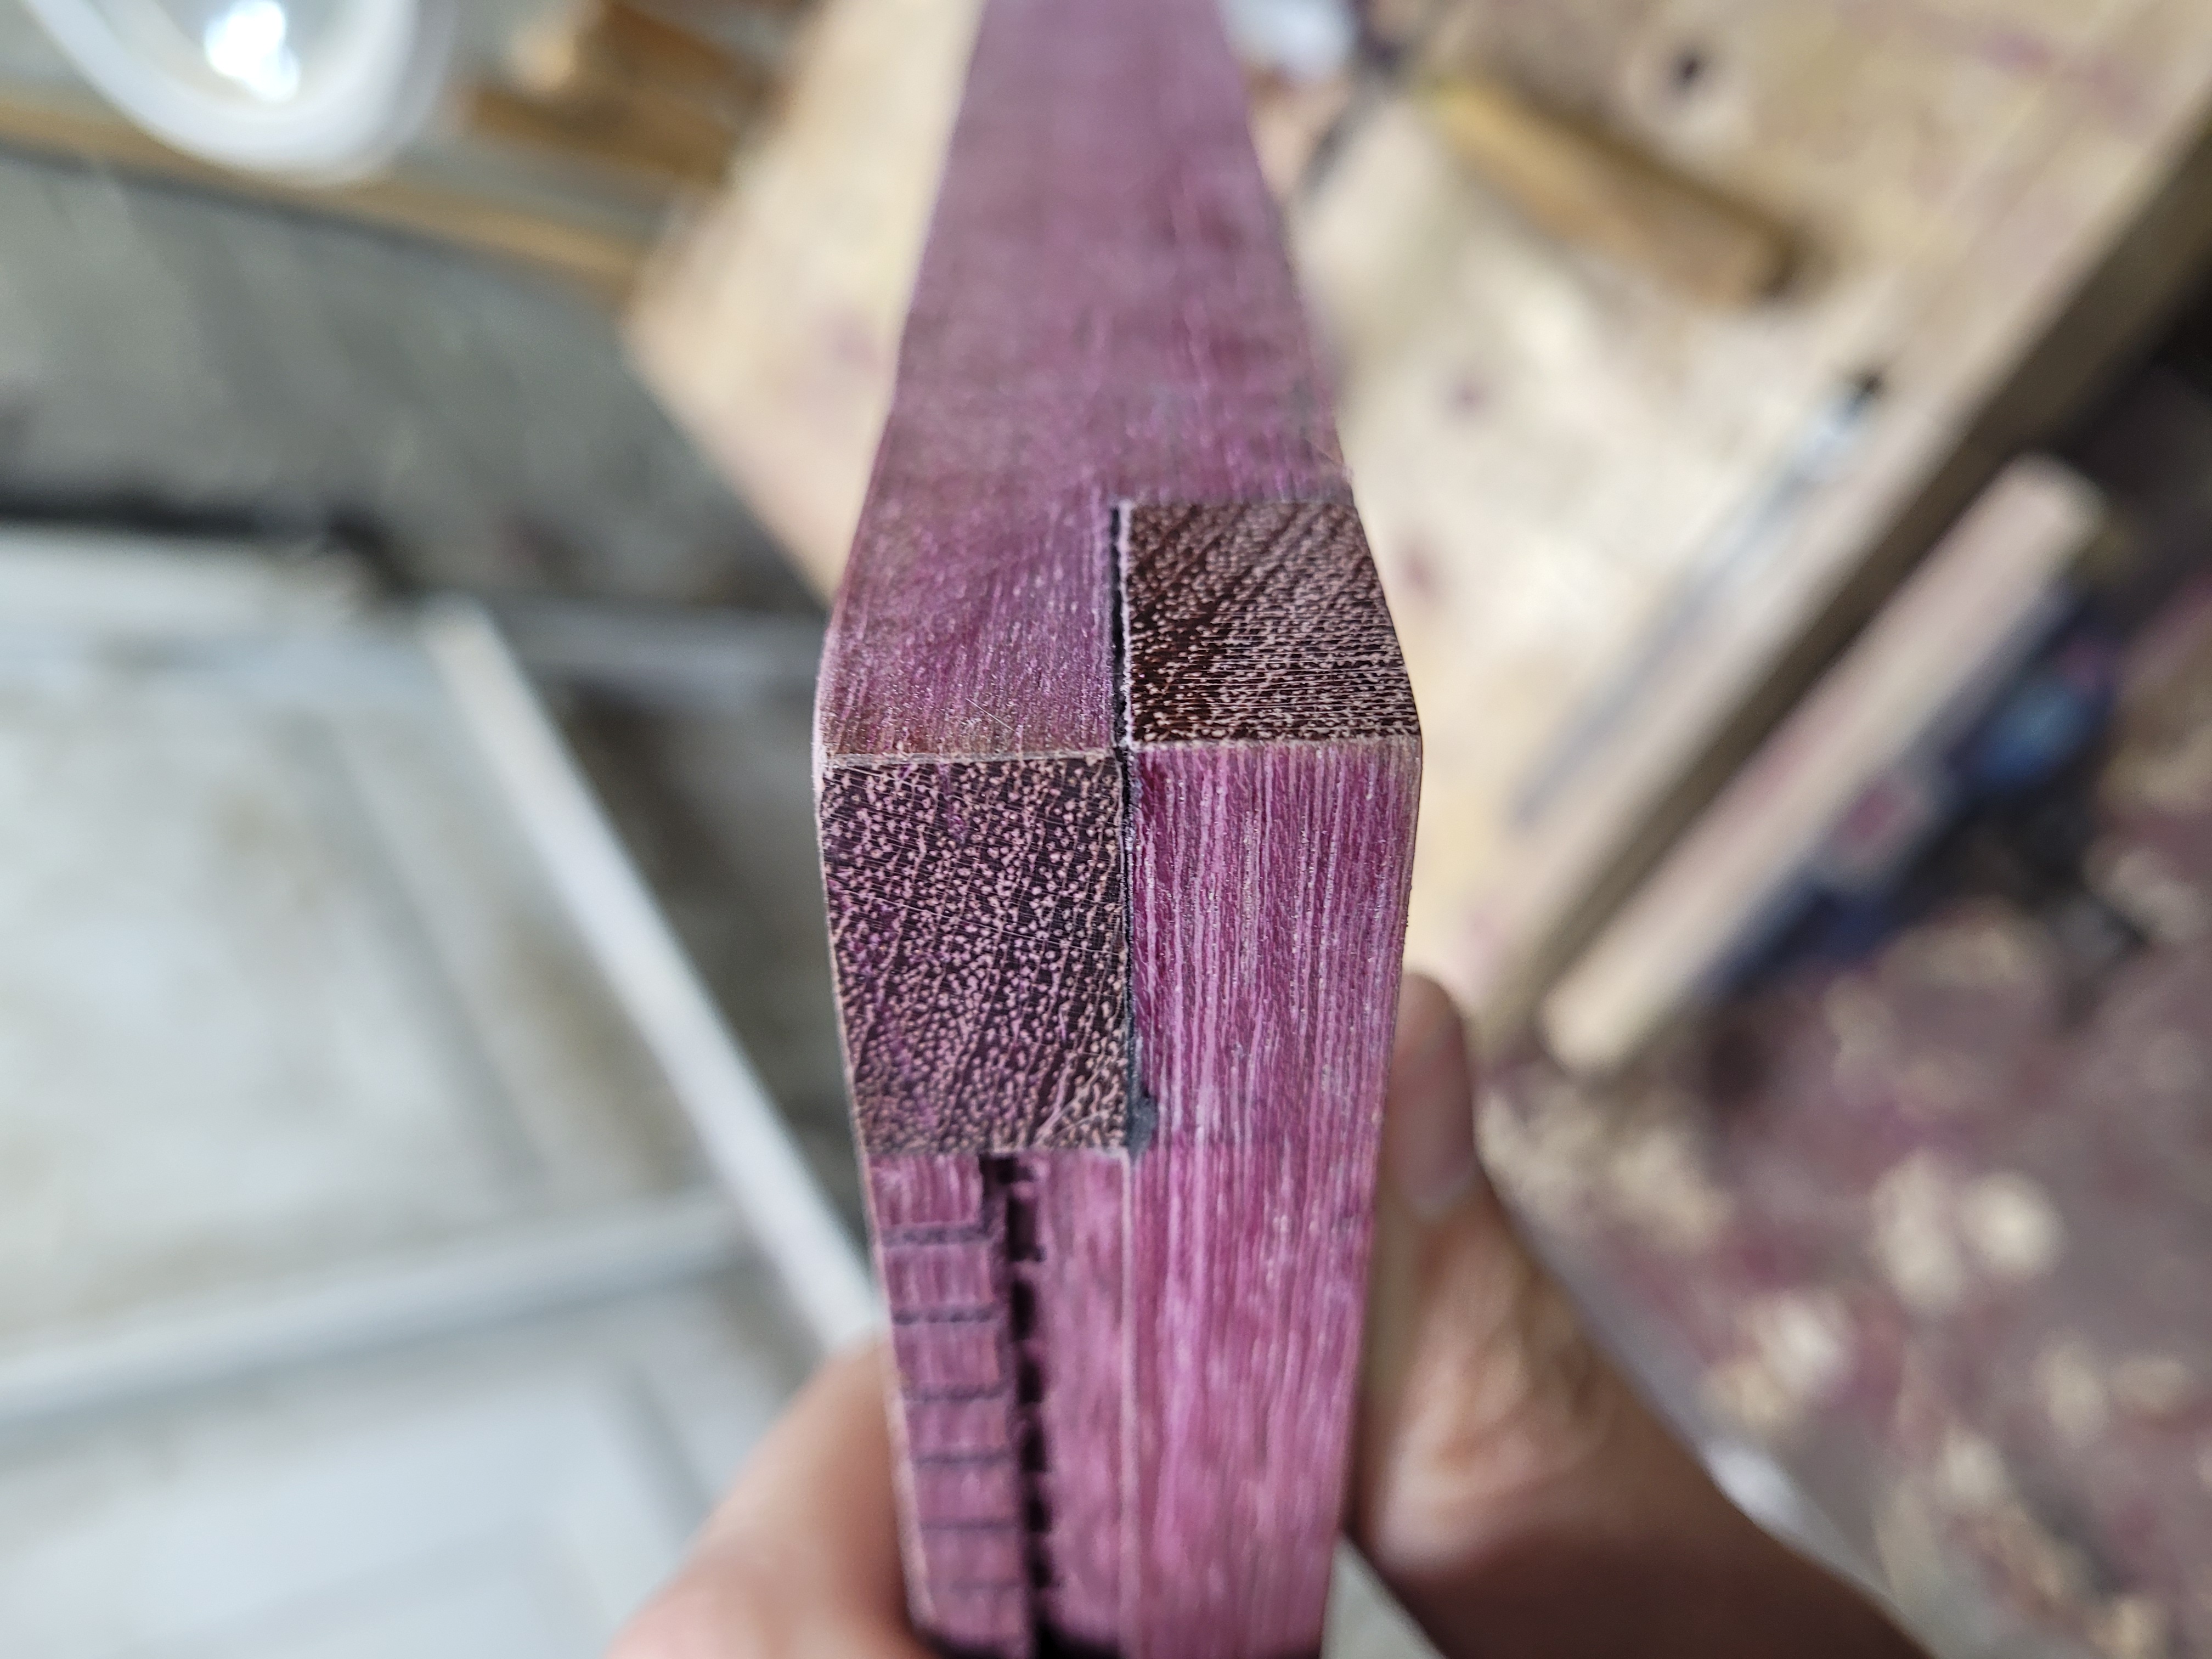
Crack…. As I checked pressure on the clamps, I heard a sickening noise. One of end of the end piece, and one … tooth? at the end of the loom had cracked and broken off. Design flaw, looking at it now, the top of the lap joint would be better off being on the end piece, not the side piece. The saw kerfs mean side pressure on the end makes this a vulnerable spot. I grabbed a clamp and pulled the cracked end piece back into position. The missing tooth helped, gave me space to get the clamp in. After 2 hours of the glue drying, I removed the clamp for the end piece, and superglued the missing tooth back on.
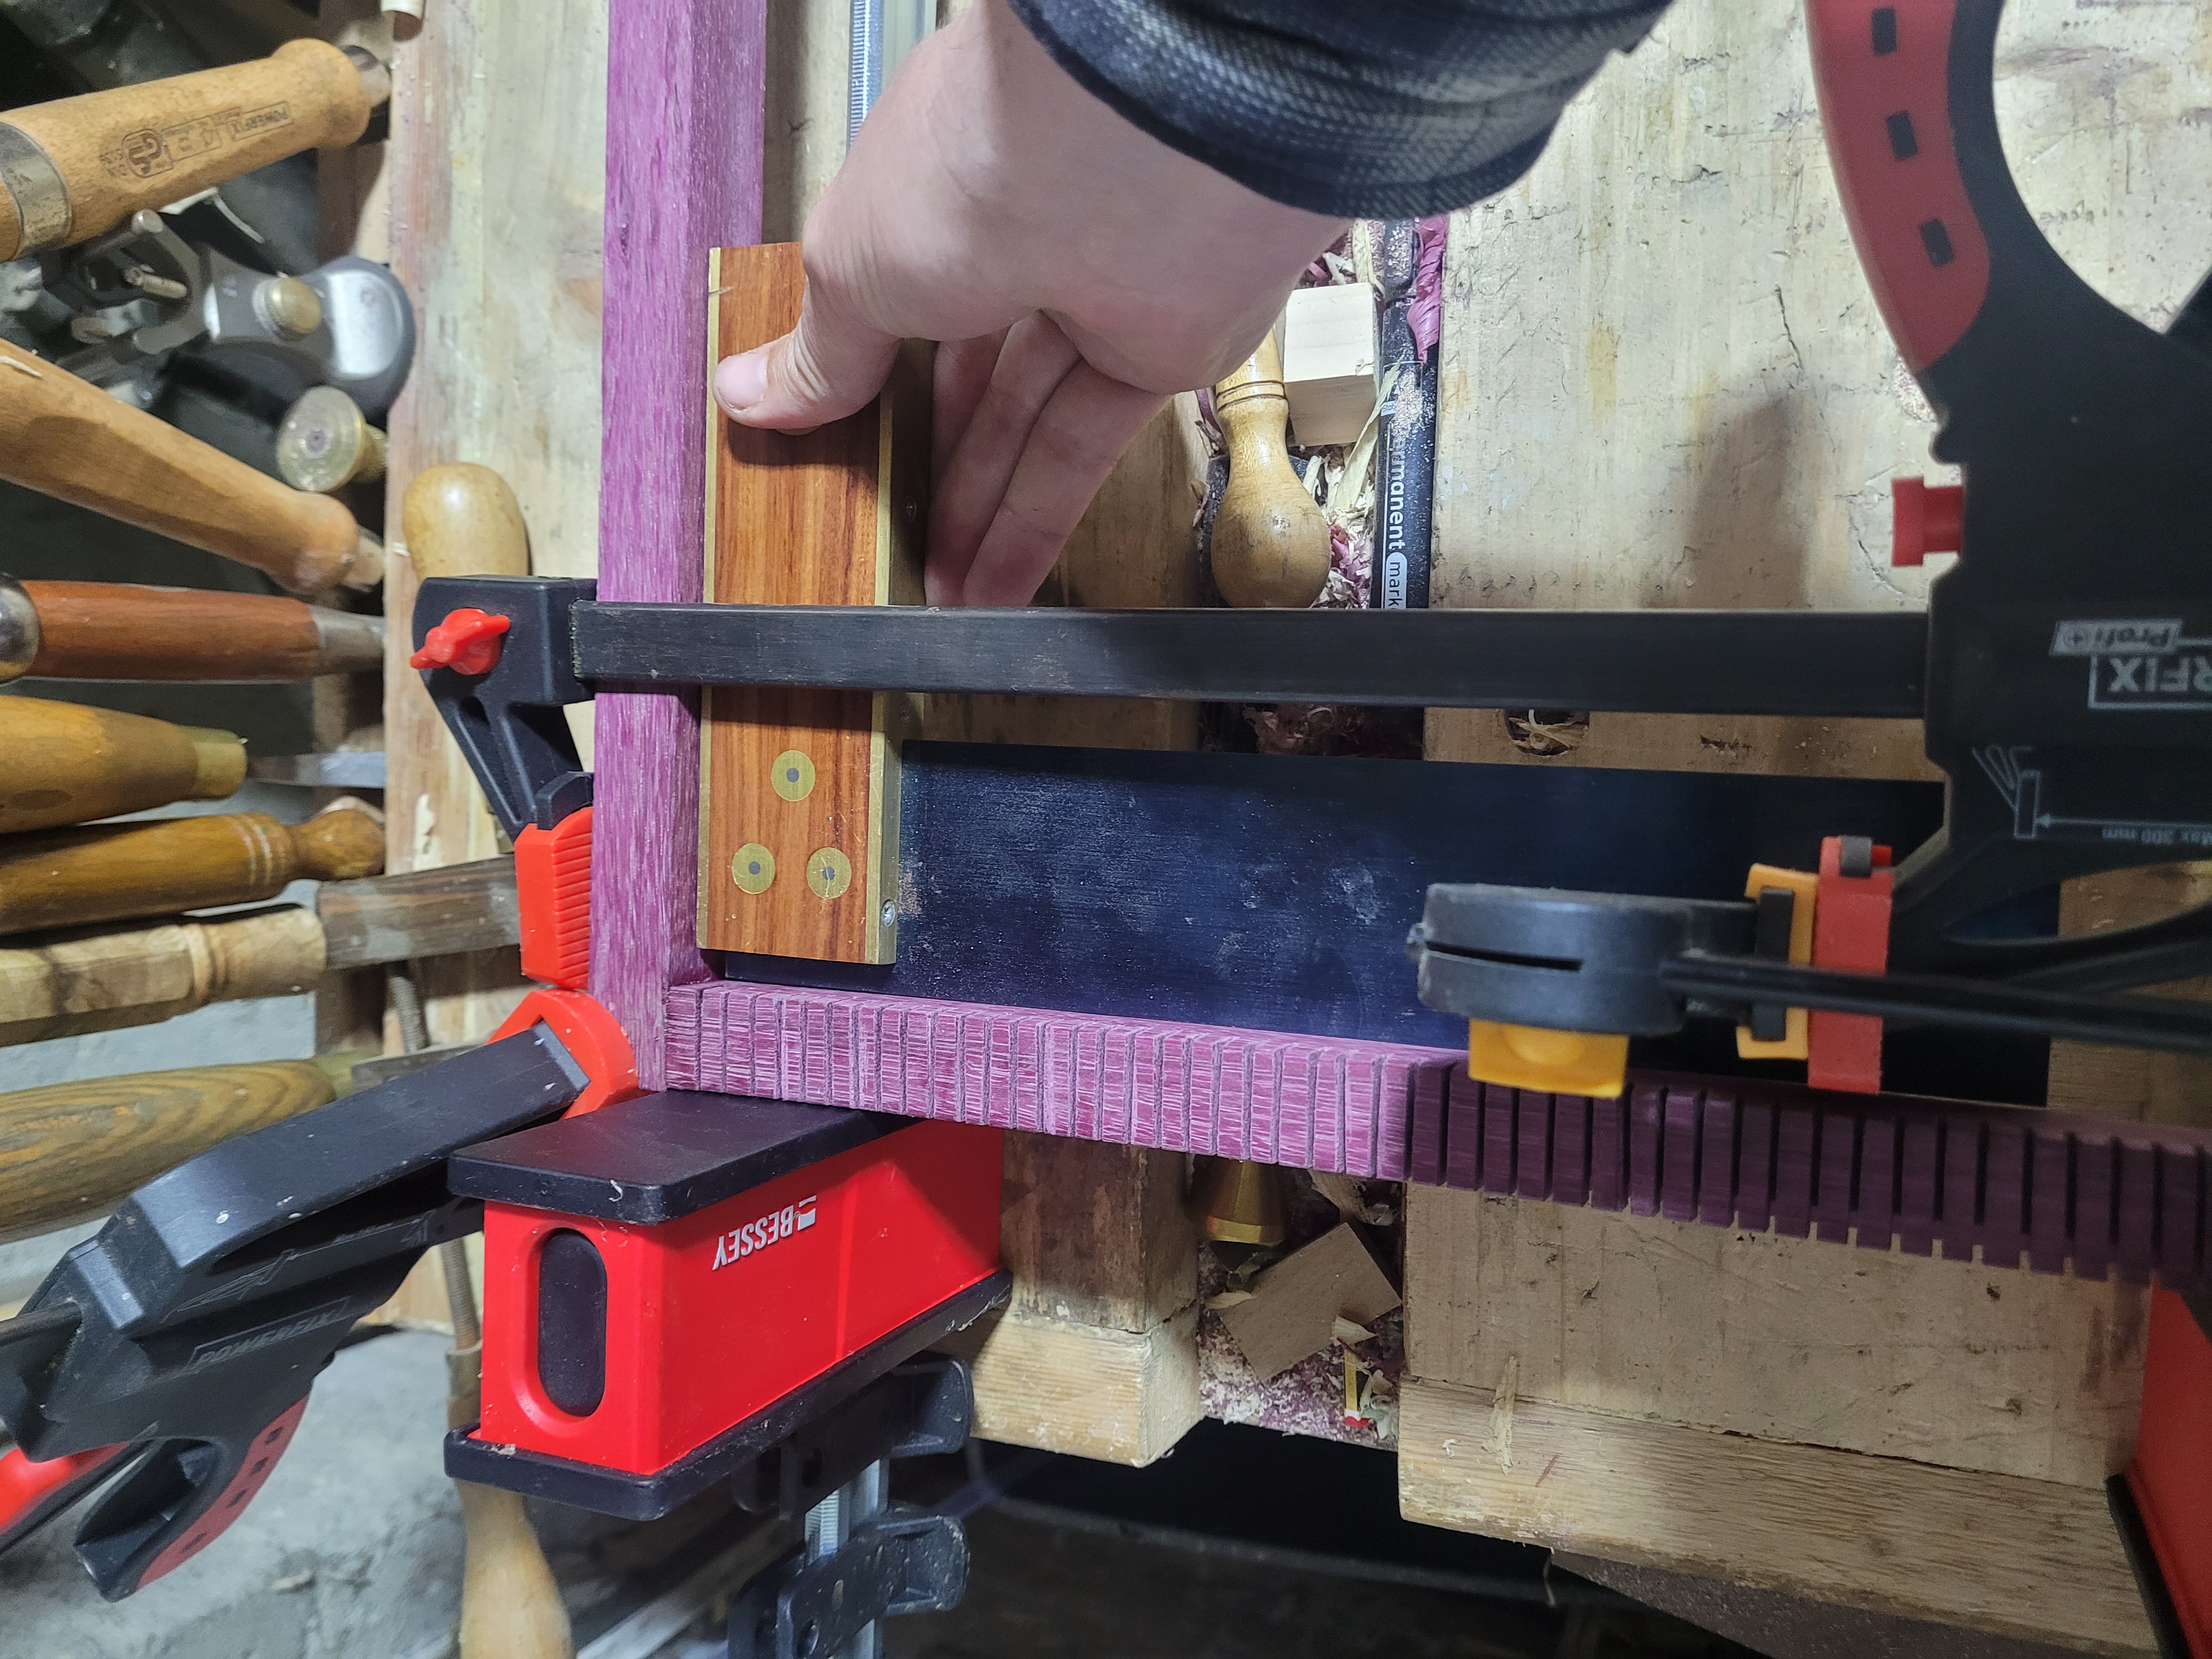
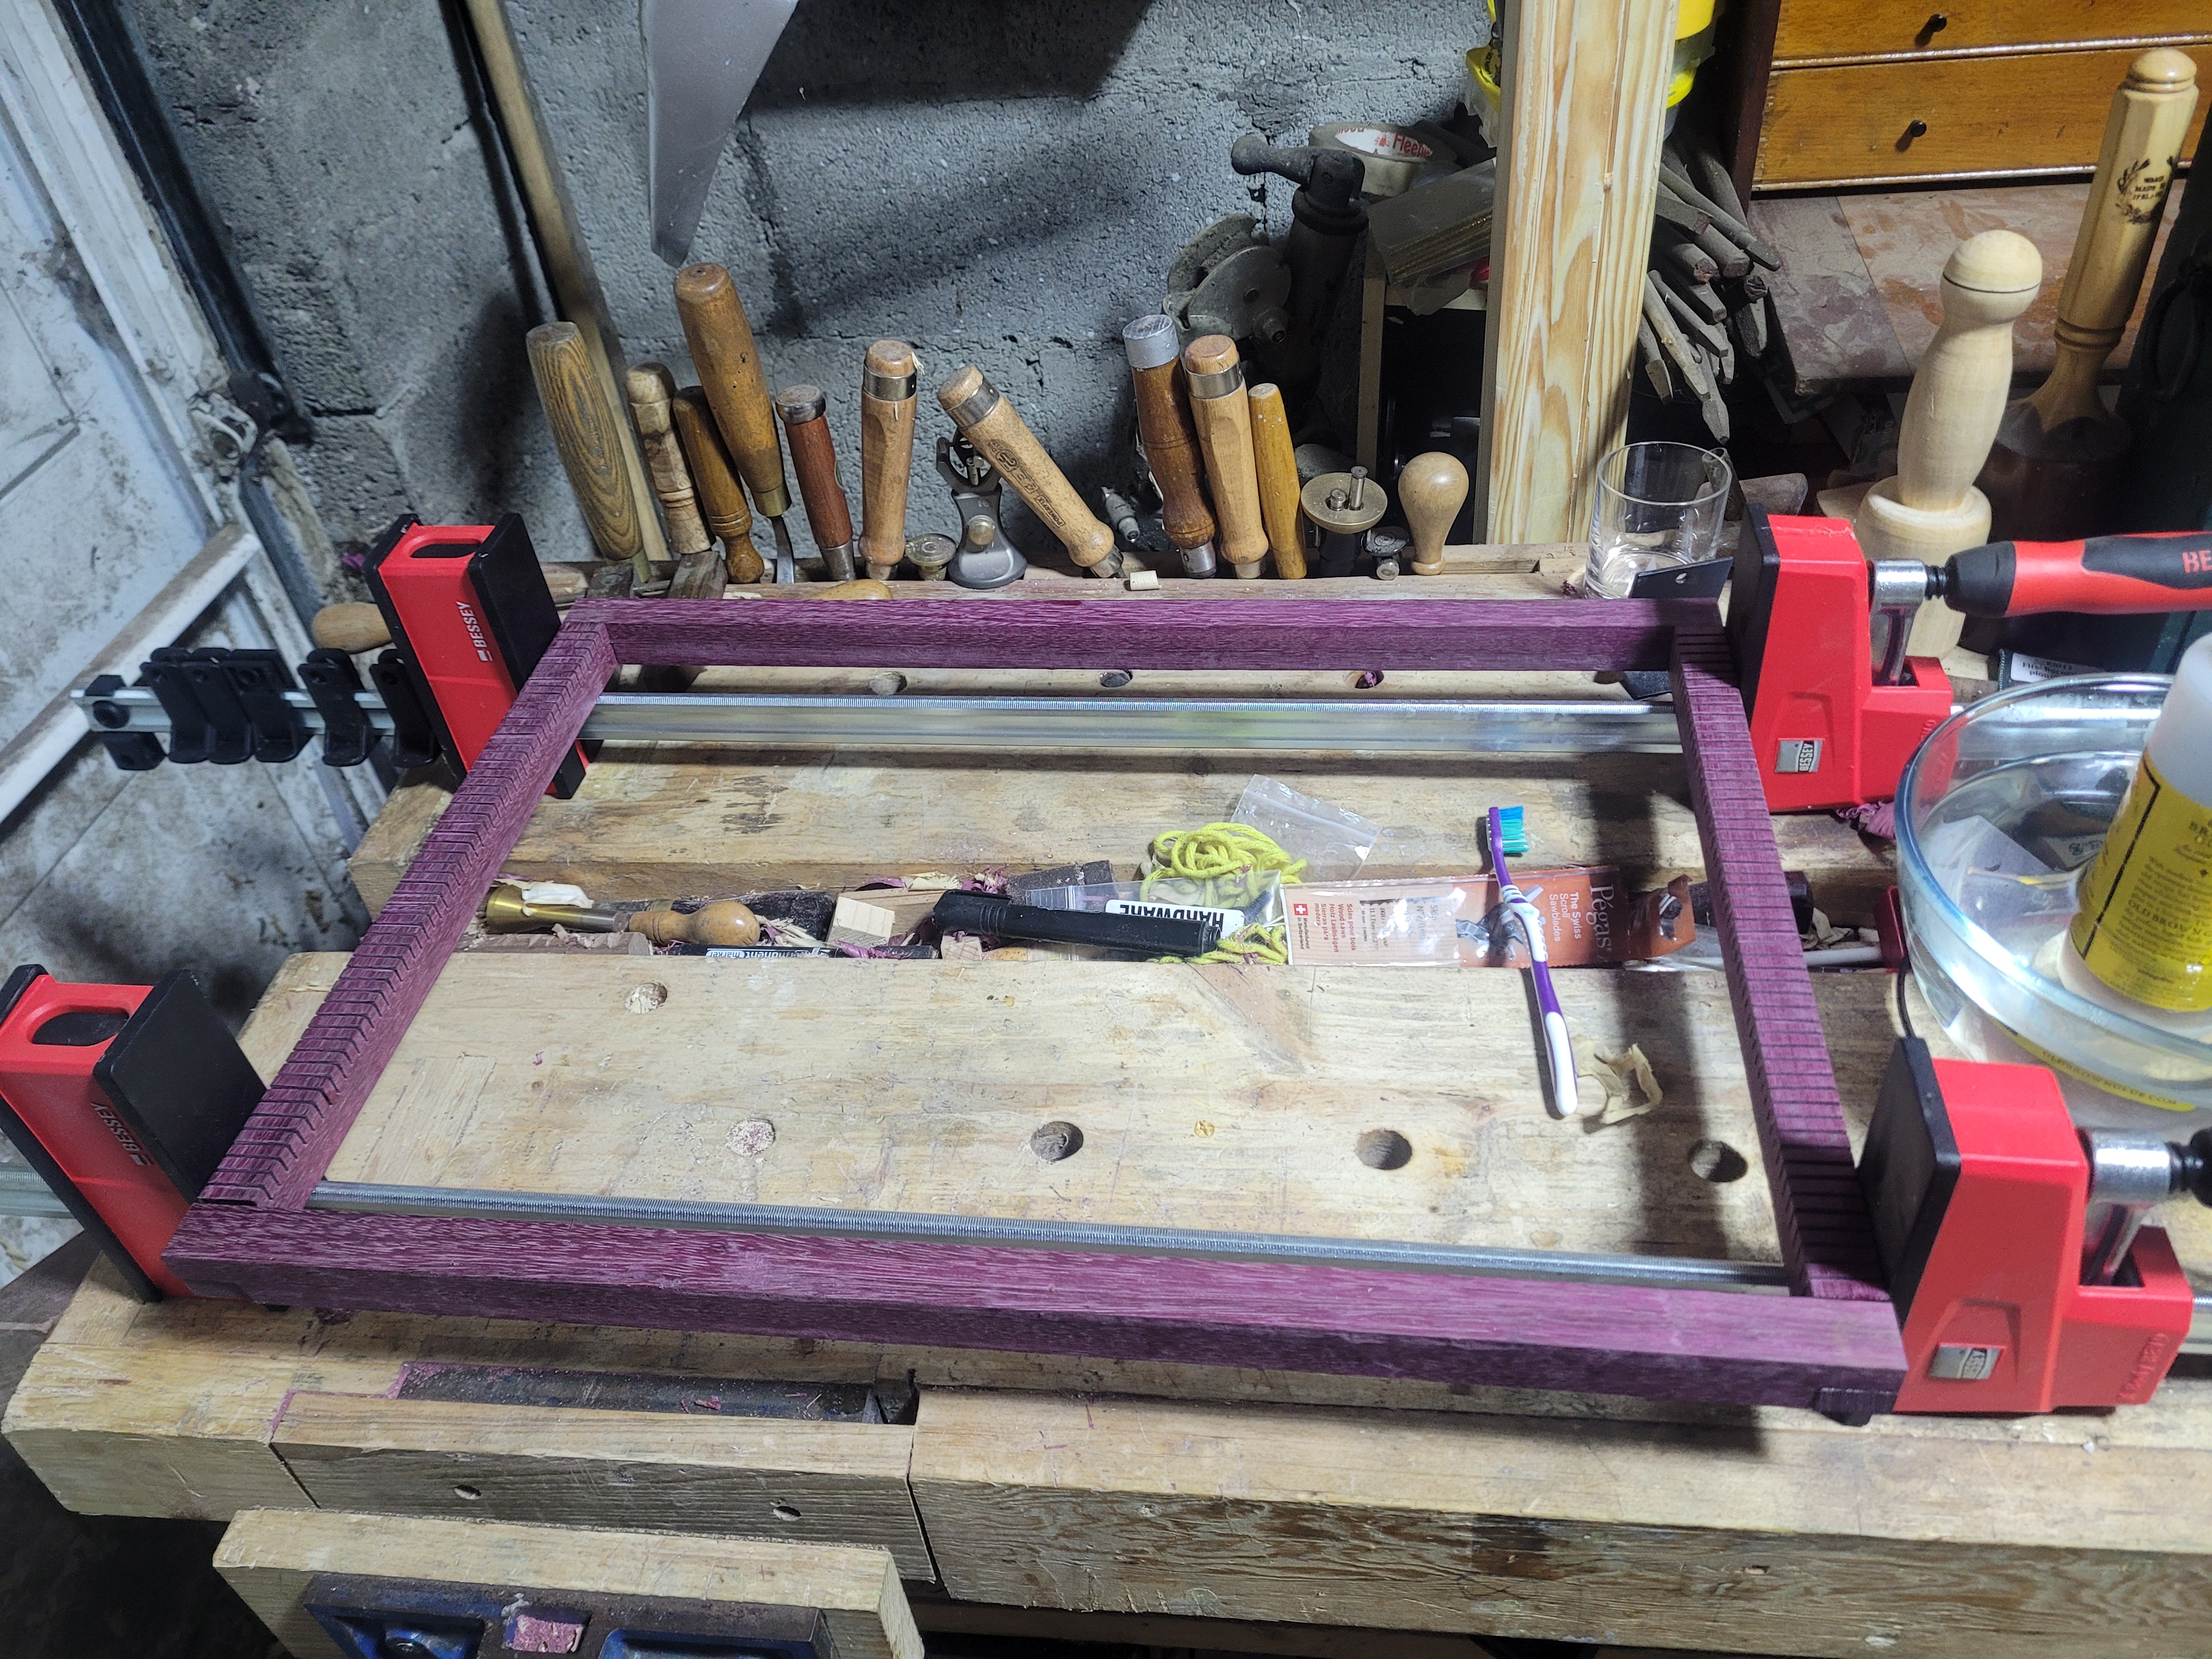
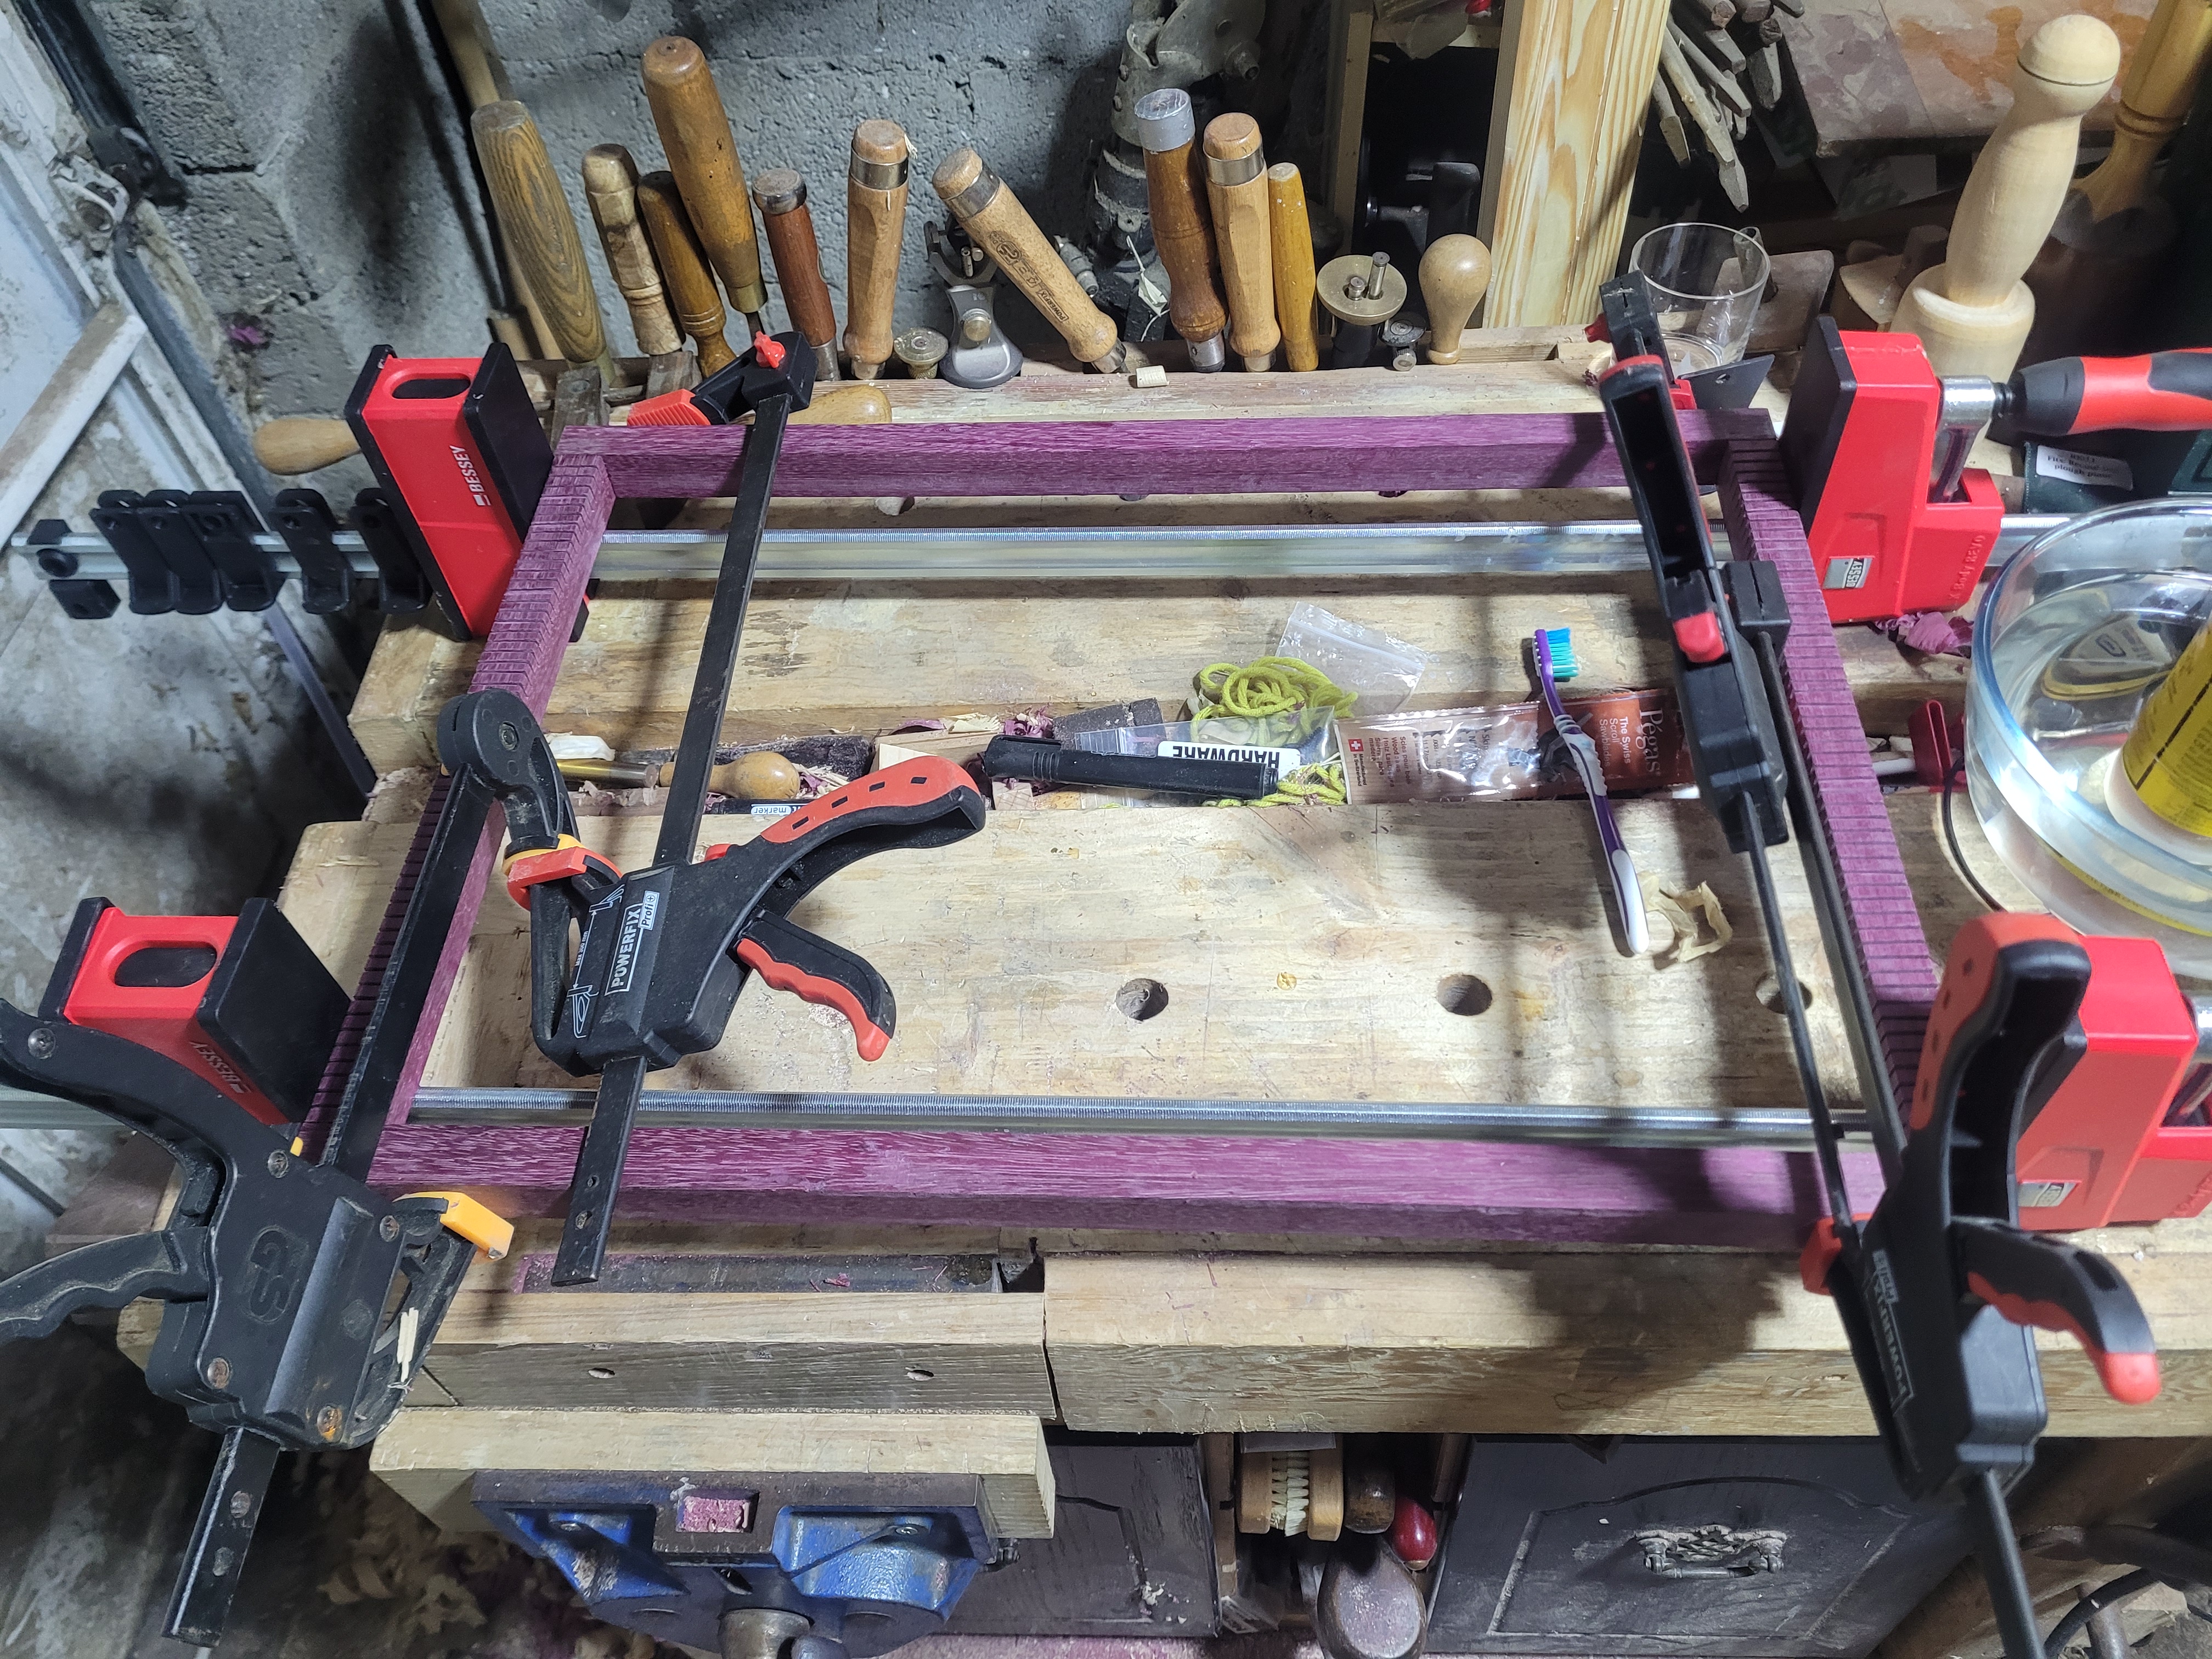
A check for square. The side pieces are narrow enough that the clamps are bending them slightly, but a check shows everything is pretty square. Good enough for an effective loom.
The clamps come off the next morning. Everything seems strong and solid. How did we I do on the lap joints? Mixed results honestly. I never checked for twist or wind on the 4 pieces, and I think that led to a situation where dry mating made everything look fine with a little finger pressure, but once all 4 joints had been clamped, the inaccuracies stacked up. Slight height differences from fine tuning may have hurt as well. If I make something like this again, I’ll check for twist, and try and give every joint a final pass with a router plane set to the same depth.
After cleaning up, this is the best corner. Pretty much perfect.
This is the worst. A noticeable gap on the top right. However the glue seems to have filled it, and it feels perfectly solid.
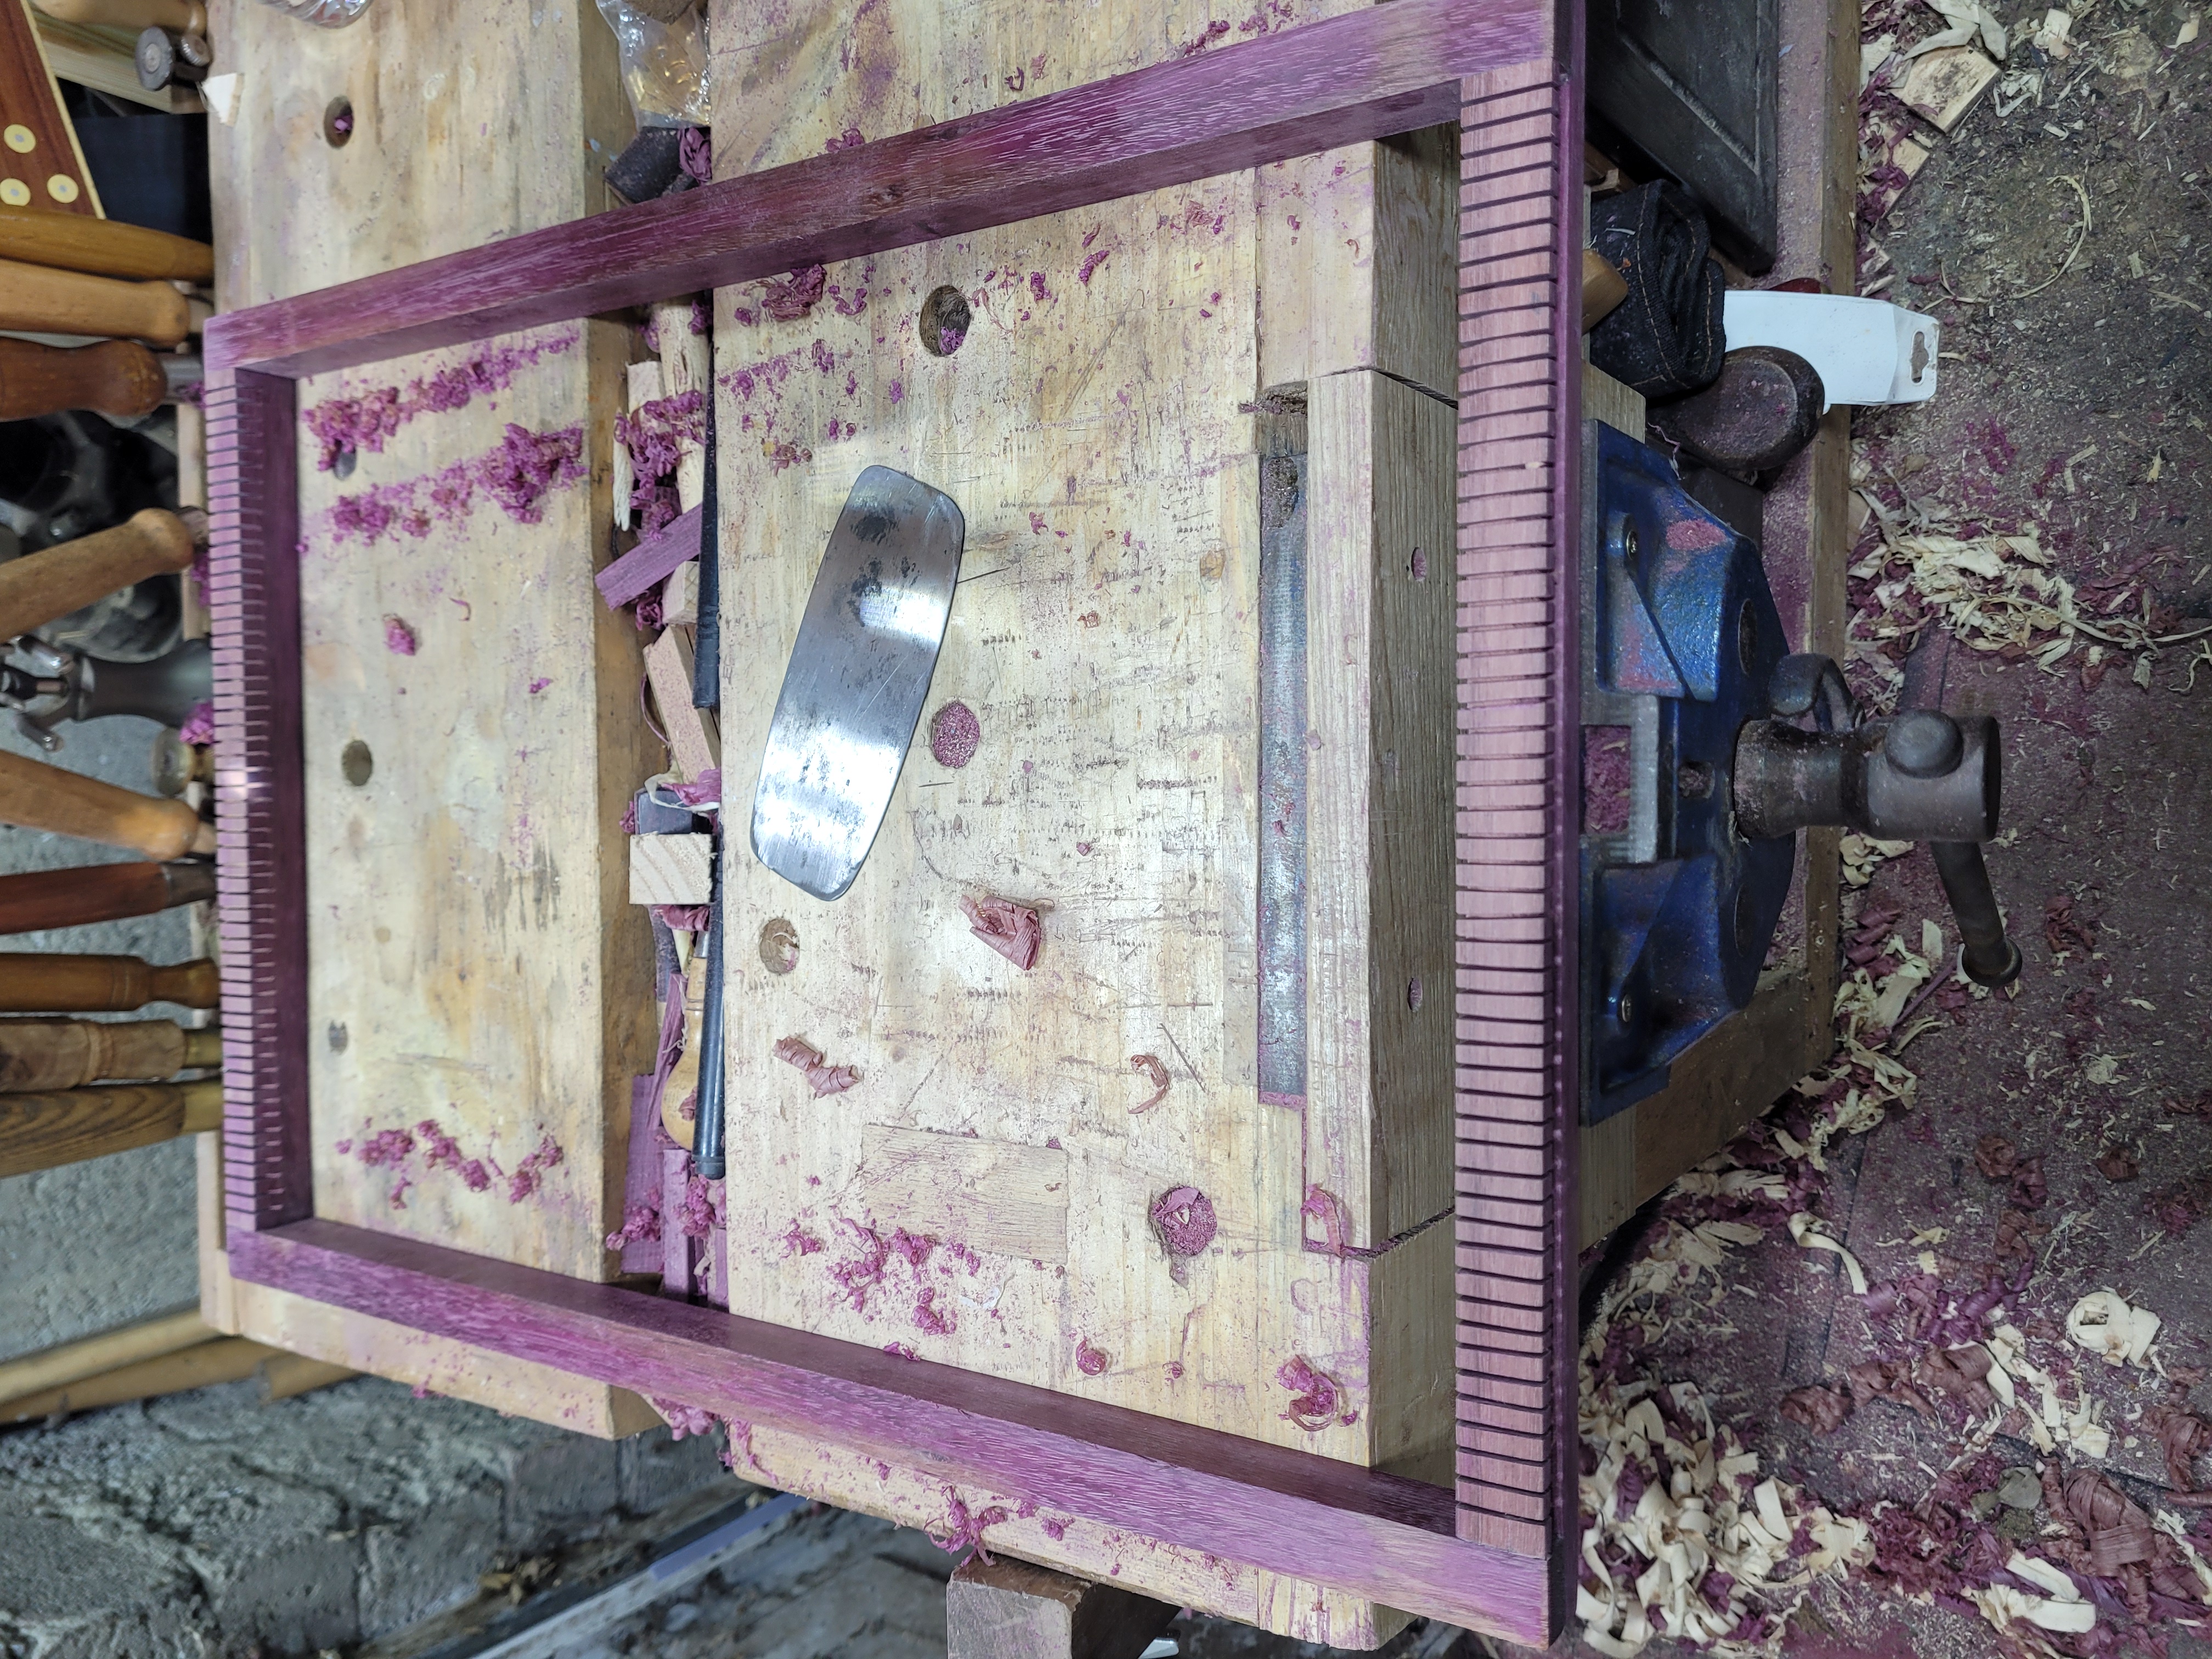
So now the frame just needs some cleanup, and some finish. I’ve been using a mix of Abranet and card scrapers. But I’m going to spend time on the heddle bar before I finish cleaning it up.