Loom Comb
The last piece of the loom project has been made. Now its just a matter of applying finish. The last few weeks have been hard on the loom project. First I spent time sizing a thin piece of stock for the comb, only to realise the grain direction was all wrong. The widest piece of Purpleheart I had left was only 2 inches. So I had to order a new board and wait for it.
While I was waiting, the frame got knocked off the bench one day. The joint at one end failed and the entire end popped off. It failed on the glue only… But the glue seemed hard and well set. This is still confusing me a little. Any previous time hide glue has failed for me, its just refused to set, staying gummy and flexible. This had set hard. I re-glued it. A few days later, the other end failed…. This time I re-glued with Titebond 3 rather than hide glue, but a few weeks later, both ends have held. I’ve flexed it a bunch since, and no sign of weakness. So what on earth happened with the first glue up (given half is still held on with hide glue?). I am puzzled.
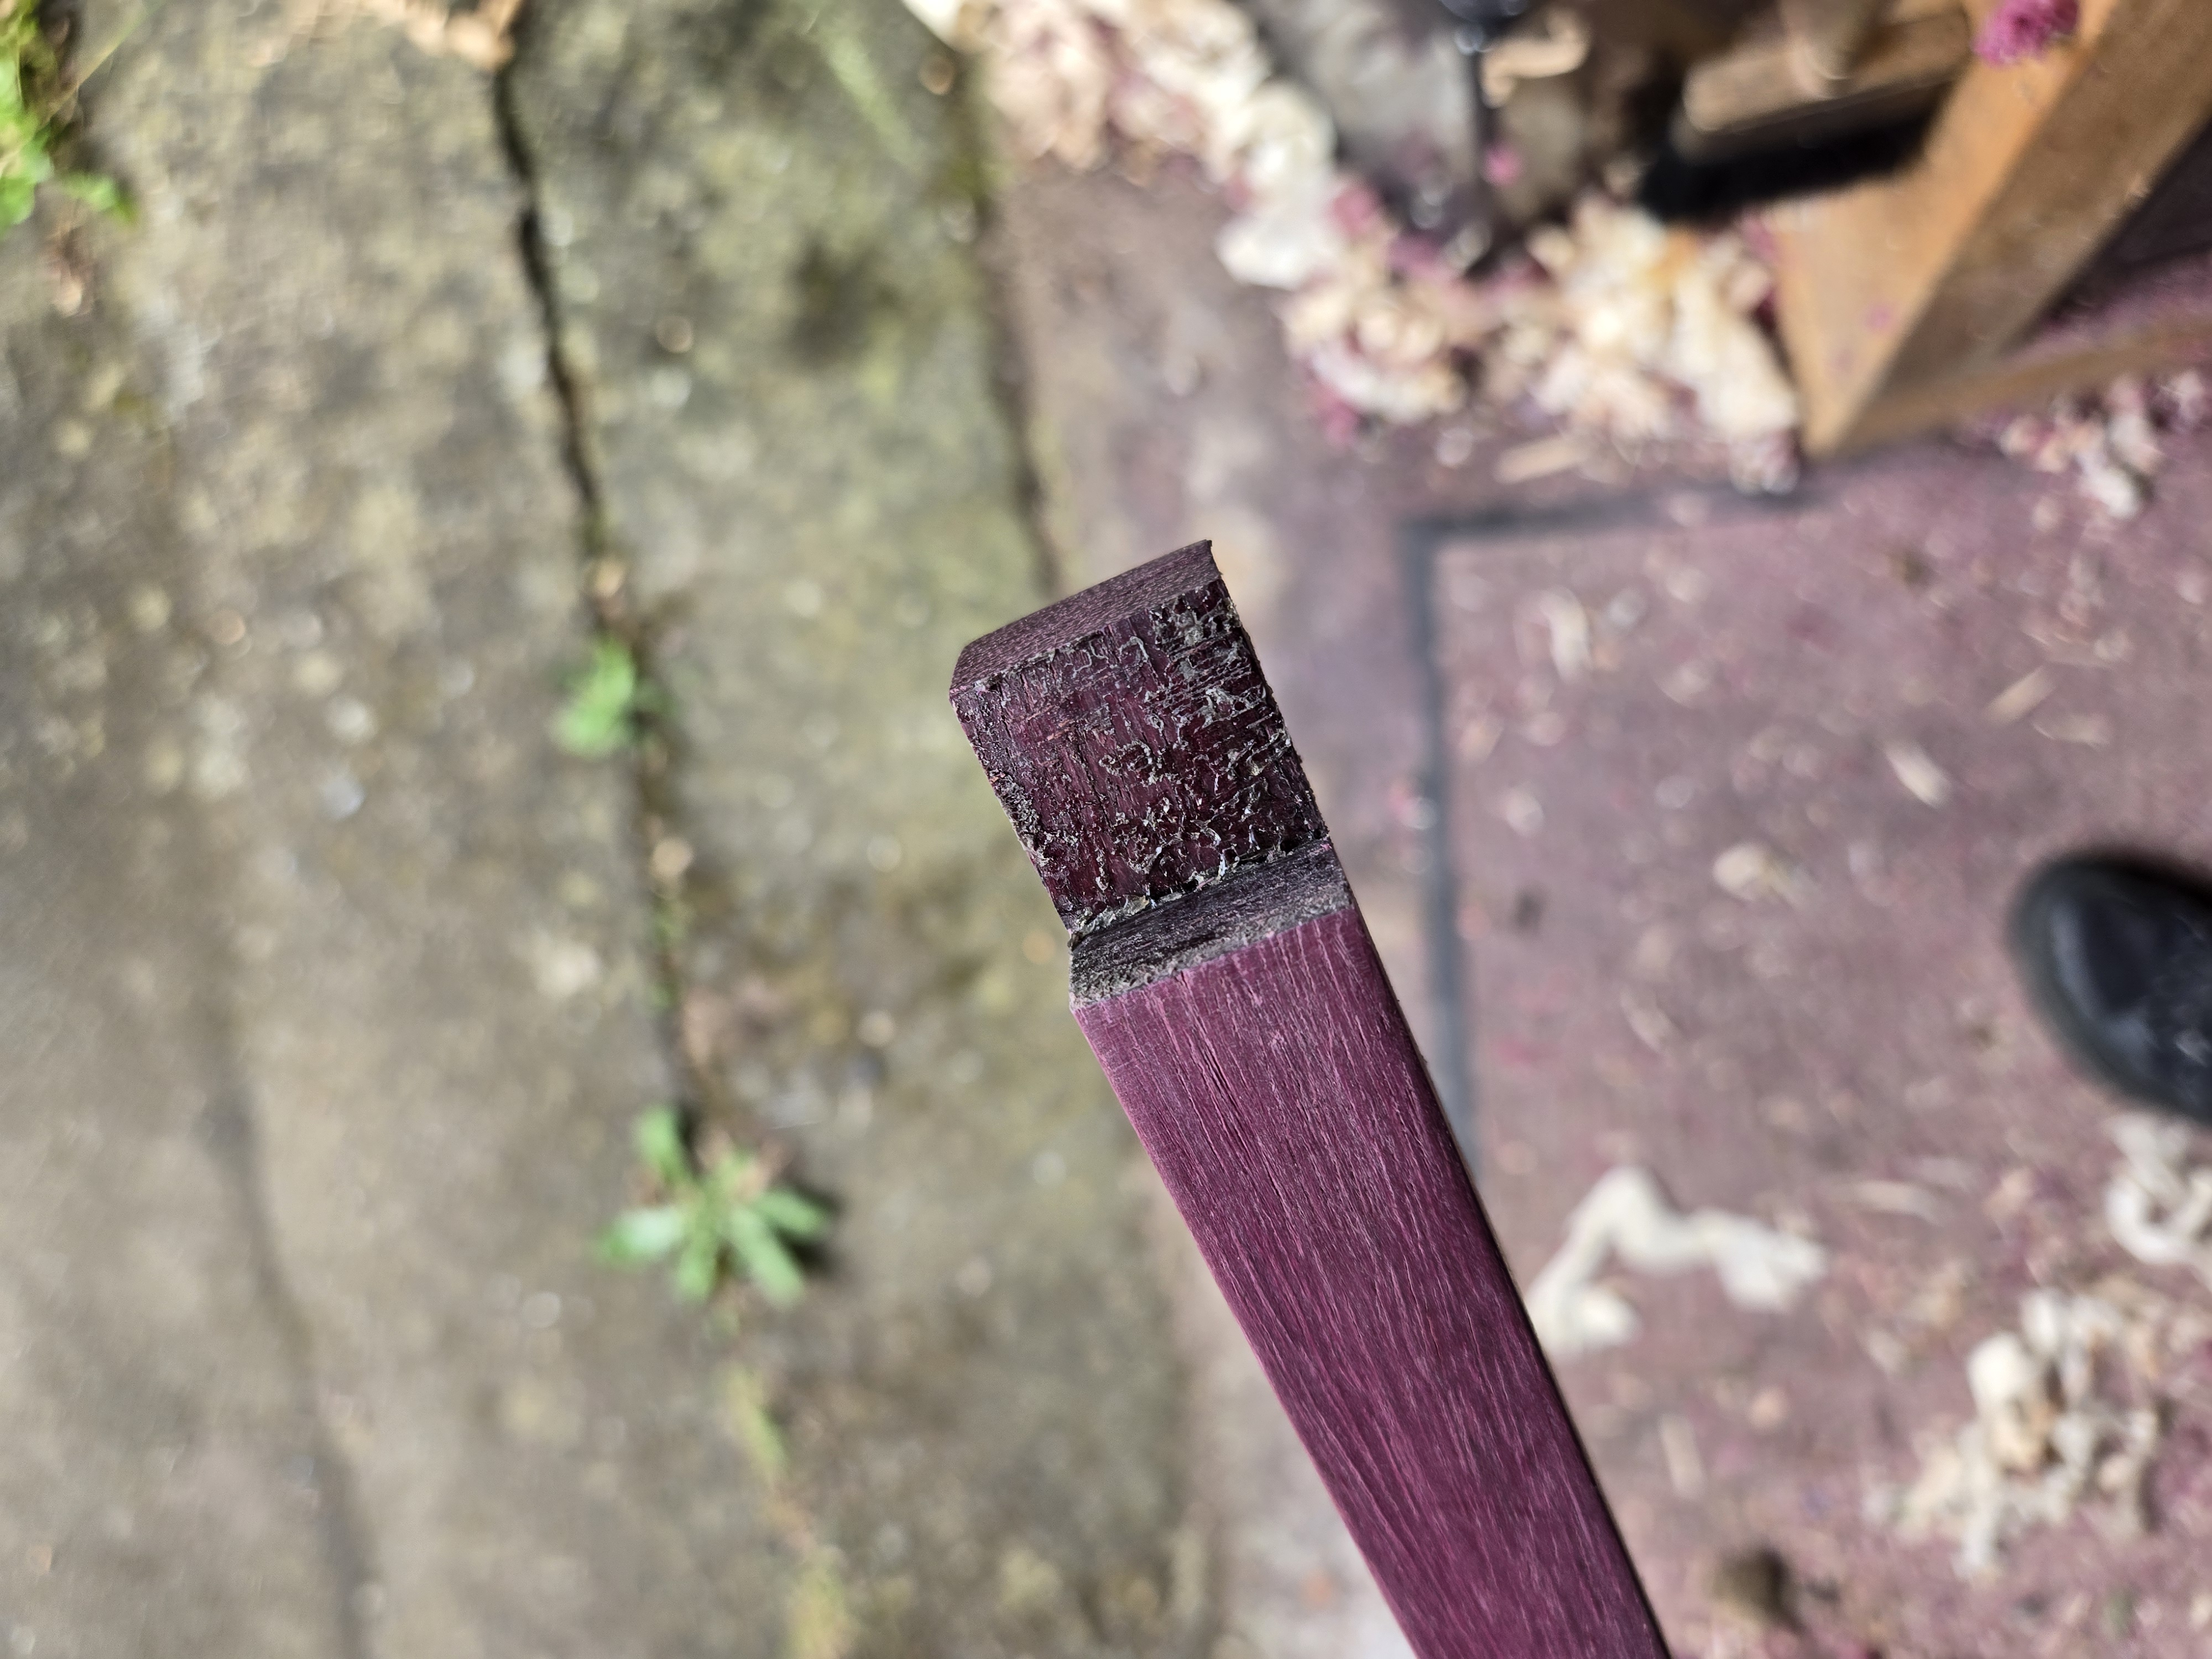
The new Purpleheart board arrived, and it had cracks and was very weak. I cut off a piece for the comb and flex it. It snapped. I wasn’t going to role the dice on a new piece. So I flexed it, snapped it, and re-glued about half a dozen times before it stopped snapping. I thought glue is supposed to be stronger than wood, so this does things no harm. Then I set about making the comb. Half way through it snapped again. I was whimpering about this late one night after Bench Talk 101 when Scott Anderson made the suggestion that saved my sanity. Juts sandwich the comb piece with two other pieces running perpendicular to the grain, but below the tooth line. That will re-enforce it. This worked, and allowed me to finish it.
To see the step by step on making the comb (the same technique will make a fine comb for hair). See the photos below.
My mystery glue failure.Absolutely no wood lost, and there is plenty of hard glue in there.
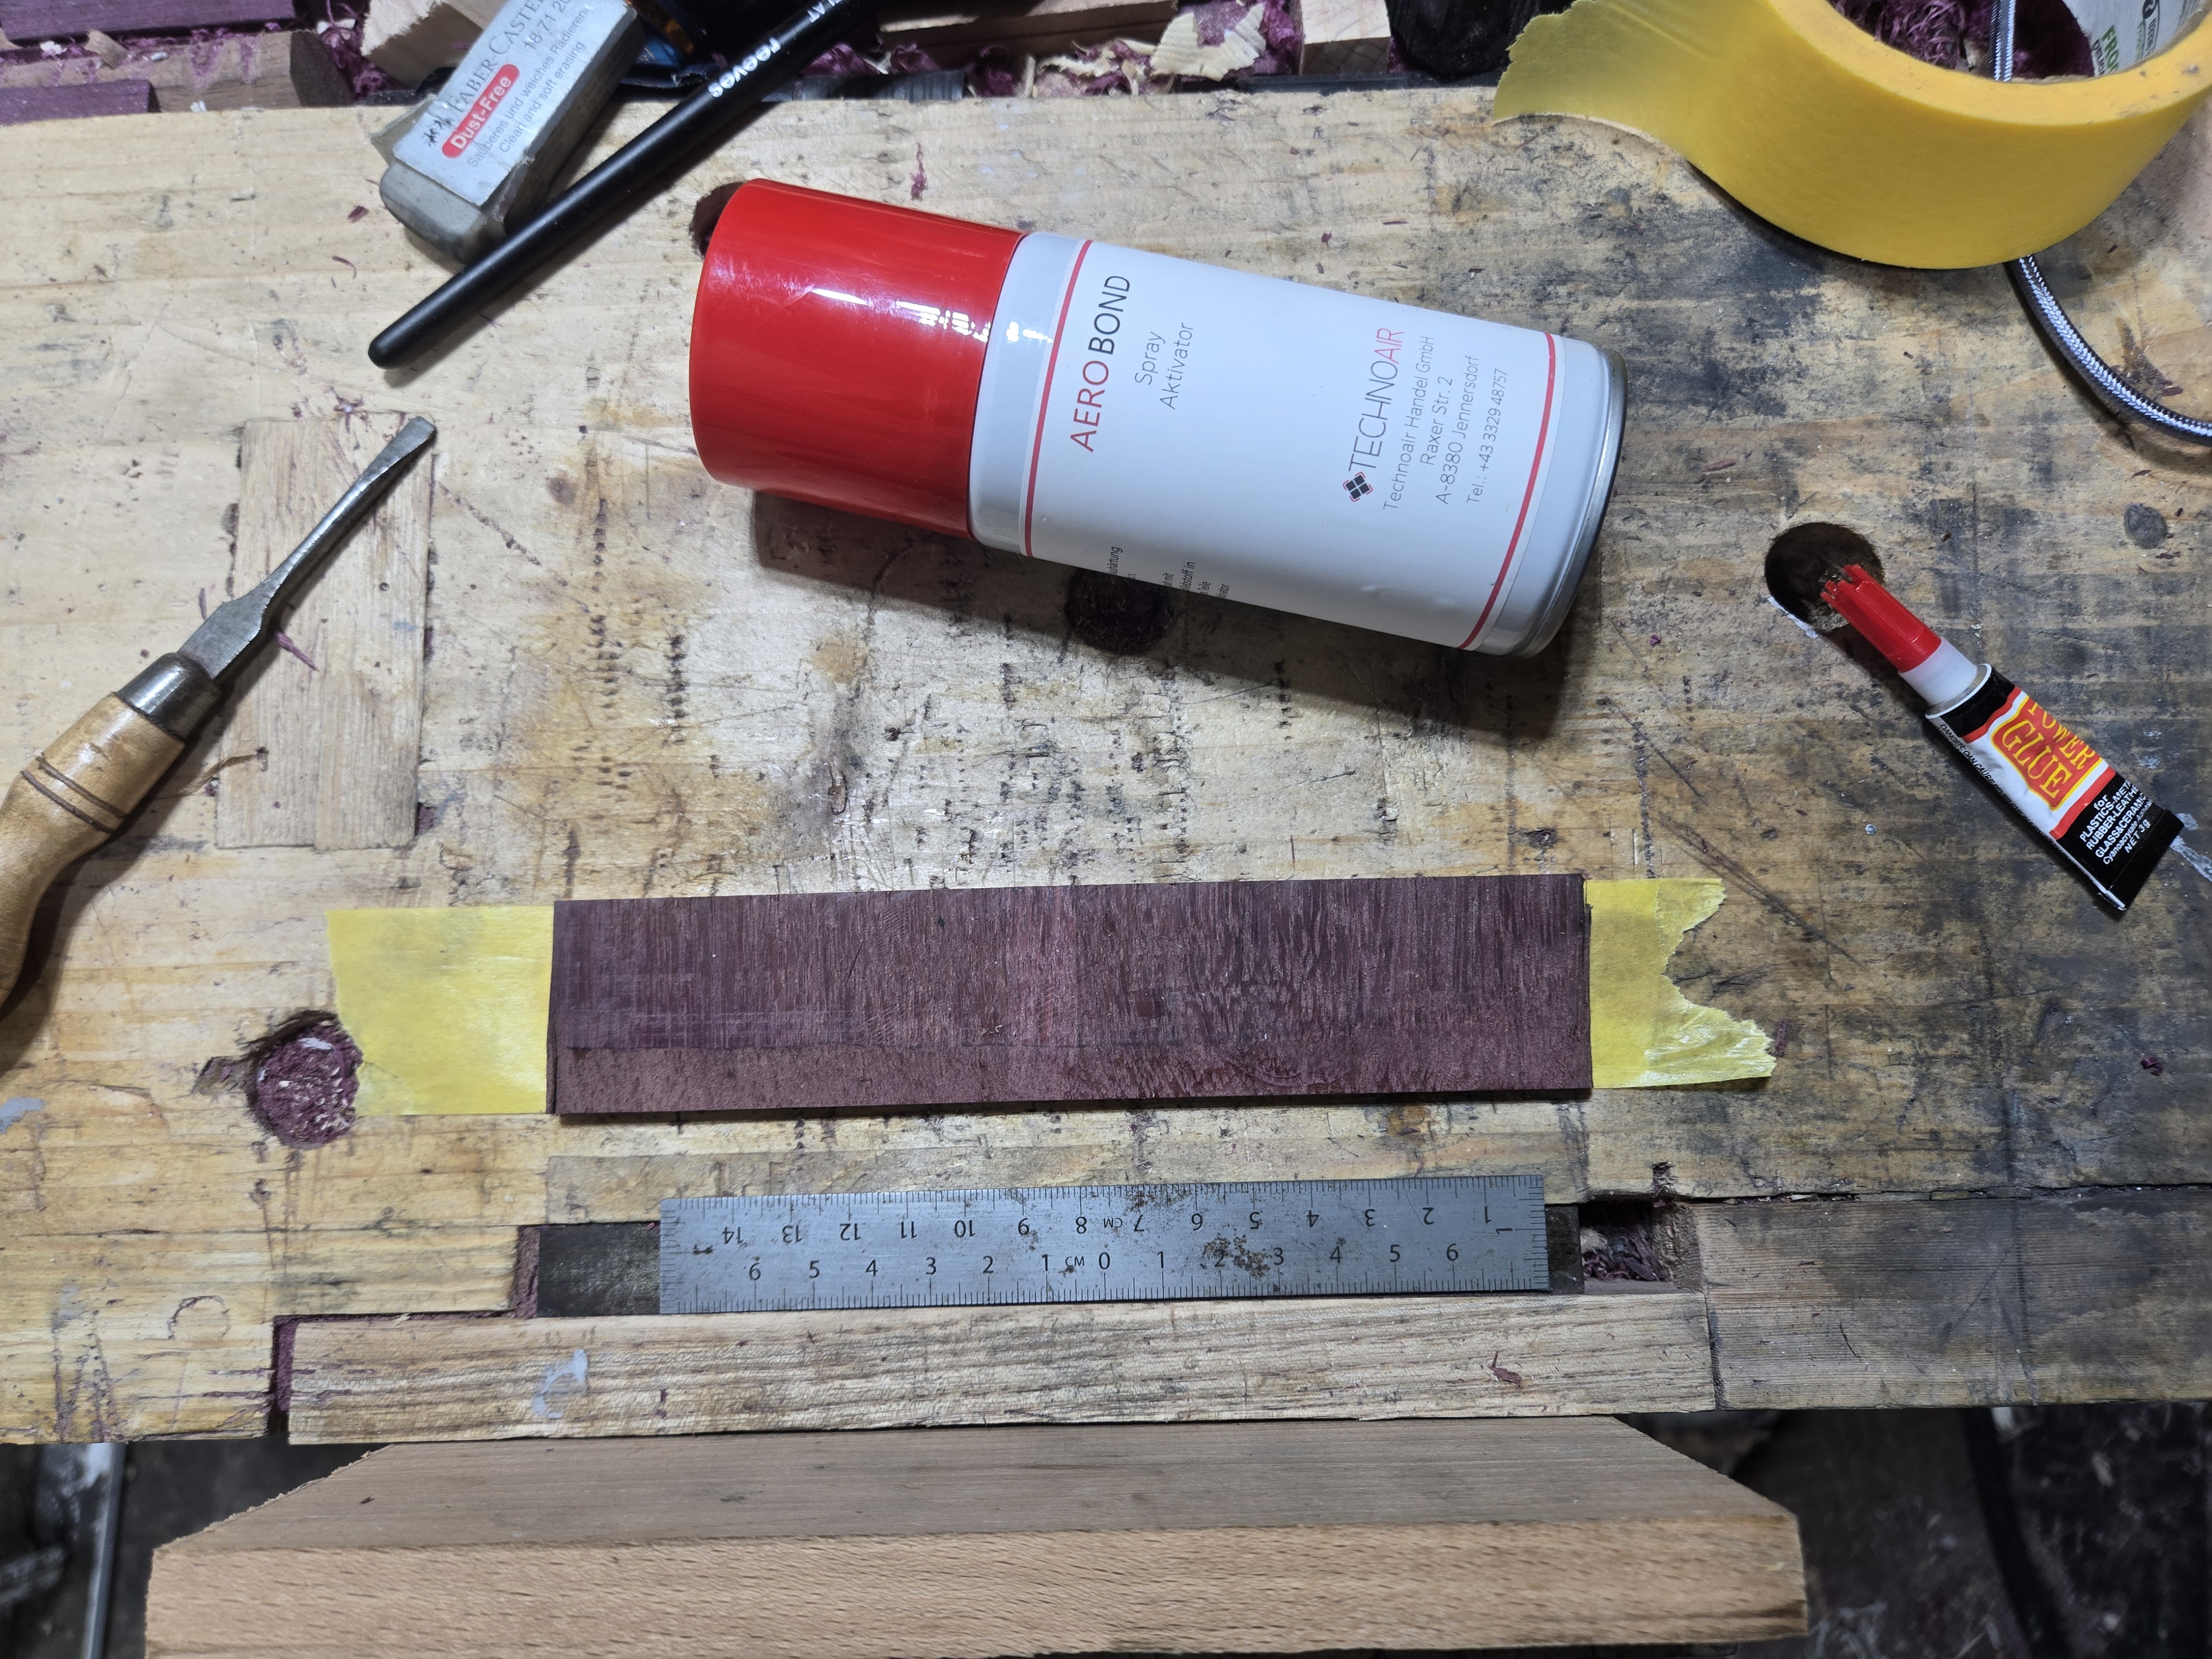
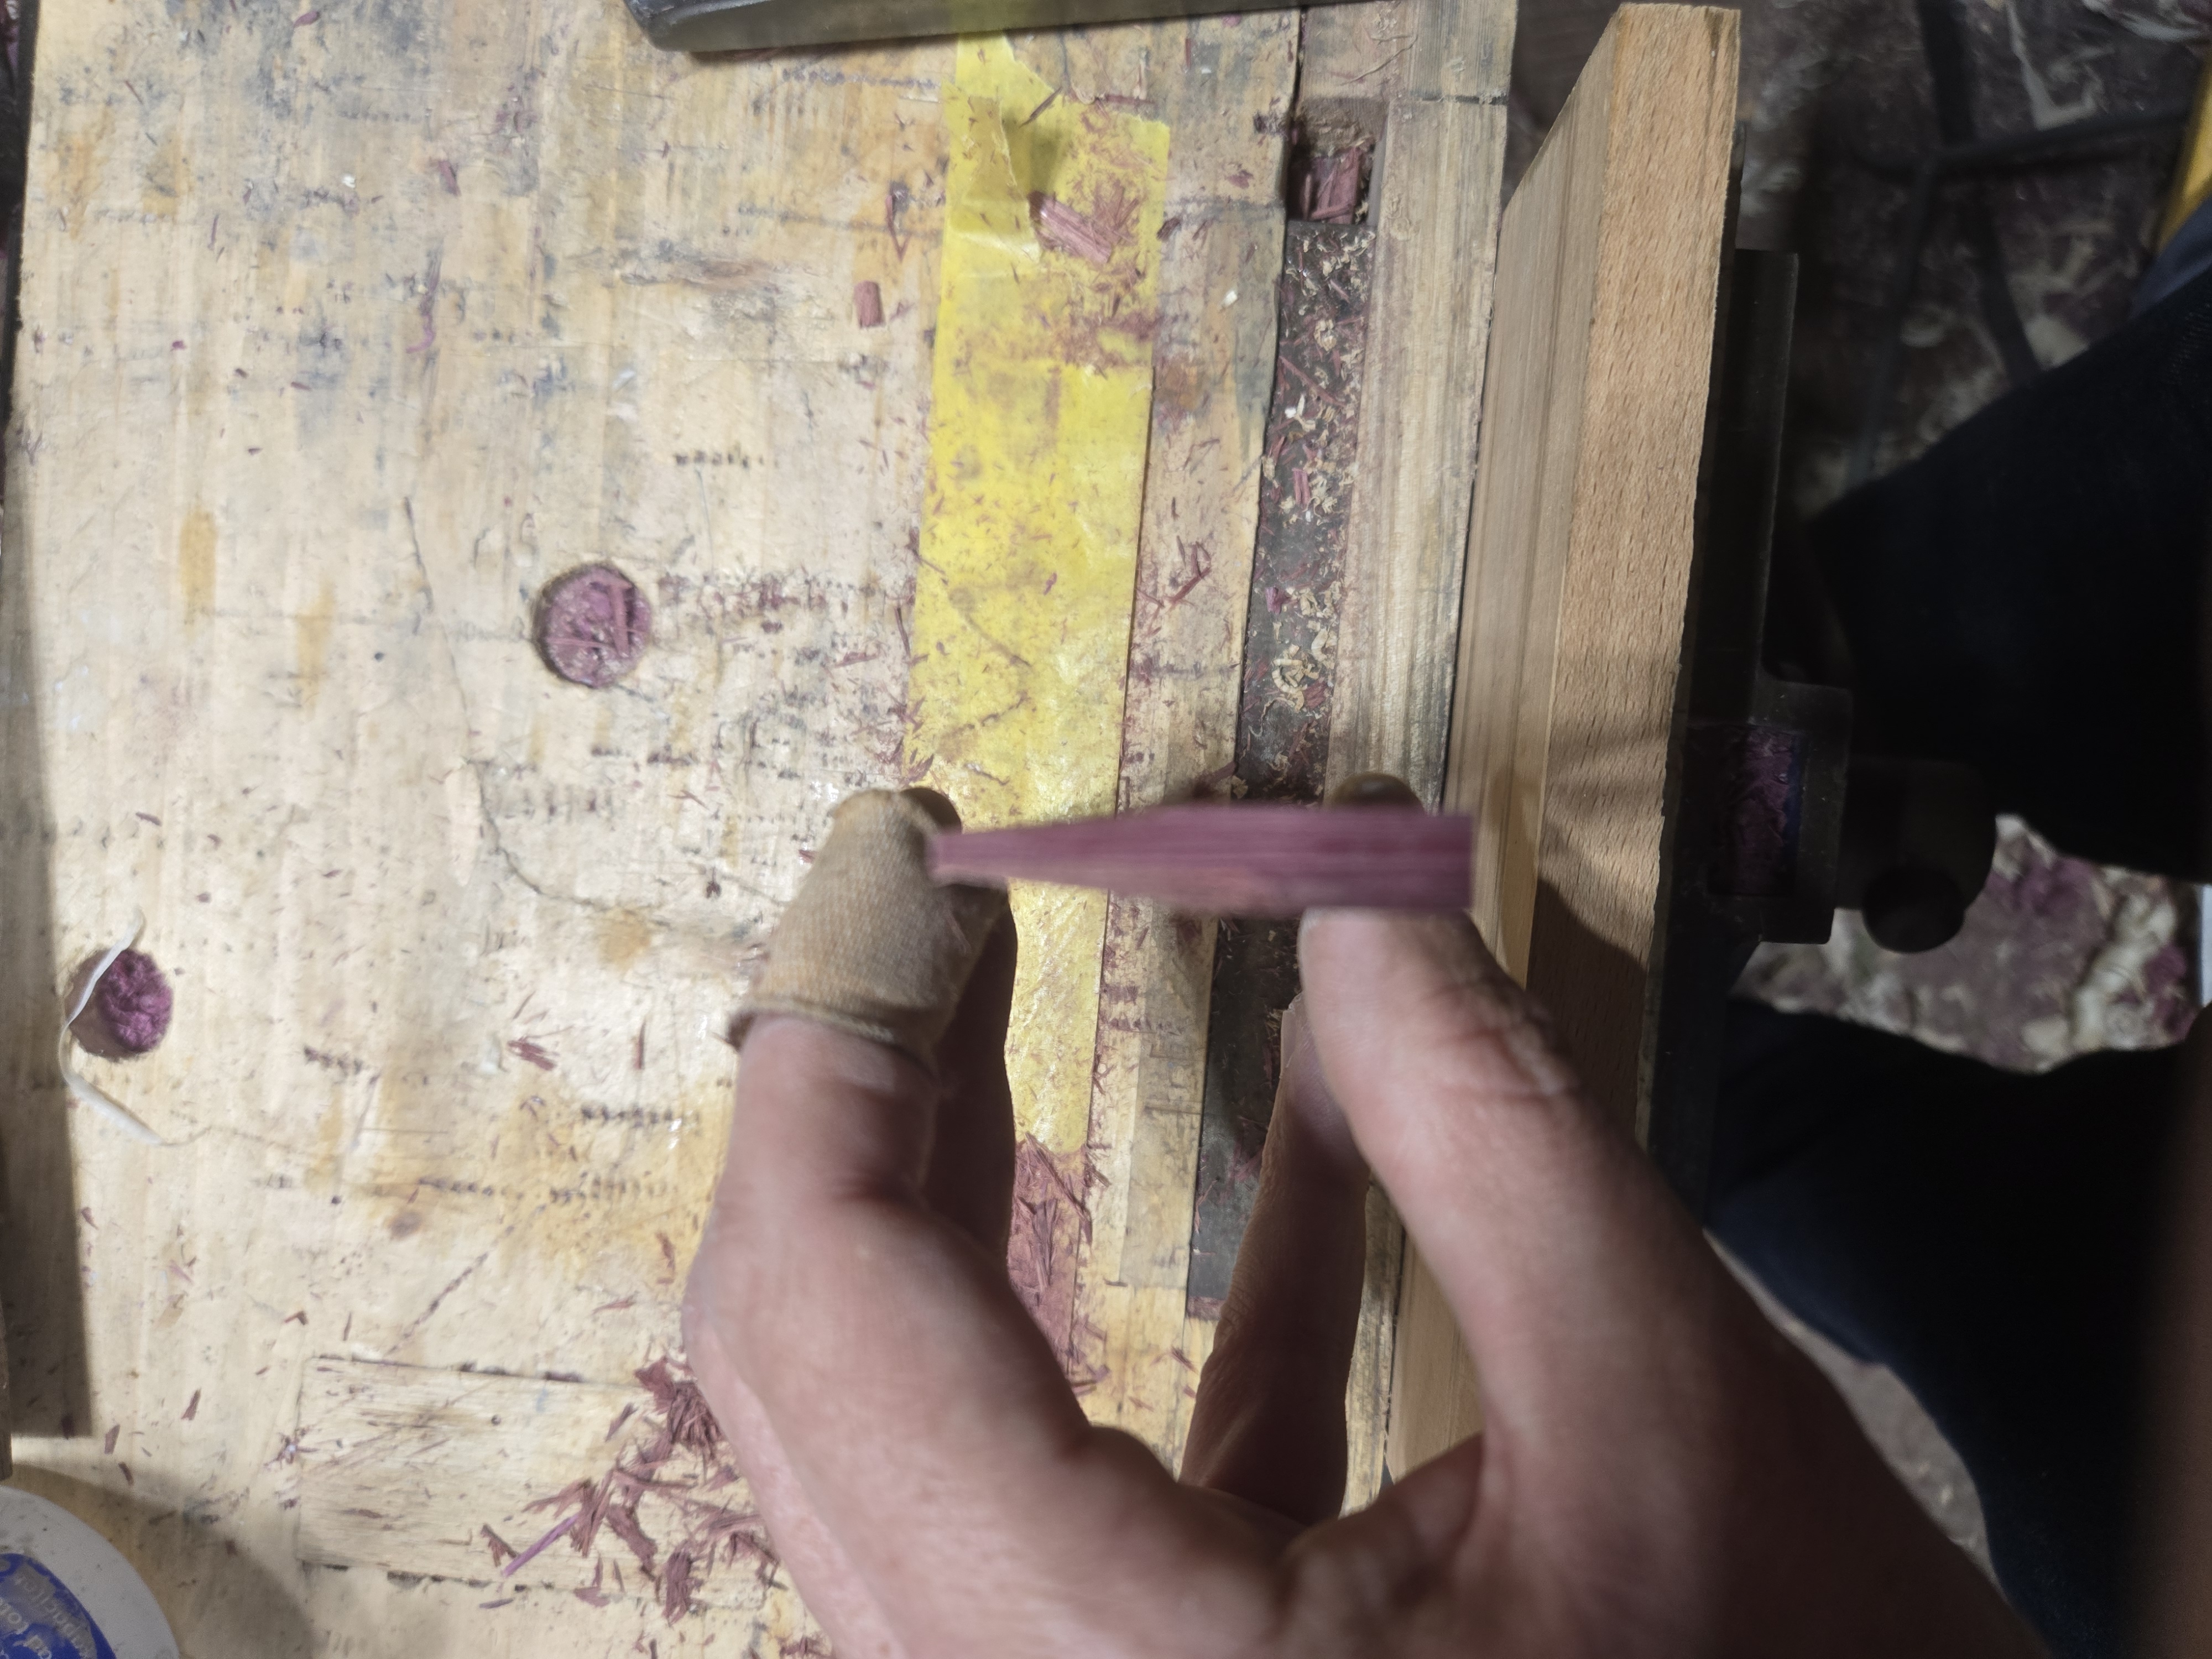
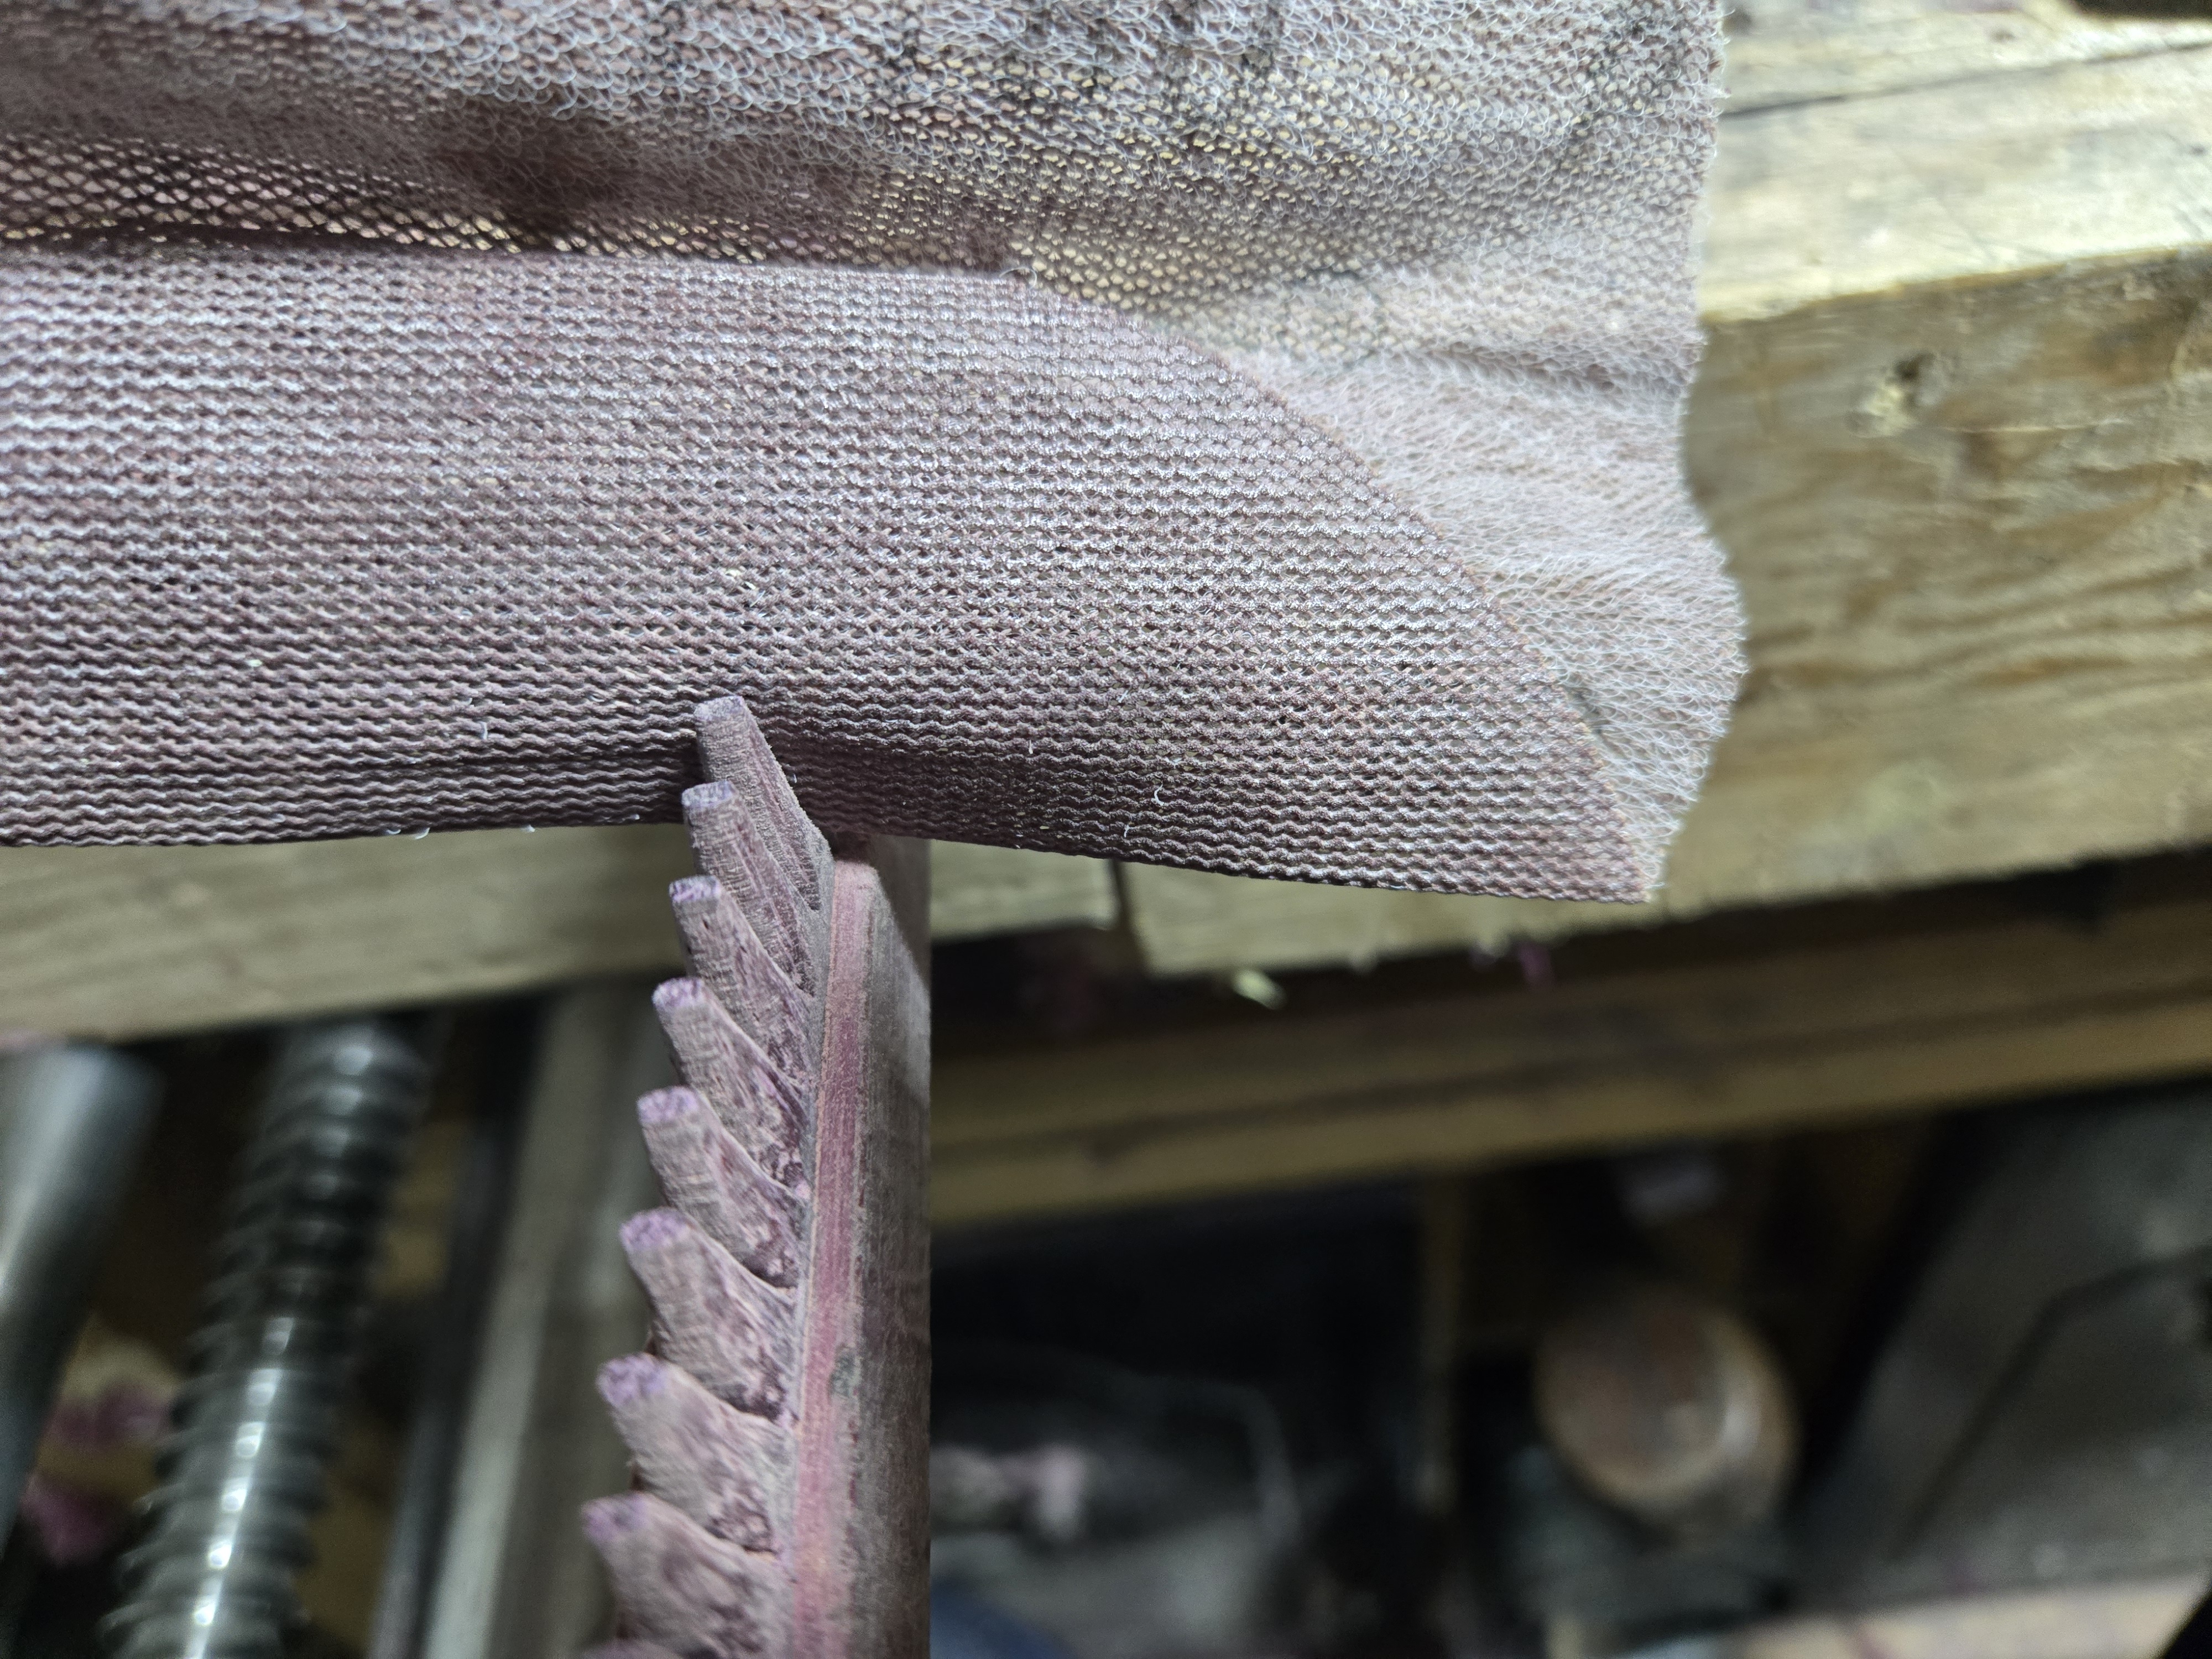
Last time I wrote about using the superglue and masking tape trick to hold this piece down. You may have noticed the board clamped in the bench vice, or that the work piece looks slightly tapered on one side. The method I used was, place a flat board in the face vice. Put the workpiece down, and place the bench plane resting against the board in the vice and slide the workpiece until the amount I want tapered is under the plane. I used the masking tape to attach the work piece in this position, and then just plane it using the board in the vice to keep the distance consistent. I’m aware as I write this, that its confusing to read. Let’s have a few more photos.
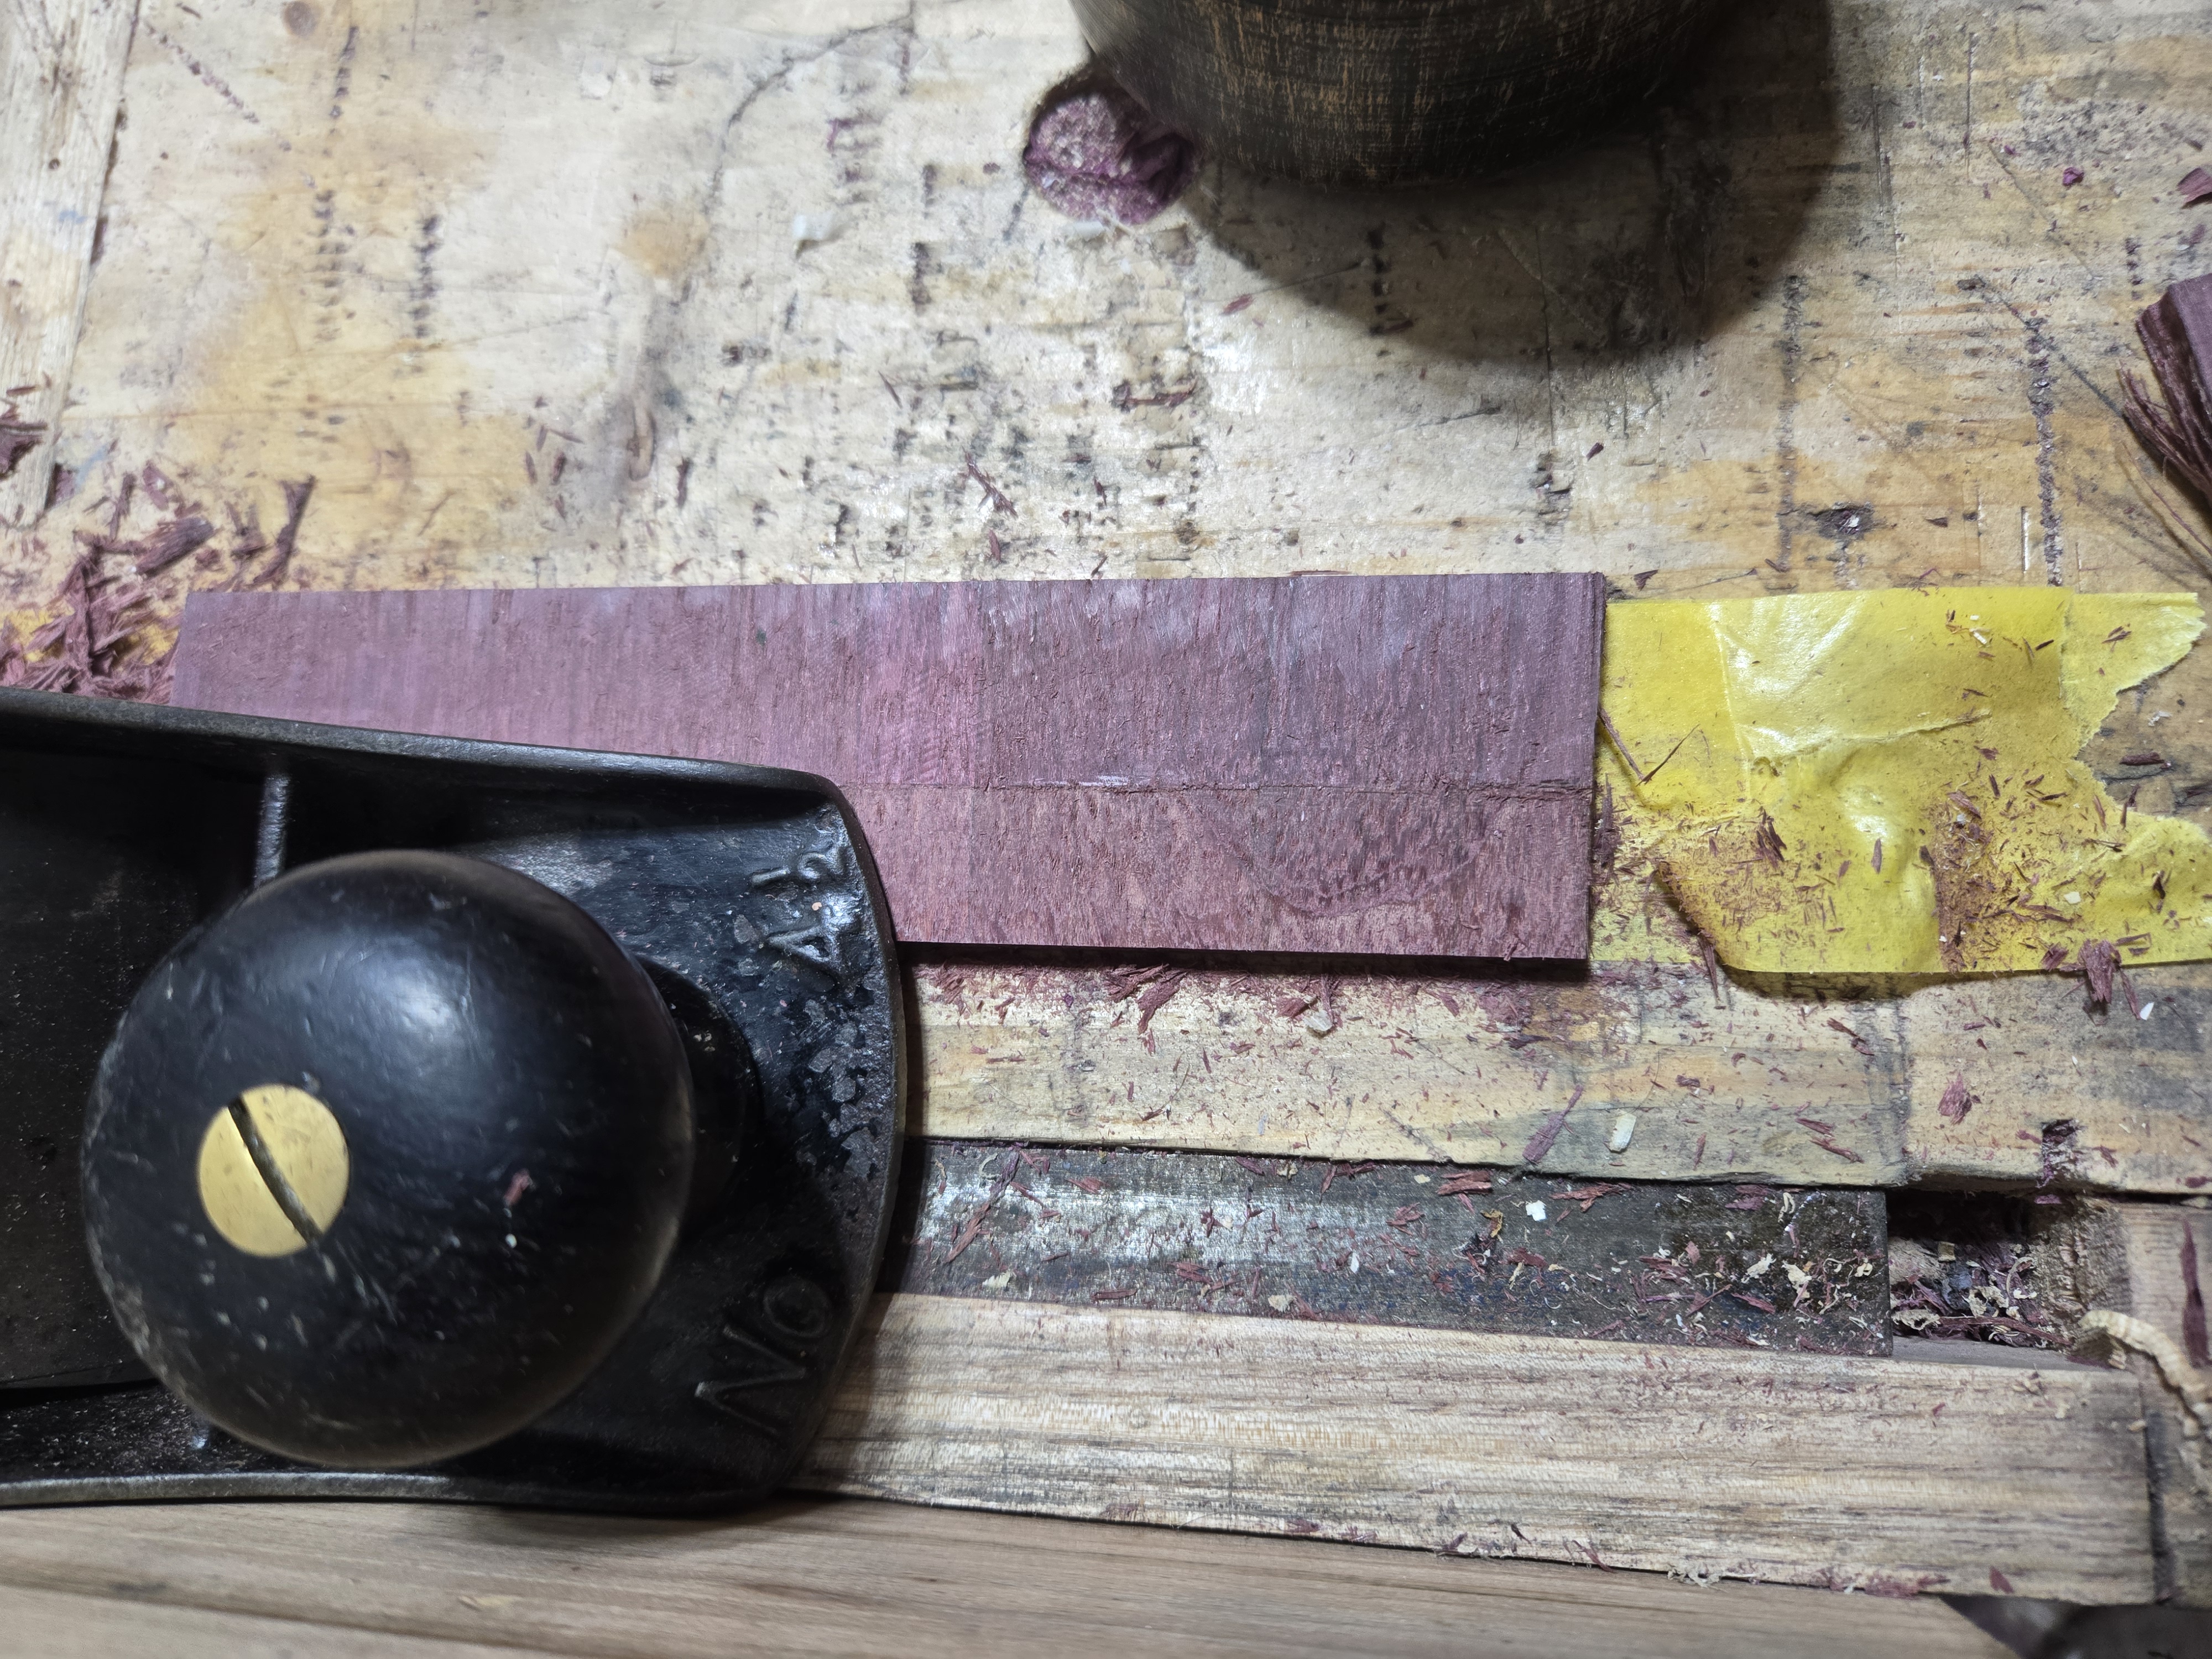
Here you can see the plane working. It is a little easier to see how the board is controlling which part gets tapered. Its important to work the piece from both sides inwards, and not plane off the end. That will get you some tear out. So why does it taper, and not just plane all the material away?
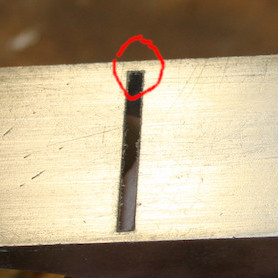
This part of your plane sole is the reason. The bit in the red circle. I have no idea if it has an official name. I think of it as the landing. There is no blade to cut here. So the plane cannot cut that part, it just works the stock down and tapers it. This is in many ways the most useful detail of a standard bench plane. It is what prevents your plane from eating away your entire shooting board. It can also be used to square an edge. Rest the landing on the low side of an edge, and the high side of the edge will be worked down, leaving the low spot untouched.
The final tapered piece. Its worth noting, that after doing one side, the second side is a little harder. The masking tape does not resist the work being lifted up very well. Once one side is tapered and you flip it over, the weight of the plane can now push down into the gap created by the taper, causing the piece to lift on the far side. You need to use one hand to keep pressure on the workpiece, or it will lift off the masking tape.
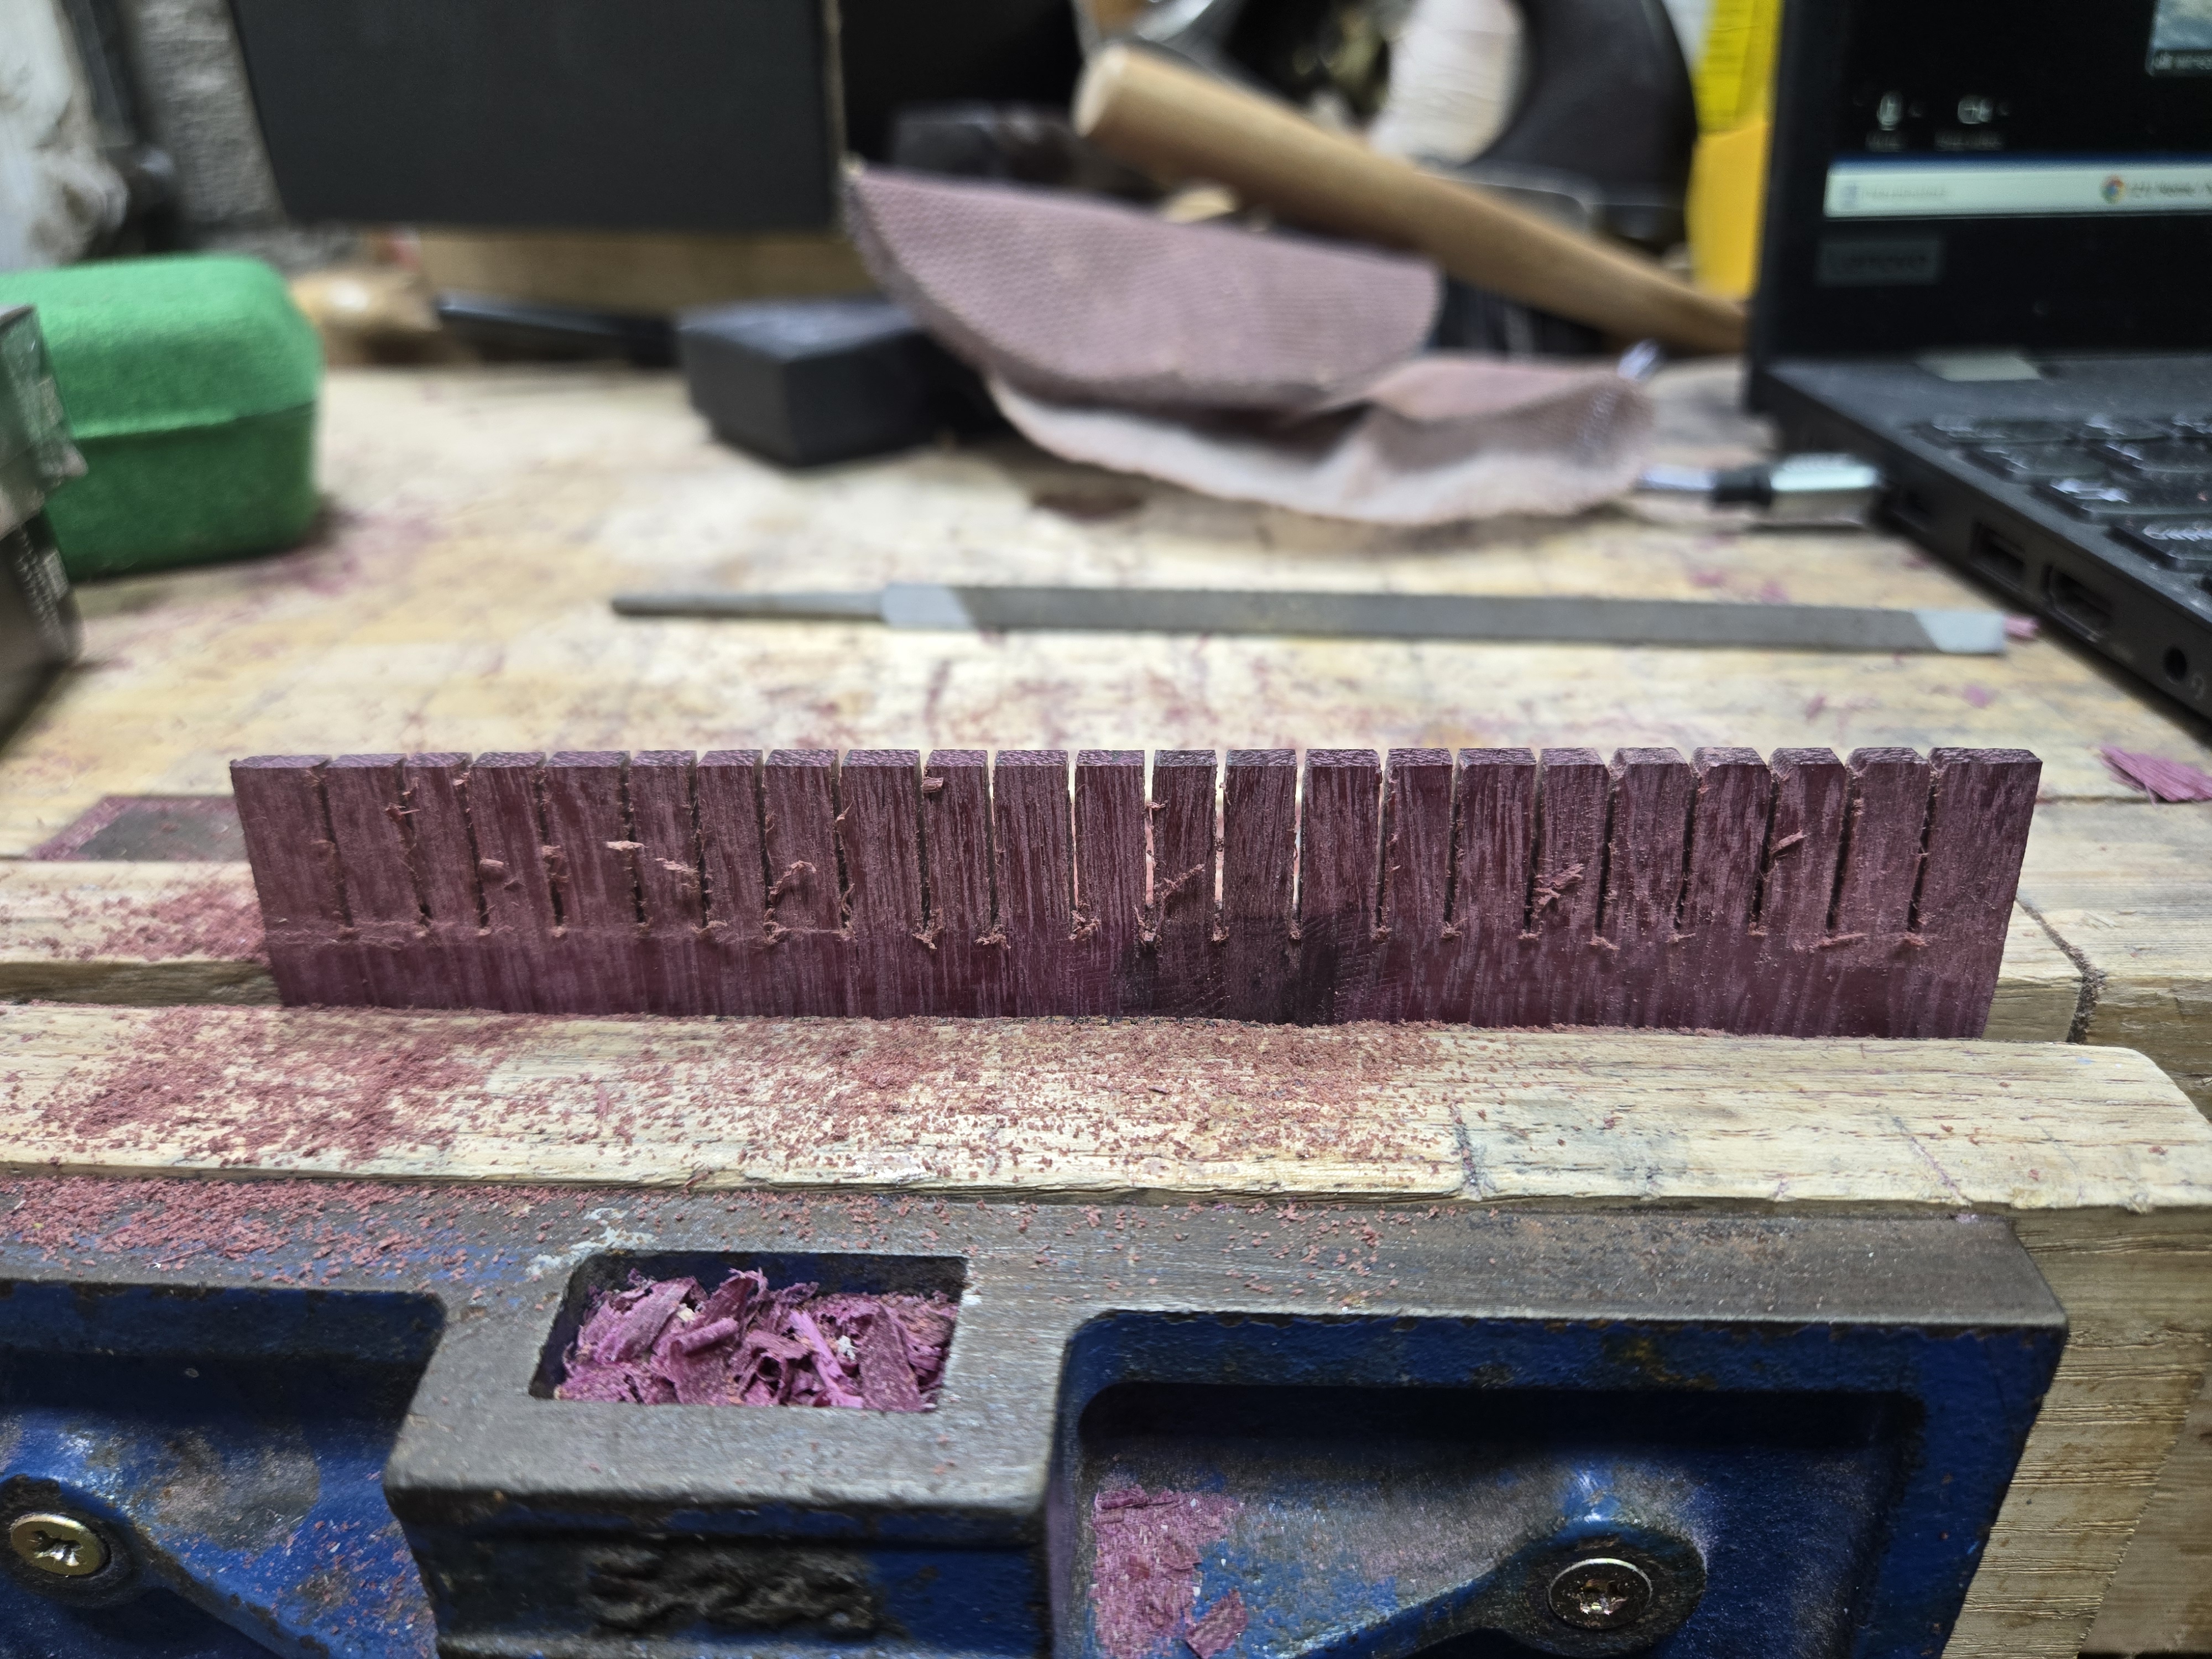
The teeth are sawn, making sure to match the spacing for the loom.
And as I start trying to shape the teeth, snap. There it goes again.
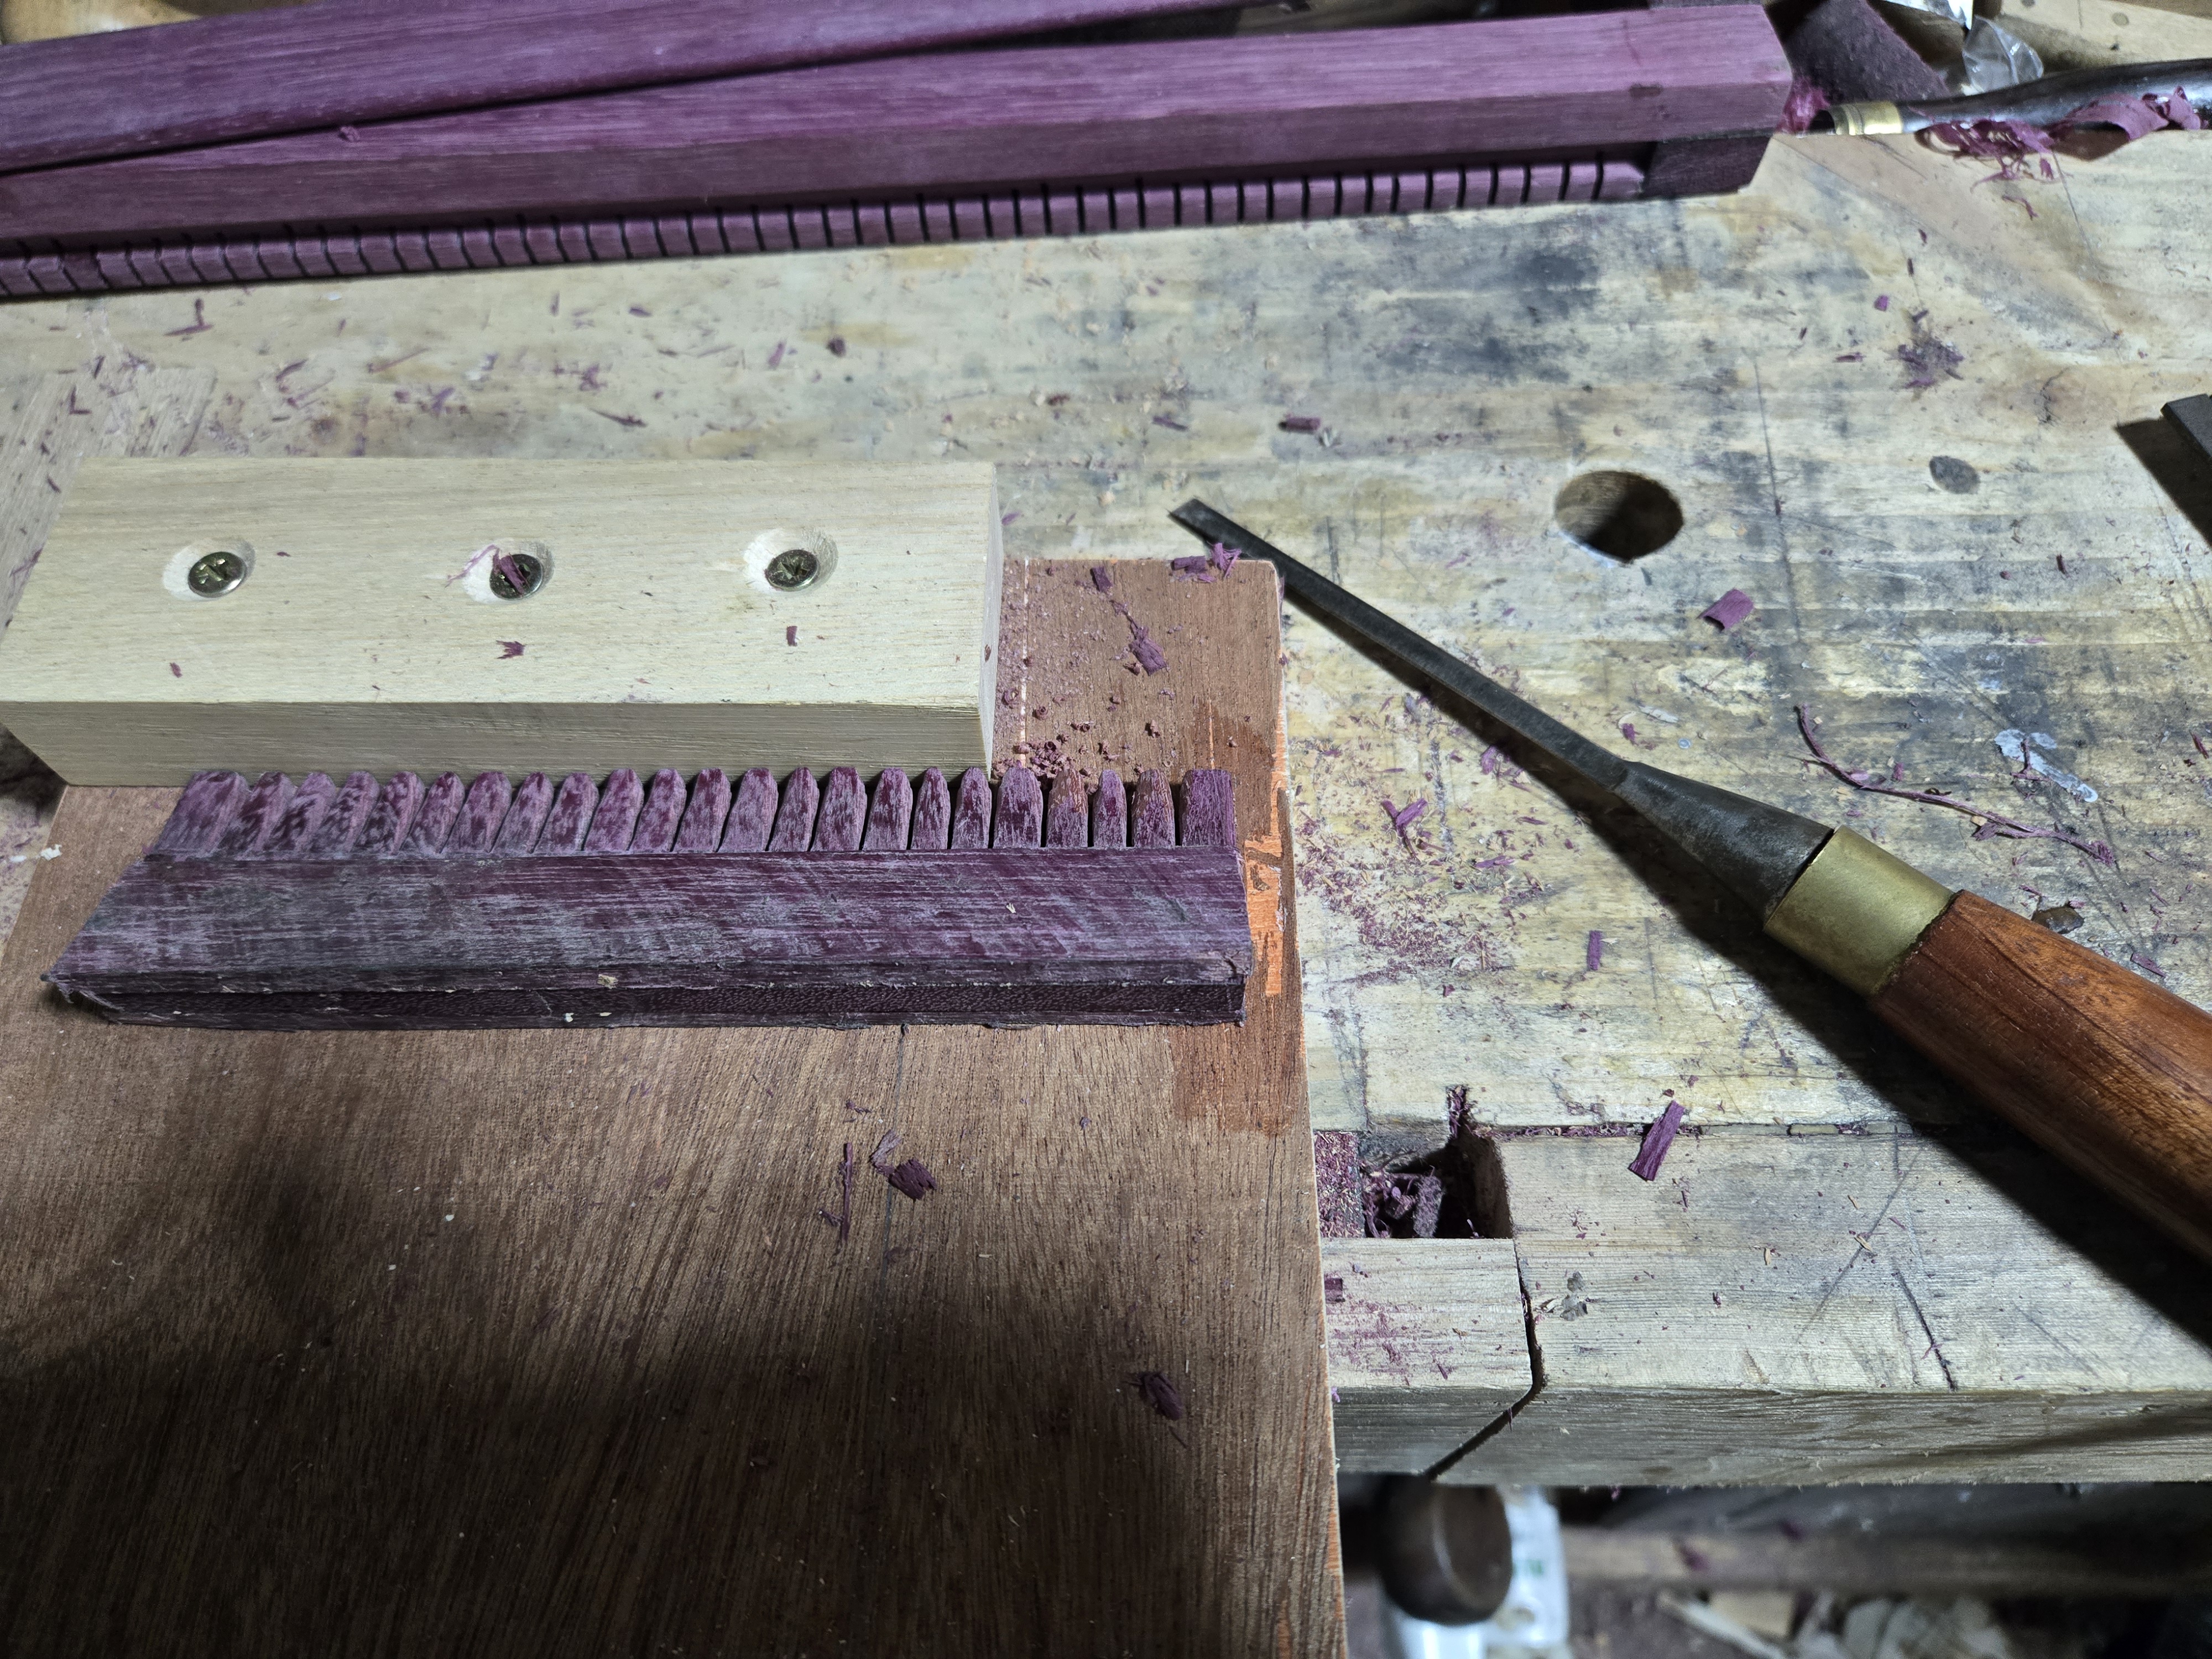
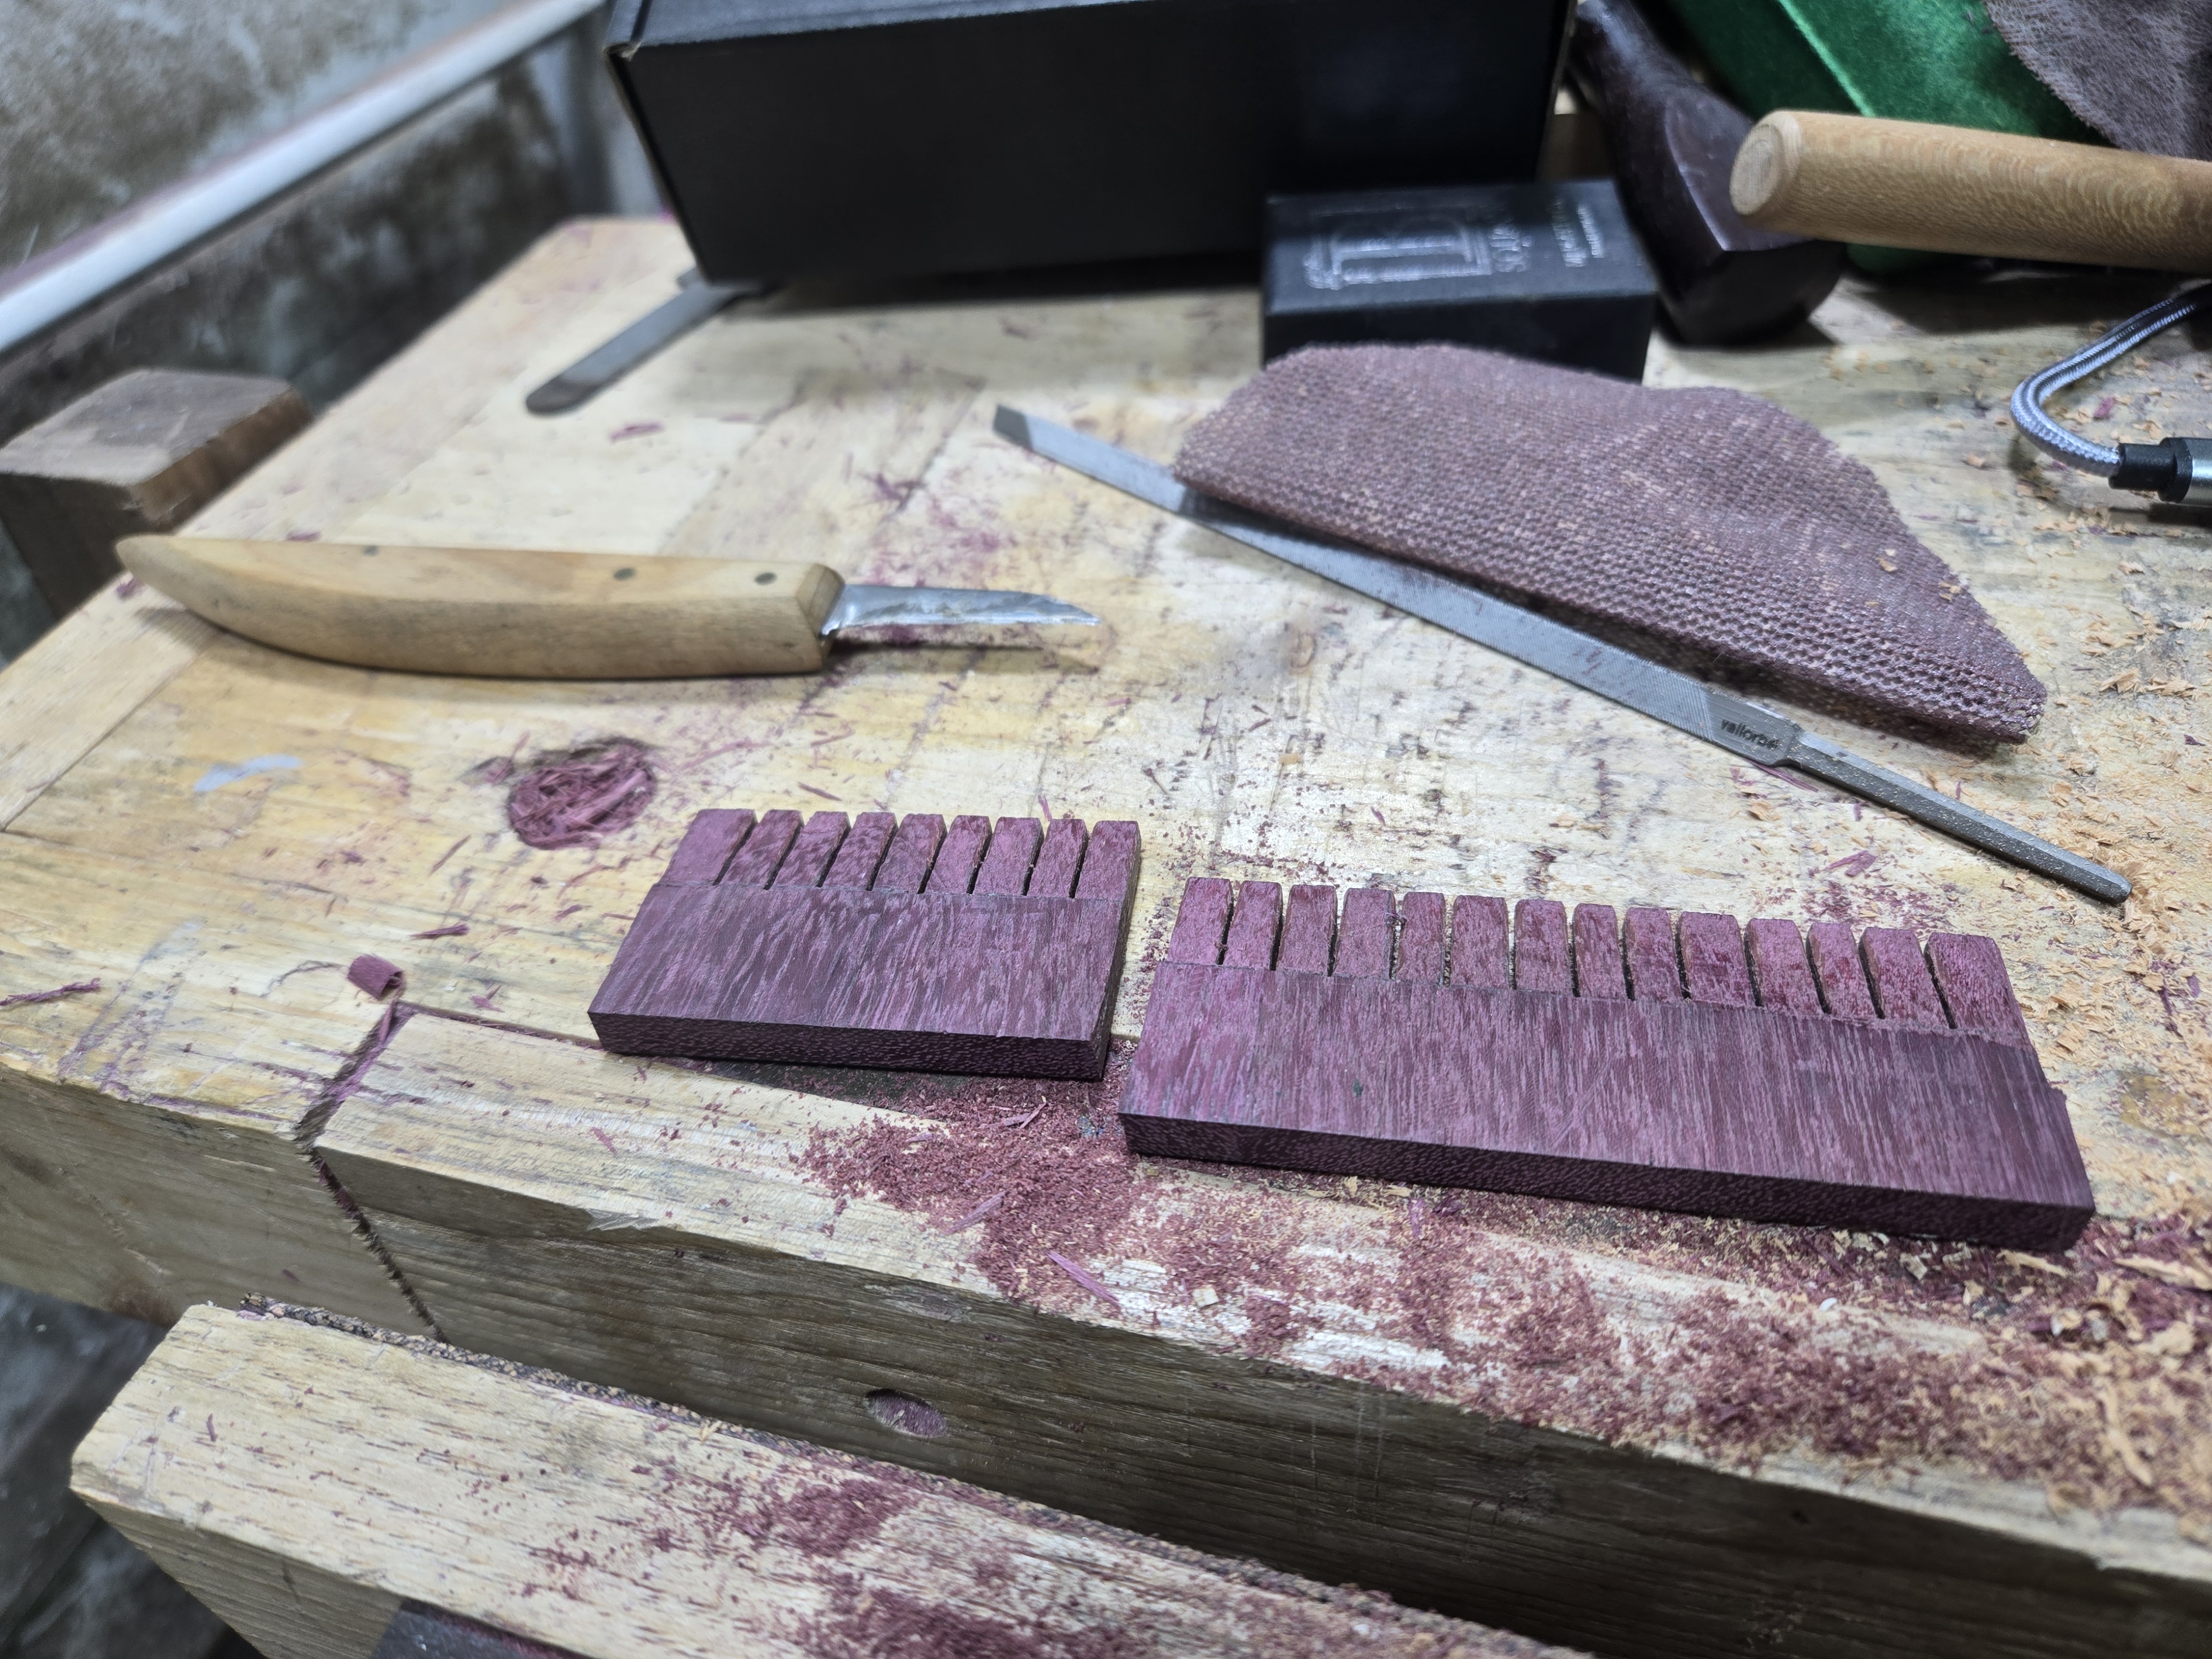
You can see the extra reinforcing pieces here. Thanks Scott! I experimented with all kinds of ways to shape the teeth. Scrapers, sand paper, files, rasps. I settled on using a narrow chisel. I would take a corner and take a light shaving from 2/3rd of the way up to the tip, then 1/3rd of the way up to the tip, and then a full length shaving. I worked my way around and around on all 4 corners of each tooth until I was happy with the shape.
Once I was happy with the shape and profile of the teeth, I worked each tooth with 80 grit, then 120, and then 240 grit Abranet. Smoothing and rounding them.
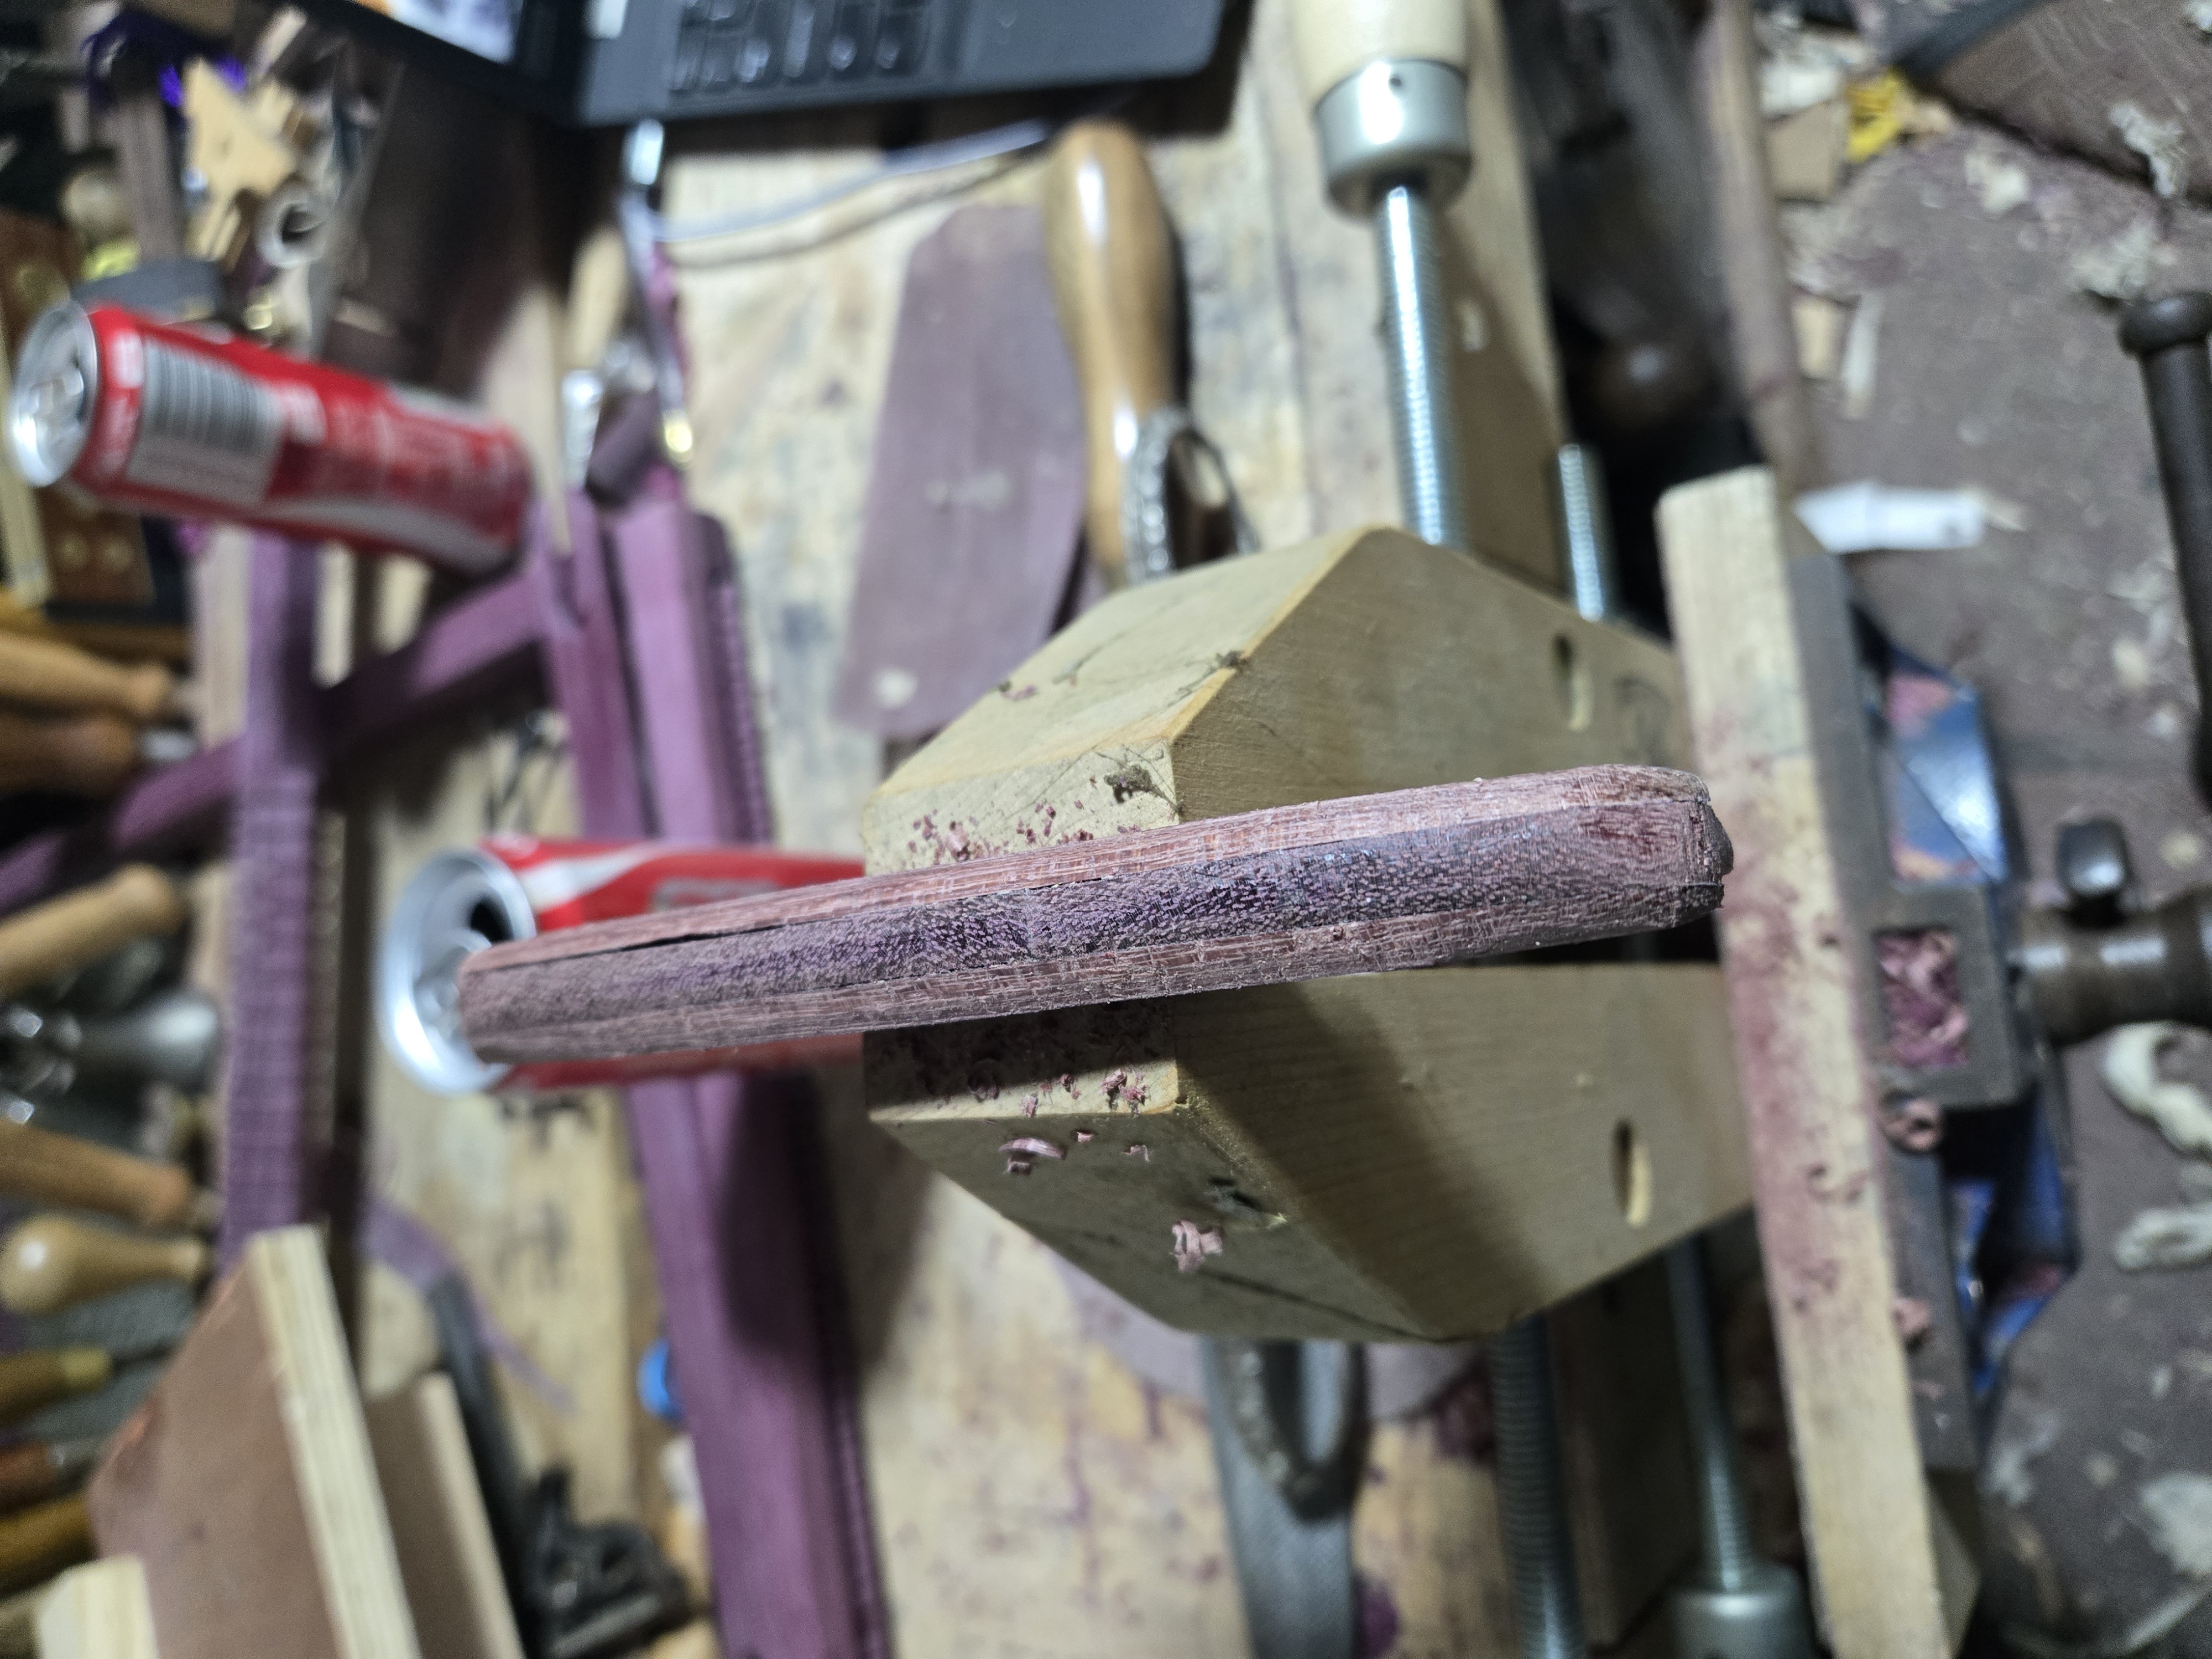
I used a wooden hand screw clamp to get a good grip on the comb and leave me space to work the rear with a spokeshave and rasps to give it a pleasing curve.
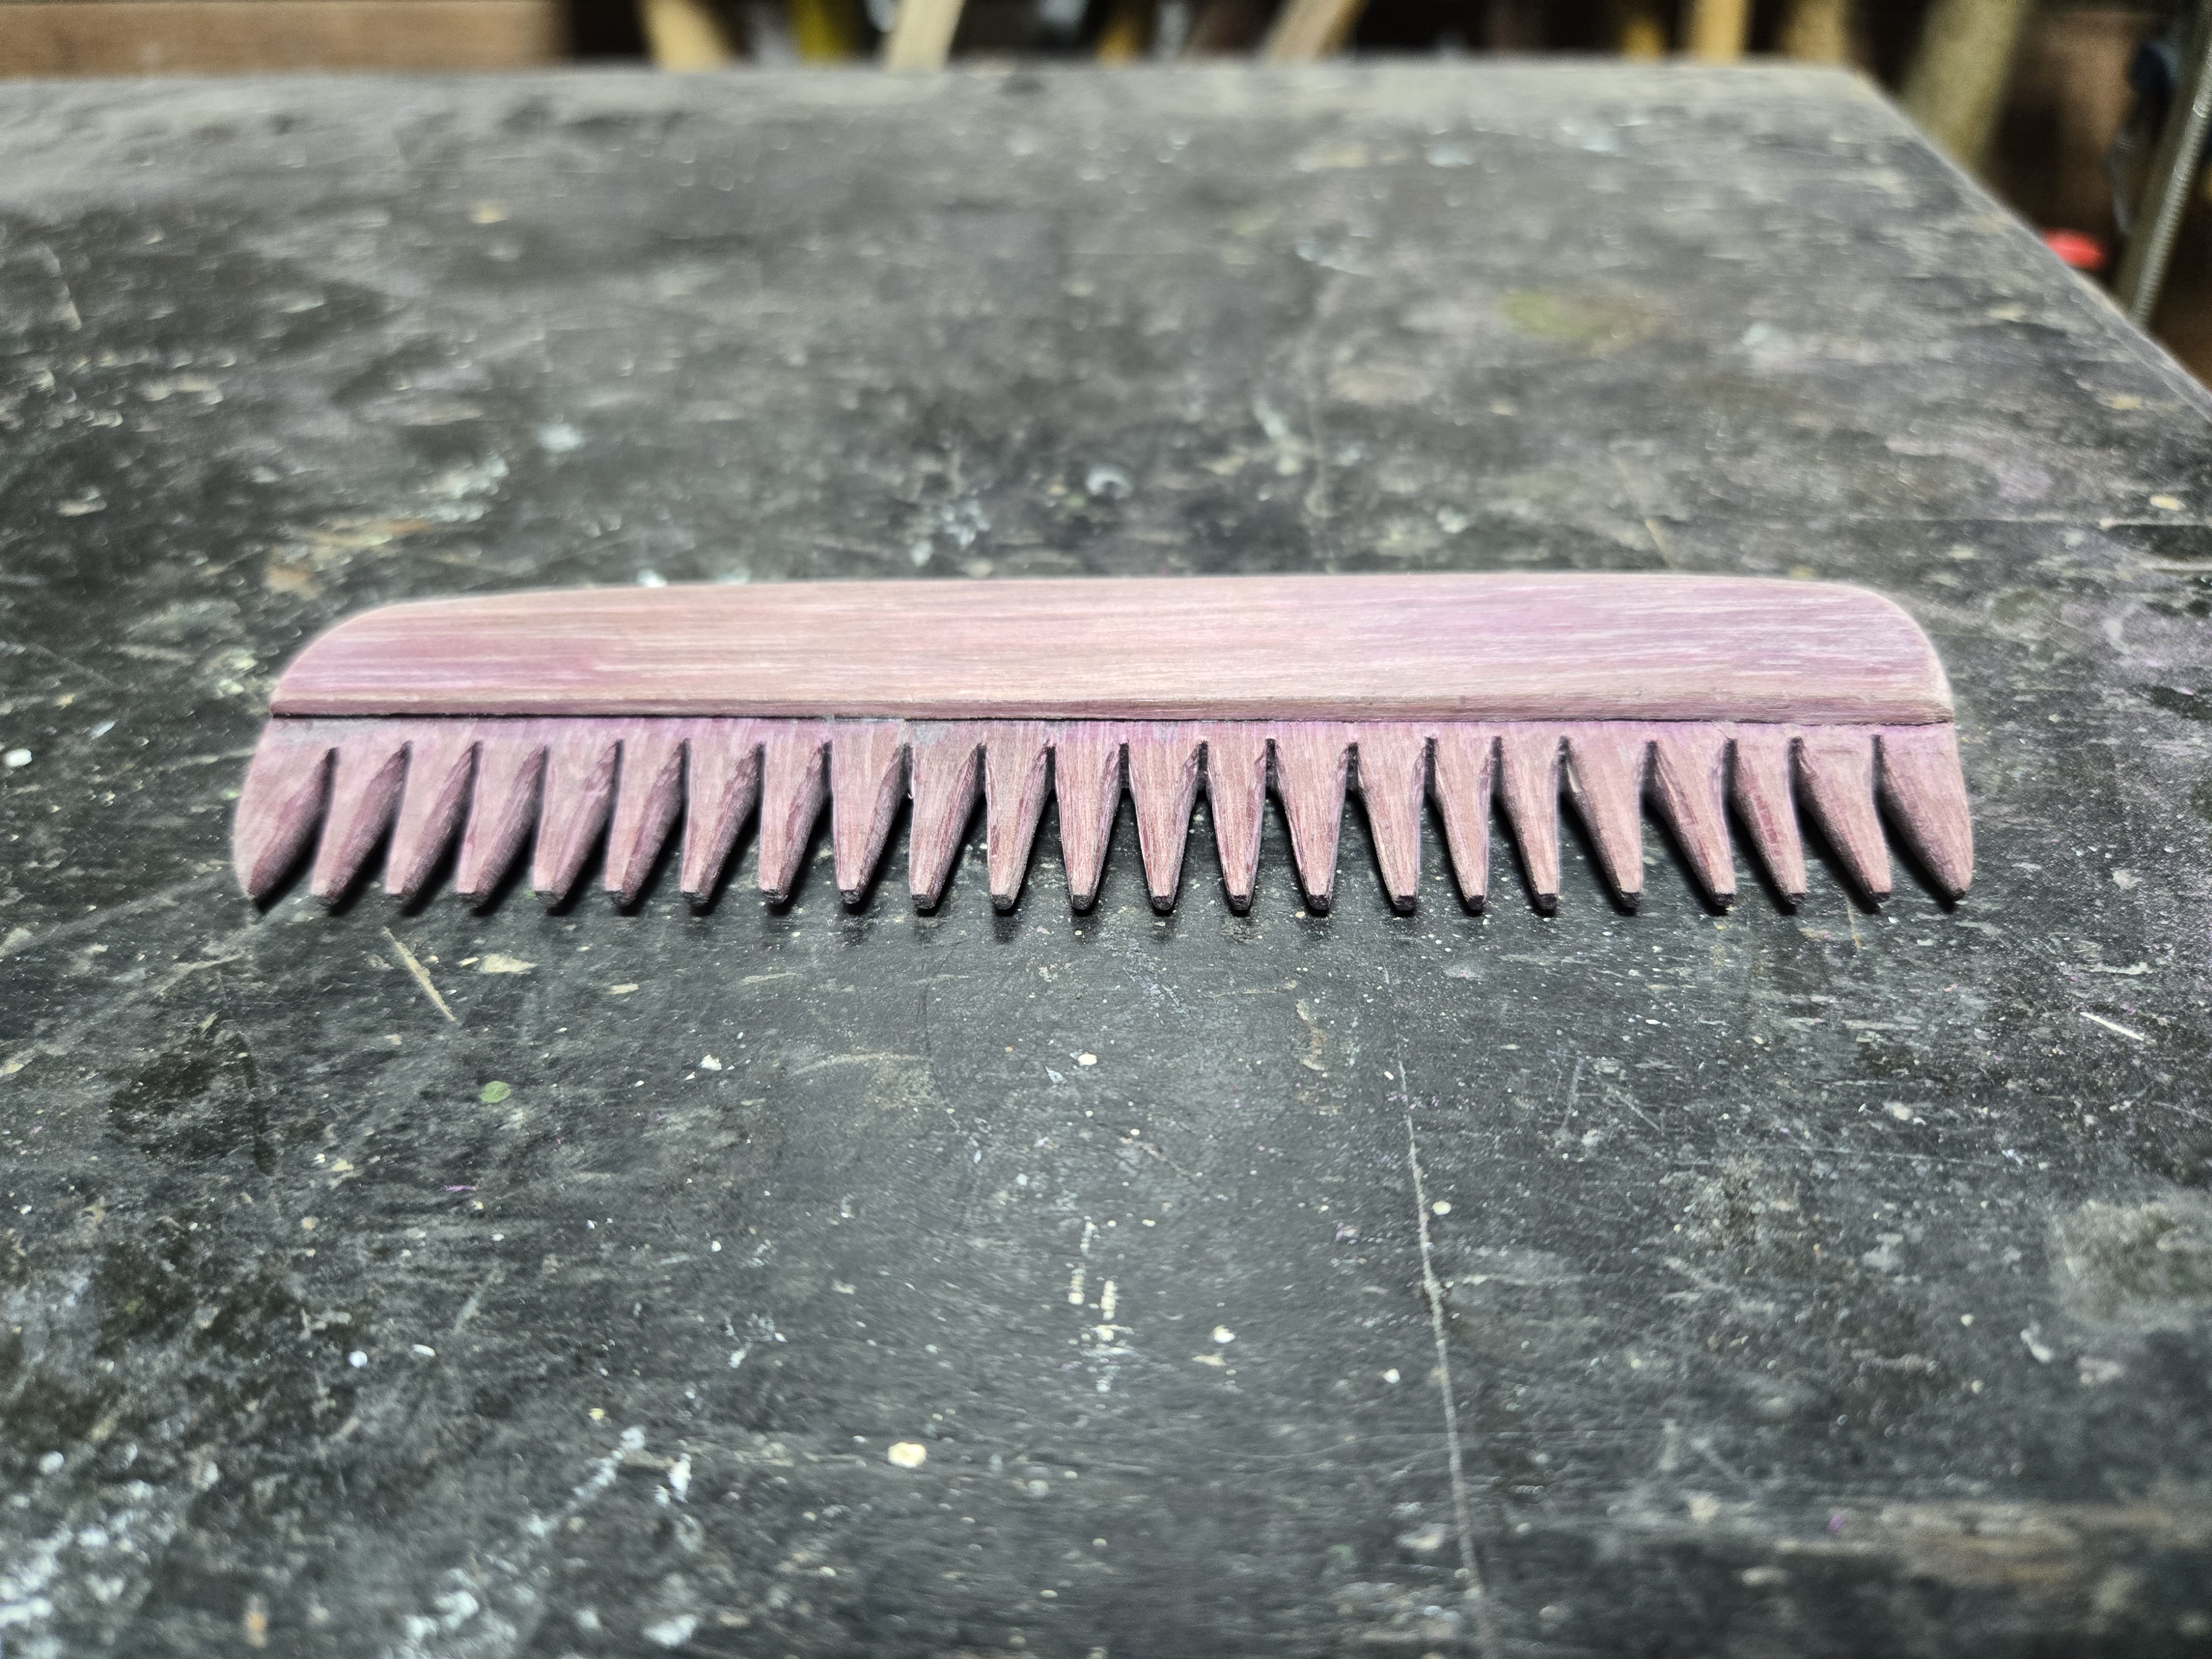
And there we have it, a comb for packing the weave on the loom.

Now it just needs to sit a while and let the purple colour come back.