The Loom Is Finished
The loom is complete. The finish applied, and my daughter has been happily weaving. The finishing process did not go smoothly. I took a few scraps of Purpleheart, applied various different oils and finishes, and she decided she like the one with https://www.shaneskelton.co.uk/shop/p/peacock-oil-wick-clear-figure-250ml-27nzn the best. It turns the Purple heart more of a red purple, but its still an attractive shade. I have read that oil finishes usually do this to Purpleheart. I’m not sure what I would use if I wanted to preserve the original purple colour. Maybe shellac? In any case, applying the oil was no problem.
Purpleheart will turn an unattractive brown if exposed to sunlight. To prevent that you need a finish with some UV protection. I could not find a lot of recommendations out there, so I just picked up some Ronseal Yacht varnish from the local hardware store that promised UV protection. After several weeks, there is no sign of the colour fading, so it seems to be doing the job. Applying it was a nightmare. Its much thicker and stickier than anything else I usually use as a finish. I used a brush to apply the first coat. That was a mistake. It was far too thick, brush marks, and the occasional stray brush fibre everywhere. Big globs of hardened varnish in a lot of places. I had to sand it back almost completely. Even then I missed a few spots. You can still find a few spots where the finish is sub par. For the second coat I applied it with micro fibre cloths. My local supermarket started selling rolls of thin micro fibre cloths that tear off like disposable towels. I liked the look of them for applying finish, and decided to try them out with the Yacht varnish.
With the cloth, you can just dab a little on, and get a nice thin even coat. Coats 2 and 3 went much better as a result. I sanded to 240 between coats, and I’m very happy with the end result. If I had started with the cloths it would have been much better.
After the varnish, 2 coats of Alfieshine wax and I was done.
The loom works very nicely, and Its easy to use. You take the thinner warp thread and run it up and down the frame. Make sure the warp thread is taught. If its slack, the heddle bar will not raise and lower the threads properly. You then wrap the weaving yarn around the shuttle. After that its easy. Pass the shuttle through the tunnel created by the heddle bar, rotate the heddle bar, then pass back again in the opposite direction until you are done.
Check out the photos below, and a video at the end showing the Loom in use.
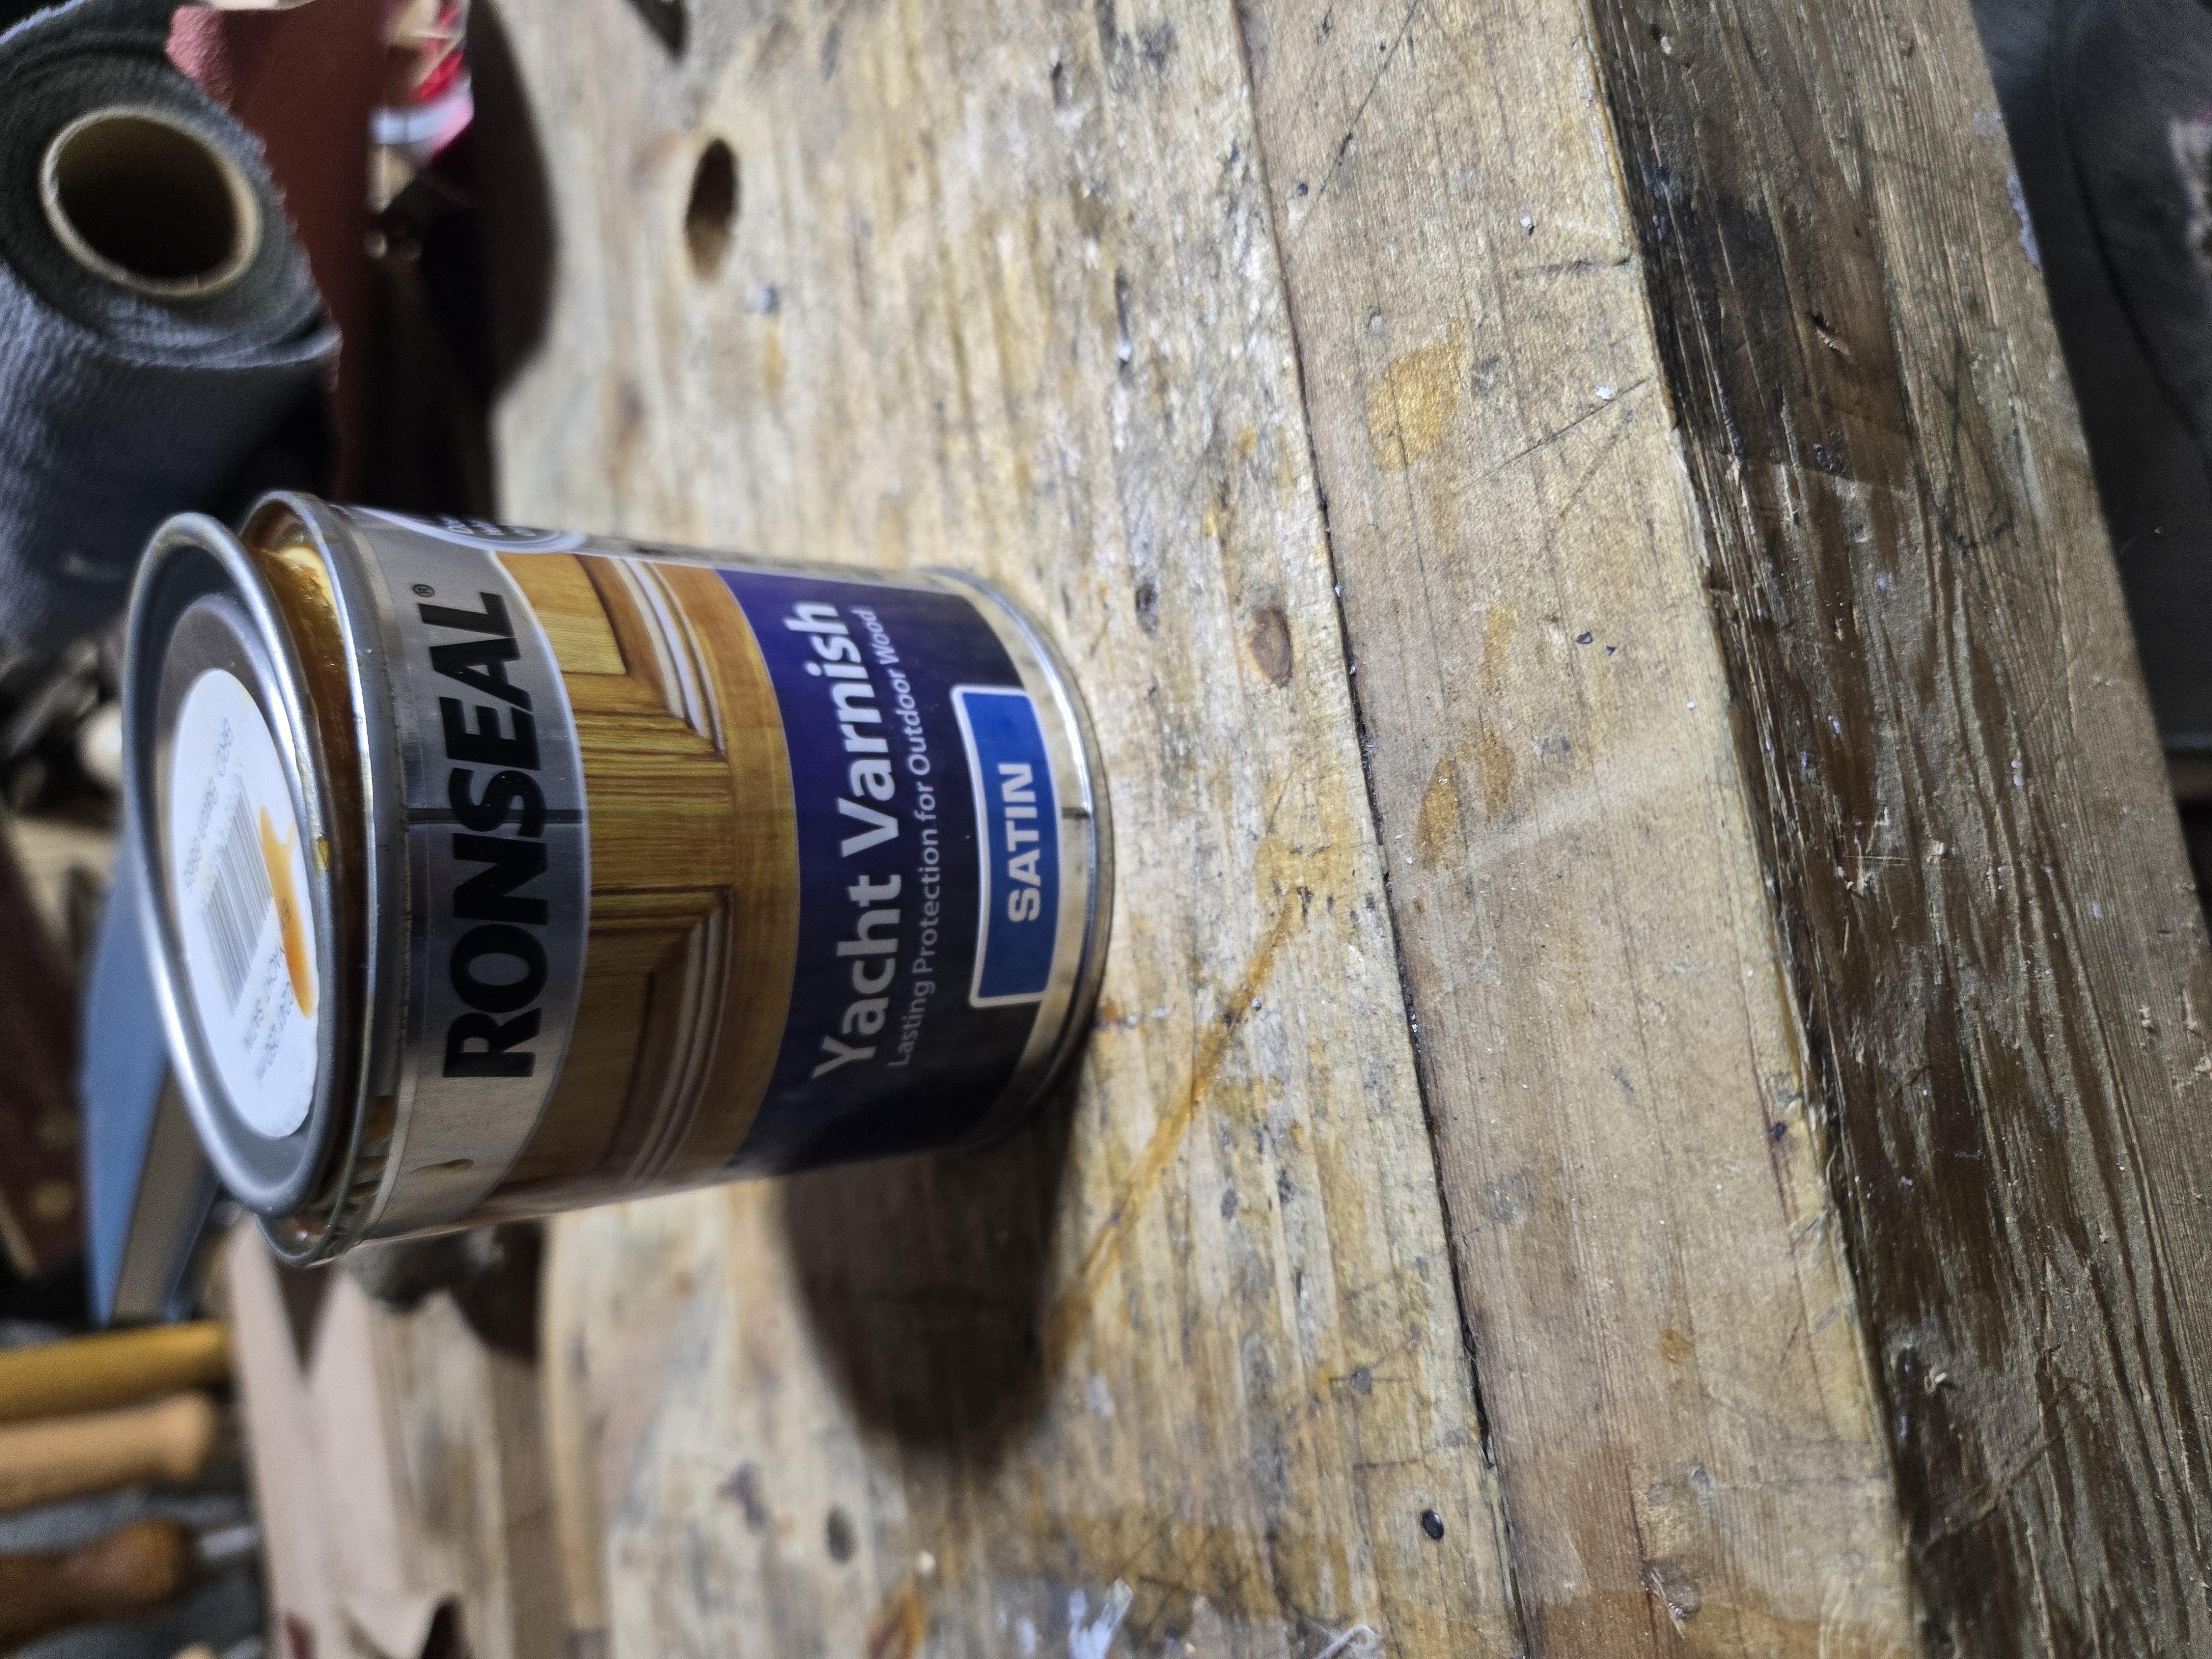
The Ronseal yacht varnish I used. The tin recommends 3 coats. It cures very slowly. Still sticky to the touch after 24 hours. I went about 2 to 3 days between coats.
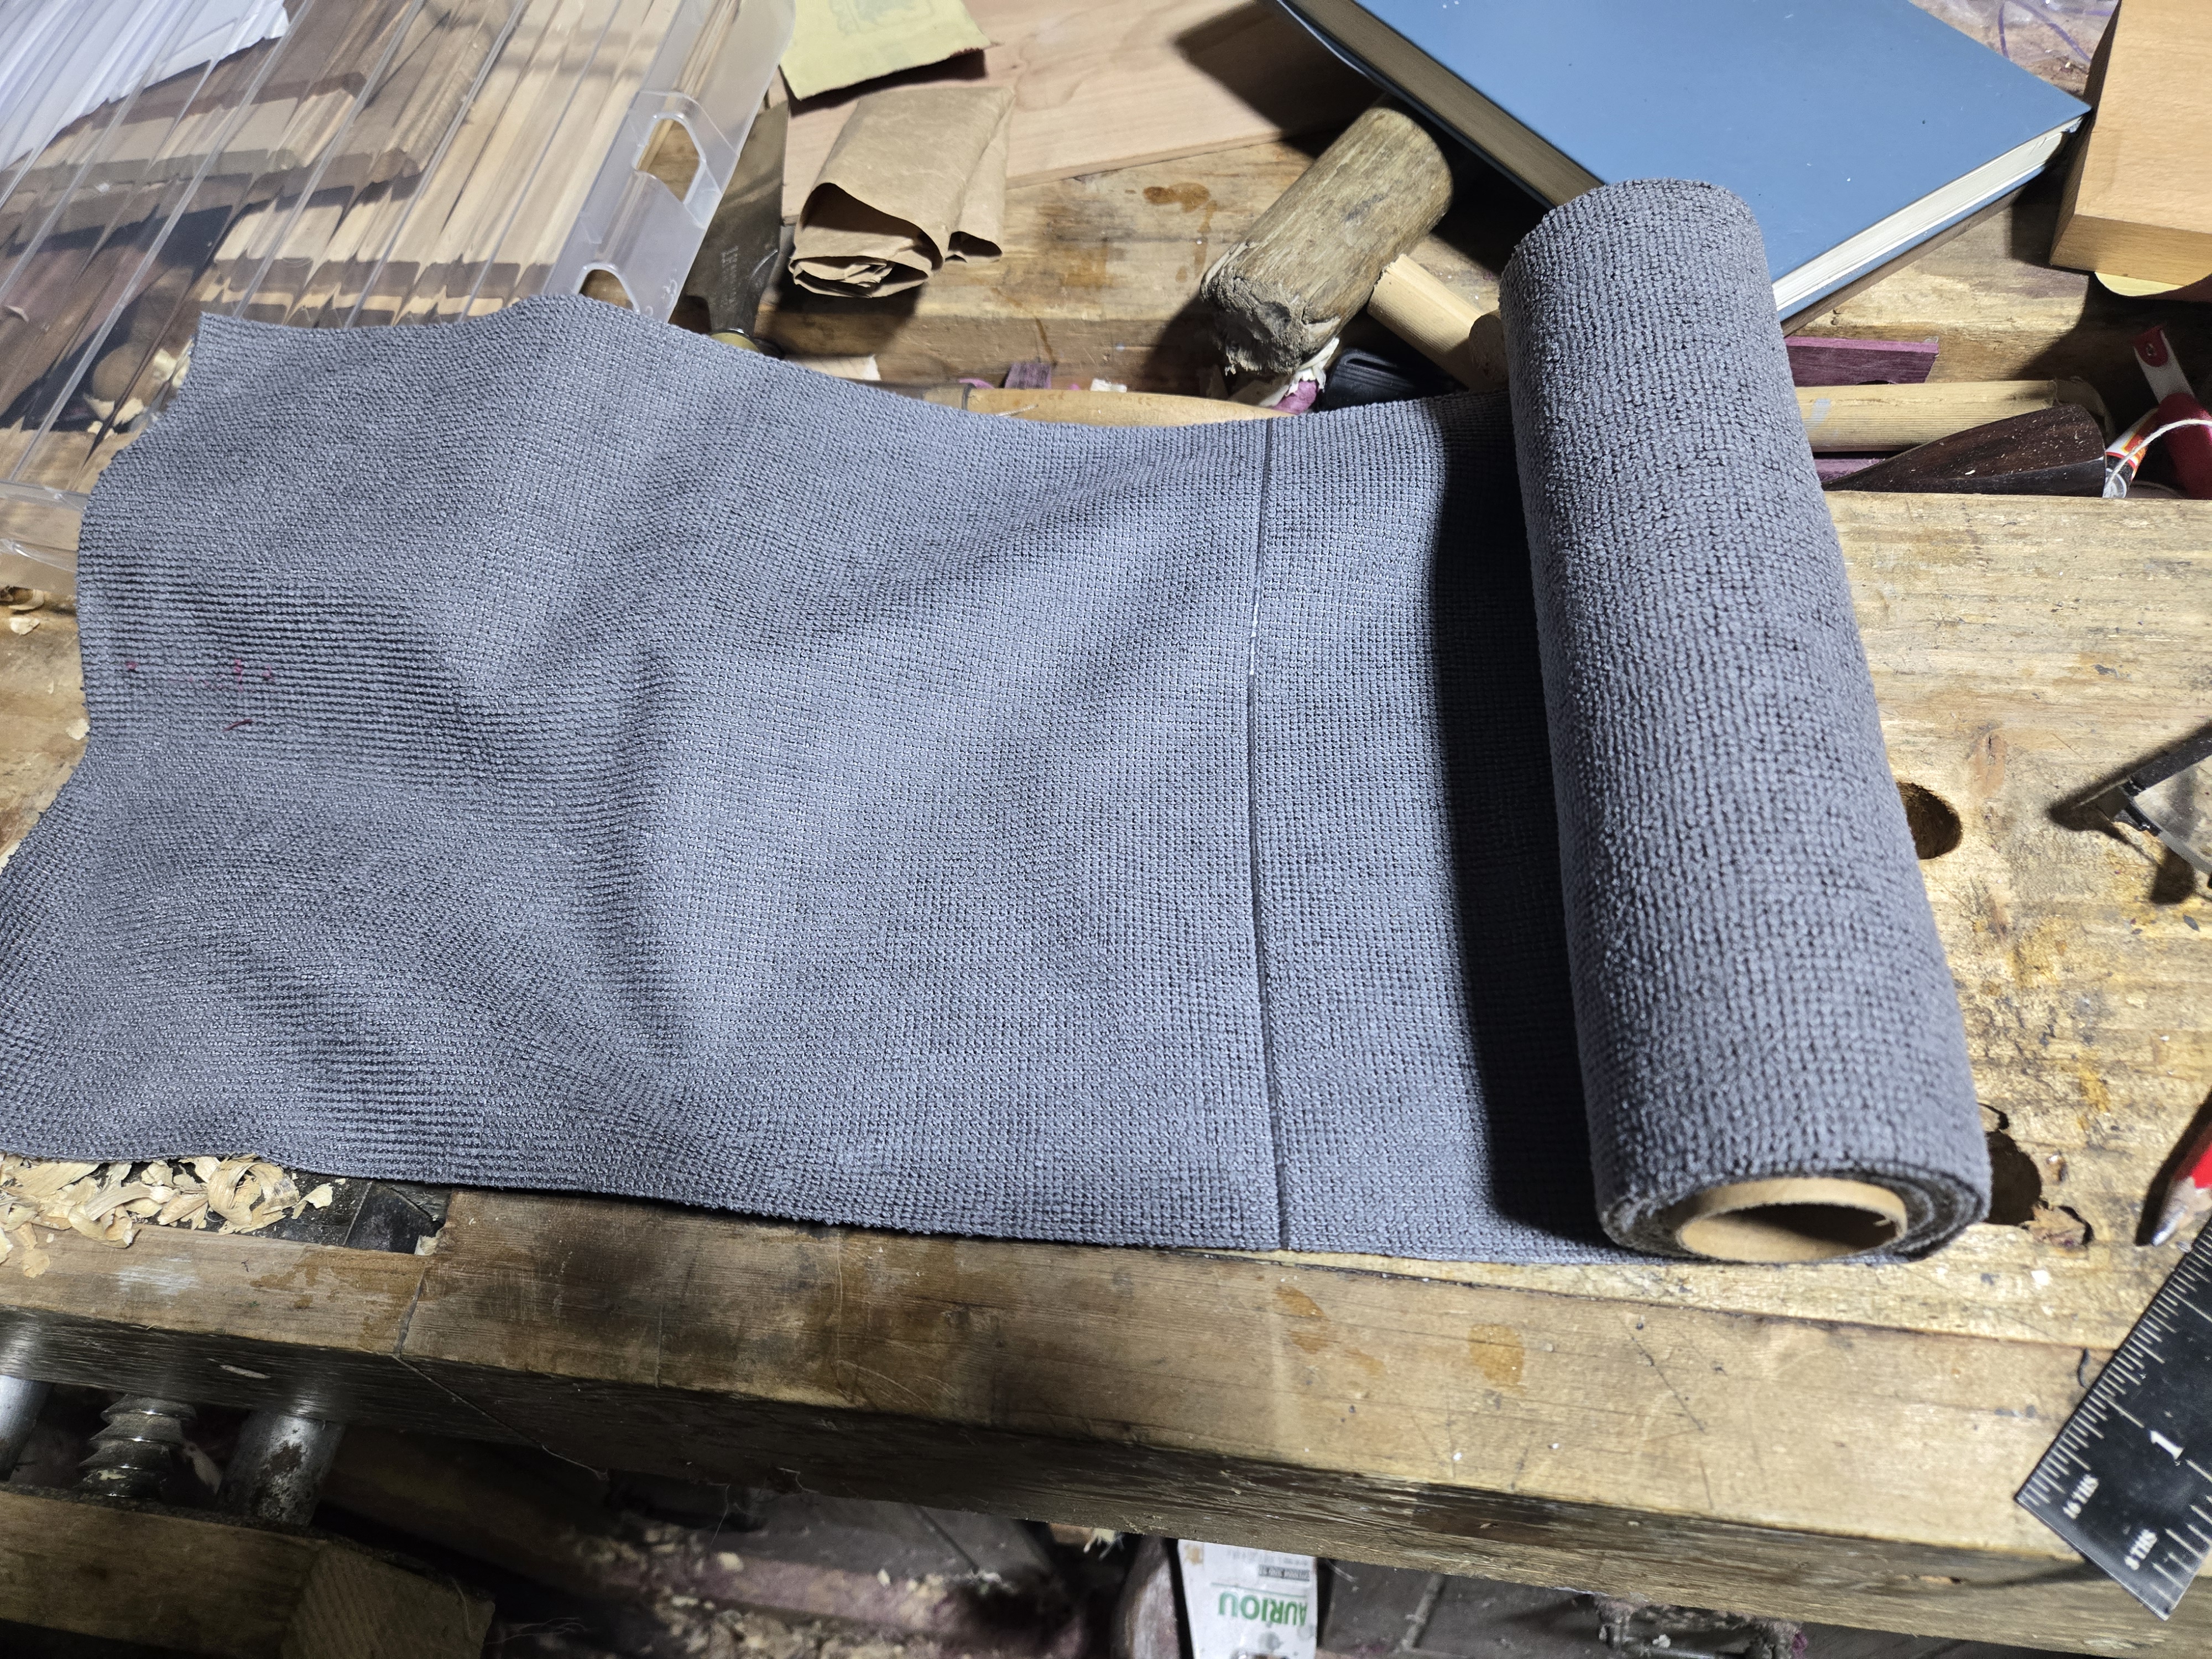 The disposable micro fibre cloths I used for applying the varnish. I neglected to keep the wrapper with the brand name, but they came from the local supermarket. I was very happy with them, will probably use them a lot more in the future.
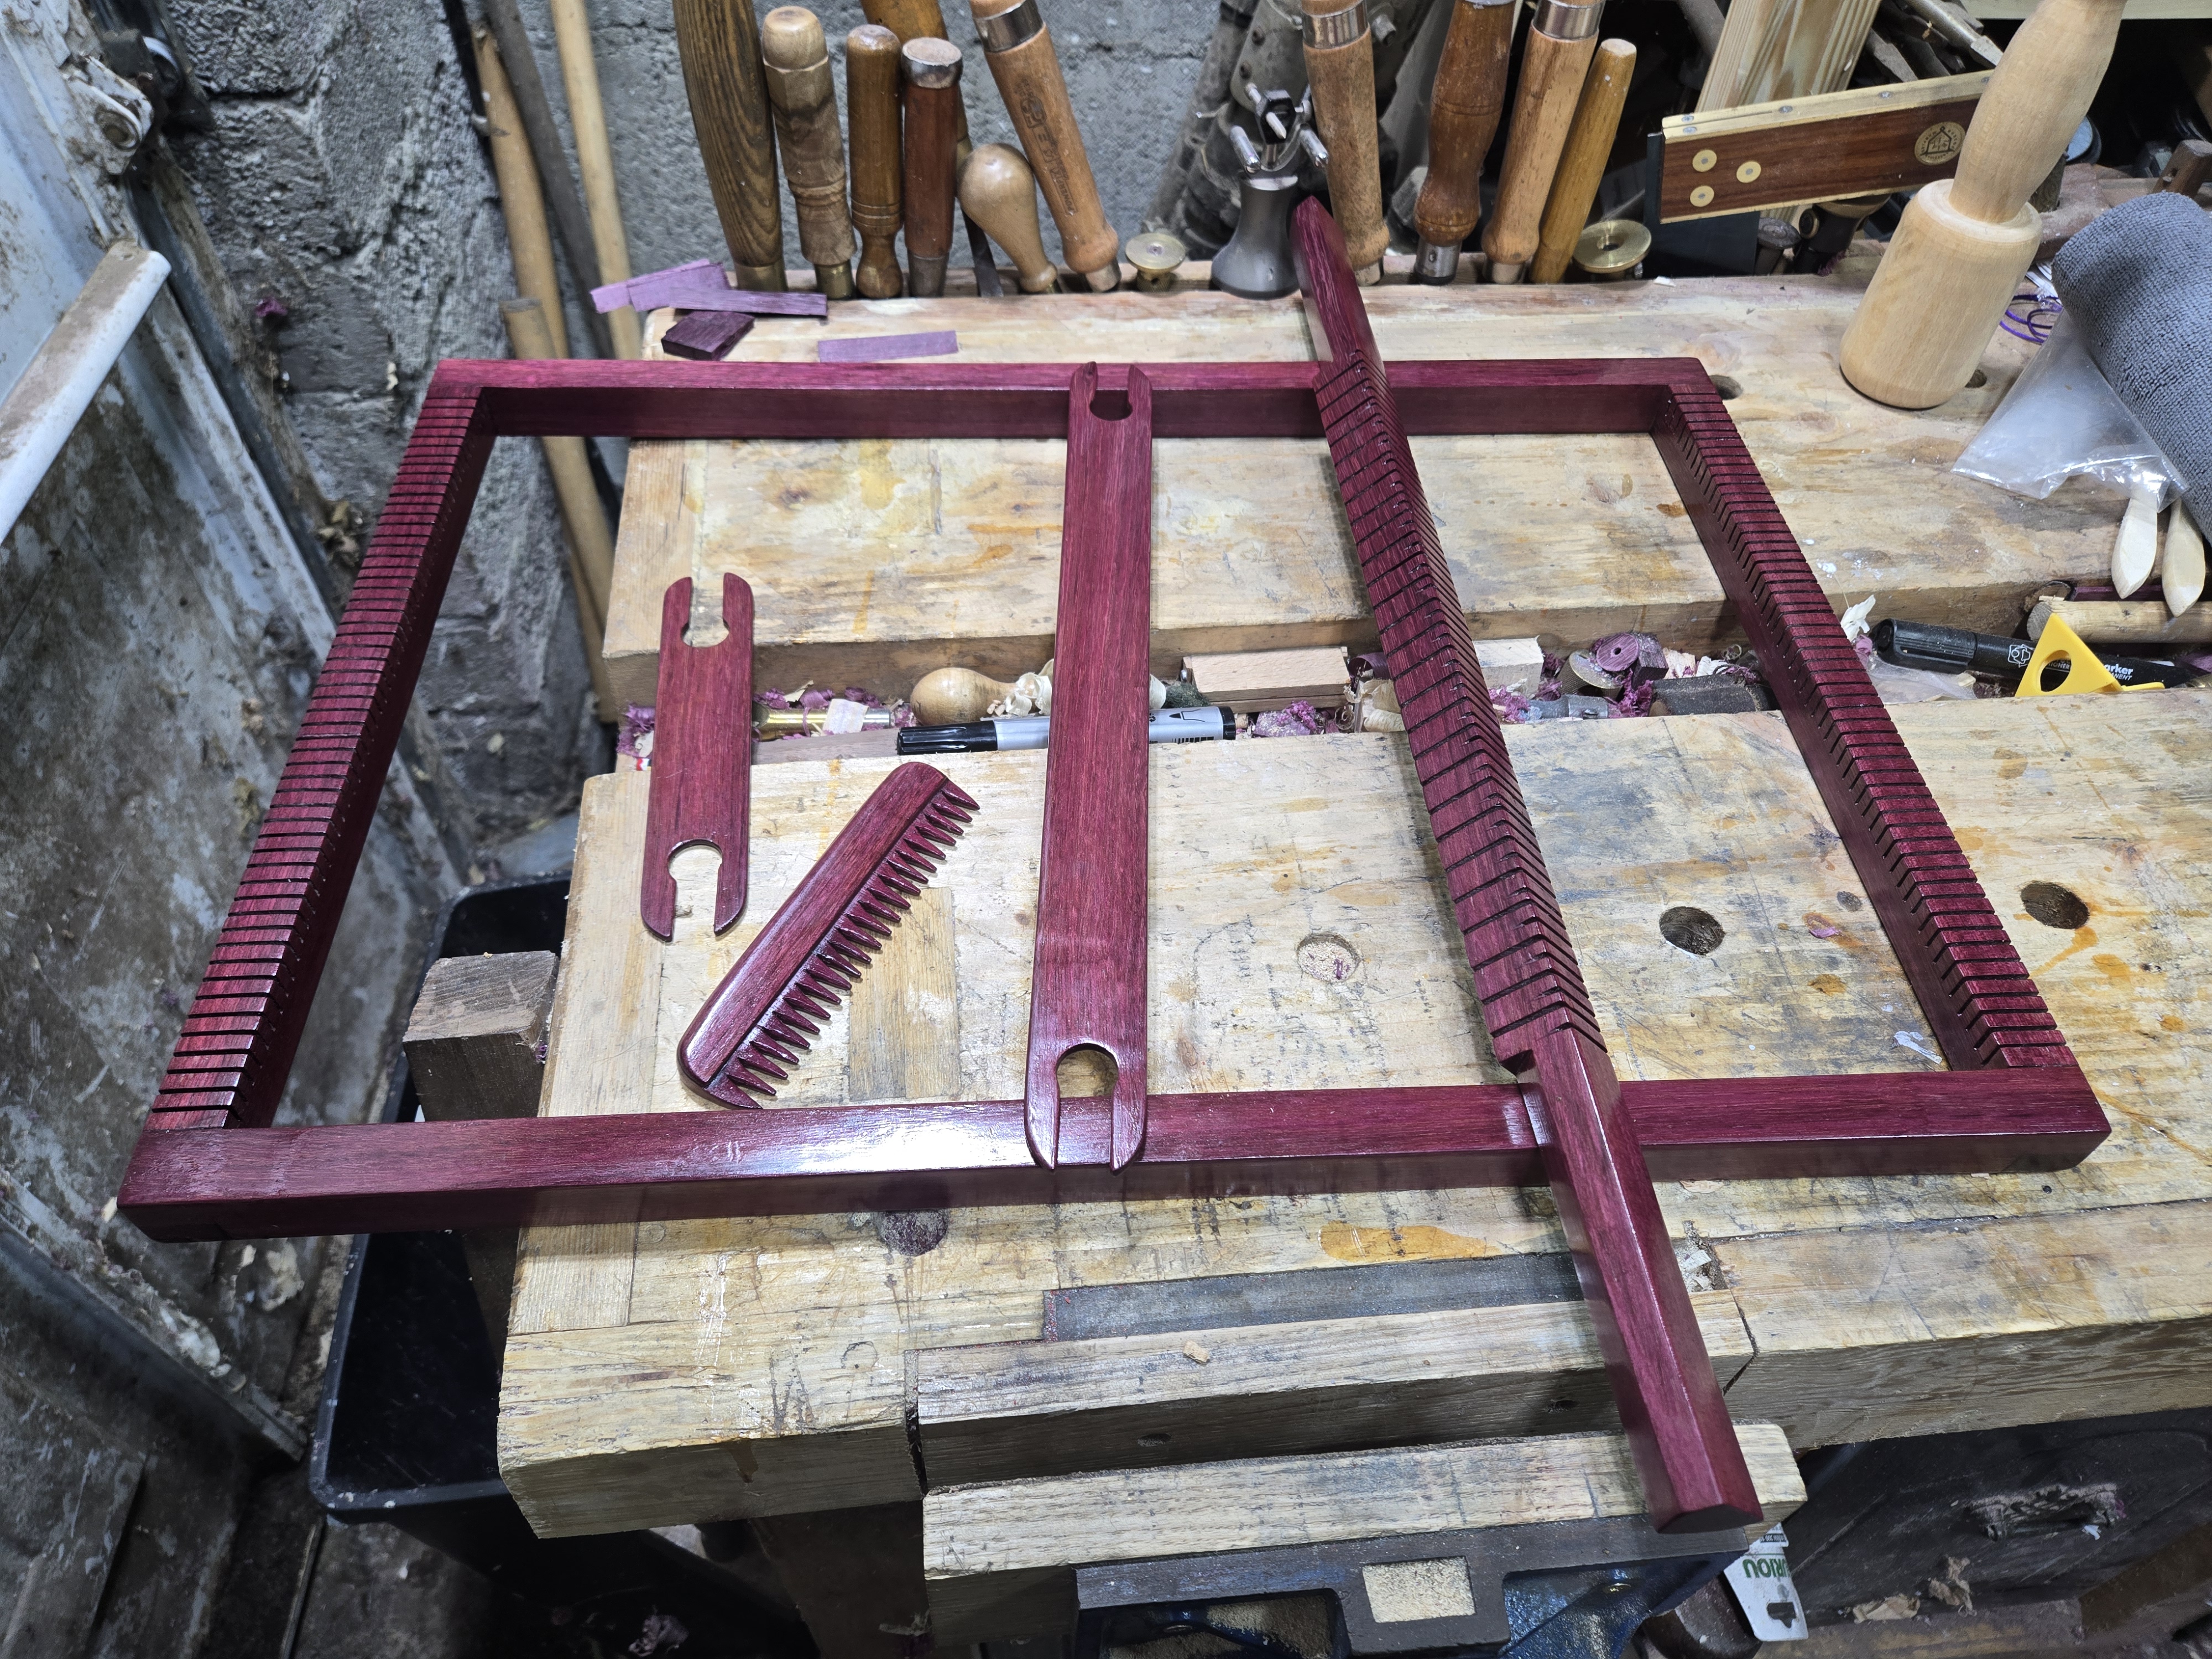
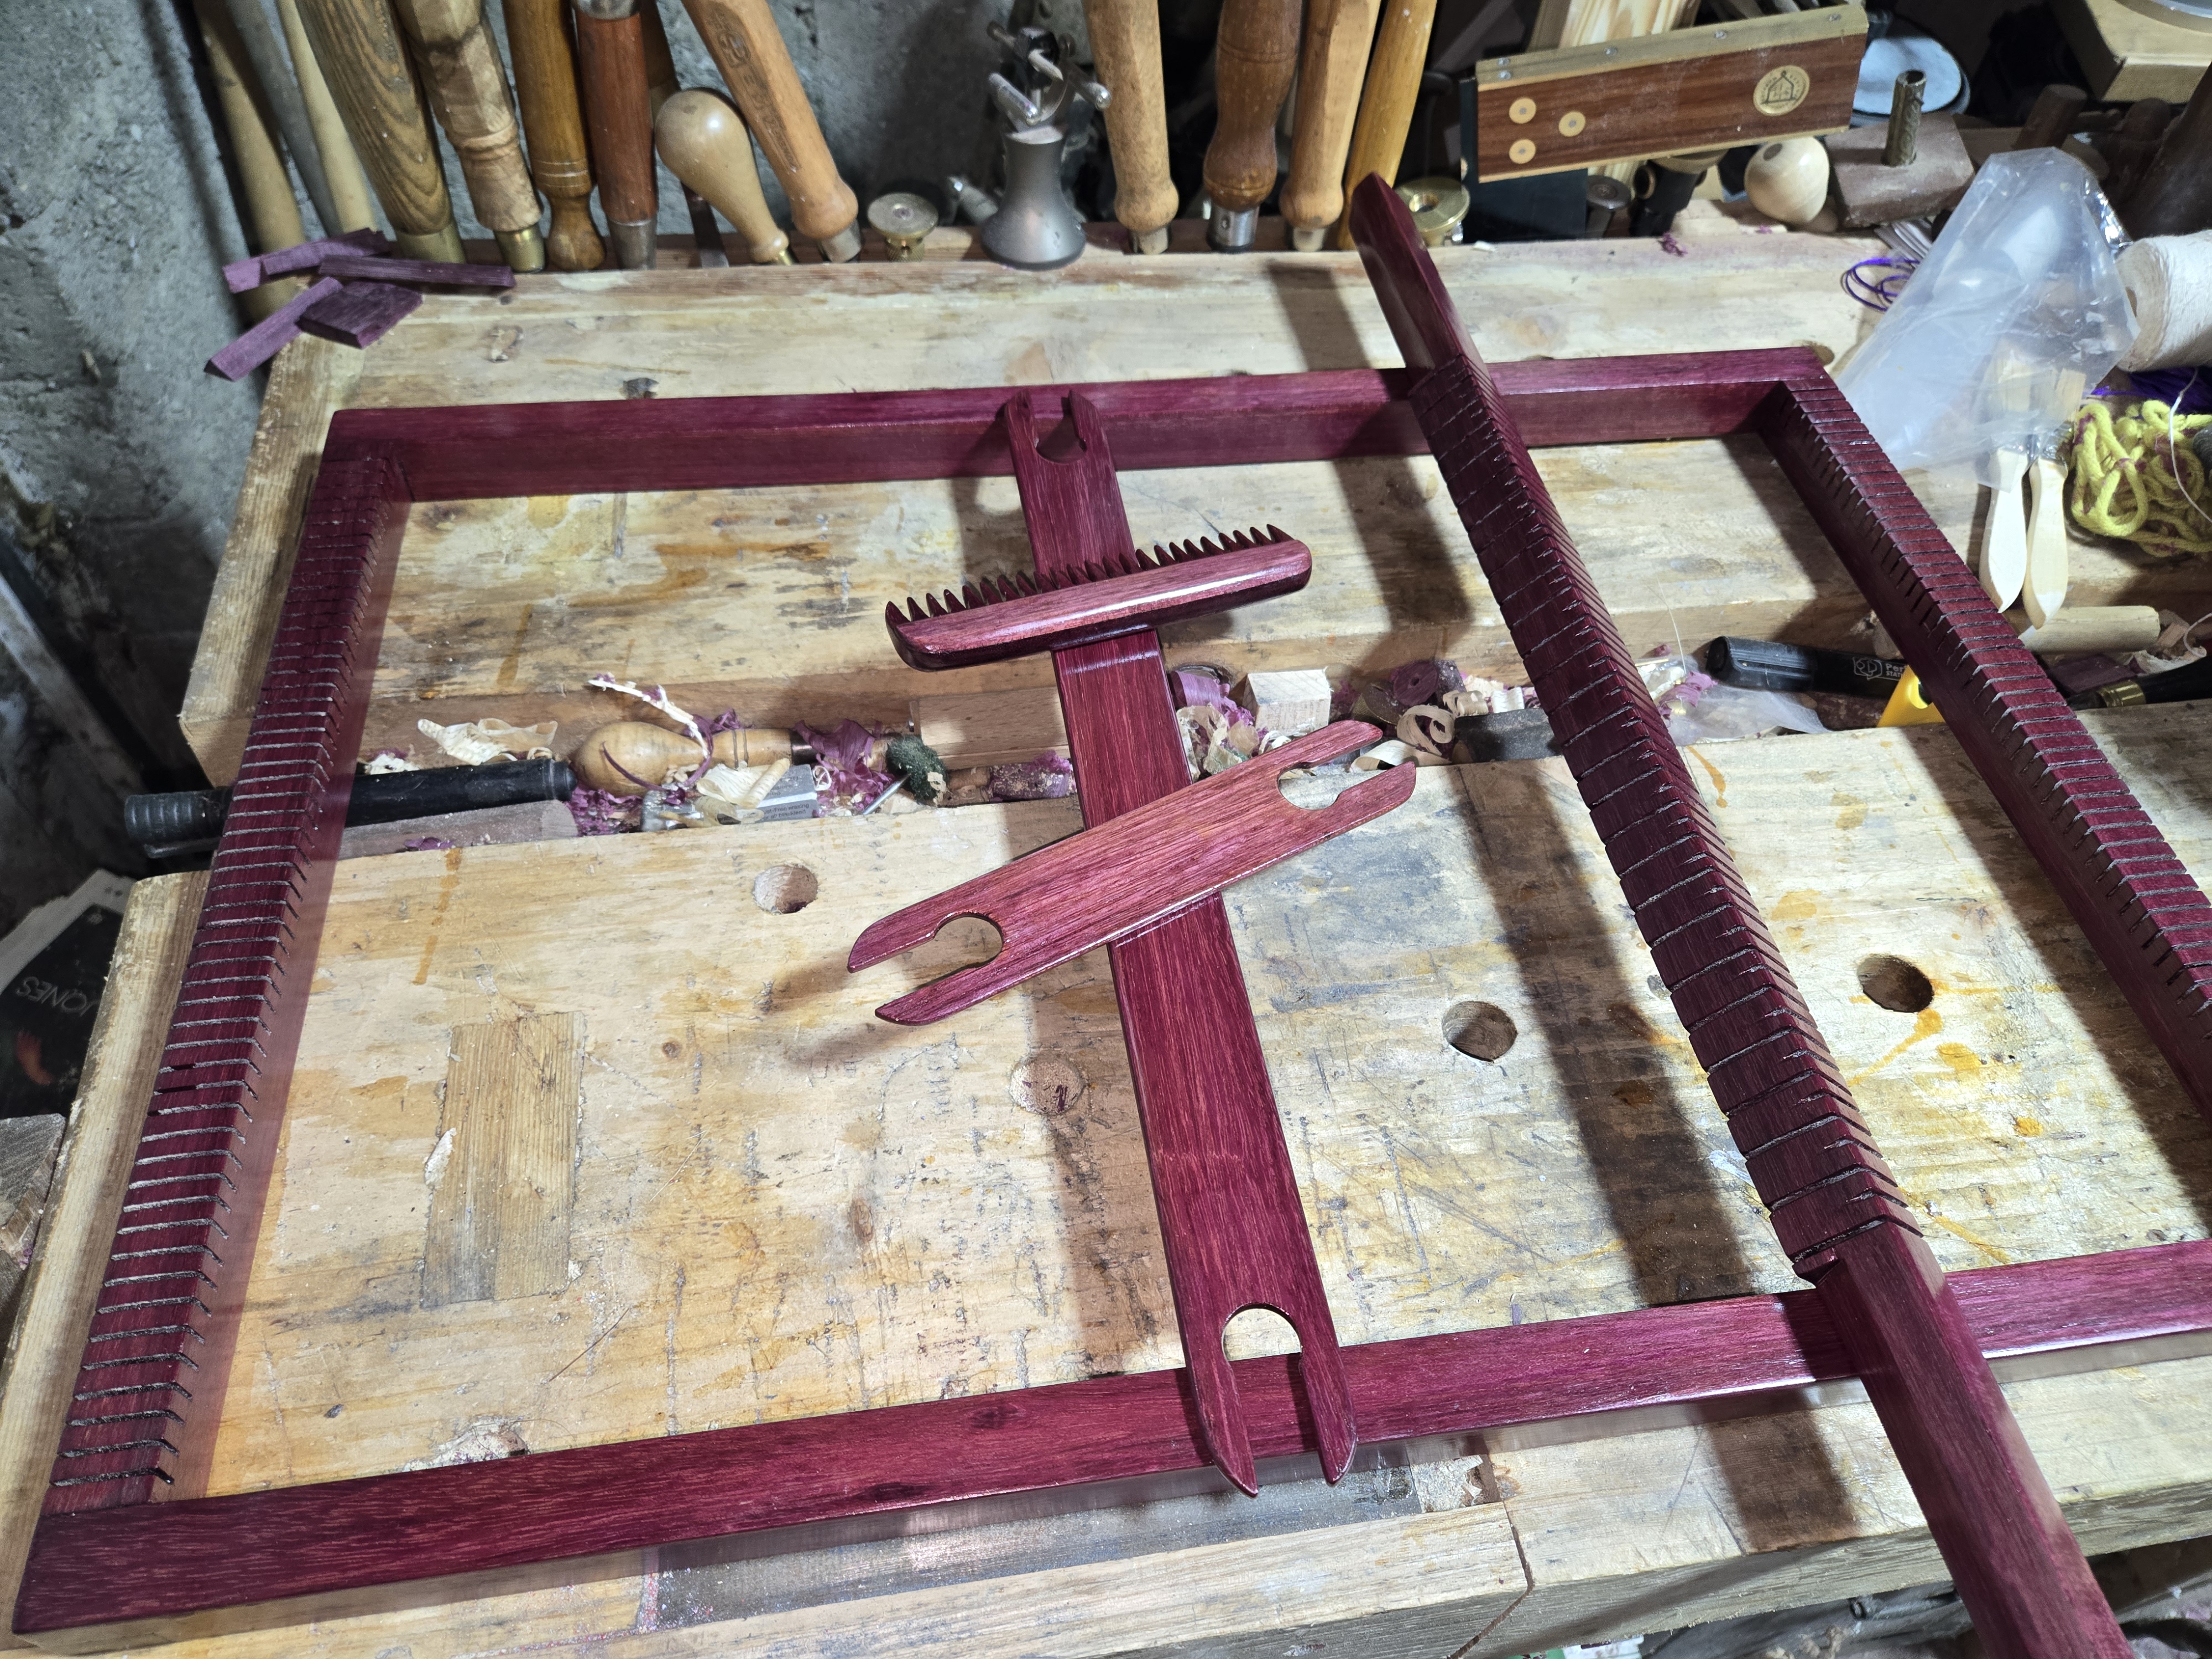
The completed loom with Shuttles, Heddlebar and comb. If you are not using the full width of the loom, the very long shuttle is just a pain, so I made a shorter one for when making scarves and the like.
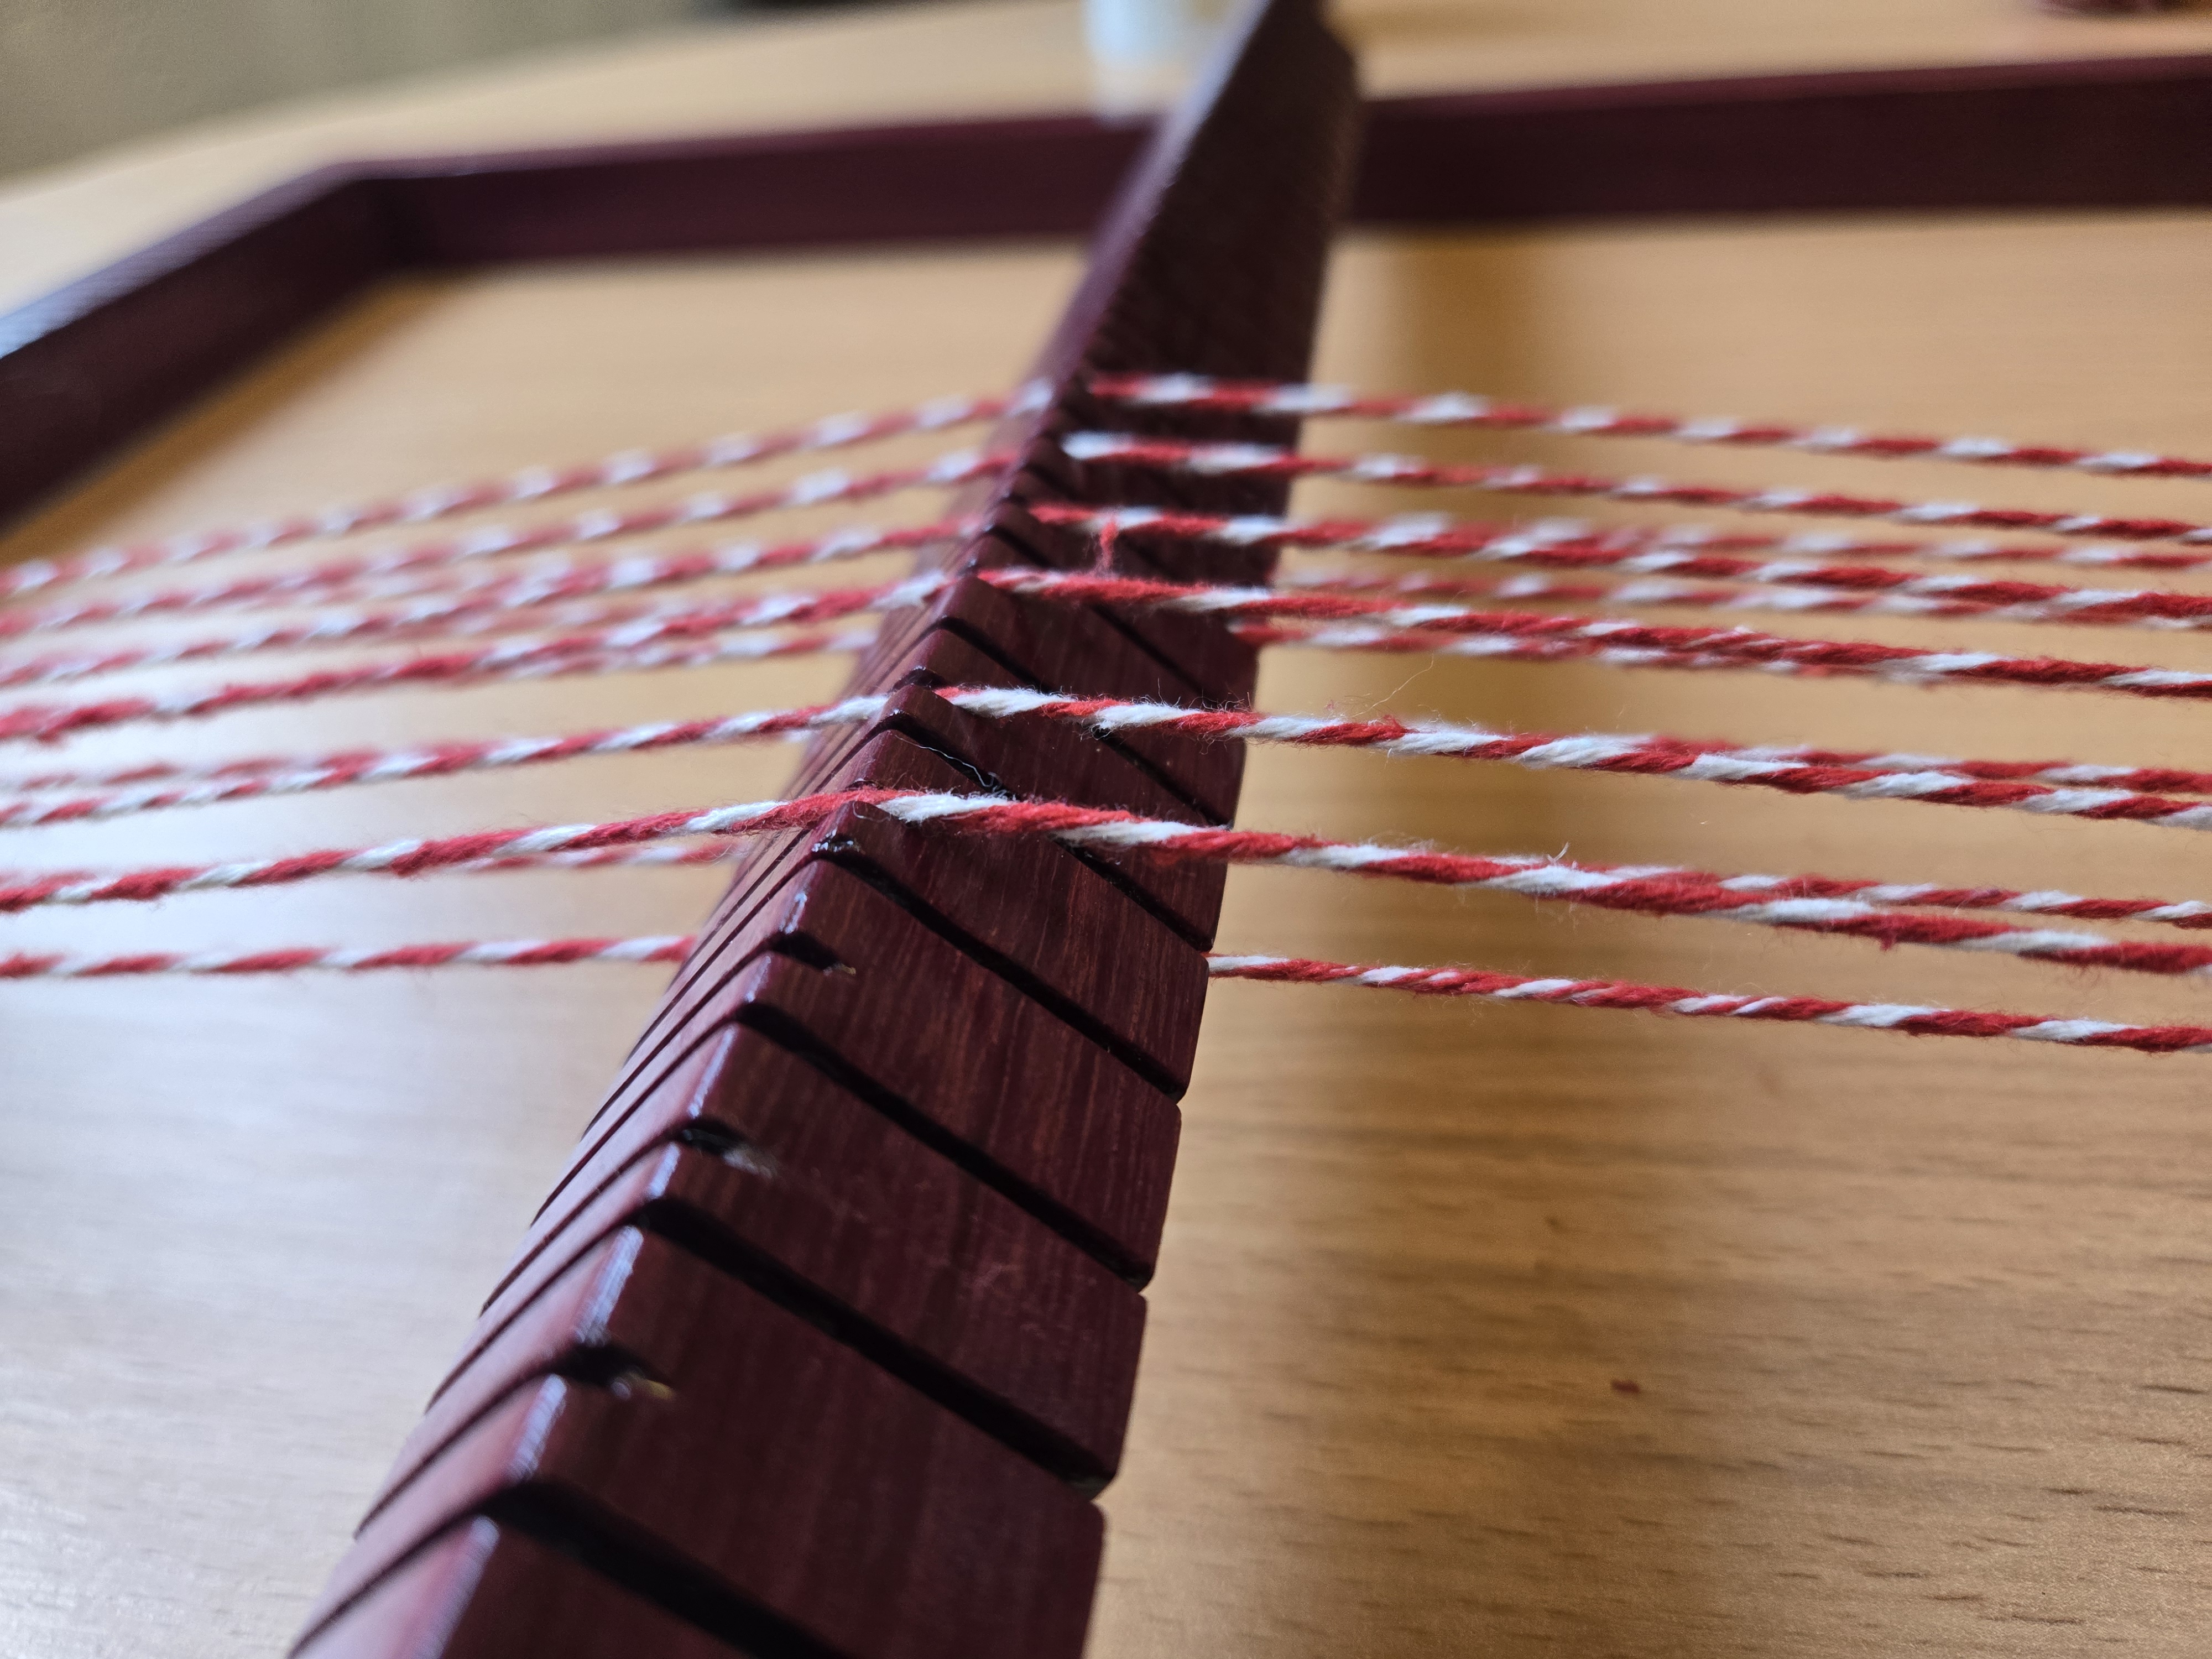
The bevel on the Heddle bar is not just a decoration. It helps keep track on what position you should move to next. If the bevel is visible as you face the loom, then the next turn of it should be towards you. If its not, the next turn should be away. Without this its easy to lose track, and if you turn it in the wrong direction, the warp thread will fall out and waste your time fixing it.
 If you look at the rear left of the bench, you can see a few scraps of unfinished Purpleheart, gives you a good idea of the colour change the oil brings.
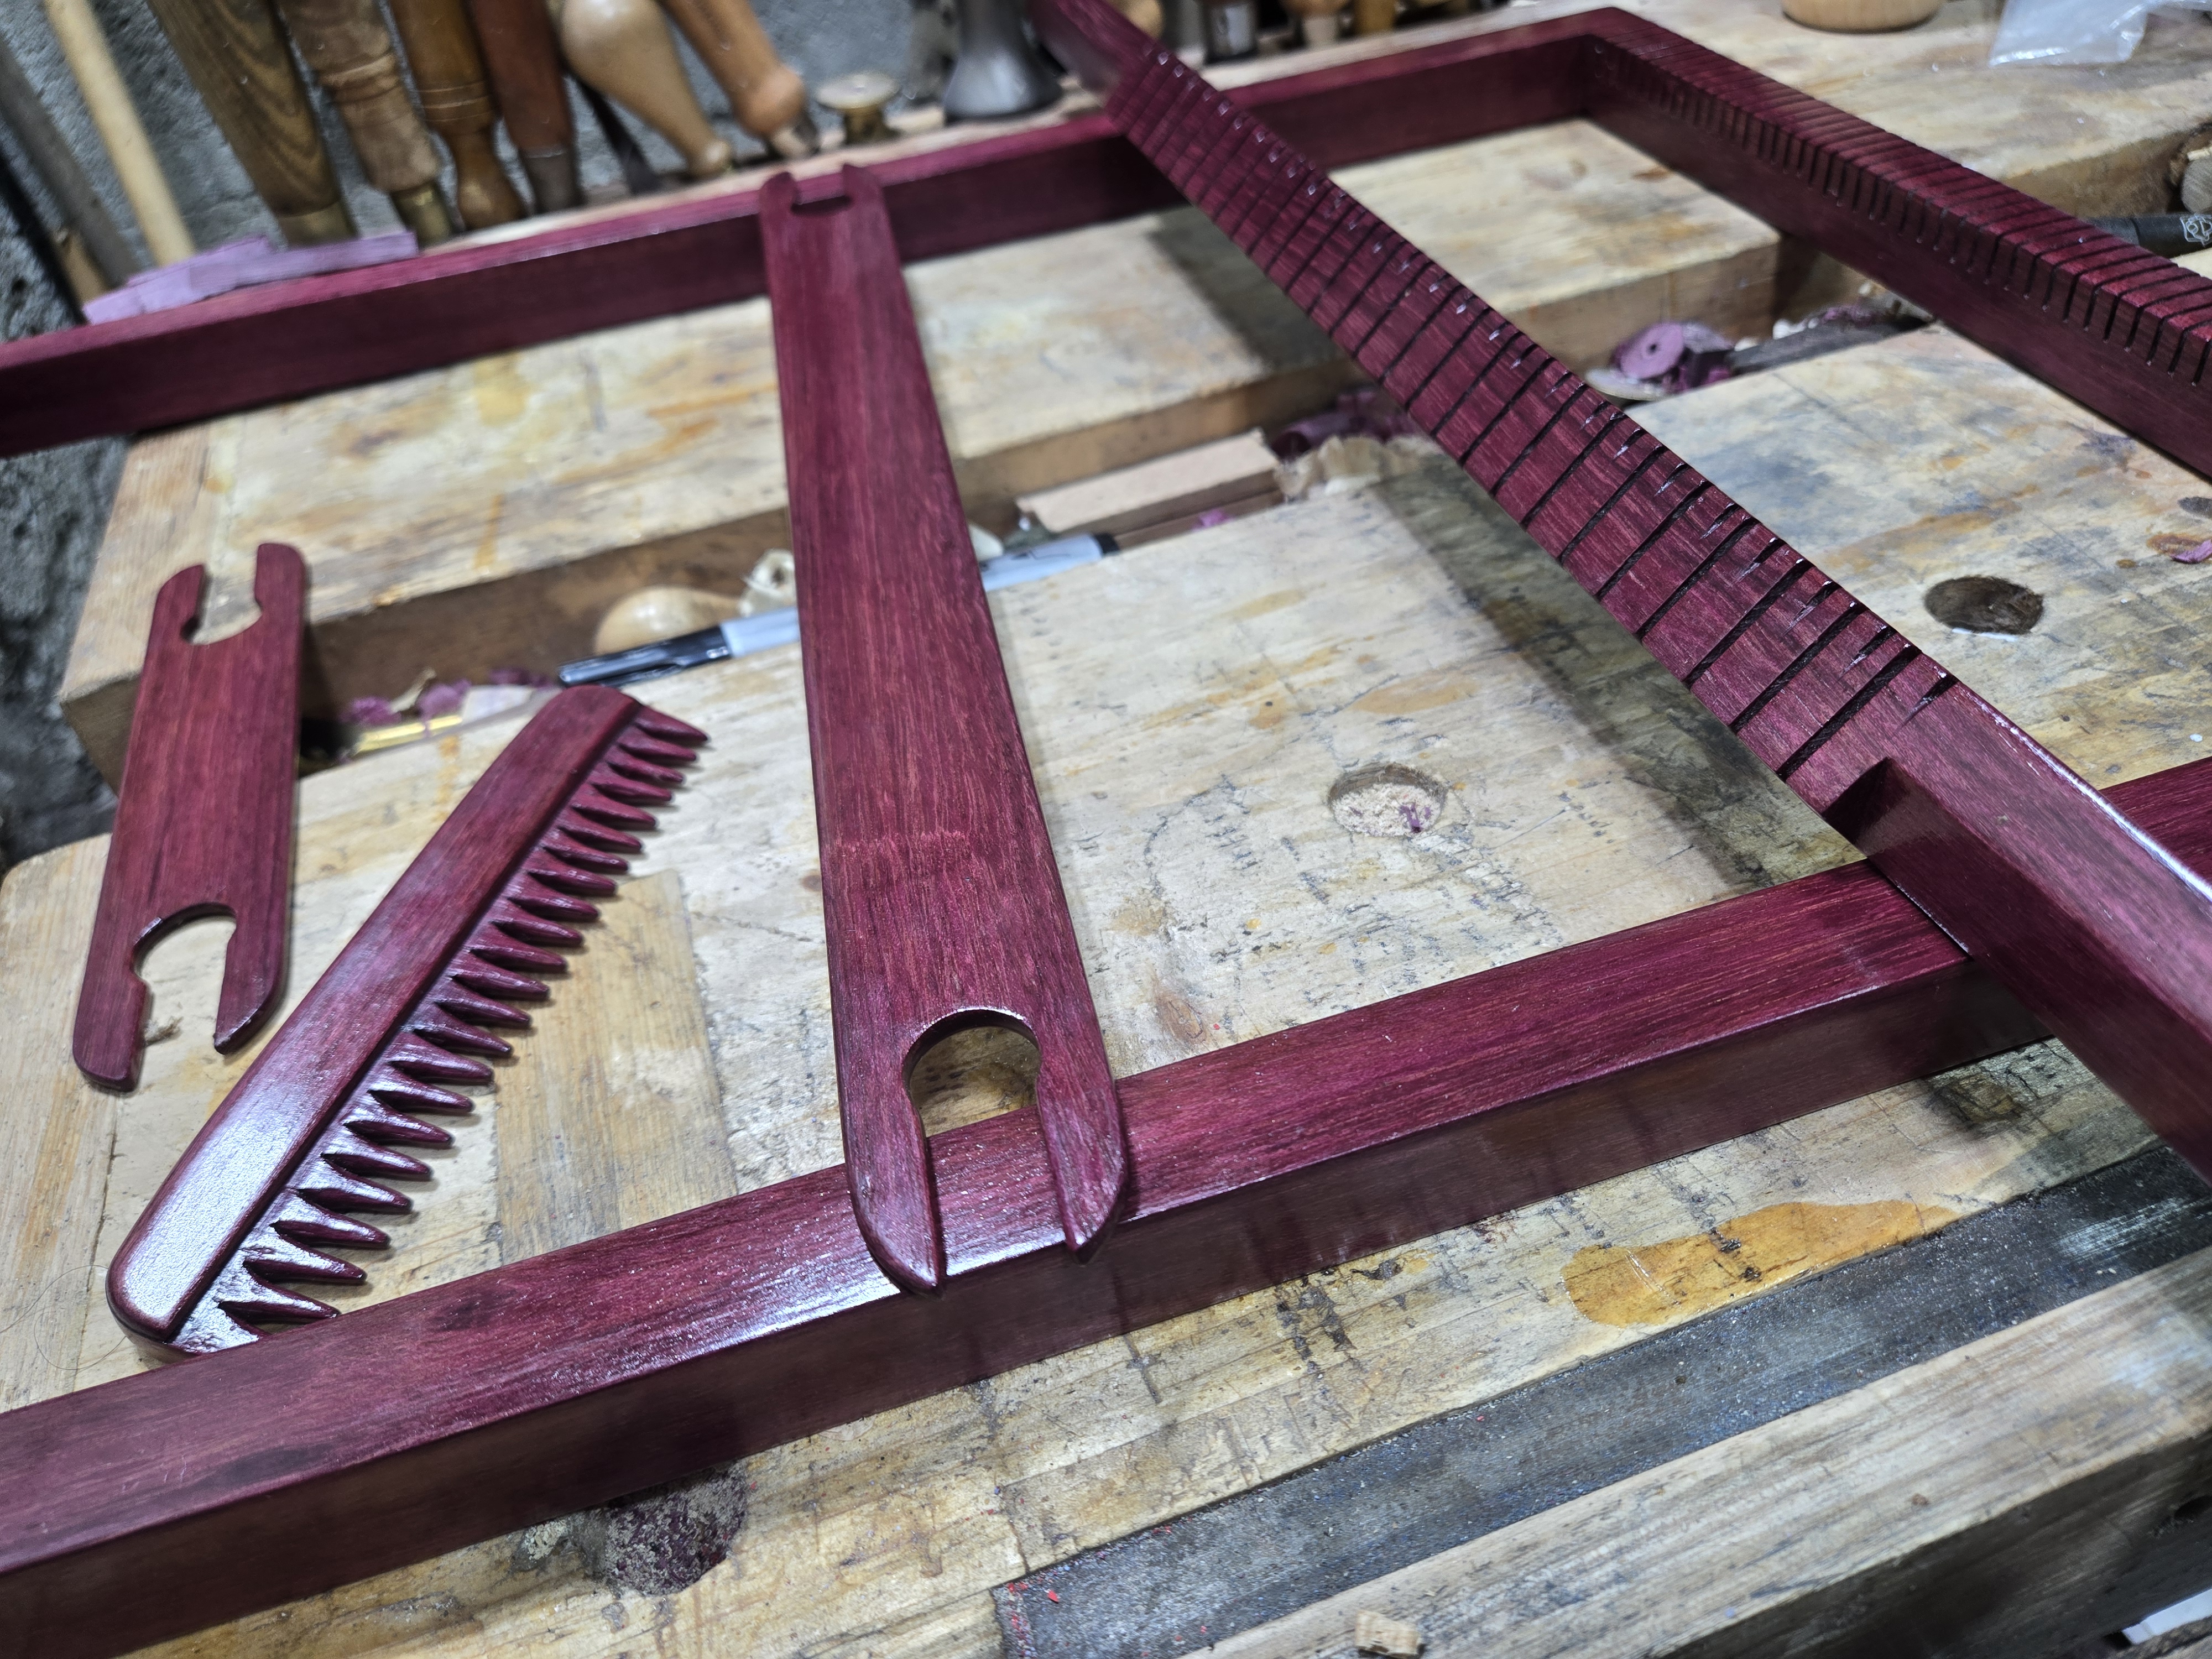
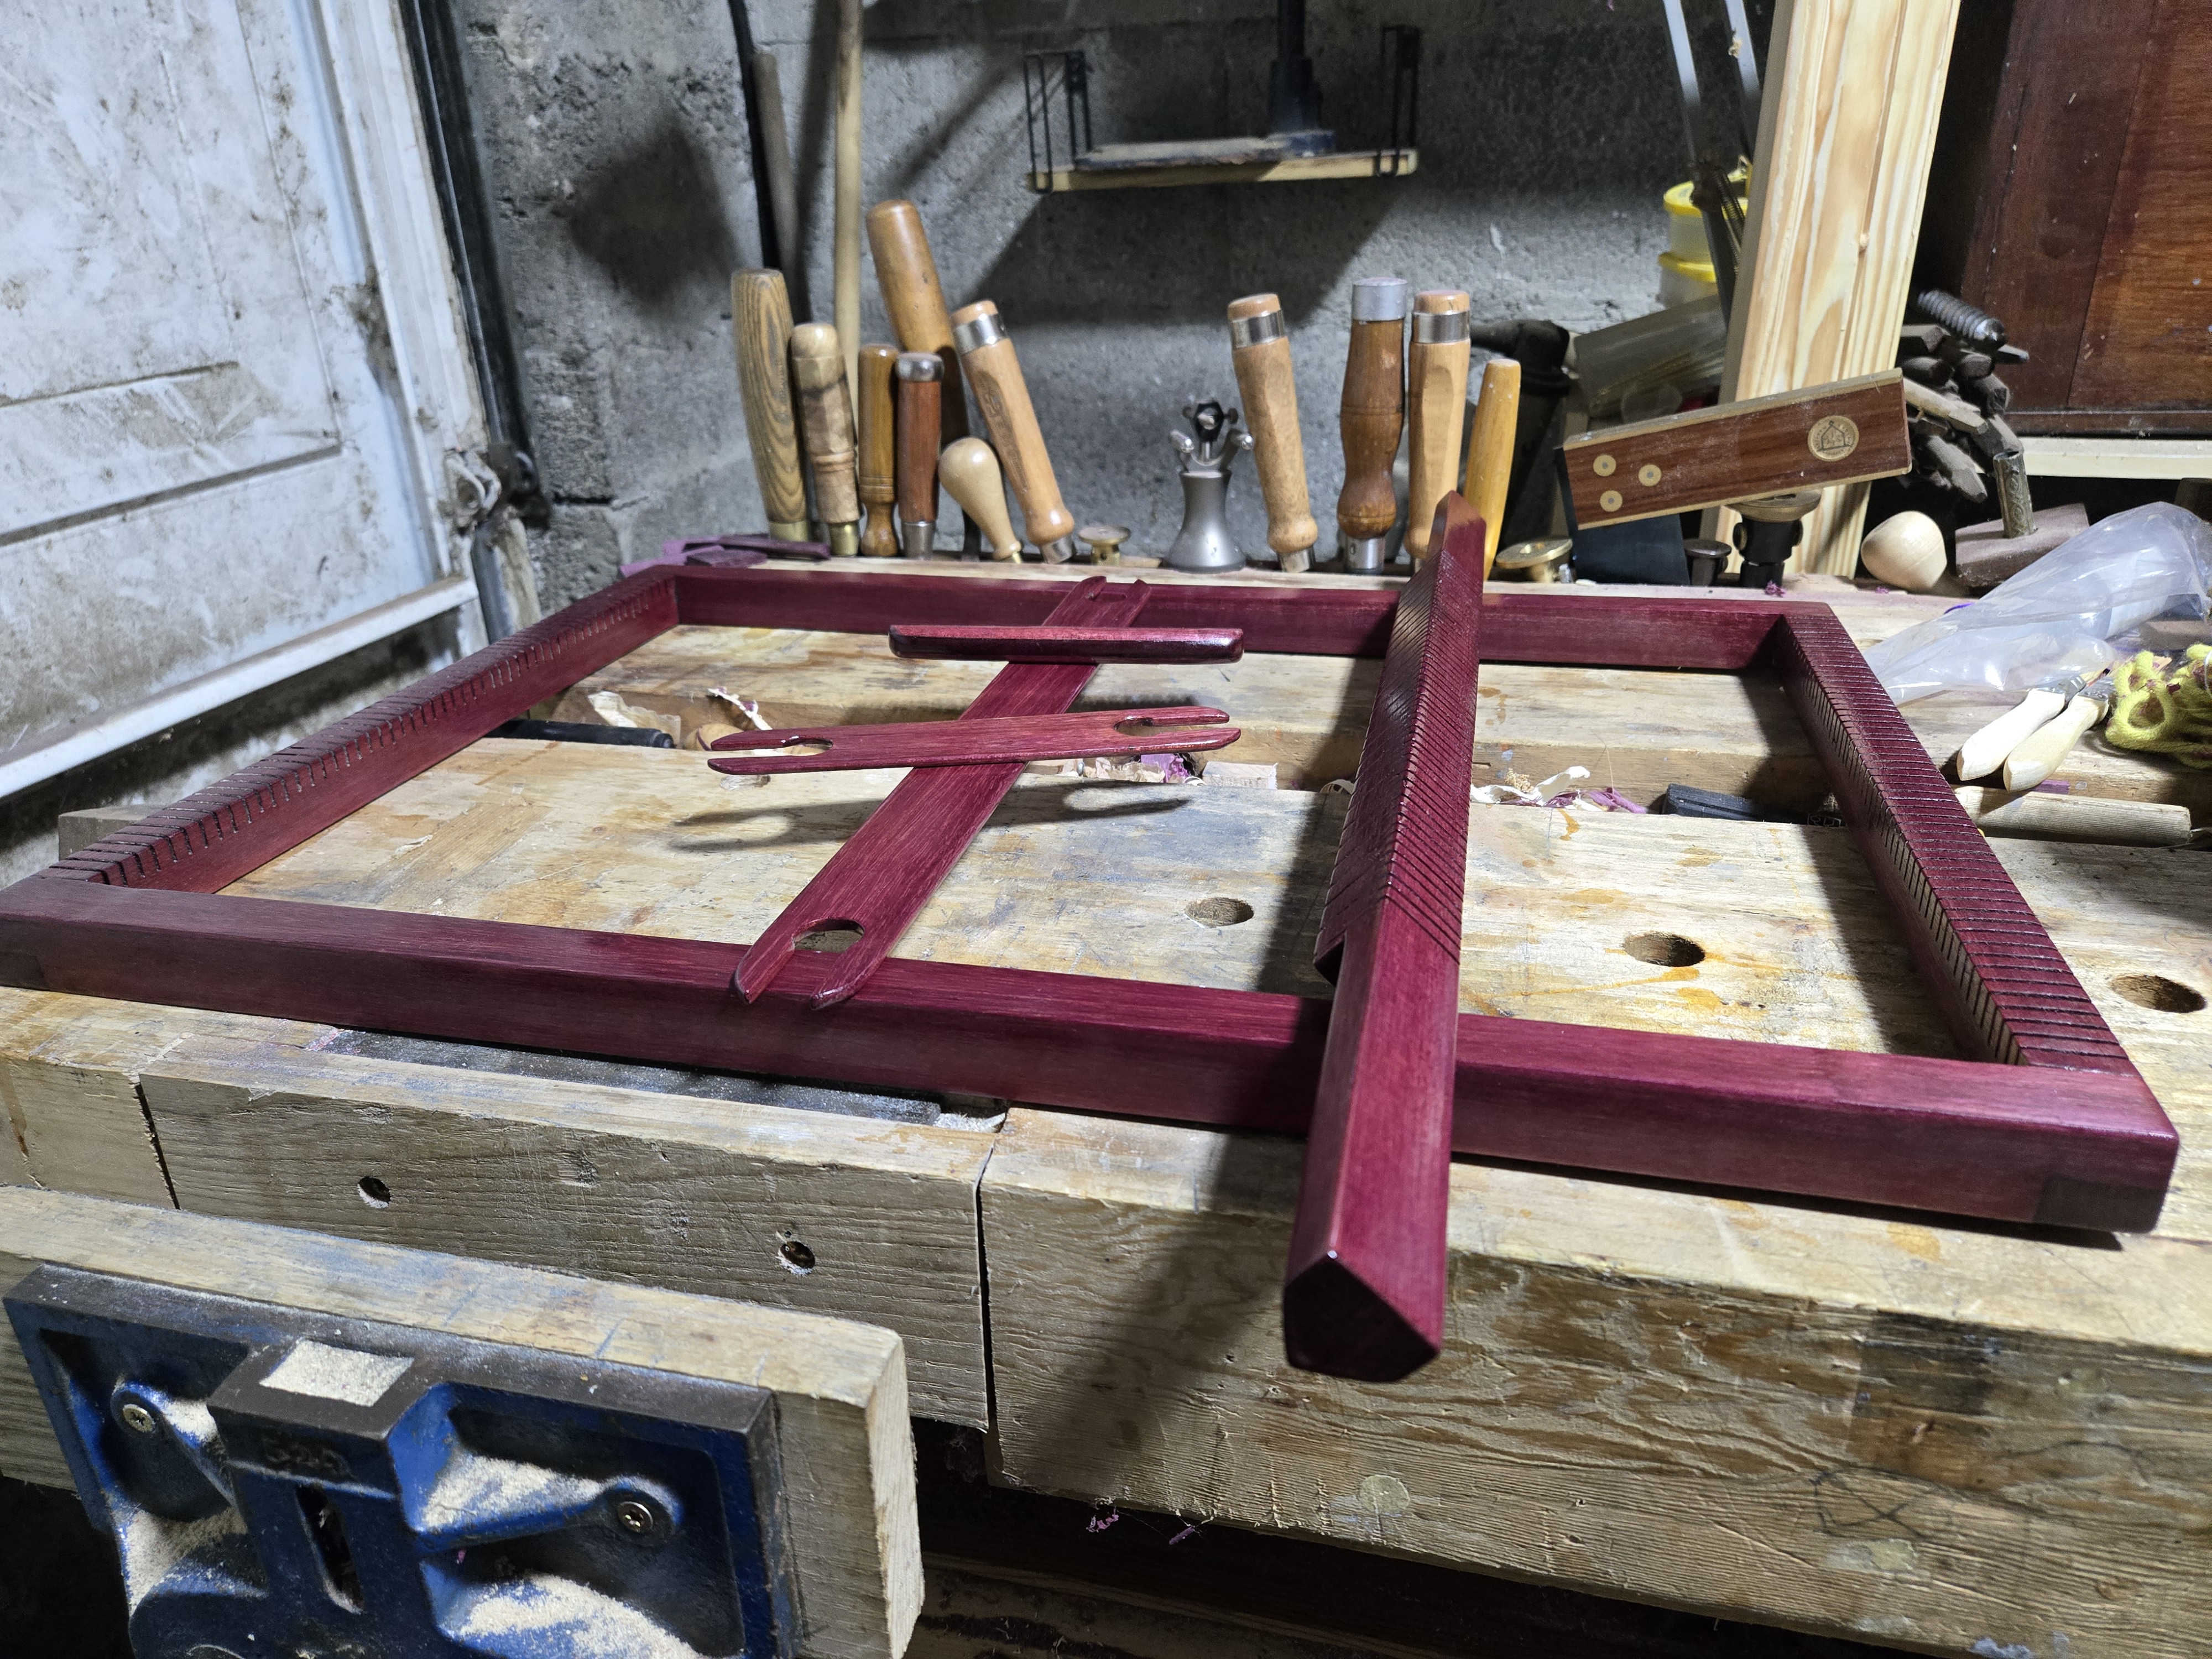
This shot gives a better idea of what I mean by “if the bevel is visible. It can clearly be seen when you are facing it.
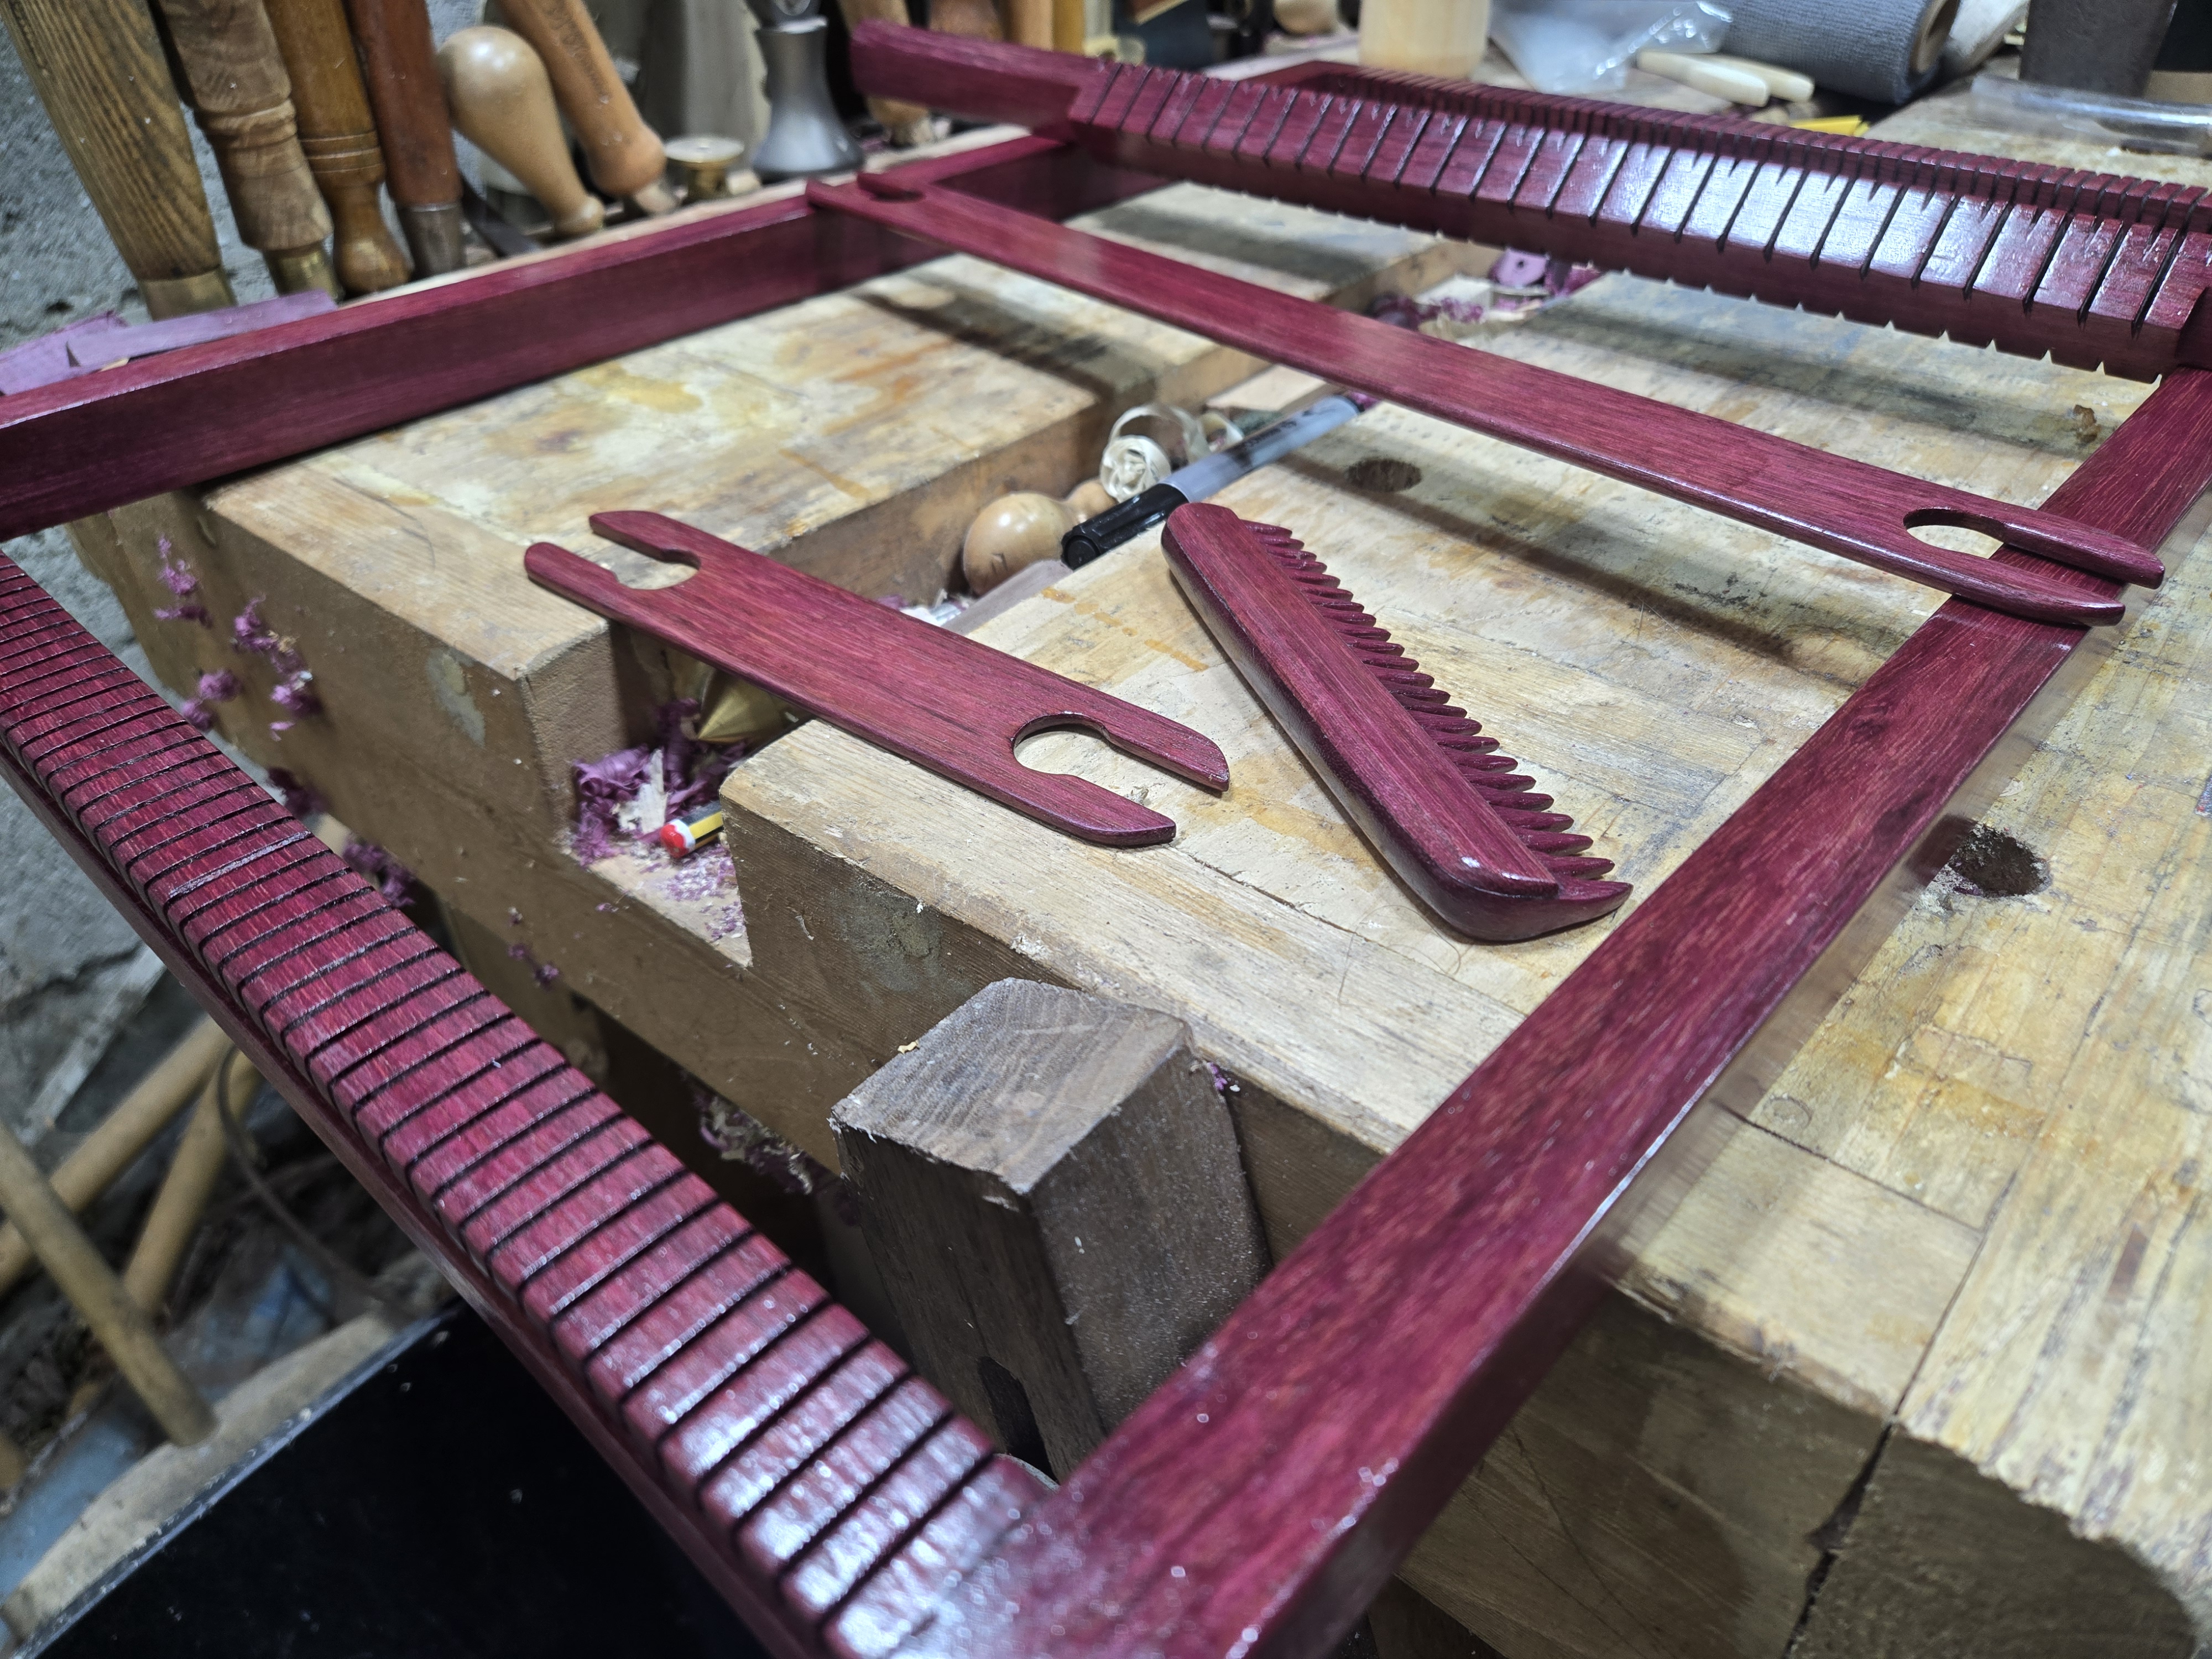
The laminated comb not only survived being created, but I think the contrast between the end grain and long grain makes it a lot more attractive.
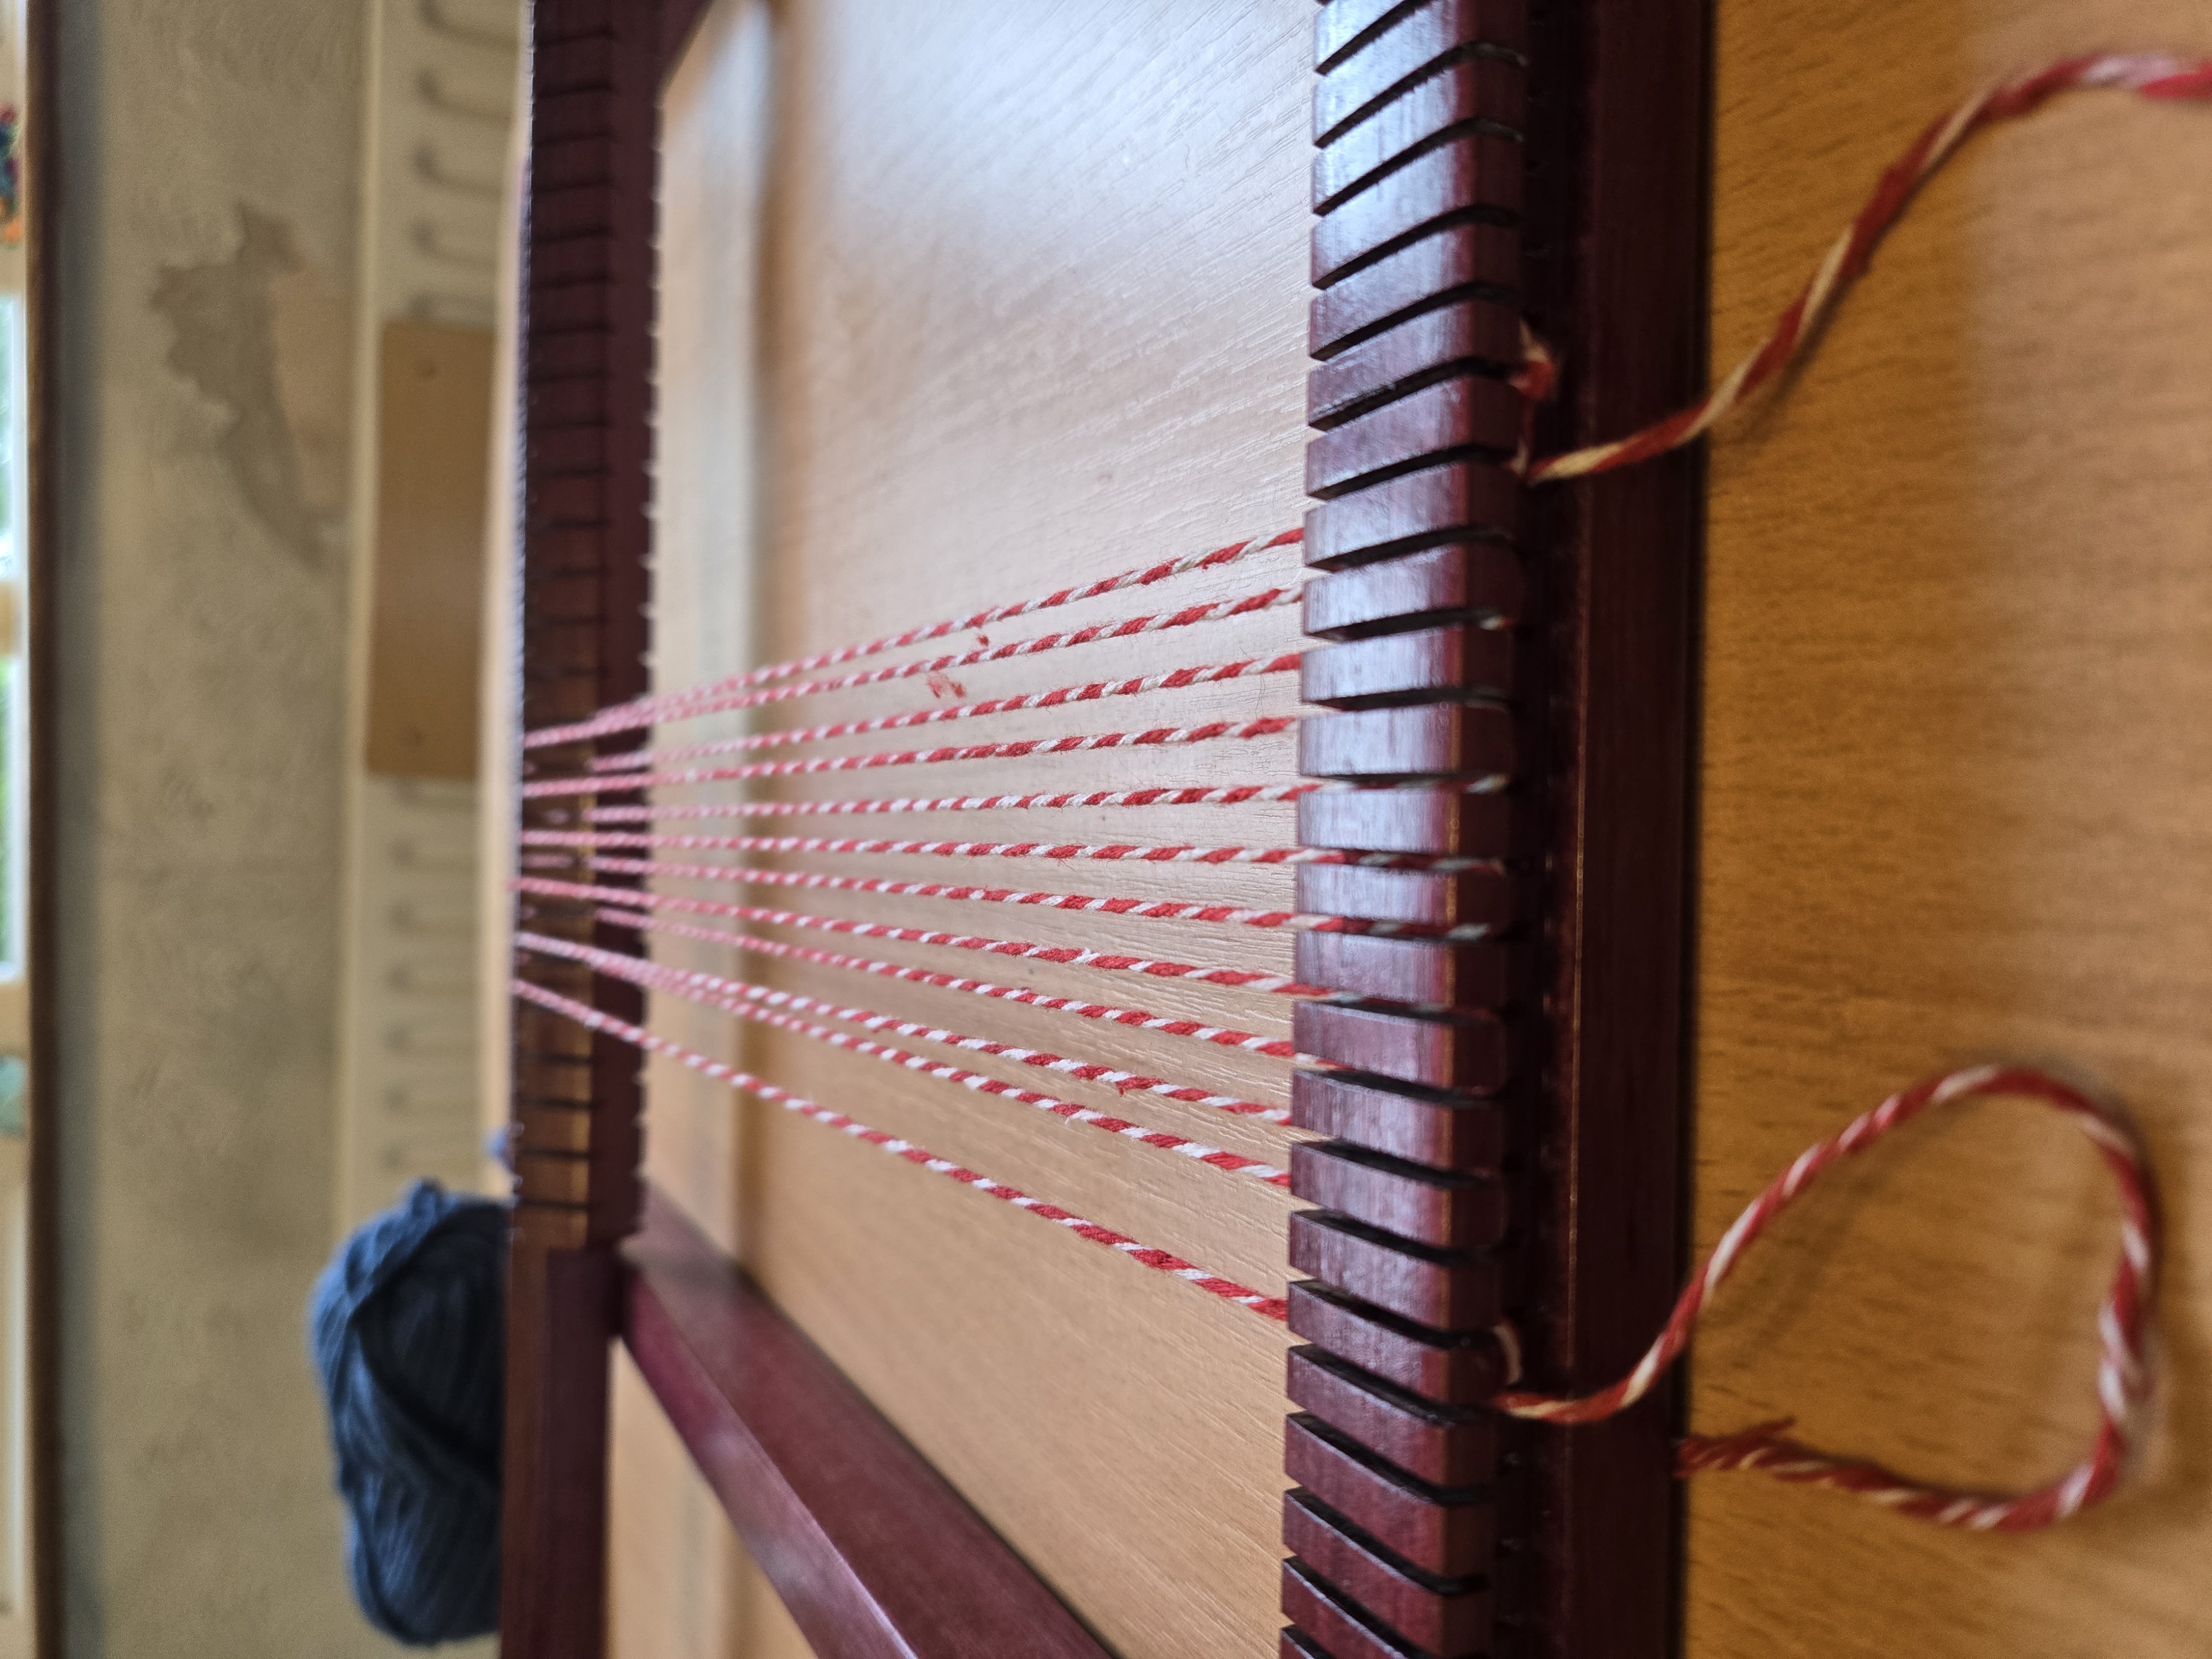
To start using the loom, run the thin wrap thread up and down between the teeth of the frame. Tie it off at the start and the finish. You want the string to be quite taut. If its loose the heddle bar wont work as well. Its easiest to put the string on with the heddle bar in place. The grooves help prevent the warp thread from slipping off. There are other ways string the warp thread and weave than I am describing here, but this is the simplest.
Count down the teeth/grooves on either end to make sure everything is straight, and do the same when you first line it up on the heddle bar. Here you can see the gap created that the shuttle will pass through.
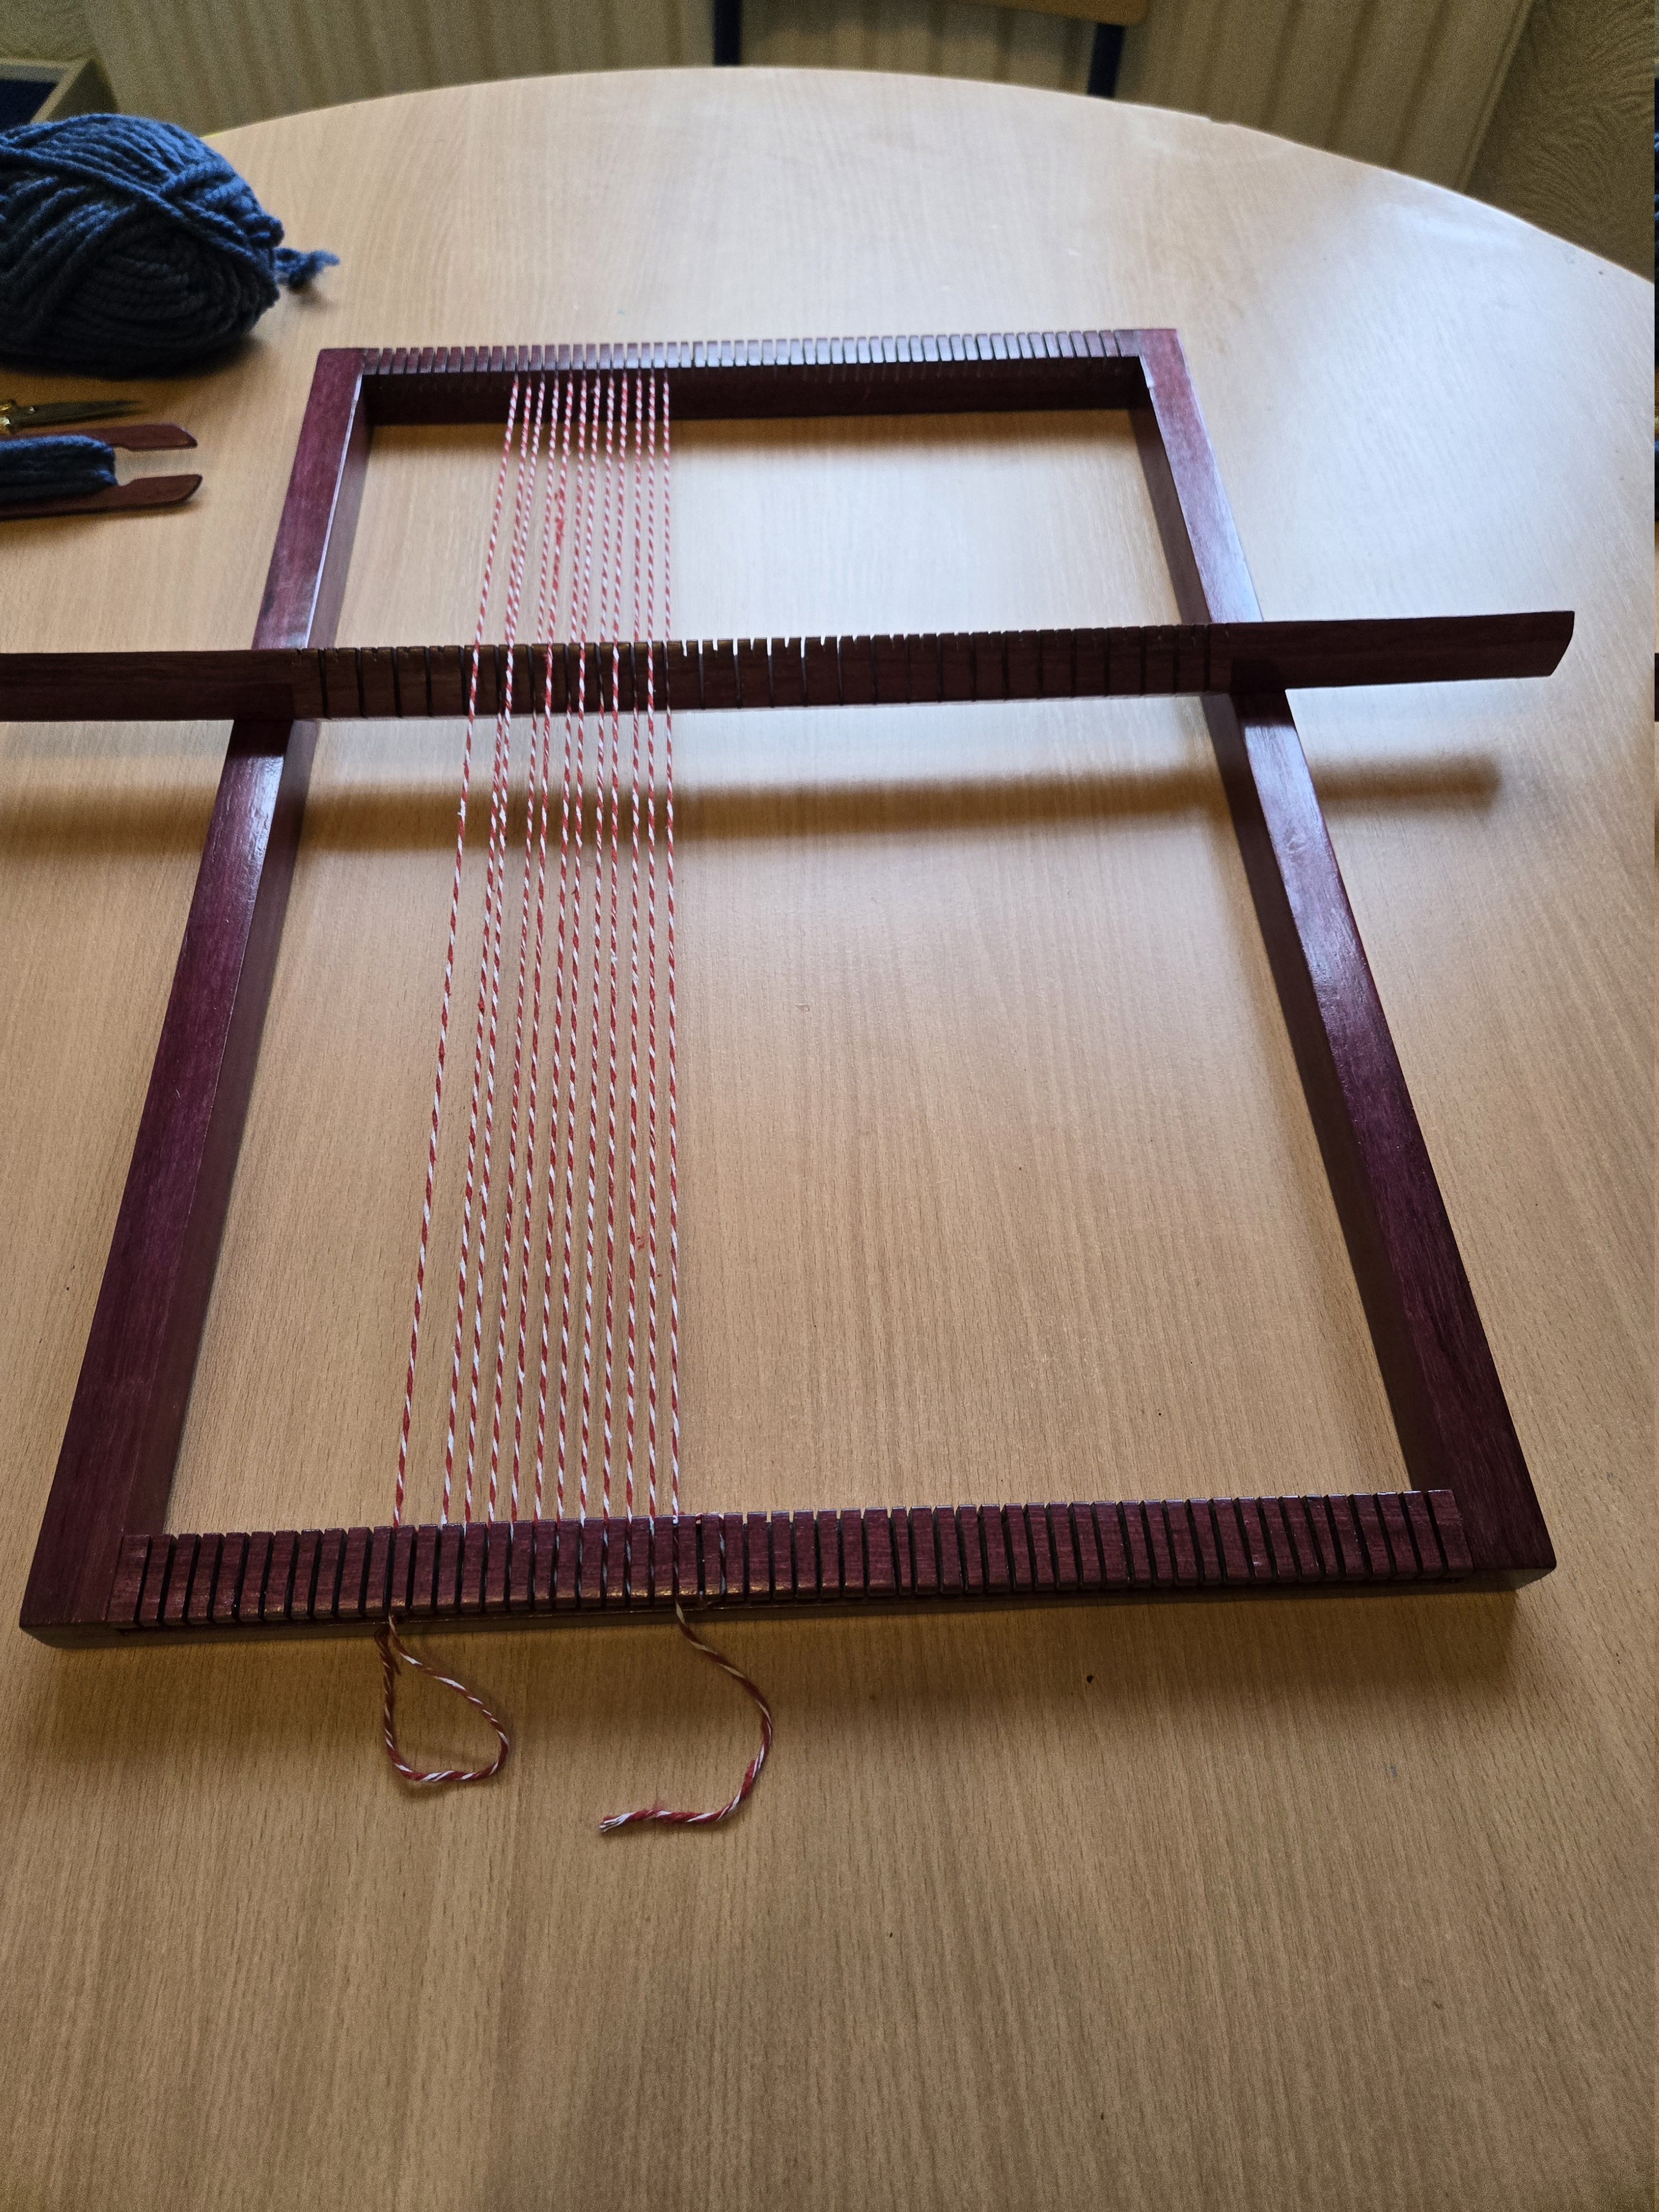
Ready to start weaving.
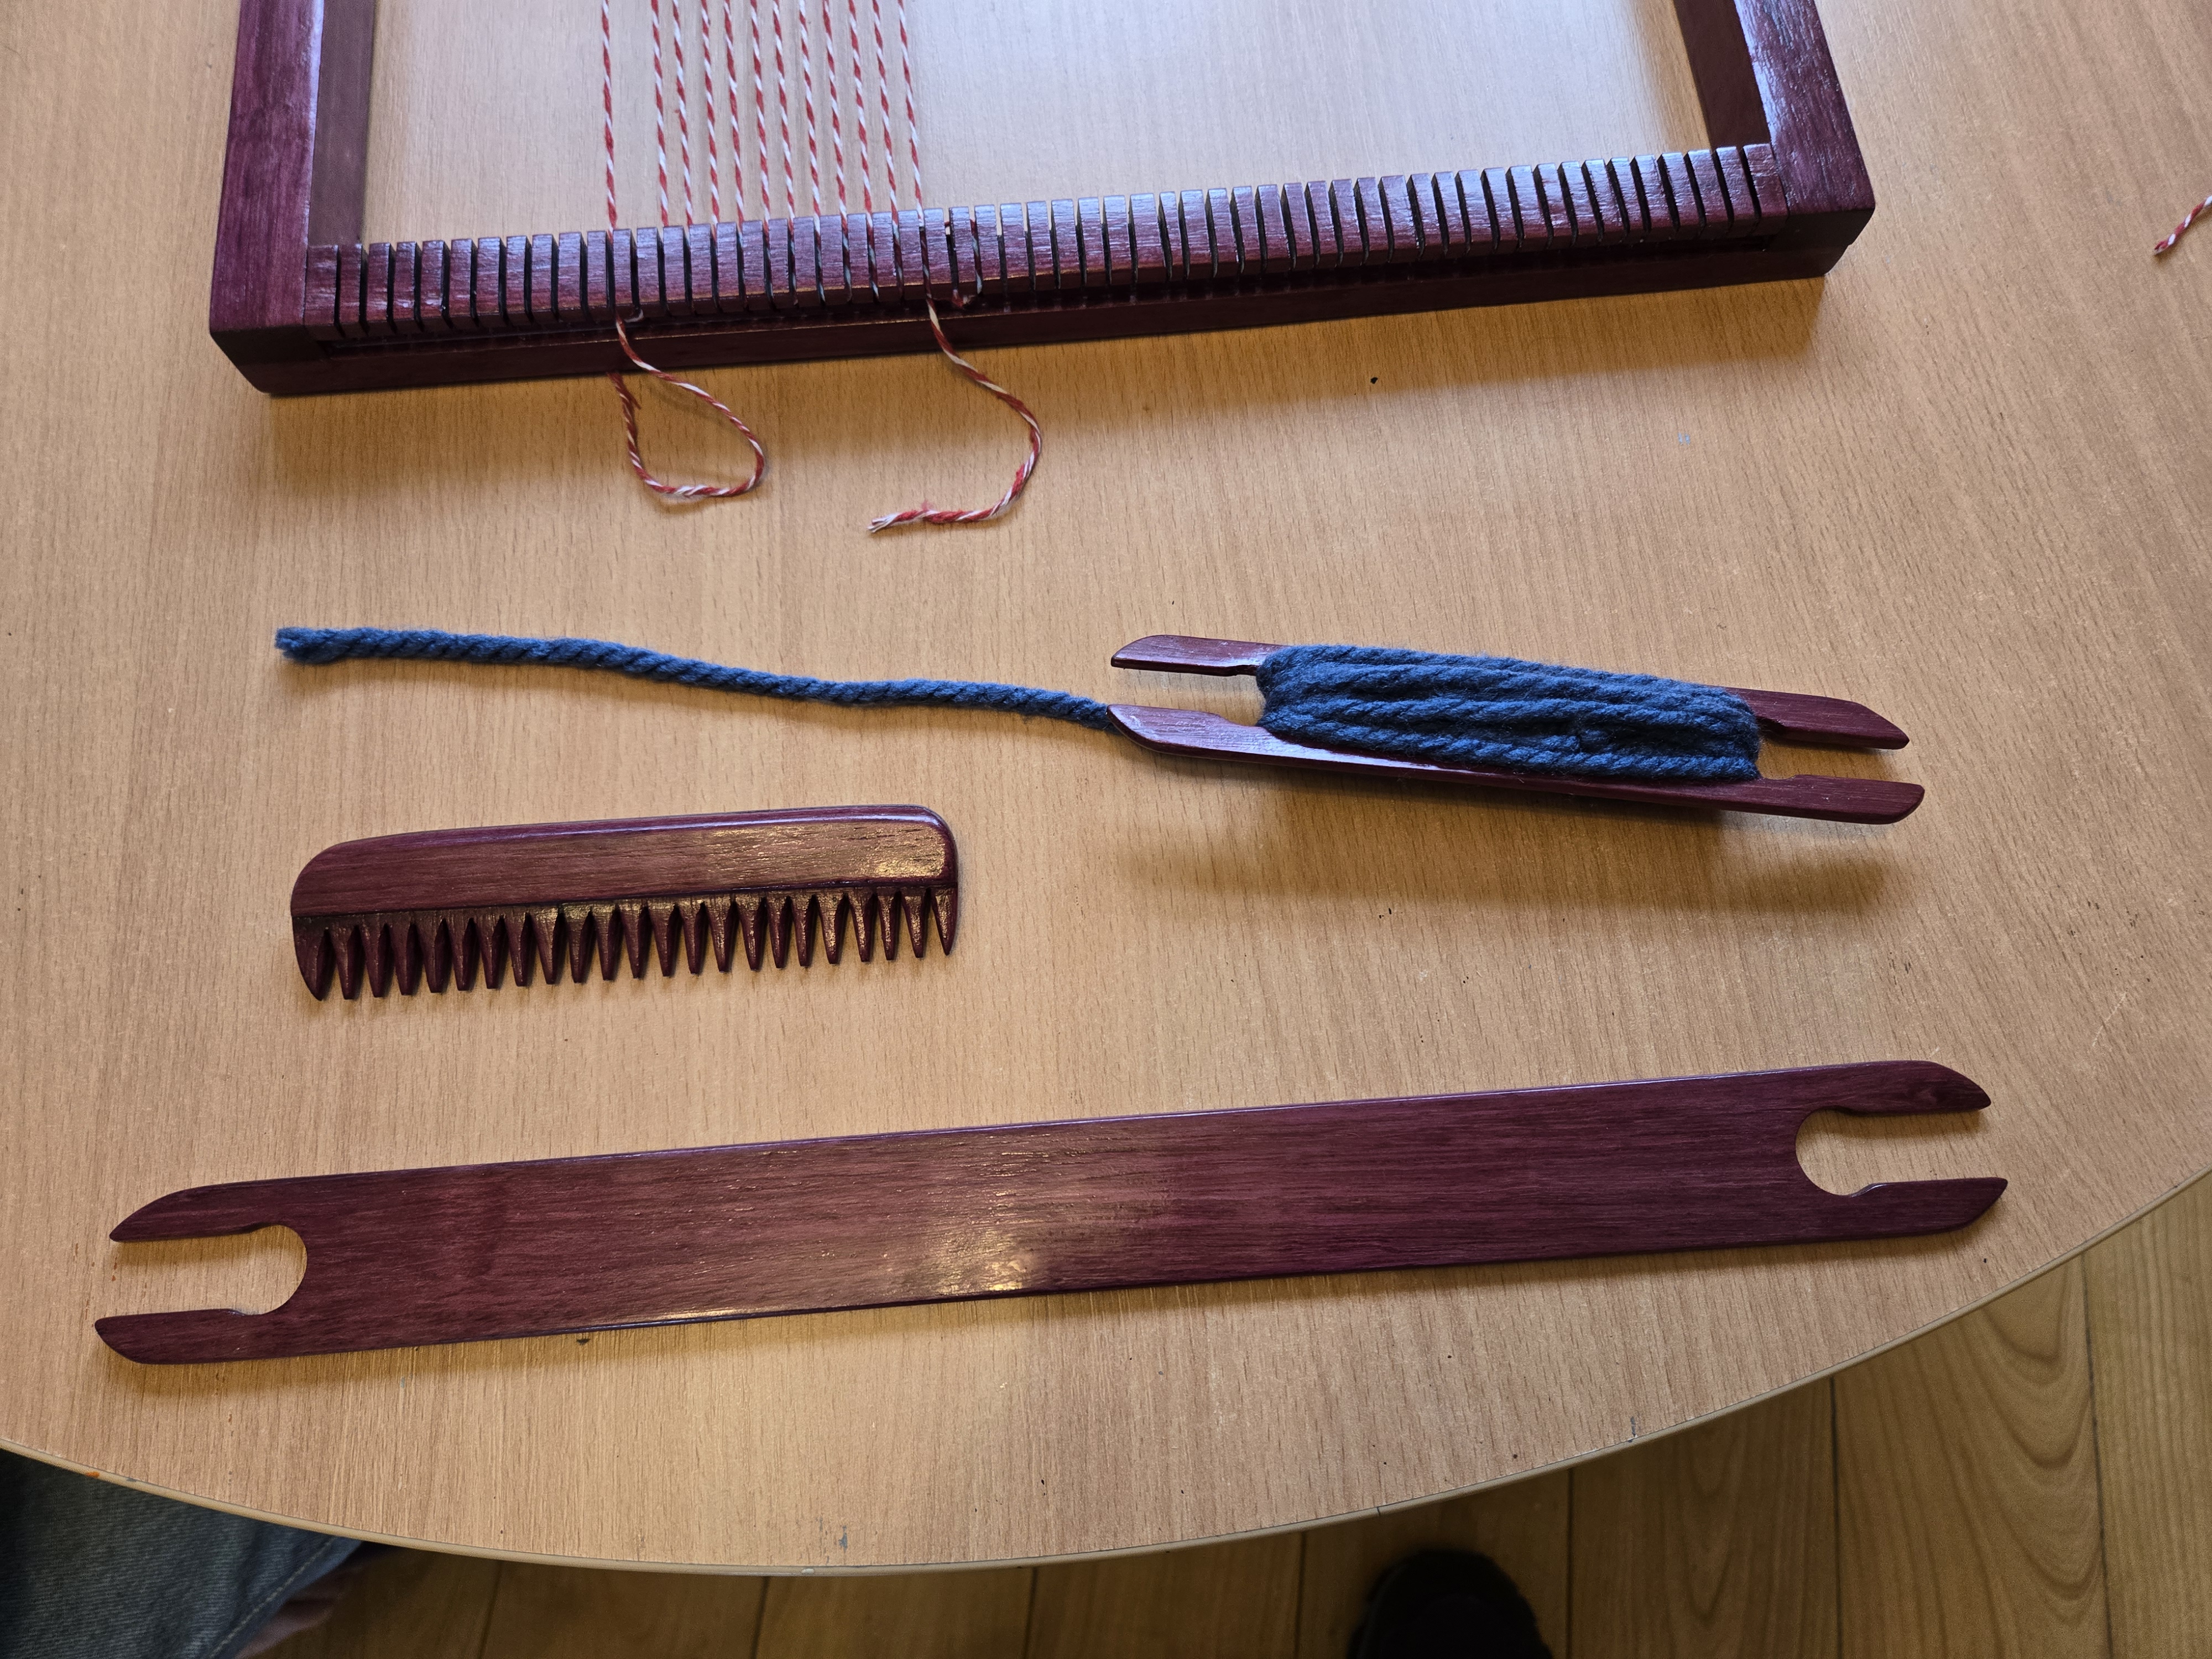
You just wrap your yarn around and around the shuttle until you are ready to start. There is a lot more yarn on there than it looks like.
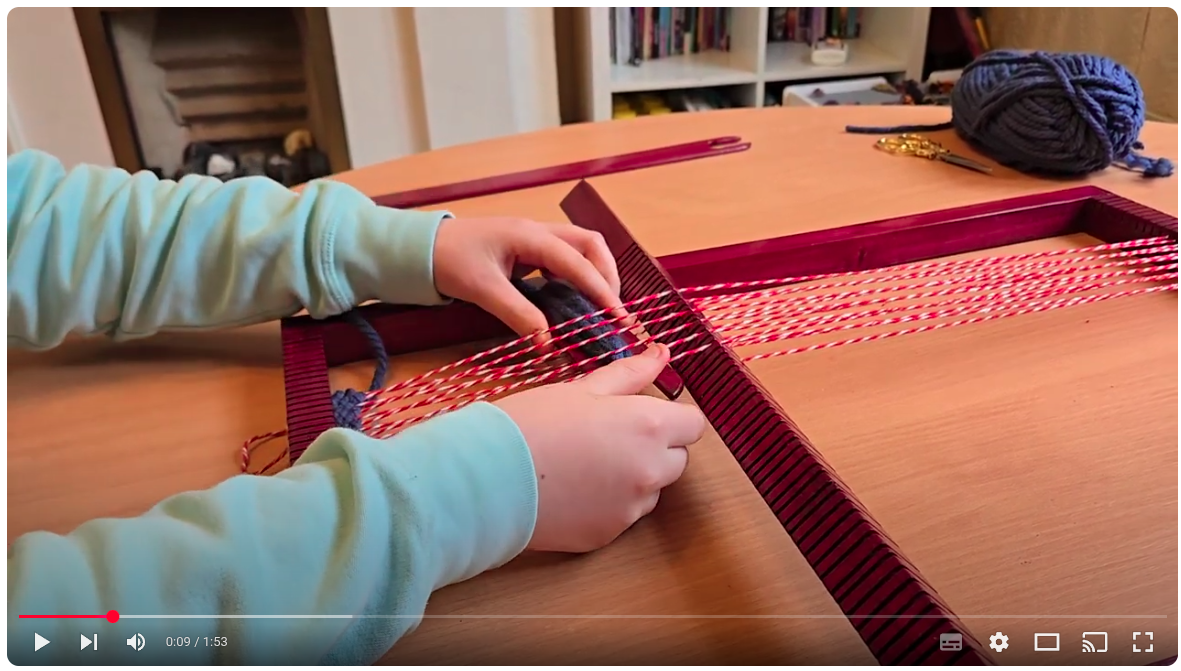
Finally, here is a video of the loom in action.