The Worksharp WS3000 part 2
I’ve had a fair bit of time with my Worksharp now, and it is a definite keeper. I’ll dive right into the lessons learned, and then get into the nitty gritty.
For those of you who missed it, and do not know what a Worksharp is, check out my earlier post.
-
If you just want to get a blade cutting, its very fast. Unless you have deep pitting or corrosion most irons under an inch can be hair shaving sharp in about 5 minutes.
-
If you really care about flatness then you have some extra work to do. It tends to remove a little more material from the sides than the middle. This is pretty much unnoticeable on a 1/2 inch blade, somewhat noticeable on a 1 inch blade. Very pronounced and will require a fair bit of work to fix on a 2 inch blade.
-
On Narrower irons, you can remove a lot of material very quickly. Its easy to put a kind of step in the back of the iron. You need to move the iron in and out toward the centre of the Worksharp to smooth out the transition, and even so, if a lot of material needs to be removed, you can still wind up with an issue.
-
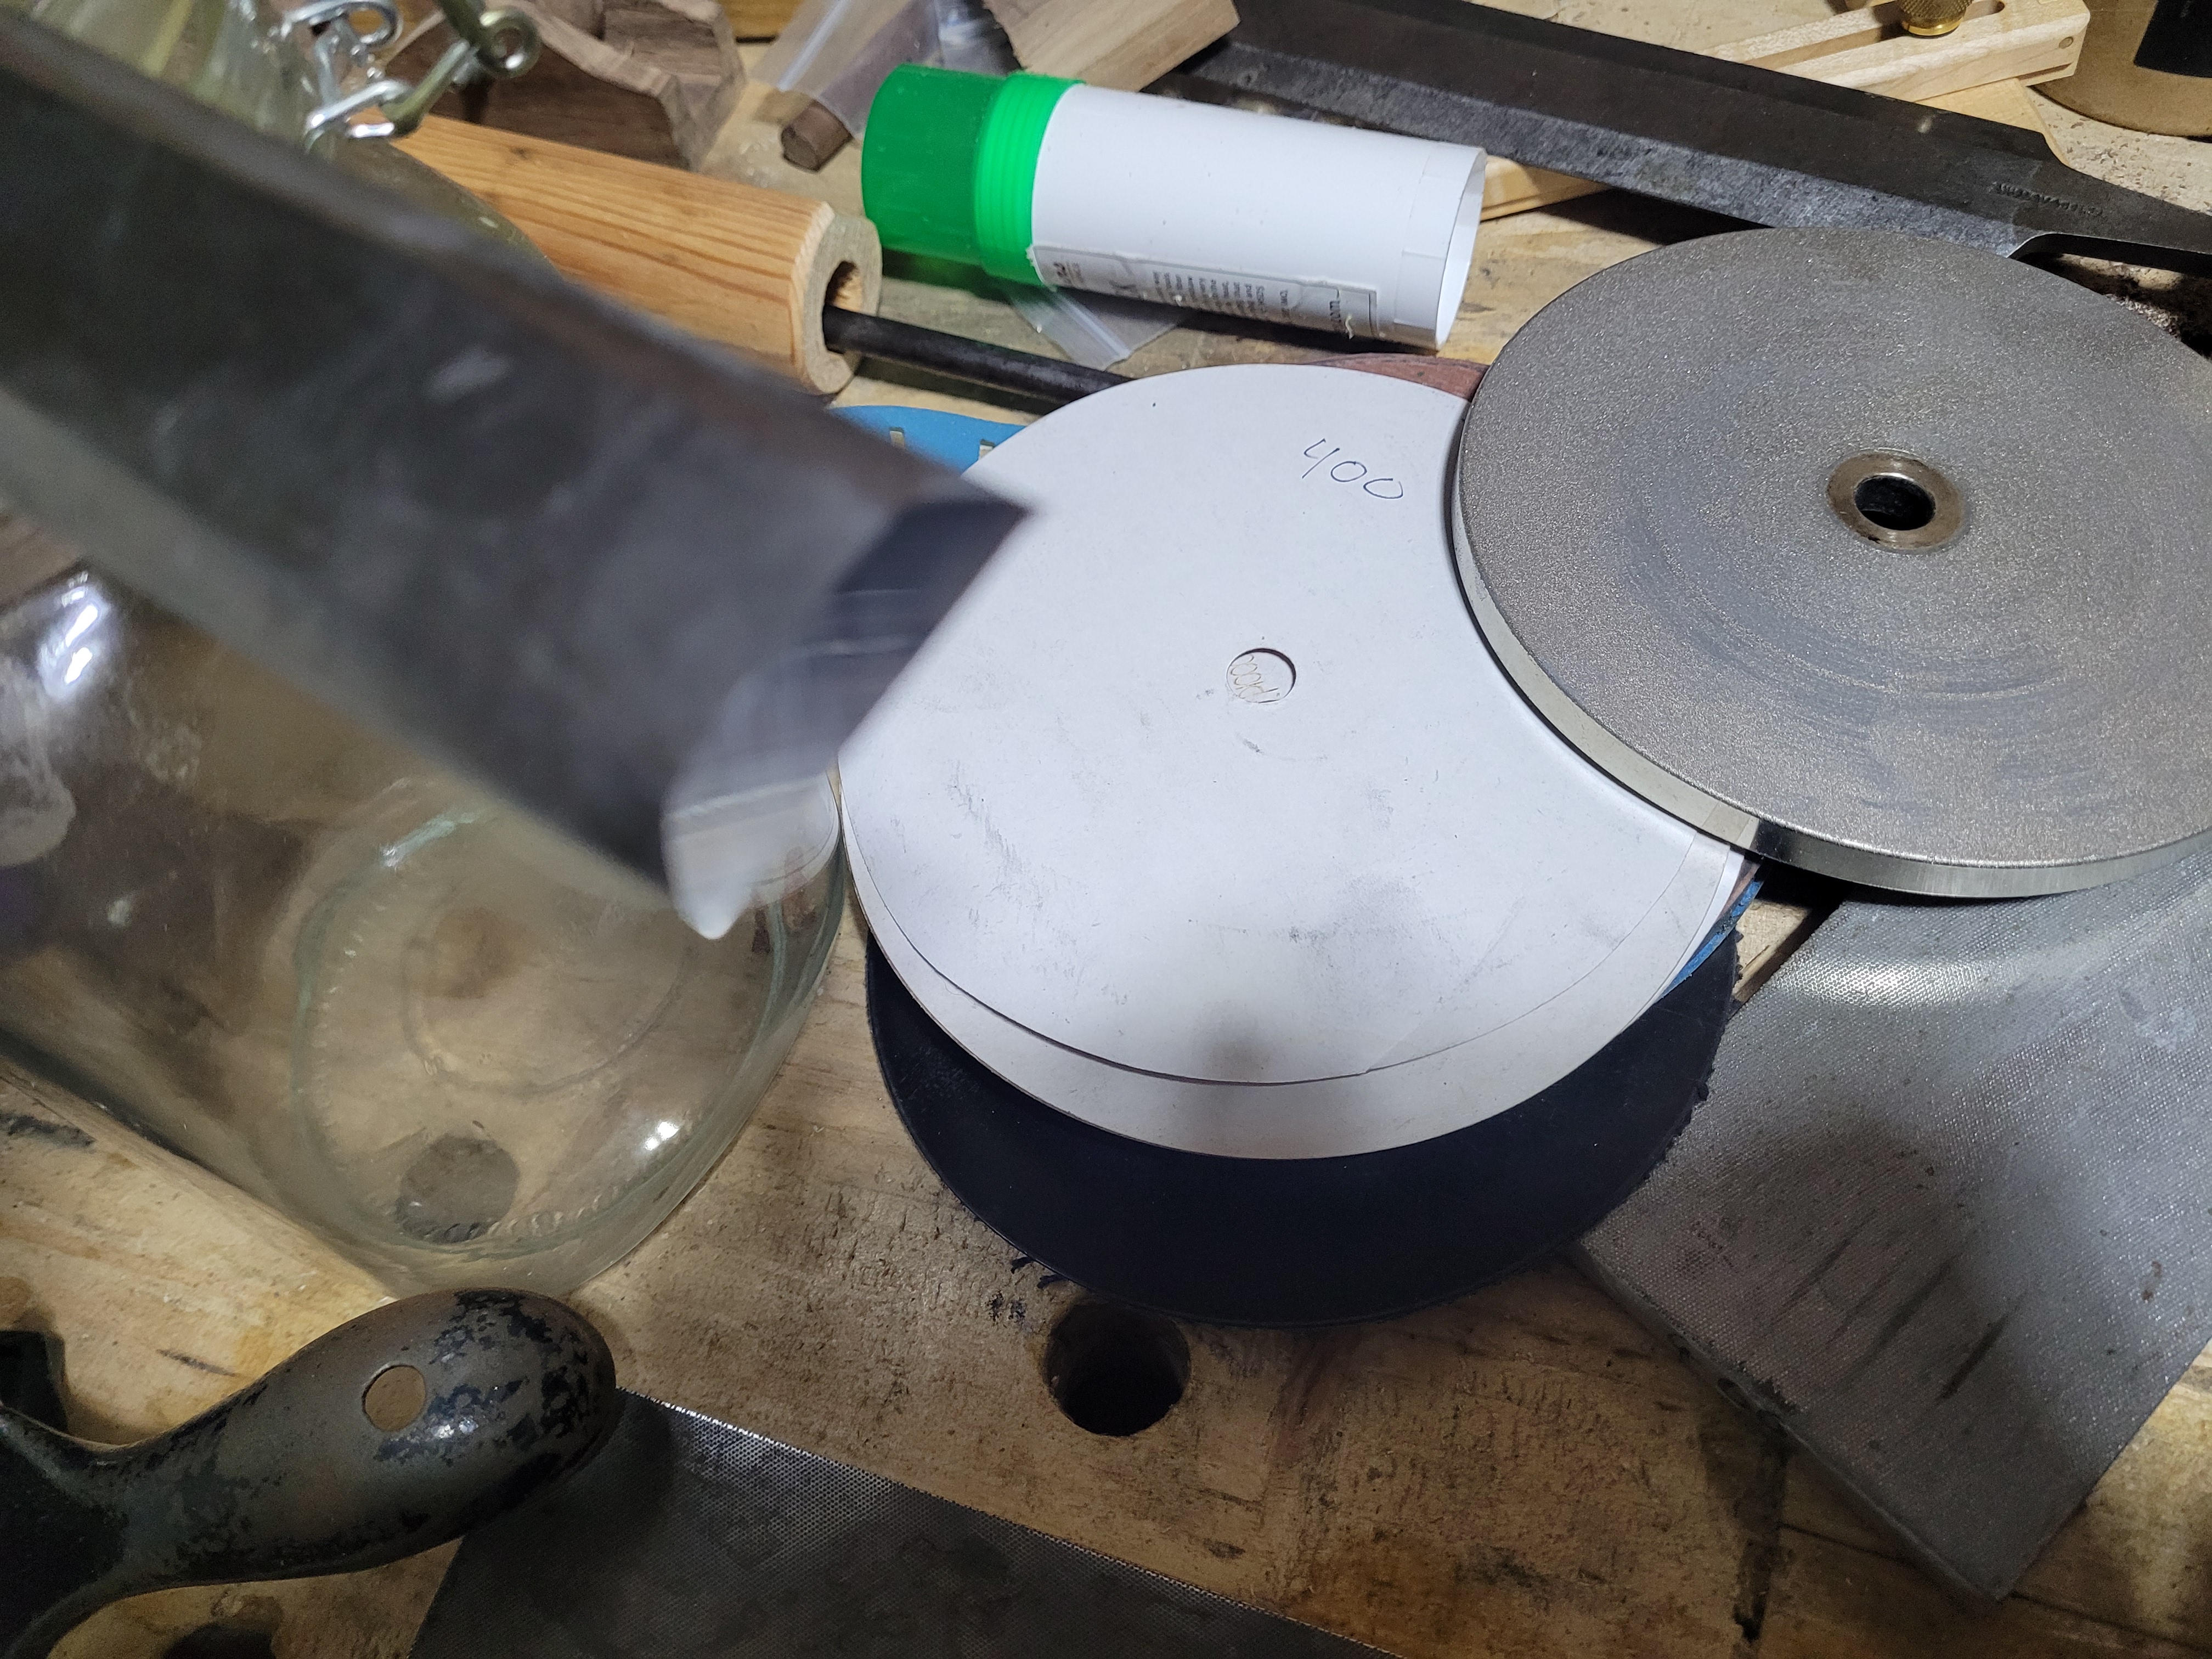
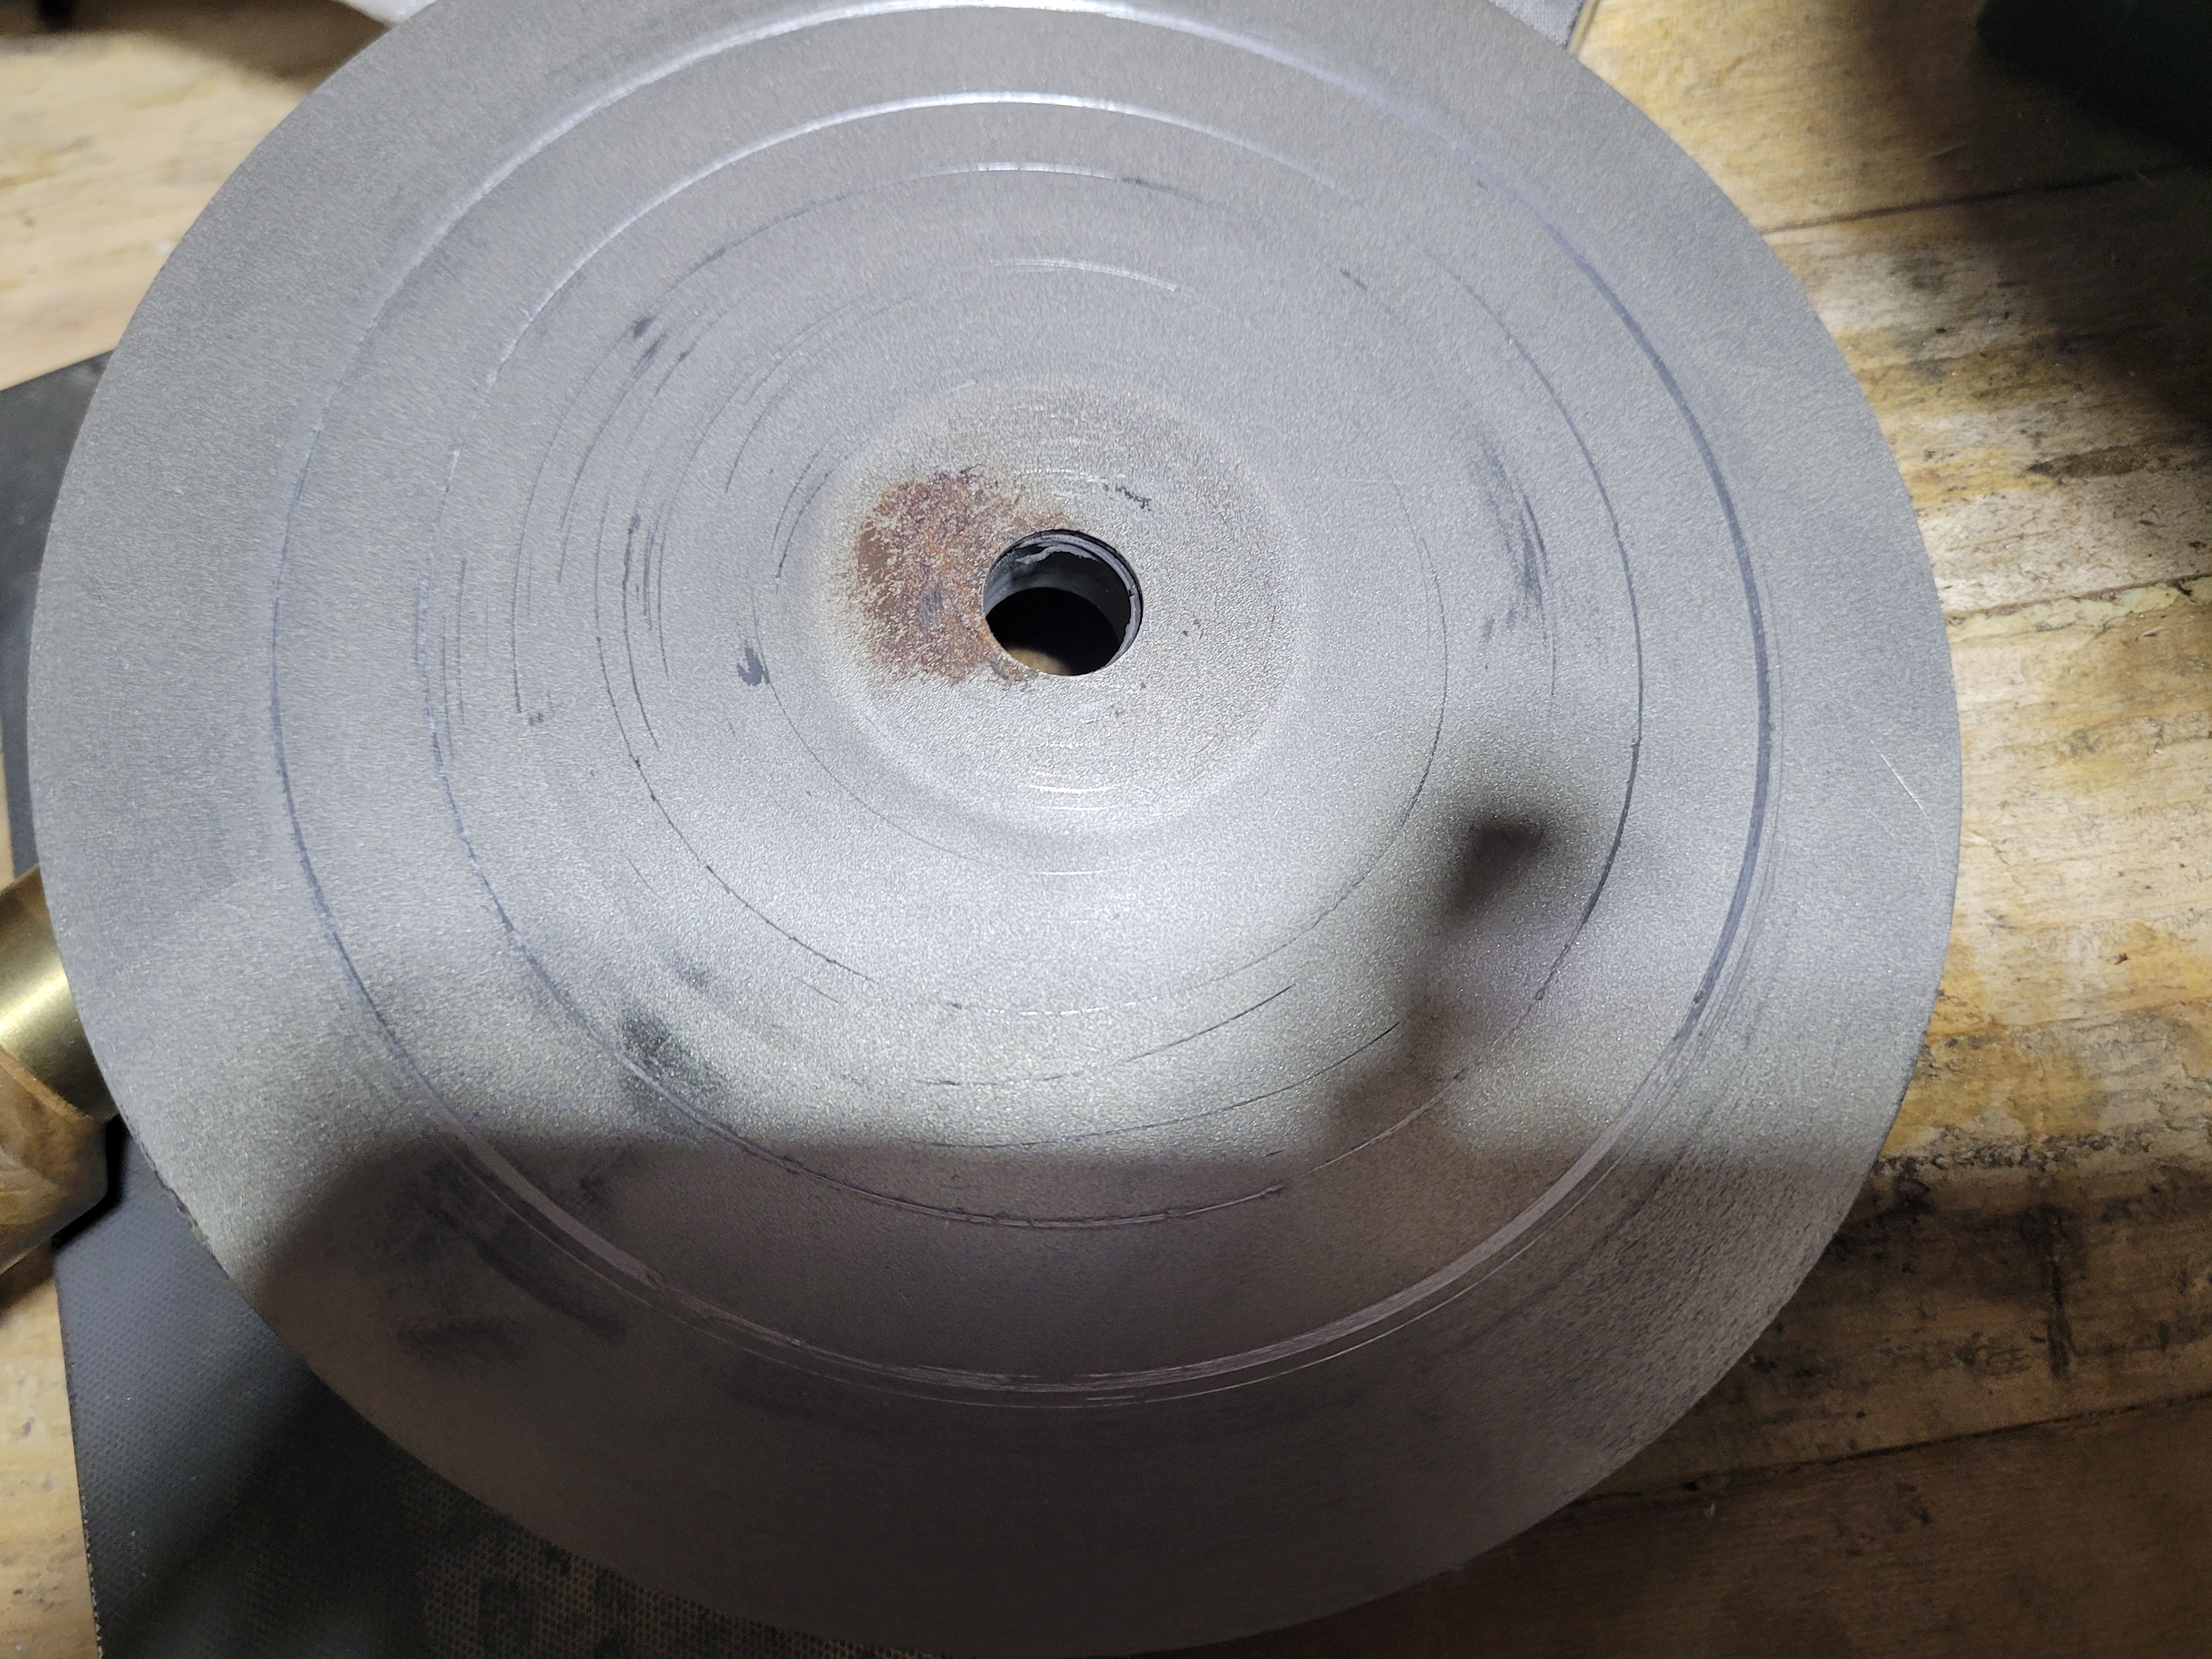
The CBN wheels I got are fantastic, and generate by far the best results, and by far the least heat. Using sandpaper works, but the results are far less flat, and it generates a lot more heat. The DMT diamond plates I used are pretty worn, so I have no real comment to make on those. I tried using some no name $5 plates from 1000 grit to 3000 grit. The 1000 worked fine, but the 1500, 2000 and 3000 all self destructed when used to sharpen a bevel. It may be that they would be OK for lapping, but I don’t trust em enough now, and will not bother with more.
So lets take a few scenarios, and I’ll tell you what I now expect from the Worksharp.
-
Chopping/beater chisel. I expect to get this up and running, hair shaving sharp in about 5 minutes, using only the Worksharp. Even when all I had was sandpaper discs this would be true. I’m not going to pare with the chisel, so I do not care about absolute flatness. Its fantastic for getting tools like this into use quickly. I can get to a mirror polish on high grit sandpaper to finish.
-
Small plane iron/moulding plane iron.
Just like the chisel. I’ll have this up and running in about 5 minutes. For a plane iron that has no chip breaker, or is for rough work, I again do not care about the slight bit of un-flatness on the back.
-
General purpose chisel, Smoothing plane iron, iron with chip breaker
I’ll use the Worksharp to do initial flattening, then I’ll move from a 600 grit Worksharp CBN wheel to a 600 grit diamond plate to get it truly flat before moving up the grits. It will take about 5 to 10 minutes on a 1 inch iron to get it truly flat on the stone. It will take 20 to 30 minutes on a 2 inch iron, Even if there was some serious material removal with the Worksharp. A huge time saver, but if you need that back absolutely flat, you need to do some after flattening on the stones.
-
Paring chisel
Nope. I mean a real paring chisel here. Not just a chisel you might use to pare. The long ones, slightly flexible. You really want to flatten the entire back on these, and there just is not enough space on the worksharp. You need a stone. Might use it to work away a little pitting near the tip, but you cannot put enough of a paring chisel on the wheel for it to be worth it.
-
Very narrow chisel, very narrow blade, “tall chisel”
It can be difficult to “stick” the landing on the Worksharp. For very narrow blades this can result in you removing material at an angle before you know it. Anything less than a 1/4 inch, I’m not going to lap the back on the Worksharp. However, the Worksharp makes it trivial to get a perfect square bevel, far easier and quicker than any other way I have at my disposal. So bevels, yes, backs no. Tall irons like a classic mortice chisel are also difficult to hold flat, so they are a pass as well. Some pig sticker mortice chisels are too tall to fit in the slot for creating bevels.
For most tools, this is a big win in terms of time. I have a lot of tools in use now that would still be sitting in the restore pile if it was not for the Worksharp. Woodturners Wonders sell a 800/1200 wheel I will probably add to my collection. I had thought the diamond discs would do that job, but sadly no.
I photographed restoring 3 tools in detail. If you want to see the mind numbing details of how they went, check out the photos below. A 1 1/4 inch chisel. A 3/4 inch chisel and a beast of a 2 5/8 inch Union X8 plane iron.
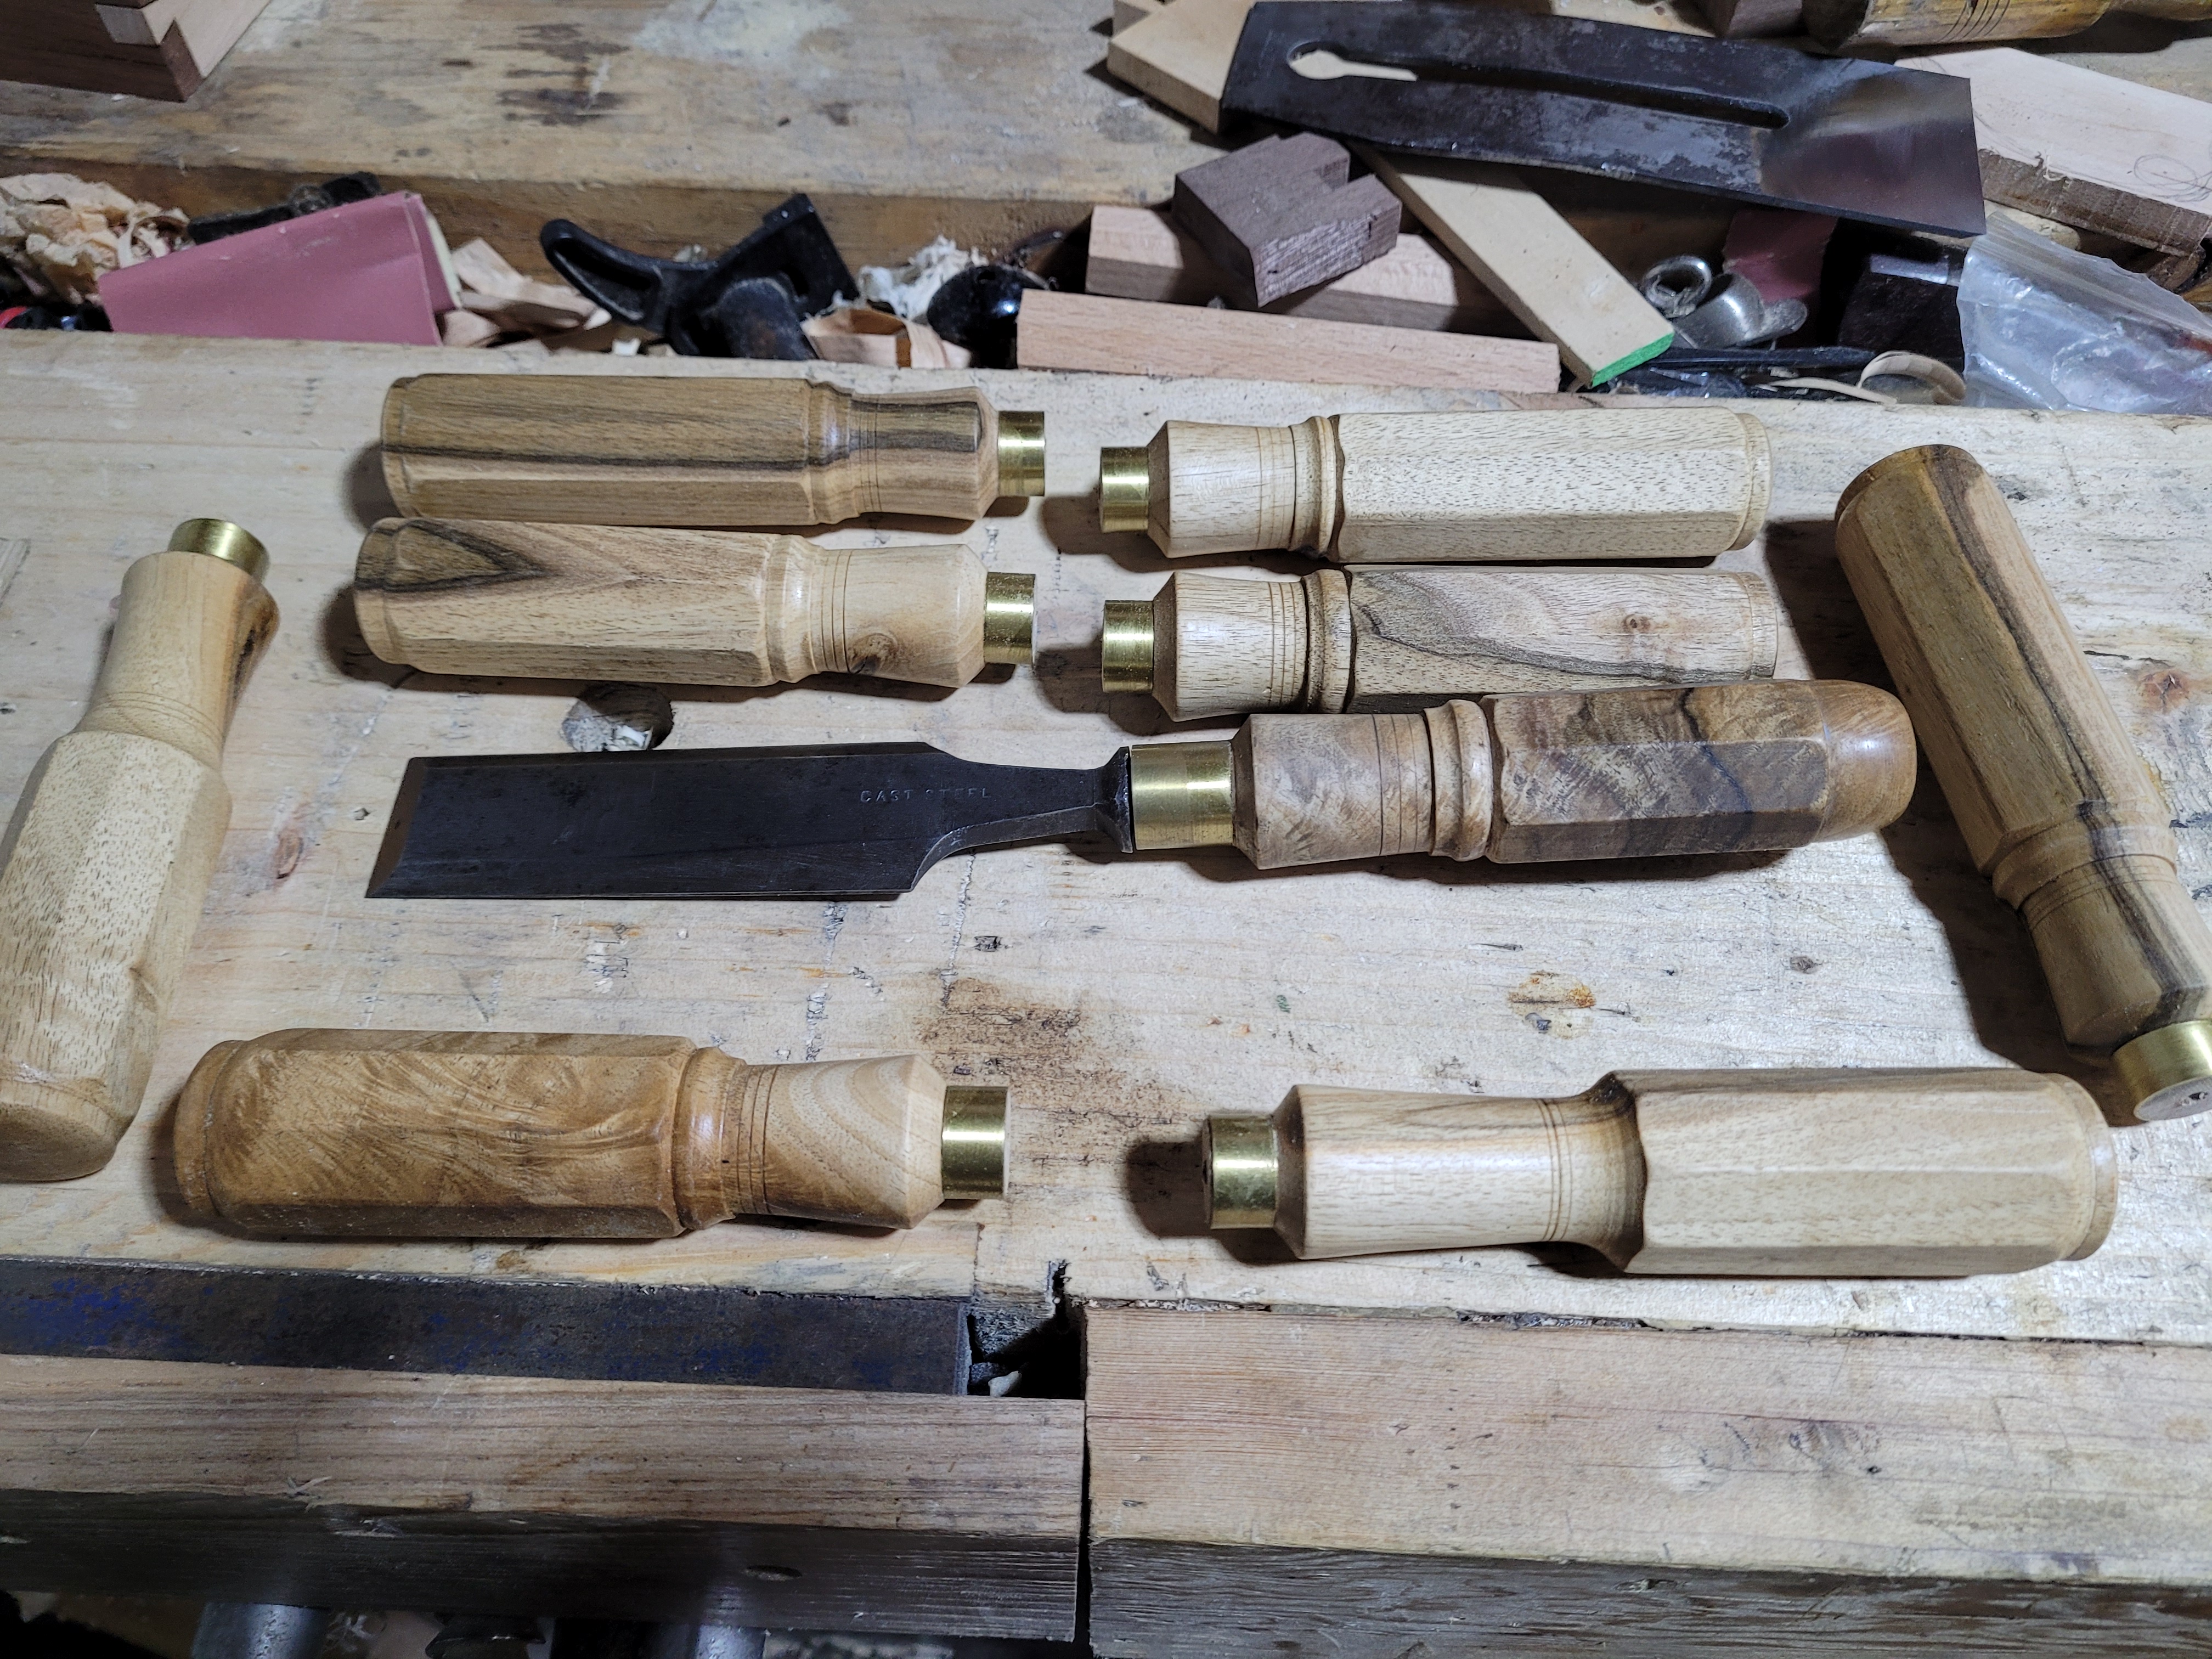
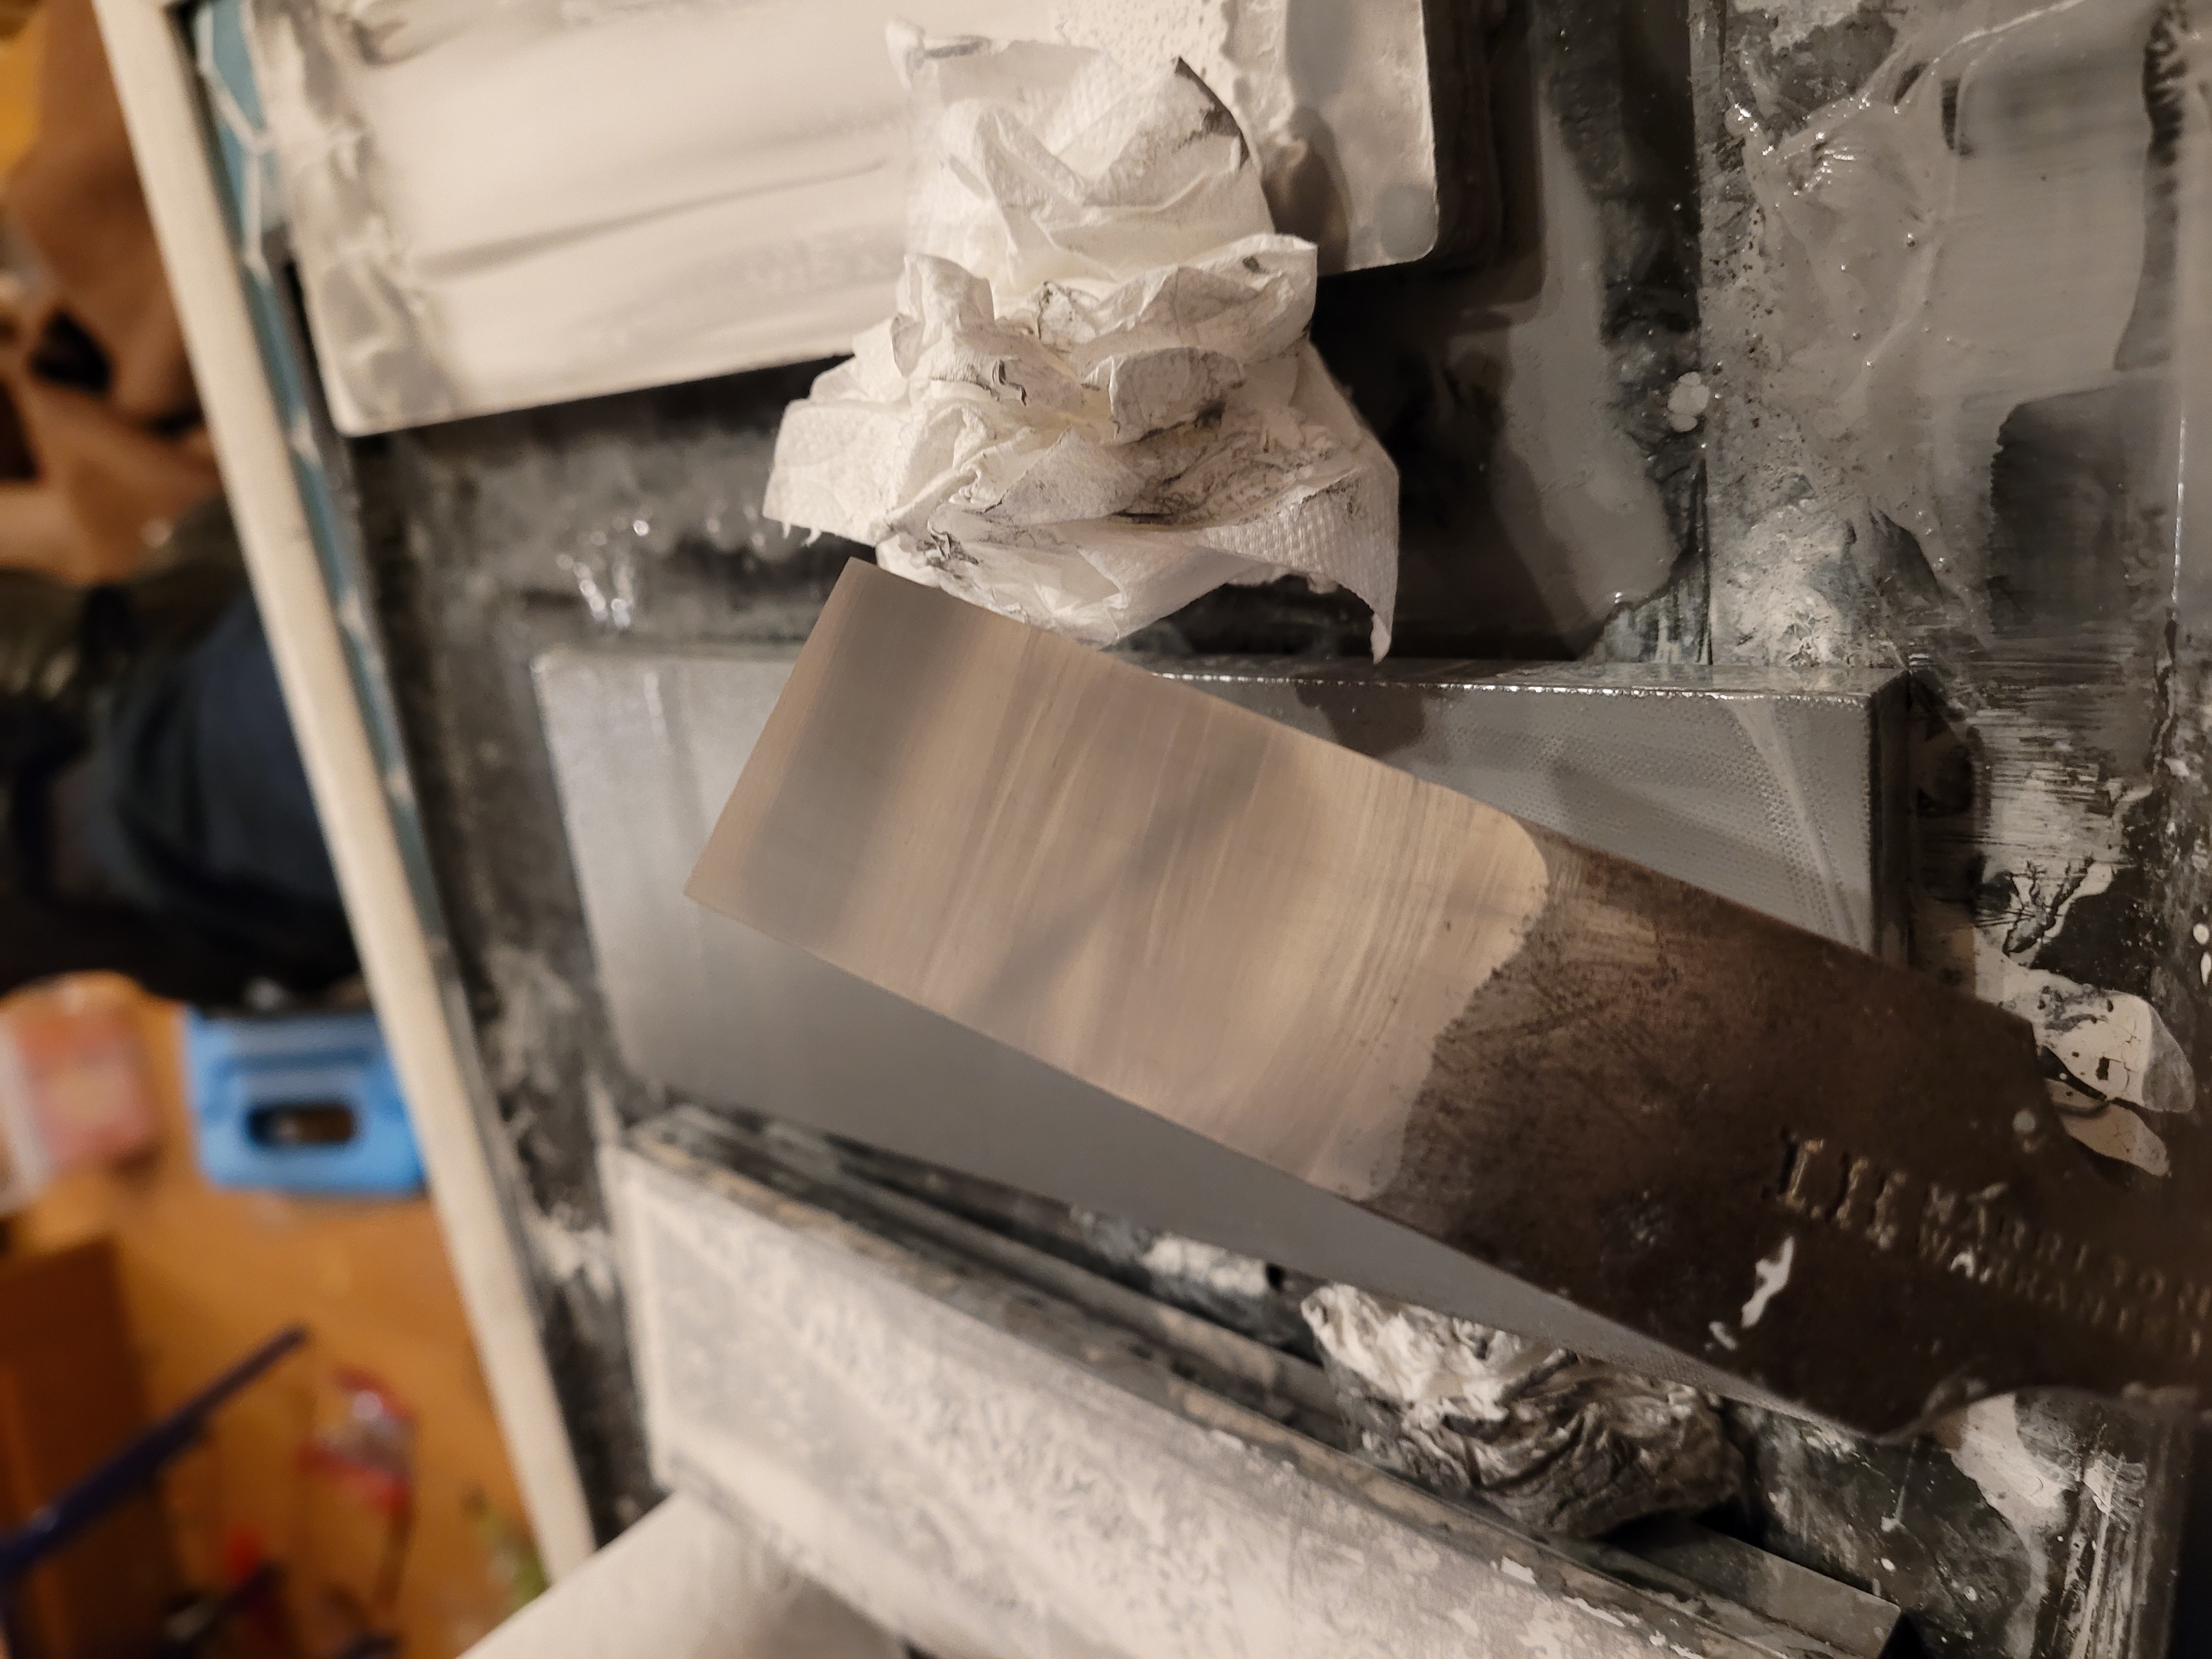
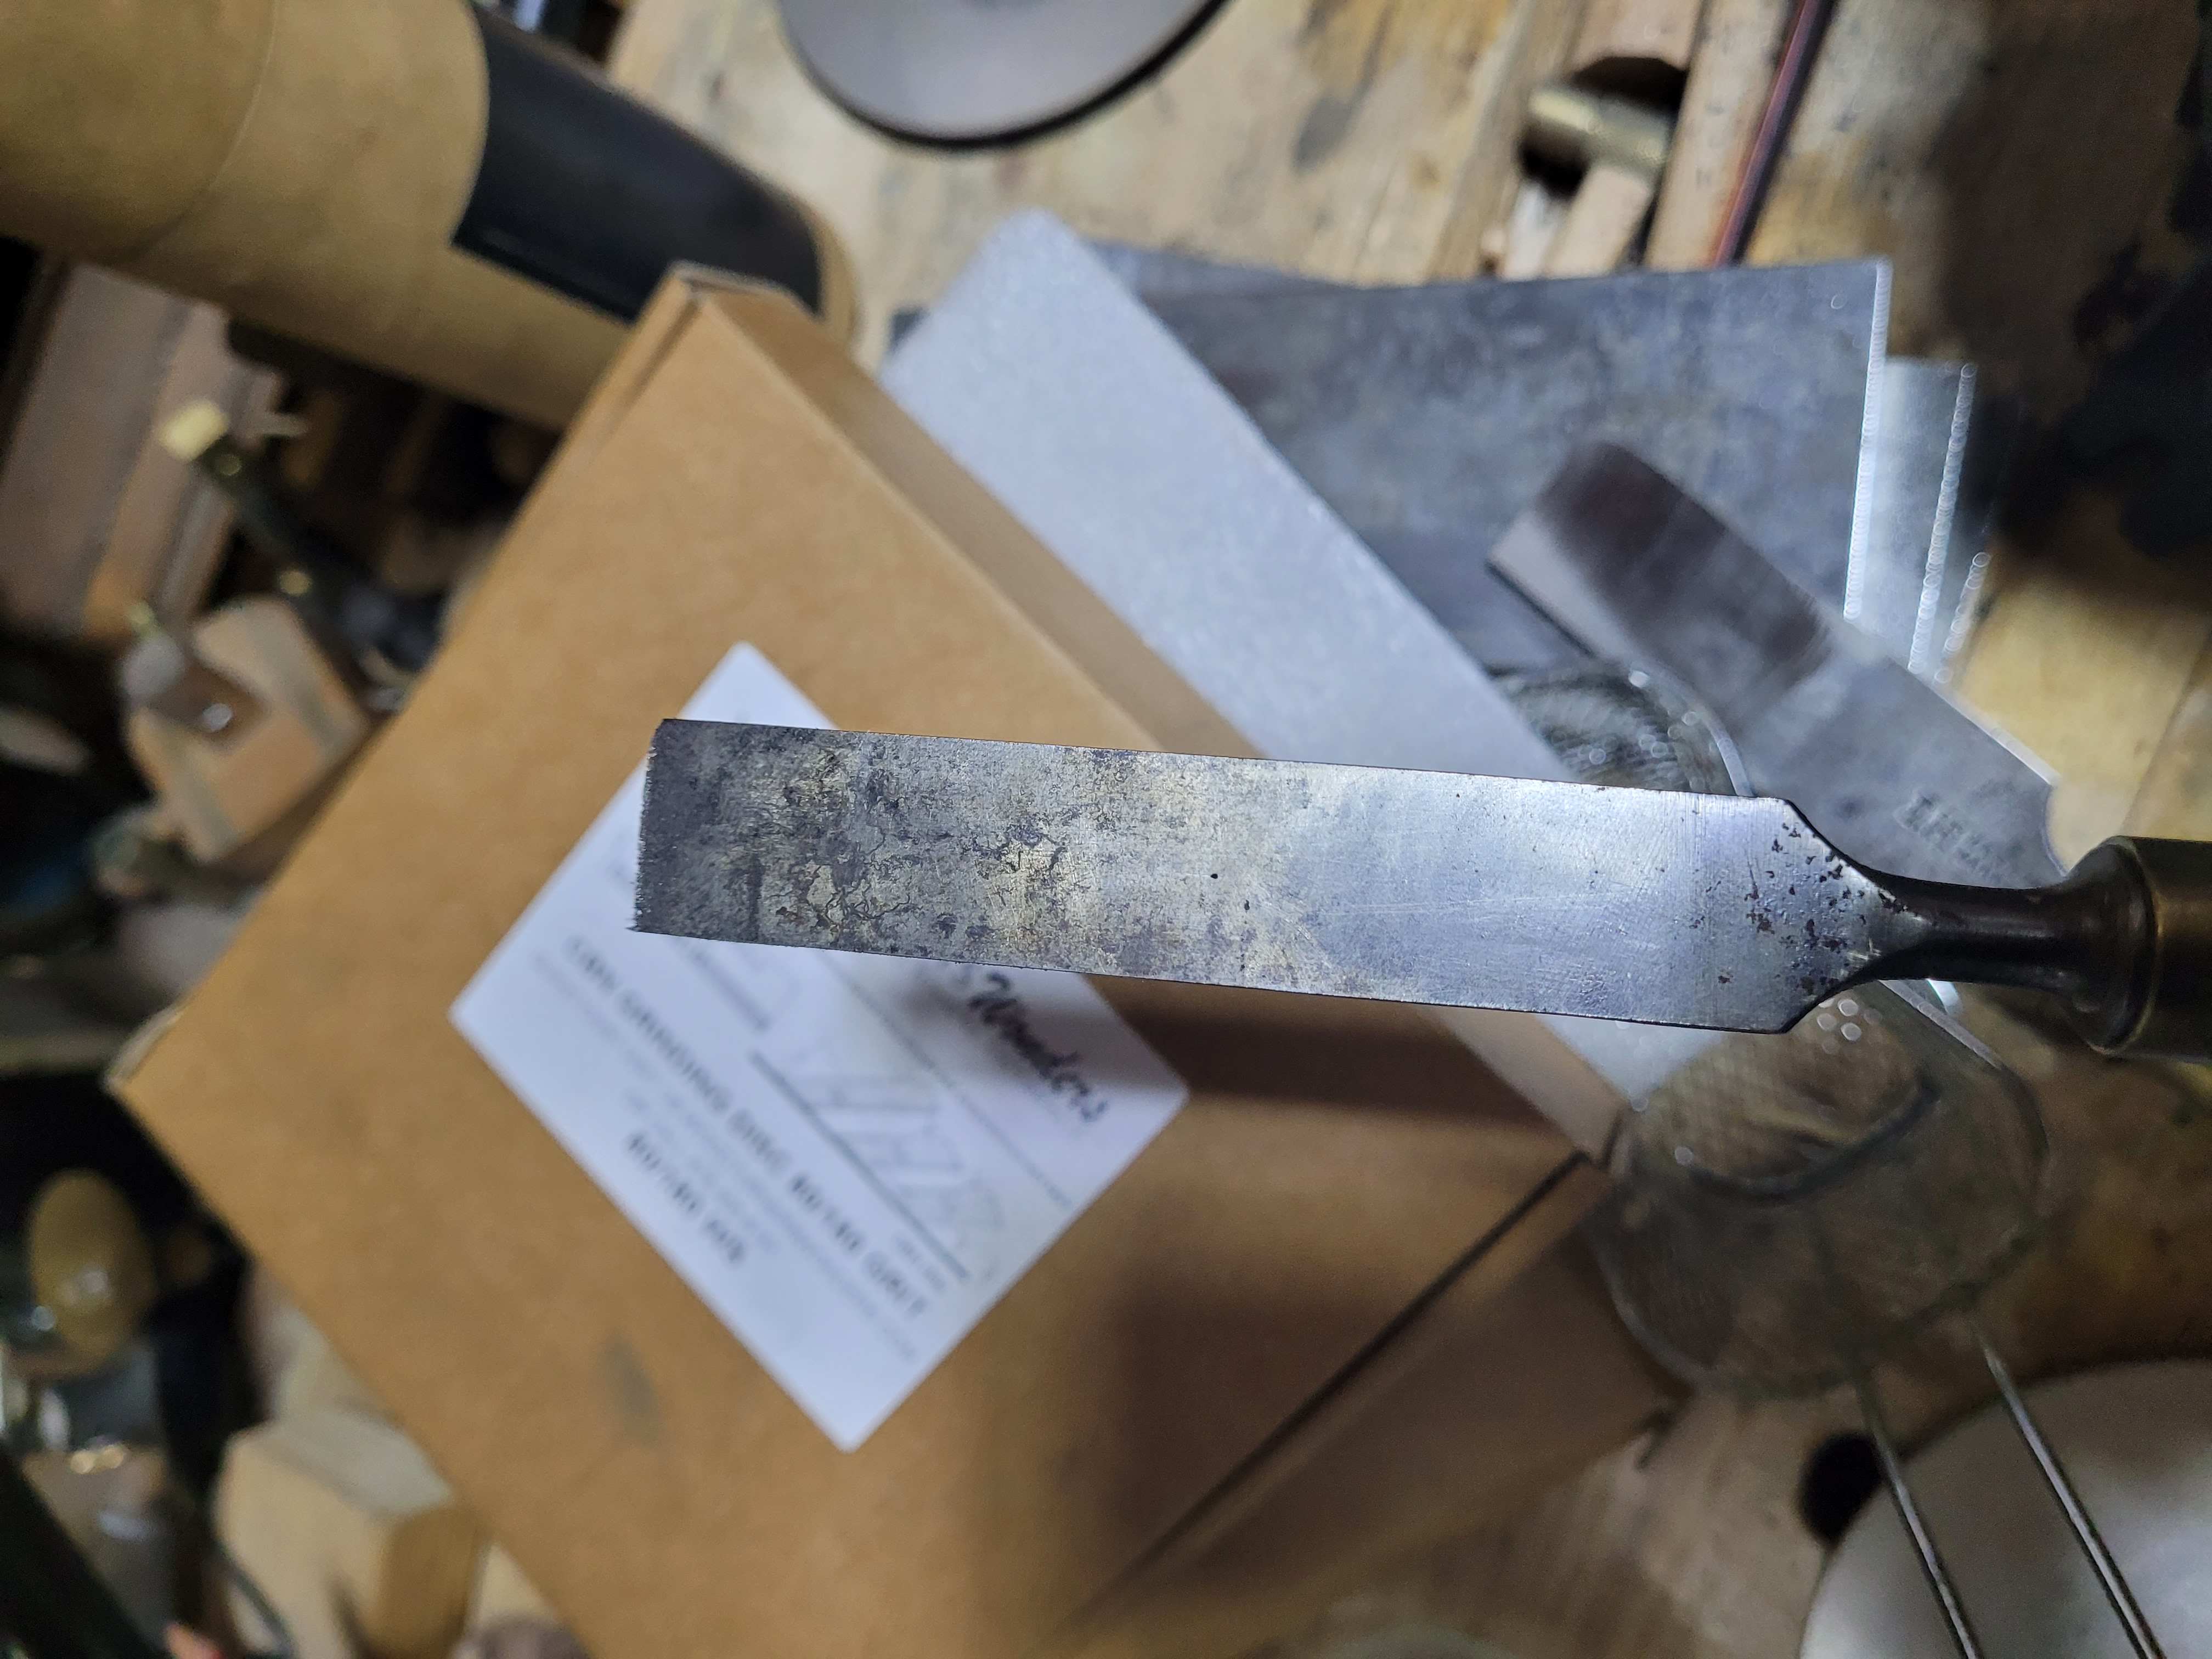
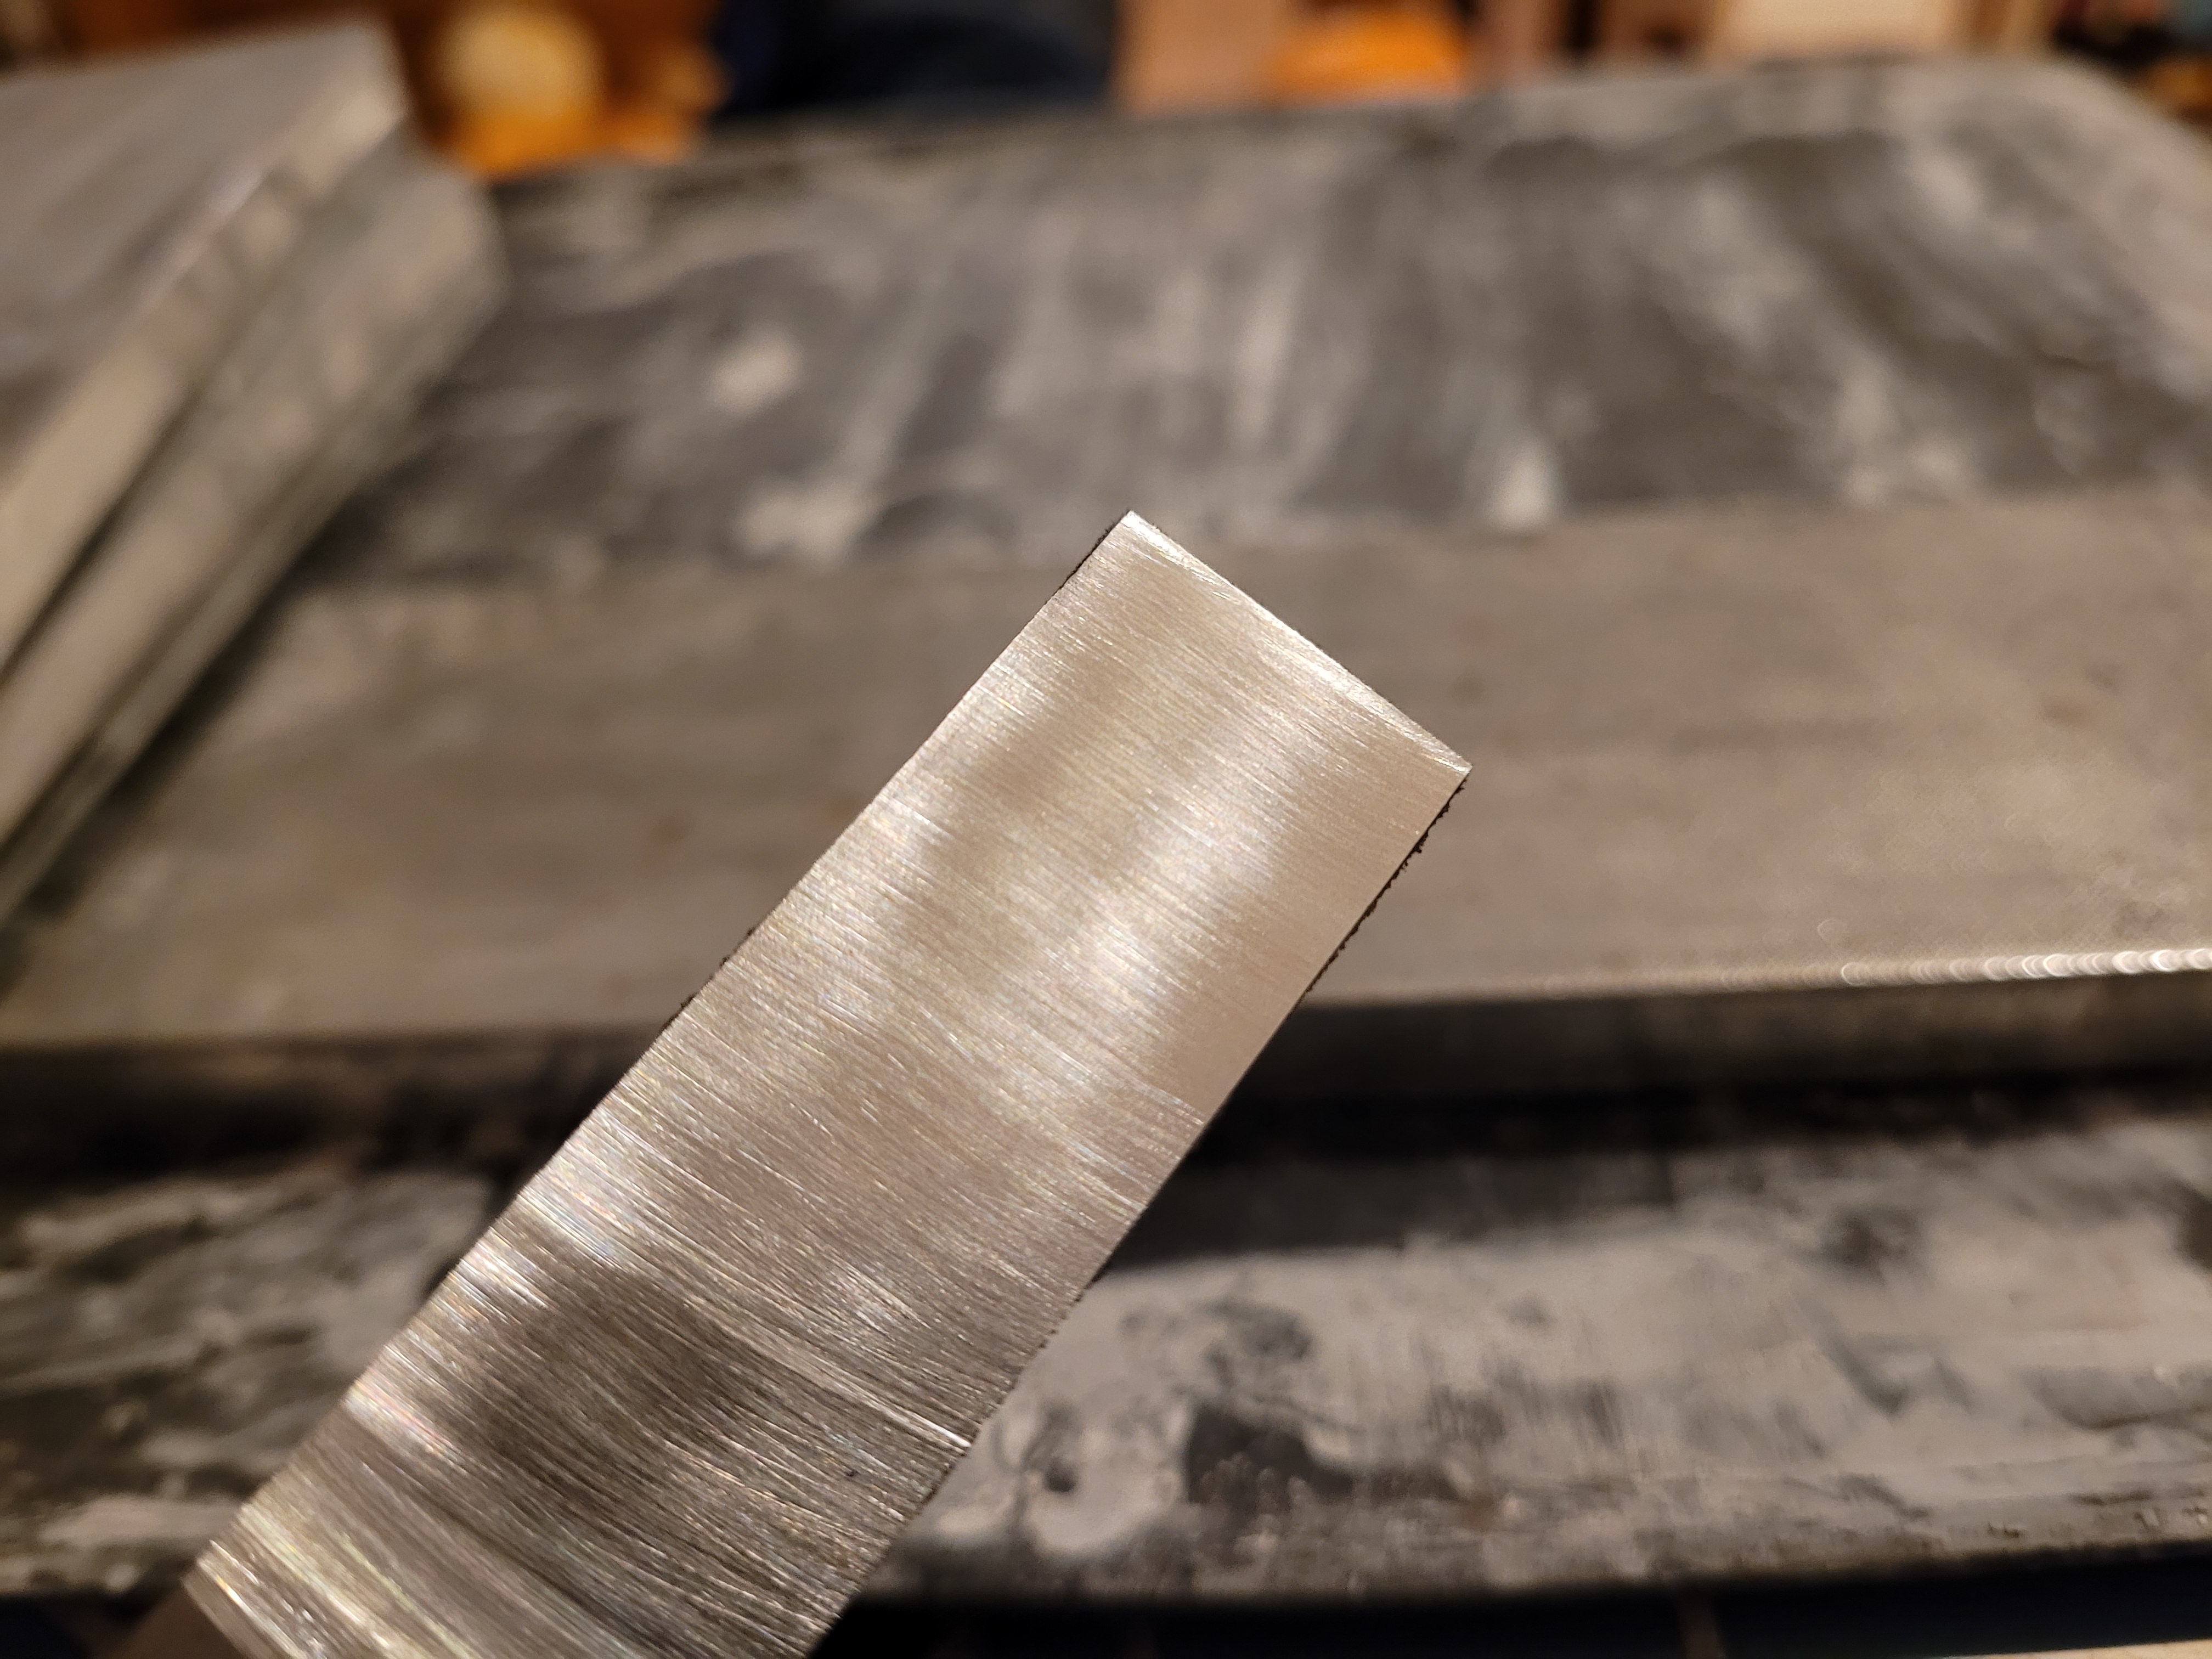
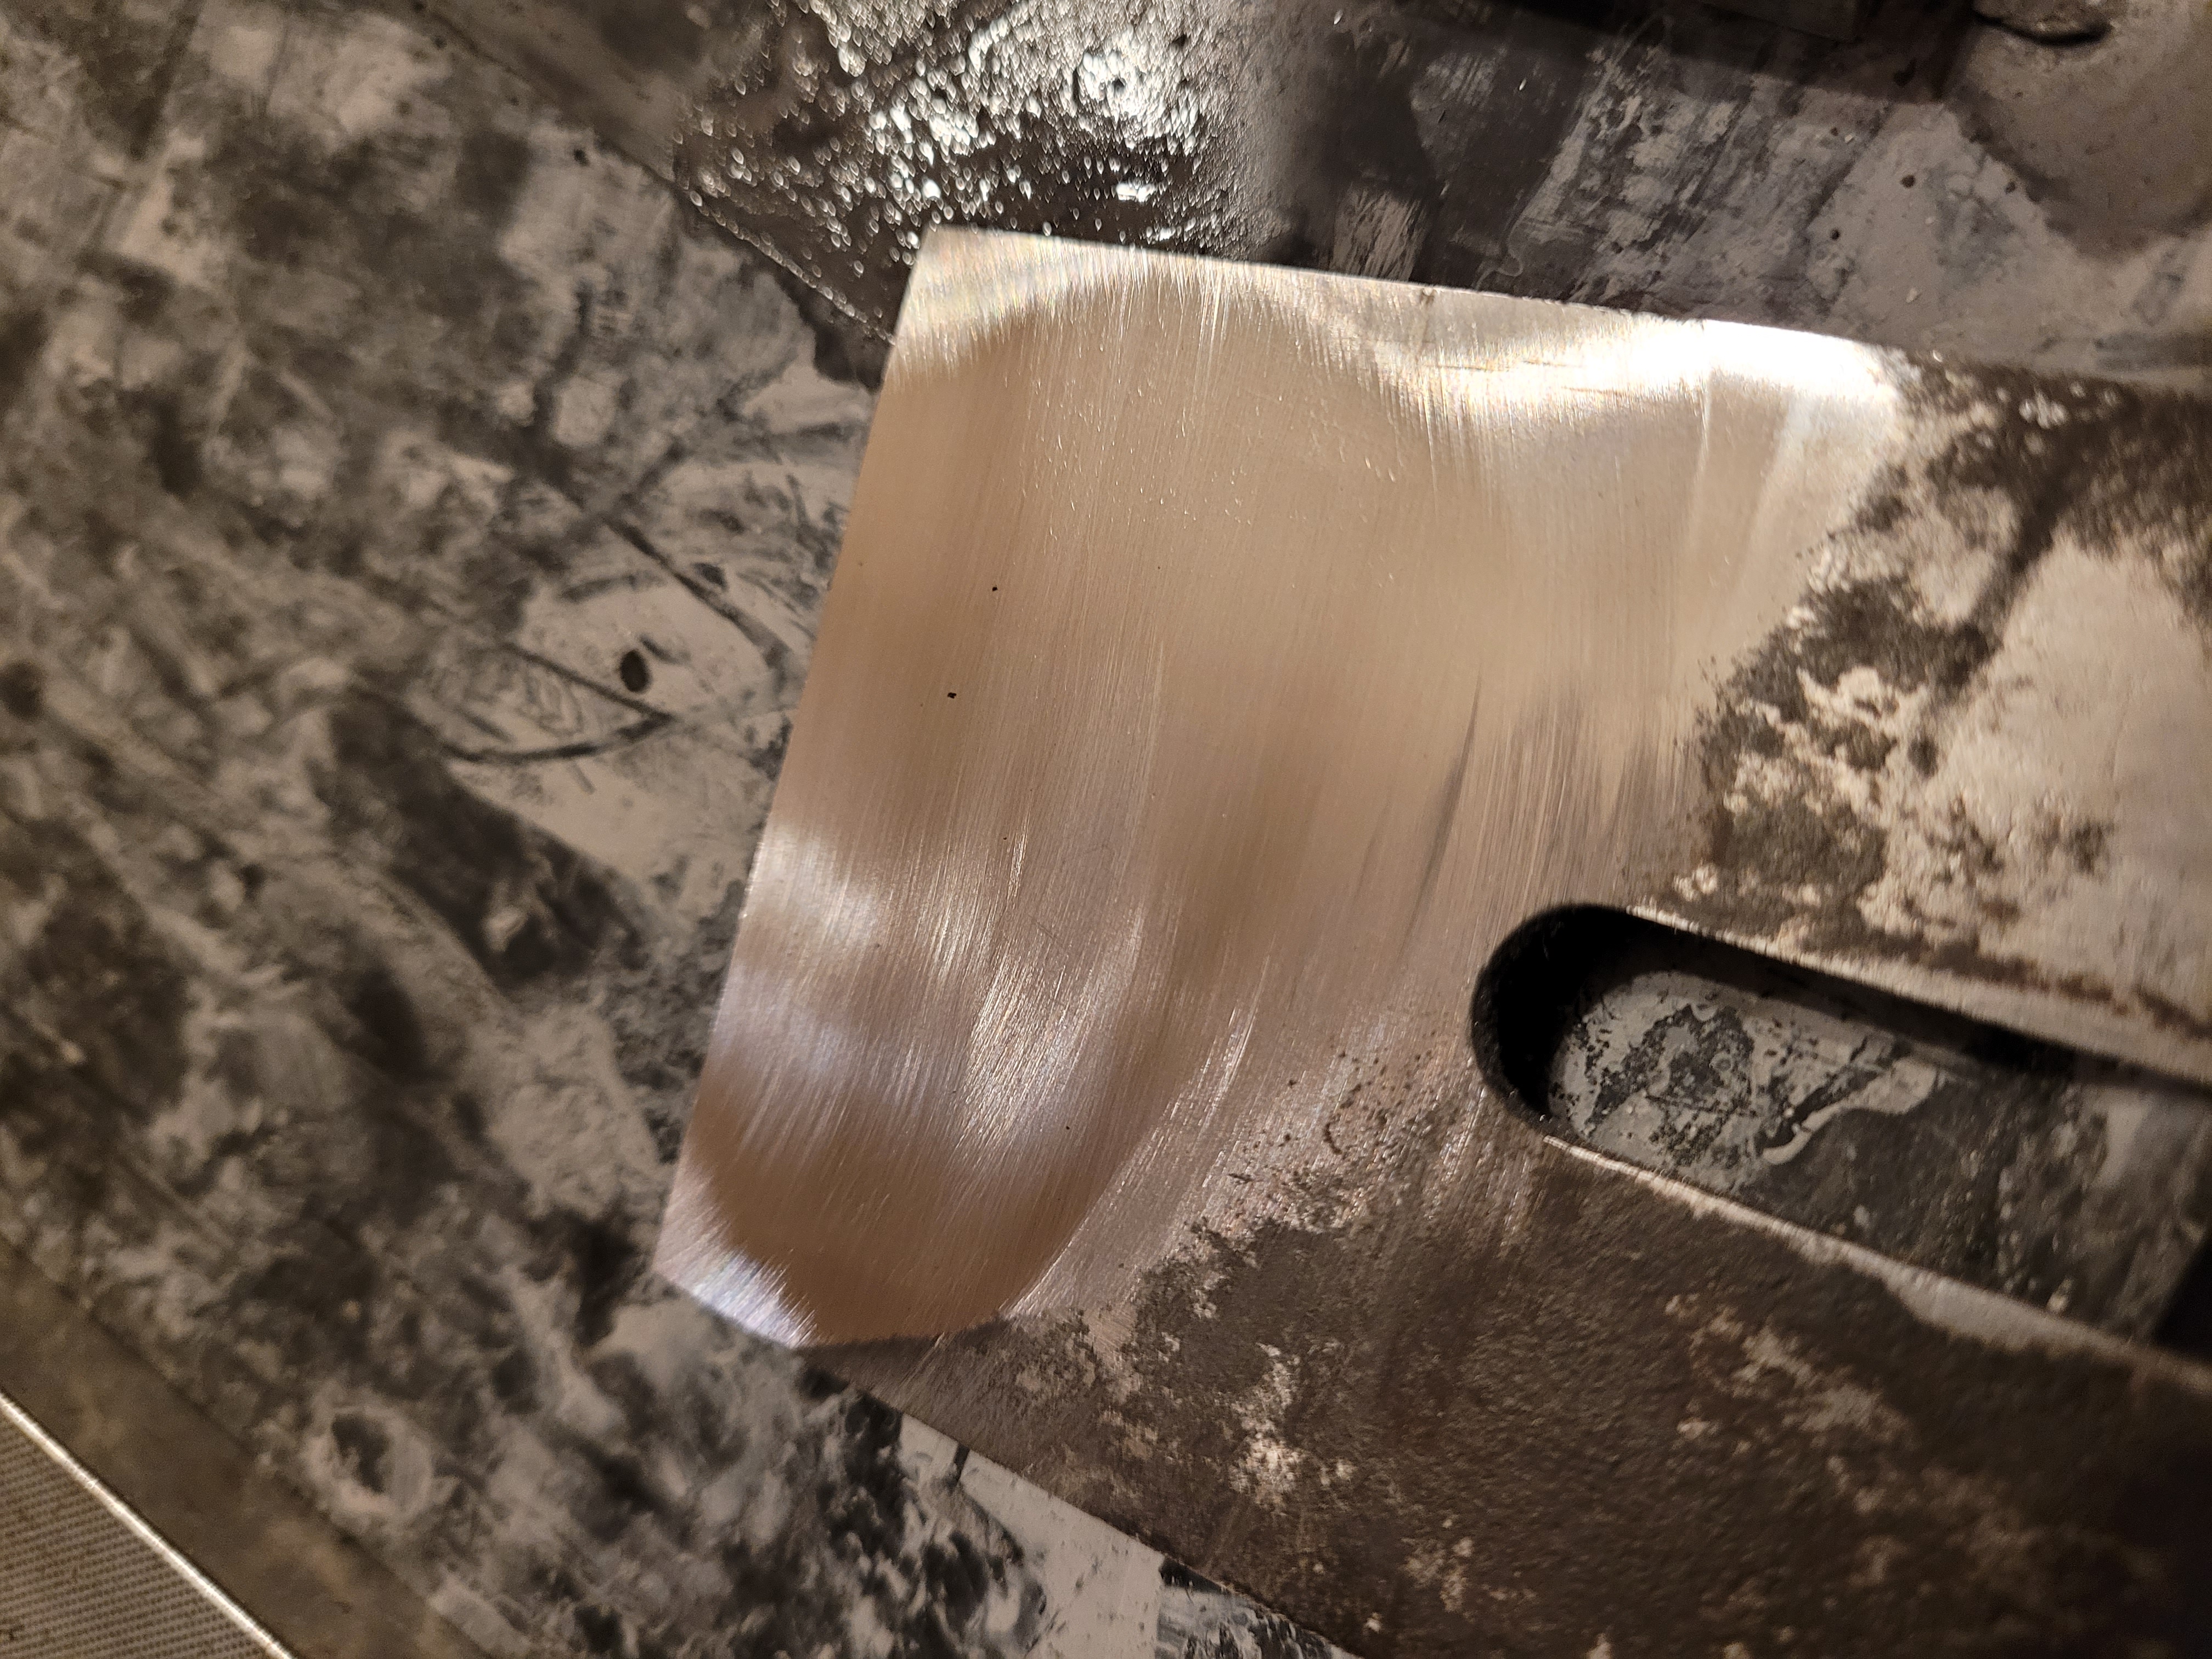
First up is this 1 1/4 inch chisel bought from the patch from William Leigh. Its a wonderful handle, and I bought the others he made from the same piece of chestnut. A bunch of re-handling is in my future…
It had the usual low spots in the corners, but about 15 minutes on the 80 grit wheel got it to here, just that last little annoying corner.
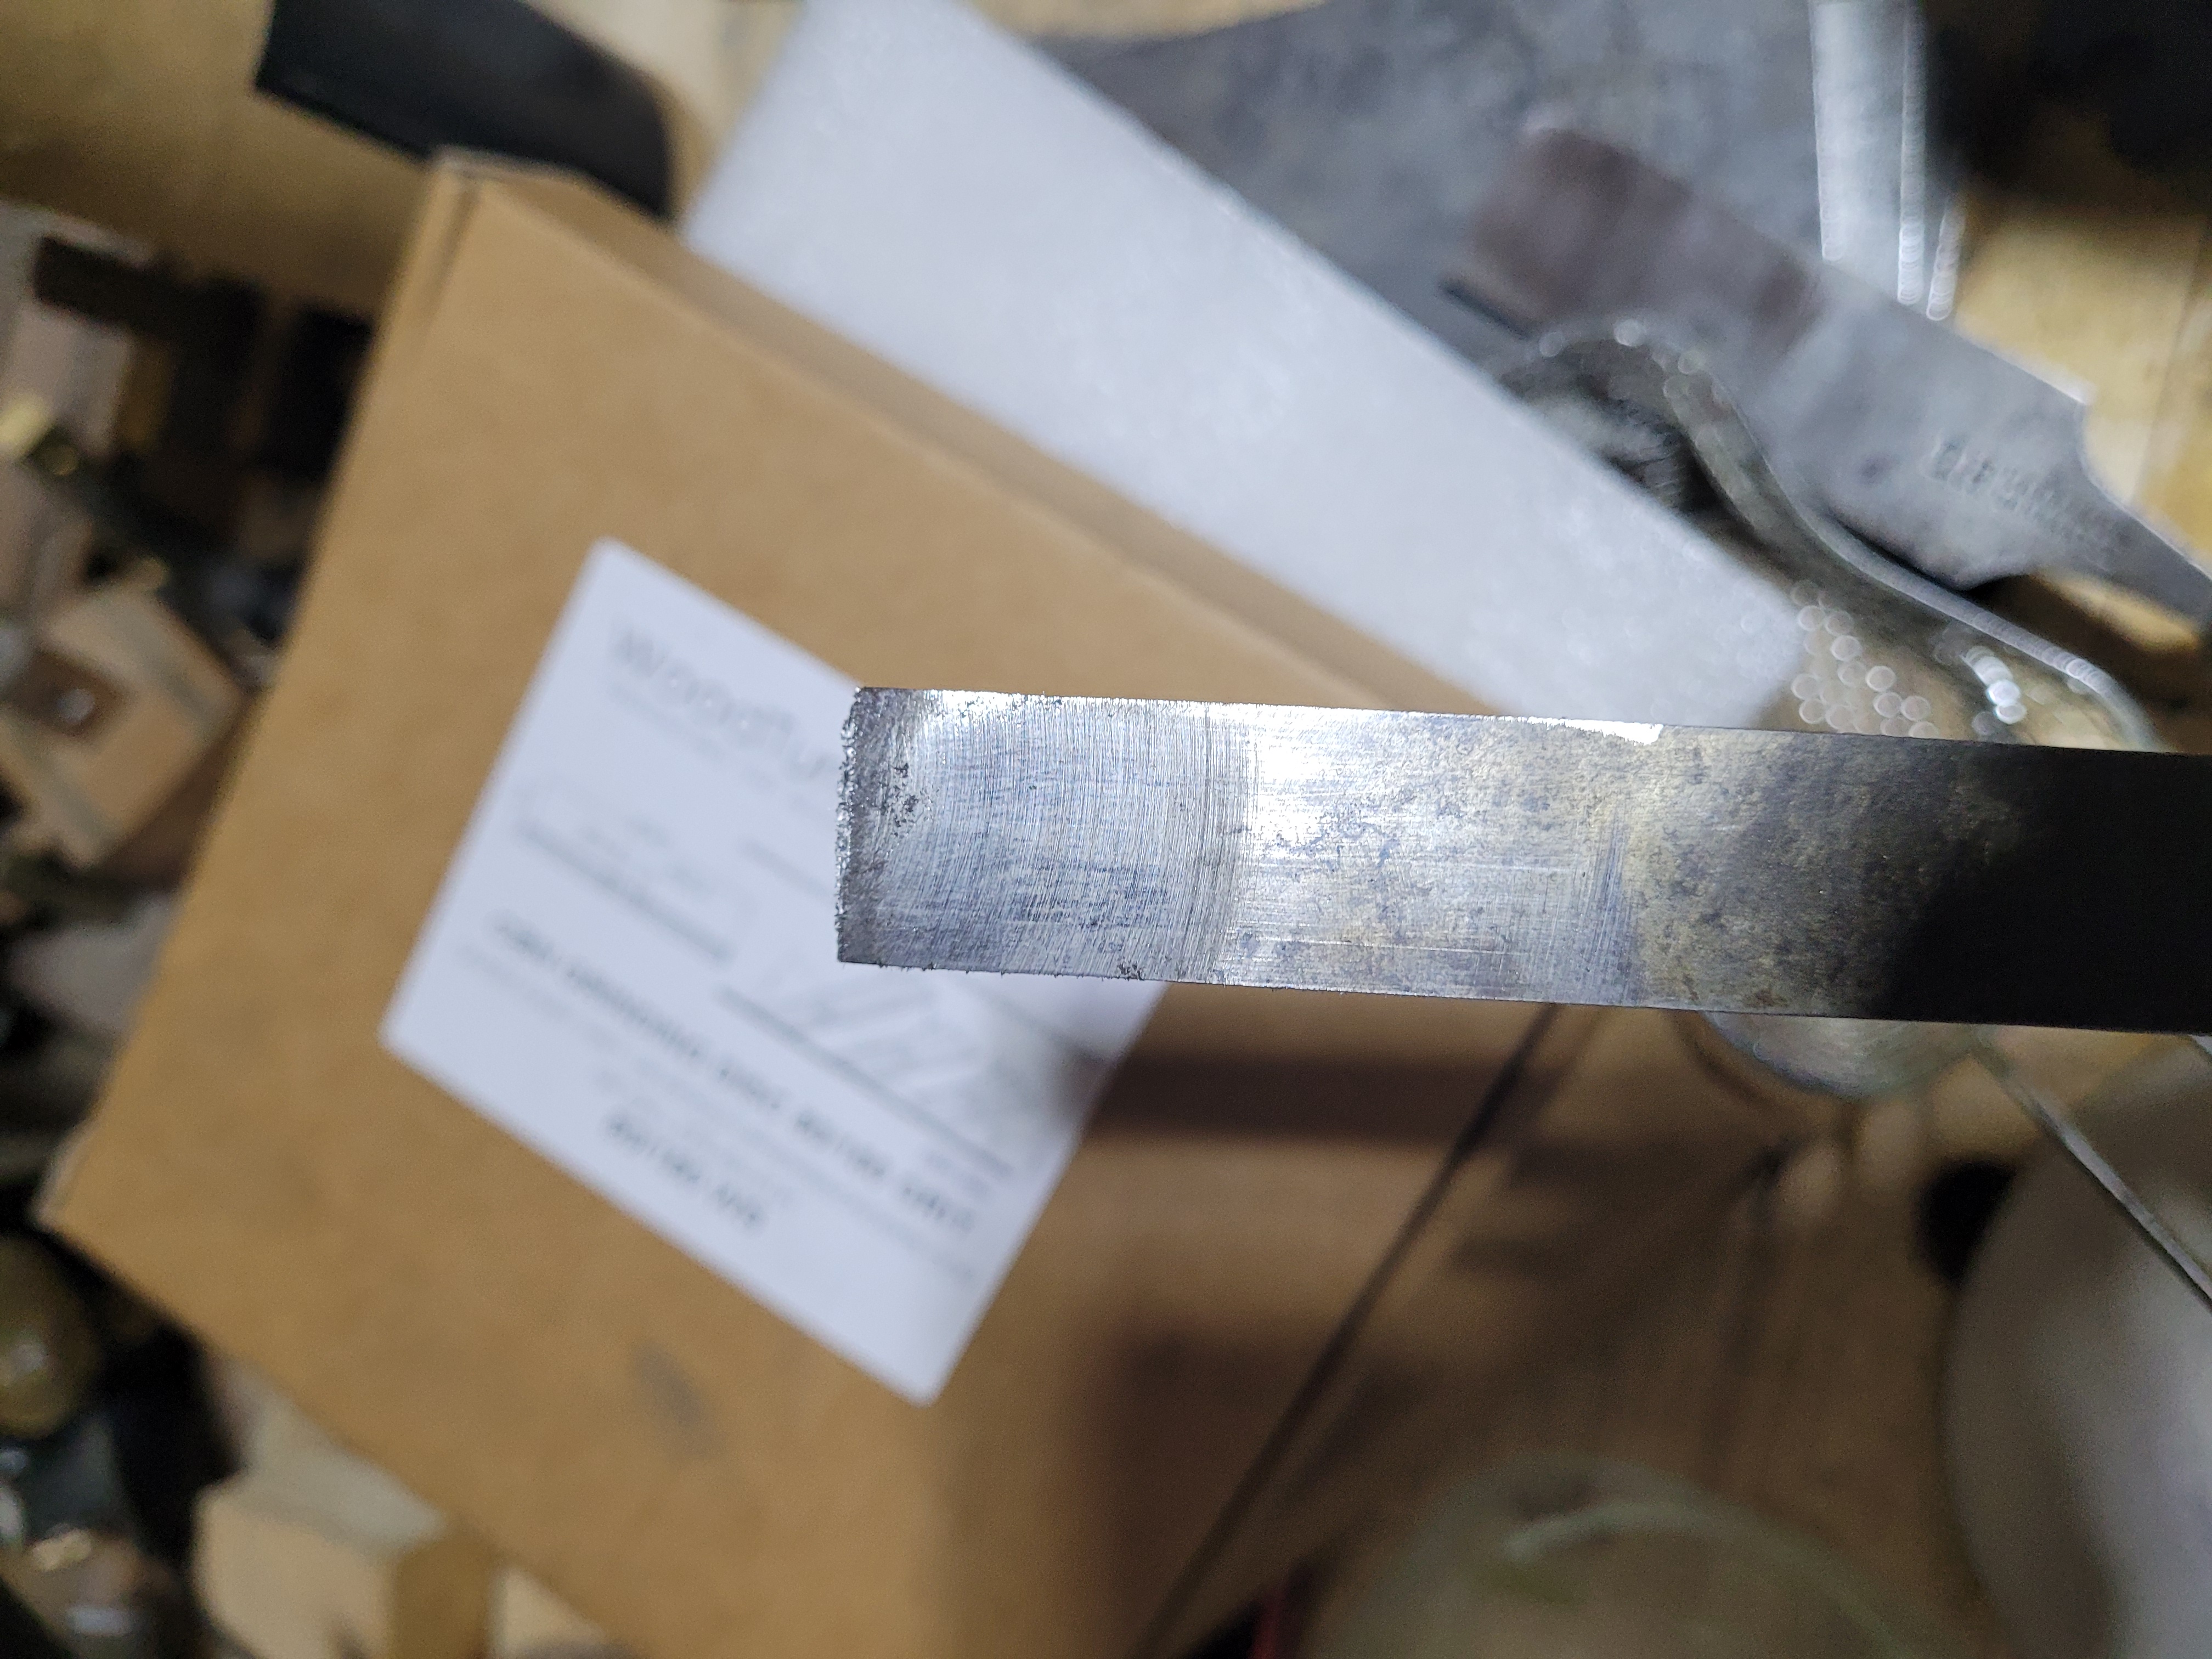
A few more minutes and it was gone, and I quickly worked up through 180, 320 and then the 600 grit wheel. Once the 80 grit is done, these only take about a minute each.
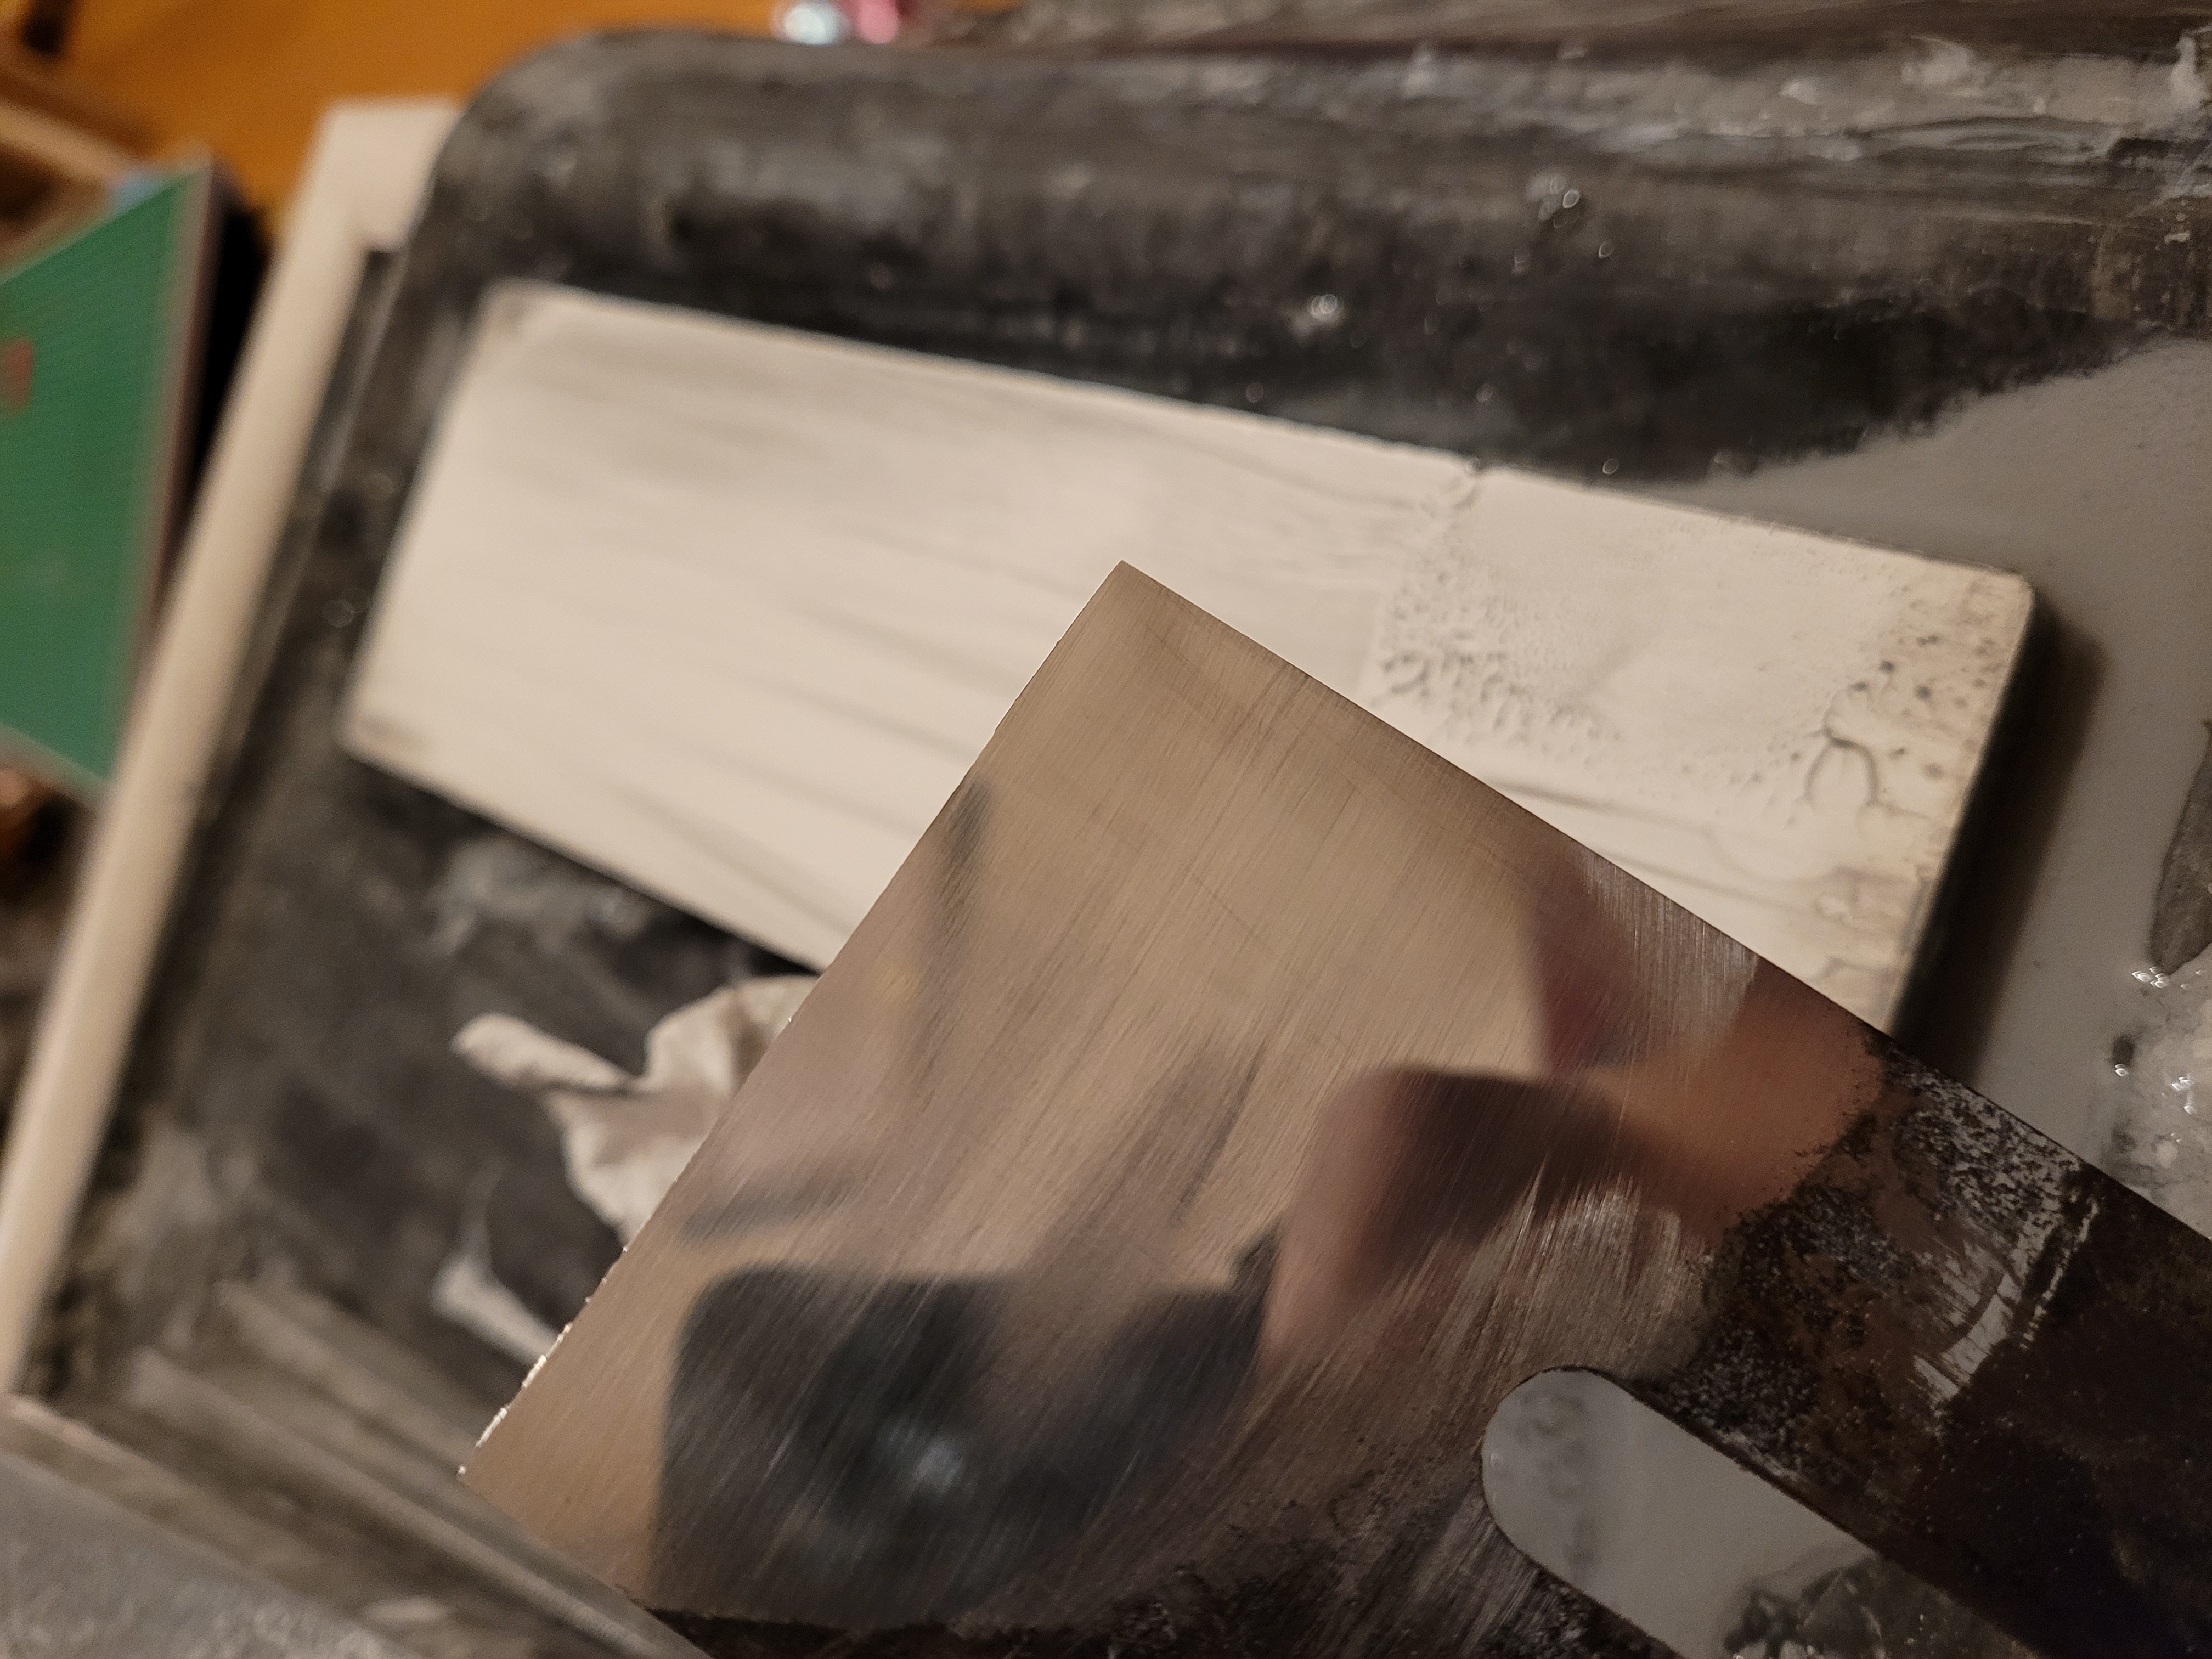
Then its over to the 1200 grit diamond stone to see what it thinks of it. It showed the corners as low, and 5 mins of lapping on that stone did not move them much. I switched to the 600 grit diamond stone, and it showed up as completely flat in about 5 minutes. That is now my standard procedure, go from the 600 grit wheel to the 600 grit stone, and then move up the grits on the stones. It will be interesting to see if I get the 1200 grit wheel, can I efficiently make the same switch to the 1200 grit diamond plate.
While I was at it I gave it a new 25 degree bevel on the Worksharp, just a few minutes work.
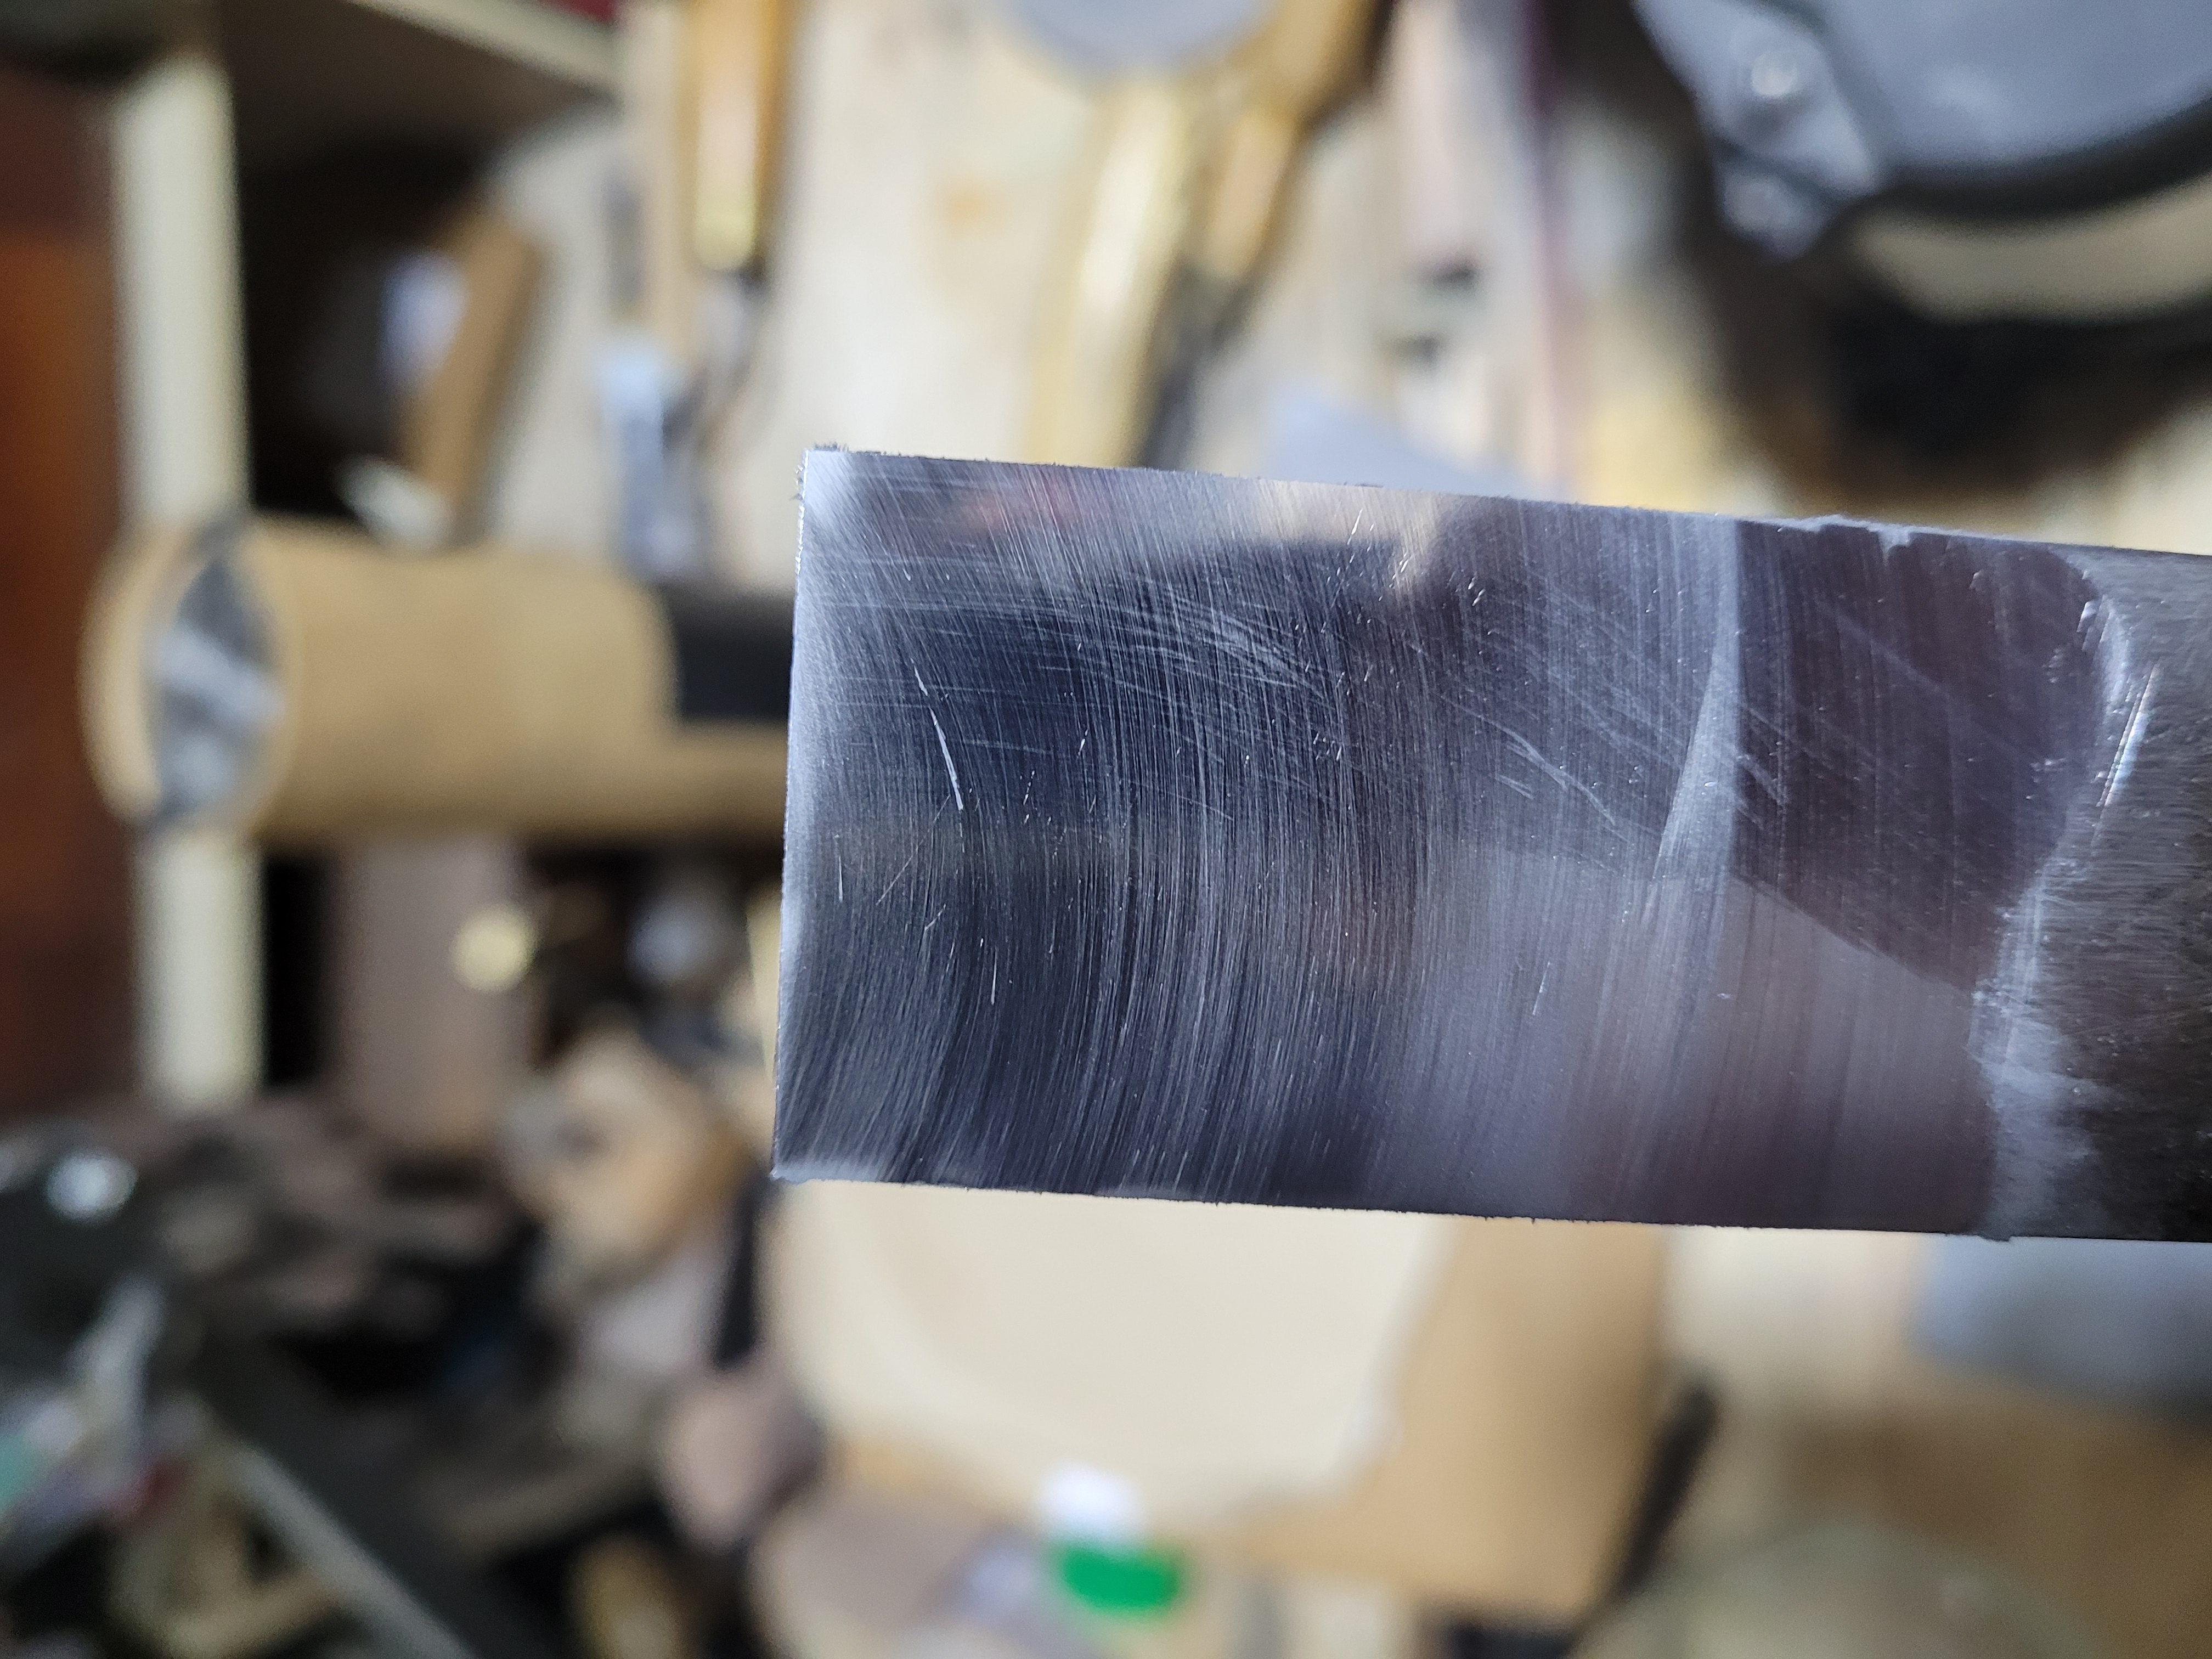
On to the water stones without any issues
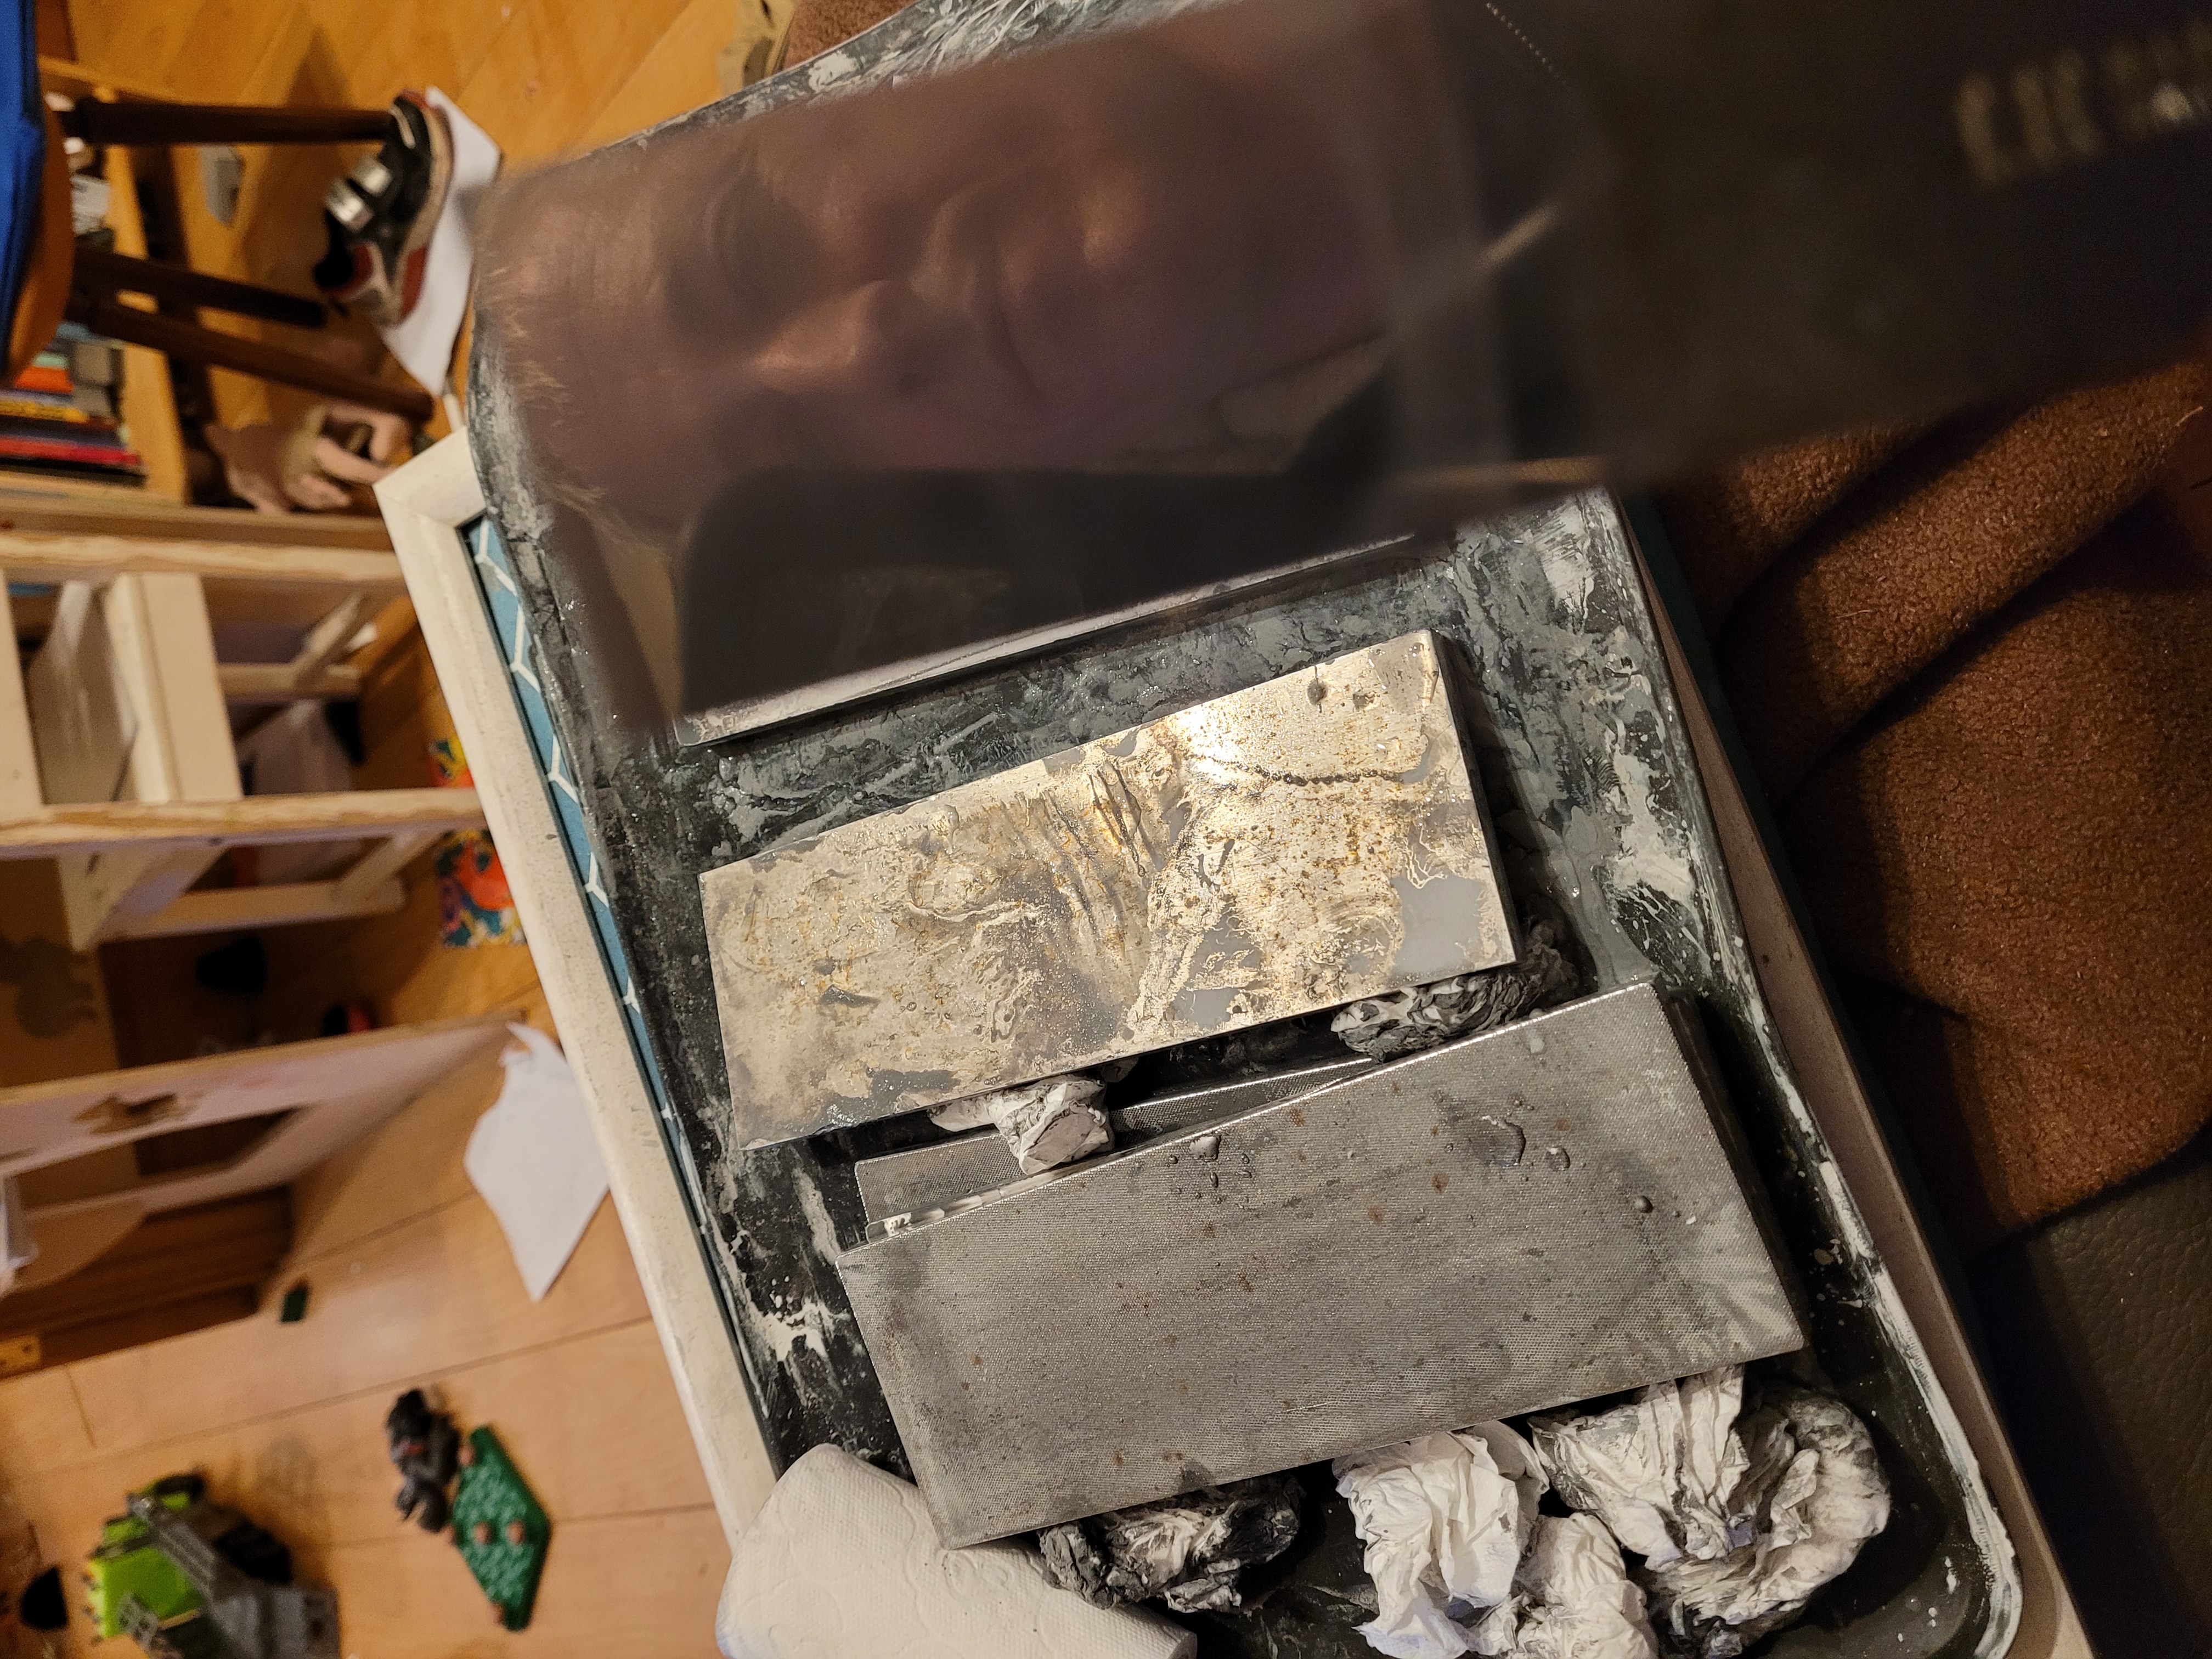
1200 grit diamond, to 6000 Shapton waterstone, to 16000 Shapton water stone. I am feeling that I could use a stone between the diamond and the 6000, took about 20 minutes to get rid of the diamond scratches there on this chisel.
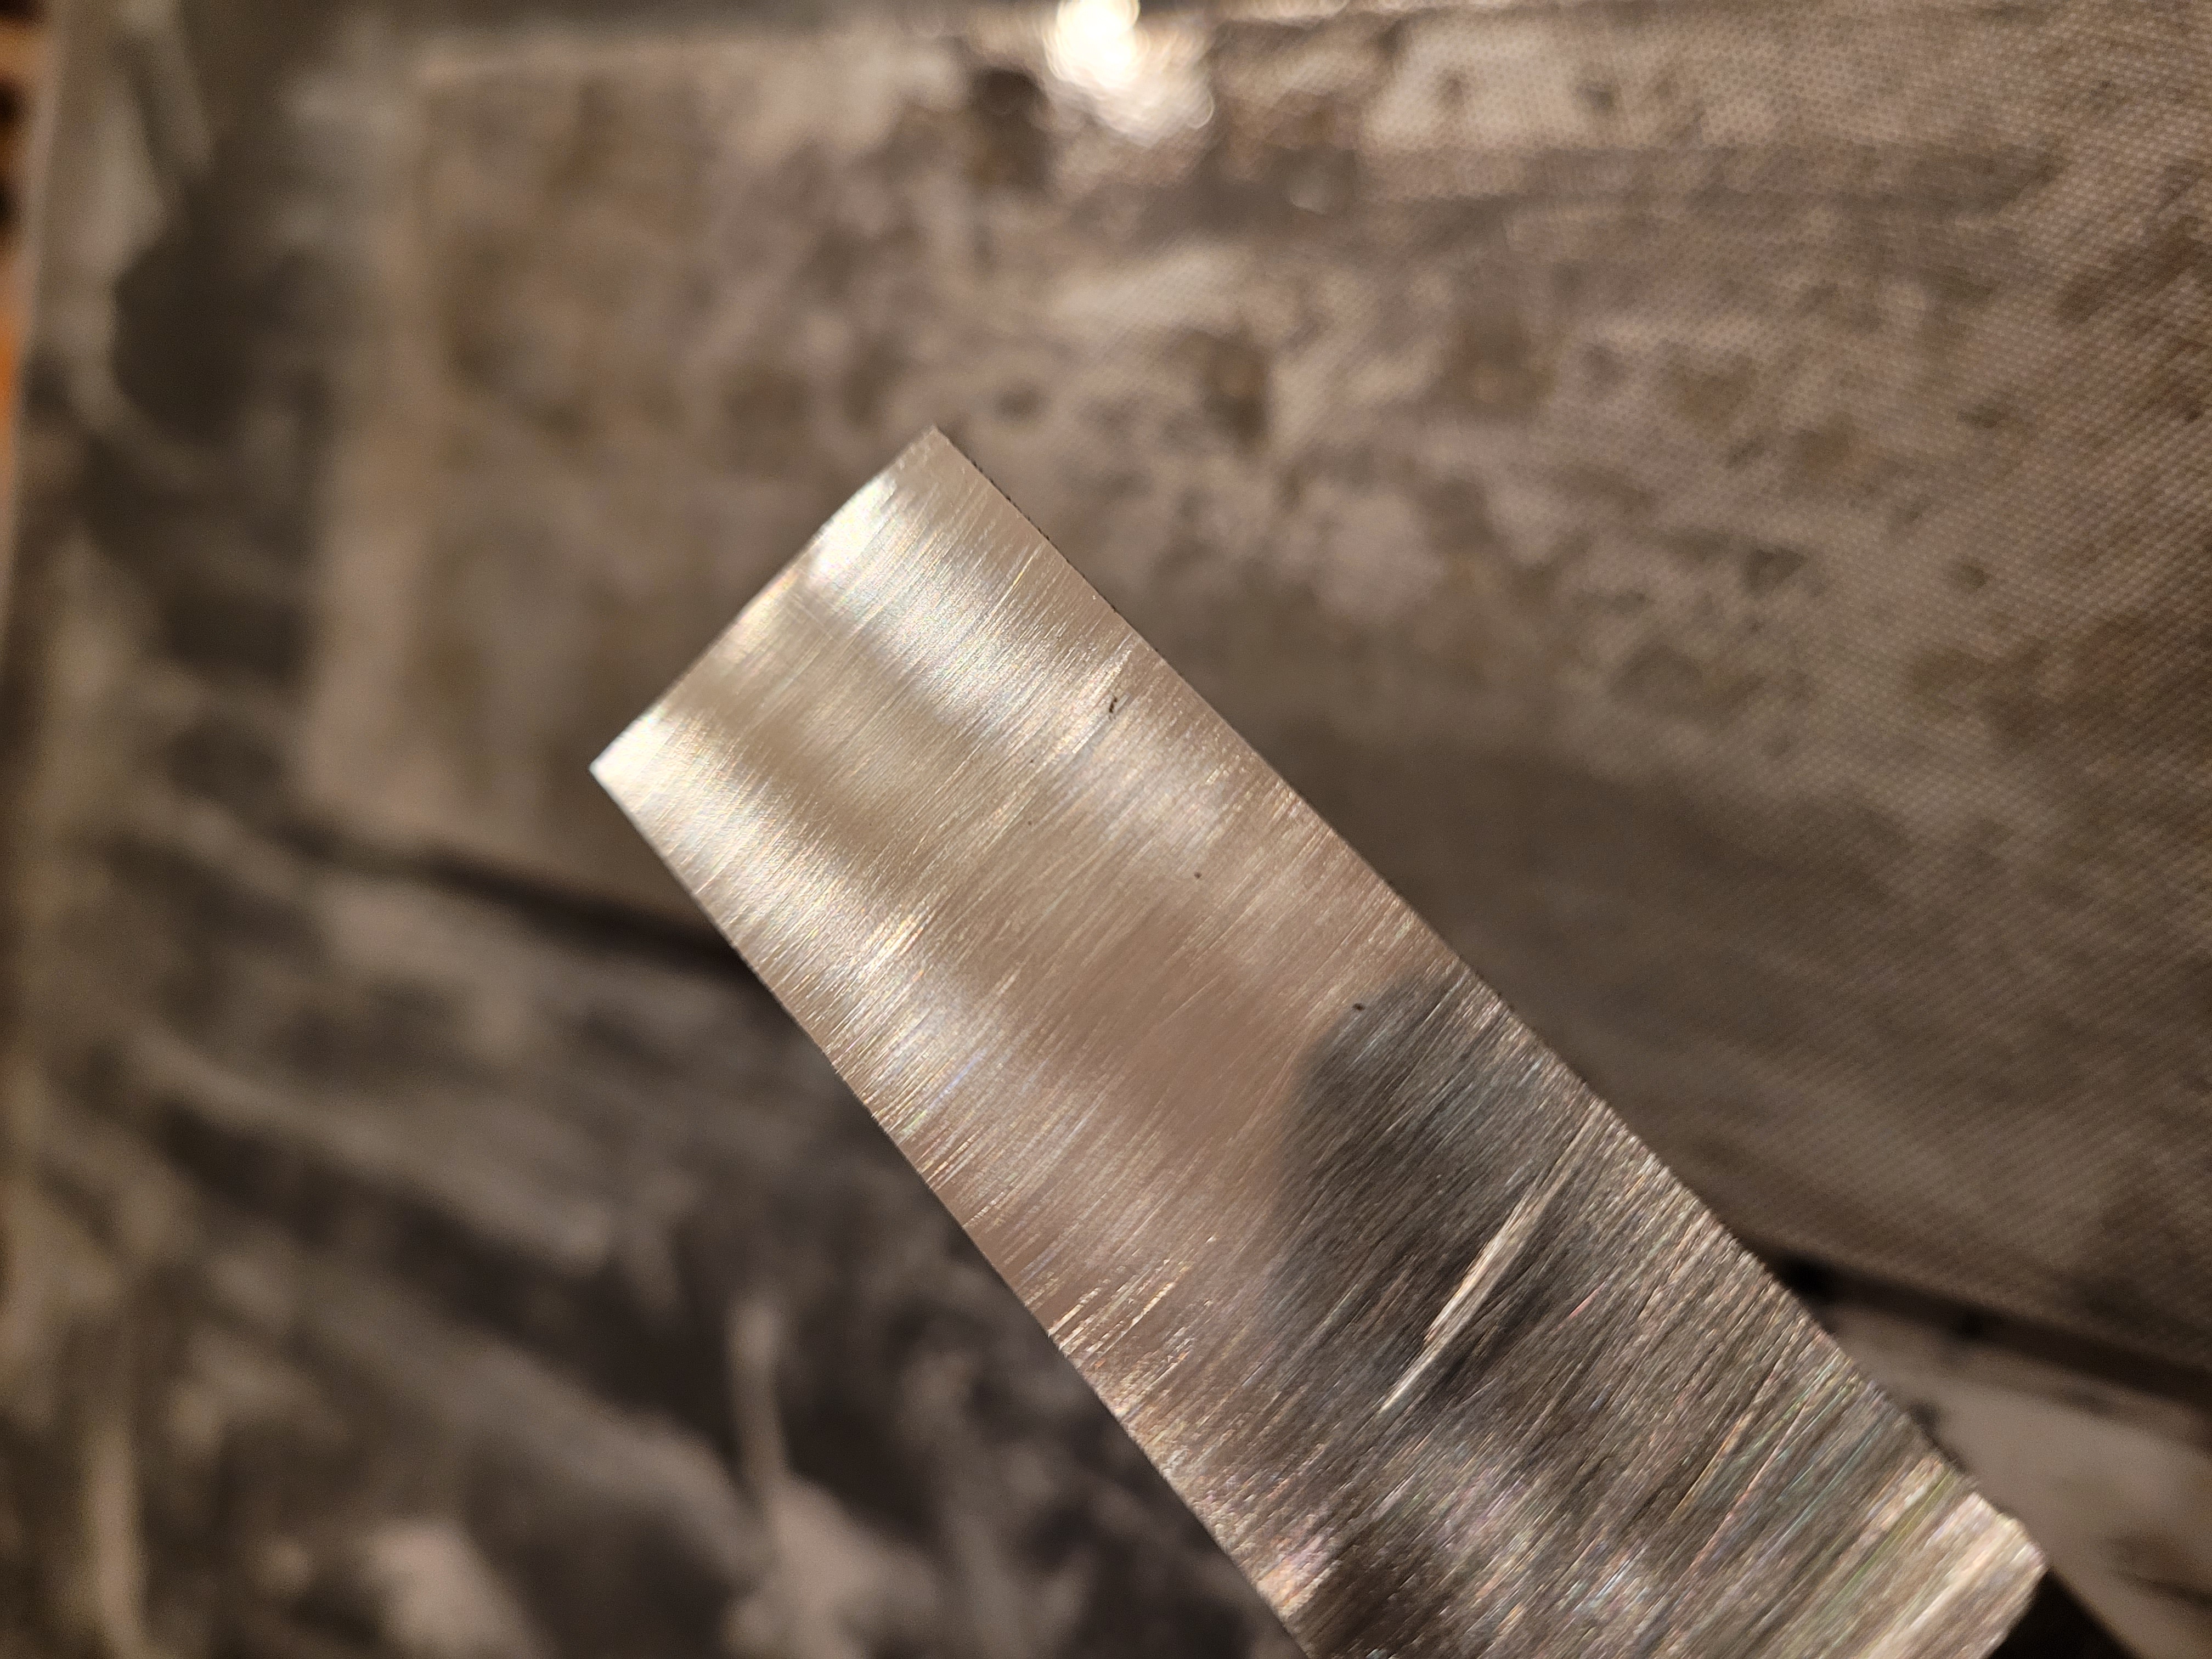
Patient 2. A 3/4 inch chisel.
Its in pretty rough shape, lots of corrosion at the tip, but little actual pitting elsewhere.
First touches of the wheel show that corroded tip is pretty low.
It took about 15 minutes on the CBN wheels, and then I tried out lapping on the diamond discs.
Initially this went well on the 1000 grit disc, but the 2000 and 3000 discs seemed to be making it less flat, not more.
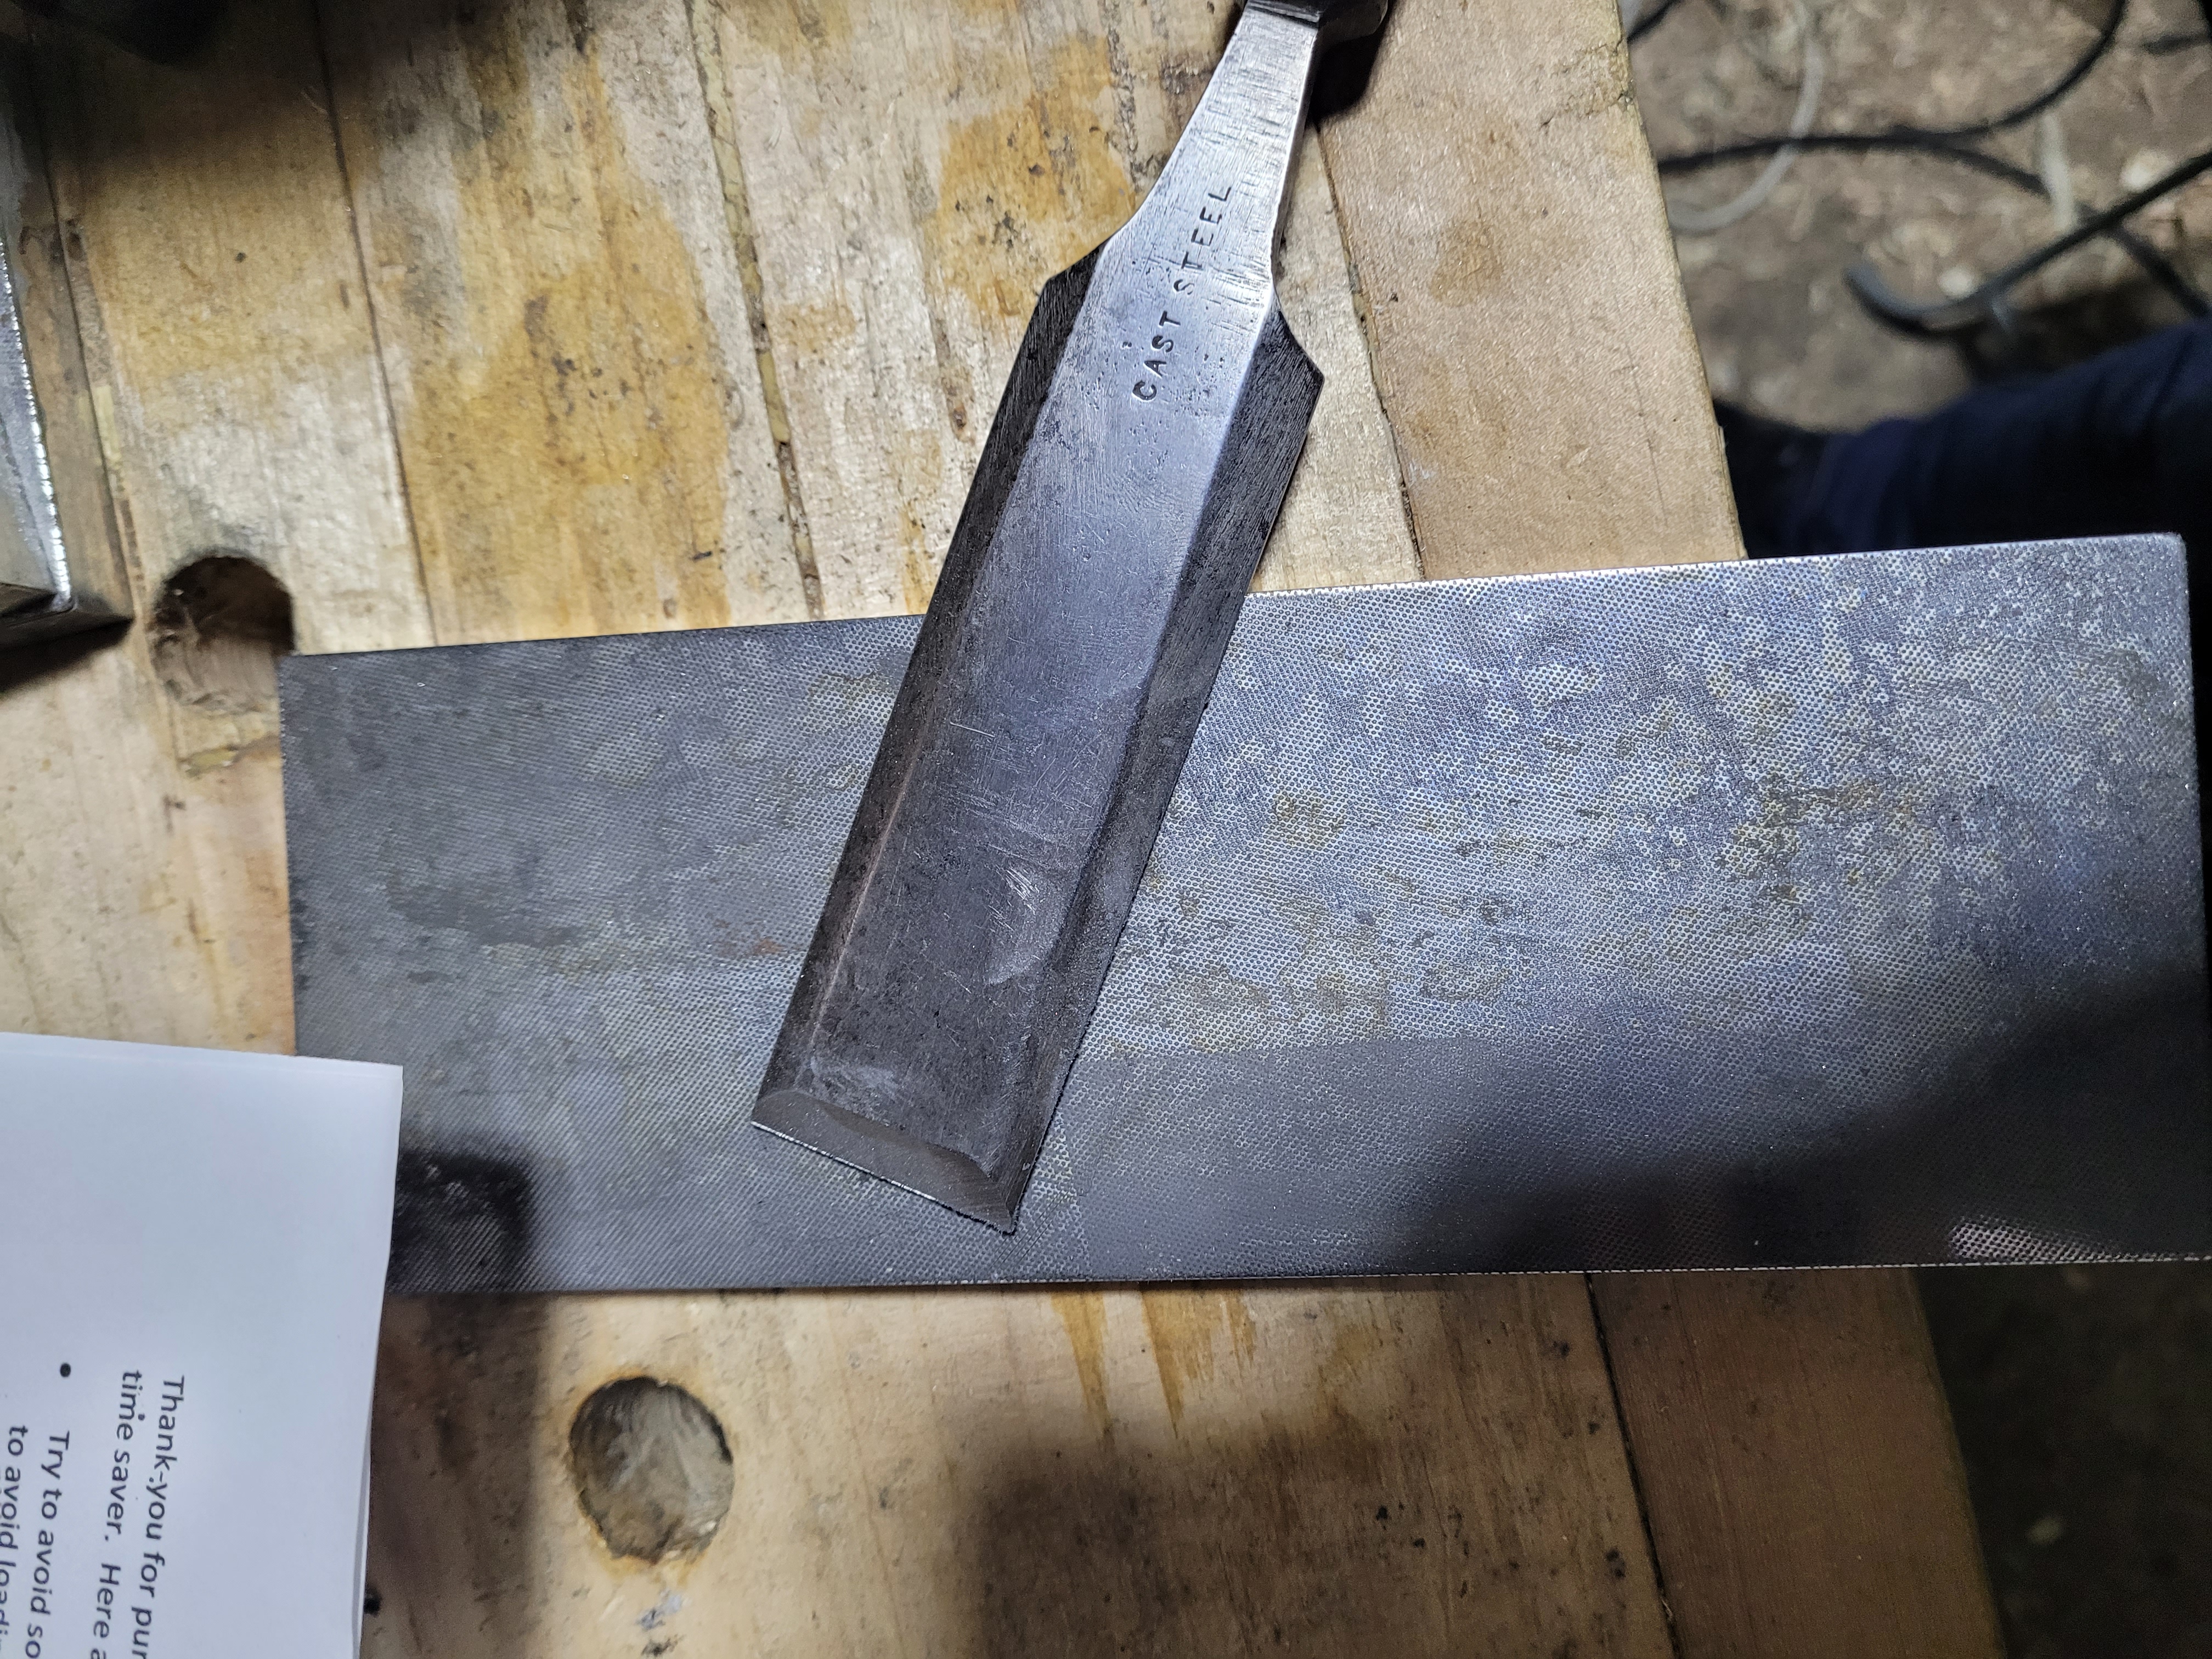
And then I decided to polish up the bevel a little. Absolute disaster. Within a second of touching the bevel to the diamond wheel. There was a huge judder and squeeling, and when I flipped the disc over to look, I could see strips of diamond gone.
And big scratches in the bevel.
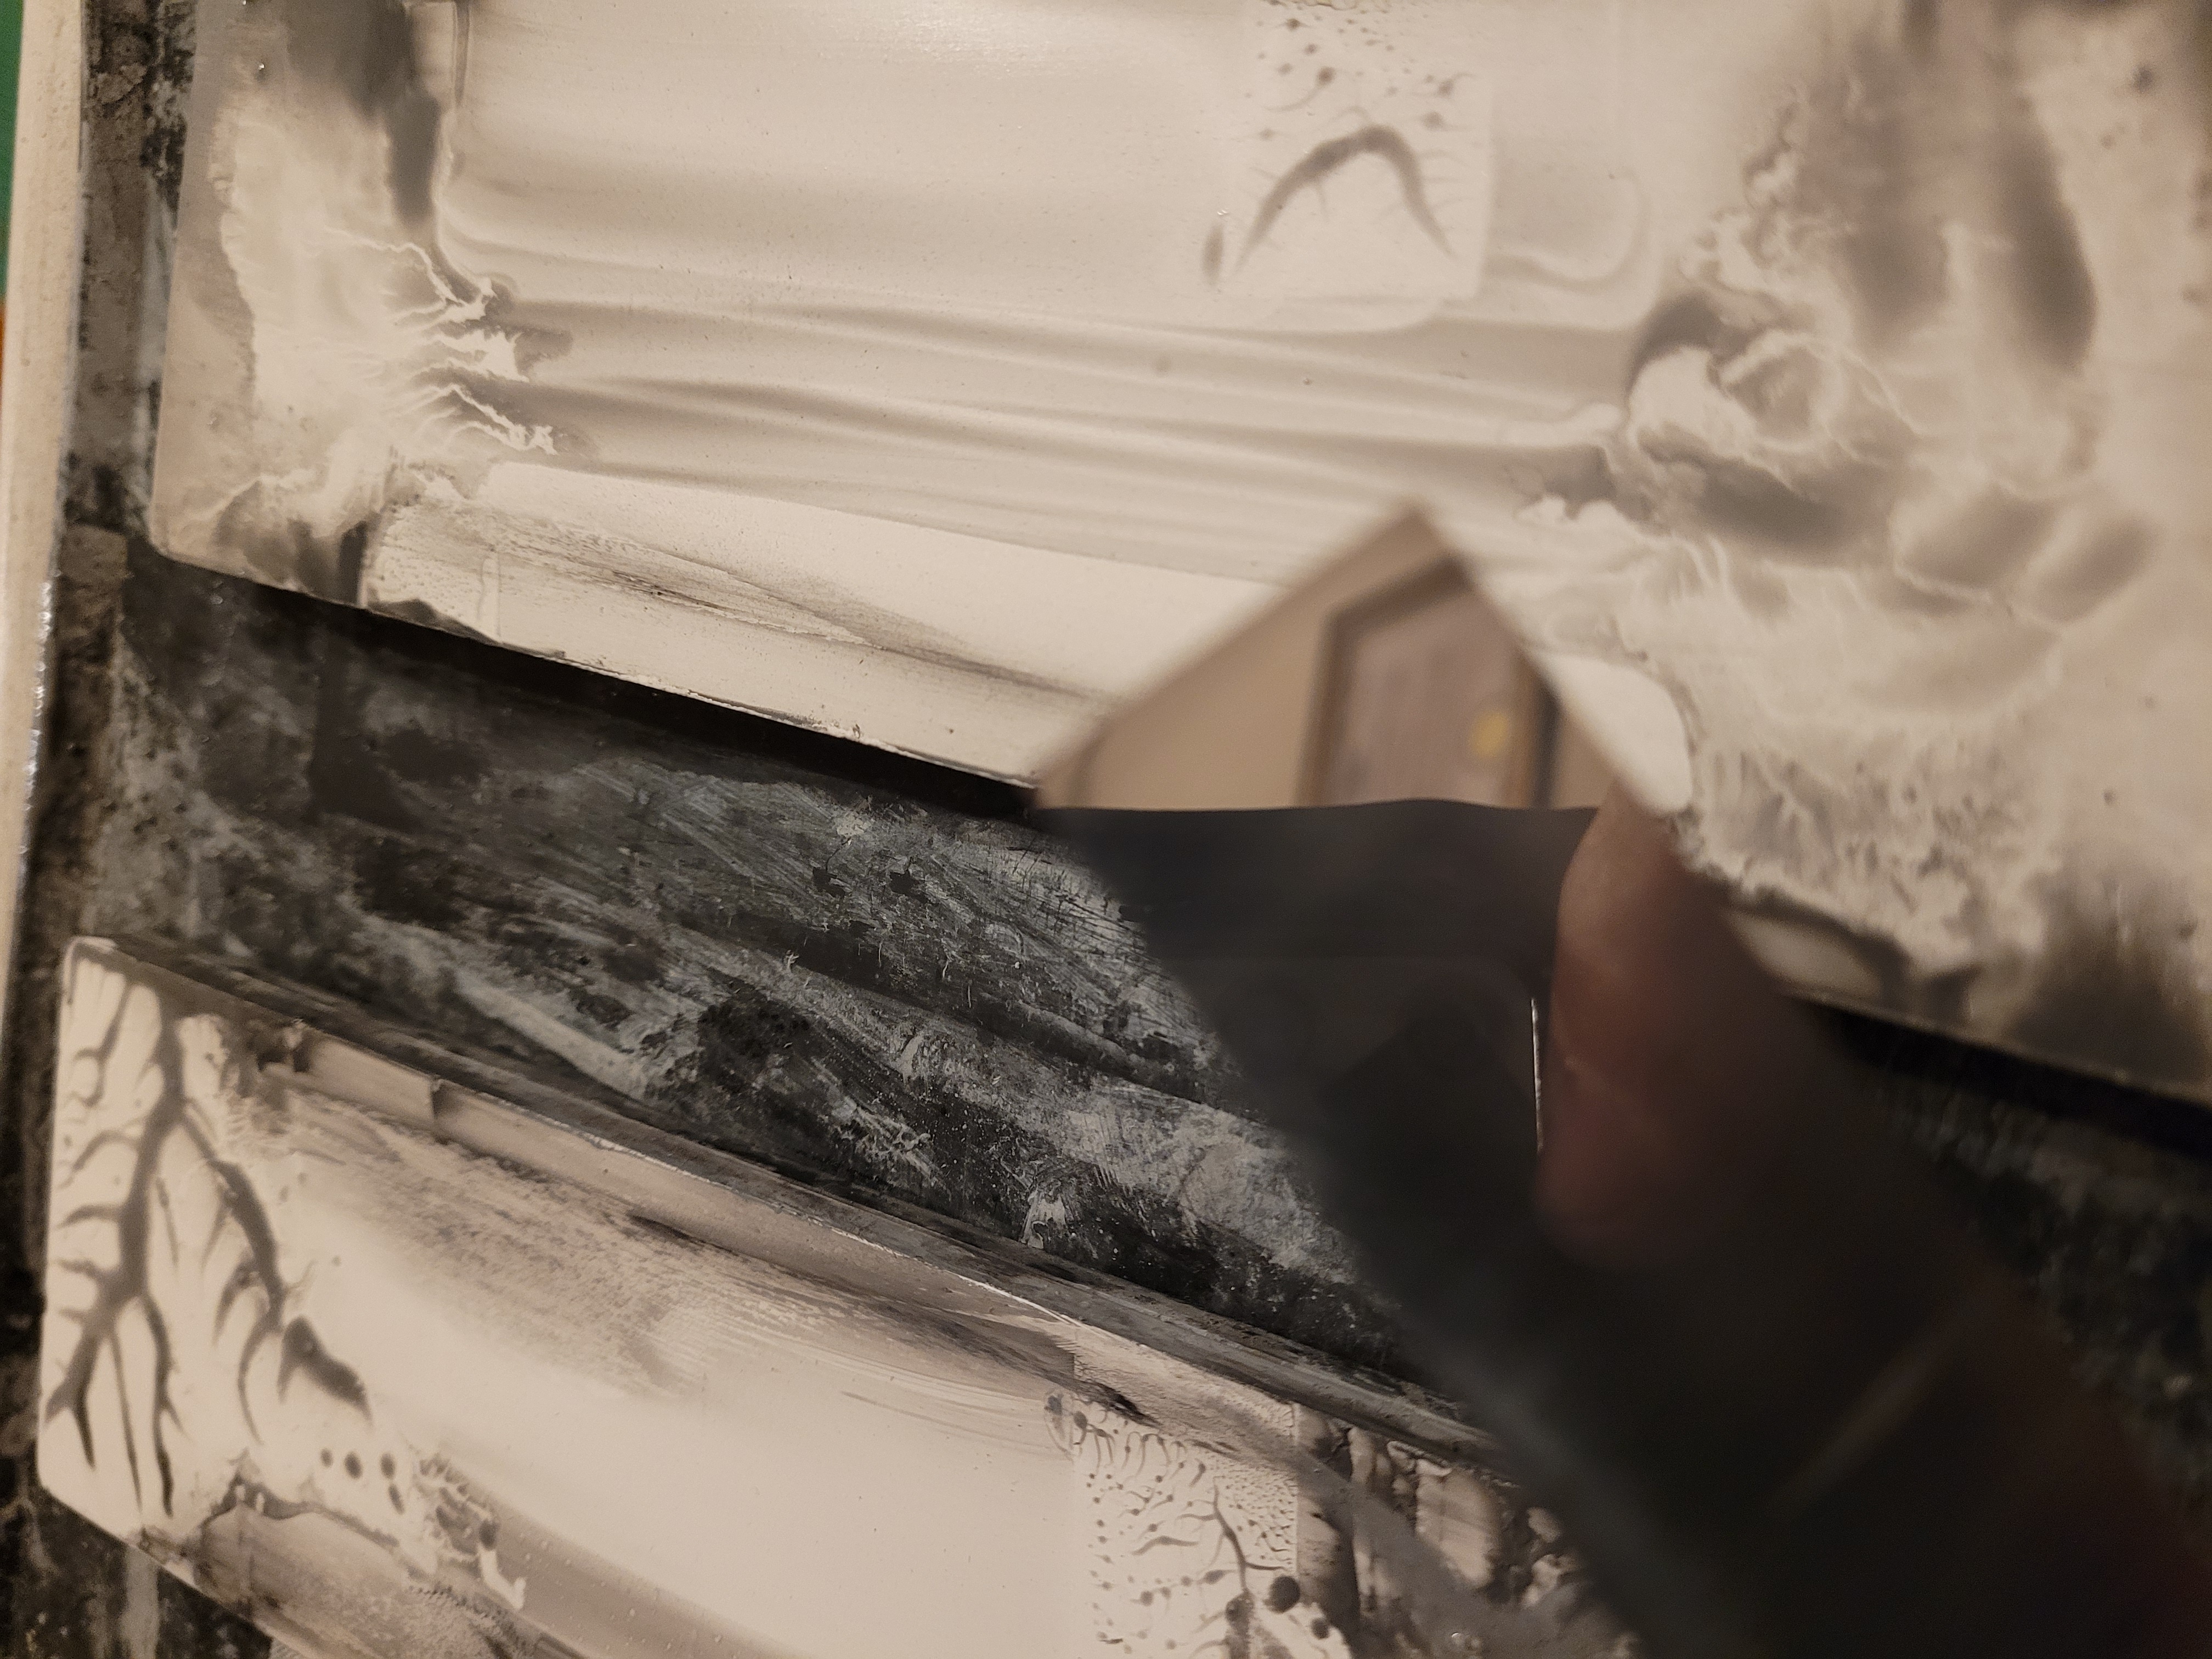
I tried to lap again, big scratches in the back. I had to go back to the CBN wheel to work these out. I tried again on the 3000 grit wheel. It self destructed the same way. These cheap diamond wheels are going in the bin. I don’t trust em. I also tried polishing up with the sandpaper discs up to 3500 grit. When I checked on the diamond stones, they showed up as being low on the sides, and it took more work to flatten that out on the diamond stone than was saved by using the Worksharp. So while they did not mess up the iron, they saved no time. If I had been happy to stop at the 3500 grit, it would not have been an issue. So they are not useless, but no good as a step to a higher grit stone.
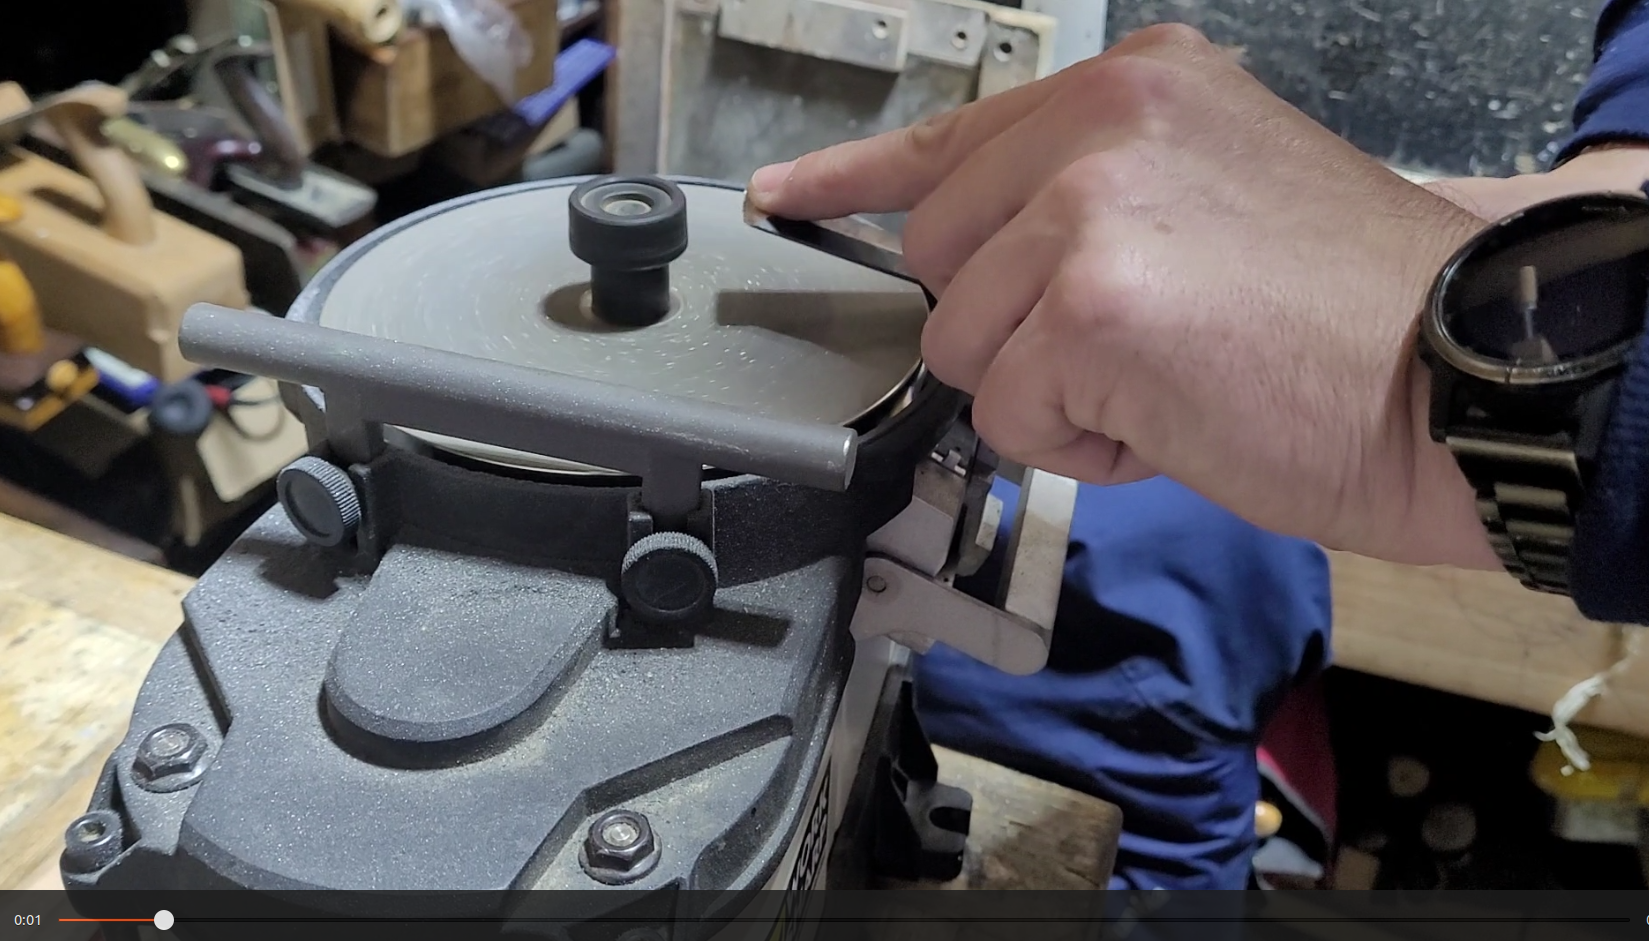
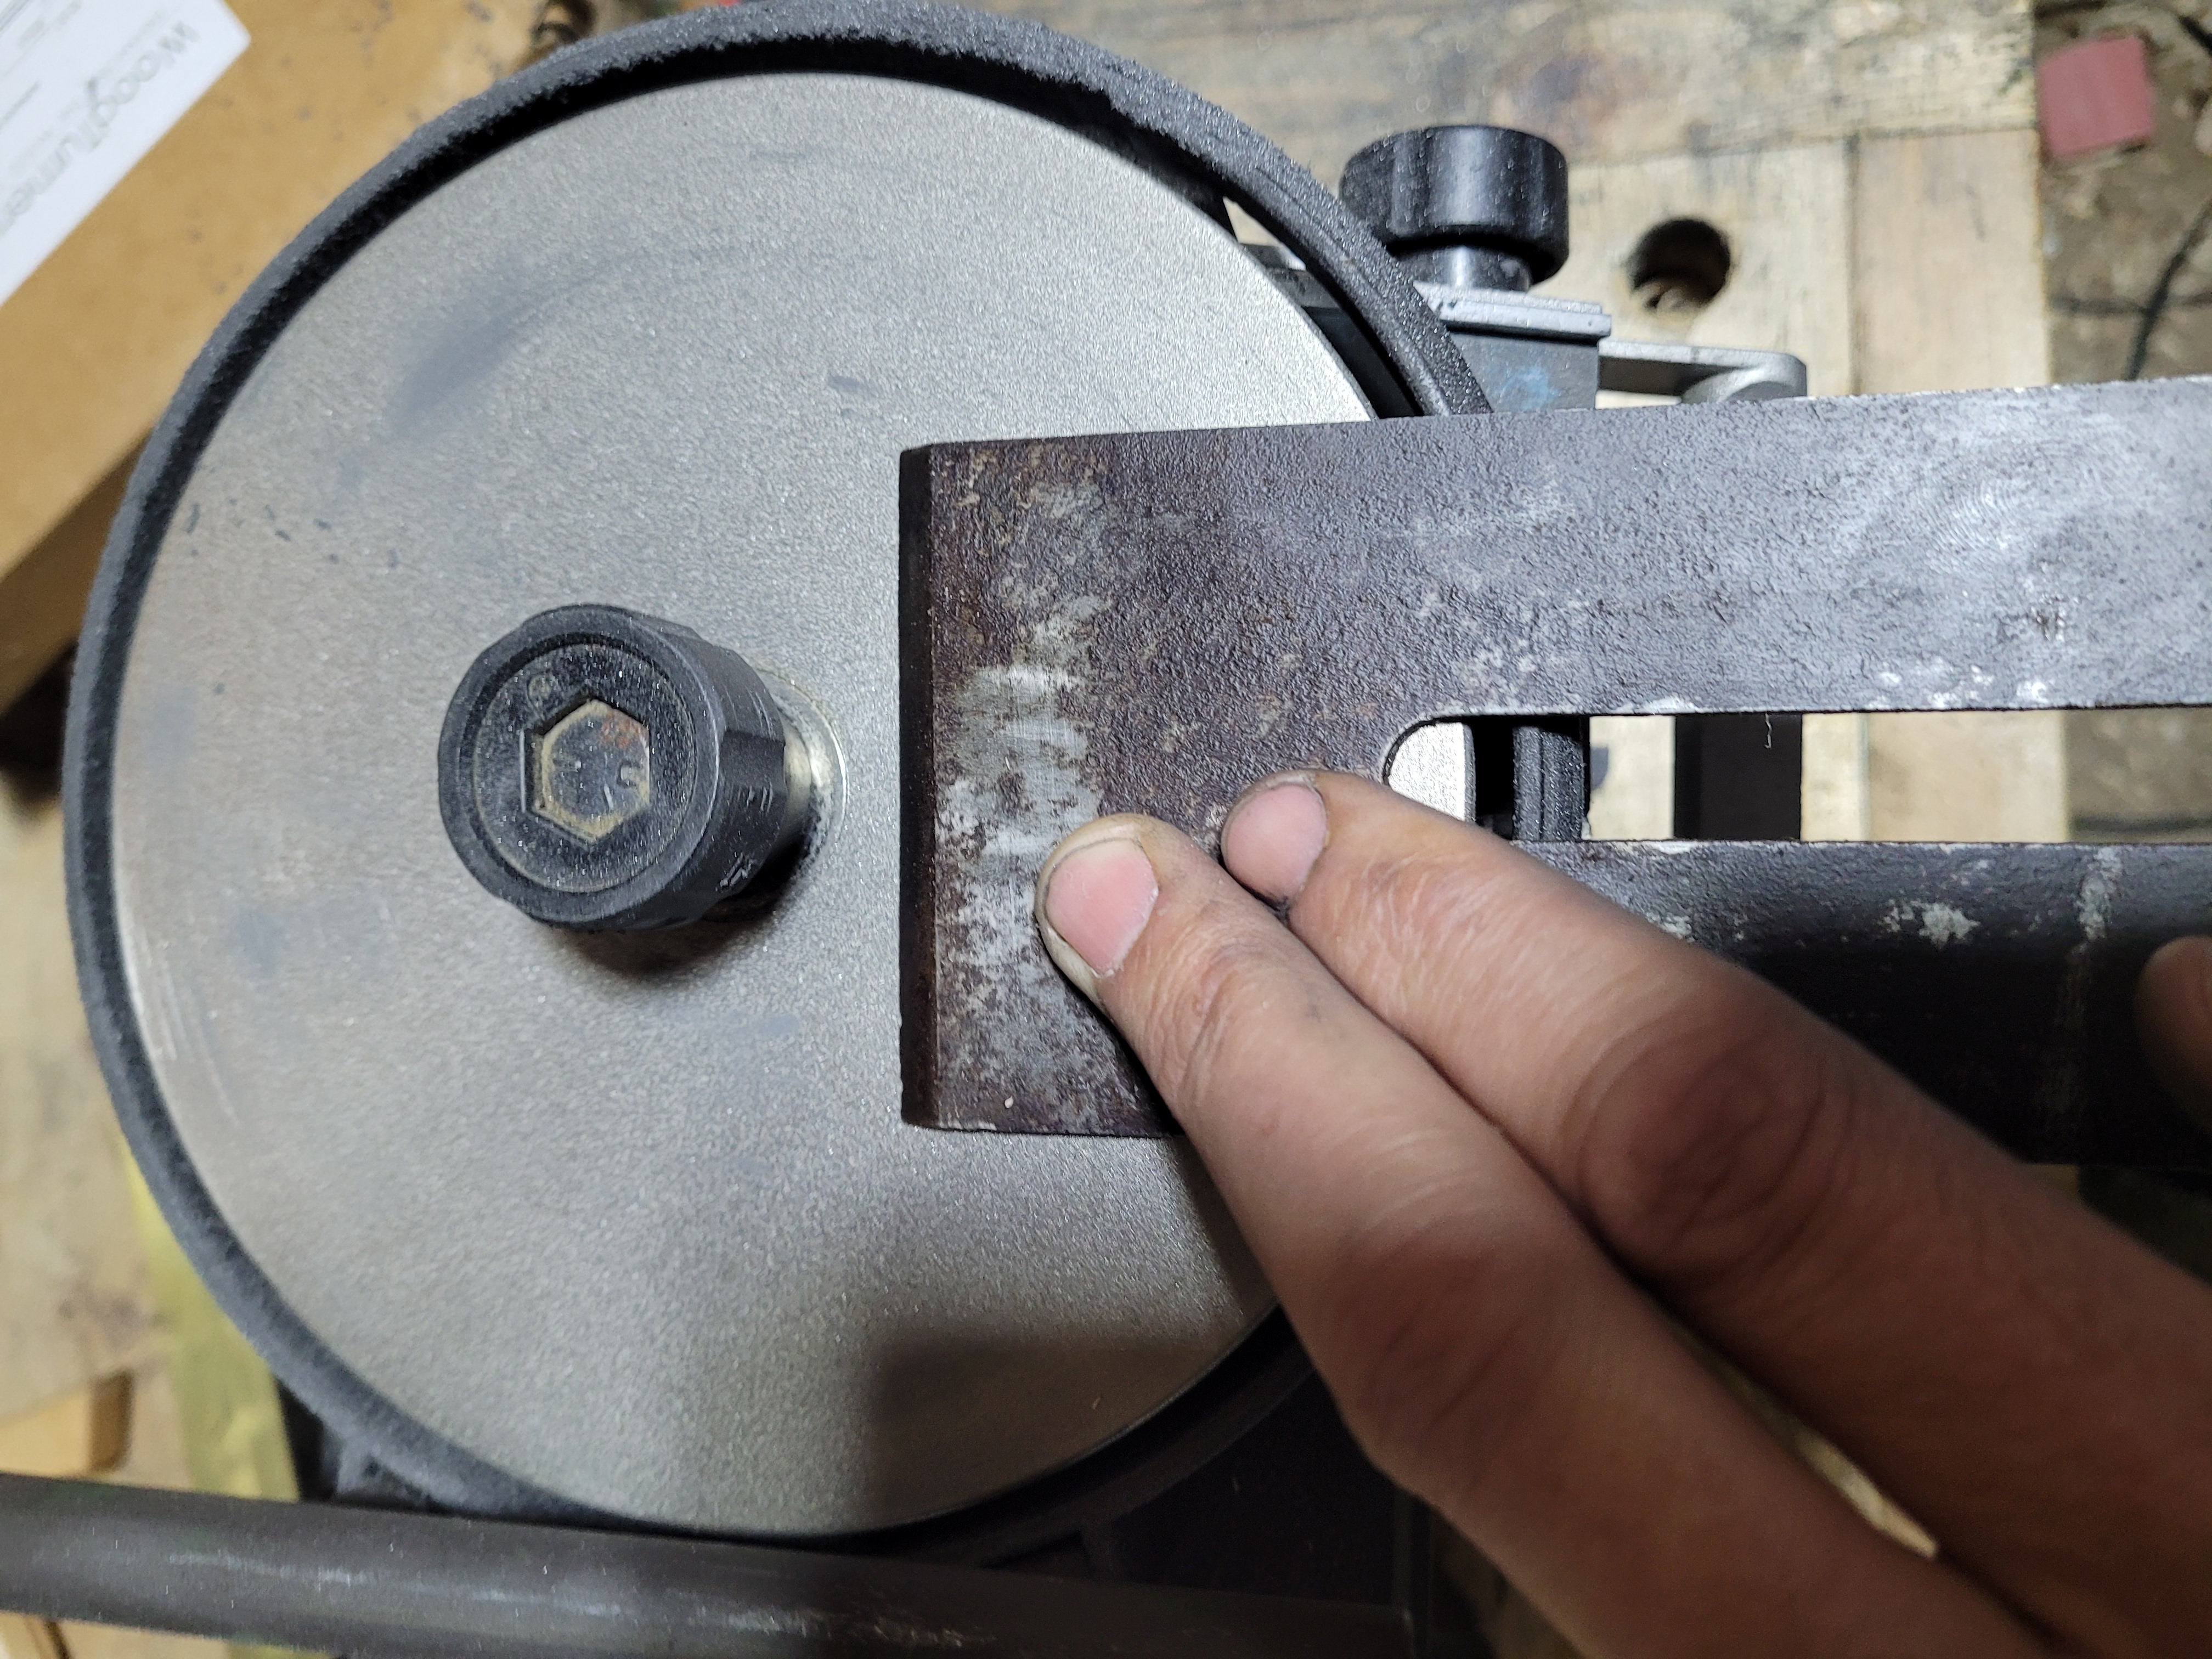
You can see a short video of how I use the Worksharp here. You want the rear of the blade to make contact before the tip. Then get the tip down and flat quickly. Move in and out to prevent creating a step in the back of your iron. Move directly toward the centre, not at an angle. The outside of the disc is turning faster than the inside. If you do not aim straight in, you will have different removal rates on one side rather than the other.

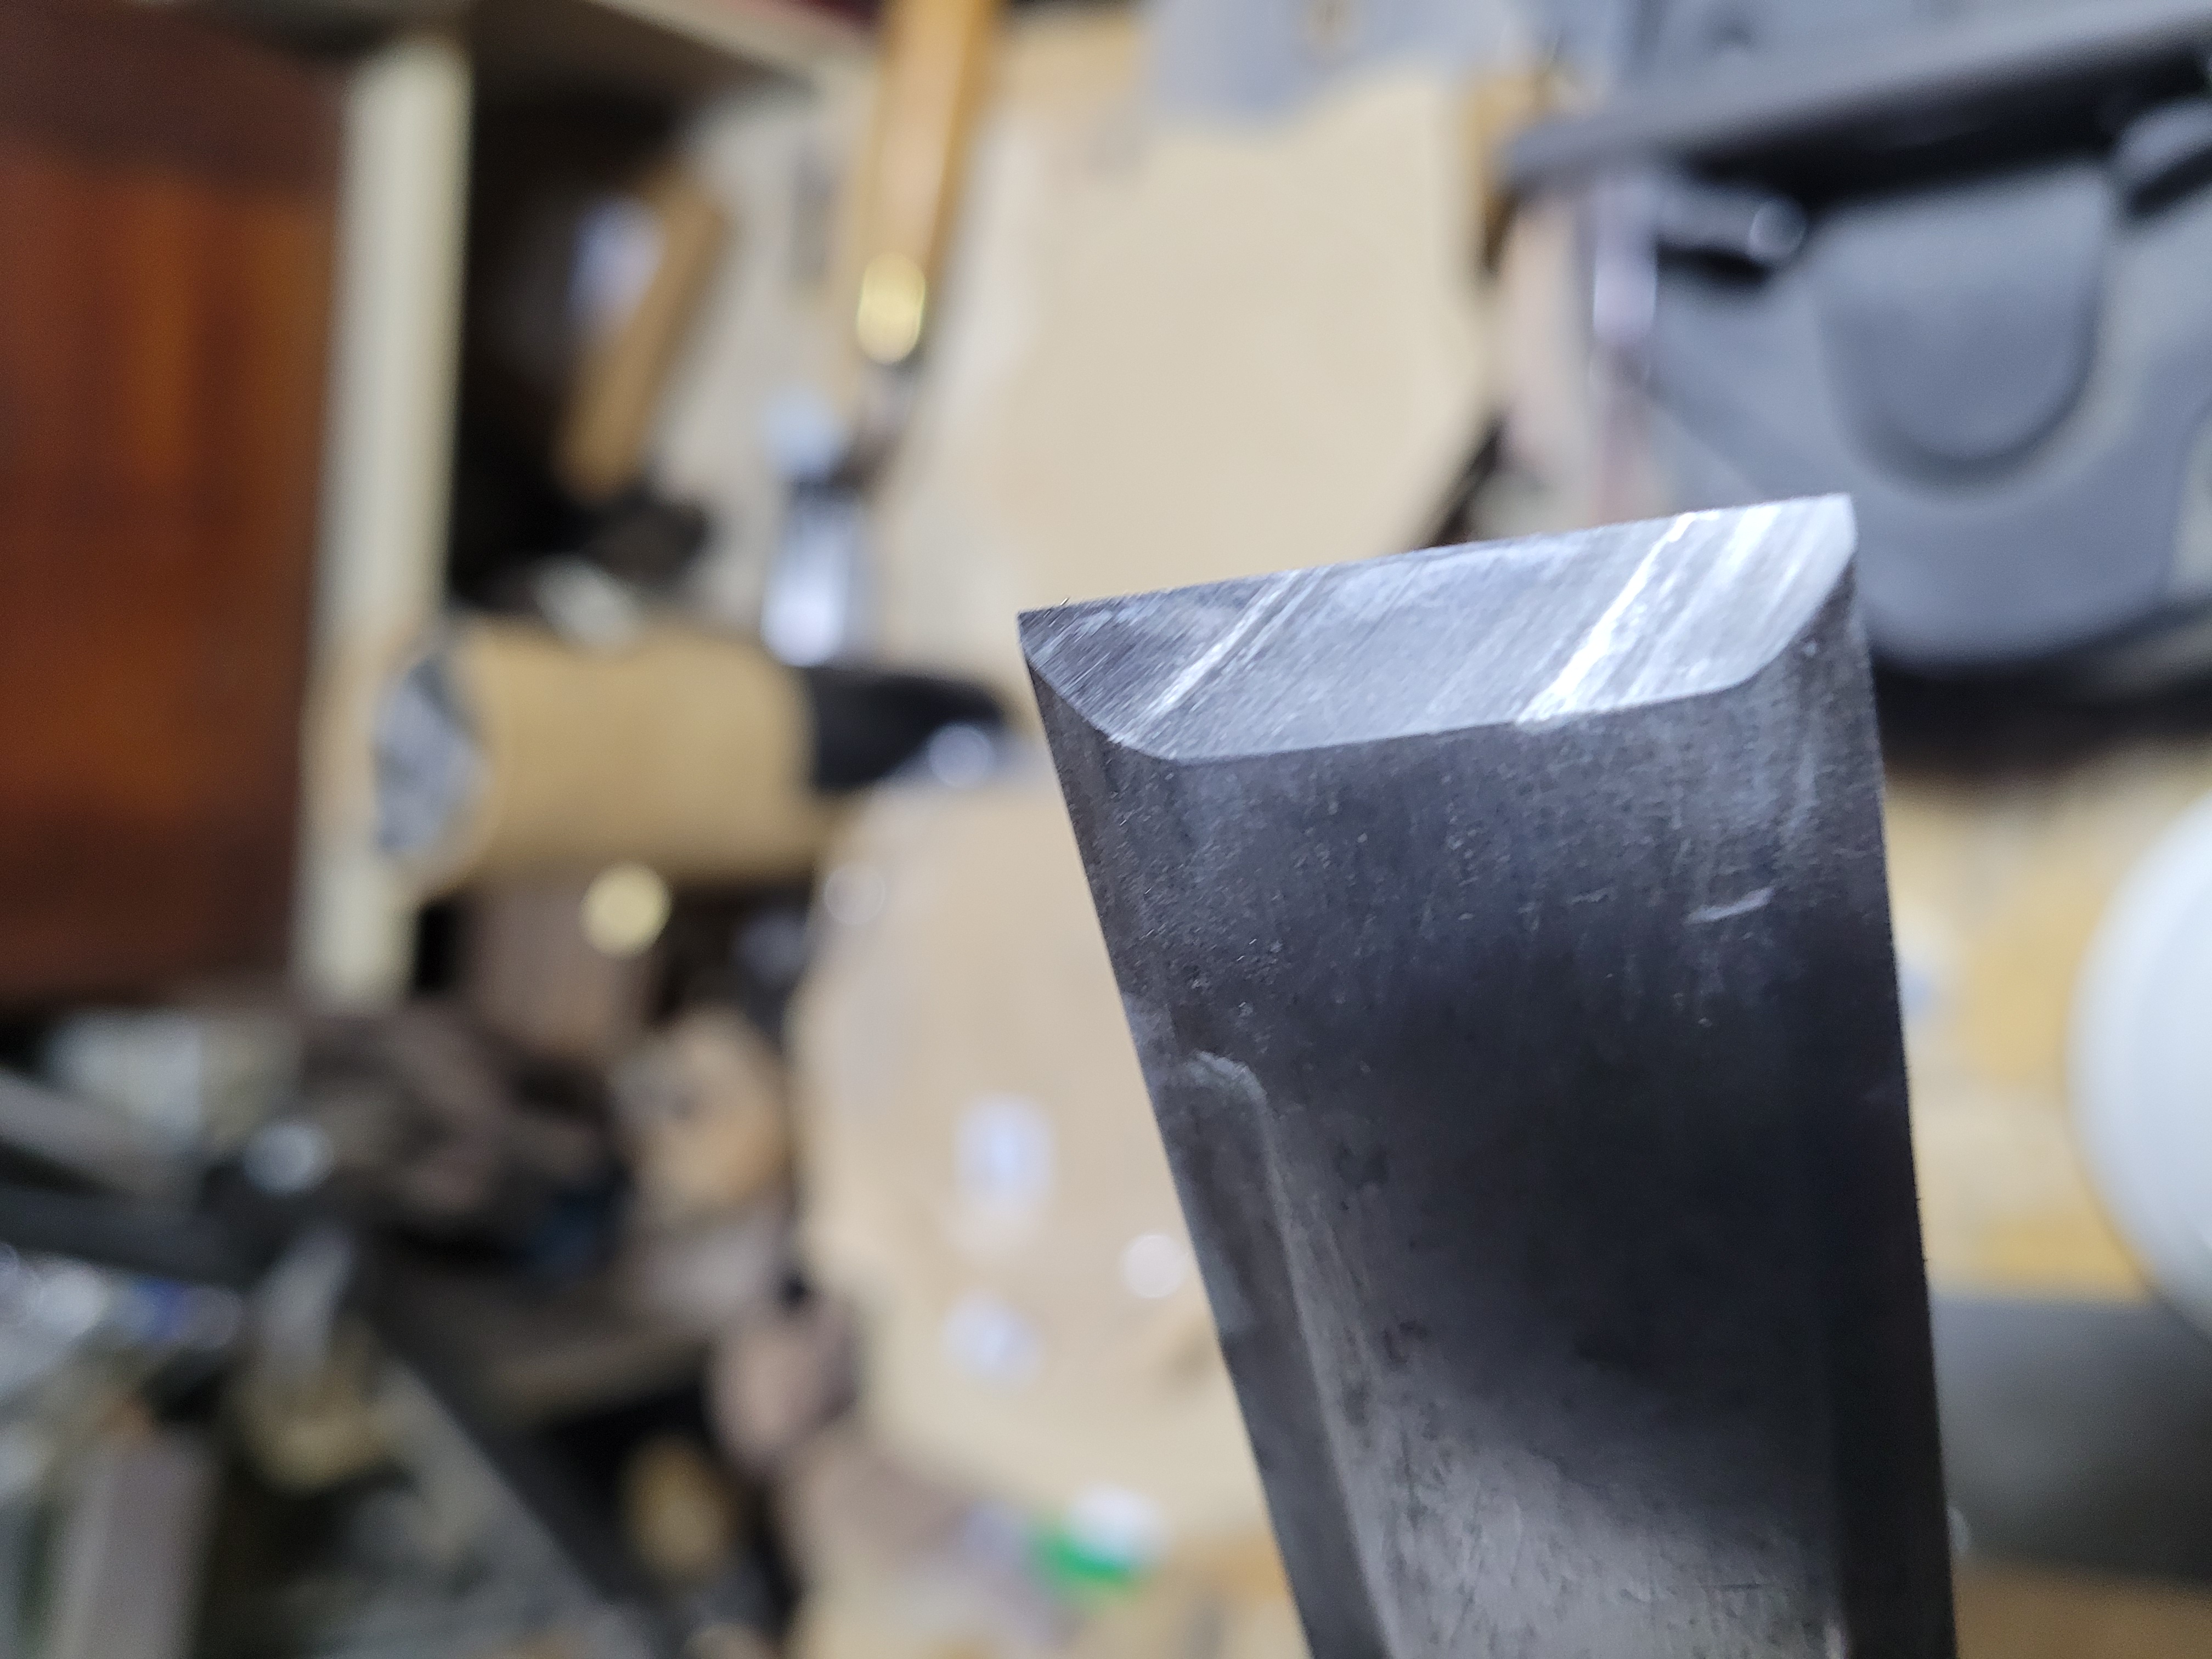
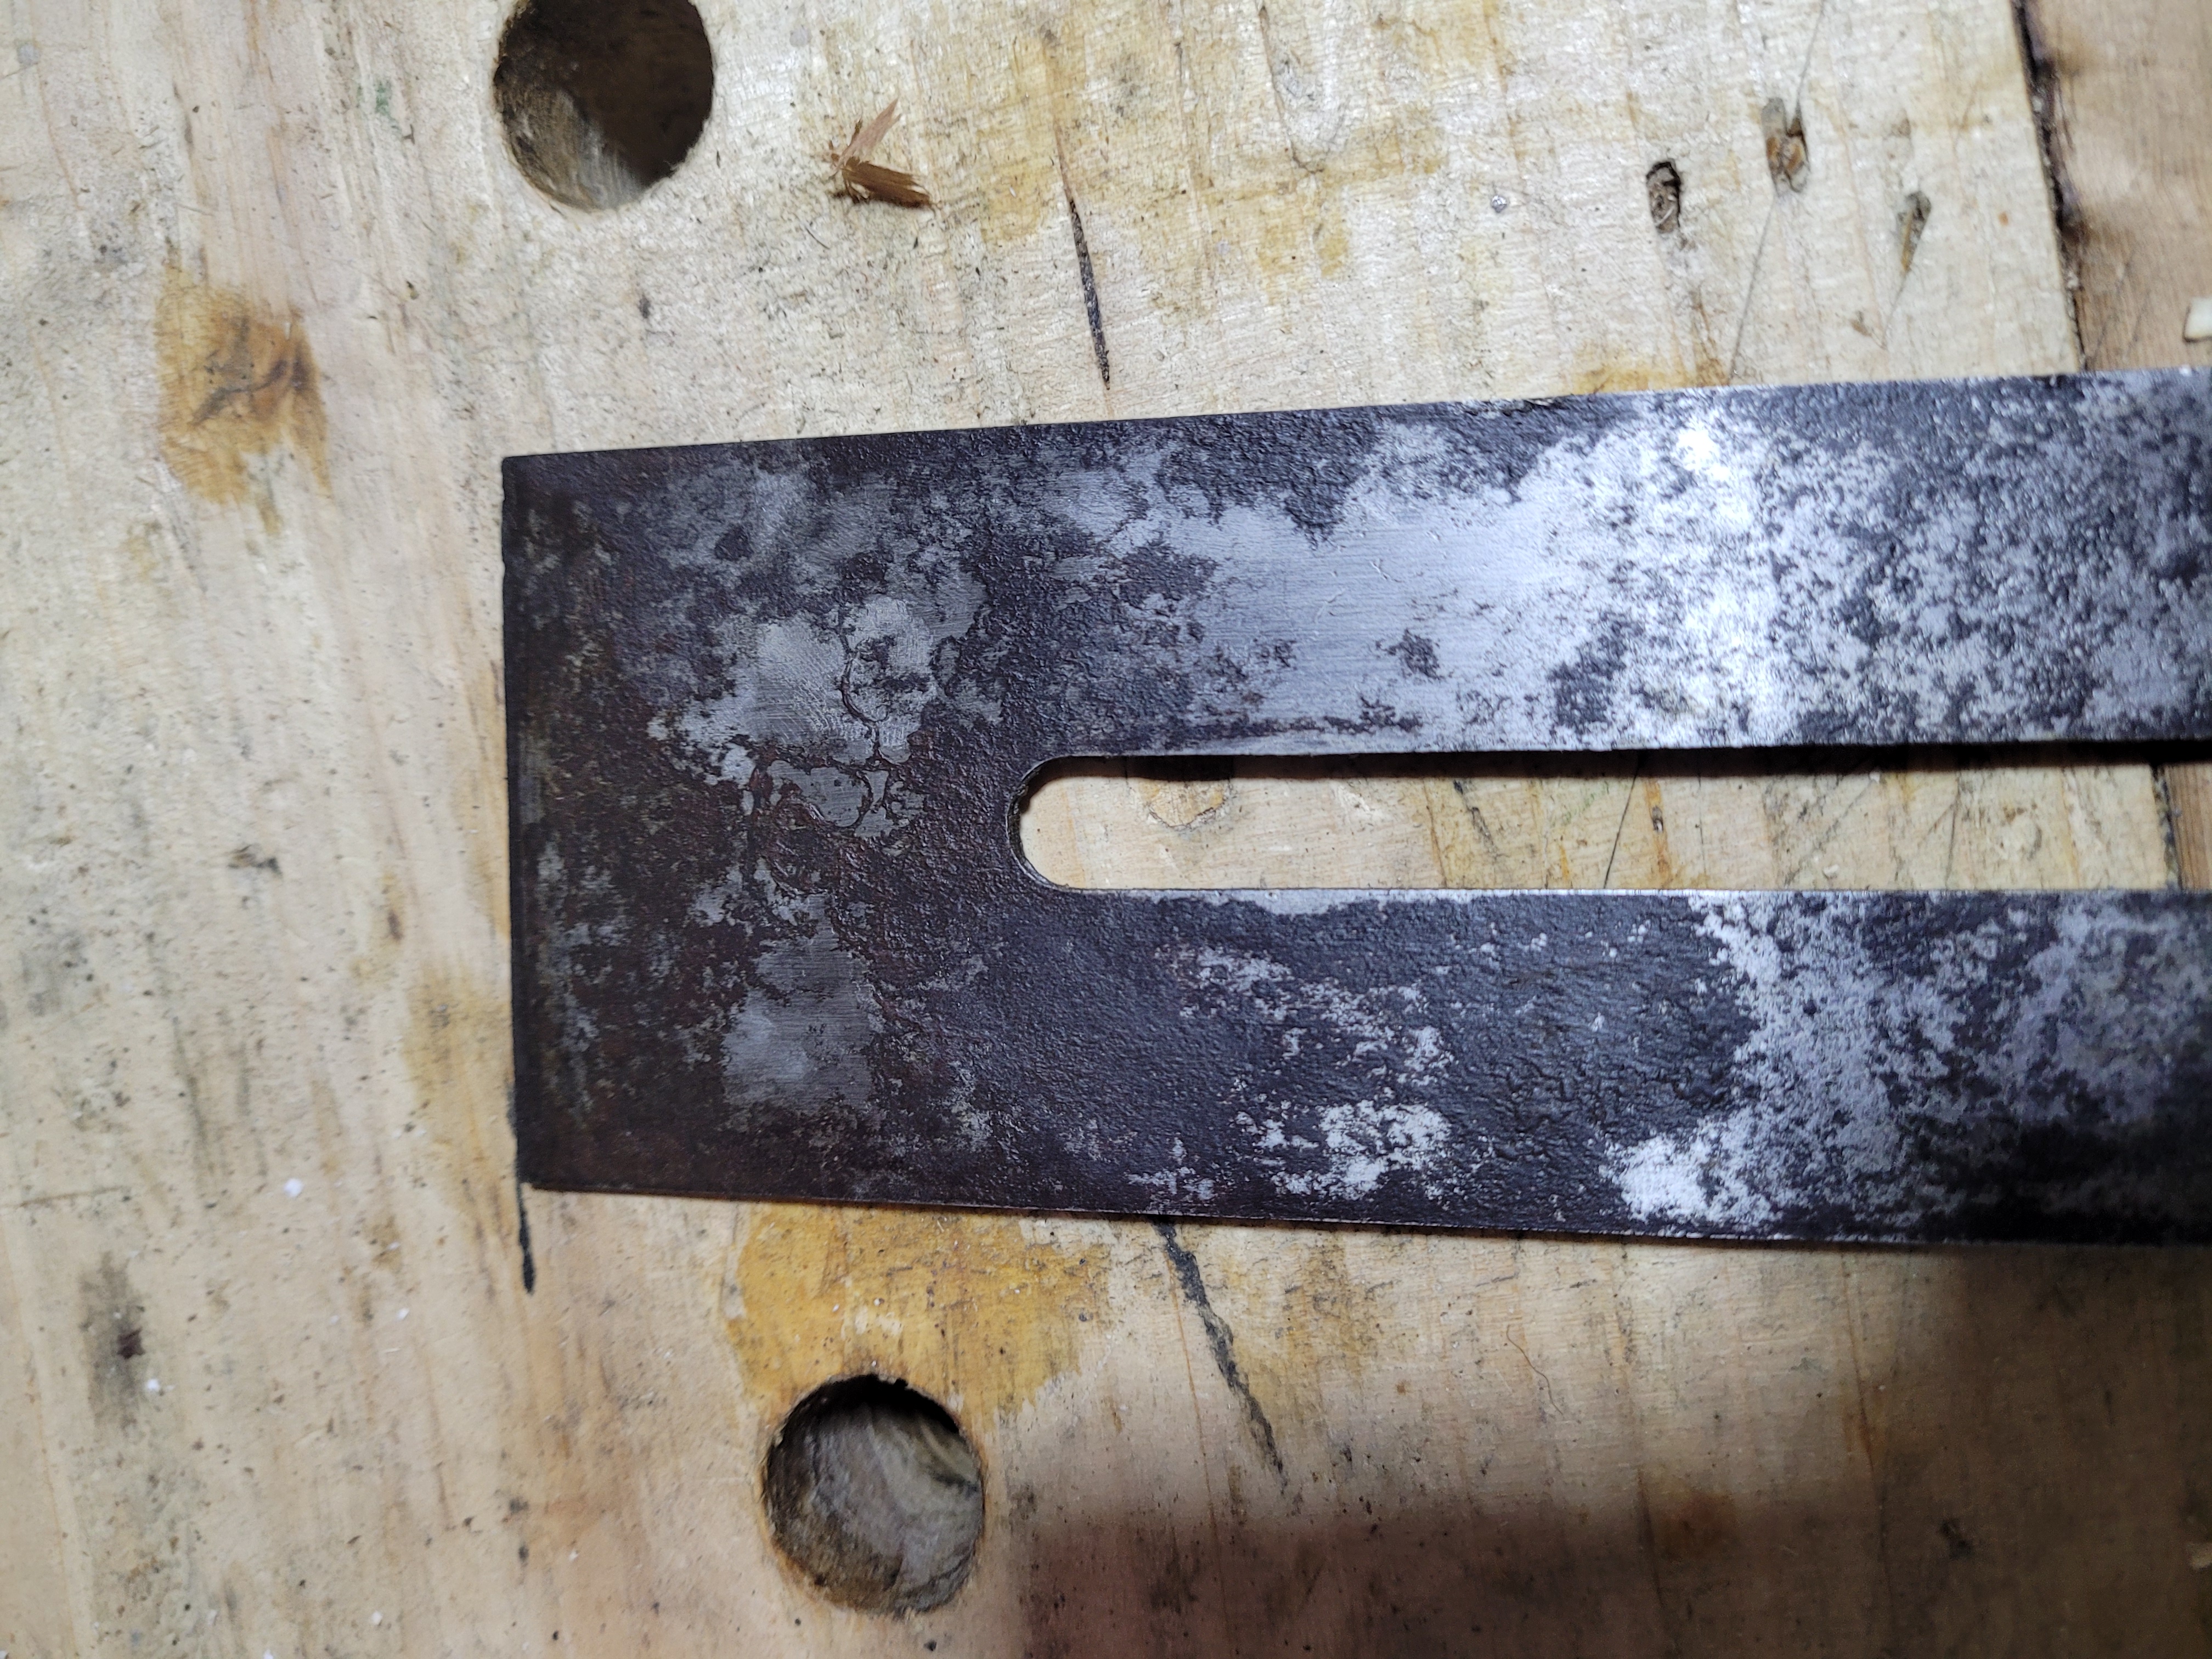
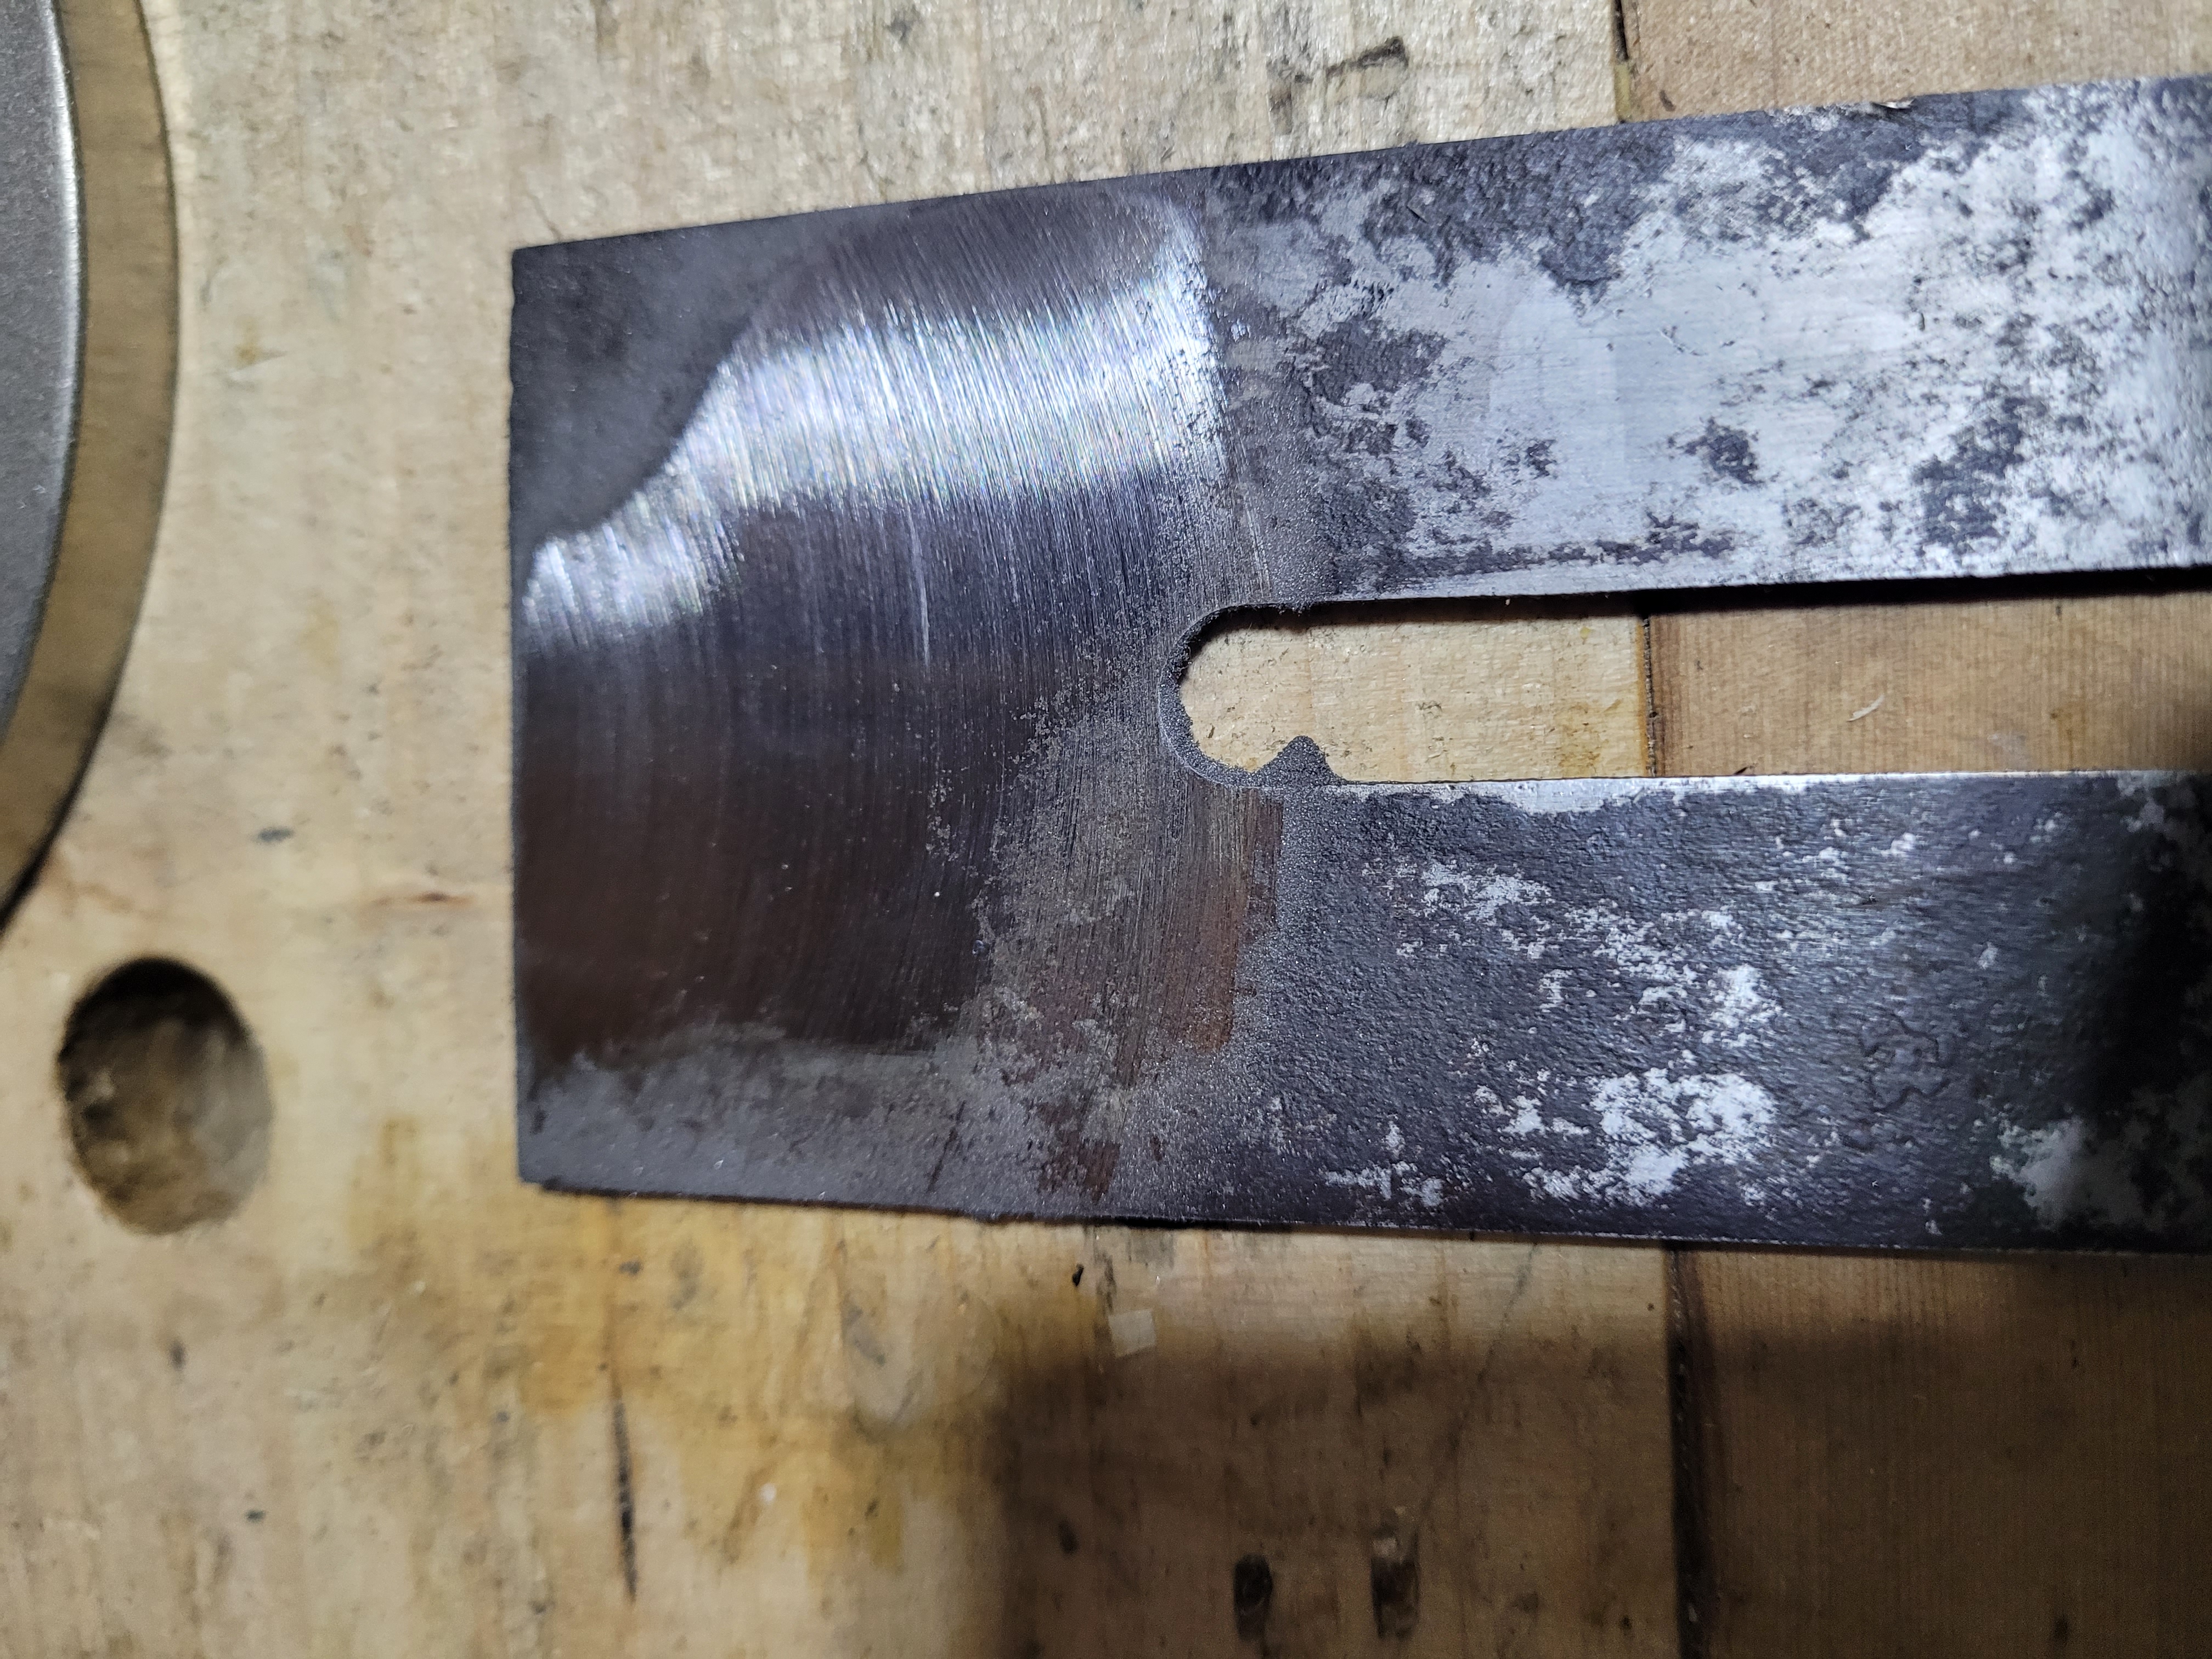
This is partially because of going back to remove the scratches from the diamond wheels, but you can see a lot of material has been removed, resulting in a step as you hit the limit of the worksharp to reach. I’ll ease this transition later with a diamond file. There is no noticable step like this on the 1 1/4 inch chisel I did. But this is why you need to move in and out as you work the iron, not just hold it still. If you remove enough, you get a step anyway.
A slight low spot at the tip. I’ll just grind this back. Again, probably caused by the step in the iron. As I reach it, the back gets raised and the tip worked a little more.
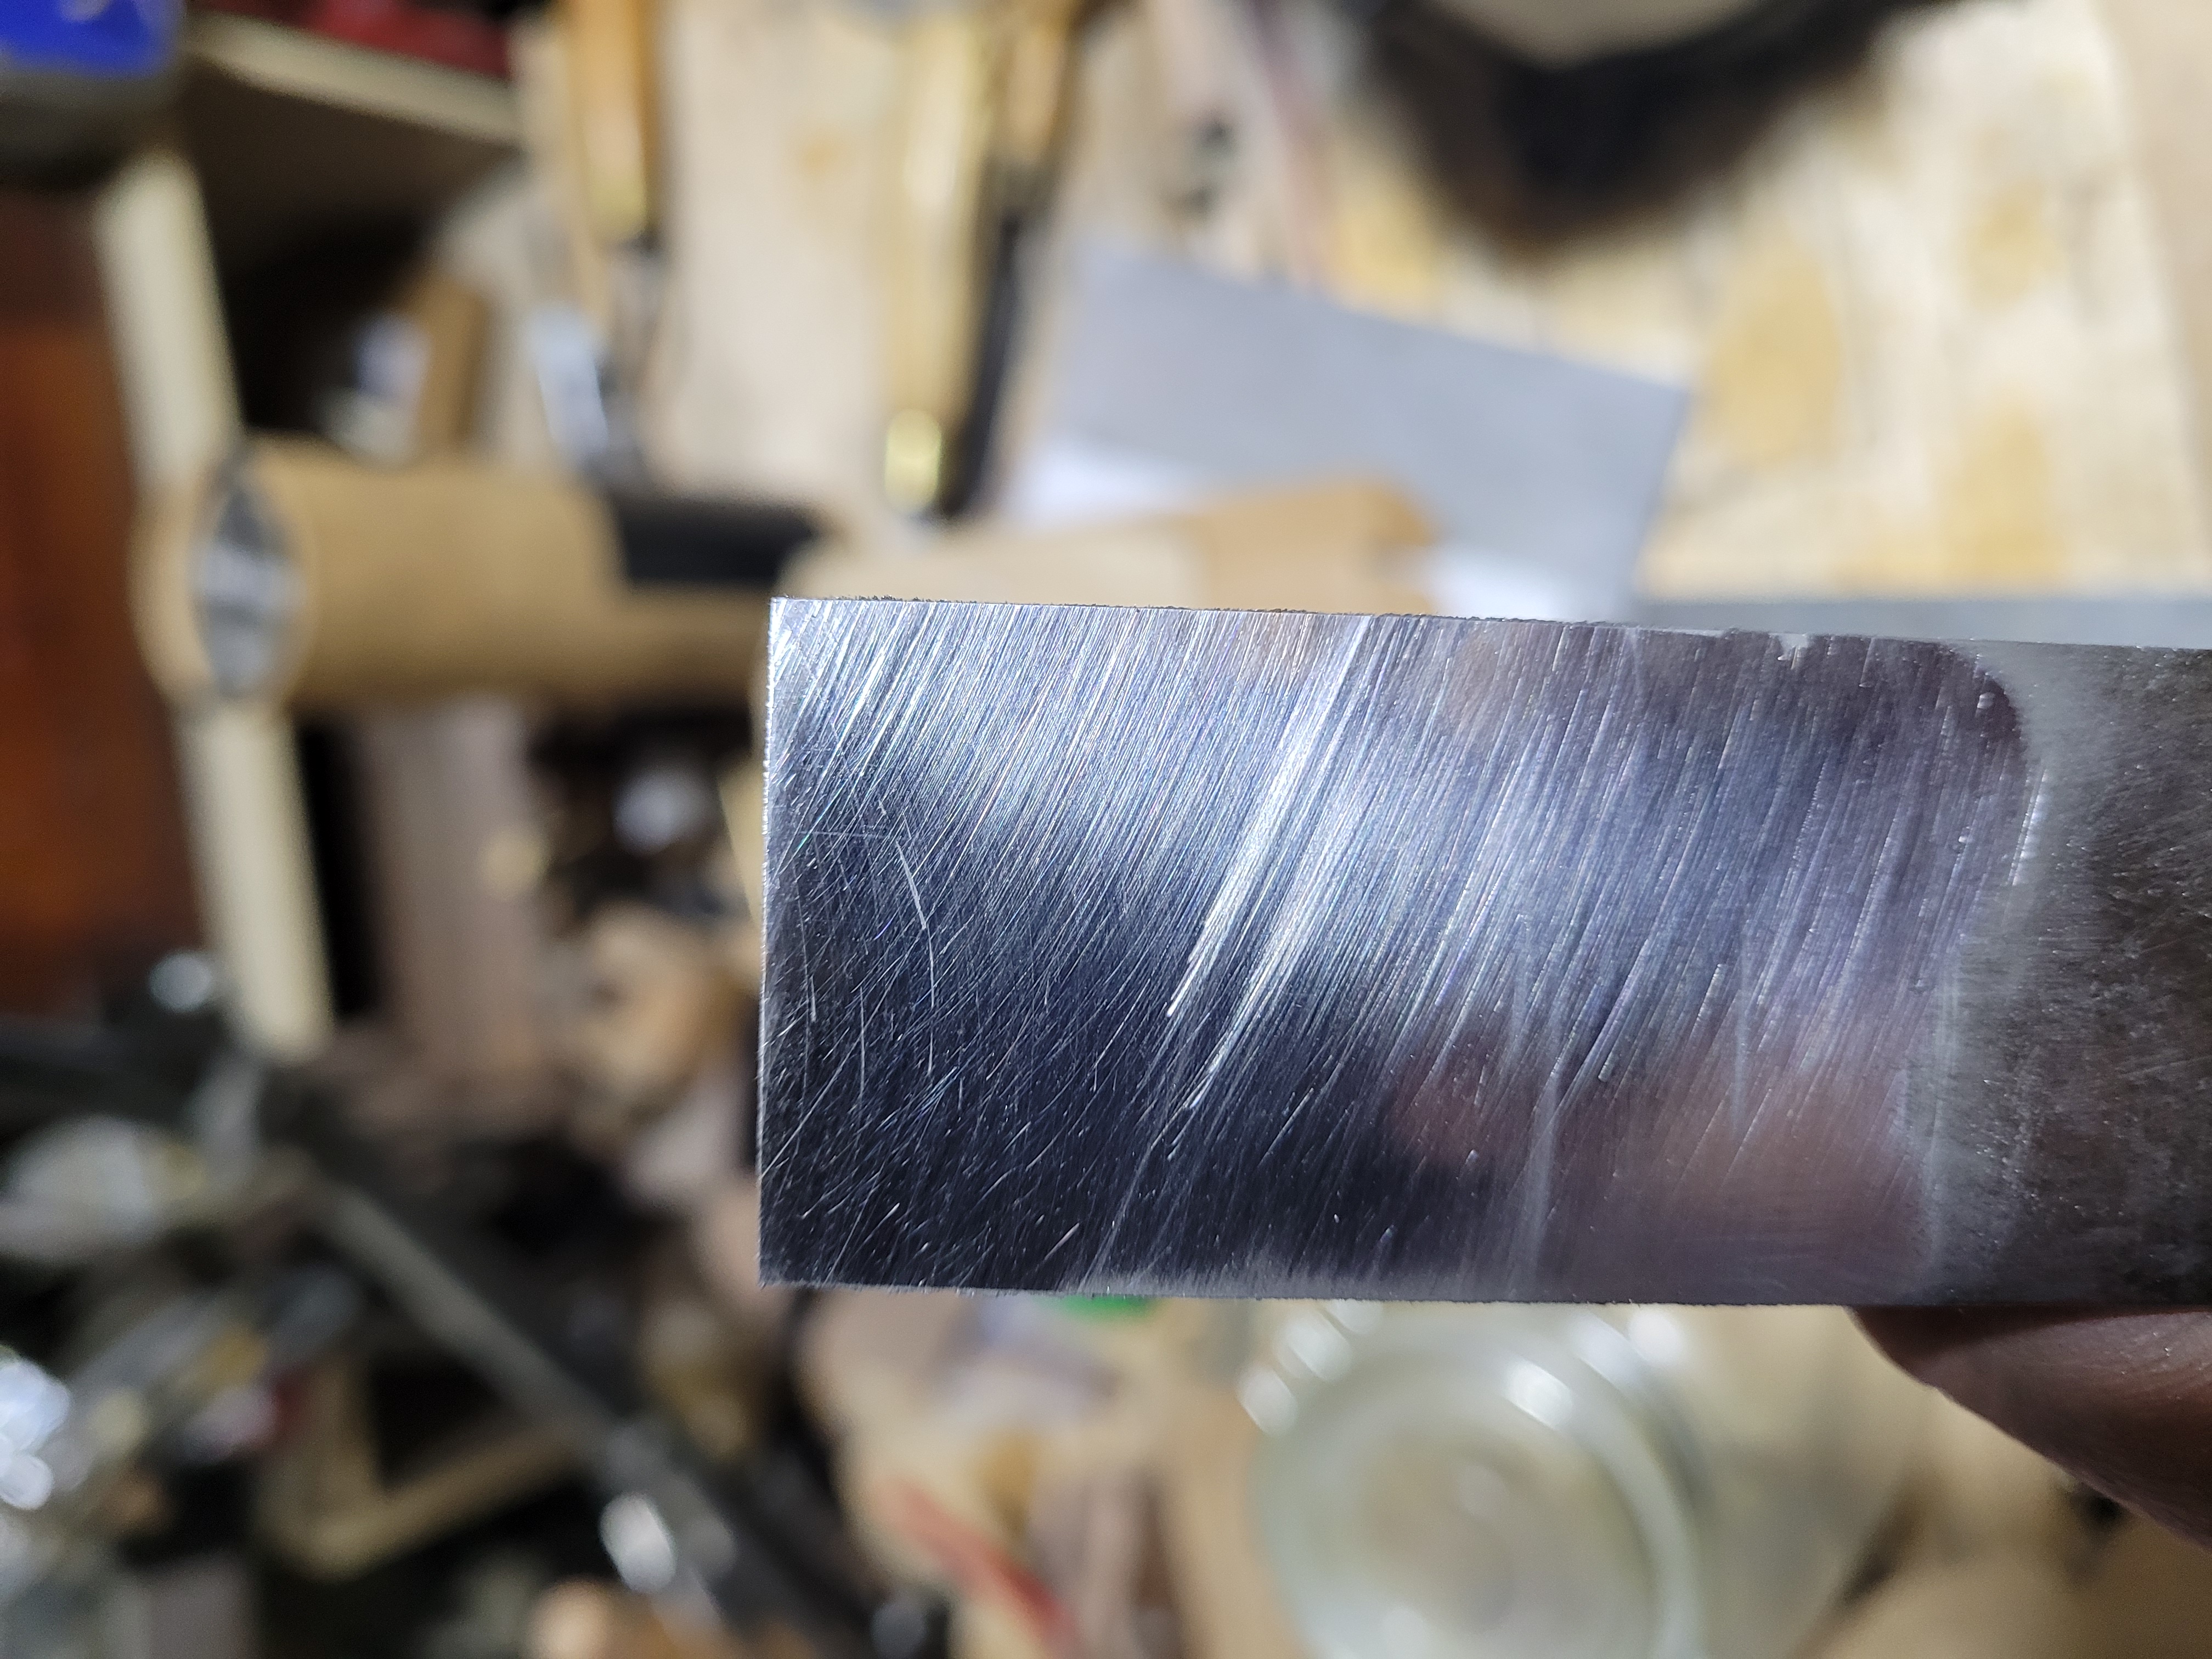
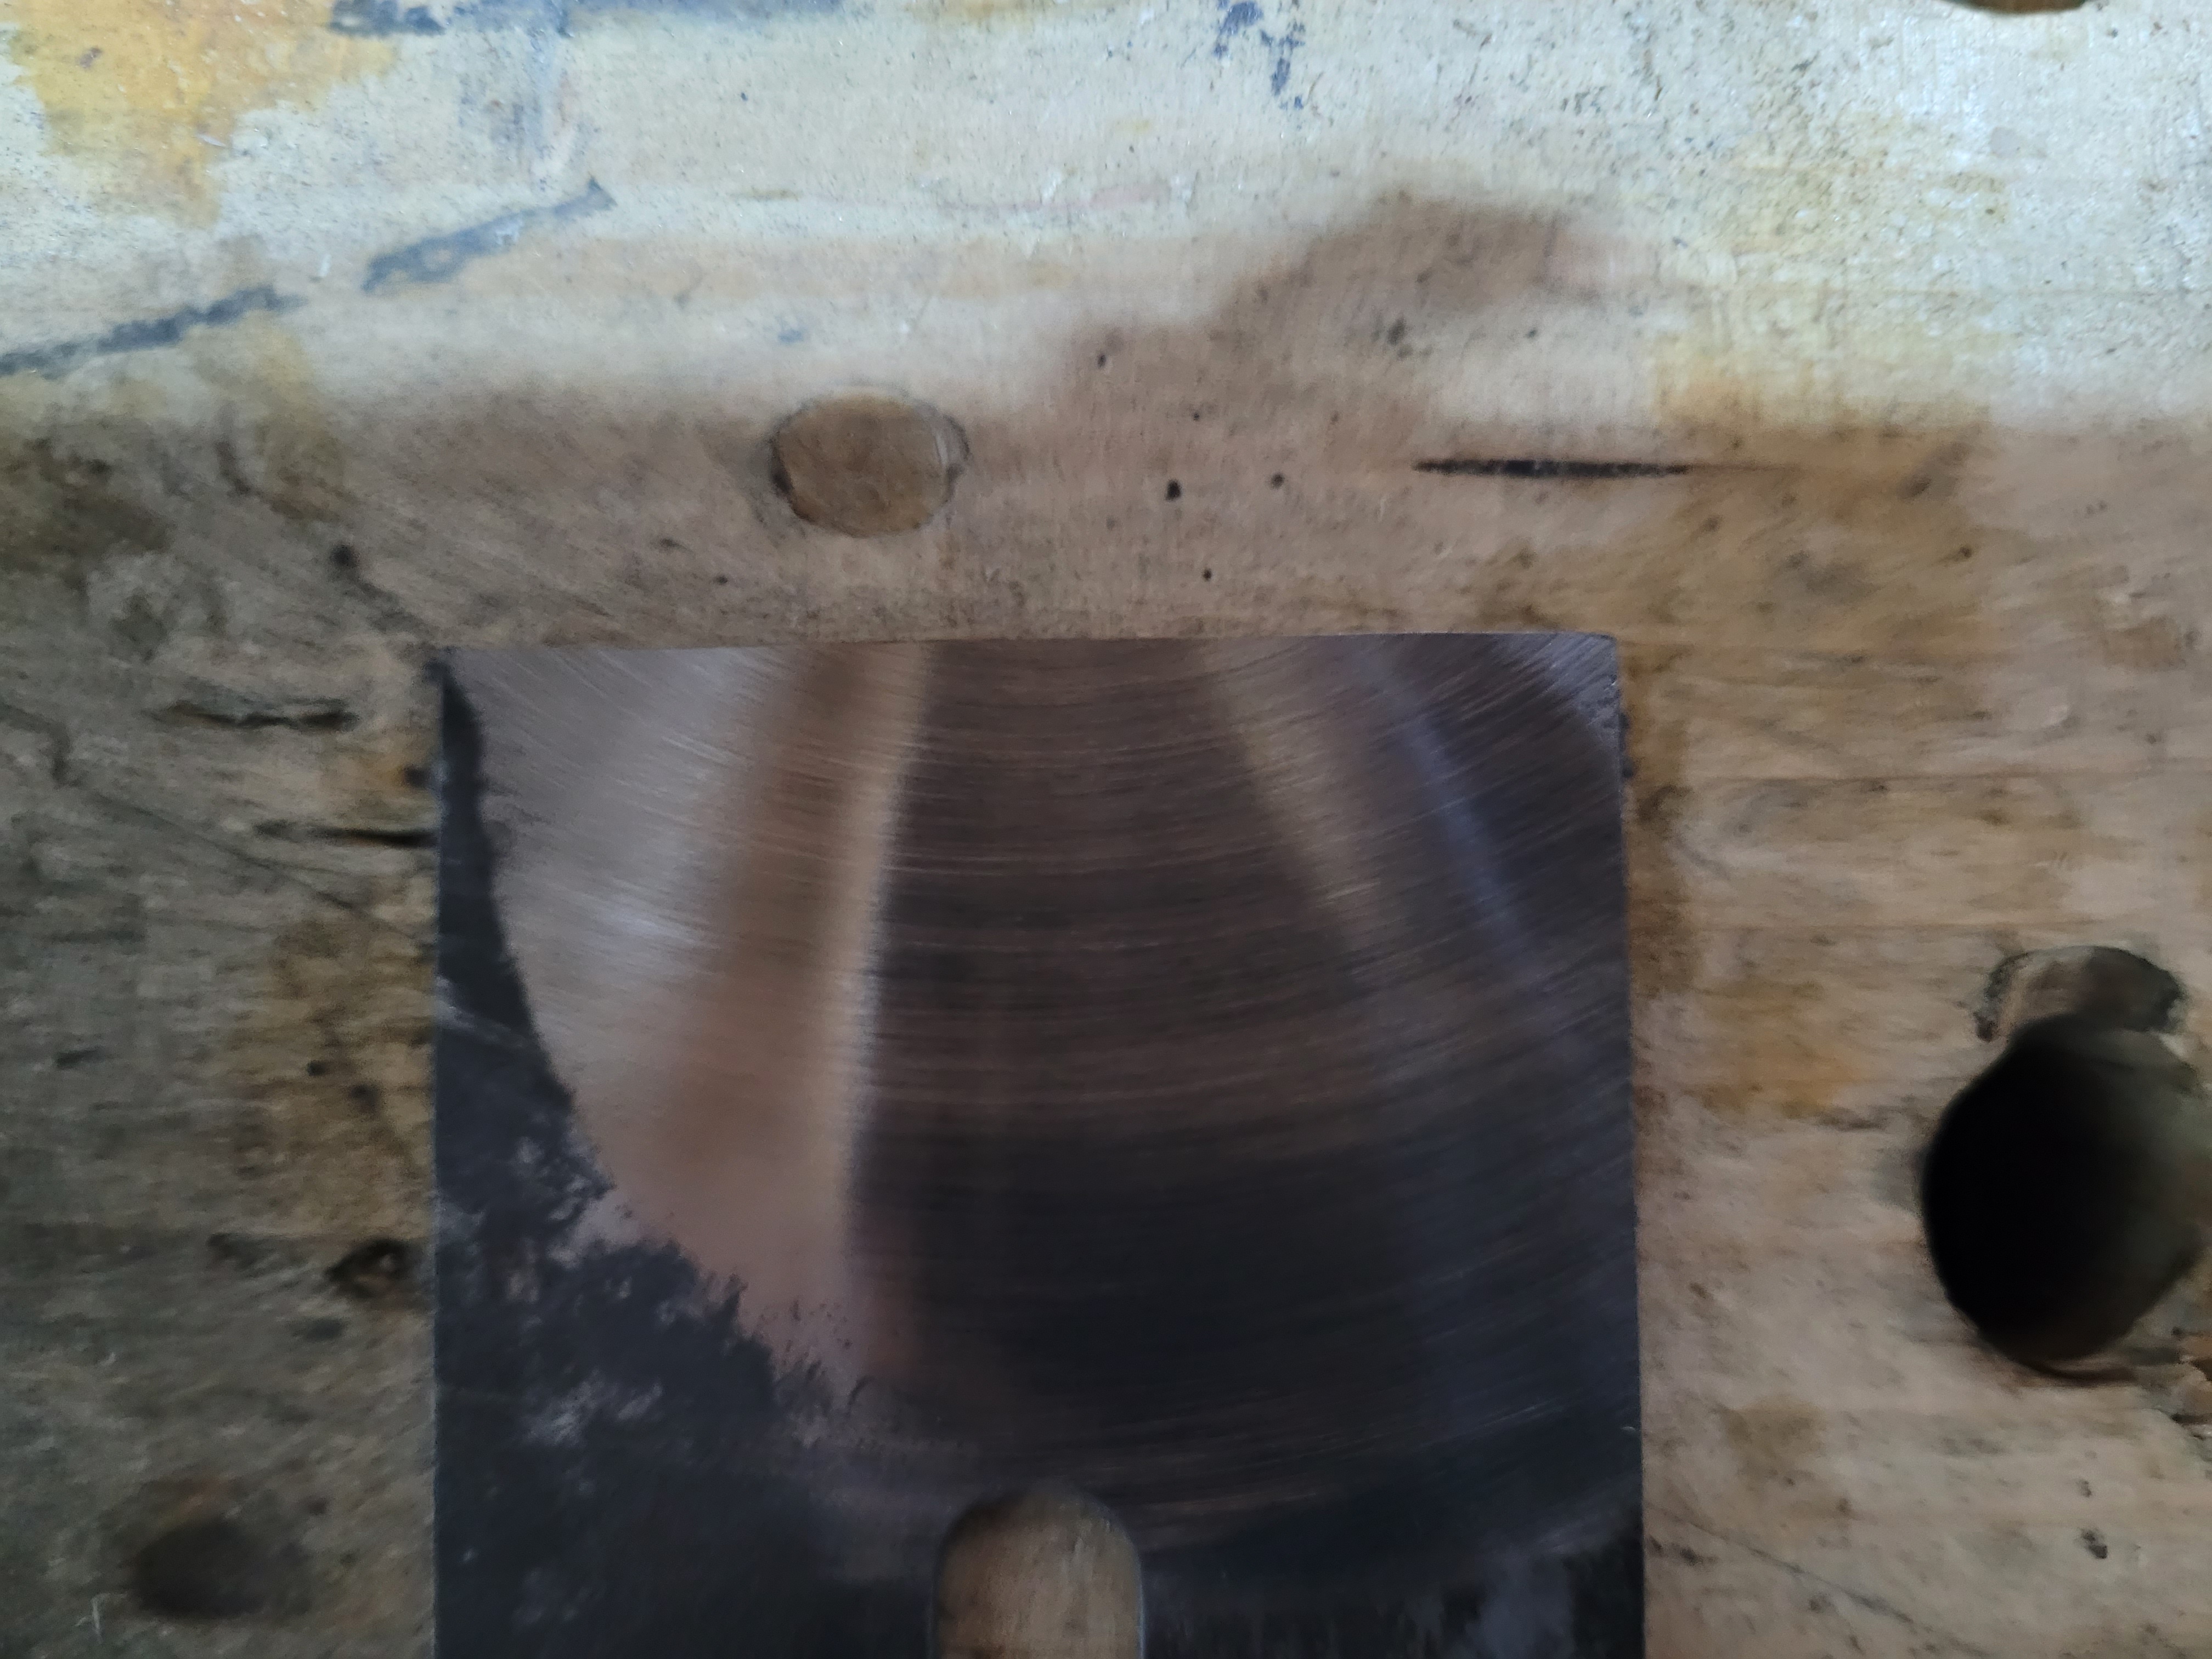
All lapped on diamond.
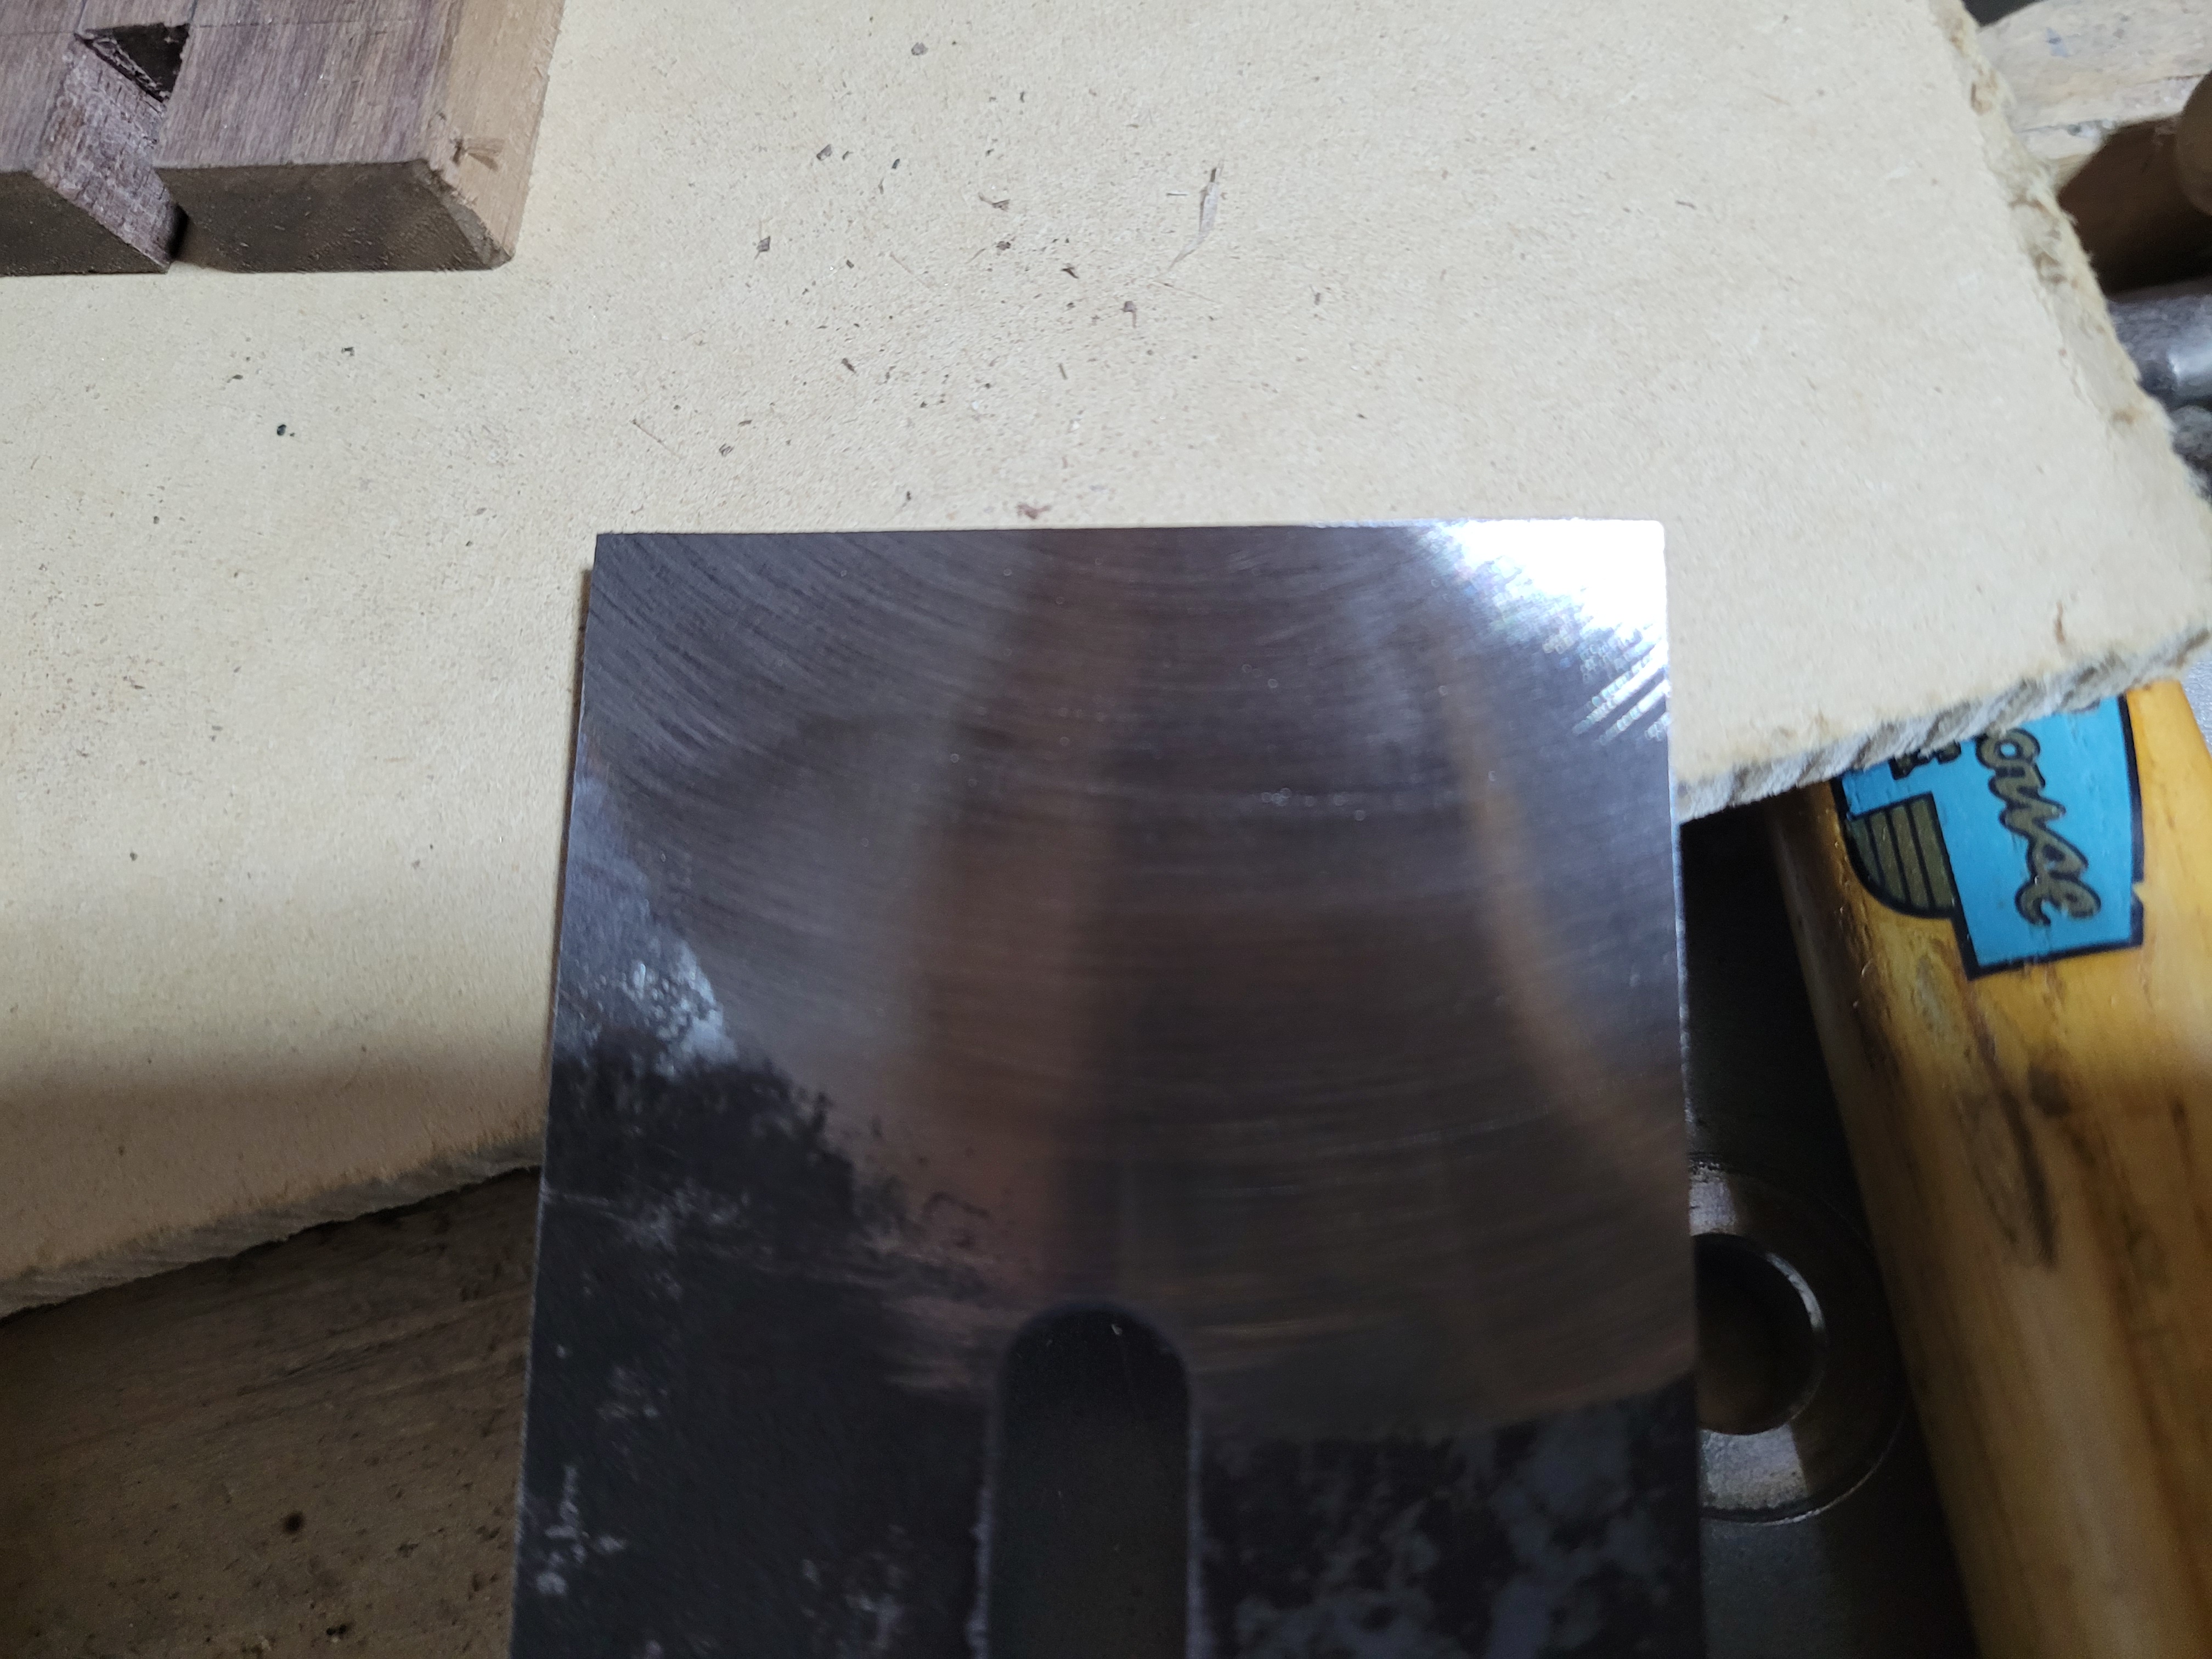
Then on to the waterstones, and a nice polish.
Finally to tackle something big. A 2 5/8 Lakeside iron from a Union X8 plane. This was covered in rust, and probably would have stayed in my “to restore” pile forever if I didn’t have the Worksharp. Lets see what we can do.
The worksharp has the capacity to deal with it comfortably, which is good news, as I have a 3 1/4 inch Iron I plan to sort out on it as some point.
The bad news is this iron is a long way from flat. This is after about 20 minutes grinding on the 80 grit wheel.
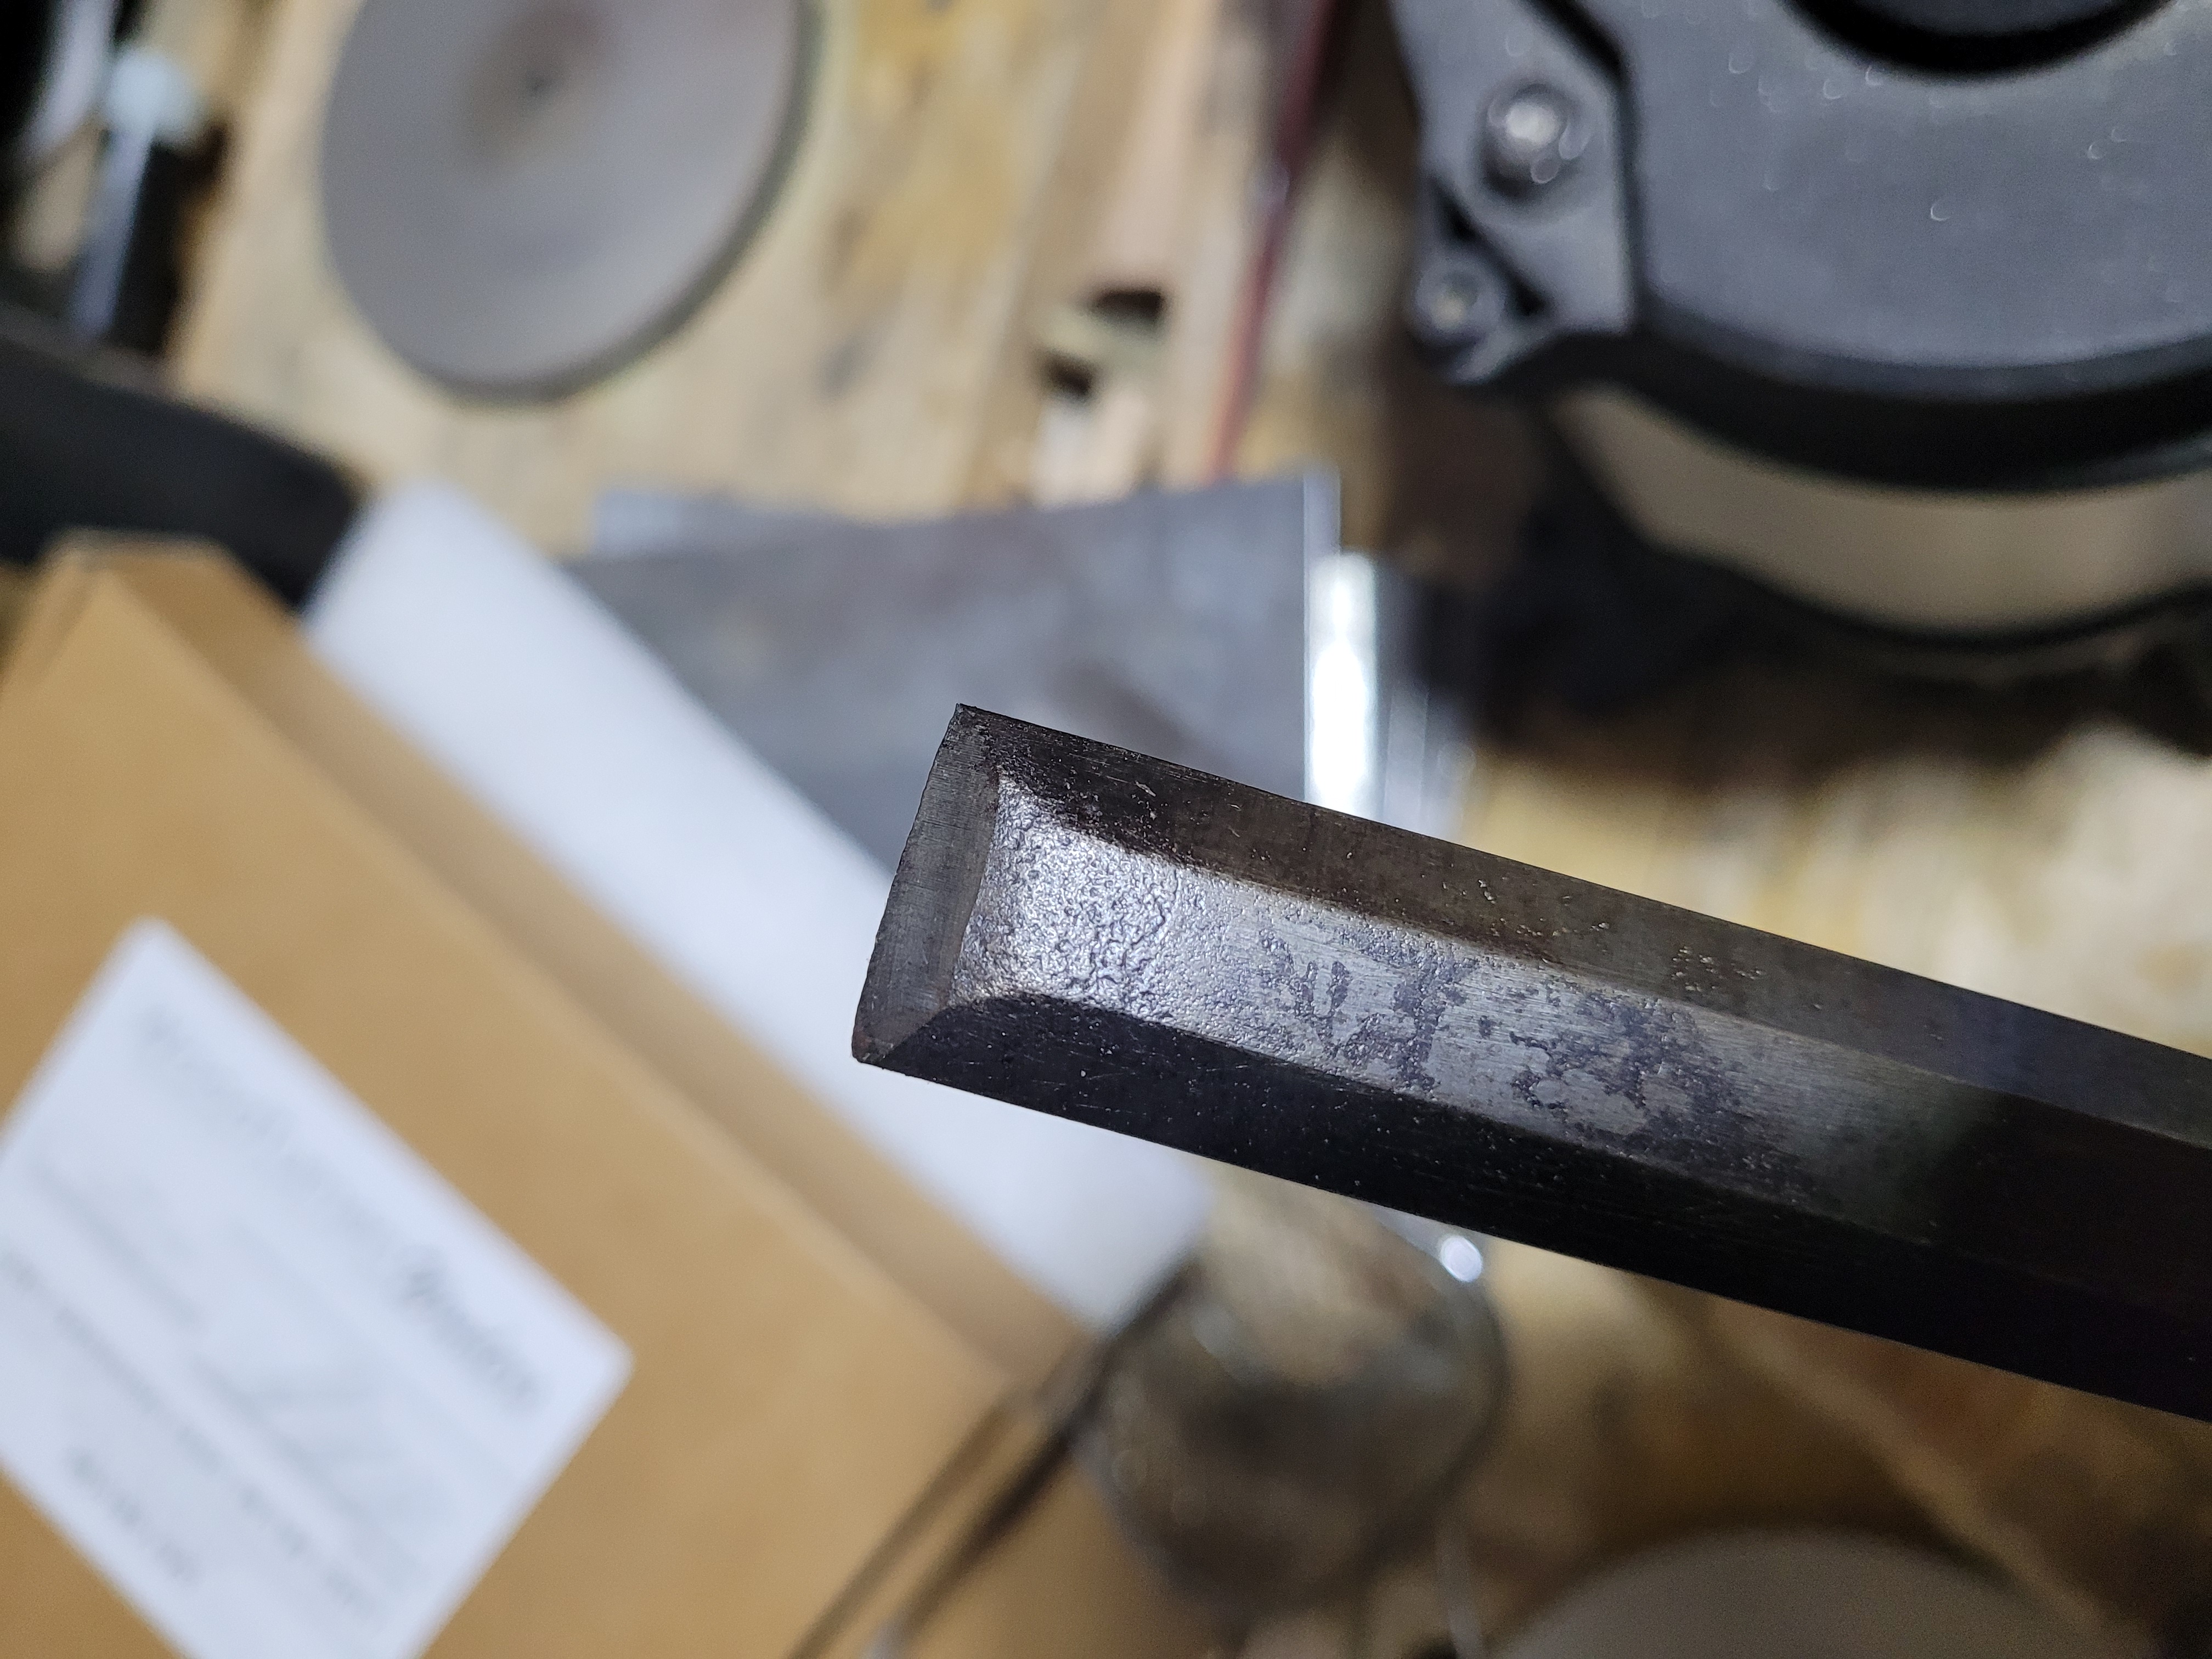
Nearly an hour in, and I’m almost at the corners. I took a break at one point to grind a new straight bevel on my high speed grinder. No point grinding steel I’m going to remove. This iron is too wide to use the Worksharp to put a bevel on it.
About 10 minutes later I hit the corners, and switched up to the 180 grit wheel. Which promptly made massive progress in a few minutes. 80 grit must need a clean.
Now the bad news. This is after about 15 minutes of lapping on the diamond stone. The corners were low. And a lot lower than I would expect. As the corners are further from the centre of the Worksharp wheel, I think its removing more material here. It took about half an hour on the 600 grit stone to get to flat. All told it took a little over 90 minutes to get to flat, between grinding on the Worksharp and the 600 grit stone. That is still massively faster than just lapping on sandpaper and stones. I would have expected an iron like this to get worked on and off for days usually.
And then up to grits to get a mirror polish along the edge. In summary, the Worksharp is a big win when combined with CBN wheels, everything else is not that great if you want a really flat tool, and the CBN wheel are not cheap. So its an expensive but practical way to save a hell of a lot of time grinding. Its going to see a lot of use in my shop restoring tools. If you mostly buy new tools that are already more or less flat, you do not need it. If you buy old rust buckets like me, it is fantastic.