Circle Cutter
You may remember the pencil gauge I made last year. Since then I made a second prettier one, but it does not work as well. I made the walls out of maple, and it does not deflect enough under the force of its screw to hold the disc well. I’m planning on making a third with thinner walls.
One of the more annoying parts of my process on the first two was cutting the disc to hold the pencil. The hole saw works, but its hard to keep it straight. Its a lot of effort (I used my 14 inch brace and it was still a hell of a lot of effort.
I spotted the Star-M No. 36 adjustable circle cutter, and decided it was worth a try. At first glance it looks like a vintage washer cutter. I’ve tried those on solid wood, unless its really thin, you are not going to get great results. The Star M was 32 Euro. Not a fortune, and I’m a sucker for anything that goes in a drill.
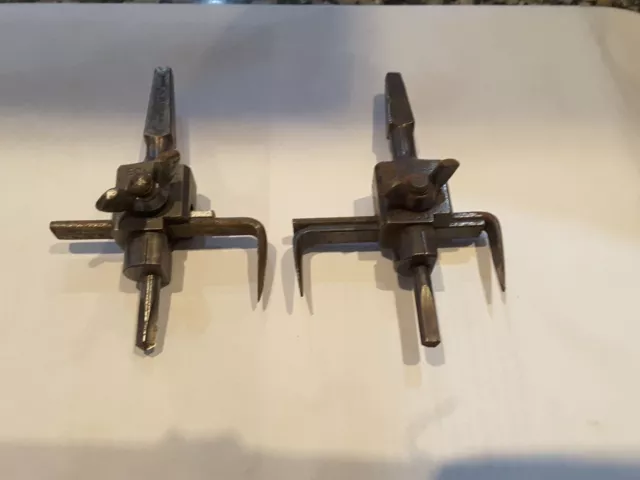
Its an odder tool than I at first thought. If you look at the images below, you will see the bevels on the cutters look… wrong. One bevel faces in, the other out. I initially thought “oh they put one in the wrong way around”. Nope, the cutters have flats machined into them for the screws to contact.
It turns out the cutters work like teeth on a crosscut saw. One sheers the inner wall of the cut, before the next sheers the out wall. They overlap. If you stop cutting before you get all the way through, you will see a little inverted V ridge in the middle of the cut. The cutters have to overlap, but they do not need to be an identical distance from the centre.
In use, its pretty awesome. The amount of effort is very small. You do not need to apply a lot of downward pressure. In fact it works best when you only use light pressure. It cuts pretty quickly. The surface finish of both the hole, and the removed disc is pretty nice.
It will tear out quite badly on exit. Easily fixed. You can either use a sacrificial backer board, or you can stop half way through, and flip the board to cut into the middle. When I flipped the board to make the cut, the disc popped out with some chunks of wood still attached. It was easy to put the disc on the bit, and turn it by hand to let the cutters shear off the last little bits.
The auger in the centre of the cutter is a pretty great auger. It creates a clean hole. It is a lot longer than the circumference cutters, so unless you piece is very thick, its snail is not going to pull the cutters through the piece. The wings on the auger do a good job of creating a clean entry hole.
Its worth noting that this cutter is designed to be used in a hand drill, not a drill press. The snail on the auger will start to lift the workpiece if its not clamped down well. The cutters also exert a lot of lateral force. So if you decide to ignore that. Clamp it down tight.
The circle cutter comes with a second bit you can insert instead of the auger. In shape it resembles a birdcage awl. This is intended for use in very thin workpieces. The snail on the auger would cause very thin boards to split, this will not. The bit has a shoulder, so its not capable of making a deep cut.
The last thing to look at, is how does it work in a brace? A lot of modern bits are designed to operate at speed in a powered drill. I’m happy to report it works perfectly. Keep the pressure light and just keep turning. Its quicker than using a hole saw in a brace, and a lot less effort.
So if you have a need to cut holes, or like me, you need round discs, this is a good buy. The bit cuts circles from 30 to 120mm out of the box. They sell an extra long arm as an add on that increases it’s maximum diameter to 300mm. I wish I had this back when I was cutting out stool seat blanks.
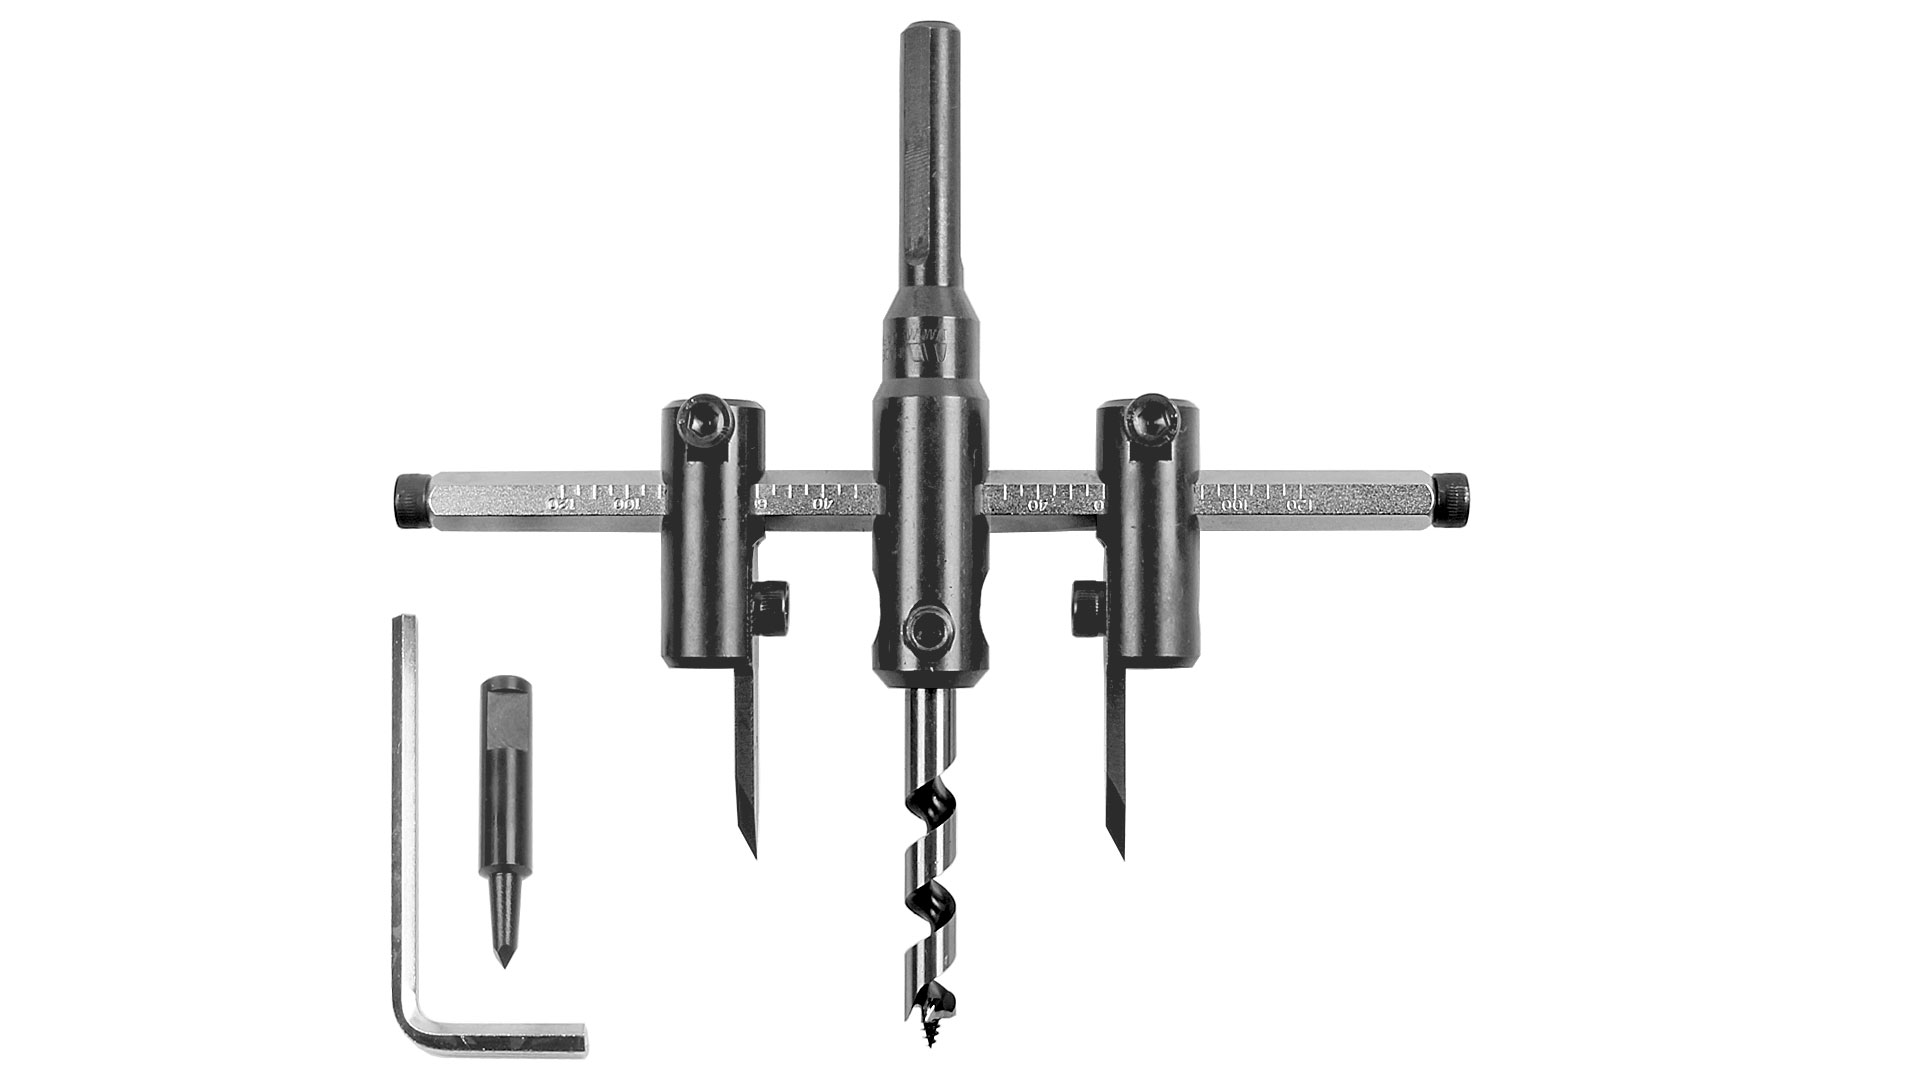
Here it is, The Star-M No. 36. Look at the bevel angles on the cutters. Looks wrong to me, but its right. The little bit on the bottom right can be swapped in instead of the auger for thin pieces.
Looks a lot like this vintage washer/tank cutter. I’ve tried a vintage eclipse one for this job. It can’t really cut very deep into wood.

Here it is chucked up in a brace. The auger is pretty long. Unless you are working on a pretty thick piece, its going all the way through before the cutters contact.
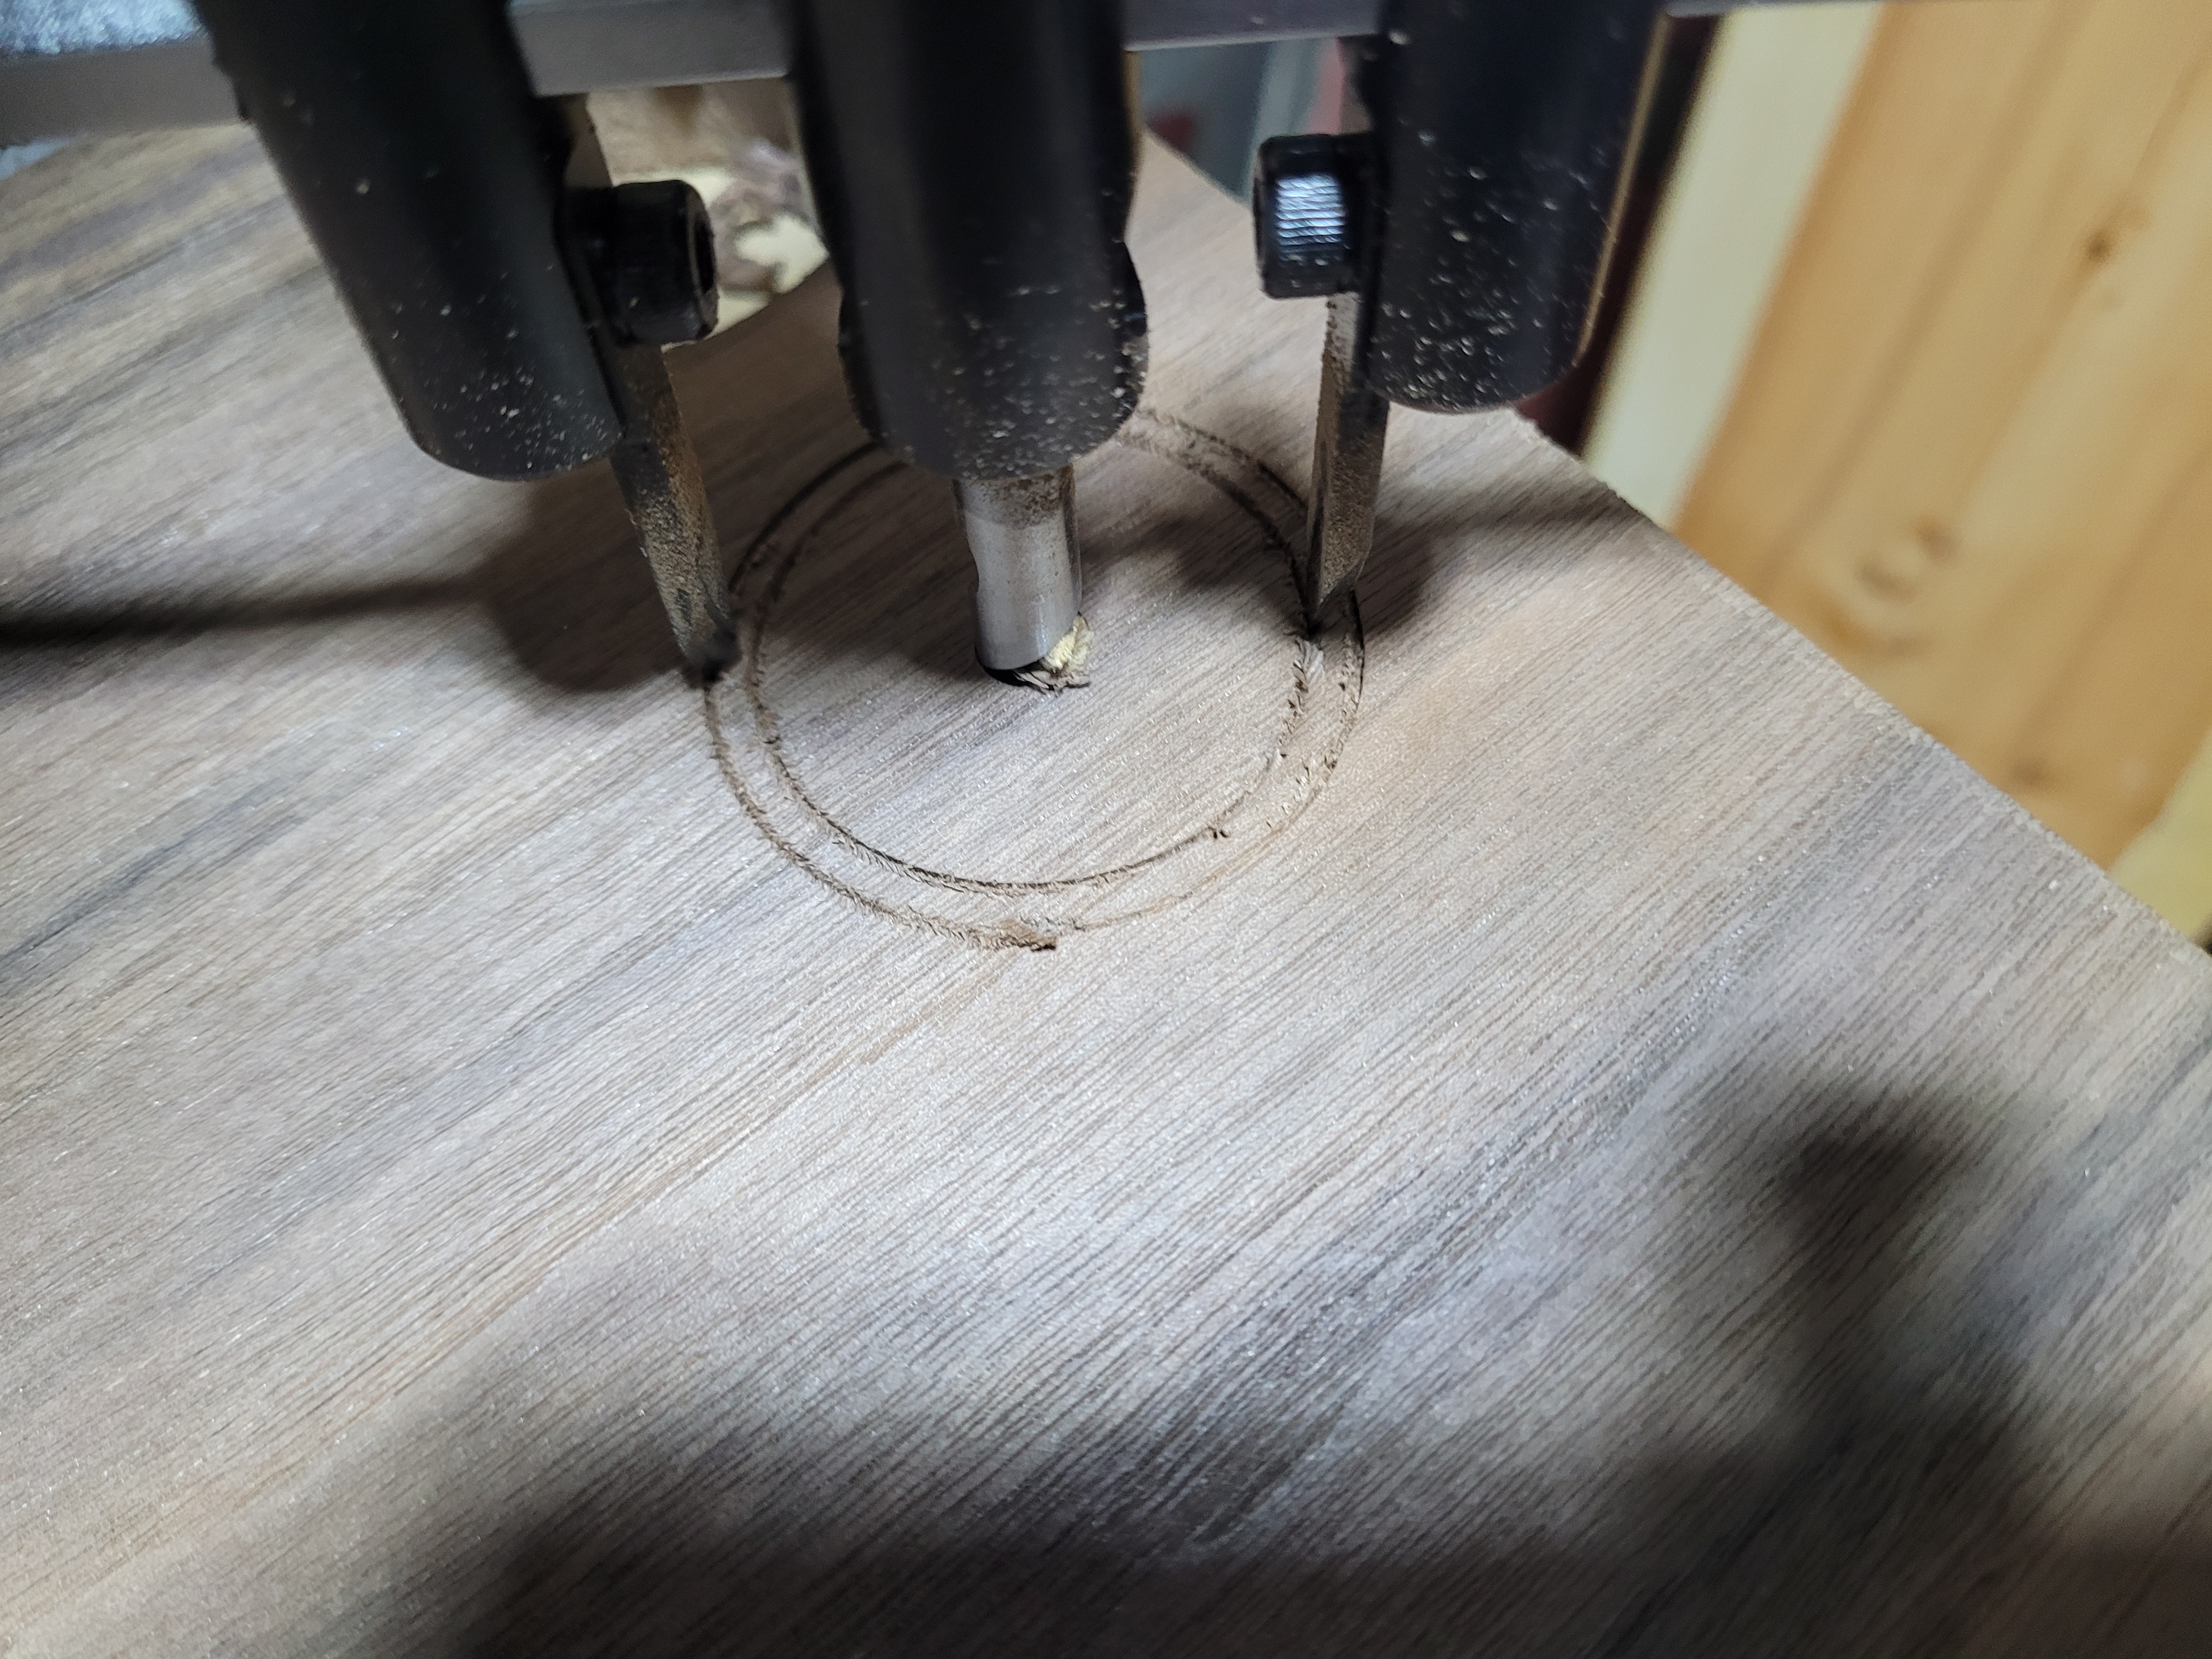
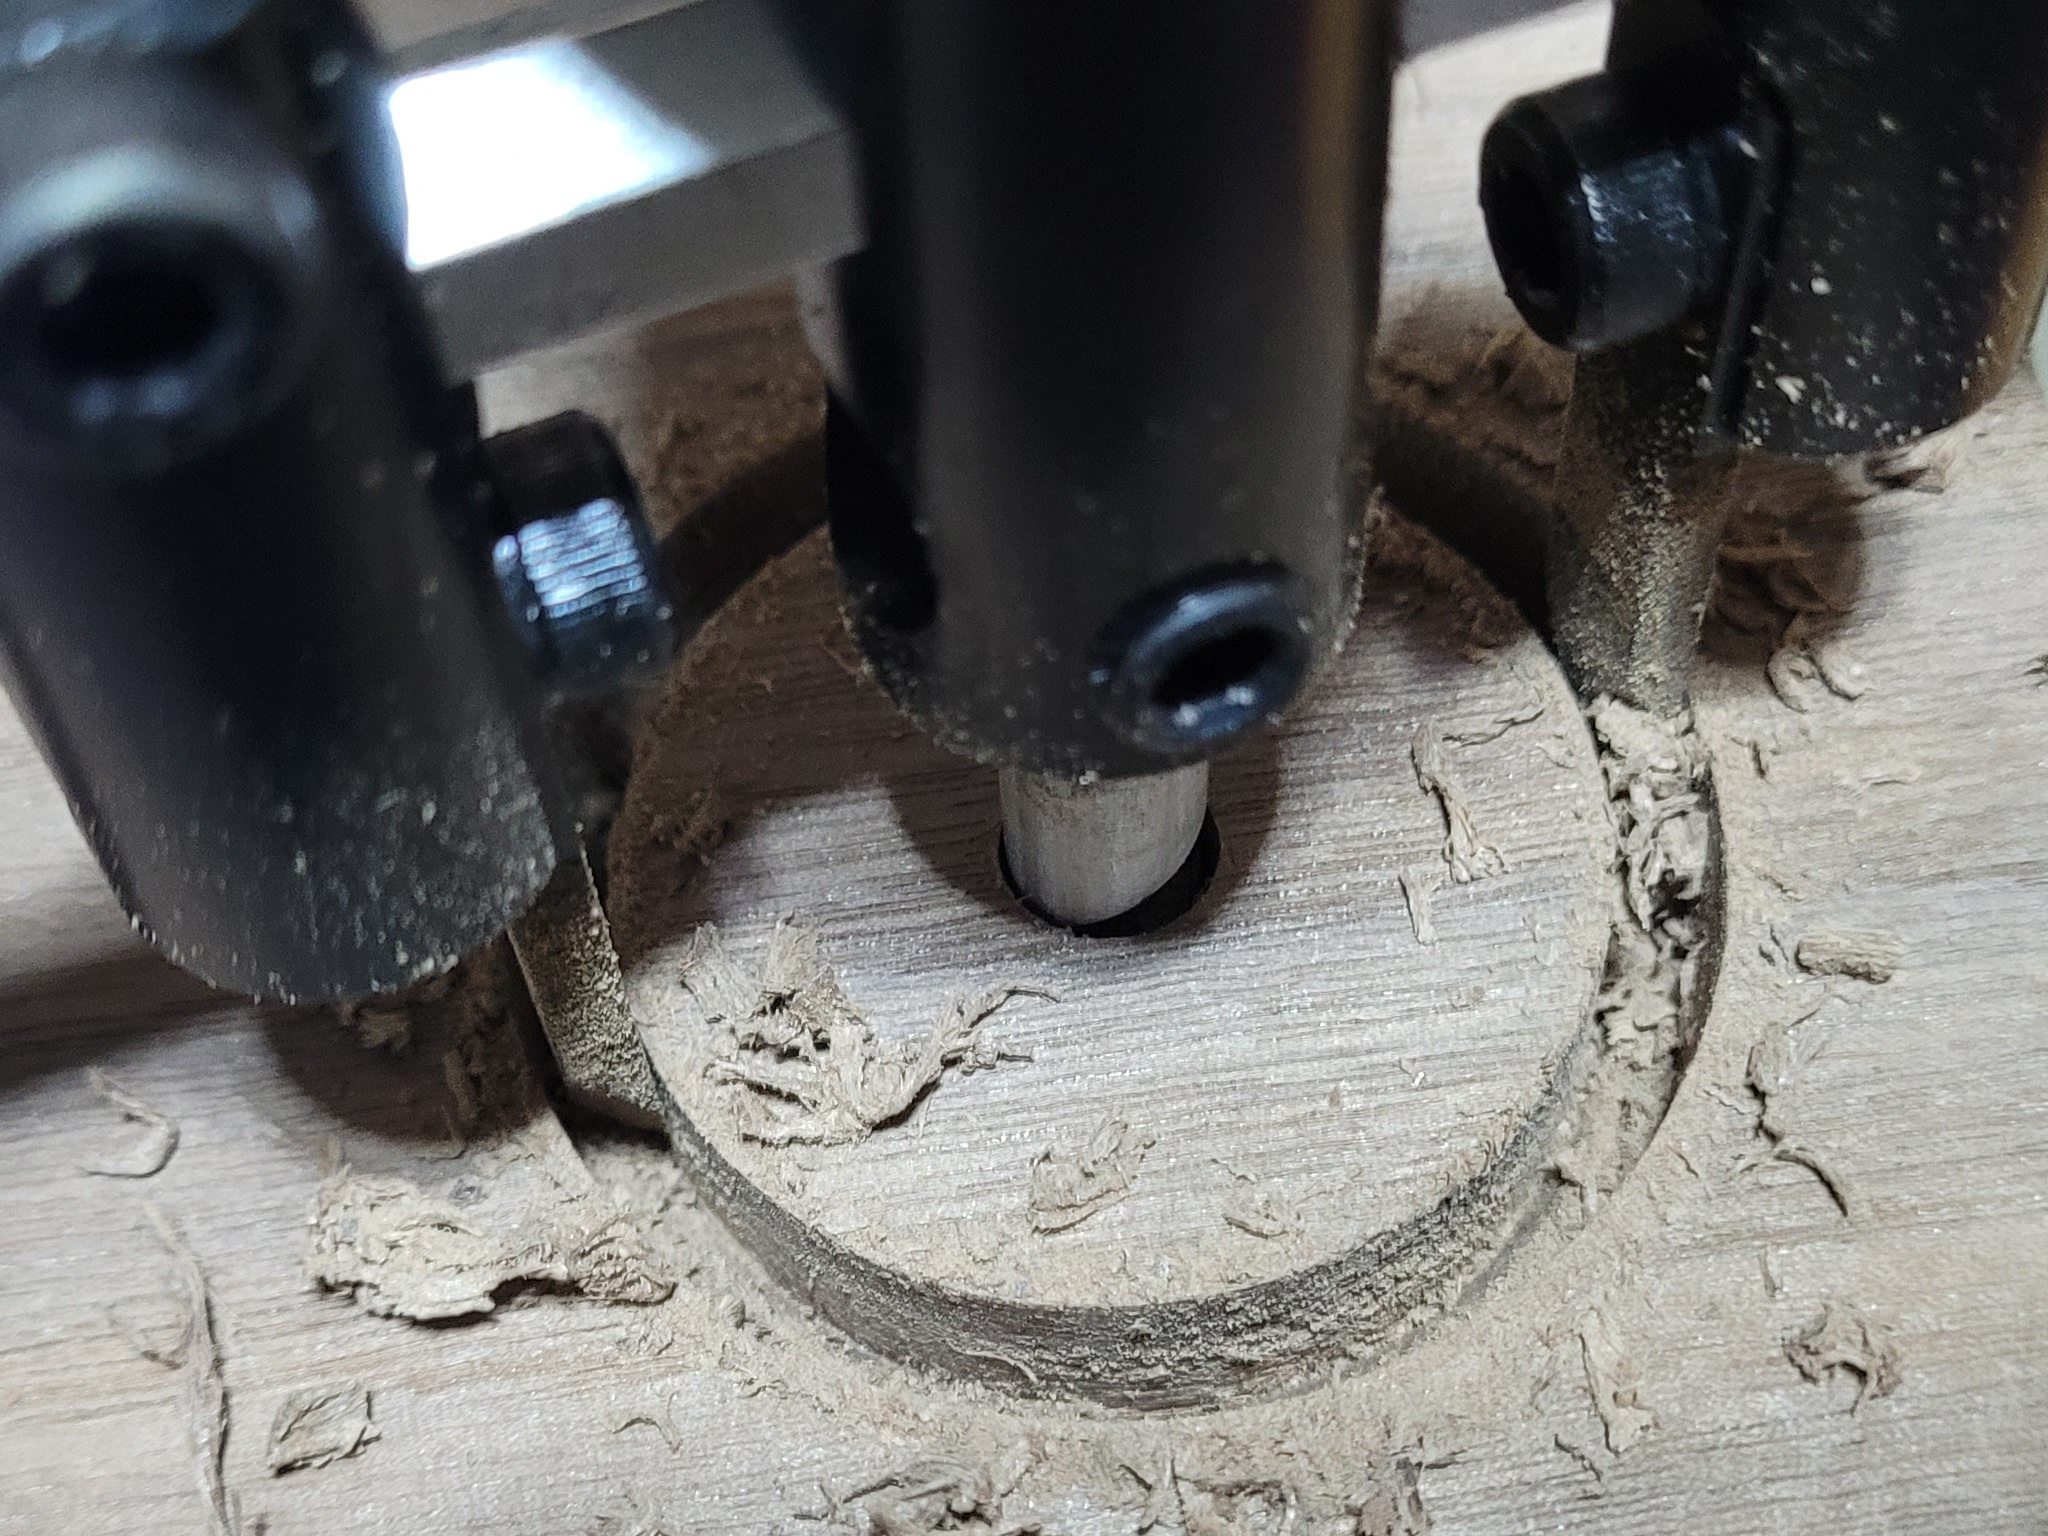
The cutters make contact and start to carve separate rings.
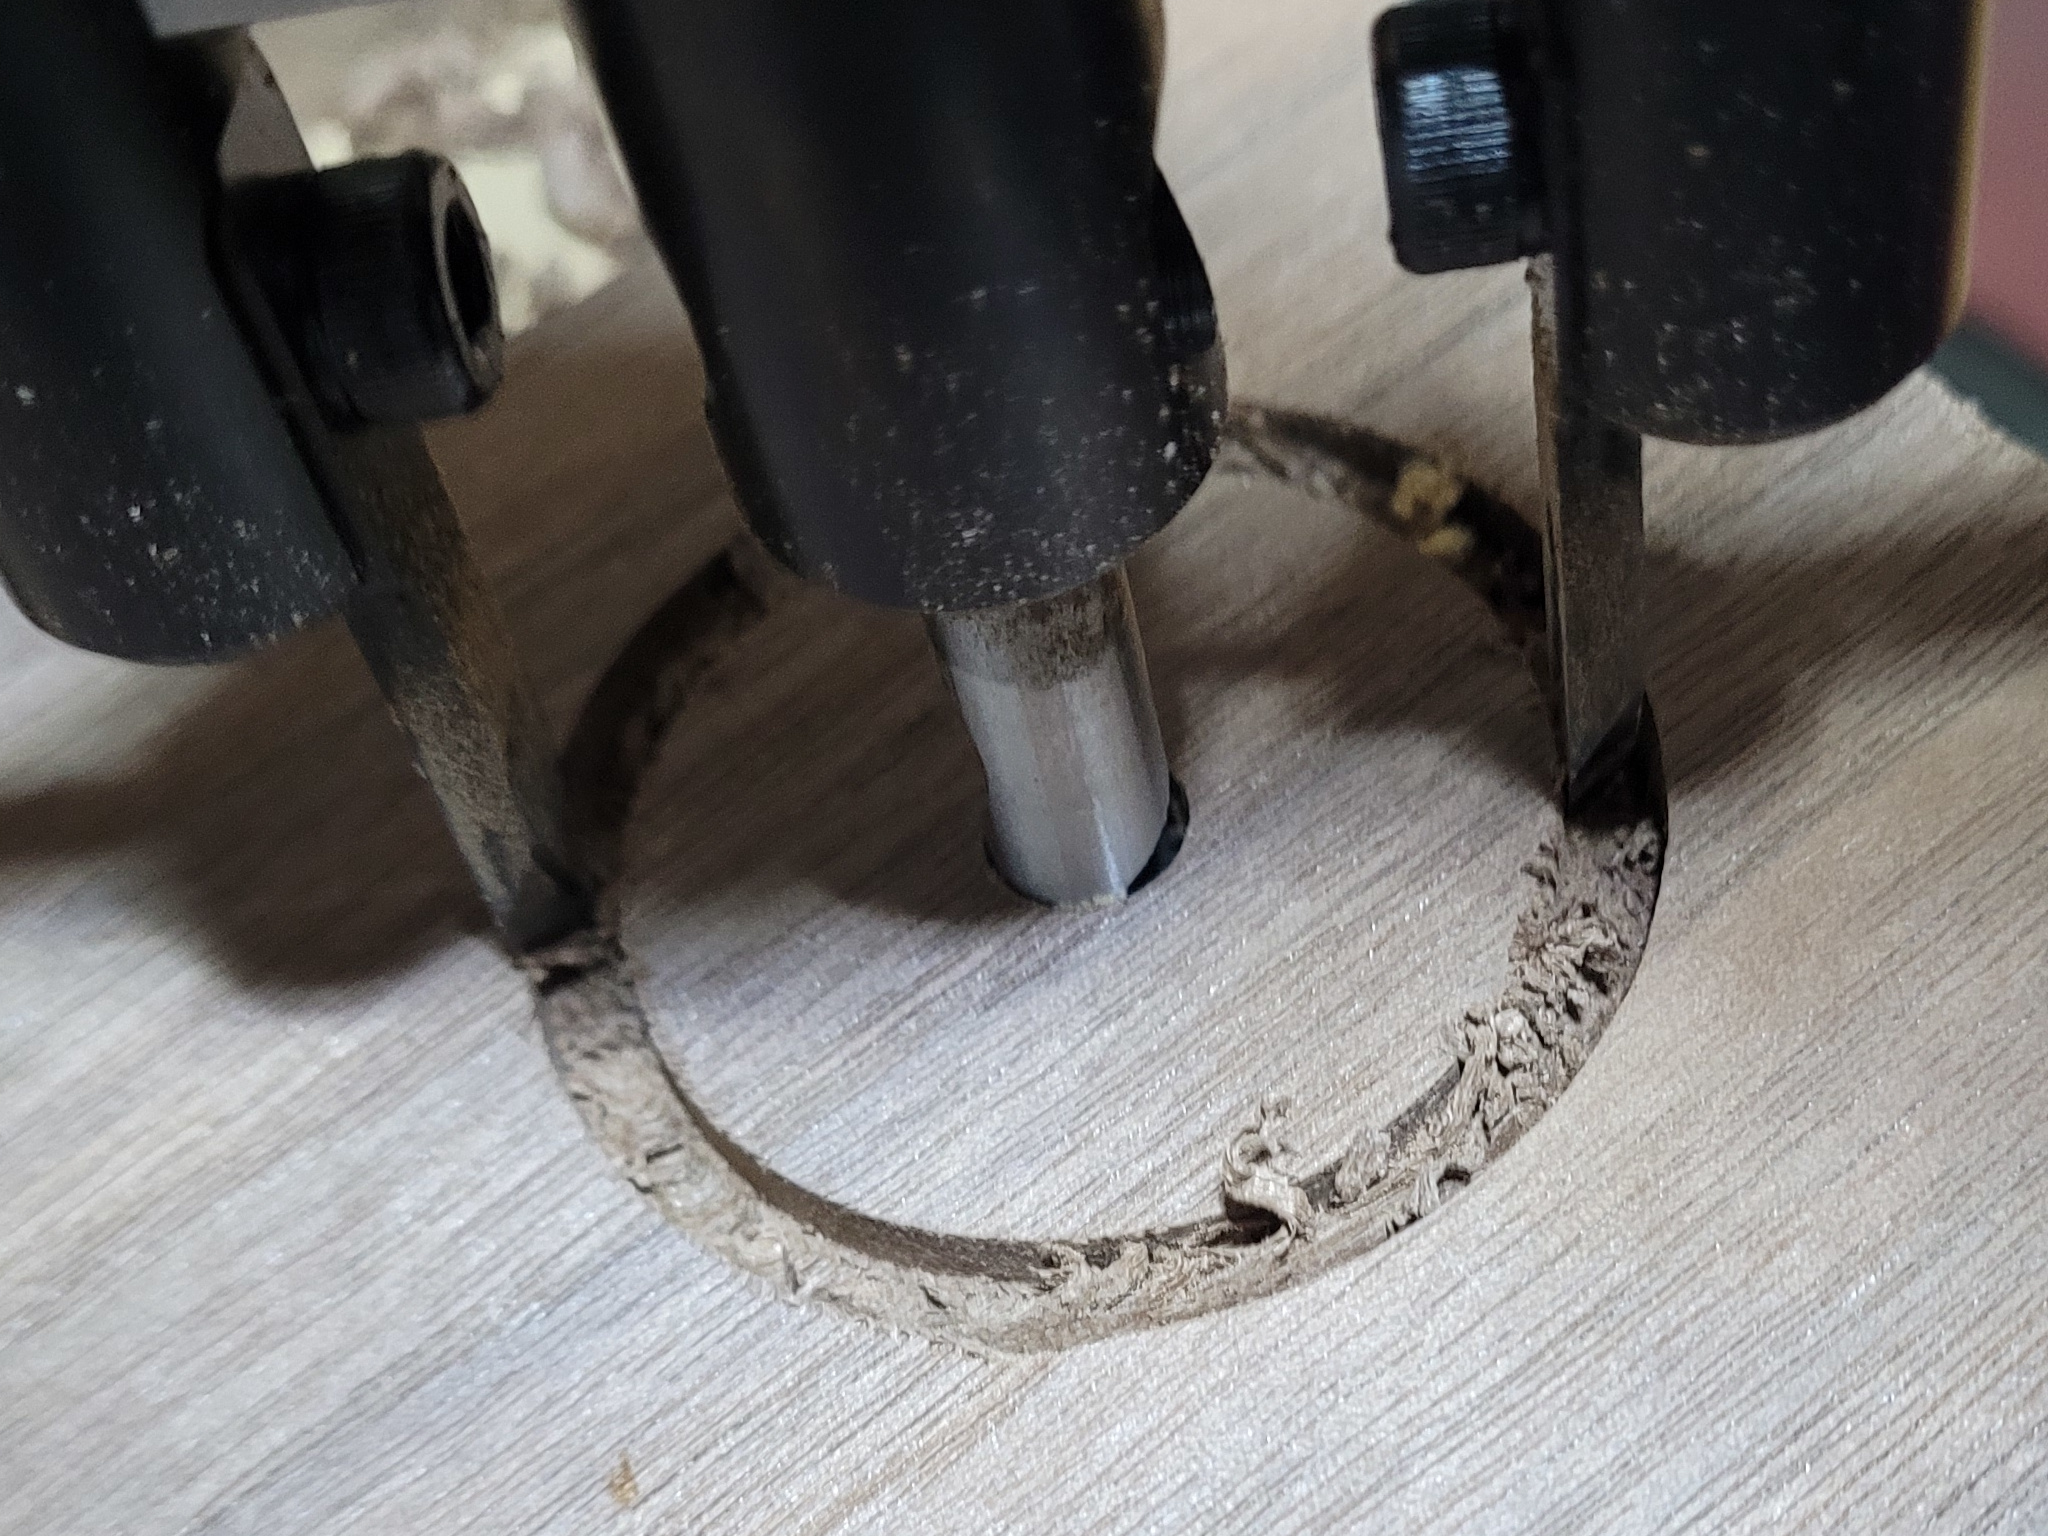
It makes a pretty thick kerf as it cuts. You can see the cutter on the left is defining the outer wall, the cutter on the right is defining the inner wall. Light pressure is all it needs. Leaning into the brace just makes the cutters jam. At the bottom of the kerf you can see the triangular ridge left by the cutters.
About half way through.
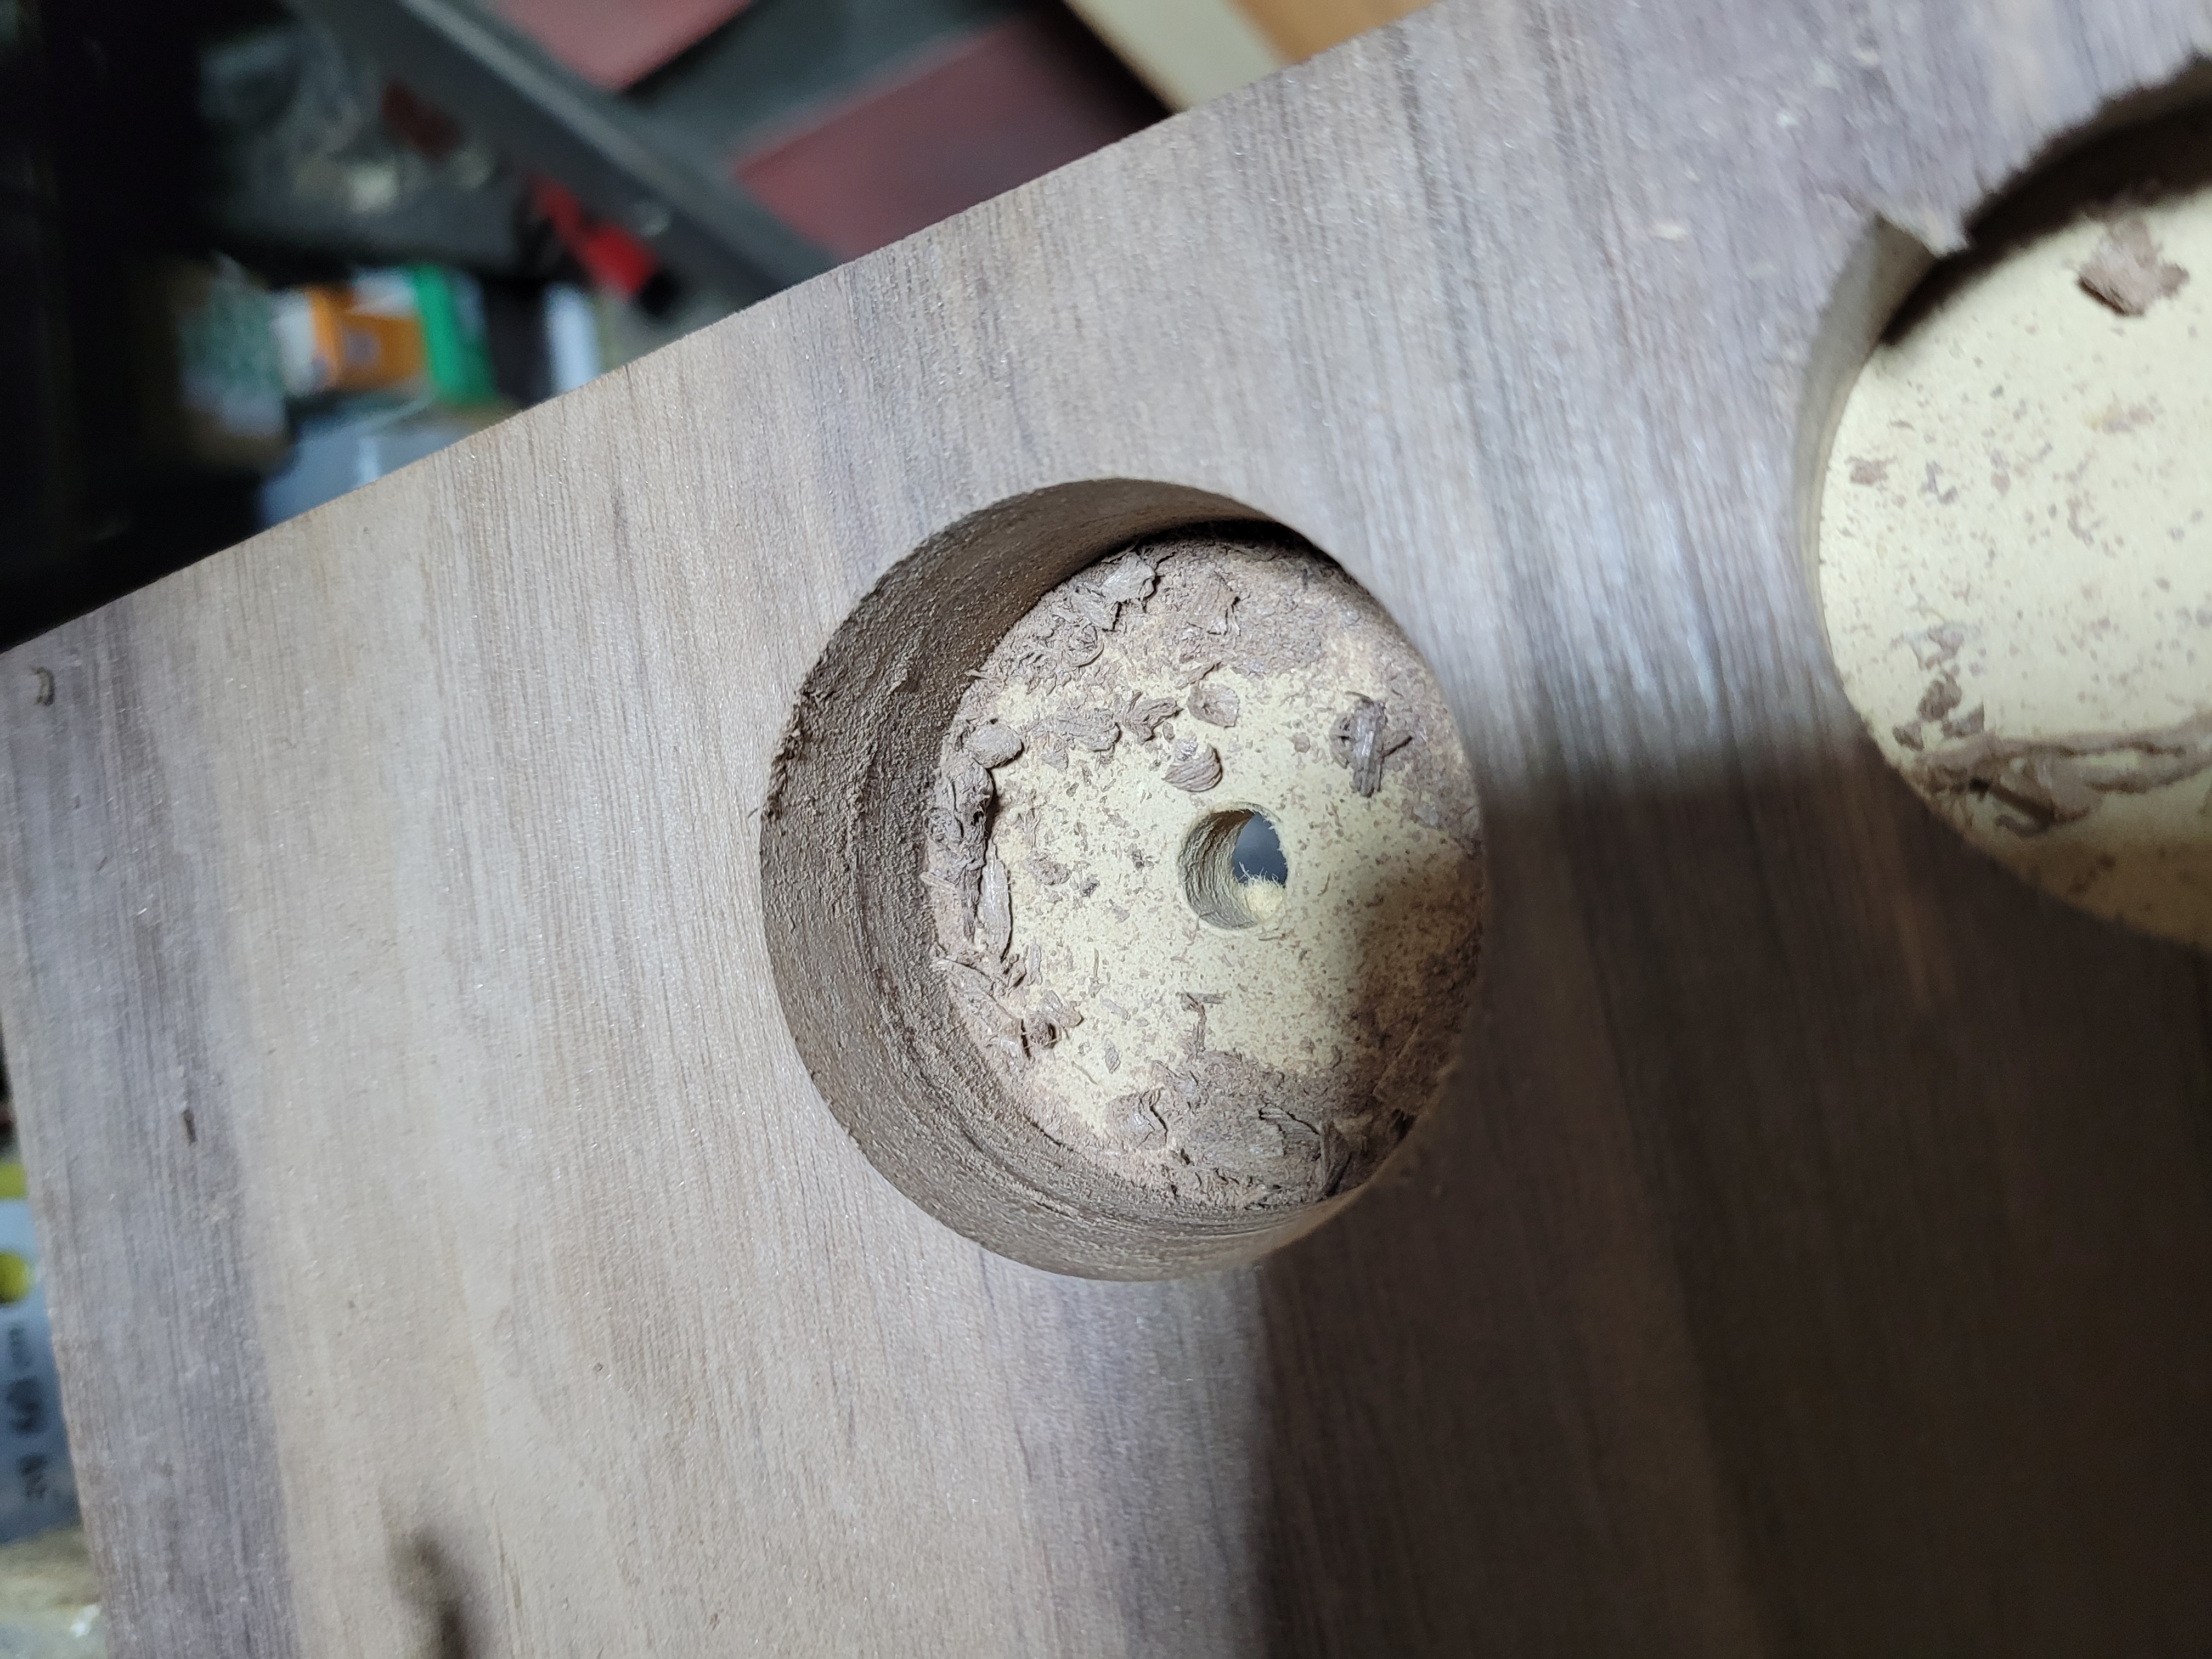
For this hole. I stopped half way through and flipped the board. The exit wound from the cutter is pretty nasty if you don’t have a backing board in place. Flipping works reasonably well, but I got a little ridge half way through the hole. So if you have the scrap to spare, just go straight through with a backing board.
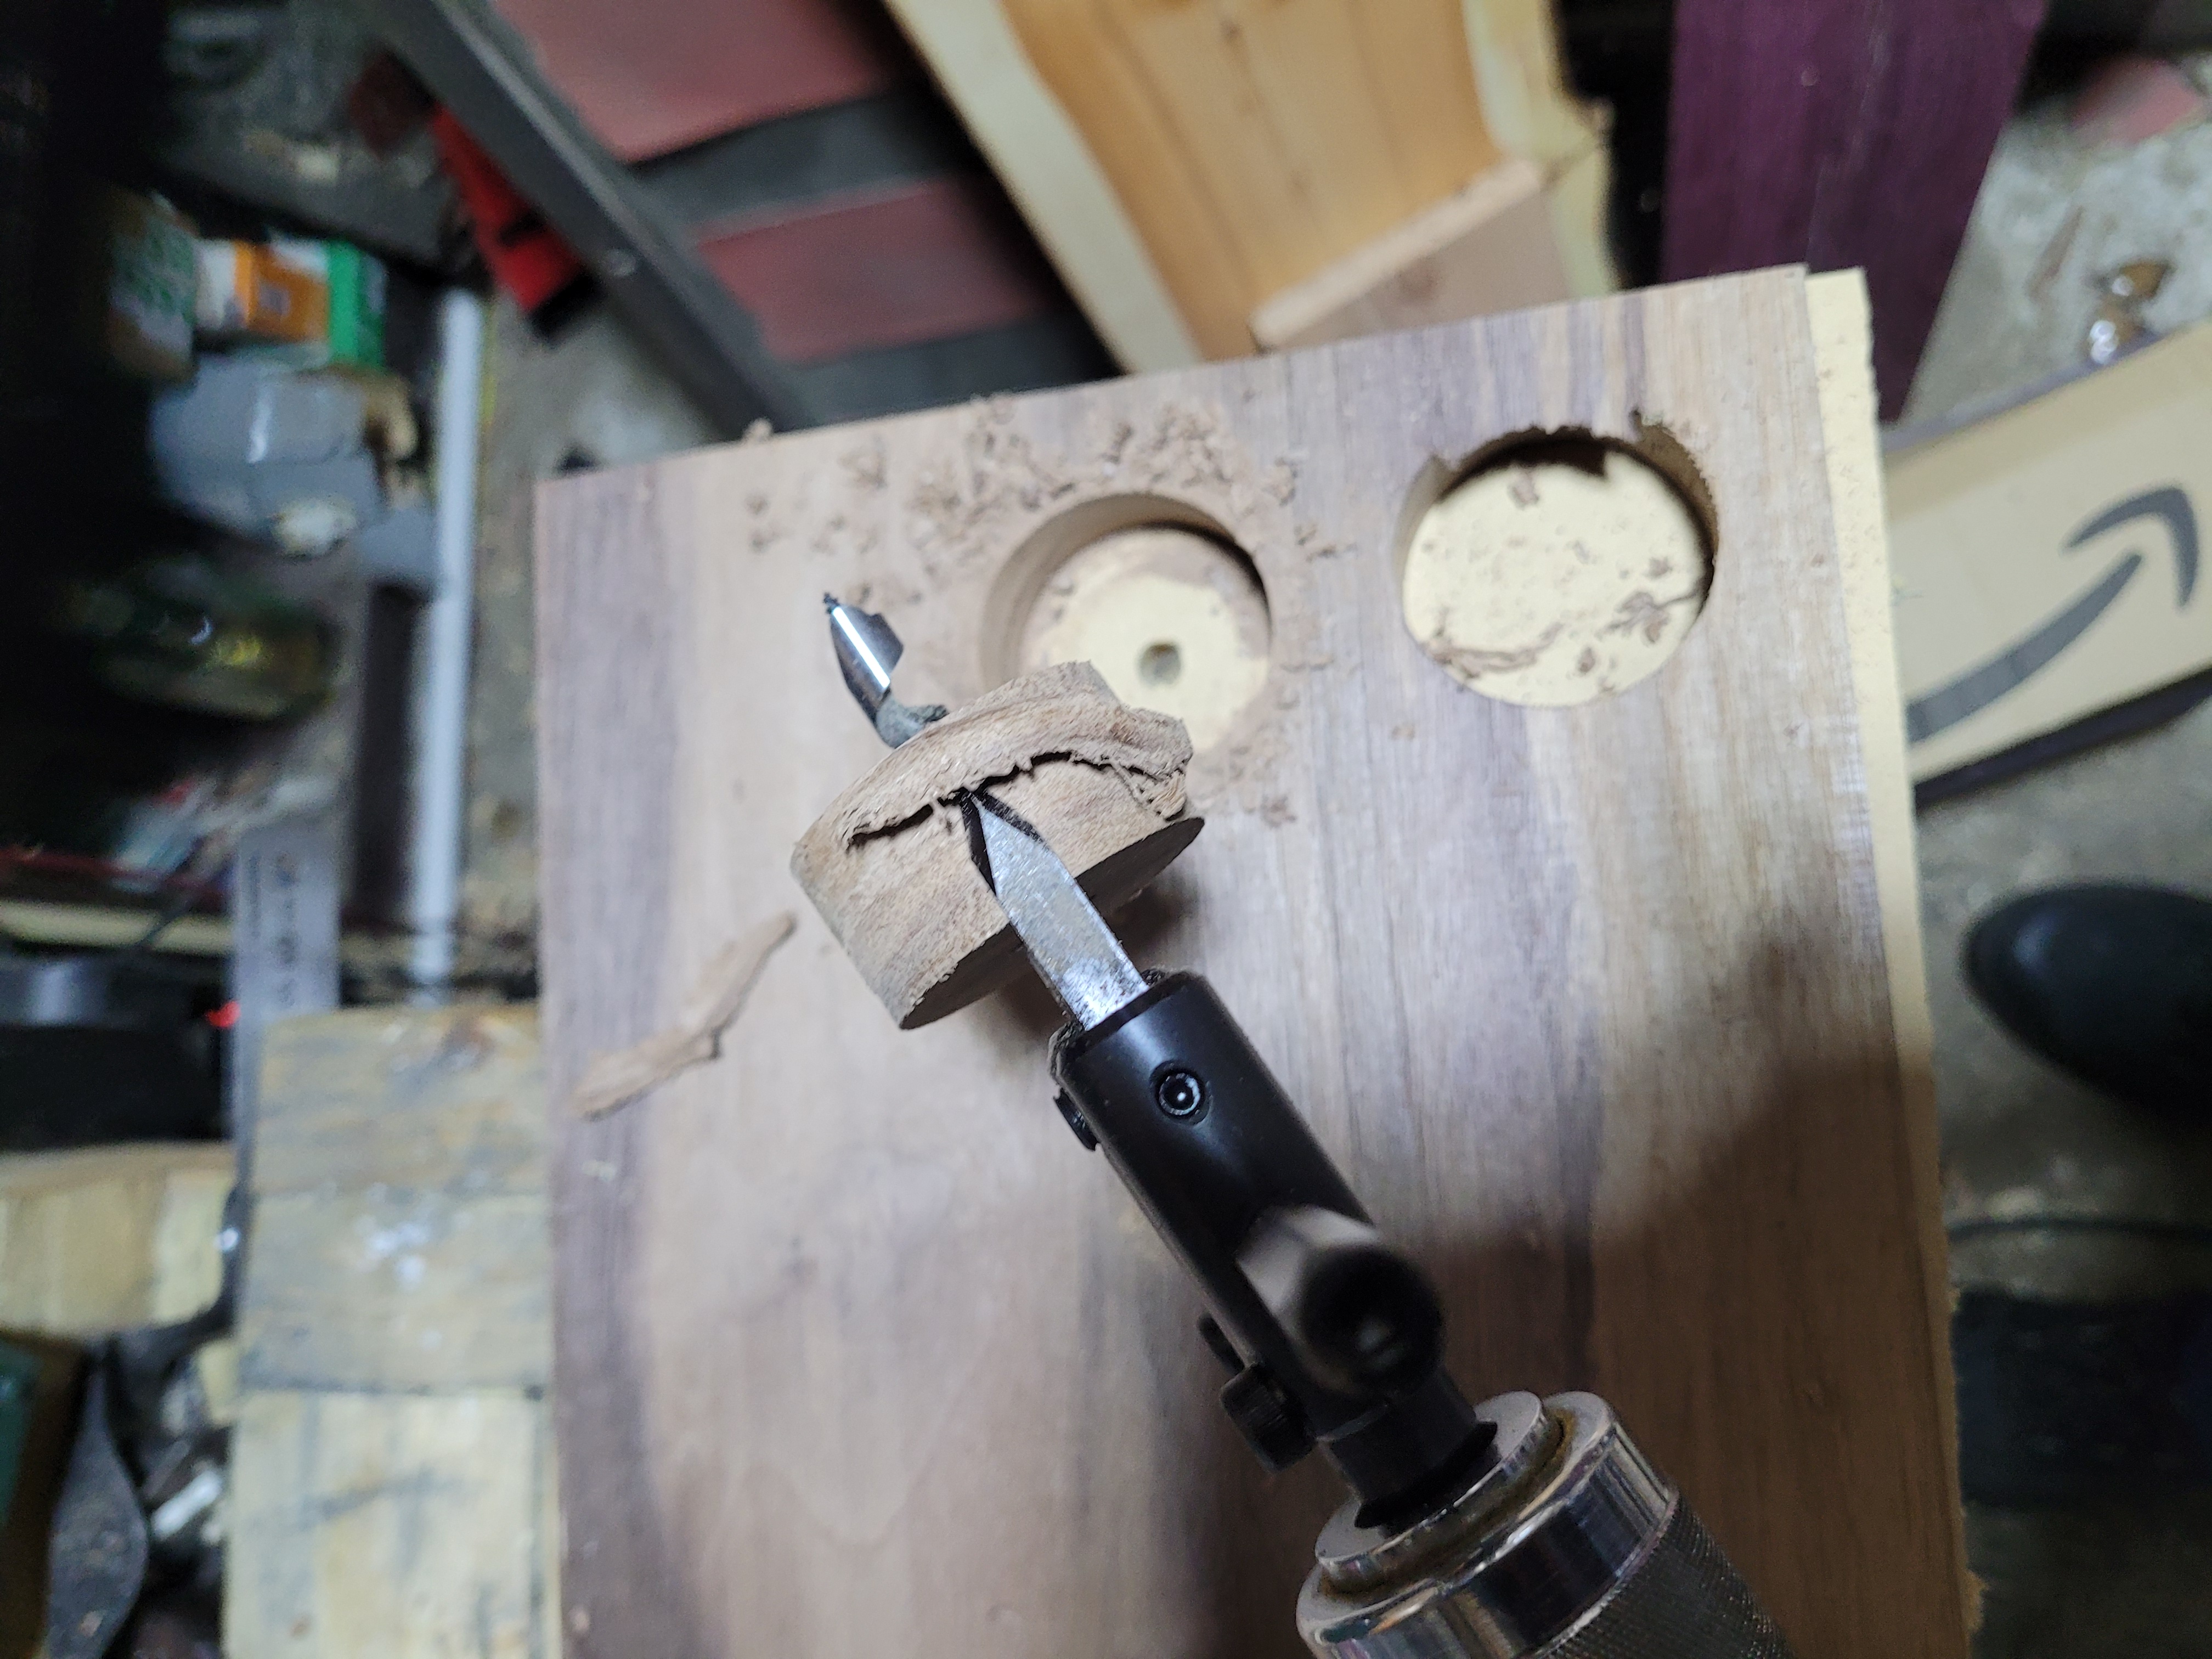
Without the backing board, the disc breaks free leaving some material on the sides.
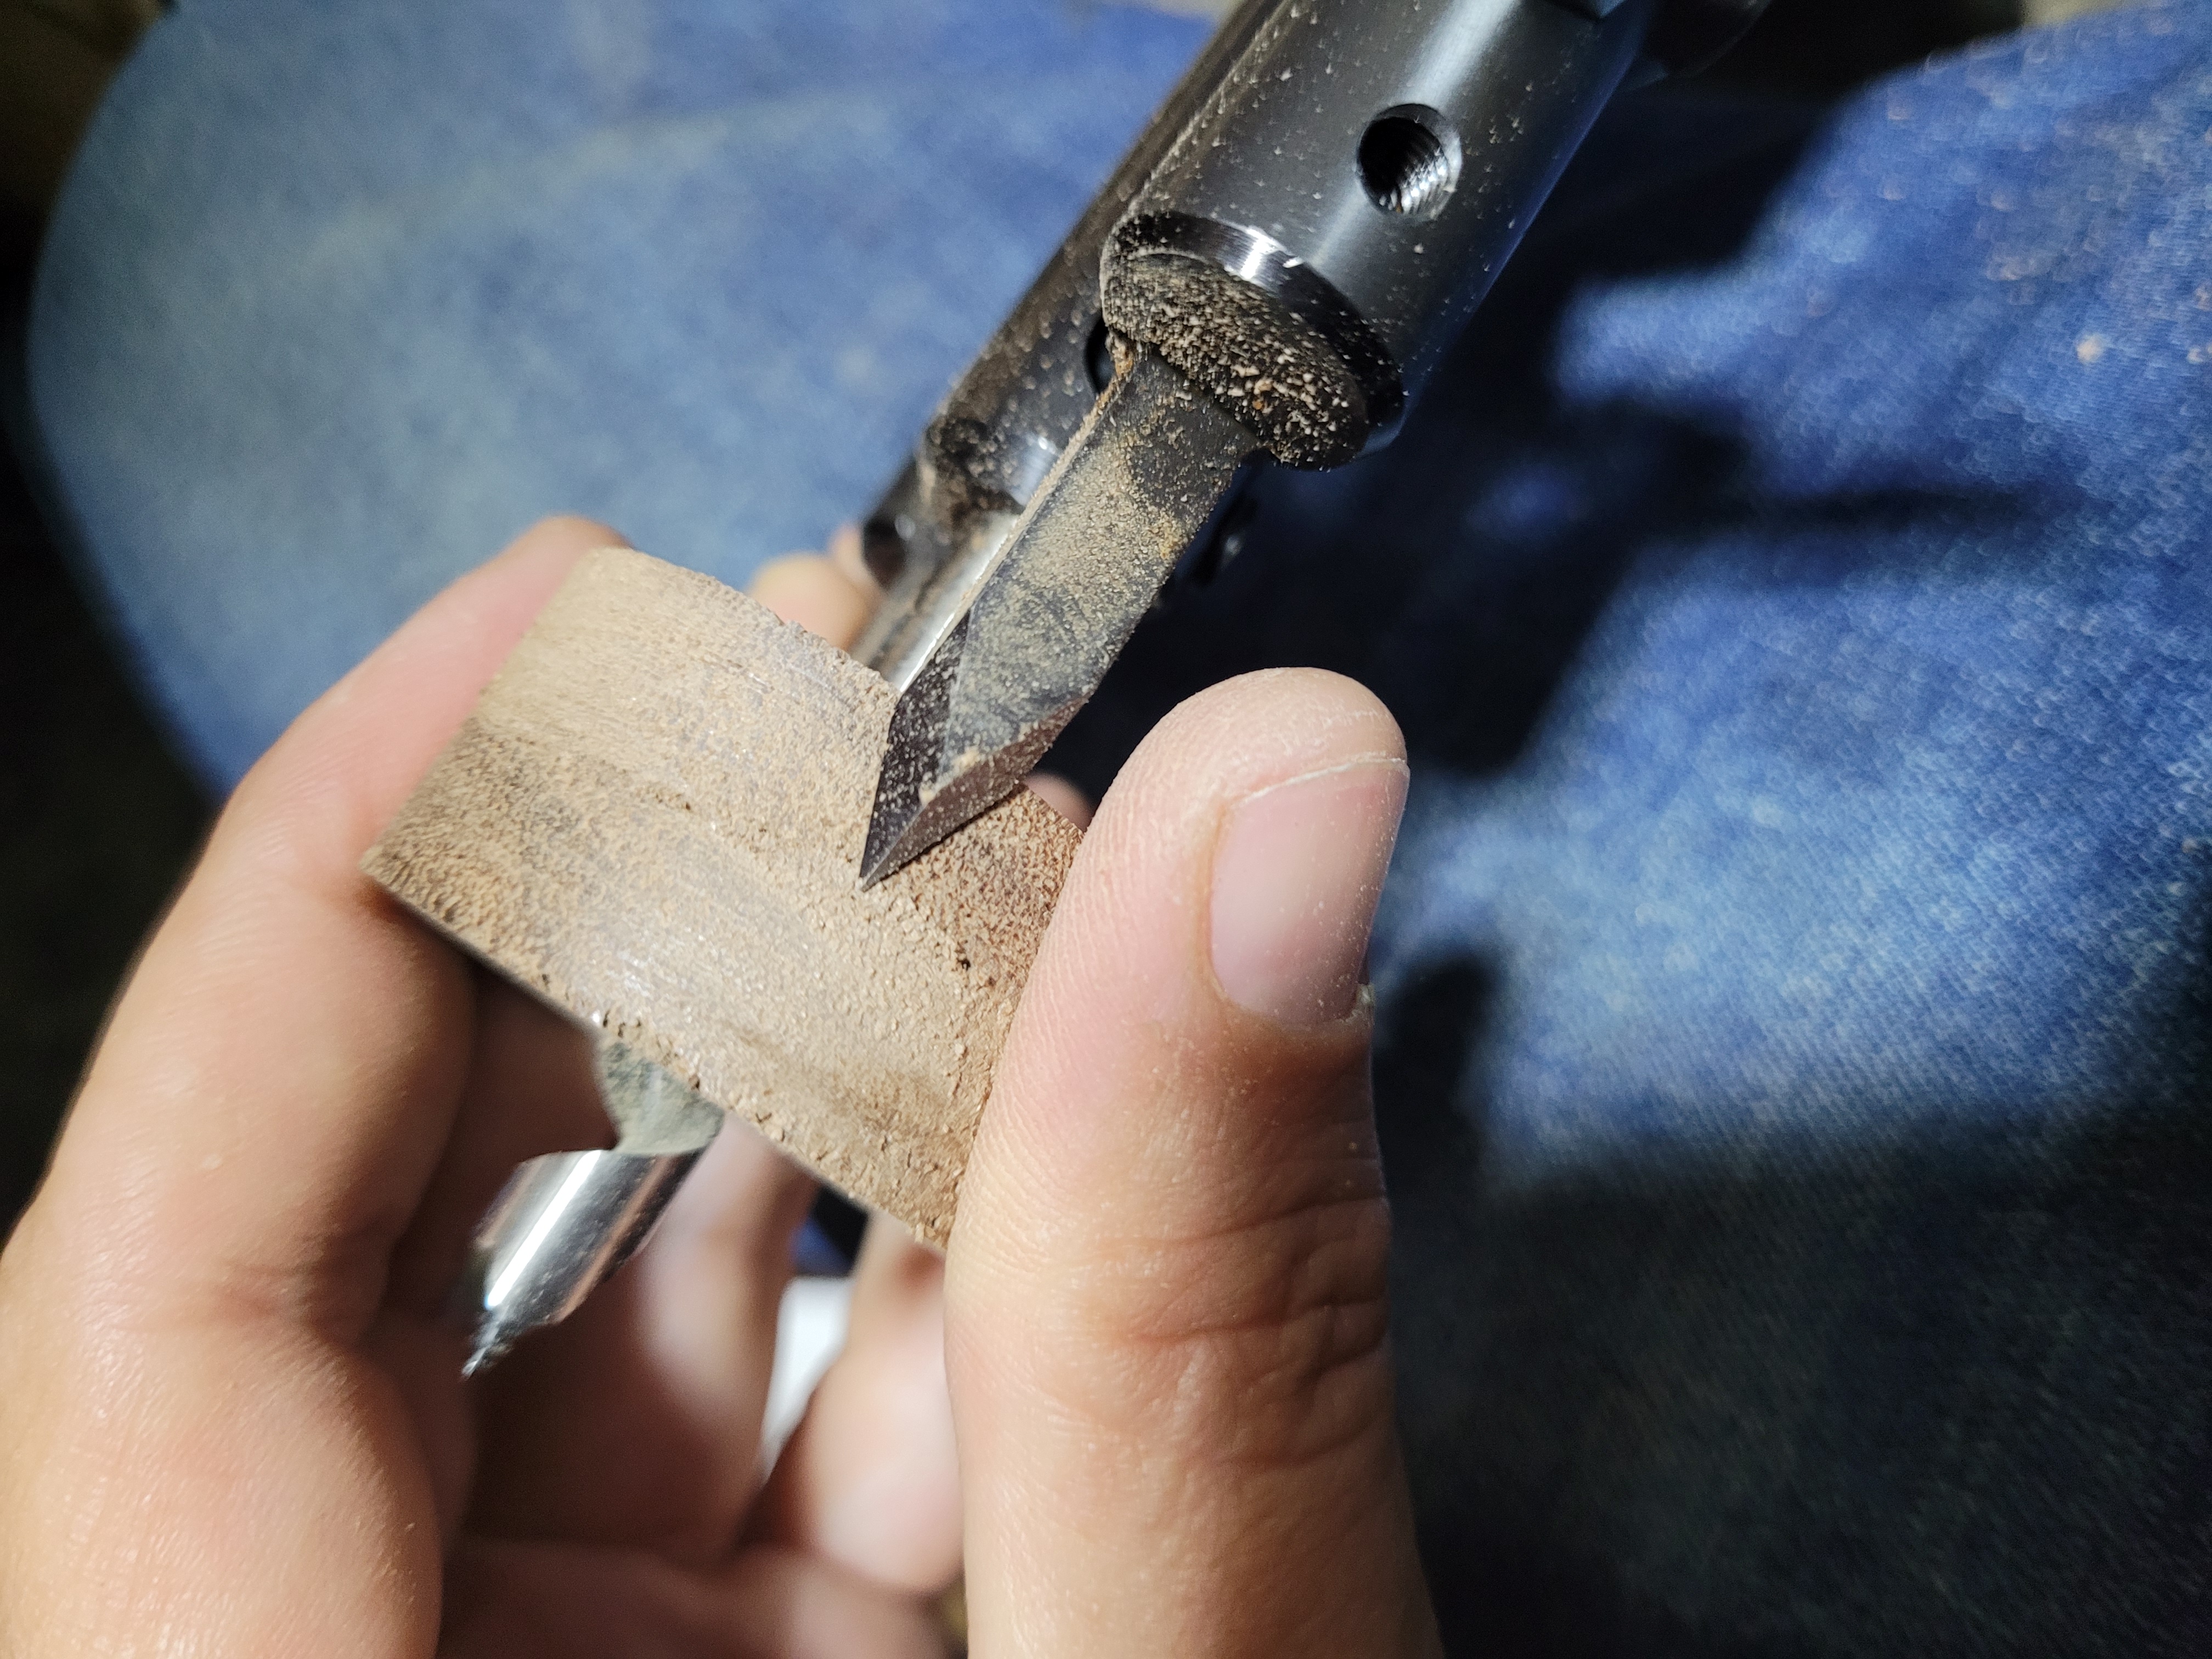
You can just turn the disc on the bit by hand to trim it off, so not a big deal.
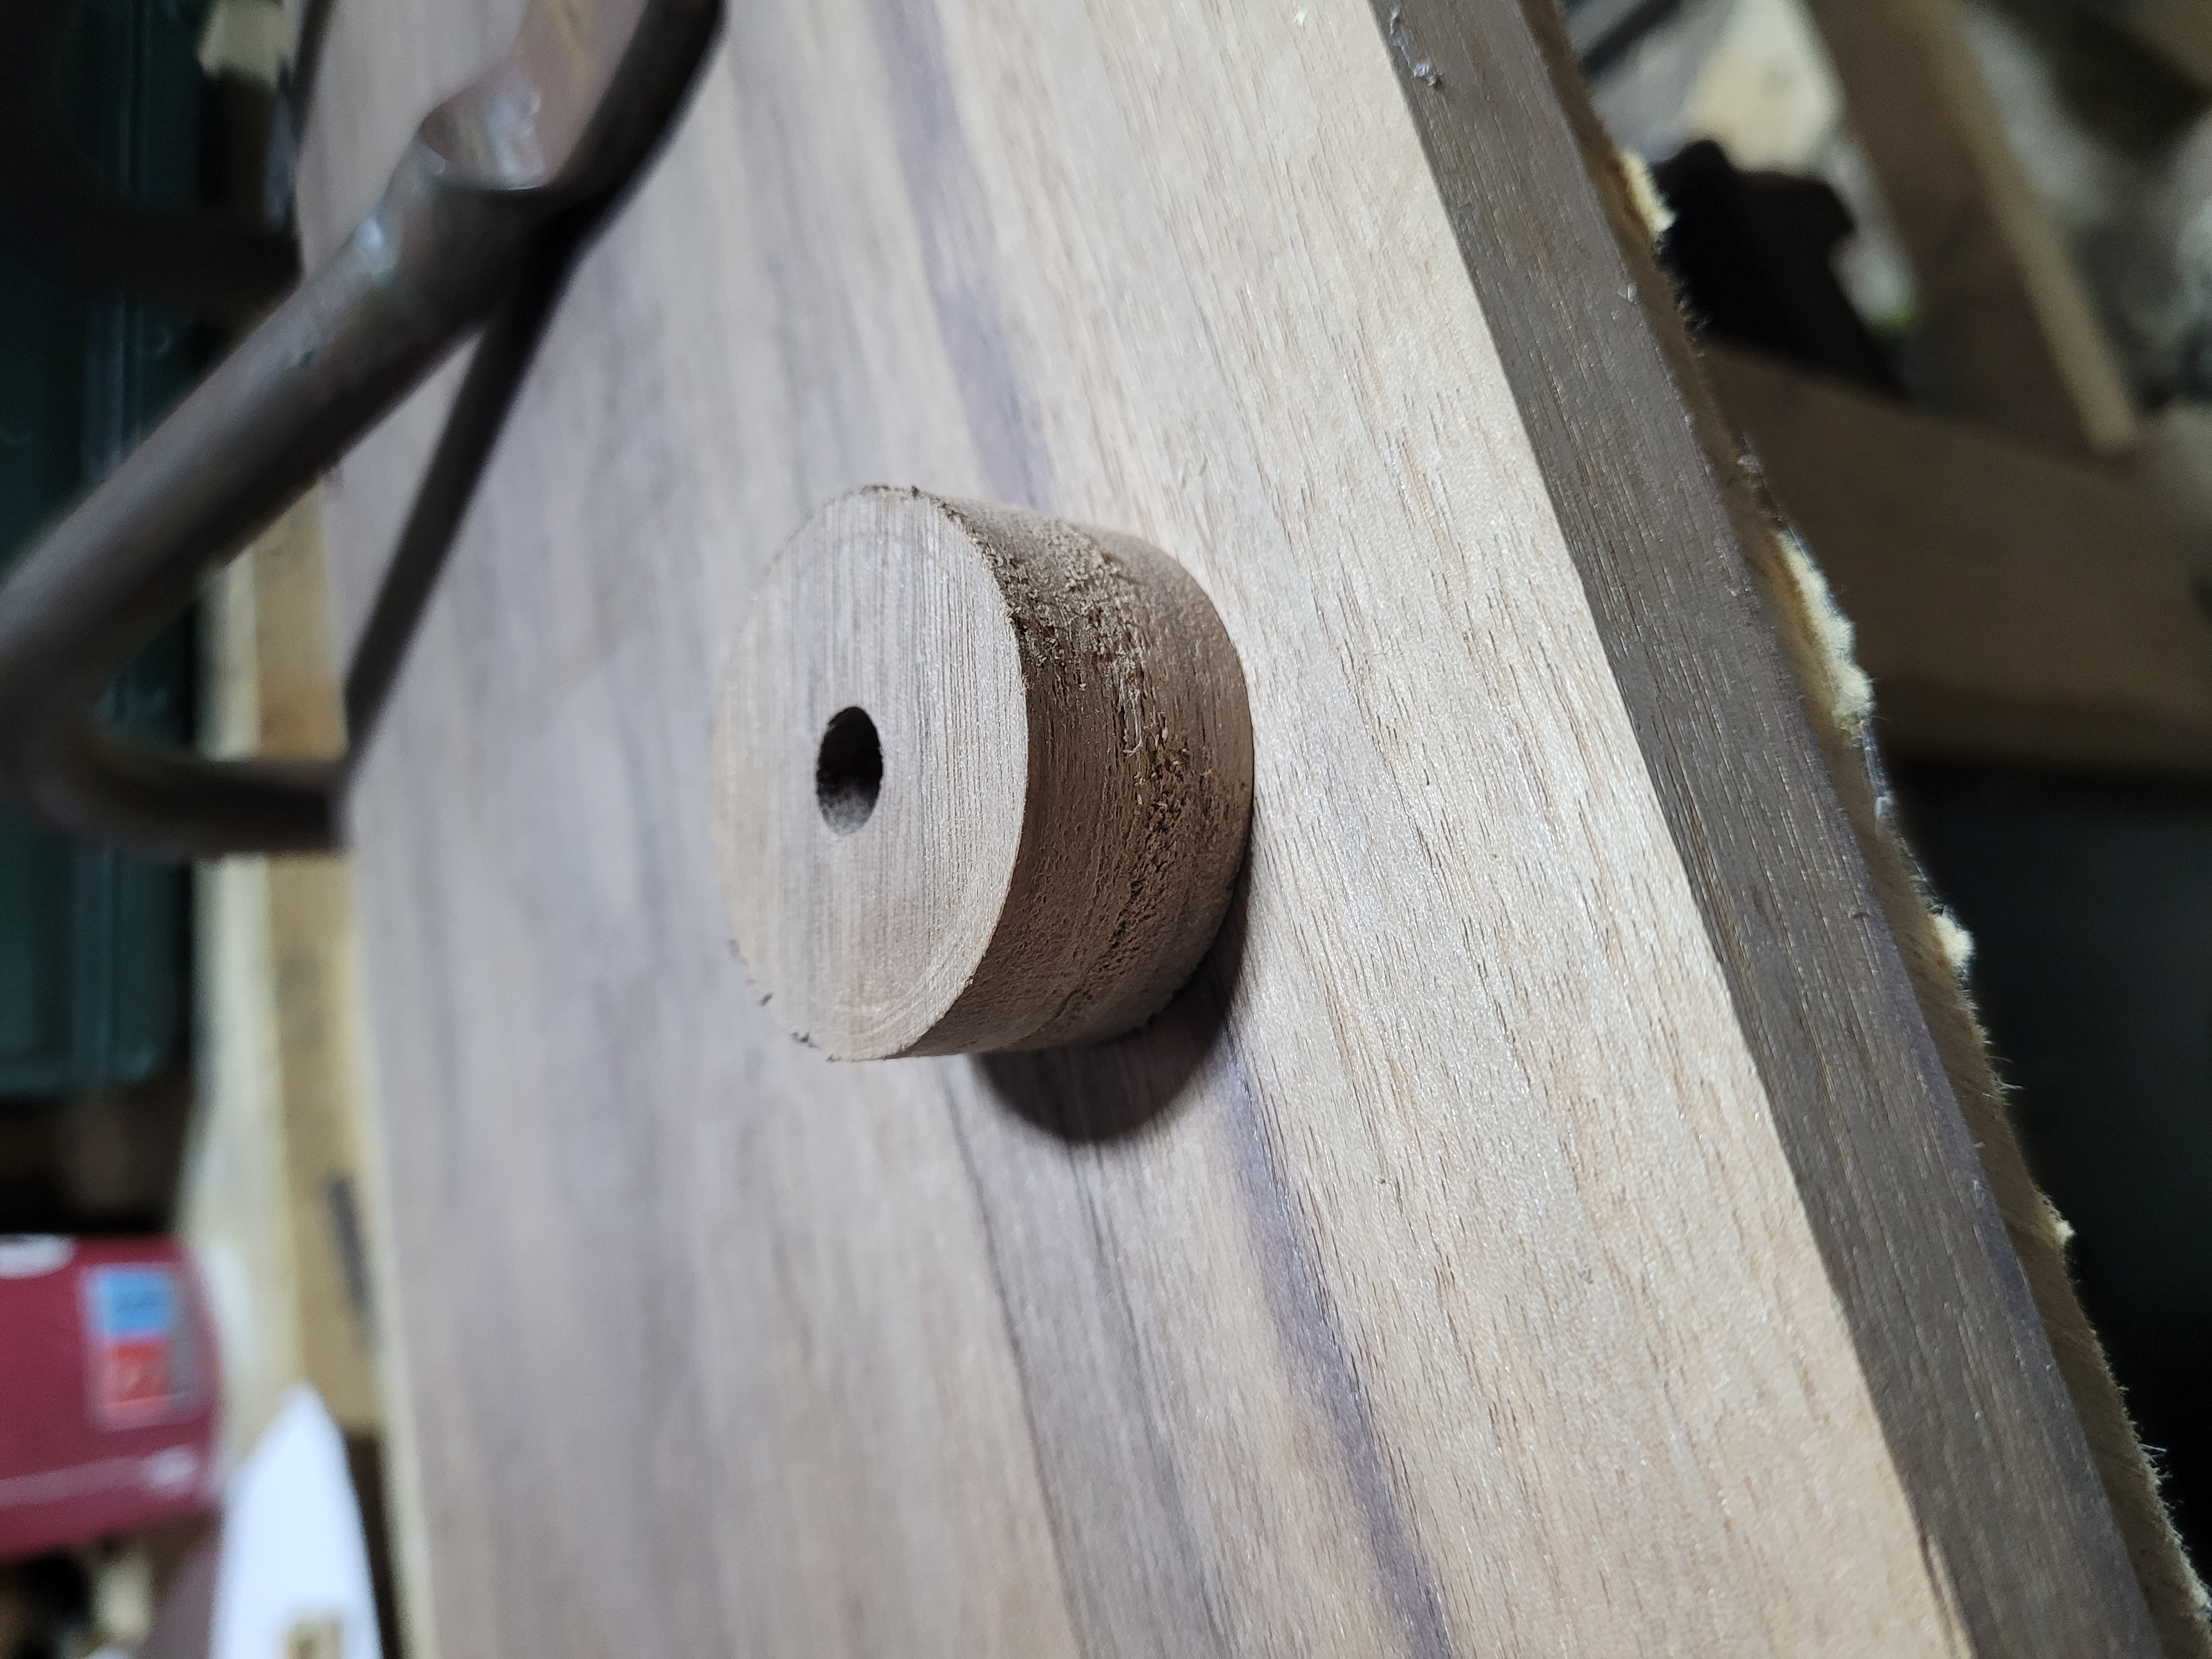
The finished disc.
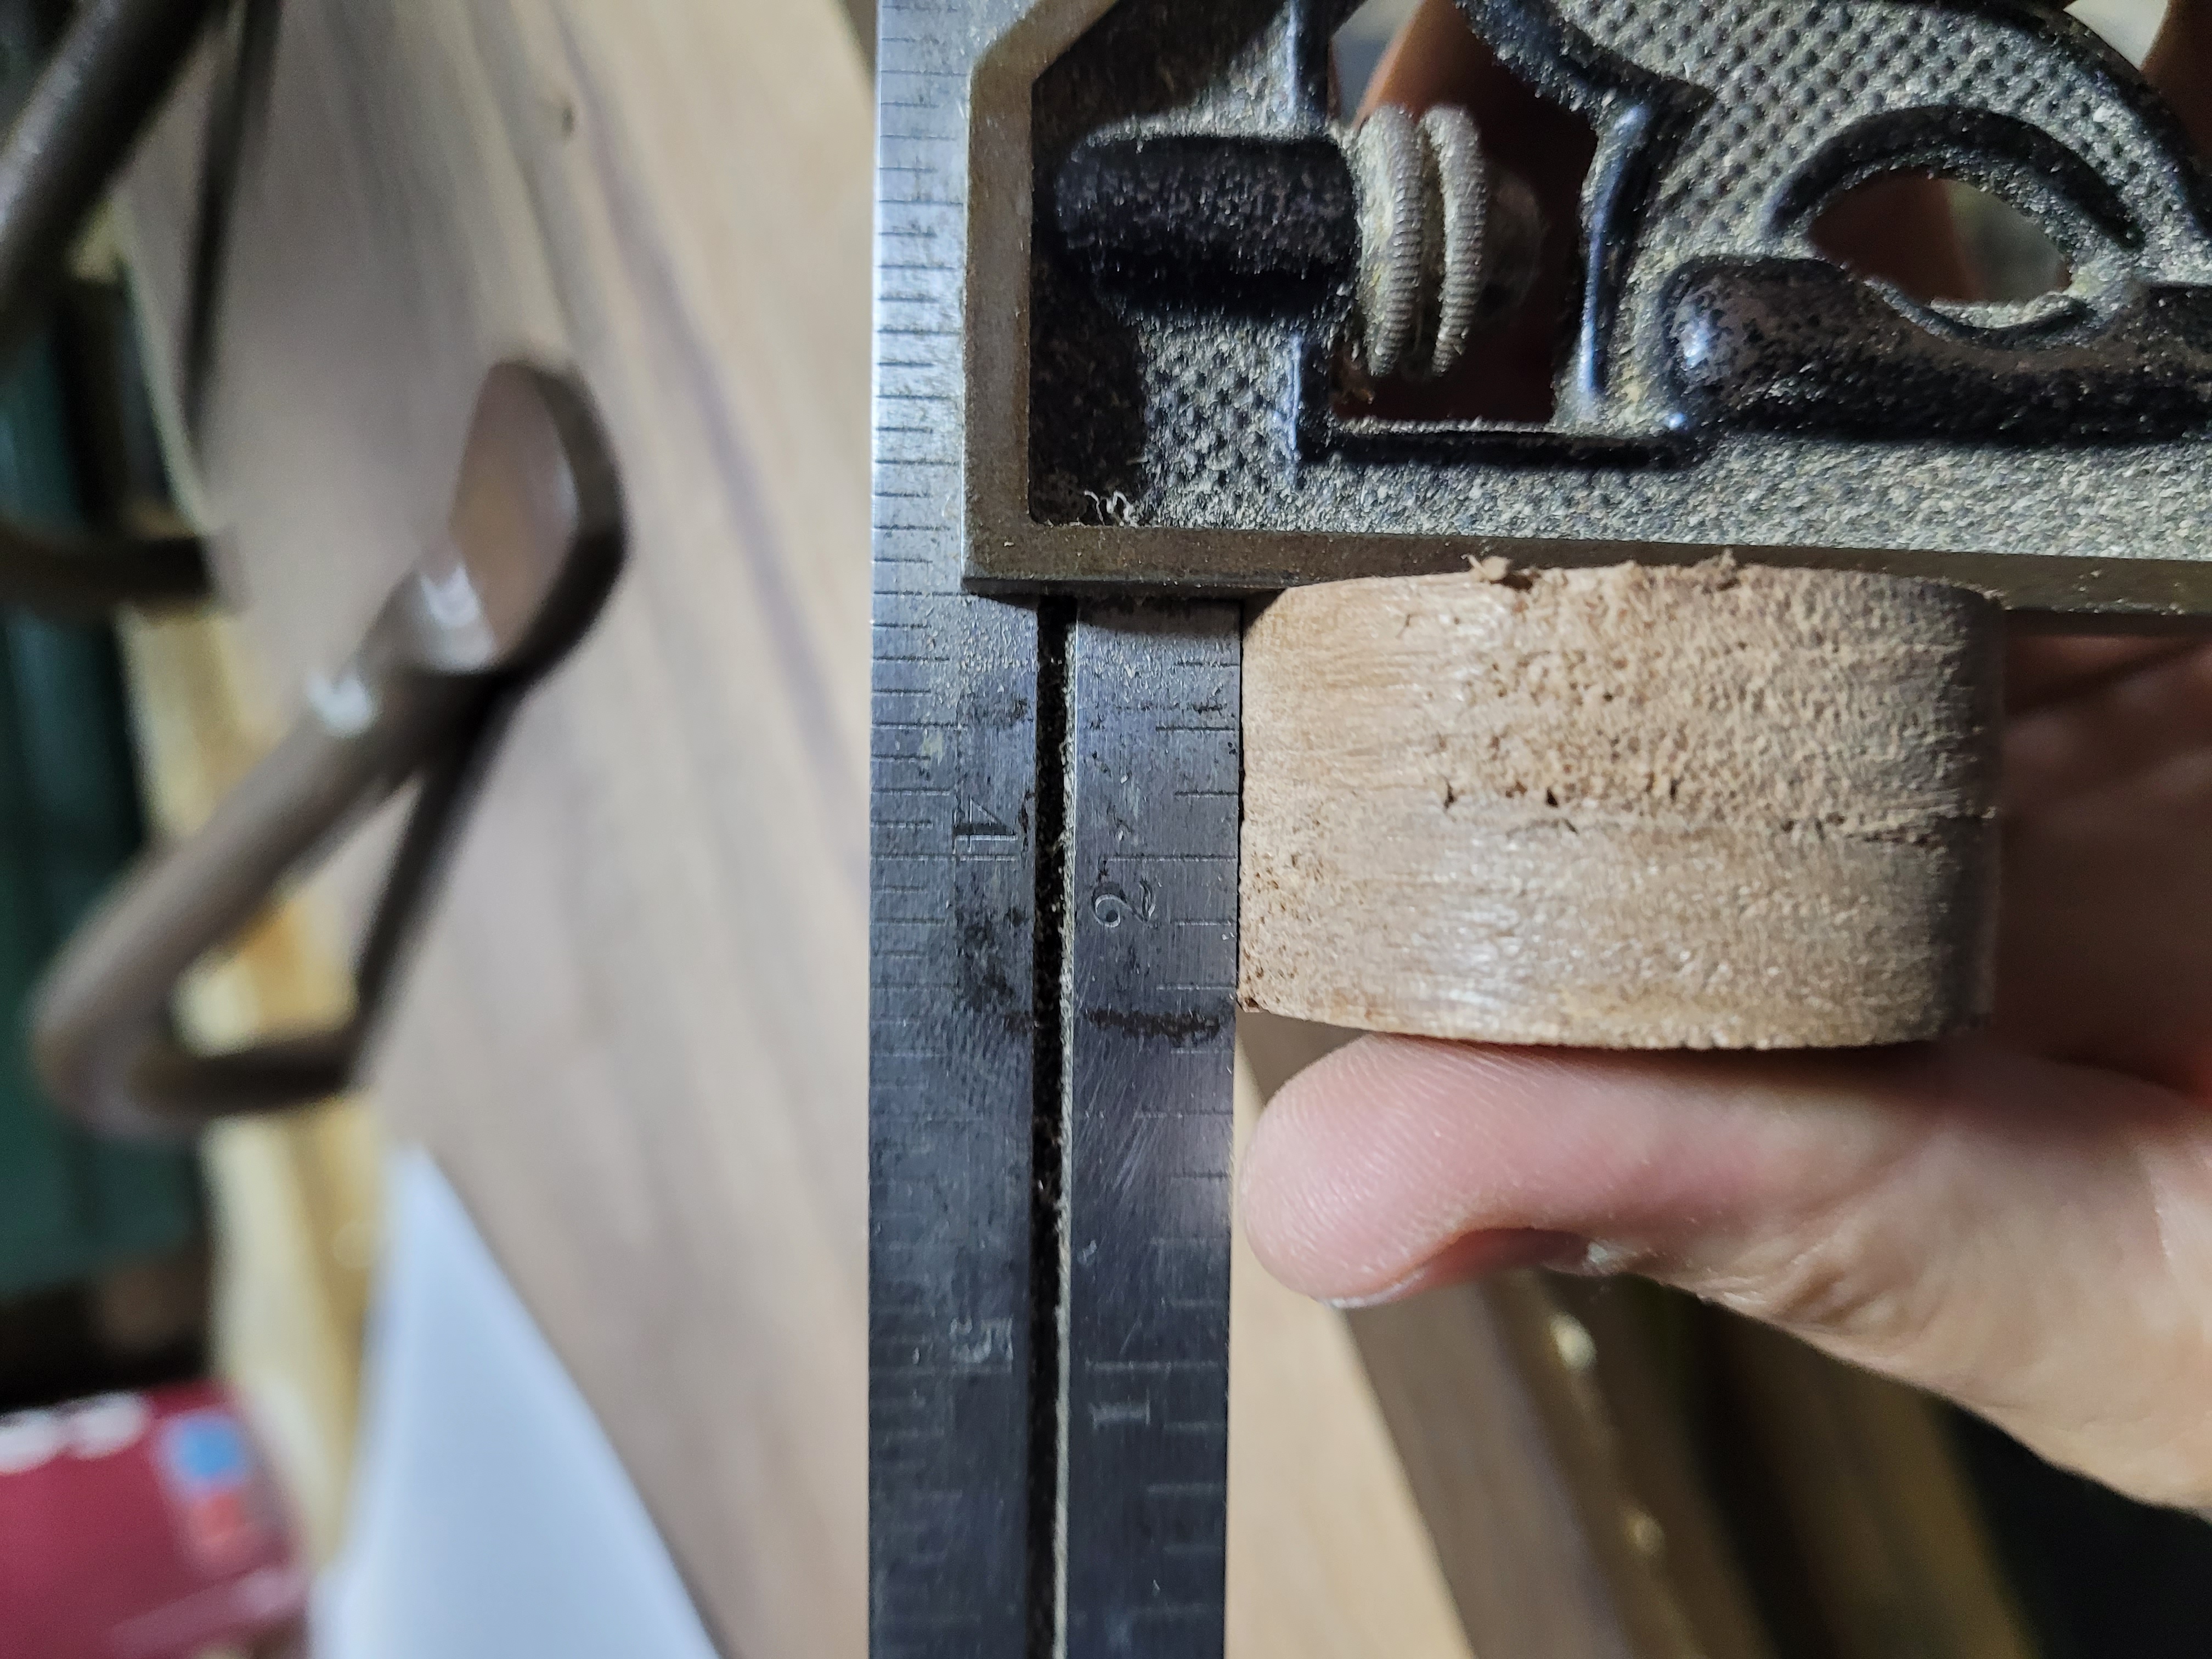
And its pretty square.