Kerfs & Grooves
Next up on the loom is creating kerfs on the front and back pieces for the yarn to go through. While thinking about it a groove on the front and back faces just where the kerfs end will prevent the yarn from slipping out. So grooving time it is.
My Record 043 has a fence that is a bit warped. So I’ll fix that first. Then cut many many many kerfs for the yarn. The photos below, as usual, show the step by step process.
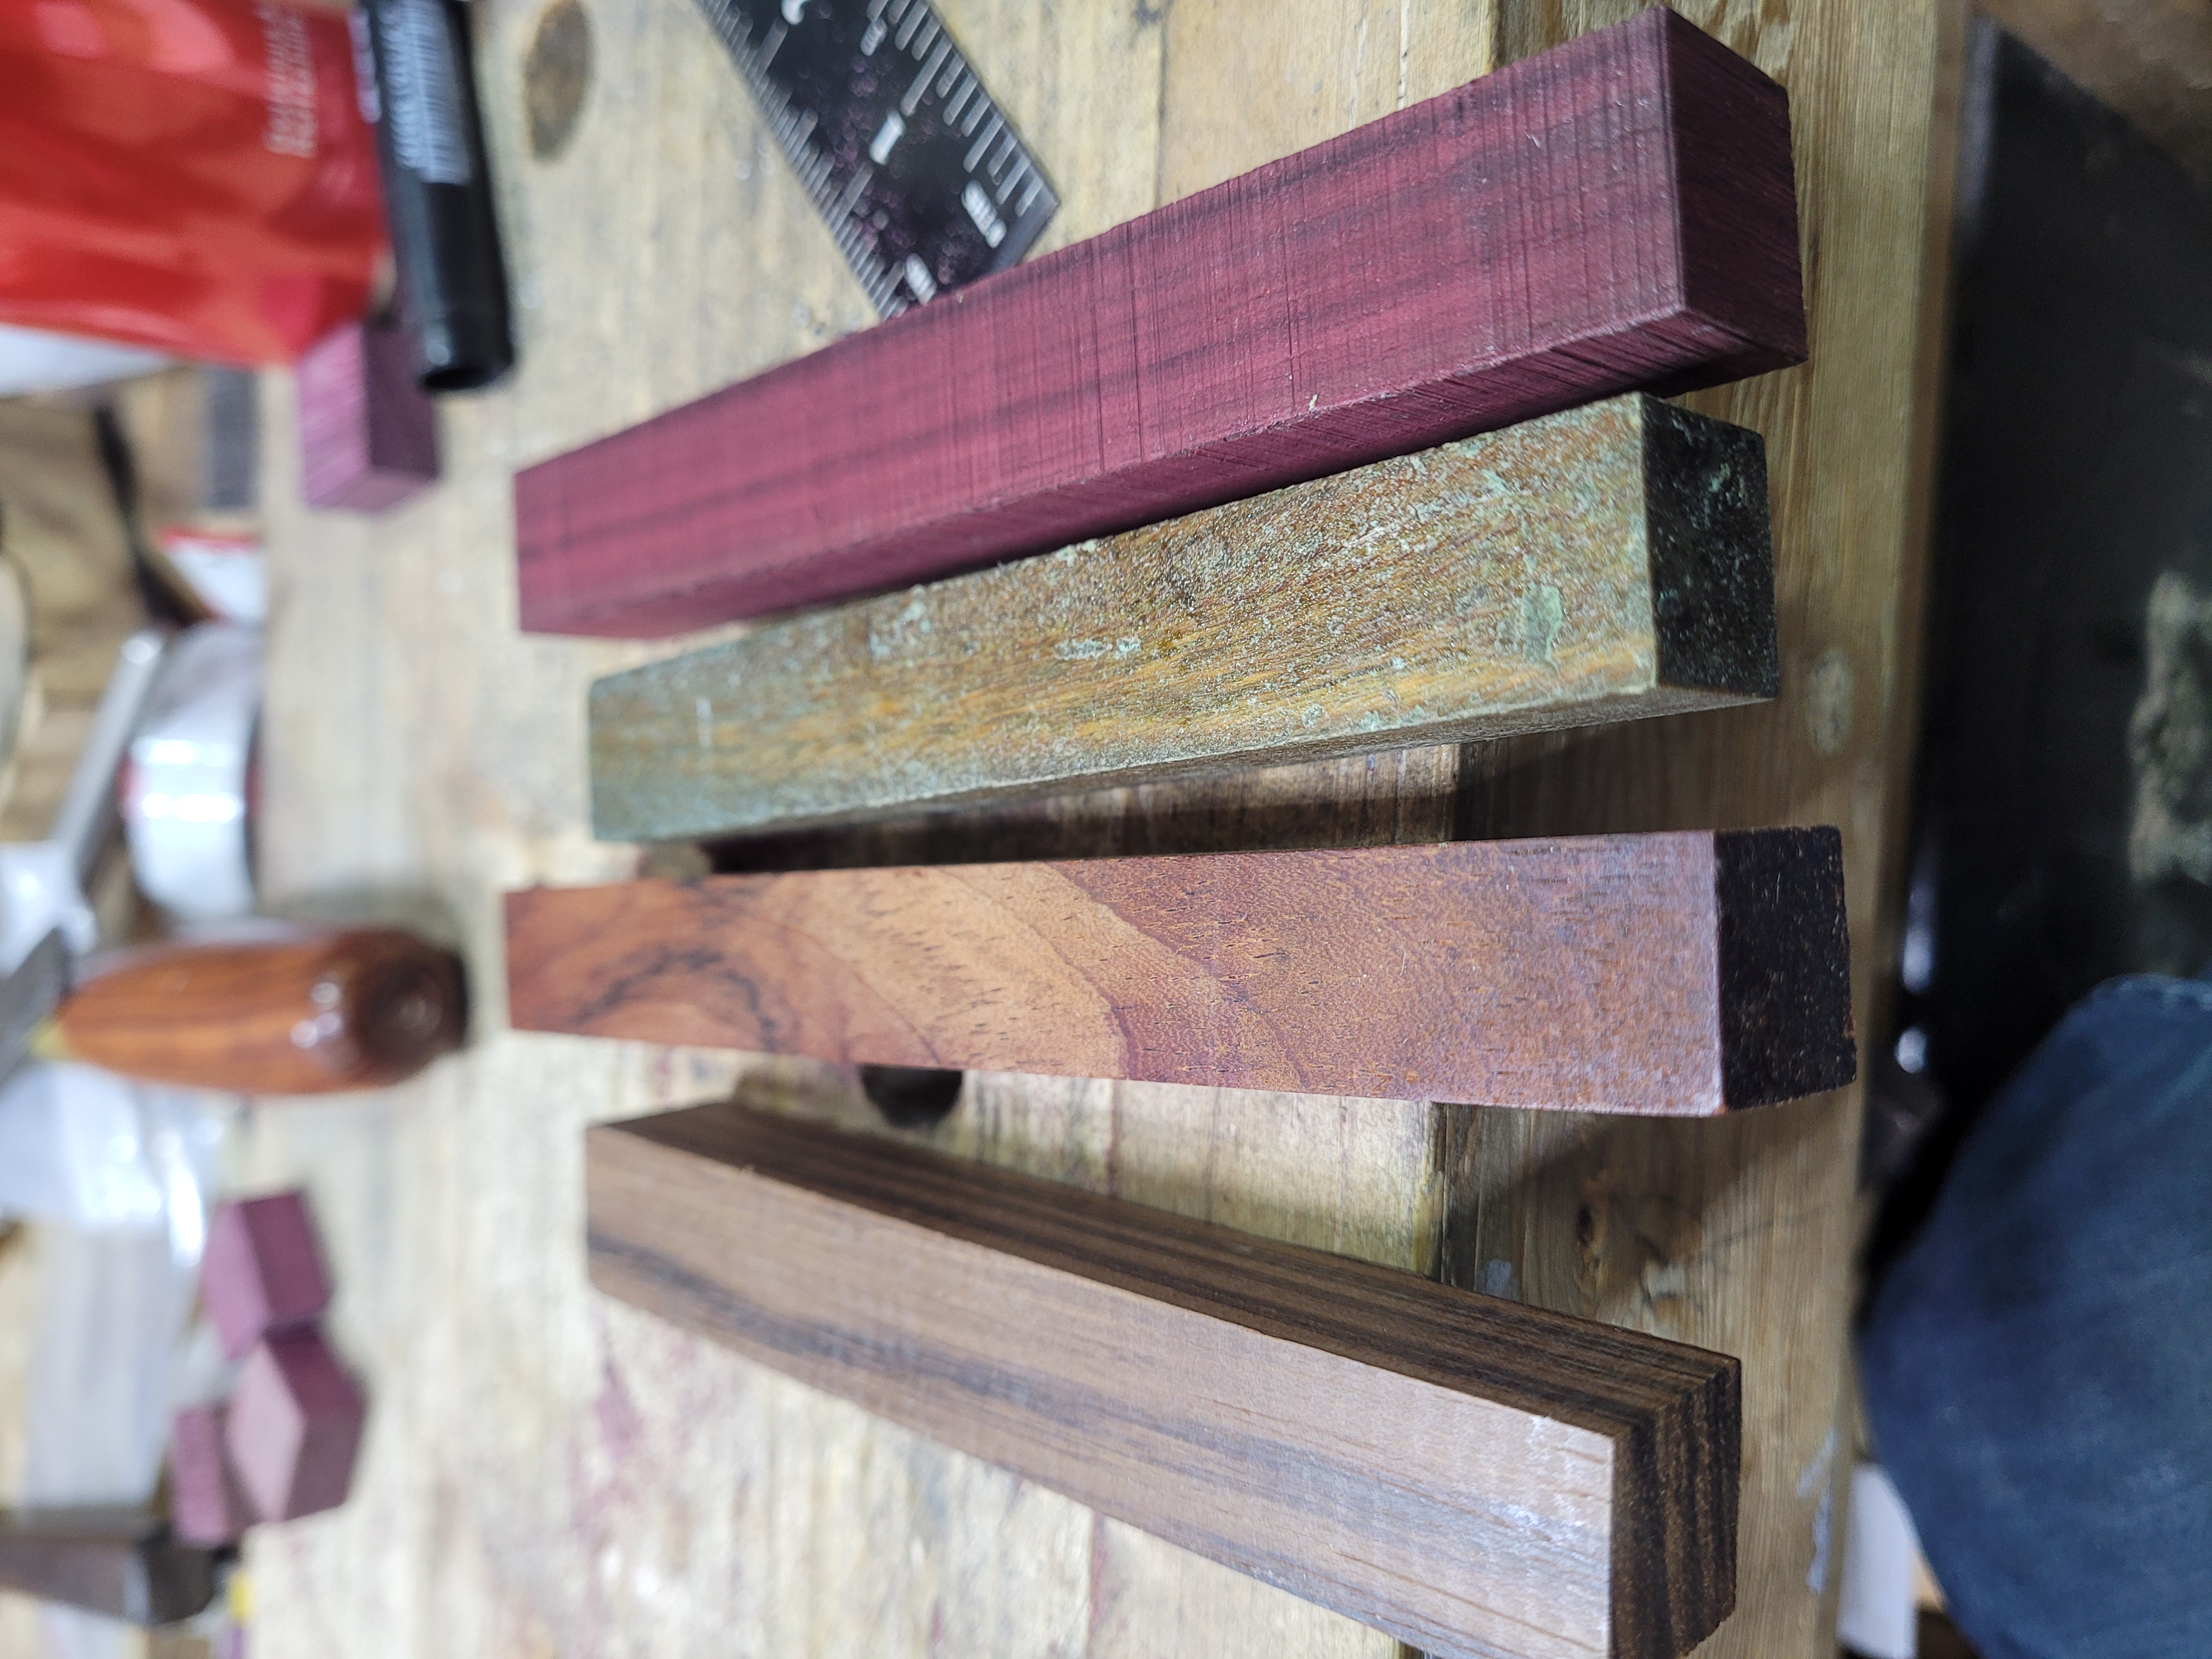
As luck would have it I got a really wonderful package from Ryan Powell. Along with some Vintage Tool patch stickers, he put in some exotic pen blanks, drill bits and even a selection of Music. I selected the Lignum Vitae blank (second from the right), re-read Ryan’s article on making a fence for the 043 and had at it.
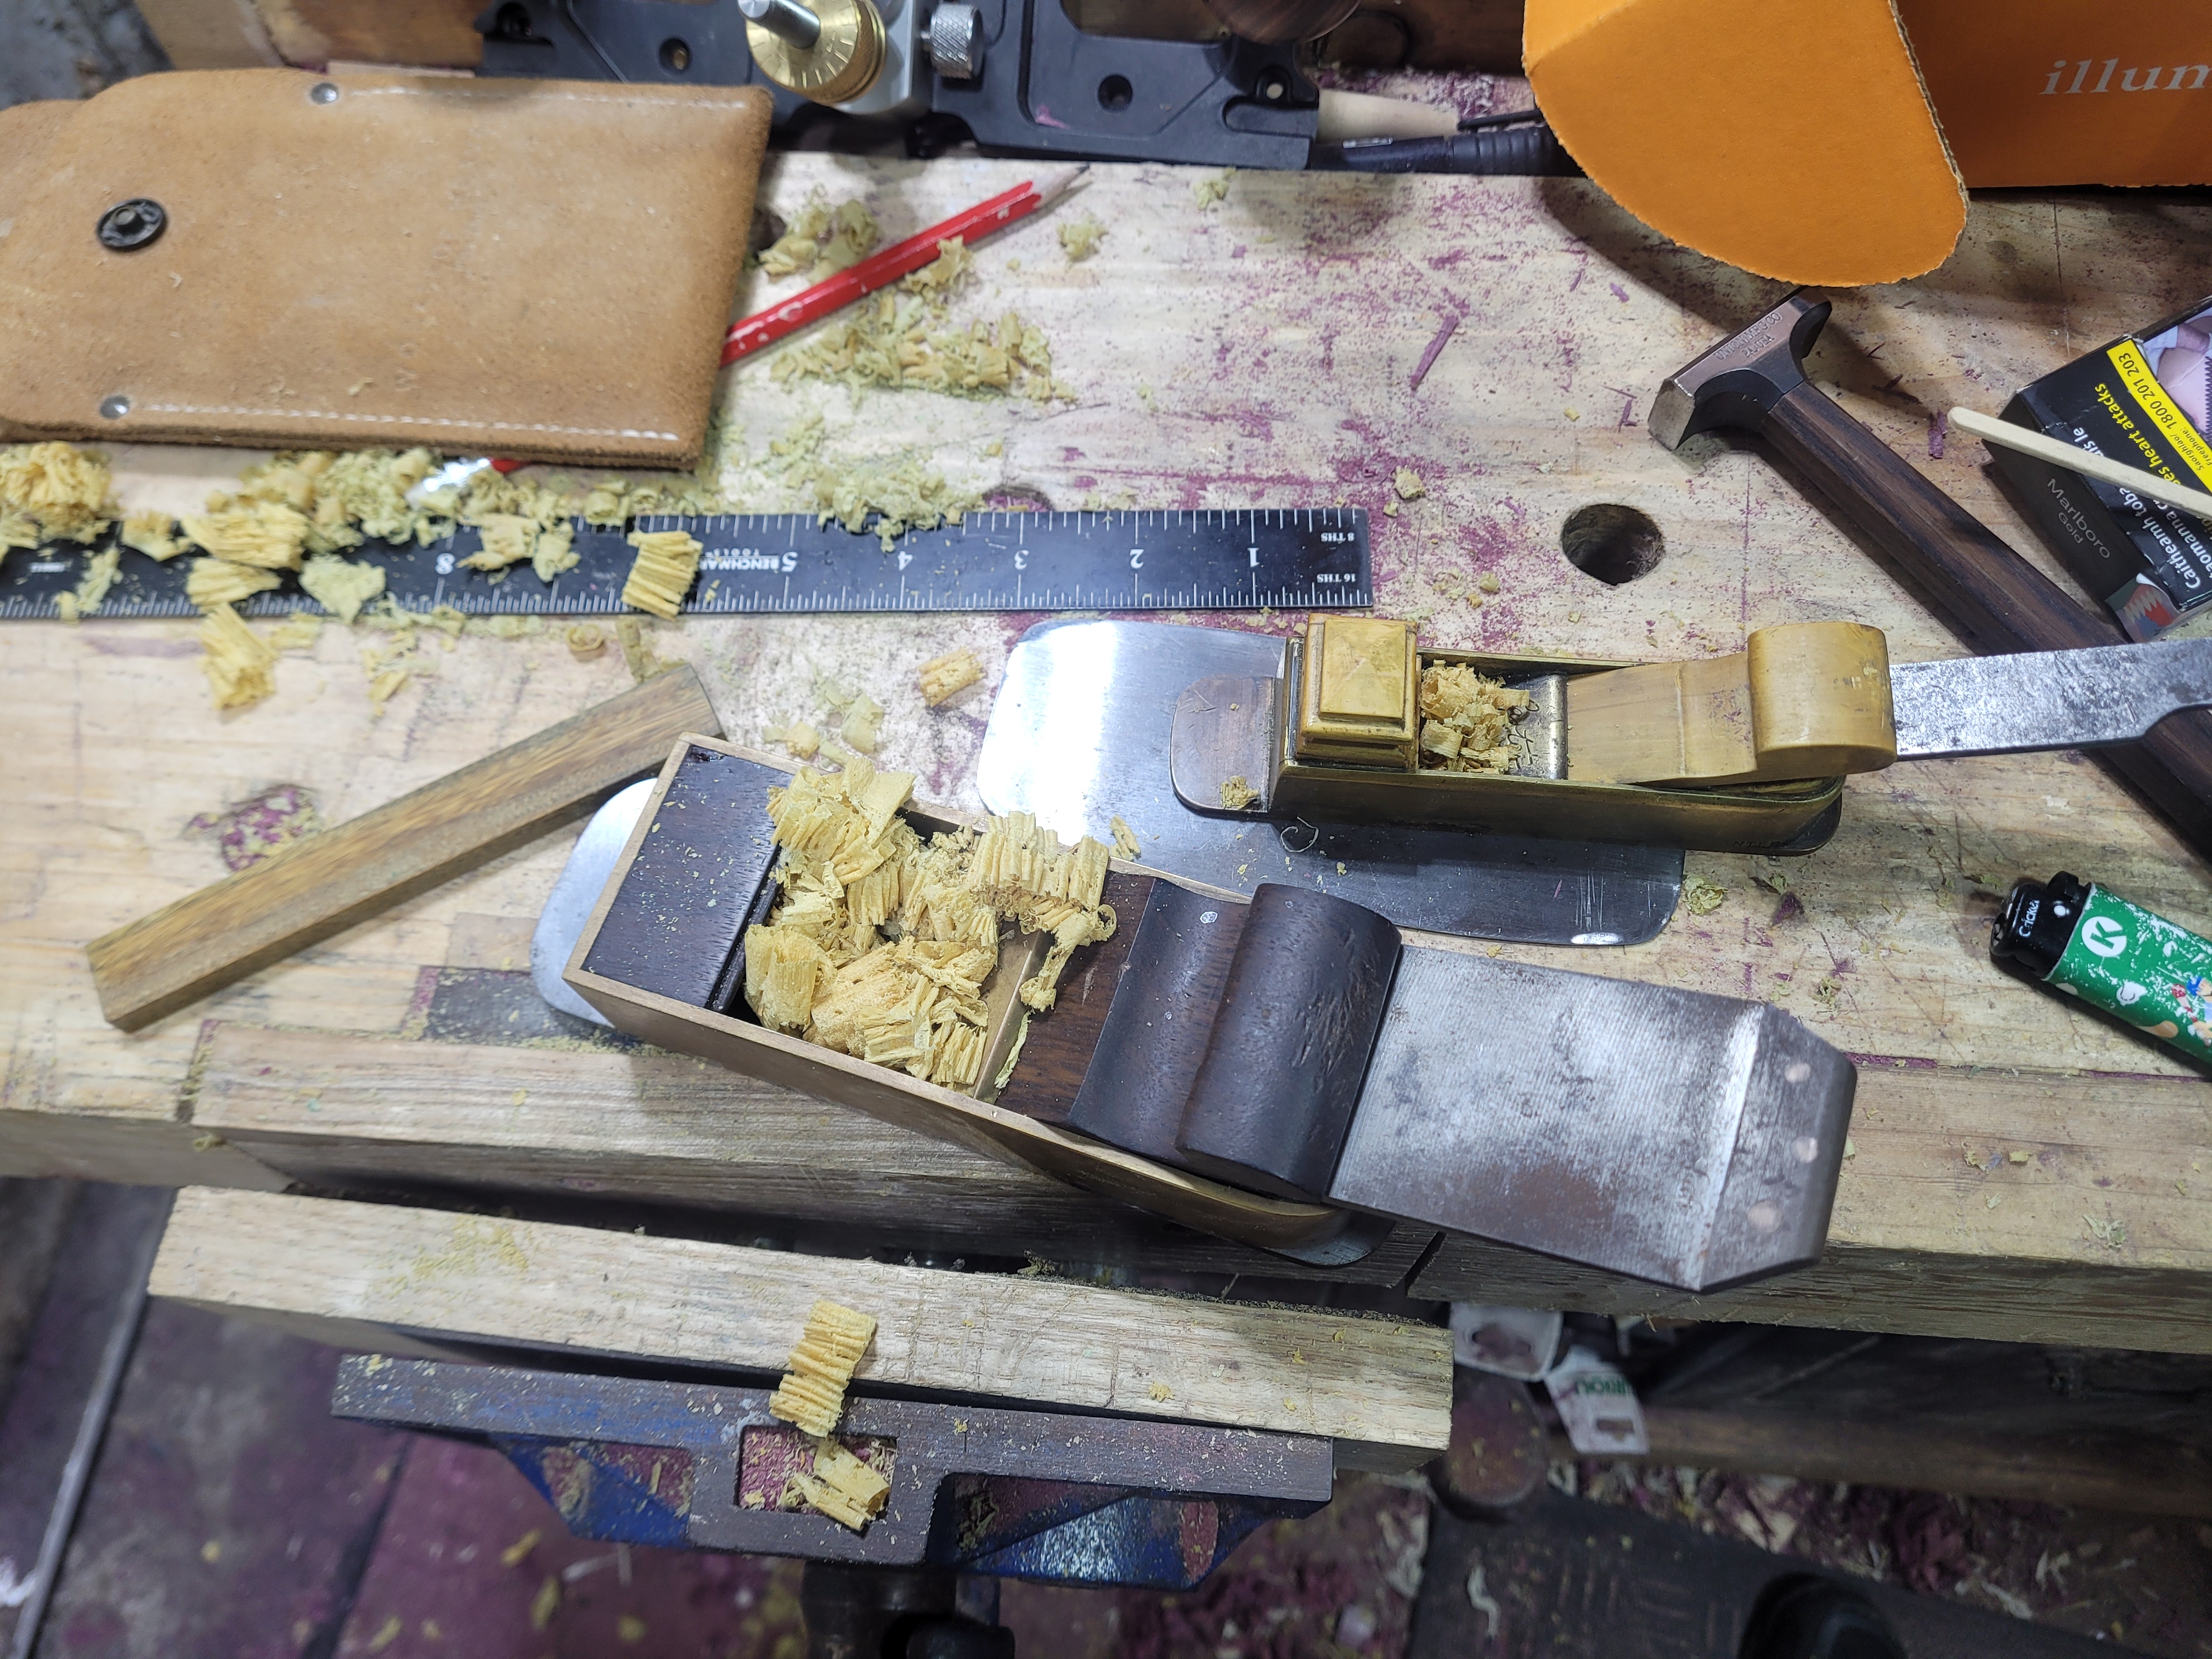
I have never used Lignum Vitae before, and I love it. Its very dense, but works very easily. It sawed cleanly. I set the Savla-Shah plane a little heavier than the Carter, used the Shah to square the stock, and the Carter for a little final smoothing. This is the kind of work these planes excel at.
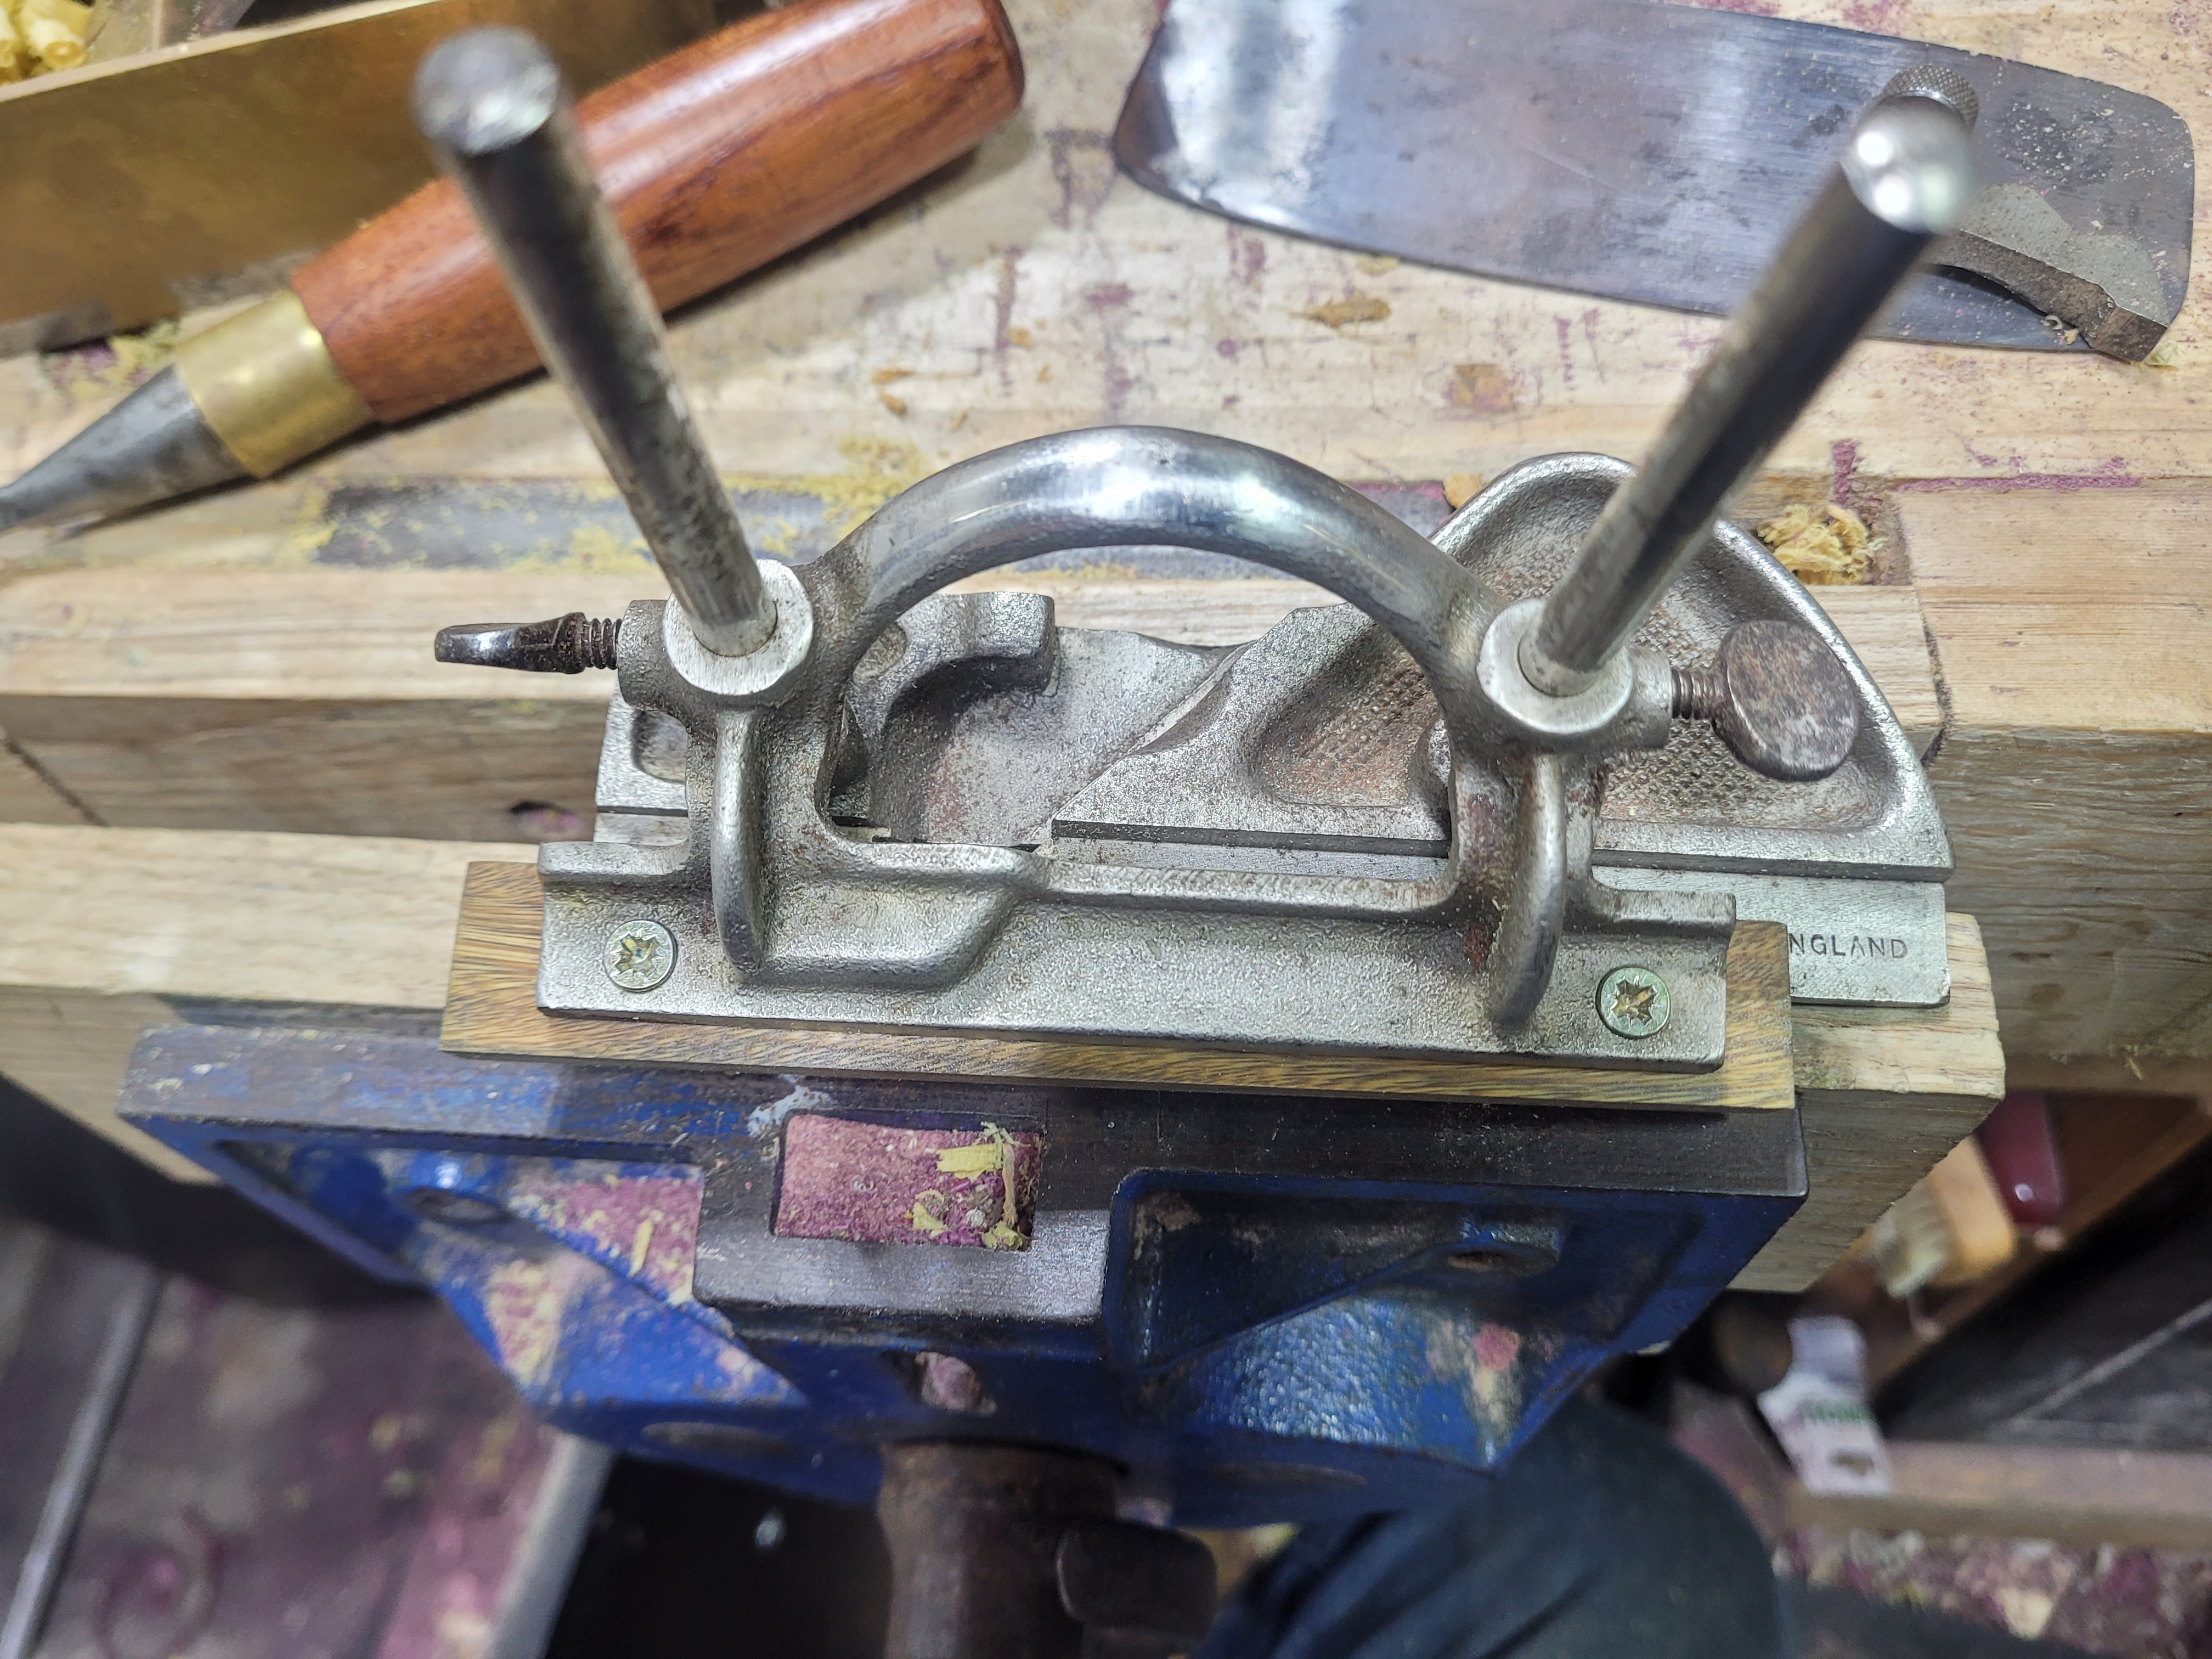
And there we go, a pretty, and more importantly square, fence for my 043.
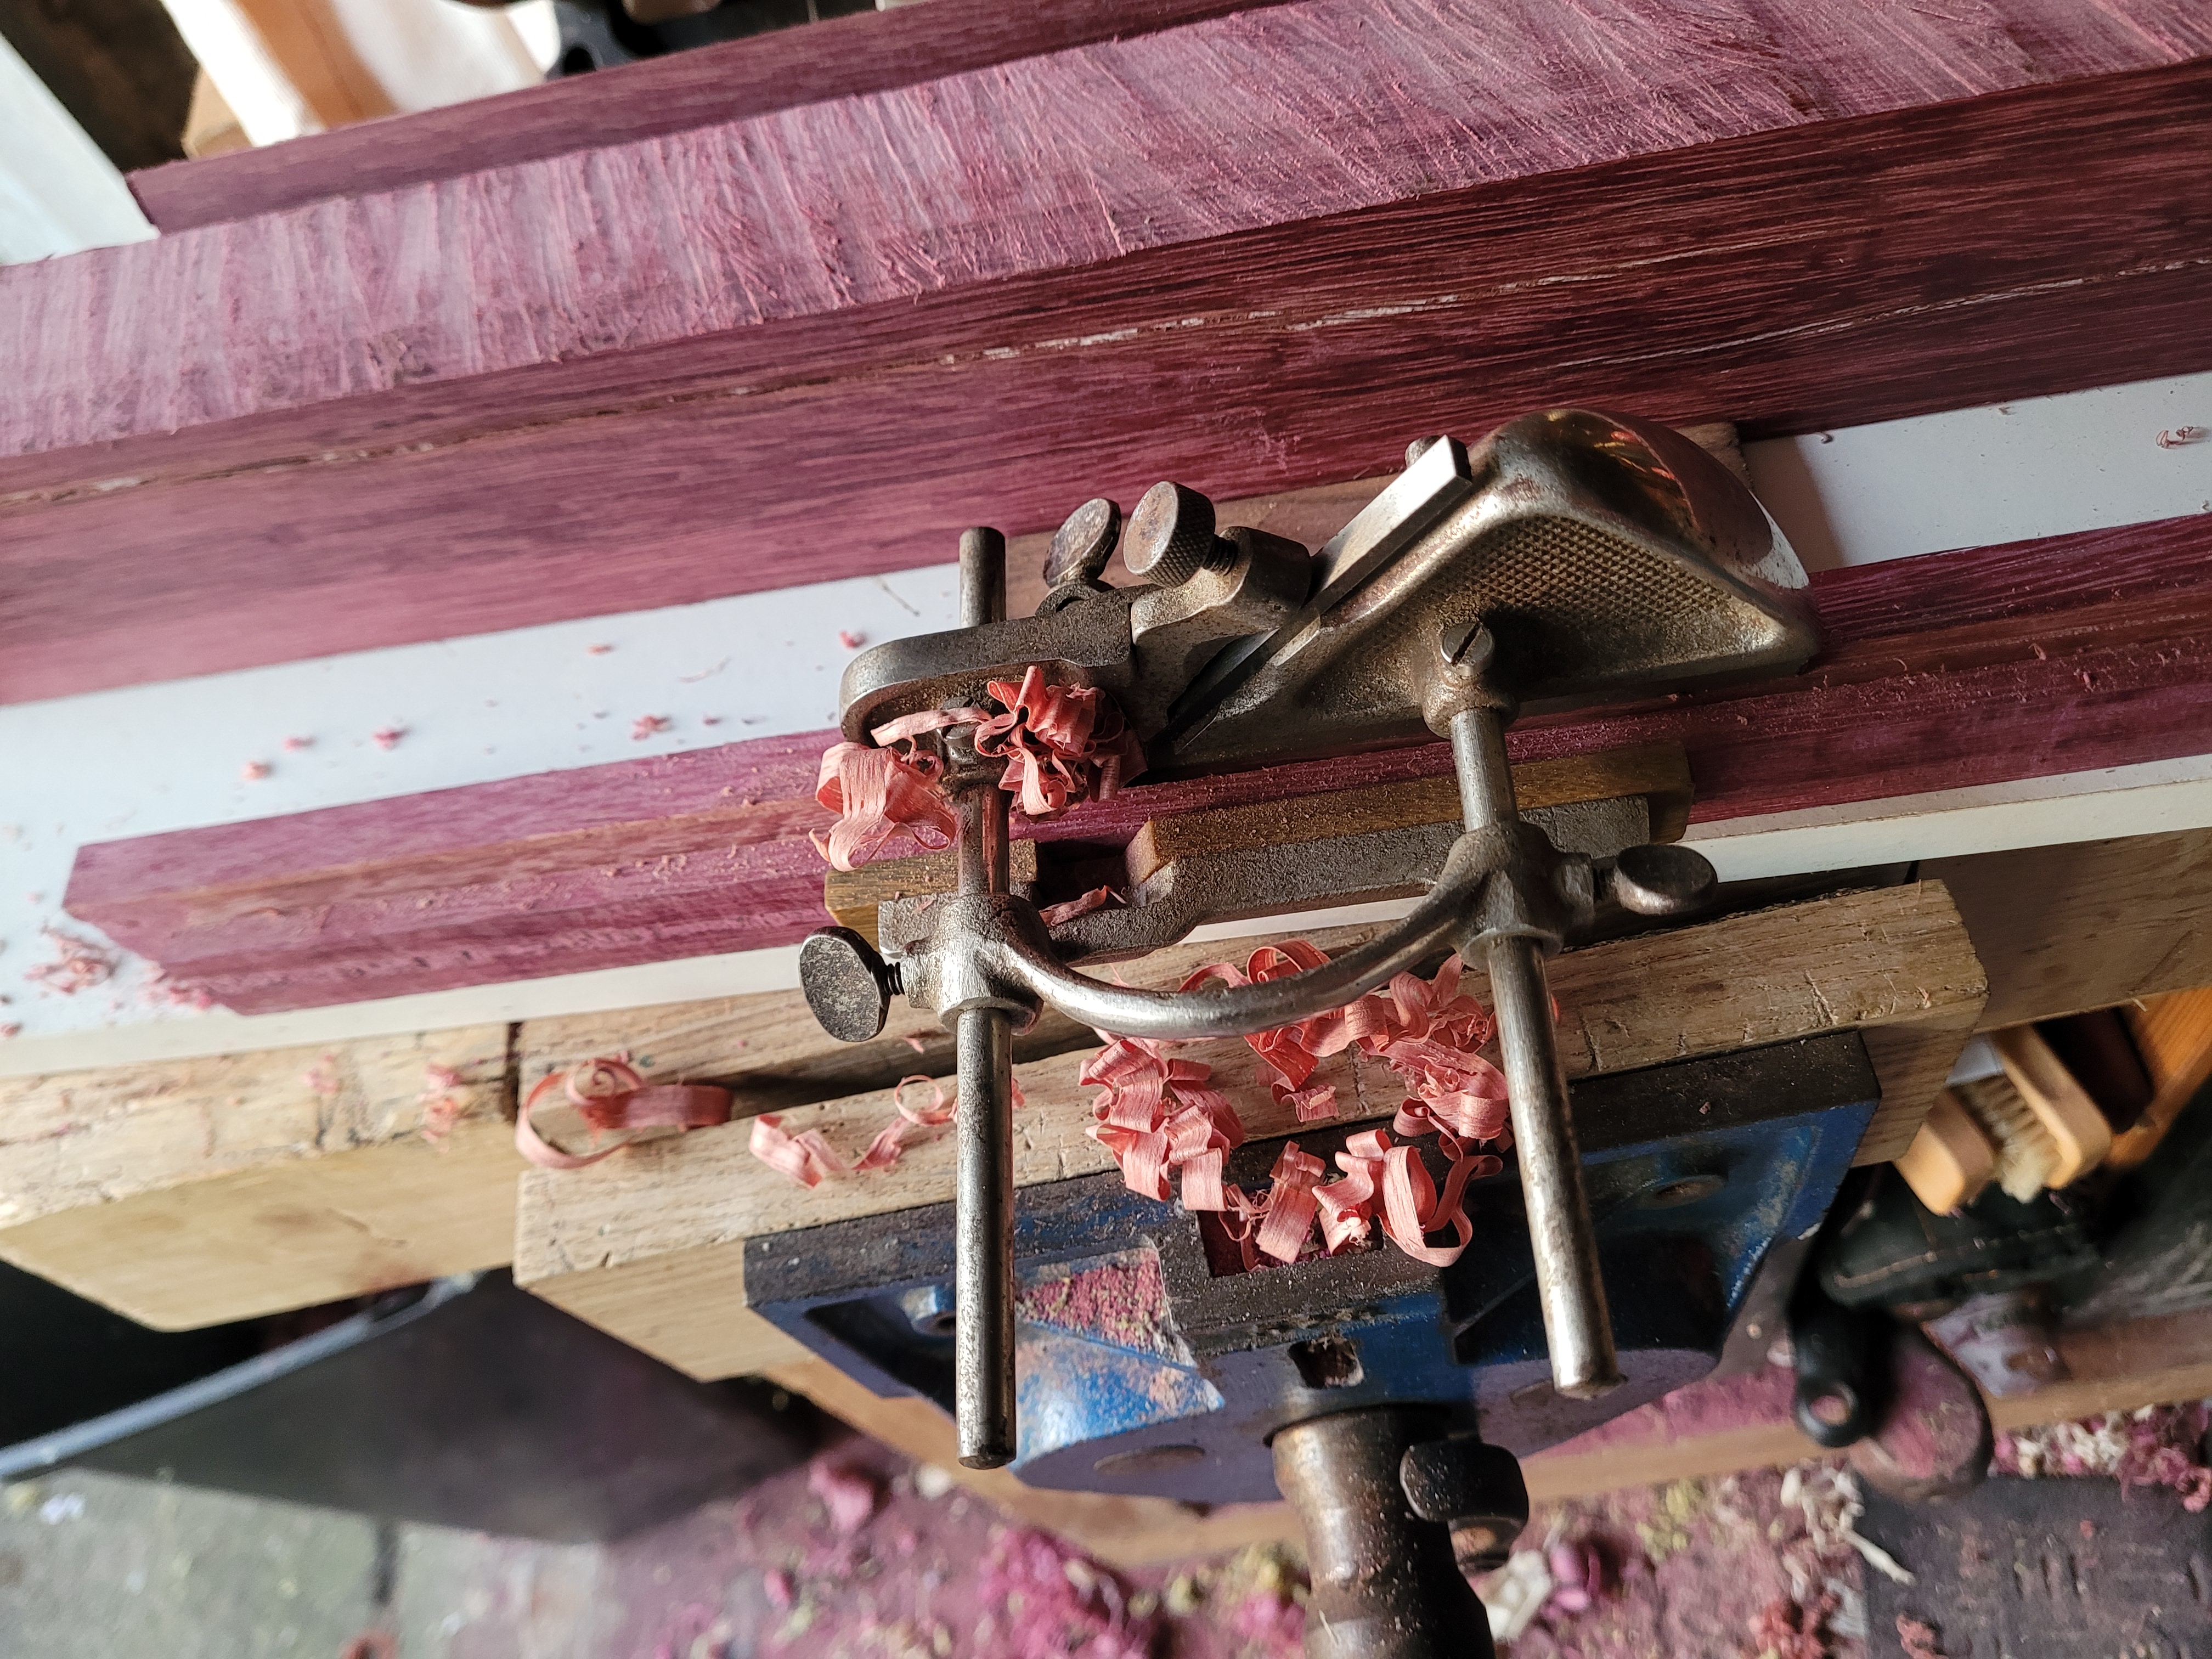
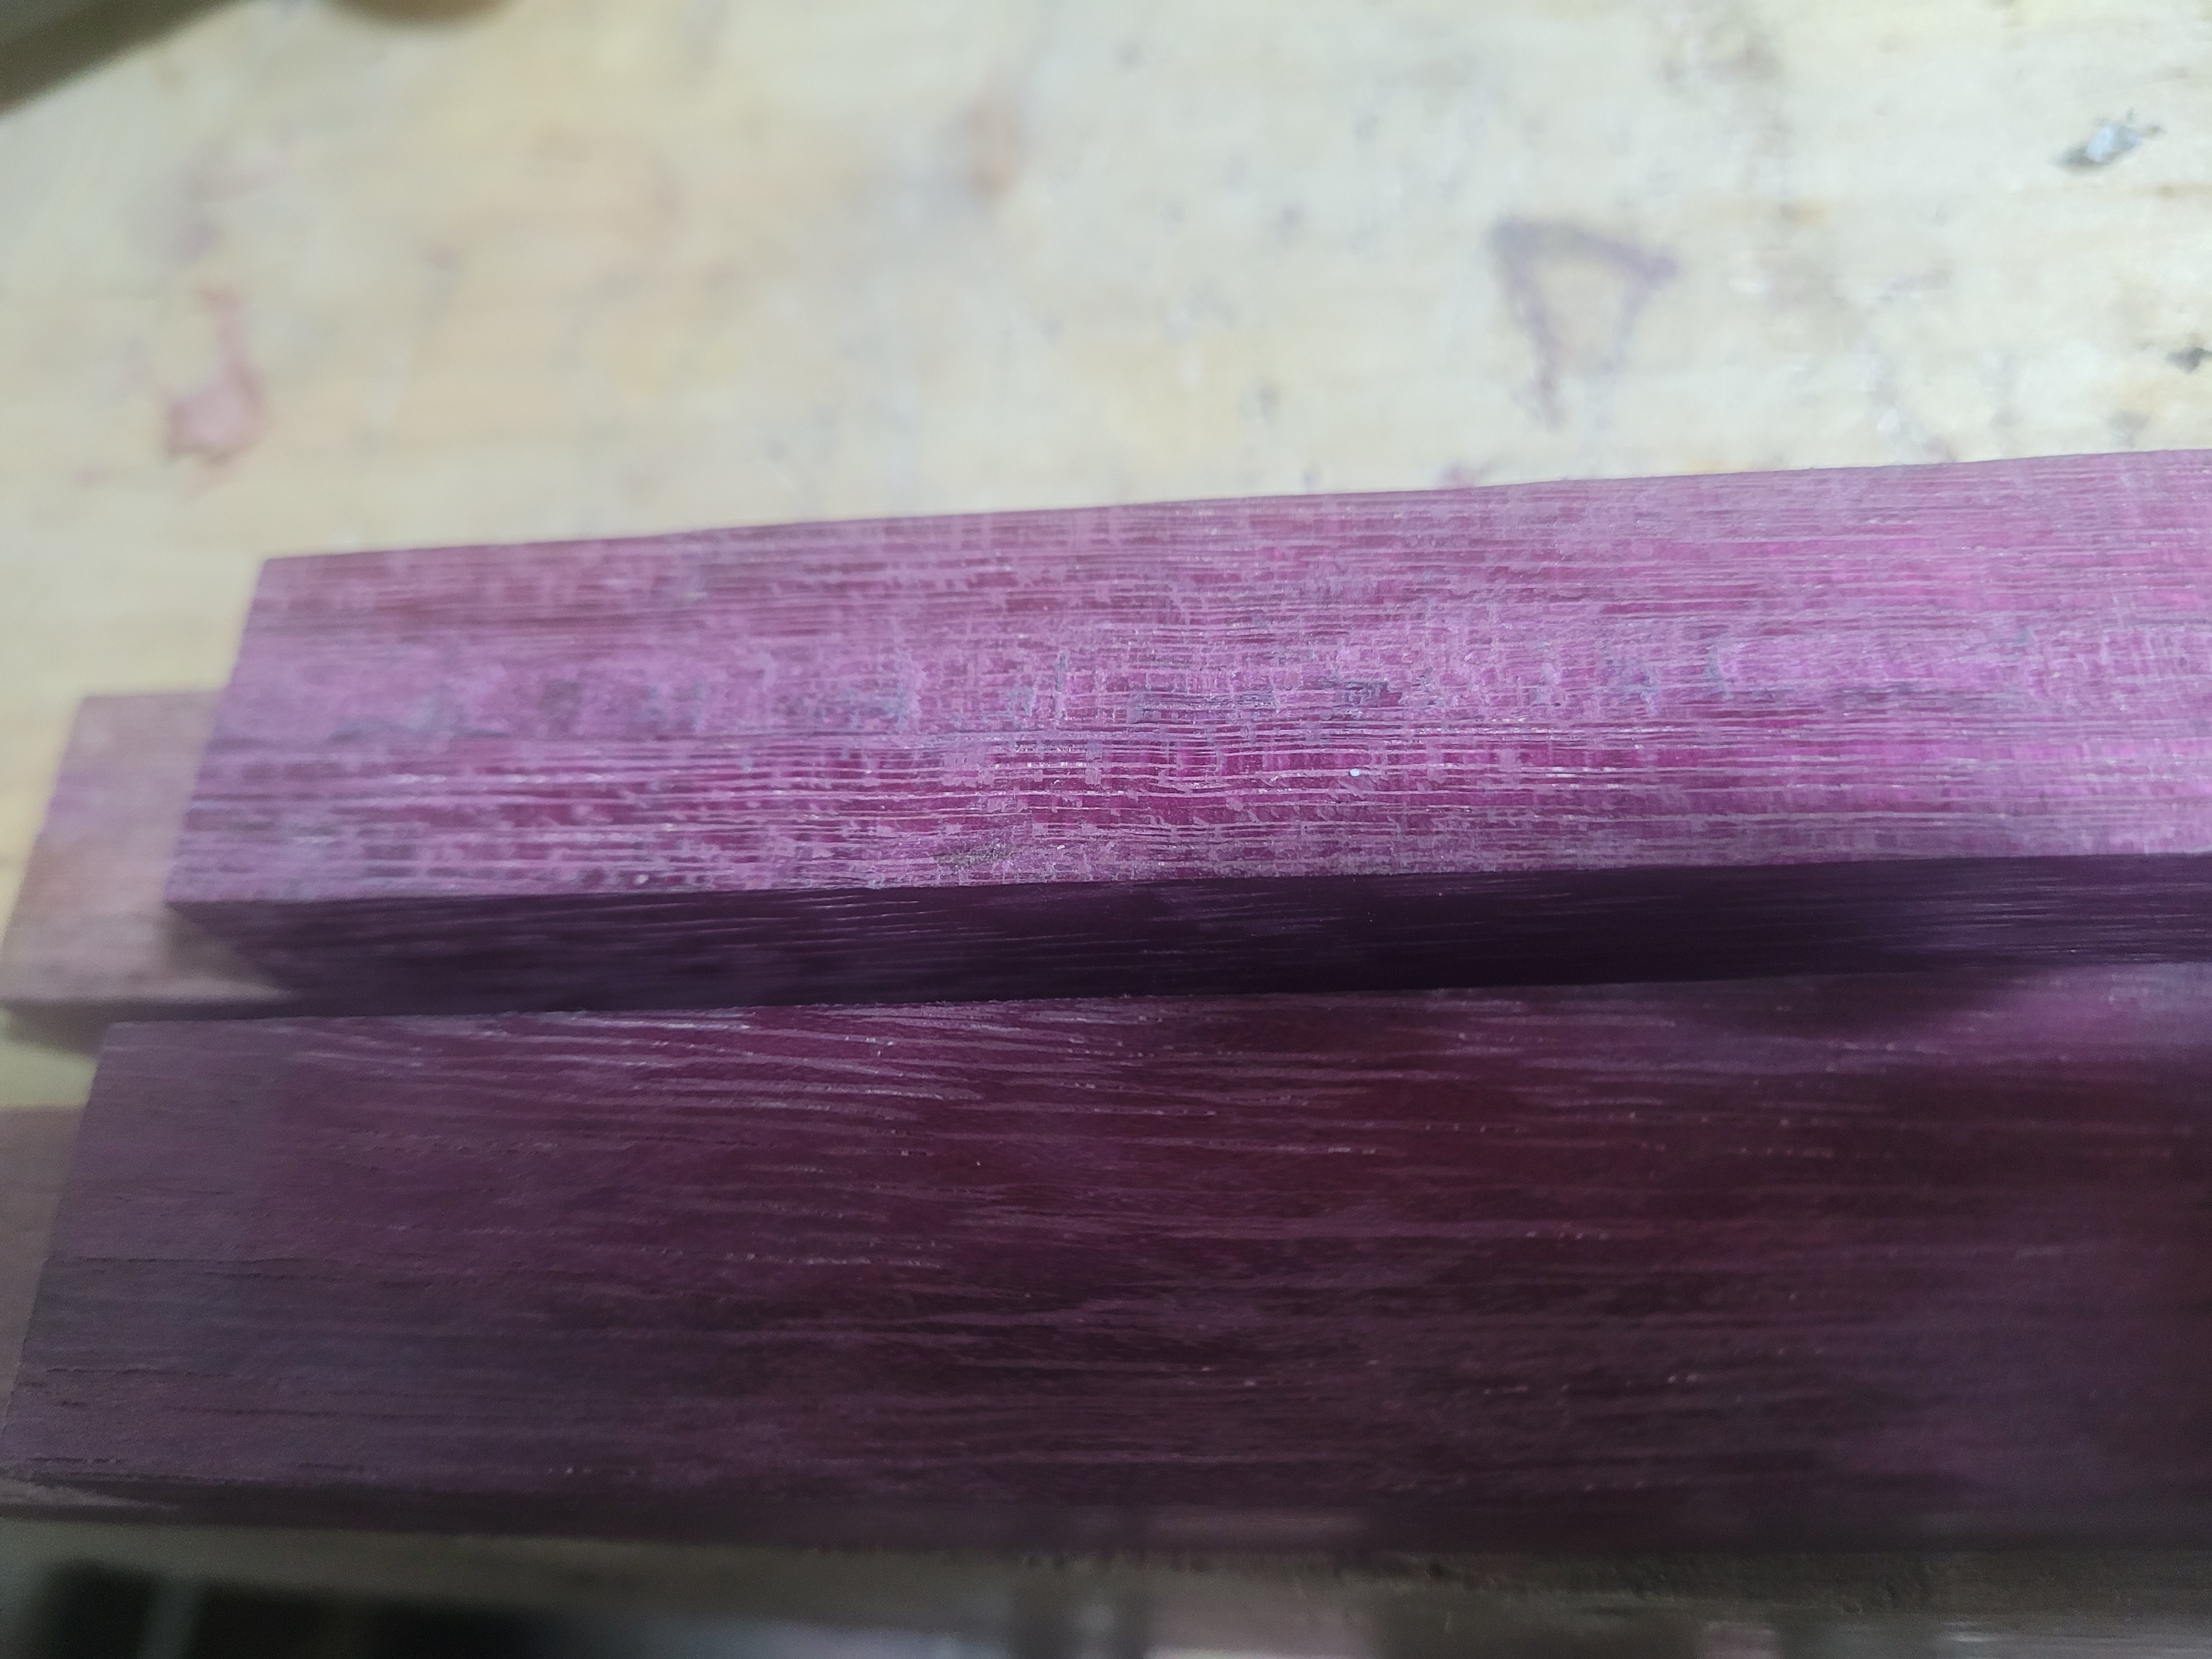
I ploughed the first groove. The 043 has no problems with the purpleheart, but you do have to work with the grain as much as possible. Get the groove established with the shallowest cuts you can. Tear out is very much a danger.
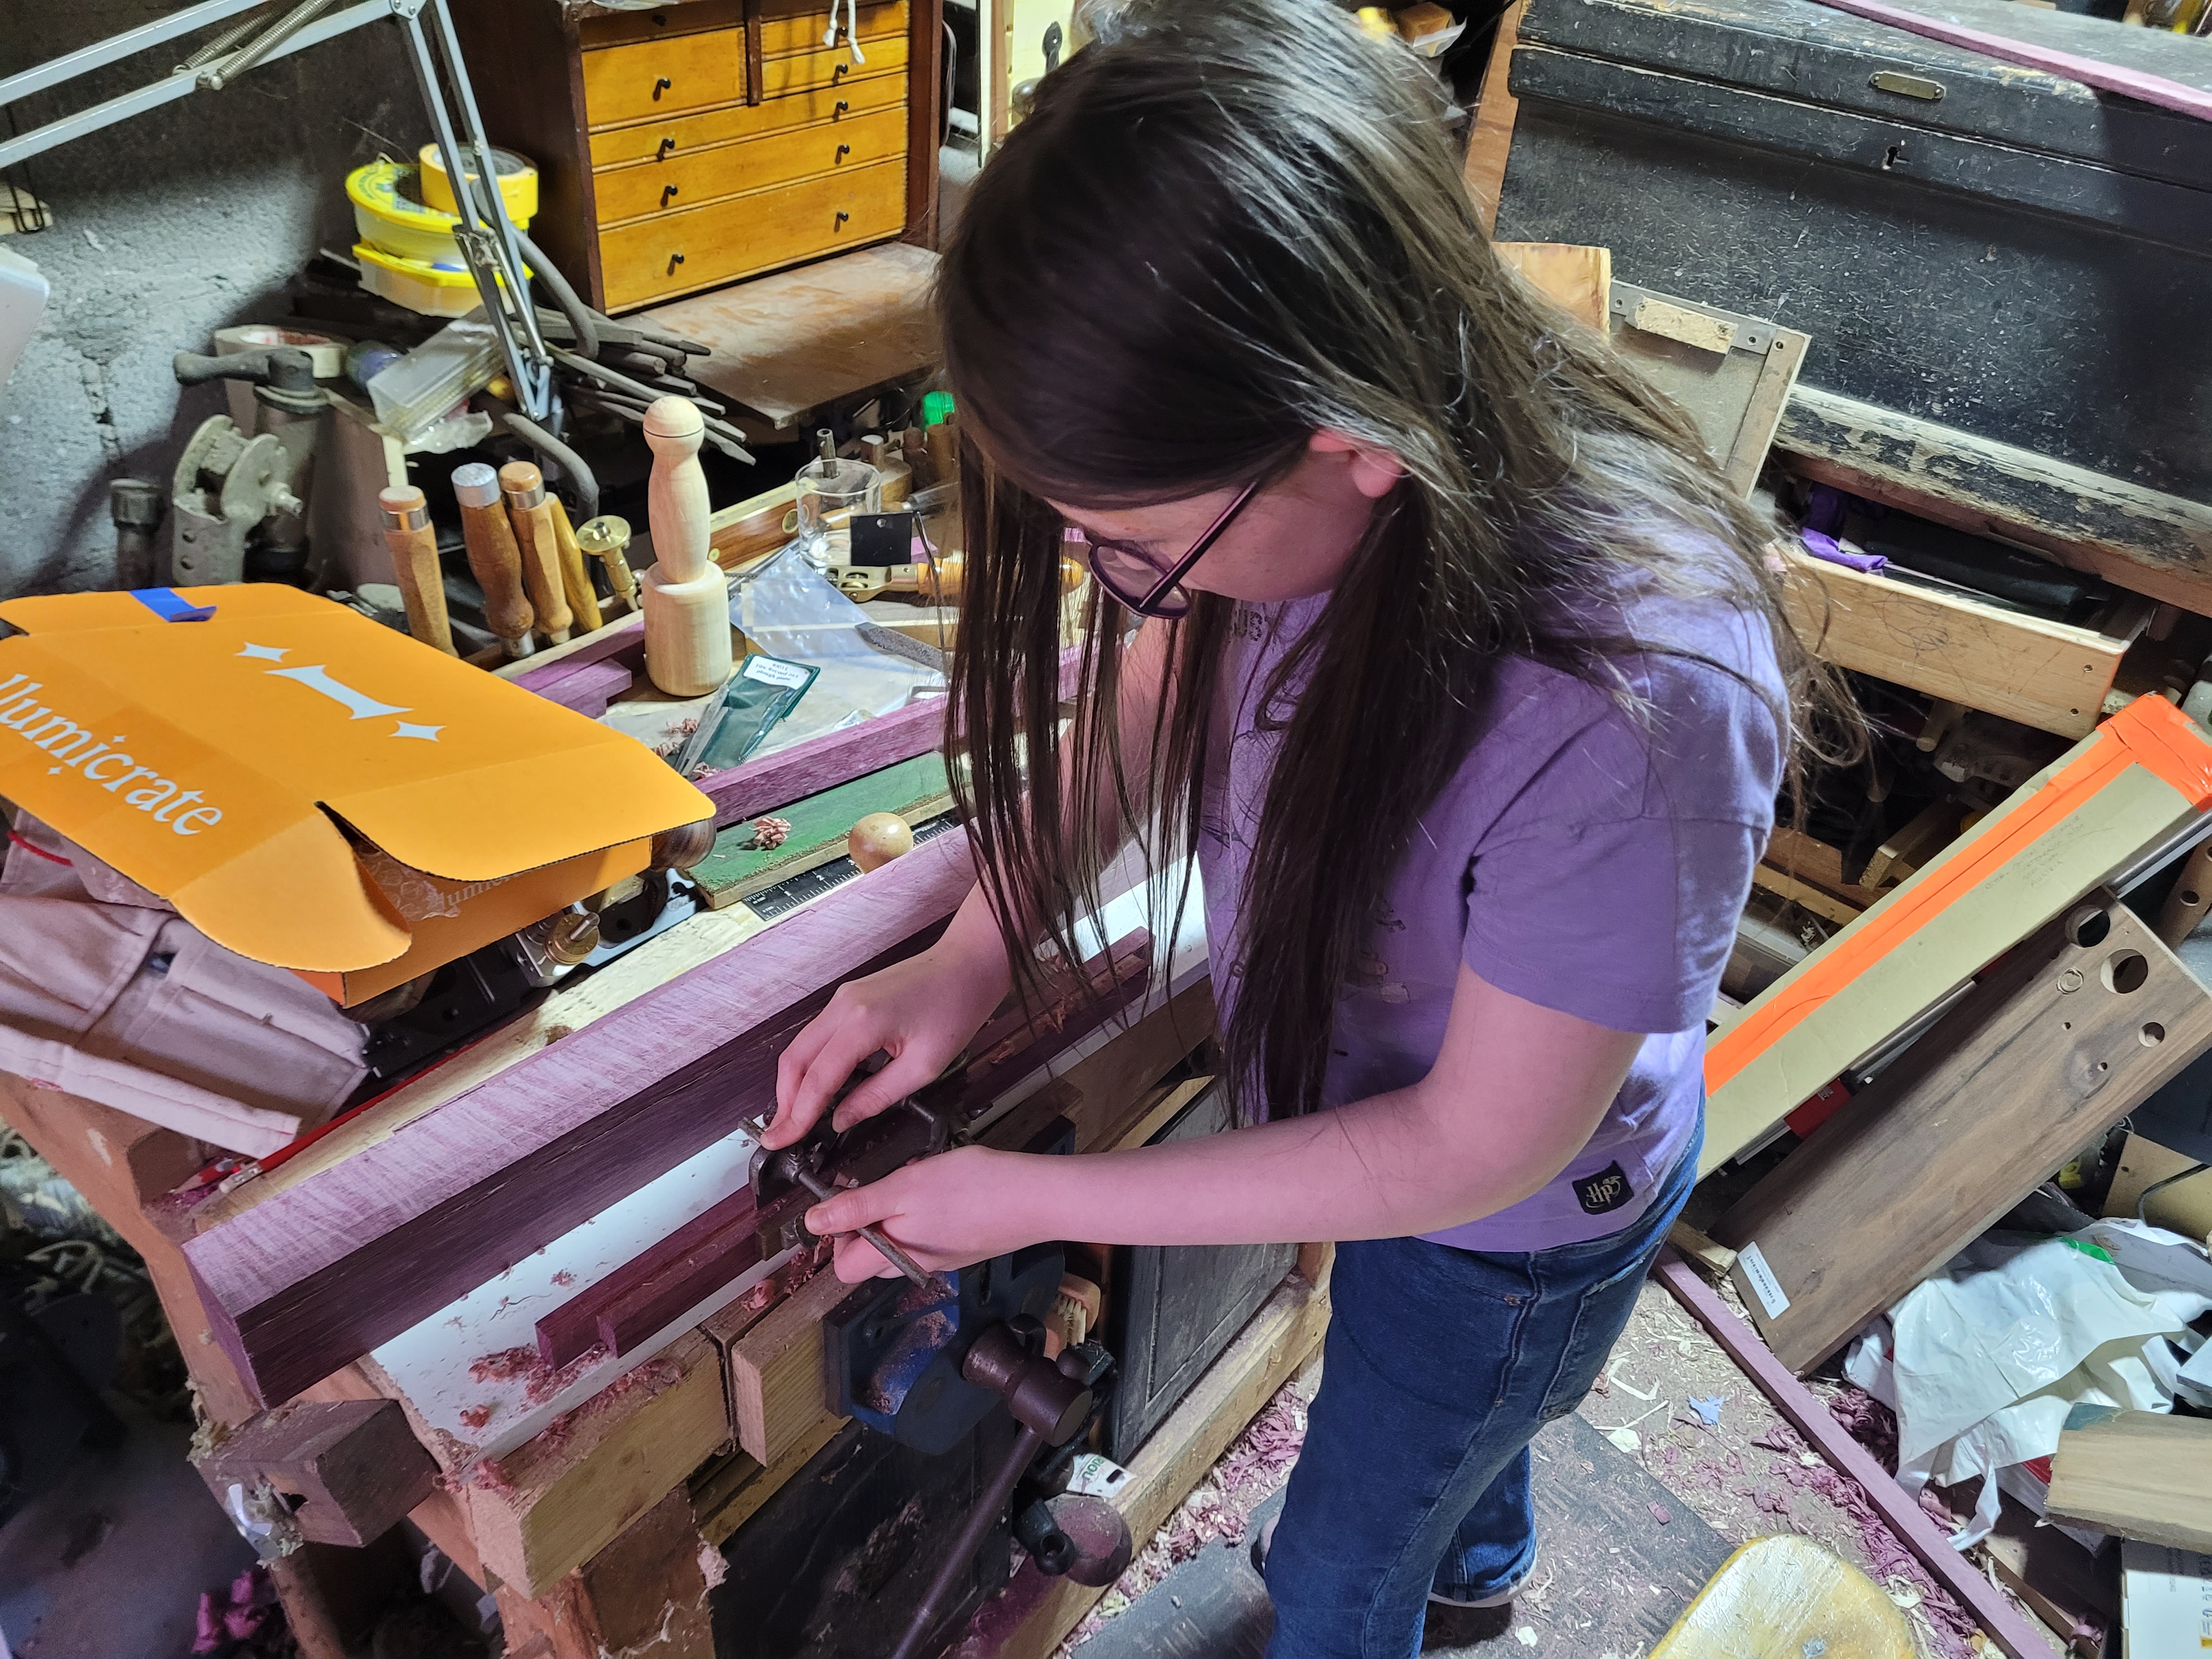
Once I was happy all was working well, I had the apprentice come and create the groove on the second piece. She did a perfect job. Took to the plough plane like a natural. If you are wondering what the work holding arrangement is here, we are using my Sticking Board.
With the grooves created, its time to create the slots for the yarn. First we need to do a bit of work on the surface. You can see the shallow tear out in the middle of this face. As I mentioned last week, planing the purpleheart has been a challenge. The good news is, this is not a reference face for anything else. So I want my surface smooth, but it does not need to be perfectly flat when I’m done.
Perfect job for a card scraper. The Purpleheart scrapes really well. An added bonus is that the freshly exposed wood is brown, so it has built in tracking for what you have already scraped.
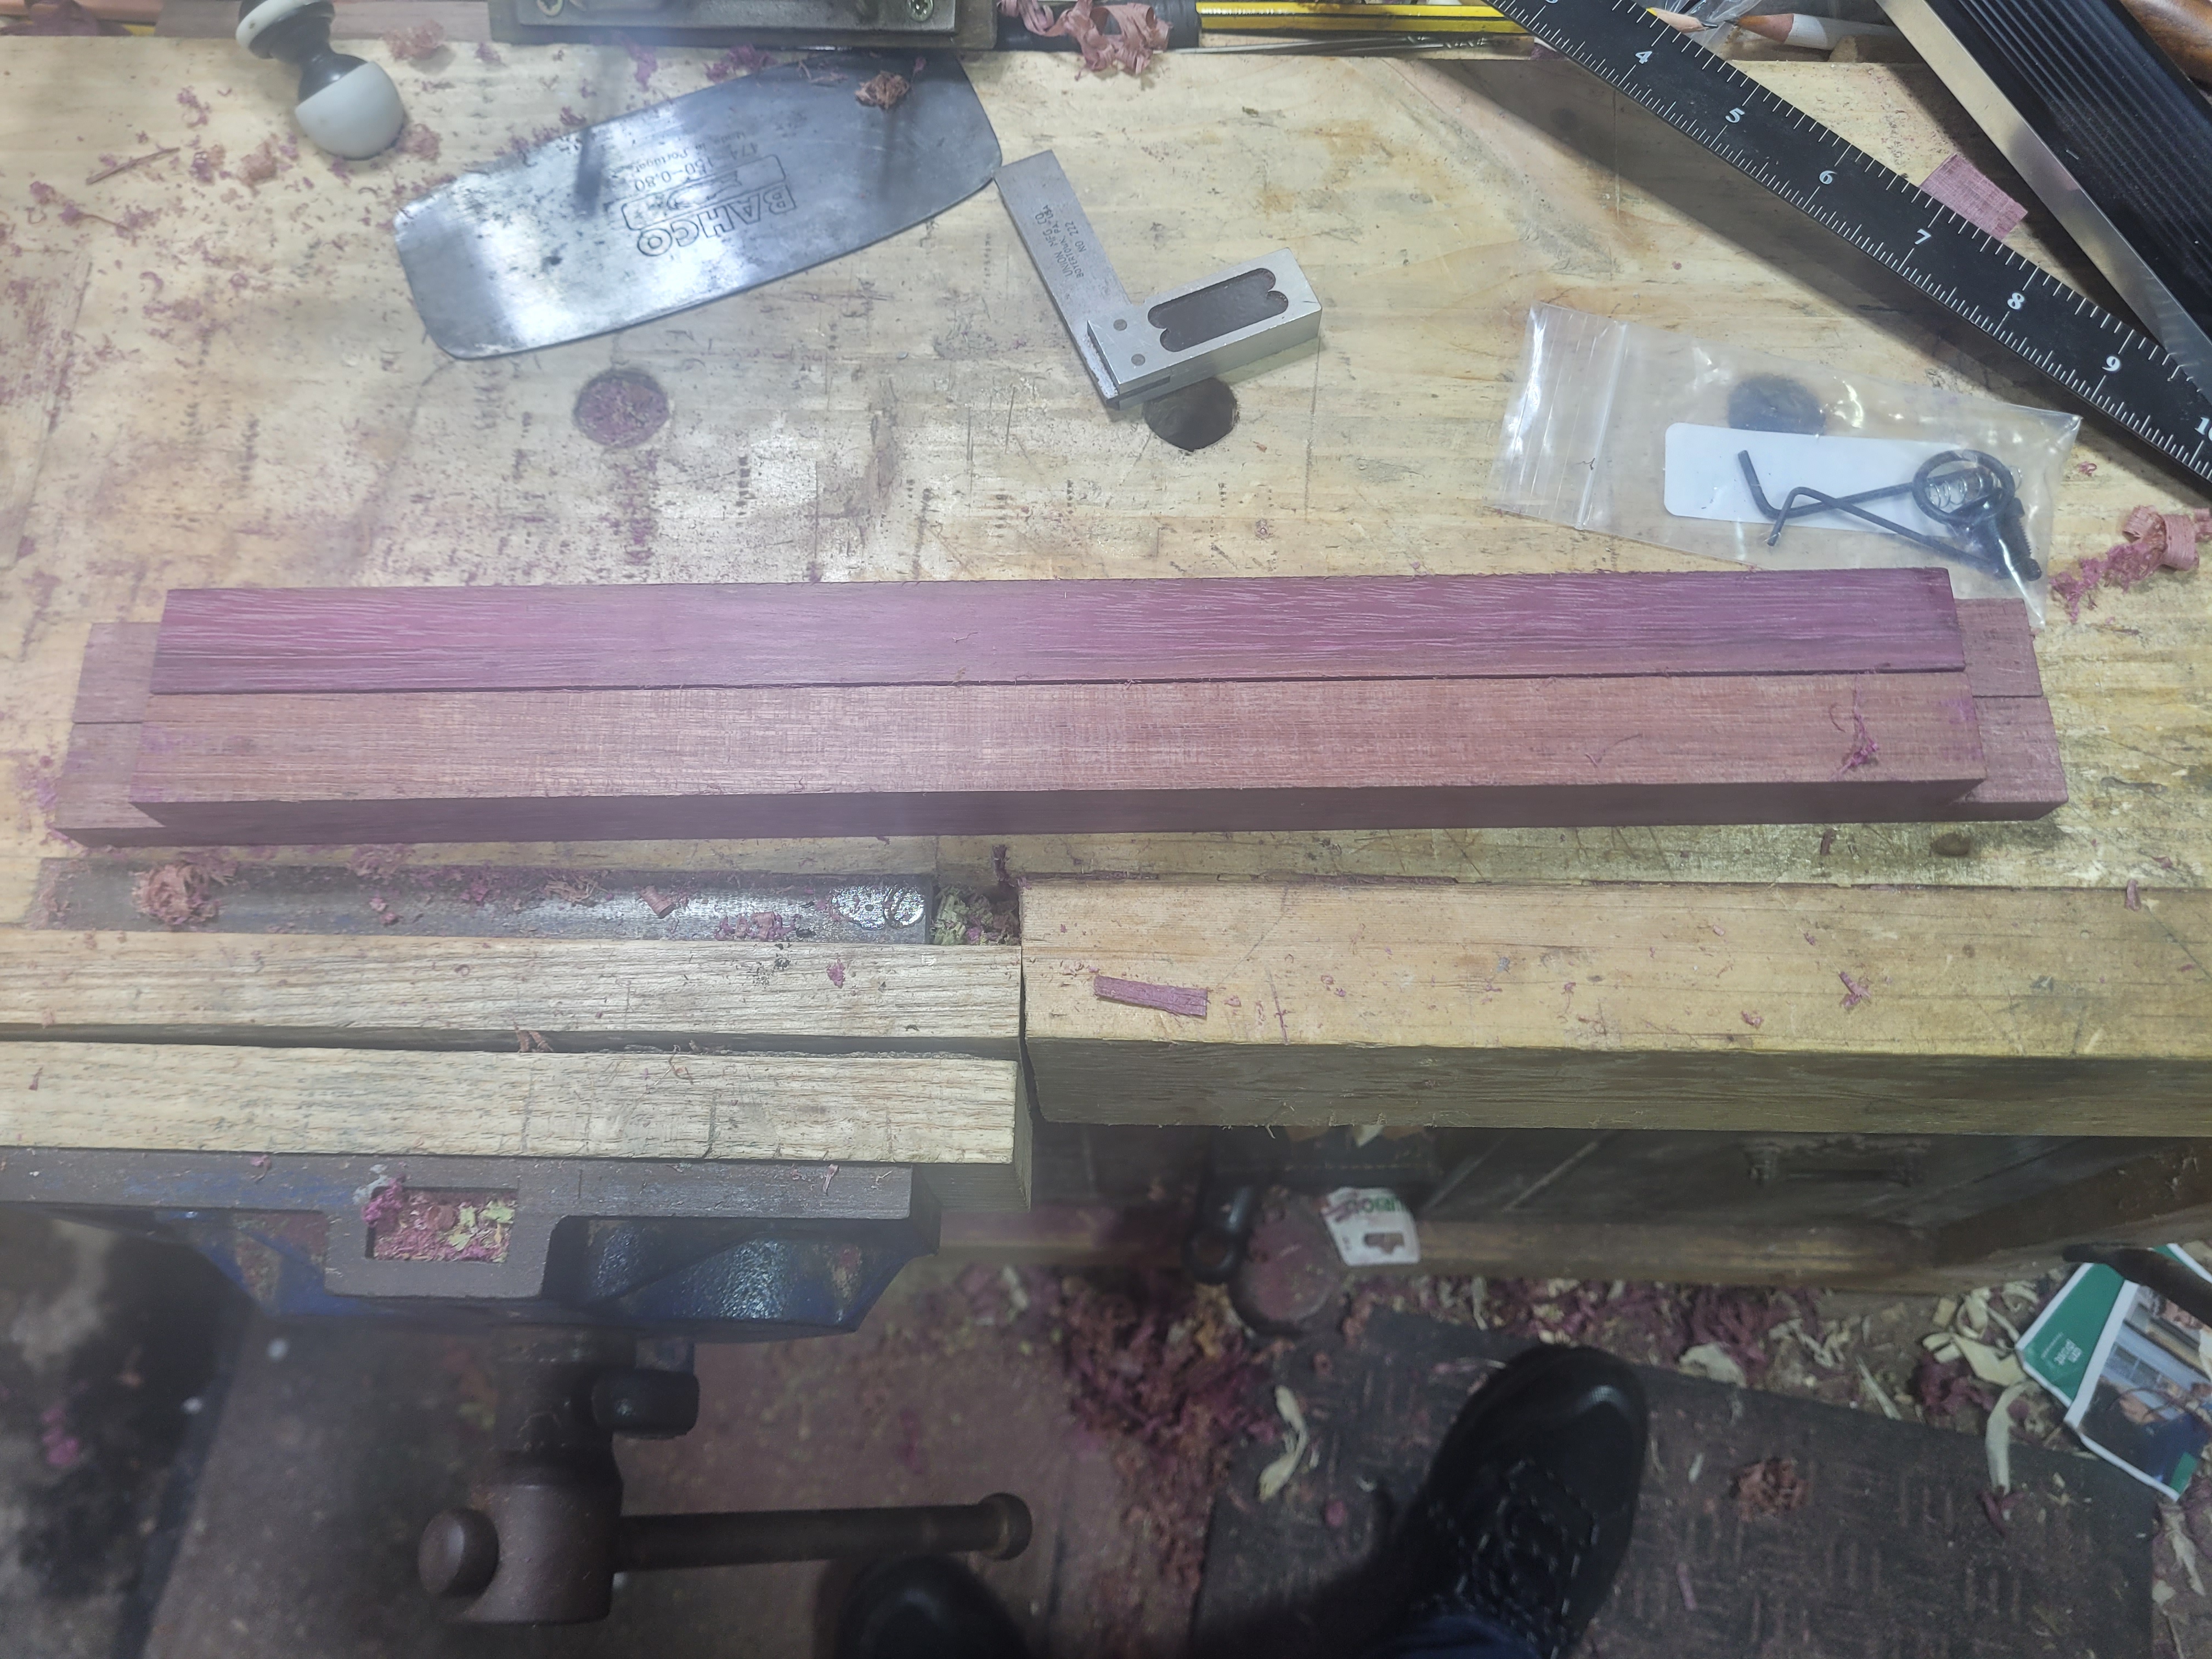
The second piece had planed cleanly and didn’t require any scraping. I lined them up side by side to make sure the central part between shoulders was the same length. If not it would have made lining up the saw kerfs a little tricker. As luck has it, tuning the shoulders does not seem to have put them out.
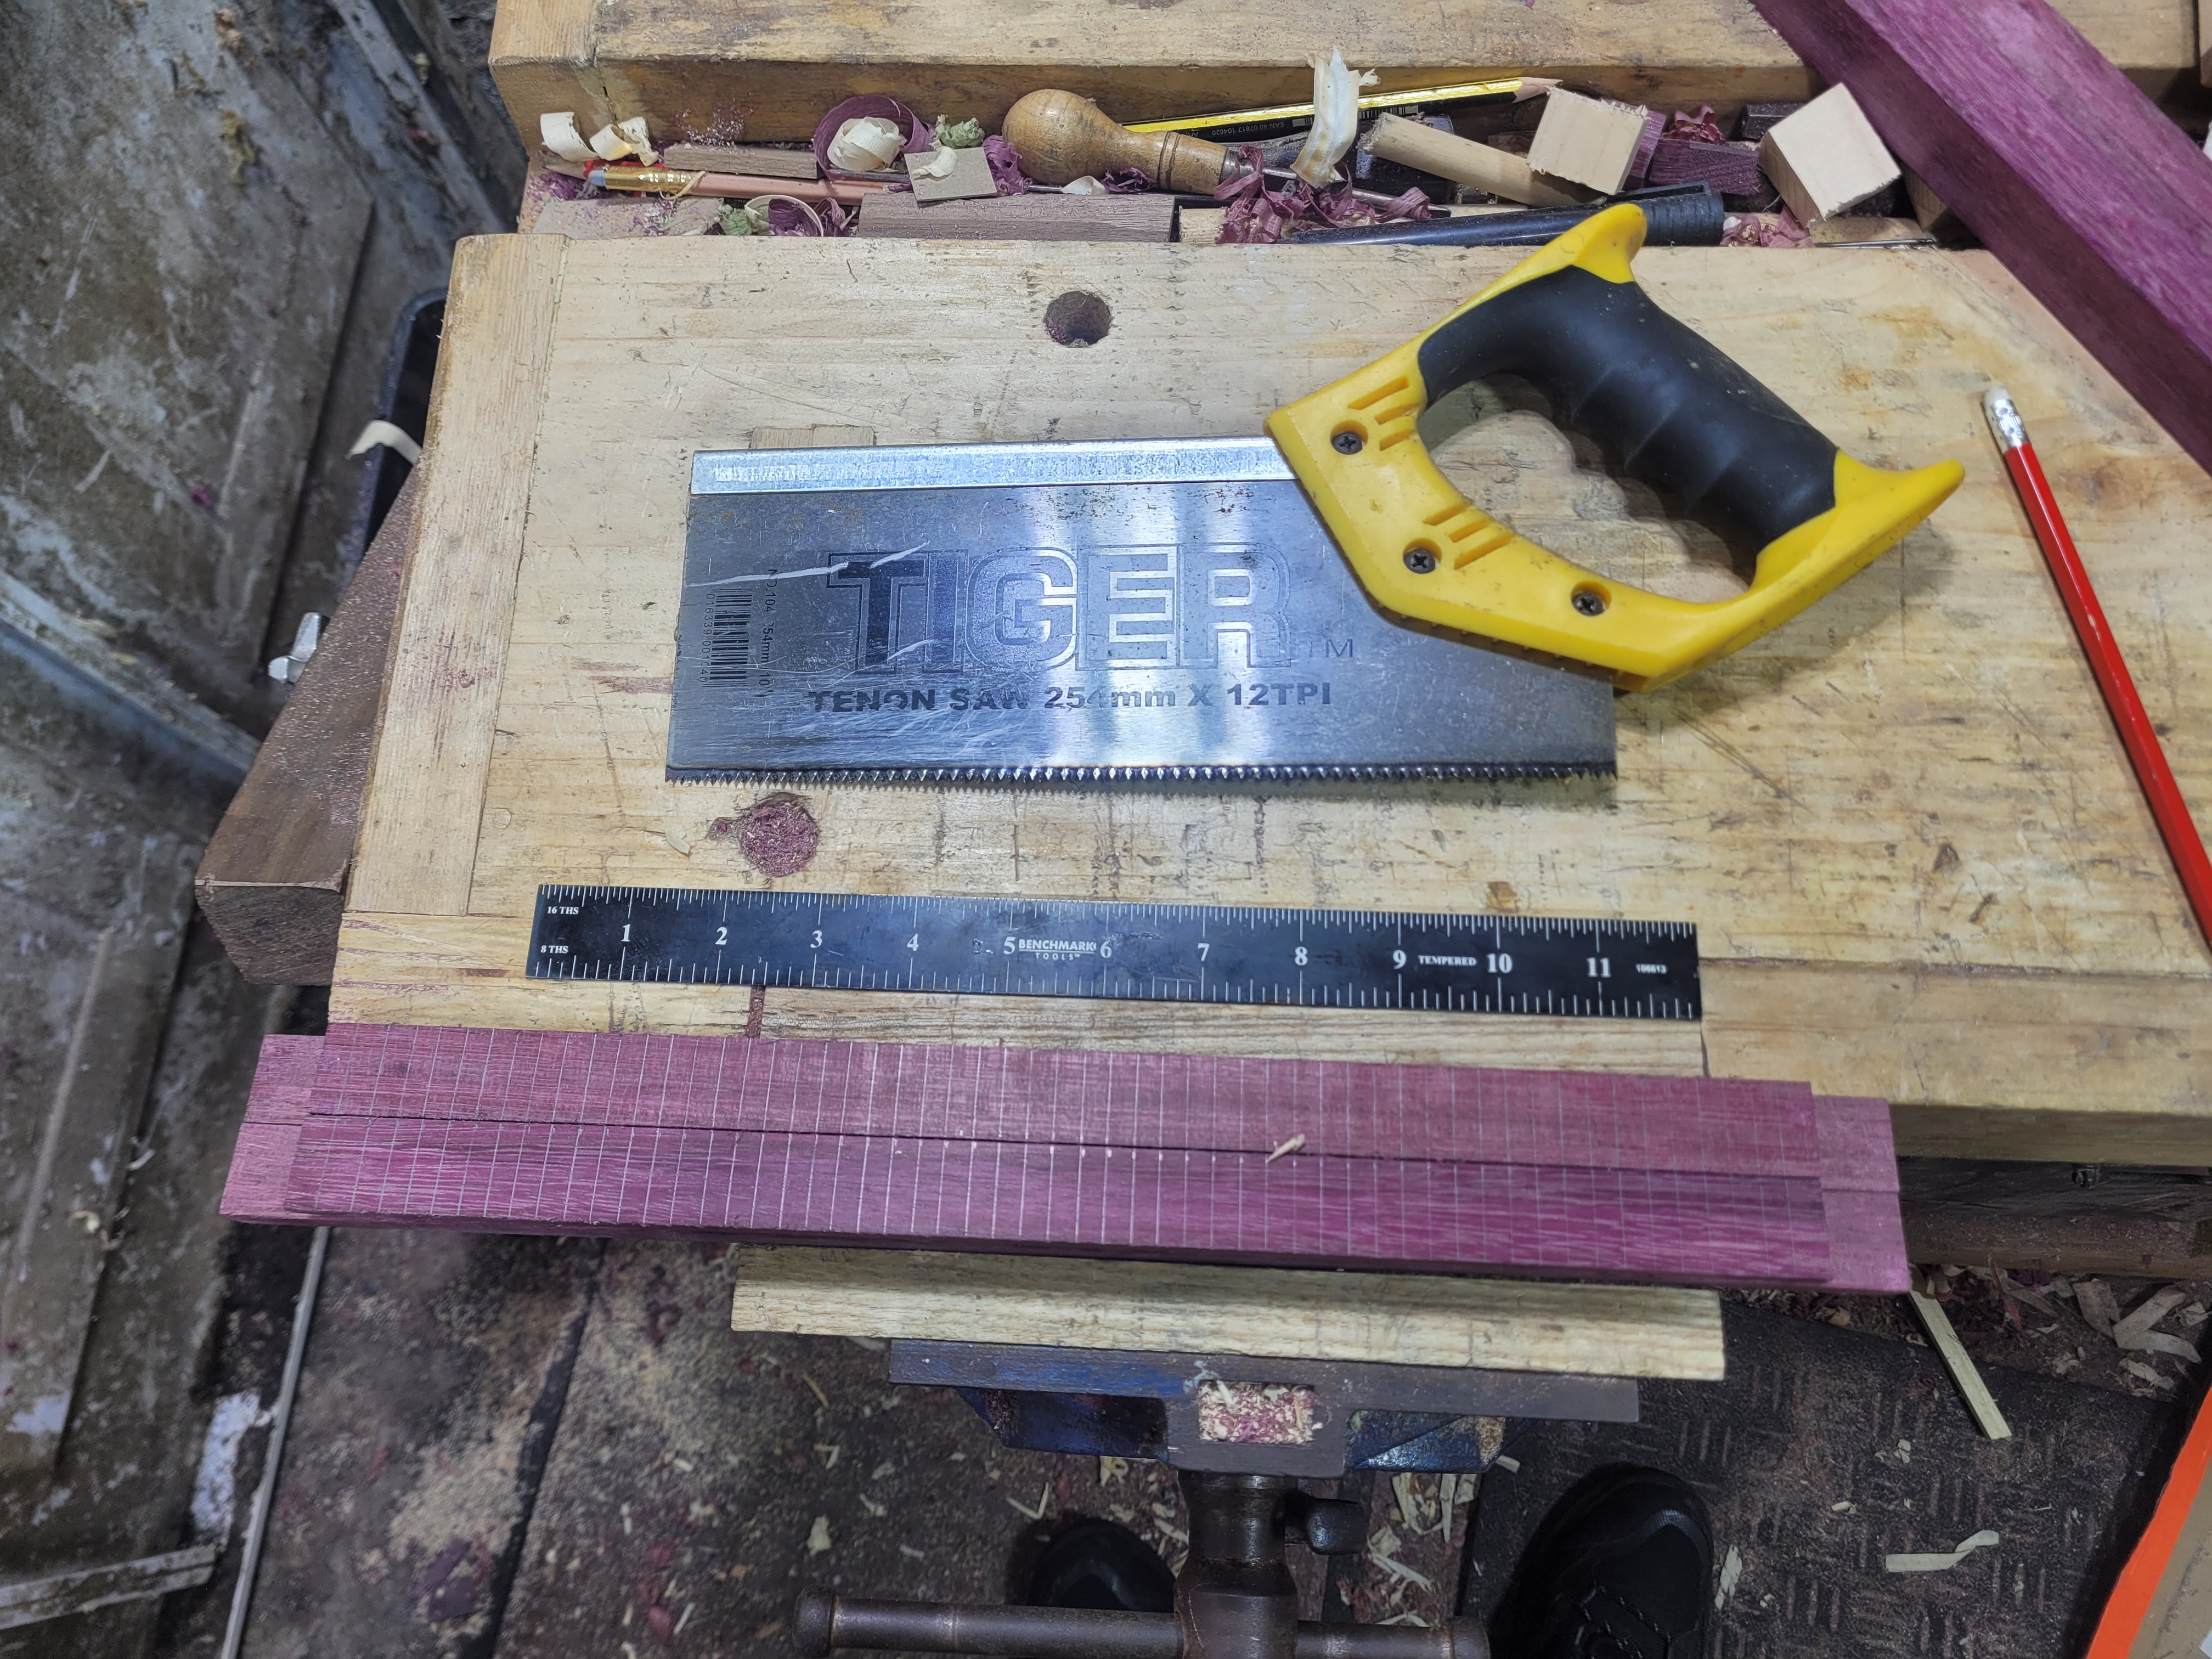
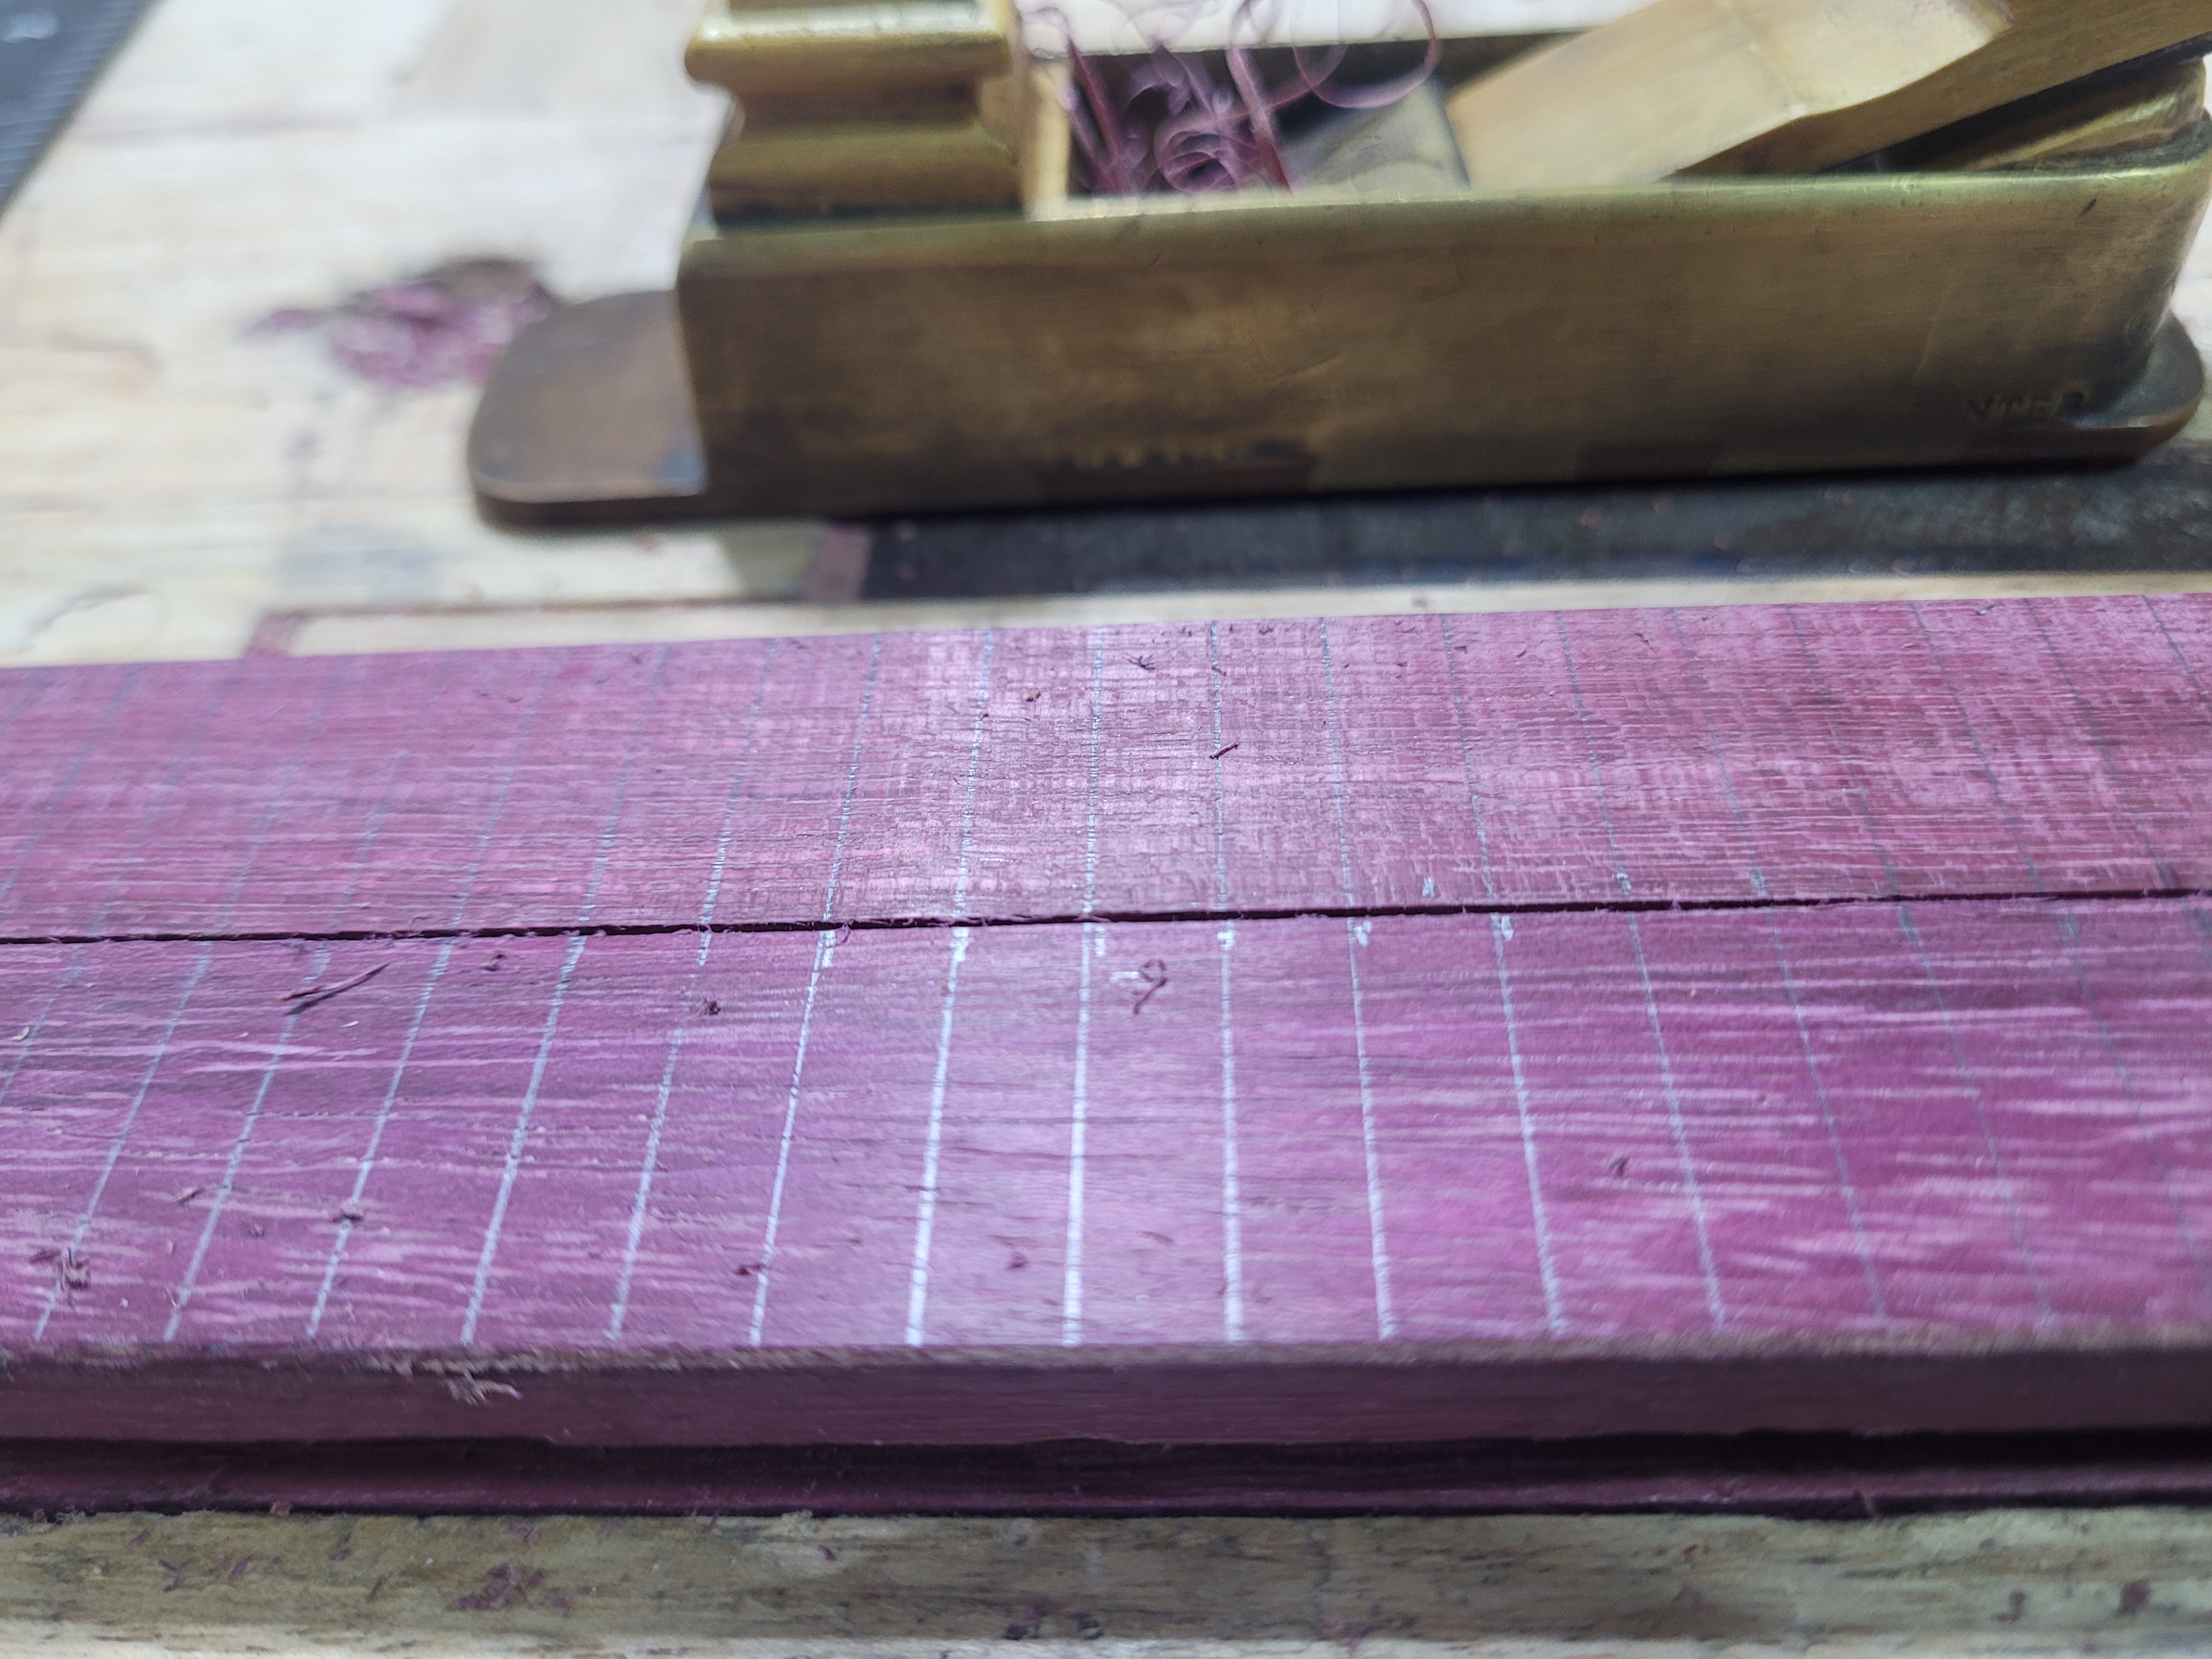
I decided on 1/4 inch between grooves. A lot of frame looms I have looked at had 1/2 inch spacing, but less than 1/4 inch was not at all rare. I picked 1/4 as a fairly typical spacing, and easy to mark with my ruler. I clamped the two pieces together in a vice and lined them up. Found the centre and made my first mark, then worked out to the edges. Then drew across both pieces at once with a square. I then grabbed some yarn, a saw, and some scraps and started creating test kerfs. To my distress, just about every saw I had created a kerf that was too narrow. You could barely work the yarn into the widest kerf. I would later realise that the “warp” yarn used vertically is actually far thinner than the weaving yarn. But right now I’m convinced I need a really wide kerf. I finally spotted the Tiger saw in the photo covered in dust languishing in a corner. I probably bought it 8 years ago. Its a miracle I’ve never thrown it out. It is not very sharp, the plate is not completely straight, but it creates a massive kerf.
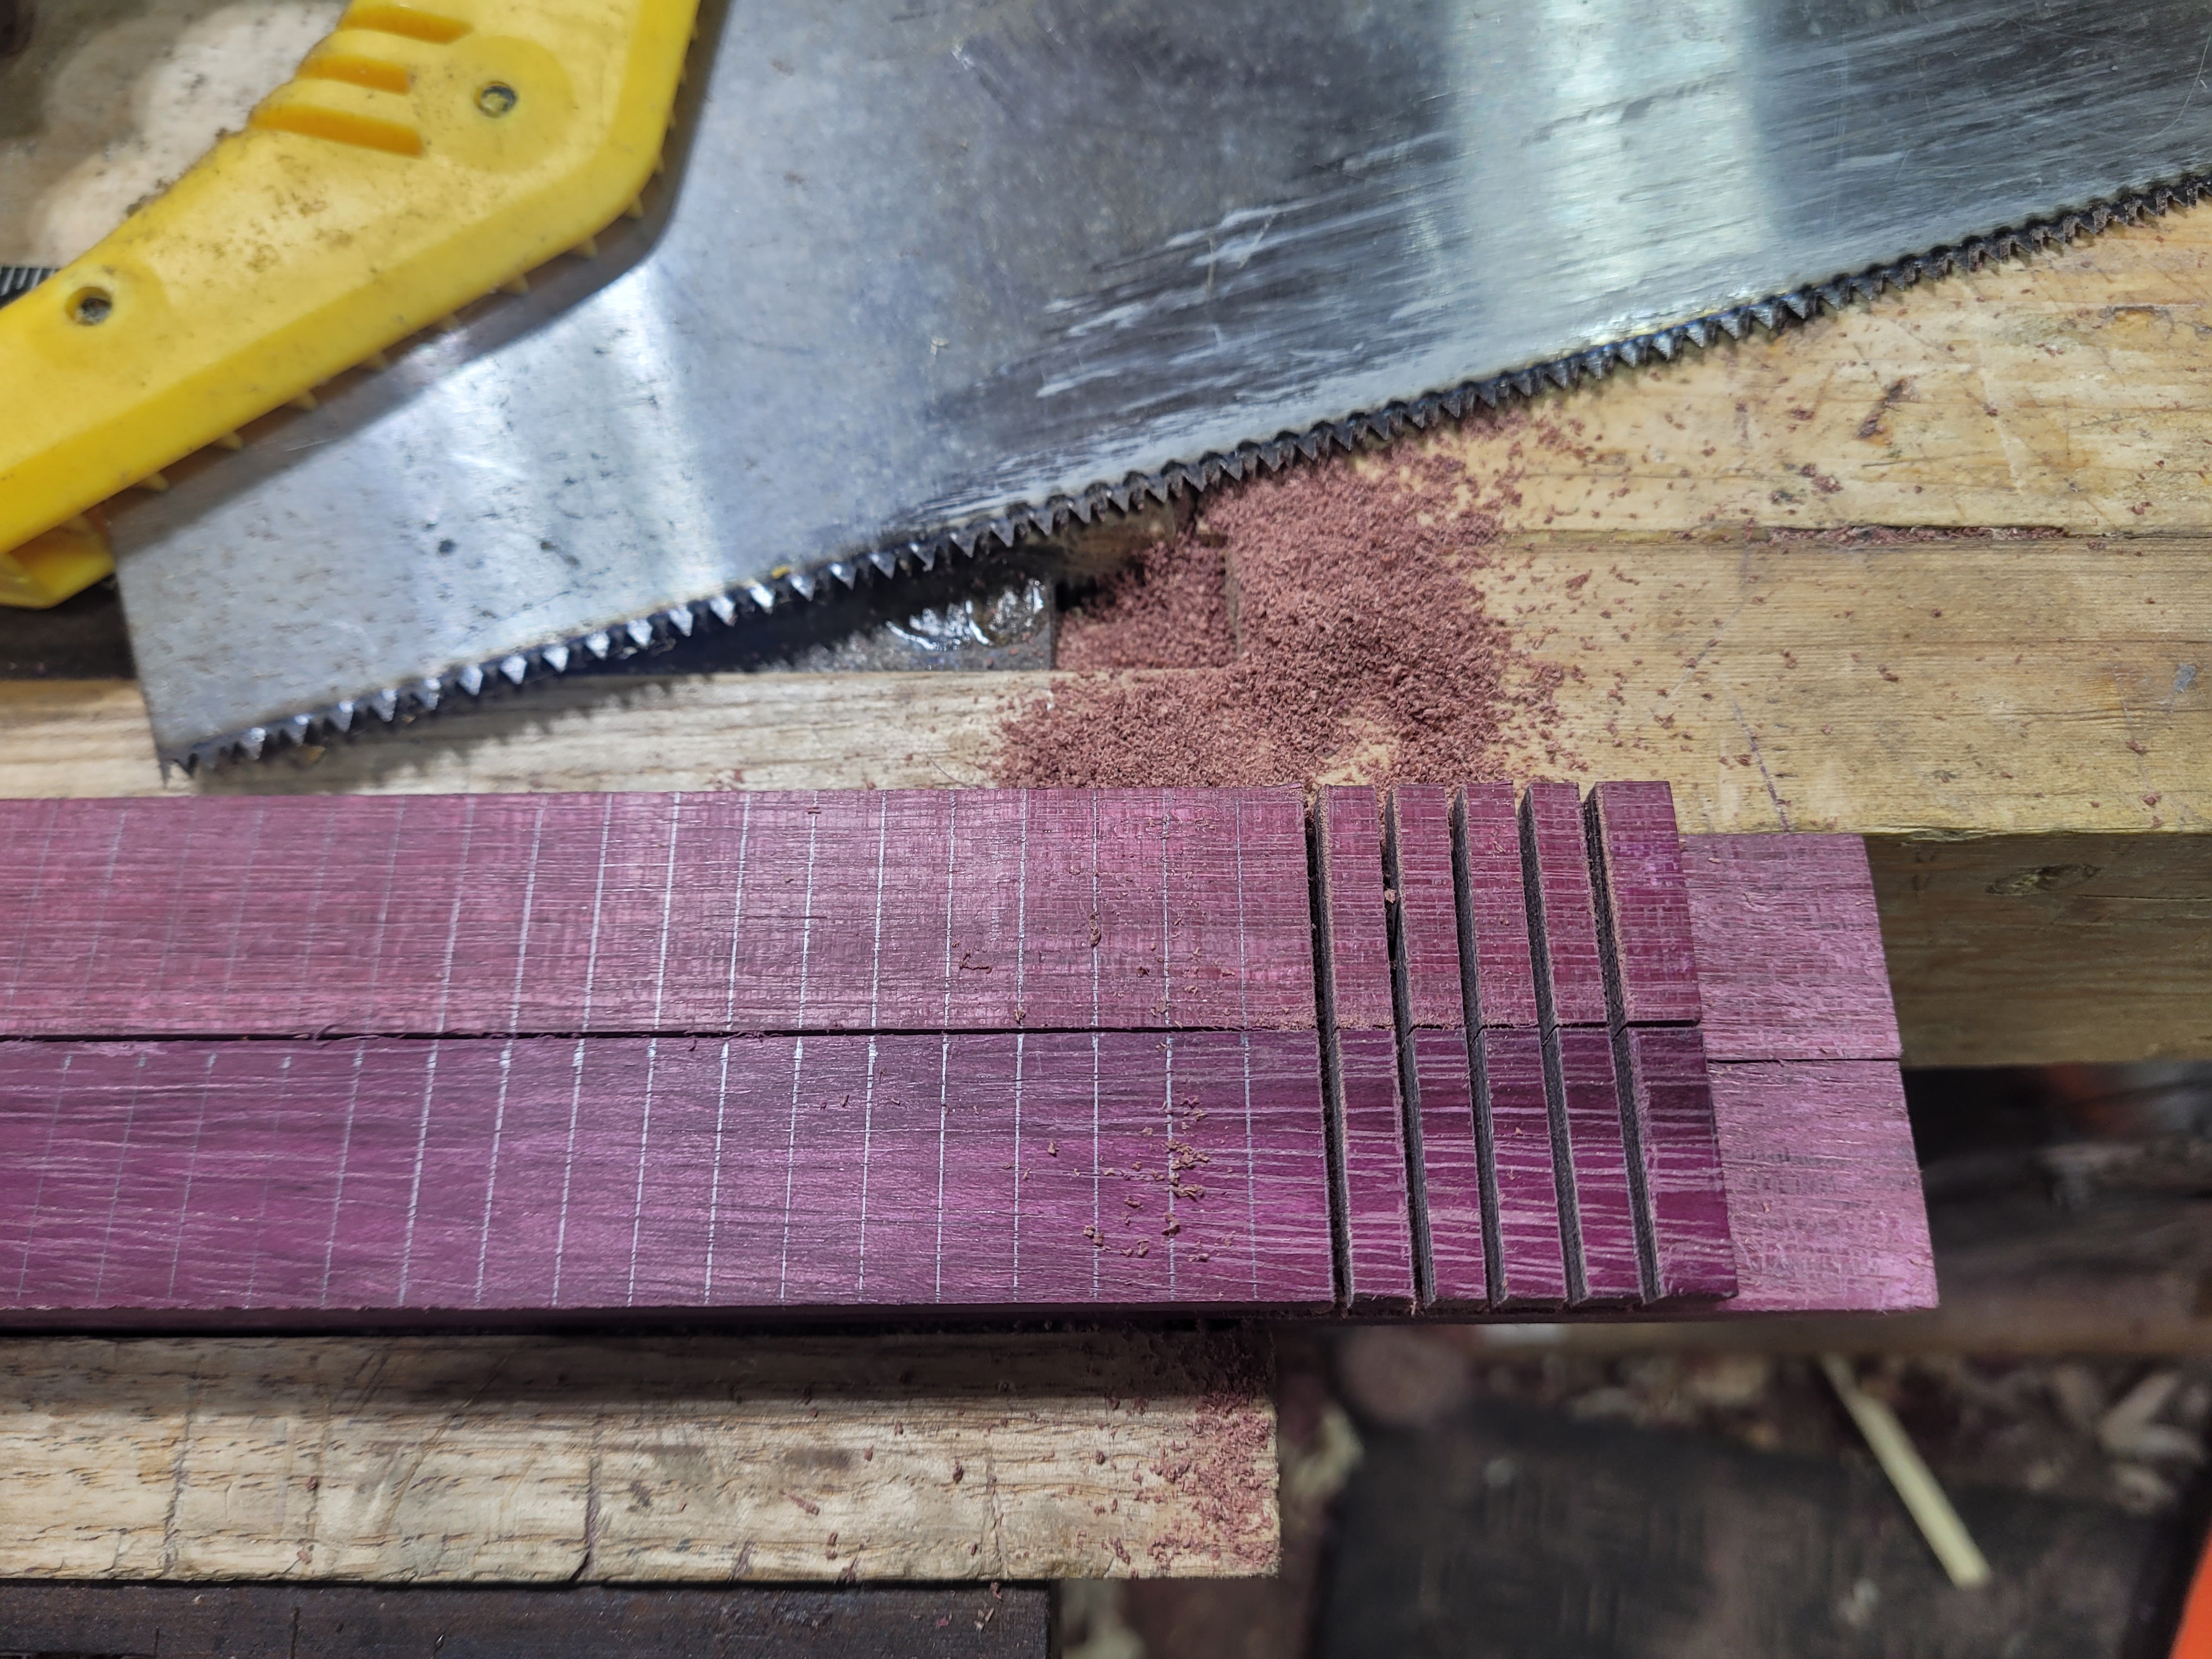
Working my way along, it becomes clear this is going to take time. It takes about 80 strokes to create the relatively shallow kerf. A combination of the toughness of the wood and the bluntness of the saw. It is also causing some fairly explosive splintering as it exits the cut.
So I grab the carter and do some chamfering on the edges of the board, and the groove.
Working my way along, not every cut is perfectly straight, but they are good enough.
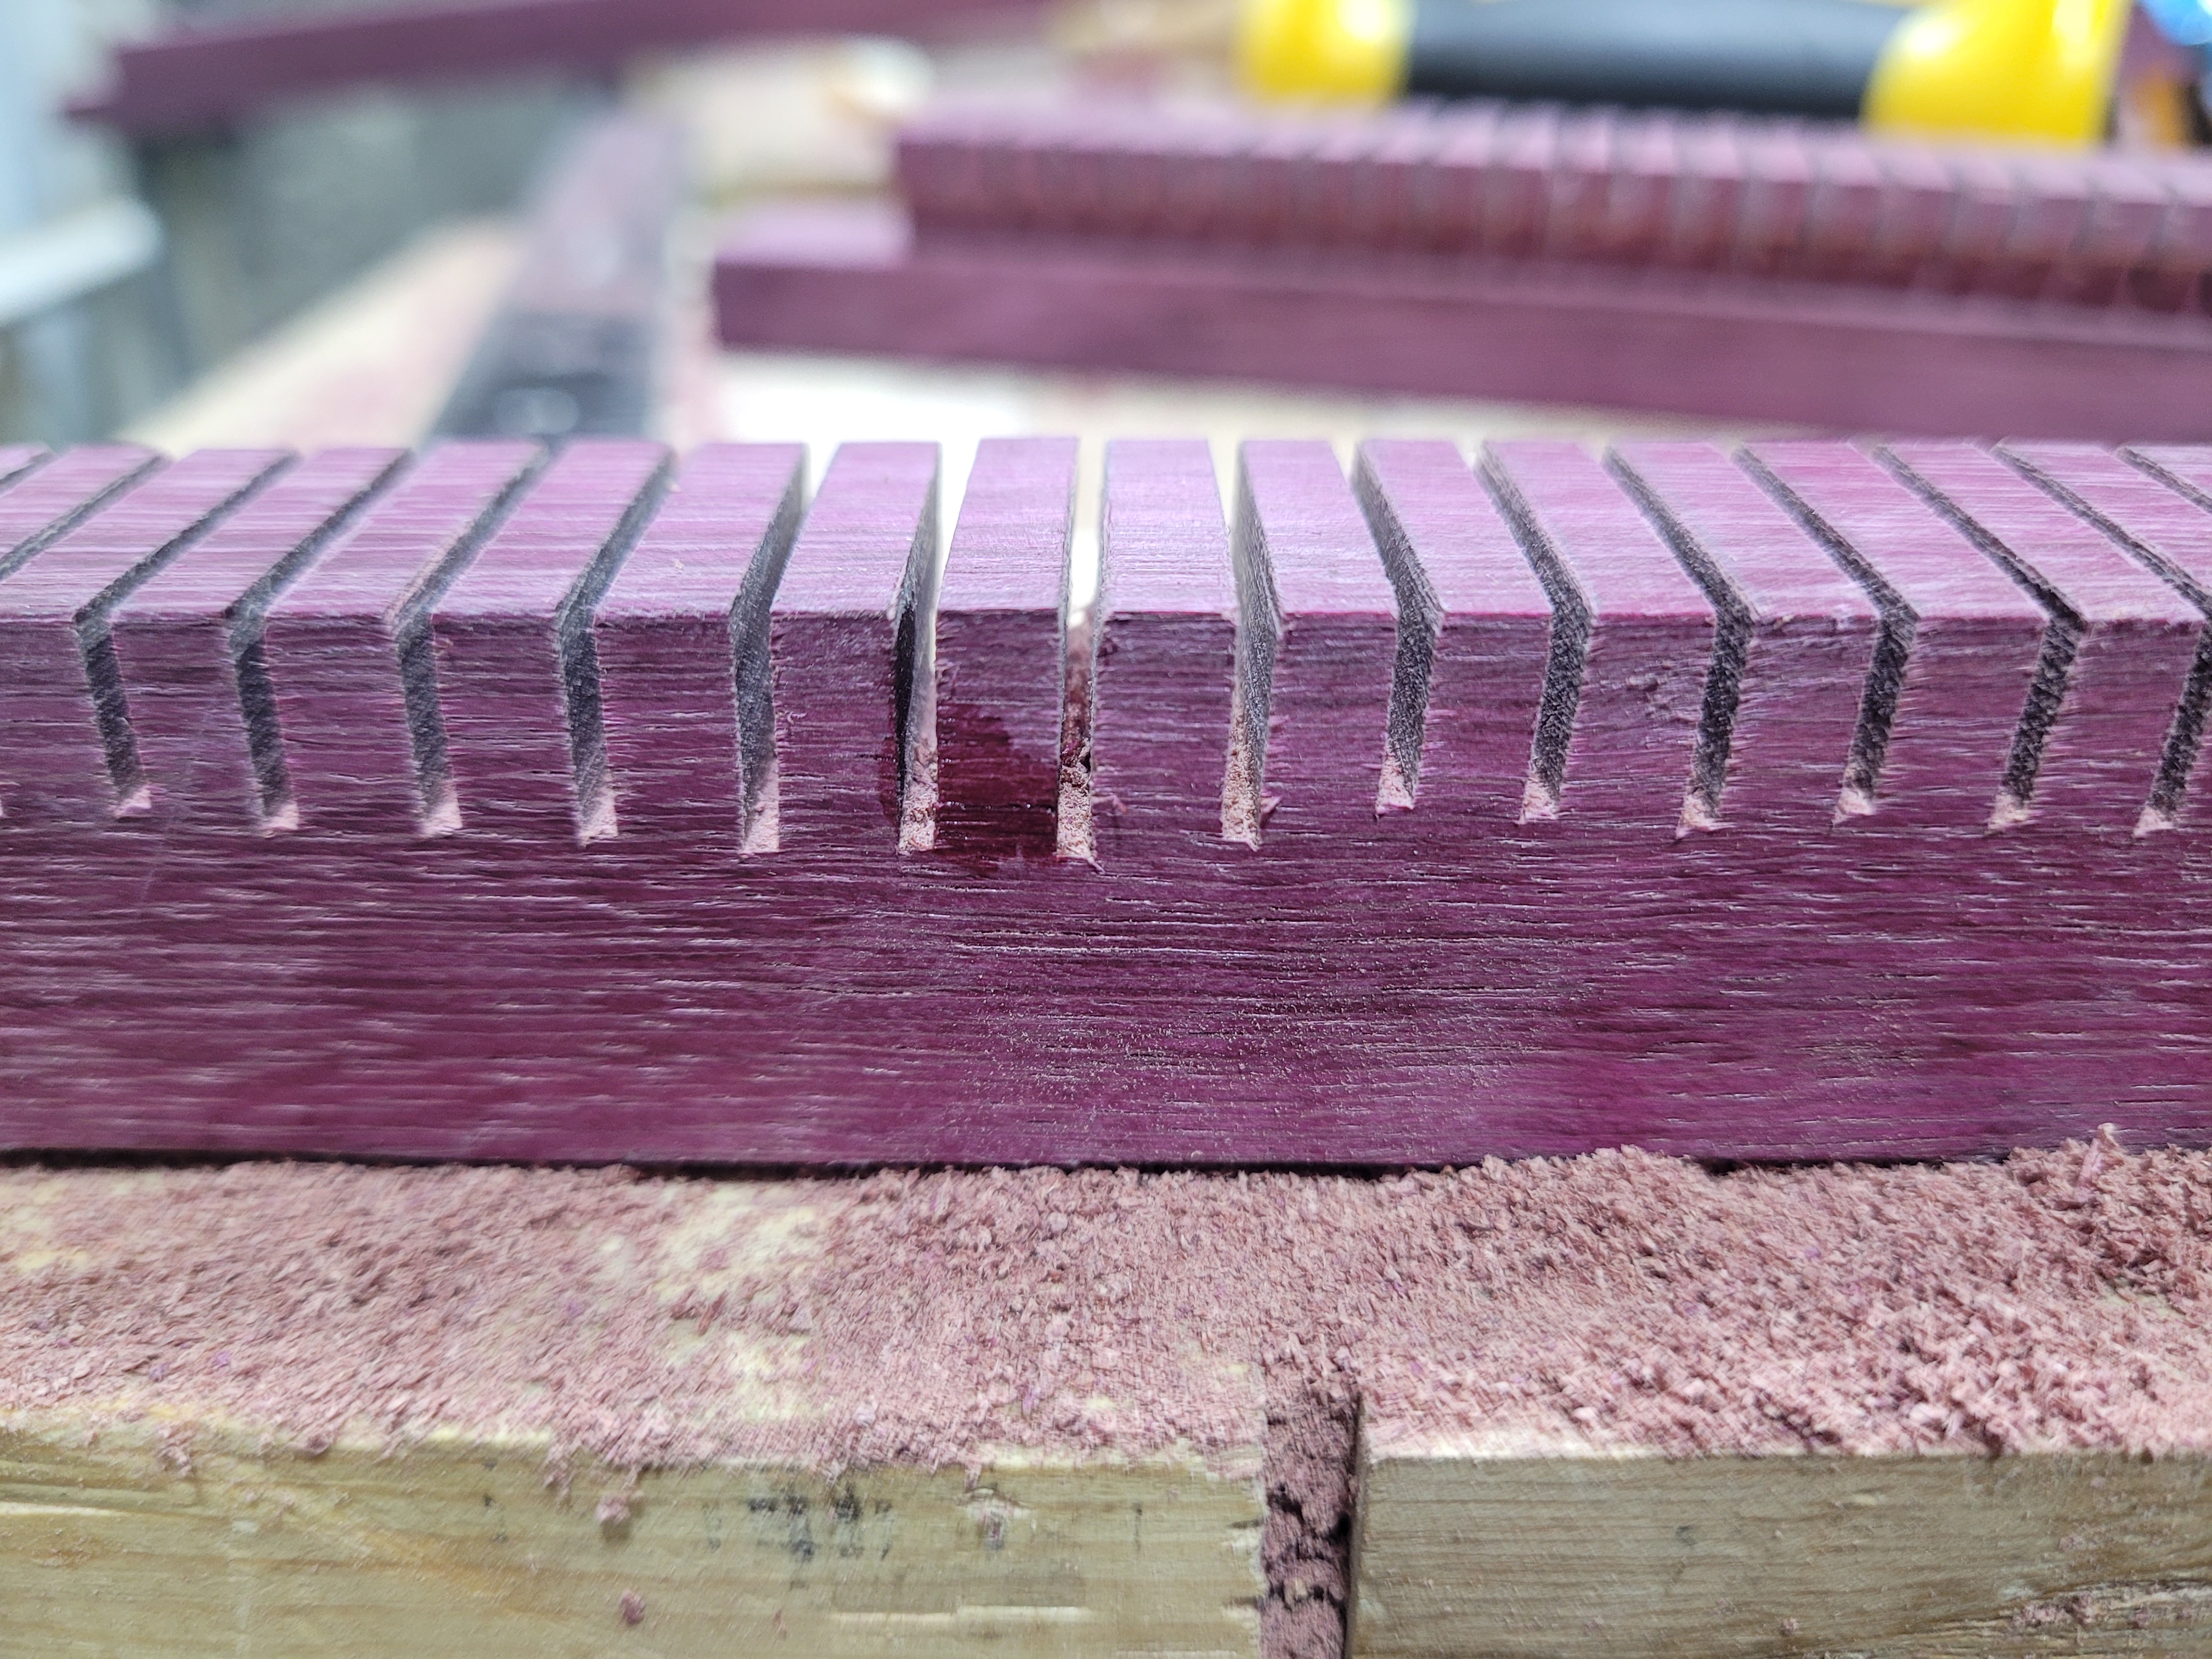
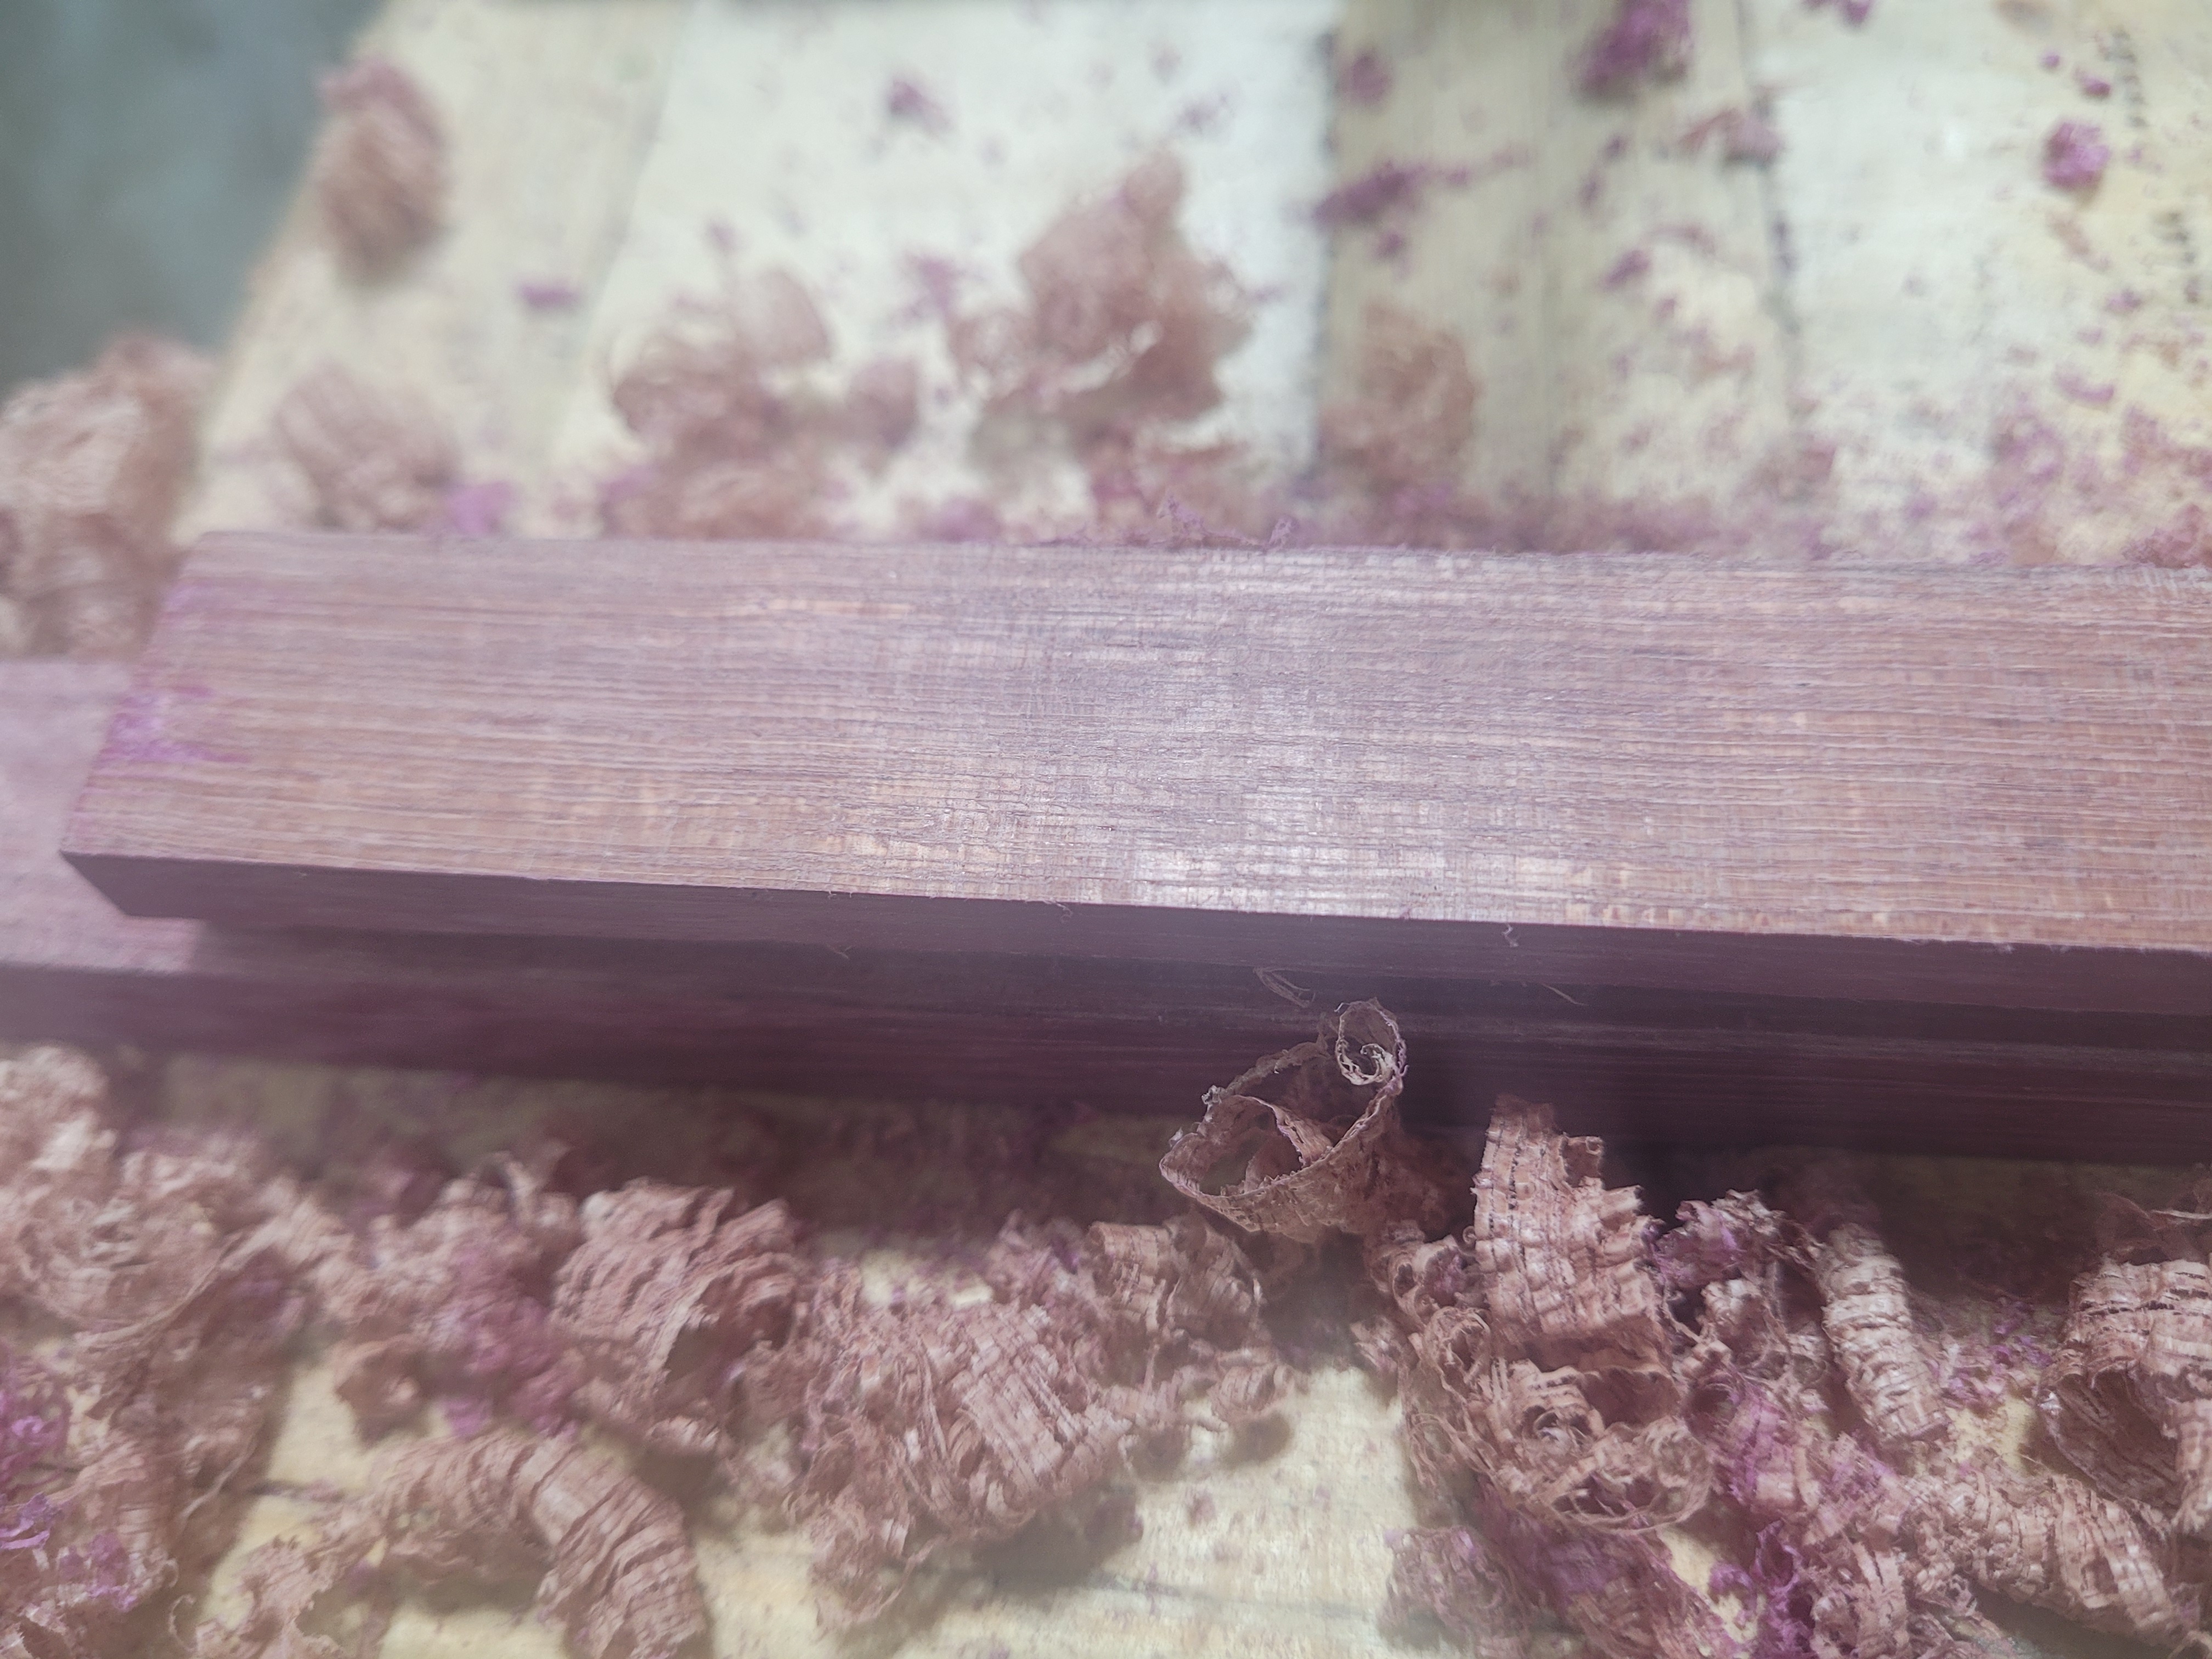
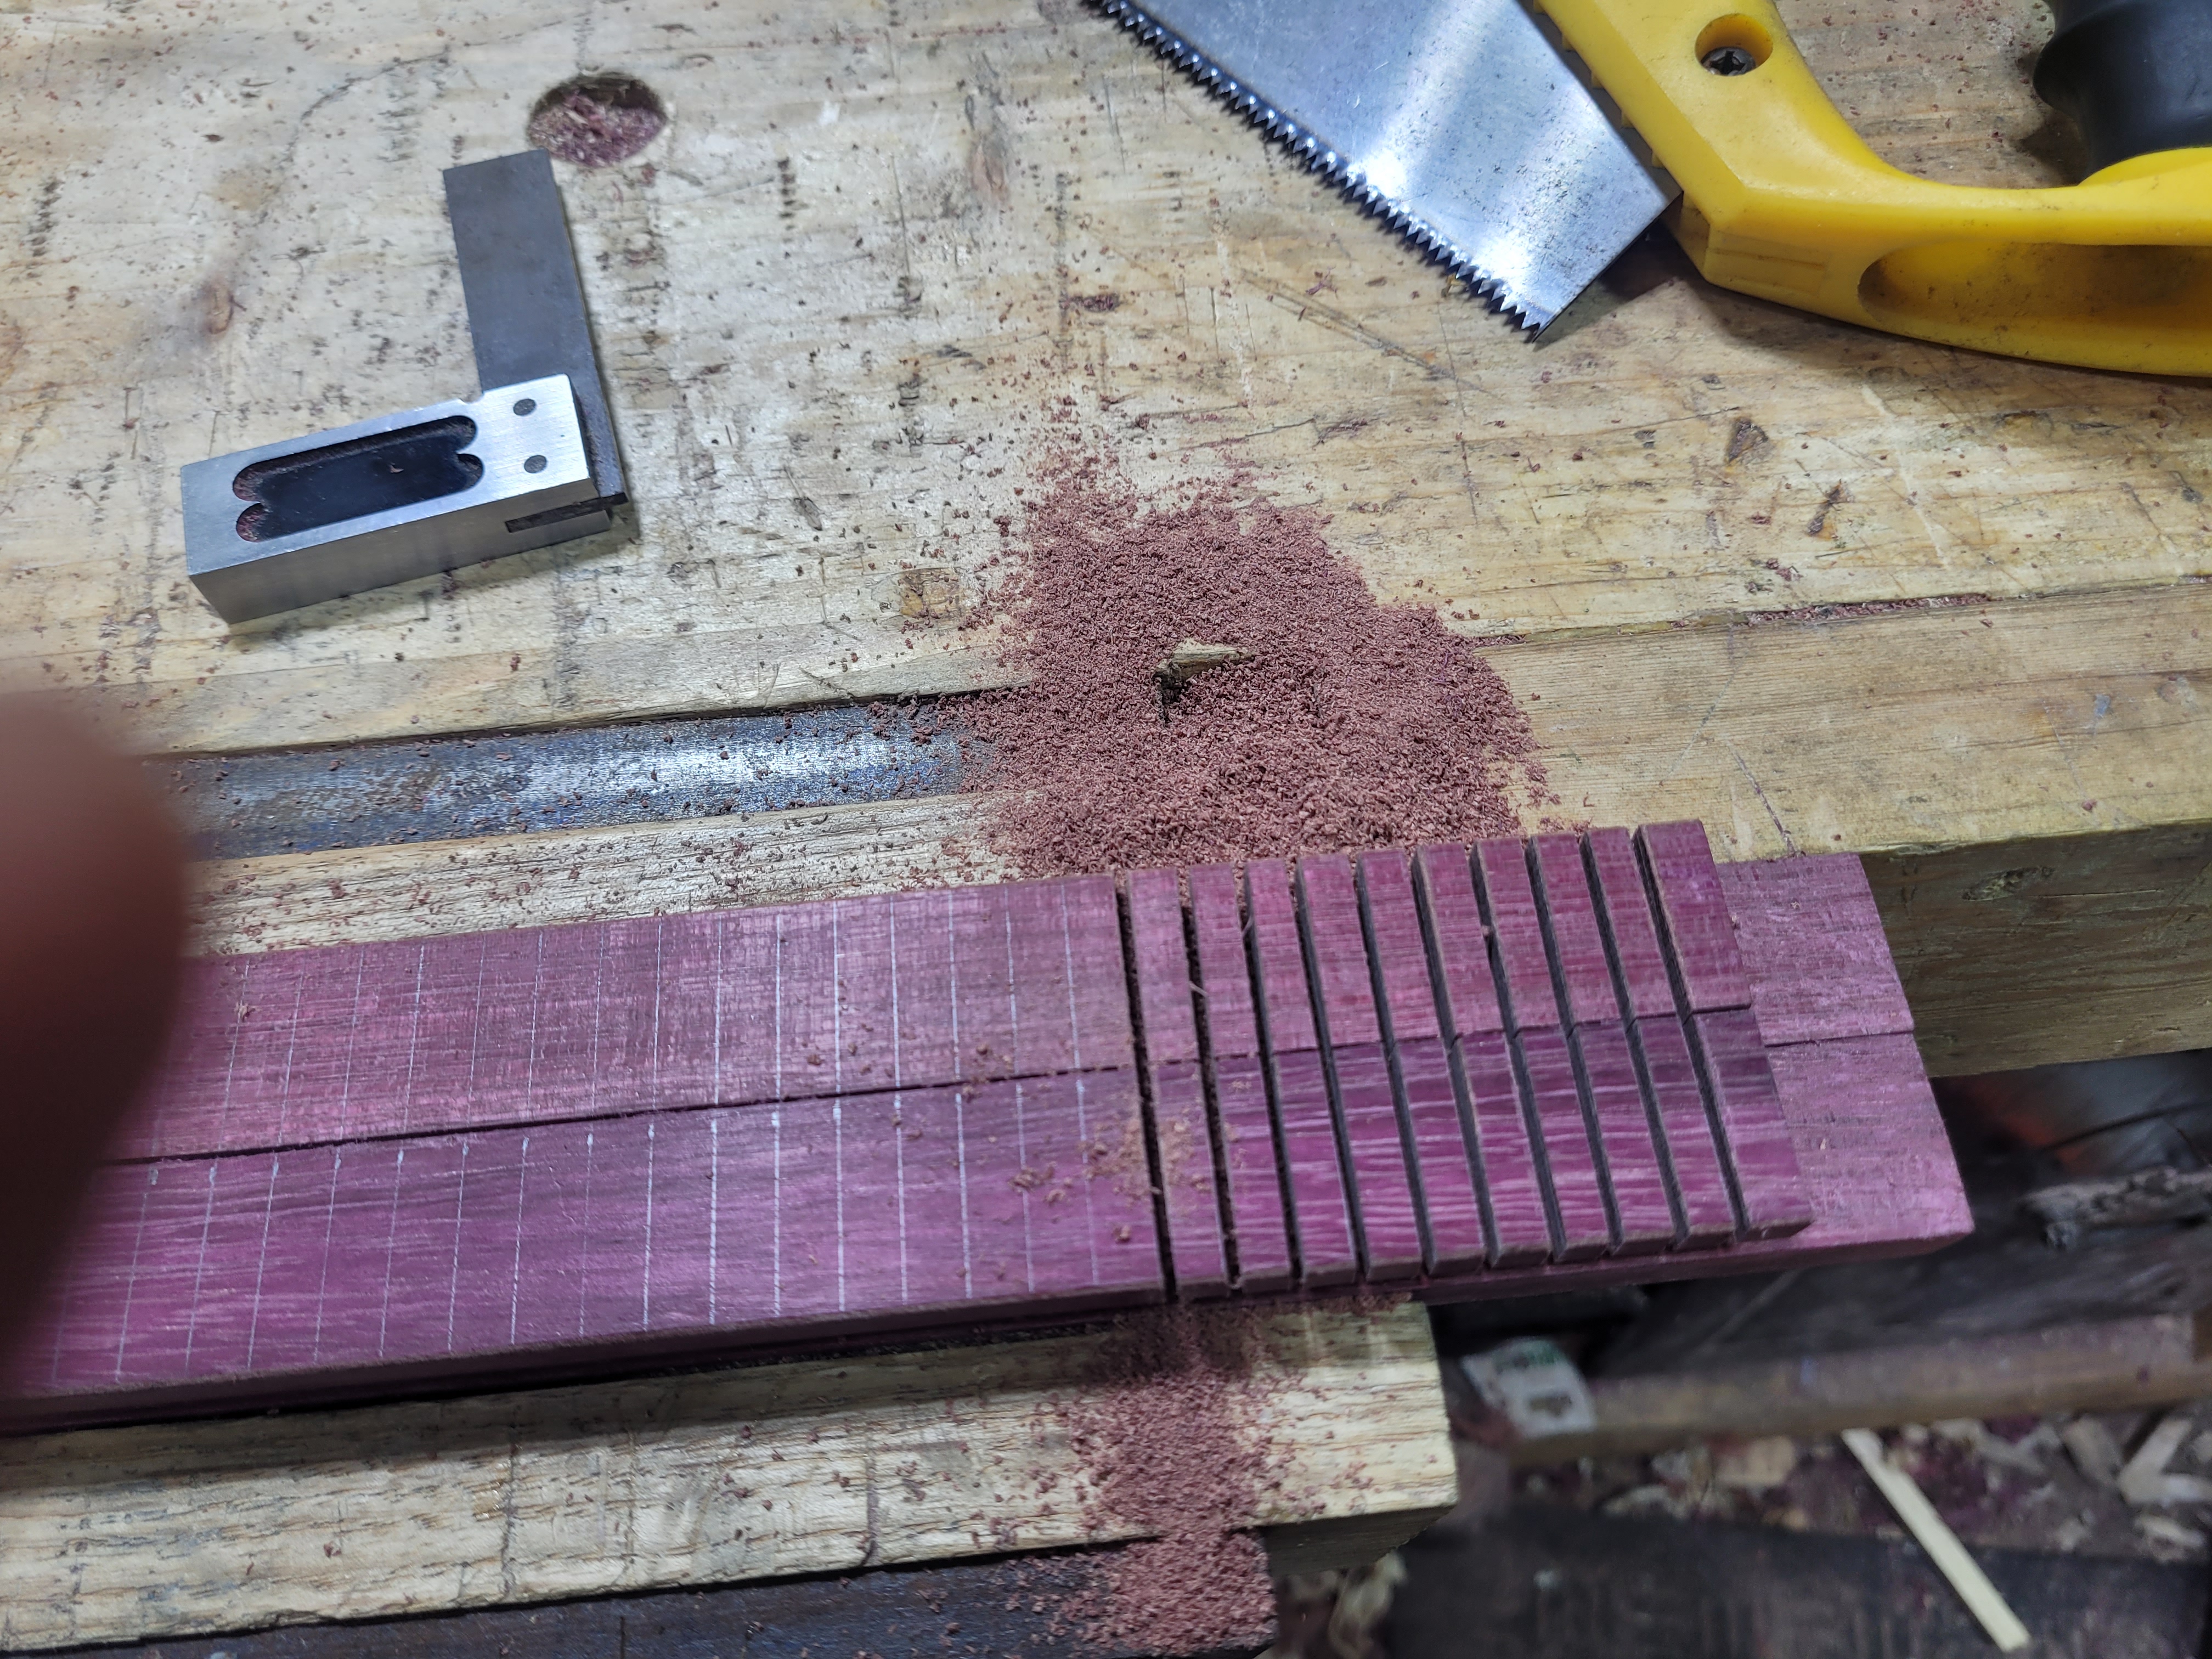
Once I complete the board I realise my cuts are very uneven on the backside. I set to evening them up a little and at one point managed to twist the plate in the kerf and snap one off…. See the dark patch in the middle. Yip, superglue. Got it back on fast, and now I cant easily tell which it is. The uneven depths are just aesthetic. The yarn will go under, into the groove, and back out, so the height of the yarn (which needs to be even), is actually determined by the groove, not the kerf.
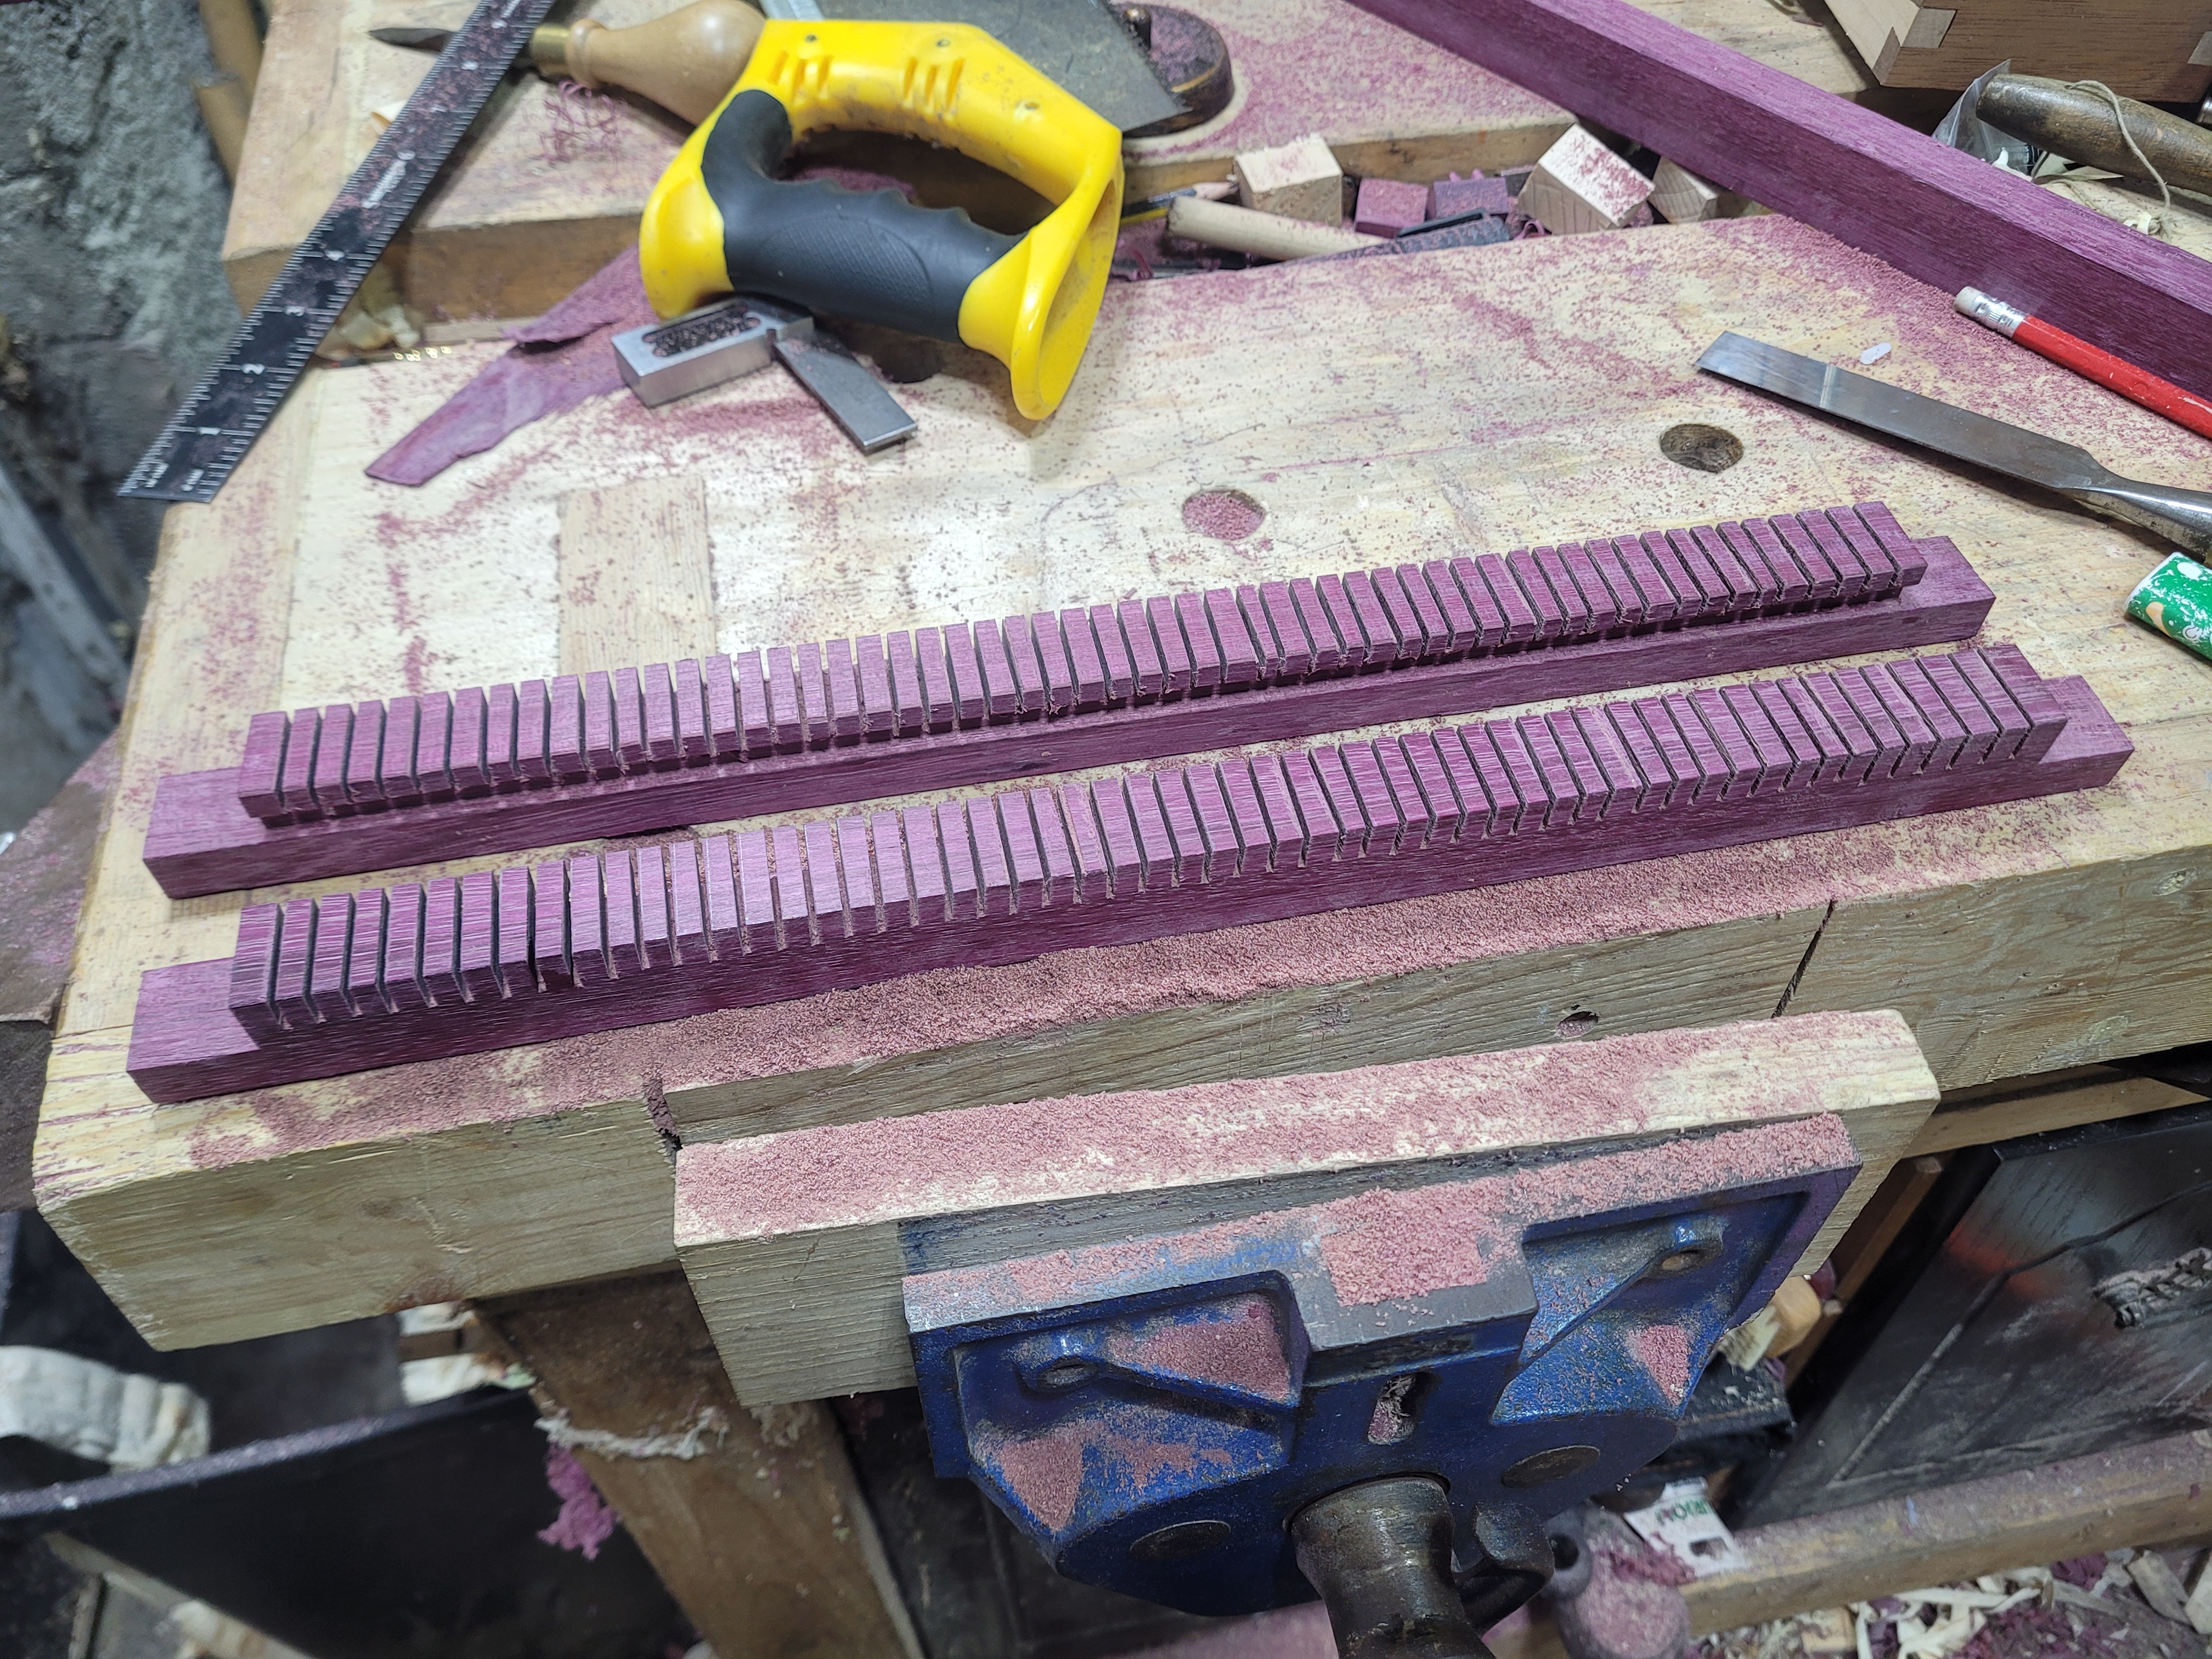
Done with the sawing. Some of the cuts are less than perfect, but all are good enough. The Tiger saw is tricky. Its such a wide kerf, that not having it skip as you establish the cut is a pain. By Cutting both boards together, everything lines up nicely.
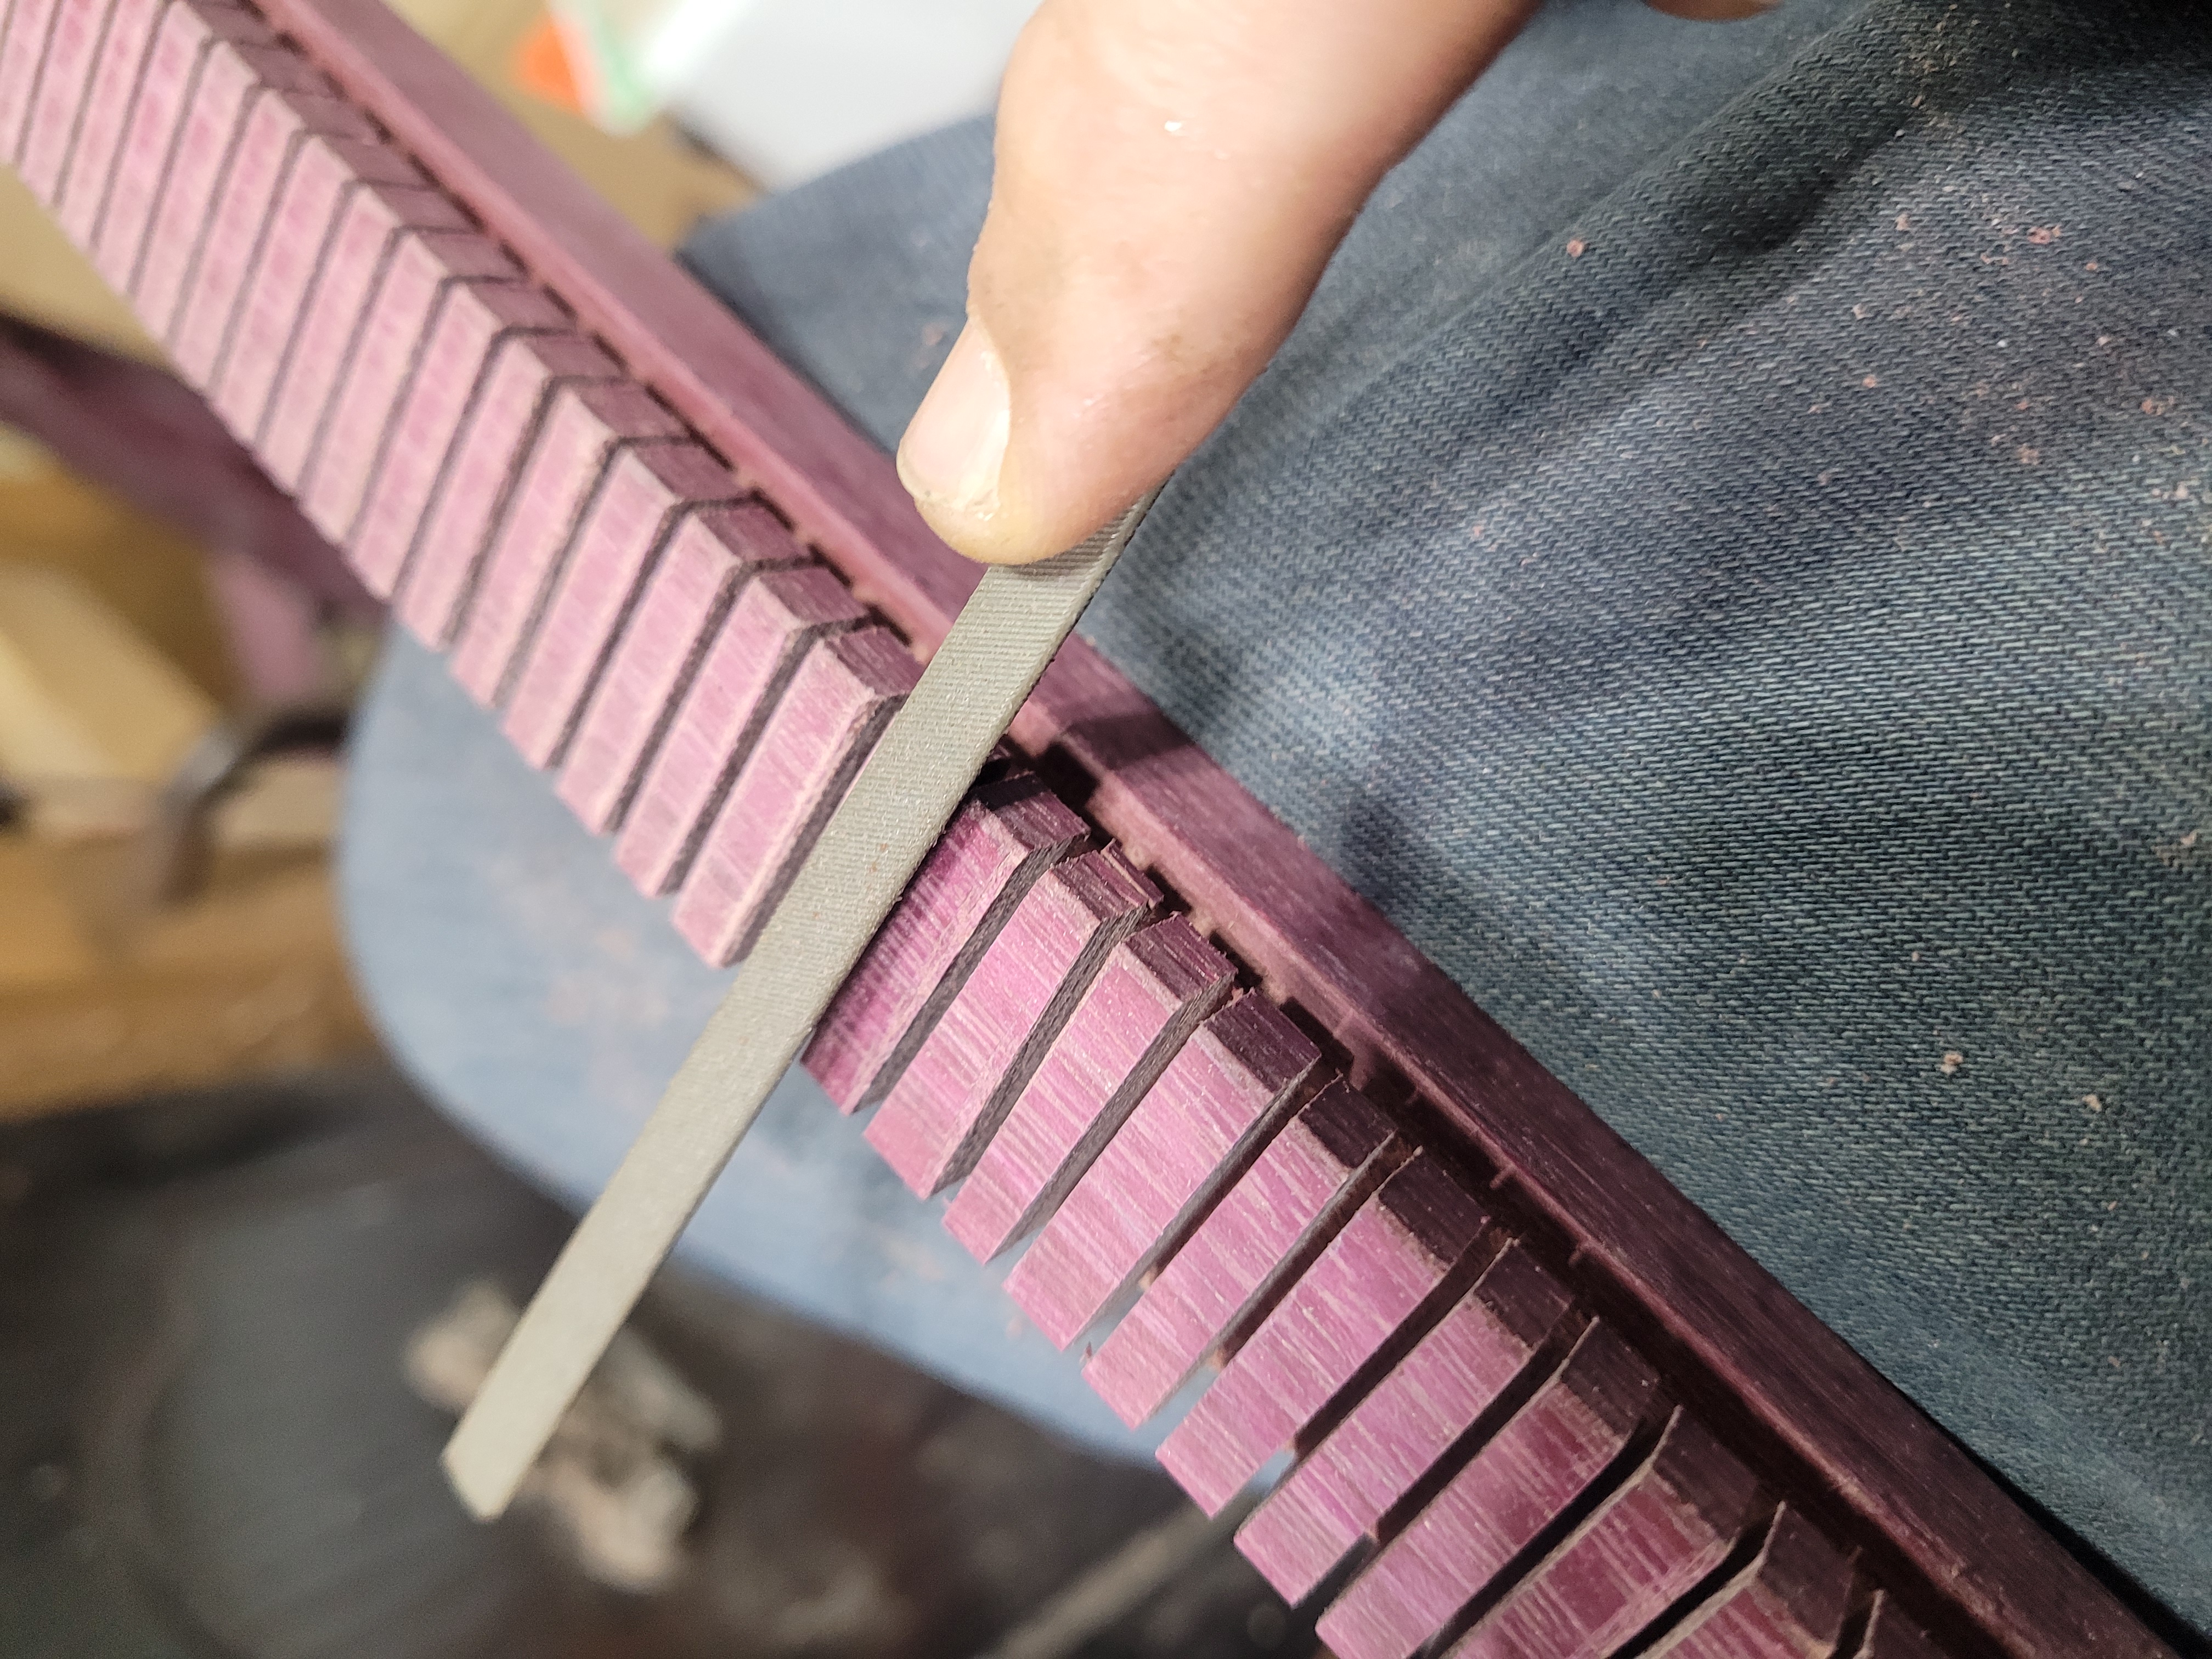
I chamfered the edges (on all 3 sides) of the saw cut with a triangular file. Makes it that bit easier to slip the yarn in. I also ran some Abranet through the slots to clean out any rough surfaces or loose fibres that could snag the yarn.
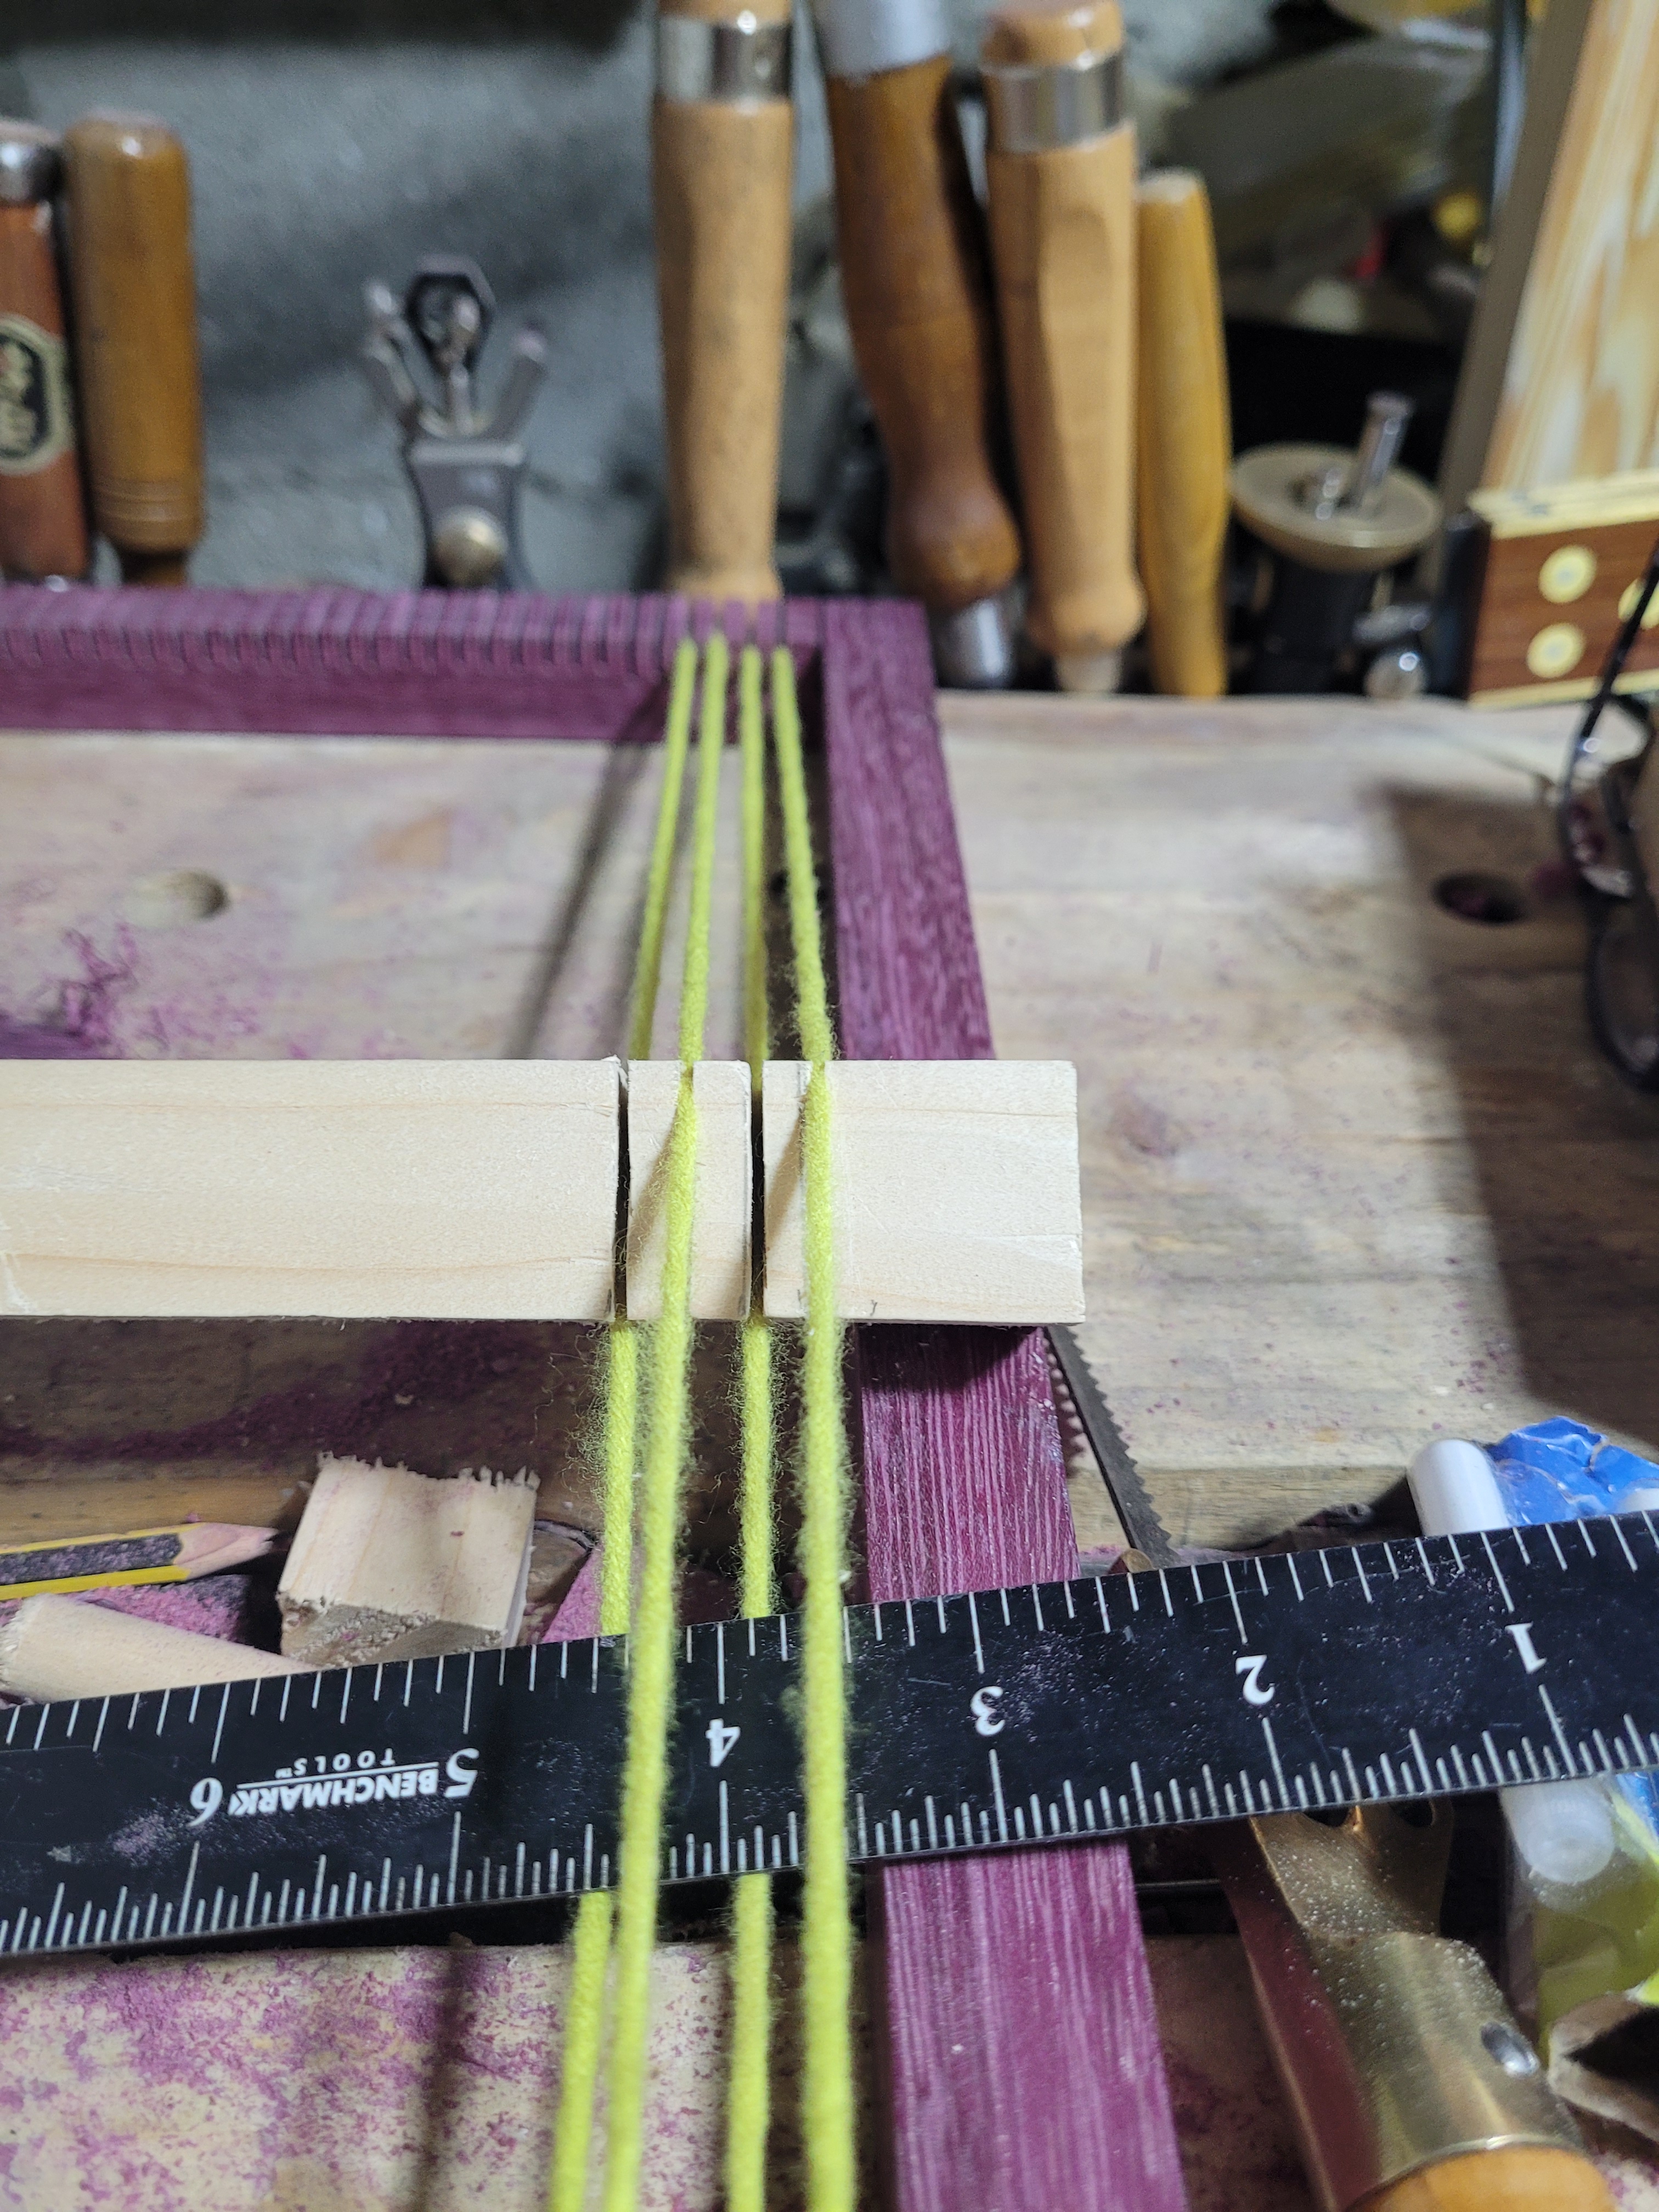
The next job will be to figure out the “Heddle”. A device to make it easy to alternate the strings between high and low for each pass of the shuttle. Pictured is a test piece in pine. With the yarn I was using, even the Tiger saw’s kerf was not wide enough. The yarn would snag and not rise and fall properly. The joy of building a loom when you know nothing about weaving. I’d go through a lot of failed experiments before realising the “warp” thread that runs through it is a lot thinner than this yarn.